
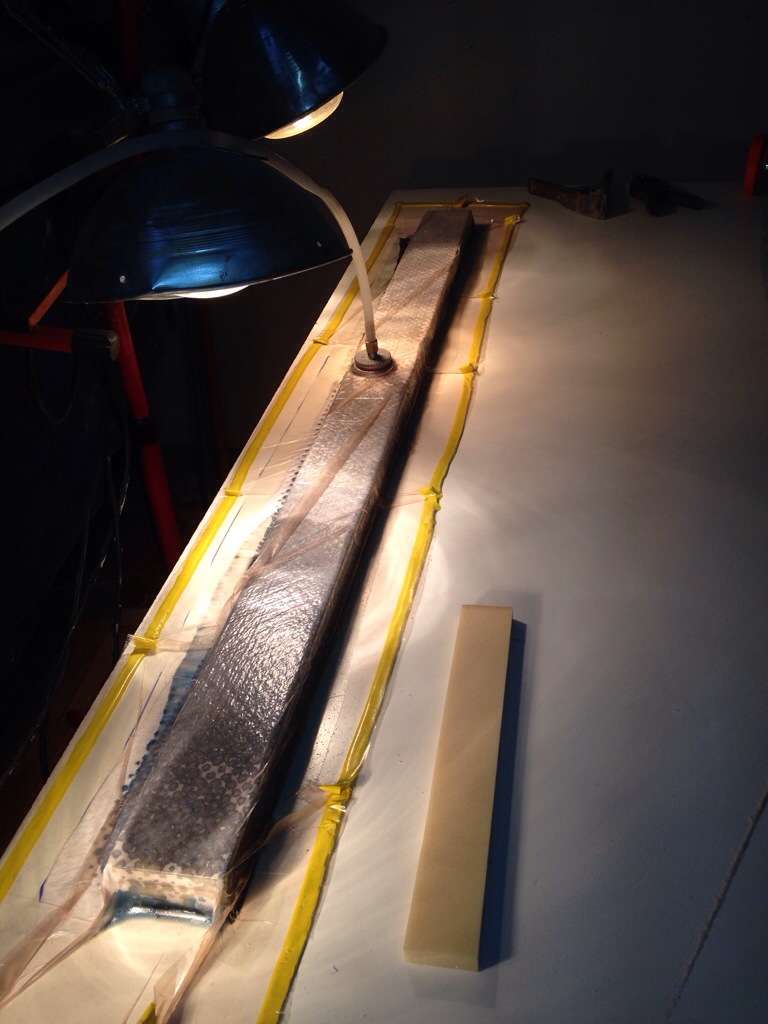
At the core of the F39 rudder lies a five foot long 2×4″-sized piece of triple layer carbon laminated high density foam. Started with 3 strips of 5/8″ core material, with one strip planed down a bit as needed to get the total stack to 1 3/4″, including the carbon. All of this math gets a bit tricky as we allow for the fabric weights, especially the foam ‘rebate’ area where the 14 layers of carbon uni-directional will be placed over this high density insert. Lots of scribbles on the note pad, and the final figures penciled on to the plan book for posterity (which means me building the backup rudder in a few months – or maybe Jimbo gets to do it?)
Recall earlier issues with the vacuum pump – well, it was all technique. Started this run with a clean table and simple bag – the pump drew down to 25″ of pressure within seconds, and this piece came out great.
Next the rudder got cut for this insert, plus the two small ones – disregard the prior post comment about putting them in later. I asked for help in the FBoat forum; lots of intriguing ideas and the most-sense-to-me approach is Andrew’s F22 Trivita centerboard forming story. I especially like his centerline groove all the way around the outside of the foil blank. You’ll see that in a few days, once I figure out the router jig needed.
Along with the big carbon bi-directional wrapped spine, there are two more HD inserts at the tiller stock area on top and the cassette breakaway area on the trailing edge. Rather than fill the whole 2 1/4″ gap, we noted from the profile the max final width in these areas and used only that much HD. These pieces got centered using temporary shims underneath during the glueing tonight.


Remember that the peach and grey ‘halves’ of the foam core are different sizes, so that’s why the yellow HD inserts aren’t centered in those colors, but the are centered to the total rudder width.
Tomorrow we’ll take depth measurements from the foil shape templates and mark depth cutting lines along one side of the board. But first we’ll practice the router technique on some scrap. Fingers crossed!
