
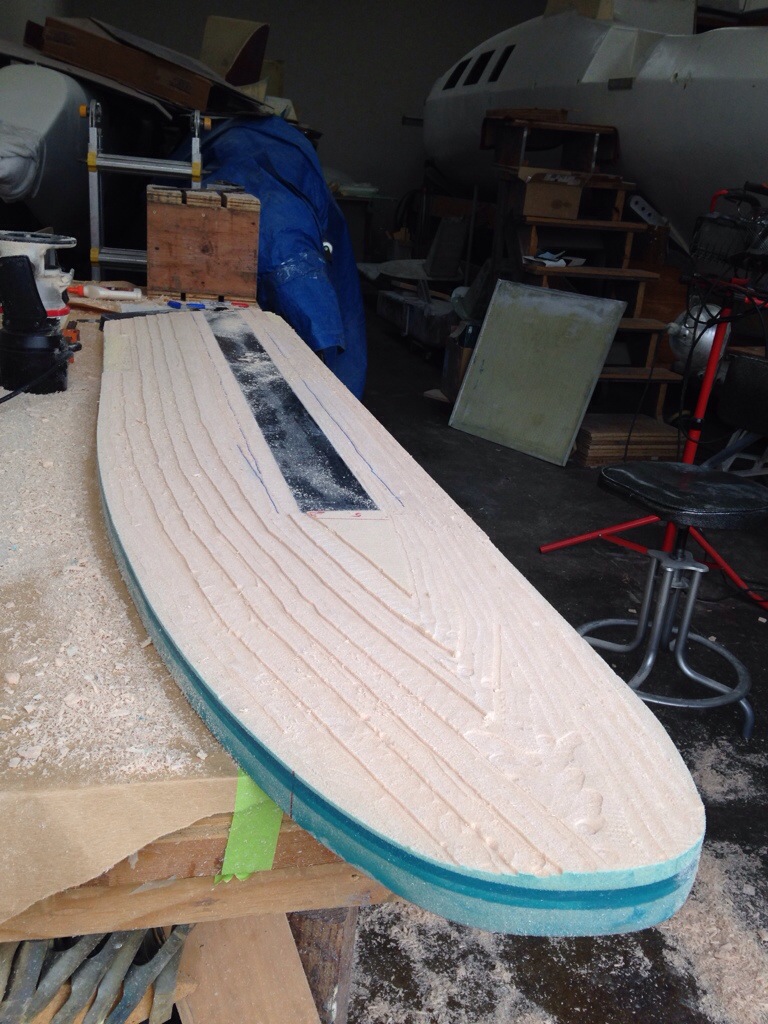
Seems there are lots of ways to unlock the shape of your rudder hidden in a big block of foam. After receiving many tips from the Farrier boat forum, we followed Andrew’s advice on his Trivita F22 build blog. Create contour lines from the shapes indicated by the plans at seven spots along the length, and use the router to ‘terrace’ the rudder.
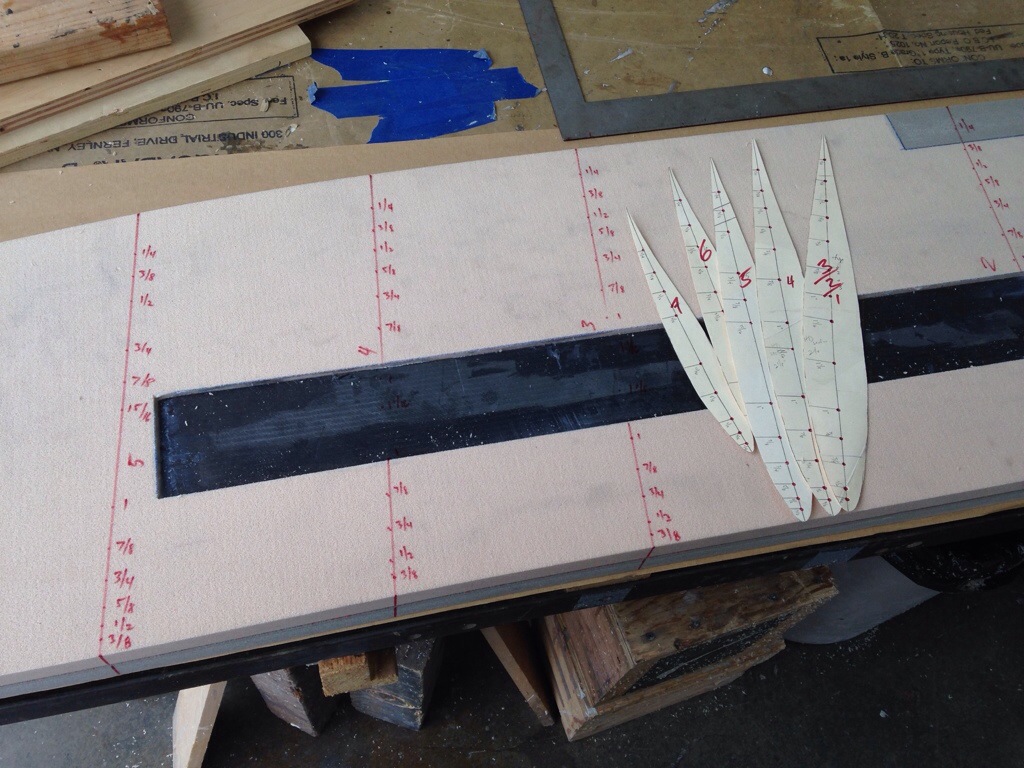

On the first side I used a narrow bit and cut depth grooves on the lines, intending to hit the troughs with spray paint to use later as sanding guides. That turned out to be overkill, and on the other side a wider bit worked just fine, taking all of the material for that depth, before adjusting the router depth for the next contour line level.
Here’s a huge thanks to Andrew / Trivita for his detailed writing about adding an epoxy-fill to serve as a solid holding ground for the centerline all along the rudder’s edges. See the dark green stripe here:

This was cut with a quarter-inch wide x half inch deep roller bearing bit, simply set to the 1 1/8″ centerline before any shaping, but after the high density inserts were added. This hard edge is massively helpful in shaping, and if Farrier was still selling plans, I’d bug him to make this a standard practice.
After the first side was shaped, it went in to the bag for the first carbon layer. The idea is to have that solid surface pushing back and holding the rudder level when shaping side two. And since the bottom side was still untouched, it made the vacuum process easy.

This came out looking fantastic, EXCEPT a nasty little mistake of not supporting the underside (empty) area behind the HD insert that will sit at the back of the rudder where it meets the cassette. So of course the vacuum pressure deflected the trailing edge in this spot. See the curve in the section that had to be cut out. And the yellow replacement piece bonded in place.
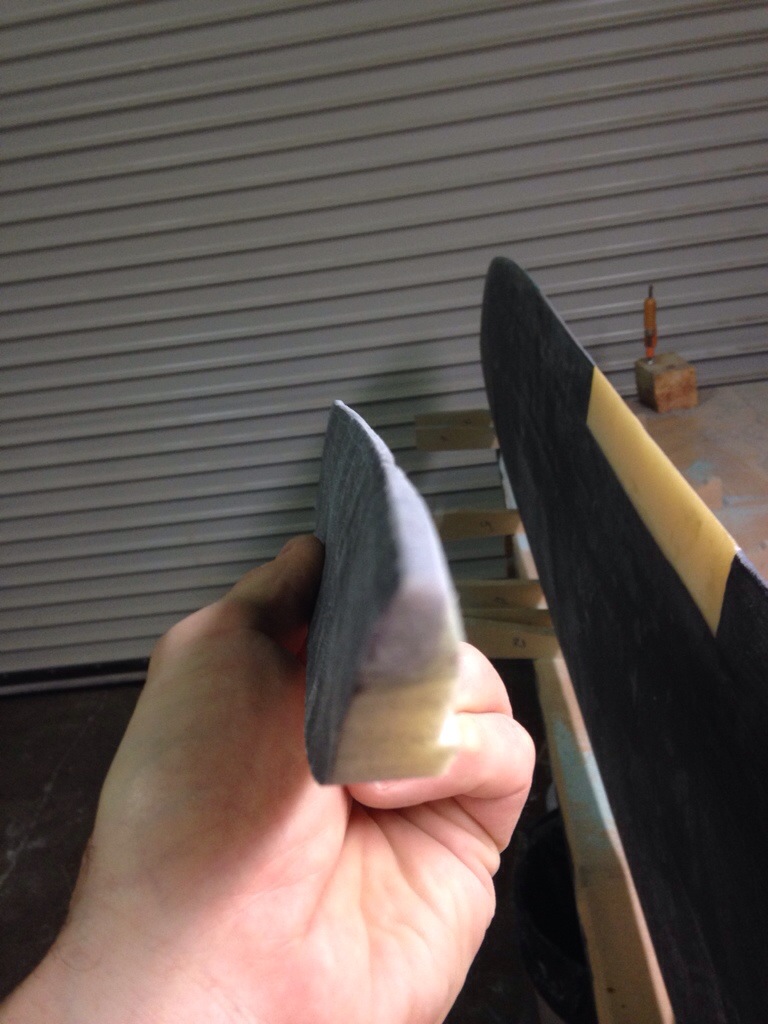
That will get its “side 1” carbon patch next and we can get back to finish shaping side two. All of those router cuts are done, and the rudder sits on the table nicely in its 7 contour shapes up against the carbon side. Here’s the trailing edge currently, with one side in carbon skin and the other still raw foam.
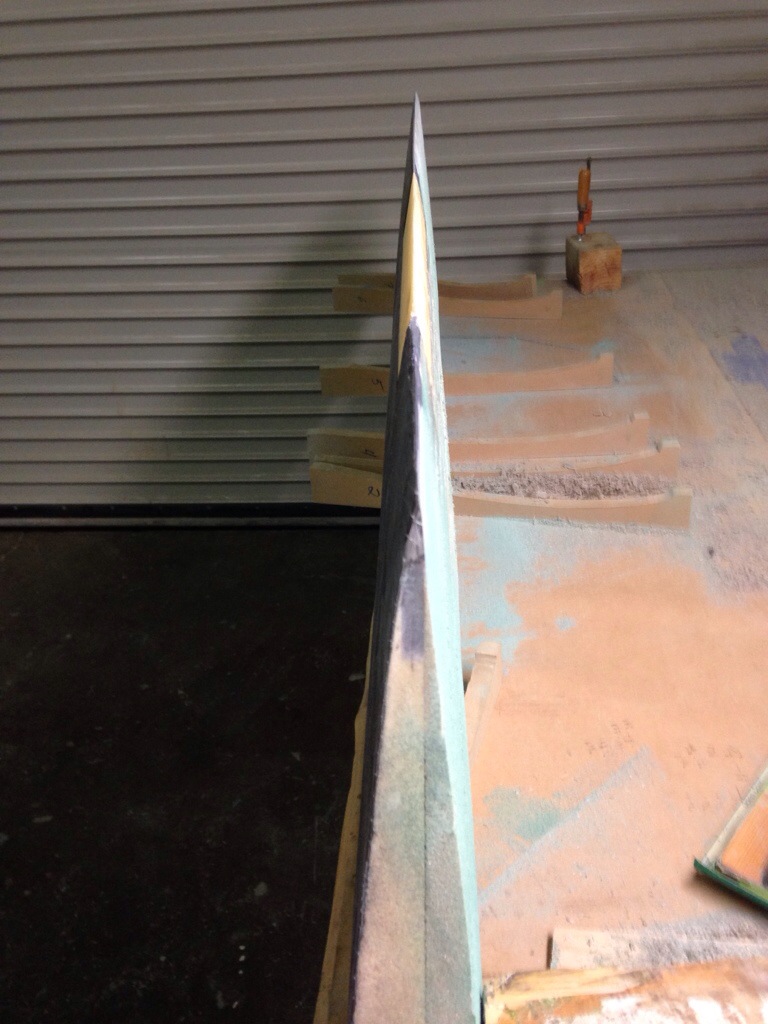
See what I mean about that first centerline back-fill of epoxy putty? Makes a great straight edge!
Tomorrow we’ll finish shaping and get that second skin done. The 14 layers of carbon stiffeners will come next time.
-posted from the road home, a 450 mile round trip today for Griffin’s Tigers win in 14 innings at Eureka. Long way for a good game :)
