
Continuing on here with the chainplates that “anchor” the mast in place above the boat…
The 12 layers of carbon came out of the vacuum process nicely.
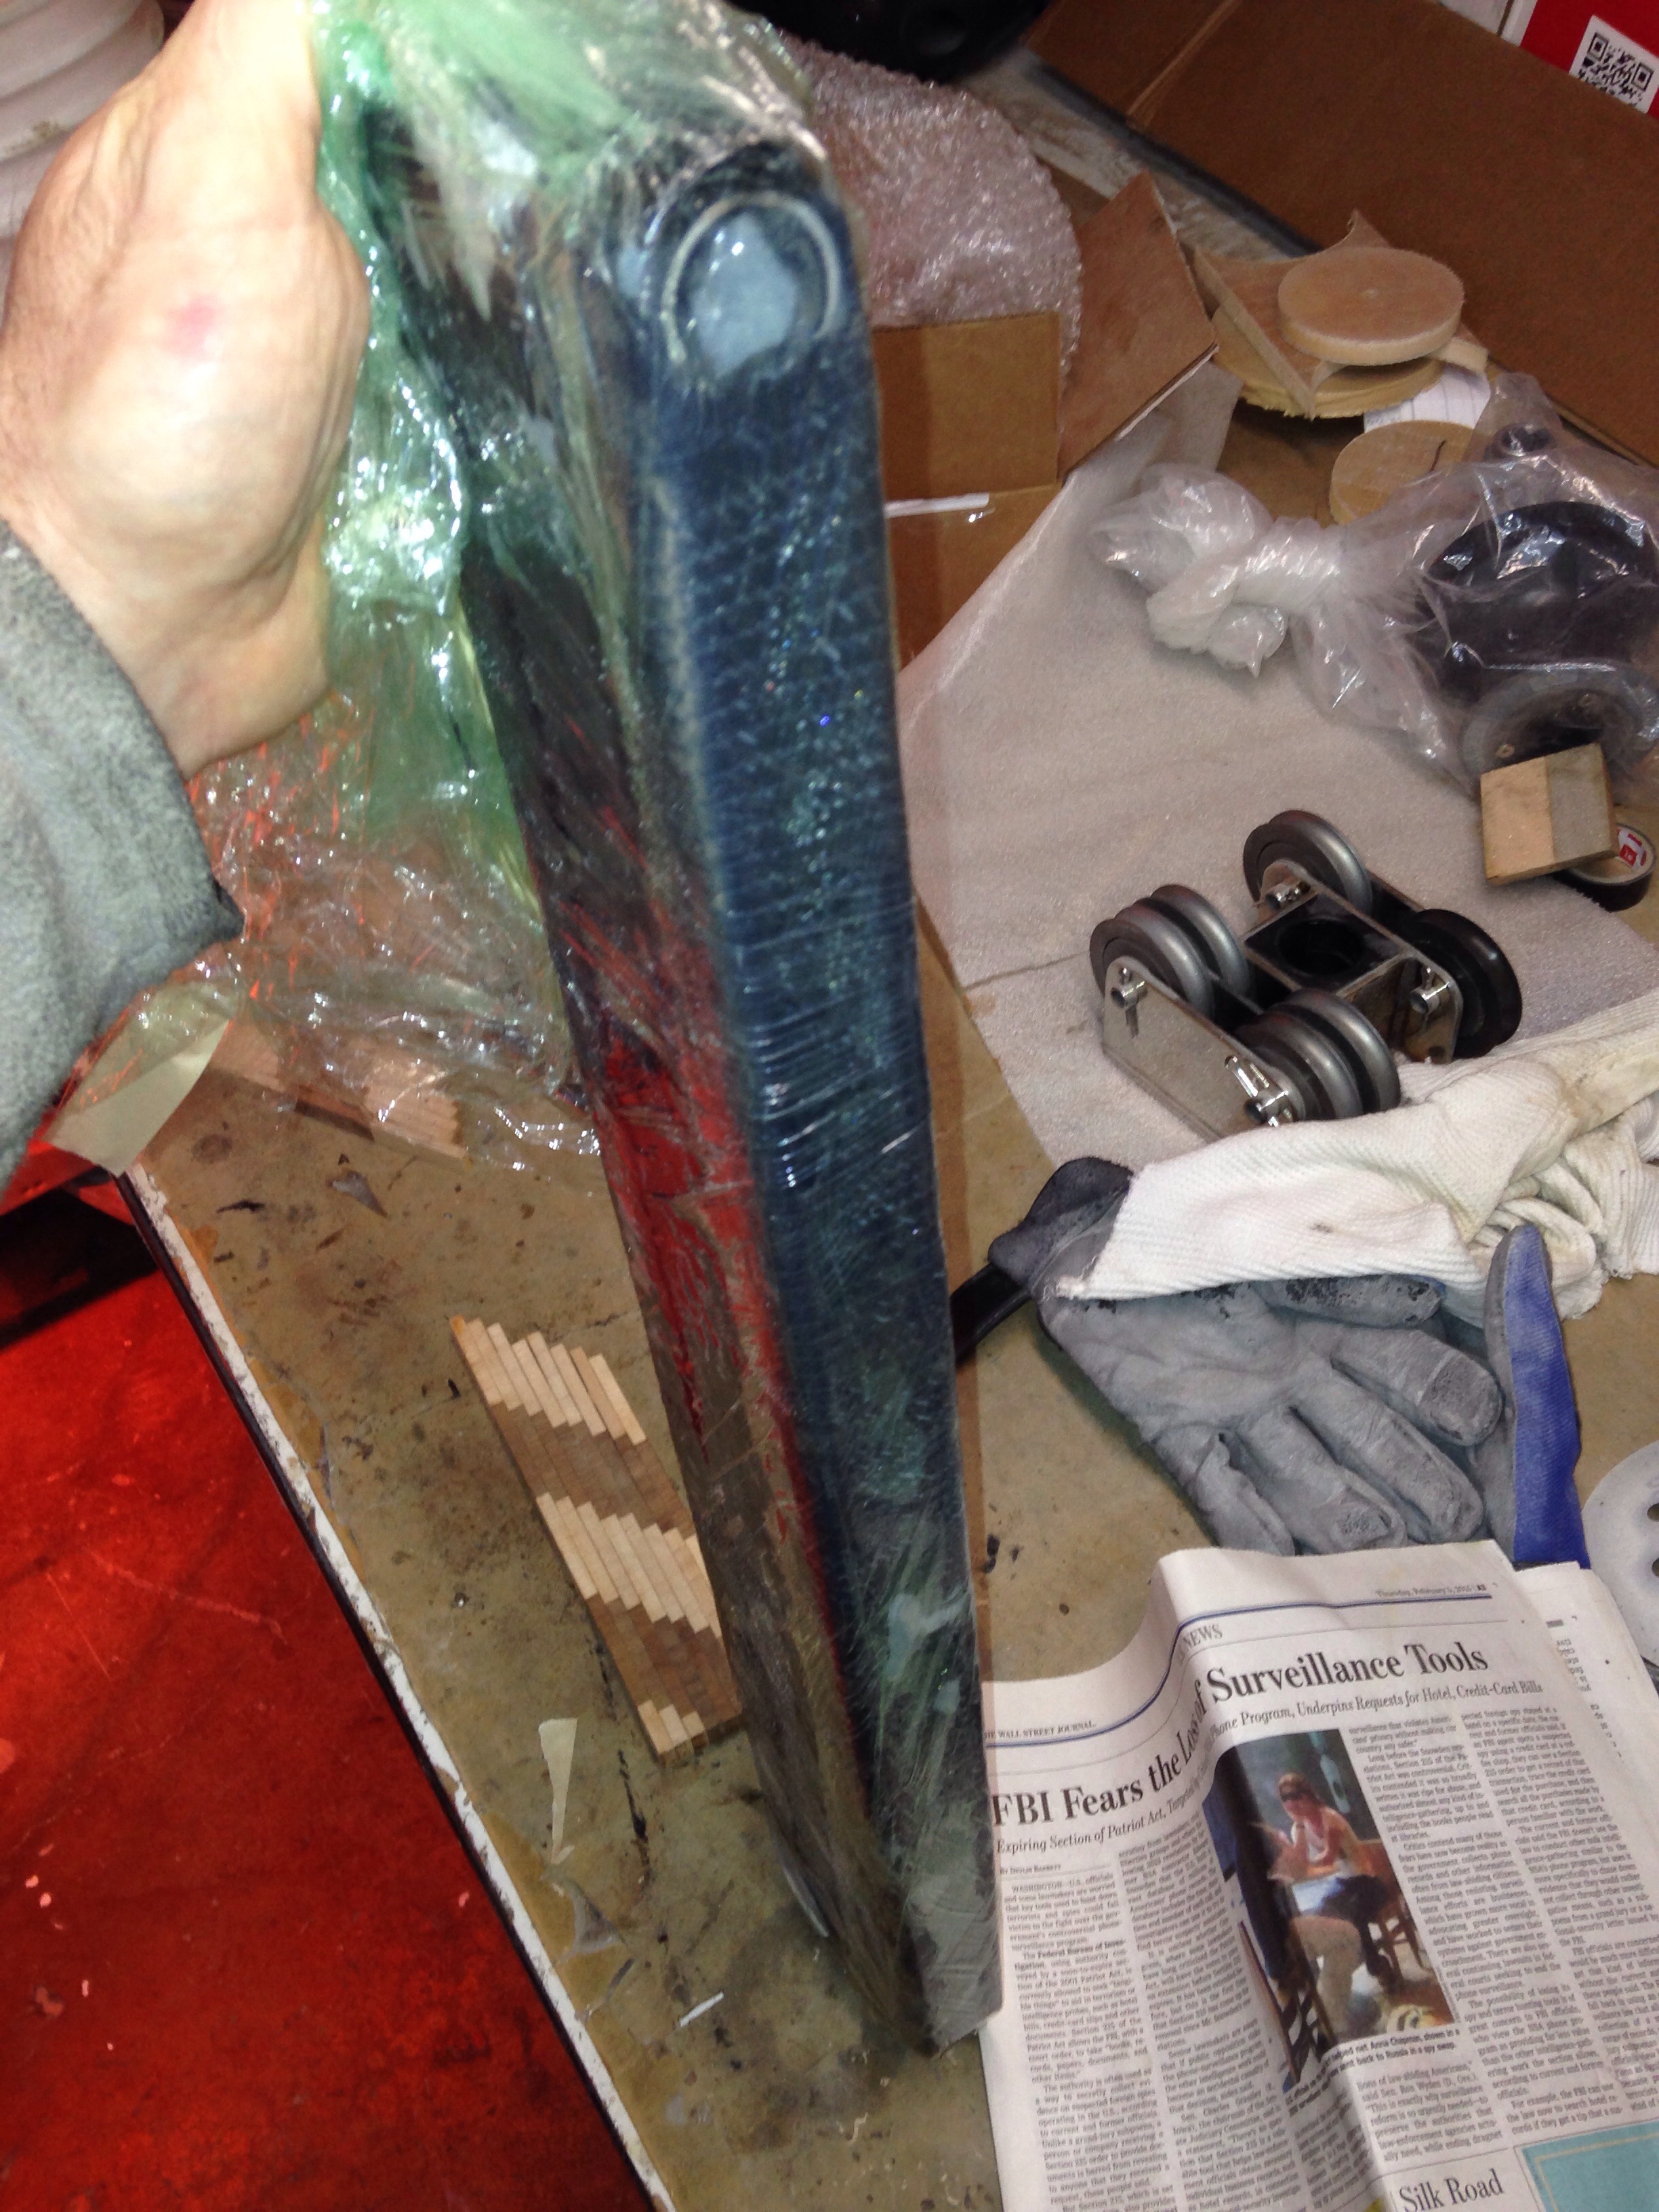
Next up was cutting the inch-wide slot for the shroud-end distributor. After much deliberation about how to make this cut thru the steel tube and carbon fiber, turns out a cheap hacksaw blade and some elbow grease got it done just fine.

These chainplates are the last primary structural parts that need an epoxy post-cure, so they can’t be installed quite yet. Today we found an auto body shop that will rent us the needed three hours in their paint baking booth – more on that next week.
Now for the chainplate destination – on a bulkhead inside each float. This gets a bit tricky because the floats were built for traditional steel chainplates so the bulkheads aren’t canted forward in the desired angle. I asked Farrier and he ok’d rotating the chainplate and applying the fiberglass reinforcements at an angle supporting the mast-pull direction.
Here is the bulkhead before cutting. This job would be so much better during float hull construction, the way it’s shown on the more modern plans.
You can see the plywood insert (as a yellow rectangle) inside the fiberglass, showing the location for thru-bolting steel chainplates.

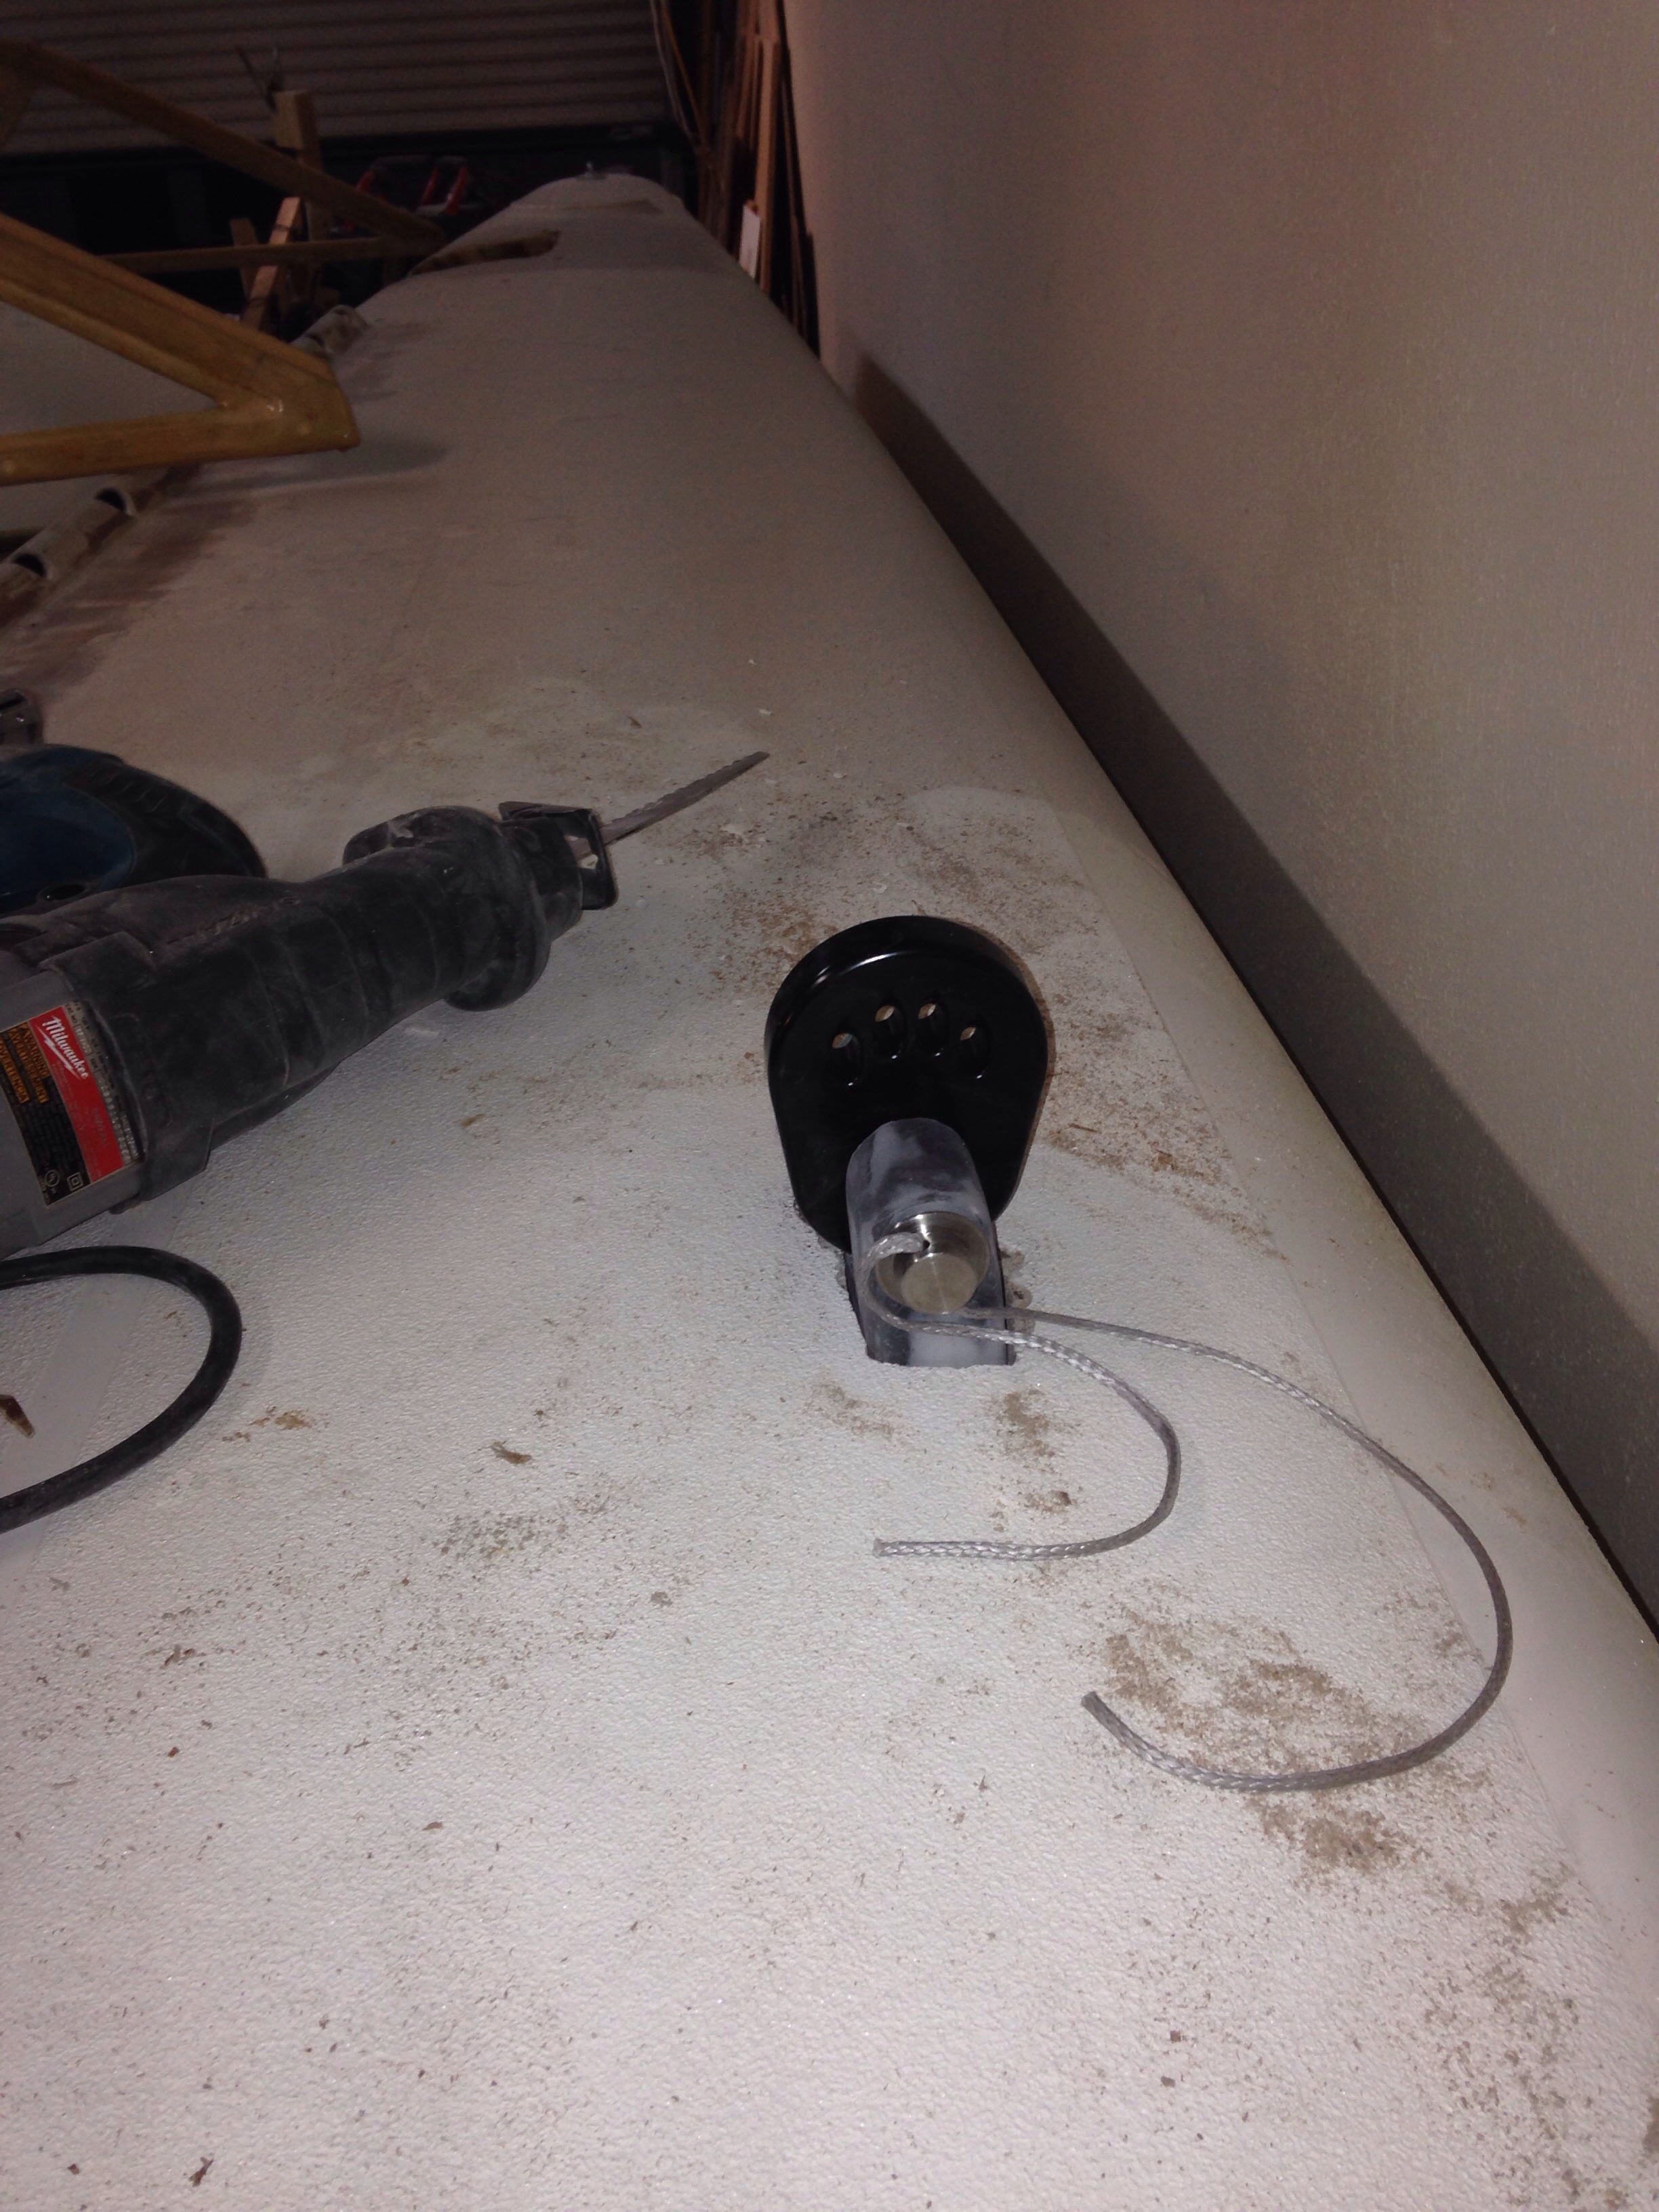
The cuts were made via drilled pilot holes then a jig saw. Had to use the big sawzall to cut the few inches at the bulkhead-to-deck join, where the jigsaw couldn’t reach. Nasty little job with too big a tool. With the cuts made, here’s how the chainplate will sit below deck. It’s a pretty big anchor in there!

And only a little bit pokes above deck. See the big clevis pin and the distributor (in black).

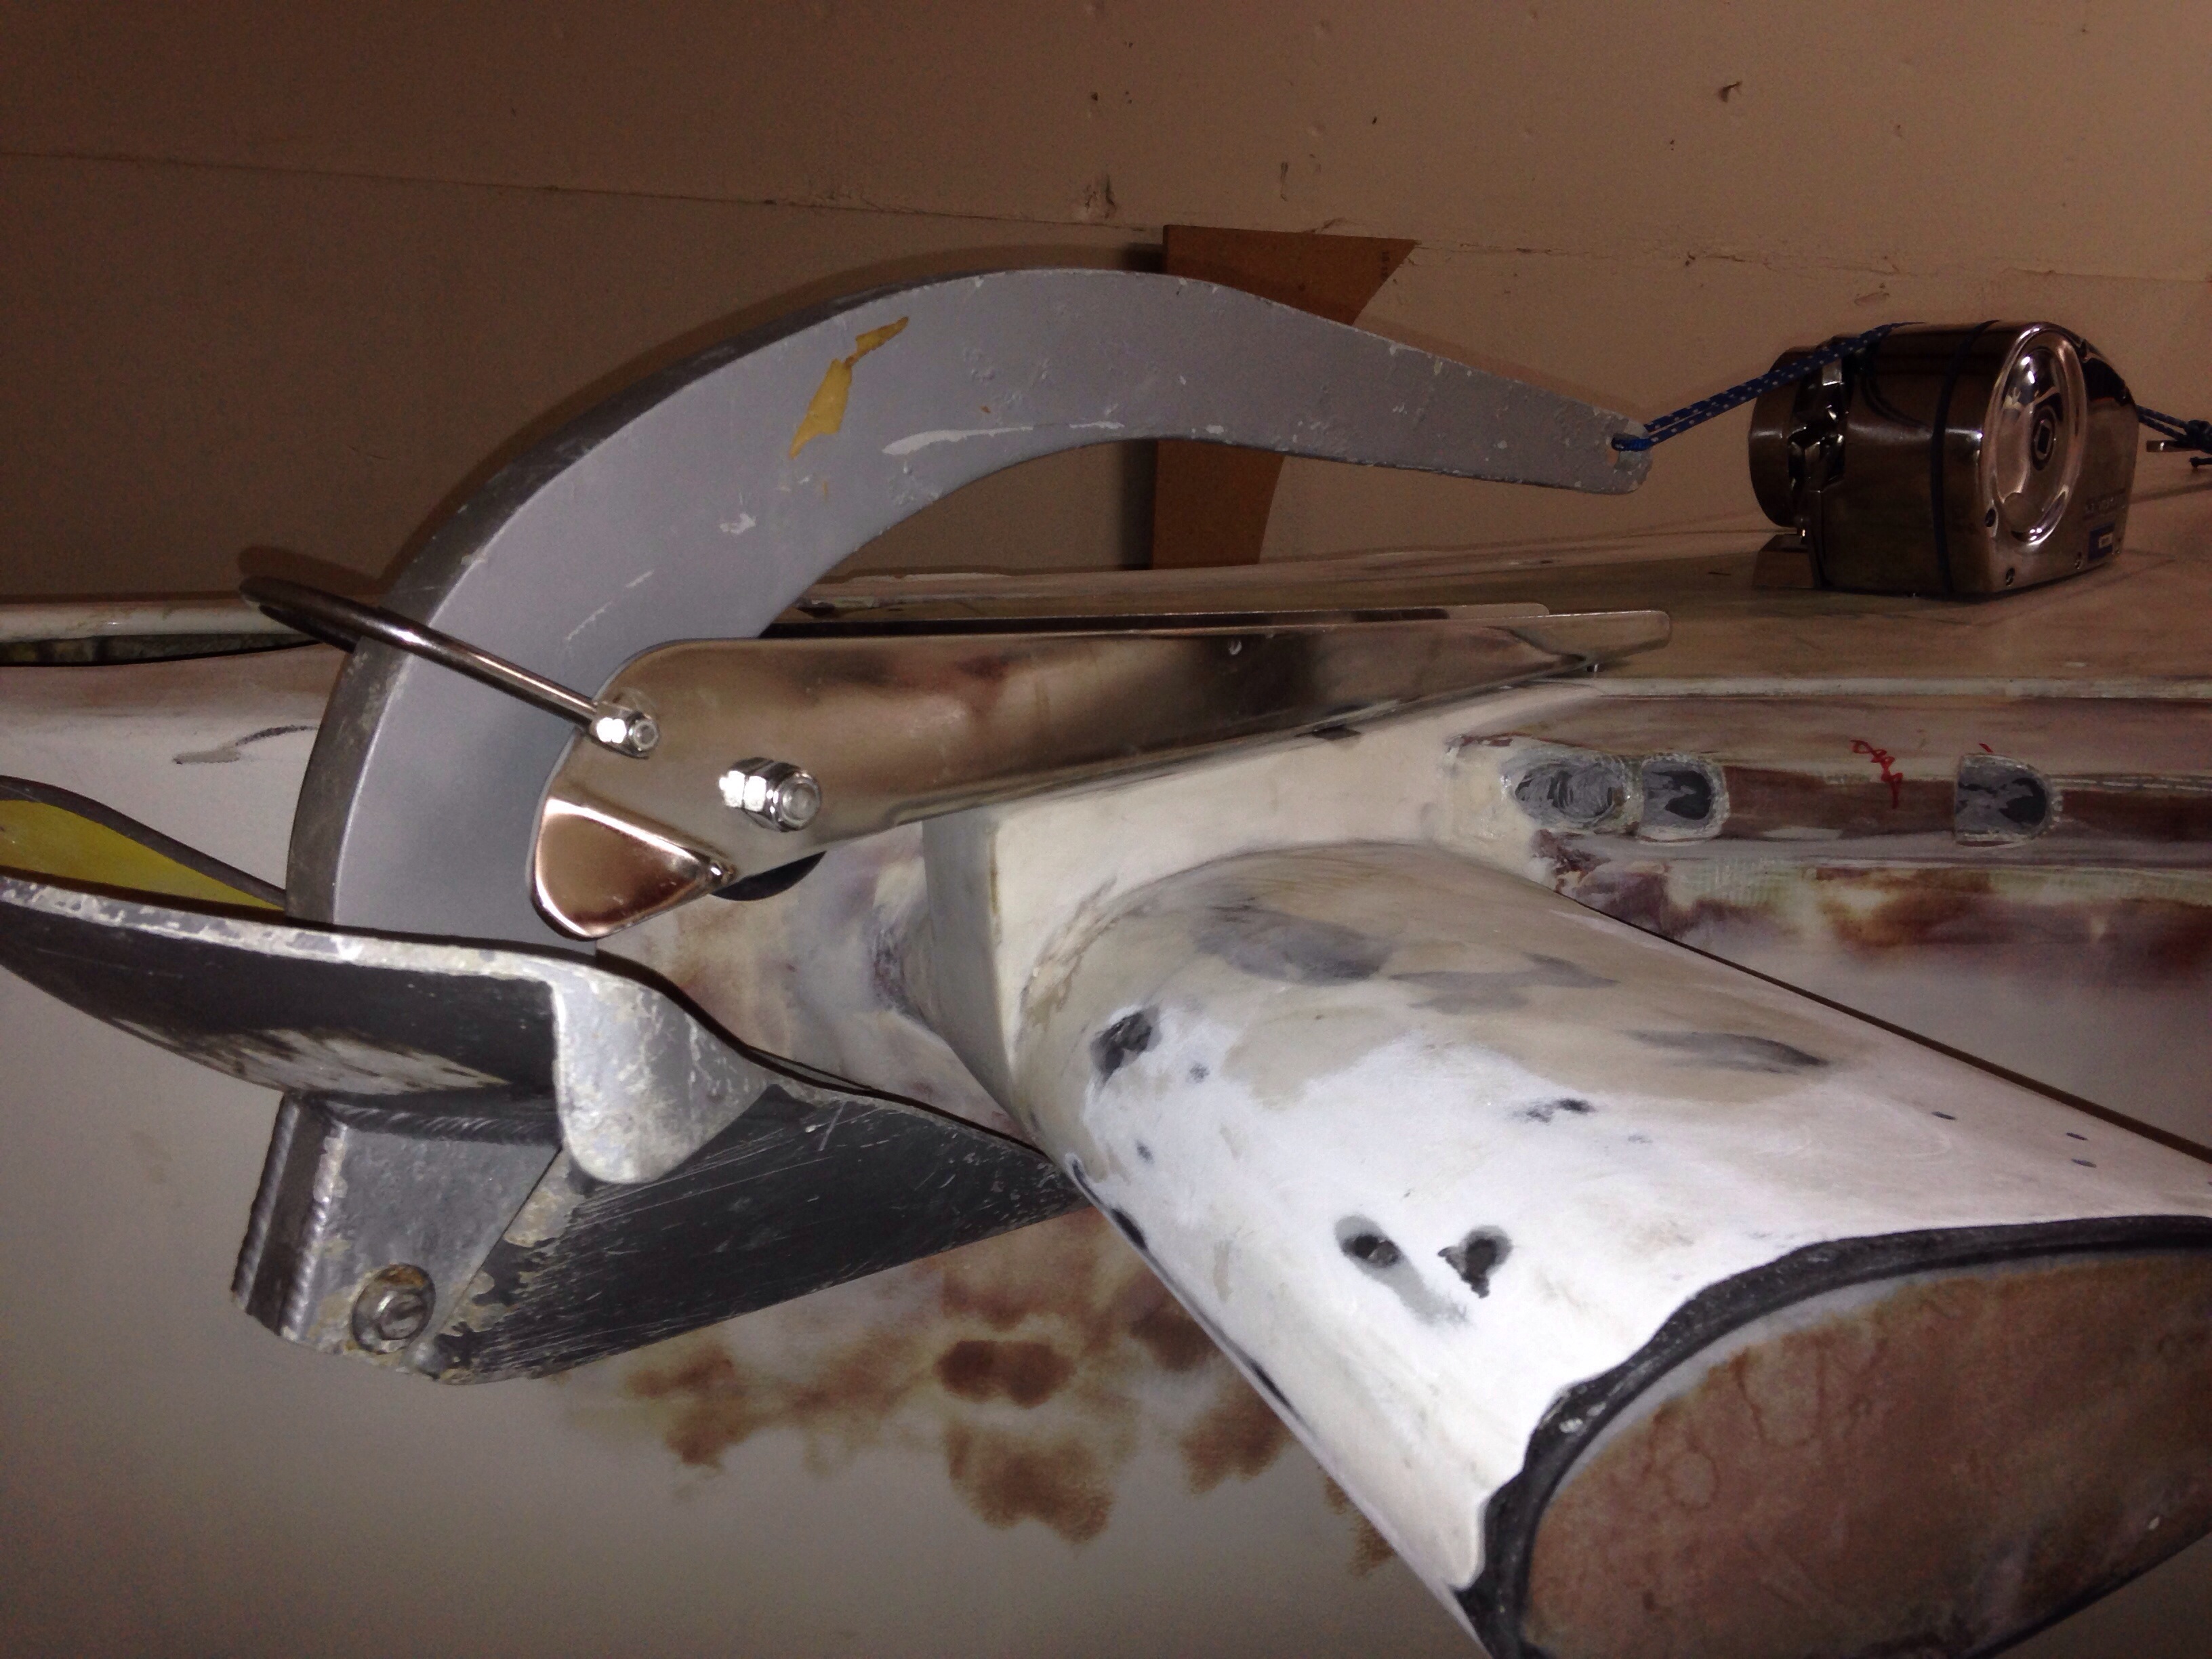
This past weekend’s project was mounting the anchoring gear. For the people who’ve visited the shop and wondered about the funny ‘Wings’ on the bow, these photos will explain it.
First up was building a flat base for the anchor roller, to mount over the deck edge and the curved bow wing.

Then we needed a place for the windlass. Because the anchor locker is shallow (about 16″), it requires a horizontal, not vertical, style windlass. The bow is pointy and the locker spans the full width with two big doors. So we decided to turn the port side door in to a windlass platform instead. Even with one side closed, there’s still plenty of room to stand securely down in the locker during anchor work.

Because this is experimental, we didn’t want to permanently seal that hatch door. So we beefed it up with two more layers of thick glass and made substantial aluminum backing plates that reach under the deck.
The bolting pattern ties the windlass, port hatch door, anchor roller and wing mast section all together. I think it will all be plenty strong for a 35lb anchor.

Notice in the last photo the blue cord holding the anchor – it passes over the windlass. That won’t work, so we’ll be moving the big bow cleat off center, to the left of the windlass and installing chocks to control the turn in the anchor rode when it’s not on the windlass.
The windlass is a Lewmar 1000 ProFish. It has sufficient pulling power for our gear, but experts would say go up to a larger one. This is a very solid nearly 30lb, 1000 watt unit; I just can’t see putting a 50-60lb windlass on this bow. ProFish means it has a free fall feature, so you don’t have to power the anchor down. It’s meant for fisherman who need a fast anchor deploy over a hot fishing hole.
And you can have a look at F39 Fram’s build where Henny has moved the whole thing back another 4-5 feet for better weight distribution (but I didn’t want to give up the closet space that requires).
Anchors aweigh – soon!


Hi Greg, You could rotate that chainplate so it aligns with the mast and eliminate the angular twist on the clevis pin/sides of the distributor. Looks like the chainplate is well thick enough at deck level to handle the minor sideways load and the distributor will then be free to rock when the lee shroud is slack and properly line up when the load is re-applied. You will also get a bigger area glue joint and a smoother form to laminate in. Cheers, Keith.
LikeLike
Keith, I’m not getting it… Right now the chainplate is fore/aft parallel to the mast and the distributor is free to rock athwart ships with the side to side loading of the mast. Are you saying the mast will be moving more fore and aft than side to side? Also if we turn the chainplate 90 degrees, parallel to the bulkhead, the current 1 5/8″ slot would have to grow to 4 1/4″, which takes a lot of that bulkhead away. I wouldn’t want to laminate it on one side only of the bulkhead. Further thoughts?
LikeLike