
… get blades like these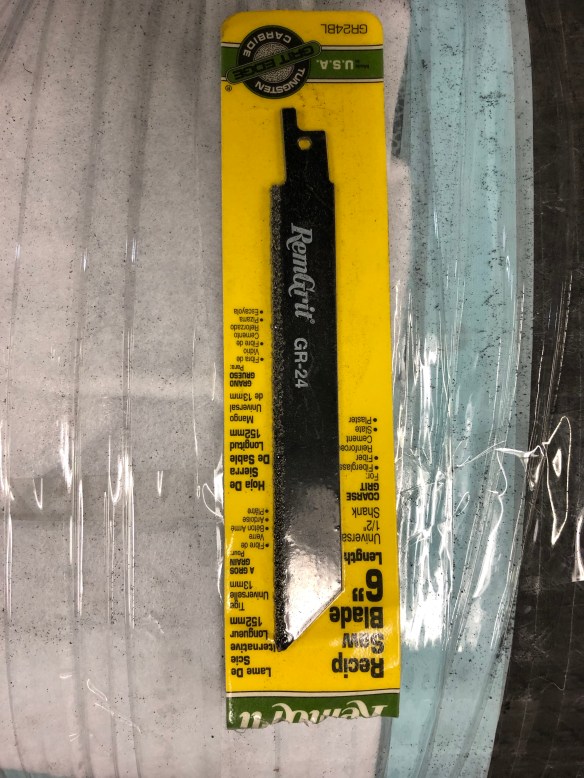
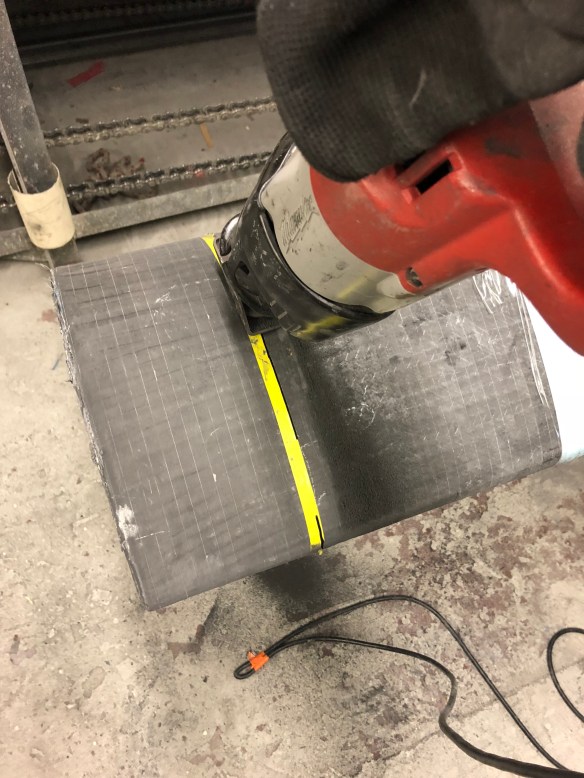

Yeah, the pros made me cut the end off the tube to officially create the “zero line” of the bottom of the mast. Some kind of right of passage thing. Back to the gooseneck:
Will showed us how he wants the braided carbon to lay down. 

 The pieces were wet out on the table, and because it’s thick, very high density braid, I literally mashed the epoxy in with my boot heels before laying it out over the mast.

These parts also got the super-tight peel ply, breather and tape method overnight.


 The boss inspected later in the day and was very happy with the lamination results. Gooseneck built – just needs fairing cleanup to go.
The various halyard interfaces all got their final fiberglass-over-carbon layers. There’s only one exterior reinforcement to go, the nose of the mast. 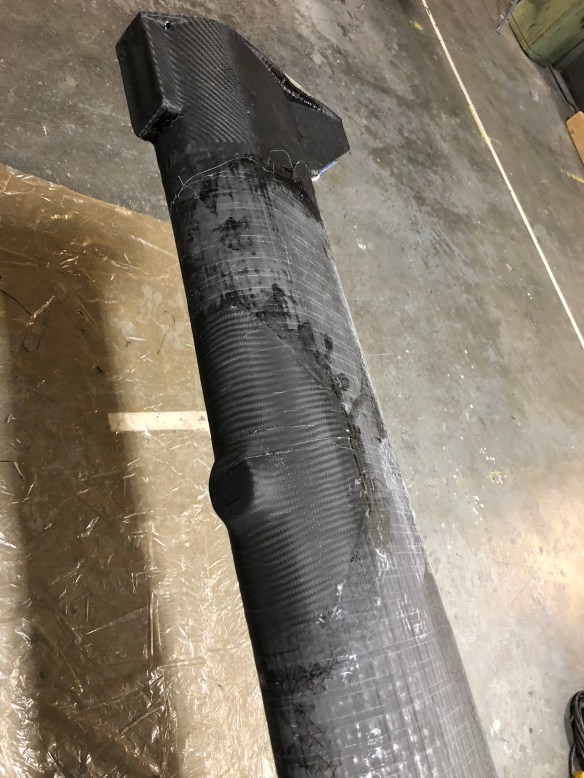 The nose plate (point where the standing rigging attaches) is made of three pieces of G10, bonded and screwed together before being bonded and screwed into the mast tube.


In that middle photo above, note the buried threaded rod in four spots on the side – that along with epoxy glue is holding the three elements together. This part had to cure overnight before it could get final shaped and dry fitted into the mast today. Approaching the mast, it started with an hour of careful measuring up from the plans. 

 this old sanding belt lined up edge to edge helps us translate specific height-on-mast points around the full spar. The fabric curve in that photo is an externally applied reinforcement of carbon braid for the jib halyard exit area (we add back around the slot), and it is fanned out like the you saw in the gooseneck.
 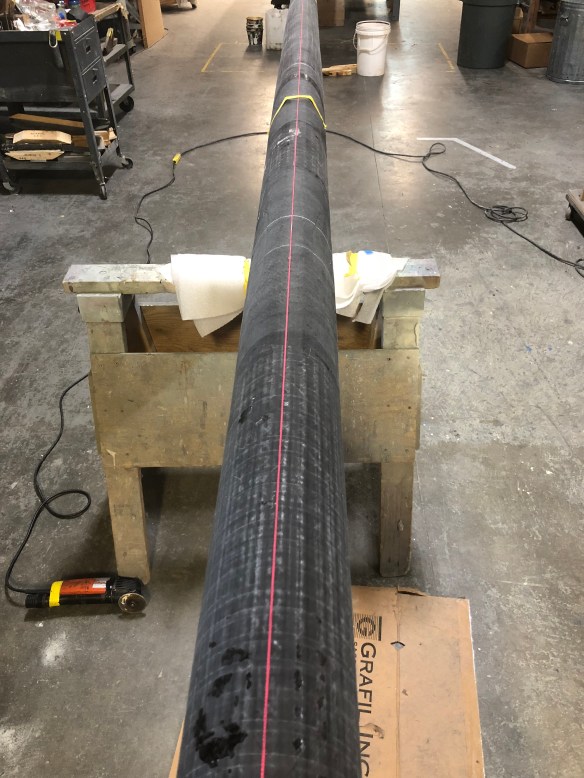 The slot was cut and cleaned with a drill, sawzall, router and small disk sander. The electrician’s fish tape was sent down from the new hole, and the part drawn up on a string.


The screw holes were accomplished by hard-lashing the part up against the inside of the front mast wall. I drilled and tapped right there in position. 

That took until 8pm, so Saturday morn the nose part will see daylight one more time, being pulled back out the bottom, buttered up with epoxy glue, and drawn back into final position. So here’s the jib control layout: the forestay gets attached to this new hound. Looking down the mast, you see the jib turning block pad eye next. And below that we routed out the jib halyard escape from the mast tube. The jib halyard sees zero internal mast hardware to chafe against. Pretty slick.
All composite parts have been fabricated. Just the bottom structure and the spreaders remain for composites installation. We also got started with New England Rigging today for the diamond wires. The owner says he can have all the parts ready next week. On we go.

Very nice job on both the work and the record Greg, Thanks for sharing.
I guess you have the advantage of being totally familiar with the spar’s construction while also benefitting the professional quality that even a highly talented amateur would be unable to achieve.
wonderful combination.
LikeLike