

Clearly I don’t get the concept of glamorous self-taken phone photos in picturesque locales. BUT, this is actually a very relieved boat builder. This goes back a few months to our first experience with the very good but rather volatile high end marine topsides primer paint. One night I geared up to hit the shower and toilet compartments with the Interlux Primecoat 2 part system. I wore the full face respirator, but neglected any fans to force air out of the space. After about 15 minutes the respirator was overwhelmed, resulting in attacked eyes and lungs. I basically dropped everything, and threw the paint/roller/brush in the trash as I ran out of the shop seriously spooked about painting this boat.
So we’ve pretty much been skulking about re: paint fumes, but yesterday sucked it up and dove in to researching solutions. Holy cow, did you know decent industrial volatiles protection hoods are a thousand bucks!!?? So instead we went half Apollo 13, half McGyver rerun and came up with this:
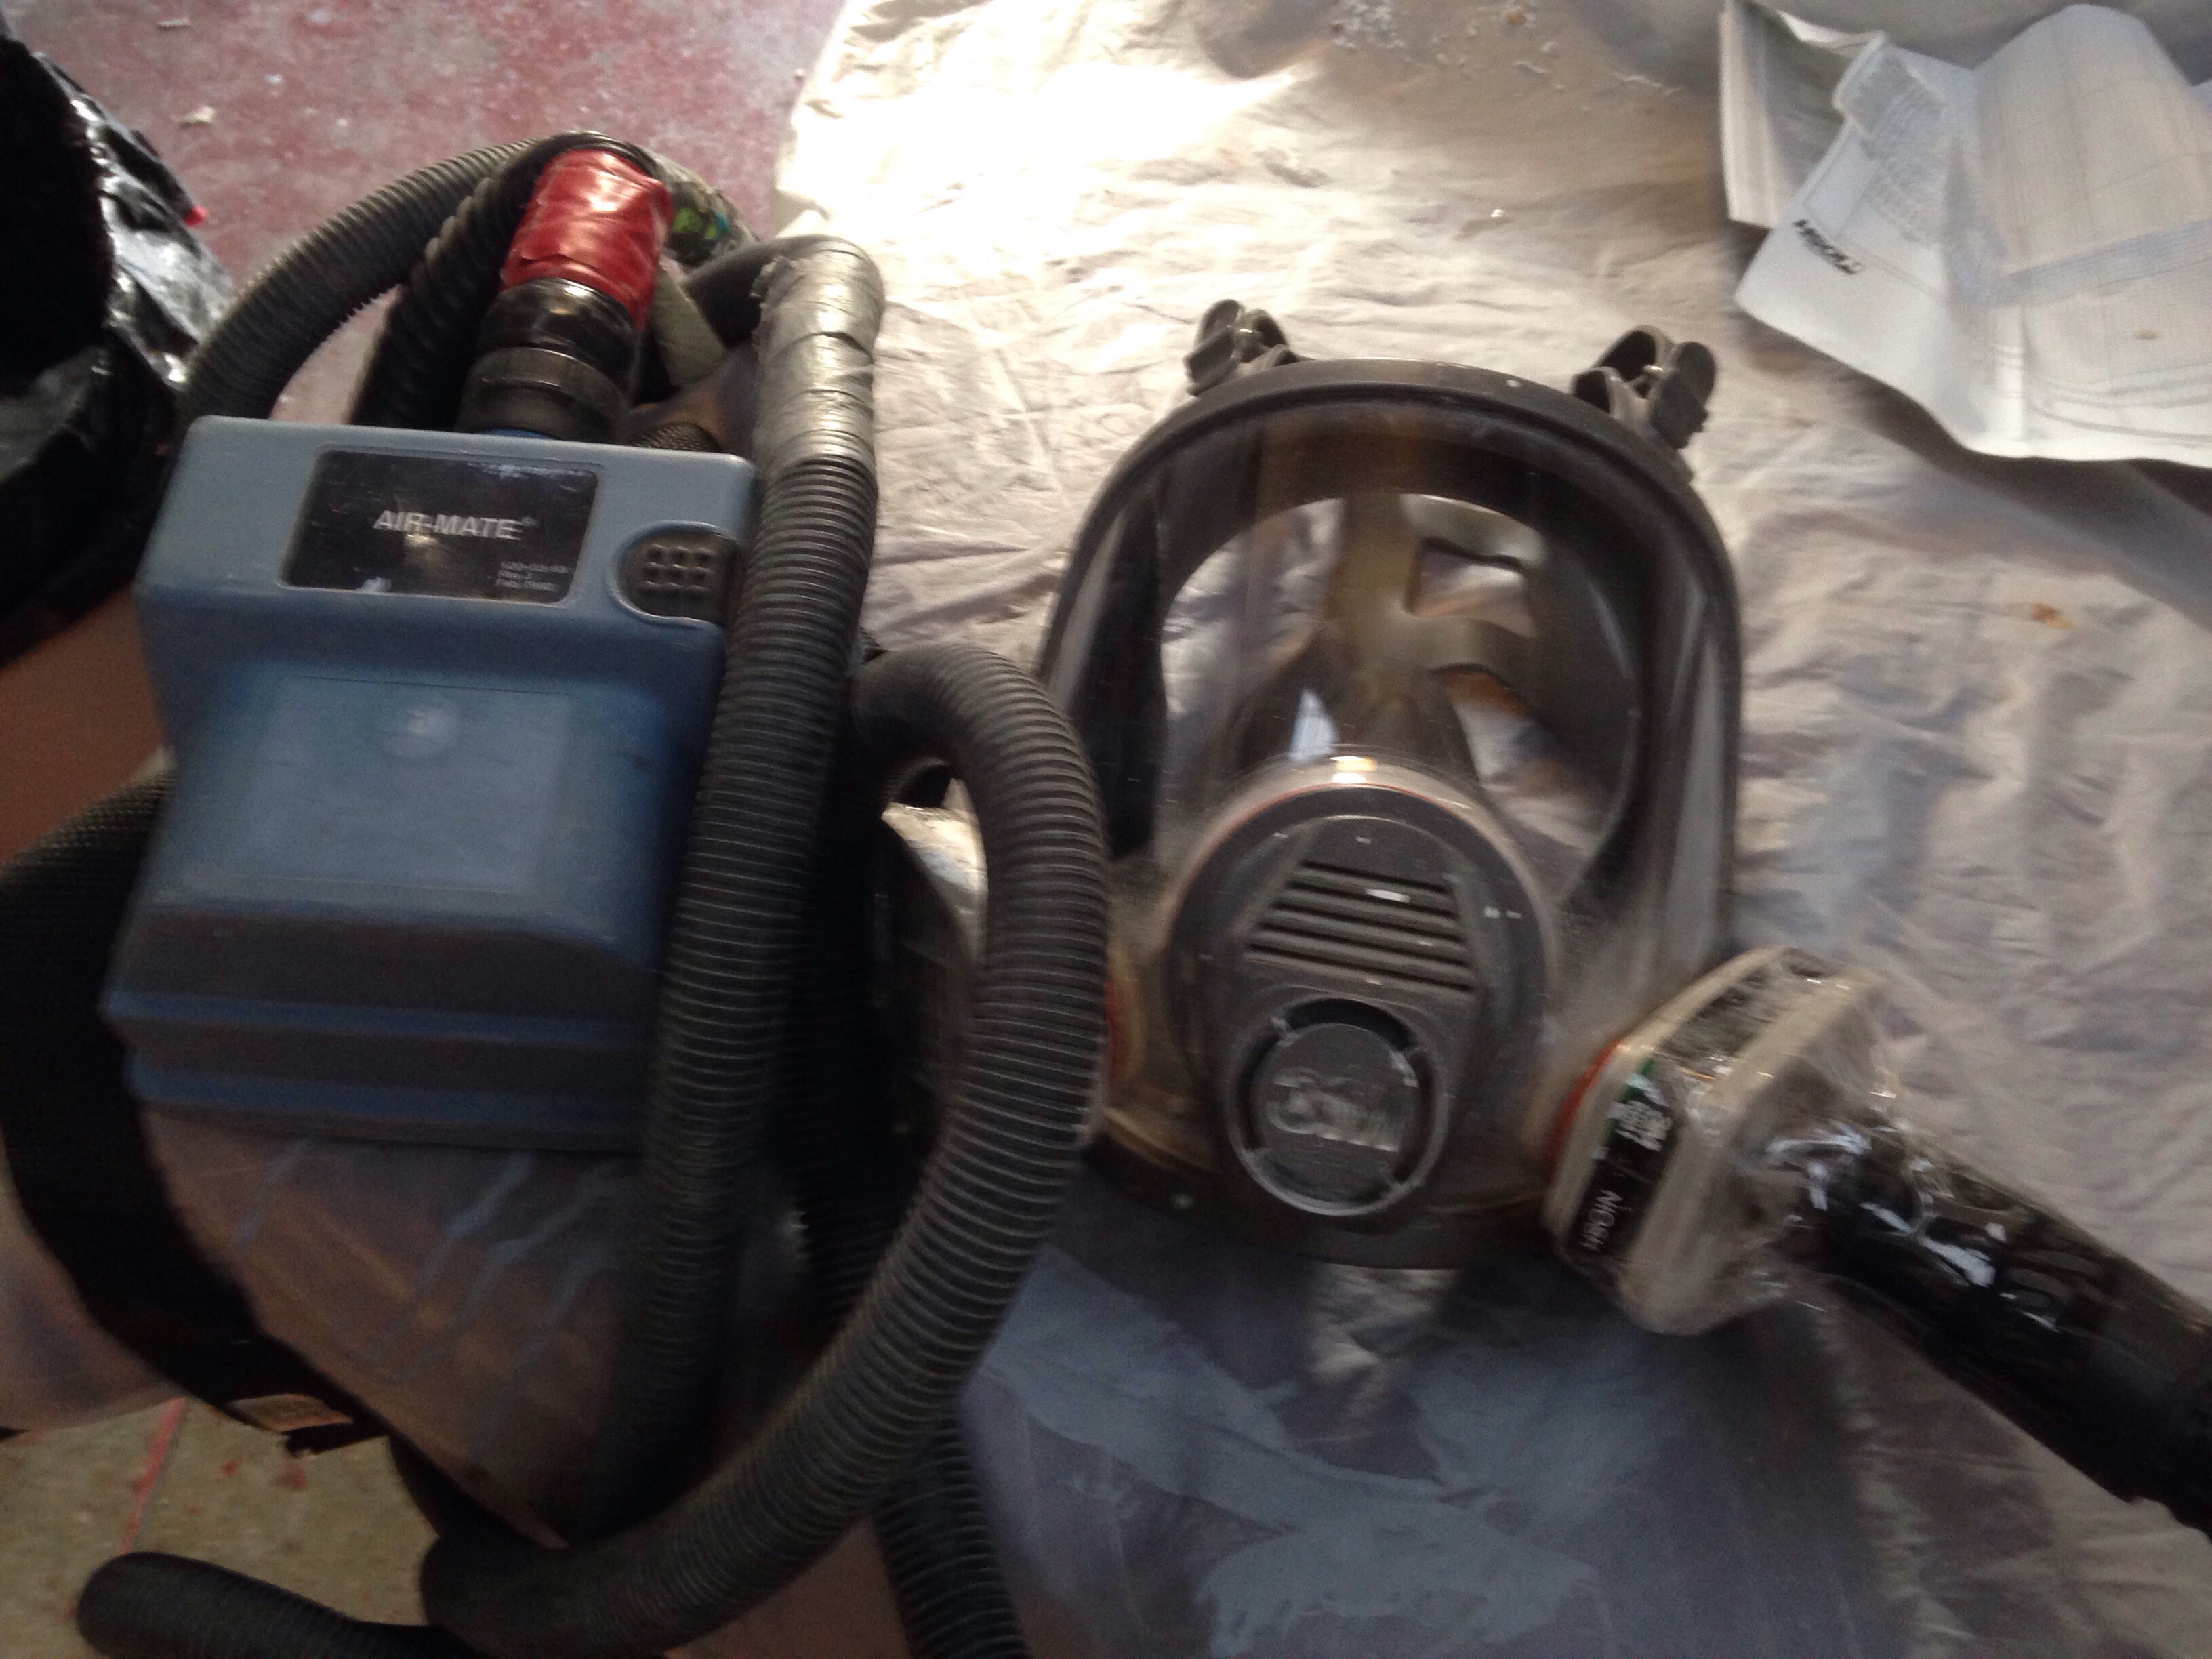
Yep, that’s the good full face respirator with one filter taped completely shut and the other taped off except for the receipt of a long vacuum cleaner hose. The other end of that hose is the output from our oldie-but-goodie 3M belt pack NiCad battery-driven forced air filter. So instead of taking the positive flow filter in to the paint environment the jury rig hose keeps it out in the fresh air, feeding the face mask.
Tonight with all the simplified plumbing cabinet and bulkhead revisions finished, the toilet space was prepped along with the abandoned shower, the goofball selfie was taken, and we dove in again with the nasty paint. The work took about 30 mins, the mask performed well – no eye discomfort and negligible smelling of fumes. Certainly no dizzying or worrying amounts of volatiles coming on board! That was a big relief and we’re once again seeing the path to paint completion.
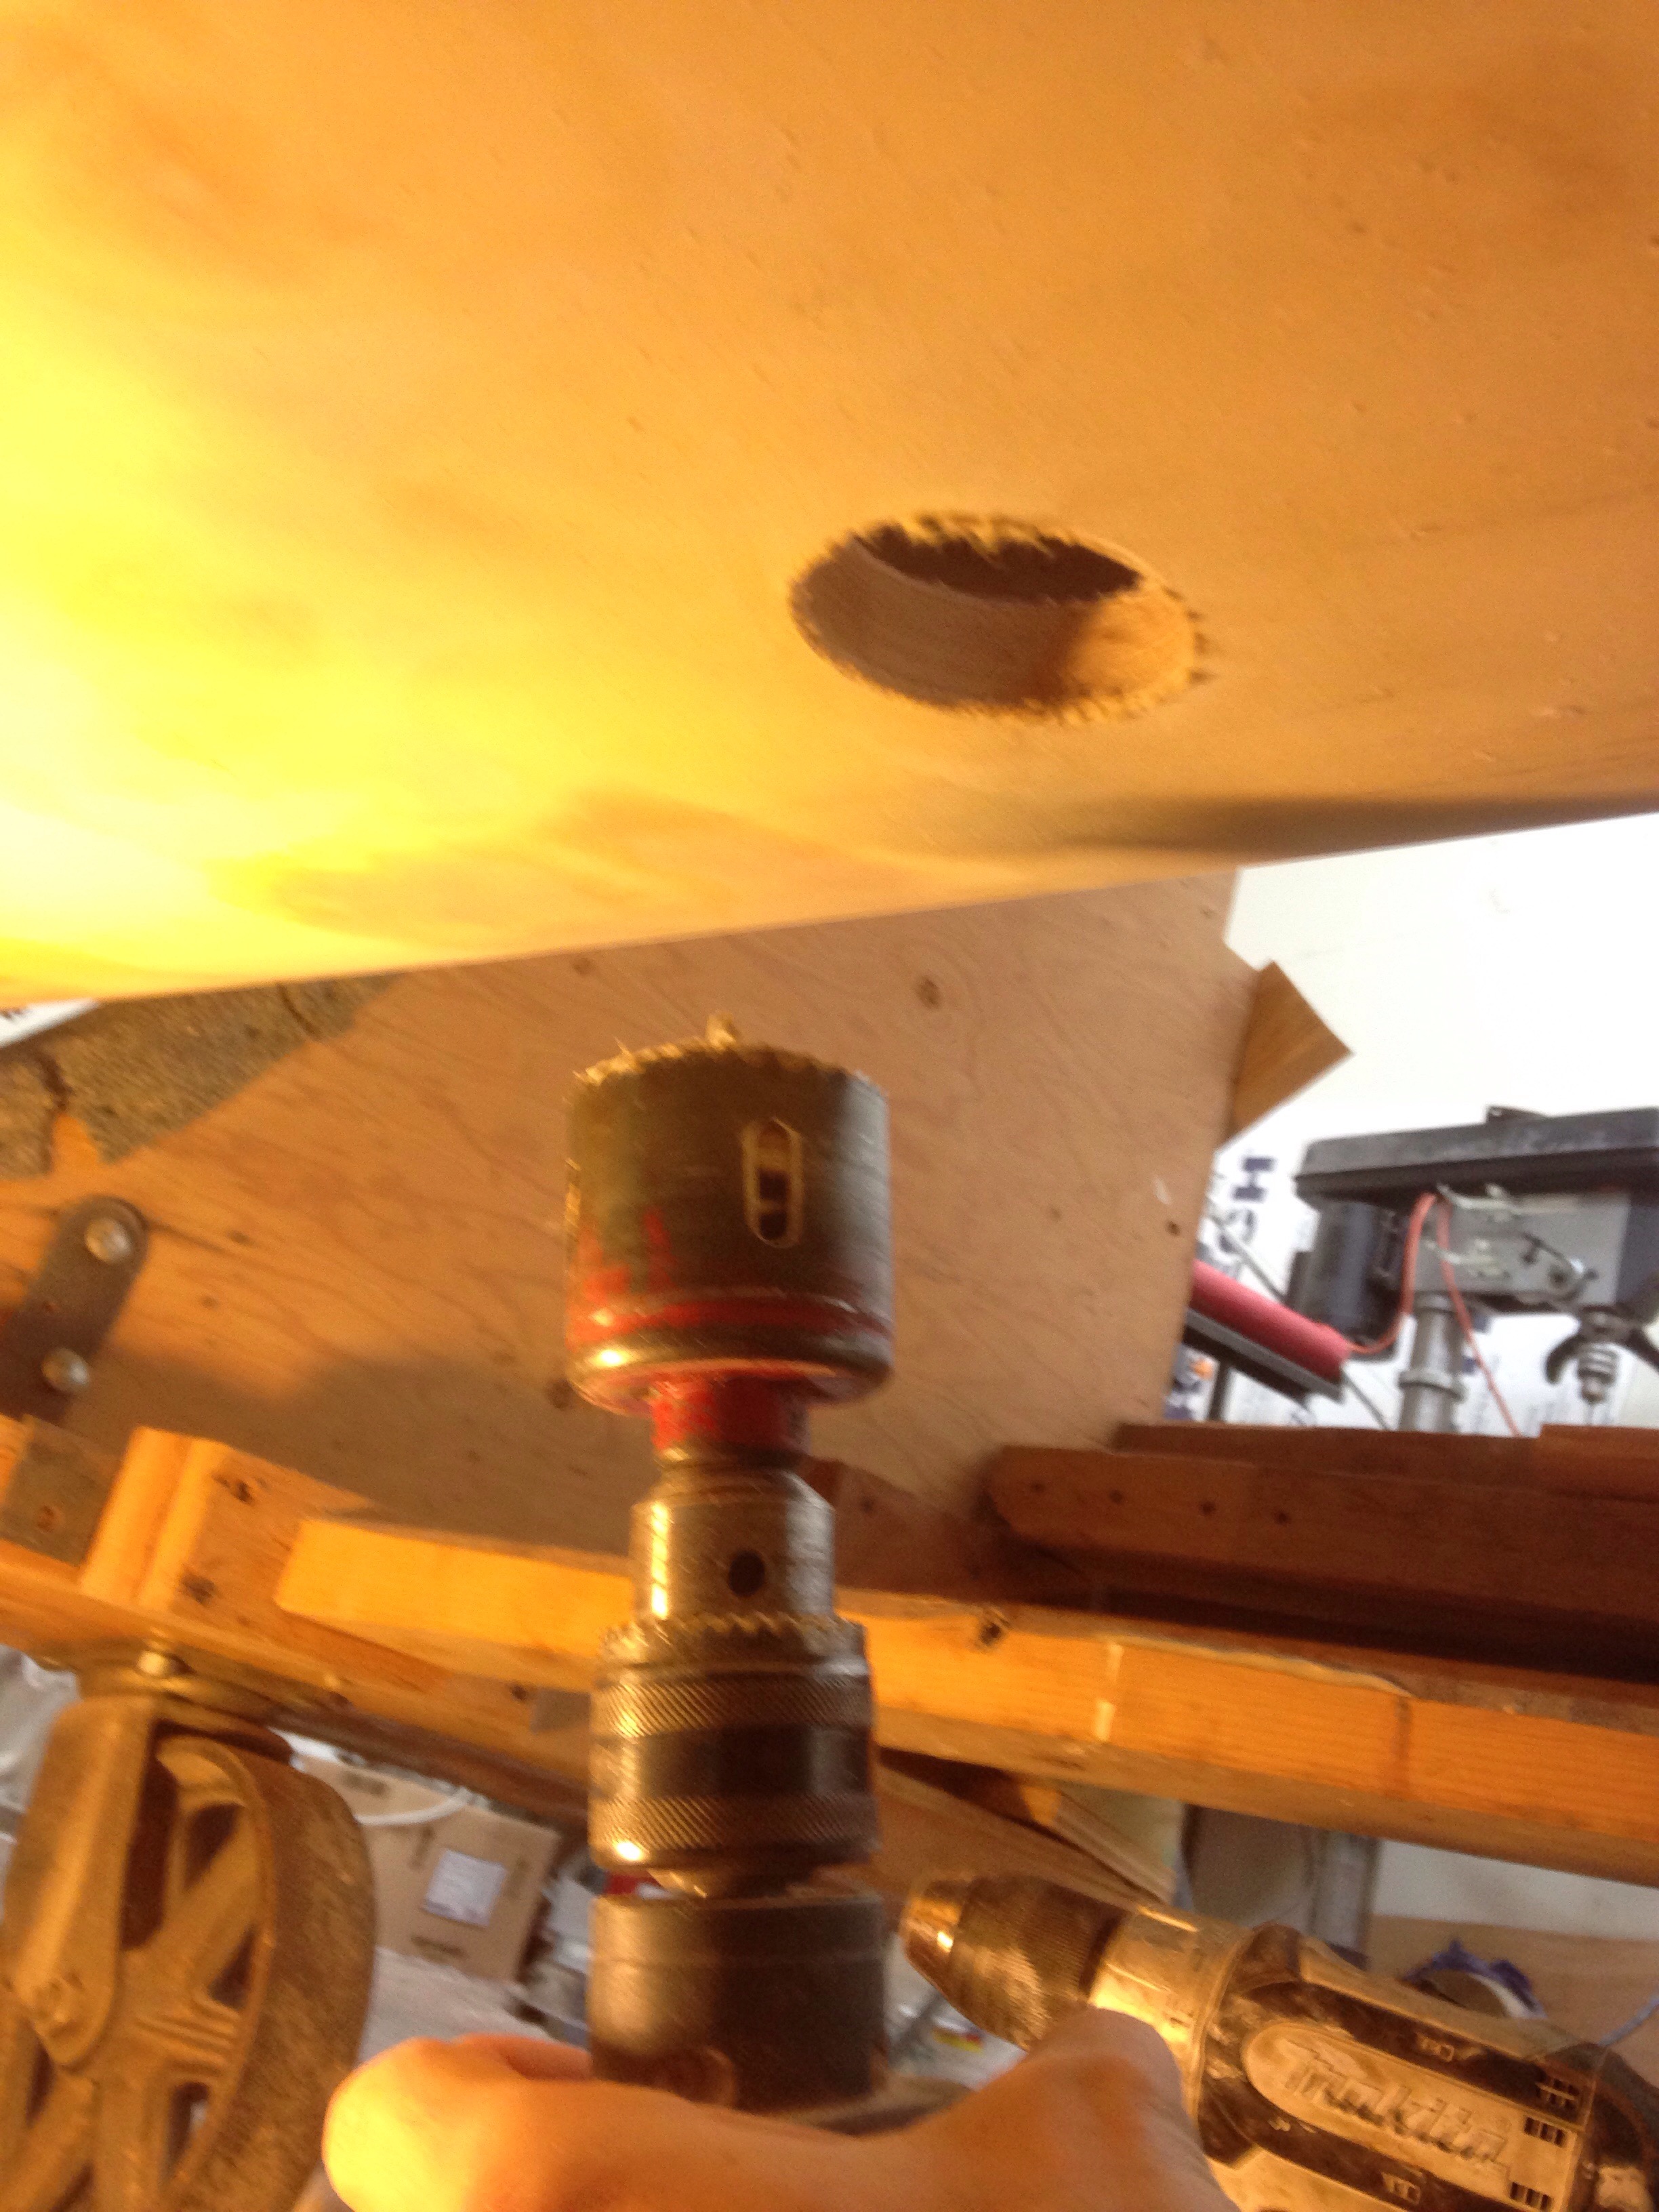
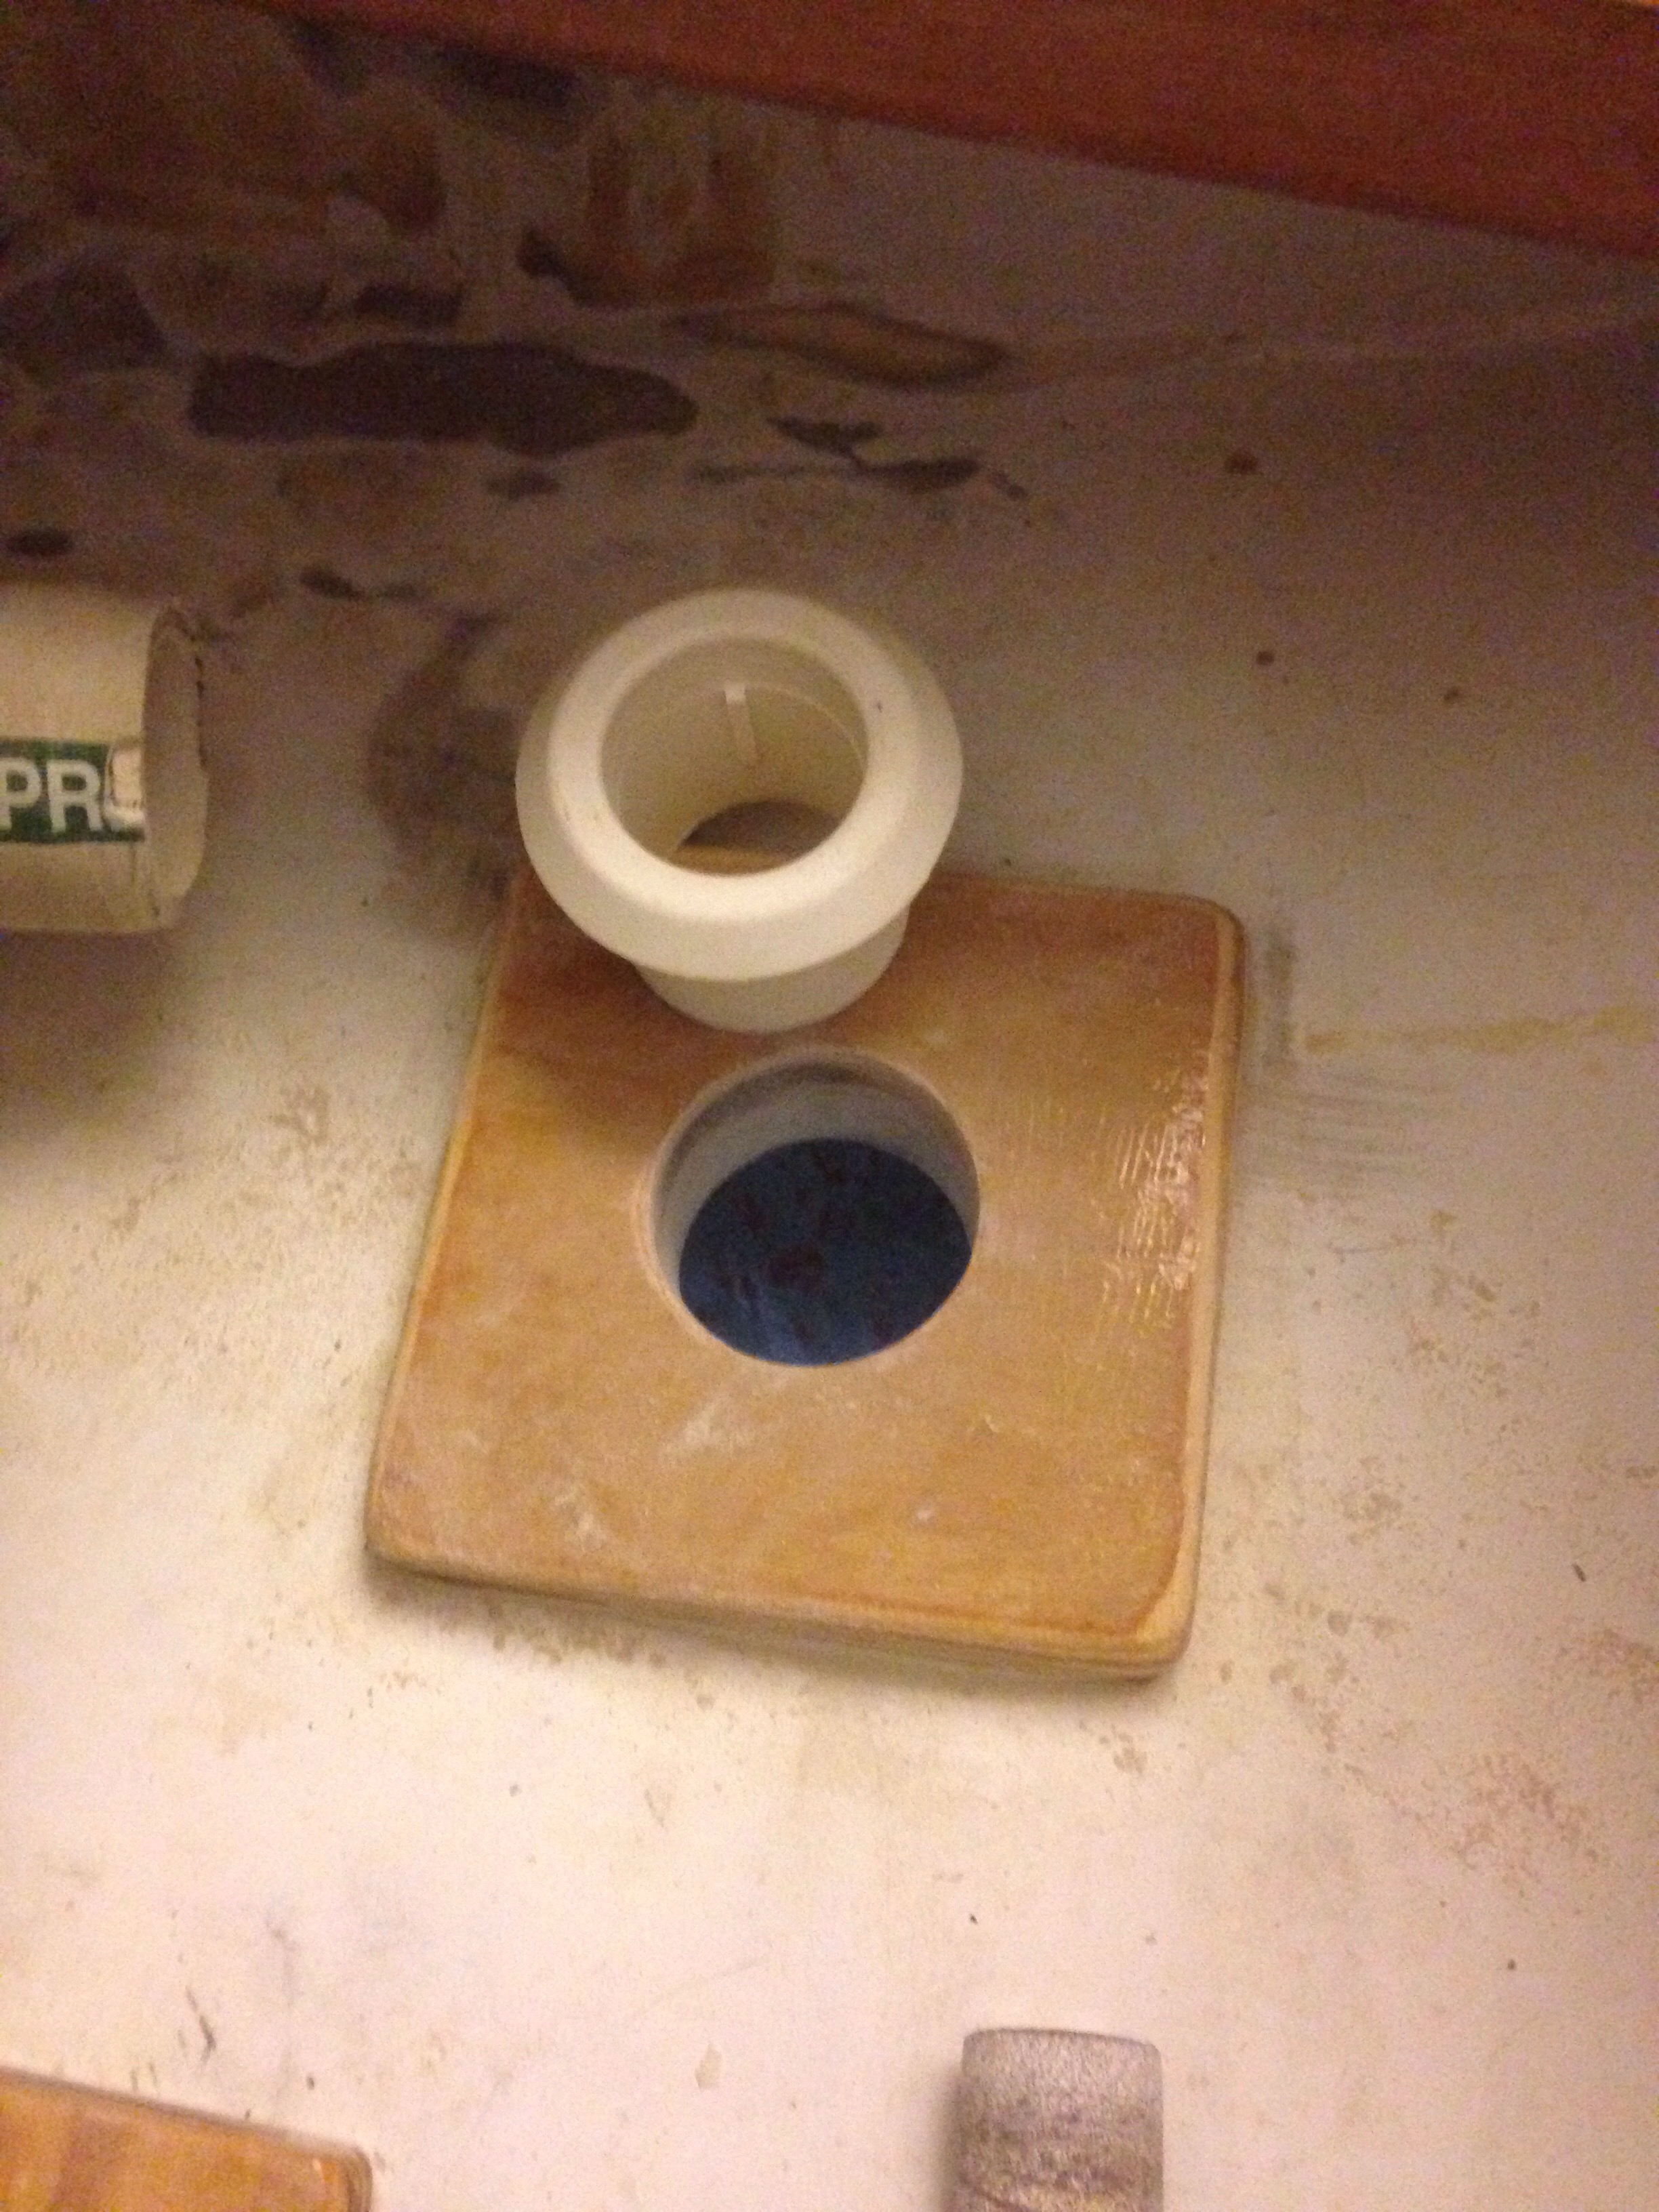
Speaking of plumbing, this week has been finishing those 3 below-waterline through hulls, plus another big one about a foot above the line for the galley drain. Here’s the process for the toilet tank drain. Measure, stare, worry a bit, measure a few more times, then get the hole saw spinning.
Next was very careful Dremel work to dig out the cedar core about 5/8″ back from the hole edge, but not disturb the outer or inner hull skins. (The Dremel is skilled in throwing little shards of boat hull in one’s eyes and nose.)

Then fill all that rebated space with solid epoxy/cabosil putty, and after it cured, sand it back flush.
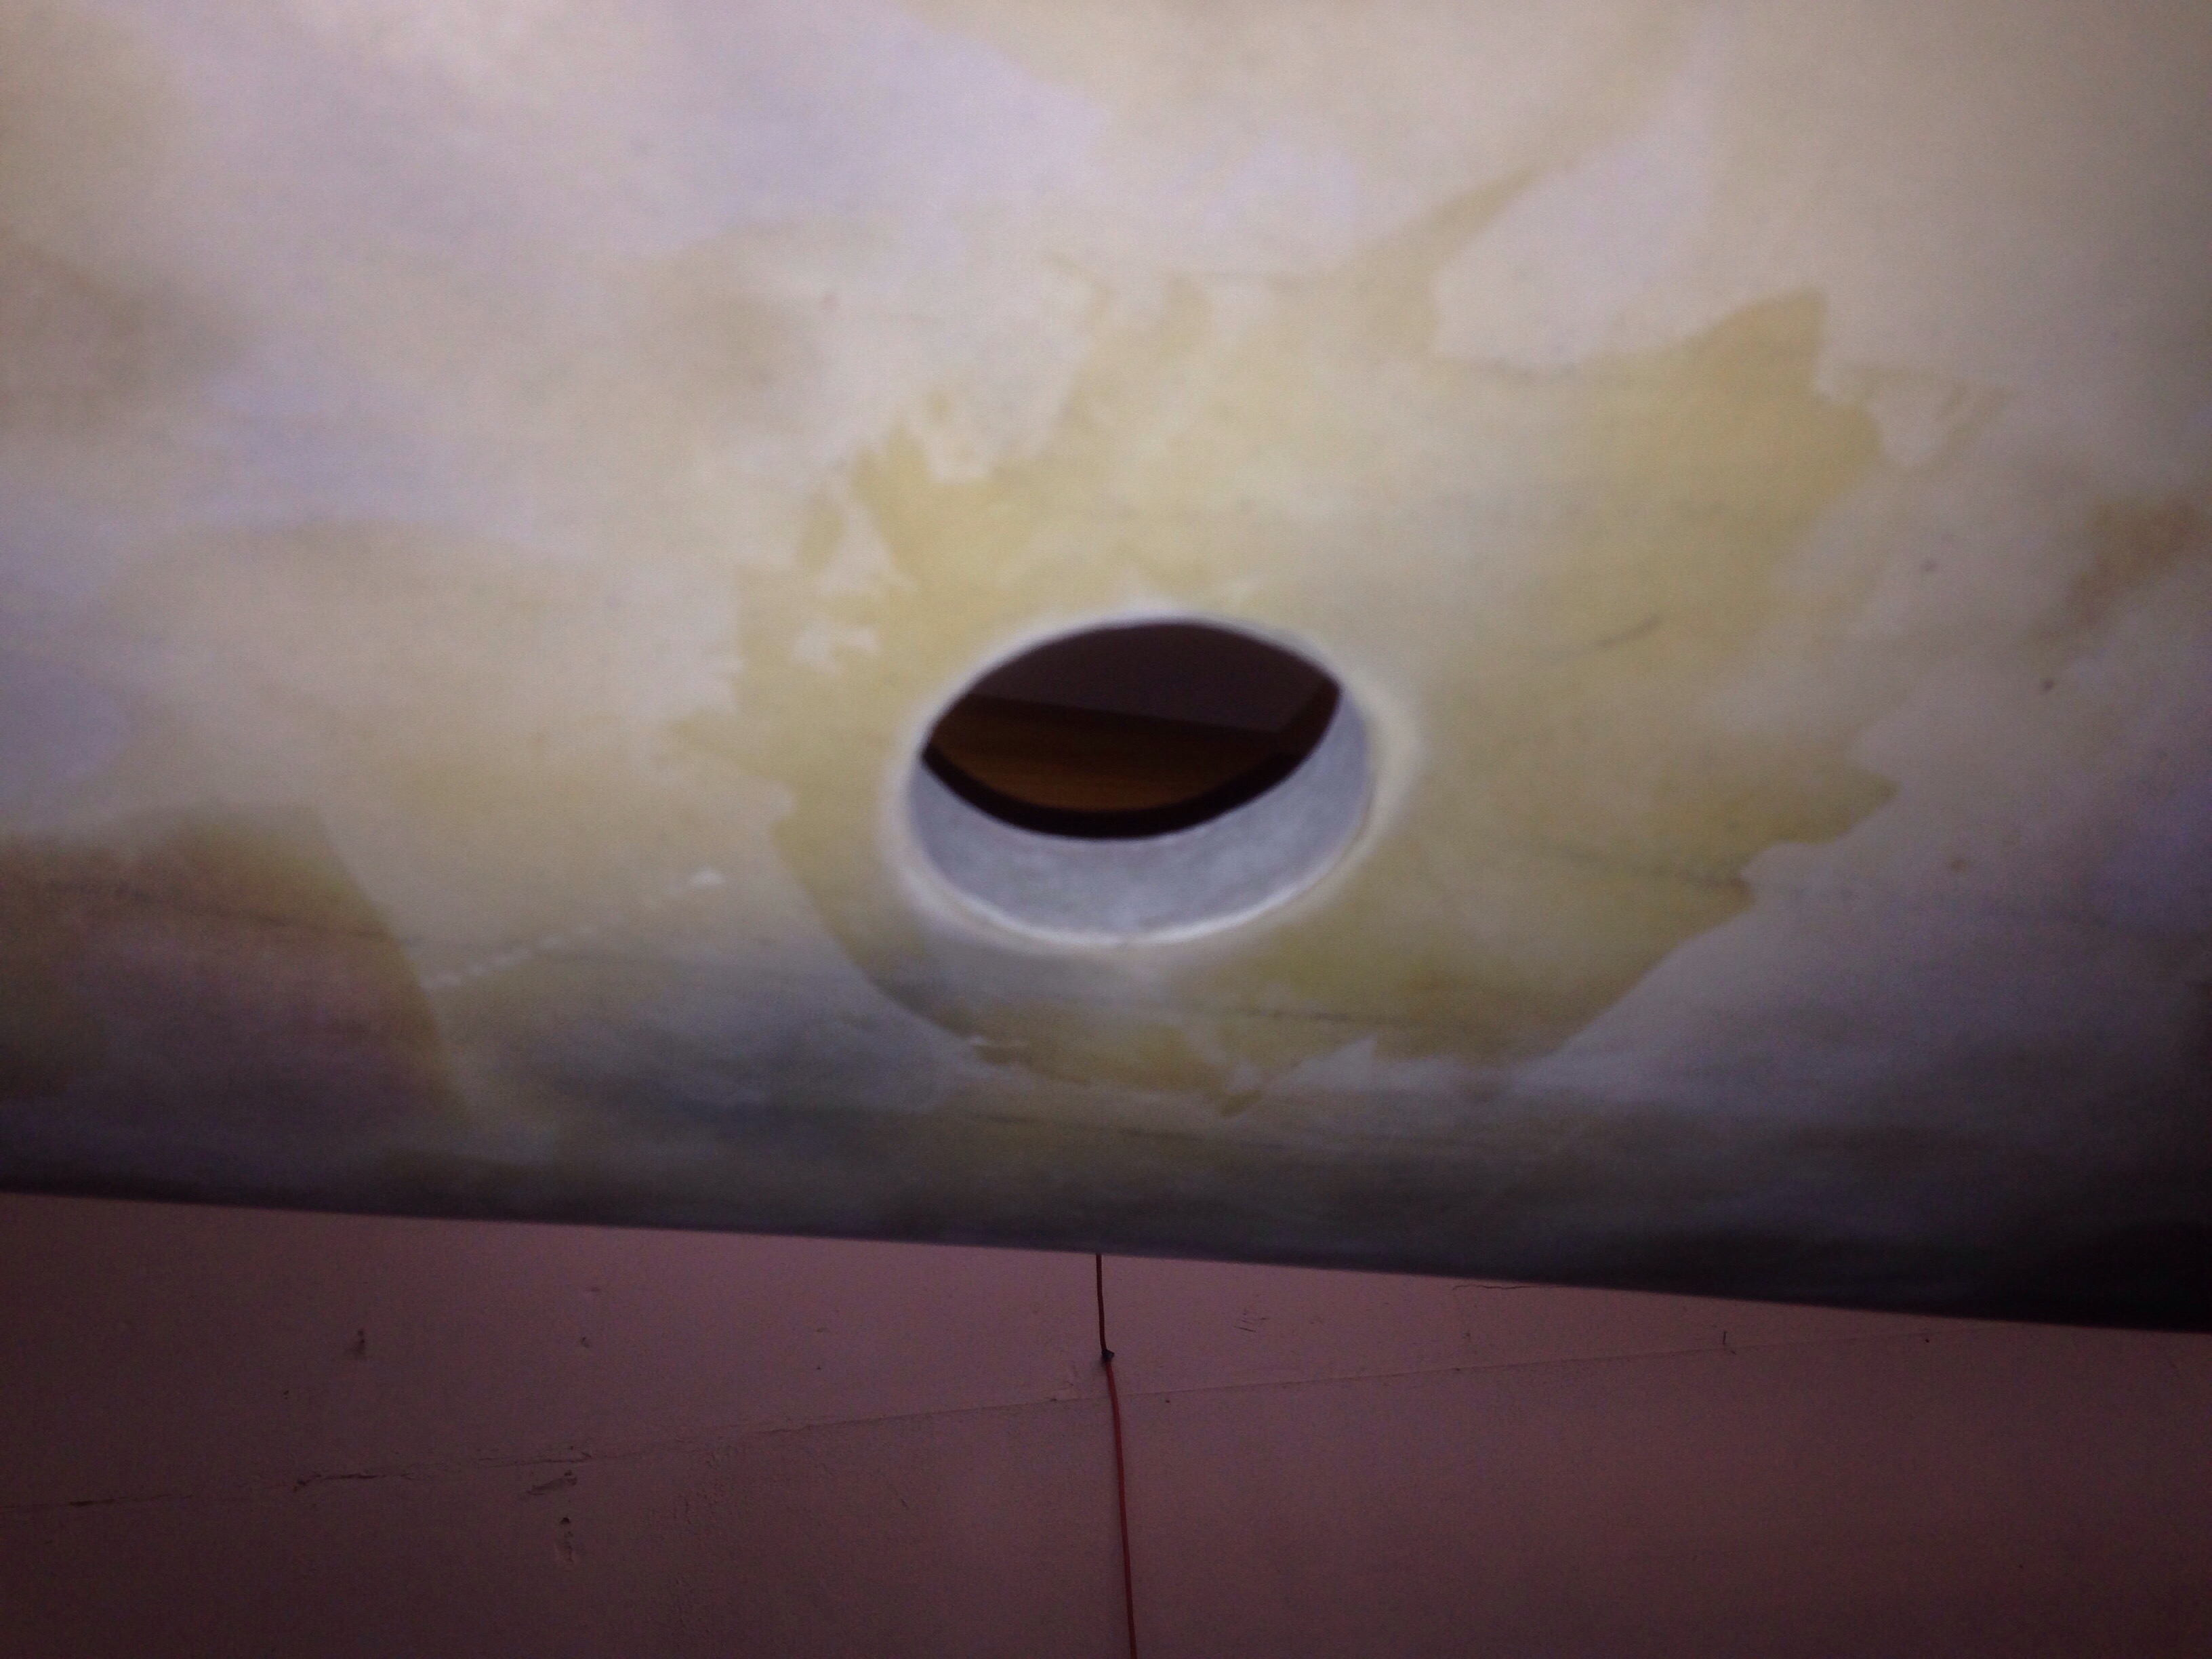
During curing steps we had been making epoxy-coated plywood backing plates for the seacocks. They finished up as the holes were done. I understand these backers can be loose and mounted with the same sealant as the thru-hull fitting, but we opted for permanently bonding them to the hull and one more shot of putty to smoothly line the thru-hull passage as one watertight unified ‘tunnel’. These two are the toilet tank drain and depth sounder that’ll be close neighbors.

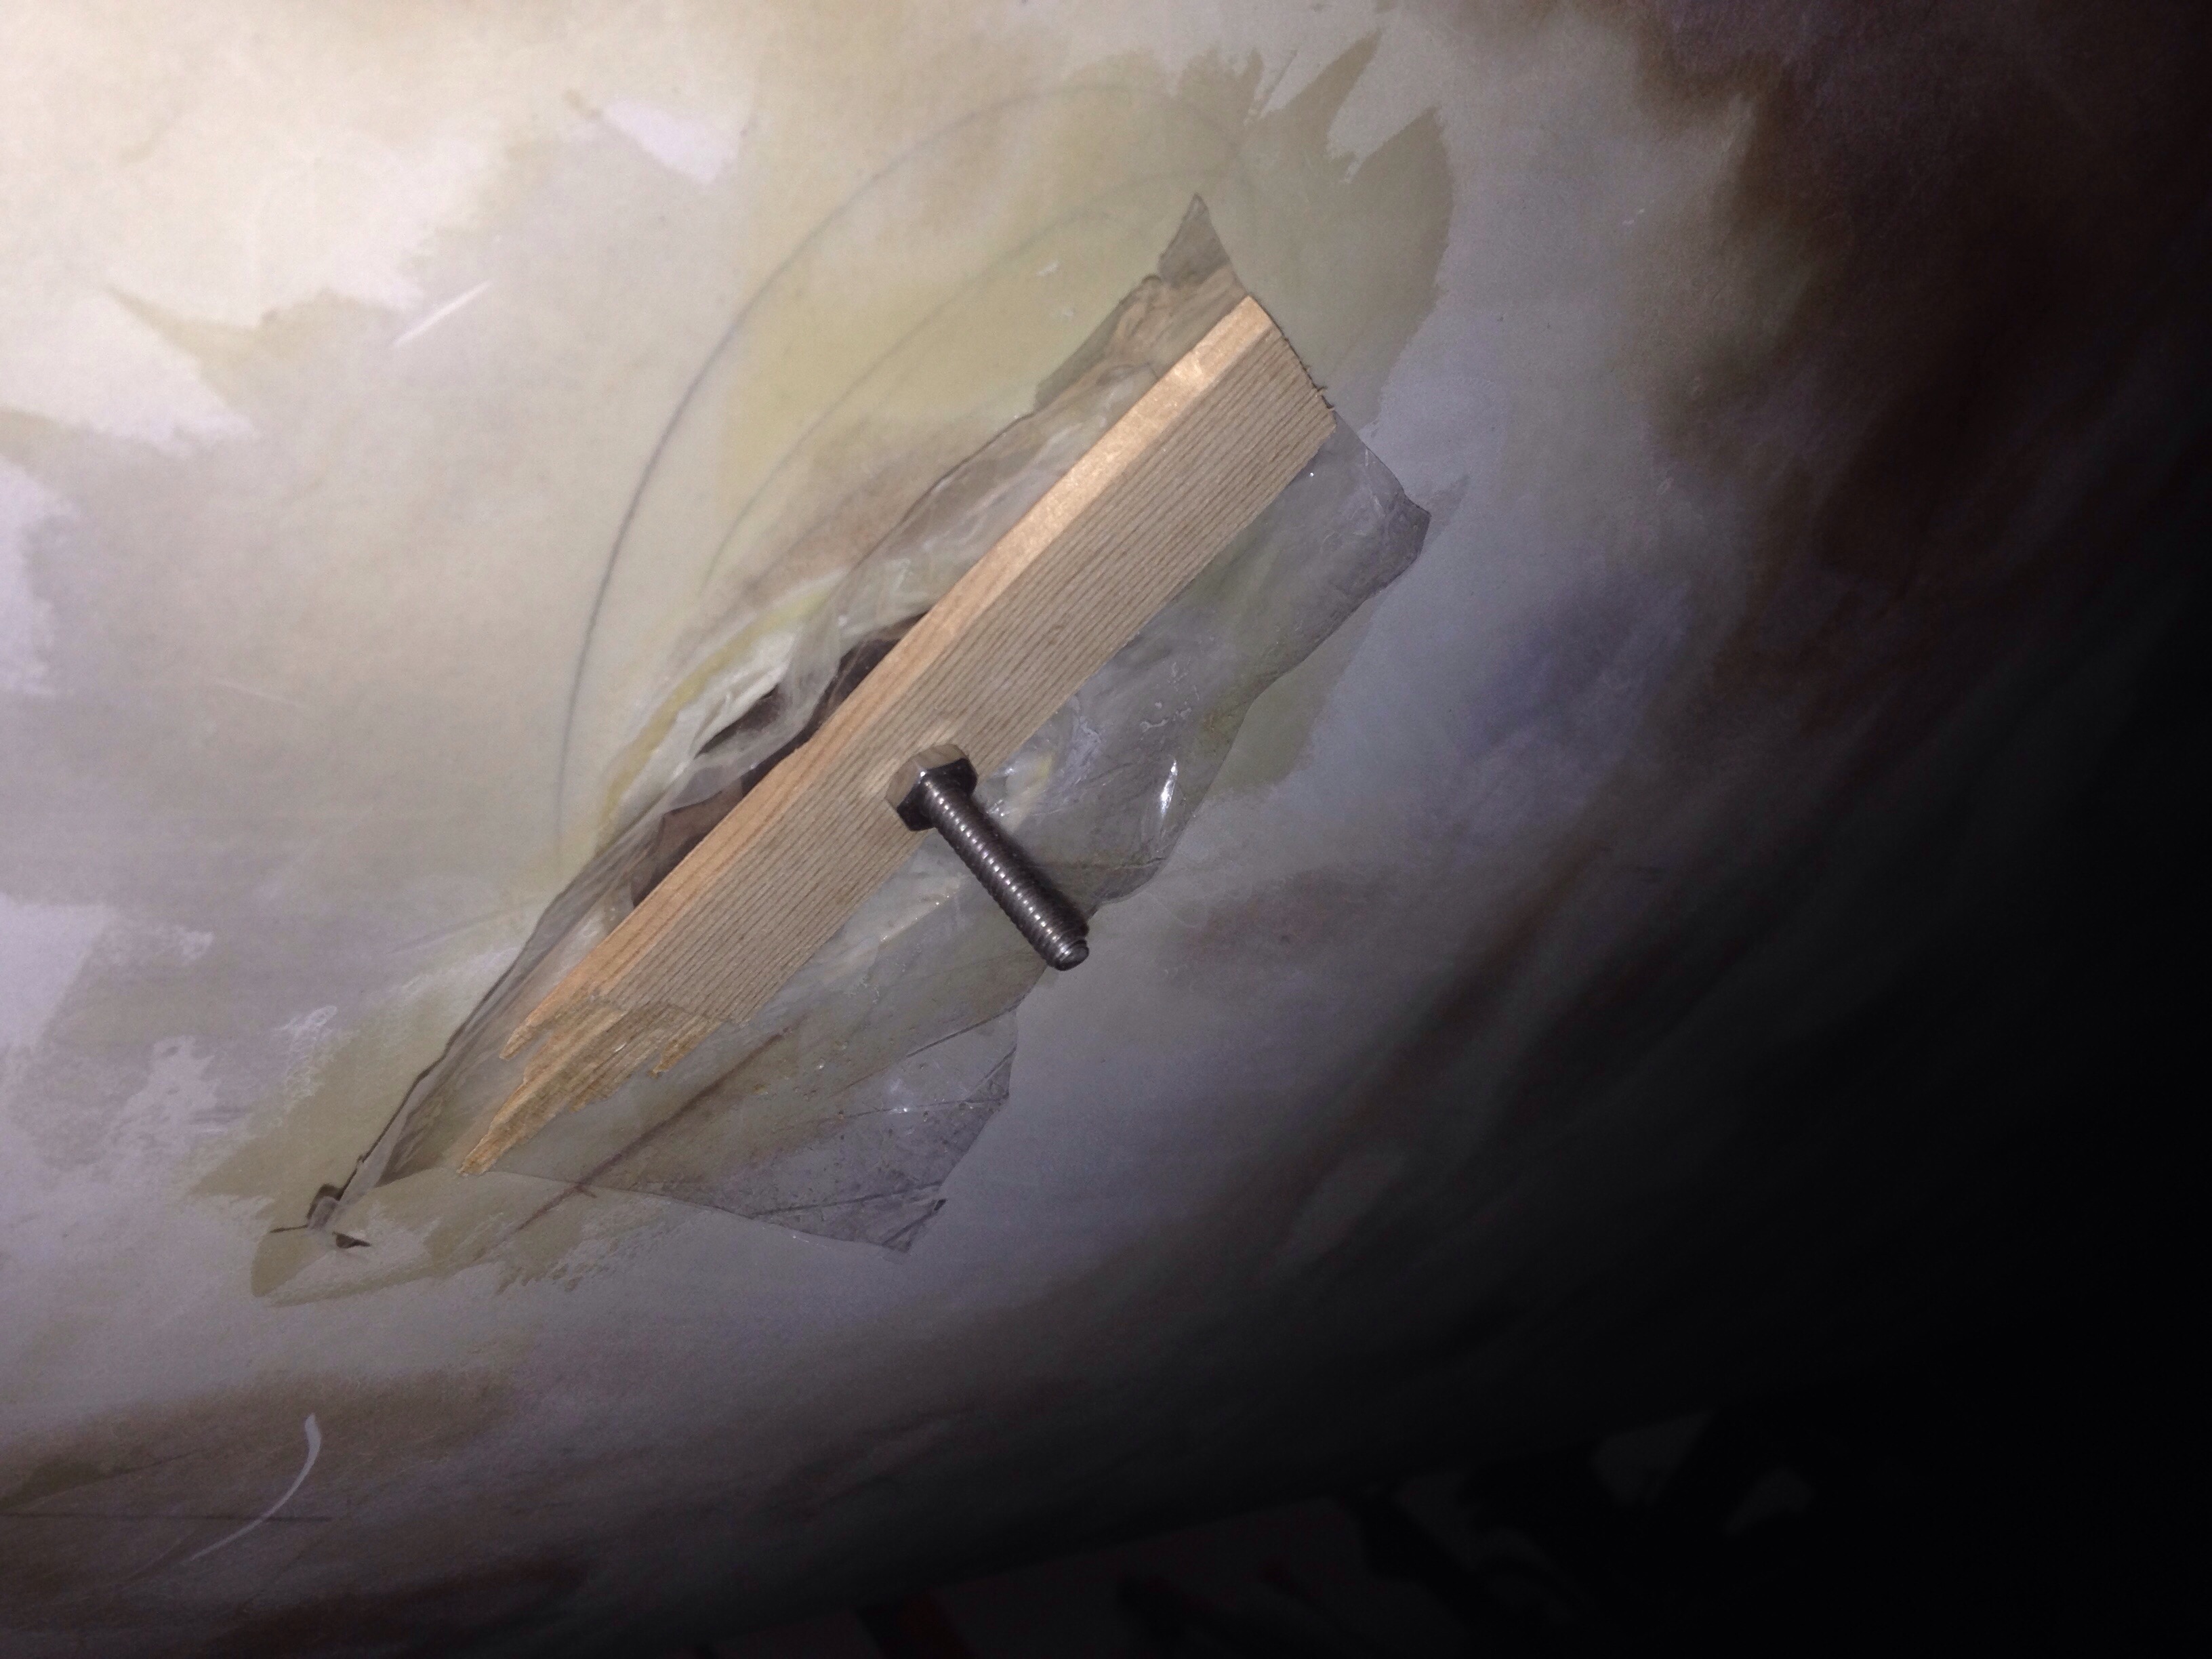
That’s a little bolt & block setup to clamp the backer in to the bonding glue.
All four came out just as planned, and now await paint. We’ll show them off again when their fancy Forespar valves are installed. About six layers of primer and bottom paint from now!
PS – is anybody wondering about that red fairing putty in the first photo tonight? Um, yea, those are the finished, painted main cabin surfaces getting just a bit more touch up once all the new lighting went in and I could see little nits that would drive me nuts once the boat is launched. Figured it was worth the piece of mind and a couple of hours to clean it up now…

Good idea on the forced air respirator, I was thinking I could do the same thing with the (to be purchased) turbine HVLP sprayer in my Amazon shopping list. :-)
LikeLike
Oh man, I’d hate to see YOUR Amazon list! “Tooling up” has taken a bigger chunk of the boat savings account than I ever expected. I wonder if I’ll have to build another one to amortize the equipment …
On the respirator, plan for the balance of inbound and exhale air inside the mask. I’m getting away with this hack thing by luck because the output of the old Racal/3M is low enough that the exhale breath overpowers the constant inflow to properly vent the mask at each breath. It wouldn’t work if there was more inbound air. So just tackle that maybe with some kind of restrictor if necessary.
LikeLike
Very scarry
LikeLike
Is it allowed to dump plumbing below waterline? Or do you have to contain it in a tank/ hold???
LikeLike
There’s a tank. on the site, click on the Plumbing category (right bar) and go back a year or so to the tank build posts. Pretty funny (to me anyway). No, you can’t dump in the water until you’re at least 3 miles offshore.
LikeLike