
Part of the ‘keeping it simple’ plan is to skip power-hungry appliances and a big inverter to go from the boat batteries to 110volt household circuits. So we’ve kept shore power completely separate from the 12volt system, including its own mini panel in the equipment room.
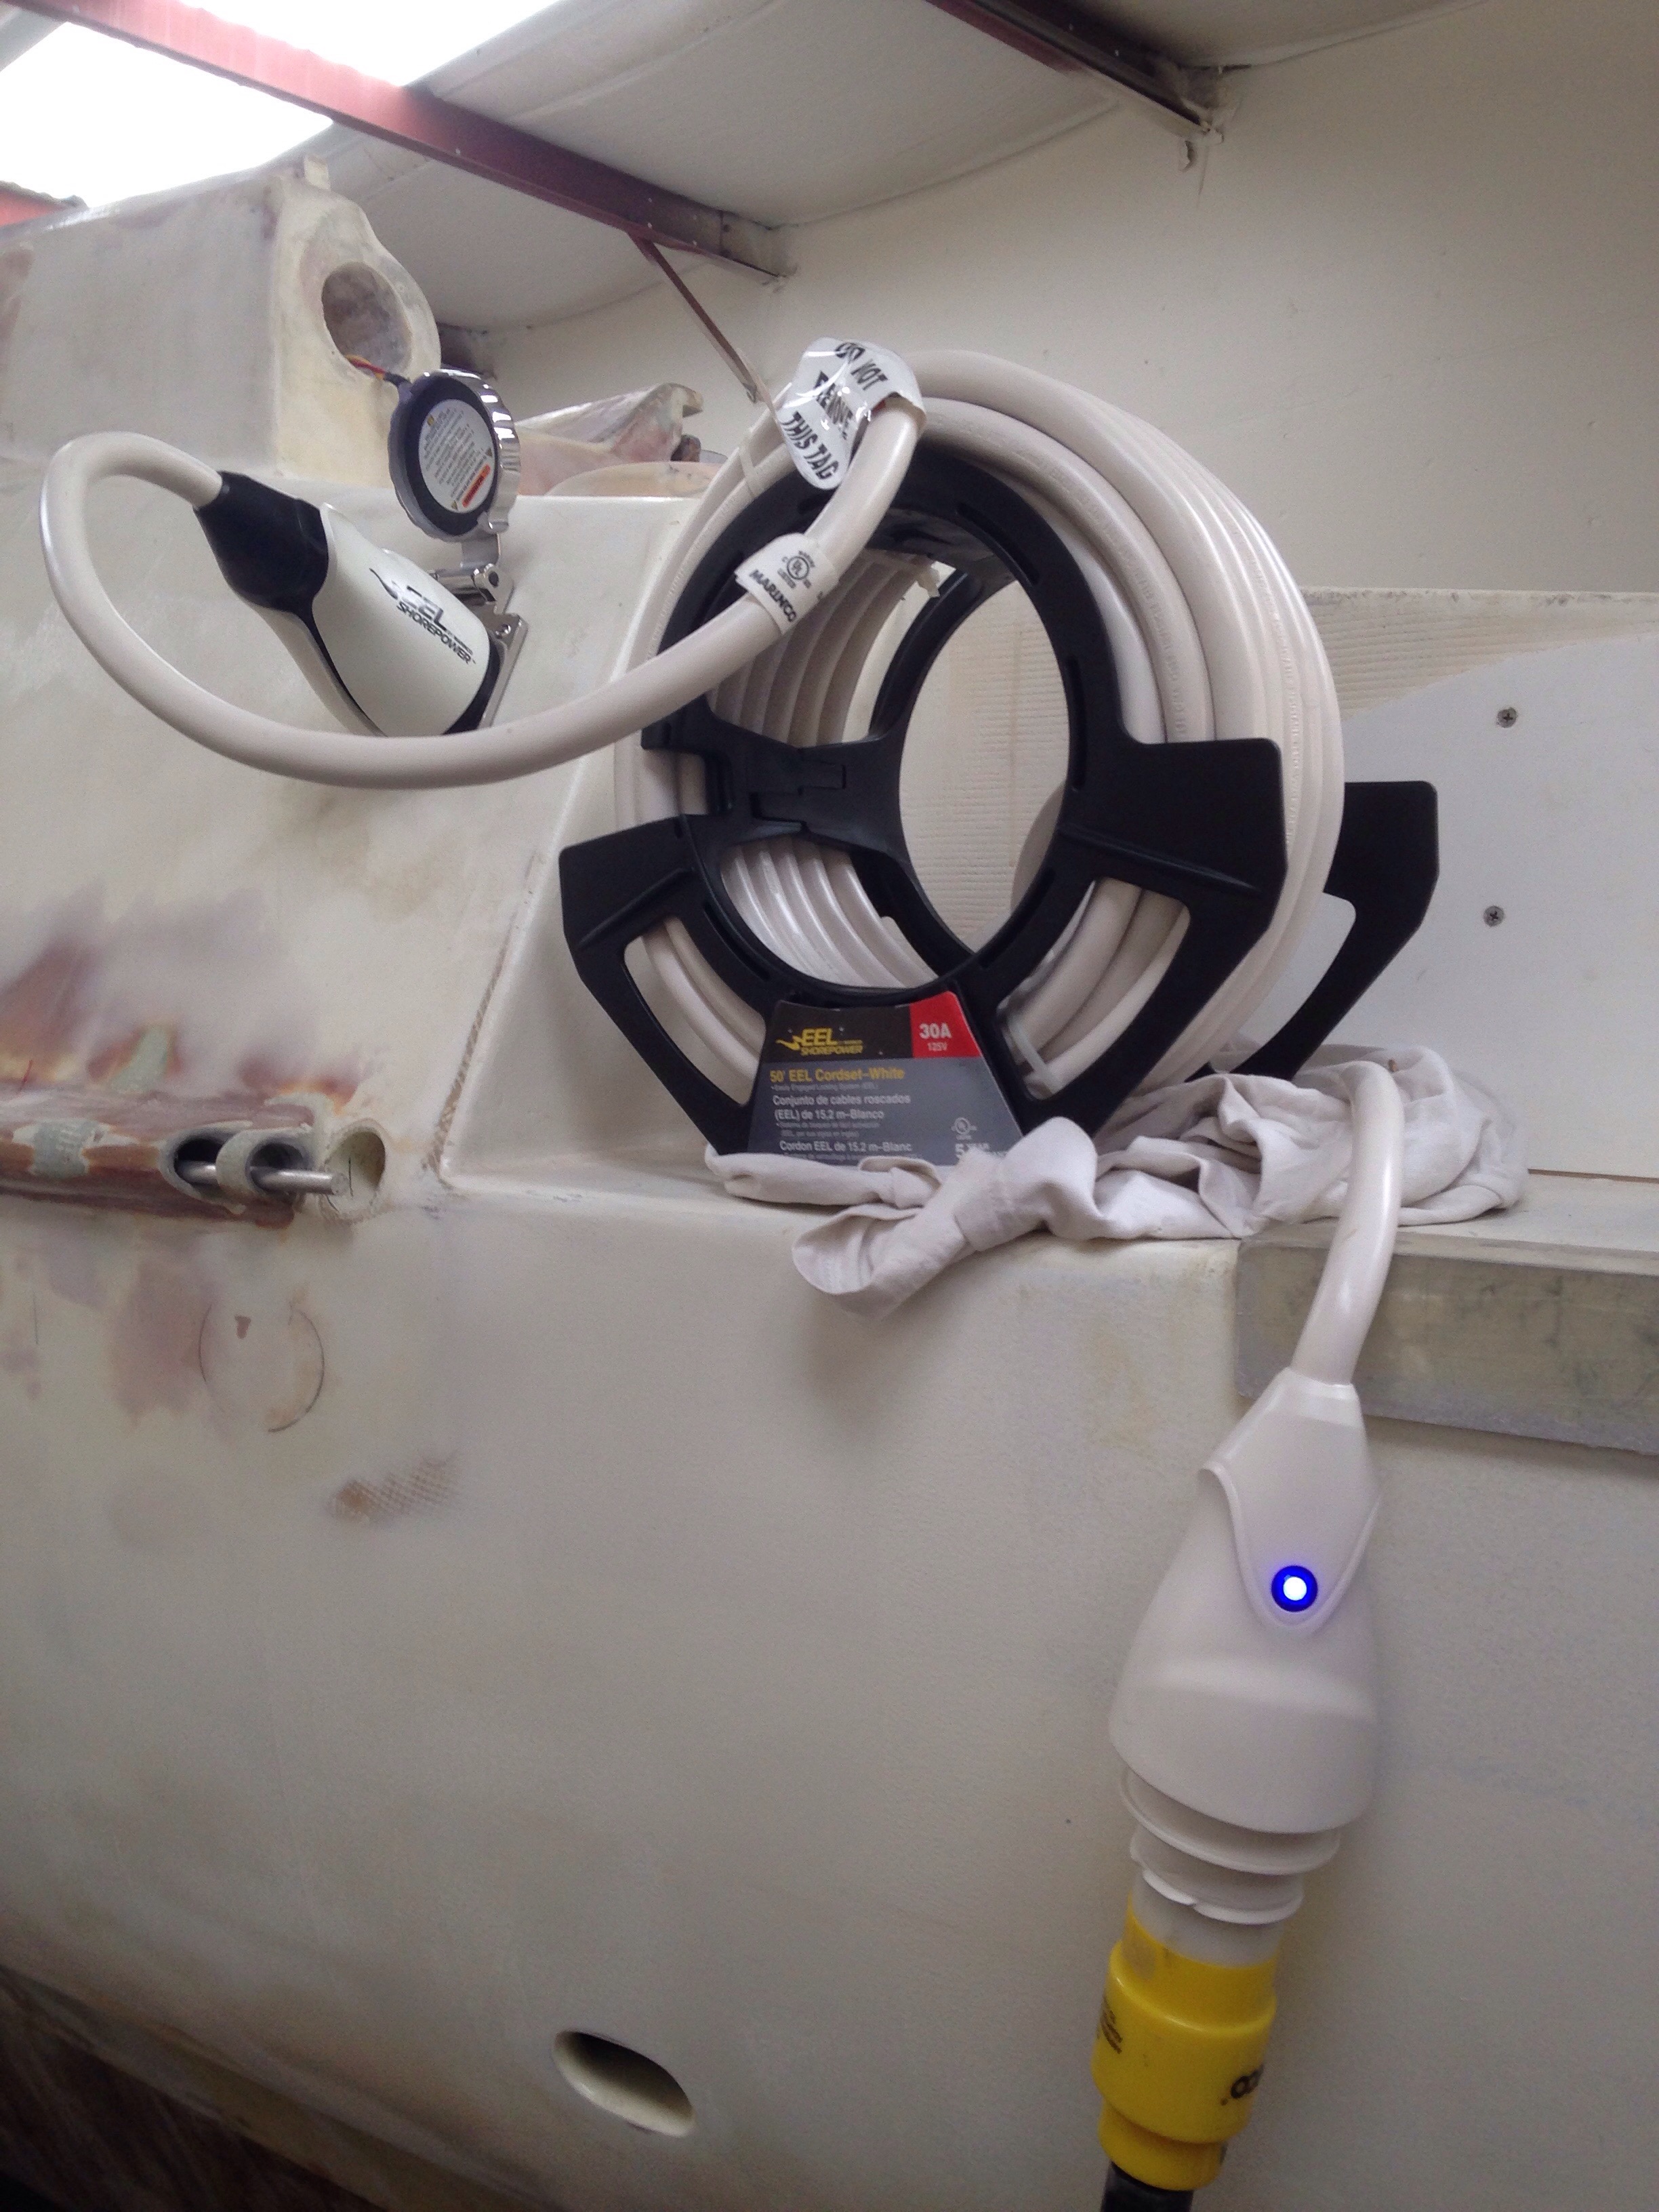
First we bring a 30amp cable to the boat, with the plug just ahead of the aft beam, in the port cockpit coaming.

These new cords have clamping jaws instead of the old spinning rings. Plus a handy flashlight to help with night maneuvers.
Next was running a 10awg/3wire conductor in plastic conduit thru the coaming box, the lazarette and down into the equip room.

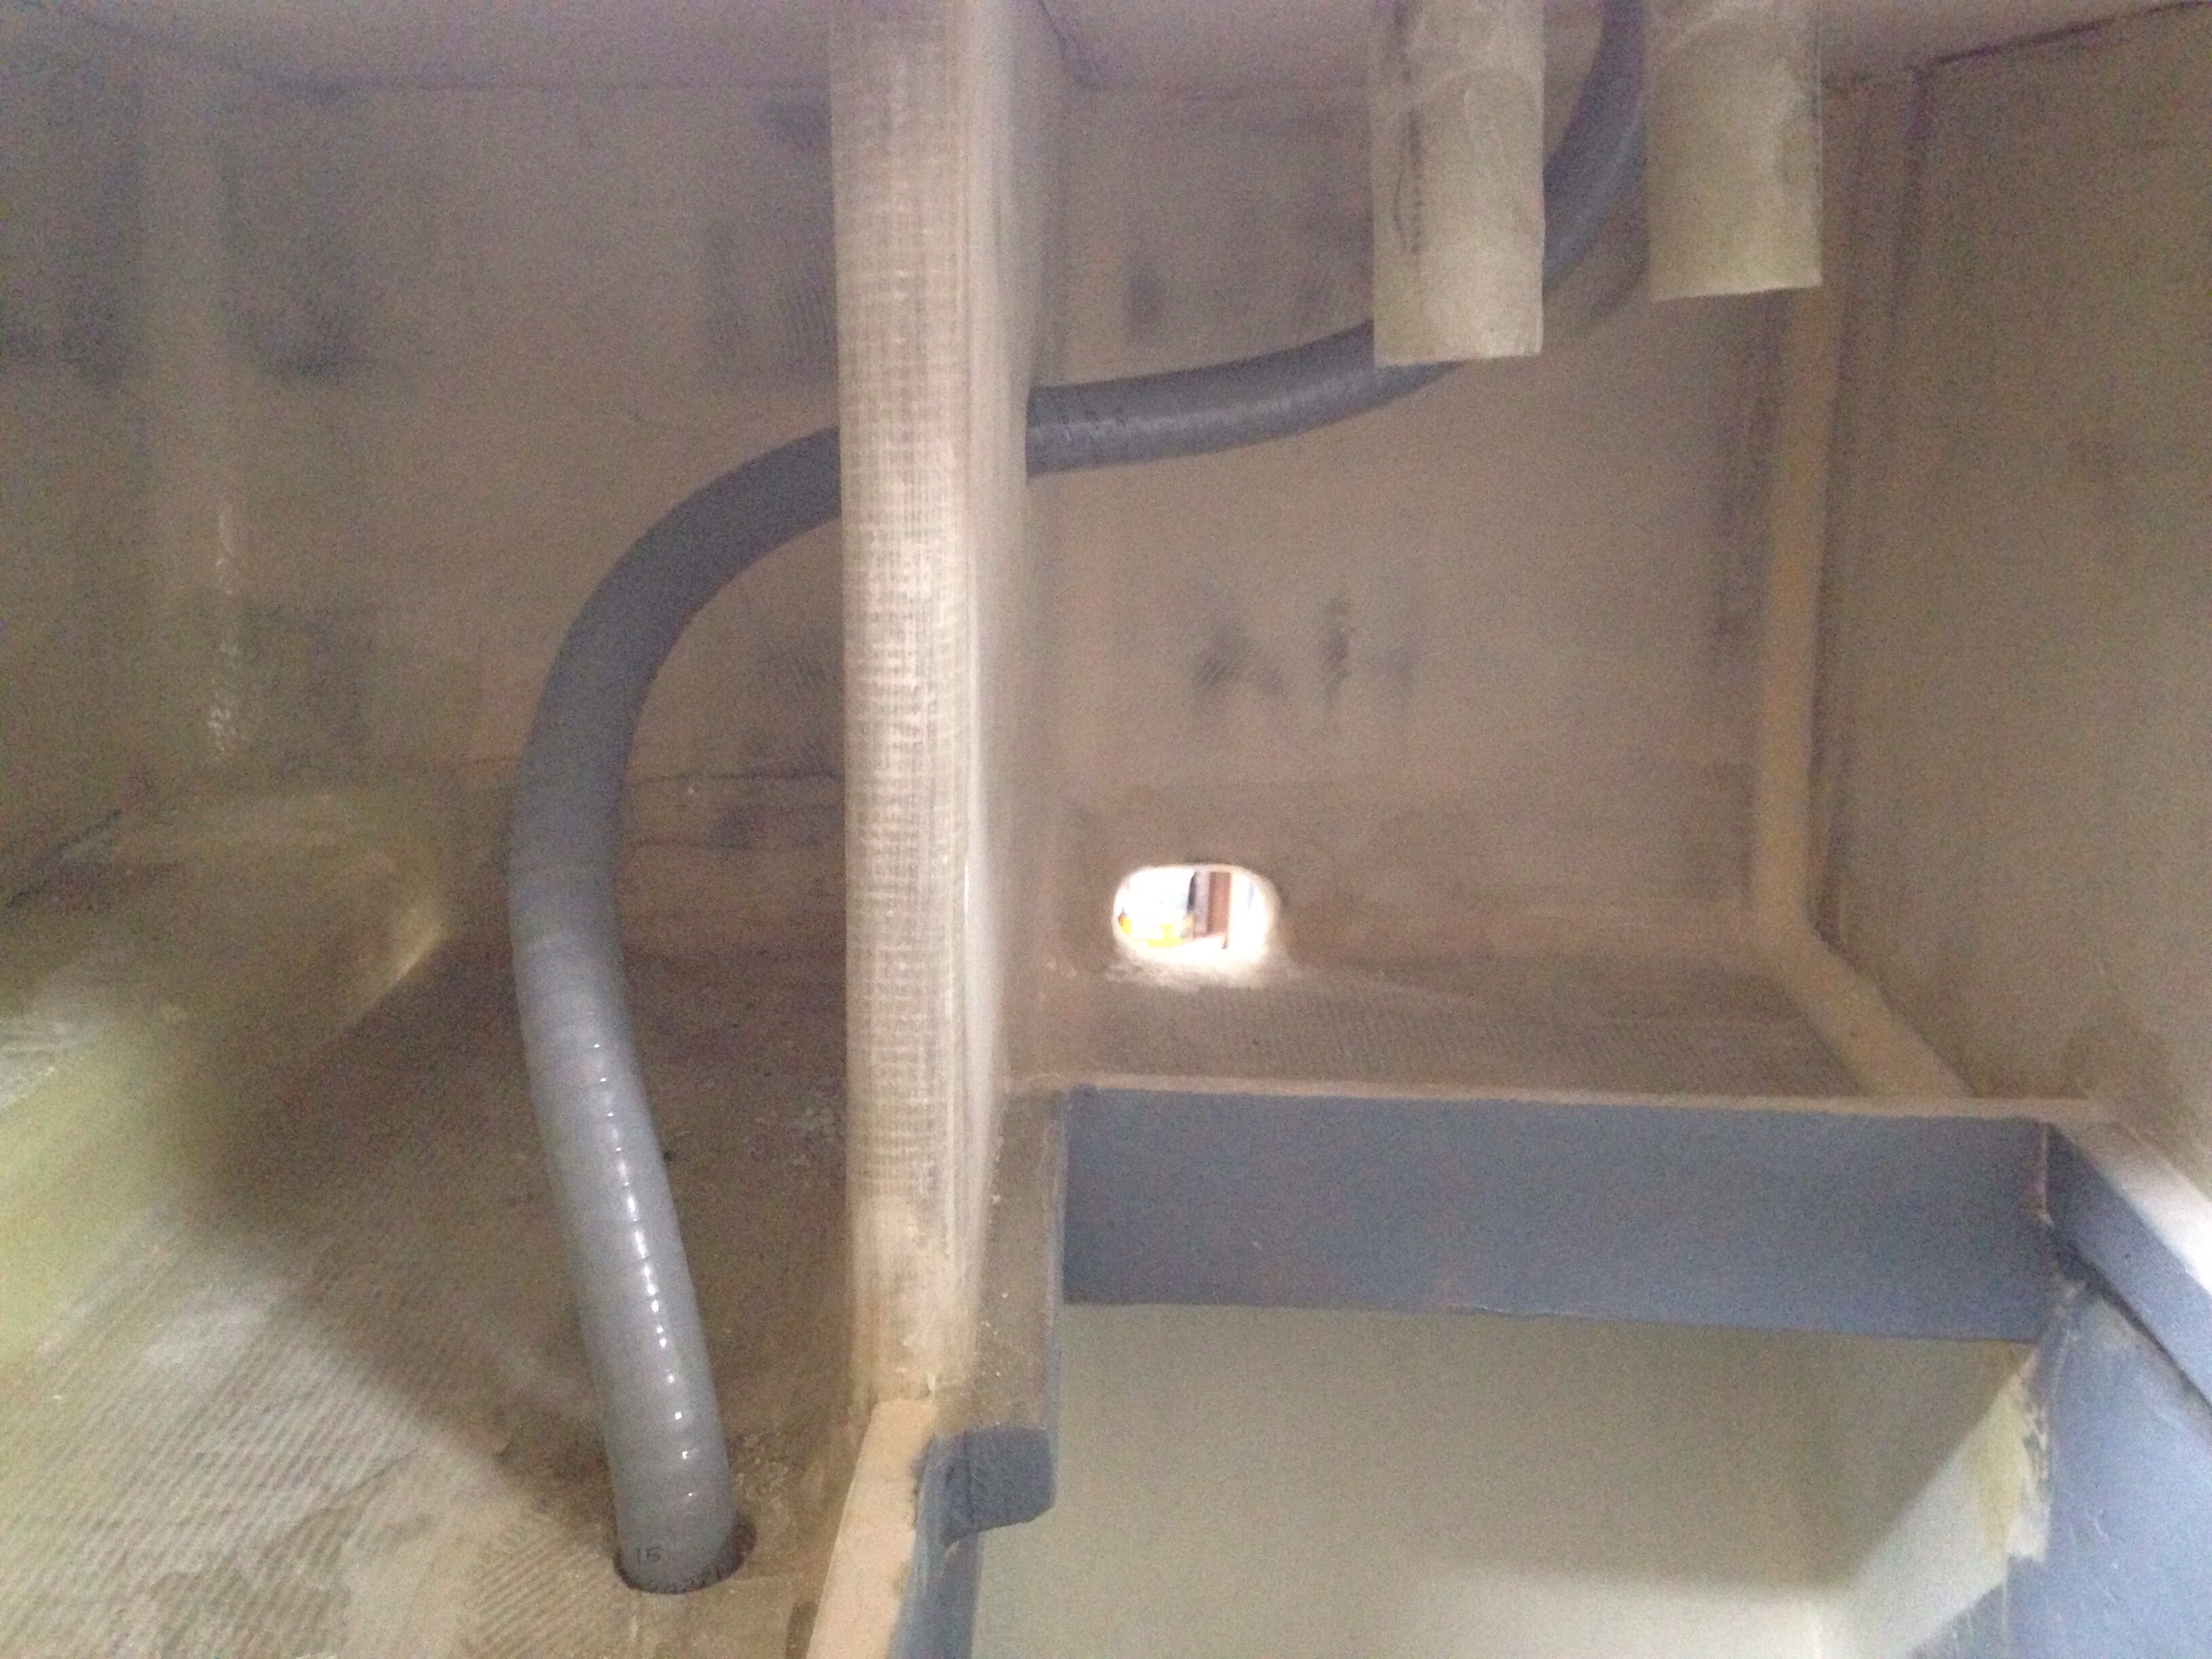
You can see the pass-thrus for water and diesel in front of the conduit; they will get hoses that run just like the electrical path.
The 110volt panel has built in ELCI. This is the next step beyond GFI ground fault interruption. See the ELCI components – the black ring – on the back.

This thing will shut everything down in milliseconds with any problems of the incoming juice, bad grounds, wires in the surrounding water, etc. And it all comes pre-wired with these BlueSea panels.
We screwed the panel in place and plugged in – the system did its job and warned of a reverse polarity problem in one of the workshop’s power outlets. We moved the cord and got all green (good) lights.

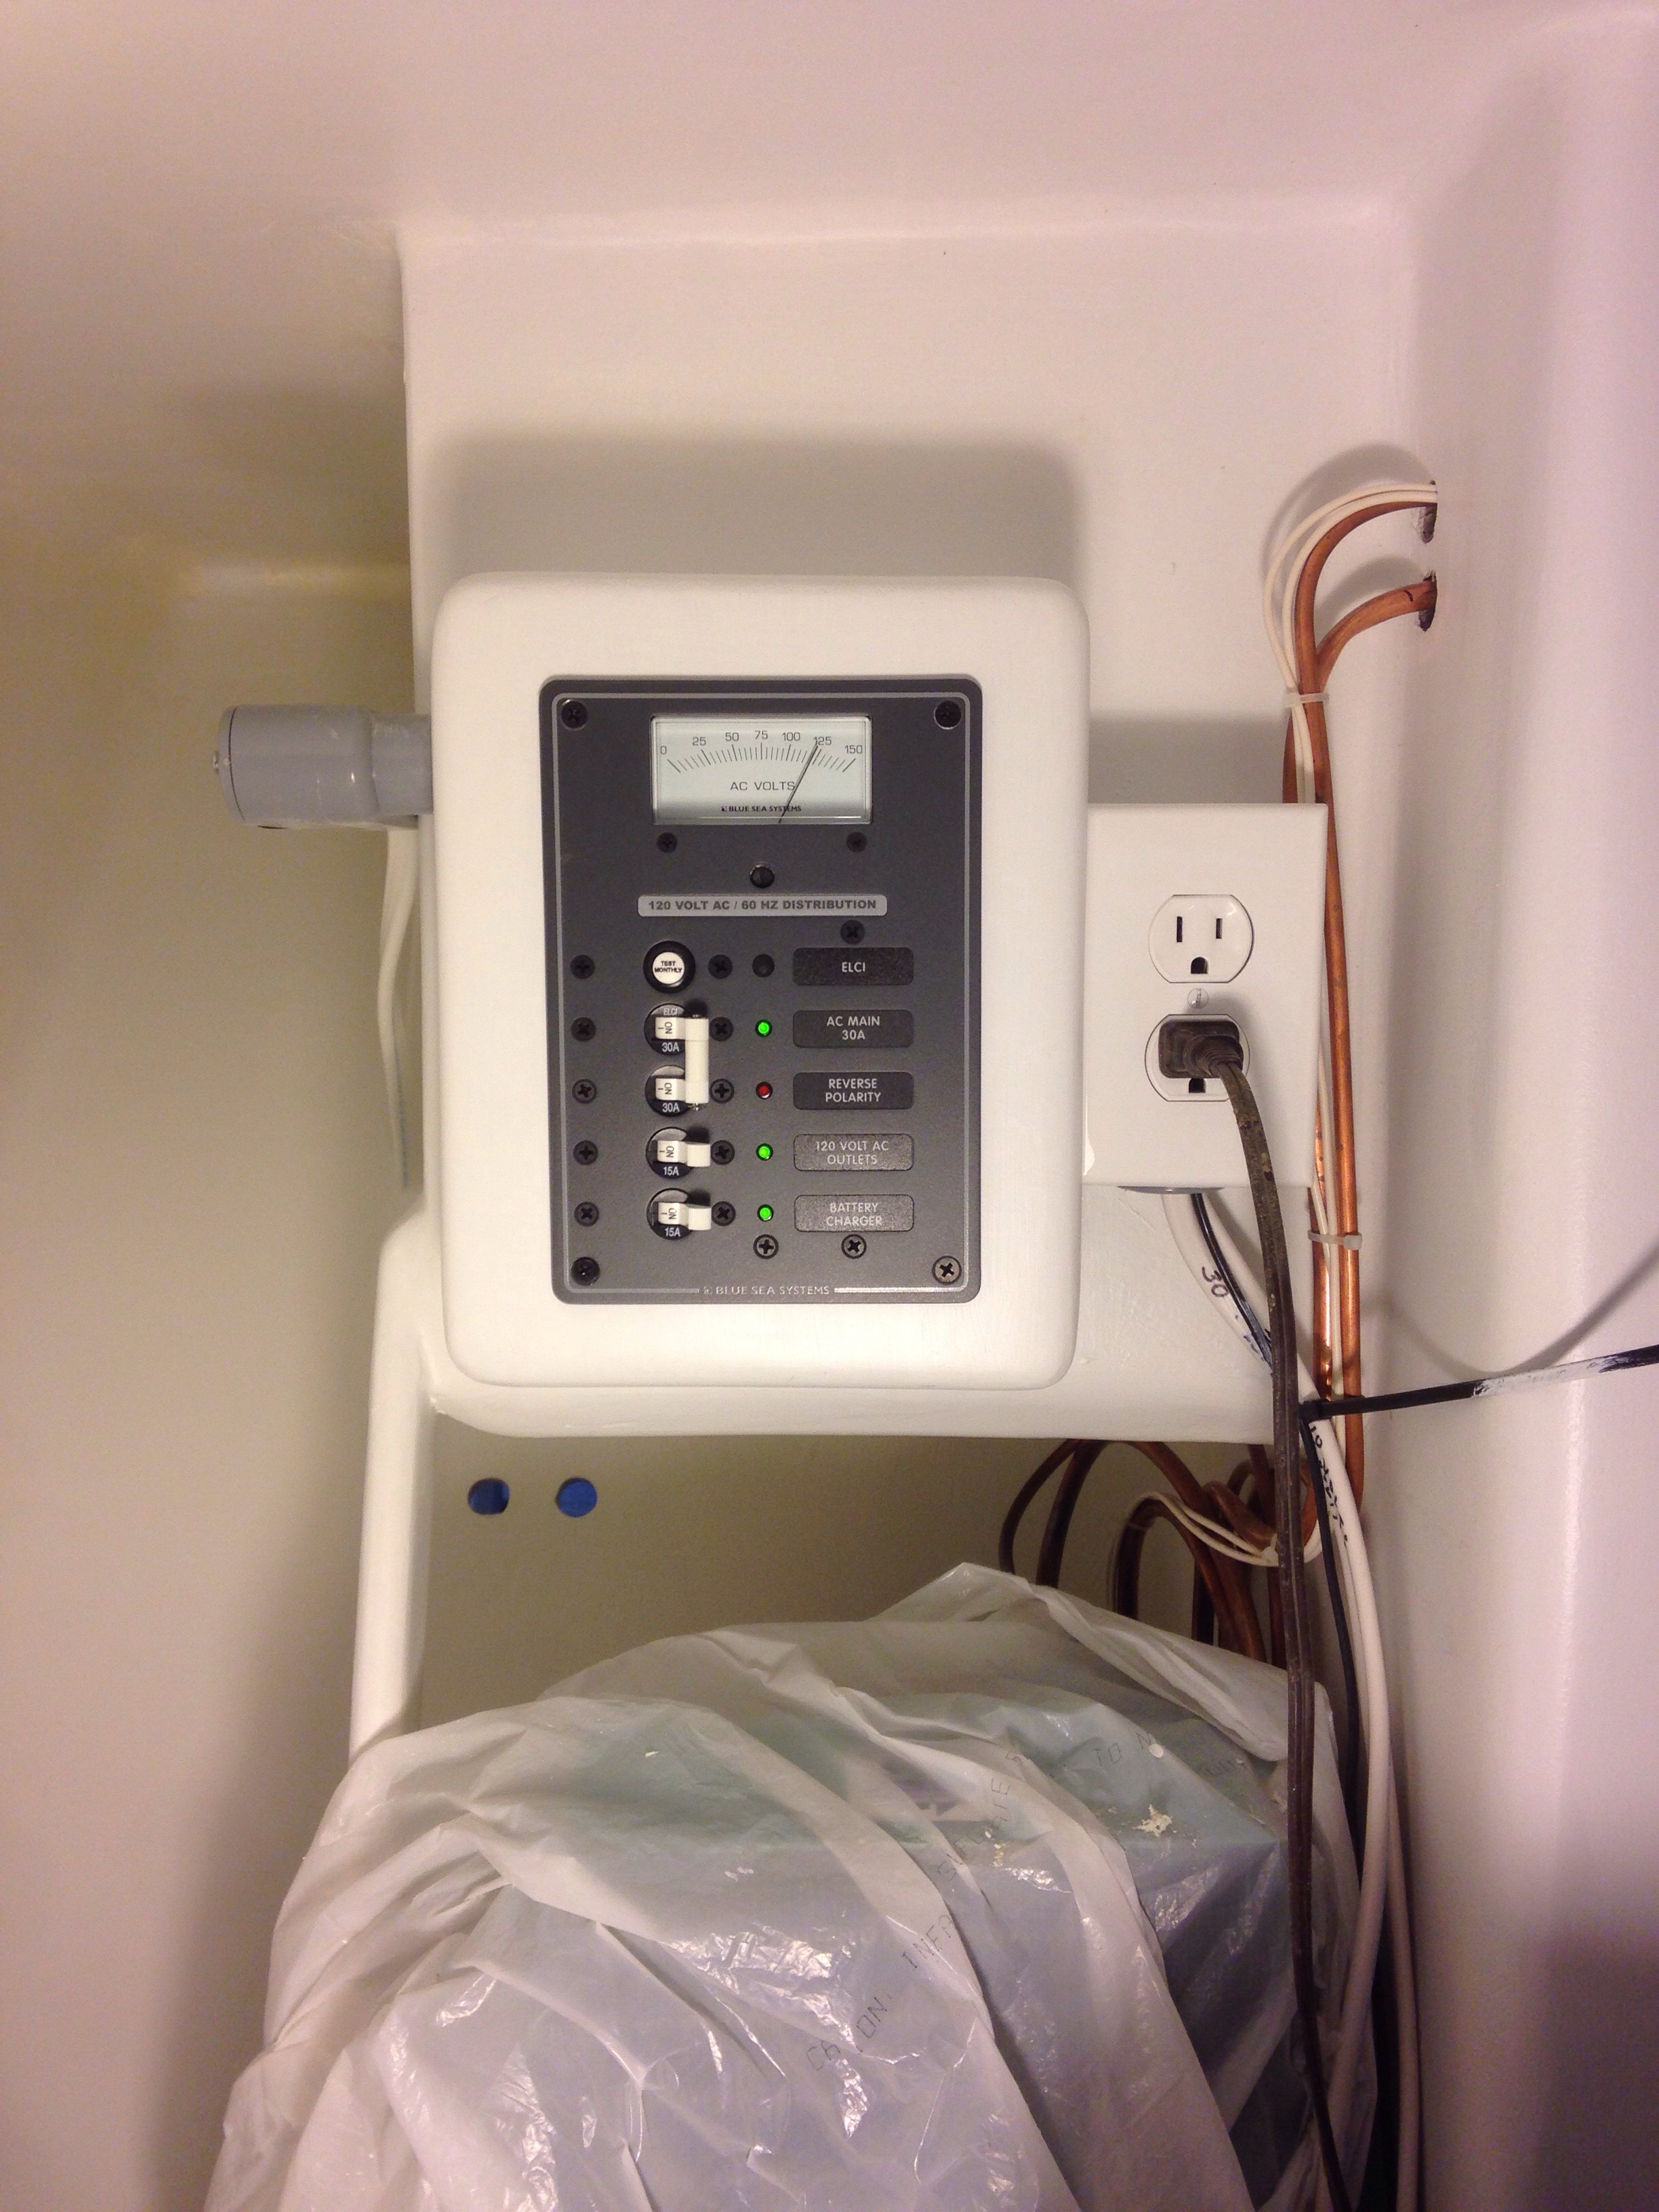
Just two branch circuits – one for the battery charger which will mount close by, and a second for two household plugs (one in photo and another in galley). That’s it, but could be expanded later if needed.
This finished the primary wiring job. There are follow up items – more light fixtures are coming this week as the galley, equipment room and over the dinette weren’t bright enough with the original purchased fixtures. And we still have all the wiring inside the stern tower to run, after the exterior paint job.
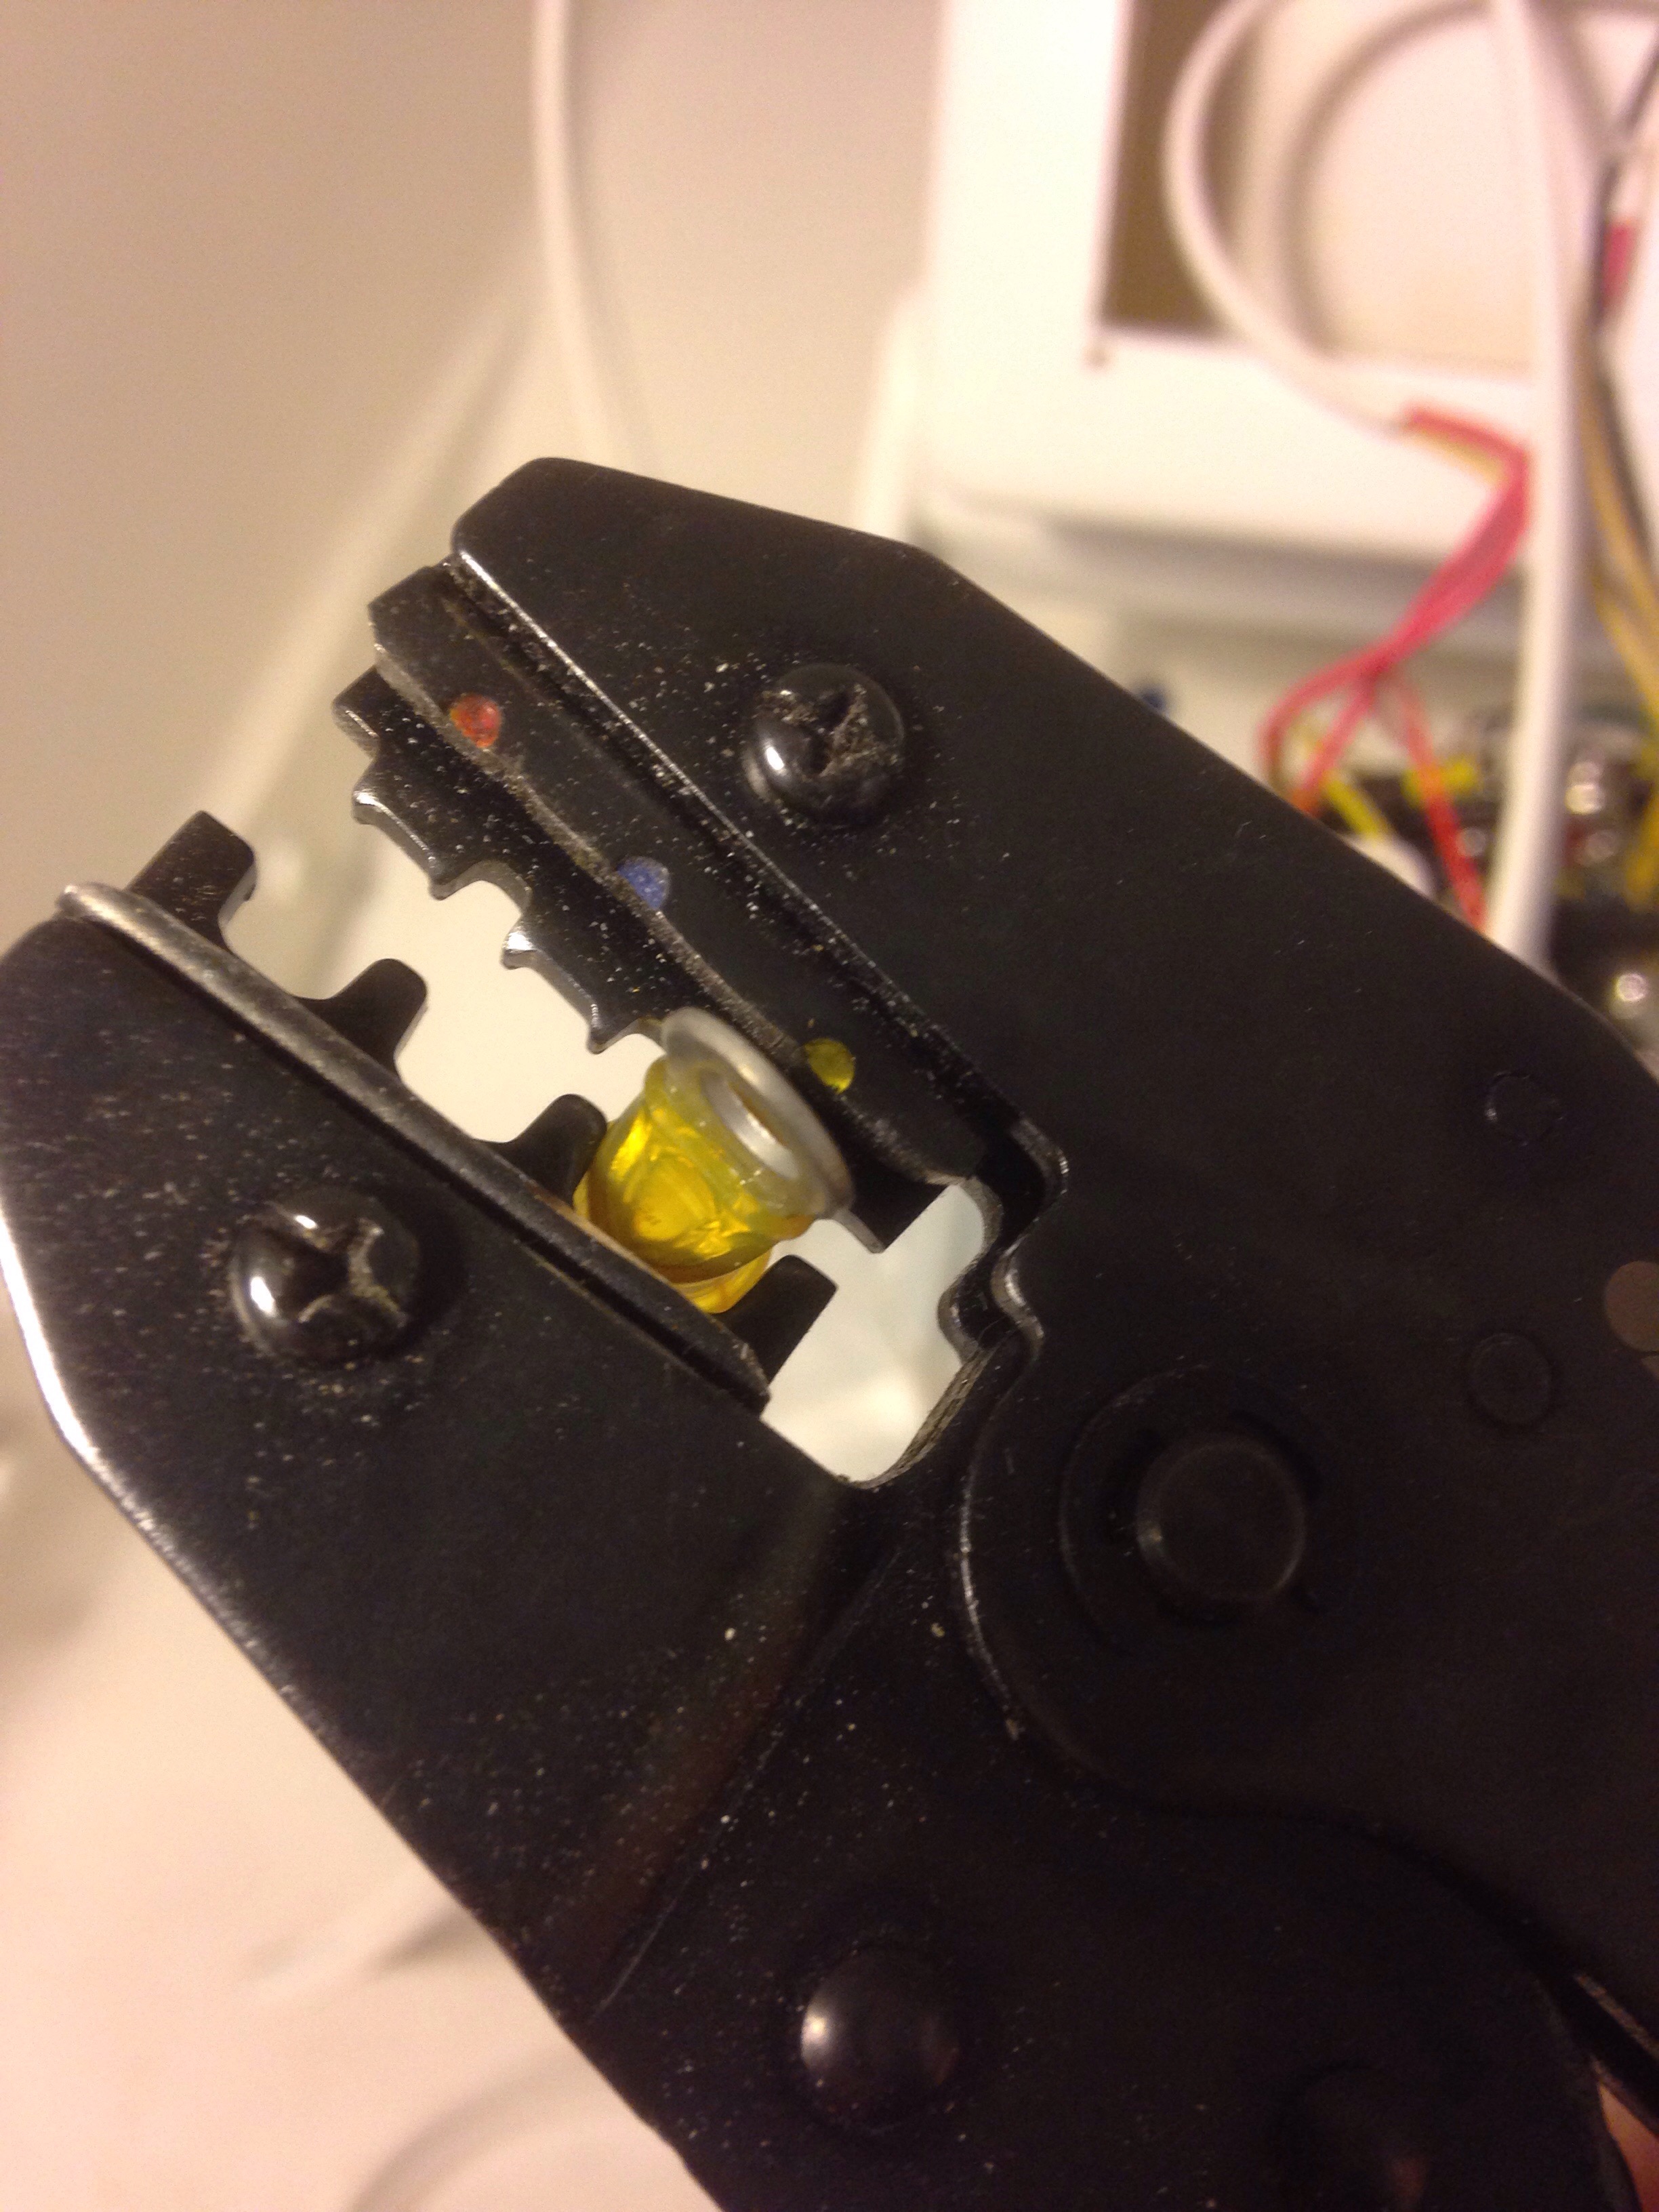
All of the smaller wire terminals were applied with a new ratcheting precise-fit crimper. Anyone doing 12volt work should get the positive-stop ratcheting tool. But with the heat shrink fittings you need a single-crimp jaw. I couldn’t find a single-style under $75, so we bought the more common double crimp for $25 delivered free from Amazon.
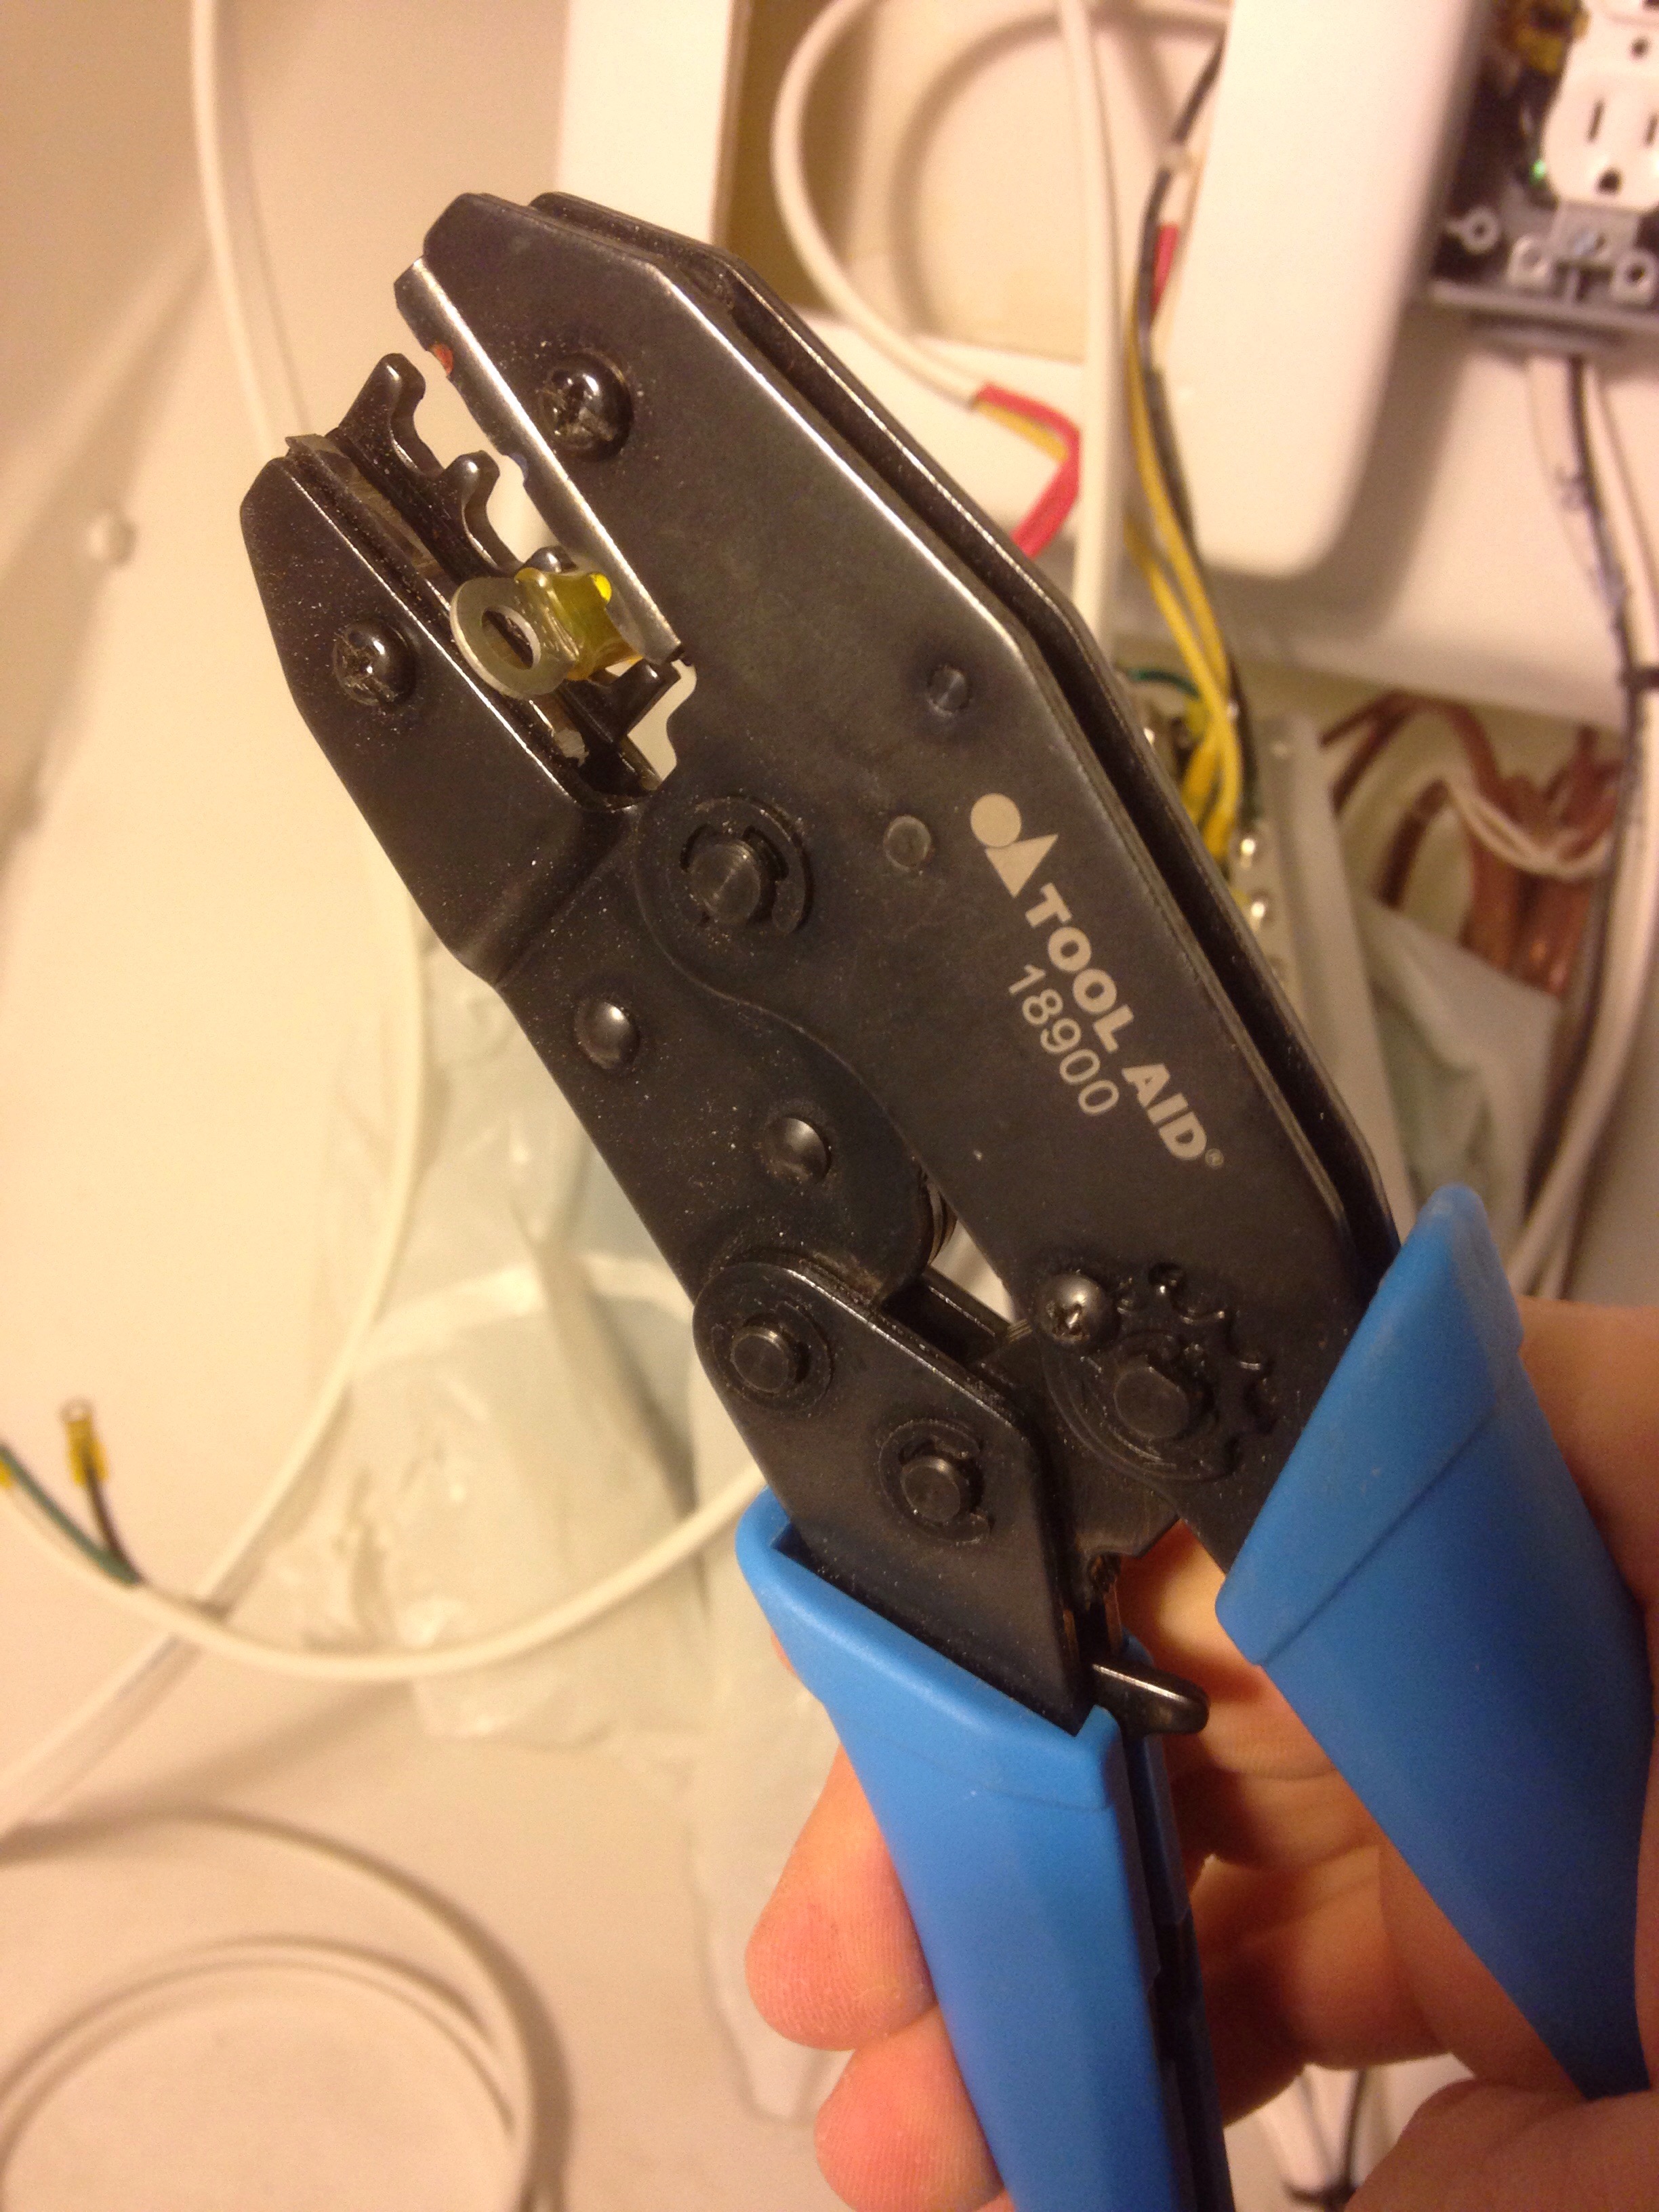
Made sure it had removable jaws, so they could be popped out and hit with the grinder, throwing big sparks all over. A few minutes later we had single-crimp capability that didn’t mar the heat shrink portion of the terminals.
With the wiring done we’re attacking the finishes needed inside the toilet and shower compartments. In a moment of clarity we decided to return to Leneman’s original suggestion of a below-the-waterline sewer tank drain (at sea only), which drastically simplifies the toilet plumbing runs, including closing up some previously made bulkhead and cabinet holes. This also finalized the thru-hulls locations, so that’ll be the next posting for you.

Aloha Carter!
You do realize you’re posts are a “how to” book… right? Amazing stuff. Way to rock it.
LikeLike
Tony, my only regret is being a cheap bastard not willing to spend up for a better iPhone camera! This phone has worked great for years, so we’re living with some slightly blurry pics here. Writing the posts before falling asleep at night is a good way to decompress from the work :)
LikeLike
Your documentation, pictures and text, of this project has been superb. I have archived most of it for future reference.
LikeLike
Doing a fabulous job there big guy, making the pro built Farrier’s look pretty sad!
LikeLike