
Ravenswing came to the Spaulding Boatworks yard for minor repairs to the deck and port float hull from the mast fall. We had a small list of “well, while we’re here…” things to do.
First up was maintenance and installation adjustments for the engine. In retrospect we should have bought an extra-long (30”) shaft, to get the propeller lower in the water and avoid some of the cavitation we’re experiencing in waves. With some surgery we could lower the motor 2.5” in its mount box.
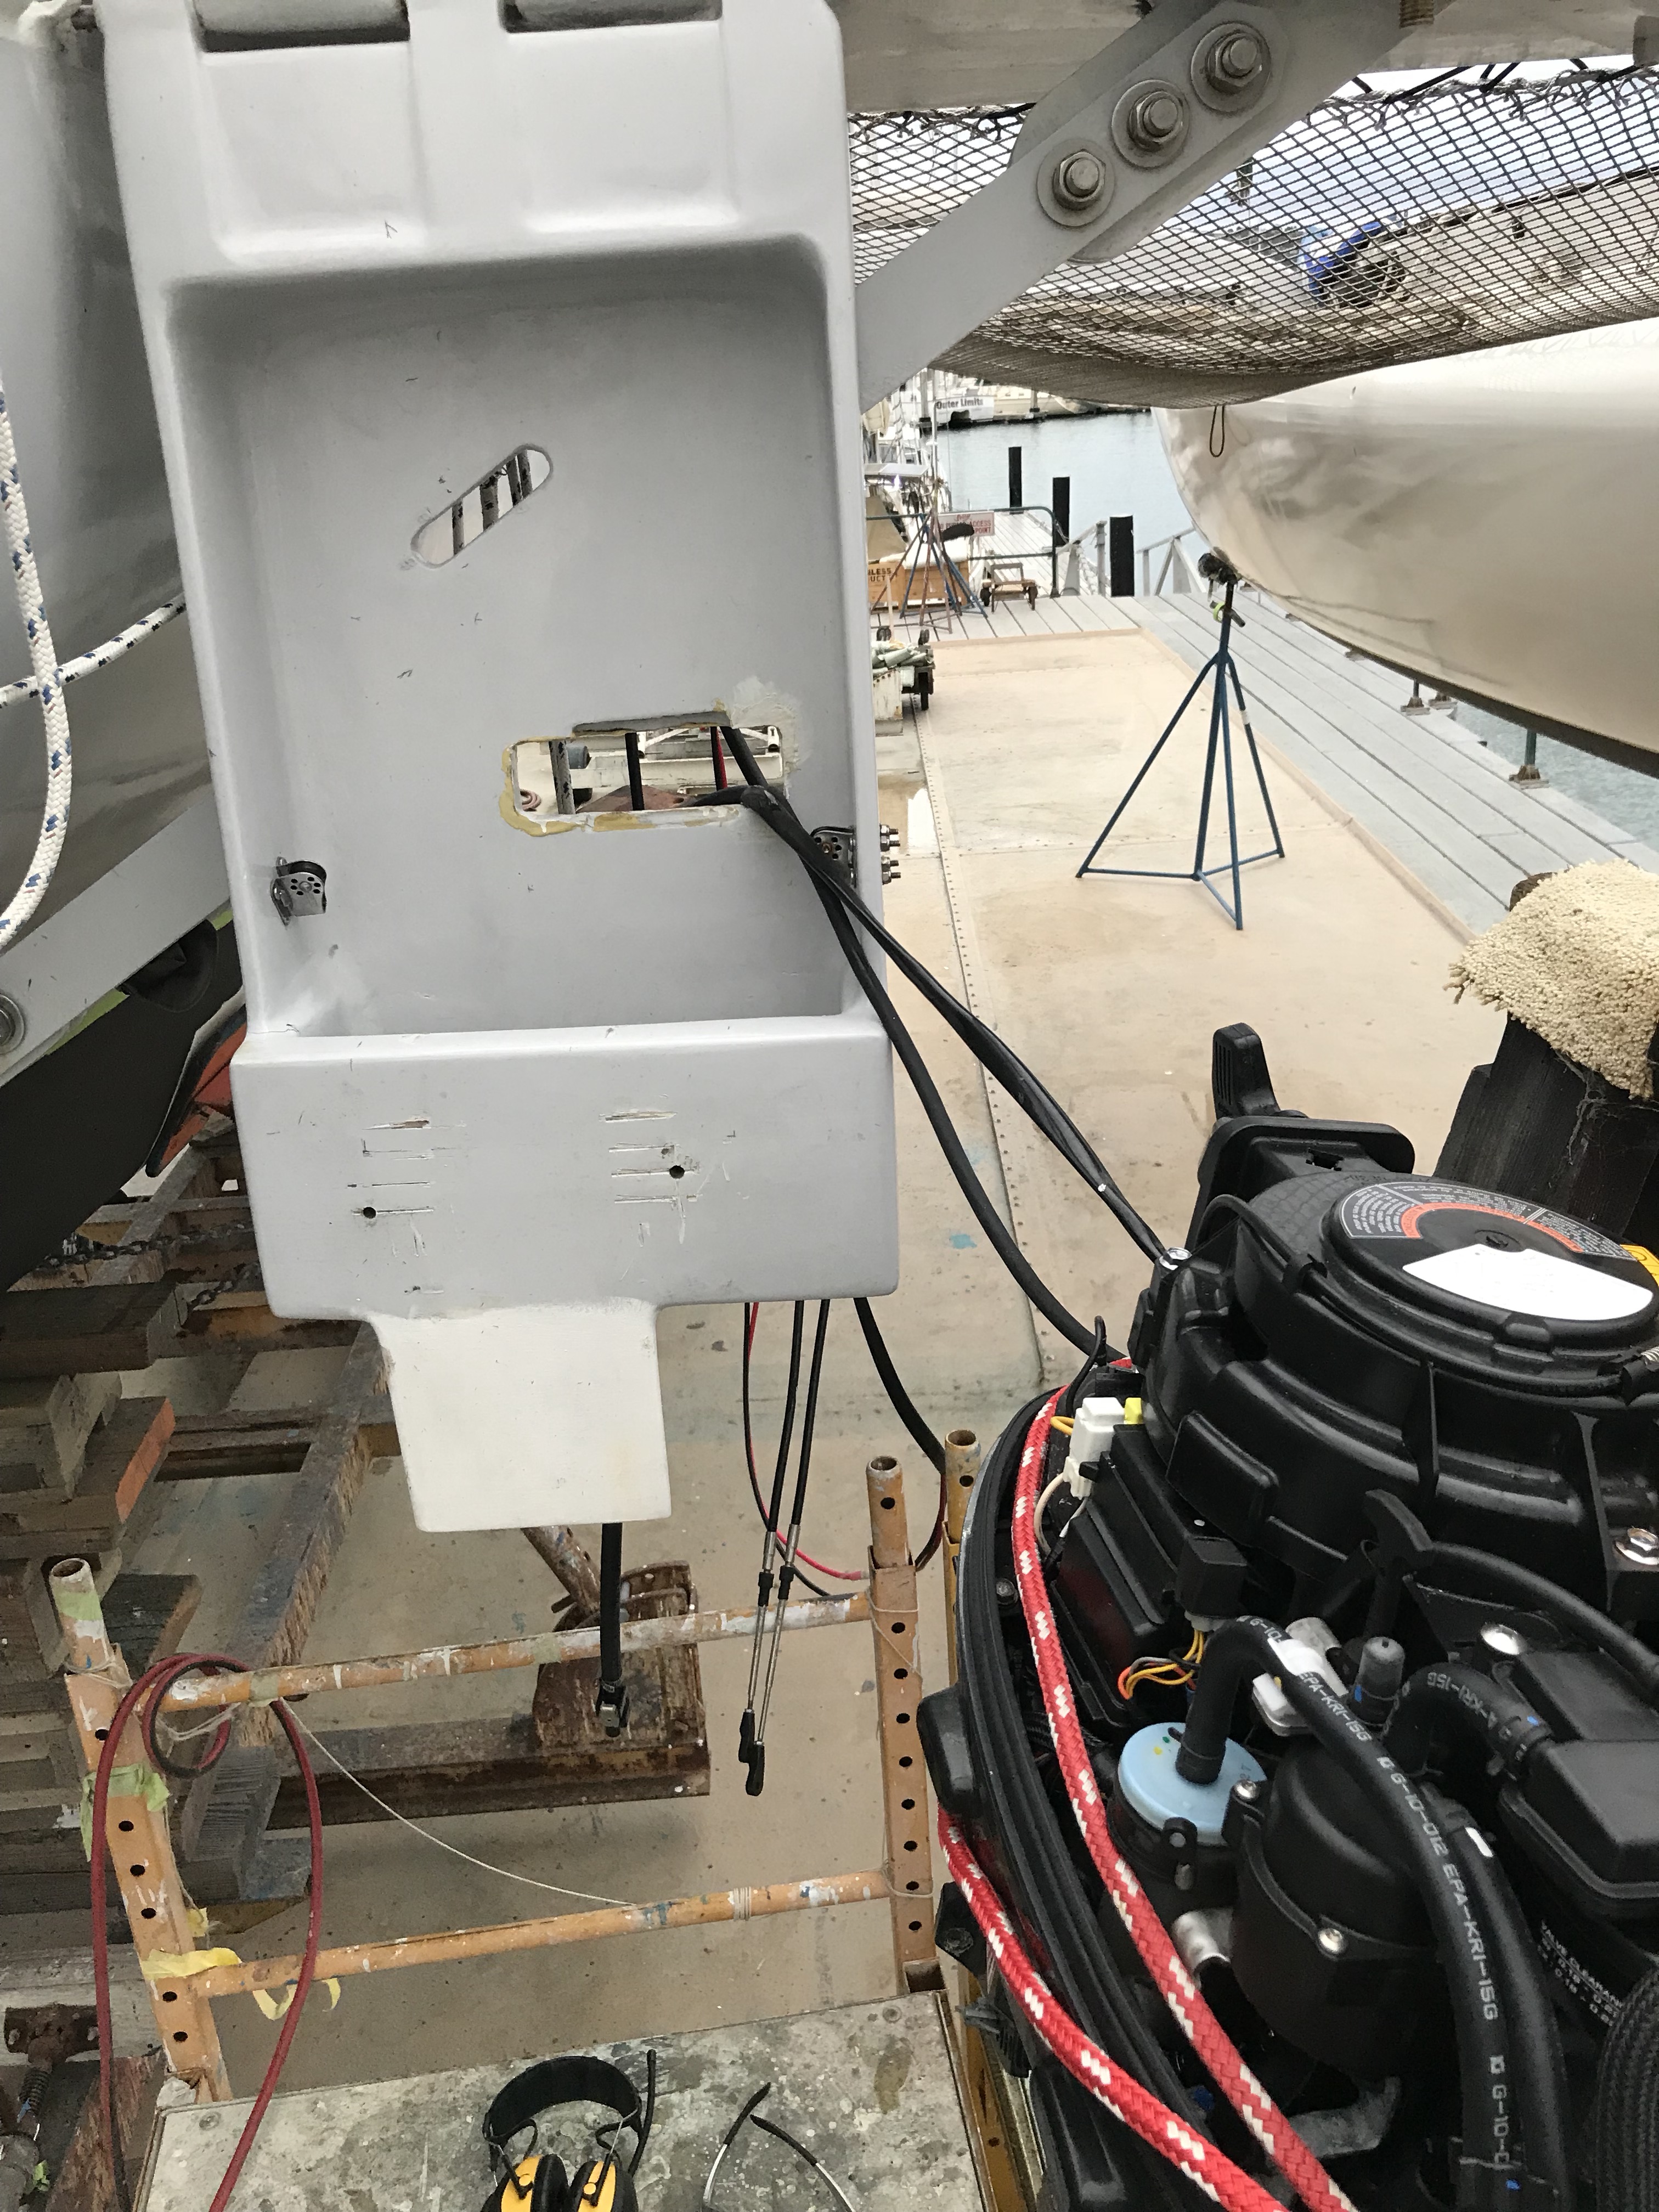
 Then we bought longer control cables to facilitate routing them up higher out of the way in the equipment room. Also changed the lower unit oil for the first time; it was in good shape after the break in period.
The big task turned out to be a redo of the escape hatch. It had been installed with the hinges on the forward edge, but when it opened, the swing was deep through the water. Also, the hull recess didn’t properly match the metal hatch frame, and I had offset the hinges a bit to compensate. Which of course had led to some water getting past the seal at high speeds. So what we thought was to be a couple hours maybe for hinge adjust and reset turned into a job across four days. The hull flange had to be chopped 3/4” along the top and then that offcut bonded down on the bottom edge. Then the hull had to be rebated around the hinges for the new (proper) swing pattern. We think the hatch will just clear the water now when opening. 

Those pics show you the new black Petit Trinidad bottom paint. Gone is the snazzy white look, but this proper bottom black looks pretty serious. And we paid the yard pros to do a real boot stripe this time. (Straight, unlike our amateur wavy job last year).
We’re tackling our daggerboard vibration / howl issues in two ways. First is stopping the slop when the board is down. The trunk is 88milimeters wide inside, except for the top and bottom three inches that had extra glass wrapped over from the deck (and hull bottom) into the trunk. The hull builder did that for strength, but not to the plans, and it made the opening only 81.5mm. I made the daggerboard head (via shims) just a hair under 81mm to fit the opening, allowing 6.5mm slop once the Board was down. So to compensate we ripped long 3mm clear fir shims to bond on each side inside the trunk. They got epoxied coated and painted on the workbench, then epoxy-putty bonded in. That was tricky; buttering the 5’ long pieces and carefully sliding them up into the trunk, not letting the putty hit until the placement was right. Four went on each side. Bottom paint still needs to be applied to these inside the case, up to the waterline. 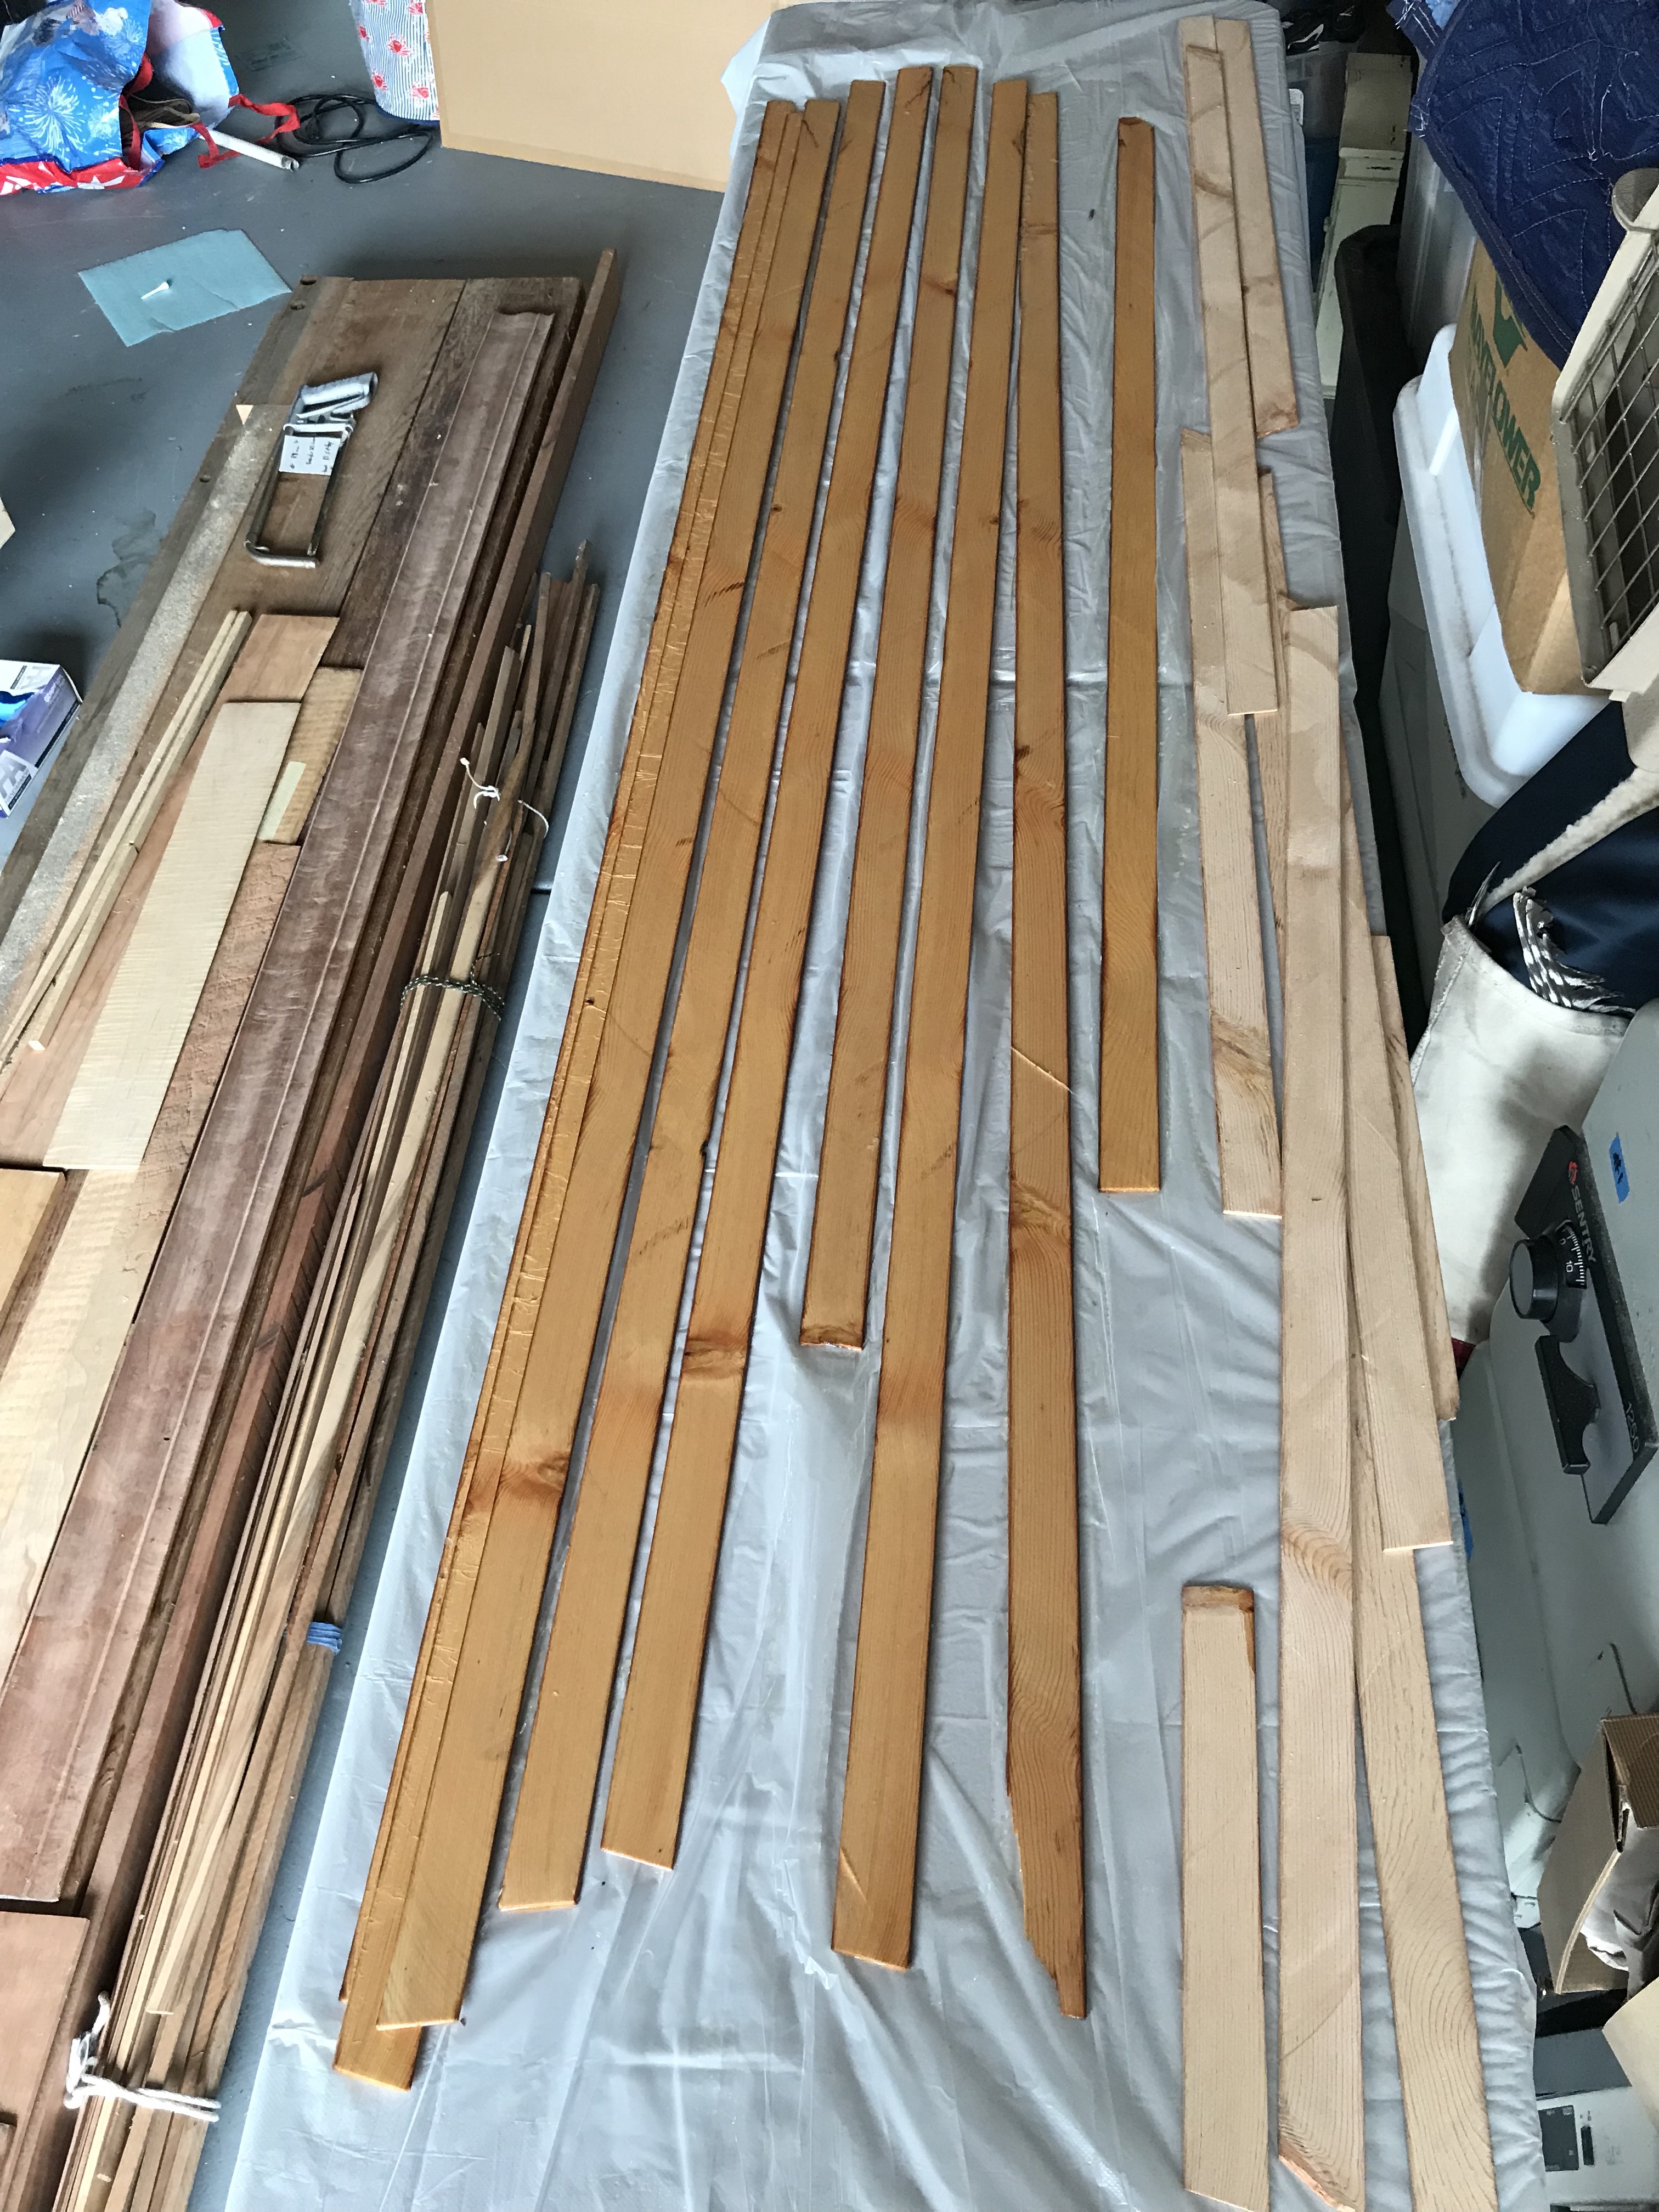

Part two will be some reshaping of the board, to be tackled when we take it back home after weighing the boat.
Final finish paint to the deck repairs went on Saturday so we could launch today. But a 9am call from the manager informed us that paint didn’t get warm enough and had glazed over dull. So they’re redoing it, hopefully for a Wednesday launch. Also meaning we still don’t have the boat’s weight for the mast builder.
On Friday afternoon I helped the project manager attend to the 54-yr old hydraulic scale. Turned out to be a simple low-on-fluid problem. As the sun was setting we hatched our plan to check the calibration. Here was our victim. 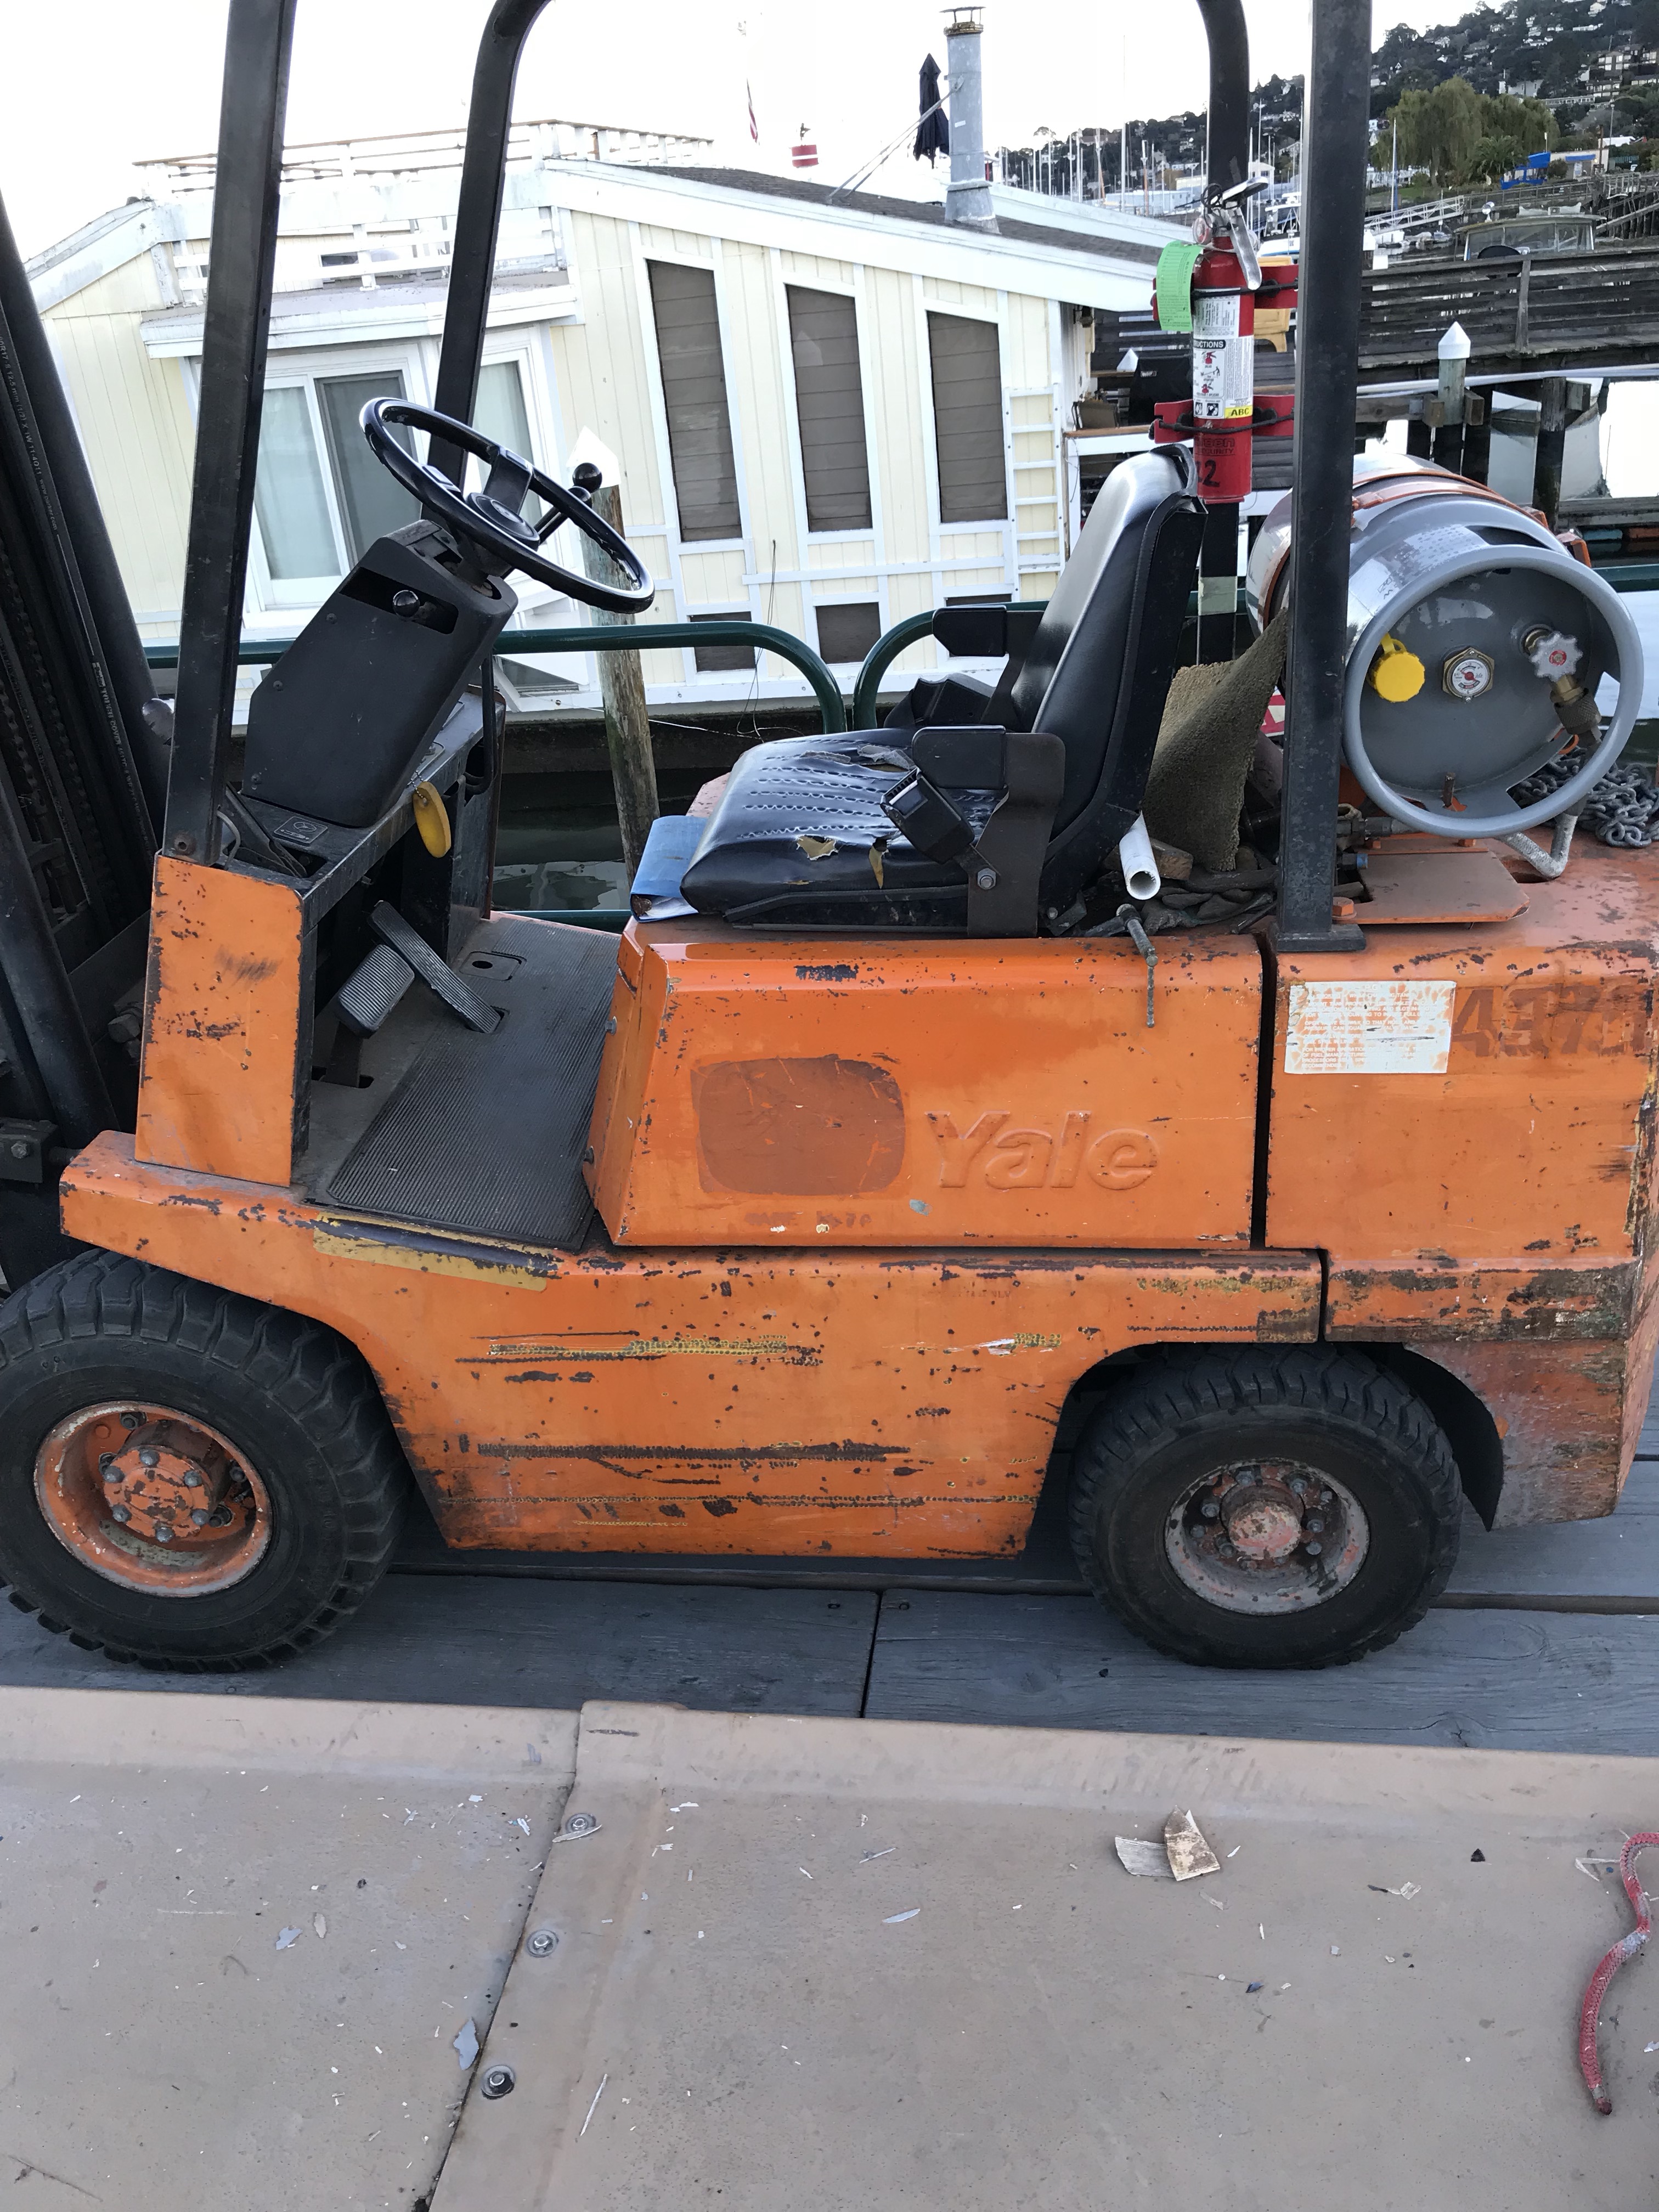
The data plate shows its curb weight at … 6,970lbs. Crazy to think that little forklift weighs close to our 40’ x 28’ boat. Anyway, up it went
And the scale shows …
… a very accurate match to the tagged weight. Certainly good enough for our mast-build needs, and we’ll put this scale in the crane rigging on Wednesday.
As much as we need fall rain, we’ve had enough to totally screw up this haul out trip so just another 36 hours sans rain would be great.
Anybody wanting to go for a motorboat ride Wednesday, Sausalito to Richmond, get in touch.

Gregg ,It is good to have the time to fine tune these concerns for better seaworthiness and know that you have the satisfaction of peace of mind when offshore .aAll the best to the finishing line of completion.
Thank you for the update take care
Bill McDowell in sunny PV Mexico
Saludos mi amigo
LikeLike
Hi Greg,
I was wondering if you could provide further clarification on the escape hatch adjustment. I am building a f32ax and i am about to install the cockpit floor. i want to install the escape hatch underneath the floor. did you not make the original cut out large enough or did not rebate it enough for your chosen hatch?
Thanks,
John
LikeLike
Hi John, my fix was a bunch of work for a relatively minor need; the cutout was originally made for the hatch to be hinged on the forward side, not along the top (when the boat is upright). With the forward hinge, the hatch dragged through the water when being opened, and proved to be impractical for loading suplies. Advice for you is to consider carefully how far up above the waterline you can place your hatch so it can be used from a dinghy while at anchor. Also, if yours is close to the waterline, please investigate purchasing a true ocean-series unit with heavy duty locking dogs. There is a lot of water pressure rushing by at 15 kts+ boat speed and you’ll want a GREAT seal around this huge hole in your boat.
LikeLike