
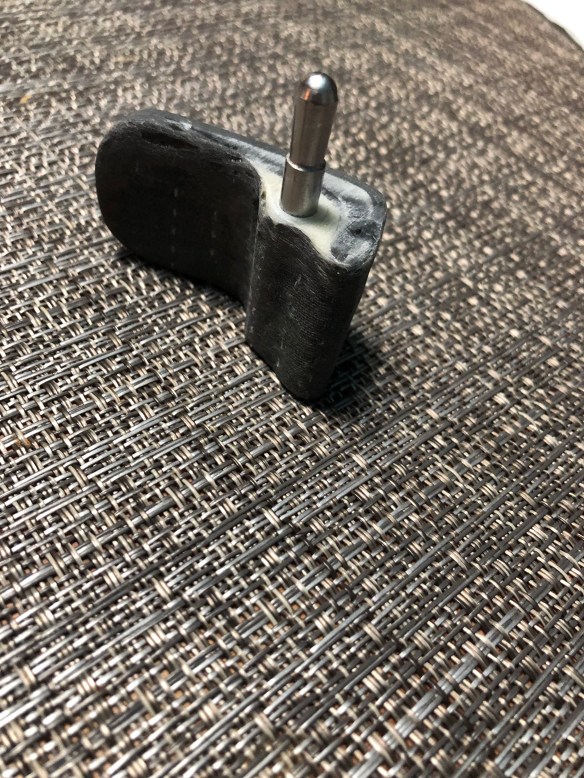
We’ll get on the soap box for a moment to fellow carbon fiber amateur builders… if you haven’t heard this already, you may not be getting a proper epoxy wet-out through your carbon fabric. This is really a manual-force thing. But wait, let’s go back a step and tell you that the nice little autopilot bracket didn’t work. The windsurf-mast-origin stick was good but I didn’t think the physics through. Feeling kind of dumb for doing all that fairing and paint on the part before testing functionality – duh! There is a lot more lateral force coming from the tiller through the pilot ram, and immediately upon use the base was deflecting just enough to prove this wasn’t a good idea to use a vertical pole bolted to the swim step box. Plus, at the tiller end, the little steel pin wasn’t fitting into the tiller properly due to the horizontal autopilot vs the angled -up tiller. So we need a new design to handle much stronger forces.
At the tiller, we’re making this very strong but little part to carry the steel pin of the autopilot. That’s a fiberglass tube bedded in to an offcut scrap of an earlier project. 
 In those photos the inside of the tube has no reinforcements yet holding it in place.
Now back to the soap box. This is a tiny little carbon job. We chose three layers of lightweight 6oz uni carbon. Here it is being wet out on the table, just before placement on the part.  there’s a temporary piece of plastic above and below this fabric, and I’m literally mashing the resin down into the three layers of fabric. Load up your spatula and gloves, and really press the resin through the carbon. On bigger projects we put it in a bag, place on the ground and walk on it. If you don’t ensure this extreme of resin penetration in your wet layups, you’ll likely find disappointingly dry fibers when you cut in to a sample job. That’s not a strong composite.
Soap box over for today.
After laying down the wet fabric, the peel ply and breather got tightly wrapped to press the fabric in place. 
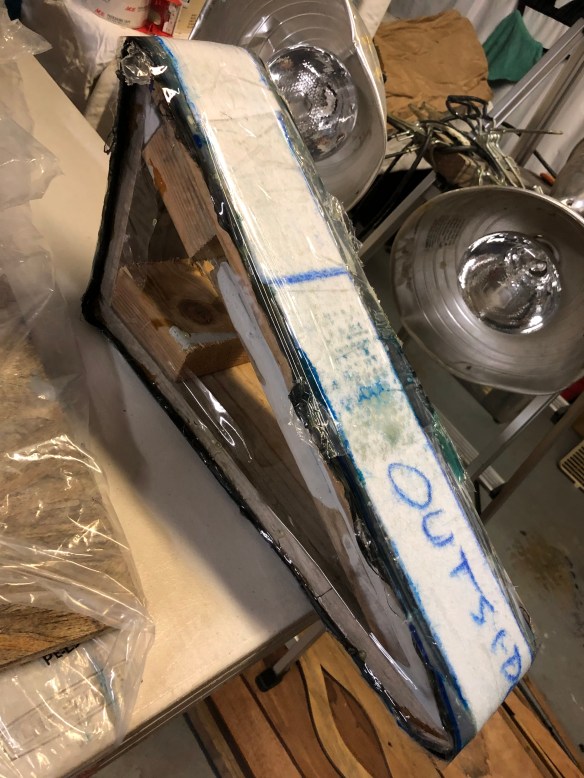
Now for the autopilot base end, the new idea is to transfer the lateral loading directly to the boat hull. This shape, mocked up in cardboard Sunday after a great solo sail, will make a platform for the autopilot ram base.  Here we go making the wood form, applying four layers of 16oz uni fabric wrapped all the way around and 2″ overlap tabbed.


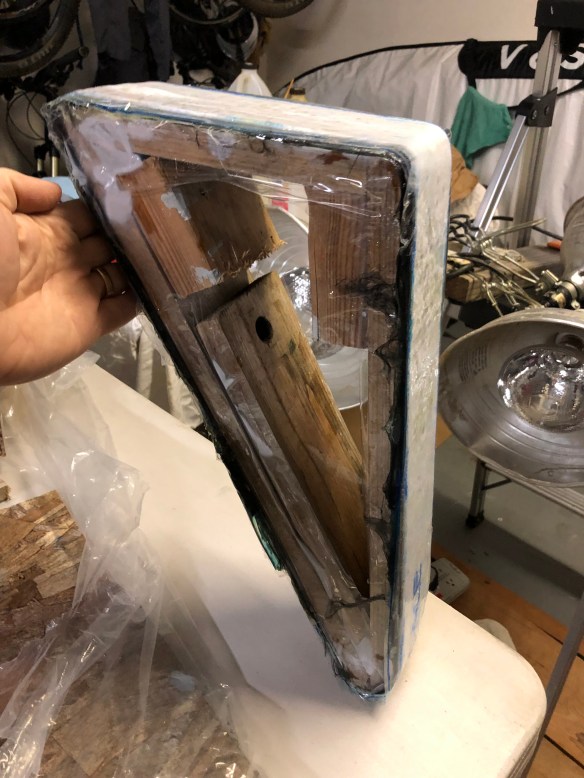

 Took it to the boat this afternoon and it fits well. Tomorrow it’ll get a stiffening panel to fill the interior of the triangle.
Big thanks to Charlie, Anton and Don for following orders of no toilet usage today until we sea-tested the new gravity-drain holding tank. The toilet has passed only sea water through since the reinstall, so there was no law broken by Alcatraz today, up at about 7knots of hull speed, opening the valves. The tank emptied just as planned. Success, finally, on the sewage front! The head was open for business shortly thereafter. 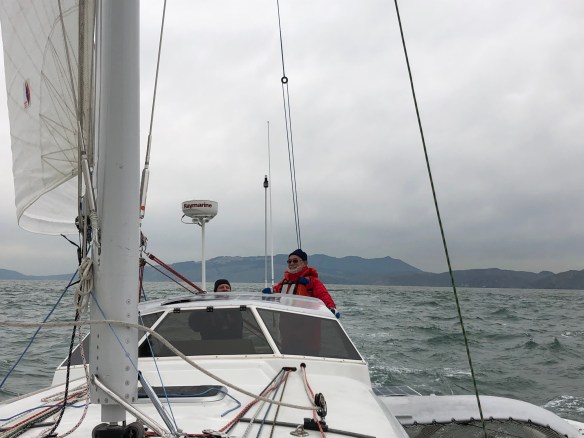 We found a little breeze a couple miles out past the Golden Gate, and ignored the clock enough to be putting on sail covers in the dark. Got to show off the deck lights to the boys.
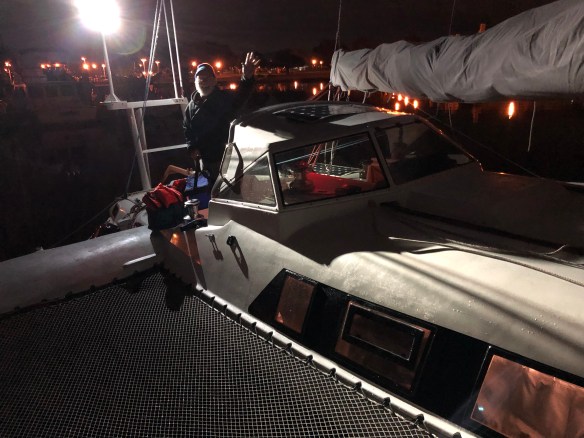
For the folks with boats laid up for the winter, here’s a taste of F- boating on a cool Feb afternoon.
The sea state was mellow today. Two days ago I went out solo for the first time outside the Gate, and without autopilot (see above :). Got my money’s worth that day with ocean chop and apparent wind in to the mid 20s. Ravenswing was charging upwind in seas that used to hobble F27 Origami. The F36 is an order of magnitude bigger, so that in ‘medium’ conditions outside SF the 9k lbs, 40′ boat maintains a steady speed, vs the slowed by waves feel of the 3.5k, 27′ model. It’s almost time for Ravenswing to take a Farrallones trip and really test this out.
