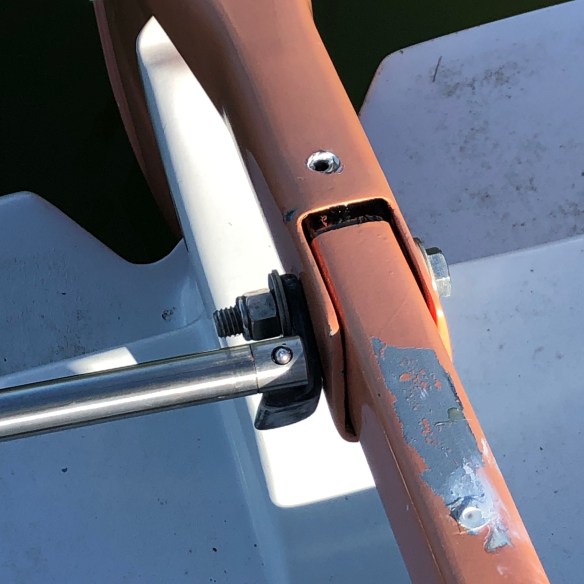
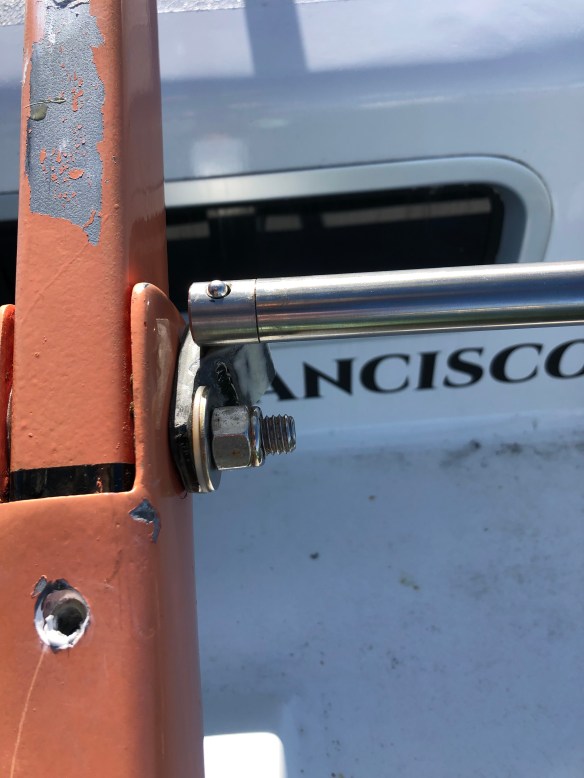
Jim drove down from Medford to take a Delta cruise on Ravenswing, to start getting used to the navigation and safety gear. Tuesday we had a great sail around Treasure Island. The wind went light by the Bay Bridge and we were hoping it would pick up to get us back to Richmond sans engine. Careful what you wish for in SF Bay. Ten minutes later I was regretting not taking a reef. It was a wet and nasty ride across The Slot, and what became more boat trials. Found three things that need big changes. 1) the mast rotation control arm bent its 3/8″ in-mast mounting bolts. 

 It’s now in the Bay Marine metal shop getting upgraded. There will be five attachments to the mast, instead of the original two.
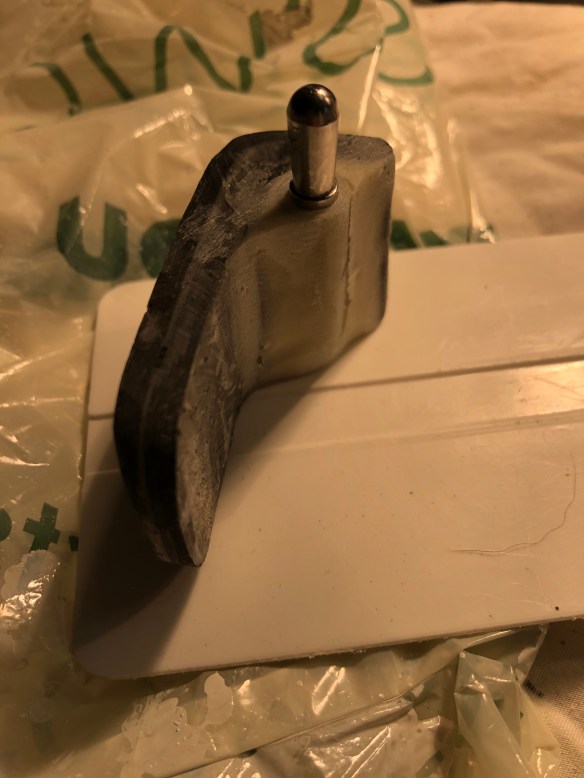
2) The rudder gudgeon tower was flexing side to side, and actually began cracking some of its fiberglass laminations. 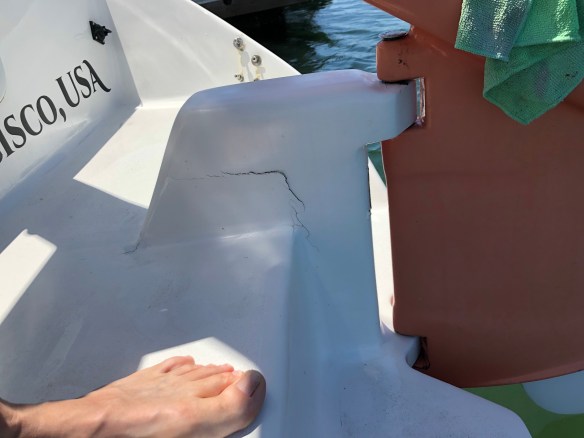

I motored up to Napa Marina early Sunday morning, and today began the strip down for a reinforcement rebuild. This all happened because we didn’t build the kick up box in Farrier’s plans. He wrote that a permanent bond to the hull of the gudgeons base is fine, but the plans didn’t detail it. I didn’t consider the lateral forces the rudder would transmit to those gudgeons, thus the flexing (BAD) post. For any F39 builders, I’ll say that the lamination schedule in the plans is INSUFFICIENT for these side loads. Please feel free to write /discuss this, as sadly there’s no Ian Farrier to question to anymore. In the coming days we’ll see how this fix goes.
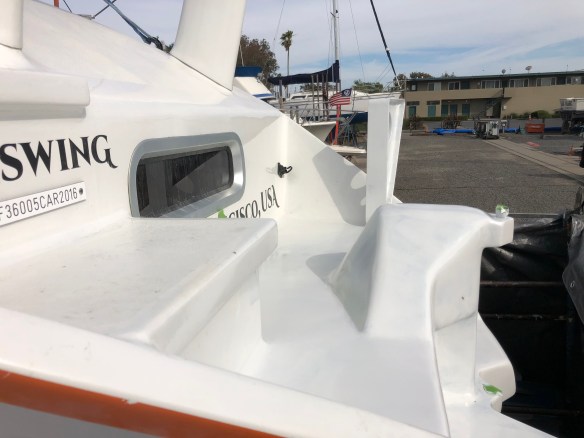
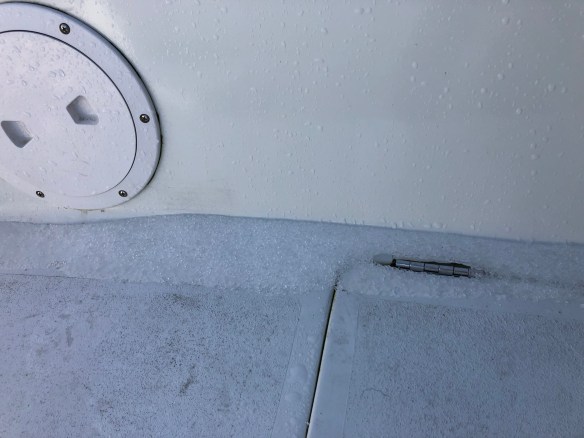
3) the emergency escape hatch was forced OPEN by the short chop waves some time during that blast reach Tuesday. As the wind subsided past Angel Island, the boat felt sluggish so I went below to look around. Holy Shit, the damn hatch was open and waves had been firehosing in. It screwed up the new fridge (yet to diagnose), soaked the aft cabin and generally brought somewhere in range of 50/100 gallons aboard. Thank goodness it was (like the 2017 mast), very close to our marina. Wednesday was written off for boat cleanup. Salt water got everywhere. Yuck.
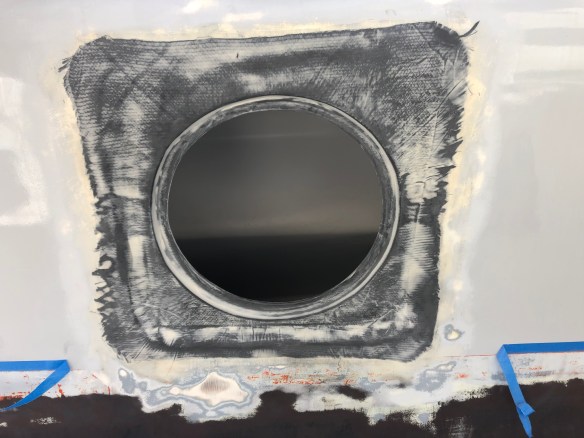
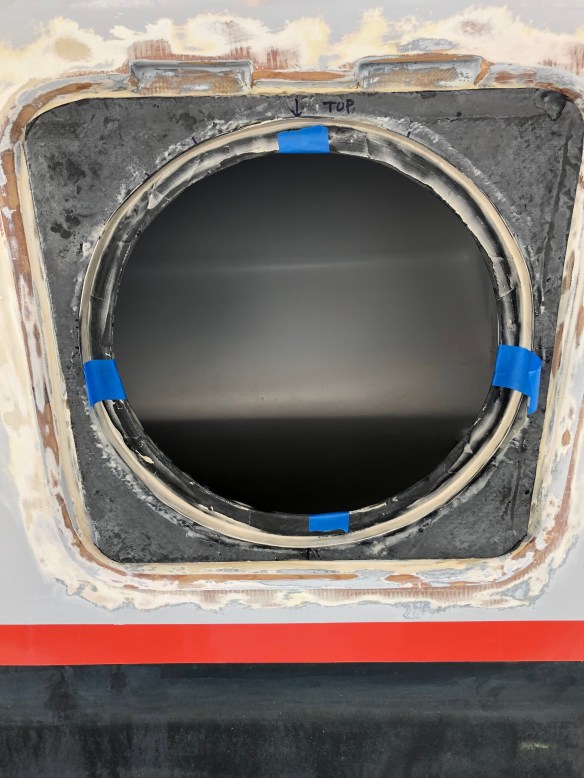
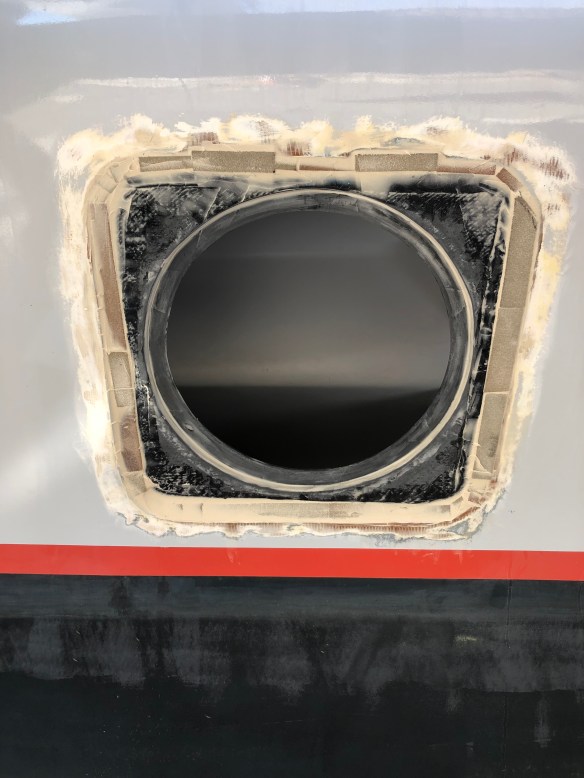
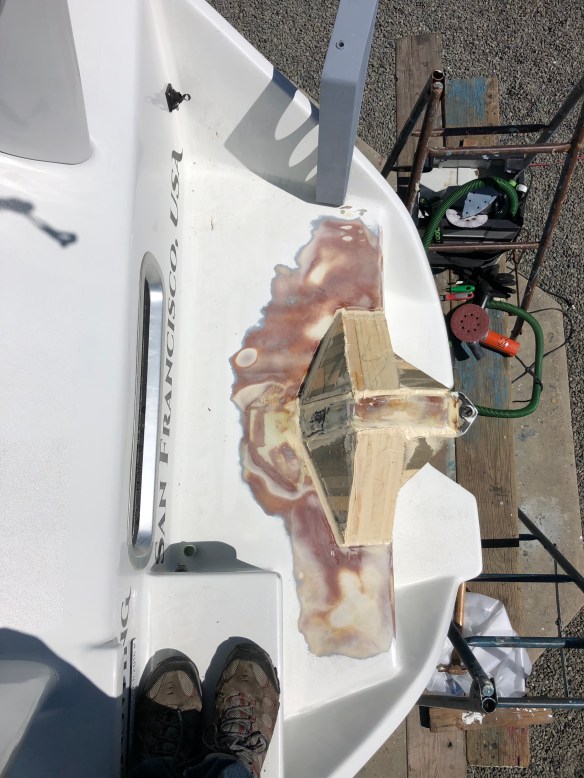
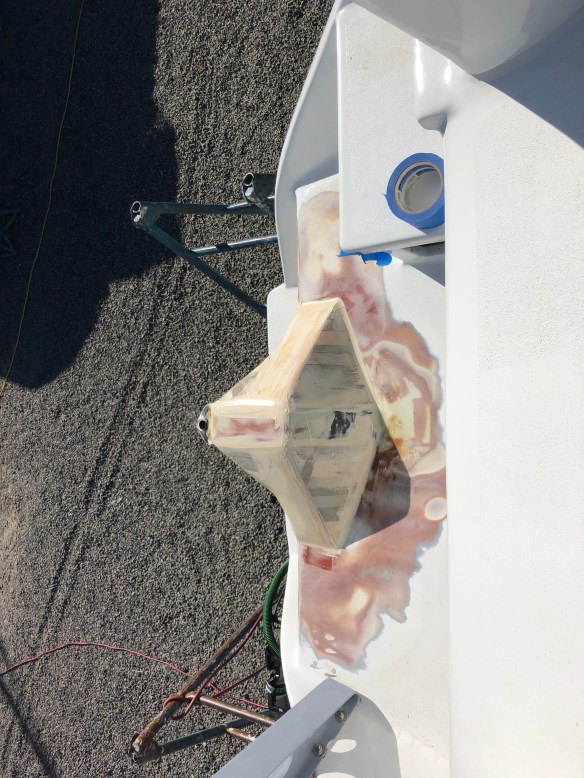
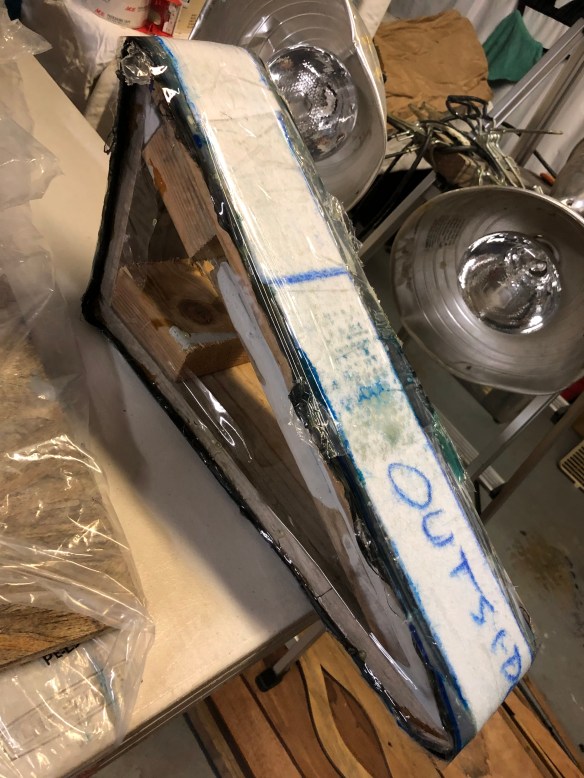
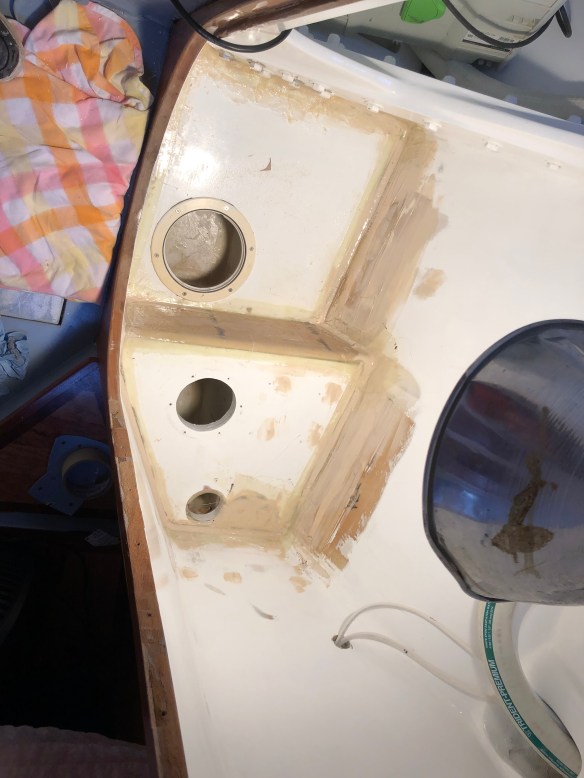
The hatch was purchased by Howard the hull builder and I had checked it off the list as done seven years ago. But looking closely at it now, it’s dangerously misused as a hull-side hatch. Should only be a light duty cabin top install. The two plastic legs barely grab the frame. It’s gotta go. Skateaway Designs provided us the drawing for a proper ocean safety hatch, and I’ll be relieved to NOT see the water racing by anymore. That stuff is cute for watching fishies in a pretty anchorage, but No Thanks at 20kts and nasty weather. Over the weekend i started making carbon and foam parts. 


The square piece will get bonded to the hull where the old glass hatch was. There will be an outer door that’s flush with the outside of the hull, and an inner door panel facing into the cabin. Kieth, that third photo down shows you the perfectly flat stopper ring that will take the neoprene for the outer door panel. Pretty happy how that’s looking.
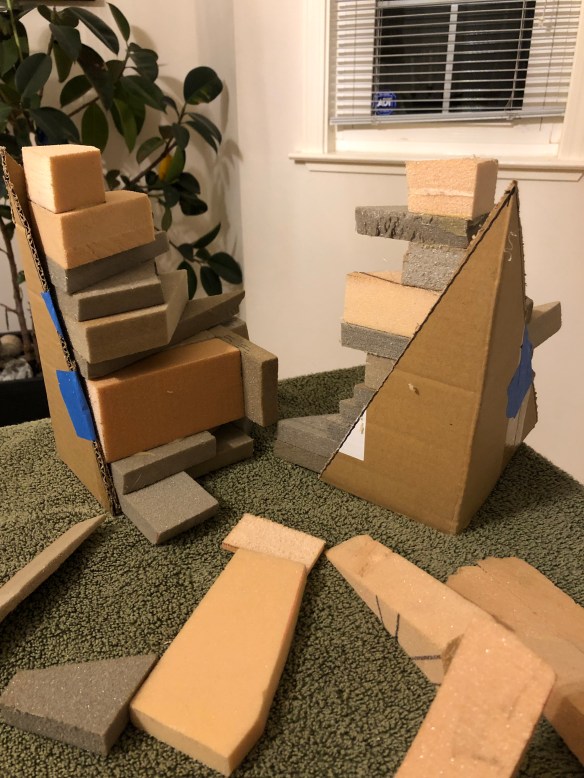
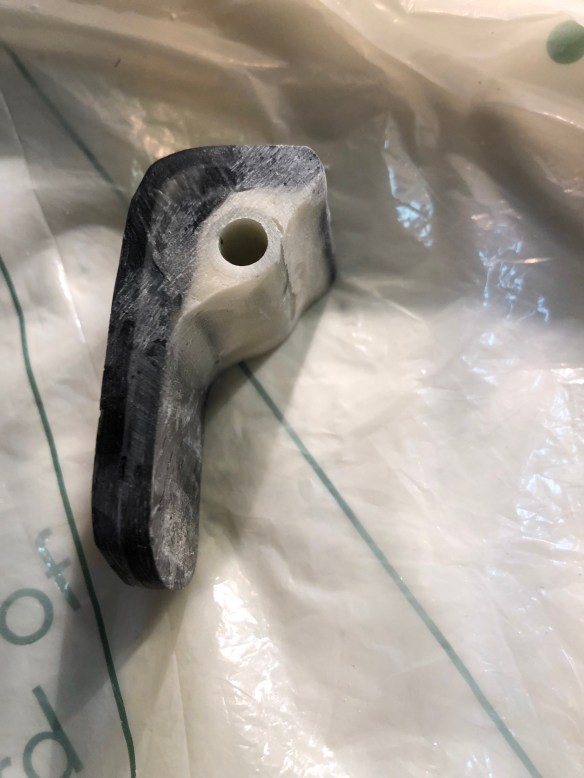
PS – the stack of triangles is a teaser of some new shaping for the rudder gudgeons tower.
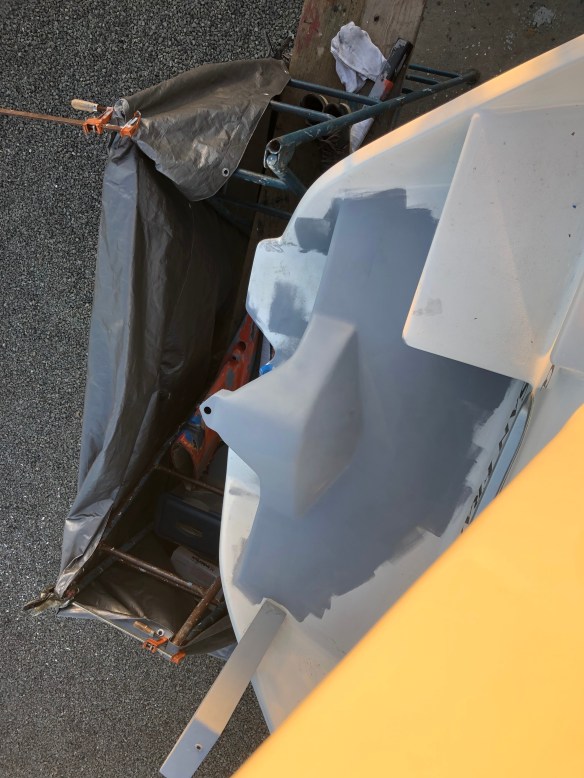
So this is Ravenswing’s third haulout since her marvelous launch day 3 years ago. Today we tried out the rail trolley at Napa. 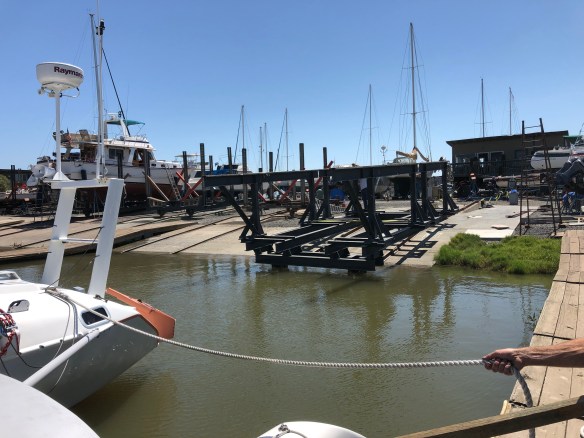

The veteran manager Tom hadn’t done a Multihull backwards there. It was a little tricky but now the stern work area is easy to get to. Otherwise it would have been WAY up in the air hanging over the steep ramp.
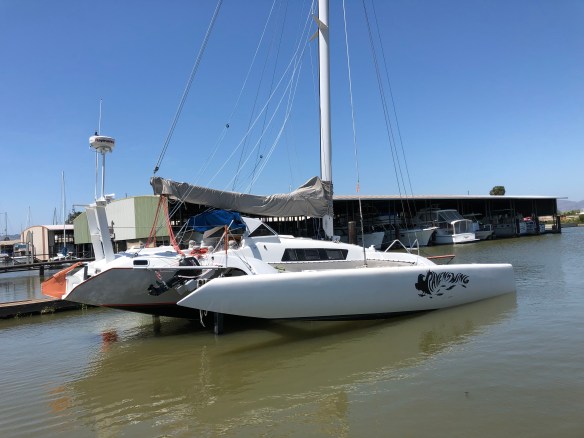
I’m telling you guys – seriously – I spent a few hours looking at everything that makes her go, asking the gods, “what else”? needs attention before heading south. We’ve redone the daggerboard, rudder, Autopilot, mast, boom, tweaked sails and running rigging, continue to refine electrical and plumbing. I think these current three reach the end of my worry list. But go ahead, anyone who’s sailed with us, do you have any concerns for us? Let’s get all the bugs out now.

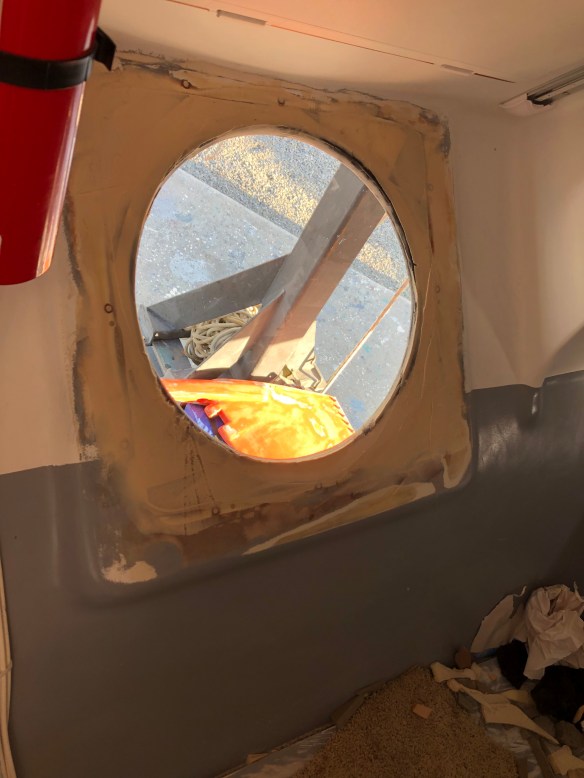
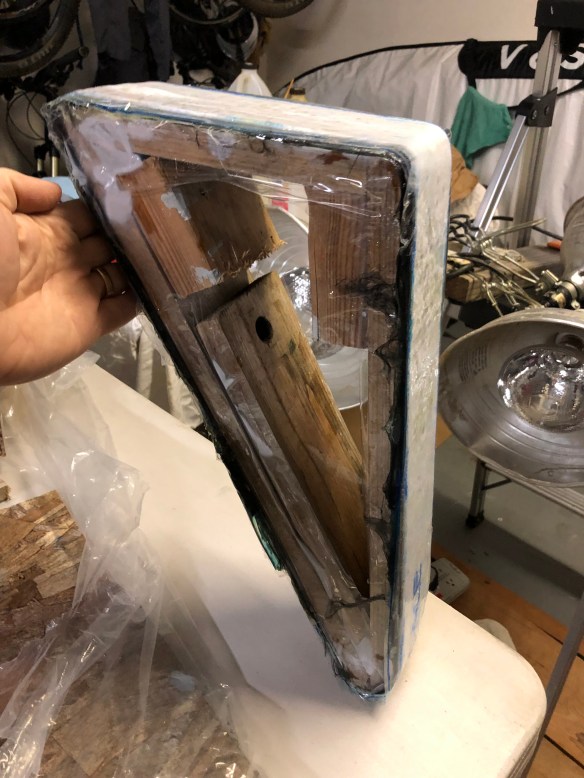
 Keith will like this angle, showing how the temporary escape hatch cover is flush with the hull. The real one is back home for final fairing and paint.
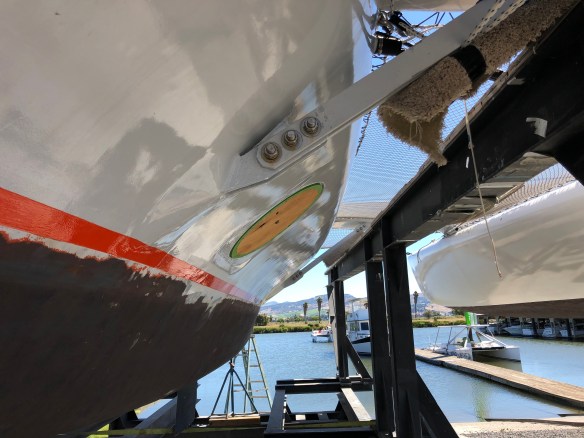


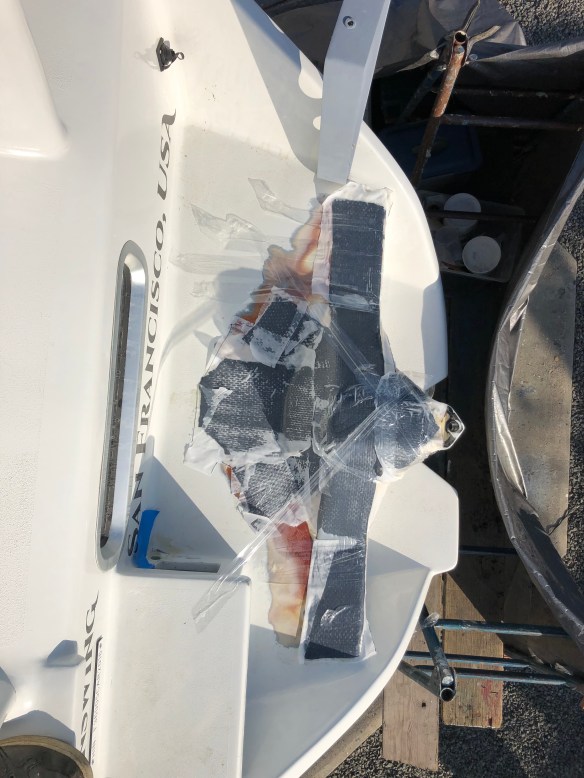
 Yeah locals, legendary crew Dan M came out and was immediately put to work. He wonders why it’s called peel-ply, when it doesn’t seem to peel so well…

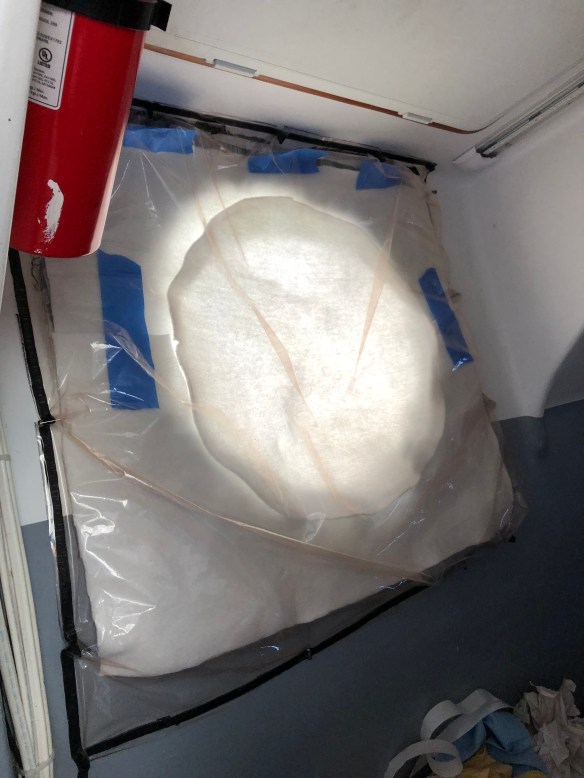


 Pulling the vacuum on both sides of the hatch area at the same time was pretty fun fabrication stuff. This one came out very nicely. Fairing went quickly in the hot weather, and the new work got a first primer coat Sunday eve.


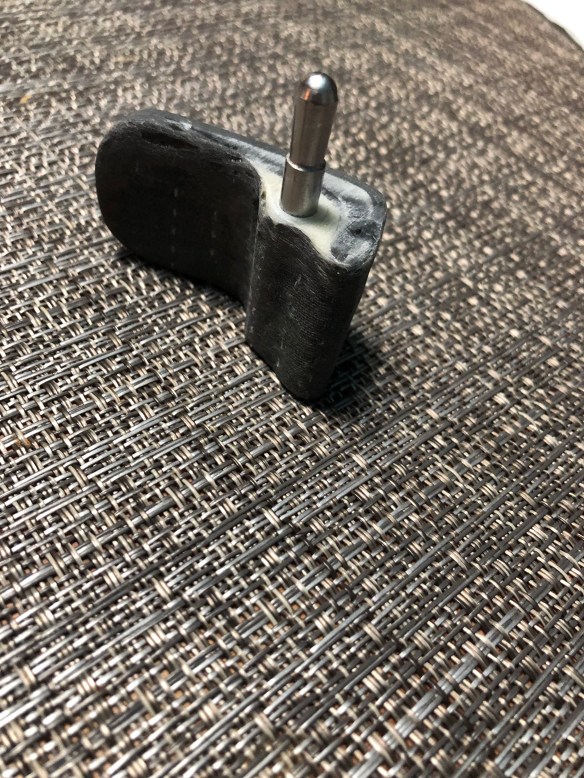
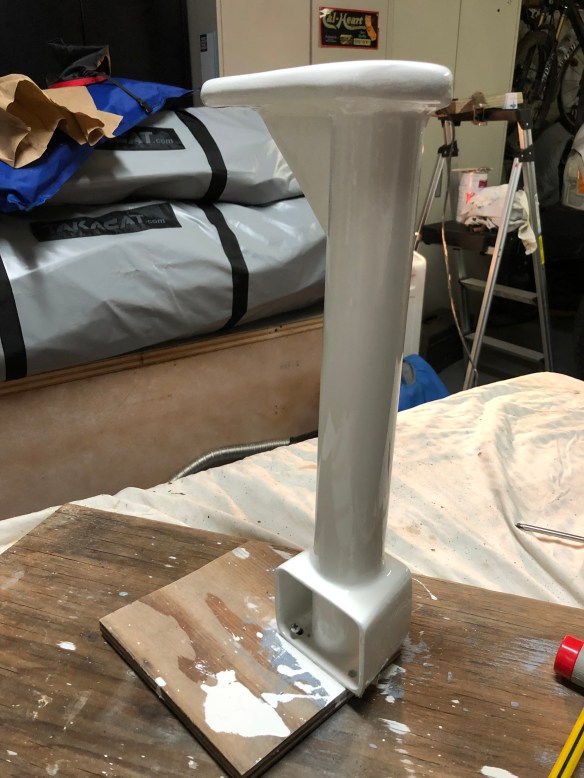
 The stronger gudgeon post looks like it should have always been there.


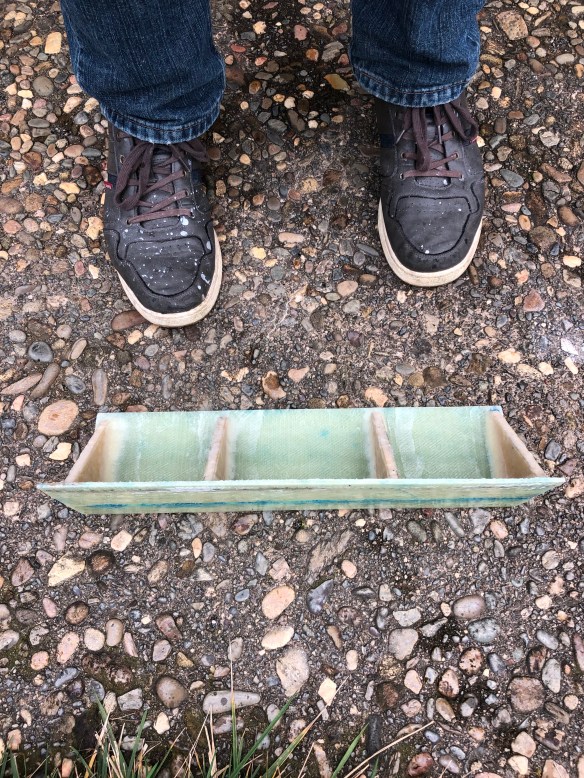
 The gudgeons themselves are nice and burley. Here’s a look with the paint stripped off.
  So now it’s back to as-launched, and part two is forming transverse bracing from the top gudgeon down to the back deck. Lots of playing with foam core today, including some last scraps hot-gluing before bed tonight.


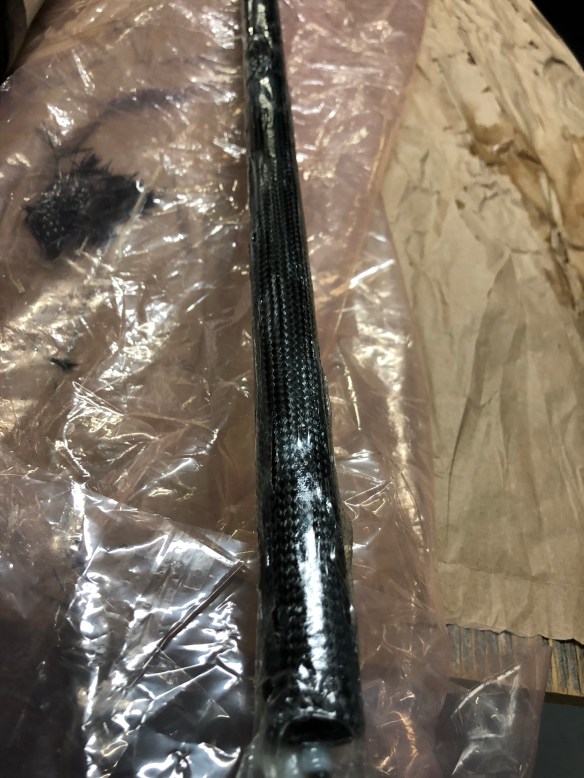
 then a 6′ piece of tubular braided carbon from Soller Composites (easy find online) for about $10, and $13 of their tubular shrink wrap.
  Rough sand and alcohol clean the tube for epoxy grip, then slide on the carbon and zip tie the ends to hold it tightly in place.
 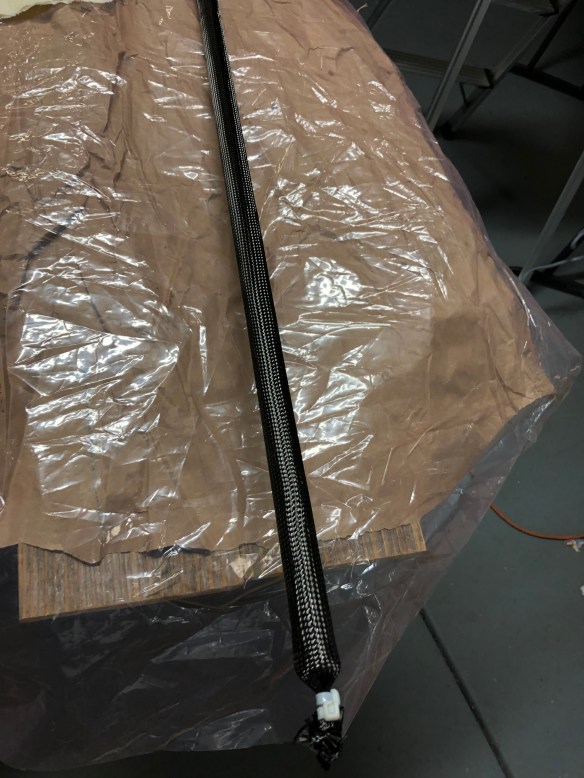 Make a big mess by hand messaging the epoxy in to the weave. Be very manipulative- remember my rant a few months back about properly saturating carbon cloth.
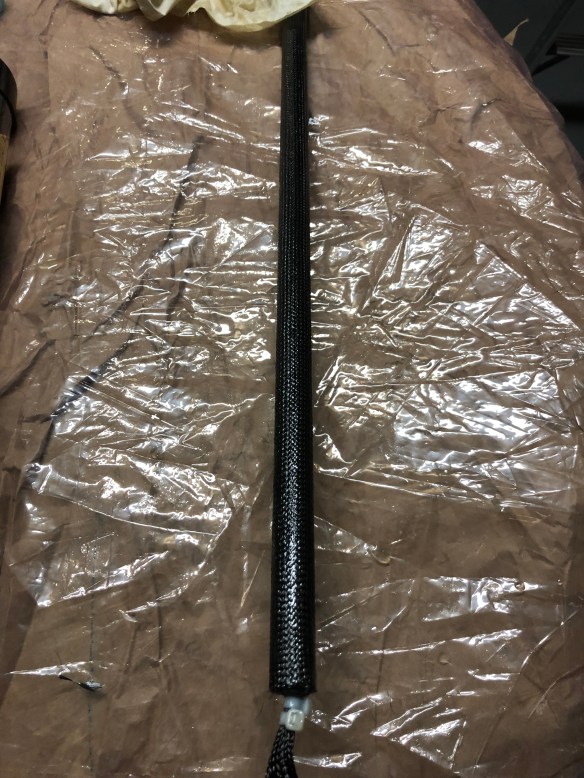


 70lb Lola and I had the Takacat up to 17kts, so this feels plenty fast for Ravenswing’s excursion boat. I told Jeanne we finally had this item on the list properly sorted.
 Our boss in red, and Carlos the XO of the boat.
  I was very excited to finish a few seconds ahead of the new fully foiling tri. We have two of them here so far and hopefully SFBay becomes a showcase of this new tech. But this race wasn’t enough wind for them to fly away from the rest of us. (Check out the helmets!)
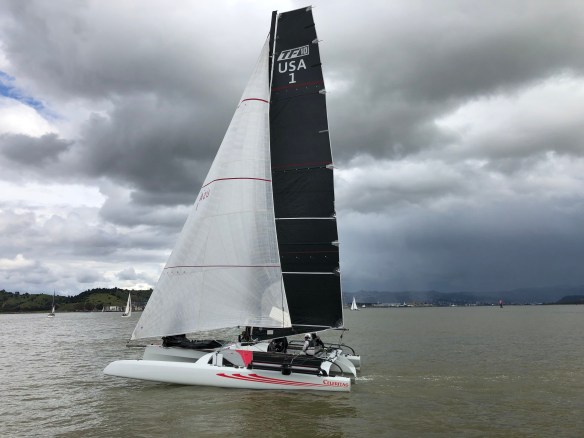
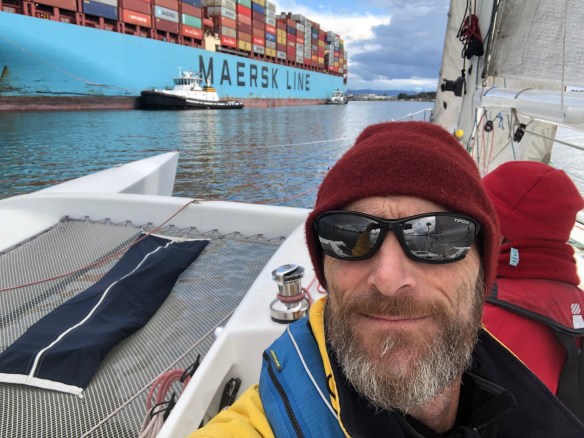
 We finished the day headed back to Rick’s Oakland dock with a close up of a huge container ship. The tugs are tucking it in between the others under the cranes.
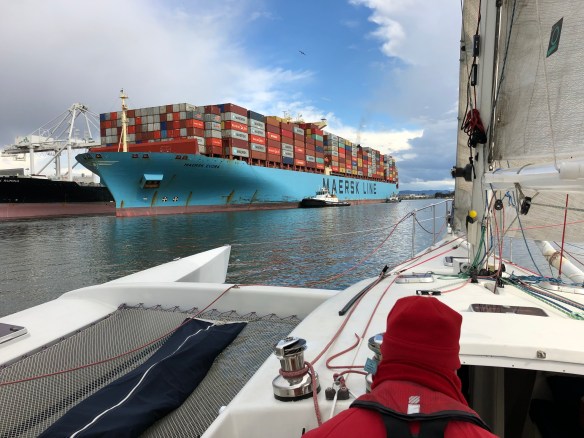


 Then it’s down to the boat for a trial fit.


 Drew had his 10yr old son and an Opti sailing friend driving the FBoat. LOVE to see the magic being passed along to the next gen. :)
 In those photos the inside of the tube has no reinforcements yet holding it in place.
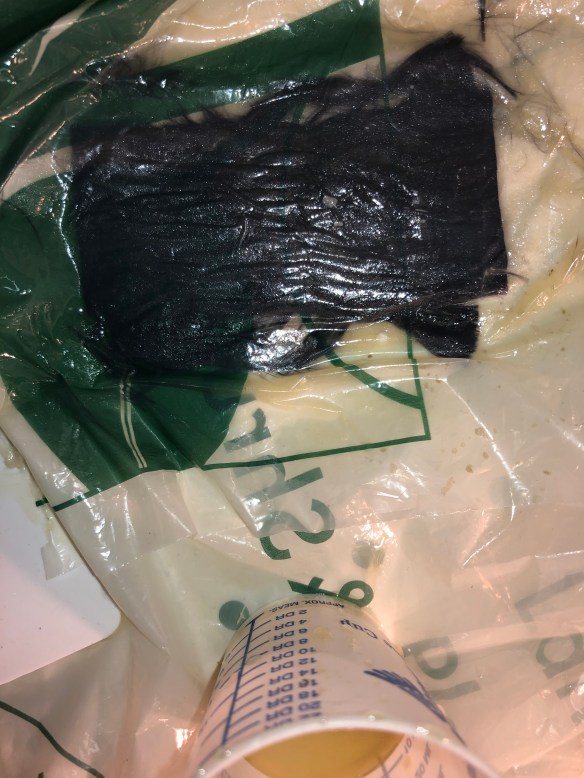 there’s a temporary piece of plastic above and below this fabric, and I’m literally mashing the resin down into the three layers of fabric. Load up your spatula and gloves, and really press the resin through the carbon. On bigger projects we put it in a bag, place on the ground and walk on it. If you don’t ensure this extreme of resin penetration in your wet layups, you’ll likely find disappointingly dry fibers when you cut in to a sample job. That’s not a strong composite.
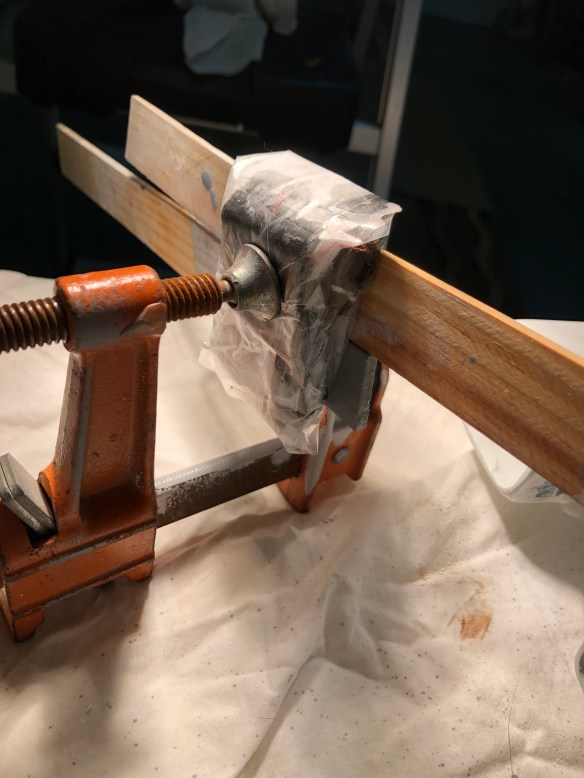
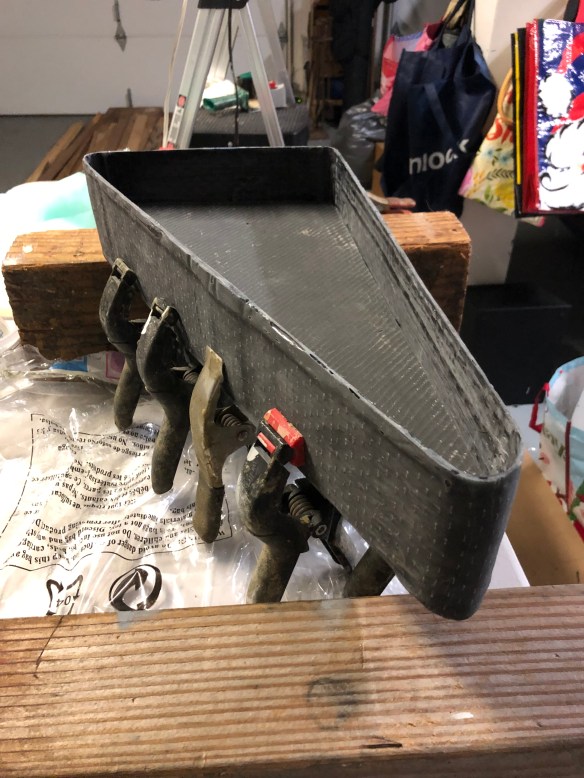
 Here we go making the wood form, applying four layers of 16oz uni fabric wrapped all the way around and 2″ overlap tabbed.


 Took it to the boat this afternoon and it fits well. Tomorrow it’ll get a stiffening panel to fill the interior of the triangle.
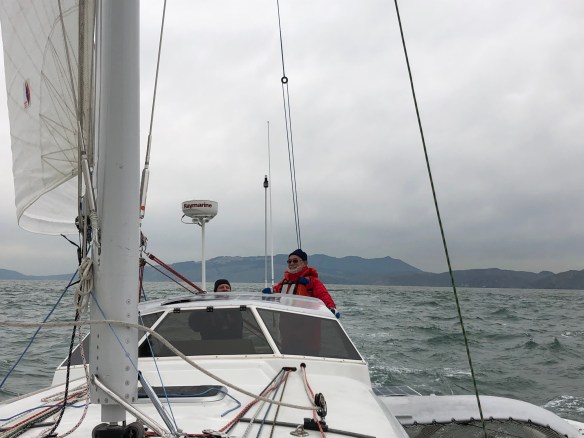 We found a little breeze a couple miles out past the Golden Gate, and ignored the clock enough to be putting on sail covers in the dark. Got to show off the deck lights to the boys.


 Time to go get coffee and cocoa fixings to beat back the weather!


 the base bracket is an offcut scrap from the first (didn’t like the feel) steering iteration. Repurposing these quality carbon pieces saved a bunch of time, and was free! The bracket will mount in these four holes, and the power cable gets an outlet plug in the transom.
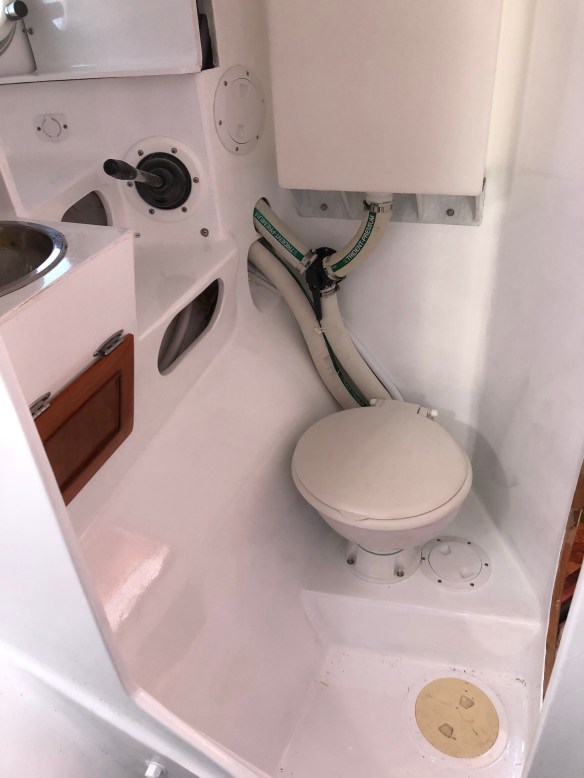
 That hideous photo is after hand pumping three buckets and trudging them up to the Marina toilet, then ripping out the tank that we had spent days building a few years ago. GROSS! (If you really want to see the old tank, search on the Plumbing link at the home page, back in late 2015 I think)


 I doubt it will plane.