
F27 owner Charlie Jeremias apparently didn’t get too turned off during the SoCal TaTa rally with me prattling on about the boat build; in fact he wanted to come work in the shop. So we figured a good day of vacuum bagging work would be fun. (Now if I could just get him back here to do the fairing…)
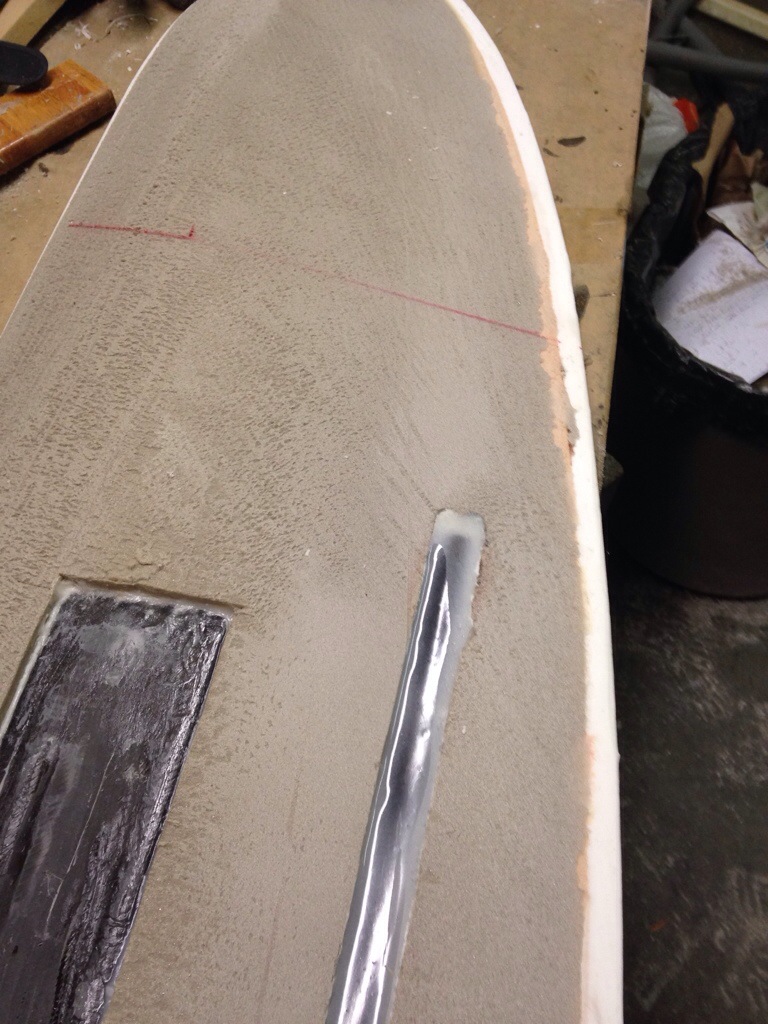
We tackled the last of the net lashing tubes – the 14′ sections on the float decks. Here’s the 3/4″ PVC bonded to the deck with epoxy putty fillets:

Then I had to hurry with the wetting out of the fabric rolls as Master Glasser Charlie confidently laid out the 3 layer lamination:

Here we’re ready to add the peel ply, perf’d film and breather before closing up the bag:

Then with the vacuum pump running we focused on the replacement carbon tube to encase in the rudder stock (next topic). The next morning I happily unpacked the bagging supplies from the float deck to see our new net lashing tube bonded in place. Came out just fine.

Once these tubes get faired and we cut the notches (same as was done on the beams and main hull), the float exteriors will finally be DONE!
Now back to the new rudder. At least the $100 Rockwest Composites carbon pivot tube showed up within 48 hours, so we’re quickly back in business. Charlie cleaned out that channel in the foam core to reset the proper depth. This time I used a more viscous epoxy and cabosil mix and pushed the tube in to a shallow puddle, and let that cure overnight. The next day saw further filling of epoxy mix to encase the carbon tube.

Now it’s game-on; get to shaping the rudder out of the foam core stock! This time I only cut three depth lines with the circ saw and went right to the power planer. The long process I described months ago on the first rudder was cut down by about 75%, and this one is being shaped better too. But of course if you don’t mind the power cord, the machine quickly chews it up.
 under the cord in that photo you can see the depth guide lines cut where the rudder face will be 1/2″, 3/4″ and 1″ out from the centerline. Didn’t bother to spray paint in the grooves this time as they are easy to spot as you plane away the stock. The trick is to leave a good 1/8″ or so to do by hand (shur-form) and not take the planer down to the depth contour line. Also, looking at Jim Antrim’s plans for the rudder trim tab I knew that carbon pivot tube would be close to the newly exposed rudder skin surface. Sure enough, you can see that it will lie about 1/16″ in to the remaining foam area. Tonight I back filled that channel back to flush with the rudder face – but here it is before filling in the gap:
Tomorrow we’ll finish smoothing out this first rudder side, and when satisfied with the shape we grab the carbon fiber 12 layers of 6″ wide that needs to have more of the foam core rebated back to add this stiffener fabric. That step will make more sense with tomorrow night’s photos.
