
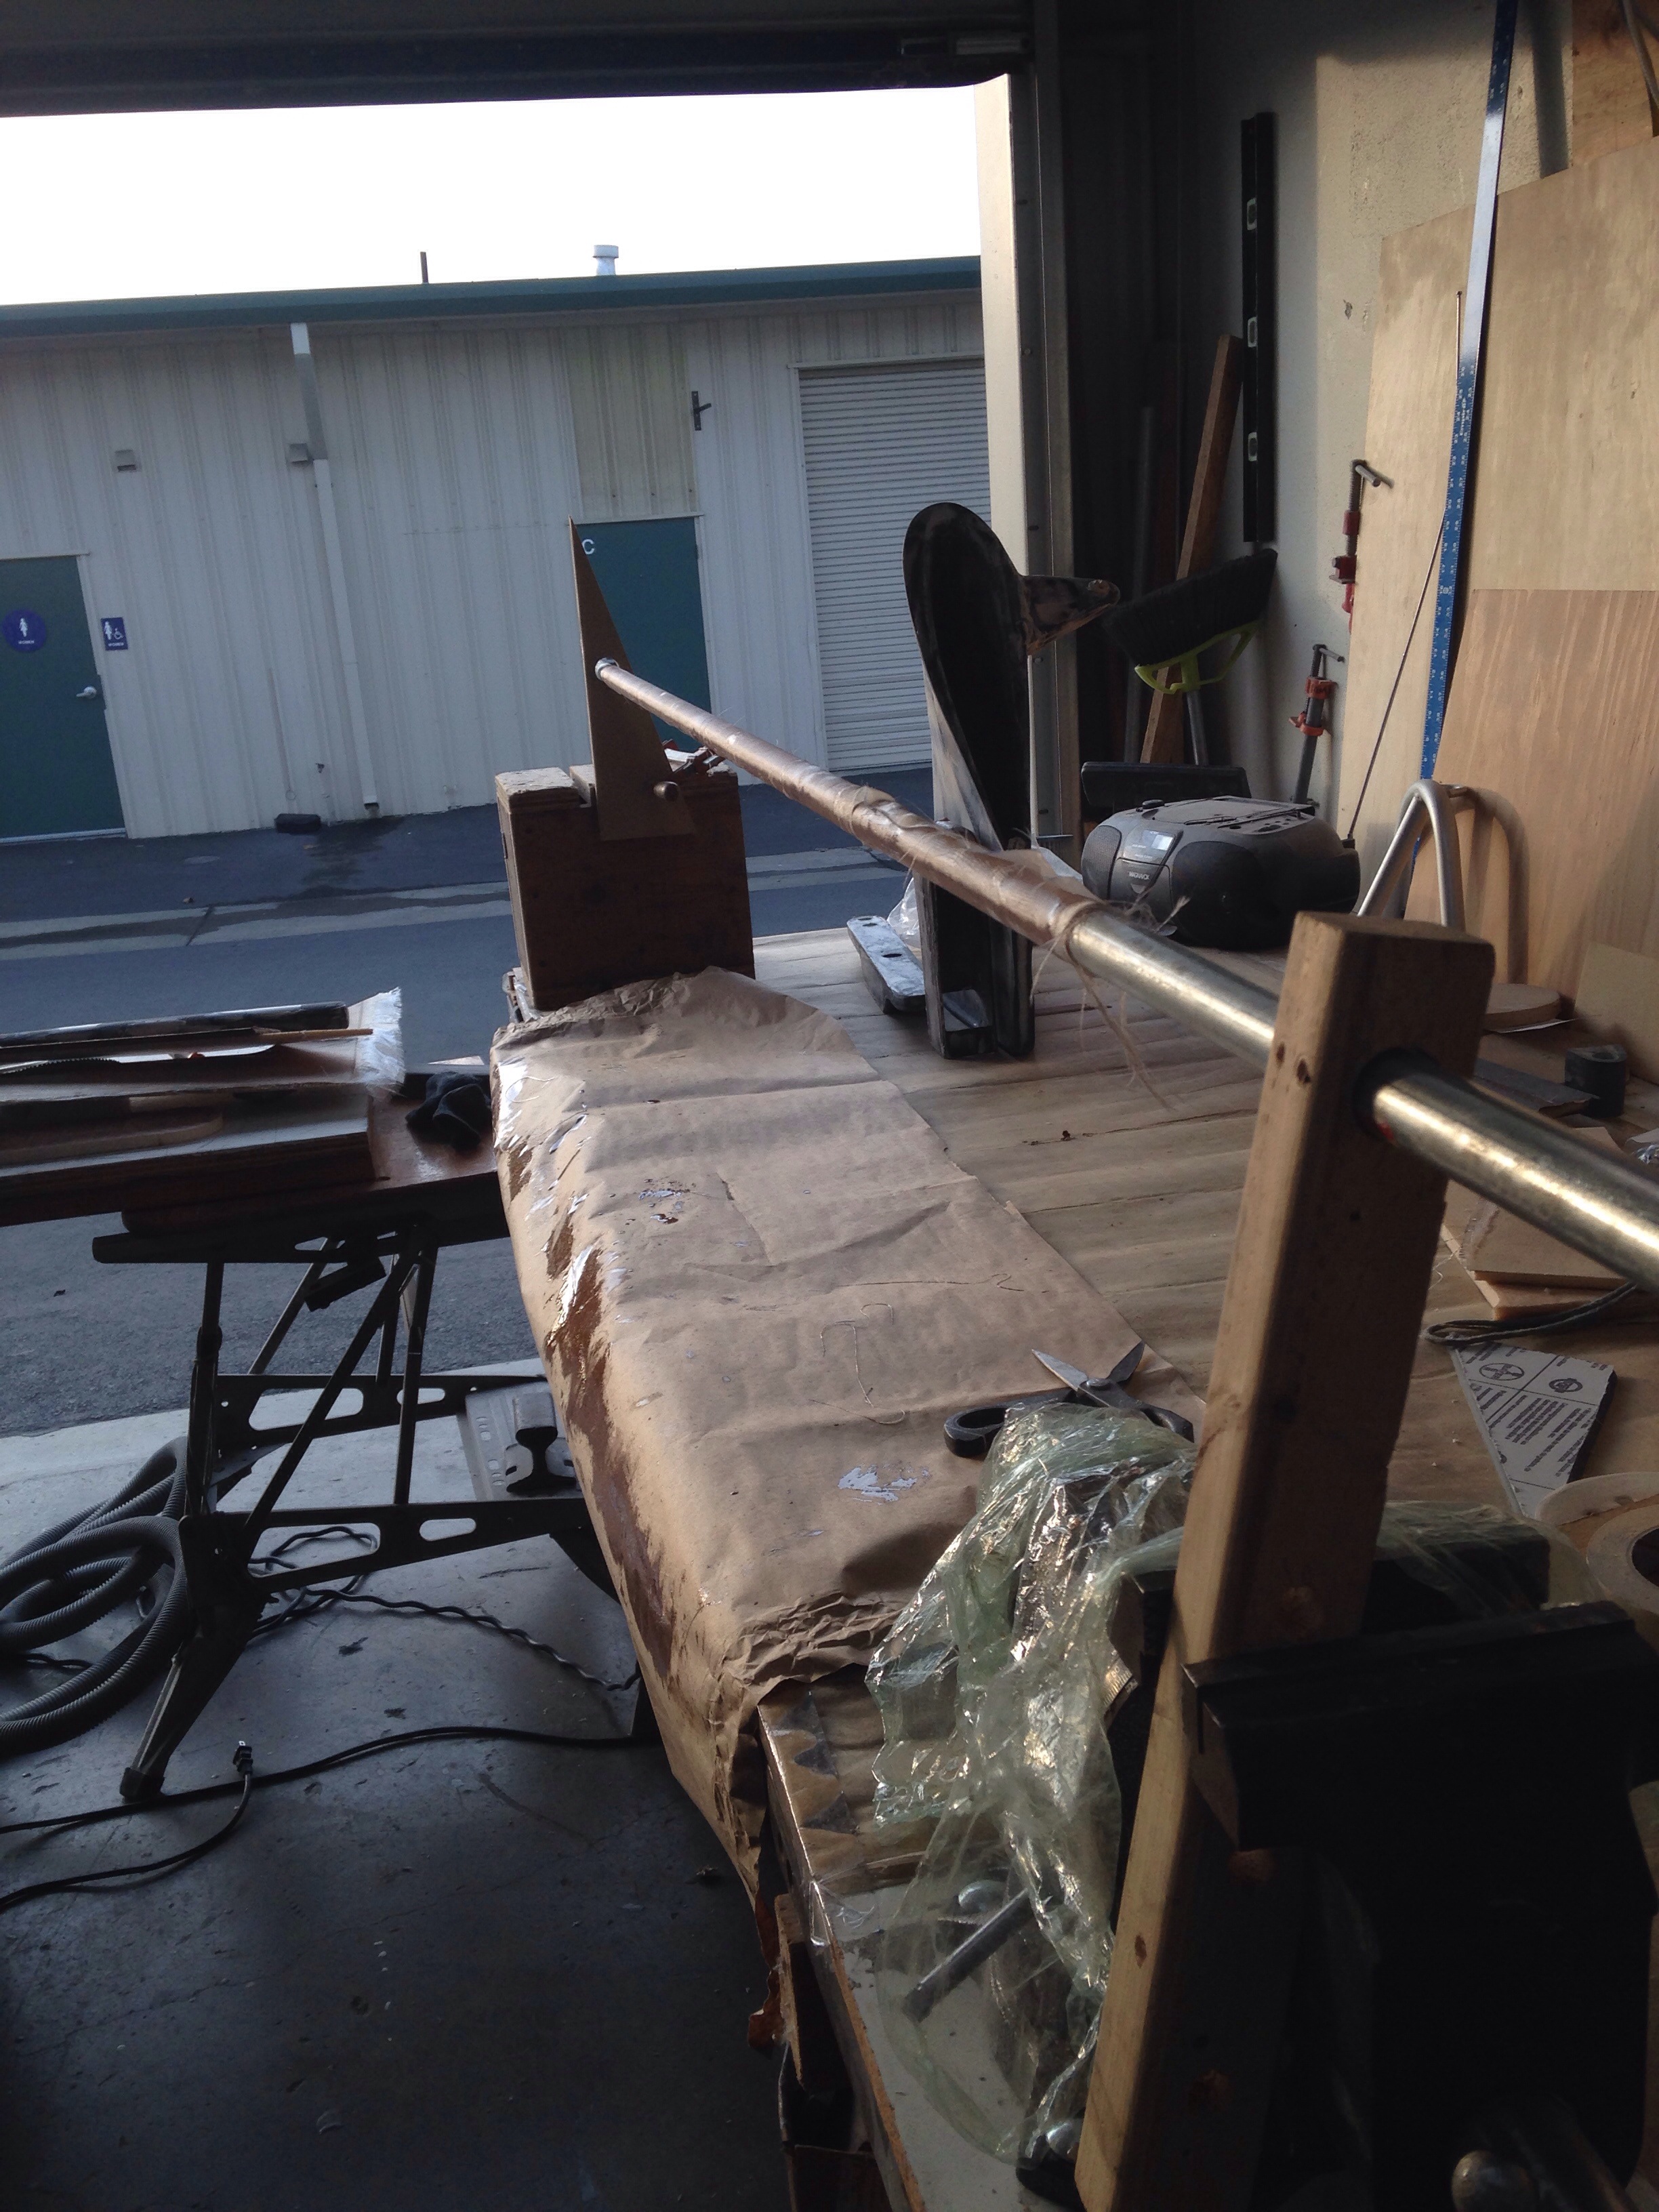
Since we’re saving time making the bow sprit from aluminum stock, that eliminated the anticipated fun of trying to make a carbon fiber tube. But we found an outlet – the six foot steering connection rod you’ll see soon between the new tiller pivot point and the rudder cassette.
I don’t have much success getting all-around-glassed parts off the mold or mandrel, So thought we tried the method where you start with a thin fiberglass layer and make a lengthwise slit to get the new tube off the mandrel.
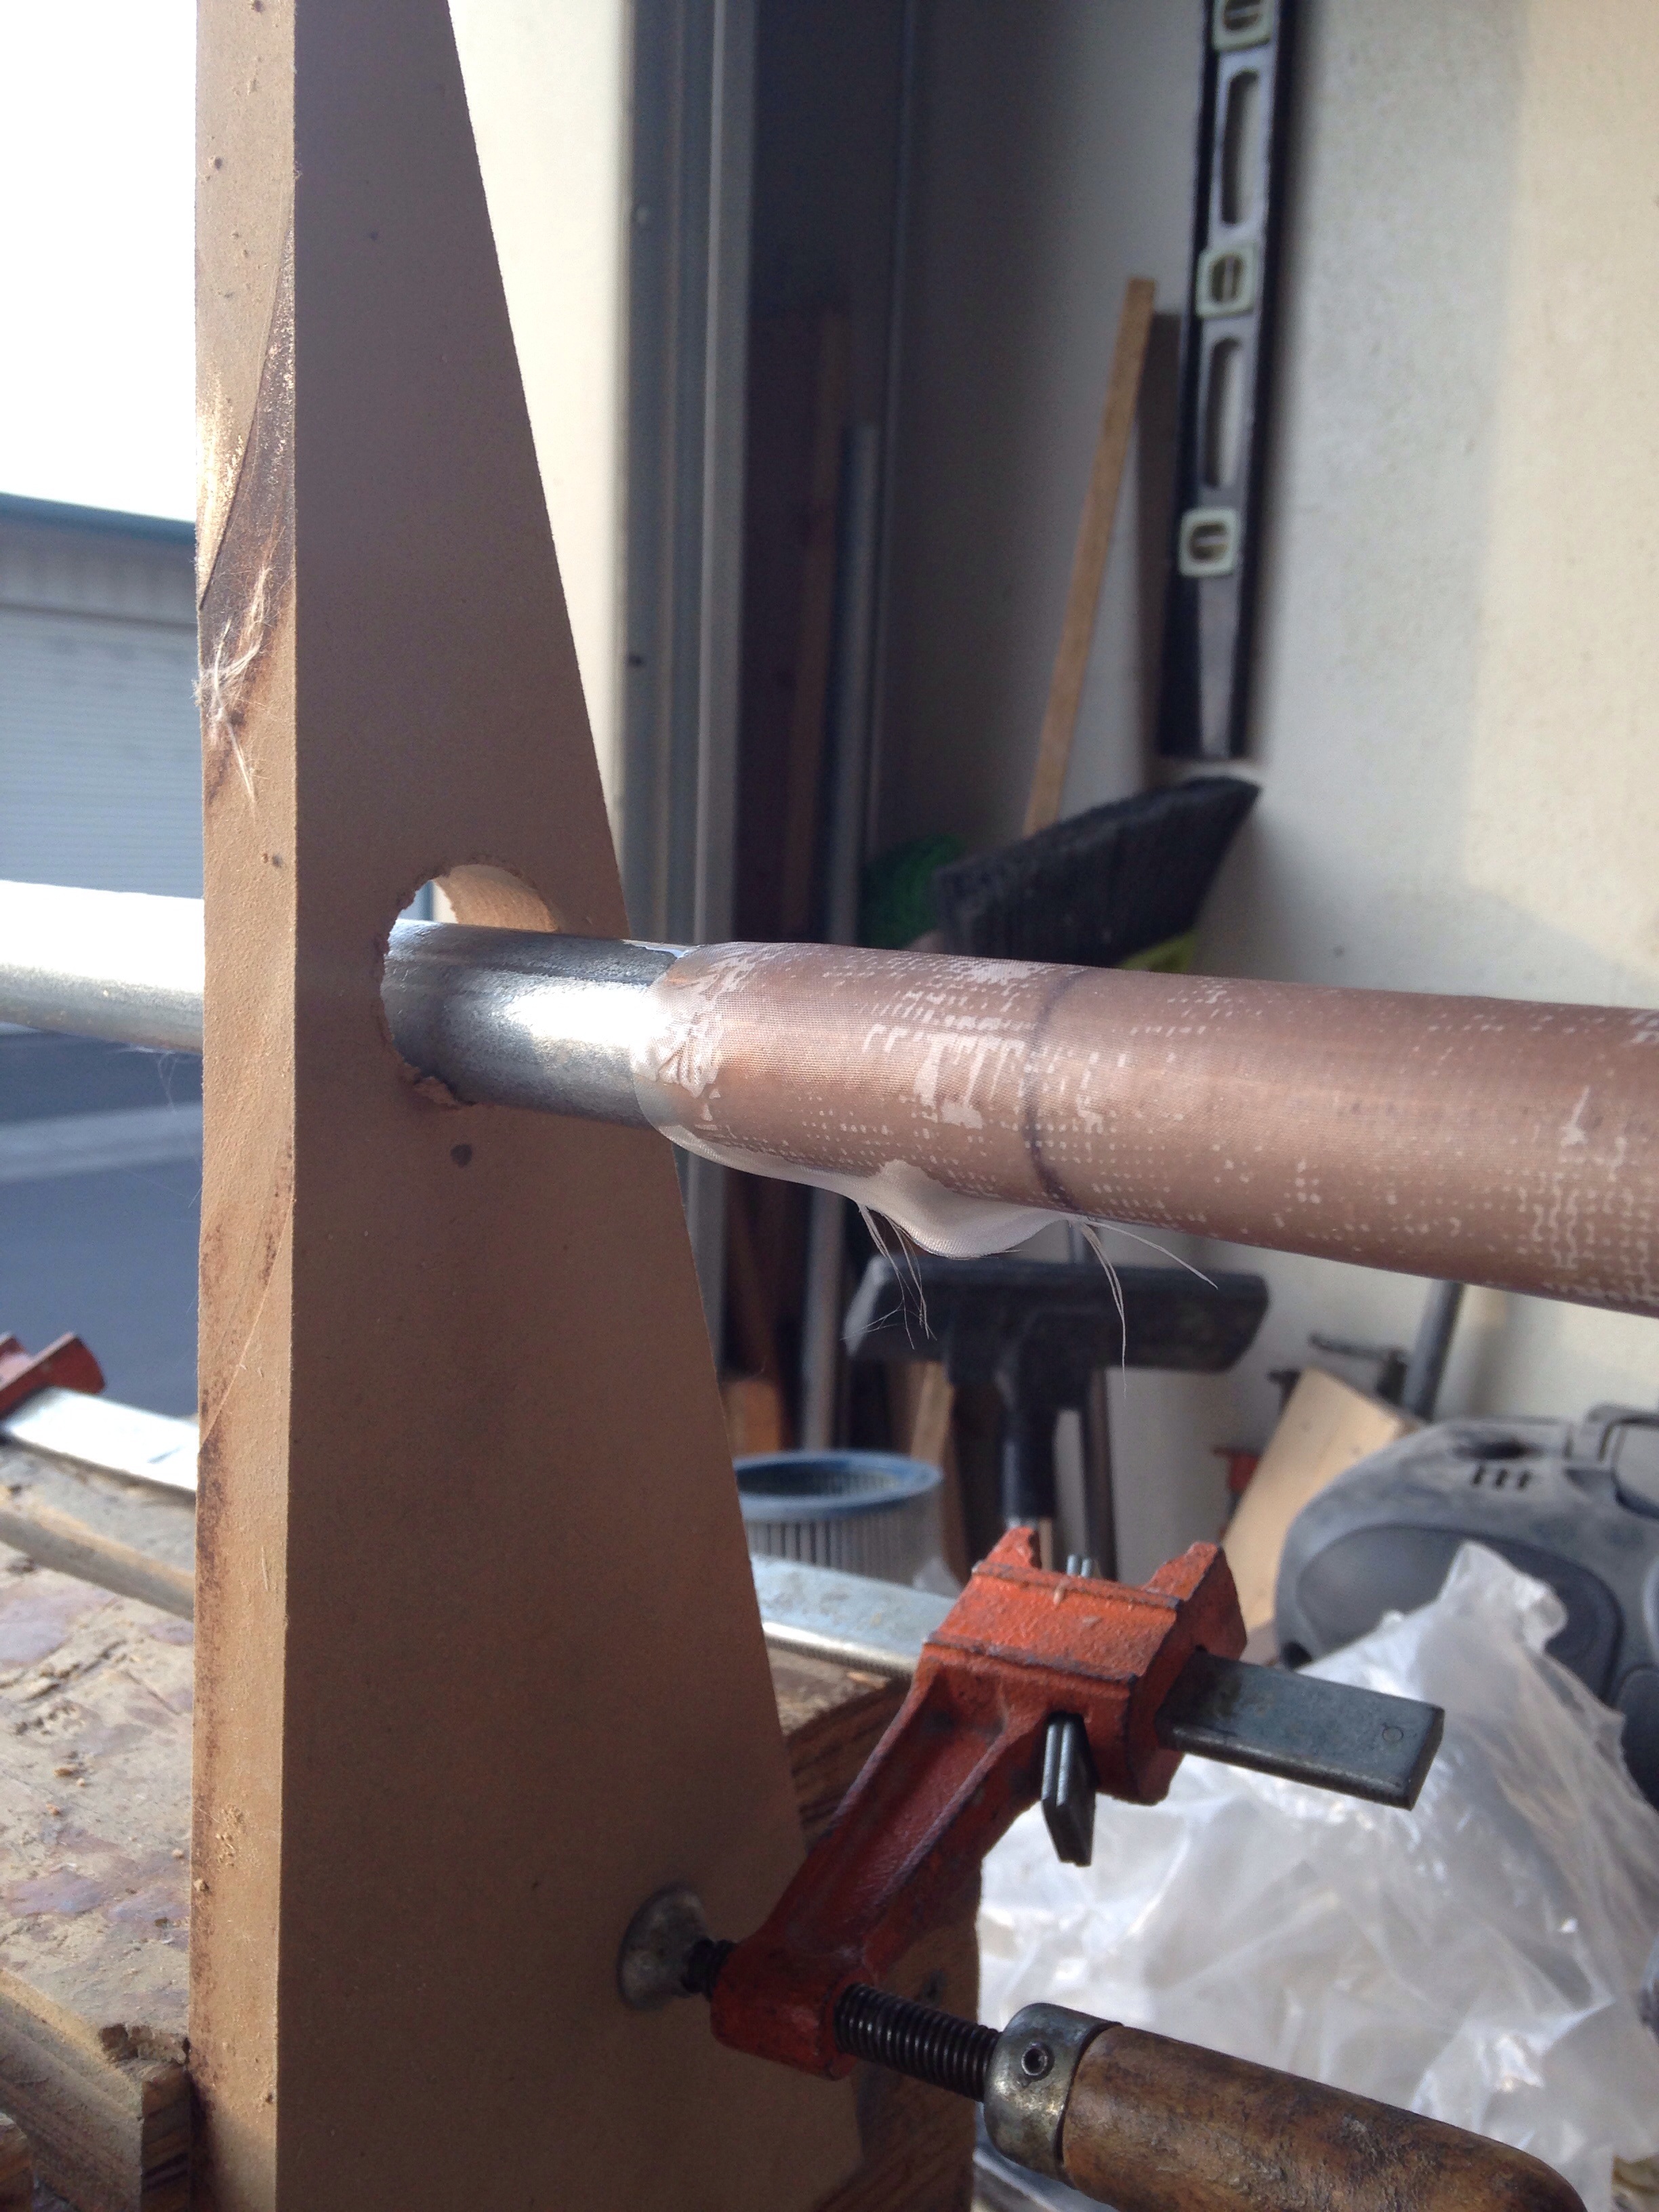

Once this thin tube was free, we rewaxed the mandrel (which was a piece of metal electrical conduit) and slid the tube back on with the idea that the finished carbon layers would not get stuck to the mandrel. Since we’re “free styling” on this project and it’s the primary steering linkage (a REALLY important part) it seemed that five wraps around with 9oz unidirectional carbon was prudent. Well that many layers of hot epoxy plus the vacuum bag smashing it in and no PVA mold release, etc meant no way was that finished piece sliding off the mandrel. So we made another slit and went back and resealed it afterwards. The result is a pretty thick tube that is comforting-ly stiff when you lean hard on it with no flexing.
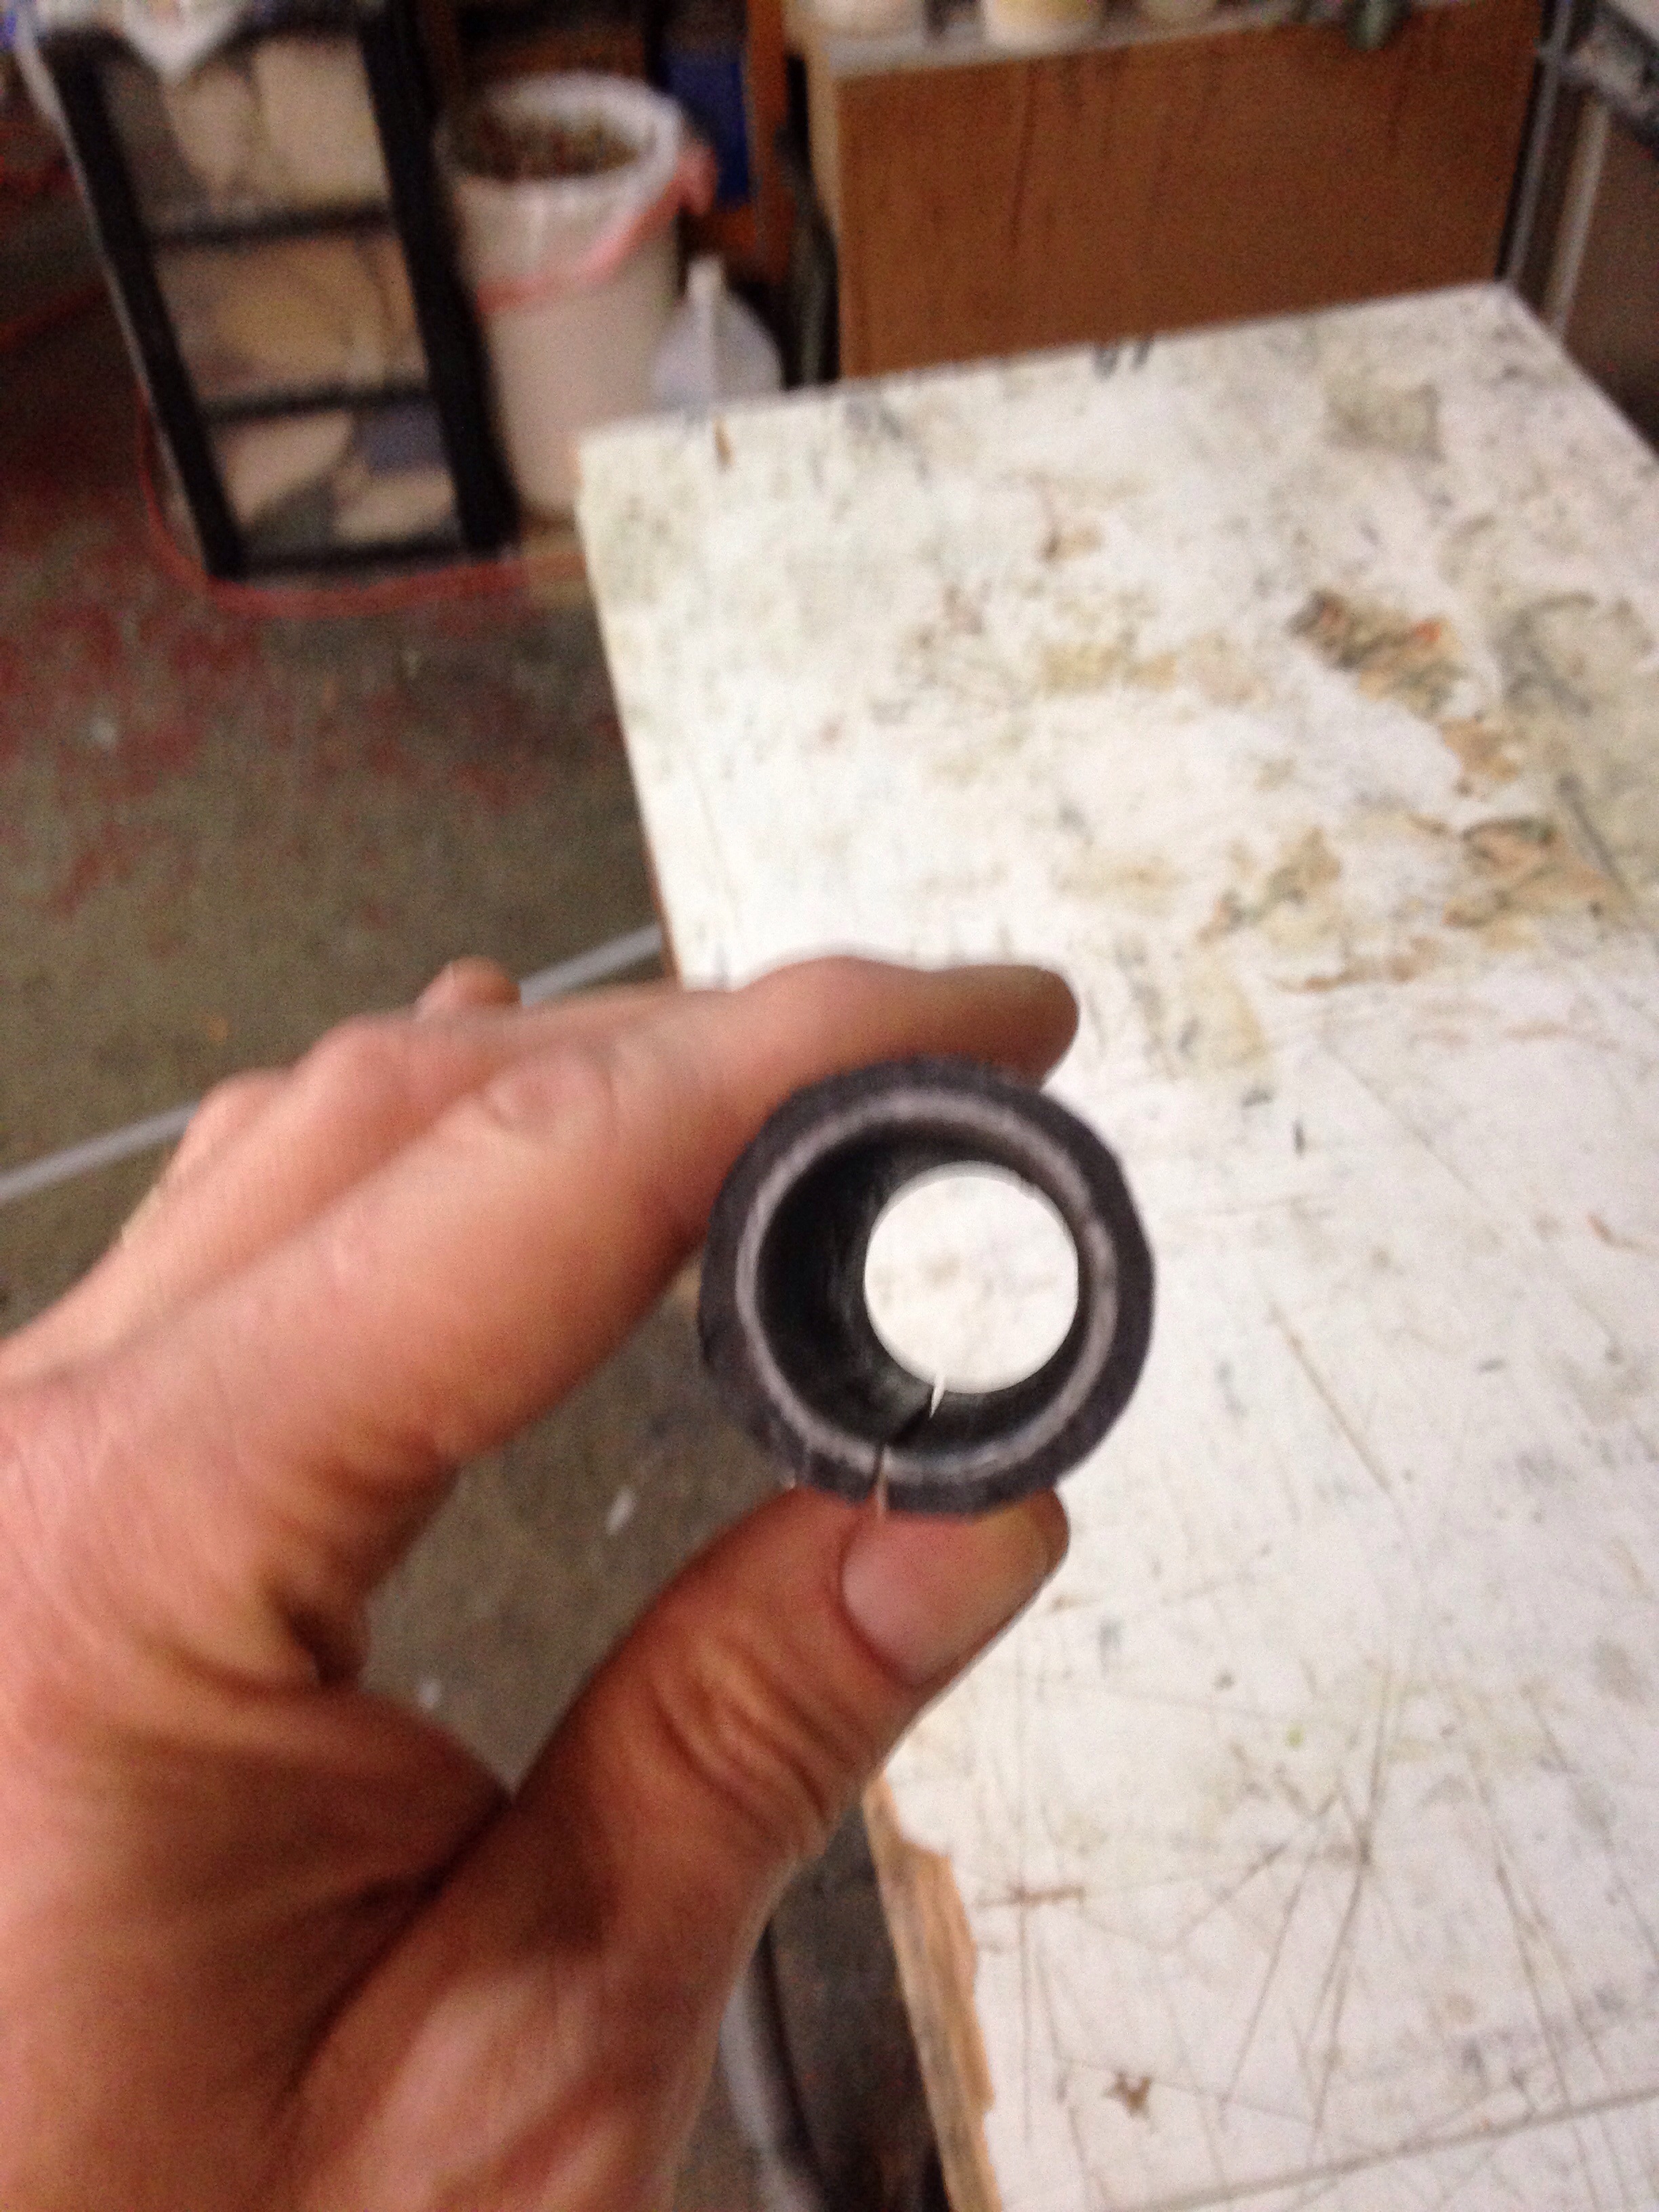

The only metal in the steering system will be stainless steel nuts and ball joints embedded in each end of this tube, plus the bolts to connect pieces. Everything is built now but the rudder bearing I bought isn’t right and needs to be replaced. So stay tuned for the completion soon on that project.
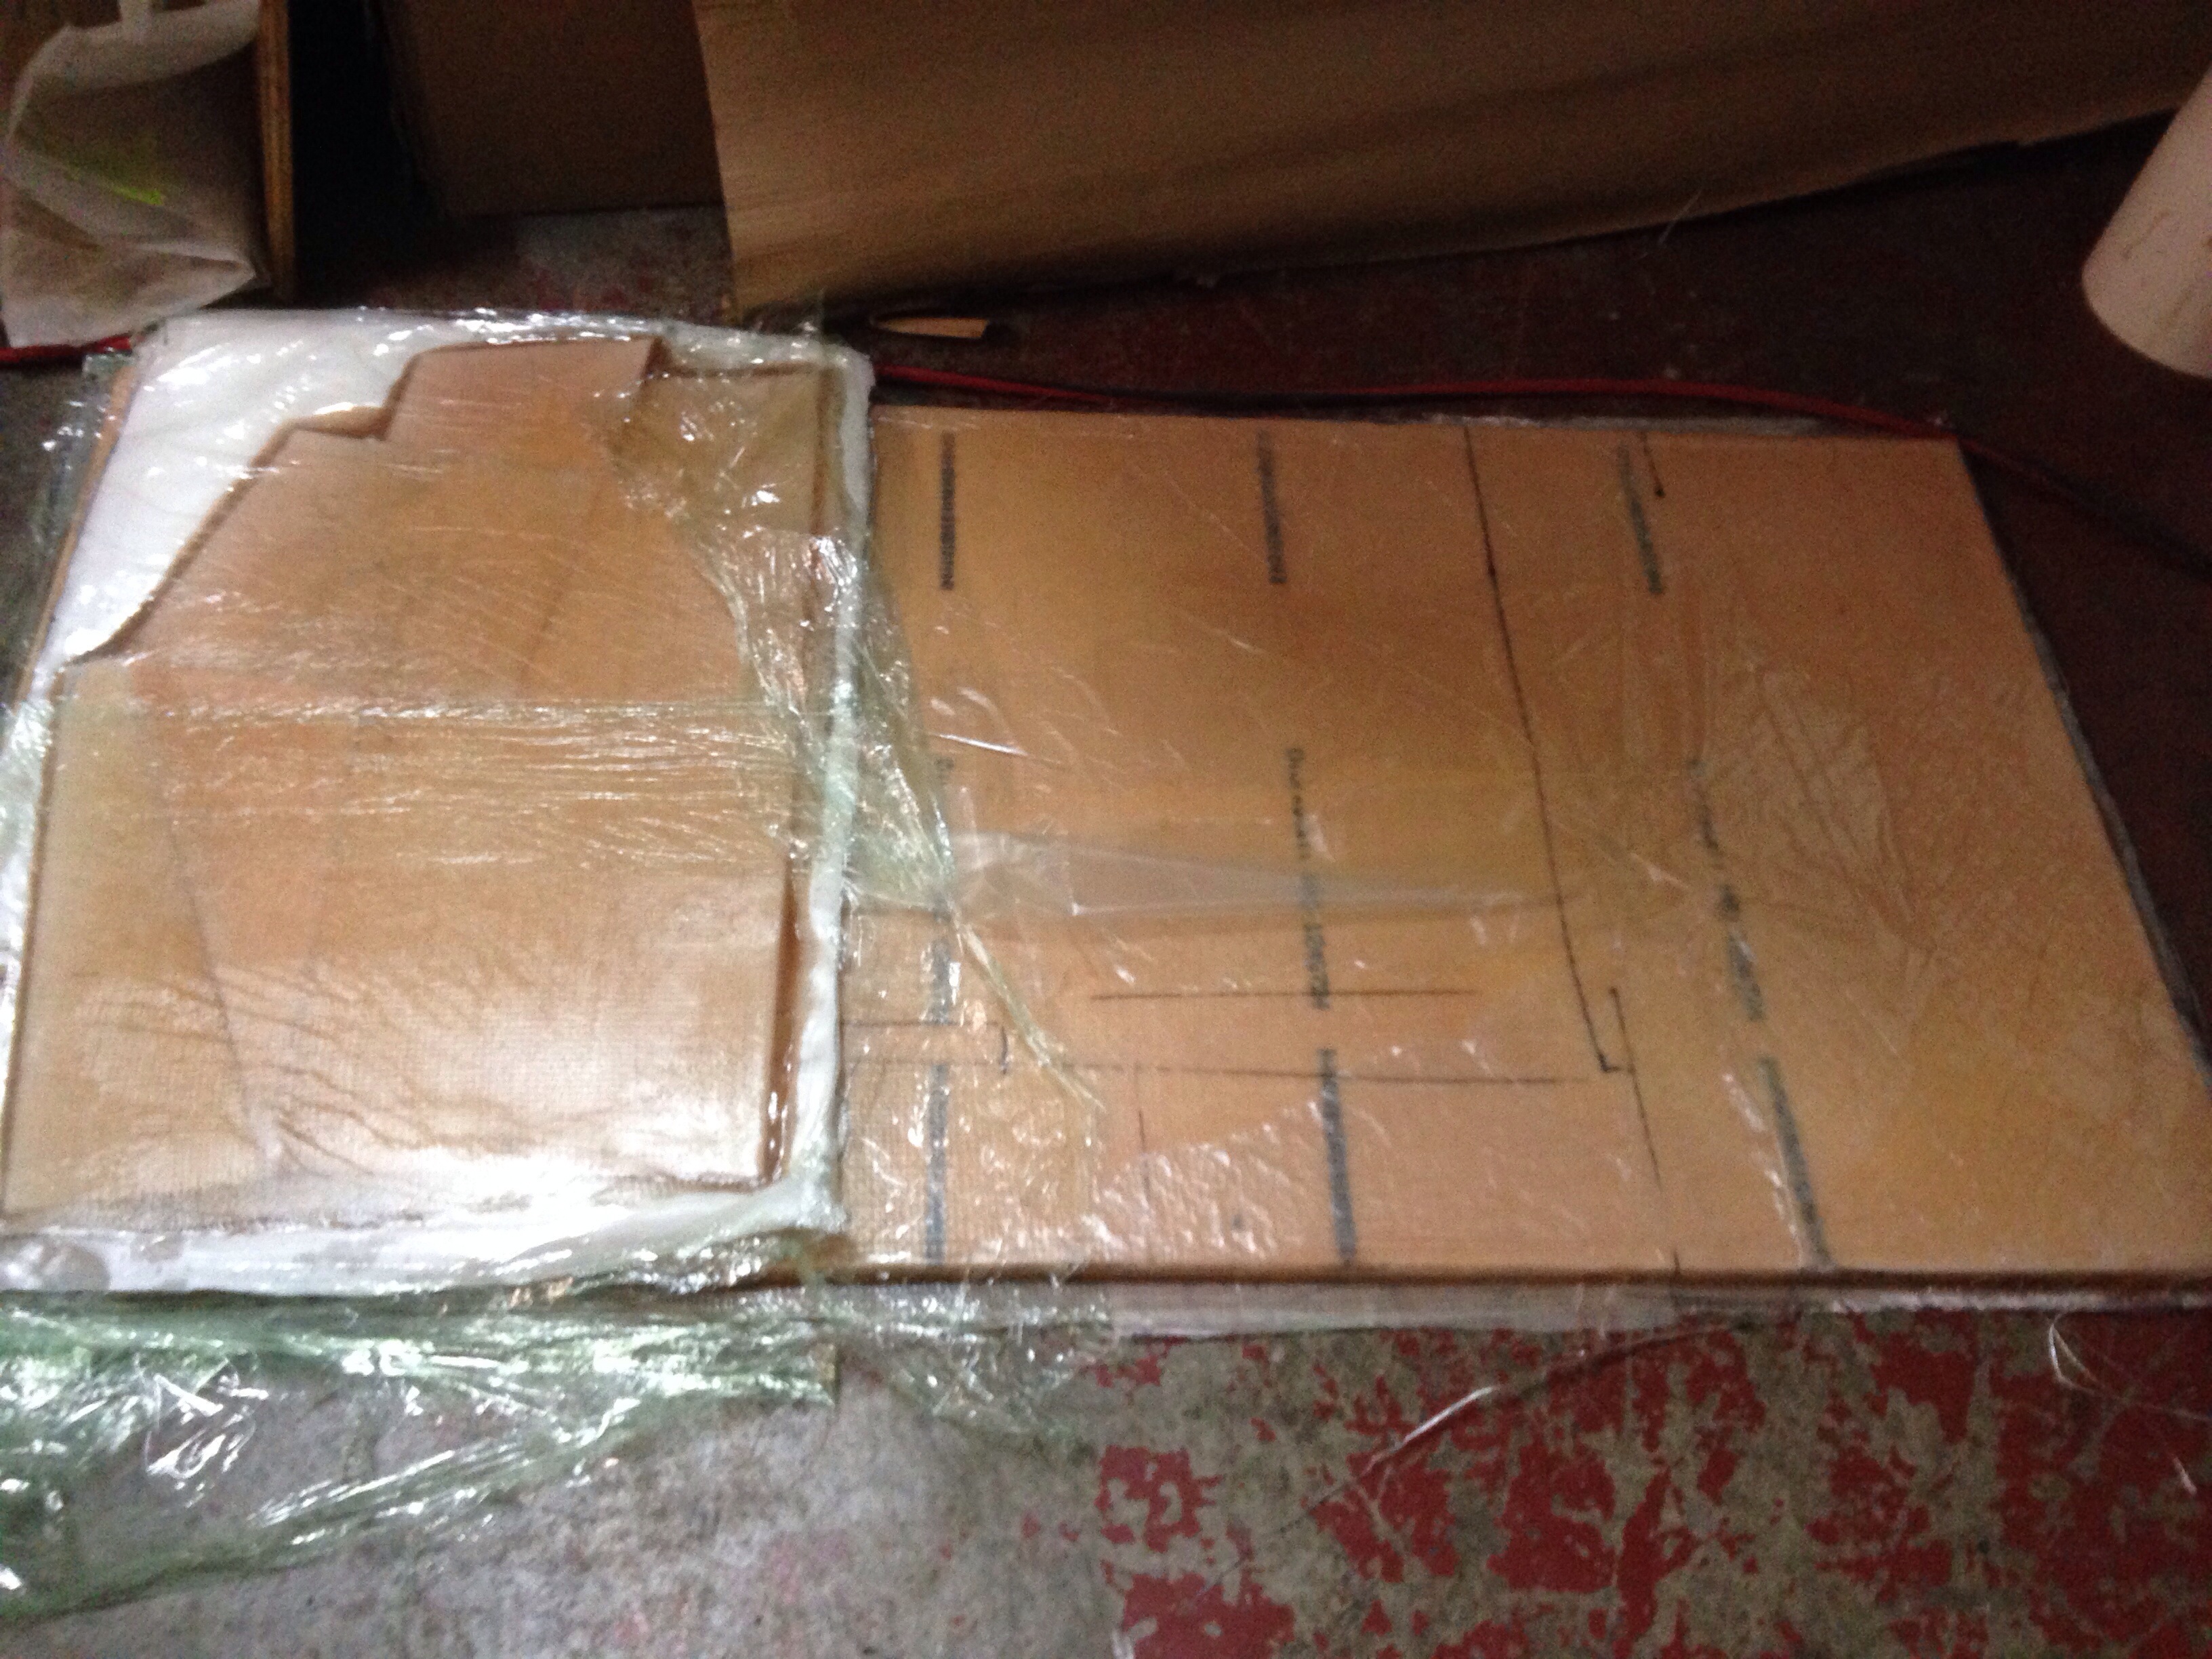
And now to cardboard… It’s not the most elegant way to dream up bathroom cabinets but it works for us. The trick here was designing around the hand pump for the Lavac head and the big mounting brackets where the port side forward beam bolts to the center hull.
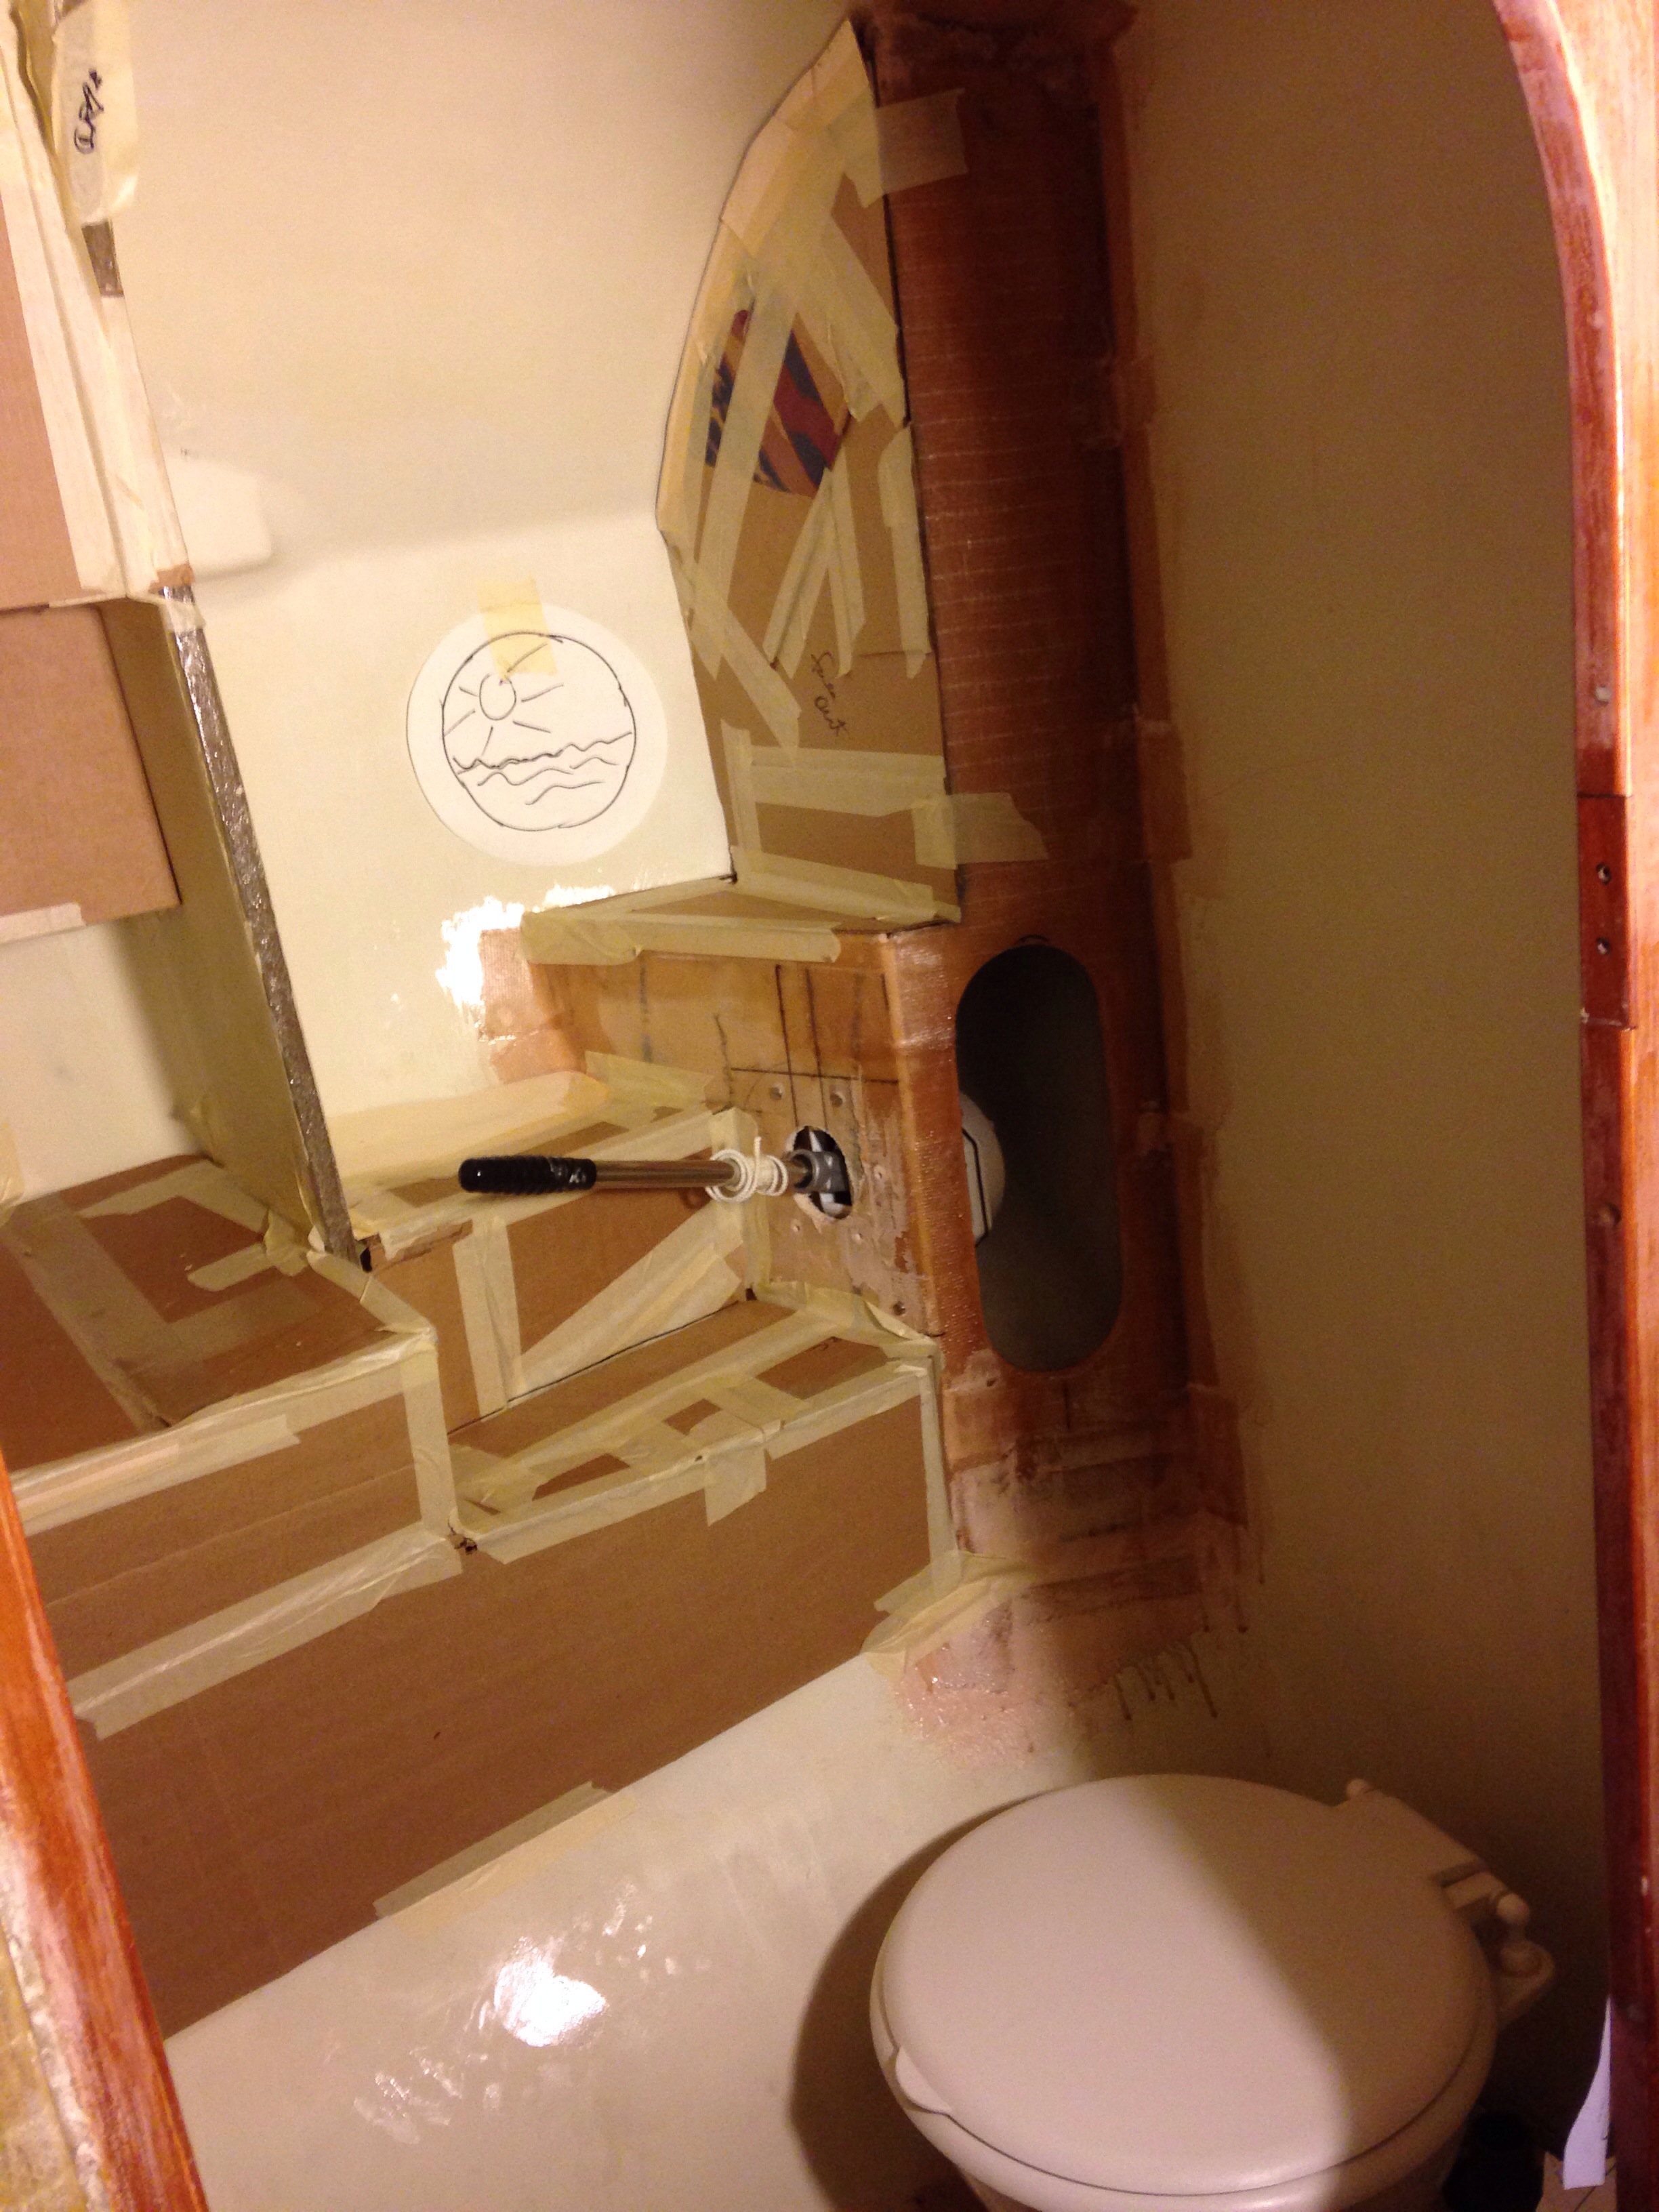

If you’re wondering, it takes six quarters of NFL championship games to cut, recut and generally fiddle with angles to get that mockup done. (poor Packers!) You’re seeing 14 panels that need to be made, adding up to roughly 4′ x 6′ of surface area. Large sheets of double sided laminations were curing on the vac bag table during the two football games.
And today began the cutting and fitting, like solving a big jigsaw puzzle. One nice trick for cabinet face openings is lining up center points of 4.5″ hole-saw cuts and connecting the arcs.


It’ll probably take a few days to get this all built out, as there are many intermediate curing steps on adjoining all the panels.

Lovely blog youu have
LikeLike