Final Thrash

Holy cow, it’s hard prepping the boat for ocean voyaging while also finishing building the thing! We’re extremely motivated by the thought that the tools will only grow farther away with every coming sailing day this fall. So now is the moment to finish those little bits!

Counter space is small and the stove is used only minutes a day. So here’s a new rough carbon crap catcher.

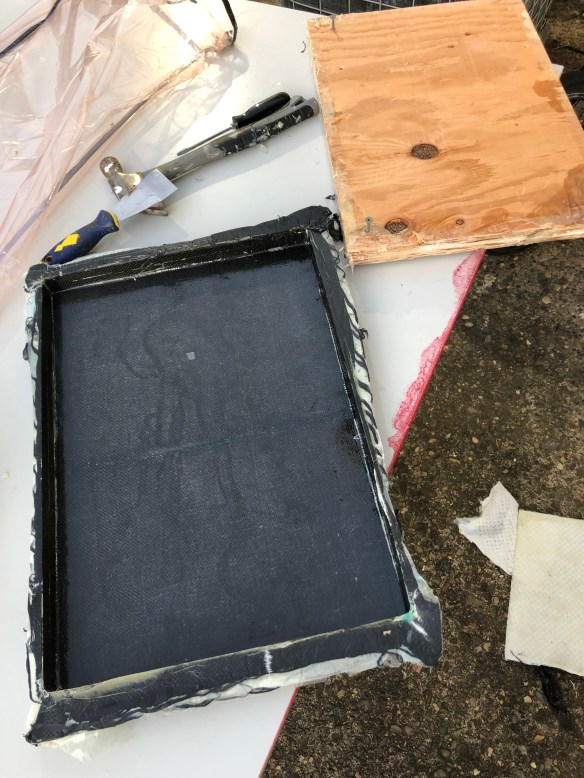
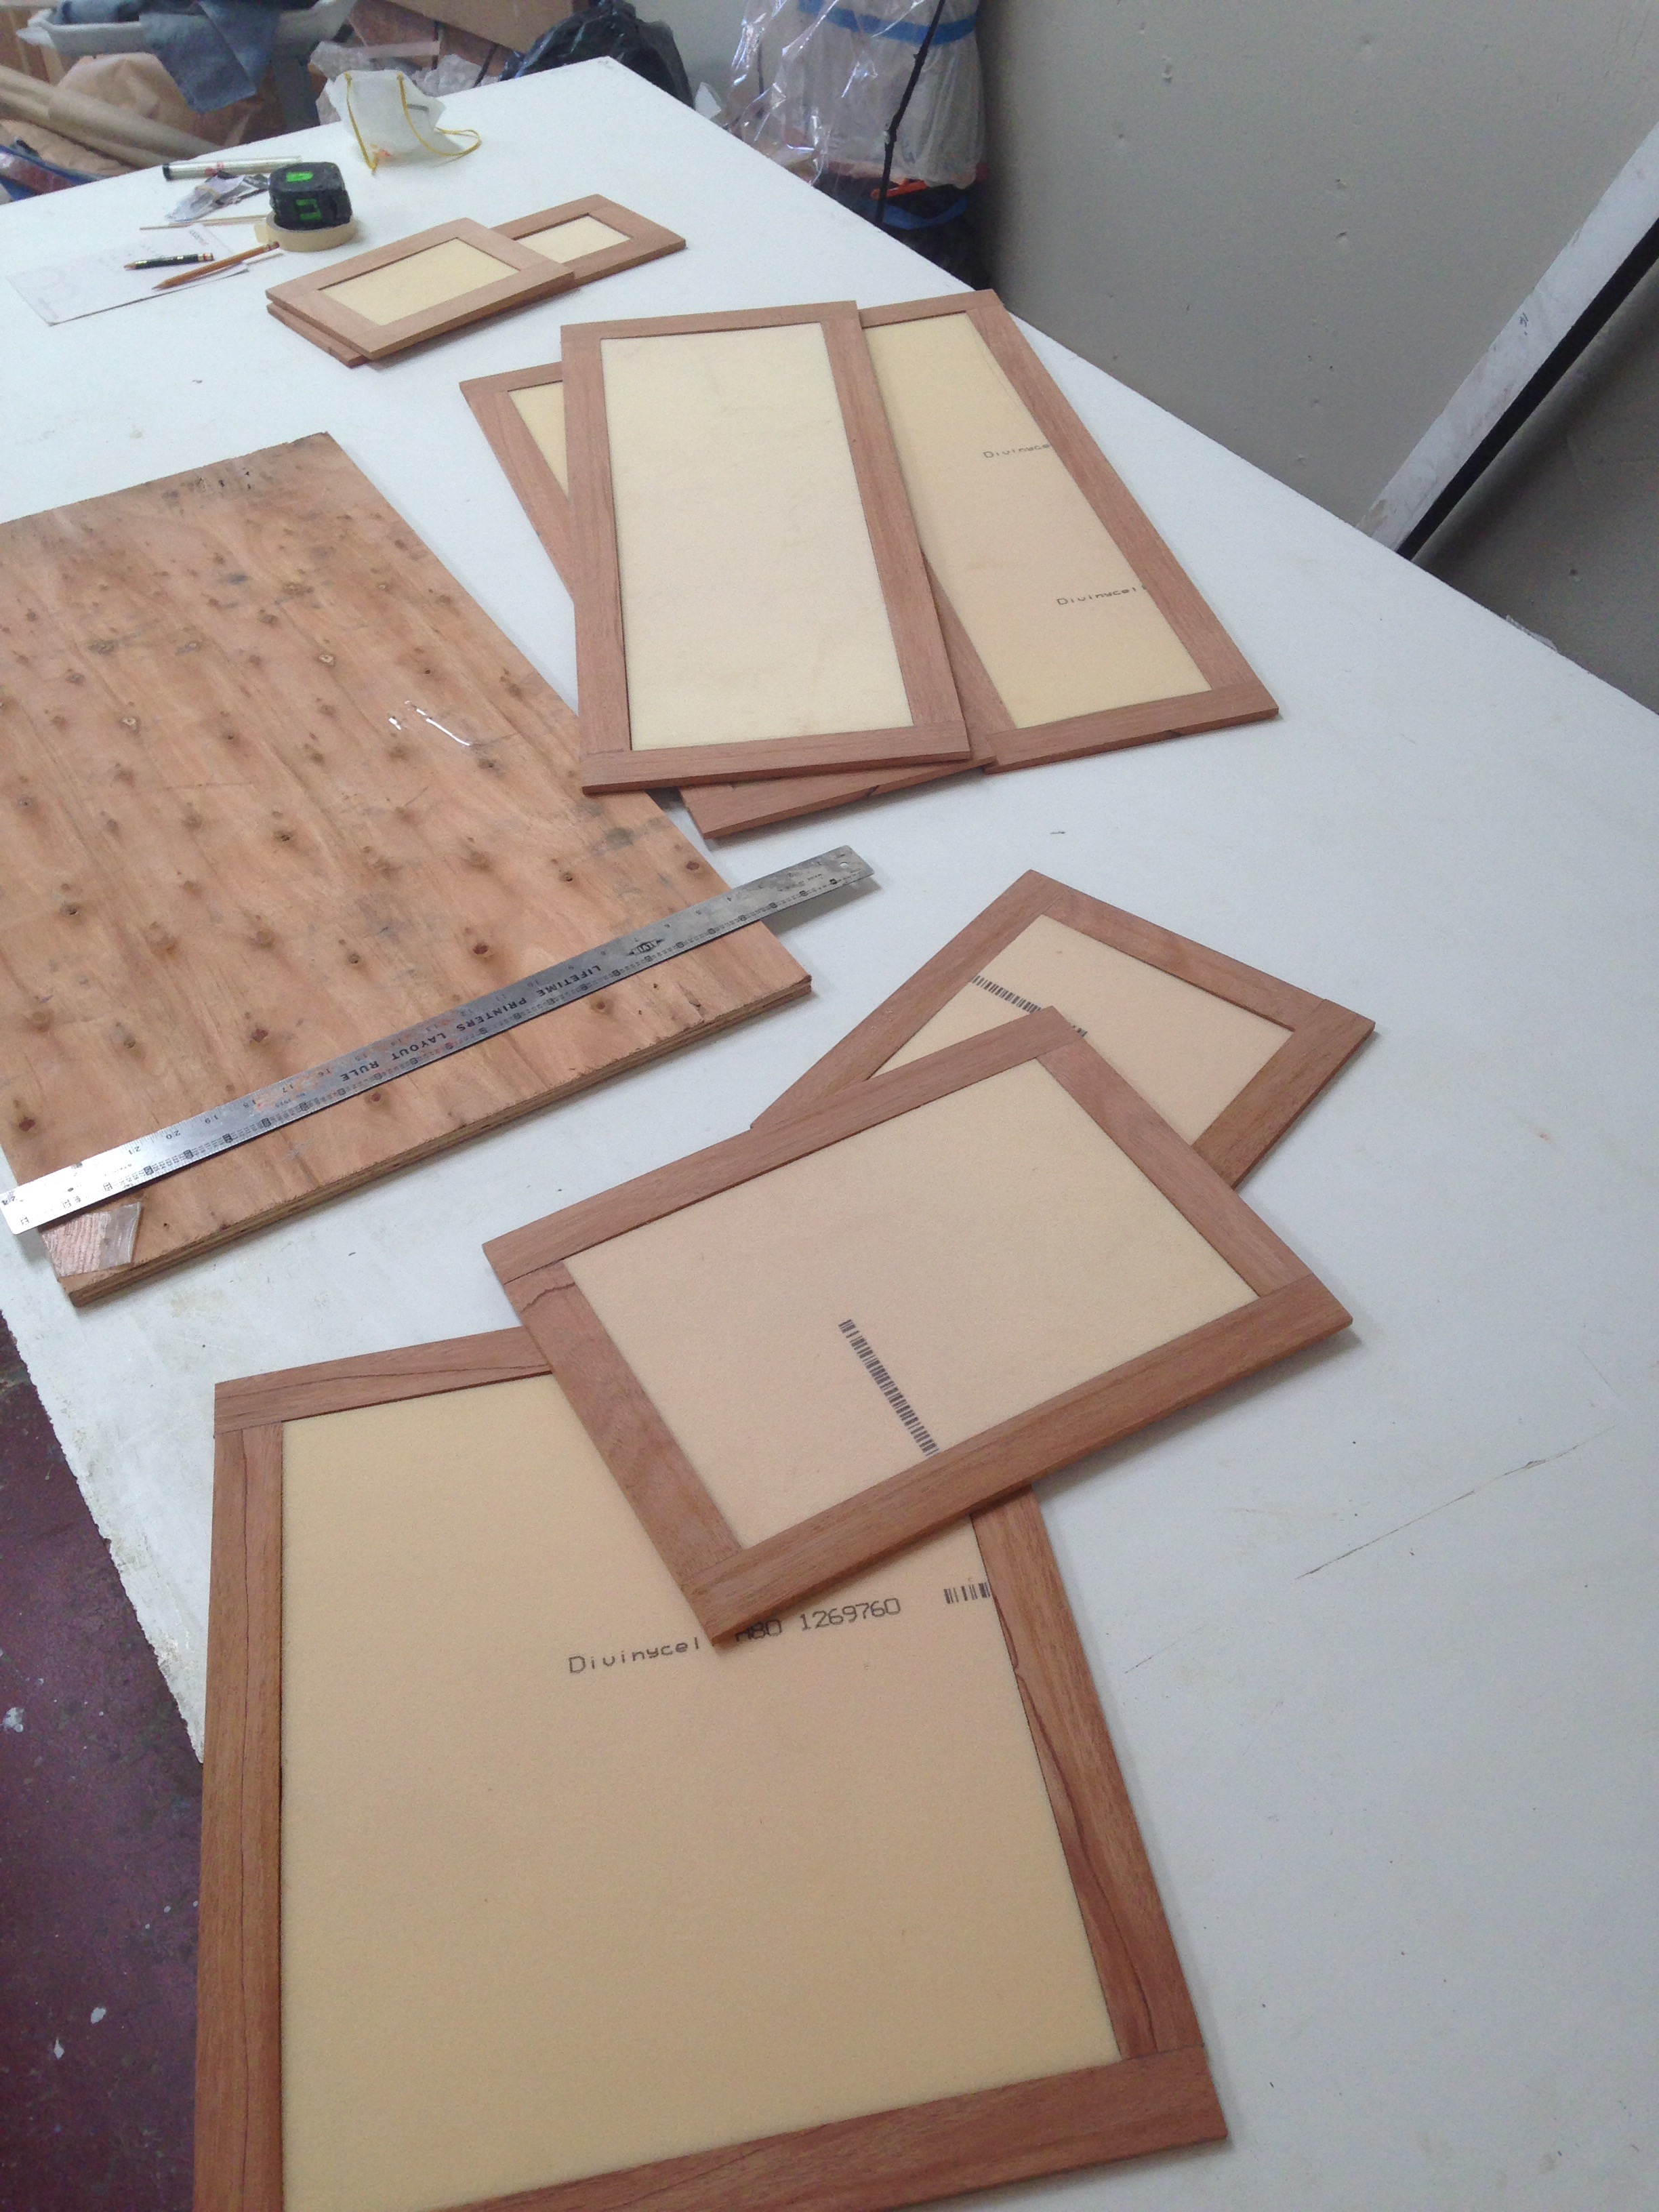
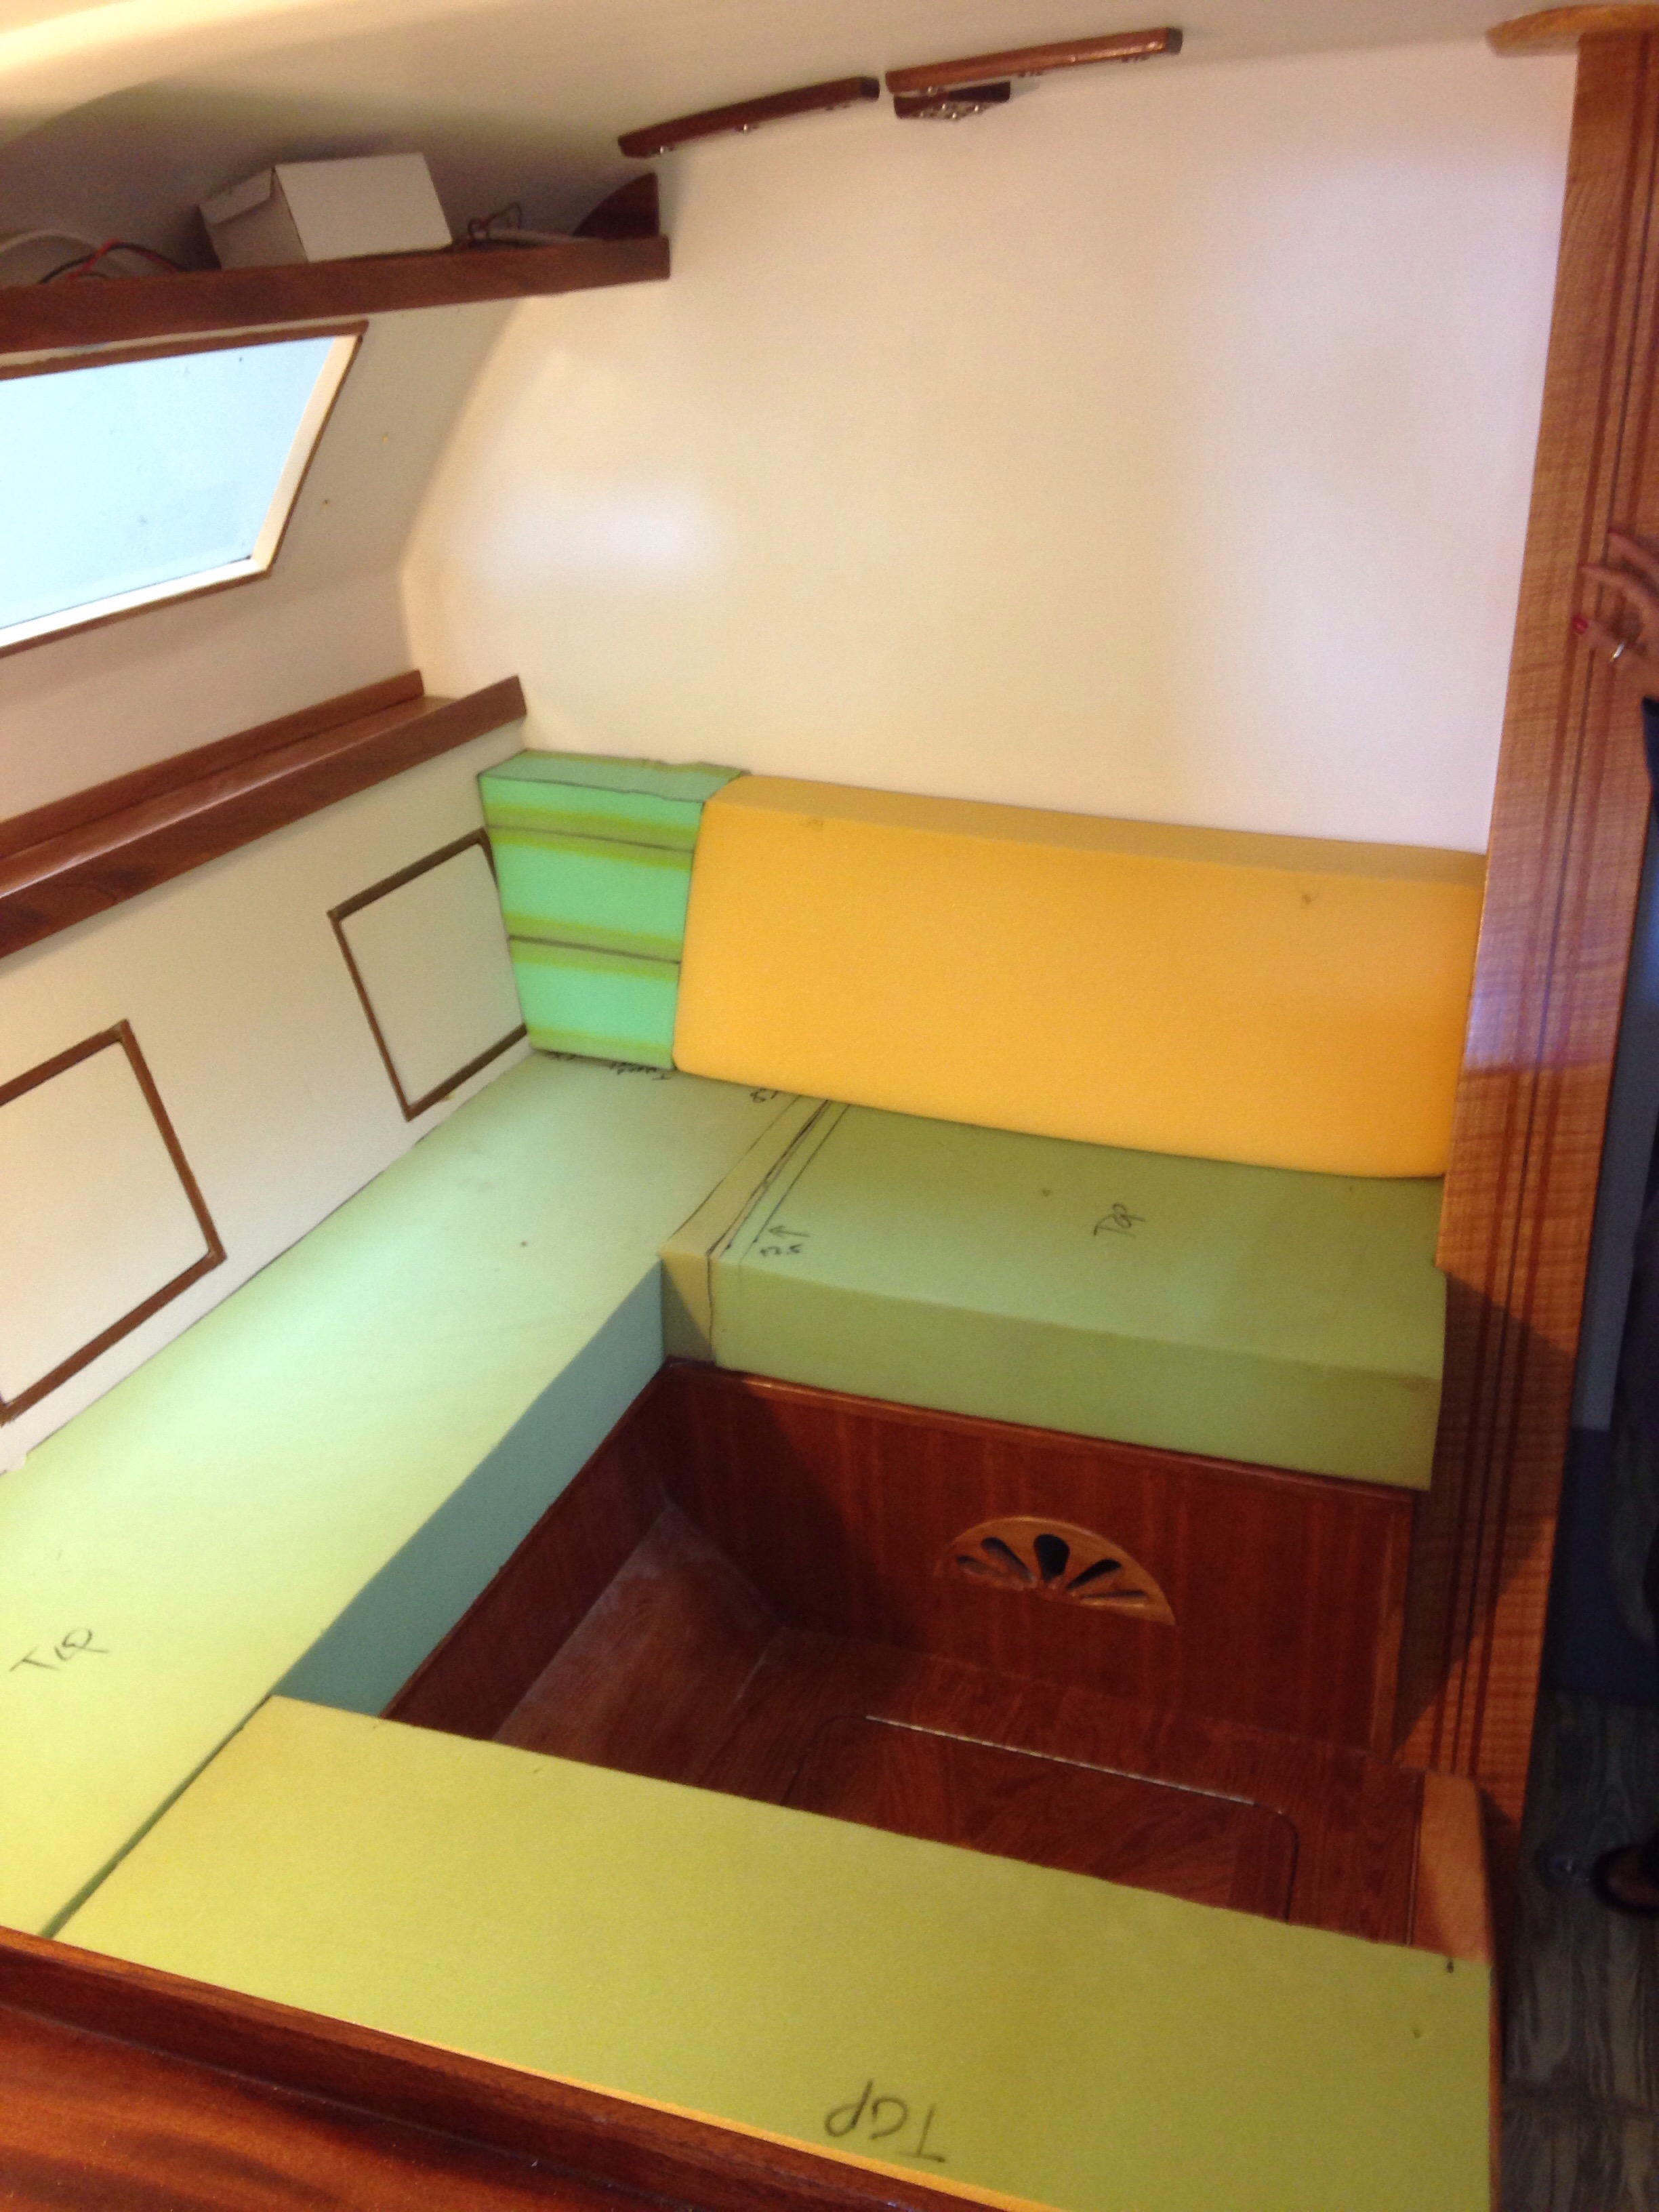
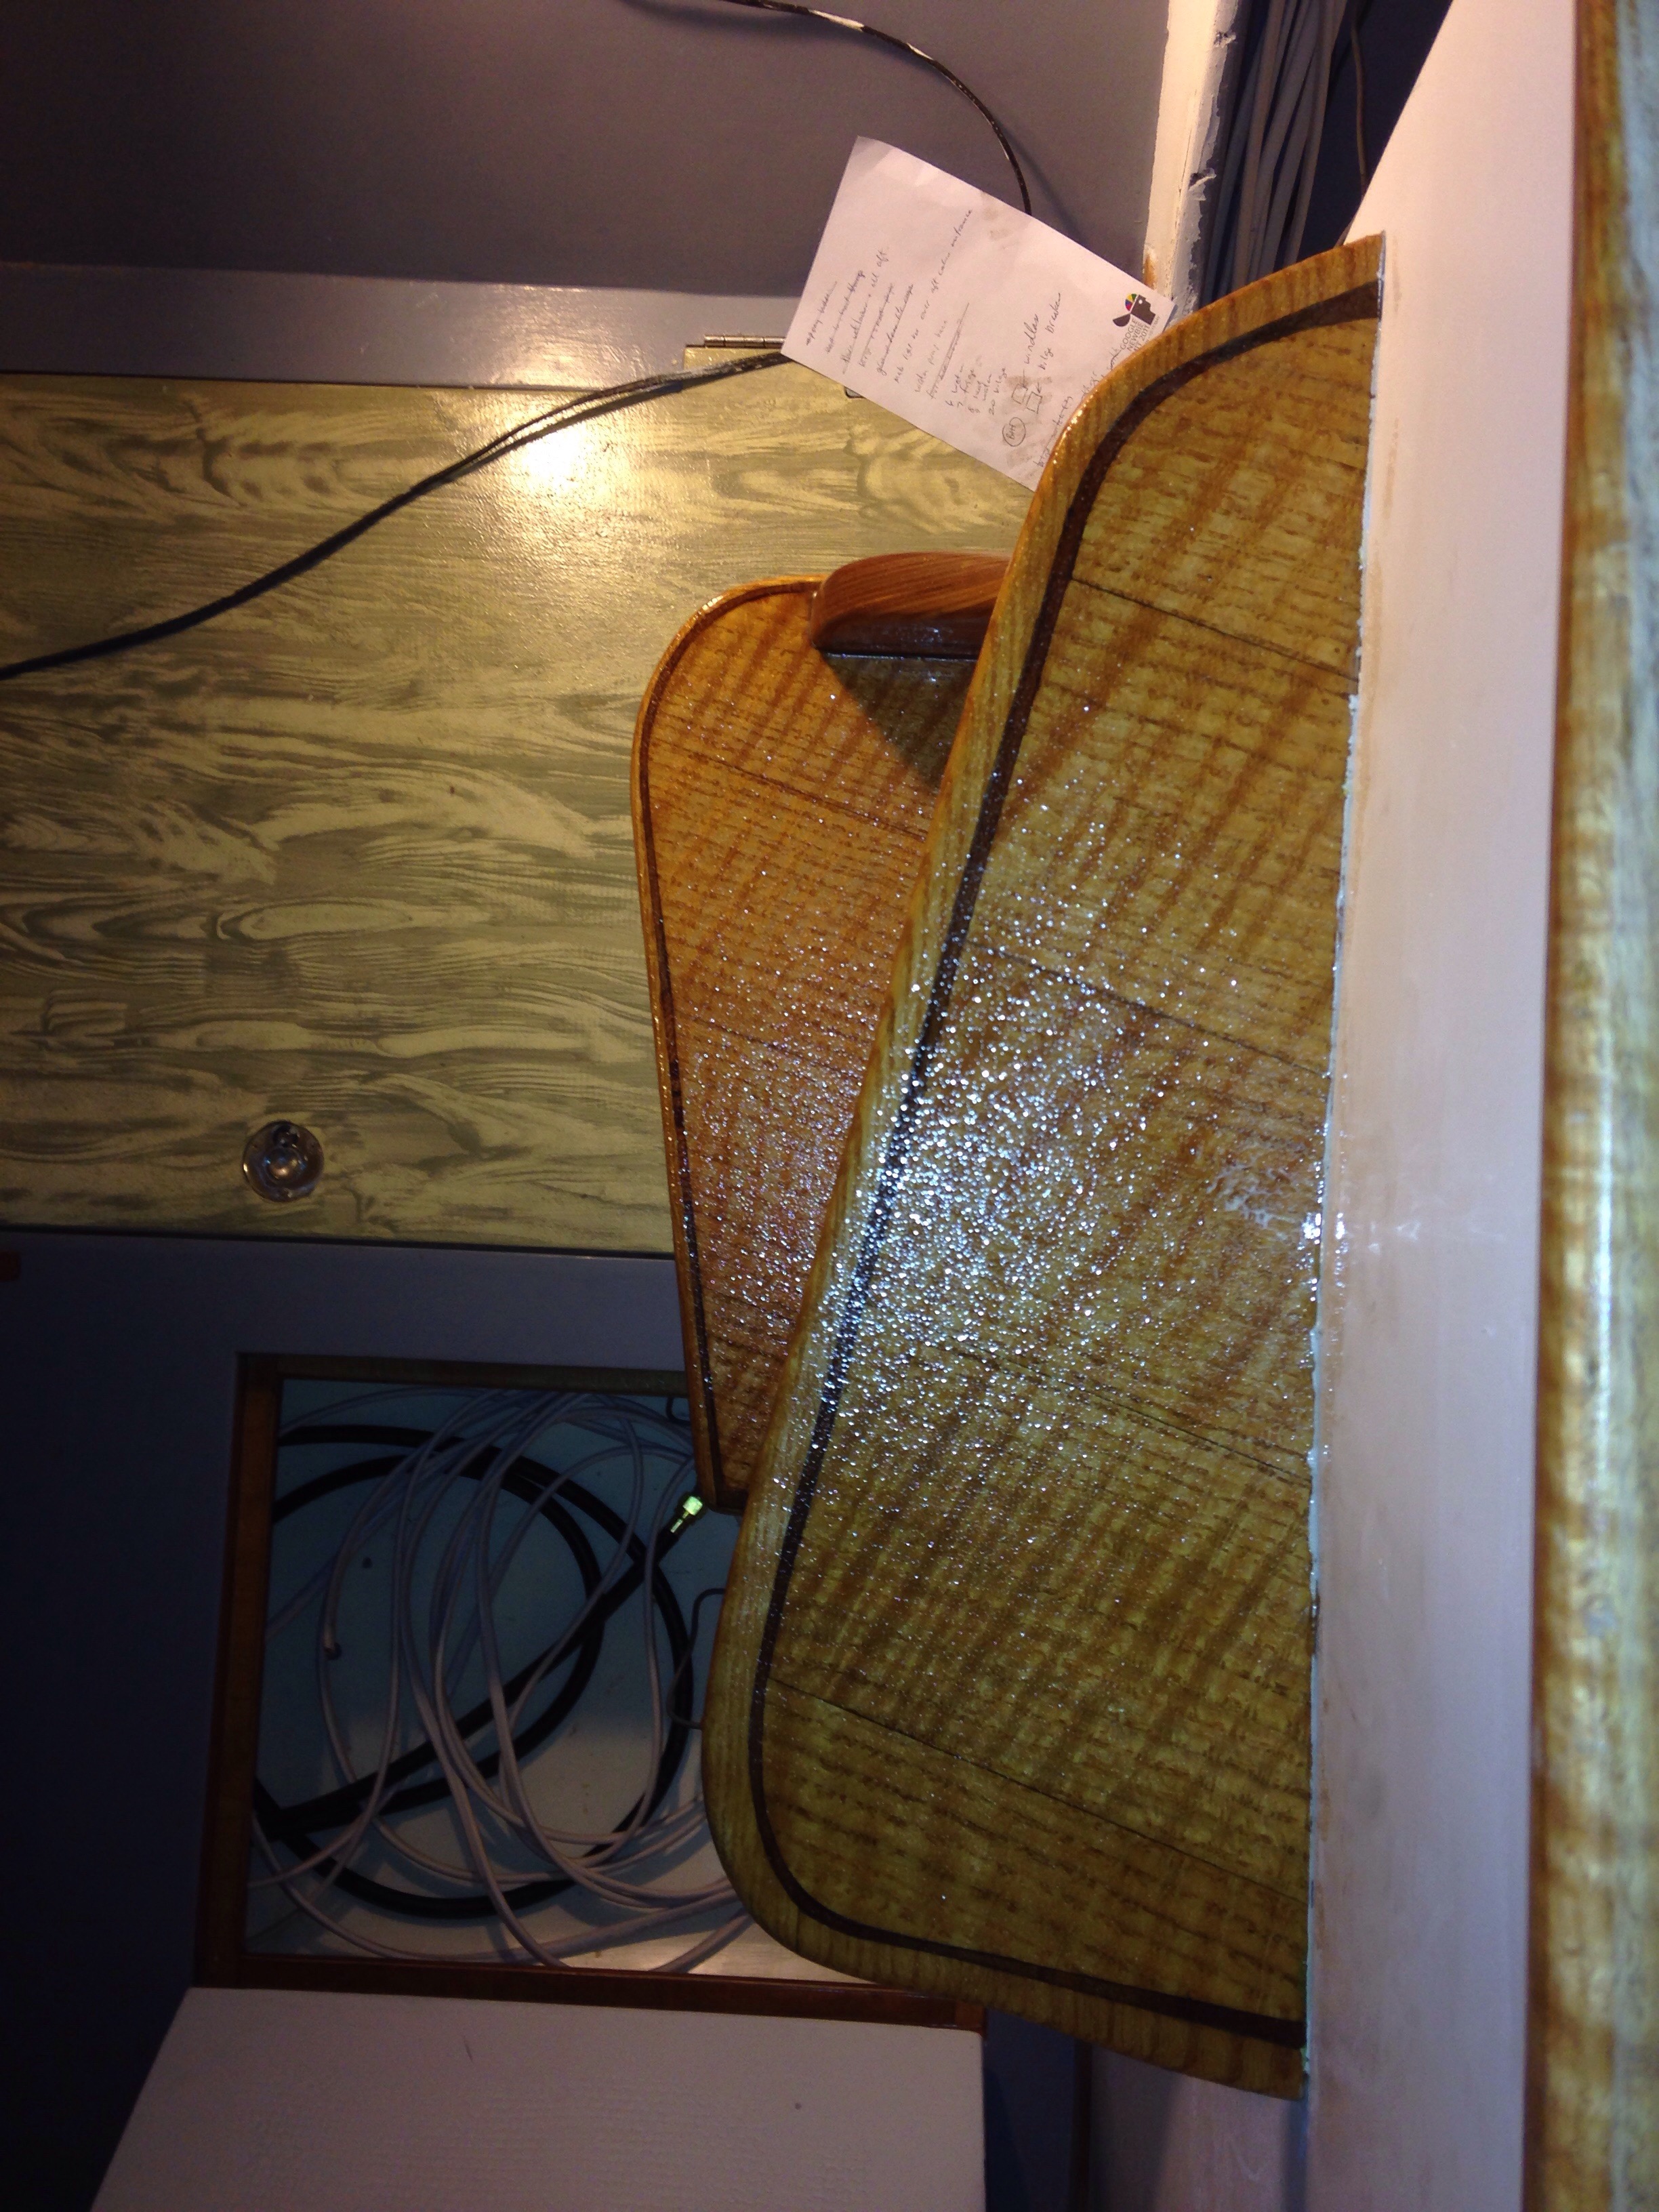
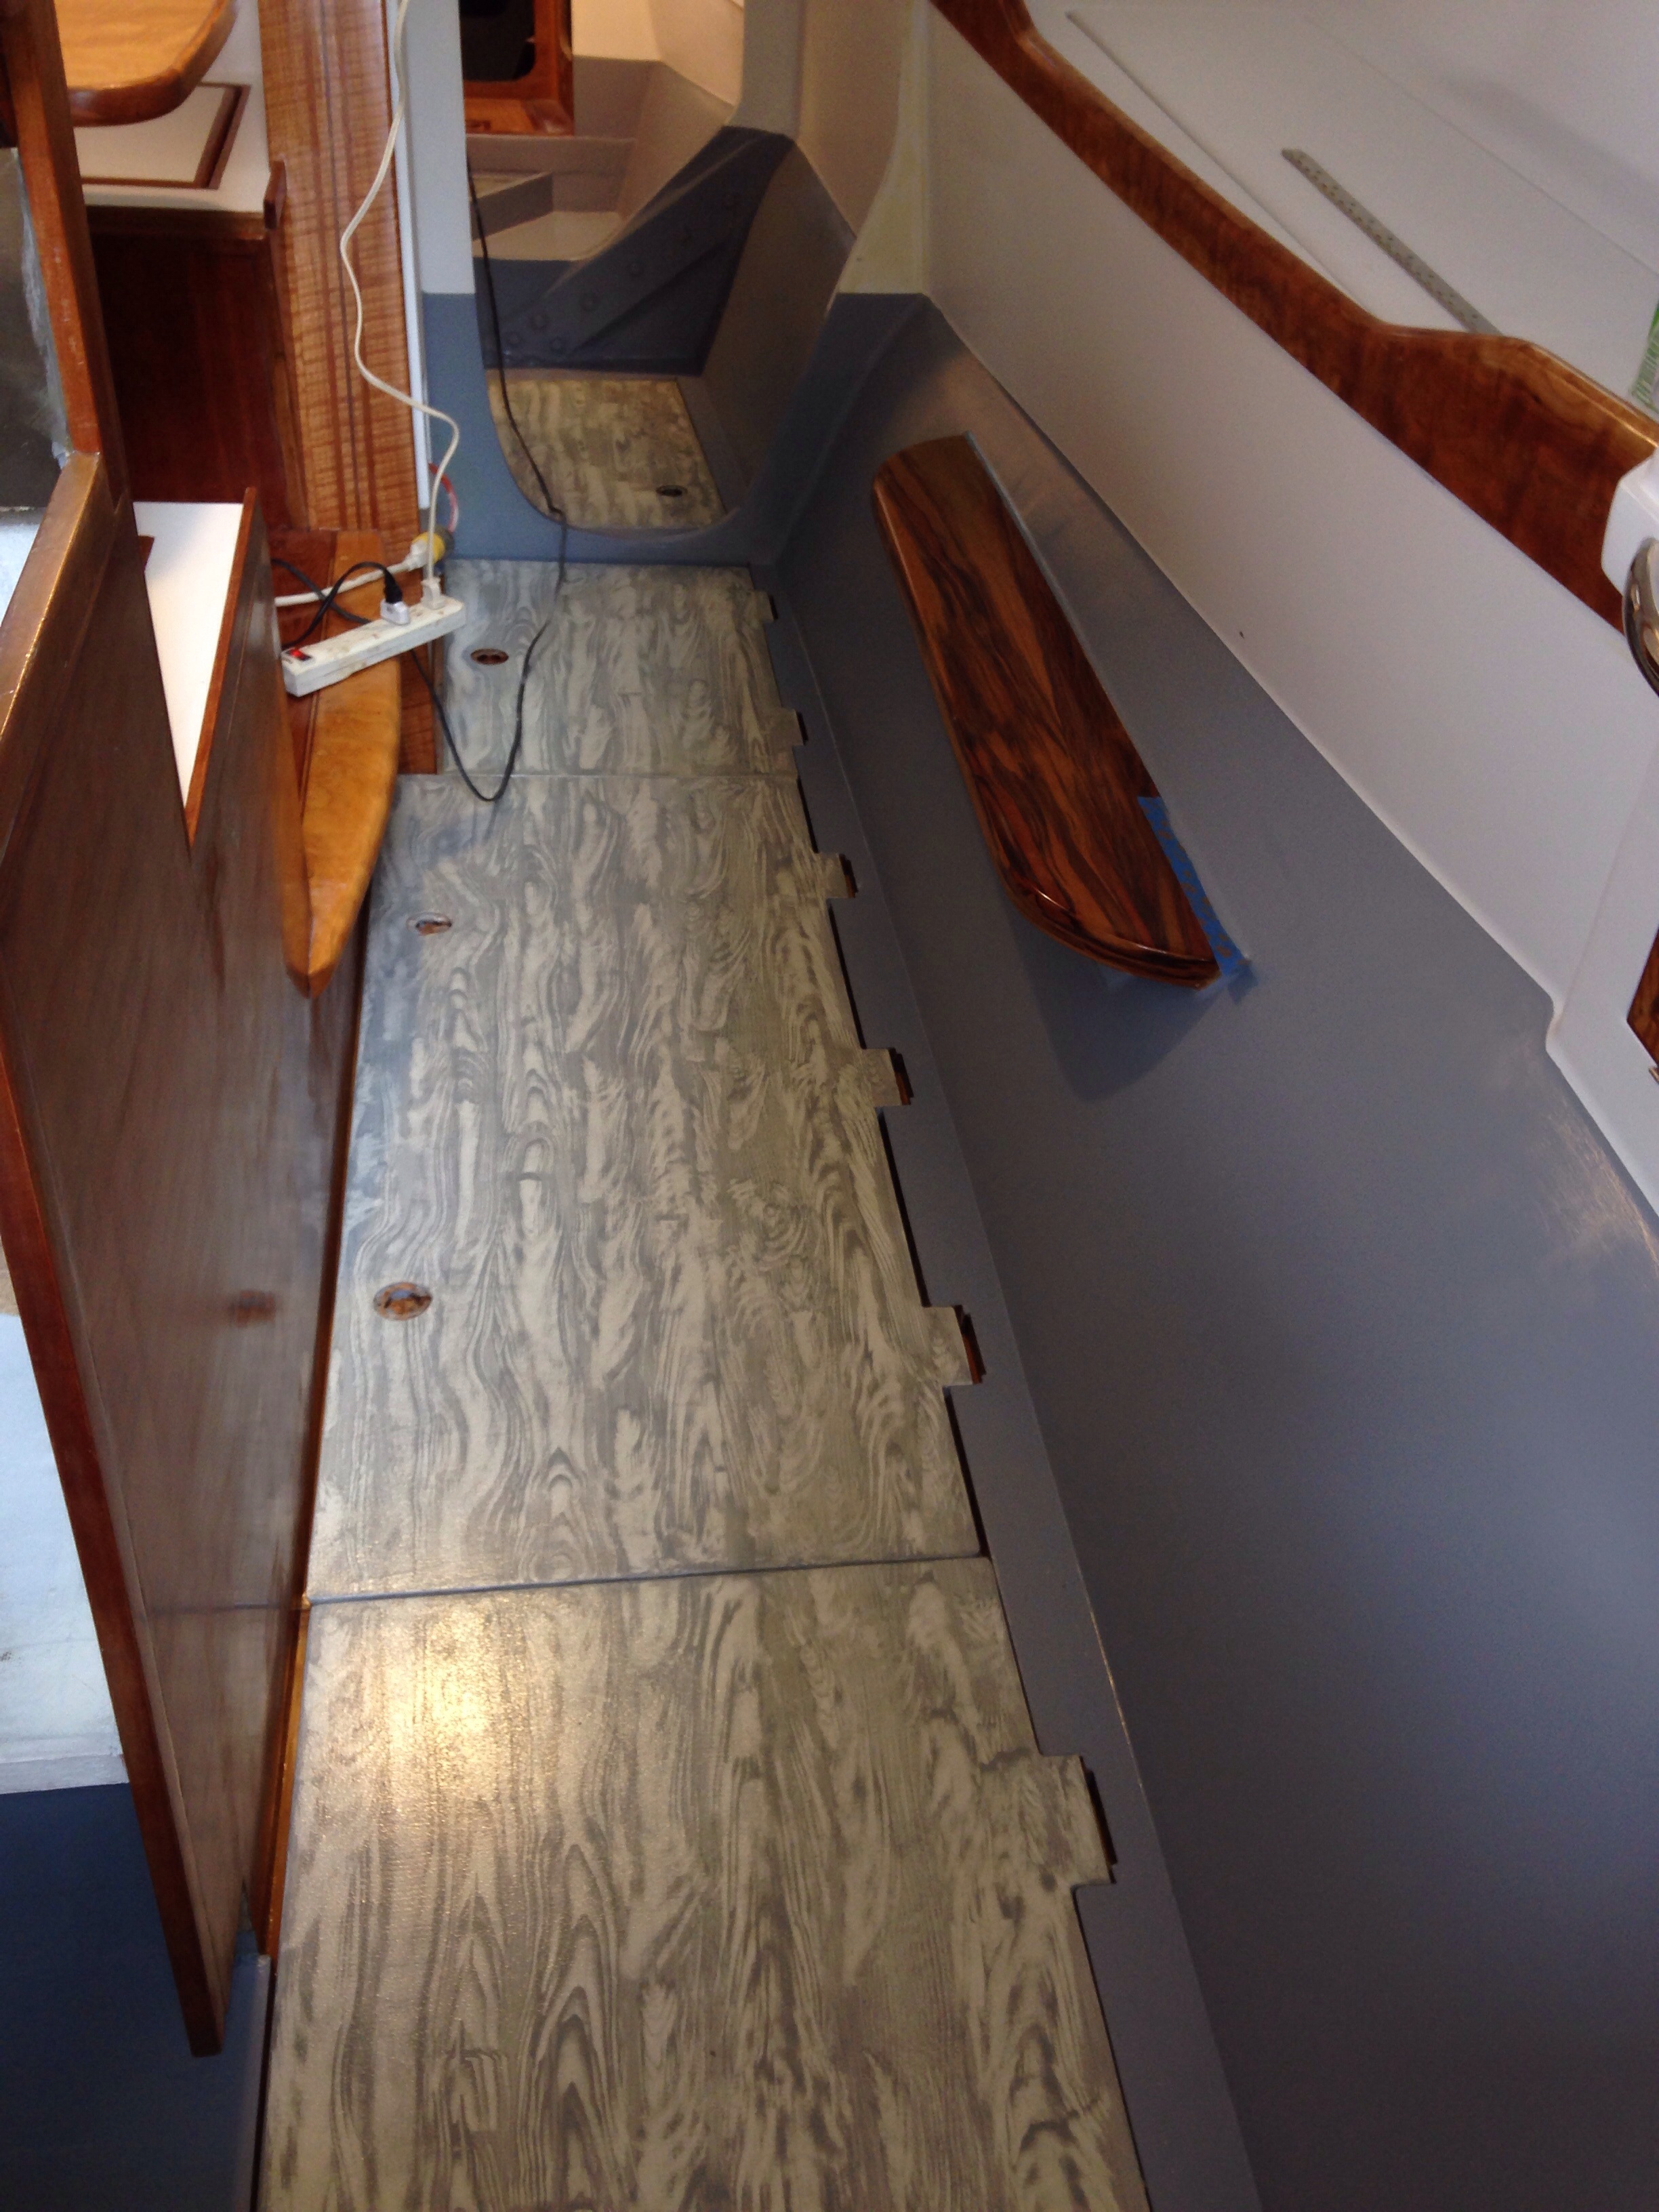
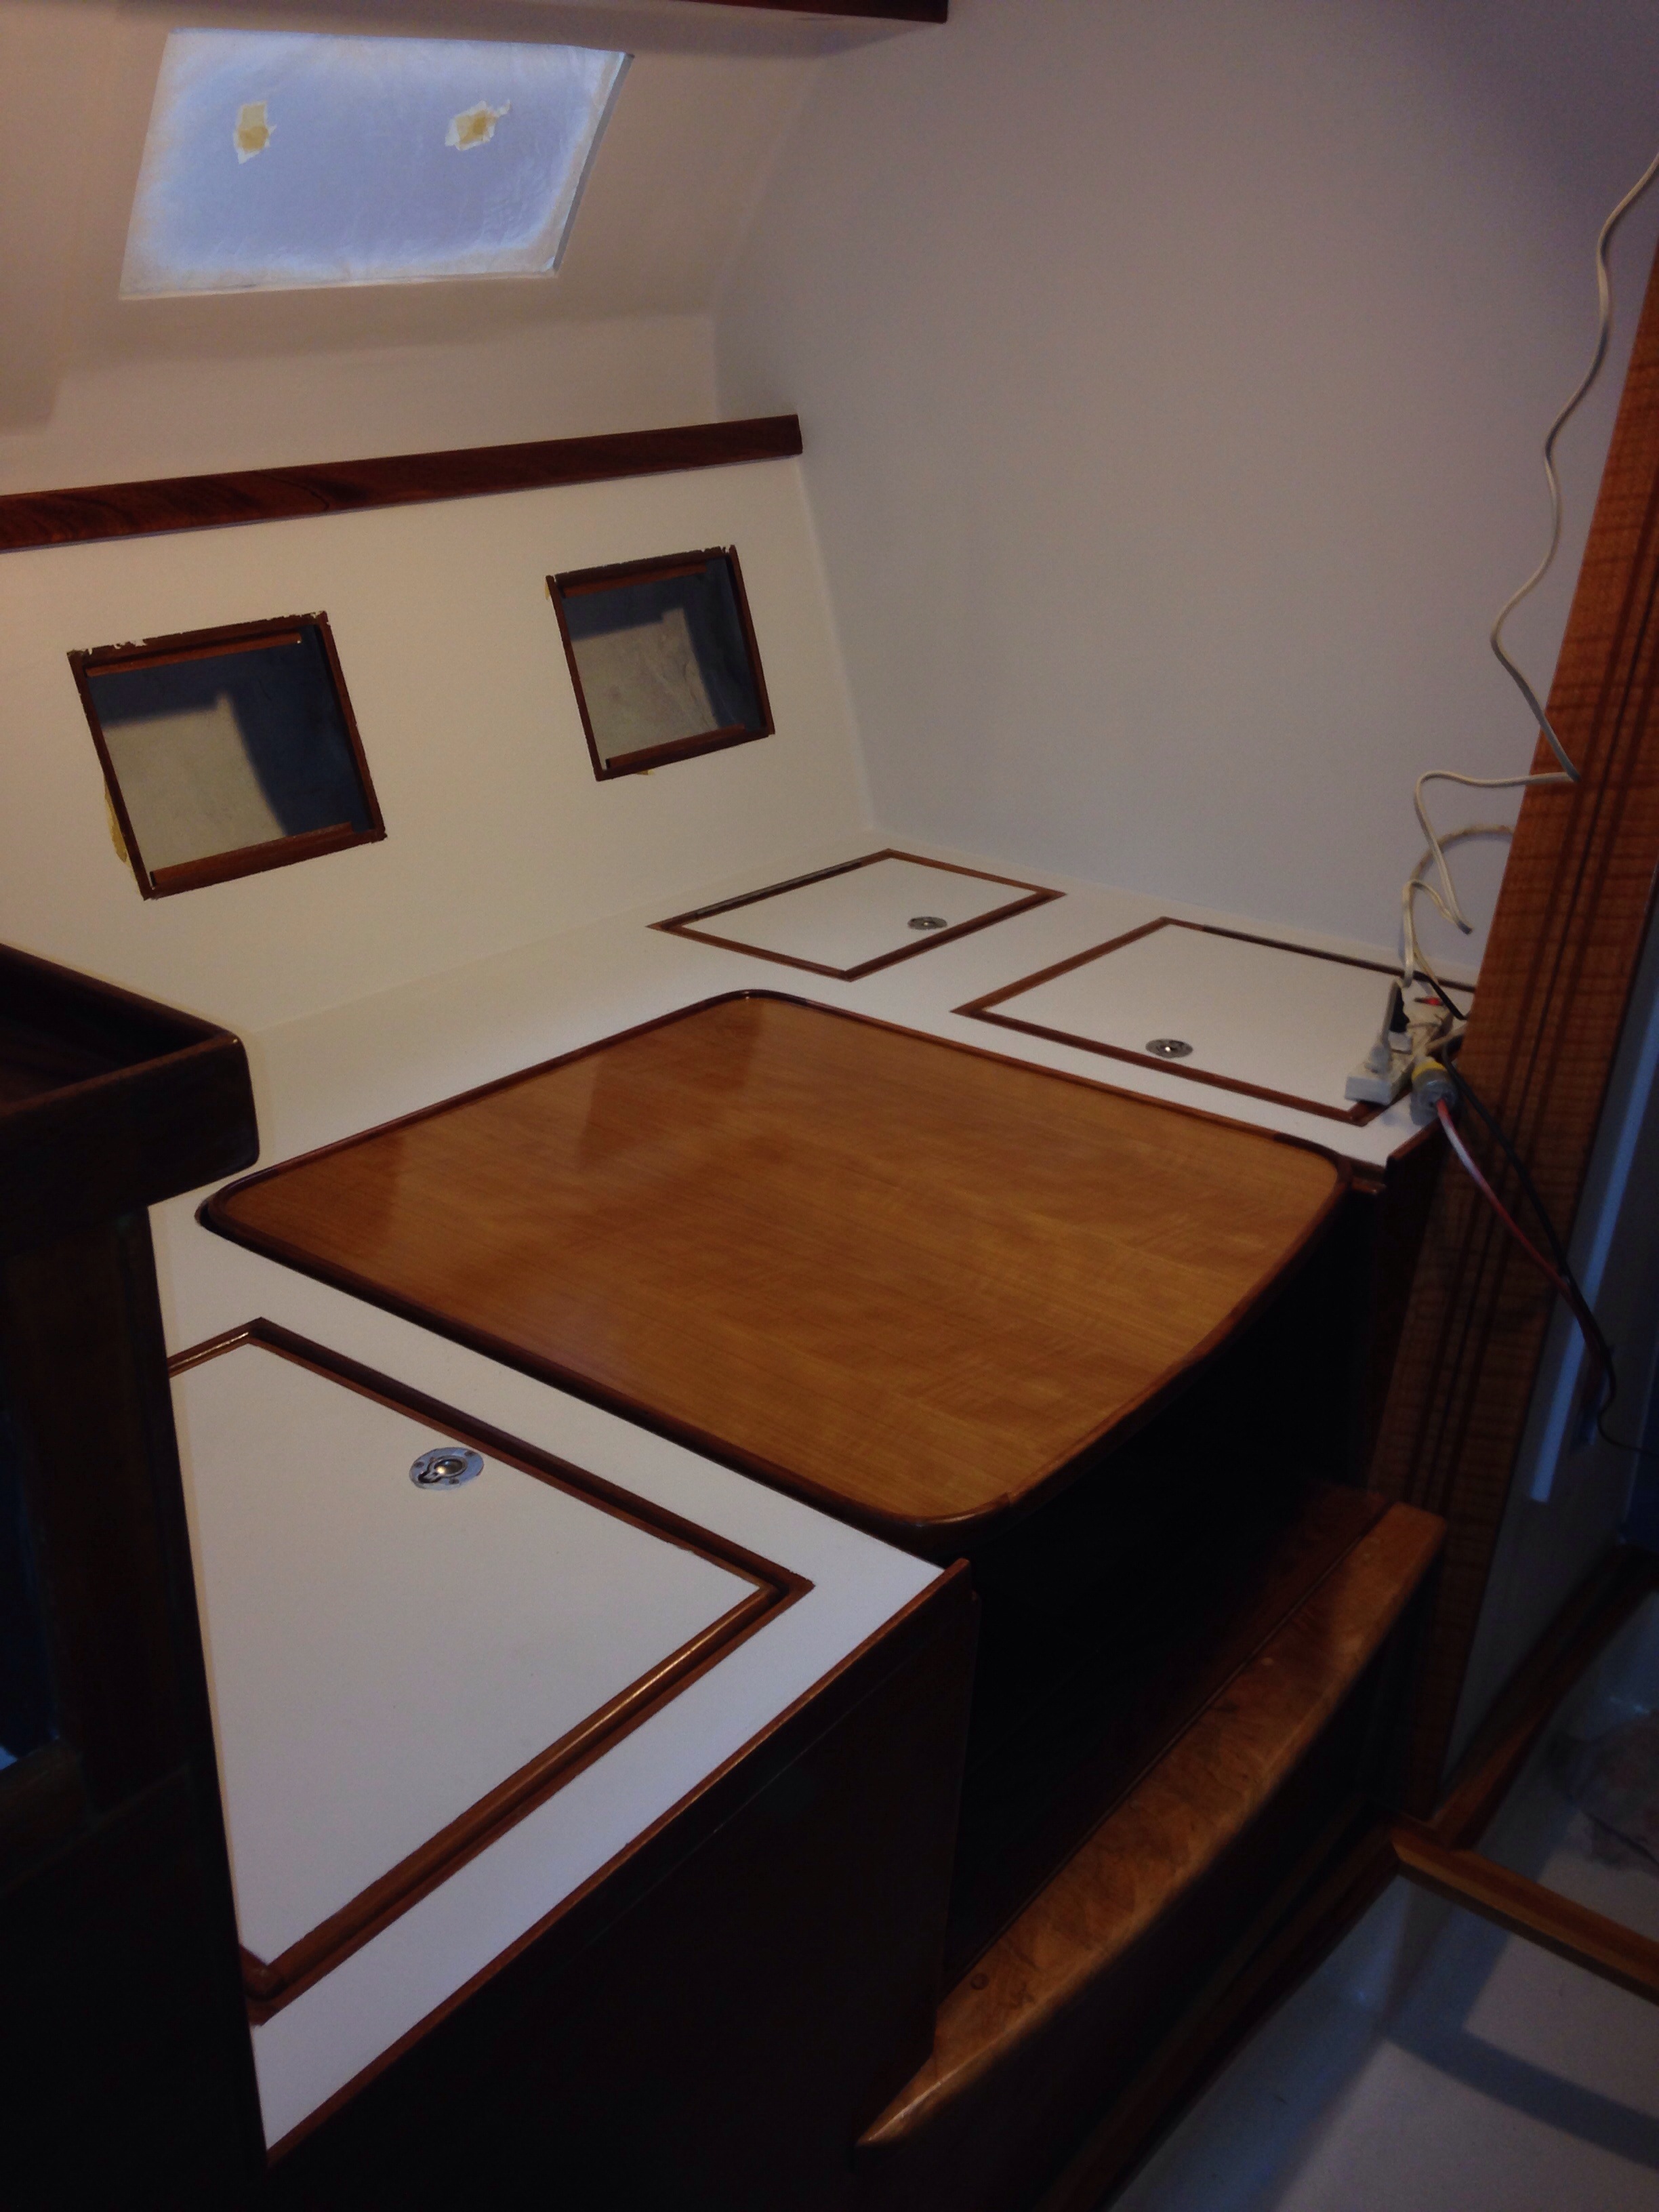
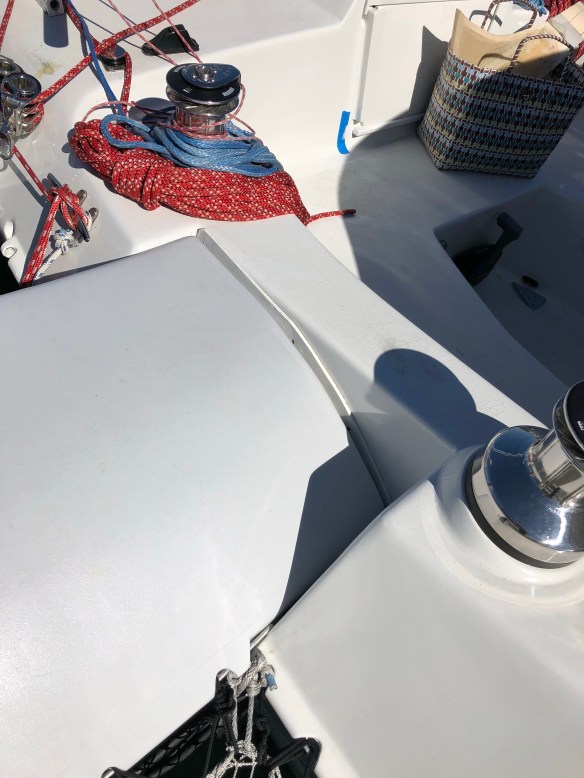
Need more cubbies for the little stuff. This encloses the back part of the chart table.

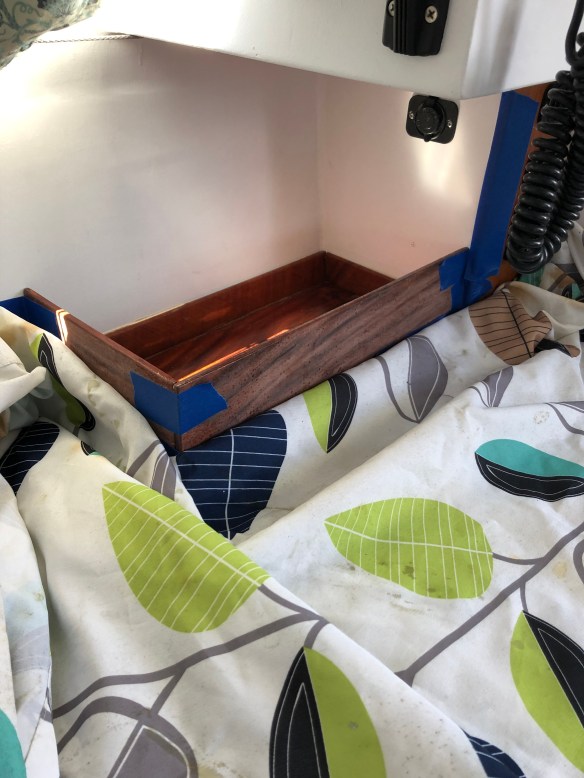
The engine ran perfectly two weeks ago during the long motorsail back from Drakes Bay. ChrisH, RickH and I set out last Friday for the Farallones (and whales) but the motor started misfiring before we left the bay. We sailed back to a Richmond and had a live exercise of building up the stored dinghy, side tying and using the 10hp motor tug boat. That worked well. Chris, after I replaced that fuel filter, the symptoms returned and haunted a Sunday sail with our siblings. So Labor Day became Suzuki Day. 
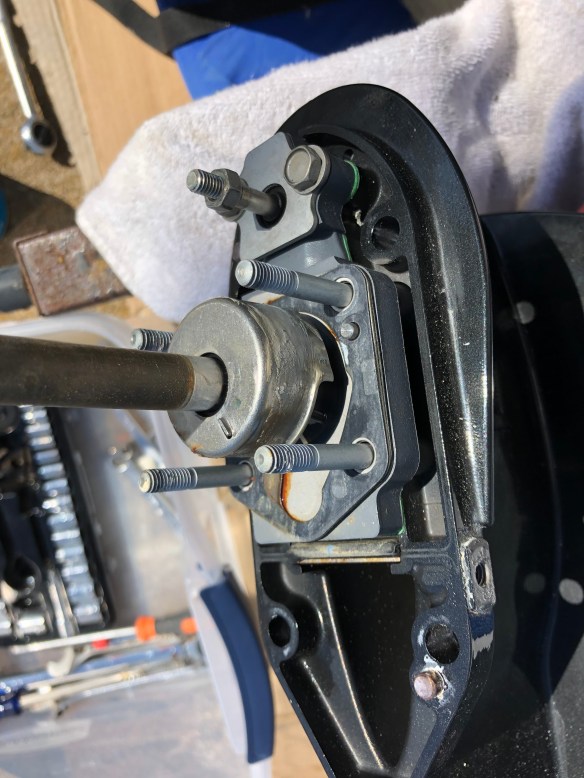
I think it was actually the three year old spark plugs, as my solo test drive Tues morn was smooth. Pulling the lower unit to change water pump impeller worked really well with engine lowered into the dinghy.

While buying parts I asked the Suzuki dealer about propellers and our inability to power above 4300 rpm. And we have very little reverse capability with the stock 9″ diameter, 10 pitch. Two years ago I went rogue and tried a flatter four blade but that didn’t solve it. Wish I had found these Suzuki guys in Sausalito sooner. Came away Wednesday with this. 
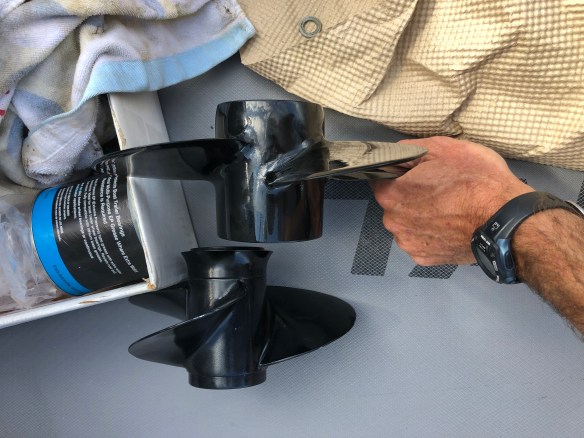
10″, 4 blade, 5″ pitch. Very different and hopefully a game changer. But of course, it didn’t fit right. Here’s the old prop, ready to get the washer and prop nut. 
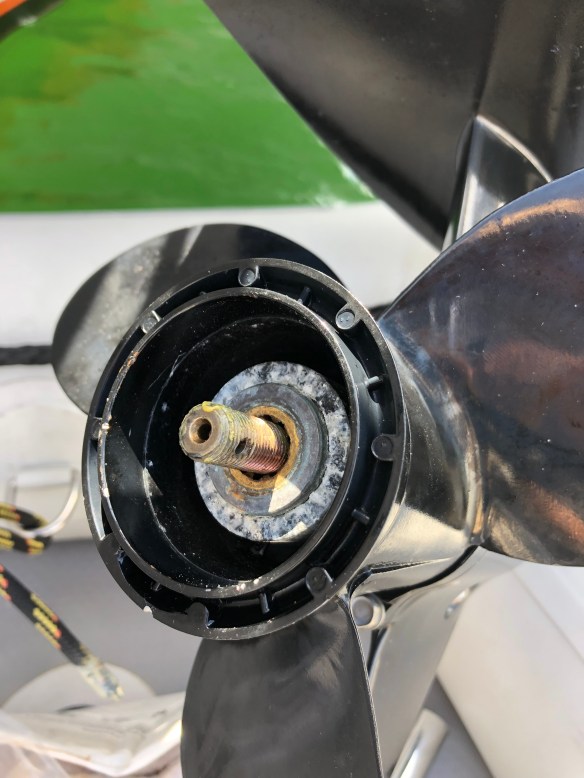
And the new one in same position. Note the brass splines not fully covered up by the prop hub. That’s bad. So an overnight package to get the ONE proper spacer available from Suzuki USA today, and hopefully tomorrow we’ll be motoring again.

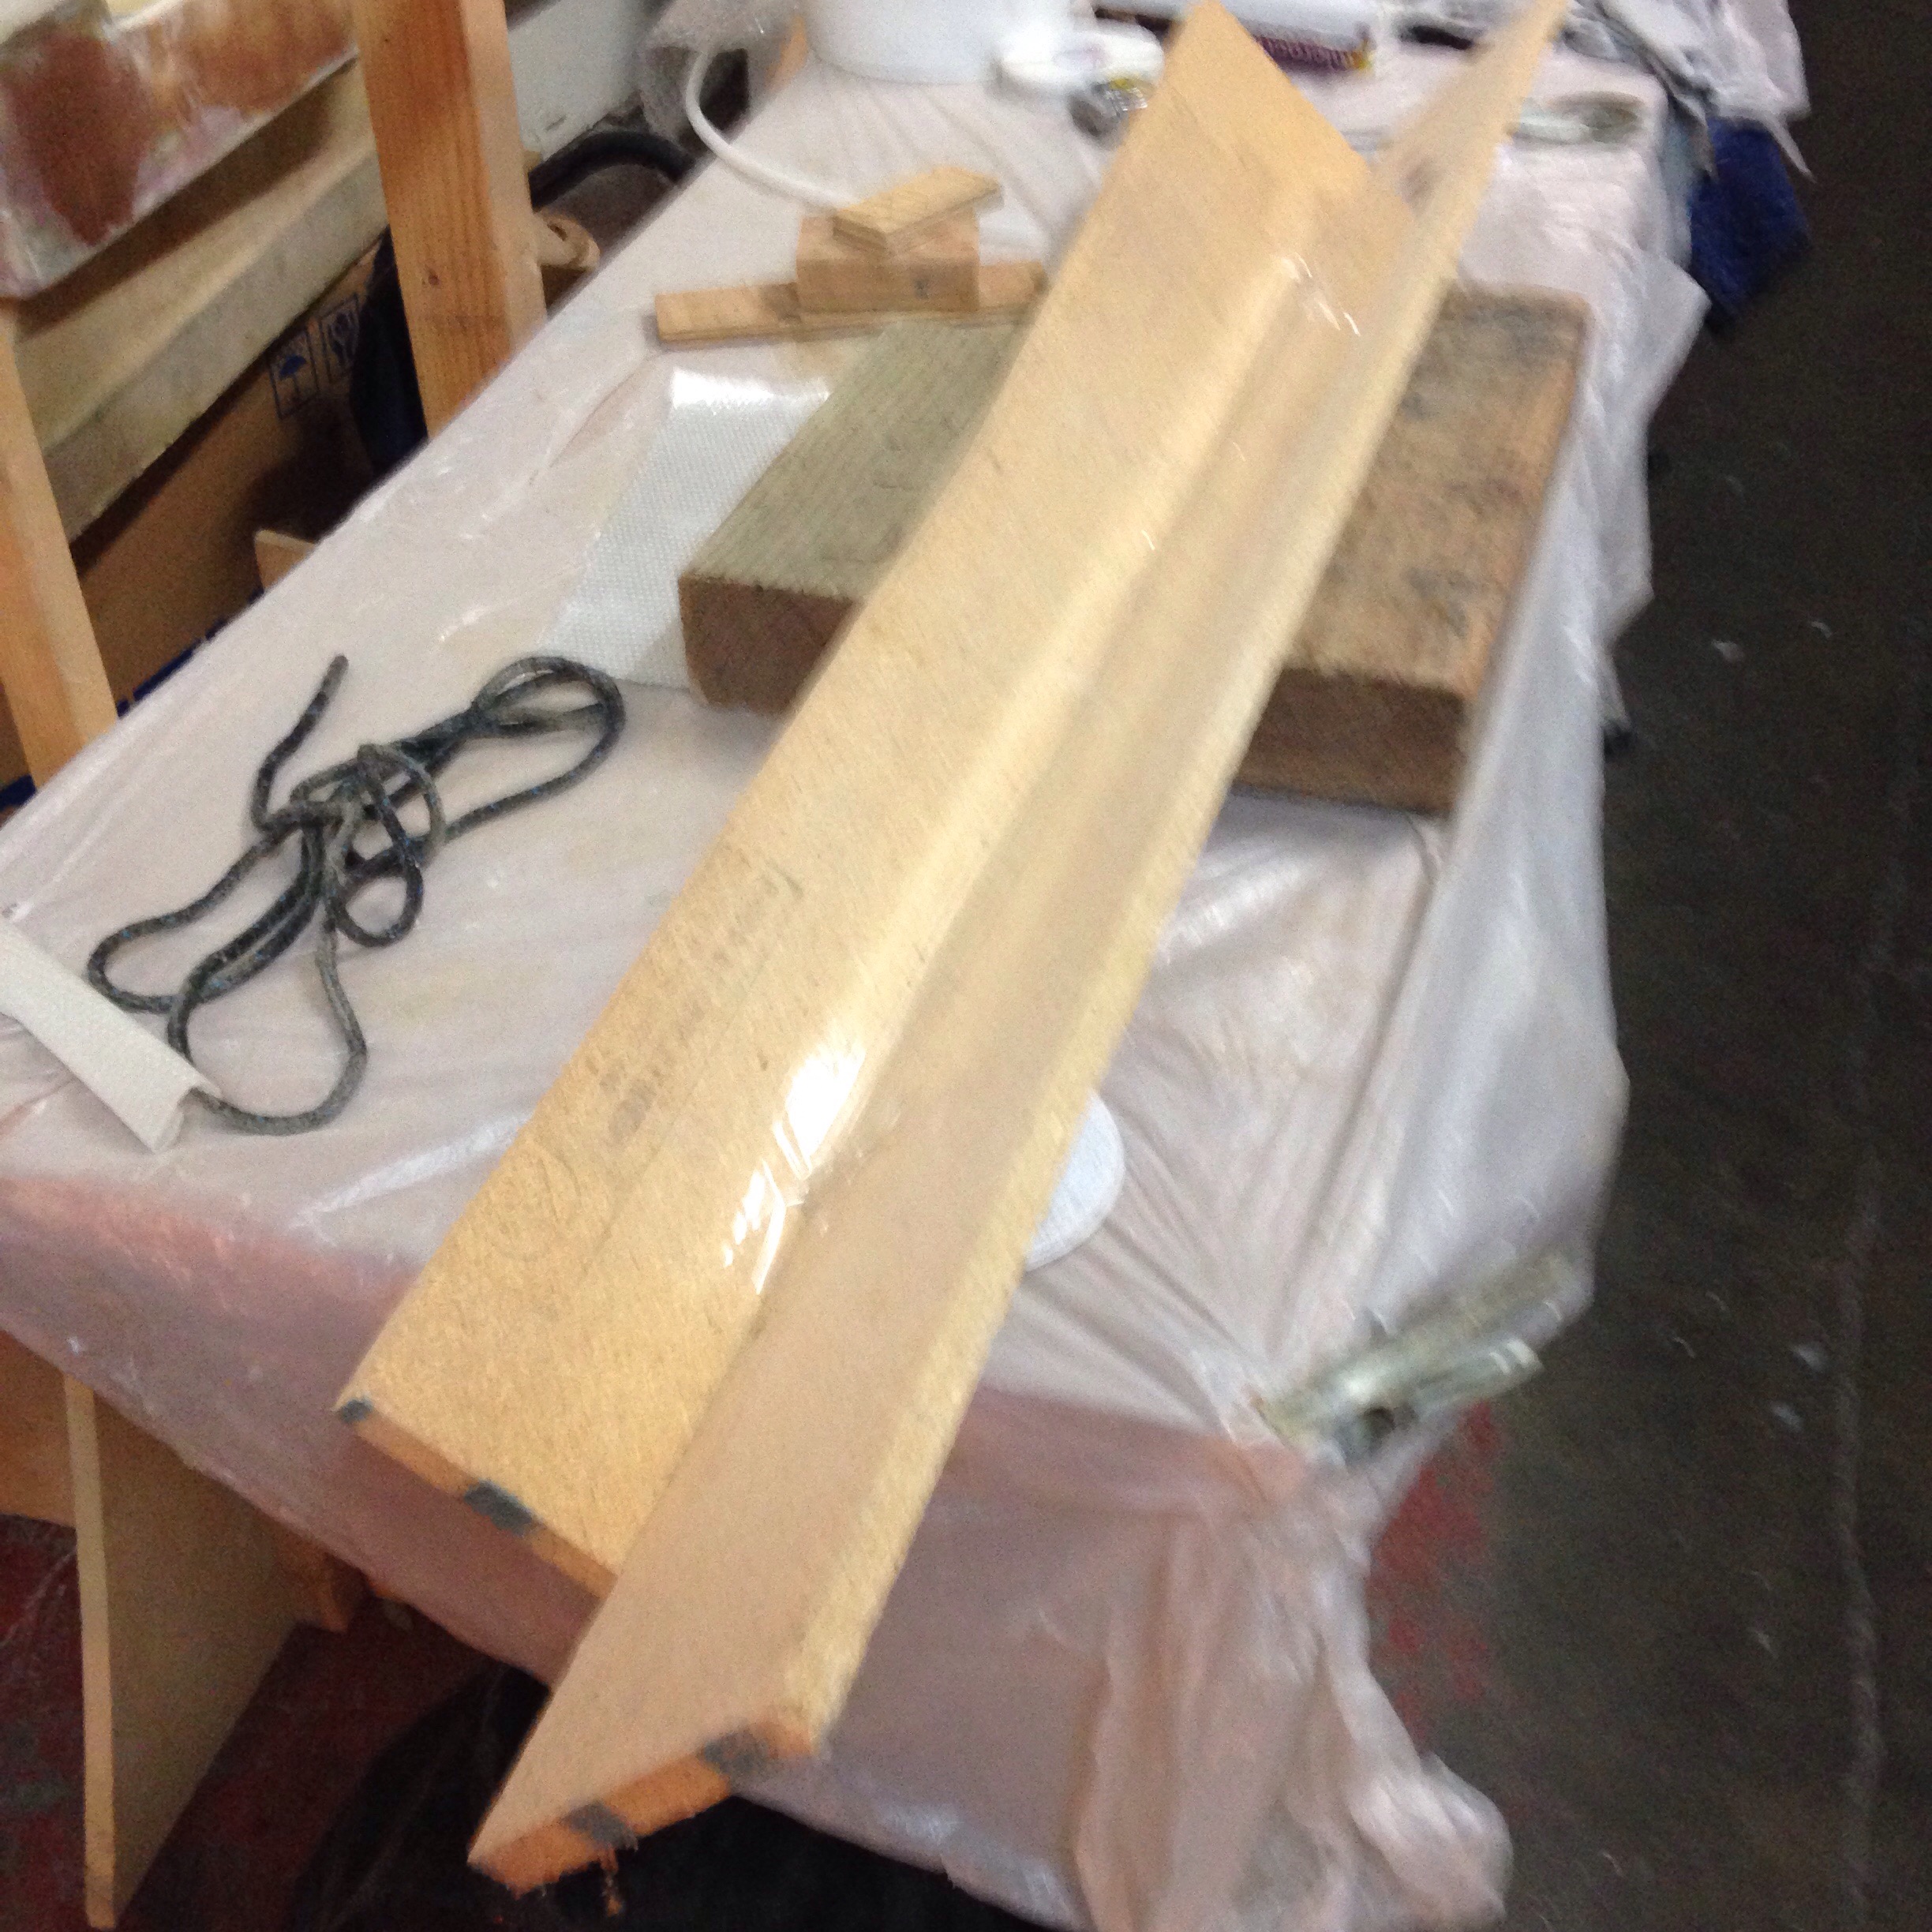
Old knees make getting aboard a little tricky. This booster now helps. 
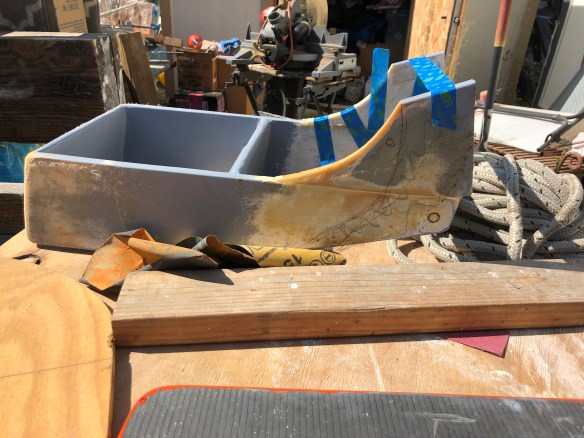
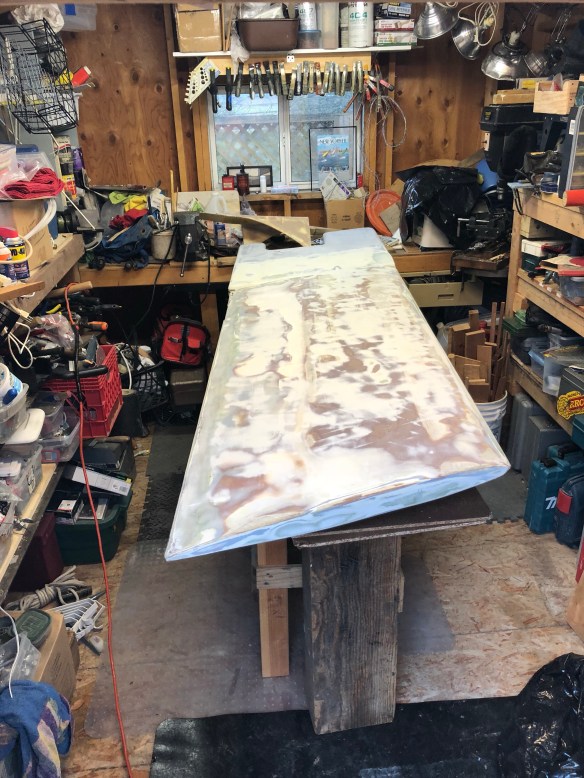
Charlie, that’s a recut of the aft cabin companionway ladder you and i designed over a Subway sandwich in Santa Rosa five years ago. Time flies.

And for Kai, no more worrying about our dinghy tags. Finally figured out to bond flexible plastic to the hull with pvc patch glue. And a trip to AAA with $15 to get replacement stickers. Yes I know they’re not the required 3″ away from the boat’s number. Live dangerously.

Still lots to do in two more days before Sunday’s departure. Think good thoughts for motor and spinnaker testing tomorrow. We may be sailors but would really appreciate a calm day tomorrow. Good luck with that around here :)

Three weeks ago the boat participated in an organized Crew Overboard Recovery drill. Great exercise and big thanks to Chris, Dan and Anton. In retrospect, we didn’t stop the boat soon enough. I had chosen to drop the sails, which we did quickly but a lot of distance gets by quickly in a breeze. Round up and stall is my new mantra for this. Meanwhile, our quick-deploy 4:1 hoist got Anton on deck really well. The gear and crew worked great. Truls did a nice write up here. https://www.latitude38.com/lectronic/2019/09/04/#crew-overboard-but-not-by-accident

Commitments made

Well, no backing out now. Went in here and ‘gave notice’ to vacate our slip of three years. Gotta leave by Sept 20 or start paying again :)

Next we went here and signed up:

But before the Baja HaHa we’re pumped up for the Multi Marine Summer Splash on Sept13-15 out to Catalina and back. These are great deadlines for finishing all the little stuff.

When Jim mentioned his electric charging needs I realized all my battery sizing calcs never really factored in other crew power needs. Anton recently reconfigured our LiFePO4 charging program, so the solar panels sit idle quite a bit. The solar charge controller has a direct-to-load circuit available, so we installed USB and cig-plug charging ports fed directly by the panels. So Jimbo can charge up by day and use separate battery juice by night. Alls well.

Galley trim-out continues. Ravenswing is one of likely few boats with a dyneema veggie net. Just a bit of overkill!

This is what we should have had when the emergency hatch opened and flooded the aft cabin. A free standing high power pump, easily deployed. Got this rigged up today. 
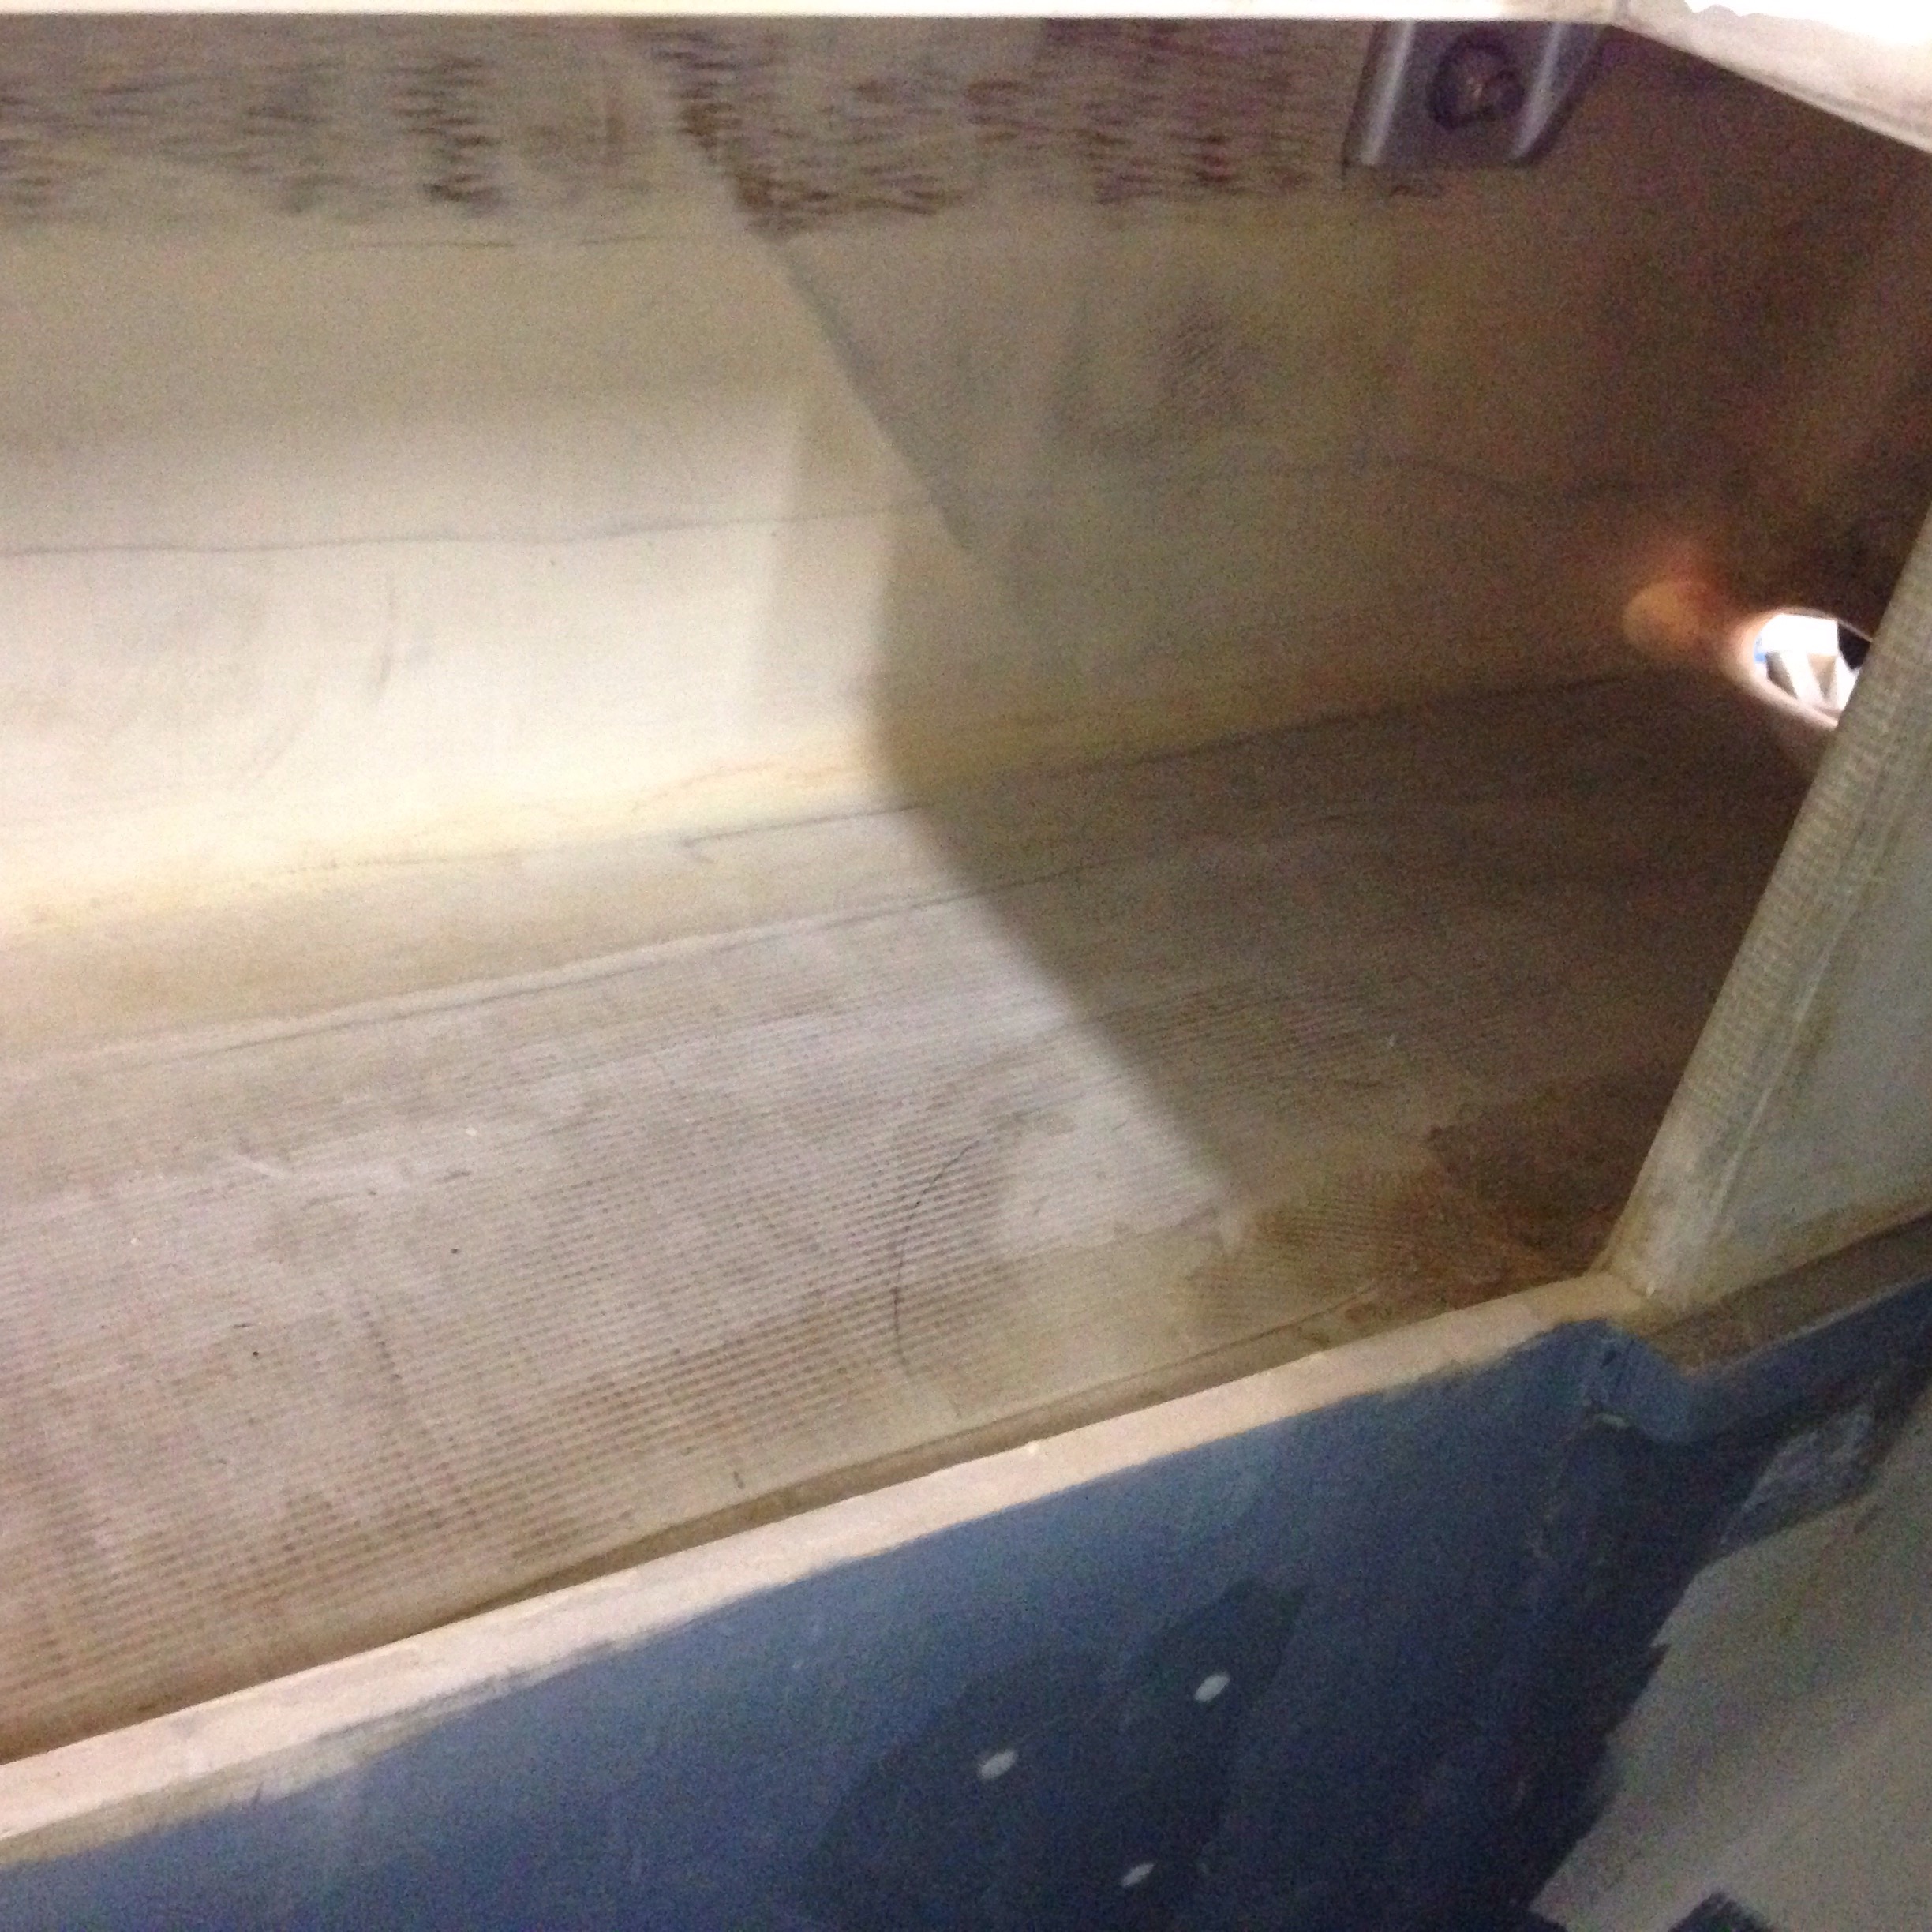
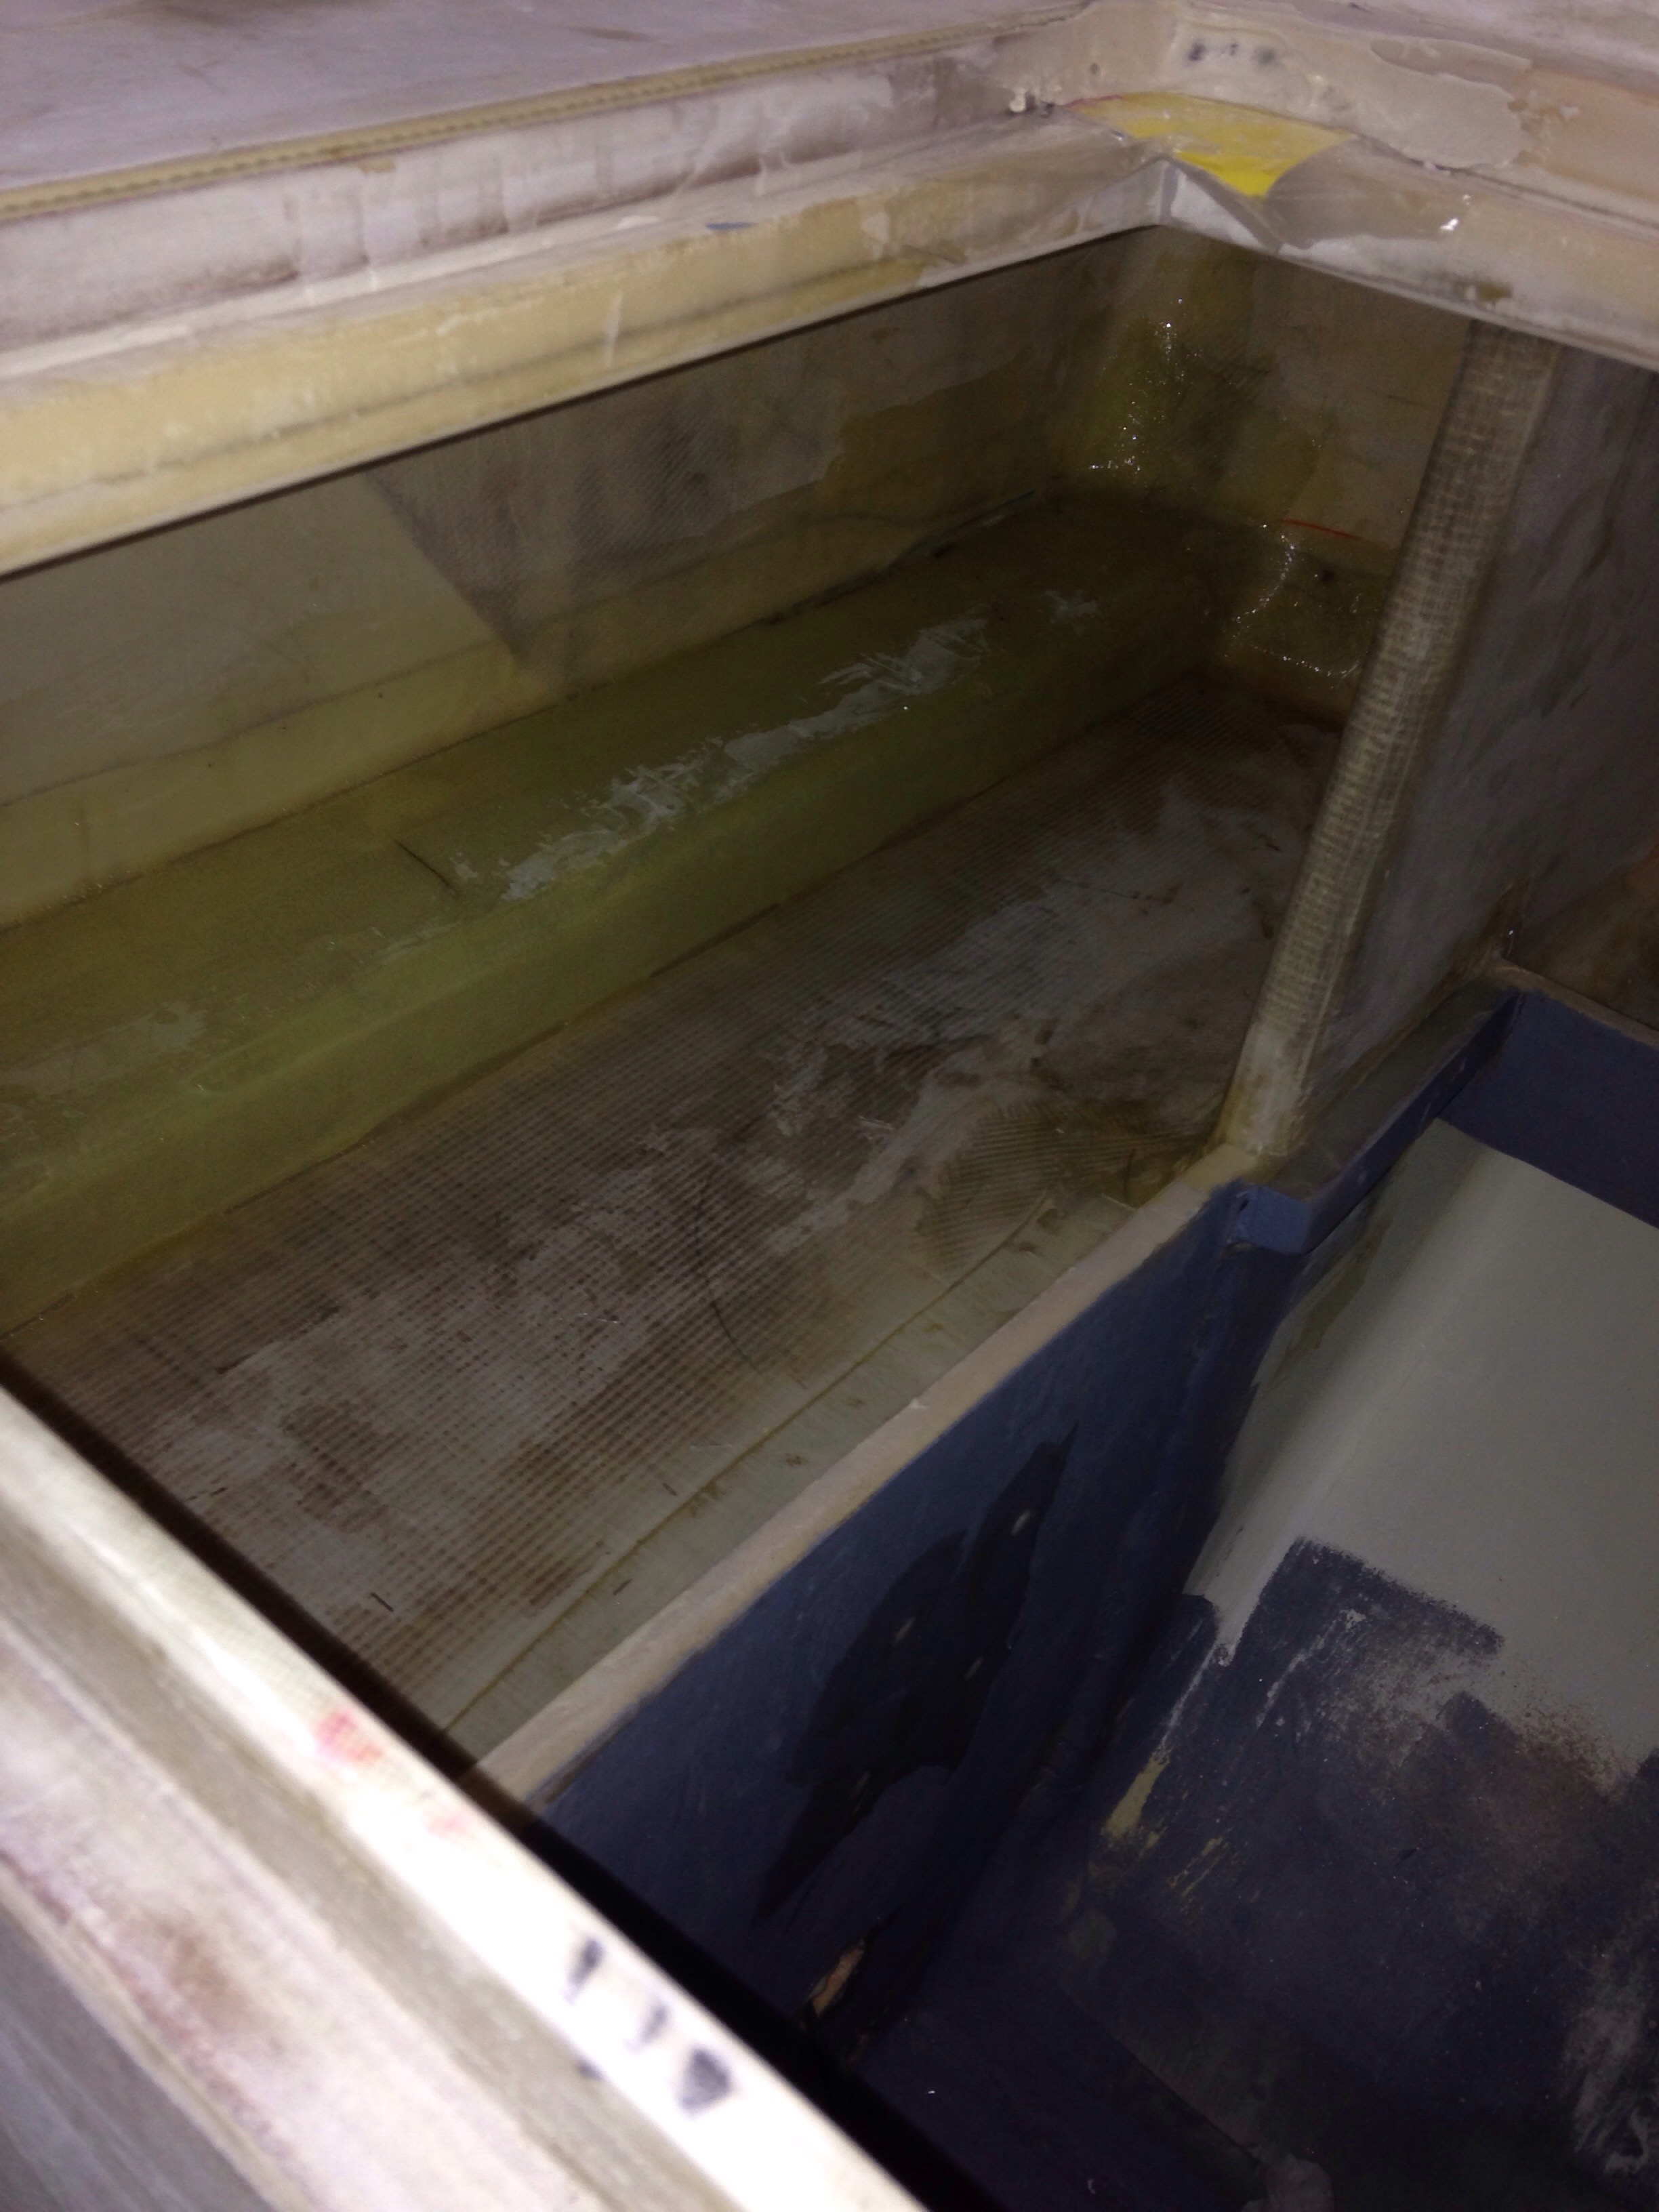
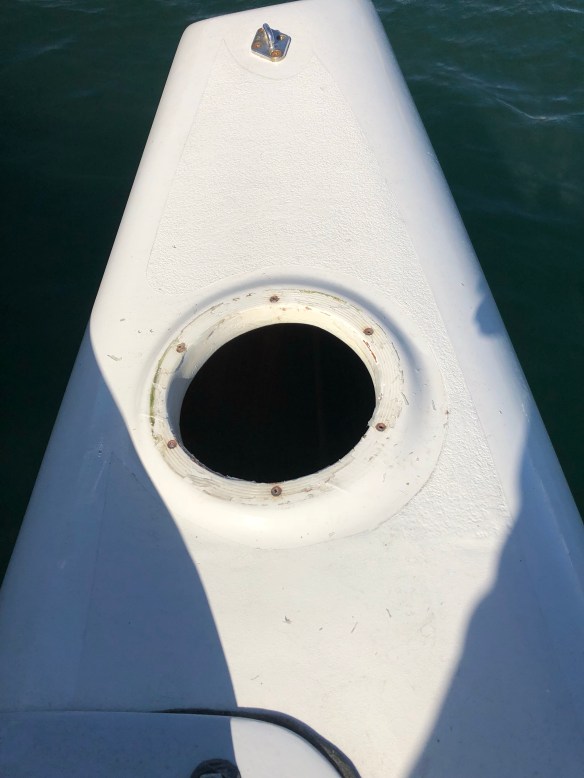
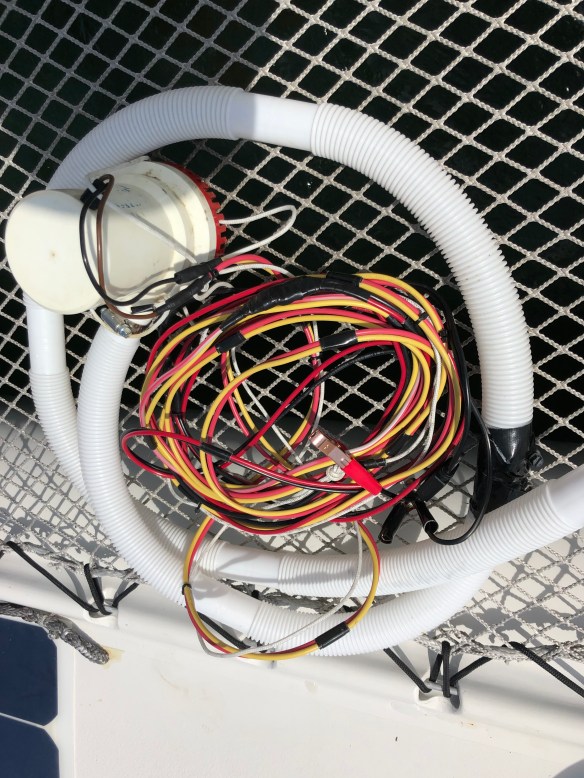
Thought a field test was in order so we filled a bucket and set it all in the float hull. 
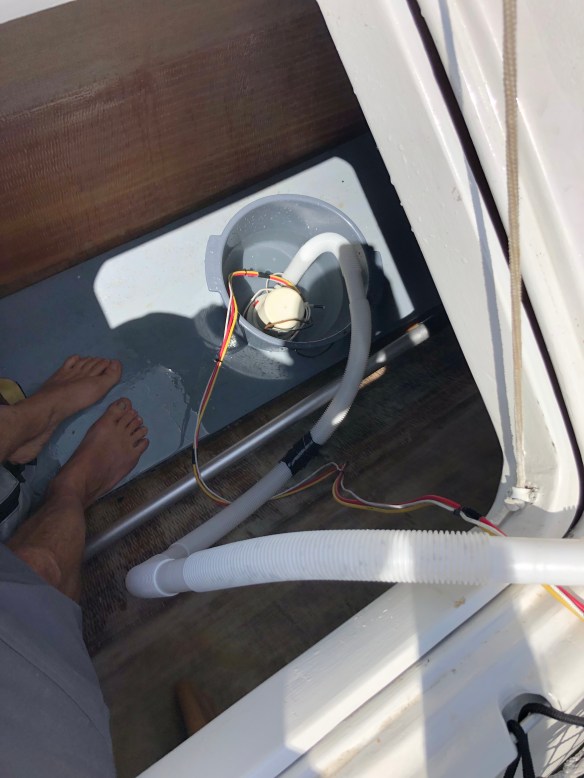
Yea, the boat builder didn’t think about how that big 2,000 gph in a little bucket would behave. Of course it flipped it over and pulled the hose back inside. So while the pump works great, operator error resulted in emptying the gear and drying out for the afternoon. Never a dull moment on Ravenswing.

Golden Oldies Multihulls (Stephen) called at 6pm yesterday, asking where I was because he had three spinnakers in his car. Dropped the wiring tools and hit I-80. Two hours later in Roseville we had this load. Home by 11:30pm and my dear co-owner was a peach about running the tapes with a 100′ measure at 8am today. There’s a .75 ounce asym that might be a little too tall. And a nice 1.5oz from a Reynolds 33 cat that’s a bit short but maybe good. On the third sail my tape measure passed 60′ from the clew towards the head when we hit thiswhat the heck? And what is the “.com” logo? Keep unpacking it and OMG, Stephen has a KiteShip kite sail basically brand new sitting in his garage for years. These things fly from very long sheets above the mast. They made a run at America’s Cup and Sydney/Hobart, etc. But the company is gone now. I’m not going to tackle this beast for Ravenswing, but want to try this out on a large ocean boat. Anybody in? Go search on kiteship and you’ll see what it’s all about. Meanwhile I’ll get ChrisH to help test the two spins on Friday and hopefully one fits!

One of the profile questions on the BajaHaHa entry form is “what is your dream boat?” I told them to go look at their own article from Aug’15. We’re finally getting there.

I-80 westbound

Yea, the mast is spending the night in Nevada and we’re on track for a 10am delivery in Richmond on Tuesday. The weather has been perfect for mellow fall sailing, and we just hope it stays for another couple weeks.

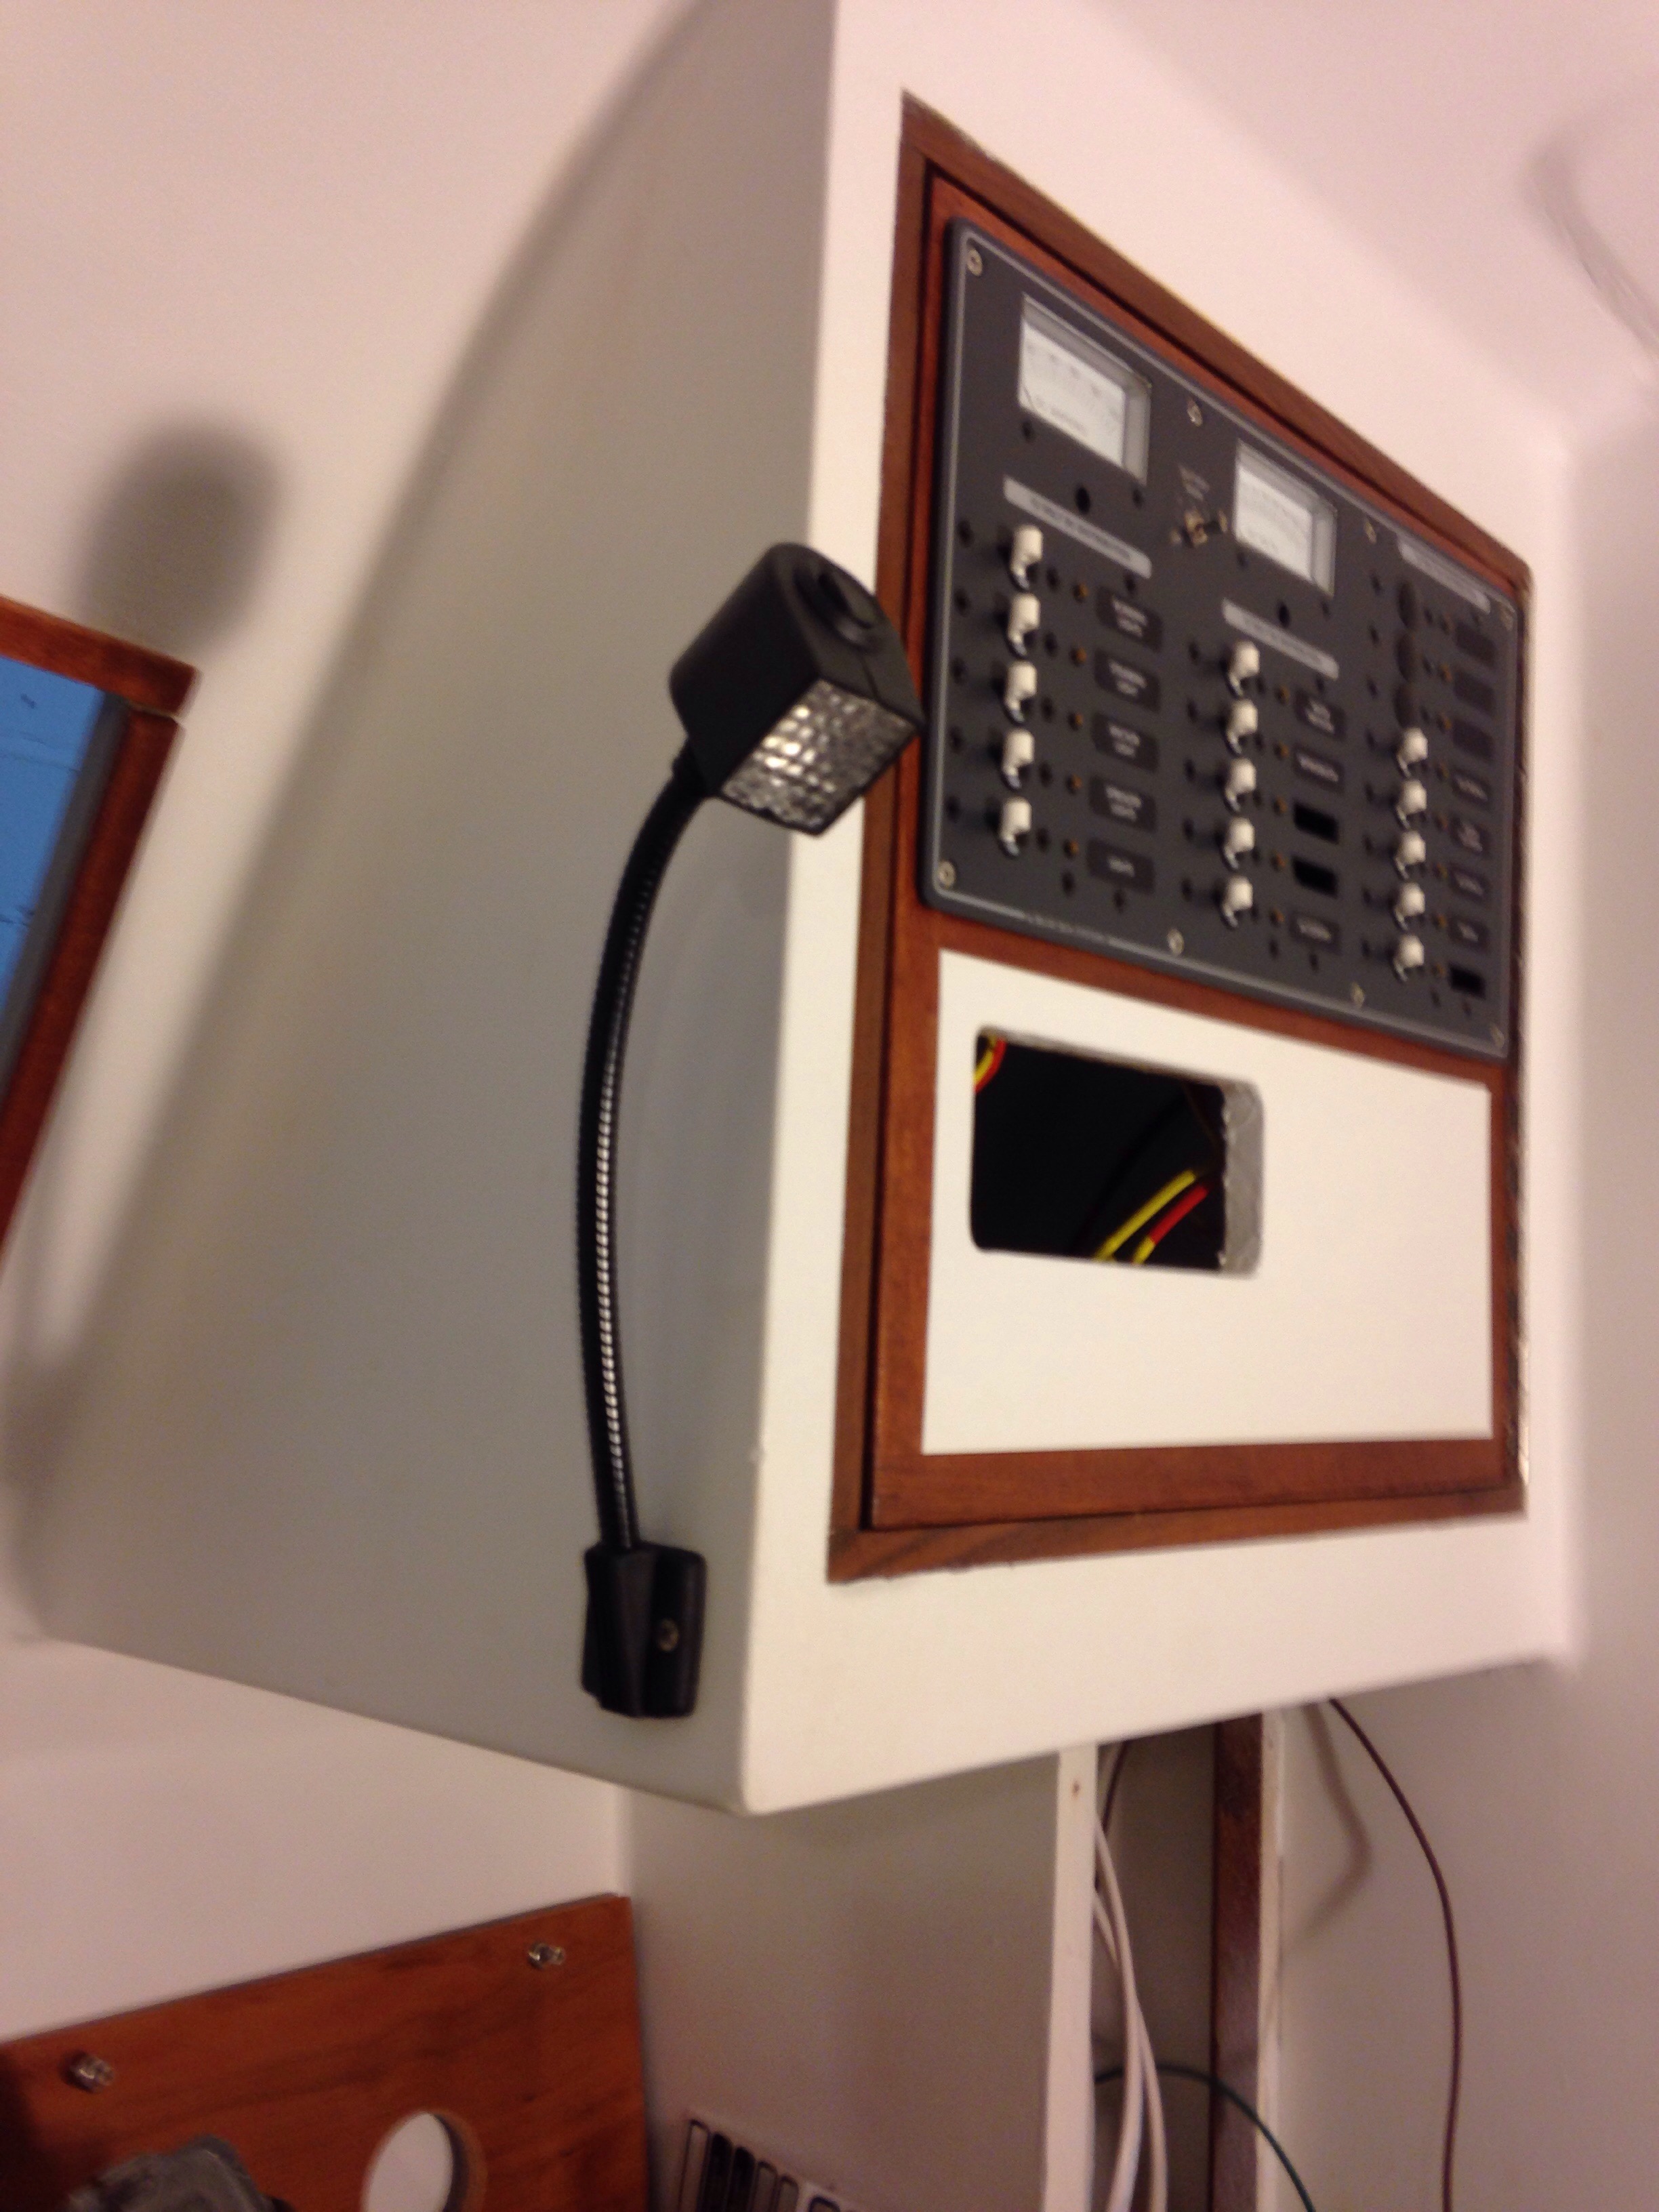
At the boat, the solar system charging the lithium battery bank got up to a full 14.2volts charge today, once we dialed in details like the Peukert curve, absorption voltage, and efficiency rating. The Victron BMV712 is run via a Bluetooth app, making the custom configuration very easy. The hard part is deciphering and deciding what you want with your LiFePO4 batteries. Now with full charge we’ll start using the chart plotter and radar for the first time, and if that goes well, get into testing the fridge. All of these things were installed two years ago and have sat unused!

More delay-busting: Jeanne and Leslie made octopus curtains back in the Santa Rosa shop. I finally rigged up the hold-em-up lines. 
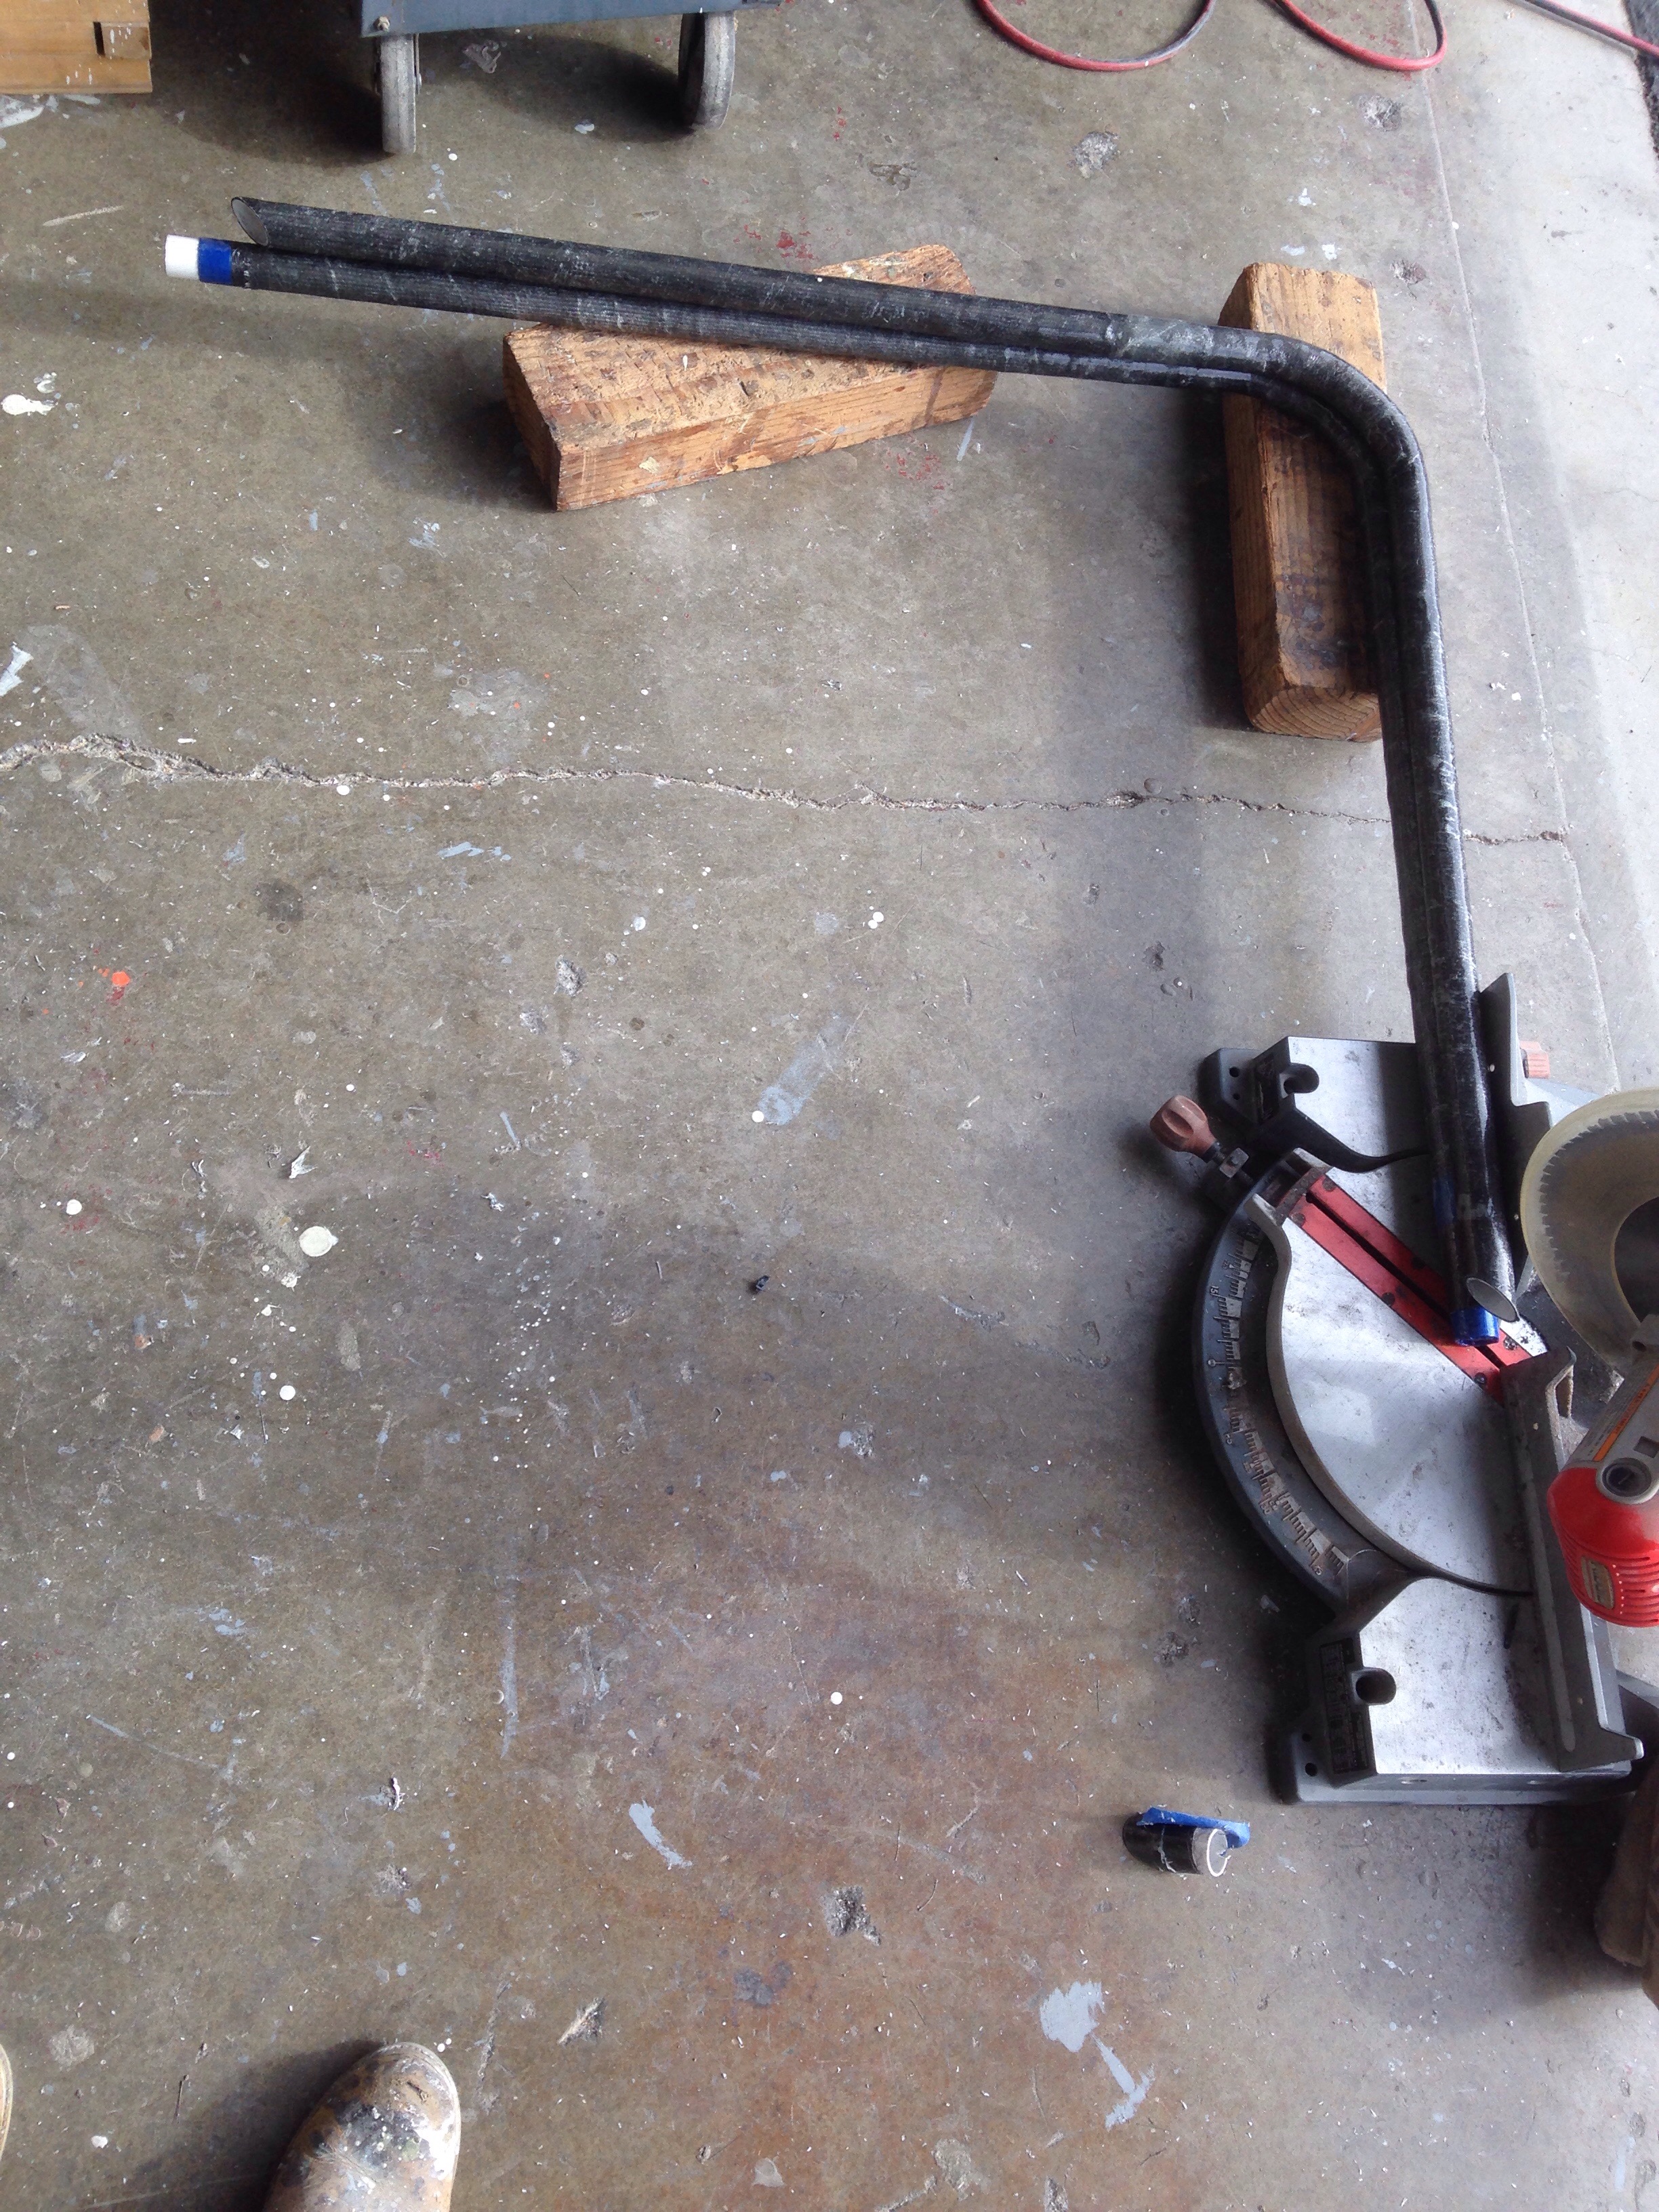
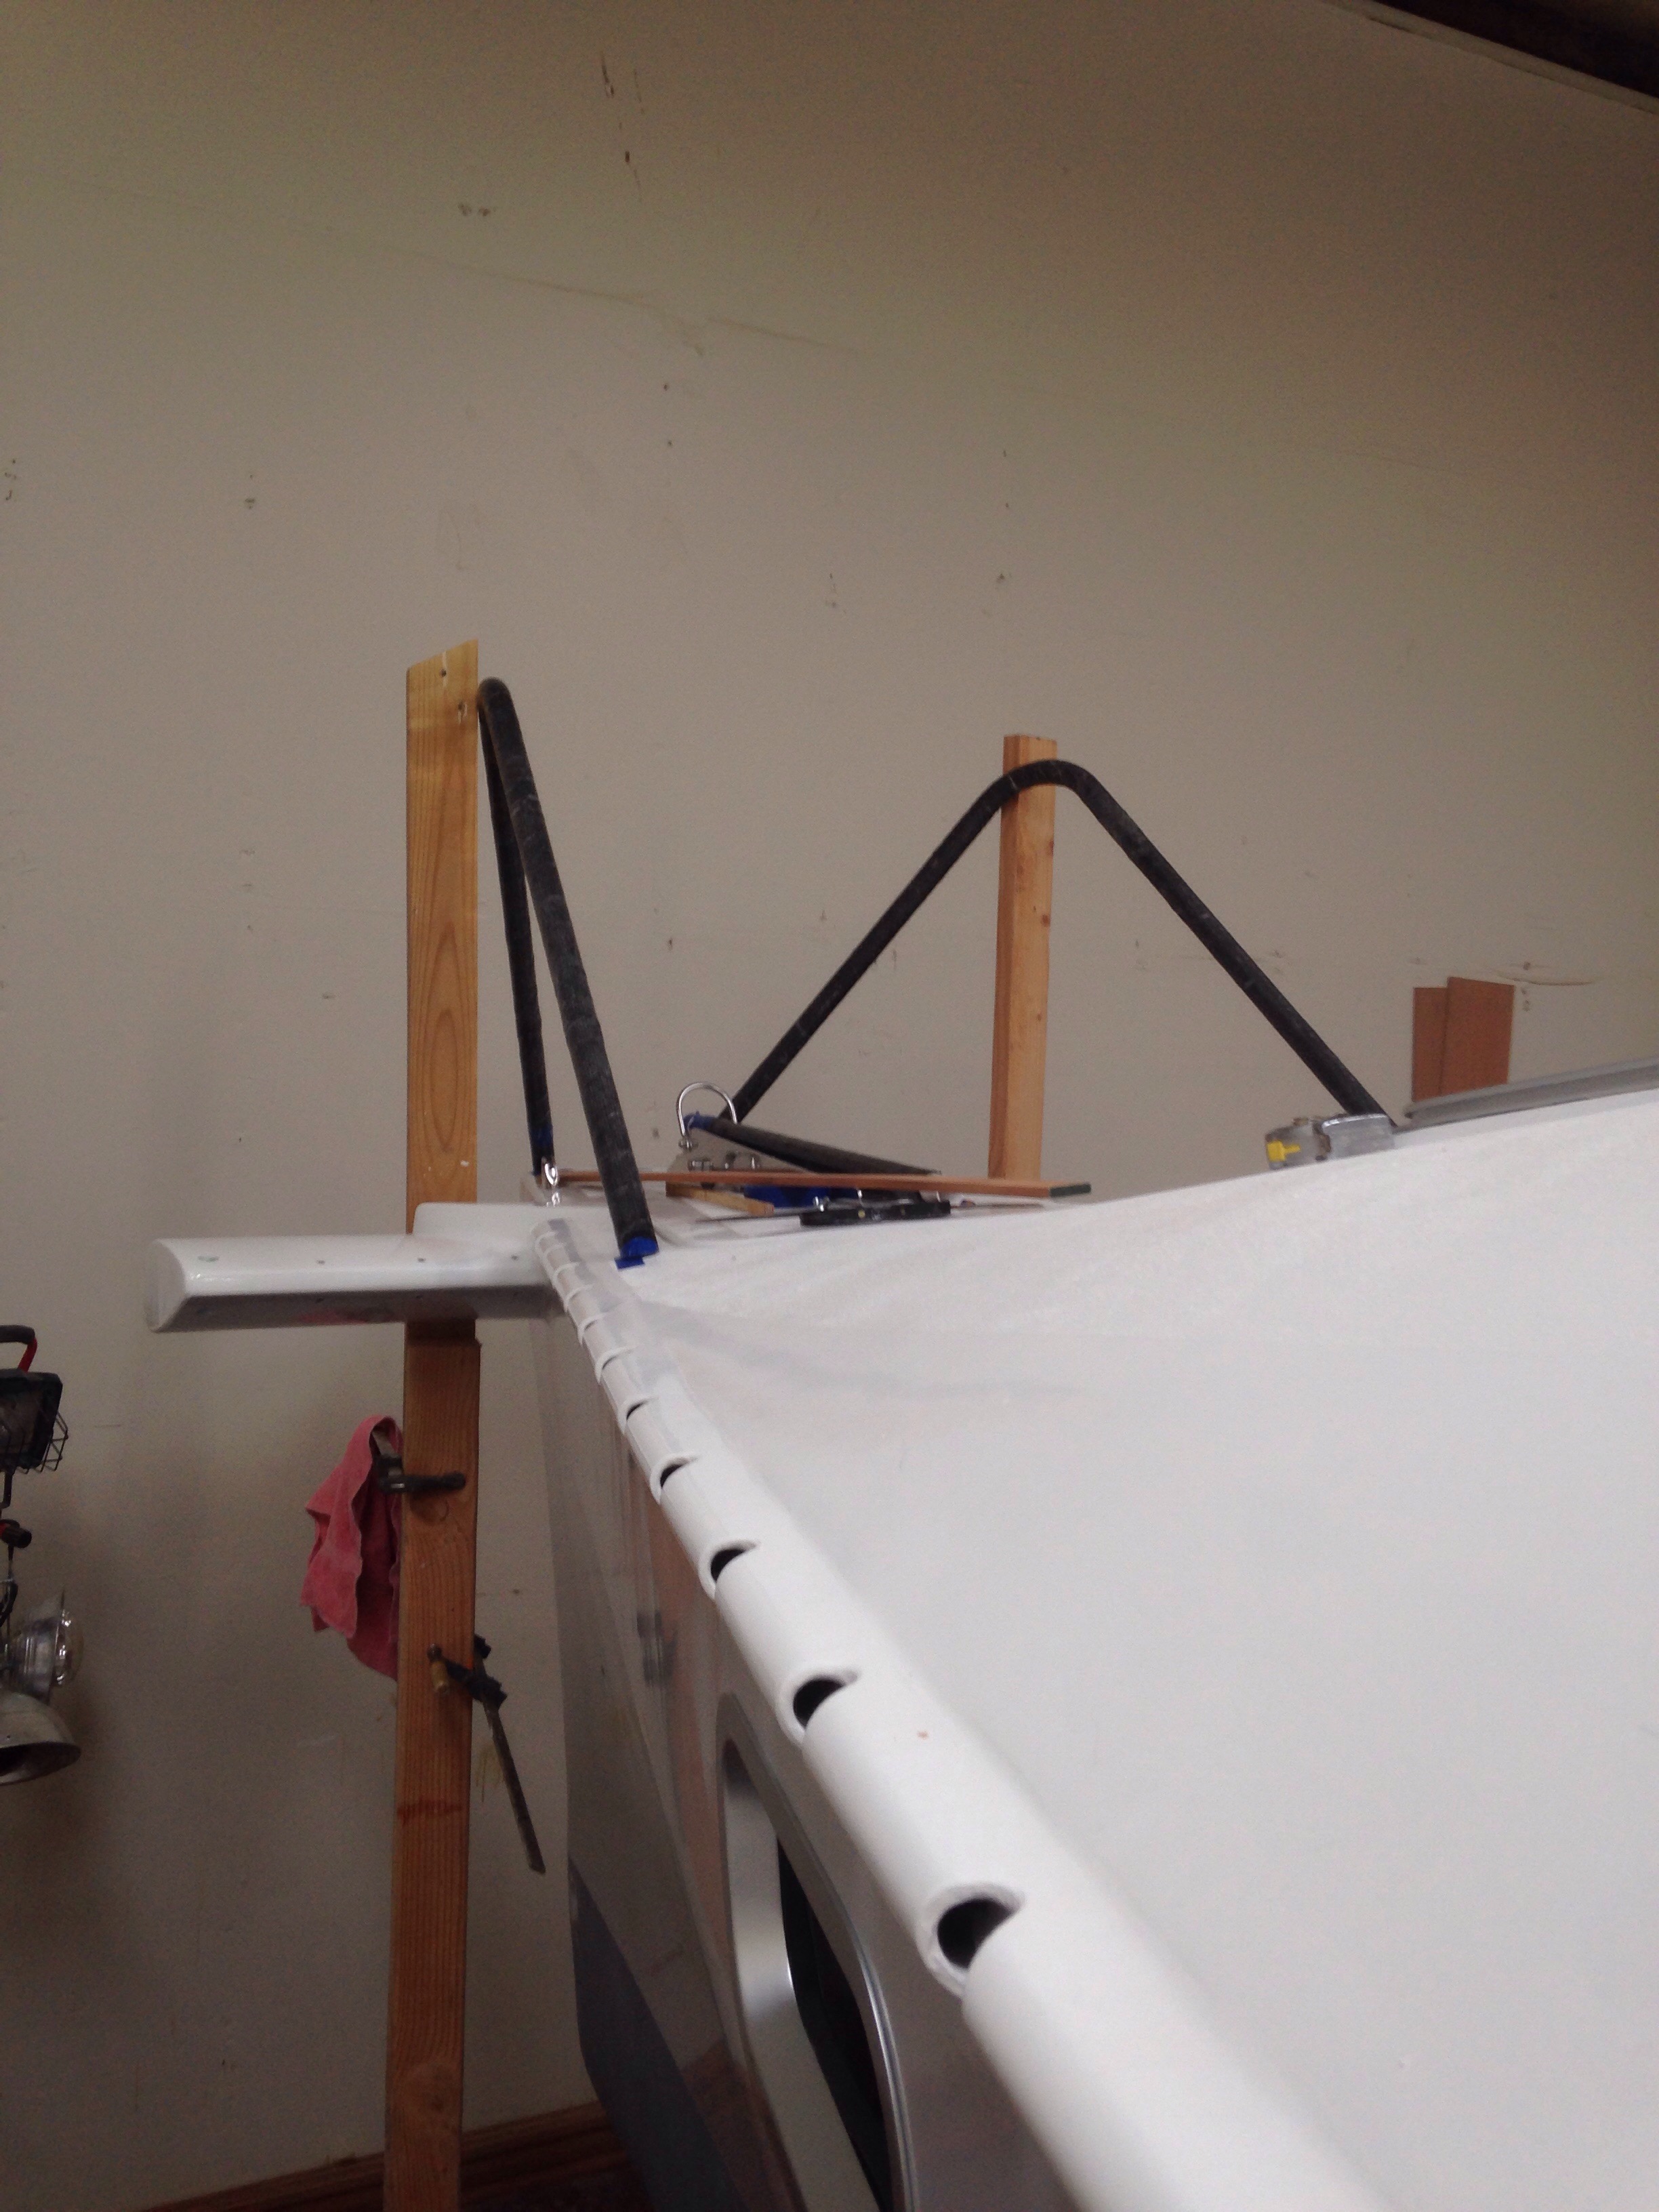
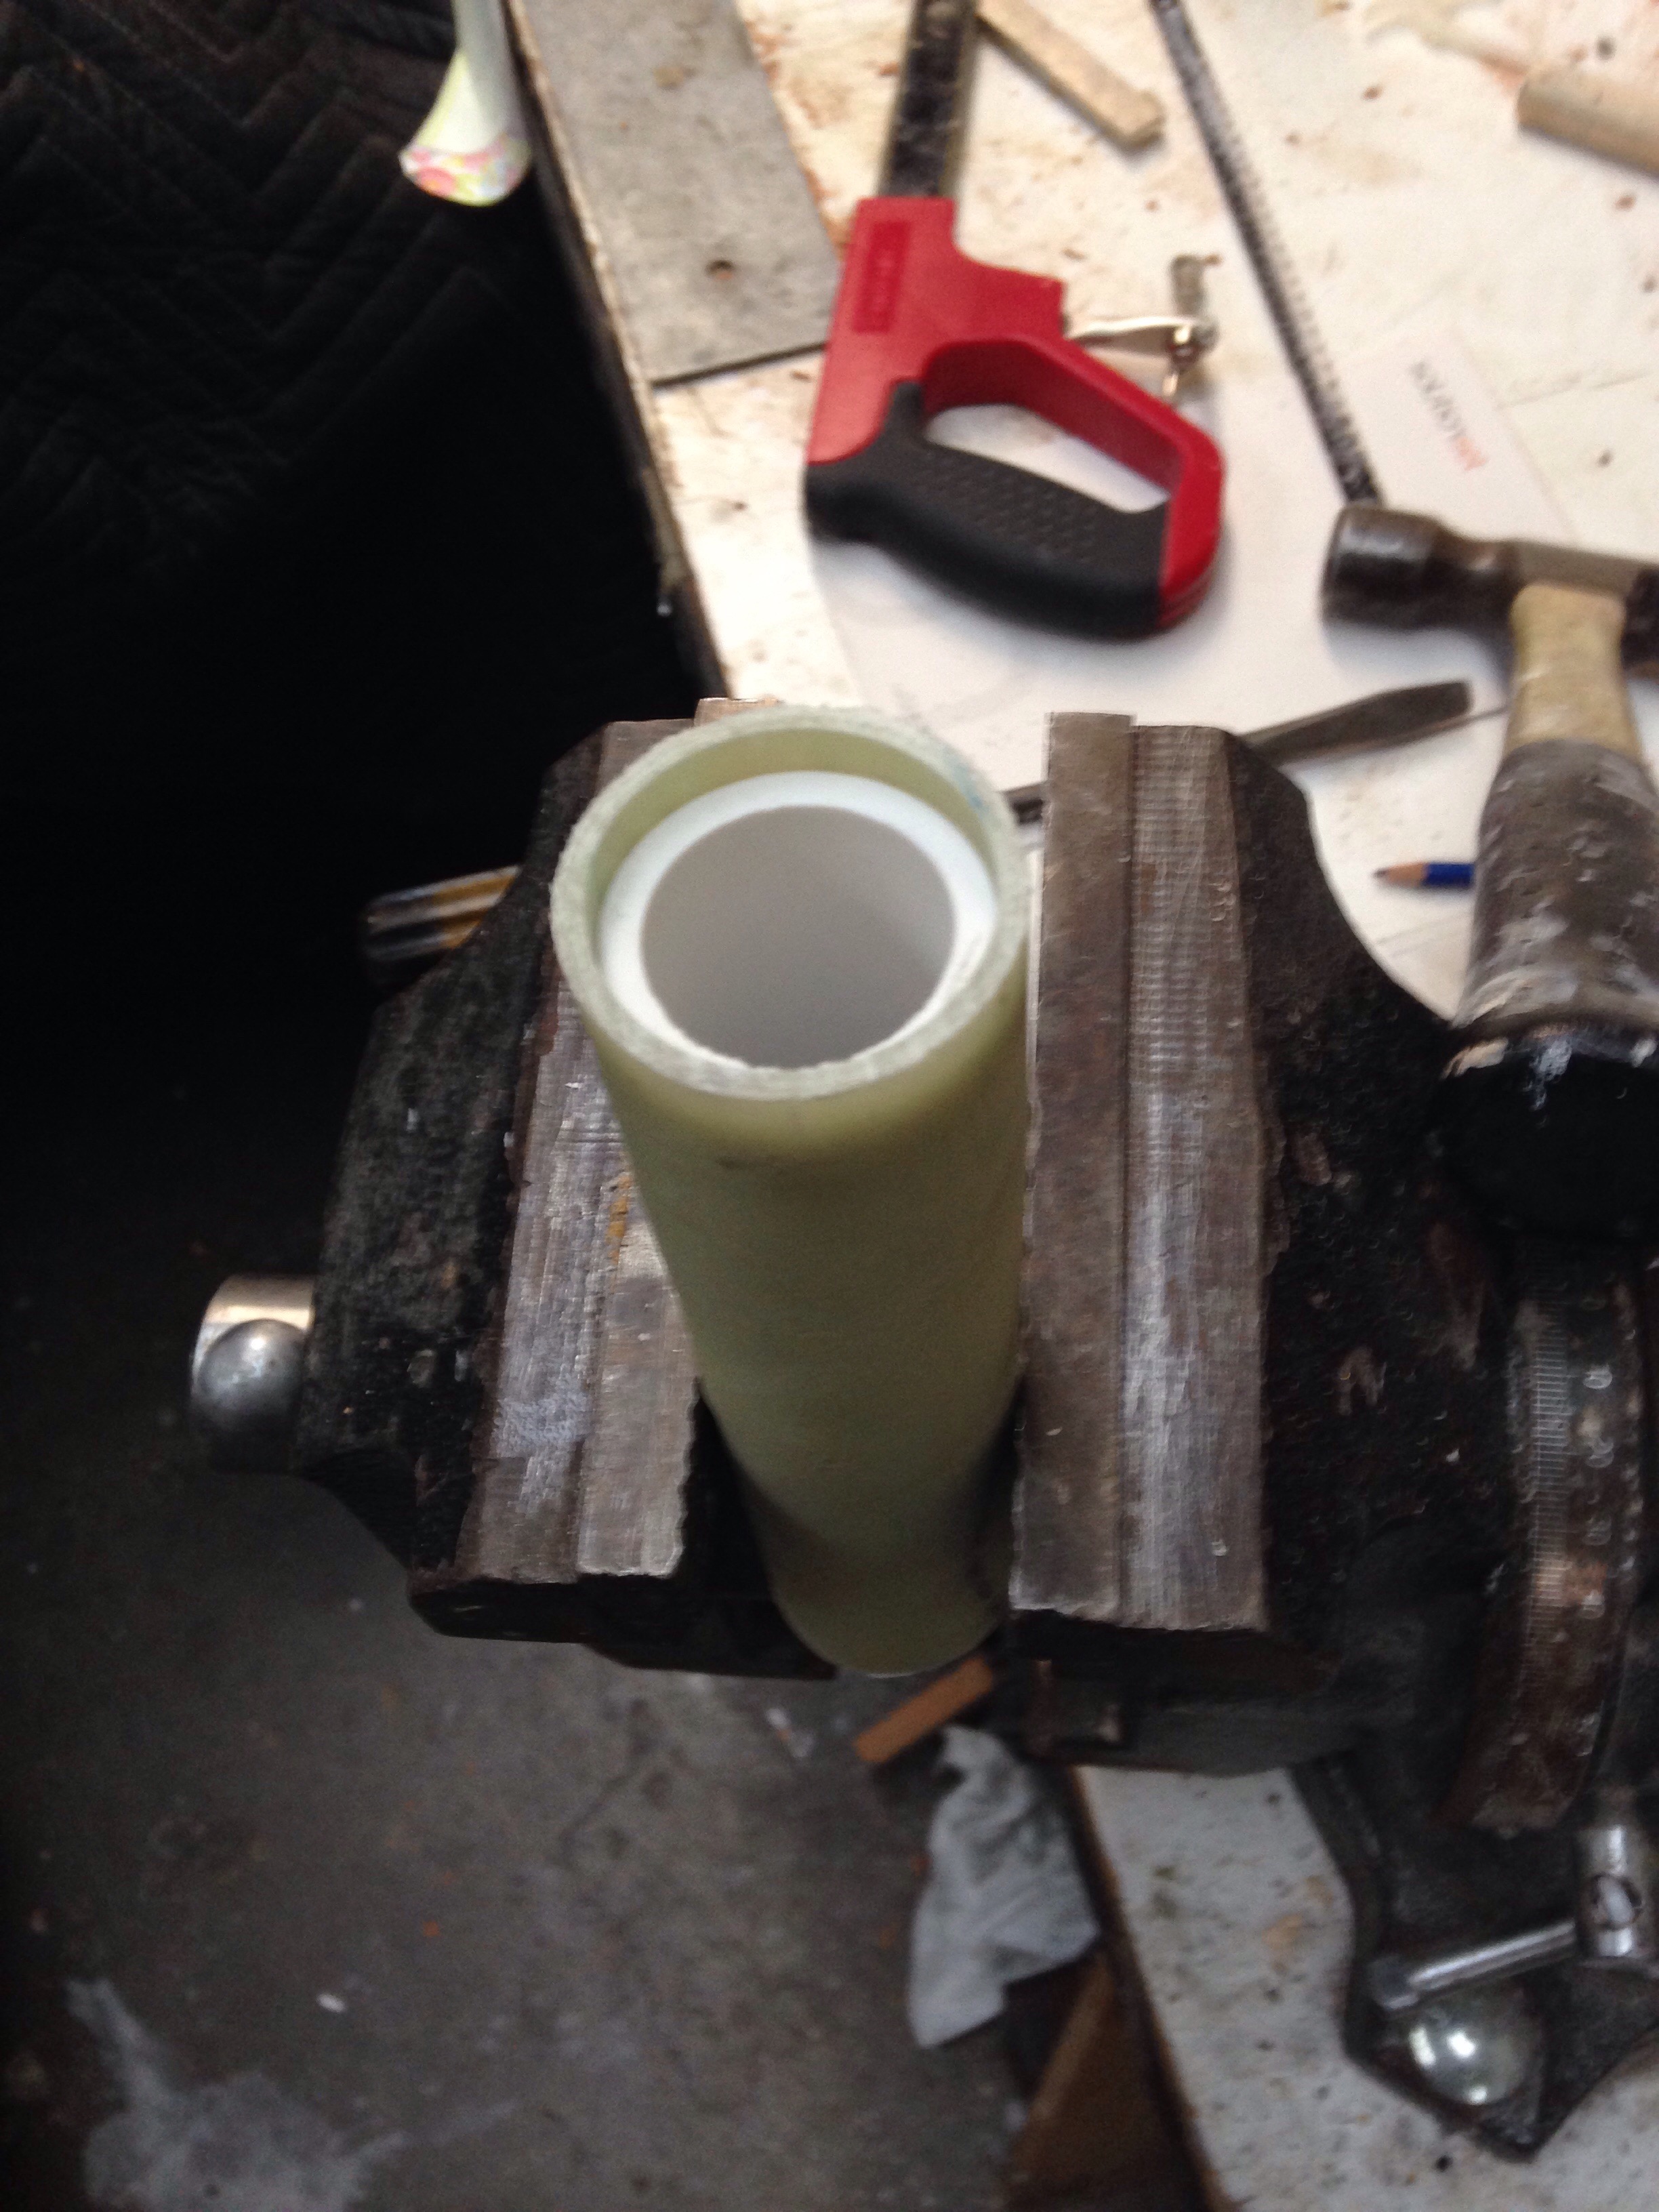
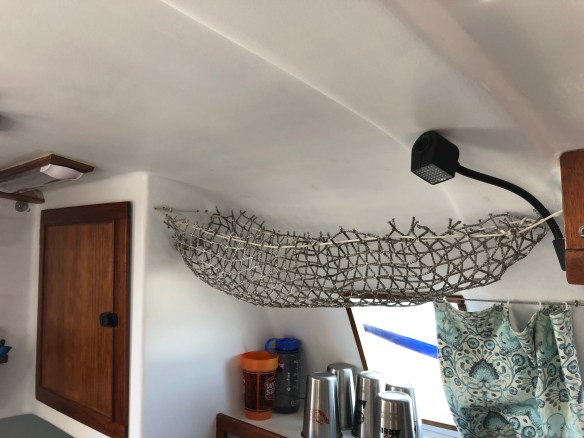
that’s got to be the lightest curtain rod possible!

And even though I’ve had a year to modify the boom, of course it’s getting its final paint just a day or so before installation. Monday eve will be final details fitting, like finding a new outhaul anchor point and adjuster.

We did succeed in cross drilling the 1/2″ sheave pin and 5/8″ gooseneck-toggle pin for 1/8″ cotter pins. Various old drill bits, and a new titanium one, failed and had us worried about this tiny task. But these $3 cobalt tip ones, and the drill press set down to 250rpm, made it easy. Also helps to have finally bought real cutting oil.

Tomorrow will be a big job of organizing and orchestrating the mast stepping and re-rigging. I want a smooth Tuesday/Weds, and we’re REALLY HOPING the Harken people sent those 3 masthead sheaves out late last week via a priority service. It would suck to sit at the boat yard with the mast but not be able to step it!!! We’ll know with some Monday morning phone calls.

Dodging the rain

Yea! We’re finally getting some decent rain in Northern California. I have no problem bowing to nature in this case, even if it does screw up boat projects. In between showers, we’re getting stuff done. Here are the main sheet block pads done, installed with some leftover windshield super tape.

The starboard main cabin ports got their new polycarbonate pieces. This is 1″ Very High Bond 3M tape, then Sika 295 black sealant around the outside edge. 
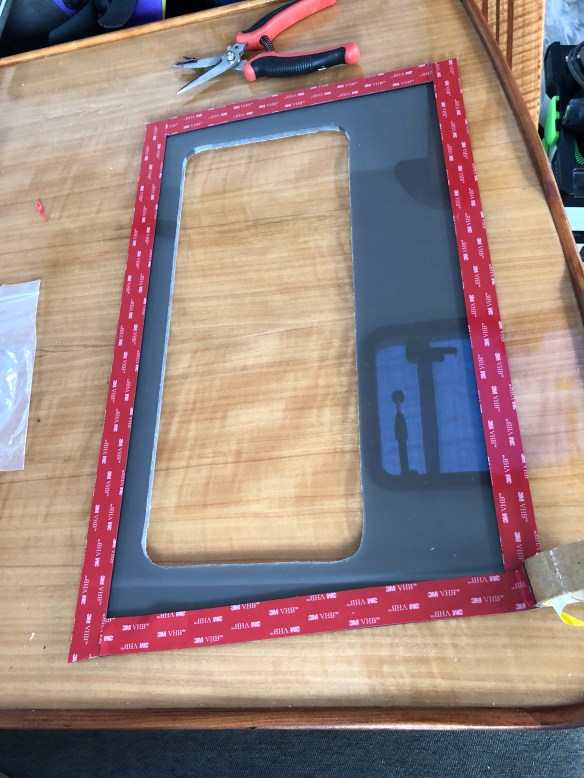
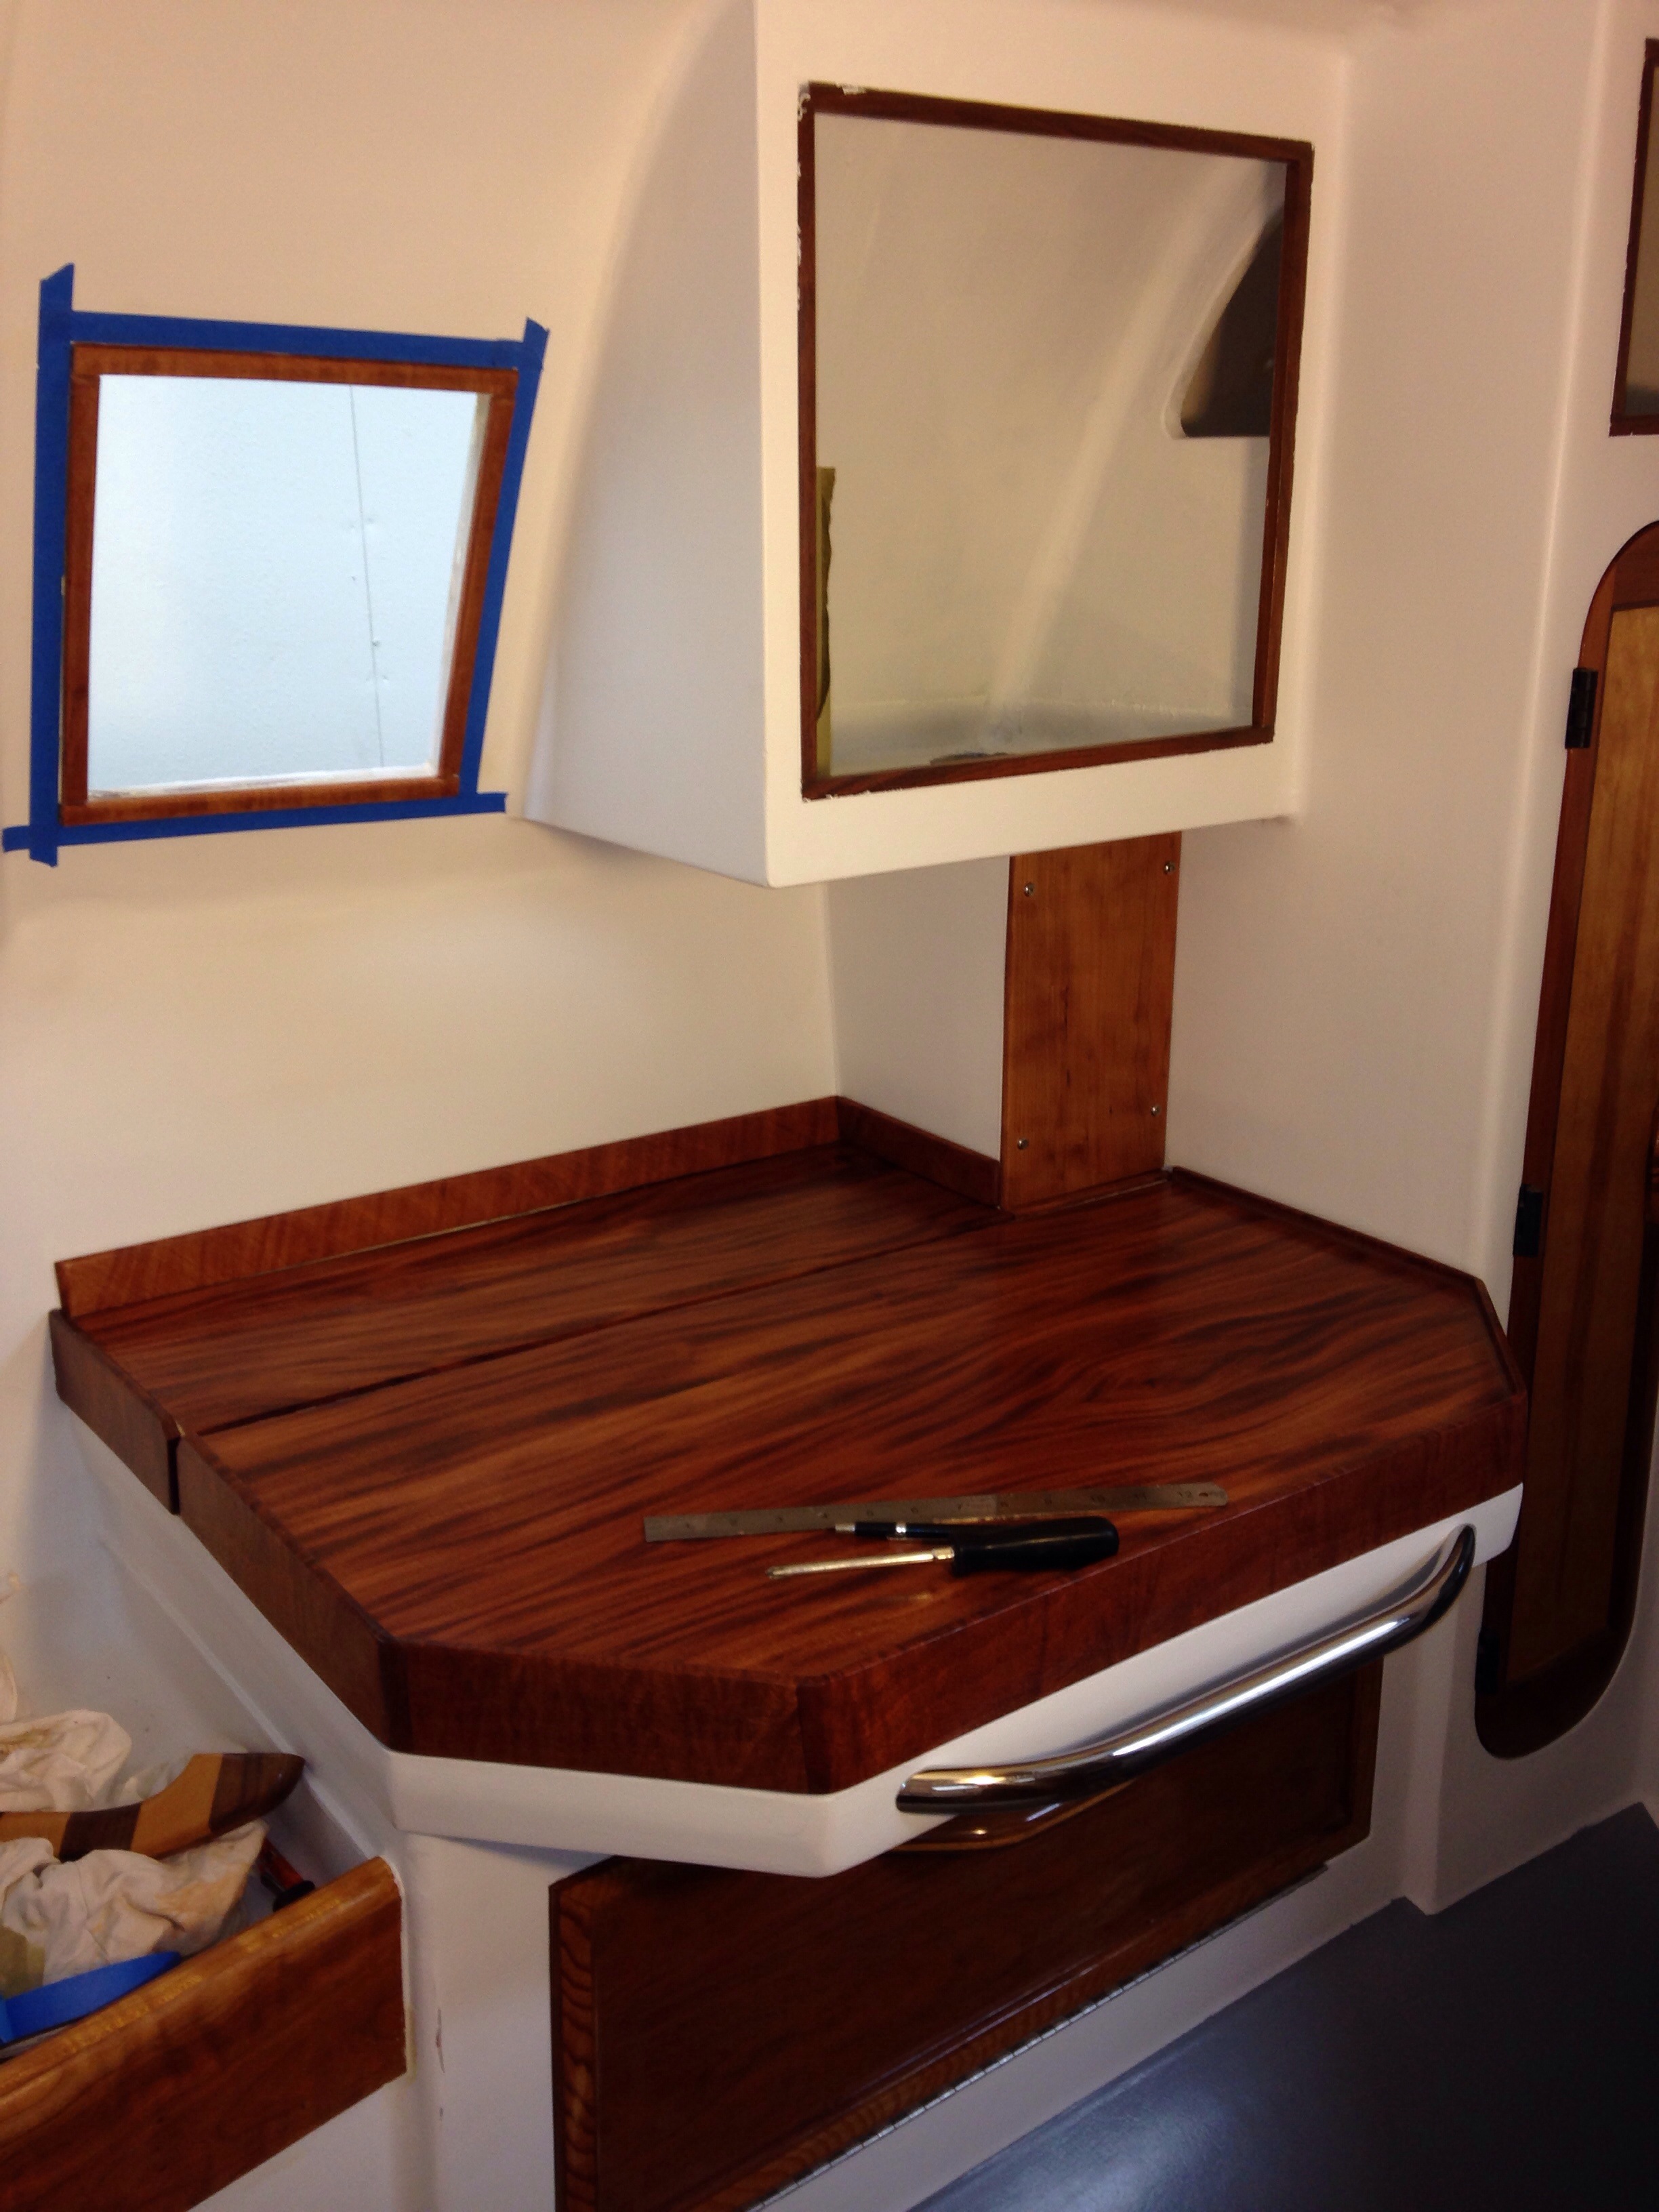
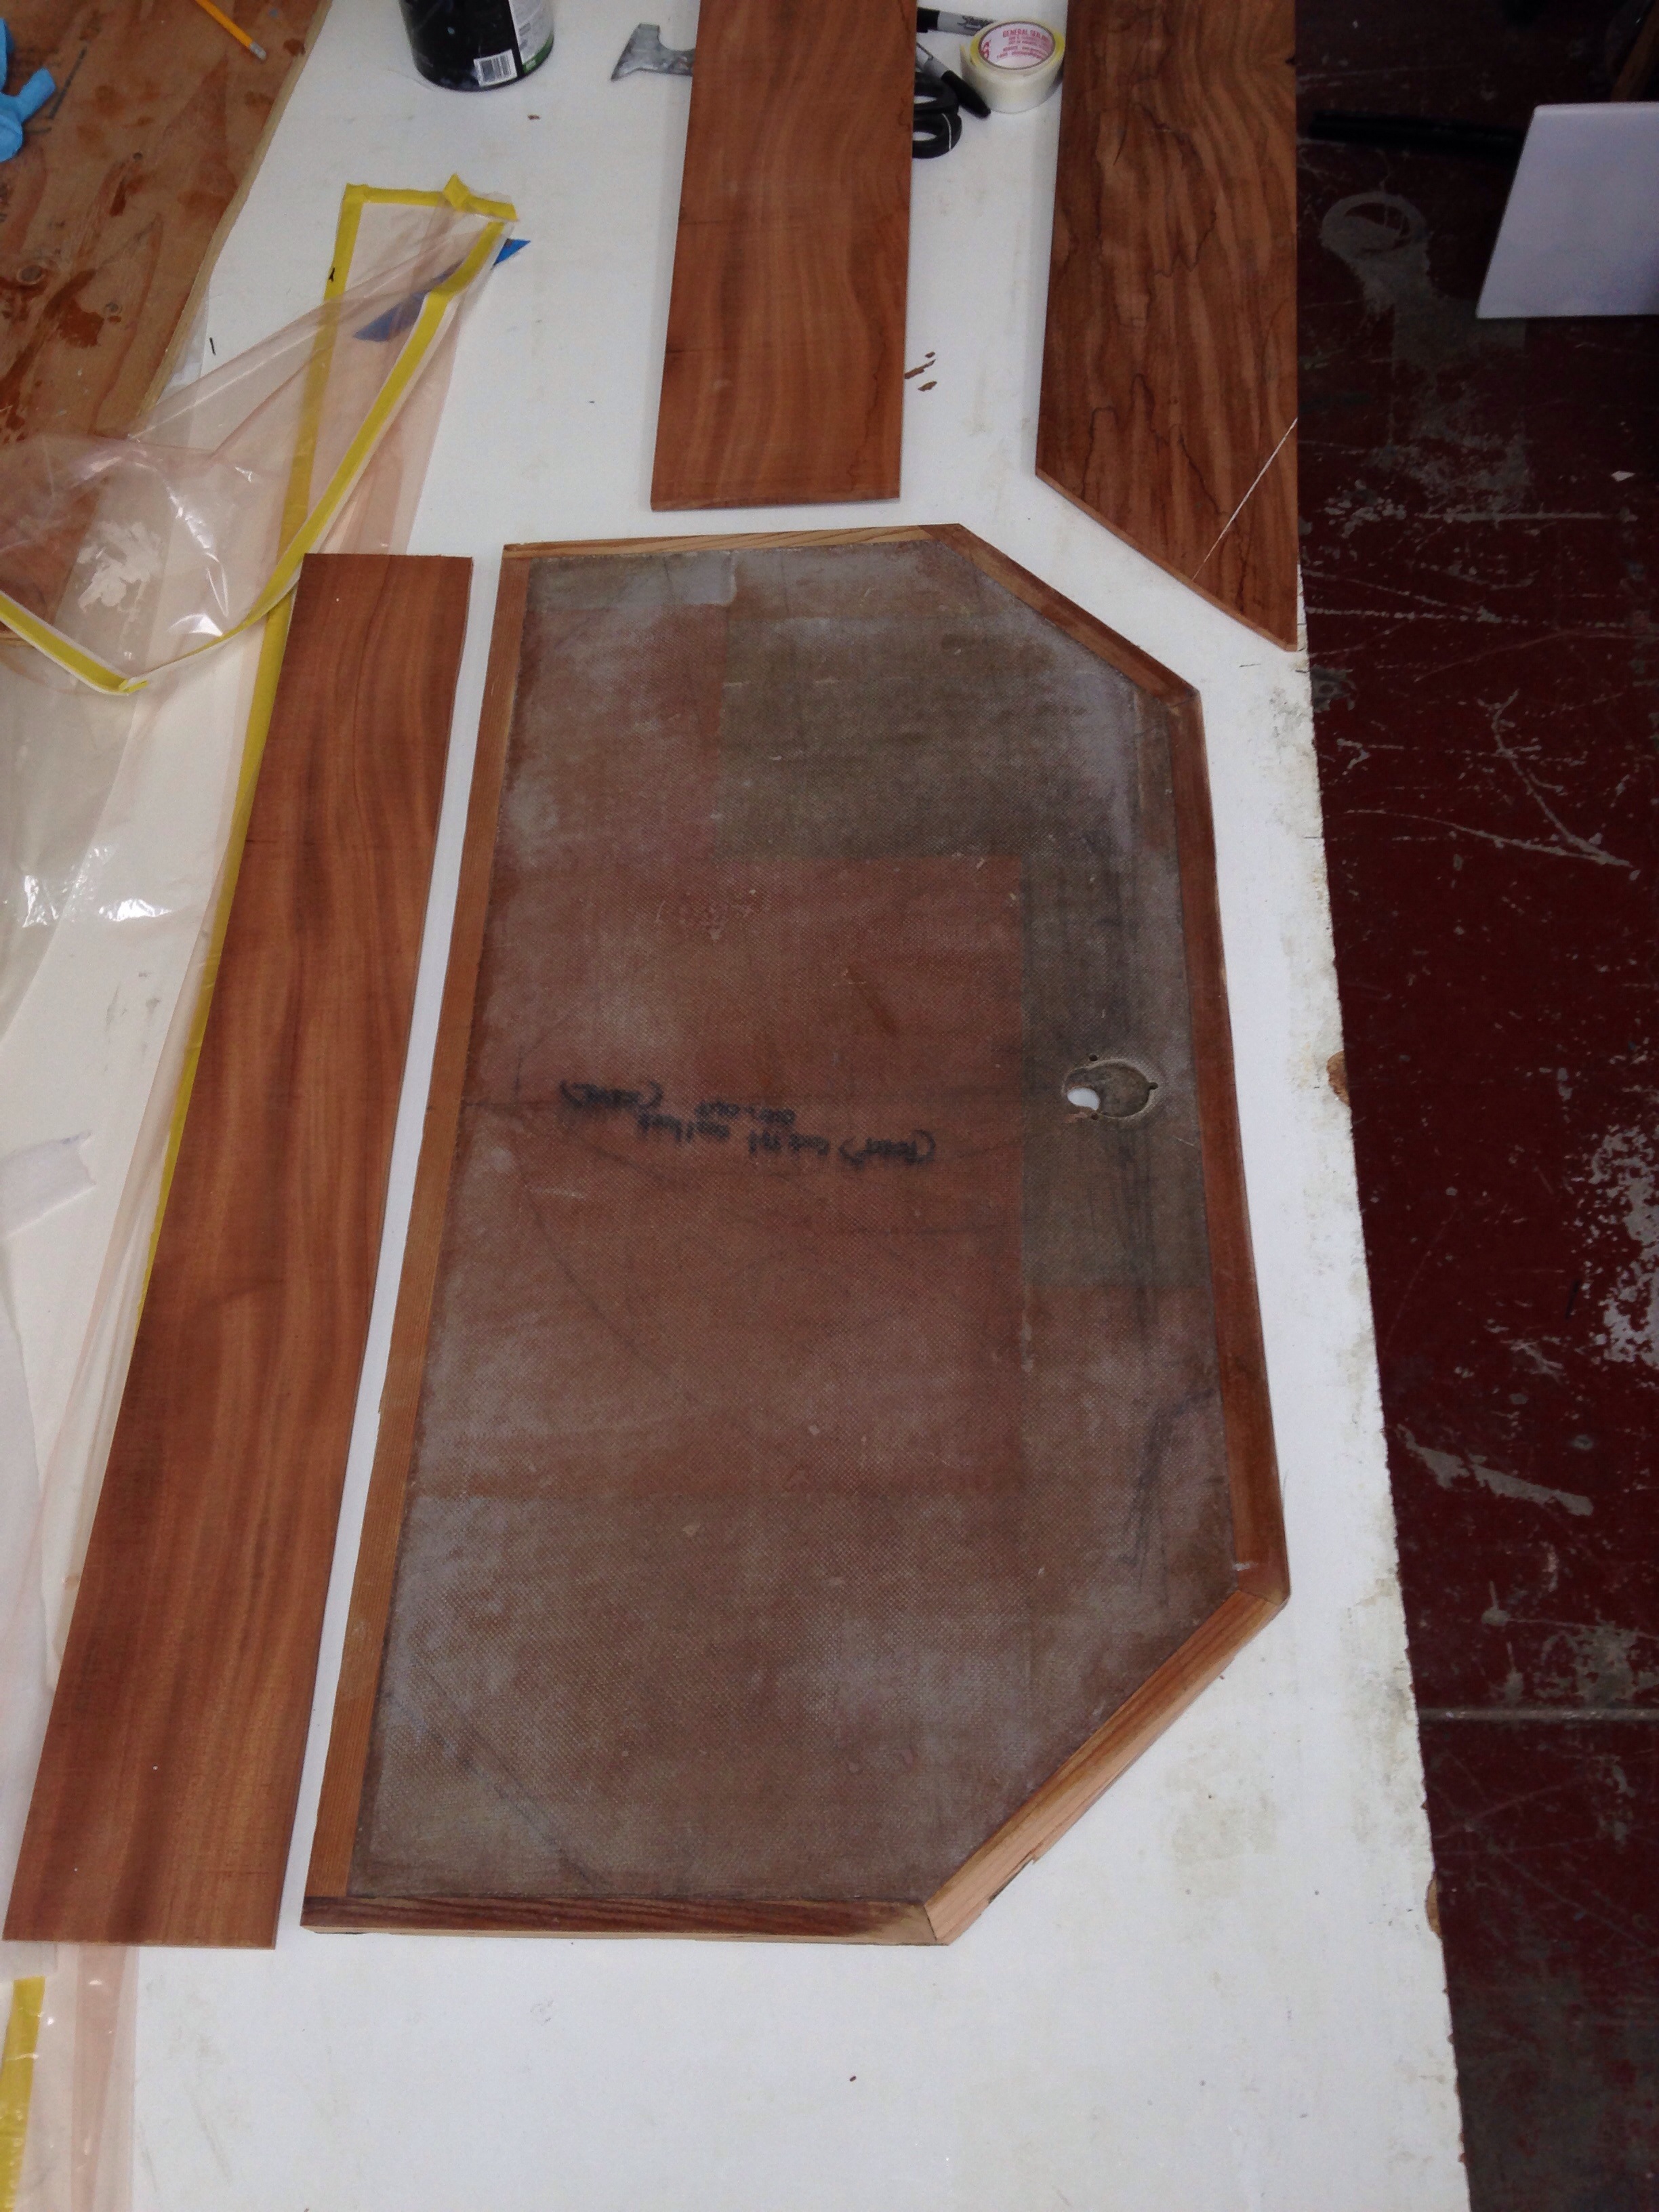
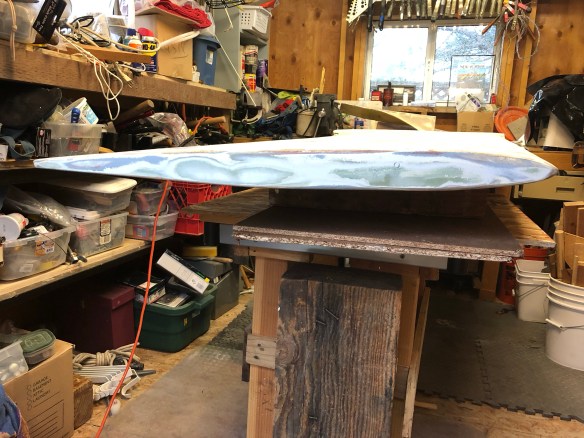
the center one with the big cutout gets a ‘floating’ Lewmar opening port reinstalled next time I go down to the marina.

RickWS, I think we’re ready for baking, as 1.5yrs after launch I’ve finally hooked up the propane. The locker was built into/under the cockpit lazarette, and it sticks down into the equipment room alongside the freezer box. For service, it needed an overboard vapor drain, an electrical pass thru for the tank on/off solenoid, and one for the gas line.

Just need to fill the tank on that next drive to the marina and test it all out. Jeanne is on boat-strike until we can boil water for afternoon tea.

Also completed are those watertight Armstrong inspection hatch covers. First a look at the 10″ ones on the float bows.

So far in the rain both have stayed bone dry, so this looks to be a good fix on a previously poor execution. Here are shots of the 7″ aft ones; these required grinding away the original built-up bases for the old style ports, plus filling in the bolt holes. I’ll try to remember to get a photo of the one-piece Armstrong plates so this all makes more sense.

This next one may sound insignificant, but there was actually quite a bit of angst and procrastination about how to secure the various cabinet / locker doors. Mainly because I was a bit afraid of hitting the wood veneer doors with a crude hole saw. Proceeded with caution and now the doors latch shut!

Along with hot water, Jeanne would very much appreciate solving the tough ingress/egress issues of this boat. We could hop around the F27, but on this one the beams, coamings and cockpit seats are all much taller. I need to make various transition steps as we’re just not spring chickens anymore. First up is widening the coaming where the aft beams cut in to the hull. This is an odd spot in the boat design, and the F36 we saw in WA last September had these covered. So here goes.

They will be a little tricky, as they can only be permanently affixed to the beam and not the hull, for potential de-mounting of the beams/floats some day. We’ll update as we go on this one.

Meanwhile, back at the ranch… the daggerboard has been sitting under a tarp at home awaiting some reshaping work. We got the paint stripped and cleaned up the little work shed to tackle this, now that the weather is moving towards epoxy-appropriate warmth.

That’s an 8′ board in a 12′ shed, so the belly gets sucked in as one works. I’m pretty sure I built it to plan, but looking at it now, plus advice from the master Shipright during our Nov/Dec haulout, we’re thinking it really needs more bulbous-ness at the leading edge. We made a pattern of the hull pass-thru at the bottom of the boat while it was on land, and that is now transferred to a plywood cutout to use as a “don’t add more than this!” guide in this project. If anyone has ideas on how to attack this such that I work symmetrically, I’m all ears. Step 1 will be blocking and clamping it up on the trailing edge (leading edge pointing to ceiling) to at least be able to 
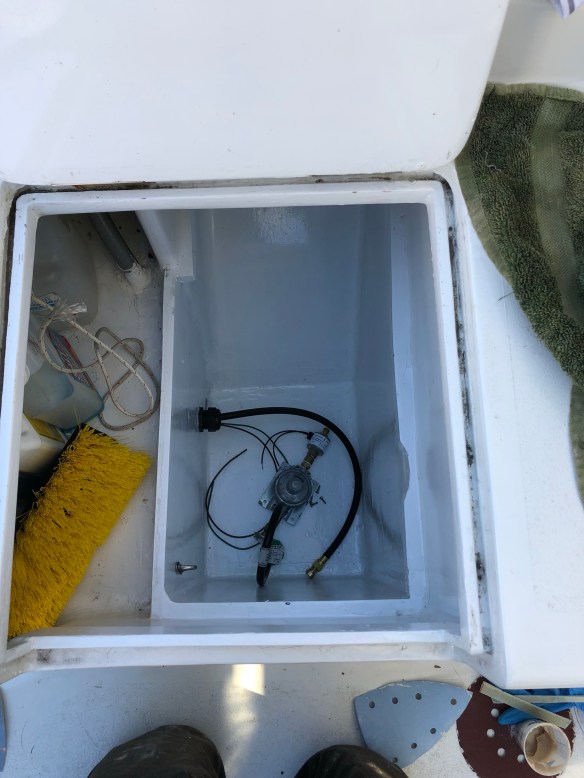
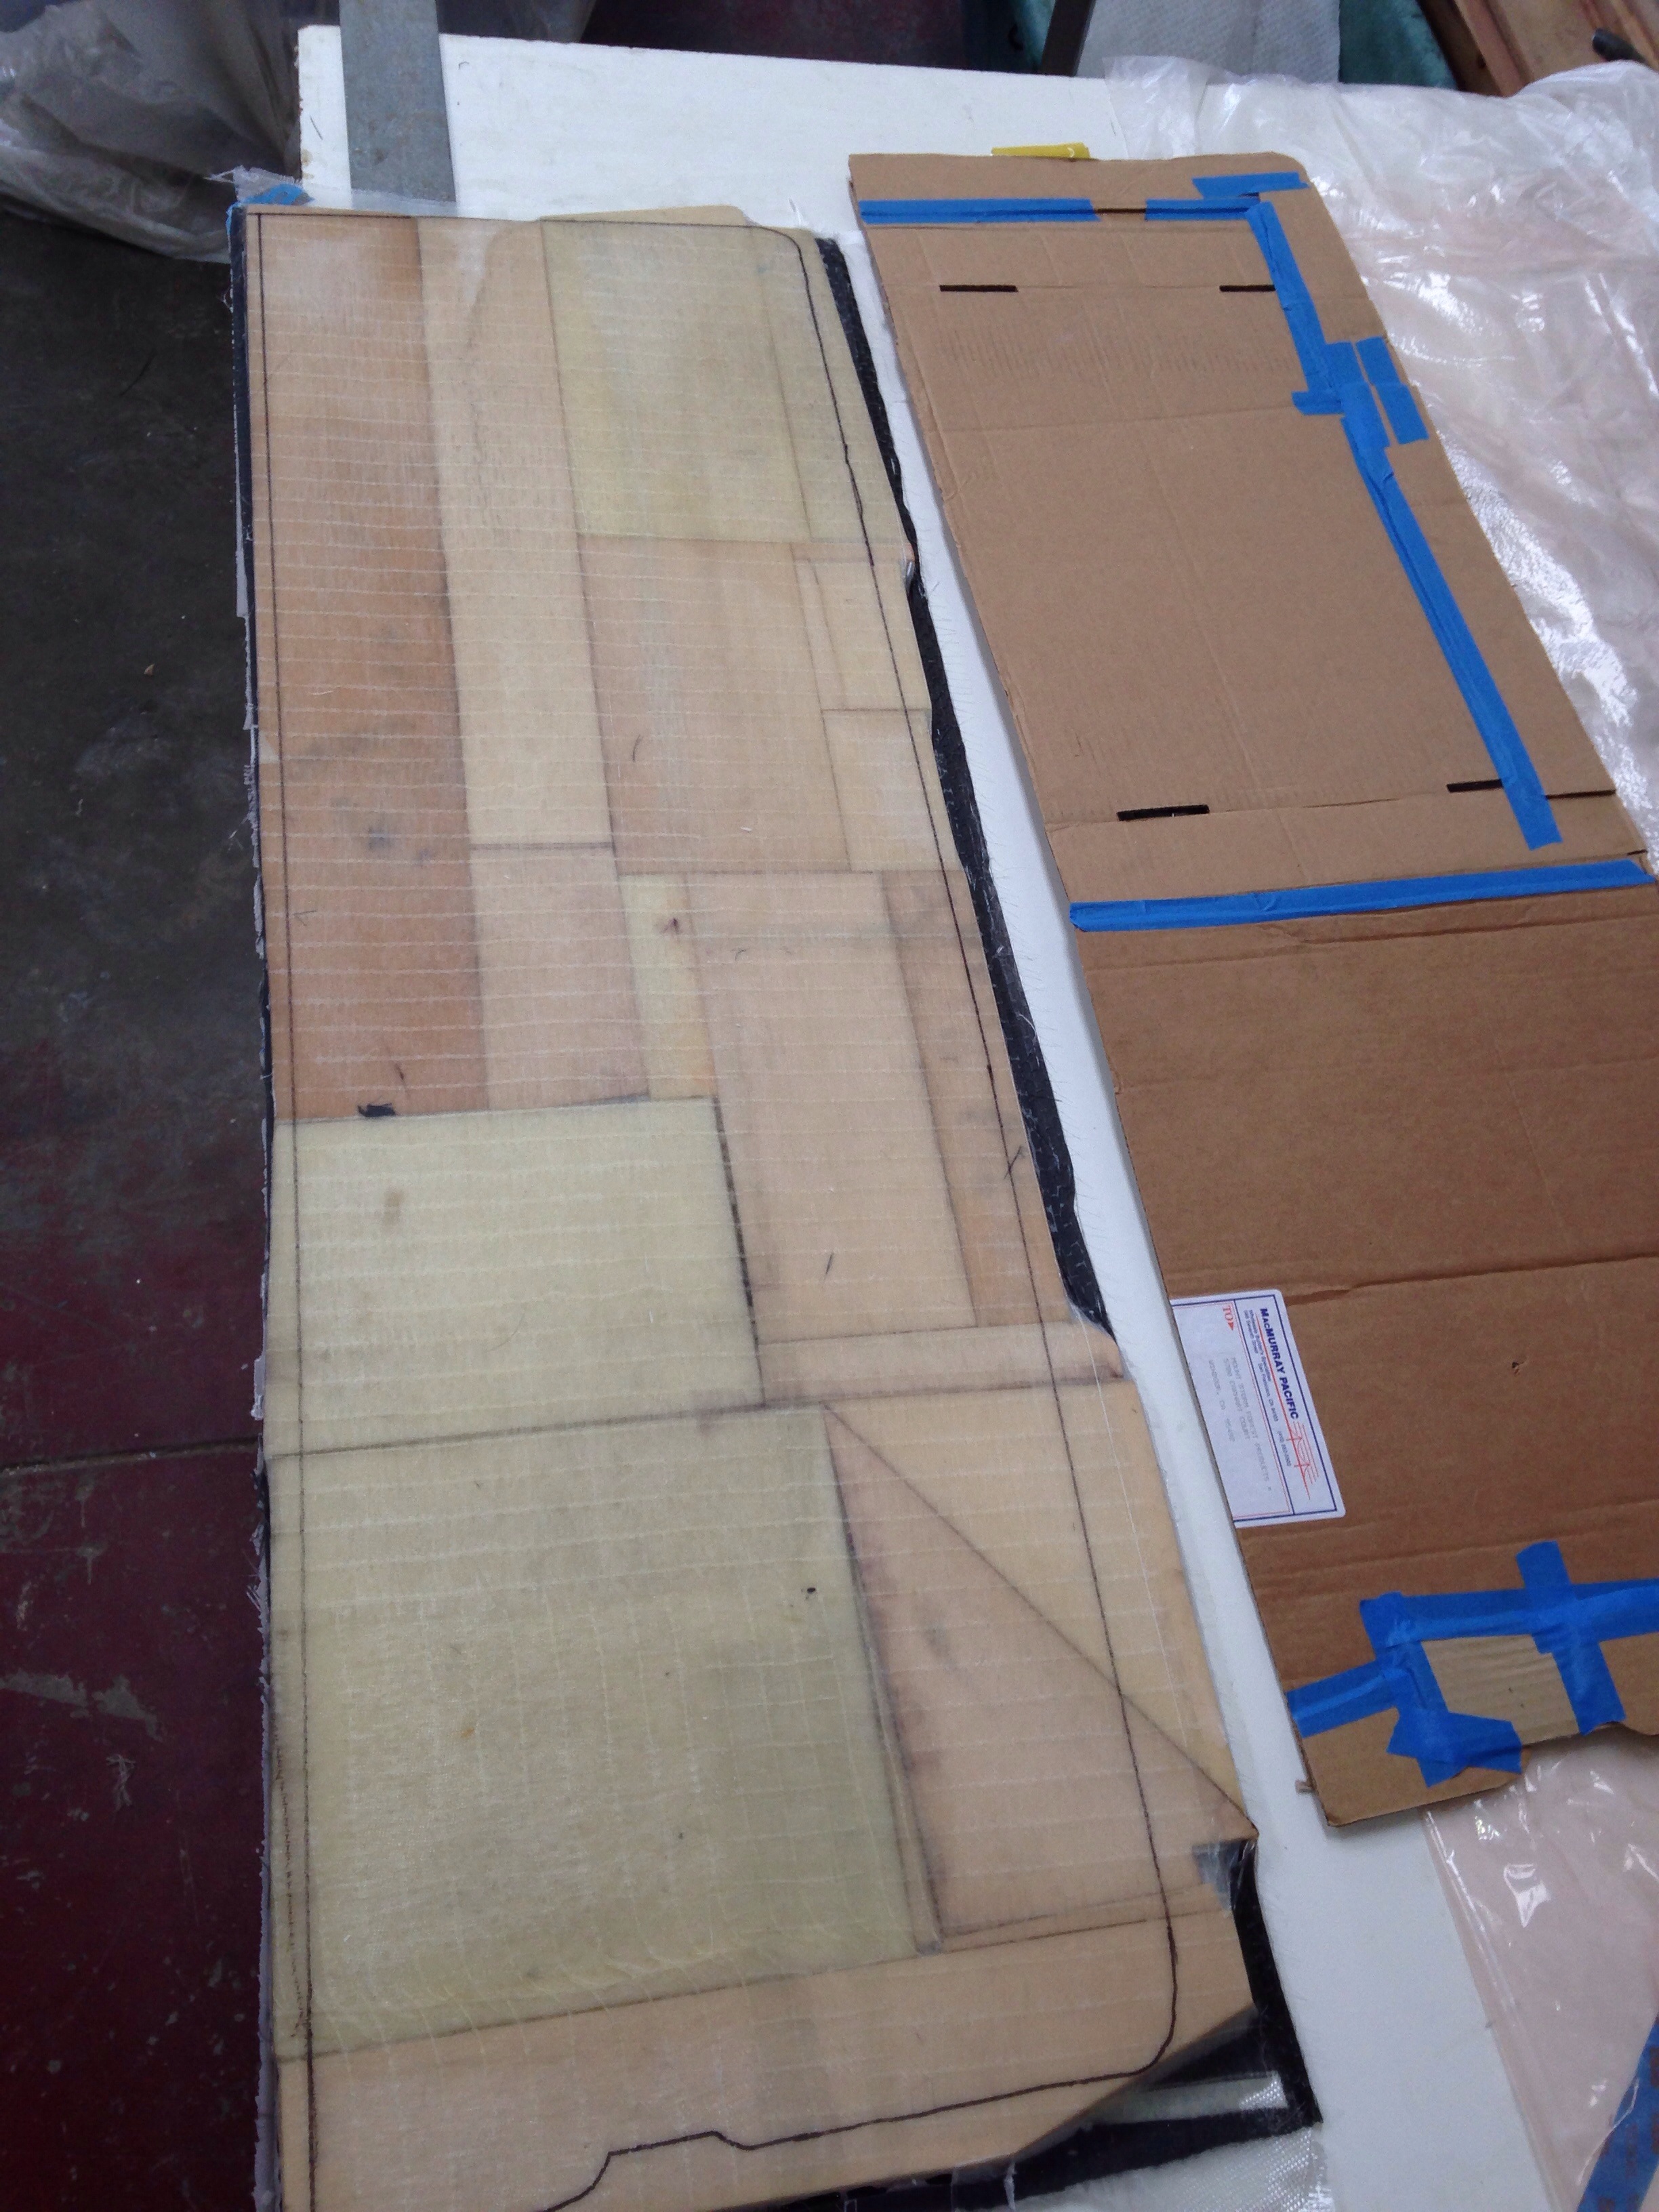
eyeball it. Here goes!

PS. Last time we reported on shore boat #1. Tonight I’m thrilled to report my dear sis Allie joined me on a trip to the SUP shop in Santa Cruz to look at VESL brand paddle boards. She was hooked and bought one while I shopped. Next thing I know, she’d bought mine too! Now that’s family love right there :). We can fight over the paddle board and the loser gets off Ravenswing via the portabote.

At 10′, the SUPs stick out the back of our new pickup’s 5.5′ bed, which of course sounds like an excuse to look for truck racks.

It was a bittersweet goodbye to the amazing diesel X5 bmw, but this Ram with the eco diesel v6 is powerful, comfortable and has averaged 24mpg over 6k miles, half of which were towing a 6,000lb trailer across the country. Yea, that’s my testimonial Fiat-Chrysler. You got this one right.

Humbled by the wind

For twenty one years this boat build has been sustained in part by daydreams of sailing anywhere the dreamer wants, confident in a strong, capable vessel. So of course on the day of the maiden sail when things should be tested in light zephyrs, we pull off the dock into 20+ knots on the nose and a big flood tide coming up the river we need to charge down many miles past Vallejo and in to the Bay. Damn, this is not going to be an easy day…

The 20hp motor and 10″ propeller are relatively small for the windage size of the boat. The motor is in the break-in first ten hours where you can’t run it beyond 2/3 speed. The apparent wind was up over 25, plus that north bay chop was starting. The builder who thought himself so clever with a motor mount ‘sled’ made that motor leg protection shield extend about 3″ below the water surface now paid the price of diverting water flow around the propeller area oddly enough to create major cavitation problems. So after a half hour of degrading conditions (that afternoon wind was building), motoring upwind, we had to admit this was a bad way to test new sailing systems. That was an ego blow, but some great learnings. The first: wow does Ravenswing sail well under ‘bare poles’. This shot is a few miles later, back in protected waters, but still sailing over 5kts with the head sail strapped to the deck and the main down at the boom. After a night of reflection, it’s pretty funny that her first sail didn’t involve sails. We learned to use the rotating semi-wing mast as a tall skinny sail, and actually tacked the boat with just the mast rotation when motoring back to the dock hours later. 

For those who visited the assembly / launch site, you can picture Charlie, Dean, Anton and I sailing back and forth doing two mile upwind/downwind legs in front of the people fishing from that dock. The main was double-reefed and we never did hoist the jib in that very narrow waterway. You sailors will be disgusted re: sail shape / trim, here with the main tortured up against a lazyjack I didn’t quite finish in time to make it easily adjustable. 

Yes, these photos make it all look mellow and the author here suspect :)


We sailed and motor-sailed enough to get a feel for key things. The revamped steering is much better. The daggerboard is humming once up near 10kts, which I think can be fixed by shimming the head tighter in the trunk. The clew-end reefing with the clutches and winch on the mast-end of the boom work well. The Vee Mainsheet worked just as advertised, including the ability to easily travel the boom upwind and down by yanking on the crossover line. (Still anxious to confirm that under full sail). The mast base and rotation setup work very well. We learned where on deck to place line holding cleats for sailing activities like holding the leeward (unused) back stay out of the way. Etc etc.

The jib is hanked on, waiting for another day. 

Anton saw the boat and said that’s a lot of string in the sky


And I had a few moments of reflection to really enjoy the fruits of years in the shop. Ravenswing is actually sailing, phew!


The boat has another new punch list of work needed, but for the next few days it’s all about the shop – finishing projects, moving tools and raw materials home, and nasty cleaning. 

Jeanne instigated a push to build all the cabinet doors before losing the shop. Inch and a half wide mahogany frames, 1/4″ foam core panels, and some cherry vaneer will get vac bagged today. 

More interior comforts finished; this is a great seat for surveying the scene 

And don’t do this: I used locktite to keep these VHF radio side mounts tight. Within two days it ate the plastic away. 

Standard Horizon replaced these at no charge, so another item on the list. 

Enjoy the 4th! We won’t be sailing :)

State champs!

Gratuitous cross promotion here as we can’t help but shout about niece Molly Carter’s high school varsity lacrosse team winning Northern California state tournament this week. The final game saw frequent scoring, lead changes, many minutes tied, capped with Novato breaking the 9-9 tie literally as time ran out to win the title. Fans rushing the field, dogpile of players, people crying – the whole enchilada. Molly played a lot of minutes as a freshman, so it’s big shoes to fill in the coming years :)
Here with her brother Mack and the champs medal.

20160523-183445.jpg
Back at the shop we had a big weekend of putting stuff together. There are 7 thruhulls; 3 below the waterline and 4 drains for sinks and pumps. First some BoatLife bedding caulk…

20160523-183709.jpg
Press them in, deal with the backing plates and nuts inside, and wipe away the excess goo. Came out fine.

20160523-183814.jpg
The only regret is buying the mushroom head fittings instead of the flush heads. That call was made over a year ago because I was insecure about cutting the 45 degree chamfers. In retrospect it would have been pretty easy. So here’s a tiny bit of robbed speed we’ll suffer.

20160523-184108.jpg
We’re also tackling any last fabrication parts, including this plate inside the cabin that holds the daggerboard down-force turning block inside the dagger trunk. This will get carefully sealed and primed to avoid electrolysis as much as possible.

20160523-184322.jpg

Luis in Lisbon asked about the opening ports. These are Lewmar Flush Mitre #3s:

20160523-184530.jpg

20160523-184549.jpg they don’t really match with the wood trim inside, but we’ll love the ventilation and they look good blending in with the smoked Lexan from the outside. Also, these windows get more obscured by nice fabrics coming. Way to go Jeanne and Leslie for a whole Saturday of magic with foam blocking.

20160523-184824.jpg
Patterns are being made for these pretties…

20160523-184915.jpg
Now that the labor for hardware is done, we’re happy to have invested extra time in making backing plates, cutting individual bolts to fit in to acorn nuts, etc. The trim is looking pretty good according to recent visitors.

20160523-185100.jpg

20160523-185114.jpg
I’ve only ignored Keith’s excellent advice once, which was him saying it’s not worth building a pulpit. I haven’t had good luck with schedules, costs, etc with welders, and since the mast base is out for ransom right now we decided to utilize on hand materials and knock this off the list with labor. It also means we can feel ok about it as an experiment, and modify/change sans-guilt later.
Grabbed some thin-wall (schedule 200) 1″ PVC plus 90degree PVC conduit bends and epoxy putty / light glassed them together. Decided to use the heavy carbon uni we had purchased to make a bow sprit long ago. And the leftover 5oz uni 2″wide roll for spiral hooping around the uni. Then cover it with a light fiberglass sleeve and this nifty shrink-wrap tubing from Soller Composites in New Hampshire (ok, we did spend about $30 on new materials for this project)

20160523-185848.jpg

20160523-185908.jpg

20160523-185925.jpg

20160523-185948.jpg
Here it is part way thru the heat gun process. The film shrinks 2:1, spurring away bubbles and leaving a nice surface.

20160523-190056.jpg

20160523-190112.jpg

20160523-190127.jpg
Because these are working from a 45 degree bend, it was pretty easy to line up the foot cut and site these on the deck.

20160523-194231.jpg

20160523-194254.jpg

20160523-194312.jpg
There is also a cross bar intersecting the forward slope tubes, ahead of the forestay. Along with structure strength, it will catch the lowered furled up reacher.
Tonight we’ll make a sheet of three layer 1708DB that can then be cut in to four of these ‘feet’

20160523-194835.jpg
We’ll show you in a few days how the feet become bolting flanges on to the tubes.
Meanwhile, the daggerboard is getting a bit more shaping love. After applying Coz’s clever guide tool, we realized that the port size was a little flat compared to starboard. Now THAT would have slowed things down. So we’re being careful with this shaping job (that should have been done last year!)

20160523-195203.jpg

If you’re following this story and want to be around at the beginning of the boat’s water life, come on out. The basics are:
Fri June 10: morning: drive beams trailer to Napa then set floats on ground at Napa Sea Ranch (launch site). Deliver mast to Napa Valley Marina (a few hundred yards away). Evening: take empty boat trailer to Santa Rosa and transfer main hull from shop dolly to boat trailer.
Sat June 11: drive main hull to SeaRanch. Lift and bolt beams to hull, on trailer. Lift floats up to waiting beams. Install engine and nets. Expect at least all day.
Sun June 12: finish boat assembly items. Go to marina and dress the mast (halyards, diamonds, shrouds, etc)
Launch the boat!
Monday June 13: motor to Napa Marina for mast stepping.
Go sailing, God willing.

Let us know if you want to details/directions/a role in the process.

The new boat will first dock at Charlie’s house on the Napa River, and within a few days make its way into the bay for a summer dock. Probably in Richmond but we’re still poking around. There will be MANY “sea trials” sailing days and you’re all welcome to come along. We’ll be posting times via this blog, so sign in for updates if you haven’t already.

18 days to go. And the list is still long. I have an evening of tanks and hoses to go join together!

Practice those fillets!

So I’m on my back, sprawled on the aft cabin bunk, reaching up installing lamp wires. Damn, that looks like crap up there! The memories come back from last summer – it was hot, the workspace was awkward and I was SICK of fairing work. There were some spots under the big wiring chase in that cabin with pock marks, uneven fillets and spreader-knife ridges. But “no one will ever see that and enough is enough!” And I had left in a PO’d state. So it was sort of funny two nights ago realizing I was working where future crew will lay heads on pillows and gaze up at the blotchy spots!

20160114-163733.jpg
OK, never mind it’s already painted and the cabin declared done. Go get the sanding and fairing tools and clean it up! We cast a critical eye around the whole interior and found a few more spots that needed a bit more. And all because we’re waiting for the electrical fittings (which just showed up, so it’s Christmas again tonight!)

The point is, for new boat builders, don’t do what I did. Don’t just read the pages in the Gougeon Bros book that make fillets look super easy, and declare yourself ready. They wrote that guide after making 100s of strong, lightweight, elegant joints. But as a rookie “finisher” contorting around the far reaches, working on acute/weird angles, it just doesn’t happen smoothly. I should have practiced! Out on the workbench, in the light, in the fresh air, with nice music on the radio, etc. Make the fillets along the floats bulkheads works of art that no one will see. Get the techniques down. So when the conditions suck inside your to-be-pretty cabin, you are actually very skilled and won’t do work that has to get done a second time.

There, end of soapbox.

We figured out how to light the wardrobe locker areas, which led to a couple more mounting bases needed, plus a nice face frame for the main battery switch. And more Birdseye trim over the galley to hide wiring in case the sink and freezer need additional lighting. That’s a few ounces of wood and glue to future-proof. Seemed worth it.

20160114-165142.jpg

Also huddled under those heat lamps at the top of the photo is another glass tube build – wrapped around a 1.5″ PVC coupler, to line the hose-pass throughs for the toilet platform. That’s the one area inside the boat that needs finish work, so we attacked old problems with fresh eyes this week and get the head compartment ready for proper marine paint as soon as the shop warms up. Today you see your breath in there :(

Between the decks

So, we’ve reported on the hull exterior & deck being ‘done’, and you’ve seen the painted & trimmed interior. But there’s a bit more fabrication of ‘the spaces in between’. This weekend we tackled deck fills for water and diesel, through the cockpit coaming box and lazarette, to the equipment room. We’ll use flexible pipes between the deck fills and solid fiberglass tubes that bisect the tops and bottoms of lockers. The Forespar marelon deck fills are 1.5″ OD. 1″ sched 40 PVC wrapped about ten times in lightweight glass cloth gets to exactly 1.5″:

20160110-205255.jpg

20160110-205312.jpg

20160110-205330.jpg
The pipe was coated in good mold release wax, so a few hammer taps on a big screwdriver popped it out

20160110-205519.jpg

20160110-205543.jpg
The diesel and water deck pass throughs are on the left, and the grey curve is a trial fit of PVC conduit that will carry the 110v shore power to the inlet on the right.

The lazarette currently has the main cockpit drain entering and exiting its aft edge.

20160110-205847.jpg

20160110-205909.jpg
That needs a dedicated drain tube, especially since the propane well was added in this compartment. And there’s already a second overboard drain for the lazarette on its forward hull edge. So here’s a simple 90degree form with non-stick tape and peel ply laid in before the glass channel is made.

20160111-223906.jpg

20160111-223929.jpg
And the new piece tabbed in place.

20160111-224027.jpg
It looks like the diesel Espar heater will exhaust through the hull up high in this area so we’ll wait in placing the second half of the diesel and water filler pipe pass through tubes until the exhaust pipe is in place.

Random segue over to wood finishes: we’re happy with the transparent non skid that was added to the sole (floorboard) panels a couple months back. But that was added to a floor-finishers polyurethane that came out too yellow. The companionway sills and steps needed non skid yet we don’t want to cover the woodwork with the standard tape. So here they are redone in Interlux Perfection topsides paint with zero pigment (labeled simply Clear) and a heavy dose of non skid powder.

20160111-224956.jpg

20160111-225010.jpg Very happy with the results.

And while we await that big box of electrical parts, we’ve finished up cable runs and installed most of the cabin lights. There are two halogen map lights, and everything else is LED. There’s a bit of angst about turning on all these lamps for the first time in place – really don’t want it to be the sterile, operating room blue-white look. The catalog copy and packaging has lots of “warm, soothing” descriptors but the old marketing hand here says “we’ll see”.

20160111-225619.jpg

20160111-225634.jpg
Hopefully usps will deliver and we’ll dive in to 100’s of crimps and heat shrinks over the next few evenings.

Heading outside

I know, nothing here for a month and now two posts in one evening – what gives, Carter? We’re blaming it on time spent starting up a new company. The boat didn’t get finished quite soon enough before a good commercial opportunity cropped up. So we’ll be splitting time now until the launch. The business is centered around shipping ports and this boat will make a fine floating office. For my Haggin friends – Wychocki and I are partners again, now with EagleRail

We’ve happily declared the interior complete enough to move back outside, finish all fairing and do the complete exterior paint job. Along with the video in the prior post, here are more interior details.

Installation of the tiger-eye chart table top:

20151019-223548.jpg

20151019-223606.jpg

A grab rail over the saloon

20151019-223700.jpg
And completed galley

20151019-223746.jpg

There’s a lot of planning work behind the electrical system, particularly because we want to get the higher capacity / reduced weight and size of lithium batteries but not pay the $6-7k prices of pre-packaged marine lithium iron phosphates. The rise of battery cars is helping bring costs down for the DIY types. After a lot of digging plus advice from an experienced friend, we’re now shopping for four 3.6ish volt LiFePO4 cells with 400 amp hour capacity. These are dramatically smaller and lighter than a lead acid pack of 400amp hours. These cardboard mockups show them just fitting in a shallow locker under the sea berth / couch in the saloon, with room just aft for charging and switching equipment.

20151019-224517.jpg
A lot of people on the Farrier trimarans discussion forum are interested in switching their Fboats to Lithiums so we’ll be chronicling the progress here with dedicated posts once more info comes through. Right now the 400 amp size is hard to get from China. One firm is offering 700 amp hour cells for almost the same price, but they are too big for our spot. So we’ll keep digging.

Meanwhile it’s sore arms from sanding the deck. There are just a few spots needing final fairing compound skimming tomorrow, then we’ll progress to topsides. Even with $800+ in great sanding machines around, the back breaker always comes back to hand sanding. The curves around the hatches tonight are cause for tired hands.

20151019-225253.jpg
Making sanding blocks to fit non-linear surfaces may not seem necessary but has been a big help to get consistent results. For example, having dowels the same size as the shaped trowels that make fillets yields clean sanded curves.

But for the 90% of sanding time the loud machines are running, perhaps the best tool is the FM/iPod ear safety covers. This is making the soul-sucking work of sanding a bit more bearable. Thanks Colin for leaving these with the shop!

20151019-225821.jpg

It’ll be great to get the ugly splotches all covered up soon with nice consistent primer paint!

Eye of the Tiger

Good evening, and here is more main cabin detailing for your viewing pleasure.

We set those painted sole panels in place to see if the whole look ties together.

20150918-225455.jpg
Hinges and latches go on tomorrow.

The dining table is now in place. It has a Forespar spring-loaded riser to move in between dining height and dropped down for the bunk conversion.

20150918-225727.jpg

20150918-225747.jpg
The last “flooring bit” is making a panel for the equipment room (the pass-through under the cockpit) sole. We’ve run out of the fancy foam core sheets, so this was a good project for bundling together scrap pieces. You’ll see various brands of 1/2″ thick divinycell and similar products under the glass layers here –

20150918-230128.jpg
The cardboard nearby was the pattern made by piecing it right in place (bring masking tape and scissors to the job) – gotta do that for these odd shape pieces. Anyway, the foam core scraps are fine in this zero-sheer-stress application.

OK, pop quiz: put google away and answer this – which Rocky movie enjoys the theme song Eye of the Tiger by Survivor (dressed in unfortunately tight jeans)…

We’ve been saving some of that tiger-stripe mahogany for the nav station chart table top. It needed to be laminated to the original core.

20150918-230948.jpg

20150918-231010.jpg
Looks like a mess with the epoxy oozing up between the joints and the three planks having random thickness variations. But the big rotary sander and 40 grit, used carefully, trues it up.

20150918-231221.jpg
We used two slices from the original plank and butterflied them to match up the grain. Neighbor michael’s big table saw helped clean up the plank edges before glueing. Then we milled another mahogany type for the fiddle edges. The two diagonal corners were bonded first with excess sticking out both sides. After they hardened up we cut the miter corner flush with the open front and sides of the piece. And the next night the other three pieces were bonded, again with excess tails.

20150918-232017.jpg

The best part is after it’s all sanded, clean and kind of dull looking, we hit it with the epoxy and the grain and color explode out of the raw wood. Pop got to see the action today.

20150918-232313.jpg

20150918-232331.jpg

With that set to cure, I climbed the stairs to the boat and looked down on the work table. Bam – staring right back is the eye in the tiger stripes.
And now you’ve got that song stuck in your head…

20150918-232615.jpg

(Rocky III, the one where he’s fat and lazy)