
Quick update here before shutting down for the night. We’re really liking the butyl tape approach to bedding the deck hardware for leak prevention. (Reminder you can search the word Butyl on this site and find the link from last year to a pro tutorial)
Here the material is applied to the bottom of the part, and underneath the bolt head:
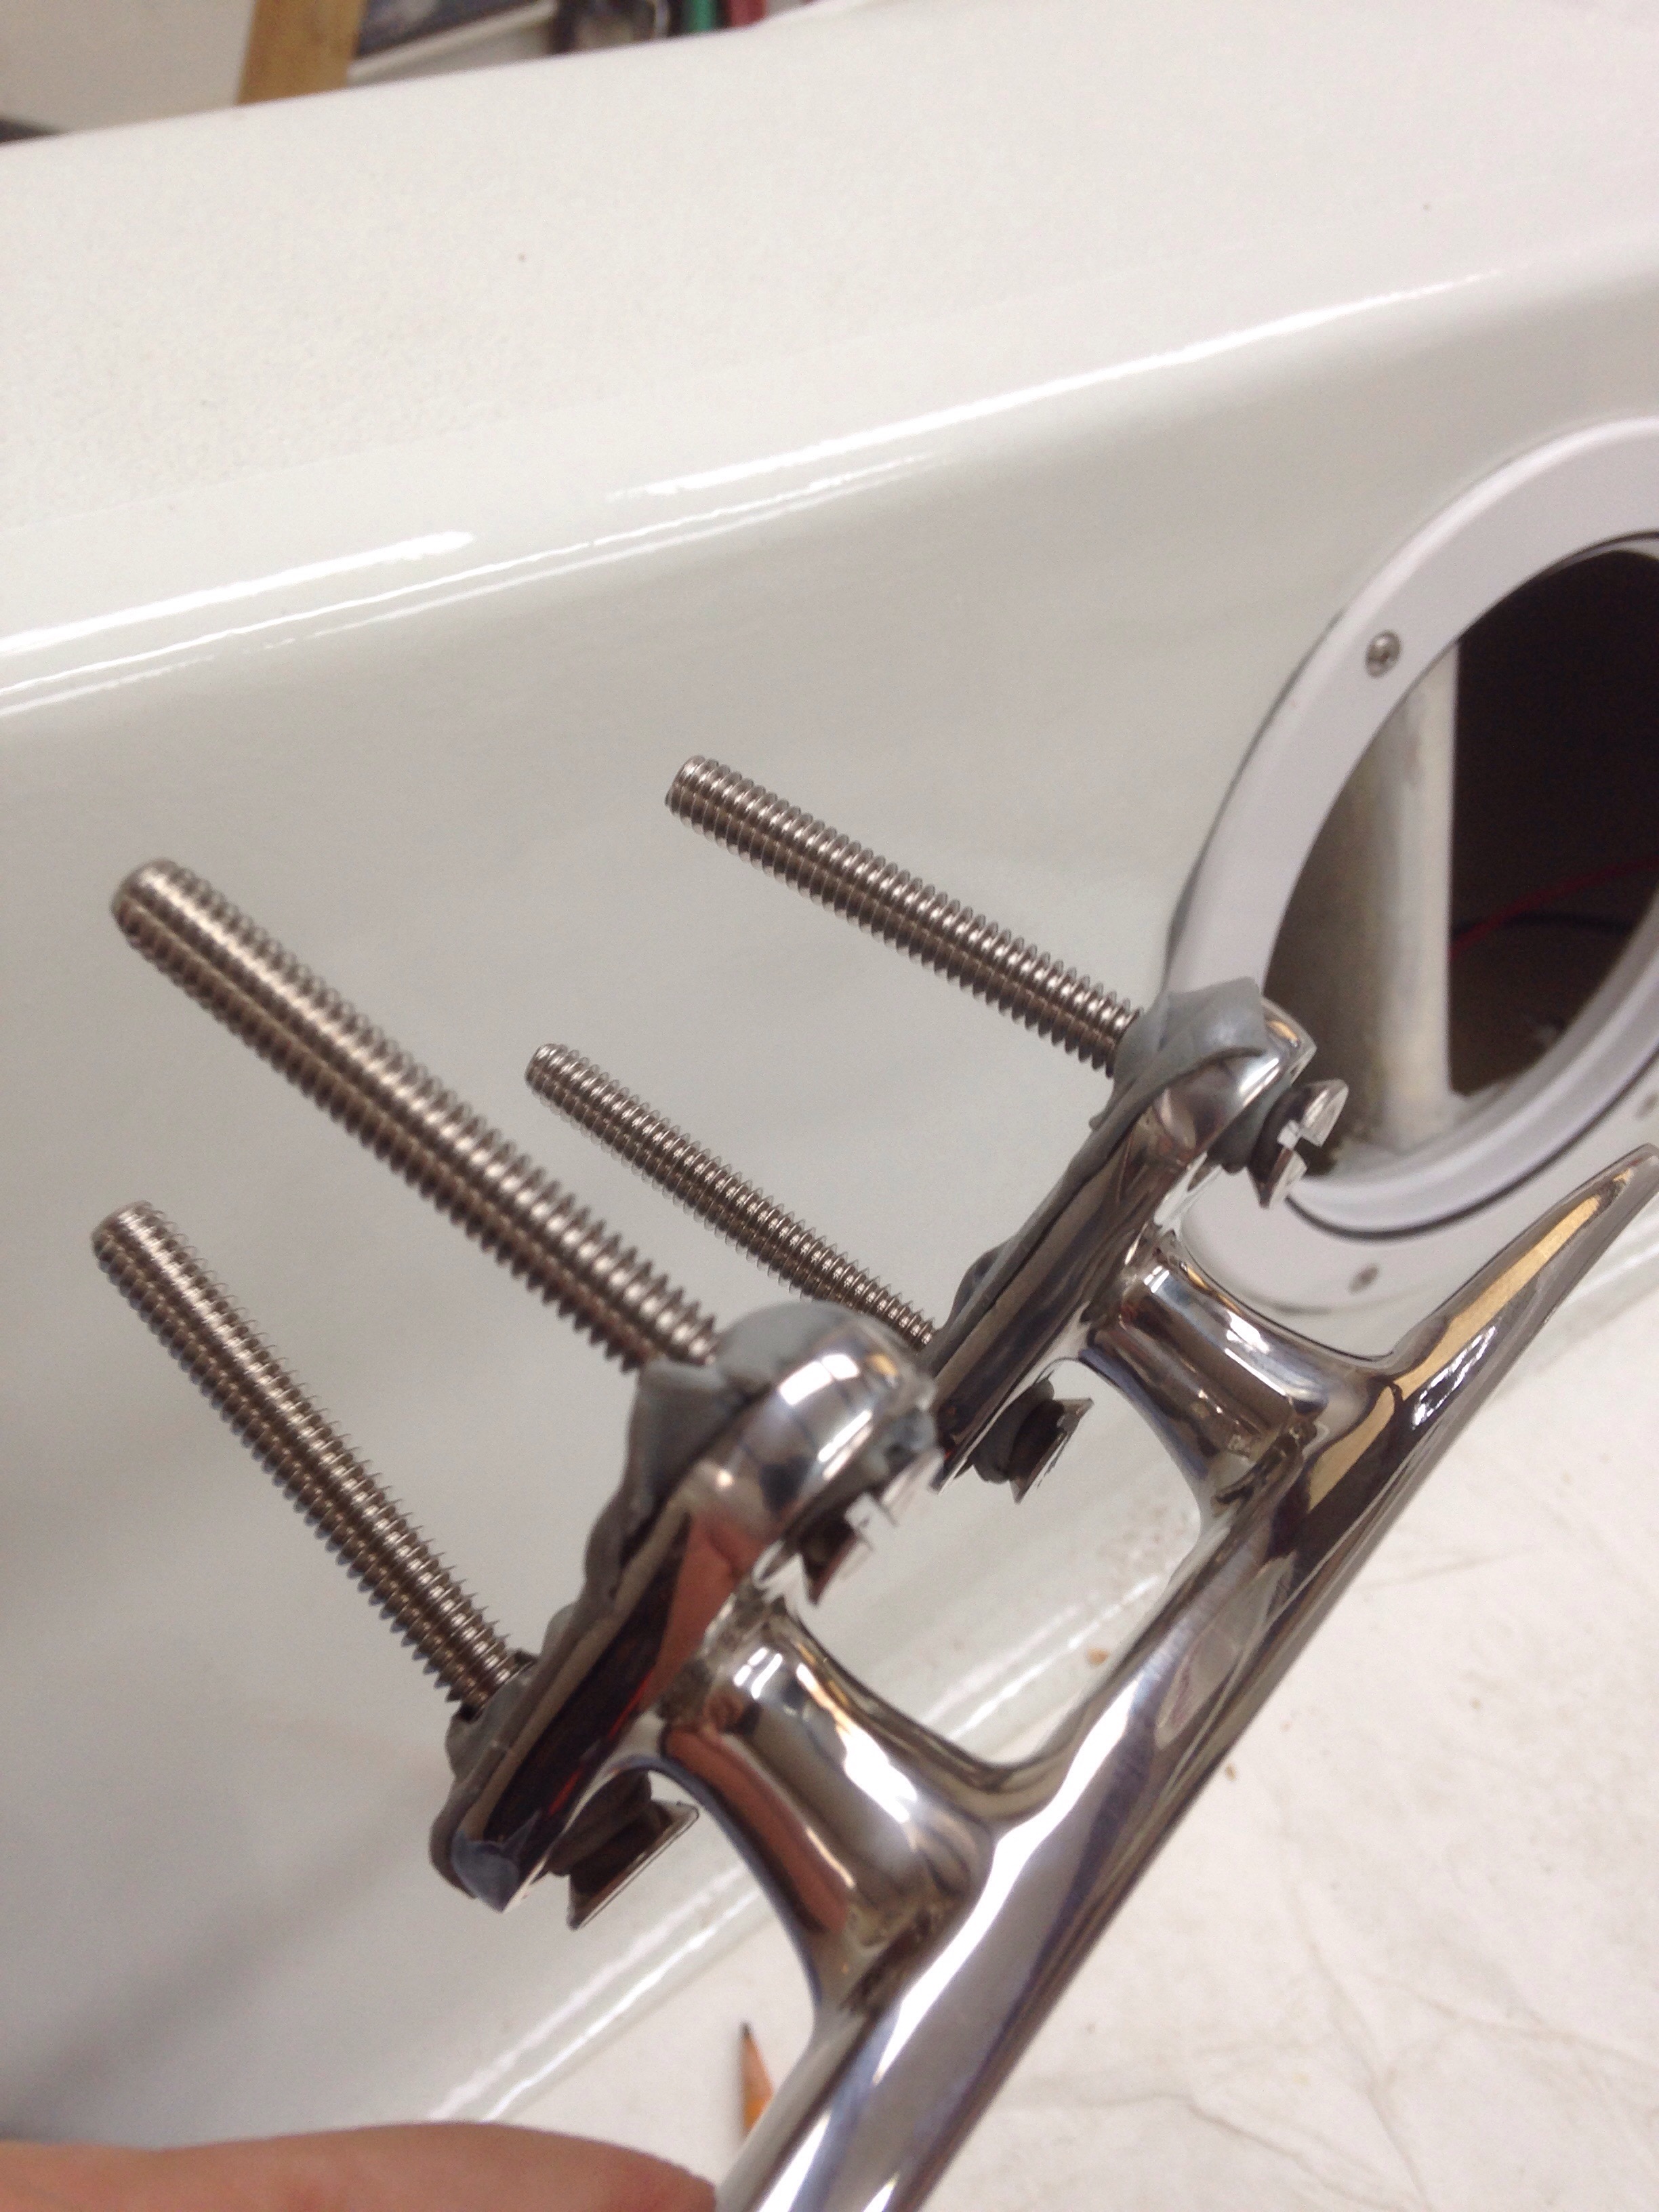
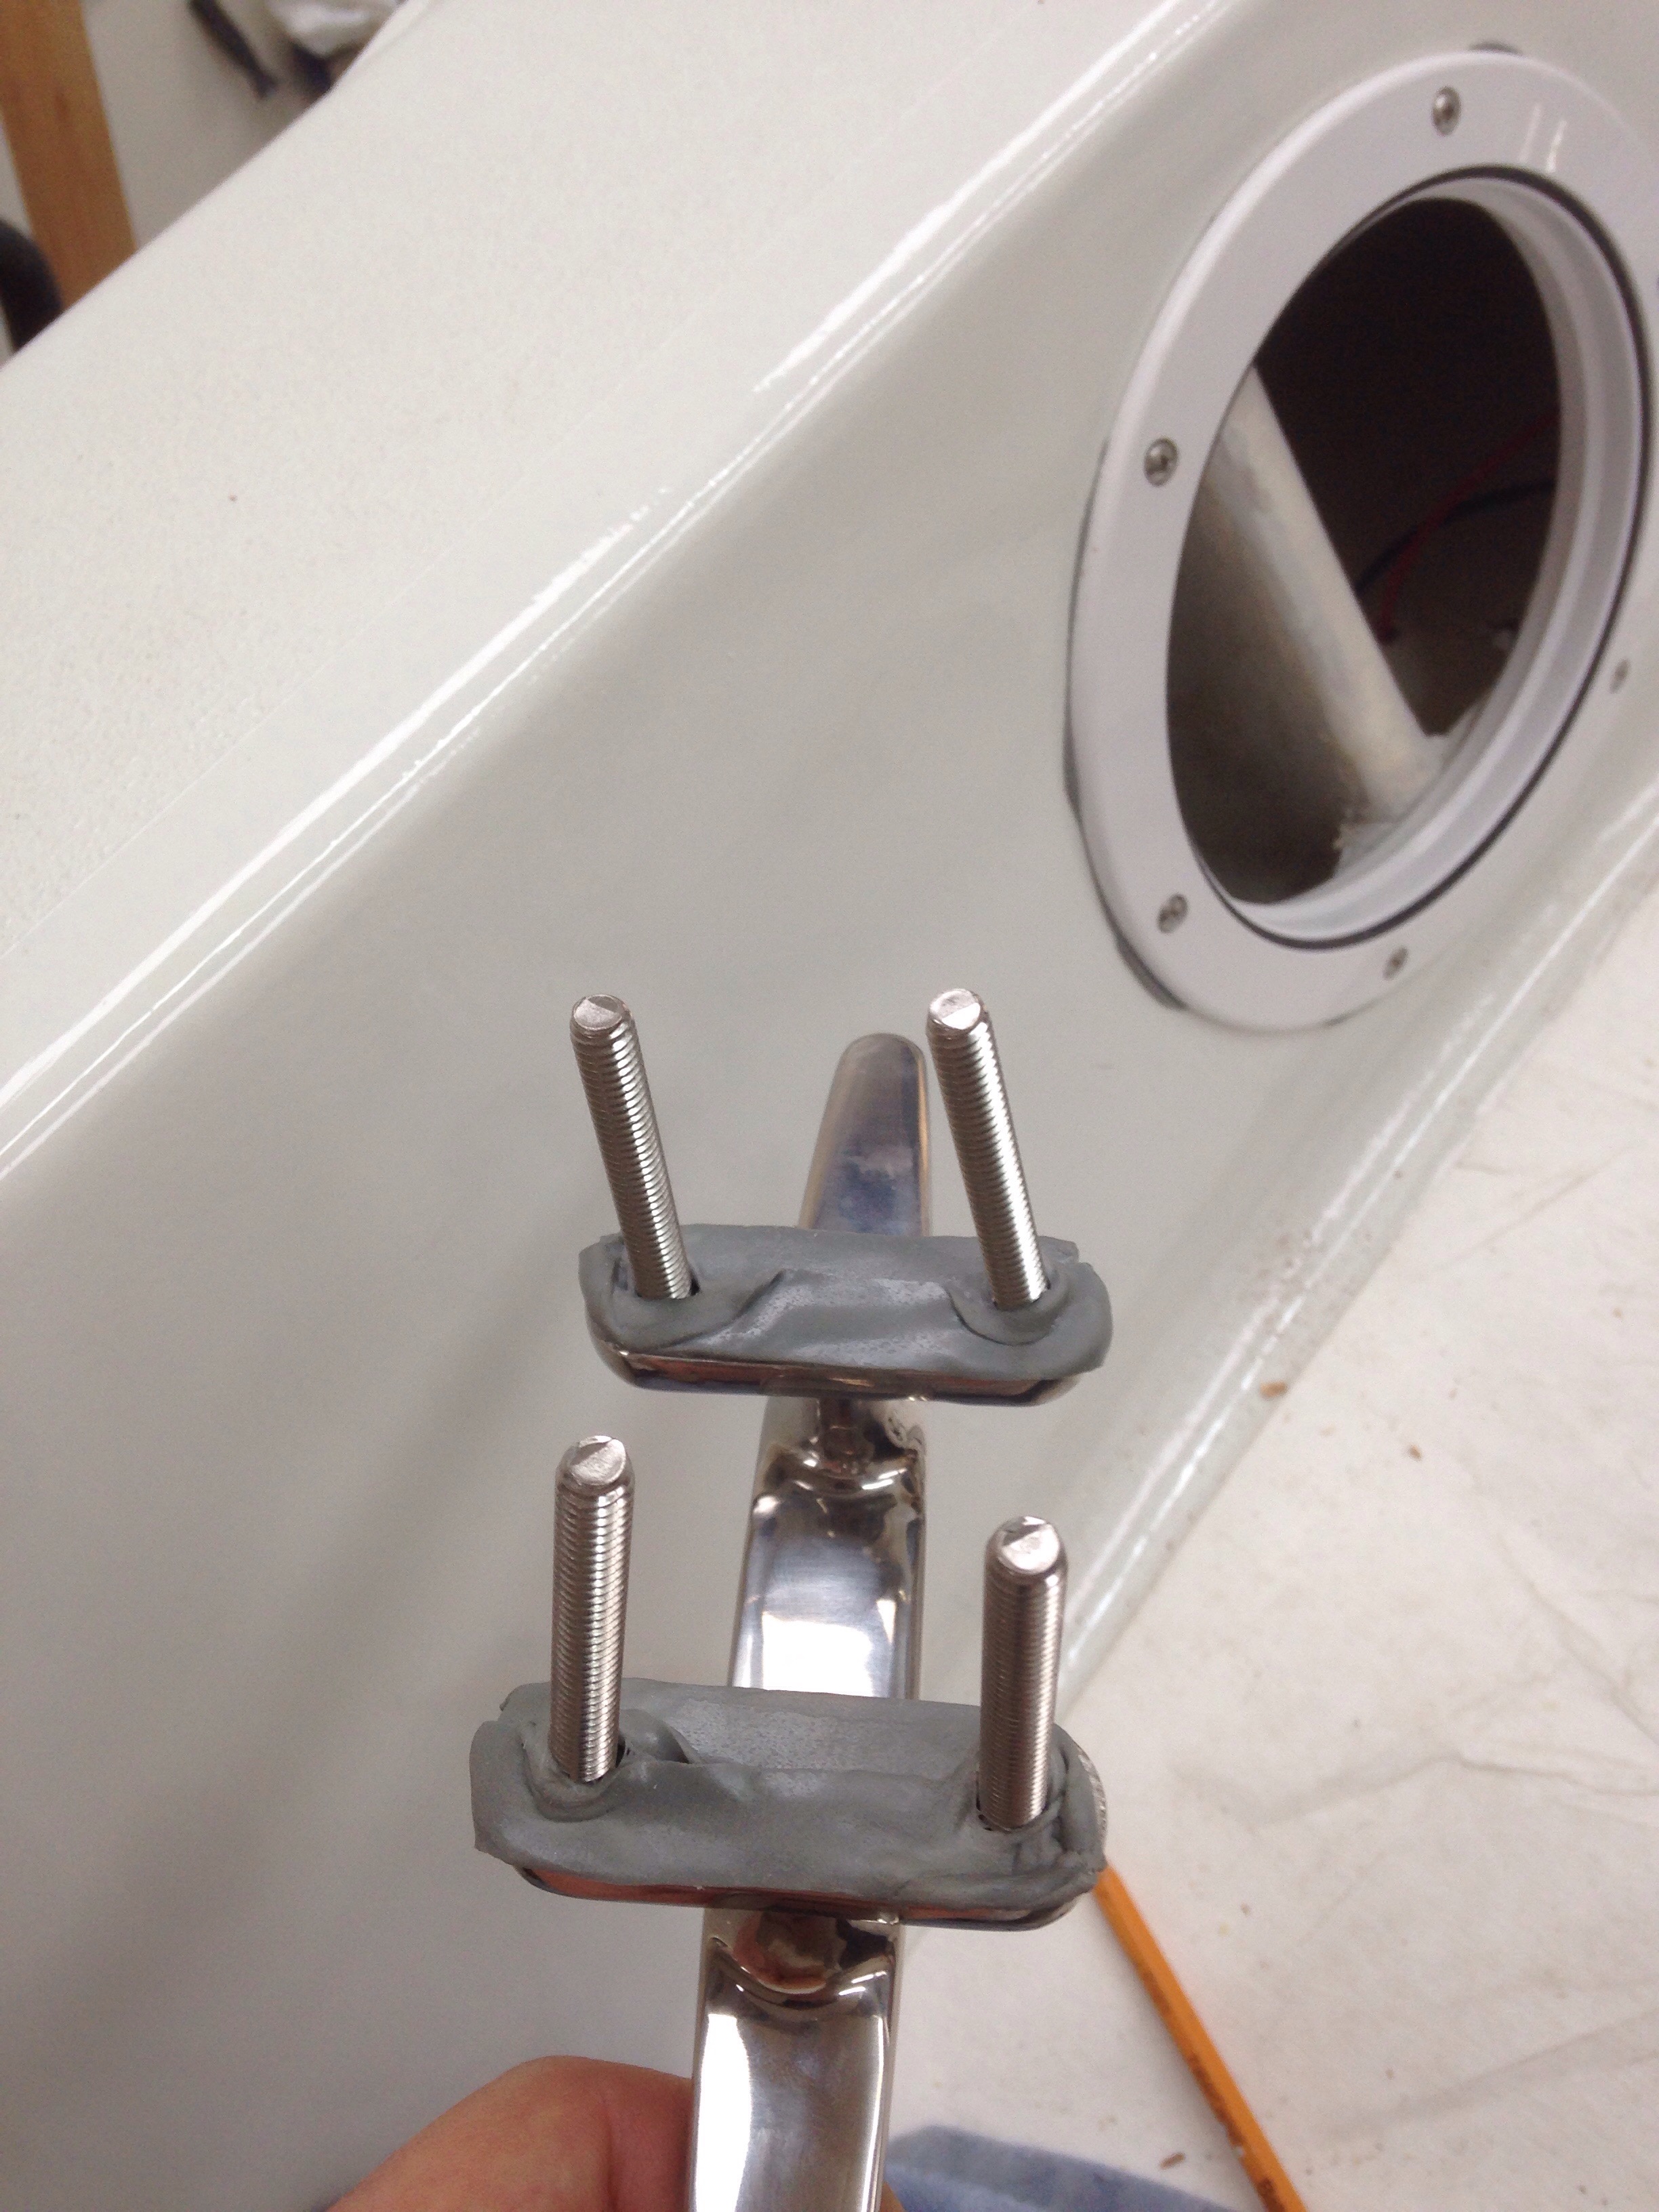

In some cases it makes more sense to put a small ring of butyl rubber around the bolt hole on deck, then press the part in to that. Try it either way. But in all cases the bolt head must be kept still, not disrupting the butyl placement, and the nut tightened against the bolt. I did all parts where one person can reach (coaming winches, for ex), but mostly this is a two person job. Great use of one’s son just back from college this week! (Thx Griff). And Charlie came to lend a hand too. He was forced to wash all the brand new bolts in acetone, and we were surprised by all the machining gunk at the bottom of the parts cleaning tray. This cleaning seems sure to help stop leaks later

Along with sailing and docking hardware, we have four hatches to install. Here’s the escape hatch under the starboard aft beam.

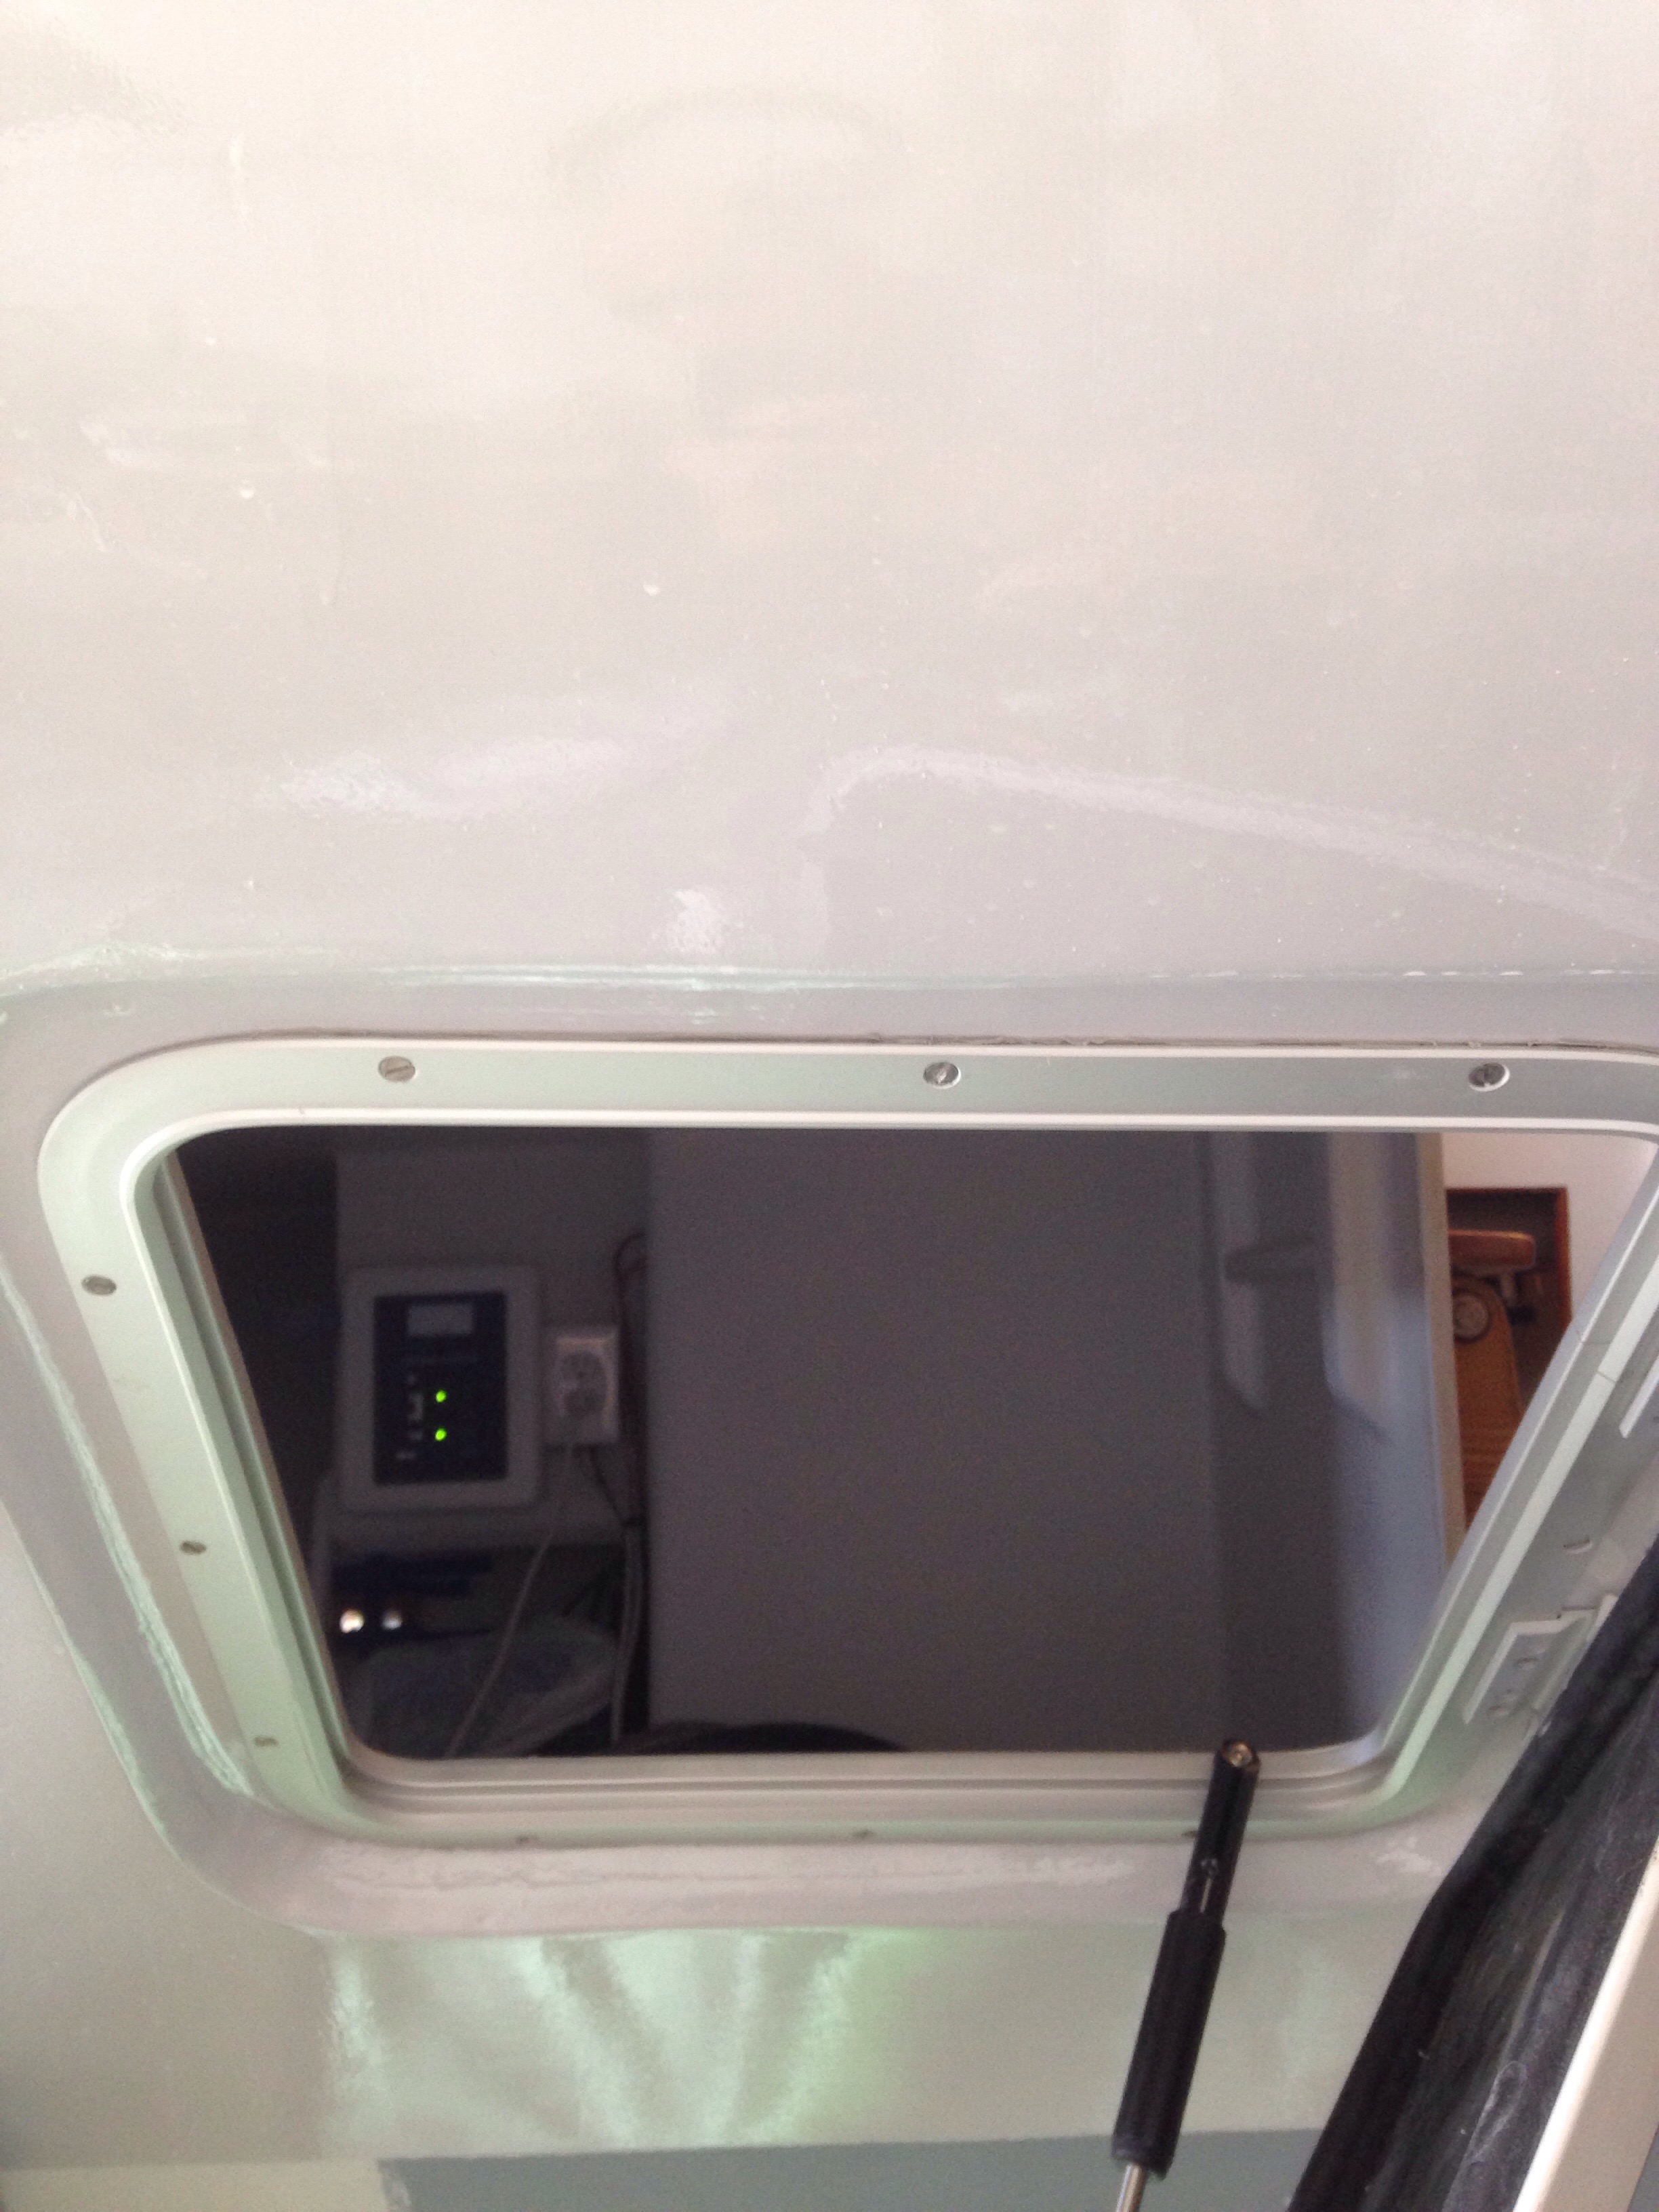
See how close to the waterline that is? Our intent is to NEVER use it as an emergency escape, but frequently make easy loading of groceries from the dinghy in exotic anchorages!
We took a recent drive to Sausalito and stopped in for progress on the Matthew Turner – being – built – tall ship (that’s probably enough for googling). The timeline has been roughly parallel with our build, but their scale is immense. If you drive through Marin, this is a must see!
This 100’+ sailboat is being constructed from local timber.


 it’s just amazing workmanship, and even though they’re using modern tools, the techniques of traditional wooden boat building are fully in play. Hand carving every plank (averaging over 3″ thick!) and steaming them in place, three a day, for months, all by the continuous stream of volunteers. Mankind at its best :)
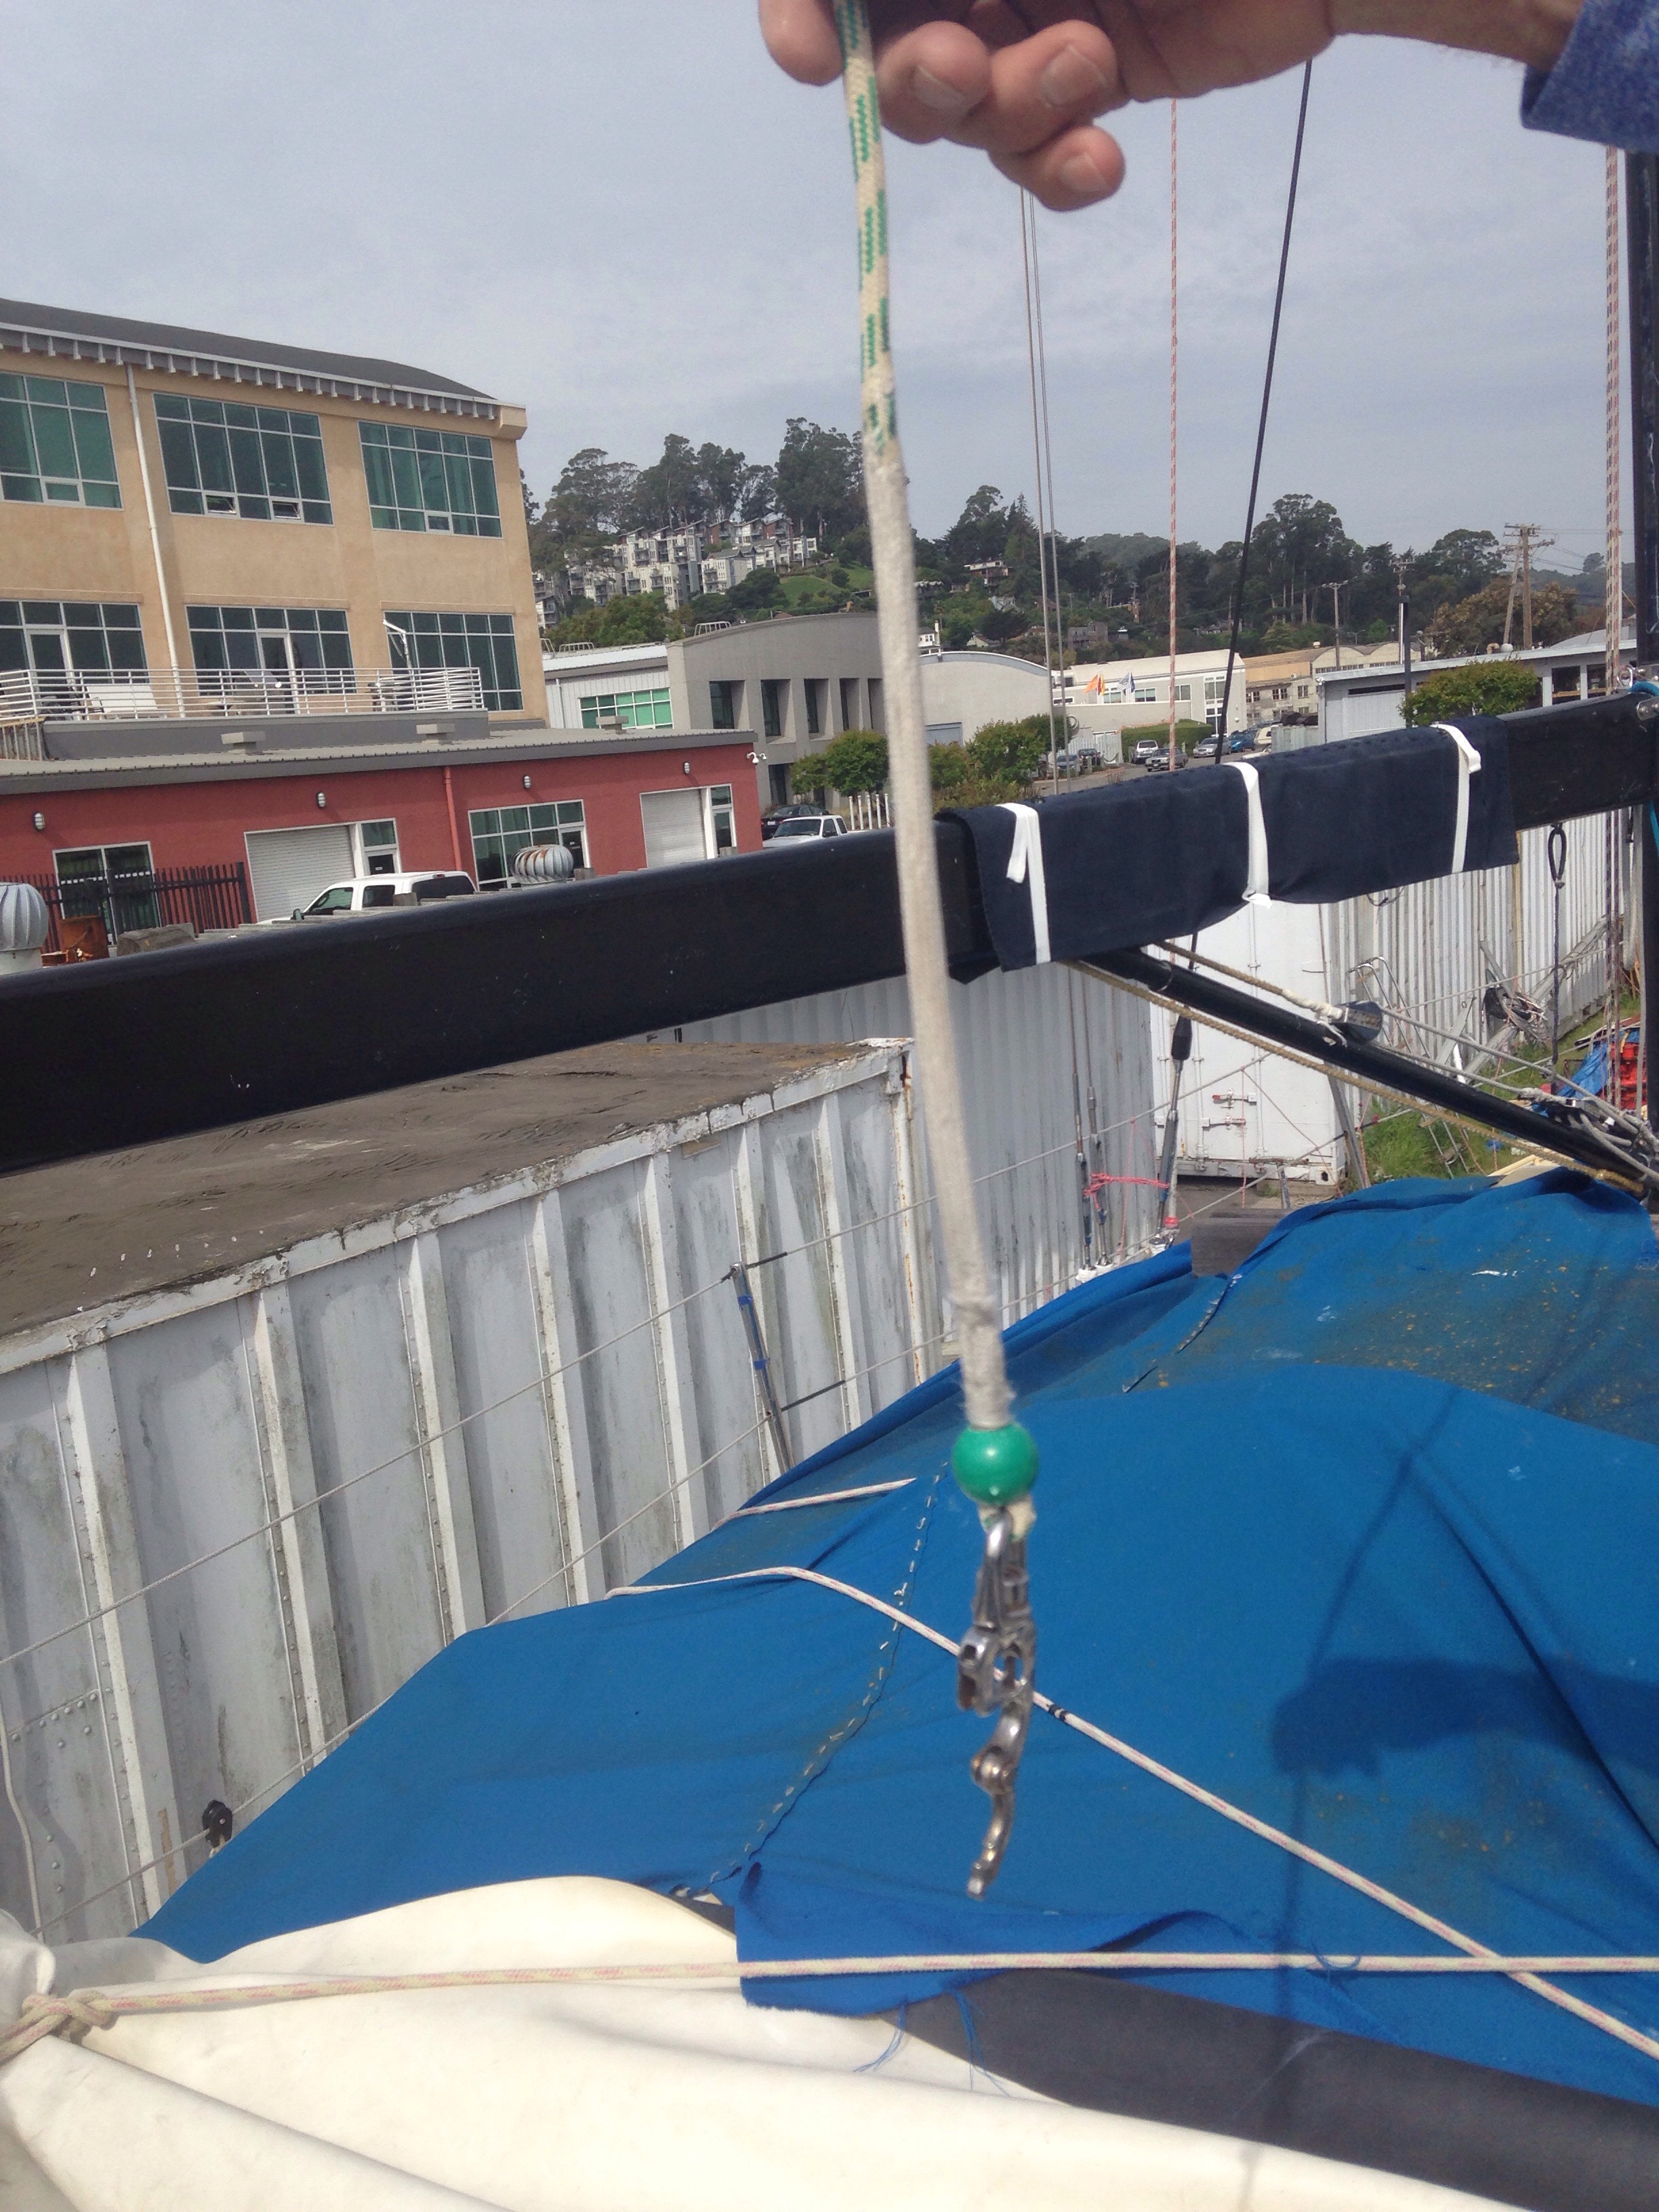
This ship is very close to Origami’s old storage yard, and the shop of builder Gordie Nash. He ran a little hands-on seminar for synthetic rigging, and we got our splicing techniques all figured out (and Papilon gets a STRONG bowsprit upgrade after her Farralones race)
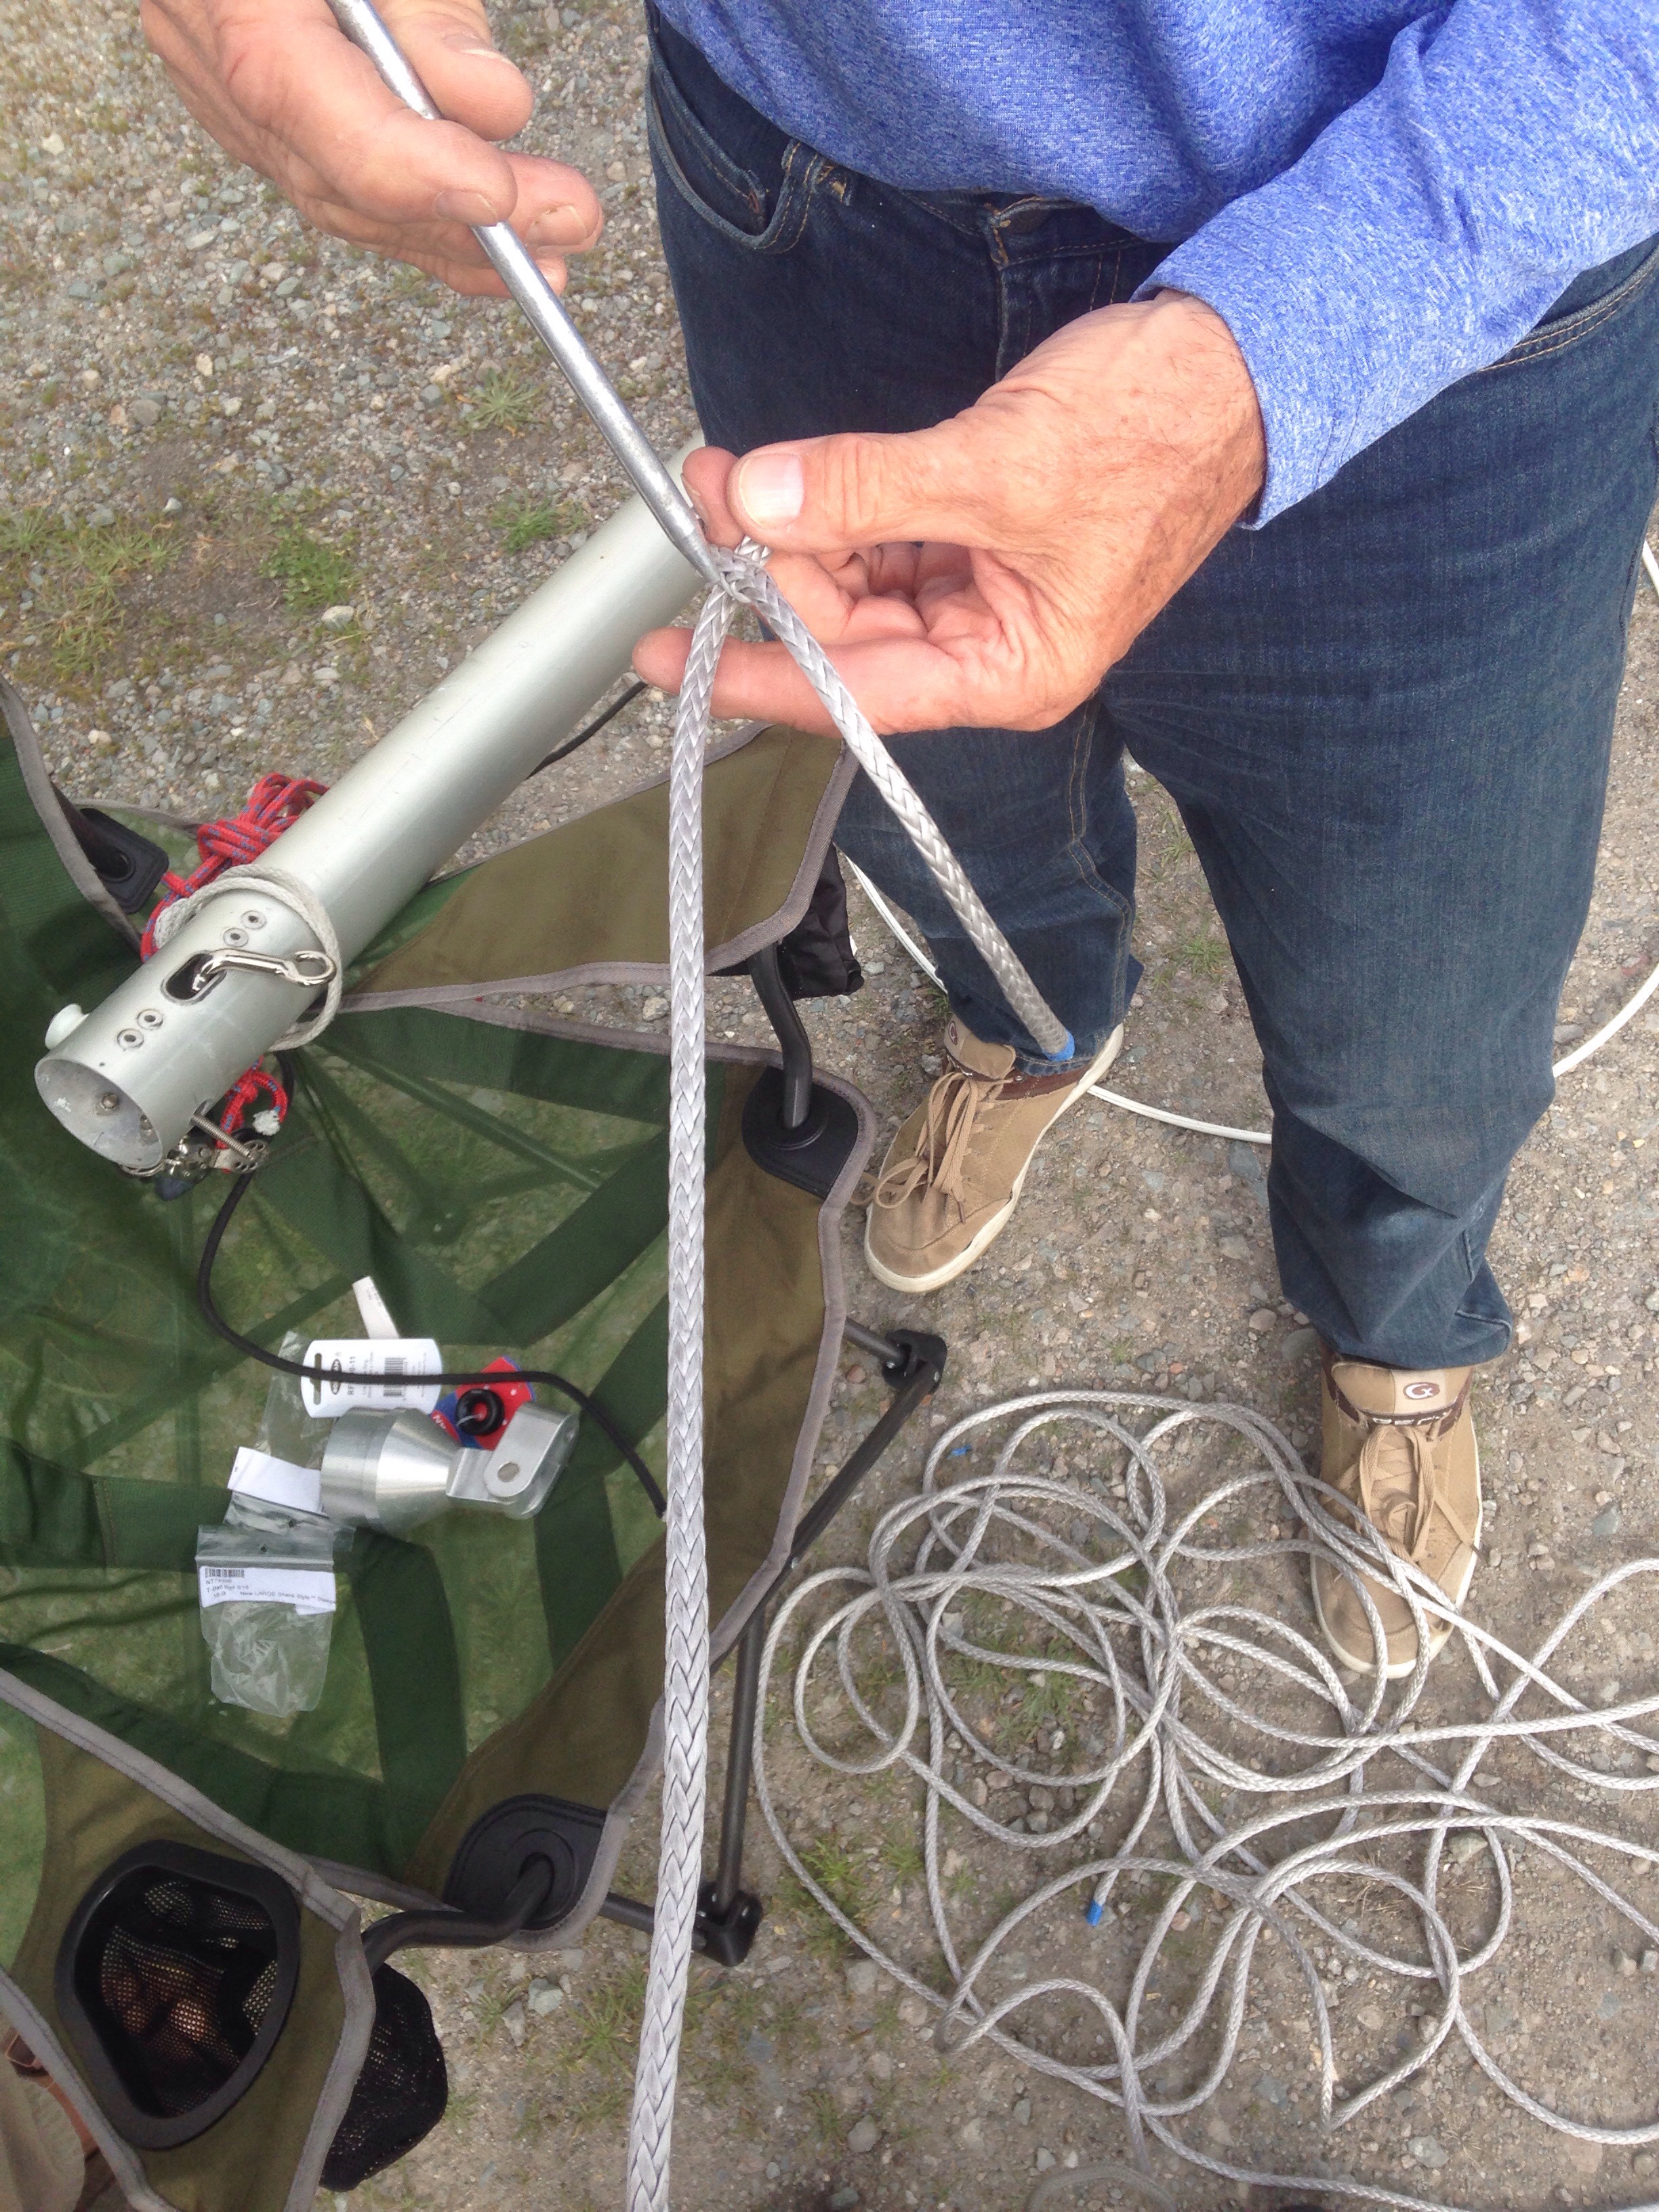
Here we’re drawing the long end of the line through the splice hole to really lock in the no-slip feature. I hadn’t known that trick and now feel much better about my halyard shackles holding for life. Charlie and I each also ordered some spectra cover material so we can protect halyards near the shackle ends – the far end of this light colored cover is frayed and buried in to the cover of the halyard line. Tedious job but a great result, especially for a spinnaker or reacher deployed for days on the ocean.
We listen carefully to everything this guy says, except that he was a little embarrassed by the results of this year’s Vallejo 1-2. Yea, he bulleted both days. Again. 75 miles of racing with everybody to his stern, upwind both ways. Modest and damn good sailing.
And one curious note from that session – Gordie is covering his dyneema lifelines with cheap-to-buy electricians cable shrink wrap. Definitely need to get the NON-glue version, and you can pick most any color you can think of. Very clever.


Wish I was there with you guys. Gordie’s great. I have a sliding seat skiff he built he built. I went aboard his boat…it has an articulating bowsprit which moves laterally like a gun turret mounted on a traveler setup in the bow
LikeLike