
The head? The water closet? Who says it can’t be The Throne just because it’s aboard the ship?
First we have the empty hole:

Then stuff it with the form-fitted tank built last summer:

Spend a day sketching, measuring, cutting, swearing and contorting a sore back to finagle all this sanitation tubing:

And finally we can install the hardware;
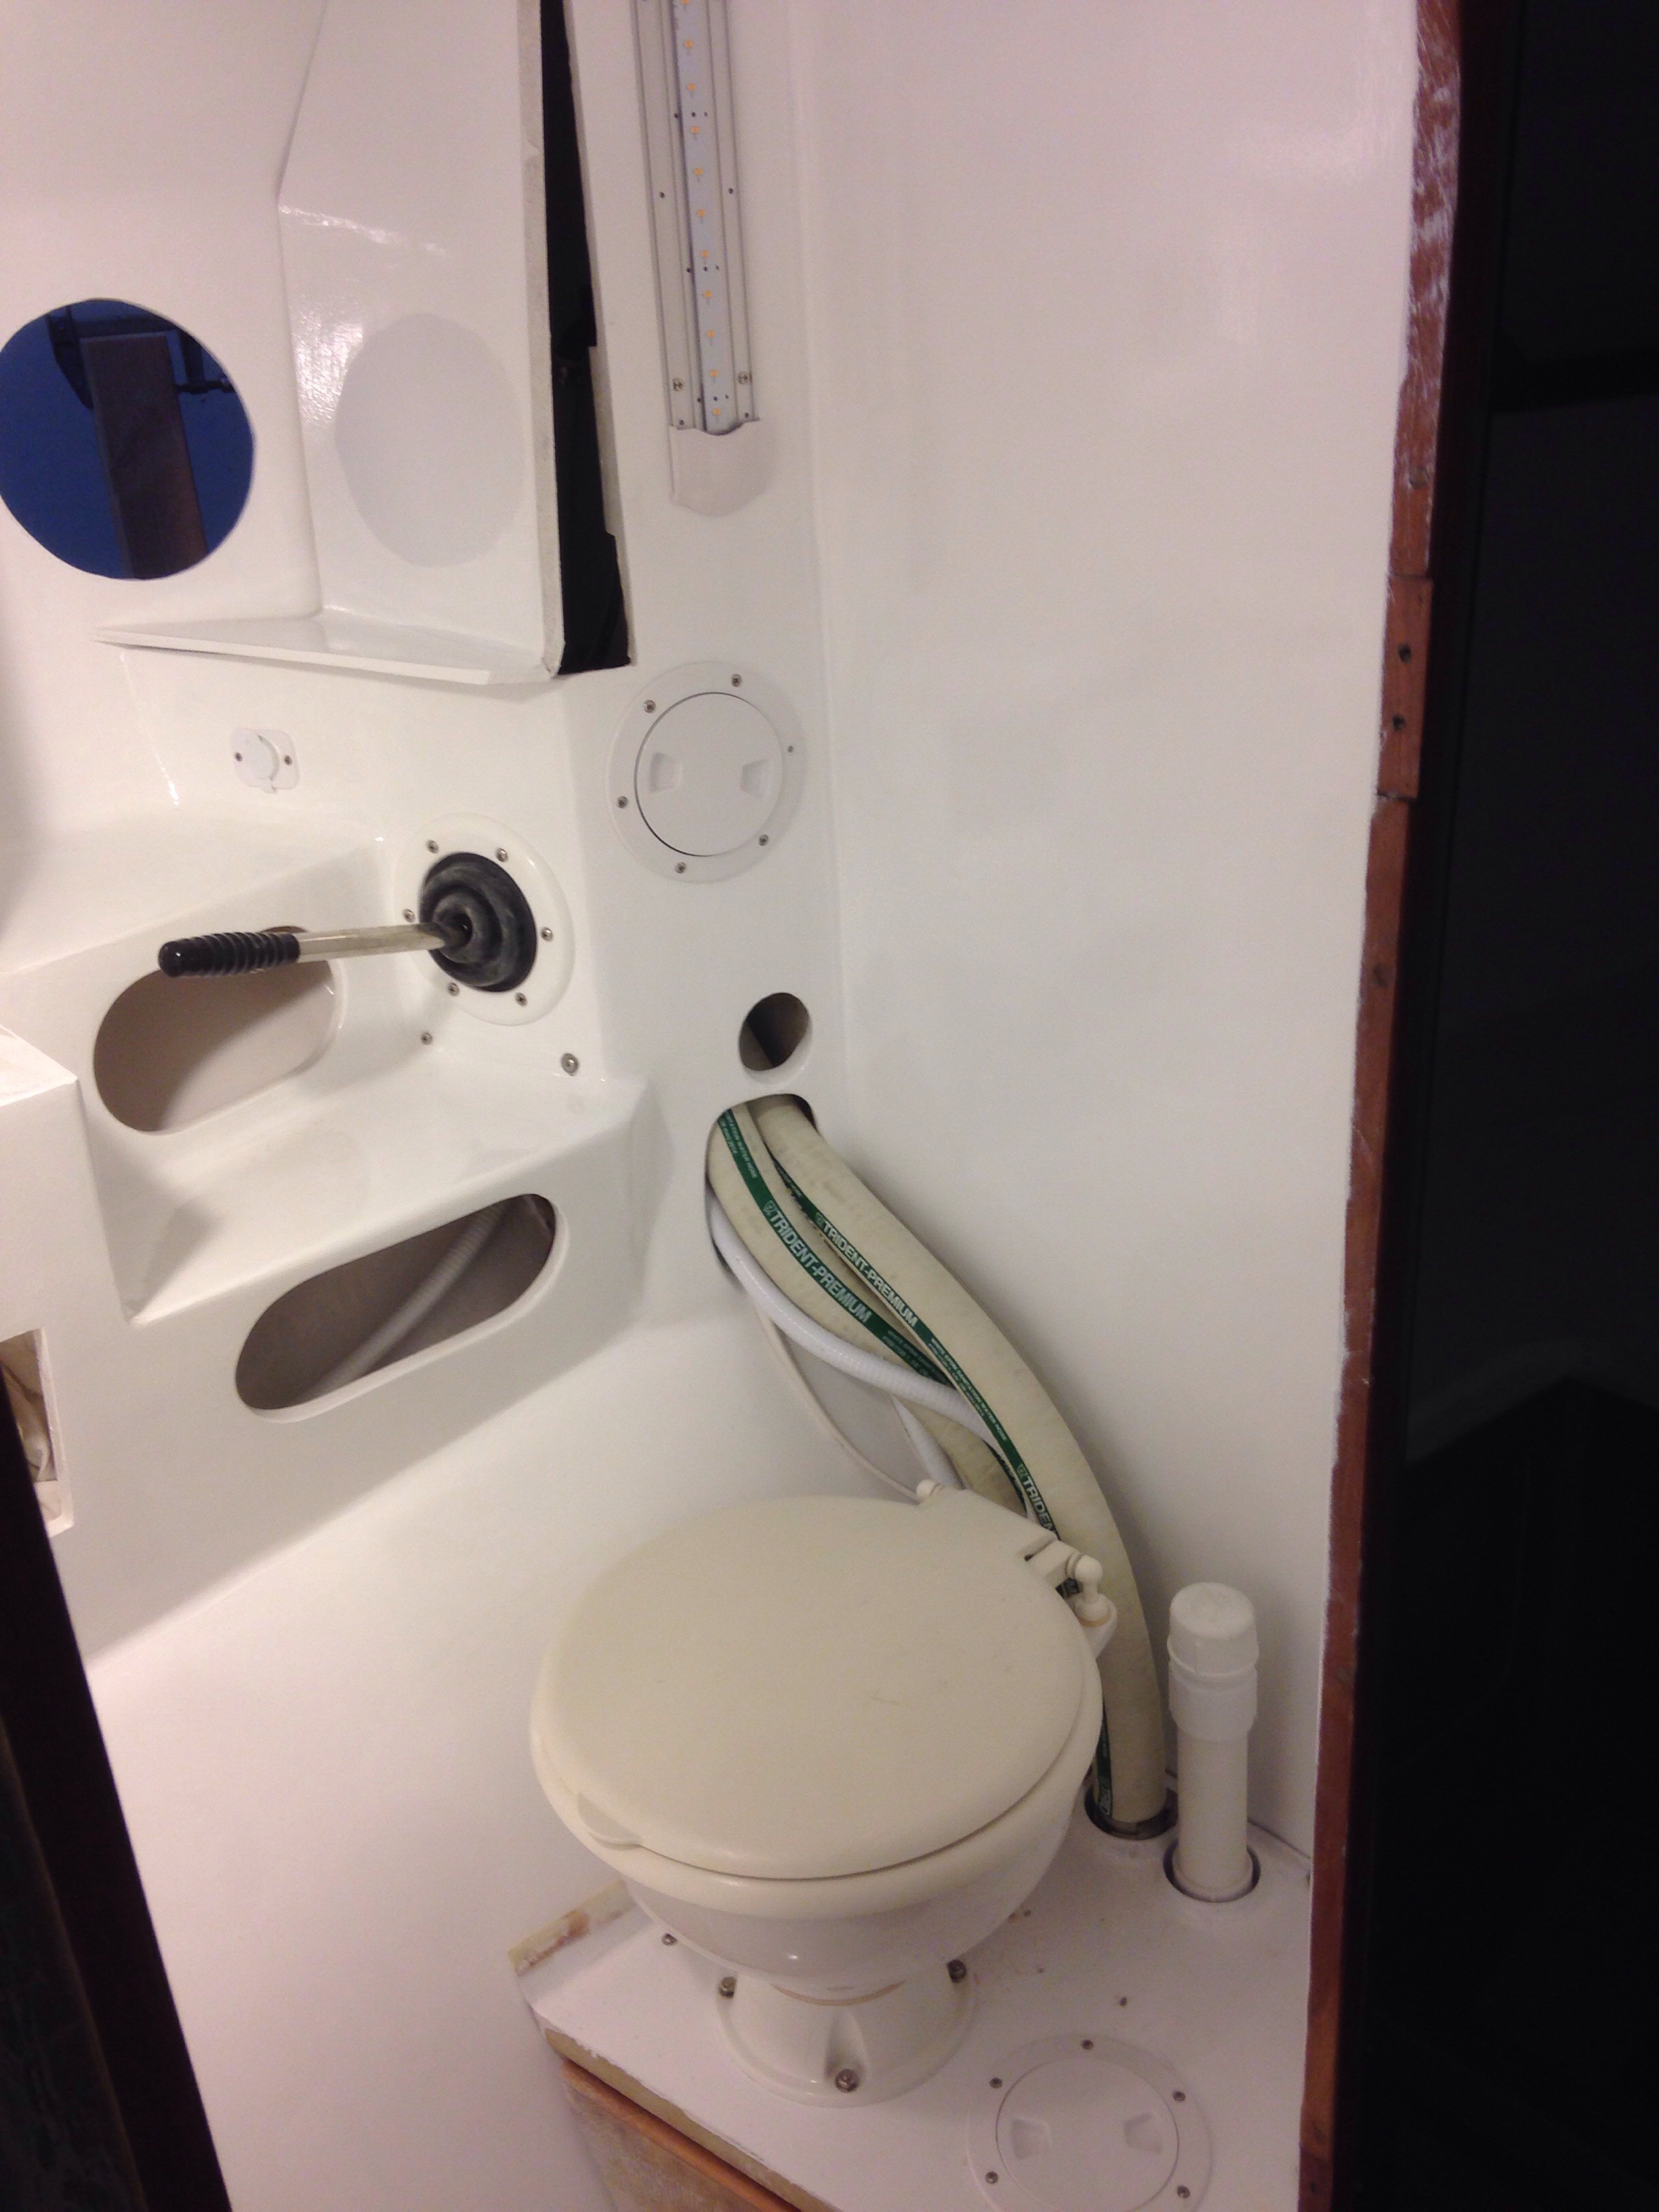
This is a Lavac vacuum pressure toilet. The flushing process is easier to understand than the common marine version. This one relies on the lid forming a seal; after use one lowers the lid and pumps the lever ten times. The vacuum pressure clears the bowl and circulates flush and rinse water. The waste does not drop straight from toilet to tank as it does in an RV; here we’re pumping up through a high loop (flooding prevention safety) and back down a heavy duty tube to the tank. We will empty the tank either with deck pump out services, or a thru hull valve below the waterline. That is only going to work while the boat is underway and moving quickly enough for the passing water to suction the holding tank. At this point we have to hope the speed required isn’t too great to be practical. Stay tuned this summer for more on that disgusting topic. Also, next week we’ll look at the grey water system that will supply the toilet flushing.
On to the view. Last year Charlie and I drove to Sacramento to get special scratch resistant Lexan (polycarbonate) for the main cabin fixed port lights (Windows). Unfortunately the many holes were drilled to the original plans before I read up on advances in adhesive products. We don’t need all the bolt holes! So I decided on a compromise of using the 120 holes and going with screws into epoxy fill, not through-bolts. And Sika 295 UV adhesive. (Note, needed just over one tube for the whole job). First we painted the area under the Lexan to help hide the adhesive and create a more uniform look.
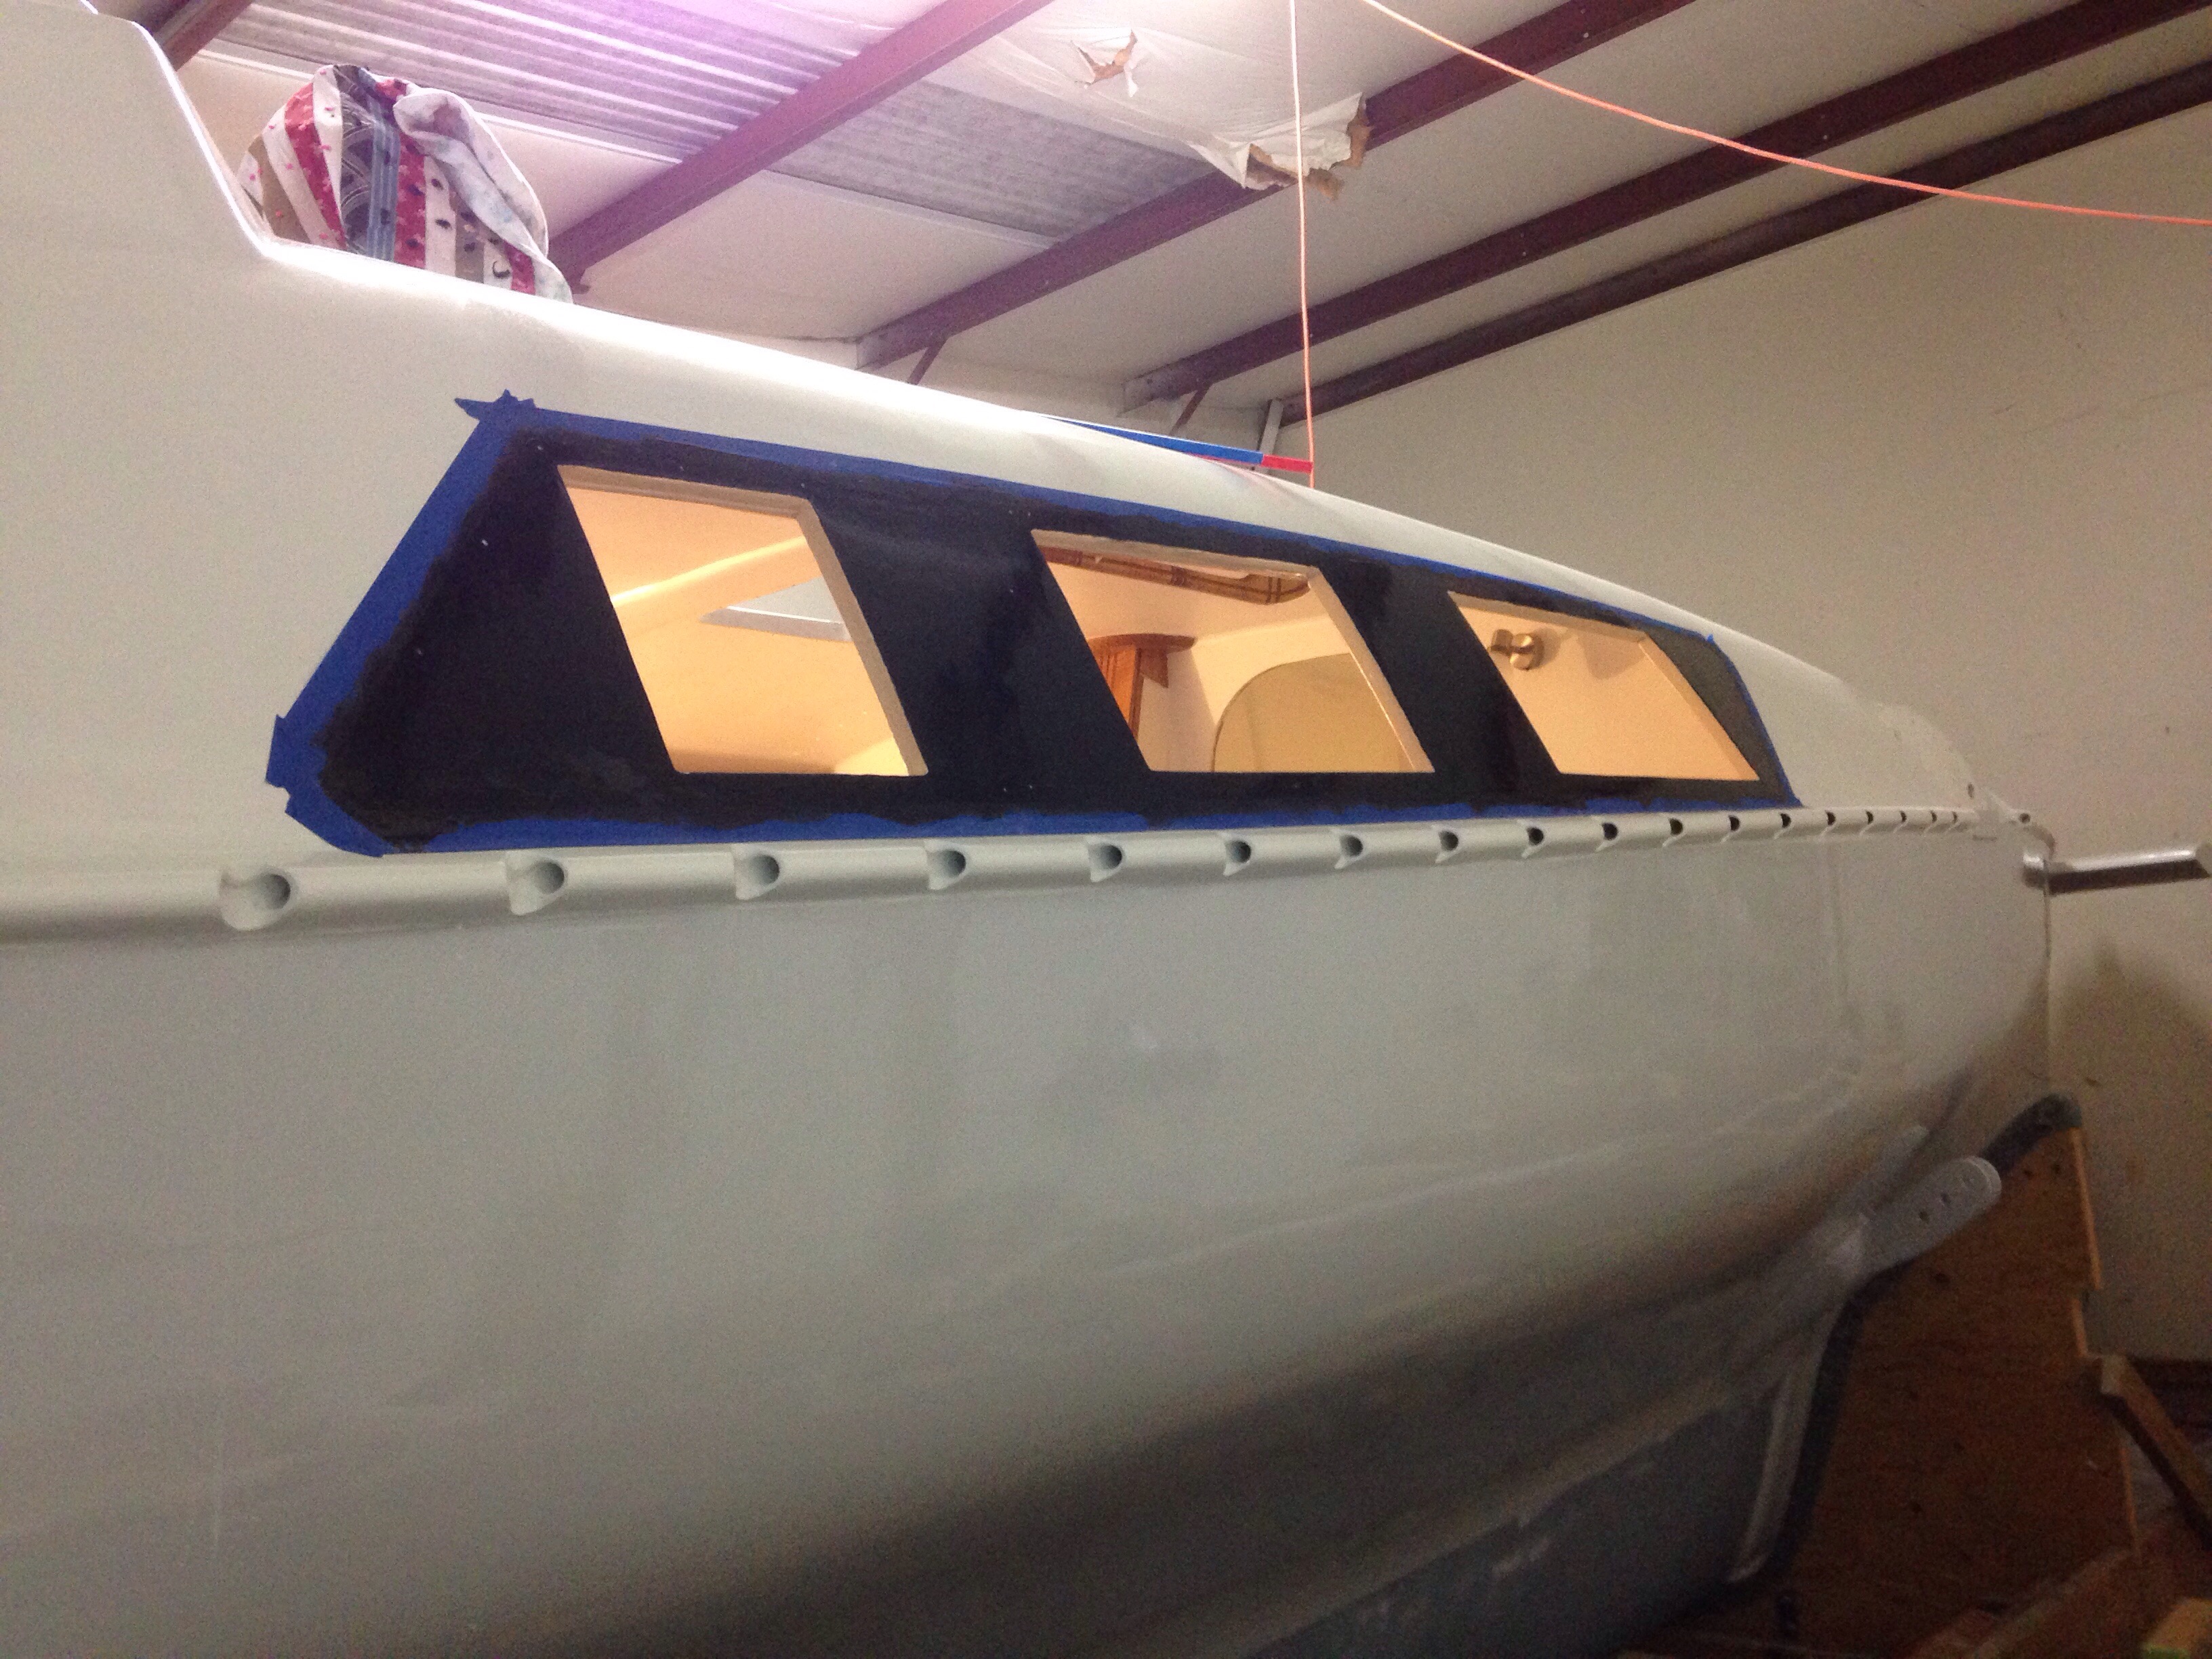
There are three panes for each side, roughly corresponding to the hull cutouts. On the middle panes, we’ve added a “floating” opening port for ventilation. Here’s that work, done on the workbench so the metal frame can be bolted together with the required flat surface.


See how nice and centered that floating port is in the fixed pane? Well that of course didn’t fit on the boat! Thought it was so clever to work it out on the bench, but never held it up to check before cutting. Damn, it was supposed to be 1″ off center! The metal frame hit the hull so I went home Friday night deflated. Saturday noon trip to TapPlastics for $130 more Lexan and by dinner time we had two replacement panes cut, edge-radiused and drilled. Installation took from 8pm to 12:30am, and now we’re happy.

Sunday was a half day prepping and installing opening ports (2 forward, 1 head, 2 aft cabin sides, 1 transom). We’re using butyl tape – very sticky and very pliable – works great and makes zero mess compared to caulk-like stuff in tubes.
Here’s a round porthole over the lavatory; photo records the last spot we can still see the tongue and groove construction of the cedar core. Howard did an incredible job on that, and it’s just one of the factors why this boat has taken 20 years to build.

And with the primary painting wrapped up, we’ve been stealing away minutes from big jobs to do fun little final installs. I’ve been looking at the empty compass pods for a long time, and now think this turned out well. With one on each side of the cockpit this should work well for driving. Hopefully they’re not too close to the nearby winches!

PS – it was kind of hard to see all the screw heads in that finished windows photo, right? That’s because my dear wife poked a lot of holes in this box so we could spray paint all the shiny little screws I don’t want to see :)

