
Ok friends, start your countdown timers ’cause we’re setting the launch date for the June 11/12 weekend. Many self imposed deadlines have come and gone over the past four years, but today we can actually see the finish line. While y’all are grilling, drinking, riding, sailing, etc for Memorial Day weekend, we’ll be hitting this punch list hard.
 That’s the list on the shop white board, and of course there’s another dozen or so items in the margins of the little orange notebook the builder carries around :) (eg fix the flat tire on the trailer holding the beams out in the driveway)
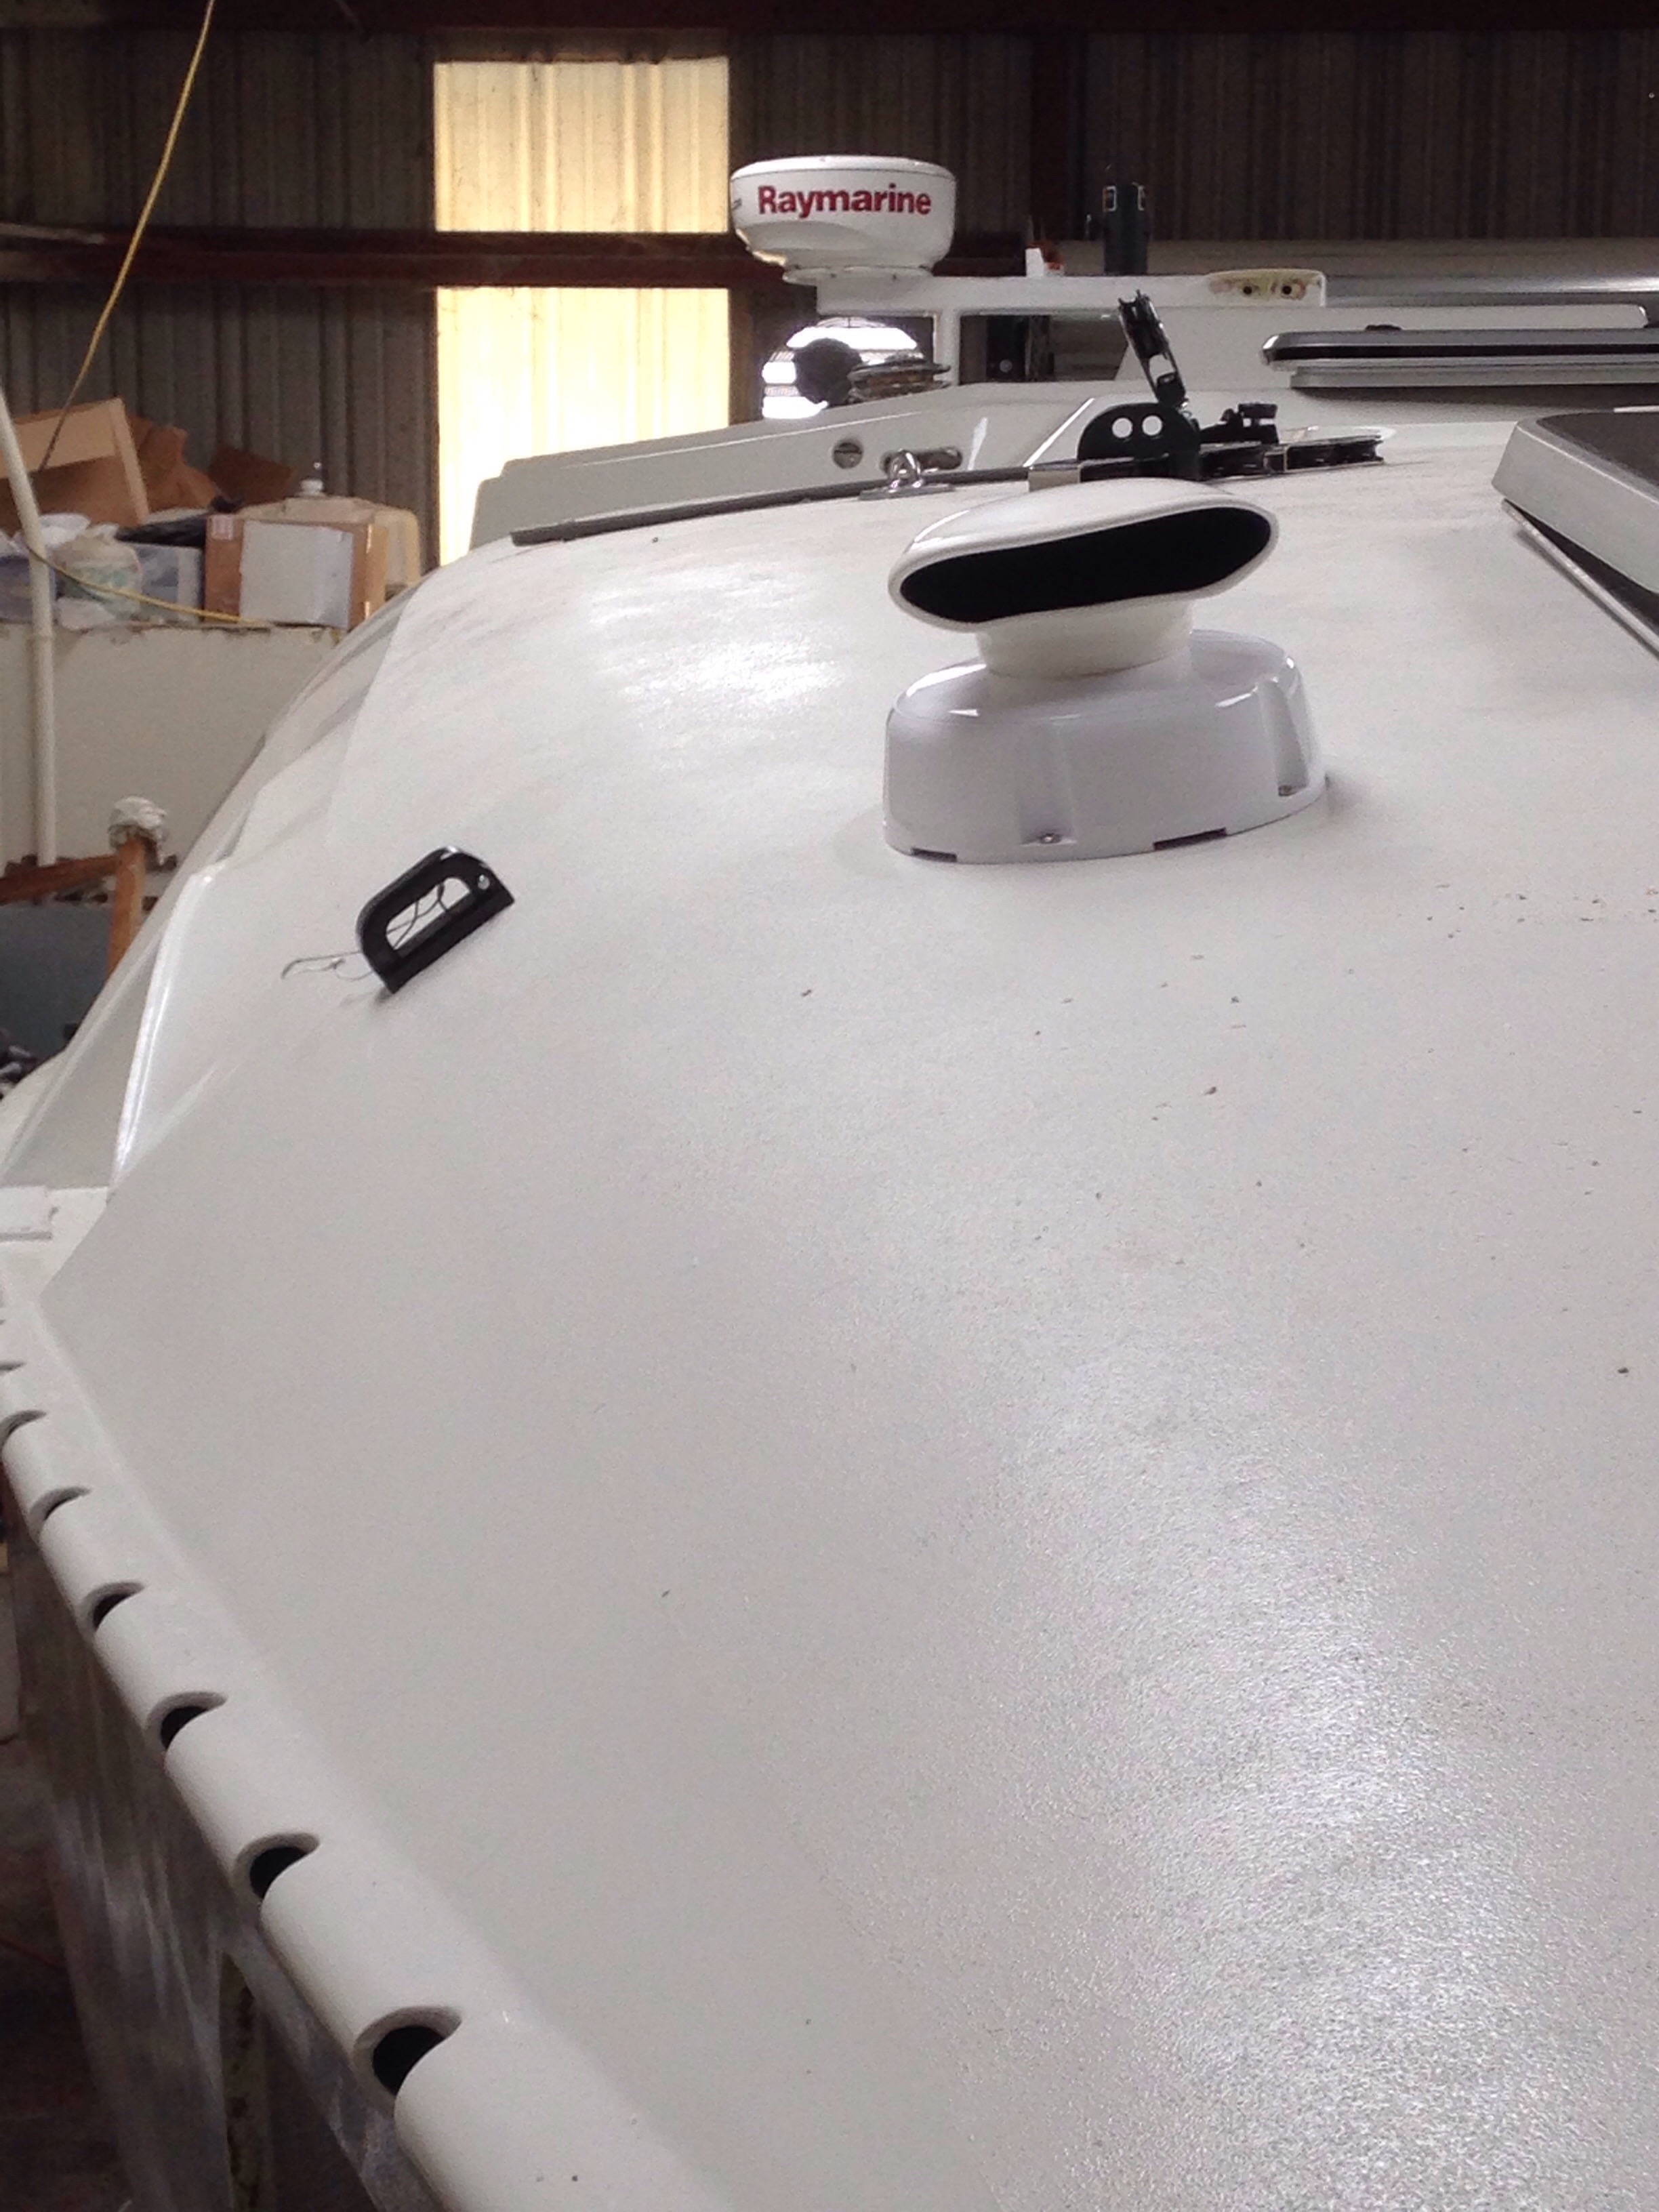
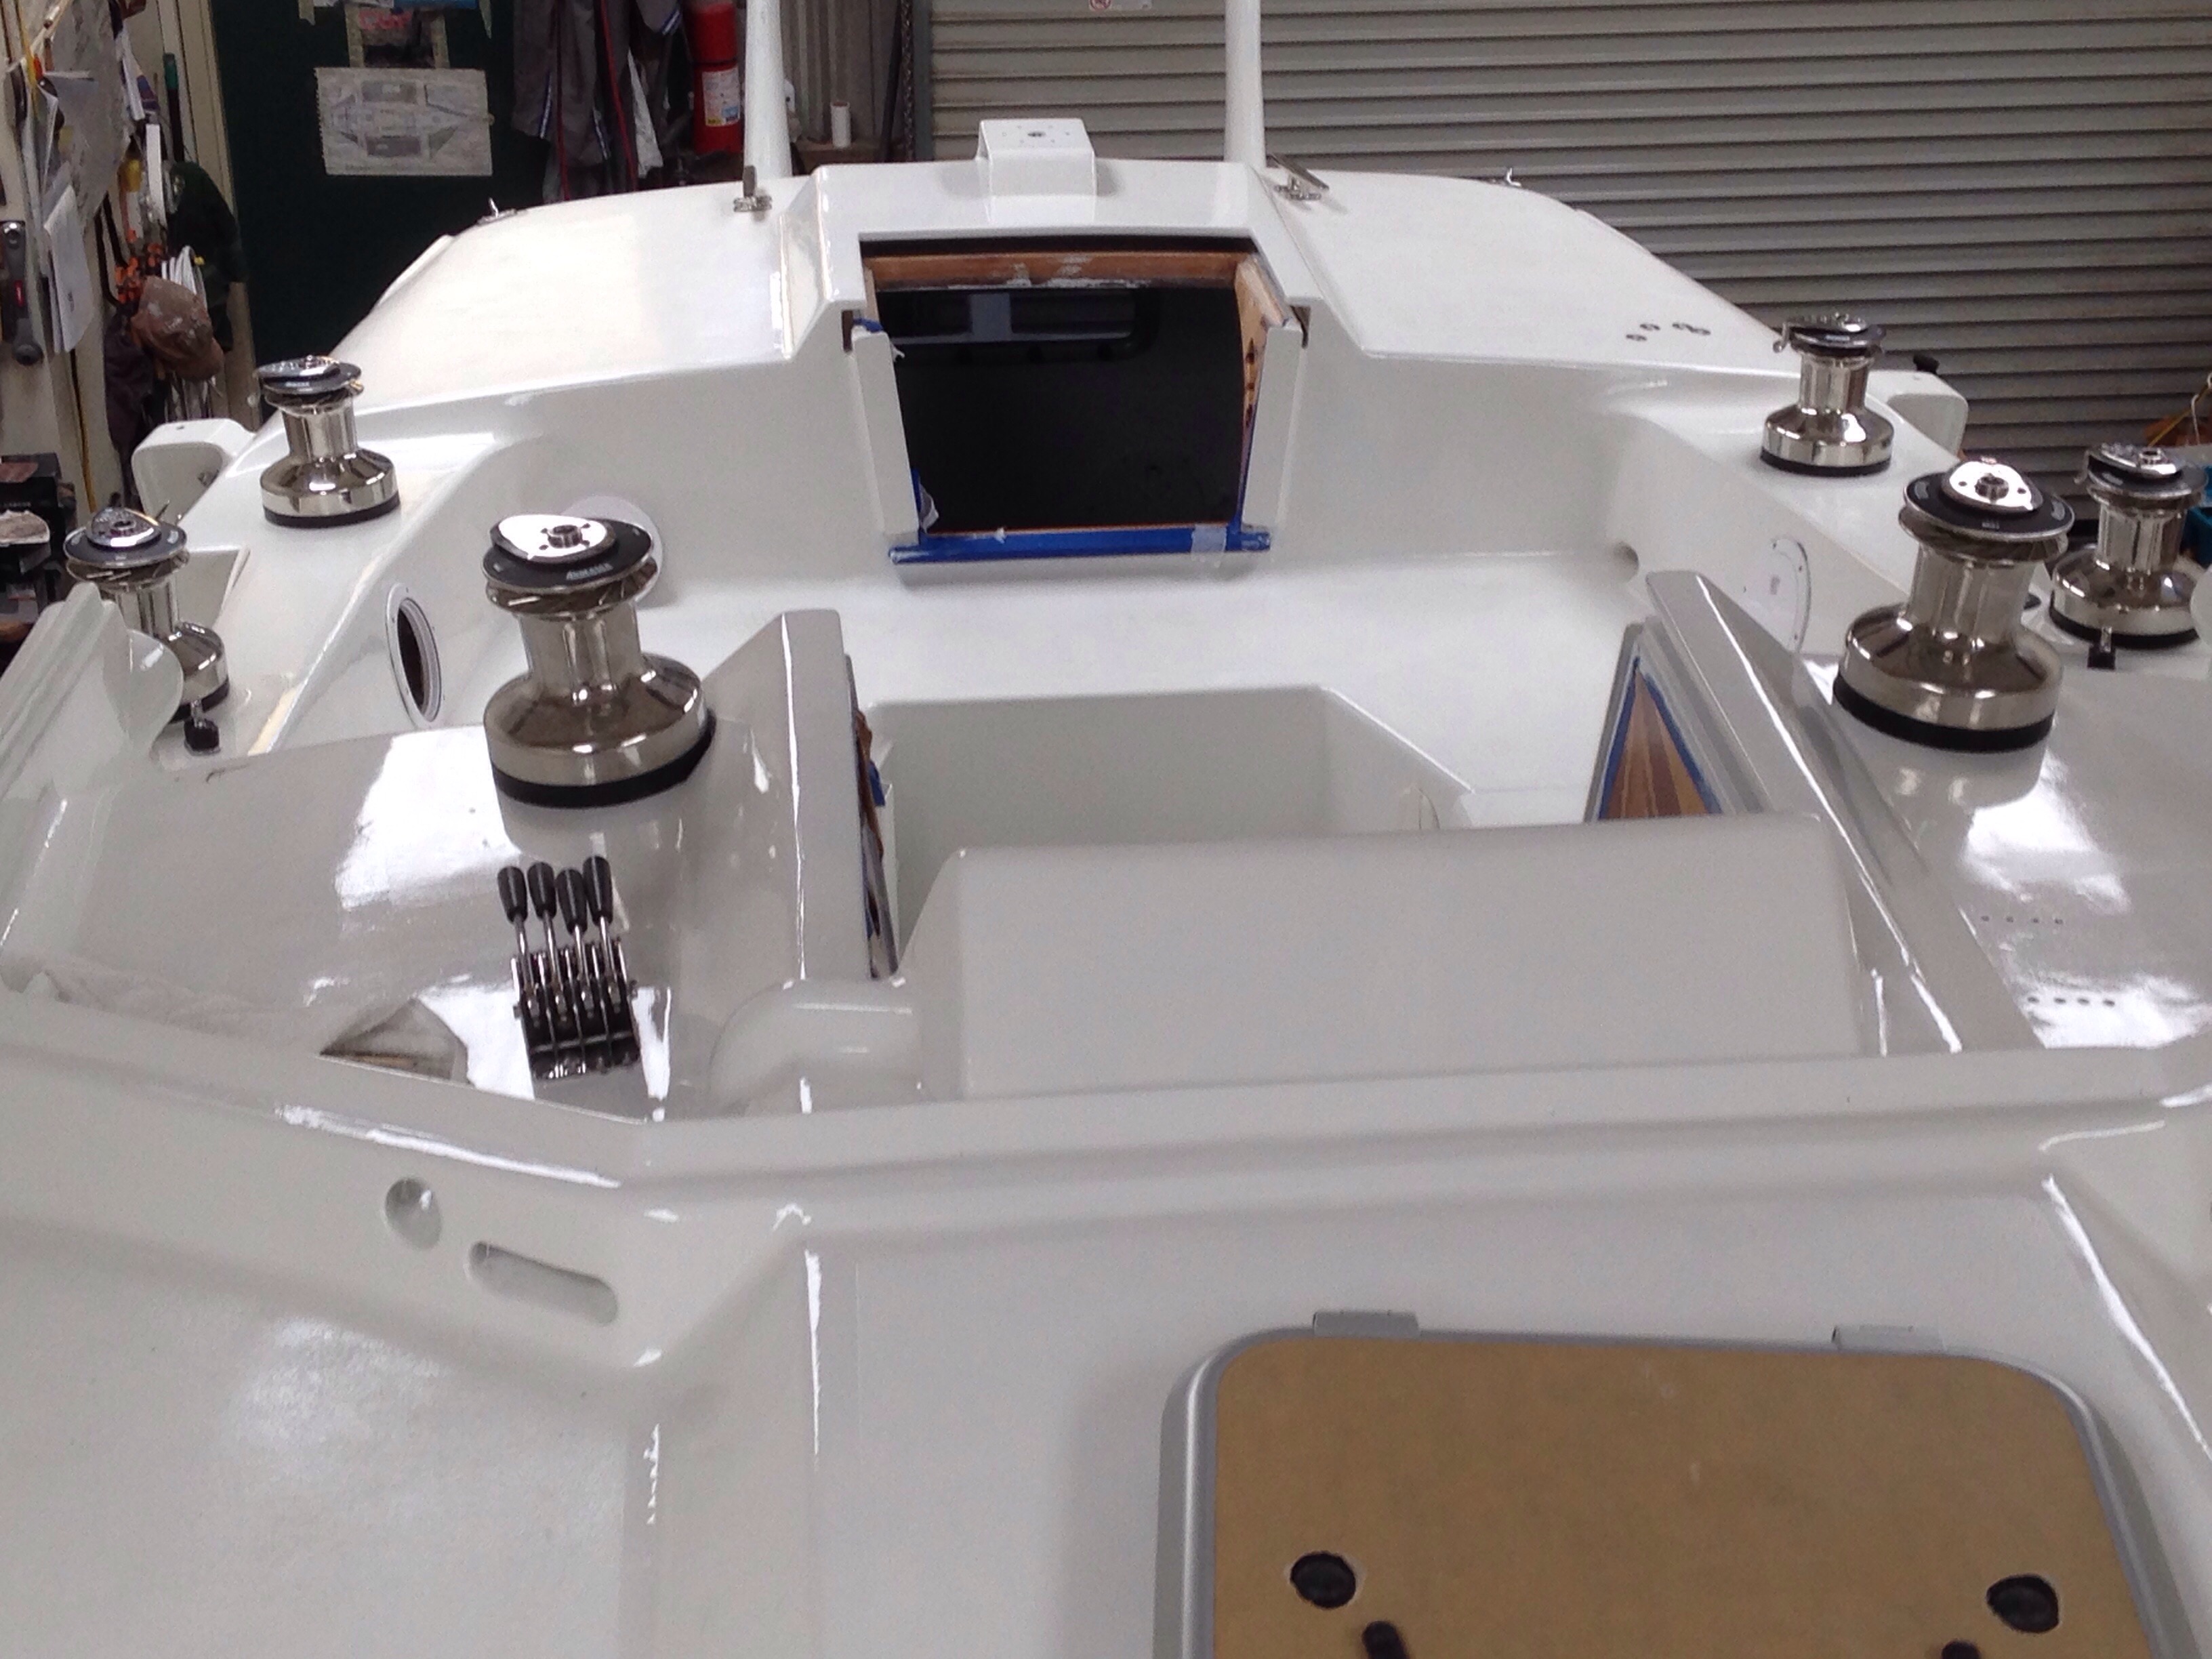
All deck hardware is just about buttoned up now. About an hour more of securing a few more bolts to go. Ventilation should be good inside, with three deck hatches, the two companionways, a dorade up front, two opening ports in the main cabin, two in the bow, and three in the aft cabin.


The all-stainless steel purchasing for sailing hardware has Jeanne appreciating the “boat bling” look. All this stuff cost about like buying decent gold and diamonds, but hopefully the enjoyment per hour is well spent on the sea side of the equation.

Last year we wrote about concerns of the captive-pin mast base, especially after seeing the same design as our mast’s step having cracked on the Contour34 tri. Recall the Keith at Skateaway set us up with a receiver cup at the bottom of the mast. Yesterday we finally tackled designing and building a replacement mast step. Farrier’s F39 plan isn’t quite right because he has the halyards on either side of the receiver ball, while we built our mast for them to exit just aft of the ball. So we used Farrier’s load solving but did some shape changing. Things were a bit tricky because the deck slopes about seven degrees off level and we want the ball to sit close to level with the water. Here’s the one we’re replacing. Missing in the photo is a high density plastic insert carved with a cylinder to accept the round steel pin from the mast. Note the old piece is stainless steel.
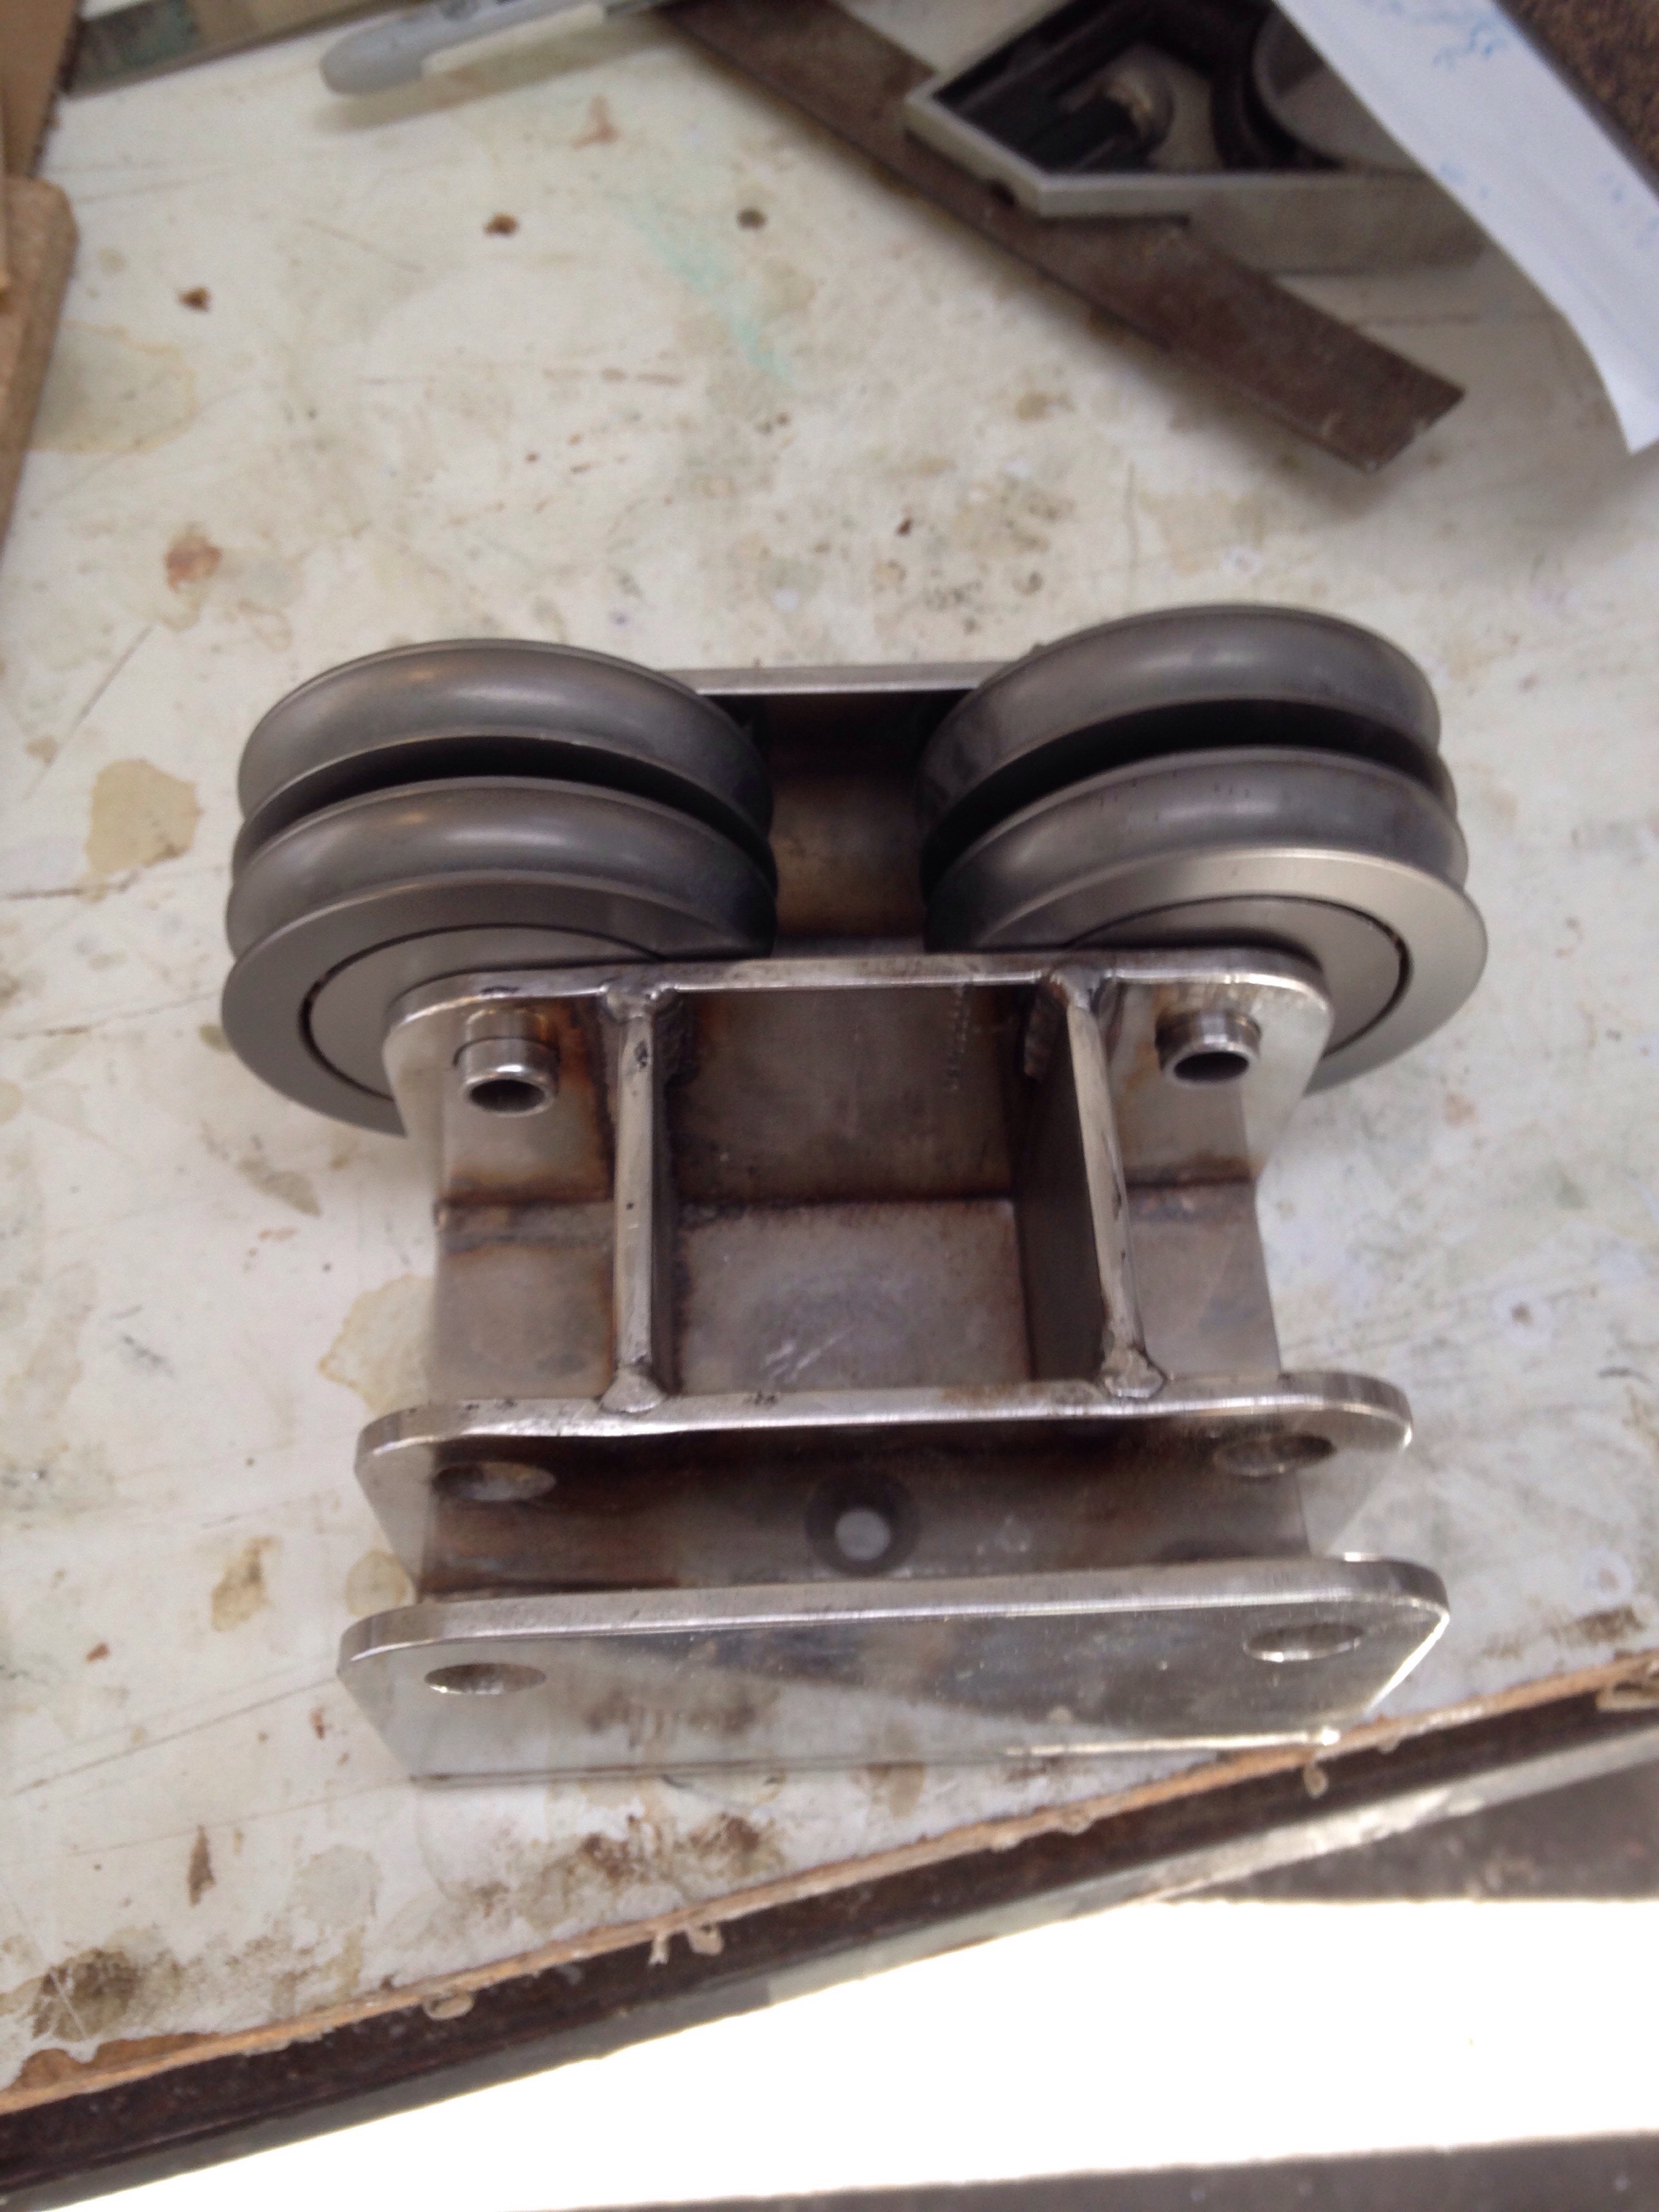
So first on paper, then mocked up in wood. The plywood chunk at the left represents the deck slope.

Next was sharp blades on the chop saw and table saw to cut shapes and make the 7 degree bevels needed. Ouch, $125 for about 2-1/2 sq feet of 1/2″ and 3/8″ 6061 aluminum.
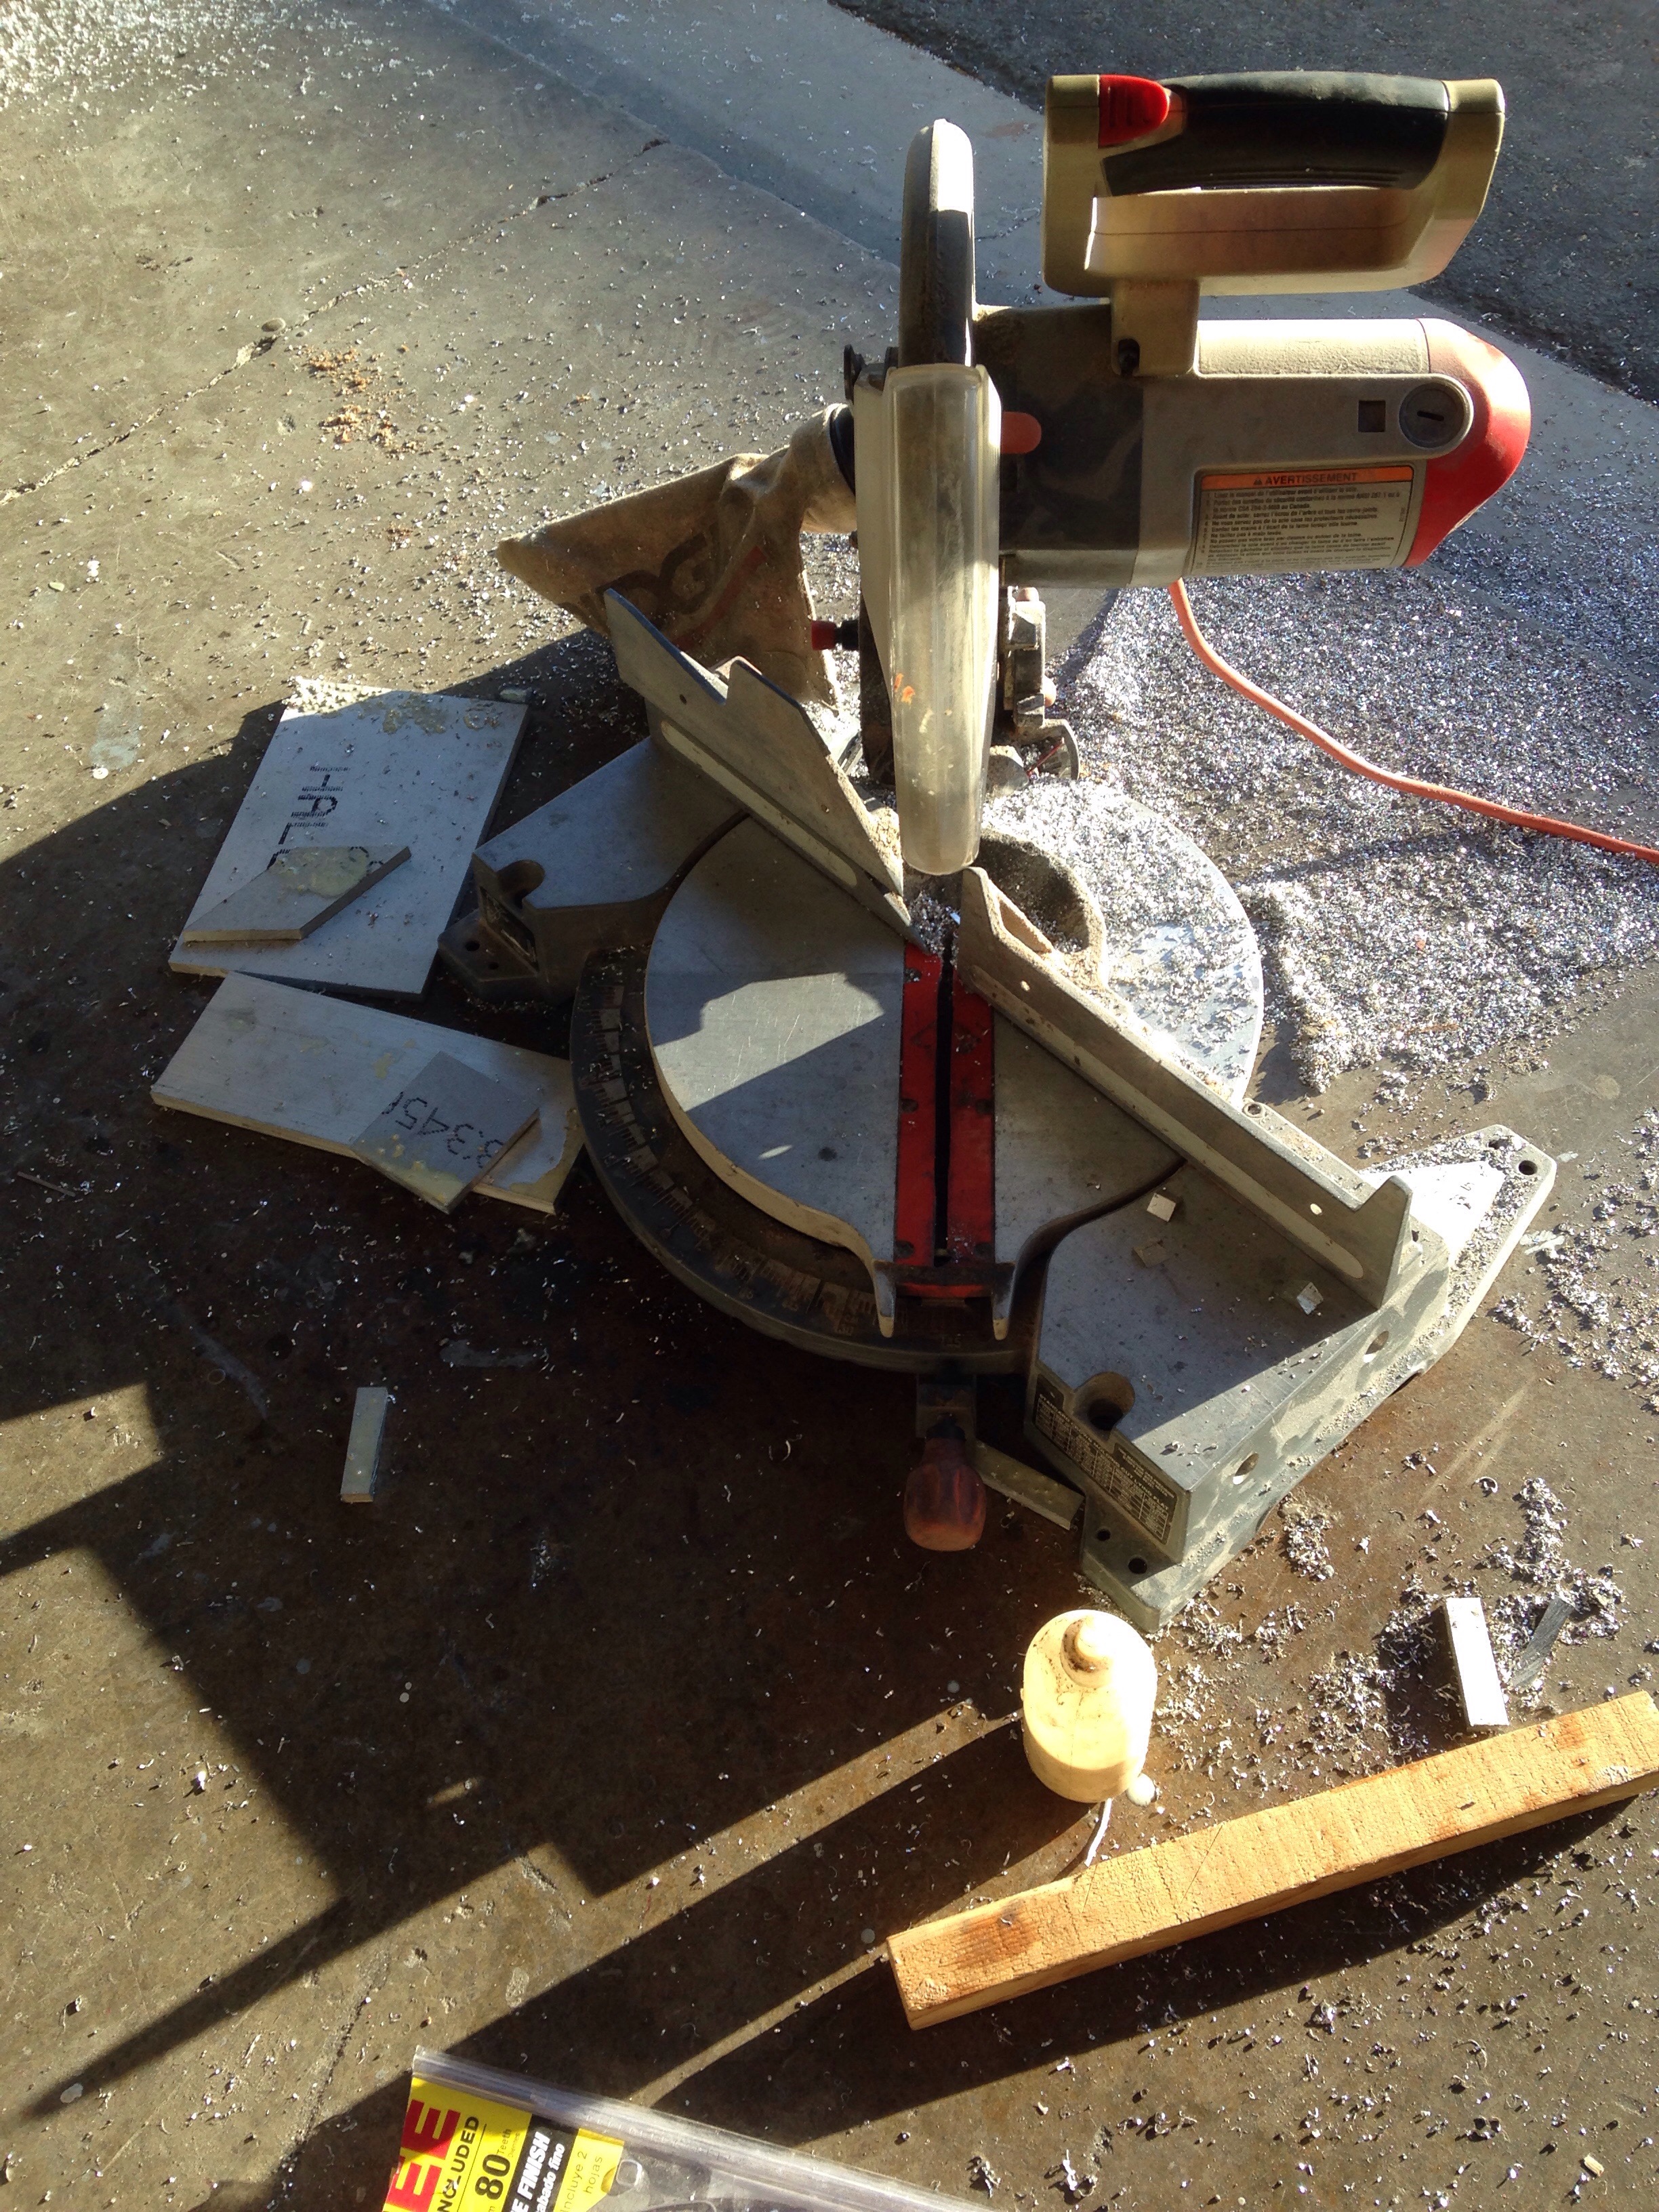
Took about three hours last night to cut and sand/grind everything in prep for the welder this evening.


The welding shop was happy to get things properly prepped, with 1:1 scale drawing and a wood go-by mockup. We had left the proper 1/4″ fillet weld spaces at the seams – overall not bad for first time amateurs. Then the casually noted, yea we can do this in two hours; that’ll be $280, sir. After that it’s a stop at the anodizer, and this will be a $500+ part even though we designed it and cut it all out. Geez.
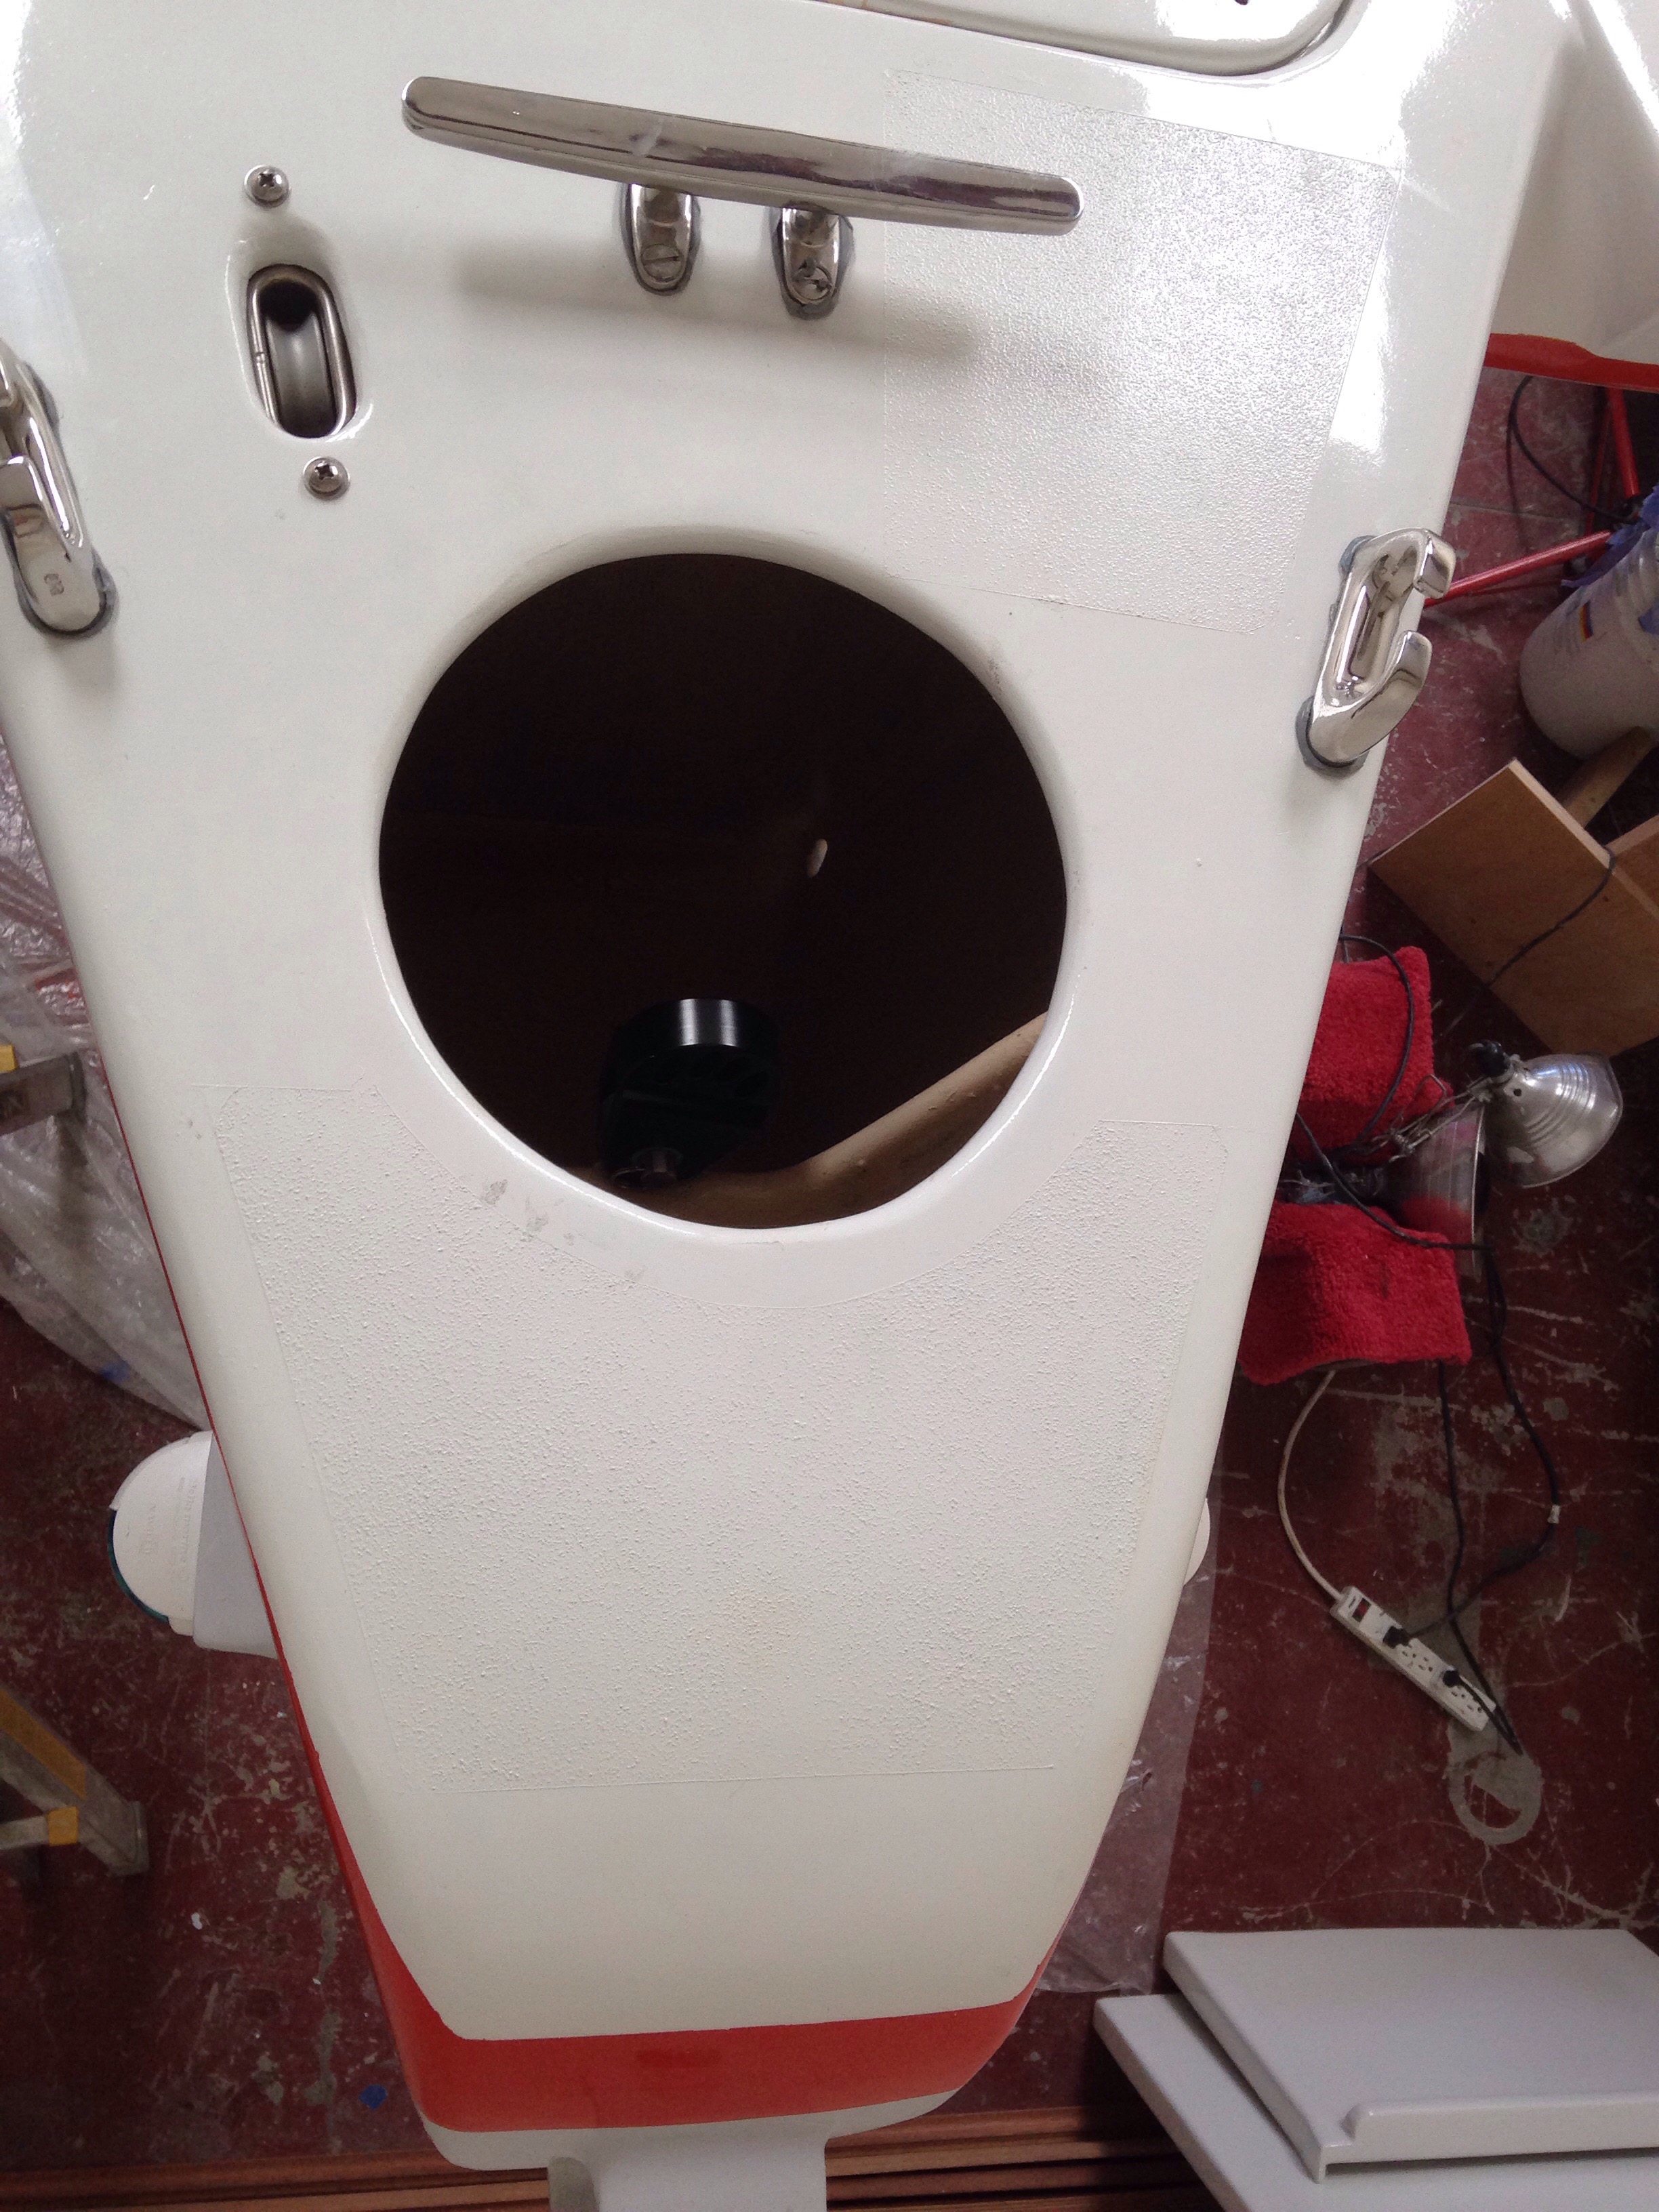
The bow area got its last big job, the forestay installation. Thanks again to Colligo for custom cutting this in titanium. Kind of a pity it’s hidden down in the hole. Keith will note the nice big ring nut to anchor the jib tack adjuster :)


The bottom paint isn’t on yet because the thru hulls aren’t installed because one had to be special ordered from Forespar, etc (see how this works?), and we don’t want to mix up bottom paint until the daggerboard is also prepped. Last winter recall the America’s Cup foils building vet Cozmo pointed out the flaws in my dagger leading edge (“you know that sag will be slow, Carter” has been haunting for months ). He instructed on setting up a straight edge and re-fairing. Here goes: first see the problem gap.
 next we filled that void.
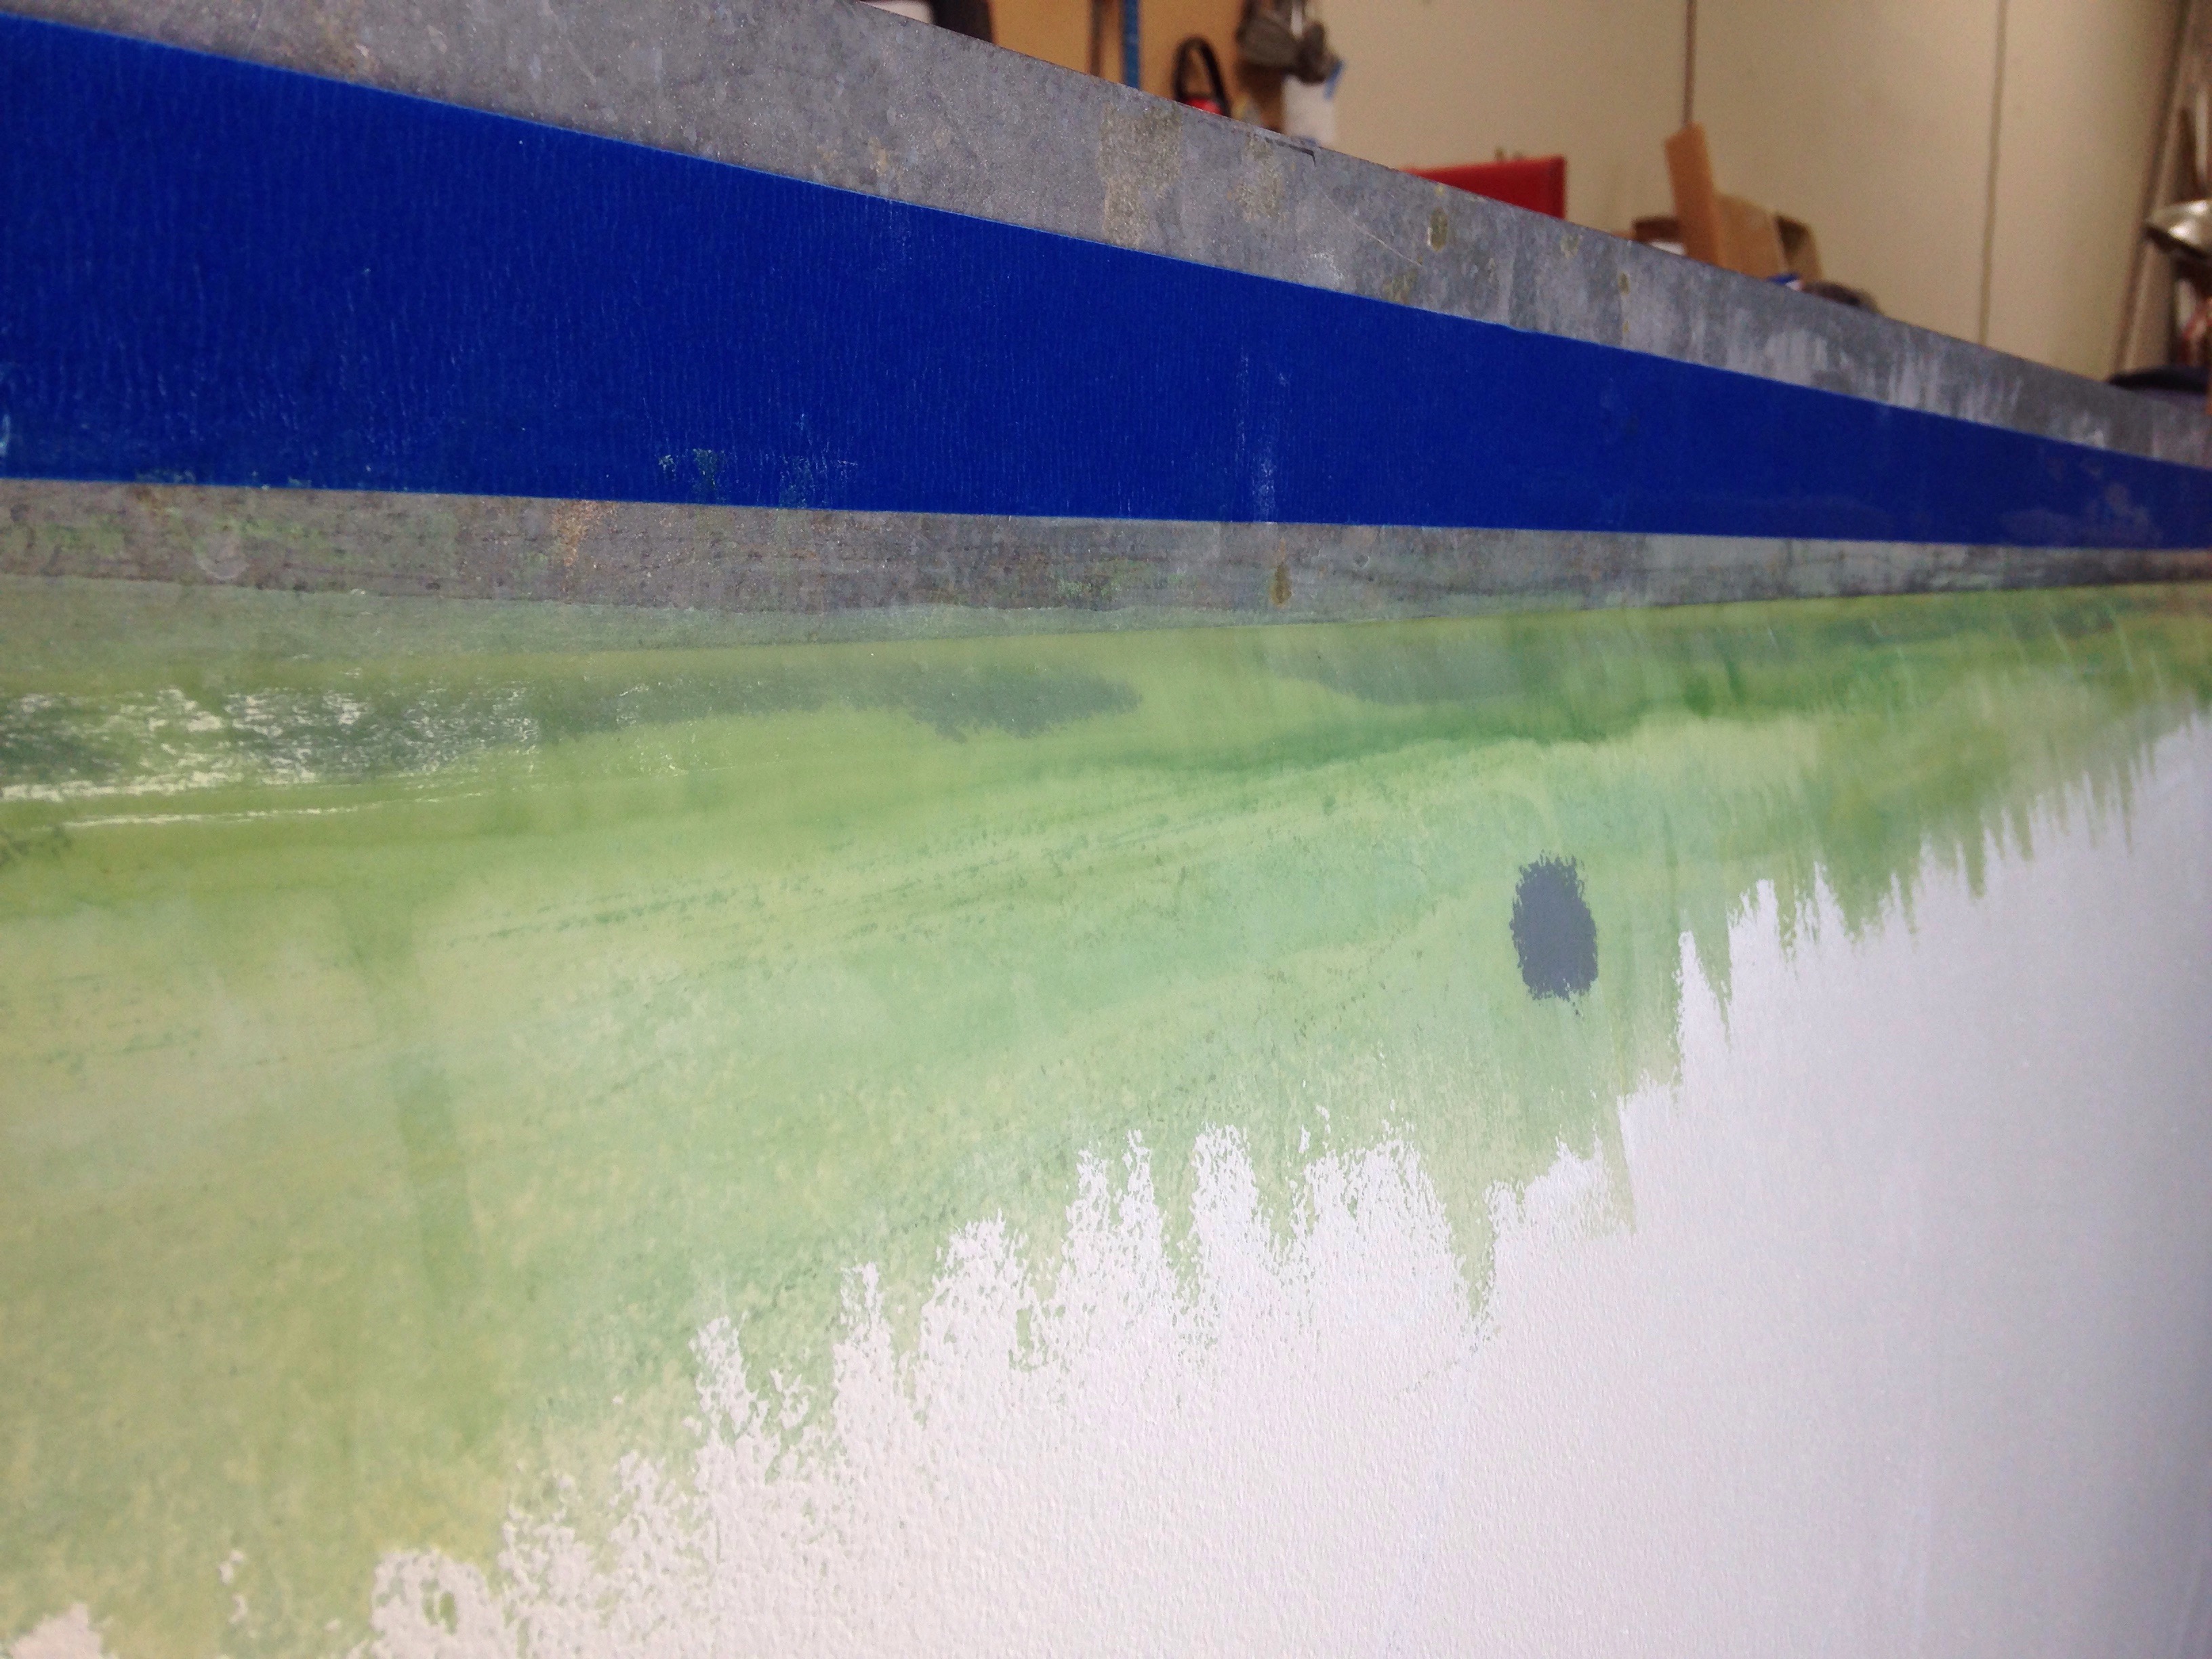
And got the leading edge of the board back to a straight line up and down.

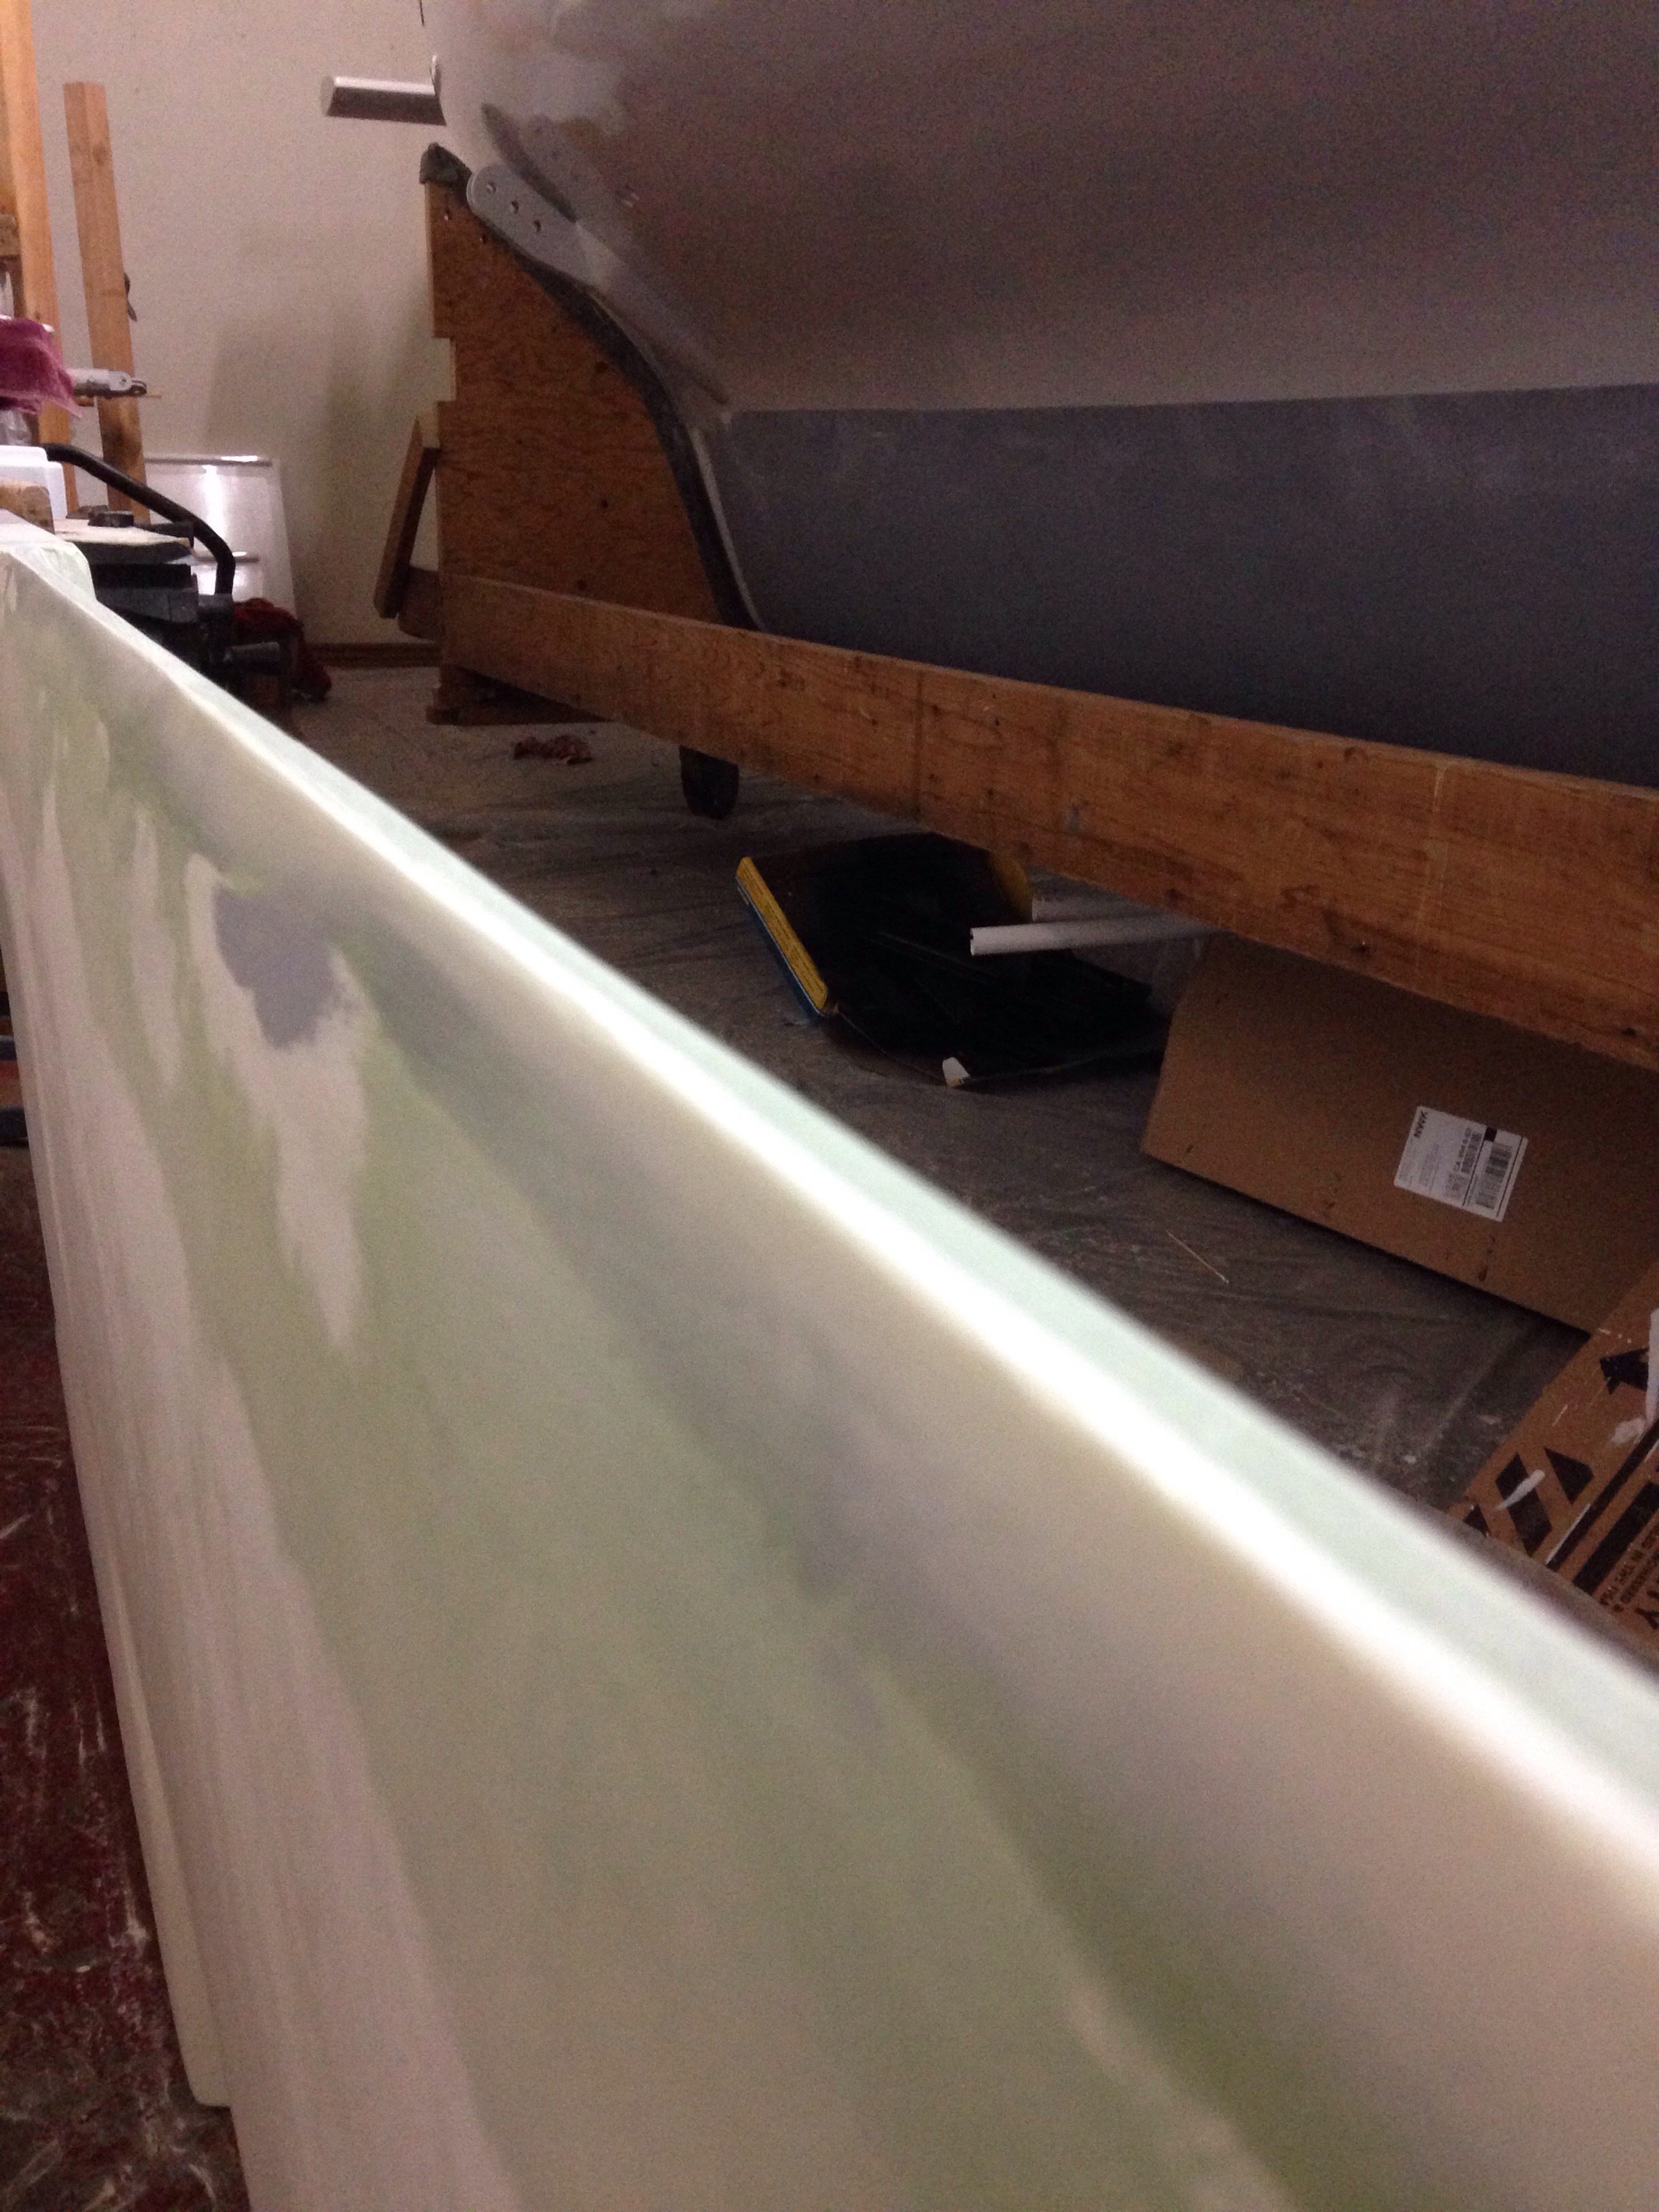
A quick phone call with the foil master tonight confirmed the next step is to make a careful wooden shaping jig cut from a proper foil leading edge shape (have that shape in the Farrier full size plans). He said we only need to worry about getting the right leading edge rounding, and a properly symmetric first three or so inches shape flowing back. So the jig can be short-legged, not pulled all the way down these very large daggerboard sides. A few more hours this week to go.
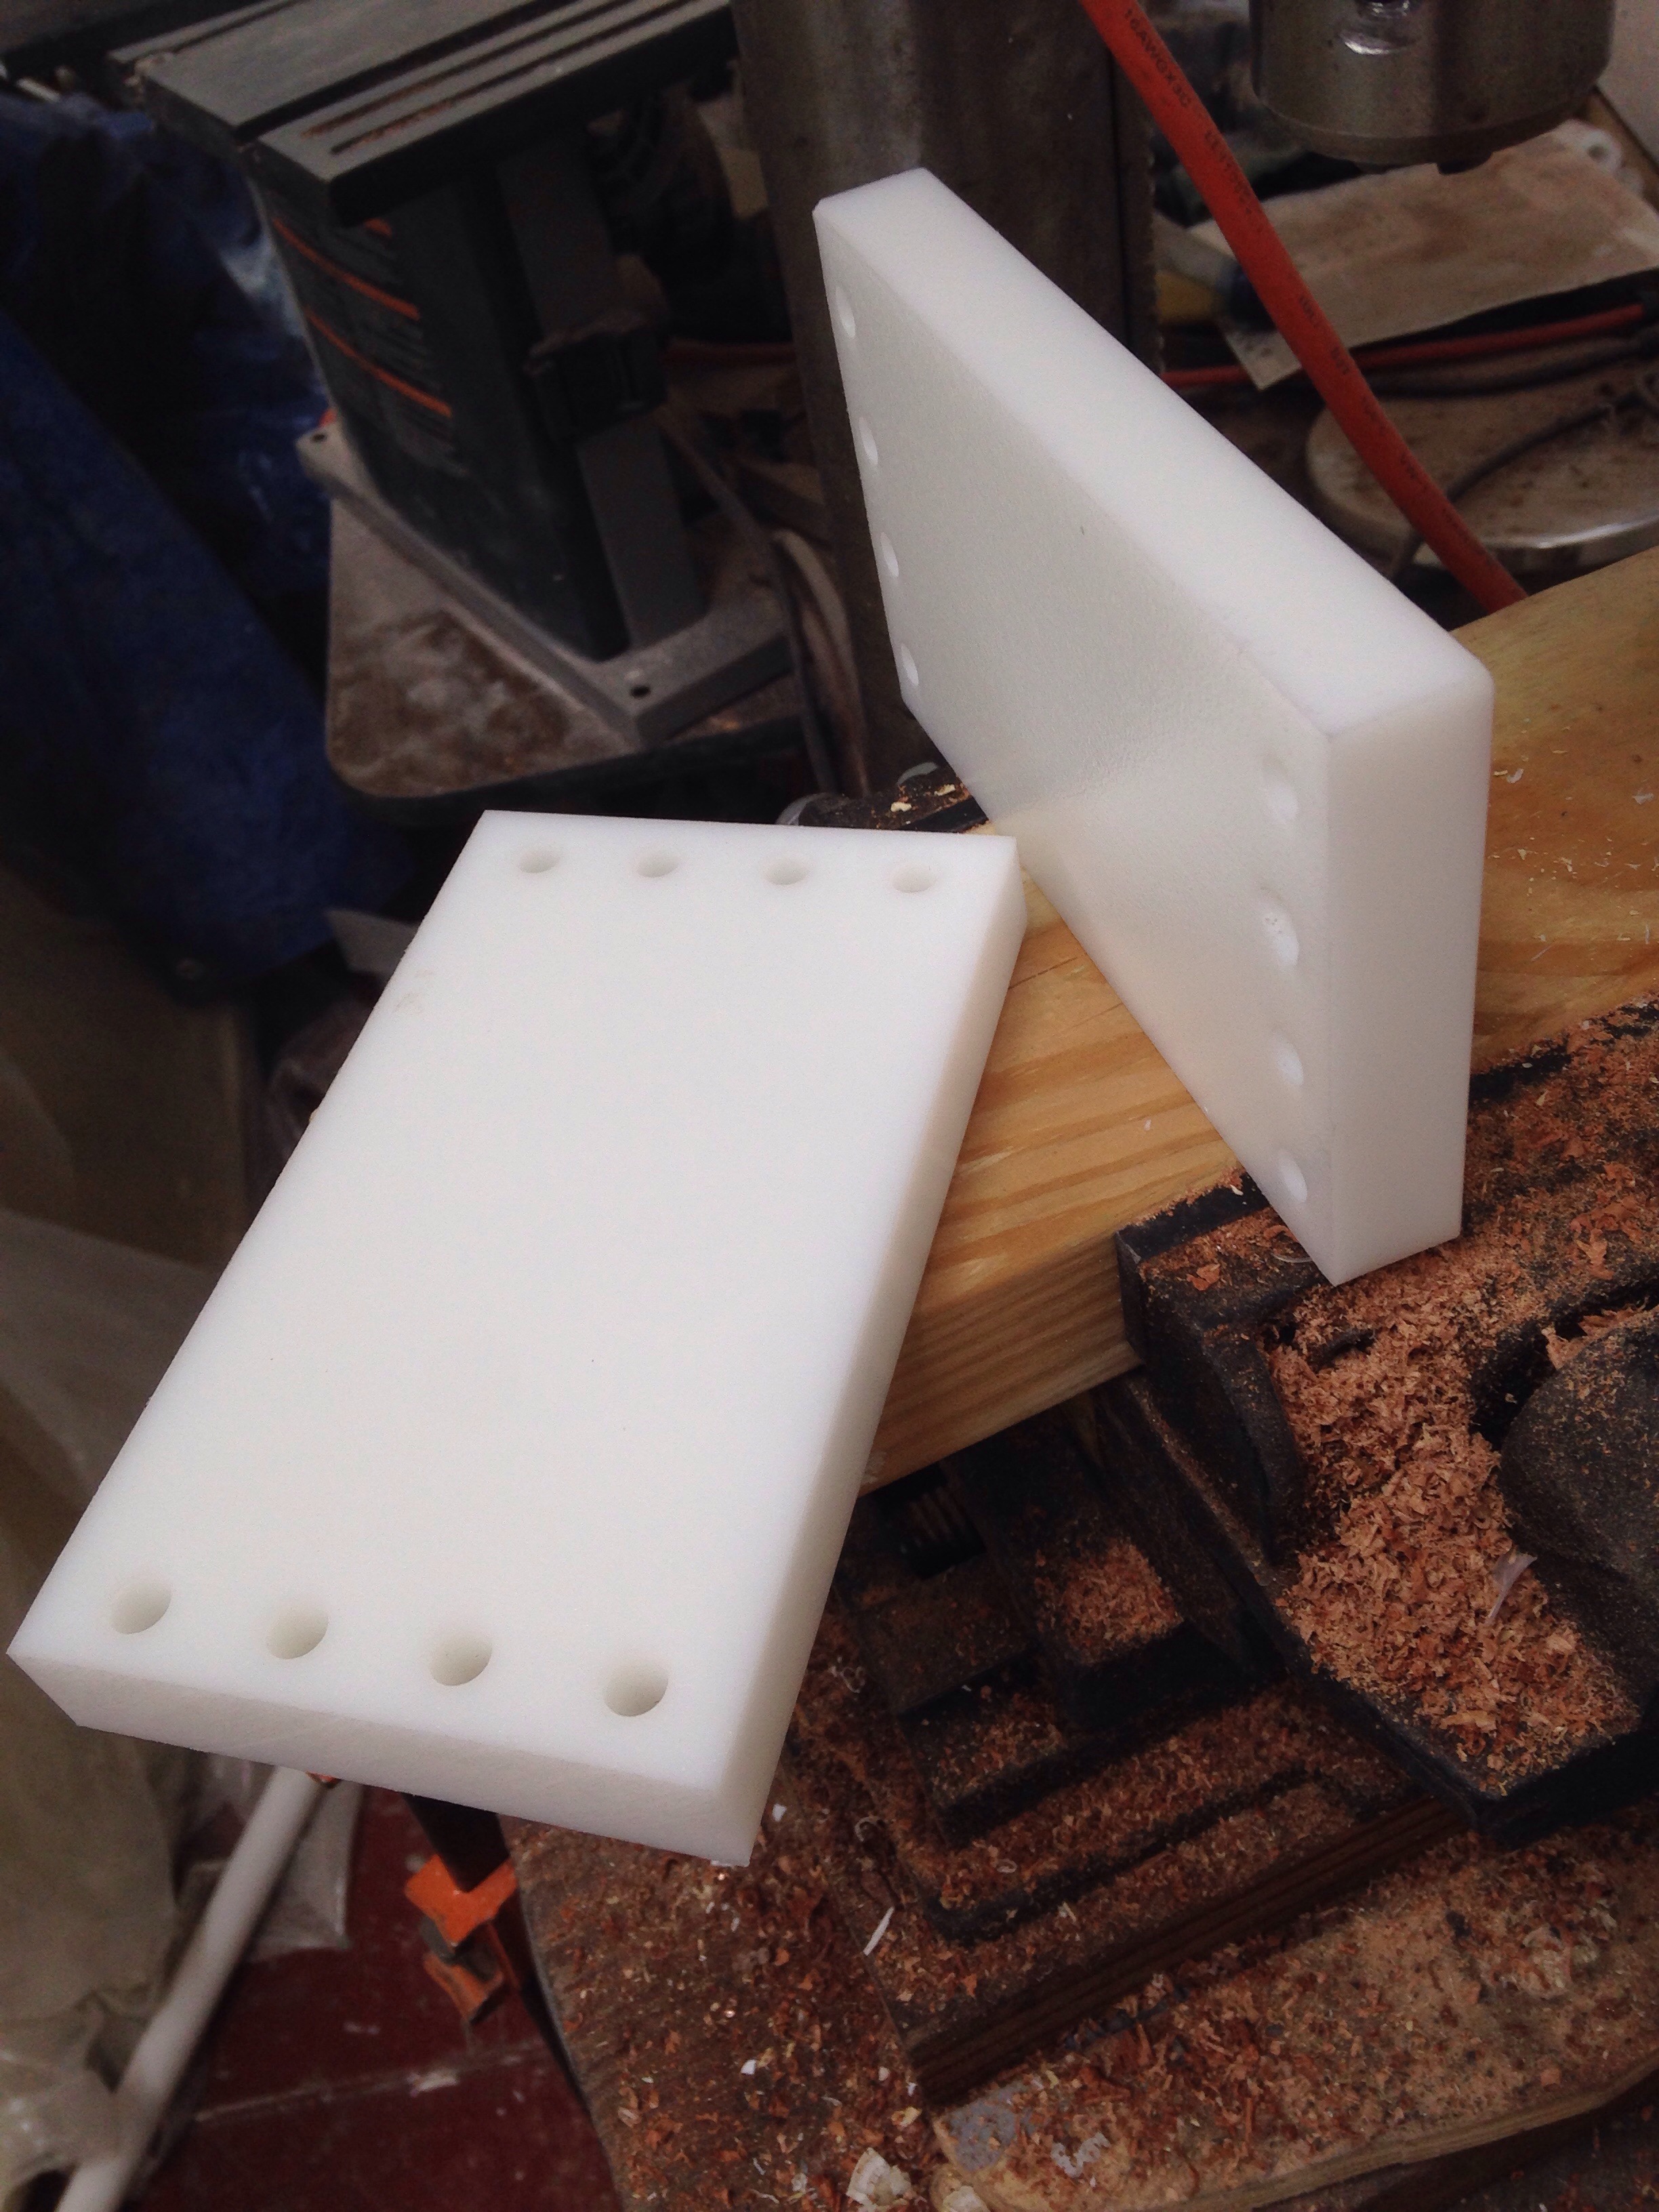
All the hardware backing plates are pretty woods inside – more photos next time- but anything outside is plastics. This 3/4″ high density stock from Tap machines very easily to make spacers under the rope clutches.
This is the stuff we’re doing each evening now as the push to finish the list heats up. Very excited for Saturday when Jeanne and Leslie measure all the seating areas and map out the cushion foam we’ve been squirreling away for a couple years :). Curtains begin this week too. Yea!

Woo hoo! Cushions and curtains!!! Xxx
LikeLike