
The KKMI project managers ended their week Friday with a quick lift of Ravenswing’s mast. We had it all ready to simply slide home the two cap shroud and one forestay big clevis pins and then the guys could release the crane. They only charged for 15 minutes of time (good thing, because it’s $300 an hour!)
So let’s rewind that a bit. Here’s the portable laminate repair shop;
 First we did a layer of 9oz Doublebias Carbon, then 12oz uni straps crossing over/under the opposite side. These ended shy of the sail track in each side. Then another layer of the DB.
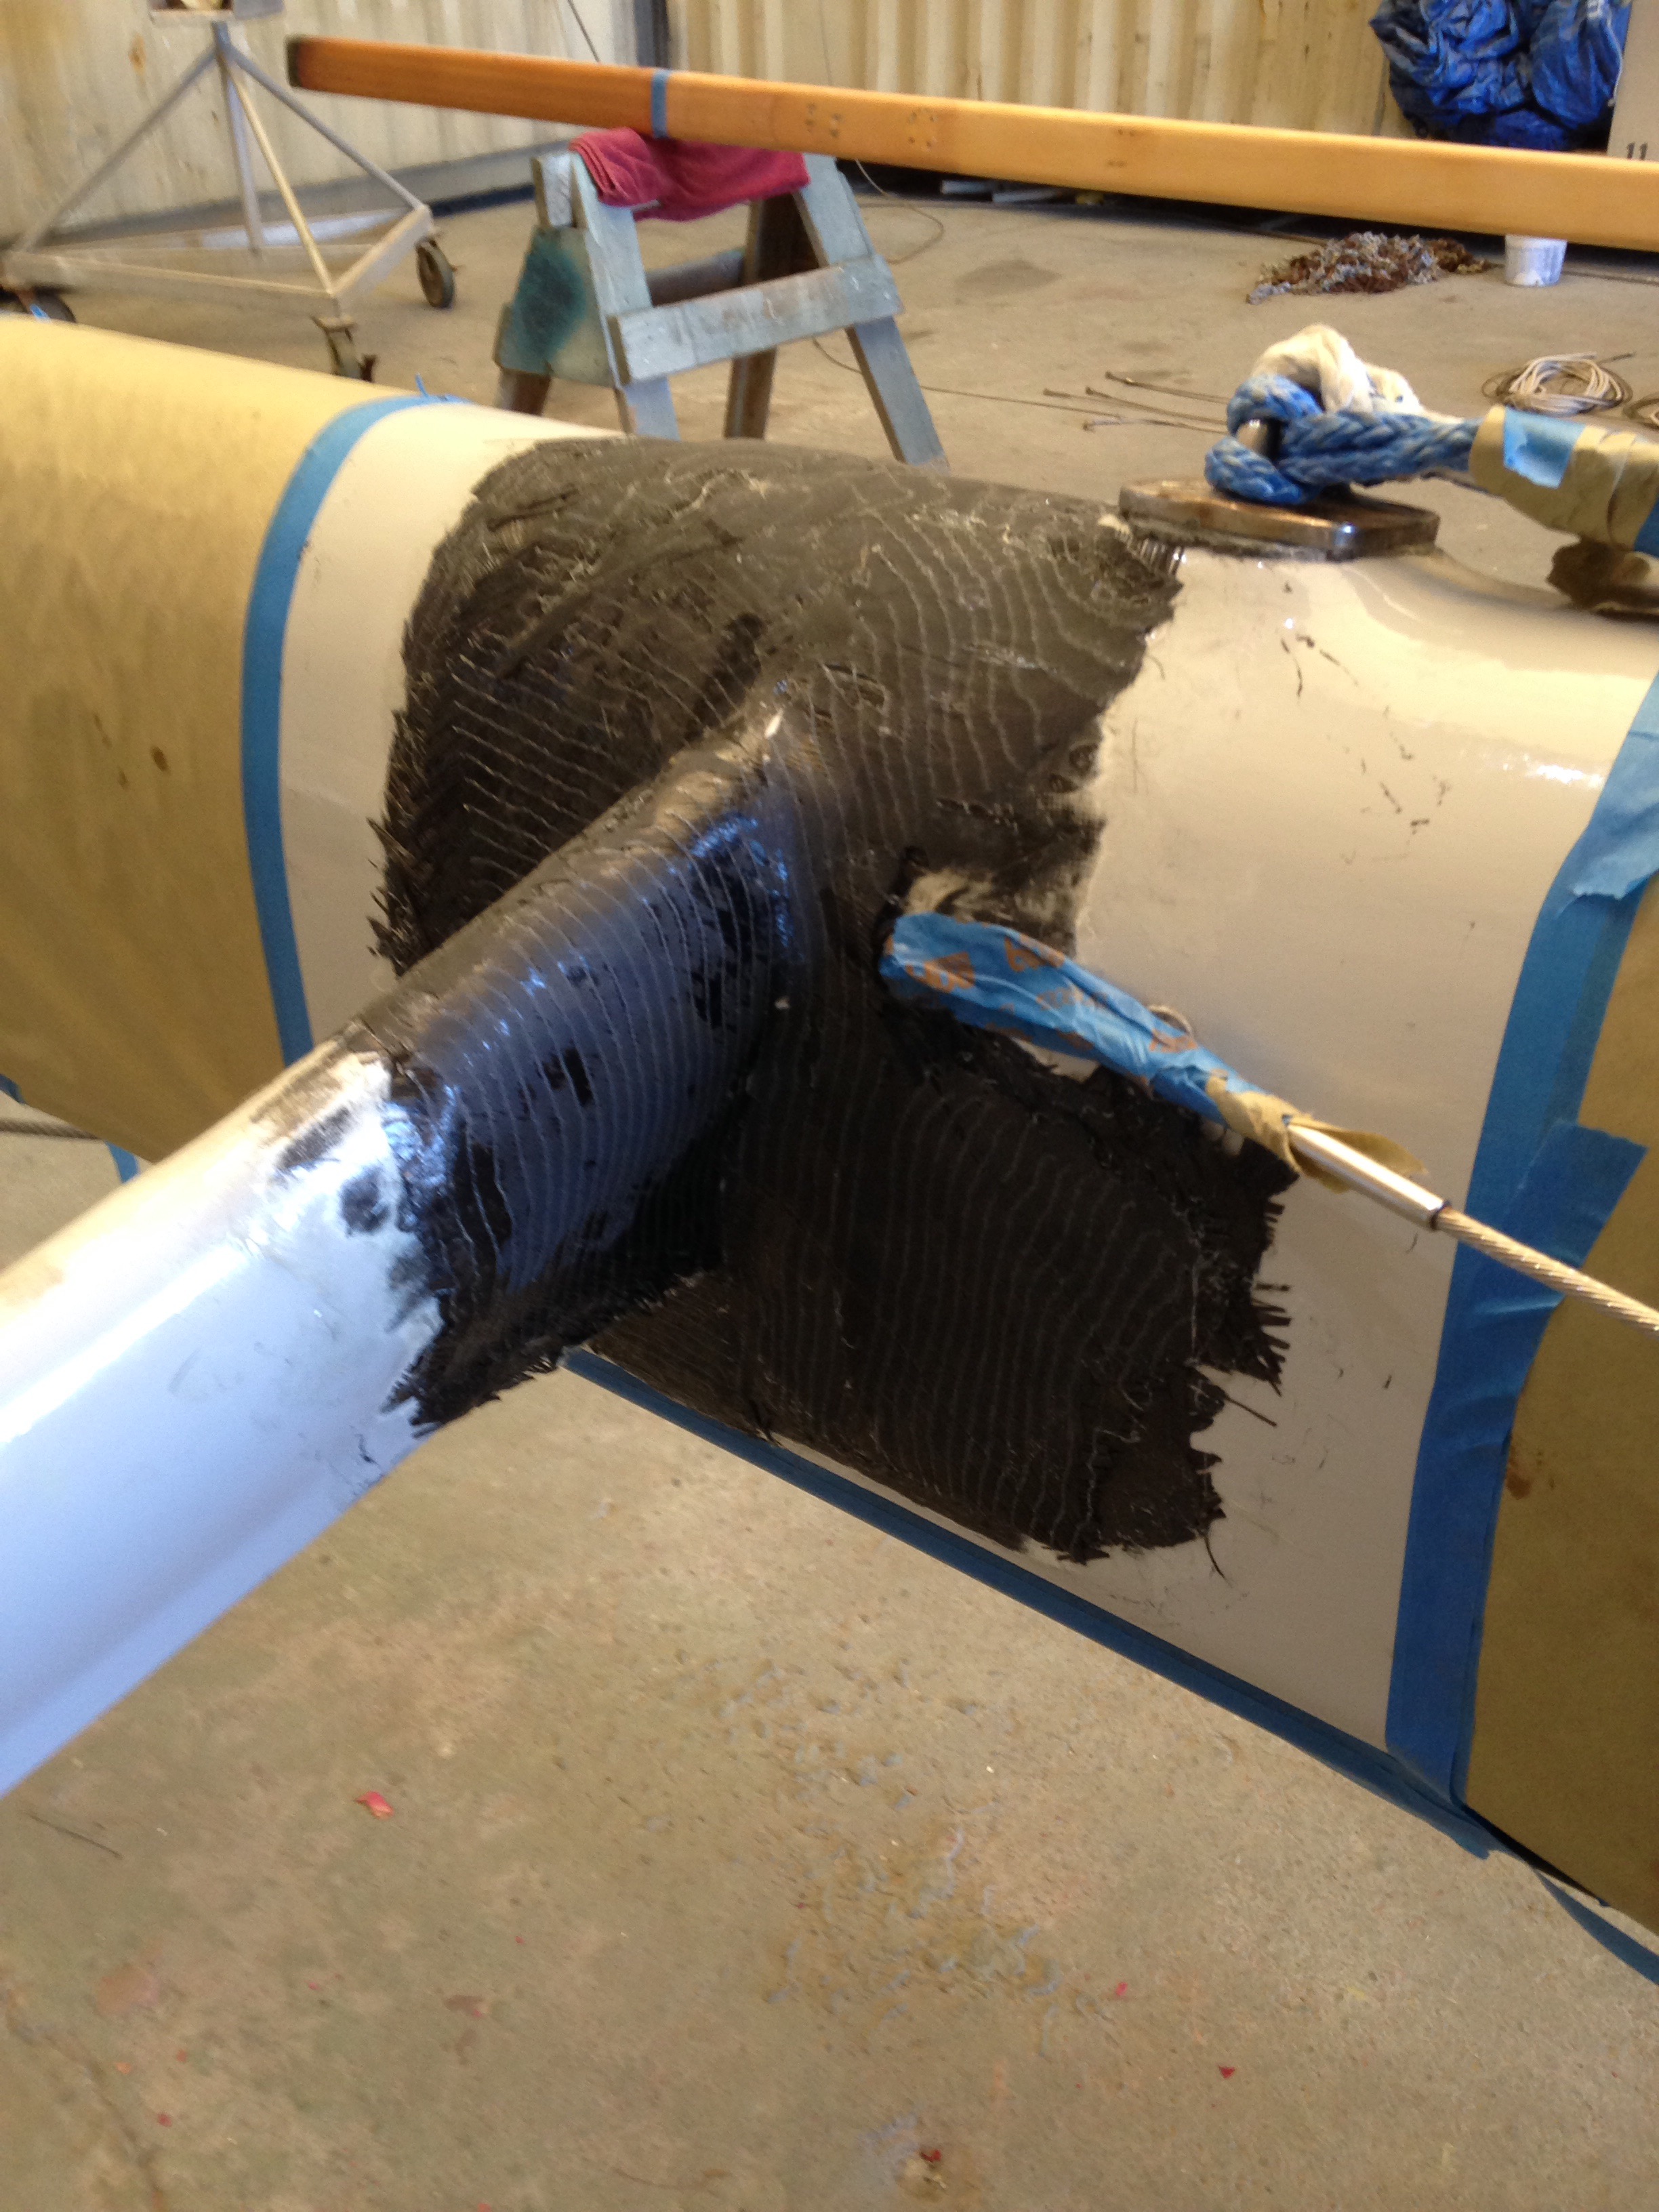 At this point Keith / Skateaway Designs returned from an east coast voyage on his boat, and opined that these spreaders are putting undue strain on the mast wall by point loading in the center; the only real cure at this point was to extend the spreader root and better disperse the load through the new carbon laminates. So we scrambled at the boatyard to scrounge up some core cell foam and shaped triangle gussets with the little oscillating multi tool.
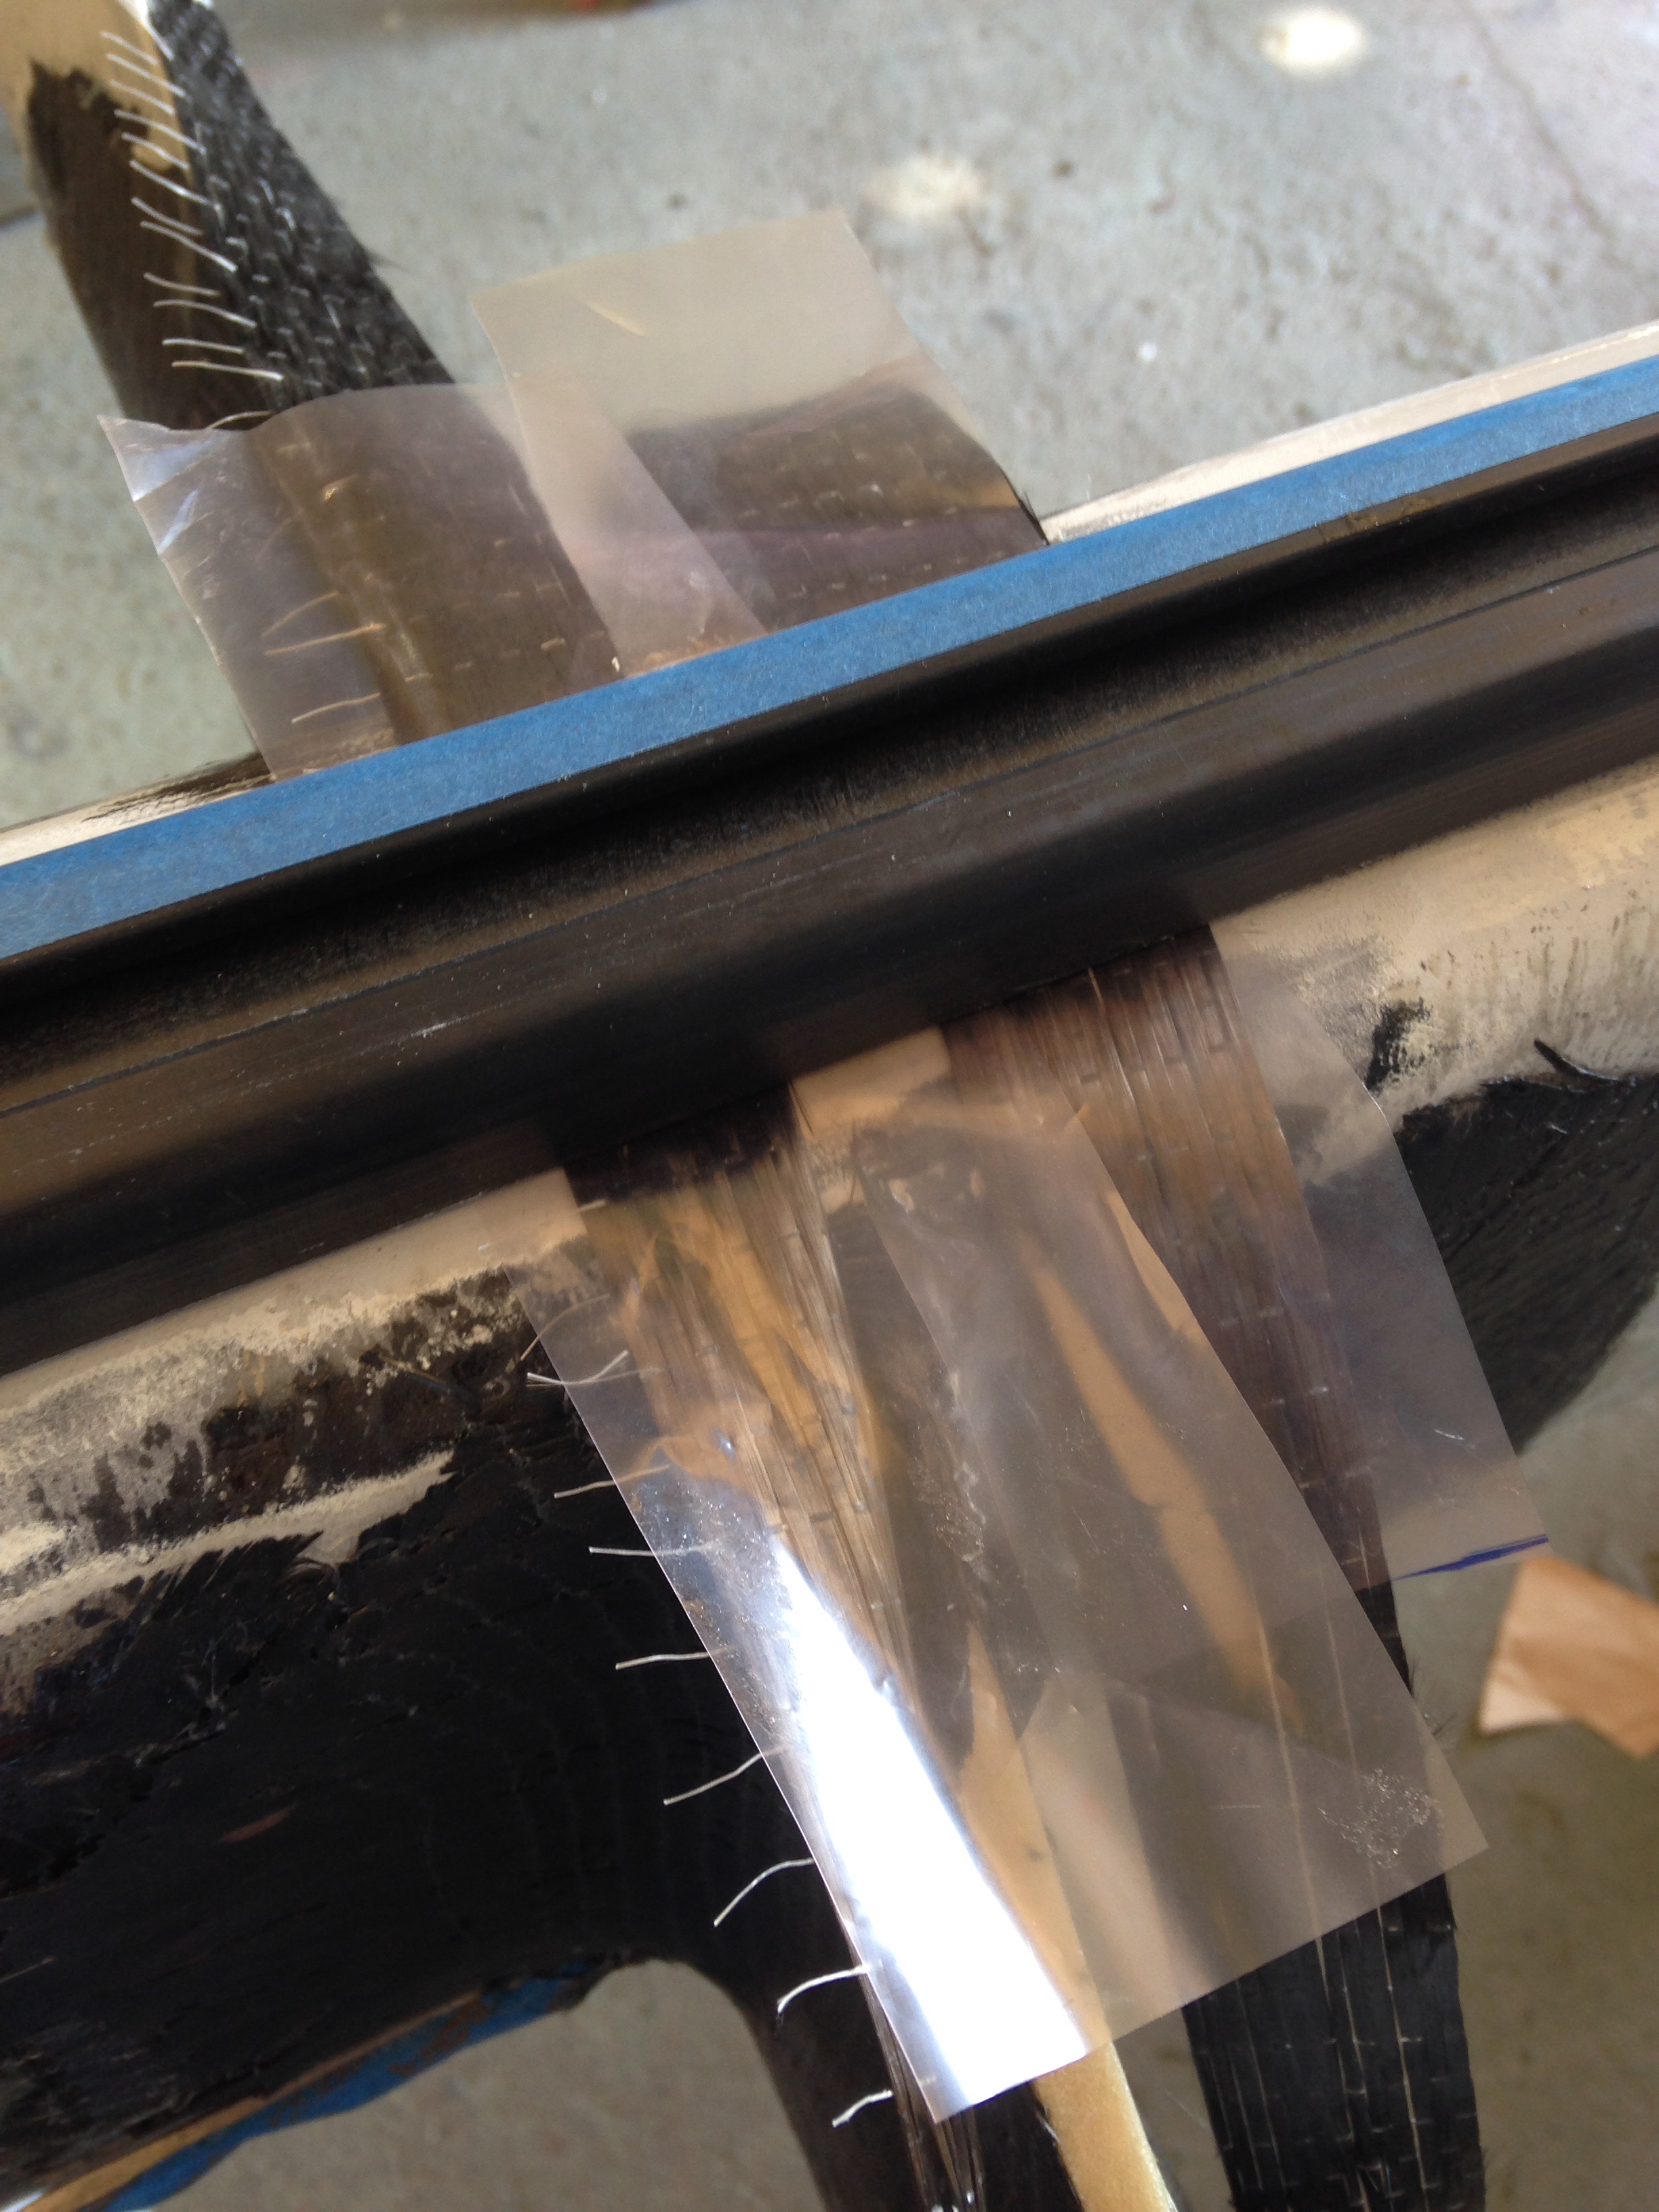
 Keith’s second point was that it wasn’t good enough to have stopped shy of the track; these really need to be continuous bands that tie the two sides together. Hmmmm, we’re not about to drill holes in our nice new Todes sail track! But there’s 2″ between each of the clips that hold the track to the mast, and about 1/16″ of play between the fitted track and the actual mast surface. Just enough to slide 6oz Carbon uni fabric underneath…
 And slip a bit of plastic in there, hold that in place, then slide the carbon back and forth to wet it with epoxy and not have that cement the track to the mast! Thankfully that all worked as intended.
 A bit of fairing and painting (the yard gives a gate key so DIY’ers can stay late in to the night waiting to recoat) and it was soon all done.
 Note to self: it was starboard upper that broke away. That one got an extra 9ozDB layer to approximate the existing fabrics on the other three. Also remember we chose not to do a second fairing pass, so the surface imperfections at the spreader roots are only cosmetic.
Boat build finishing with no shop looks like this. Bowsprit getting aluminum etched and primed by the side gate
 The Leneman Steps primed on a table outside the downstairs office
 The hatch boards and aft cabin ladder being painted in the tent outside the kitchen window
 And the first rudder in the garage getting a new leading edge
 This has been sitting 1.5years since Jim Antrim asked me why I made the water-entry point so narrow compared to the overall chord (thickness). The rookie heeded the master and set that aside to fix as the backup rudder. But living with the wind-vane trim tab rudder has shown that one should be saved for ocean passages work, and this first-built rudder should be the daily driver. So we’ll get it finished off in a series of evenings this month.
While the mast was in the shed we took the boom home and upgraded the things our first heavy weather day pointed out. No photos taken, but we added cross bracing around the winch, at the first reef clew position, and at the mainsheet connection point. Also built a line guide for the reefing line exit sheaves at the outboard end of the boom. Another hit of black paint to obscure all that, and it was back on the car headed to Richmond.
Where do they put the end-tie slips you ask? WAY OUT at the end of the docks! Not a good idea to carry the 17′ boom out there (about 50lbs with all the gear on it) alone in the 20kt wind. Wheels and workmate bench to the rescue. The locals looked at this like I was nuts.
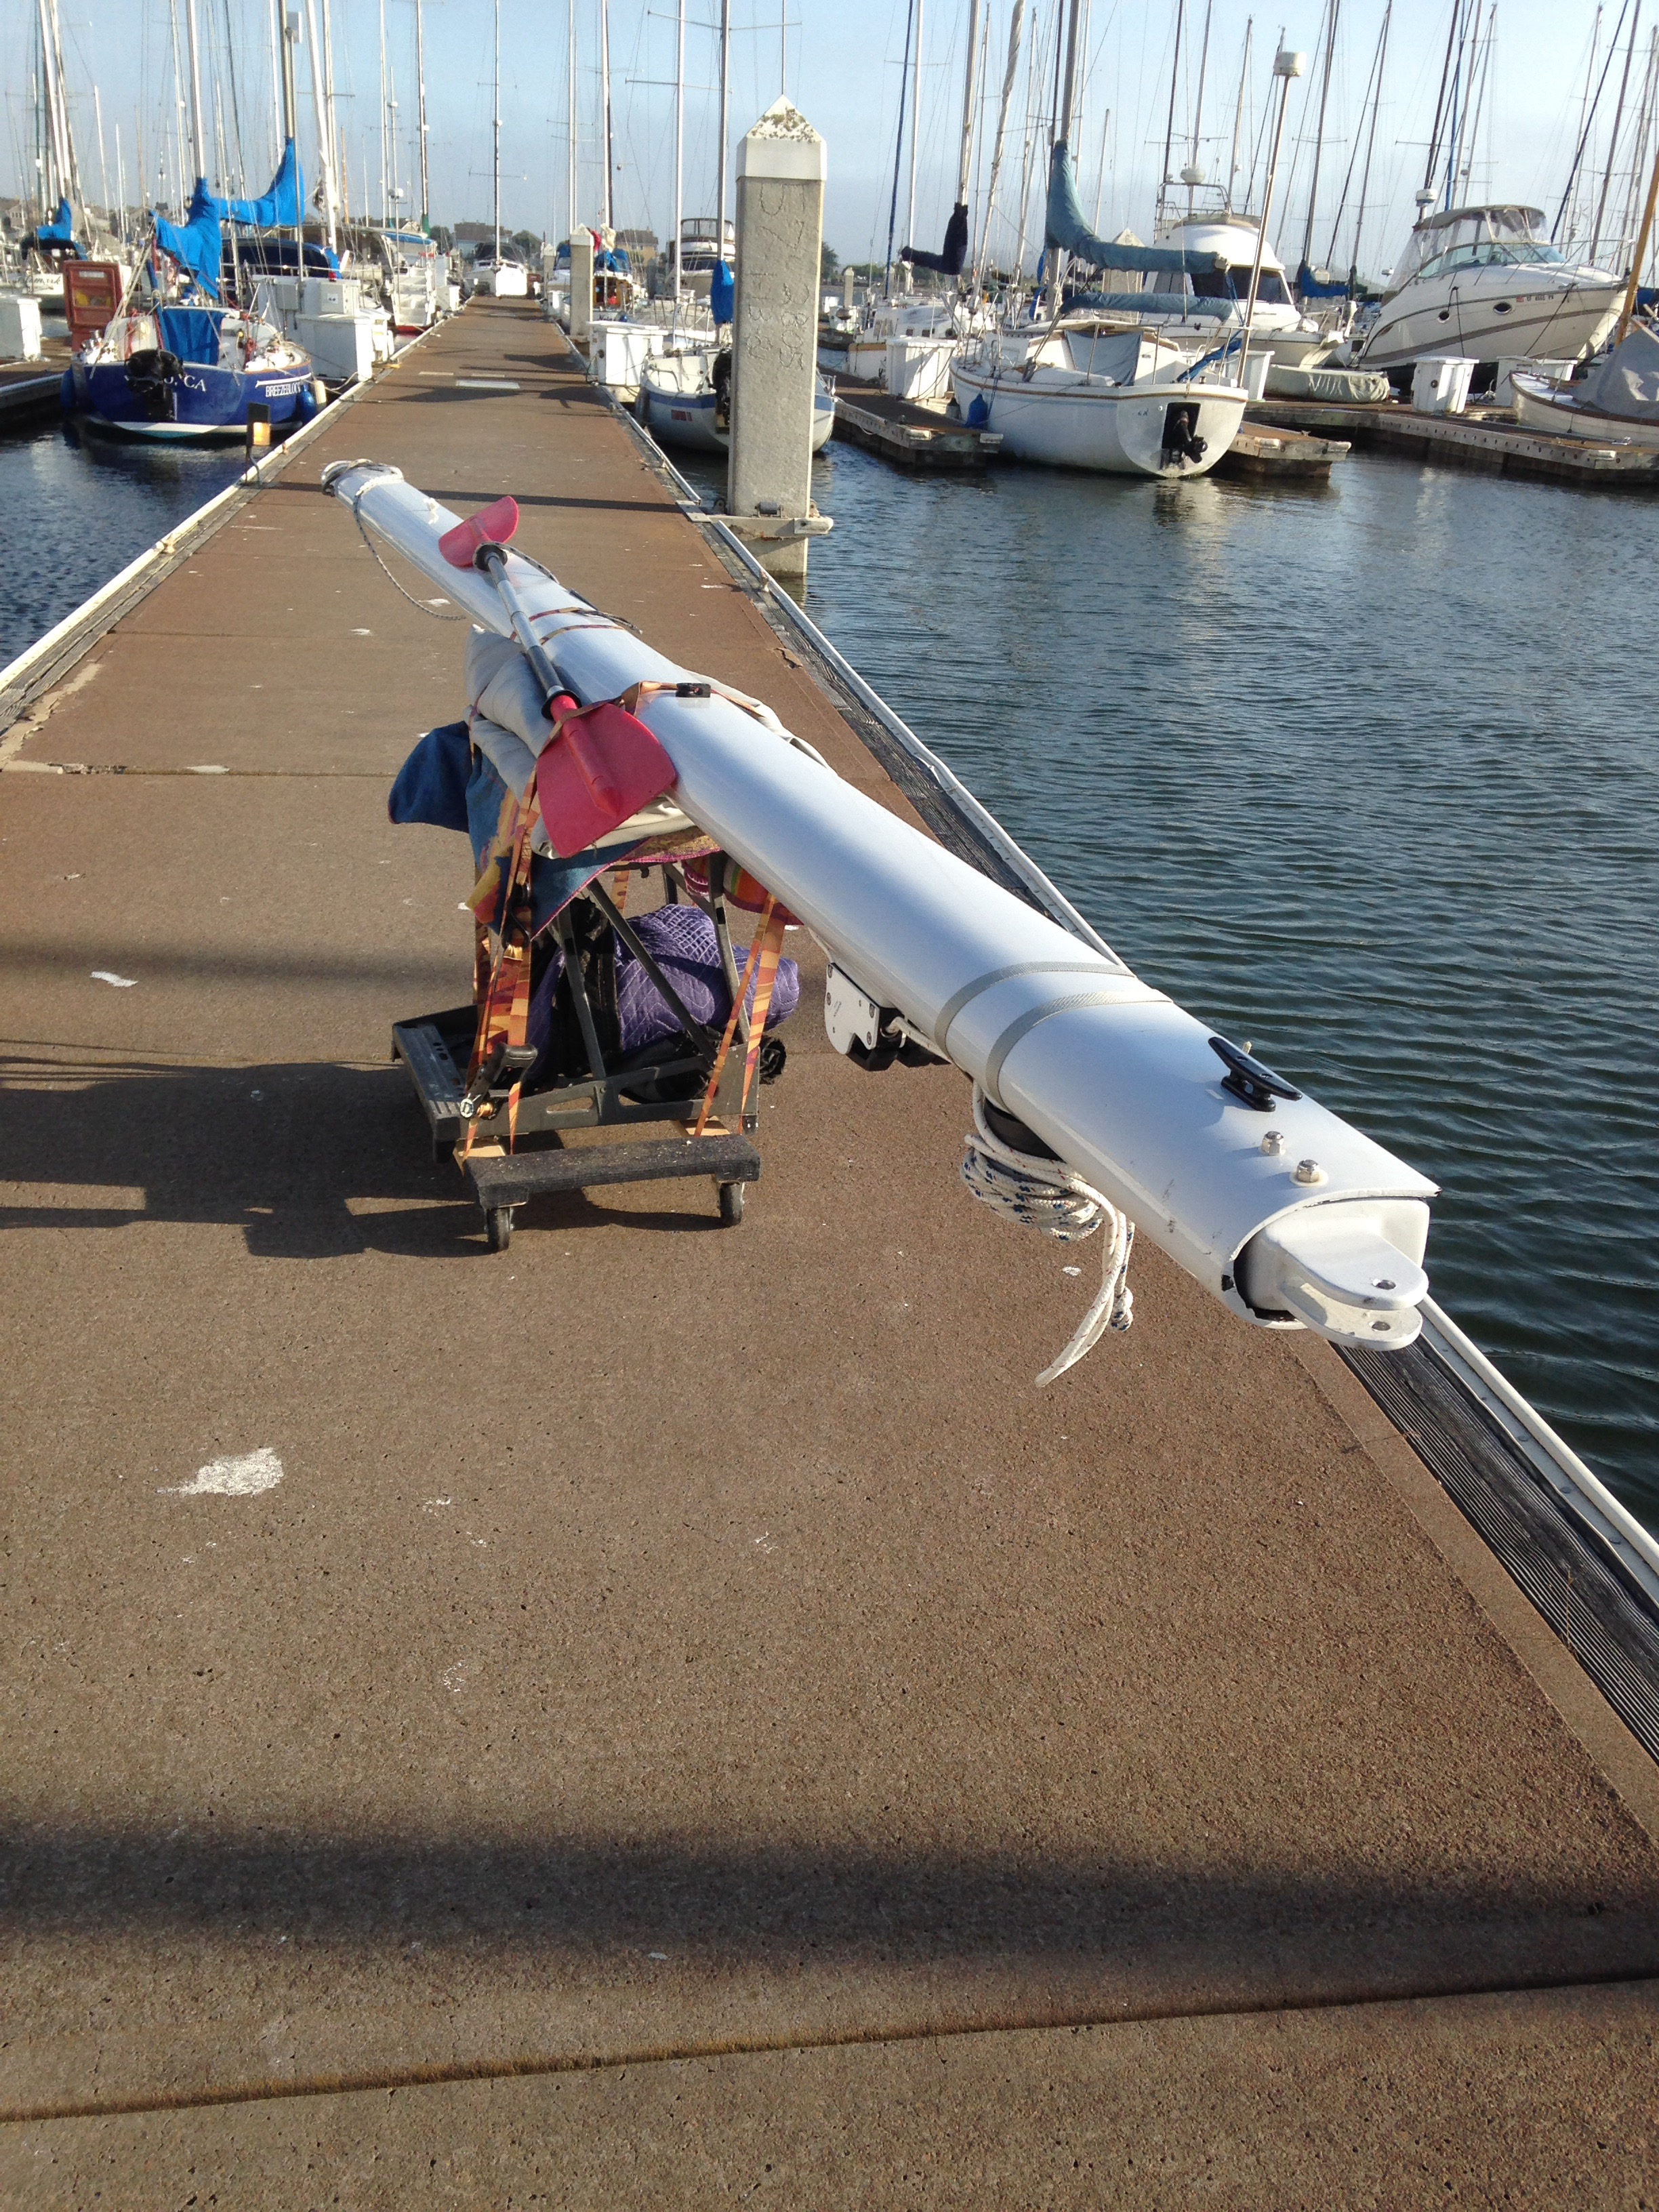 By Saturday eve the rig was all back together, main sail bent on, and the lashings tuned to rake the mast back just a little. I’m eager to sail it again and find out if standin more upright lightens up the heavy helm. Kind of amazing how easy it is to adjust the tuning on this huge (to me anyway) 50′ carbon fiber mast.
As the big boat comes in, one of the small ones needs to go. We’re looking to sell our 11′ Topper, great Britain’s answer to the Laser. $500 for a complete, sporty little race and muck about sailboat. If not for you, tell your friends…

Hi Greg, I’m amazed at the repair. The added gussets should, along with the strapping that ties both sides should make make the spreader a much more solid structure. I’m looking forward to seeing you on 9/10.. I plan to be at the Richmond station a bit after noon. Meanwhile, sail hard and sail fast, but most of all, sail for the joy of it.
bob
LikeLike
Good job Greg, the spreader roots look like they were made to fit that section now, thicker wall and bigger footprint should be a winner – and the finished assembly looks the part too.
Just amazing the degree of repair under the circumstances – have a wonderful first proper sail.
LikeLike