
We’ll do quick updates from the boatyard, as some of you are keen to keep an eye on these upgrades.
The rudder base post is an obvious two step task. Once the paint was removed I could see the center web lamination wasn’t strong enough. The gudgeons haven’t budged; it was the area in between the top and bottom that failed. So first today was repairing that laminate by adding two wraps of 12oz BD carbon. 
 The gudgeons themselves are nice and burley. Here’s a look with the paint stripped off.
  So now it’s back to as-launched, and part two is forming transverse bracing from the top gudgeon down to the back deck. Lots of playing with foam core today, including some last scraps hot-gluing before bed tonight.
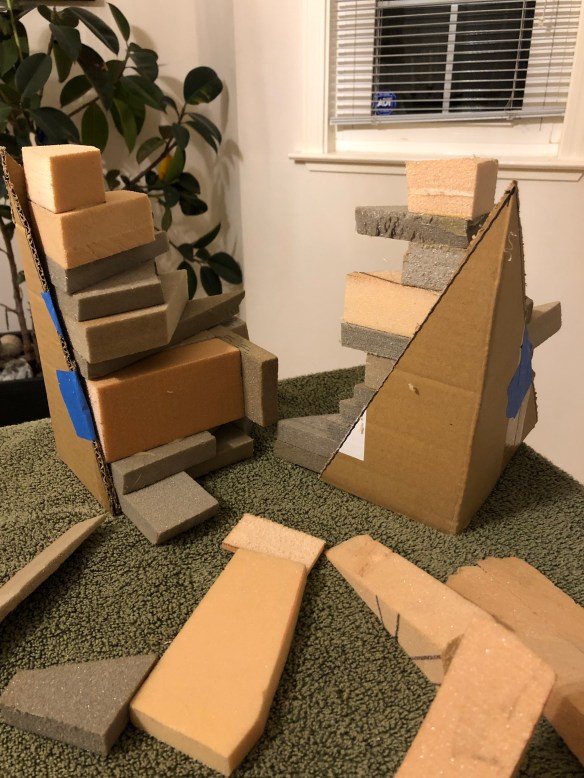
The escape hatch new outer frame and water-sealing ring were glued in today. Lamination skins will happen tomorrow. 


Keith, the Bomar hatch was pretty tall, so the old recess is too deep for this new approach. I’m not going to bring it out flush with the hull, but rather just finish a nice transition slope. Yea it will be a circle in a square but it won’t look bad and anyway the thing is hard to see under the nets. It’ll be very strong this way. Any thoughts on what adhesive to use to apply the neoprene gasket to the new hull ring?
Project 3 is some minor improvements to the tiller and rudder cassette, and then a repaint. The Interlux Brightside was a fail, as the nice orange faded badly in less than a year. Thinking of switching to Alexseal- they have a nice premixed Int’l Orange color…

Have you two squeezed yourselves through the new round hatch yet? You know… to check for fit??
Thanks for keeping us posted!!
:)
LikeLike
Oh yea, we made it cardboard first. If properly motivated, one can get thru there quite easily :)
>
LikeLike
Always amazed at your skill with fabrication!
LikeLike
Some filaments laid on the vertical face of the lower step @ +or- 45 degrees up and over the top of the rudder pylon would more efficiently address the bending and wracking that pylon is subjected to. Those filaments will be supported and kept in column by your foam wedges but do take advantage of that paint stripped face for the best footprint.
The 400 mm round aperture is plenty big enough for the shape and size people likely to be sailing a 40’ trimaran offshore!
Your experience prompted me to install the new hand nuts I made for my escape hatch.
I opened it – in seconds – yesterday and took some picture which I will email you. I just used contact adhesive to secure the neoprene gasket, all that does is hold it in place when the closure disc is removed. The trick is to have the parts fit together such that the gasket is captives and water pressure on the outside just compresses and improves the seal.
Will put some better pictures on the SA forum after the hatch is re- installed tomorrow.
LikeLike