
February for Ravenswing so far is about tweaking – some little, some big. And trying not to get frustrated about the hours spent in 2015/16 doing it wrong the first time :)
Fresh water is carried in two 23 gallon Nauta flexible bladder tanks. Spots for each were built along the hull under the dining settee. But we had trouble with the closer-to-the-pump tank collapsing / air-locking as it emptied but didn’t draw well from the forward tank. Also, we flush the toilet with grey water captured in a Plastimo flexible tank from the galley sink. That sink drain has a diverter to choose overboard discharge or grey tank filling. But the spot for the grey tank was cramped, so the toilet pump was not getting a strong rinse water flow. Taking a fresh look at things, the Tank Stack was born this weekend. The saloon/settee table makes it tough to get into the large, deep locker under the forward seat tough to get in. It’s a bit of dead space. At the bottom of that locker was already the forward fresh water tank. Then there are two “levels” of removable shelving above the water tank. We moved the grey tank onto the mid level and the 2nd fresh tank to the top level. Here they are, starting bottom-up…

 this dance only took four trips to the hardware store for numerous new hose pieces, clamps, etc. Both the fresh water and toilet rinse work really well now. (Hold that thought, soon we’ll have a holding tank fix for your entertainment)
Also this weekend was tackling the starboard main cabin port lights (the incessantly leaking windows). We installed them with Sika 275UV and screws. This was a bad combo and we suffered crazing in the polycarbonate around the screw heads, and condensation issues where larger sections of the window ran over solid sections of the cabinsides. We’ve since learned, or decided anyway, that the modern Very High Bond tapes are sufficient for these port lights. And despite the original intent of sleek-looking faux one-piece glass as seen from the outside of the boat, the new windows will be cut 1″ larger than the holes in the boat, and the whole area will still have the black background. The ‘no fasteners needed’ decision was backed by how well that Sika is holding the original panes. A real bear to get them off! Including actually breaking away fairing/primer/paint in a few spots. 
 This mess was a couple hours cleanup, including filling the 30+ screw holes, which three years ago had been carefully over drilled from the cedar core and replaced with thickened epoxy. And now we’ve filled those same holes to make them disappear :)
 we made paper patterns today and will get them to Tap Plastics when they reopen Tuesday. We made the original set from a 4×8′ sheet of markelon polycarbonate, but this time we’ll pay the pros to use their special saws and routers.
Keith reached our mast builder the other day; bad news is they haven’t started the two masts ahead of ours. Good news is they are geared up to build them concurrently- some efficiencies in assembling – and the owner says he’ll be delivering ours on track this spring. Sure would like to see some carbon being laid out though!
I had a pleasant light-wind sail on RickWS’s Explorer44 tri Round Midnight last week and the conversation has me thinking I need to copy his reefing system. Jimbo knows we struggle getting Ravenswing’s reefing clew under control with that little winch on the boom. I have time to modify the boom and deck right now, so we’re considering running the reefing clews and tacks back to the primary cockpit winches. Need to figure out how to turn the lines from the inboard boom end down towards the deck; how would turning blocks mount? Maybe the new mast rotator arm should be mounted forward of the mast, not aft as it was before…
Fellow plotters and schemers, how would you set up the boom and deck for cockpit-handling of reefing lines on this boat?
 That 9,300 INCLUDES about 500 lbs. of liquids (water, gas and sewer) that were not able to be removed due to weather just before the haul out. Most everything else was aboard – full galley, all sails, boom and rigging, uninstalled wind vane and furnace. So we’re looking at 8,800 + 300 for the new mast + an autopilot, water heat exchanger, solar panels, 100 lb. dingy & motor. So we’re in the 9,500-10,000lb. range “dry” all equipped.
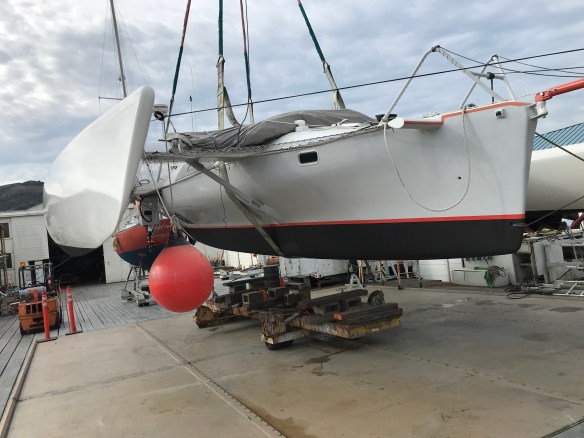


 Just a bit after Ravenswing got back to her slip after the boat yard, the elder two hit the road in the travel trailer for five weeks. Spent Christmas in Raleigh (Griffin flew out), and for New Years the boys tried their hands at some anti-aircraft duty on the USS North Carolina.


