4 more inches

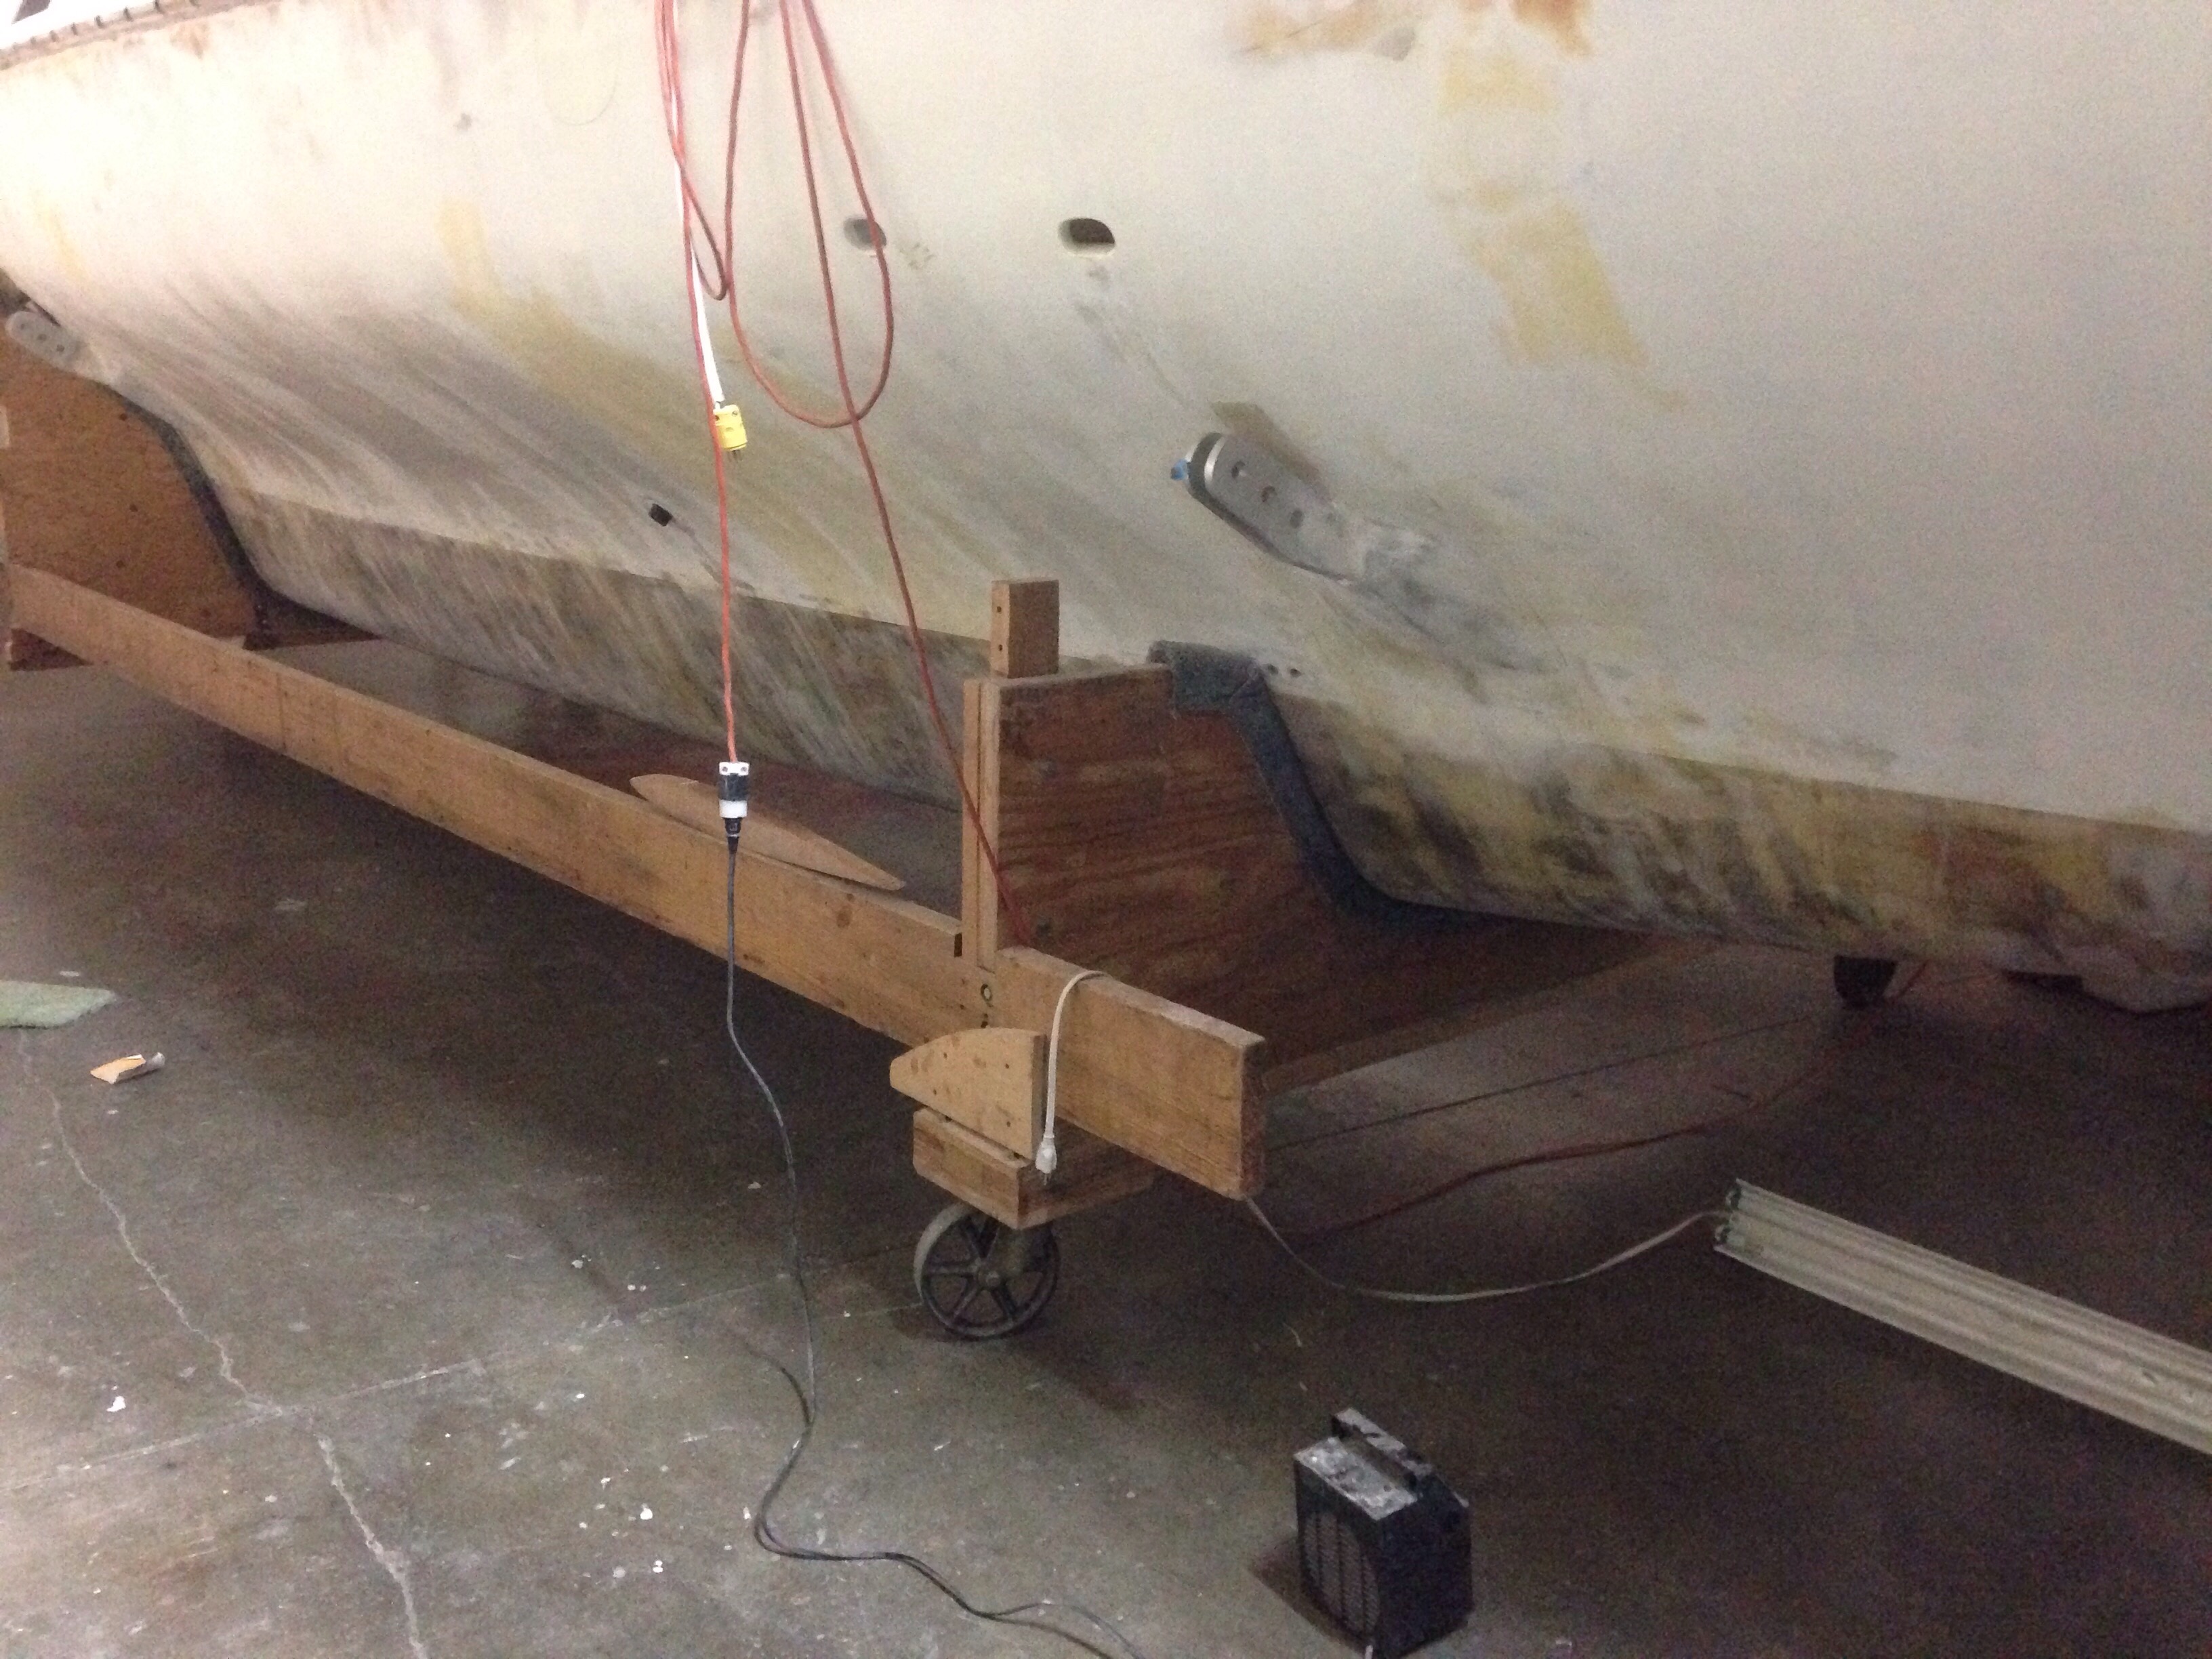
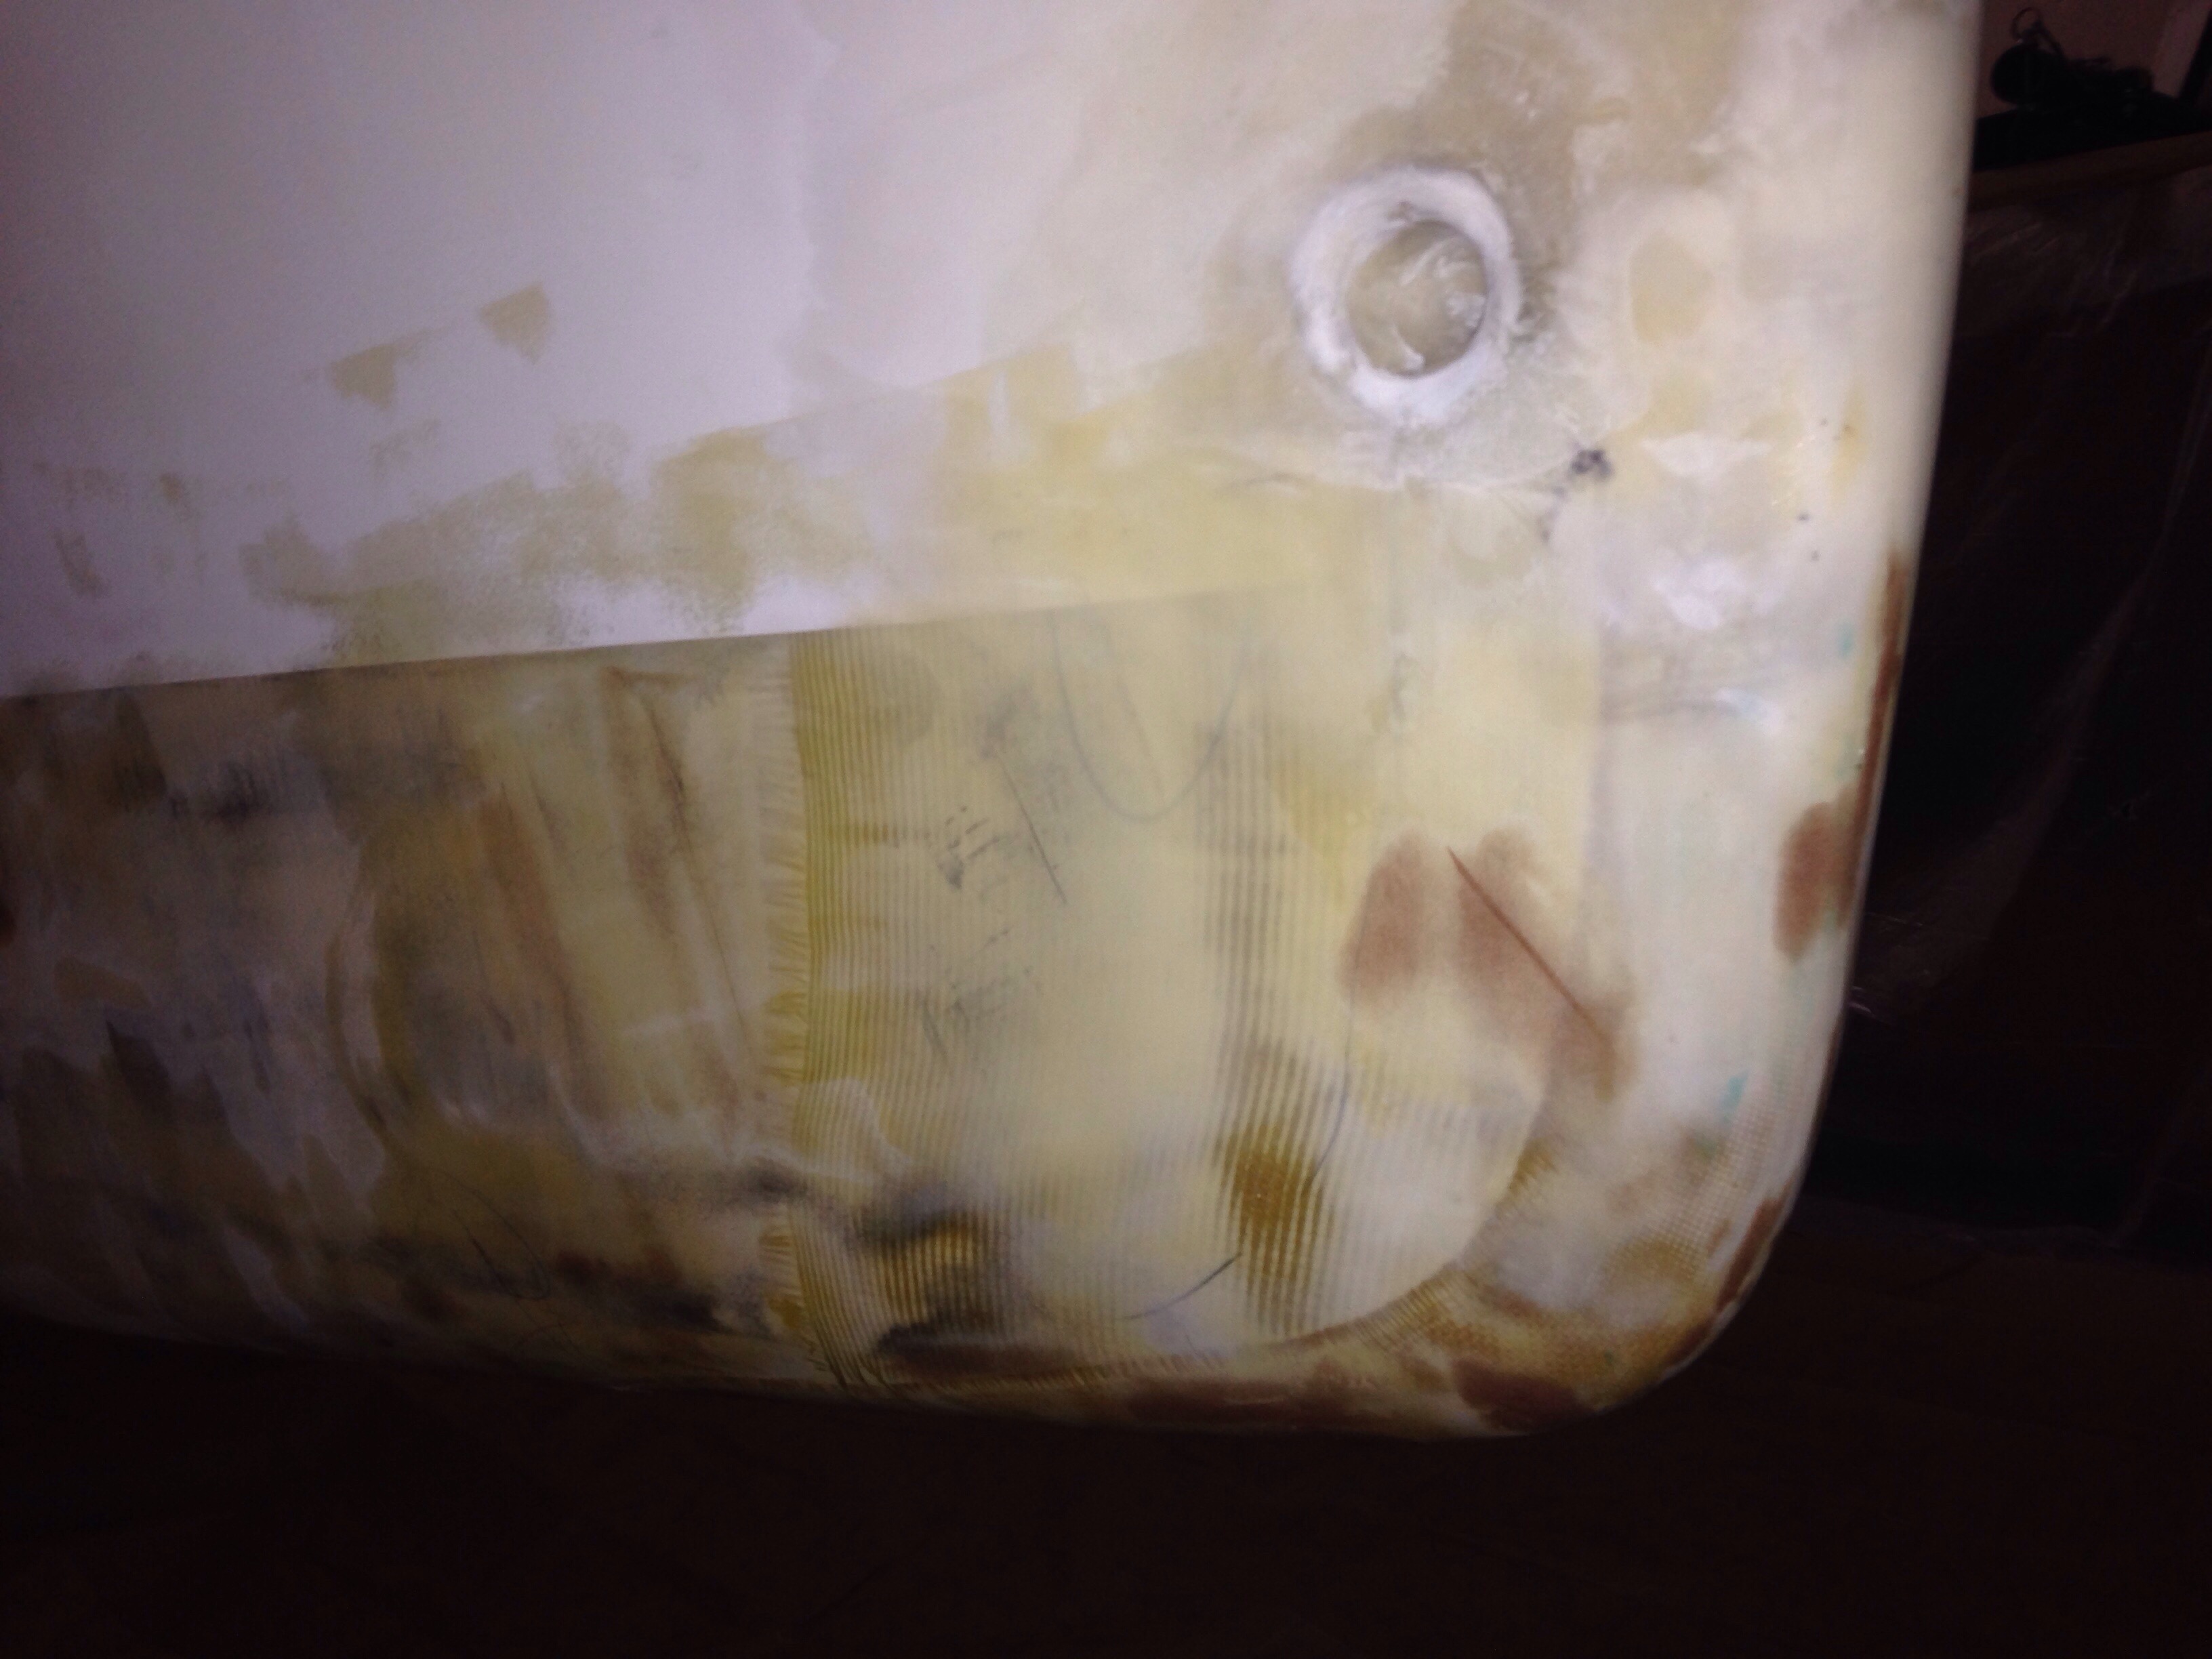
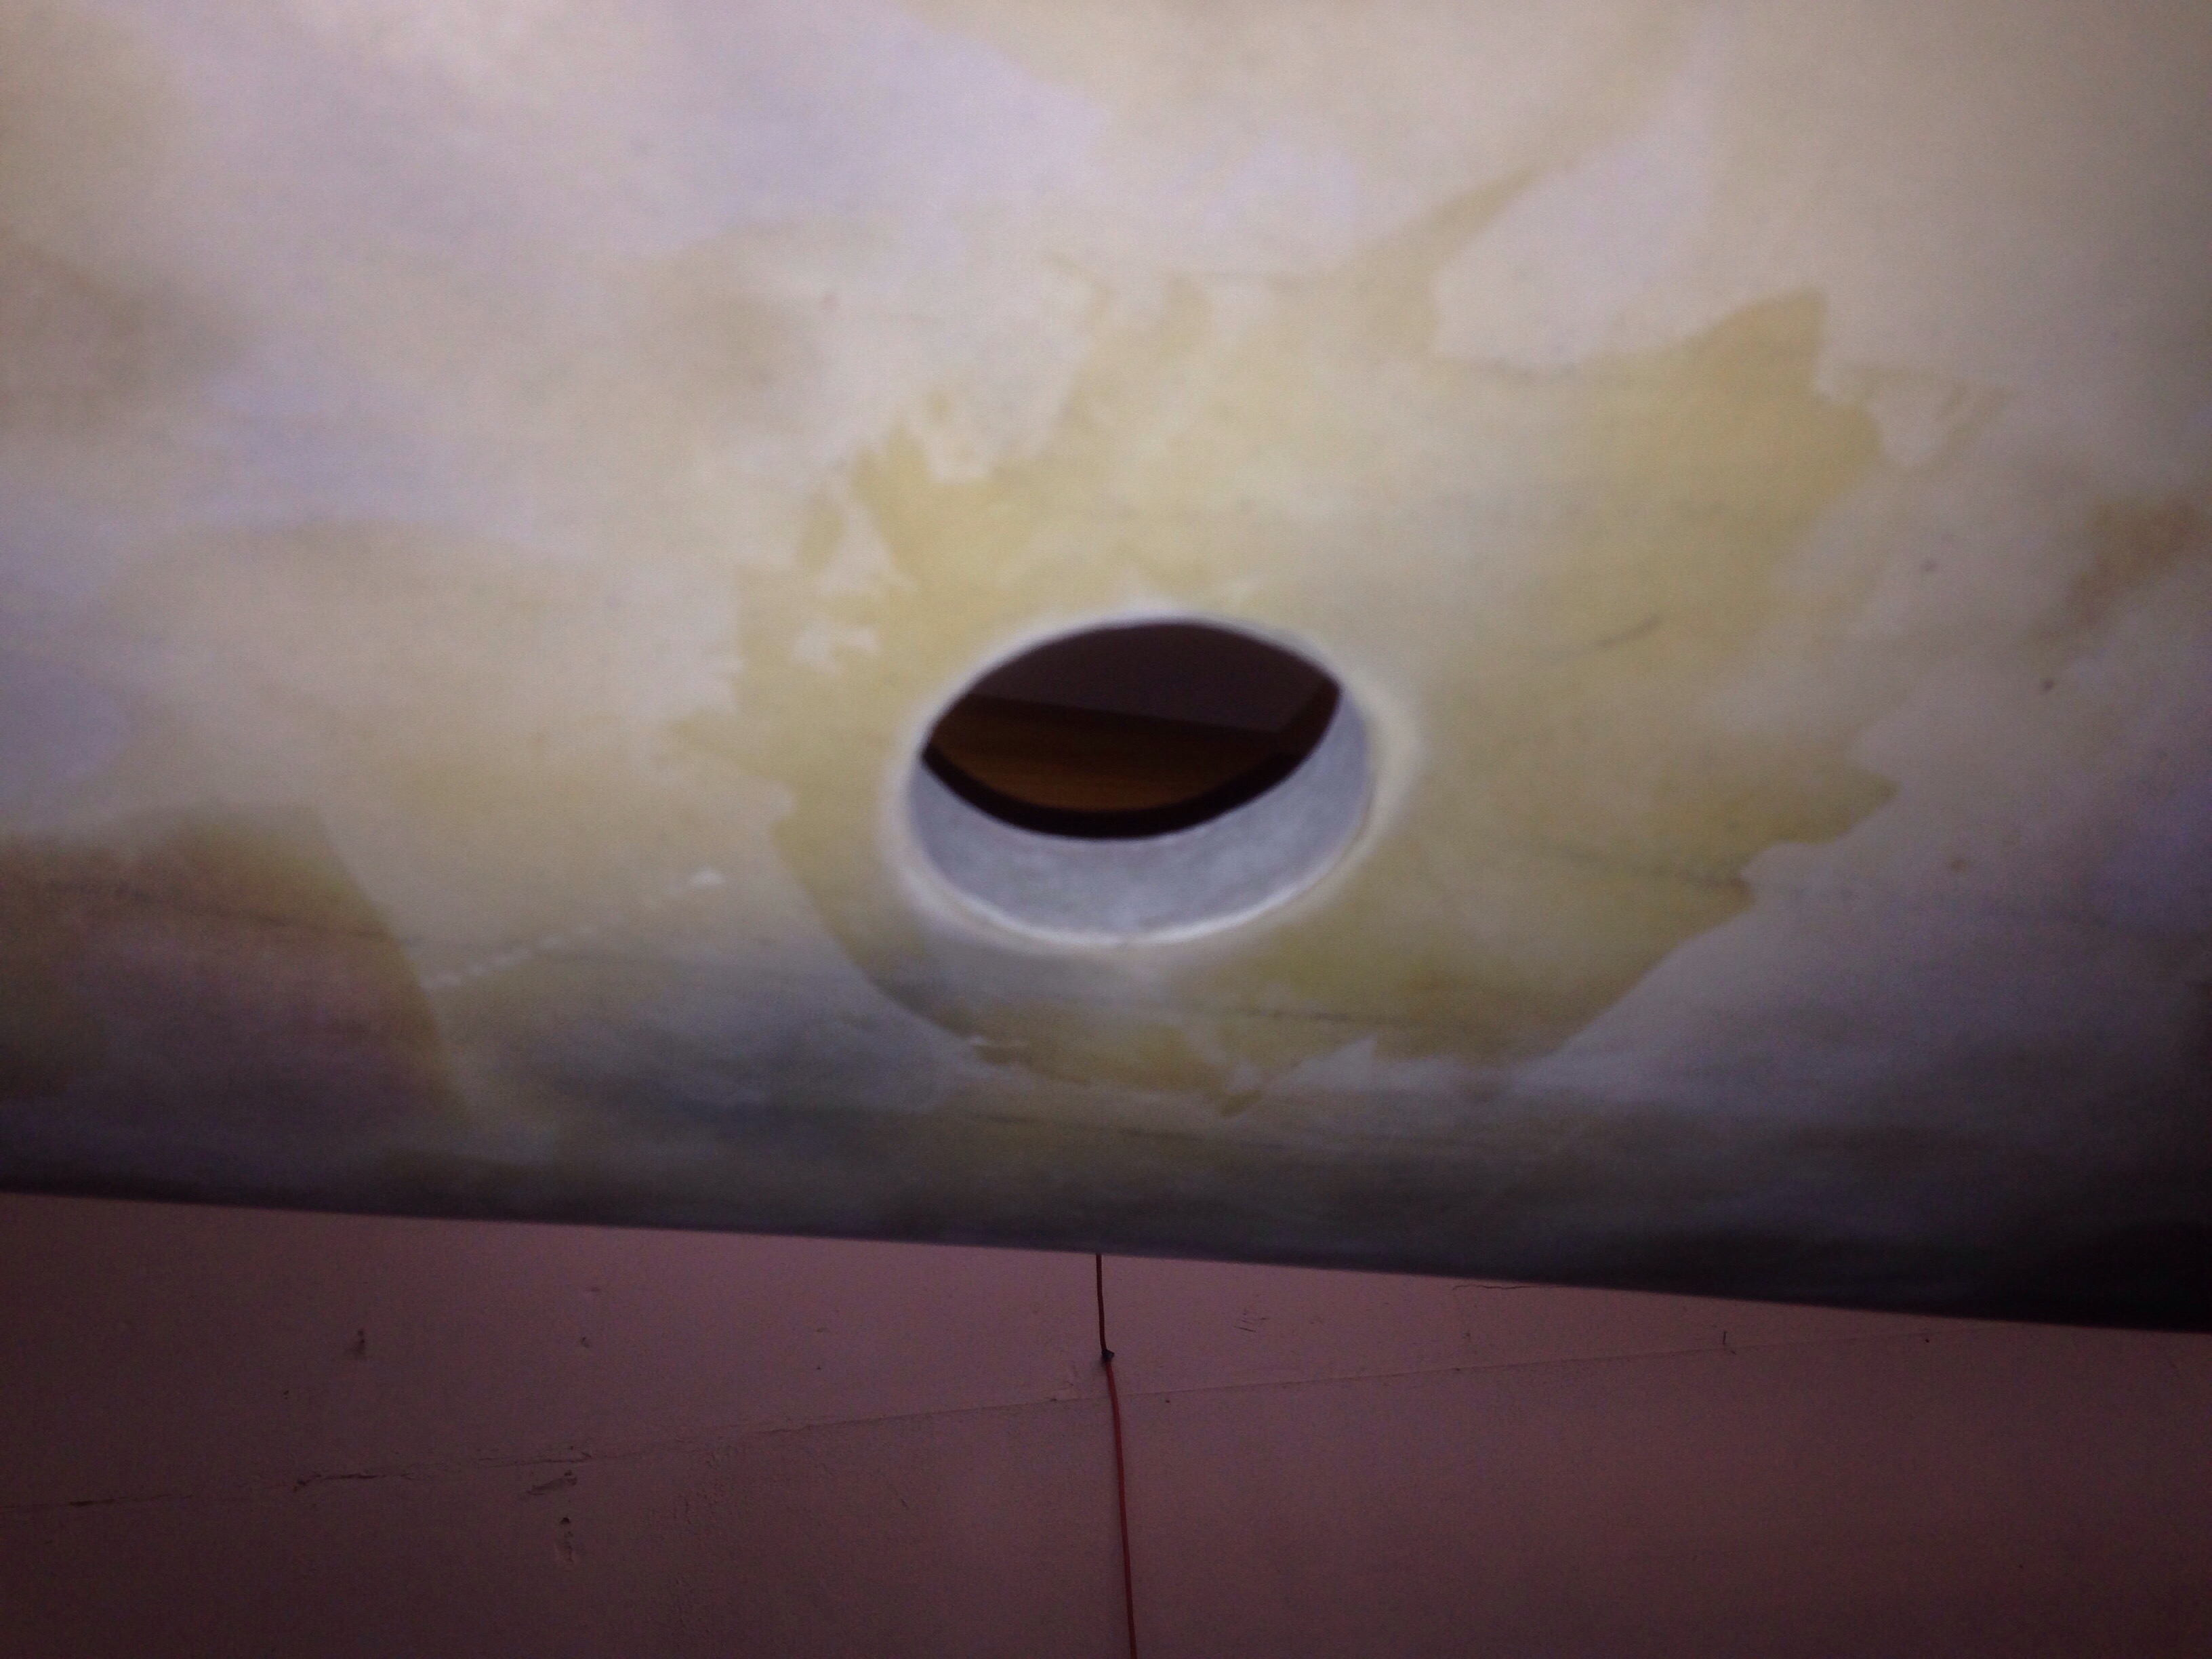
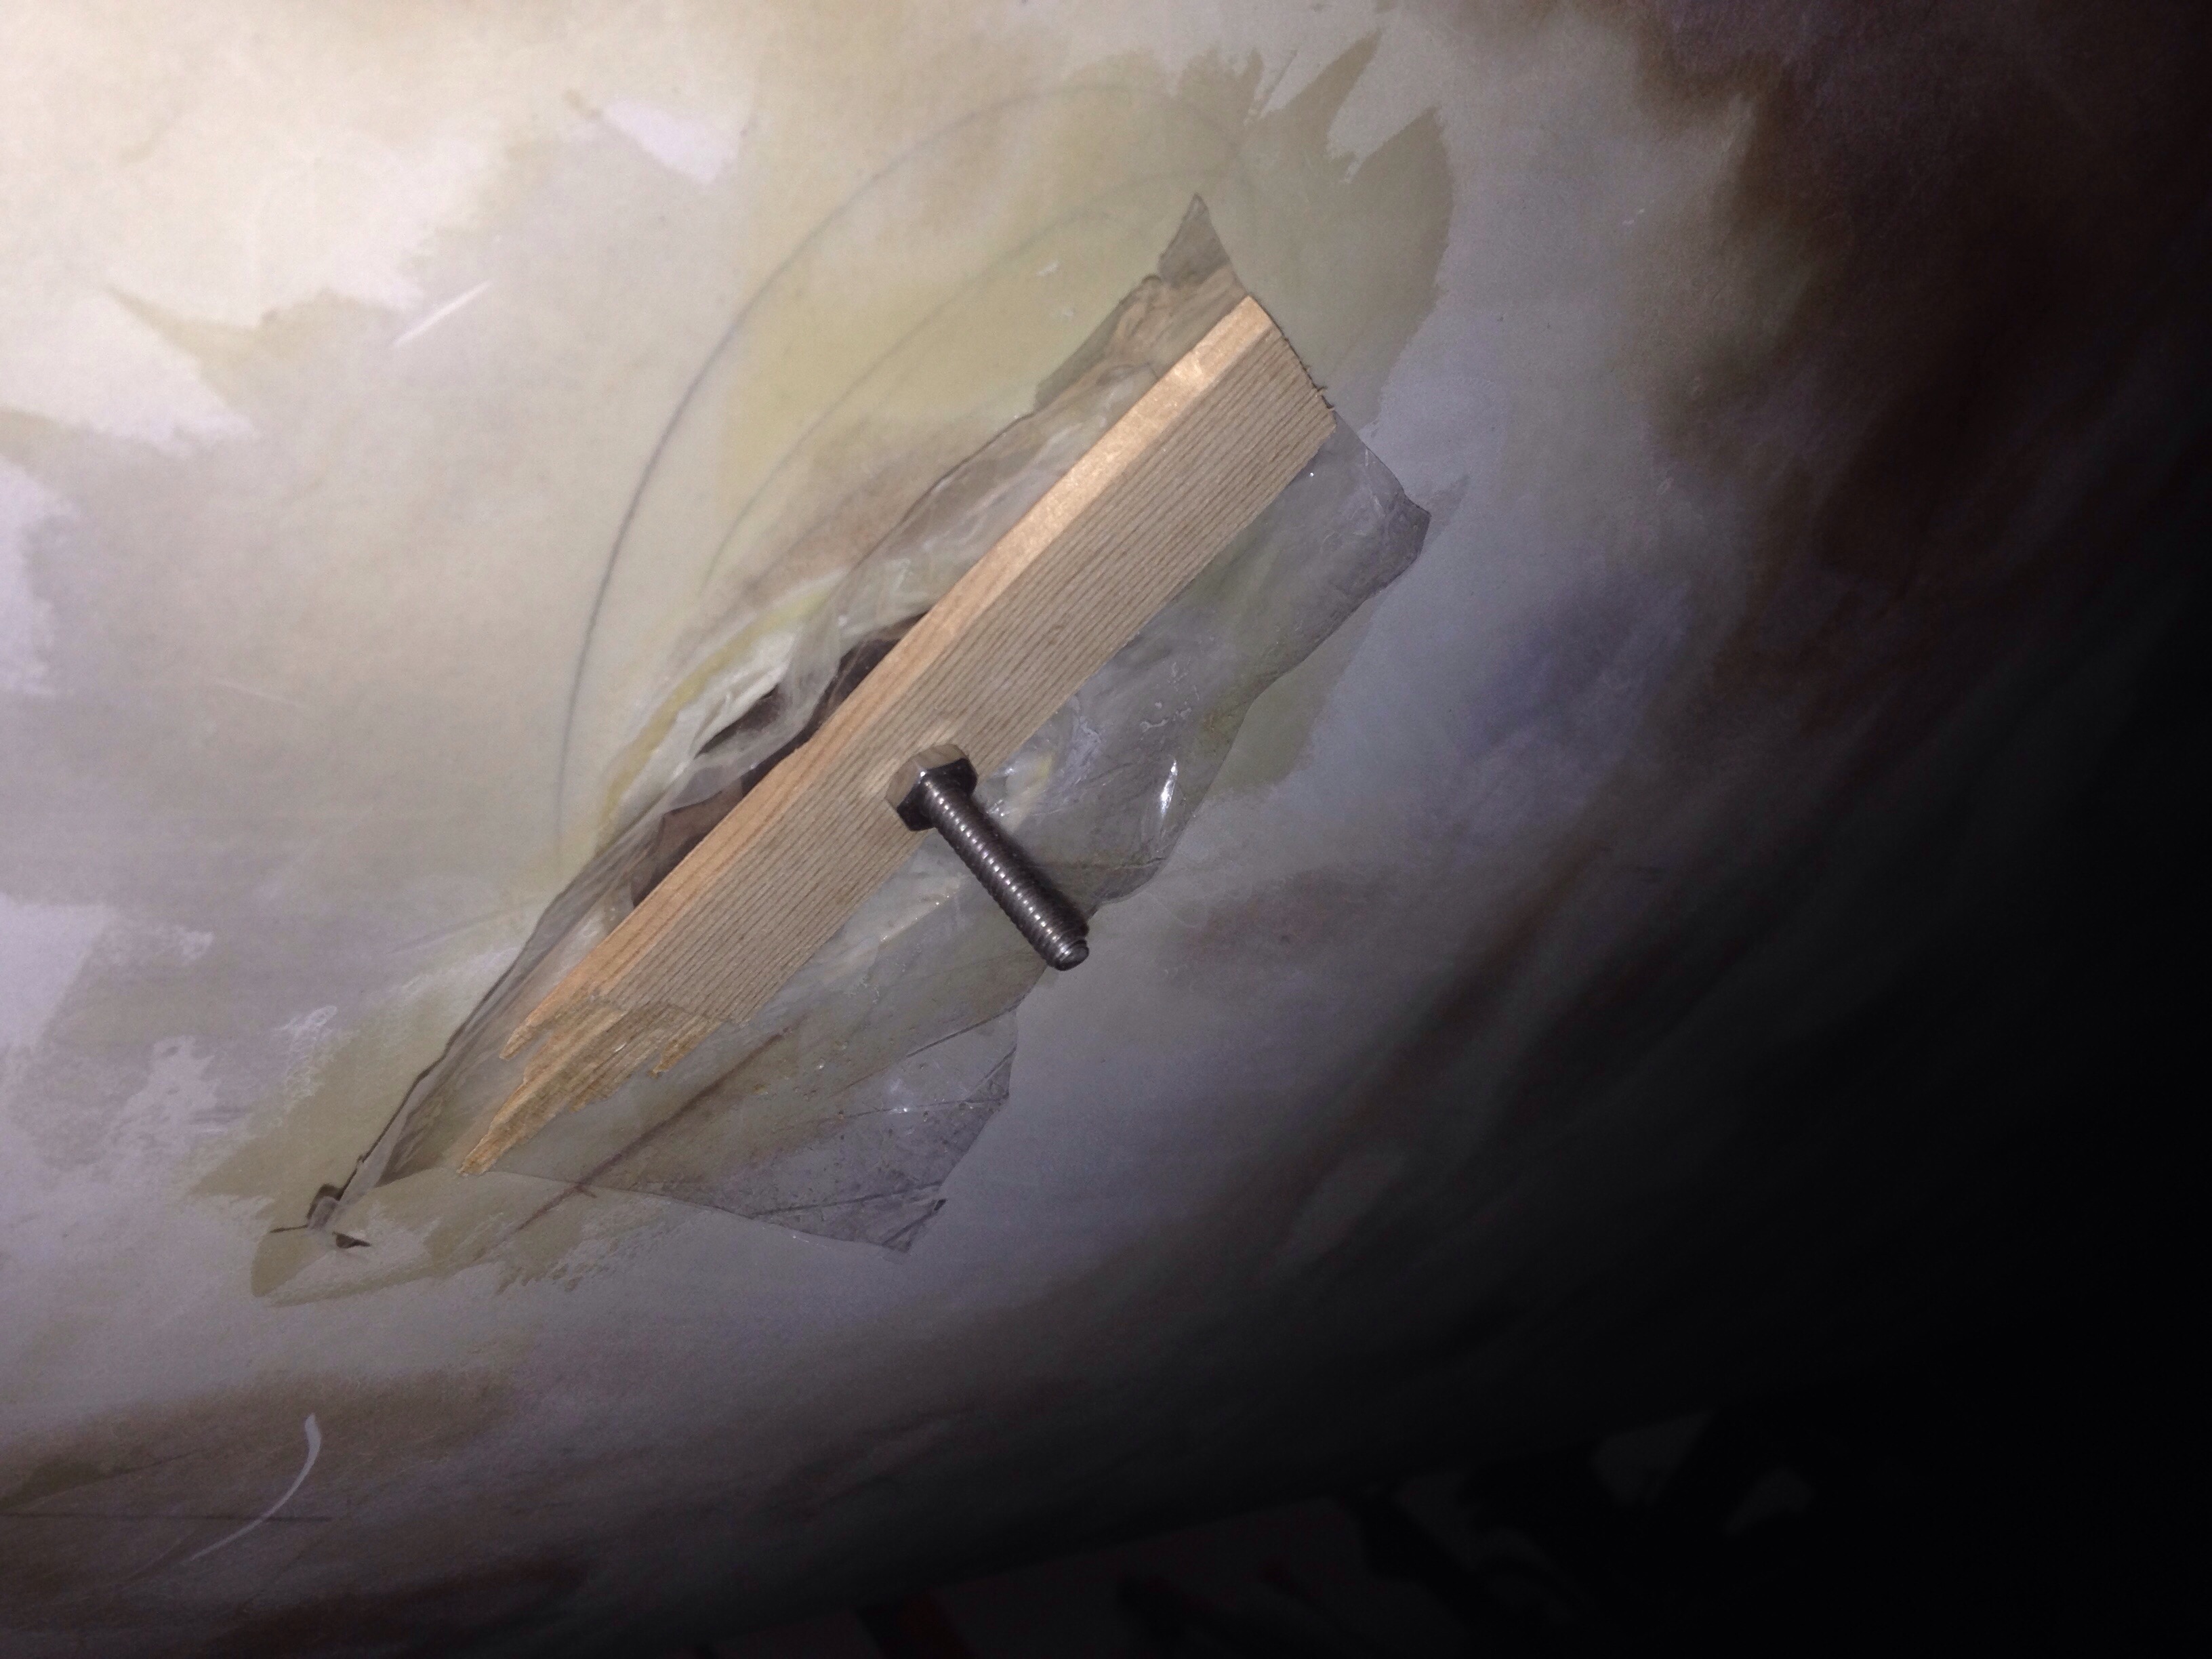
Keith called today with a story of a friend’s boat build; things were done with a heavy hand and when it launched with the bottom paint done at the designed waterline, the boat settled in a few inches lower leaving unprotected topsides submerged a bit. What a drag to pull a fresh launch out of the water and redo the waterline paint job. So… Not that we think we’ll be fat and saggy, but it’s a lot easier now to add a few inches of barrier coat ‘just in case’

20160219-182841.jpg
Here’s coat #2 of 5, with the roller headed northbound by about 4″ :). One more coat tonight and hopefully two tomorrow to finish this step.

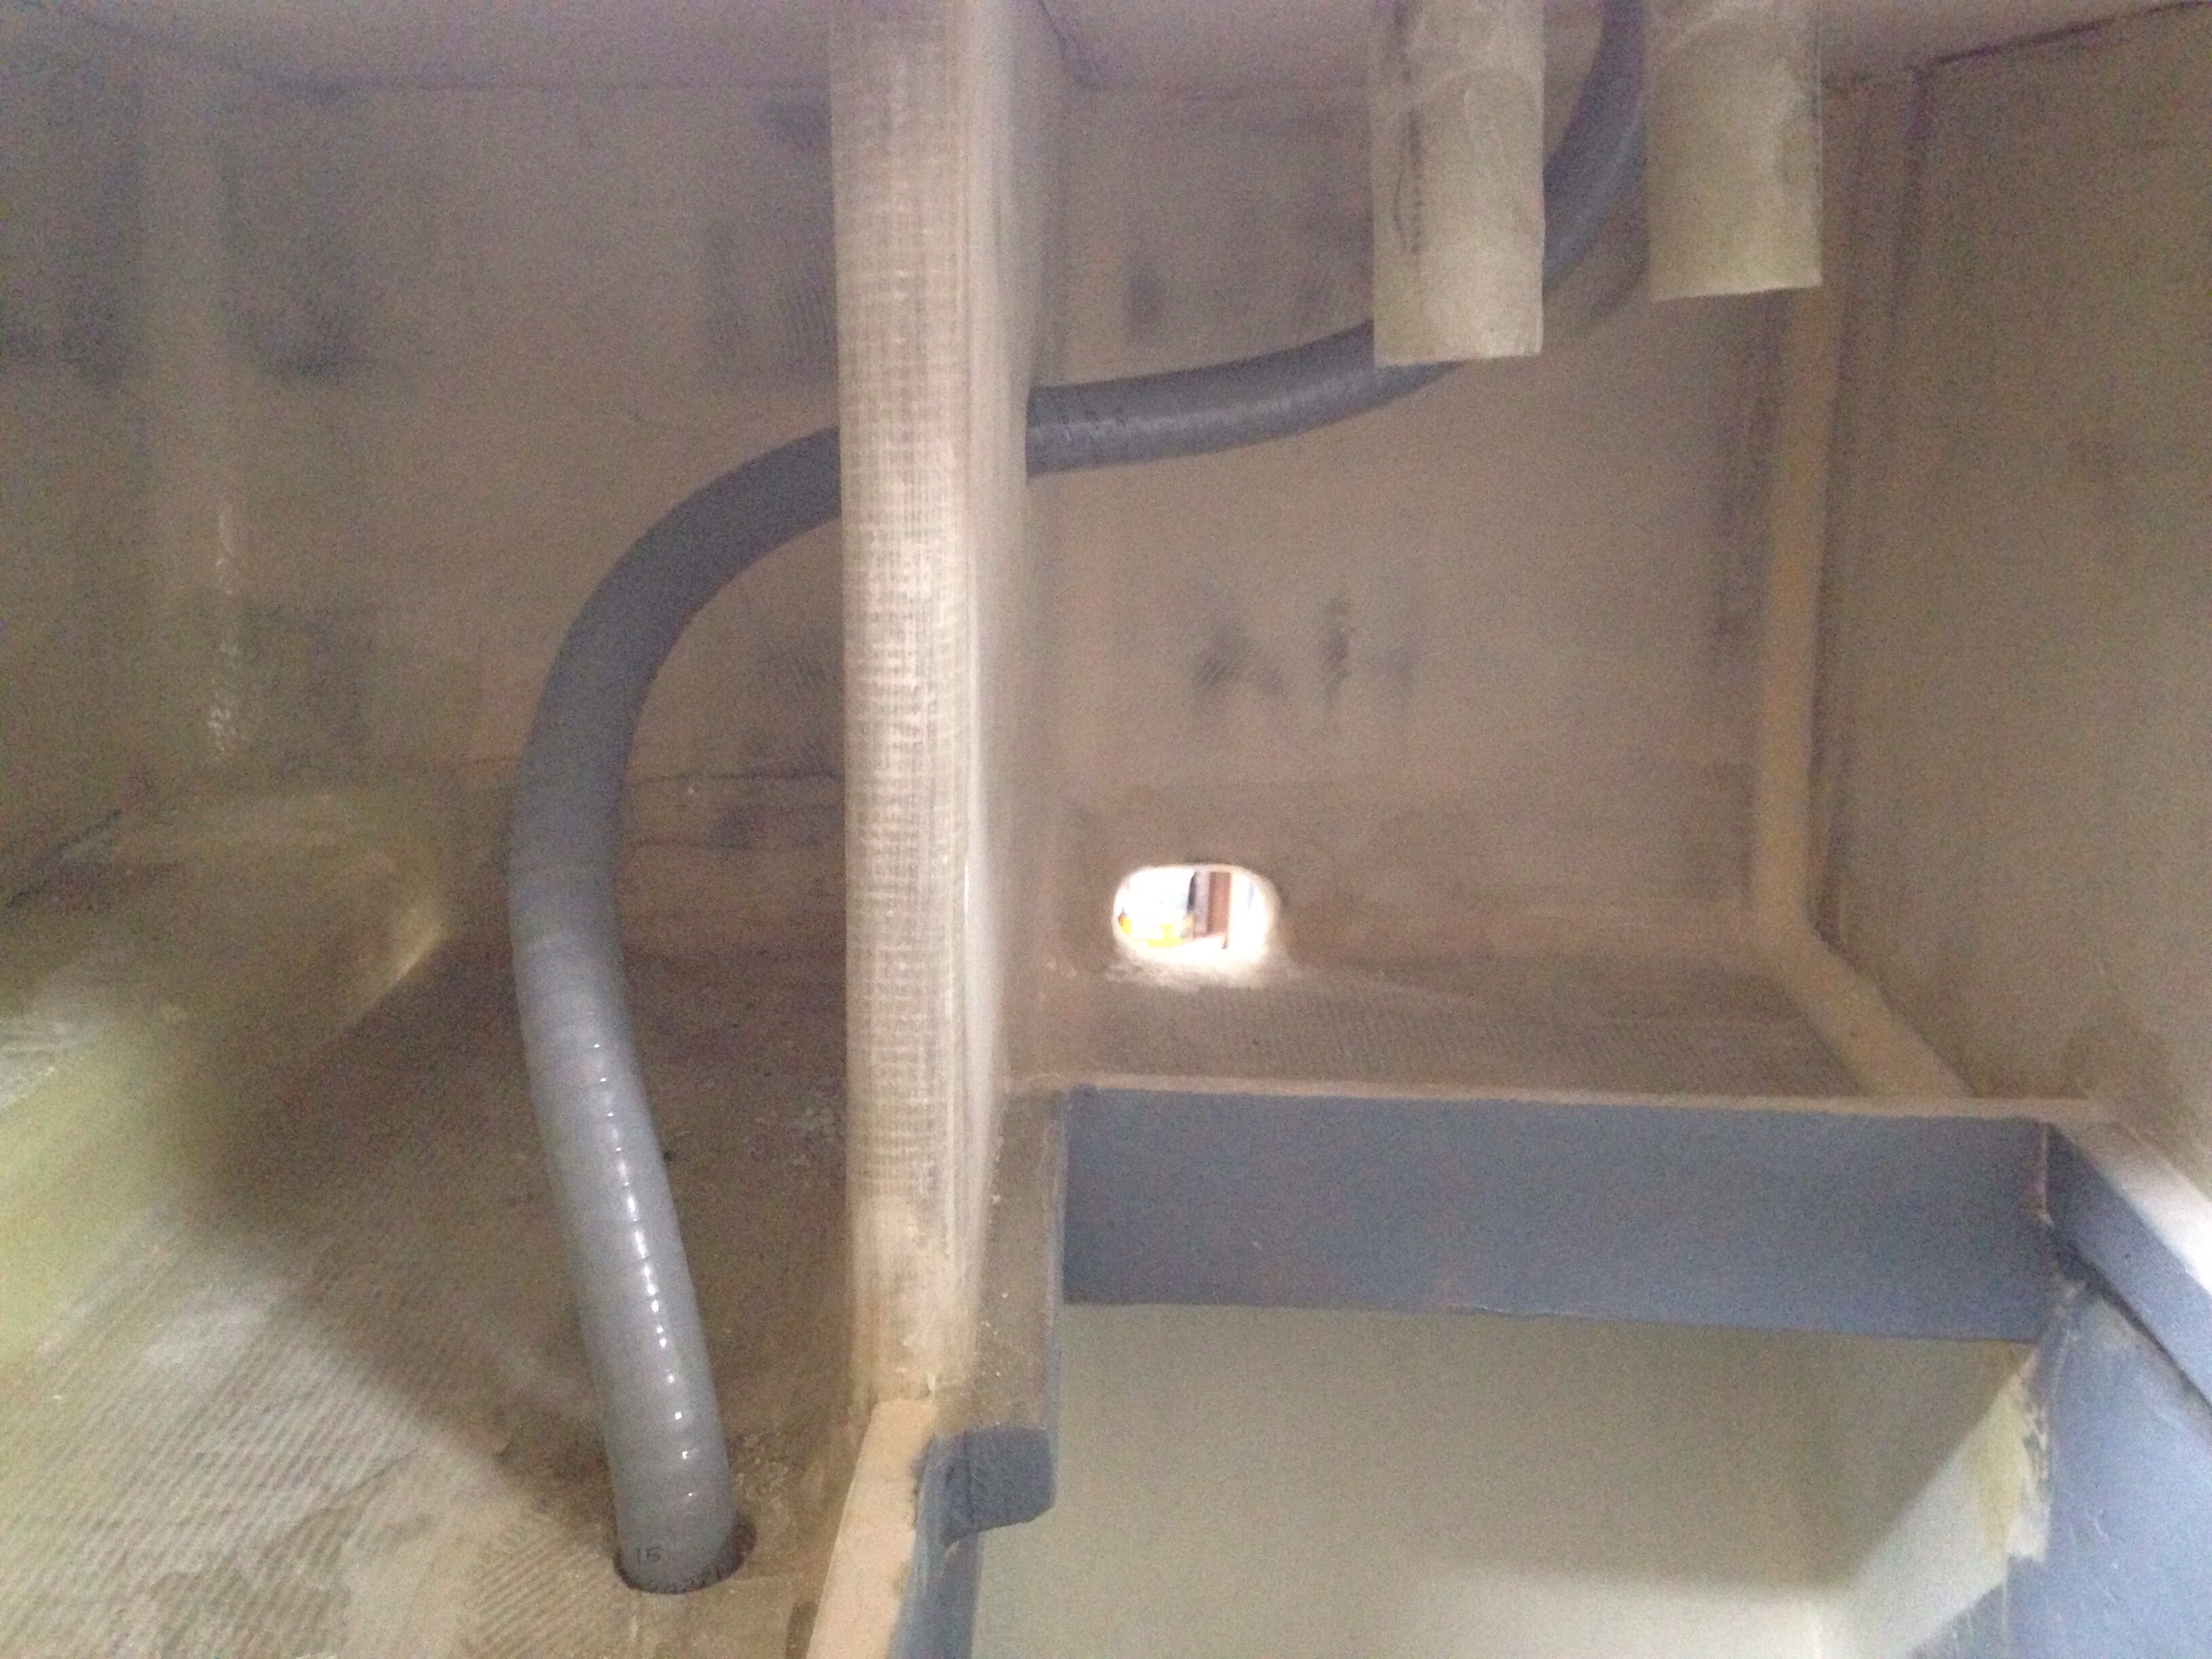
I pity you guys as this website is now literally watching paint dry! To keep busy in between bottom coats today we tackled final builds on the stern tower. First is the little crane off the back to lift the rudder out of the water when stationary. If you look at older photos the top edge was purposely lower than the top of the tower. But overall this thing seemed too flexible and potentially weak. So it grew an extra foam core top, then more carbon ‘strapping’ wrapping over the top of the tower. Much stiffer now!

20160219-183455.jpg
Next is the radar, to mount on the extra ‘ear’ of the tower to starboard. The mounting pattern of the Raymarine unit required some modification. And since we’re not interested in a metal bracket, we made a fiberglass foam pizza instead.

20160219-183725.jpg

20160219-183752.jpg
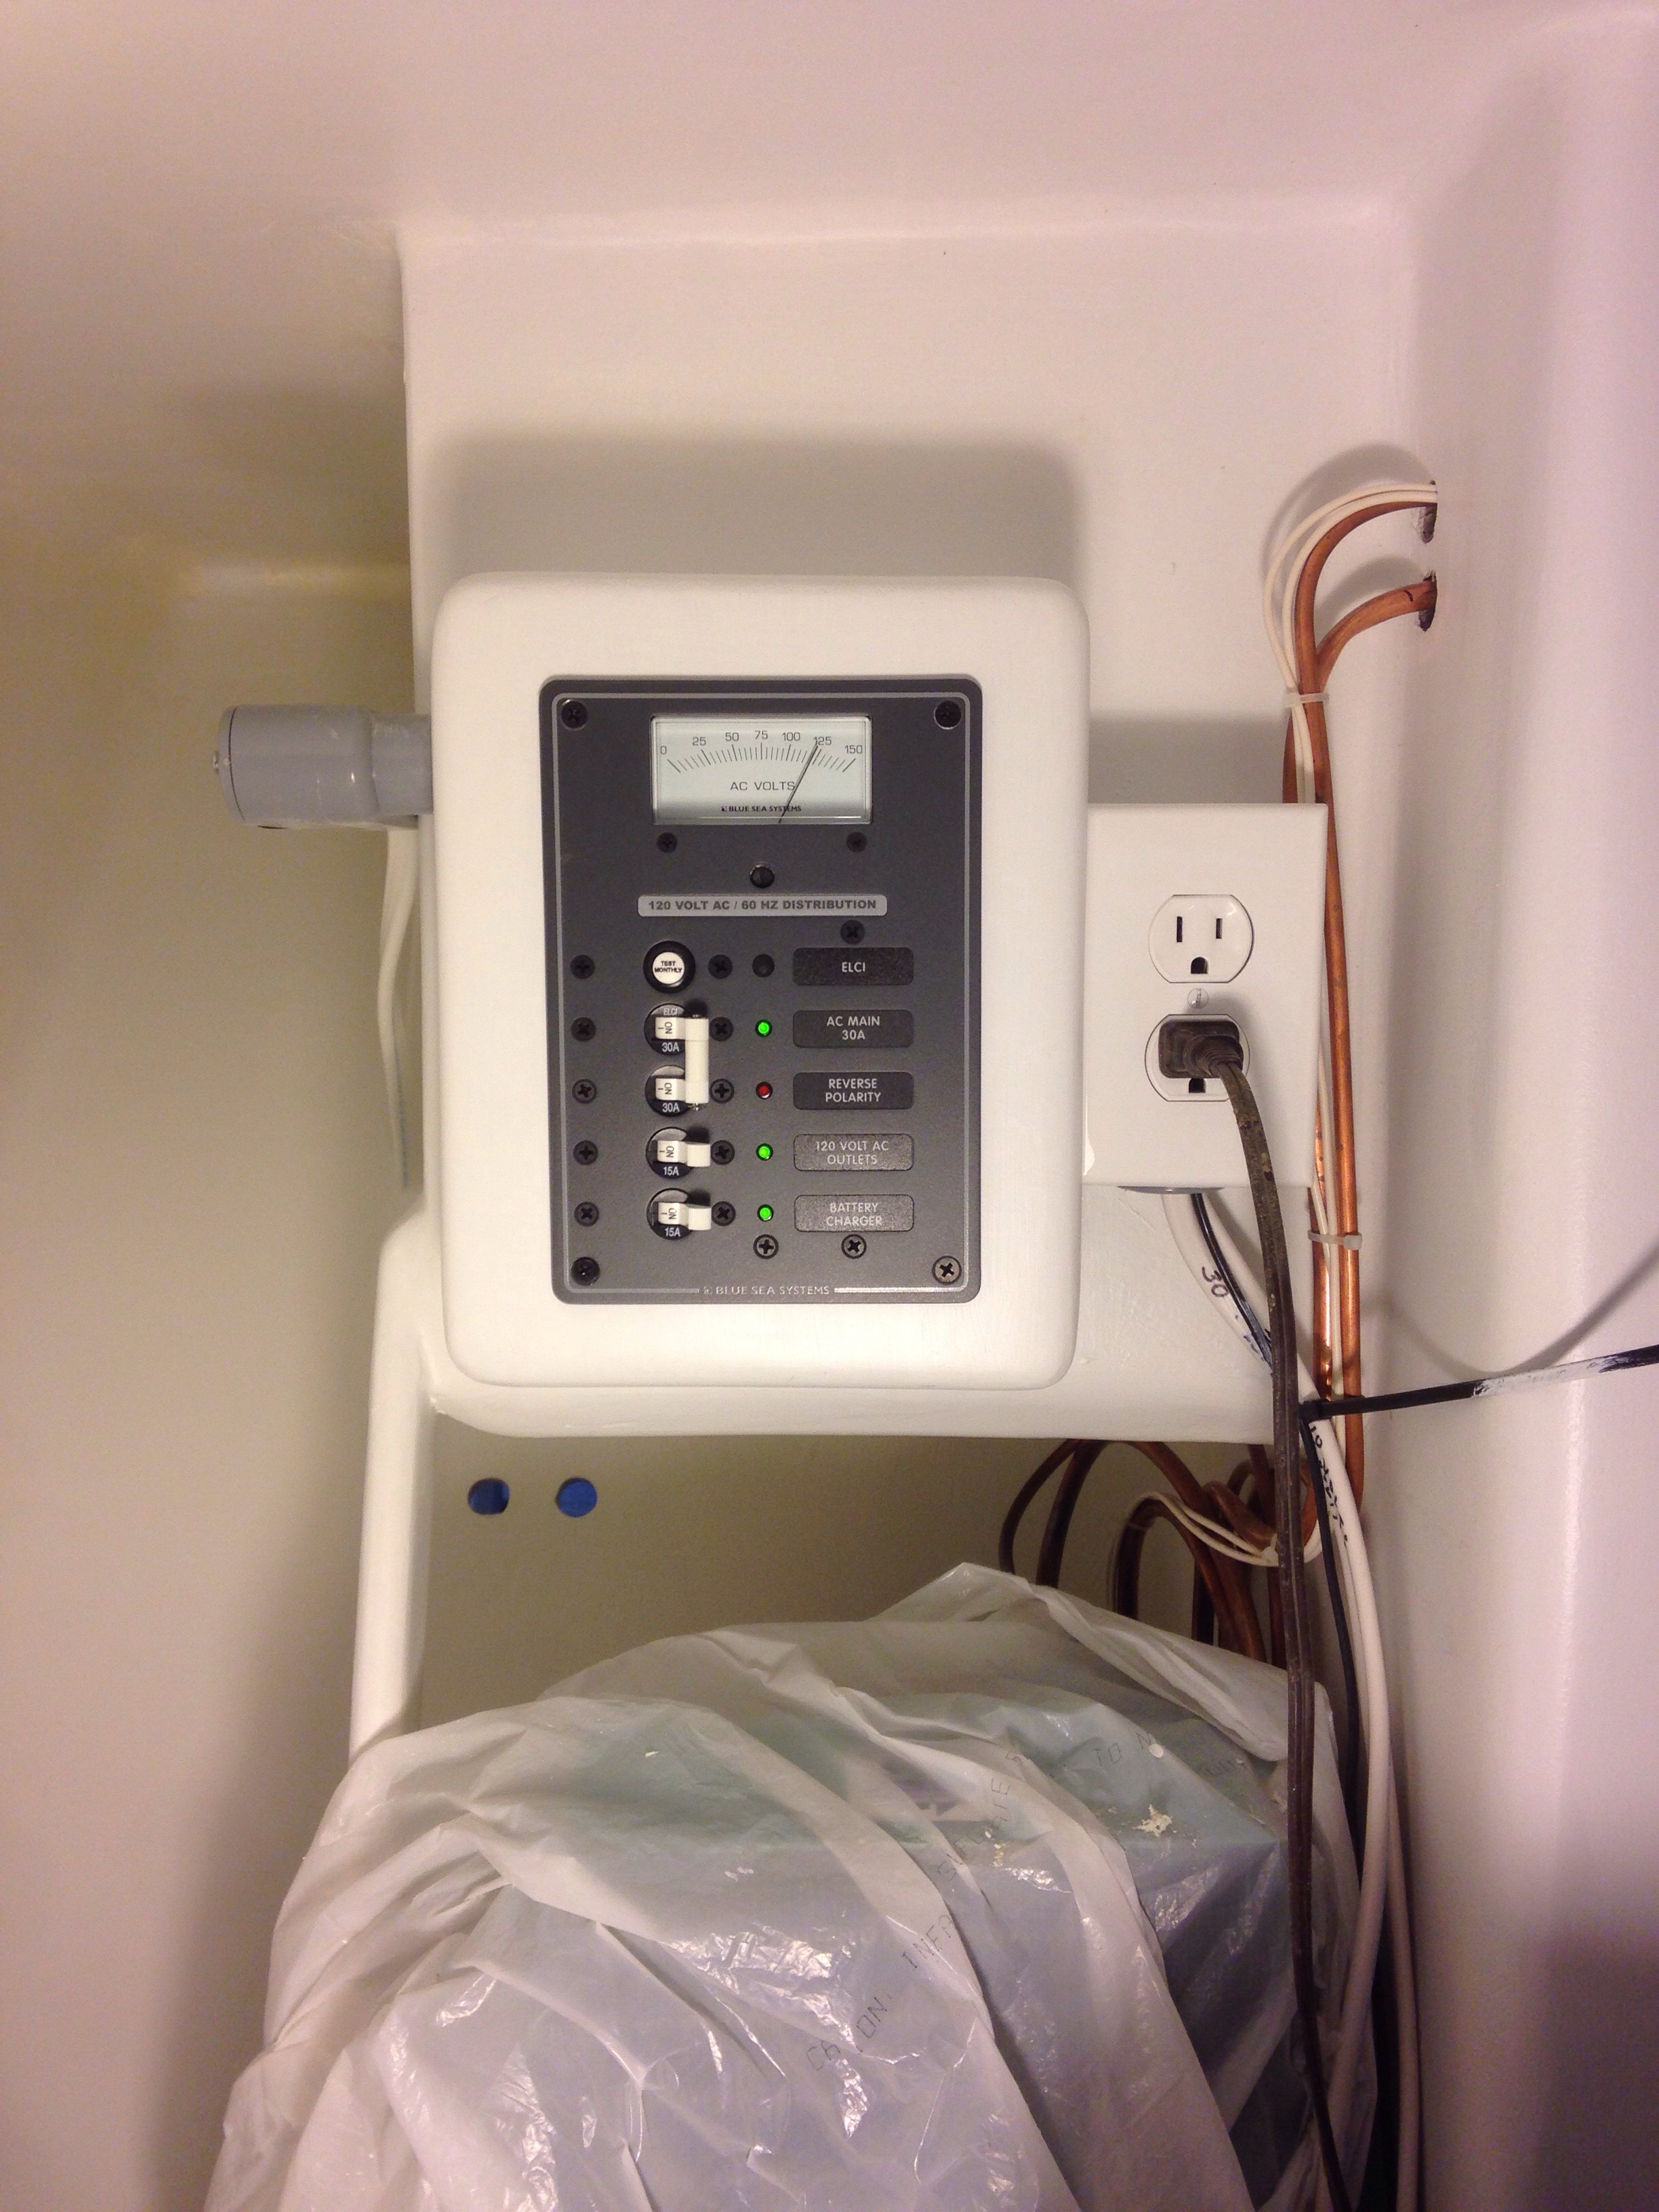
Last up is a shelf for the tiller pilot. This location should allow us to attach the ram directly to the steering gear, or more intriguingly to a second set of cables to steer the trim tab on the rudder just as the windvane system will do. Much more on that story to come once we get to sea trials.

This little shelf add is perhaps 5 ounces of foam and carbon, but further stiffens the whole structure – so much better than a big metal structure on the back of the boat! (We hope anyway)

20160219-184226.jpg

Lady in waiting

20160218-223721.jpg
This boat hull was built 15 years ago. The deck and topsides got a primer coat 5 years back, but some of you will recall the bottom wasn’t faired until just a few months ago. But tonight, a decade and a half late, the raw underwater skin was painted with the first of five coats using Interlux interprotect 2000. This will create an epoxy barrier coat over the epoxy-skinned hull, so blistering or other water intrusion should not be a future worry.

20160218-224133.jpg

One more bow shot here to remind us where the Kevlar protective strip sits across the front. (You can see it as a vertical yellow shadow under the white fairing skim)

20160218-224445.jpg

No boat should take this long to build, but what a great step tonight. You could feel the good vibe in the room – seems like the boat knows we’re sealing things up and sprinting towards the water. Anticipation grows…

Selfie gone wrong

20160211-223657.jpg
Clearly I don’t get the concept of glamorous self-taken phone photos in picturesque locales. BUT, this is actually a very relieved boat builder. This goes back a few months to our first experience with the very good but rather volatile high end marine topsides primer paint. One night I geared up to hit the shower and toilet compartments with the Interlux Primecoat 2 part system. I wore the full face respirator, but neglected any fans to force air out of the space. After about 15 minutes the respirator was overwhelmed, resulting in attacked eyes and lungs. I basically dropped everything, and threw the paint/roller/brush in the trash as I ran out of the shop seriously spooked about painting this boat.
So we’ve pretty much been skulking about re: paint fumes, but yesterday sucked it up and dove in to researching solutions. Holy cow, did you know decent industrial volatiles protection hoods are a thousand bucks!!?? So instead we went half Apollo 13, half McGyver rerun and came up with this:

20160211-224746.jpg
Yep, that’s the good full face respirator with one filter taped completely shut and the other taped off except for the receipt of a long vacuum cleaner hose. The other end of that hose is the output from our oldie-but-goodie 3M belt pack NiCad battery-driven forced air filter. So instead of taking the positive flow filter in to the paint environment the jury rig hose keeps it out in the fresh air, feeding the face mask.
Tonight with all the simplified plumbing cabinet and bulkhead revisions finished, the toilet space was prepped along with the abandoned shower, the goofball selfie was taken, and we dove in again with the nasty paint. The work took about 30 mins, the mask performed well – no eye discomfort and negligible smelling of fumes. Certainly no dizzying or worrying amounts of volatiles coming on board! That was a big relief and we’re once again seeing the path to paint completion.

Speaking of plumbing, this week has been finishing those 3 below-waterline through hulls, plus another big one about a foot above the line for the galley drain. Here’s the process for the toilet tank drain. Measure, stare, worry a bit, measure a few more times, then get the hole saw spinning.

20160211-225945.jpg
Next was very careful Dremel work to dig out the cedar core about 5/8″ back from the hole edge, but not disturb the outer or inner hull skins. (The Dremel is skilled in throwing little shards of boat hull in one’s eyes and nose.)

20160211-230308.jpg
Then fill all that rebated space with solid epoxy/cabosil putty, and after it cured, sand it back flush.

20160211-230427.jpg
During curing steps we had been making epoxy-coated plywood backing plates for the seacocks. They finished up as the holes were done. I understand these backers can be loose and mounted with the same sealant as the thru-hull fitting, but we opted for permanently bonding them to the hull and one more shot of putty to smoothly line the thru-hull passage as one watertight unified ‘tunnel’. These two are the toilet tank drain and depth sounder that’ll be close neighbors.

20160211-230919.jpg
That’s a little bolt & block setup to clamp the backer in to the bonding glue.

20160211-231024.jpg
All four came out just as planned, and now await paint. We’ll show them off again when their fancy Forespar valves are installed. About six layers of primer and bottom paint from now!

20160211-232116.jpg

PS – is anybody wondering about that red fairing putty in the first photo tonight? Um, yea, those are the finished, painted main cabin surfaces getting just a bit more touch up once all the new lighting went in and I could see little nits that would drive me nuts once the boat is launched. Figured it was worth the piece of mind and a couple of hours to clean it up now…

No hairdryers please

Part of the ‘keeping it simple’ plan is to skip power-hungry appliances and a big inverter to go from the boat batteries to 110volt household circuits. So we’ve kept shore power completely separate from the 12volt system, including its own mini panel in the equipment room.

First we bring a 30amp cable to the boat, with the plug just ahead of the aft beam, in the port cockpit coaming.

20160206-221837.jpg
These new cords have clamping jaws instead of the old spinning rings. Plus a handy flashlight to help with night maneuvers.

20160206-221958.jpg
Next was running a 10awg/3wire conductor in plastic conduit thru the coaming box, the lazarette and down into the equip room.

20160206-222155.jpg

20160206-222219.jpg
You can see the pass-thrus for water and diesel in front of the conduit; they will get hoses that run just like the electrical path.
The 110volt panel has built in ELCI. This is the next step beyond GFI ground fault interruption. See the ELCI components – the black ring – on the back.

20160206-222629.jpg
This thing will shut everything down in milliseconds with any problems of the incoming juice, bad grounds, wires in the surrounding water, etc. And it all comes pre-wired with these BlueSea panels.
We screwed the panel in place and plugged in – the system did its job and warned of a reverse polarity problem in one of the workshop’s power outlets. We moved the cord and got all green (good) lights.

20160206-223023.jpg

20160206-223041.jpg
Just two branch circuits – one for the battery charger which will mount close by, and a second for two household plugs (one in photo and another in galley). That’s it, but could be expanded later if needed.
This finished the primary wiring job. There are follow up items – more light fixtures are coming this week as the galley, equipment room and over the dinette weren’t bright enough with the original purchased fixtures. And we still have all the wiring inside the stern tower to run, after the exterior paint job.
All of the smaller wire terminals were applied with a new ratcheting precise-fit crimper. Anyone doing 12volt work should get the positive-stop ratcheting tool. But with the heat shrink fittings you need a single-crimp jaw. I couldn’t find a single-style under $75, so we bought the more common double crimp for $25 delivered free from Amazon.

20160206-223840.jpg
Made sure it had removable jaws, so they could be popped out and hit with the grinder, throwing big sparks all over. A few minutes later we had single-crimp capability that didn’t mar the heat shrink portion of the terminals.

20160206-224041.jpg
With the wiring done we’re attacking the finishes needed inside the toilet and shower compartments. In a moment of clarity we decided to return to Leneman’s original suggestion of a below-the-waterline sewer tank drain (at sea only), which drastically simplifies the toilet plumbing runs, including closing up some previously made bulkhead and cabinet holes. This also finalized the thru-hulls locations, so that’ll be the next posting for you.