That’s a big number – the “righting moment” of this F36 design. The leeward float and beams have all that upward water bouyancy pressure opposing the mast and sails that are trying to drive the float in to the water. Add in some high speed sailing and pounding through waves, and we get many tons of force compressing down through the nice new carbon fiber mast. This month we turned attention to getting the sailing rig finished, beginning with confirming all the specifications. Our mast was built for a Shuttleworth 35′ cat; he’s a designer who calls for very tall rigs and minimized weight. Calculations on that boat’s design show about a 70k lbs righting moment, which is in line with the measurements of our mast, including it’s 175 lb weight. Basically, we need to bulk this thing up to a new fighting weight.
Pardon the details here as we thoroughly document this project to assist with the refitting process…
Bulking up means we’re adding more structural material to the mast and increasing it’s compressive load capability to bring it in line with that big righting moment limit. Carbon and epoxy will be applied to the outside, so the mast must first be stripped back to a bare pole. It’s more than a little heartbreaking to cut in to this beautifully finished piece. Here we are at the start, with only the Tides sail track off (but the Tides clips still there)


Step 1 is lowering the gooseneck to bring the boom down to about a foot over the windshield and hardtop. Unbolt the gooseneck receiver and use it to form a new putty base in the correct spot.


Here’s the detail of the original position, in case someone else wants to raise the boom back up some day. I’ll leave the bolt holes with plastic plugs under the sail track.

Next is taking careful measurements of parts that will go back over the new work.


Jeanne’s sailing partner Leslie worked all day stripping down the mast, including over 100 sail track screws. But she respectfully declined the painful job of taking a saw to the spreader roots. They had been bonded on very well, but succumbed to the Fein multimaster. There is a stainless steel structural rod at both sets of spreaders, with the ends bolted thru the mast wall and the nuts entombed in the hollow spreader bodies.

We built a simple spindle rack system so the spar will rotate during the work, and finished the day sorting out and securing new messenger lines inside the mast for the five halyards. The mast is ready for a session of sanding away all the lovely paint this weekend.
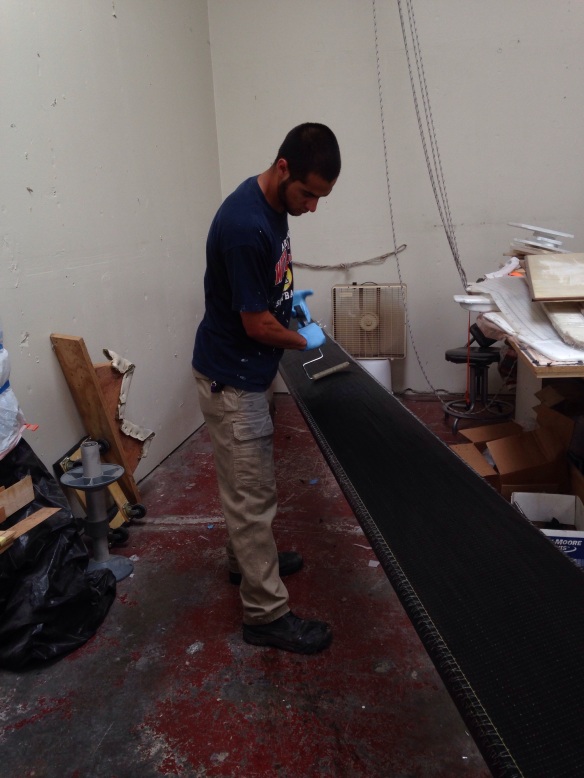
A big thank you here to Stephen Marcoe, Jim Antrim, Guy Stevens and Keith Burrage for insisting we review the mast specs between the two boats. Keith and Ted VanDuesen came up with a smart work plan to increase compressive strength and upsize the wall stiffness characteristics. We’ll build the hoop strength via two tight-spiral wraps of 5oz uni. Start the first one clockwise, using 2″ wide fabric, just less than 90 degrees off the centerline. The second wrap goes the other way, forming a shallow X pattern along the entire spar. After this hoop work we’ll bulk up with 4 layers of 6oz uni, laid straight up the mast for the entire length. This will all be hand layup work, and not vacuum bagging as we want specific manual control on keeping the uni perfectly straight along the spar. Bagging runs the risk of introducing warp or wiggle to the fibers.
The folks at Soller Composites are weaving us 2″ wide rolls of 5oz T700 aerospace grade Hexcel carbon uni. to handle the hoop spiral. The mast is about 30″ around; six wraps per foot X 50′ tall X 2 trips = 1,500 feet of carbon fiber. At about $0.40/ft
The longitudinal layers are coming on 10.4″ wide rolls of 6oz IM7 (822ksi) carbon uni. 50′ X 3 strips of 10″ to get around the 30″ mast X 4 layers = 600′. Soller has 300′ rolls at $1.29/ft.
We’ll stick with our high grade Applied Poleramics epoxy, confident that these good materials will make a superior finished mast tailored right to the boat’s engineered specs.
Stay tuned for updates on paint stripping then the new laminations. Also we’ll try to get some glam shots of the cabin woodworking – it’s looking great now in the final polyurethane phase.


