Golden Gate Bridge

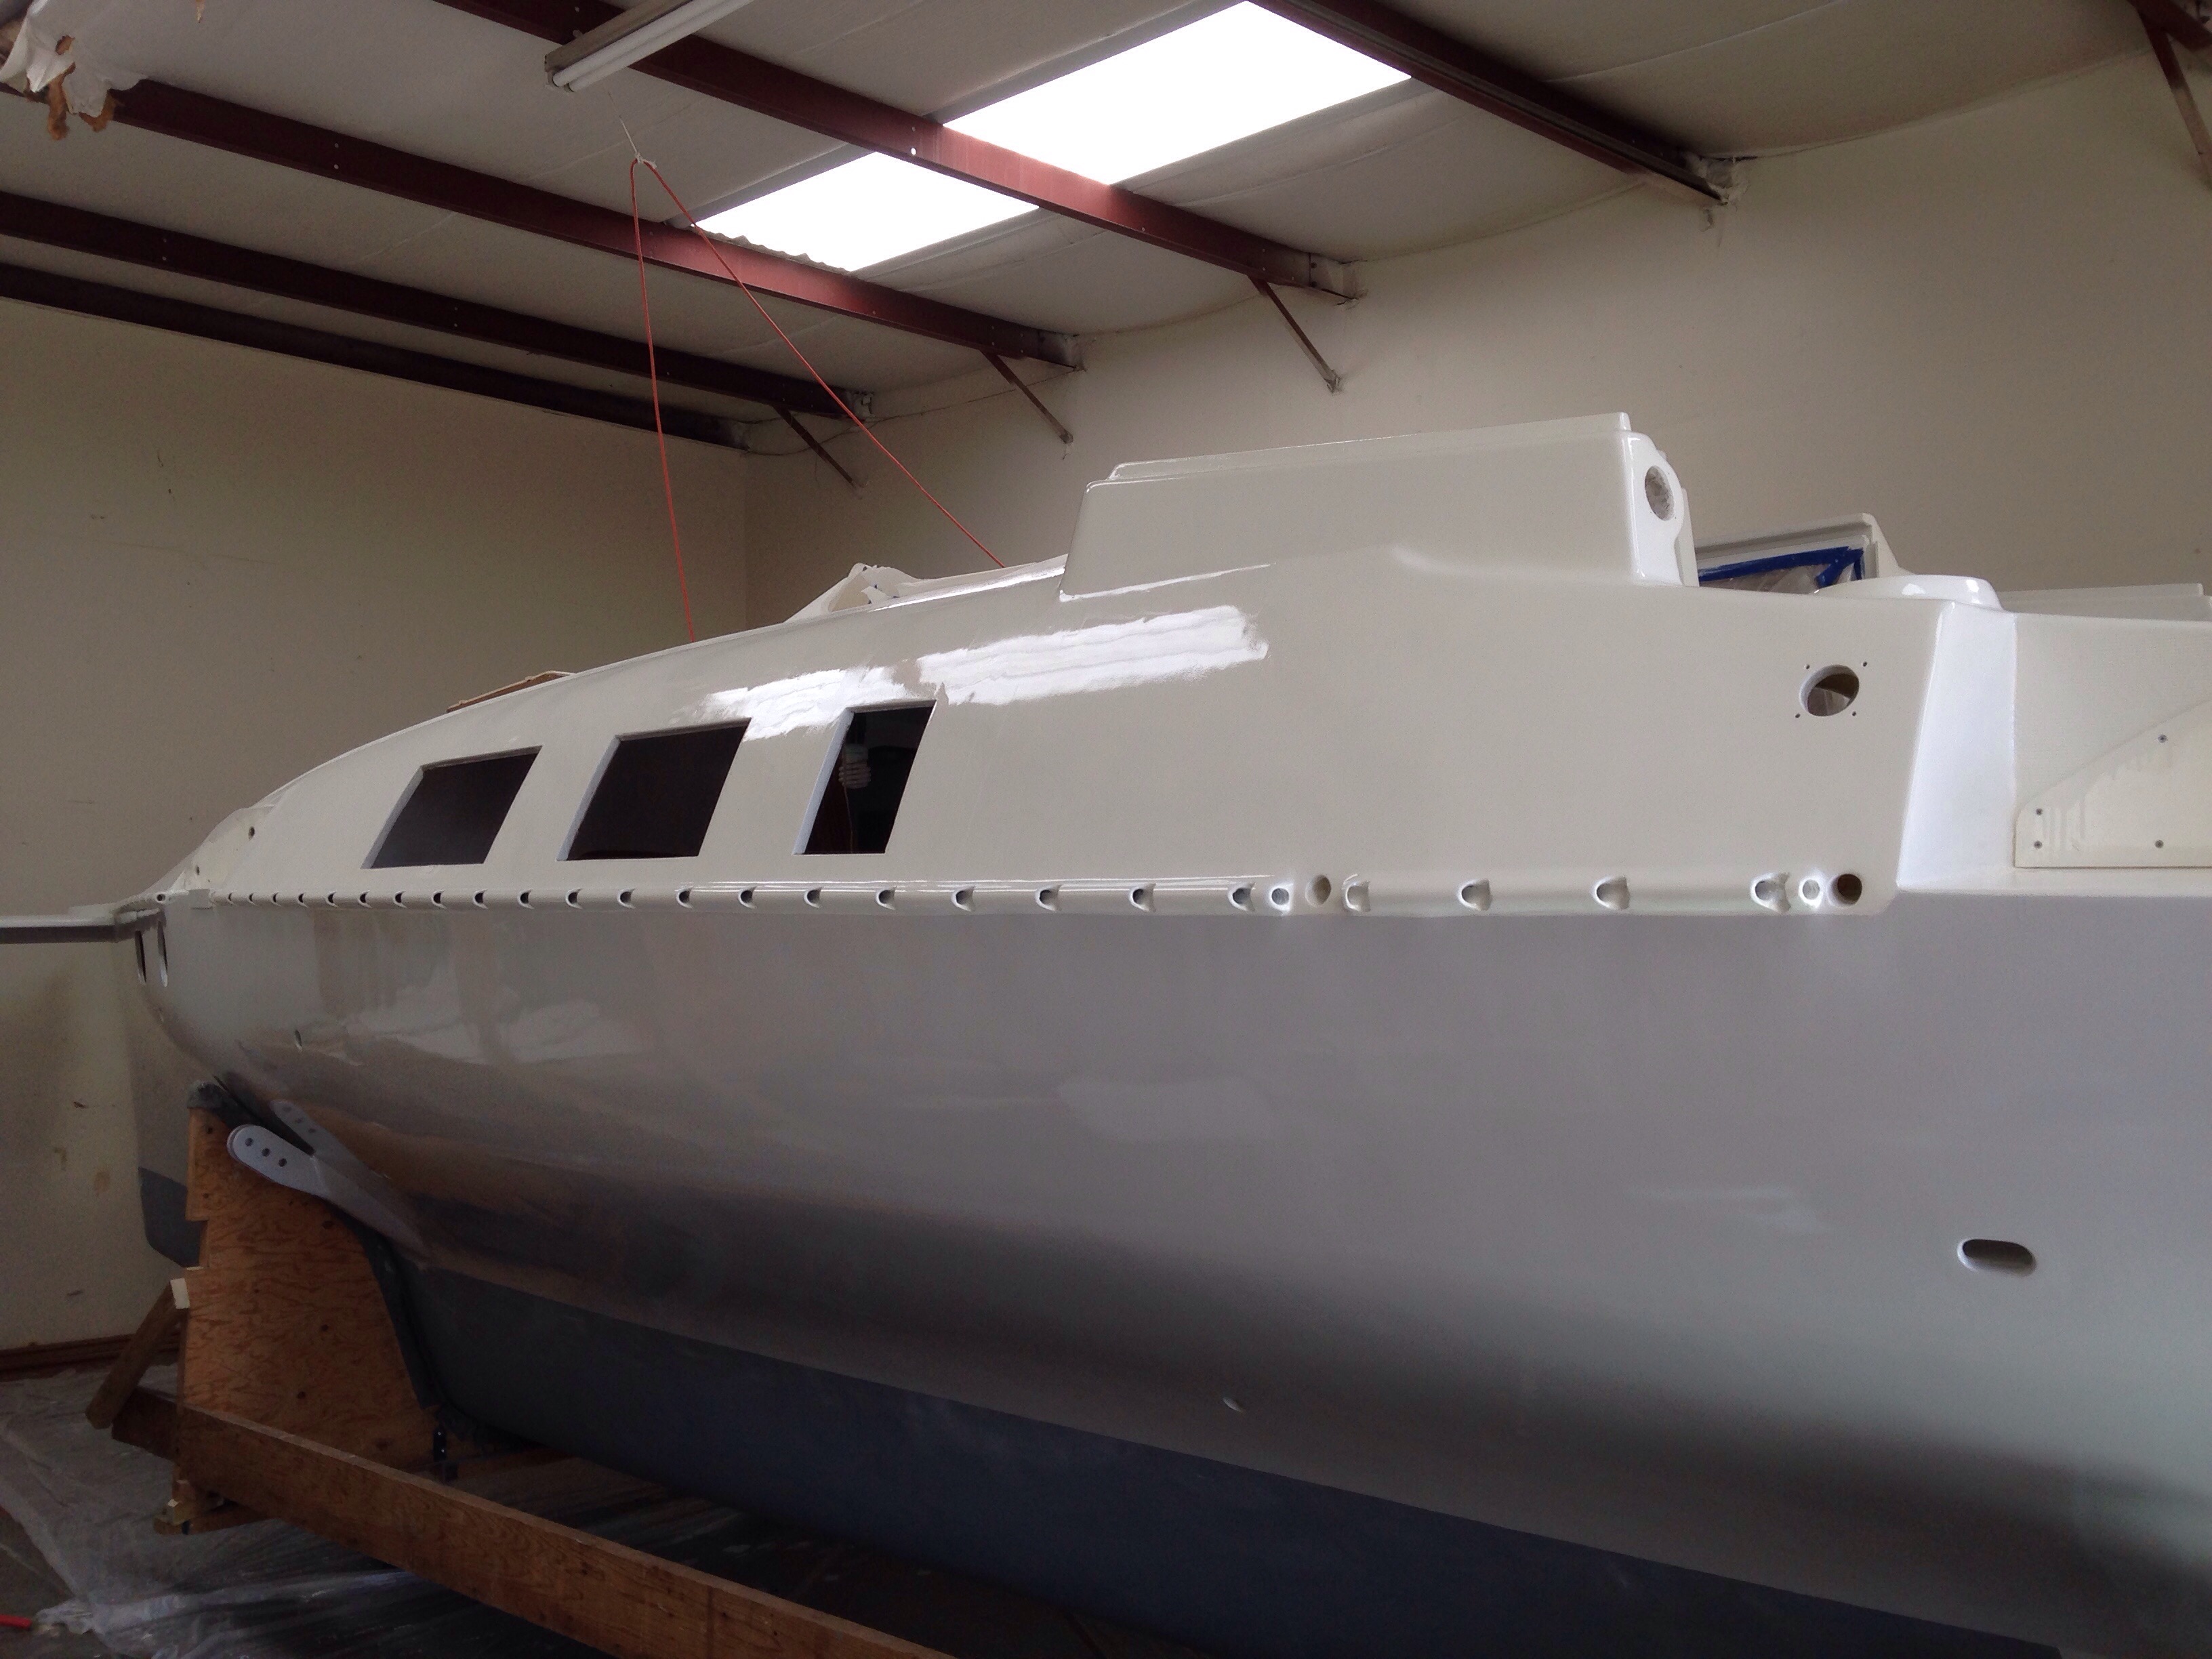
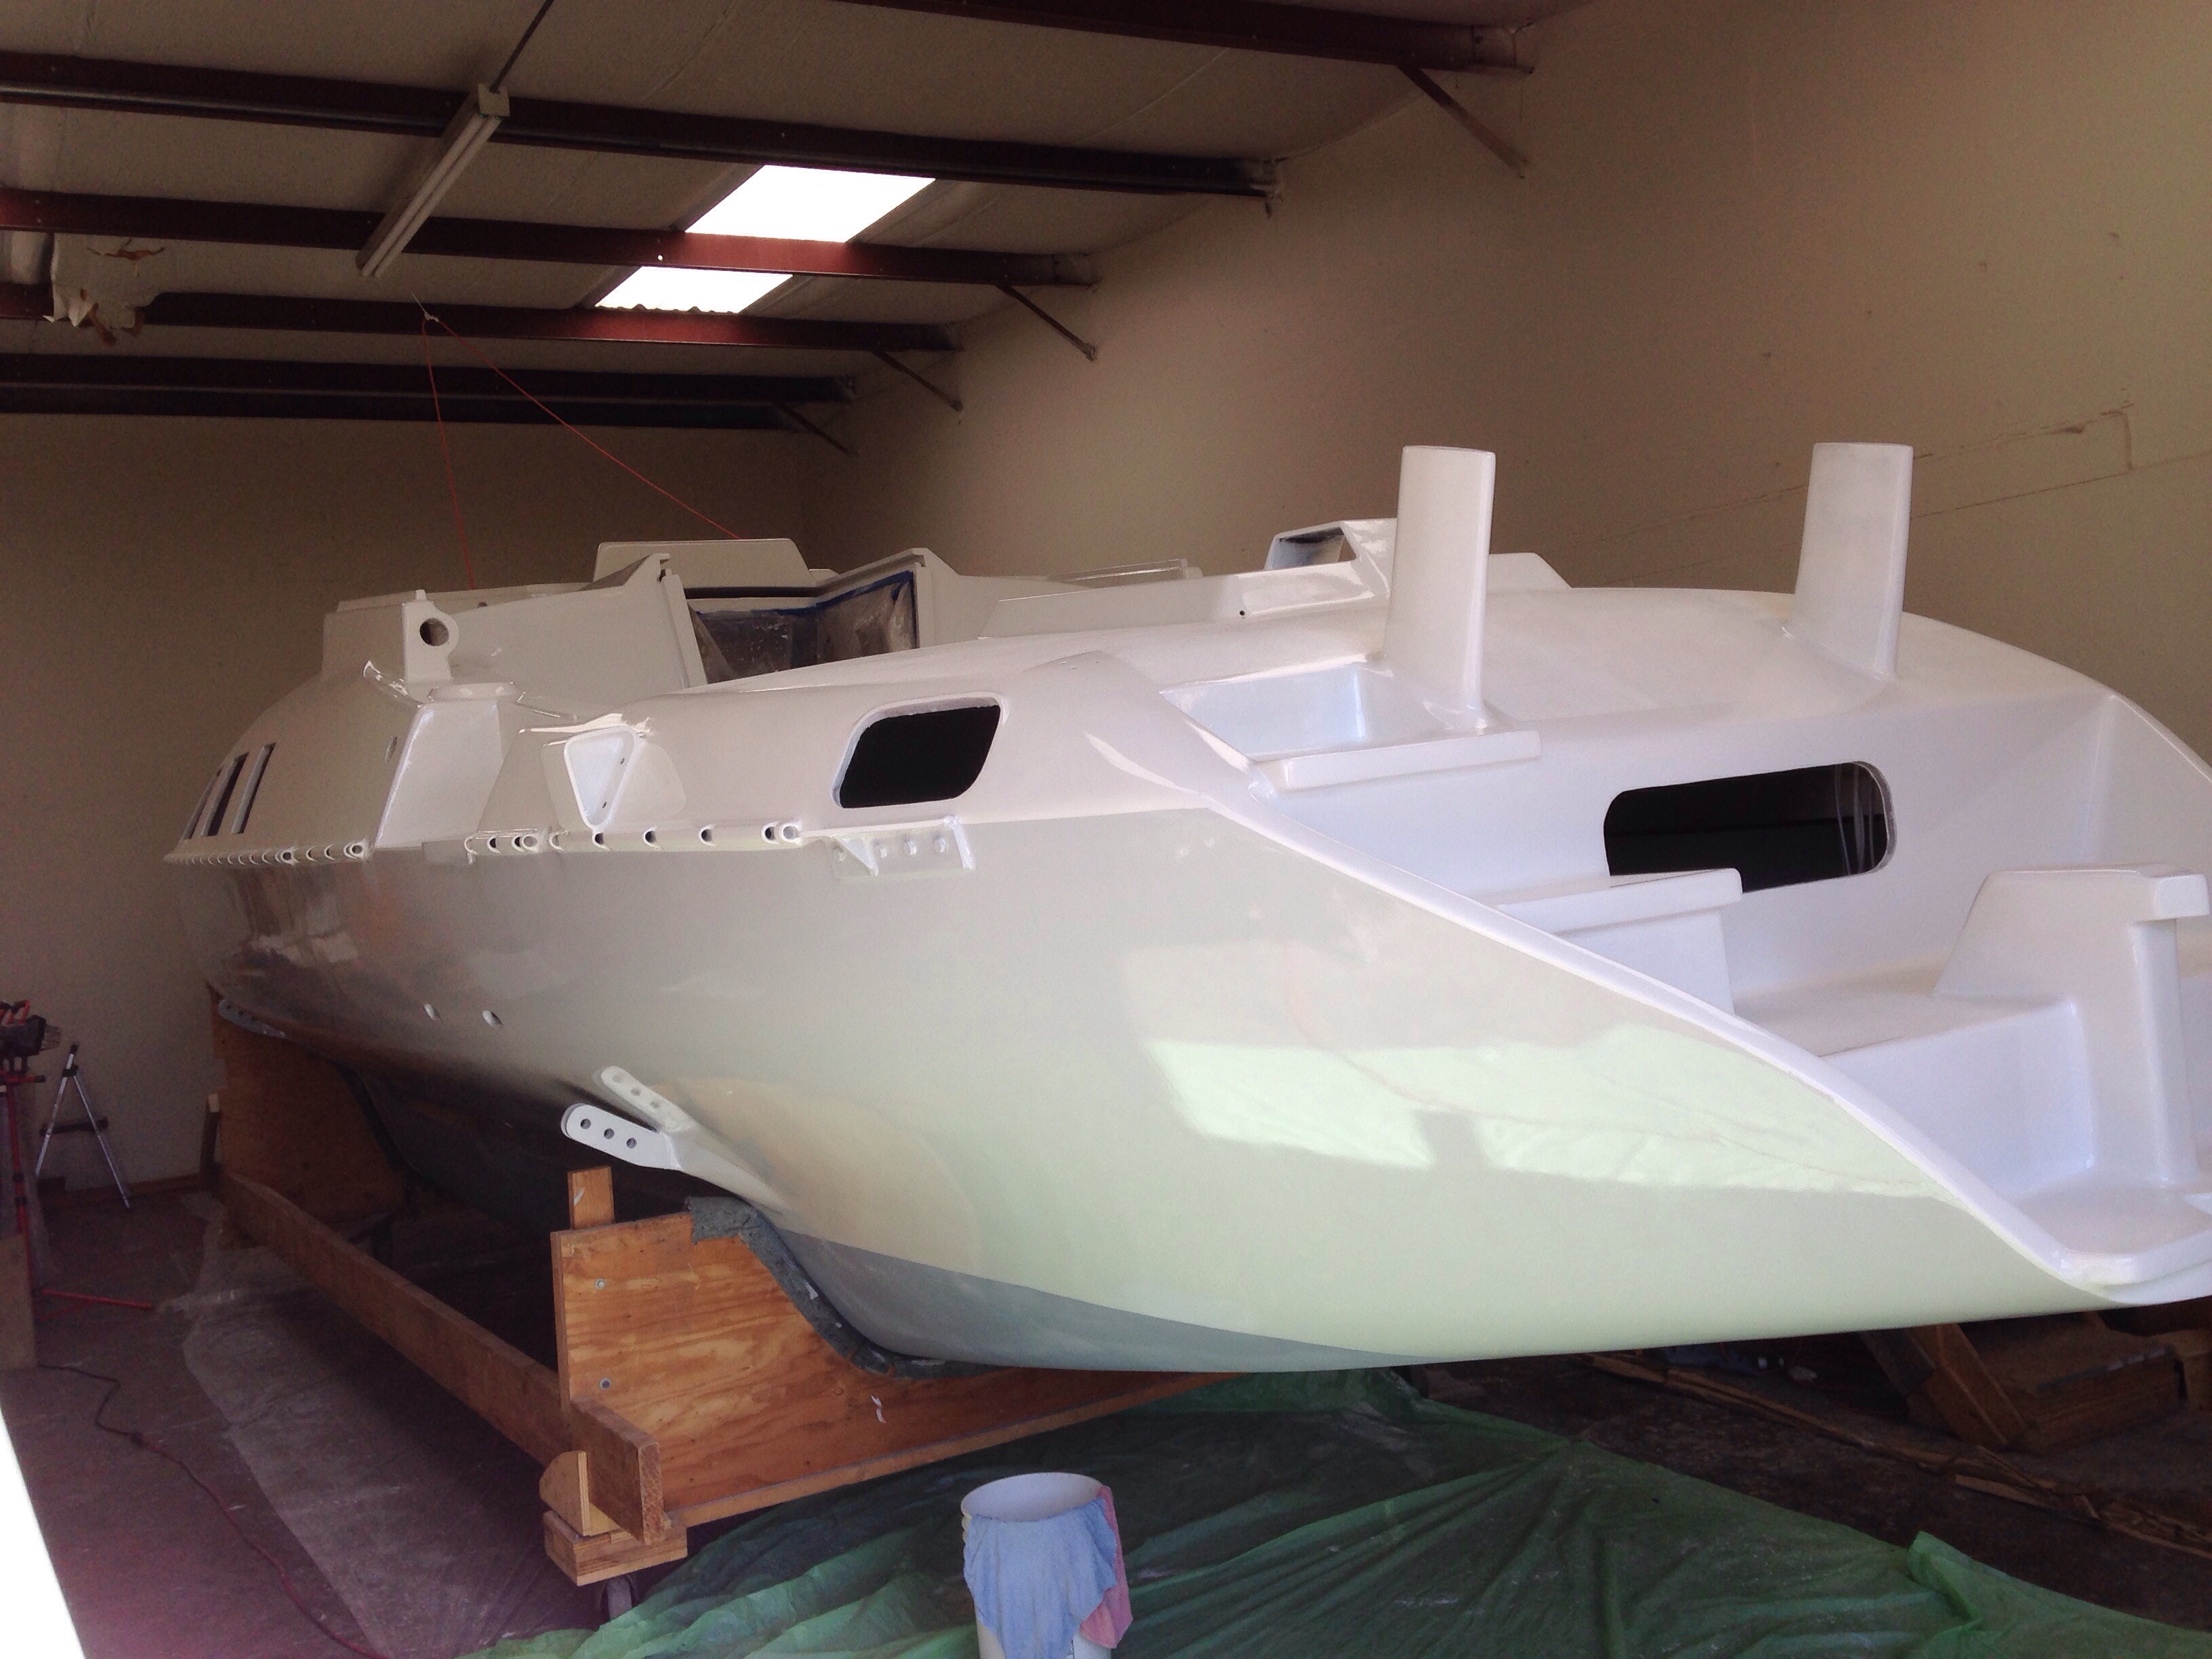
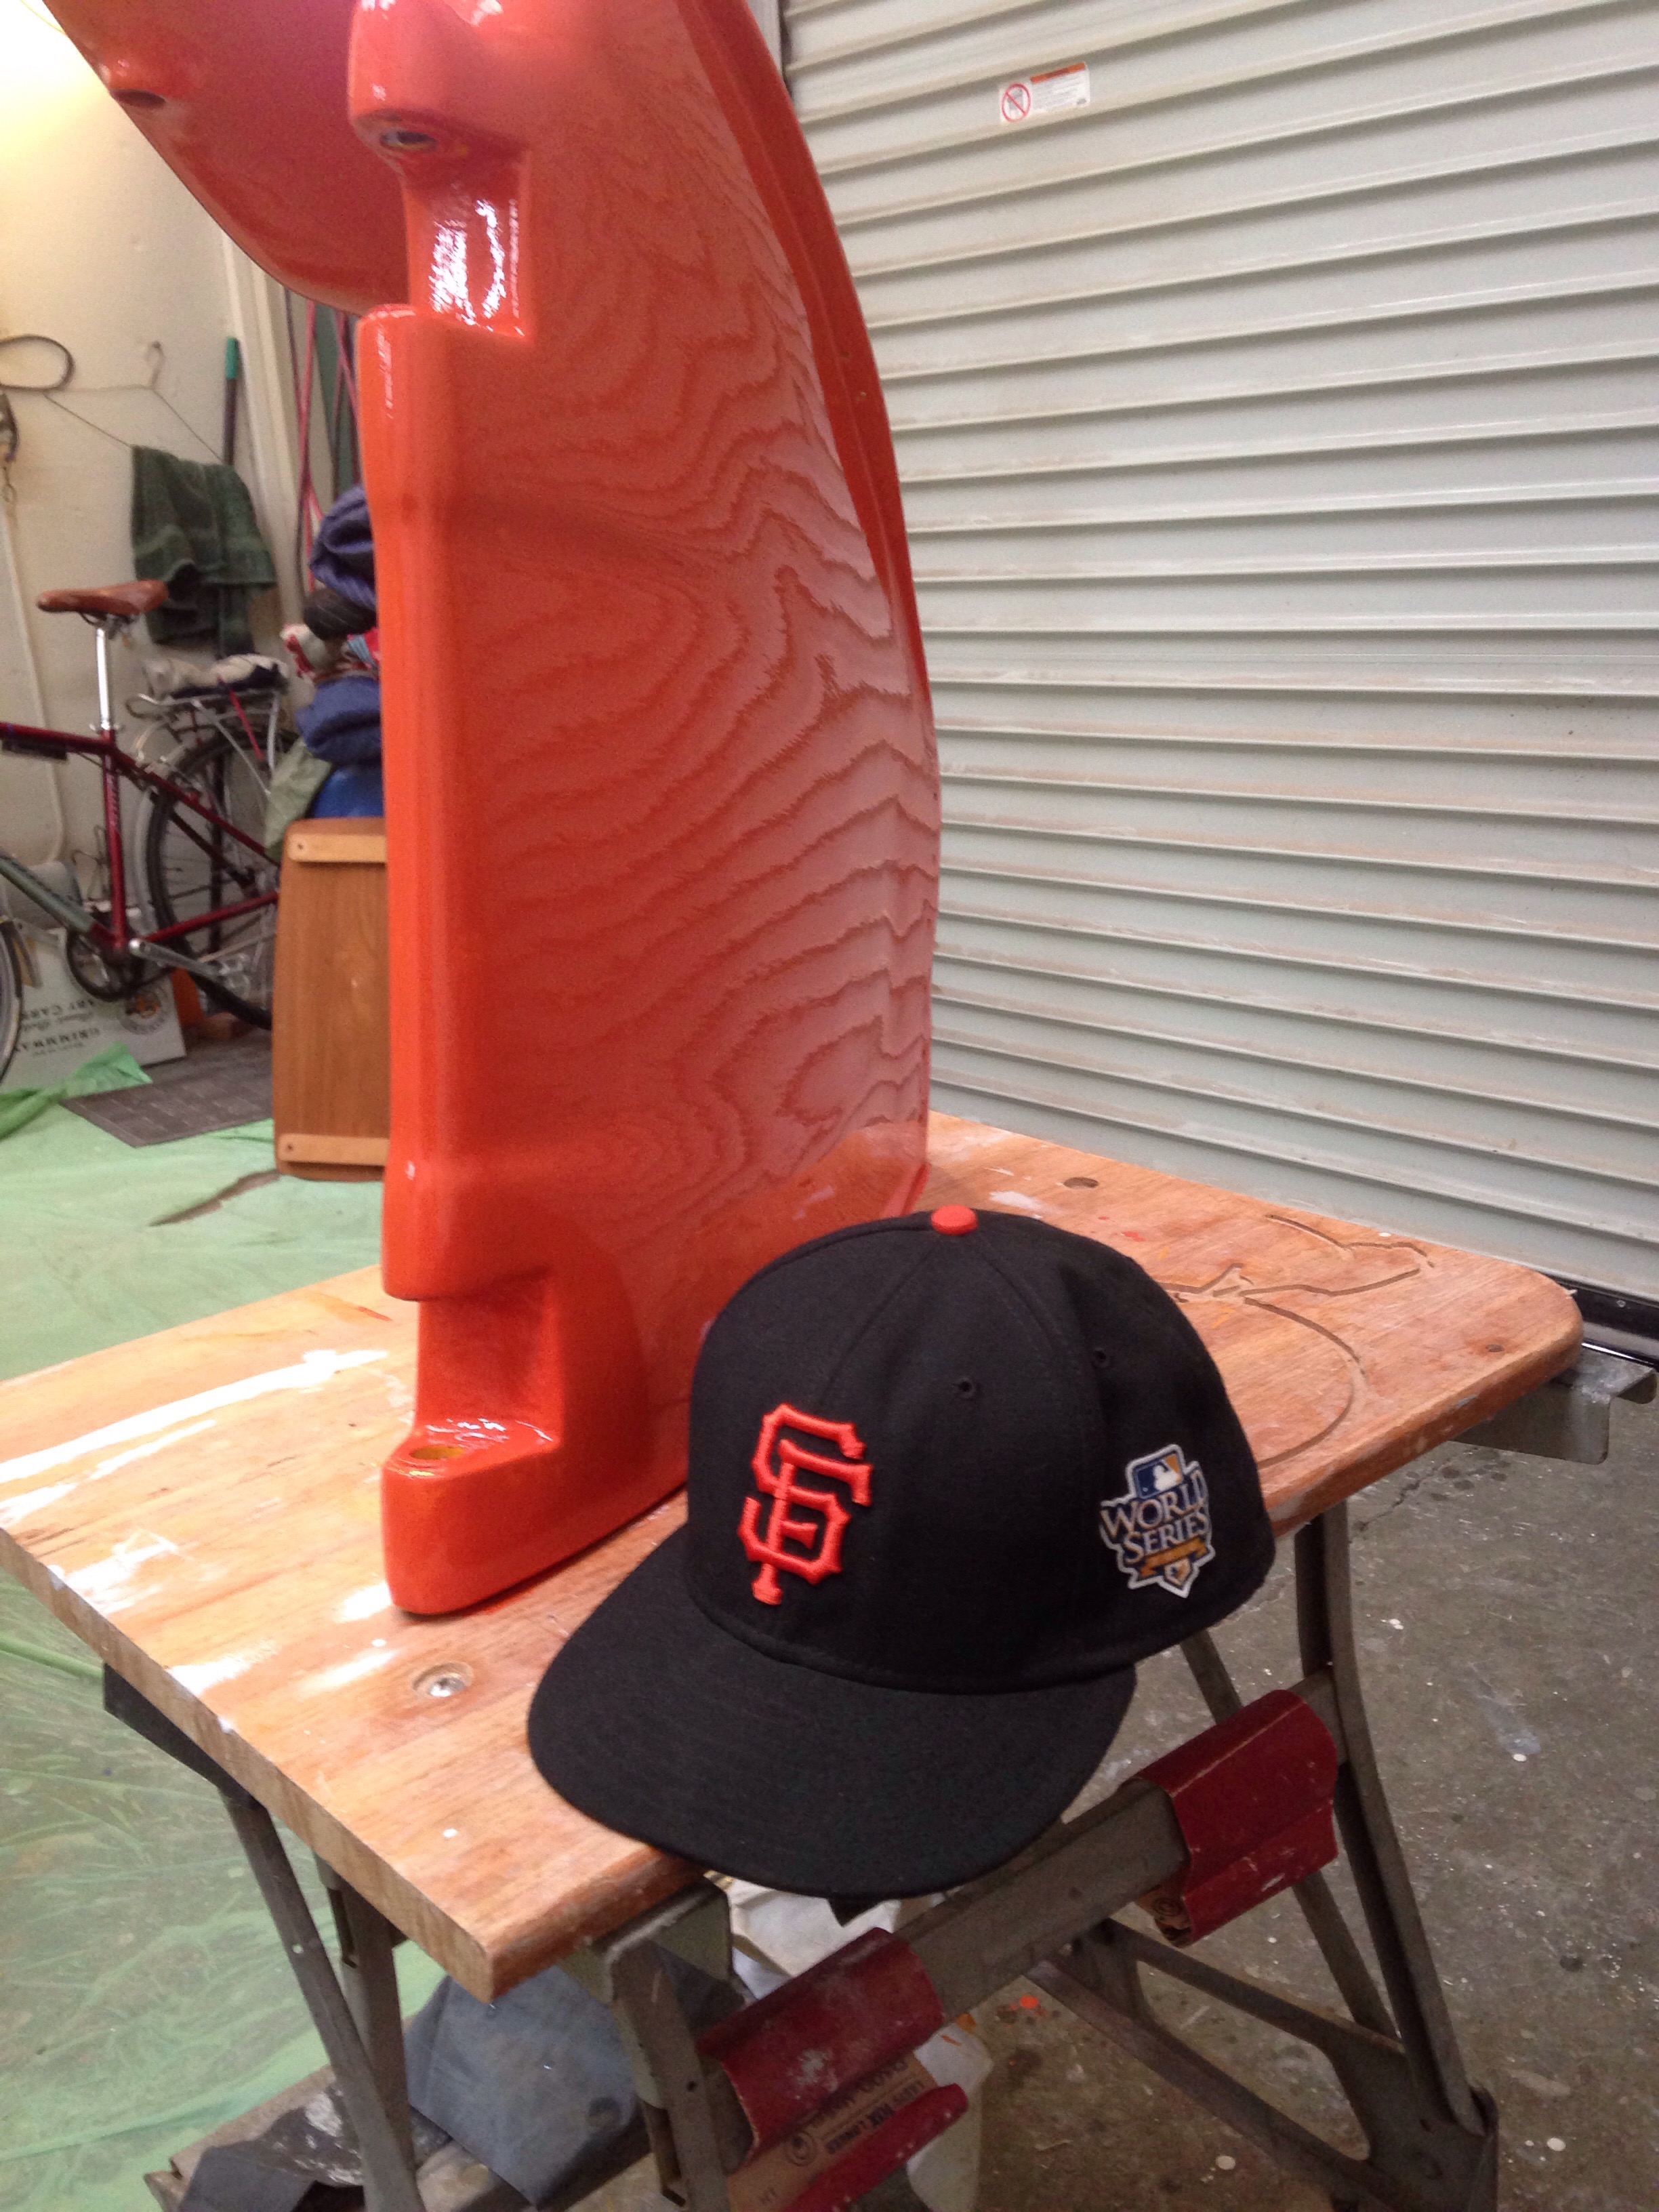
Last week we showed off the white and grey paint job. But it needs a little splash of color, too. The paint purchase included a quart of nice royal blue, but it looked like Tommy Lasorda’s big belly in a Dodgers warmup jacket. My mother and her father would be ashamed. So we tried three time mixing bits of red into the can of yellow paint on hand, but the pukey gold results were frustrating. Then with the last of the red paint can, we dropped in bits of yellow in search of orange. Suddenly the boat’s accent color jumped out – Golden Gate orange :)

20160422-215846.jpg

20160423-090211.jpg
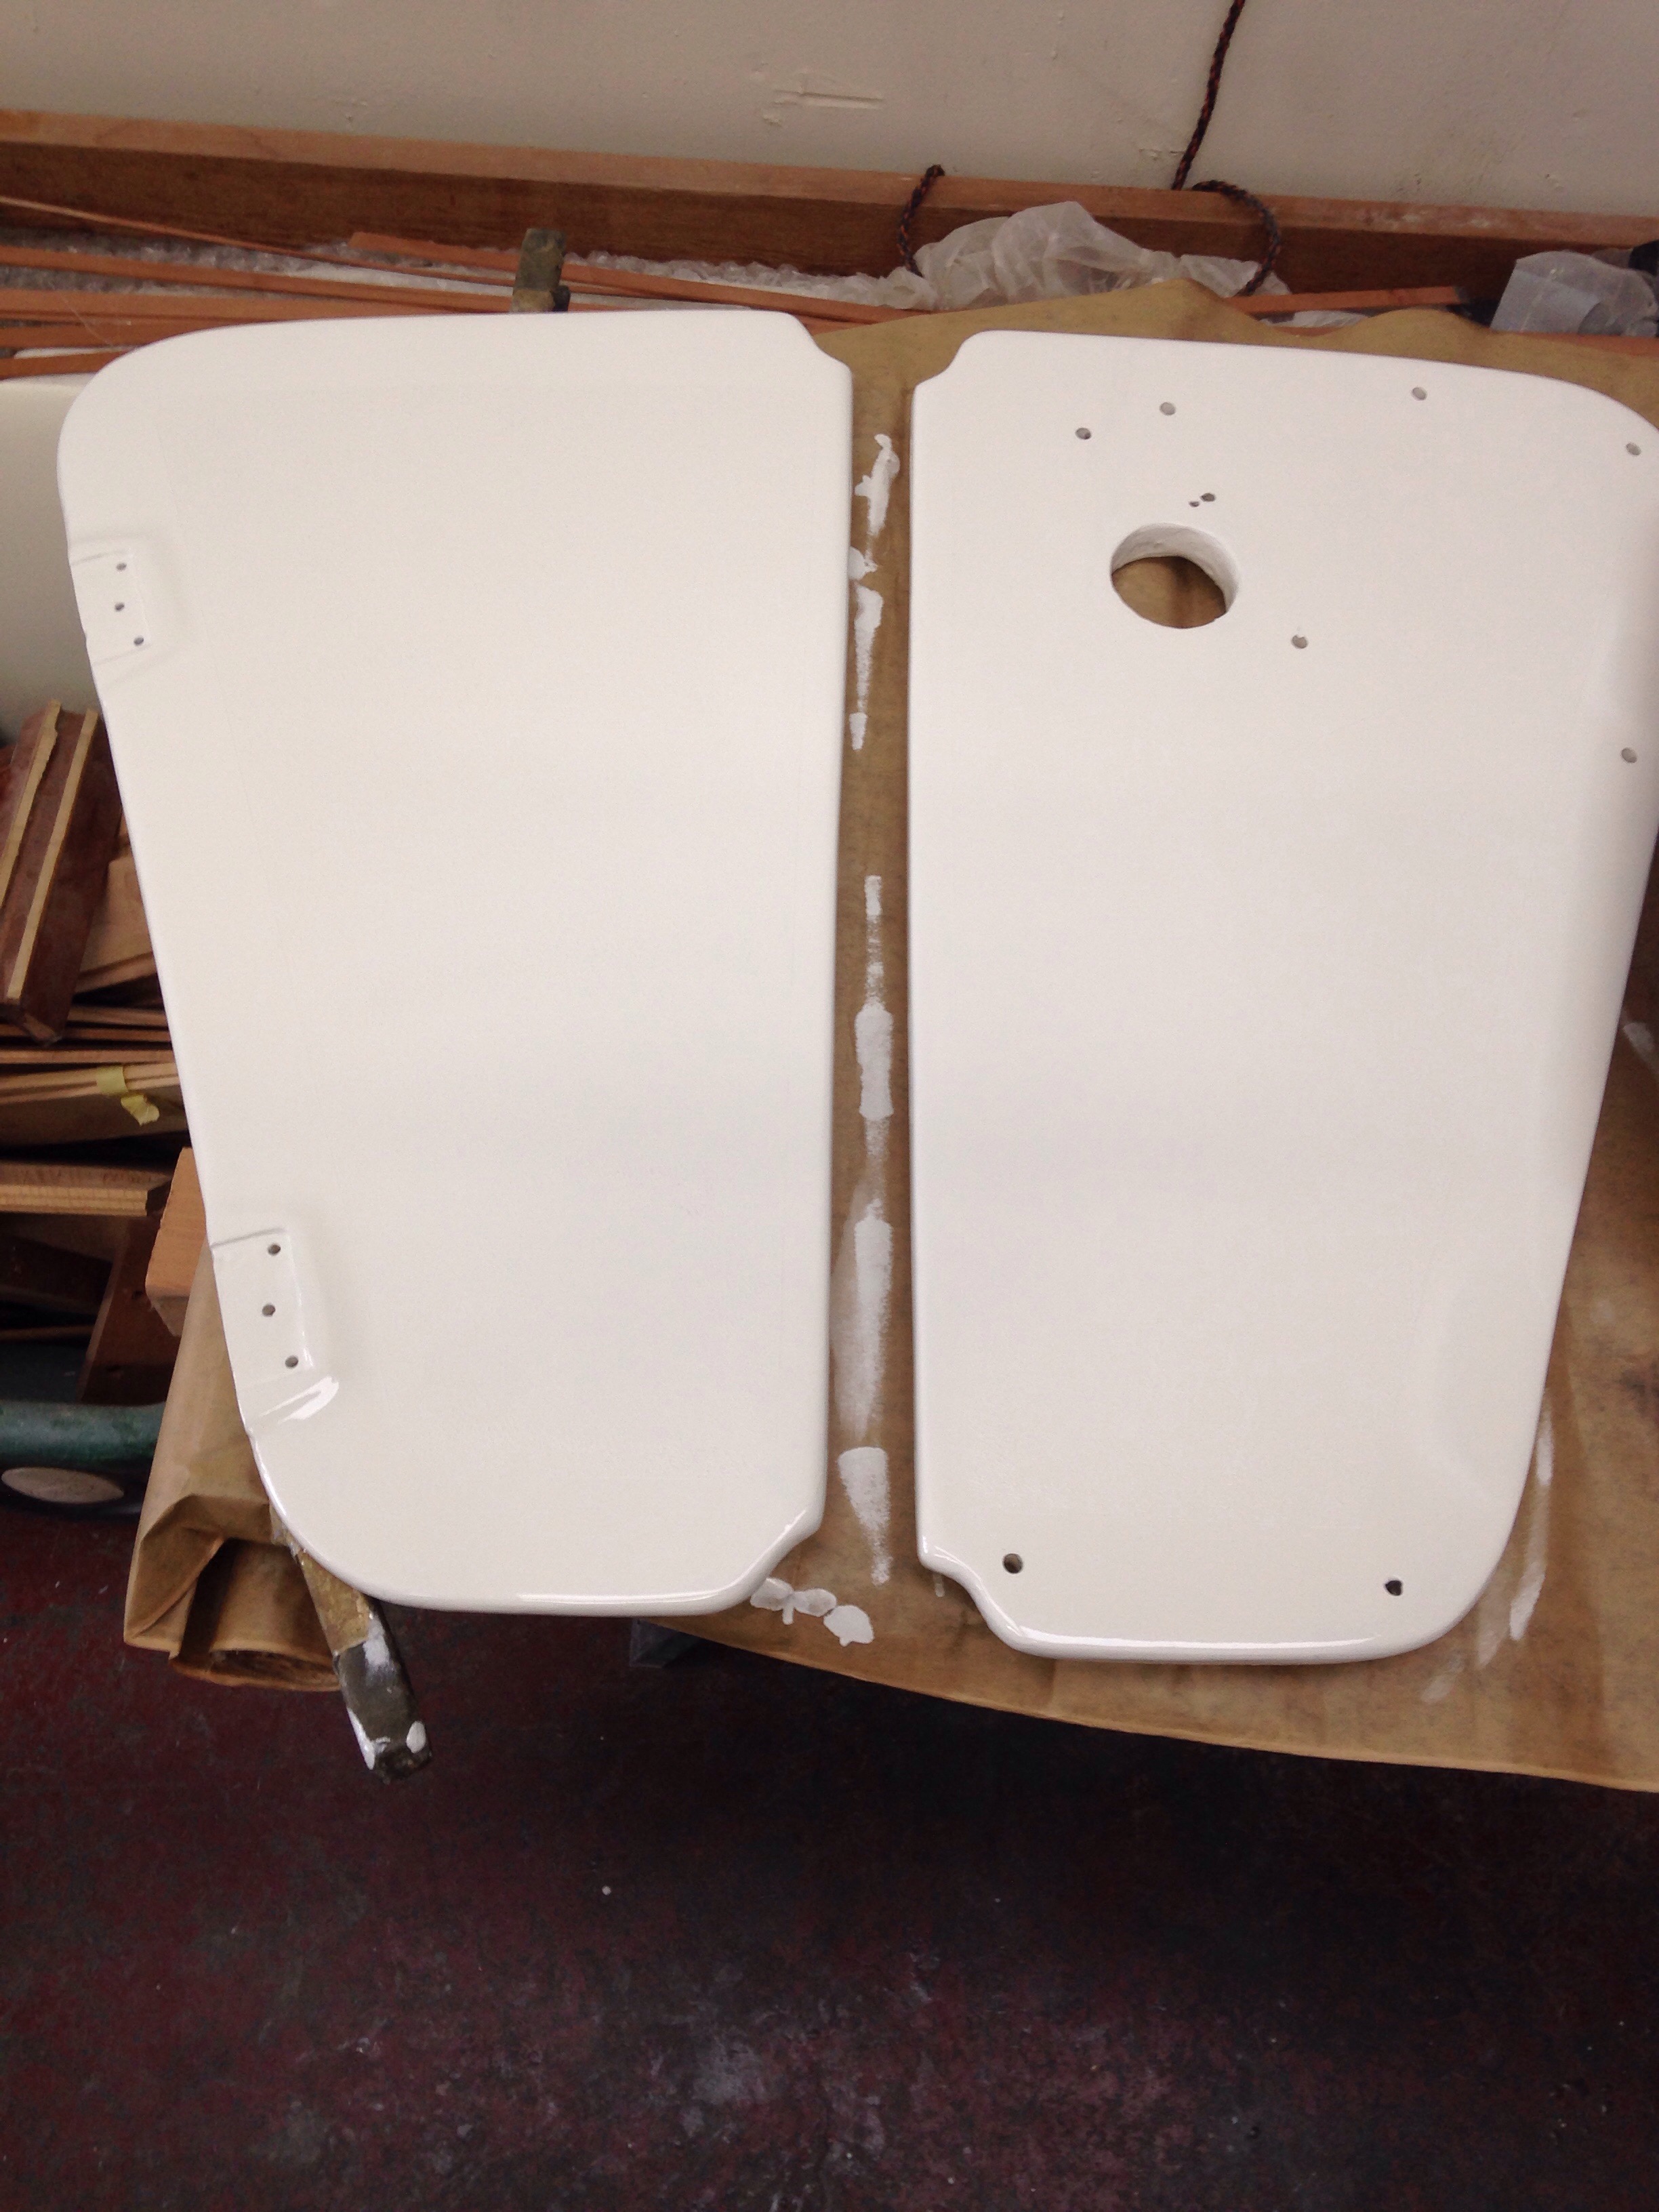
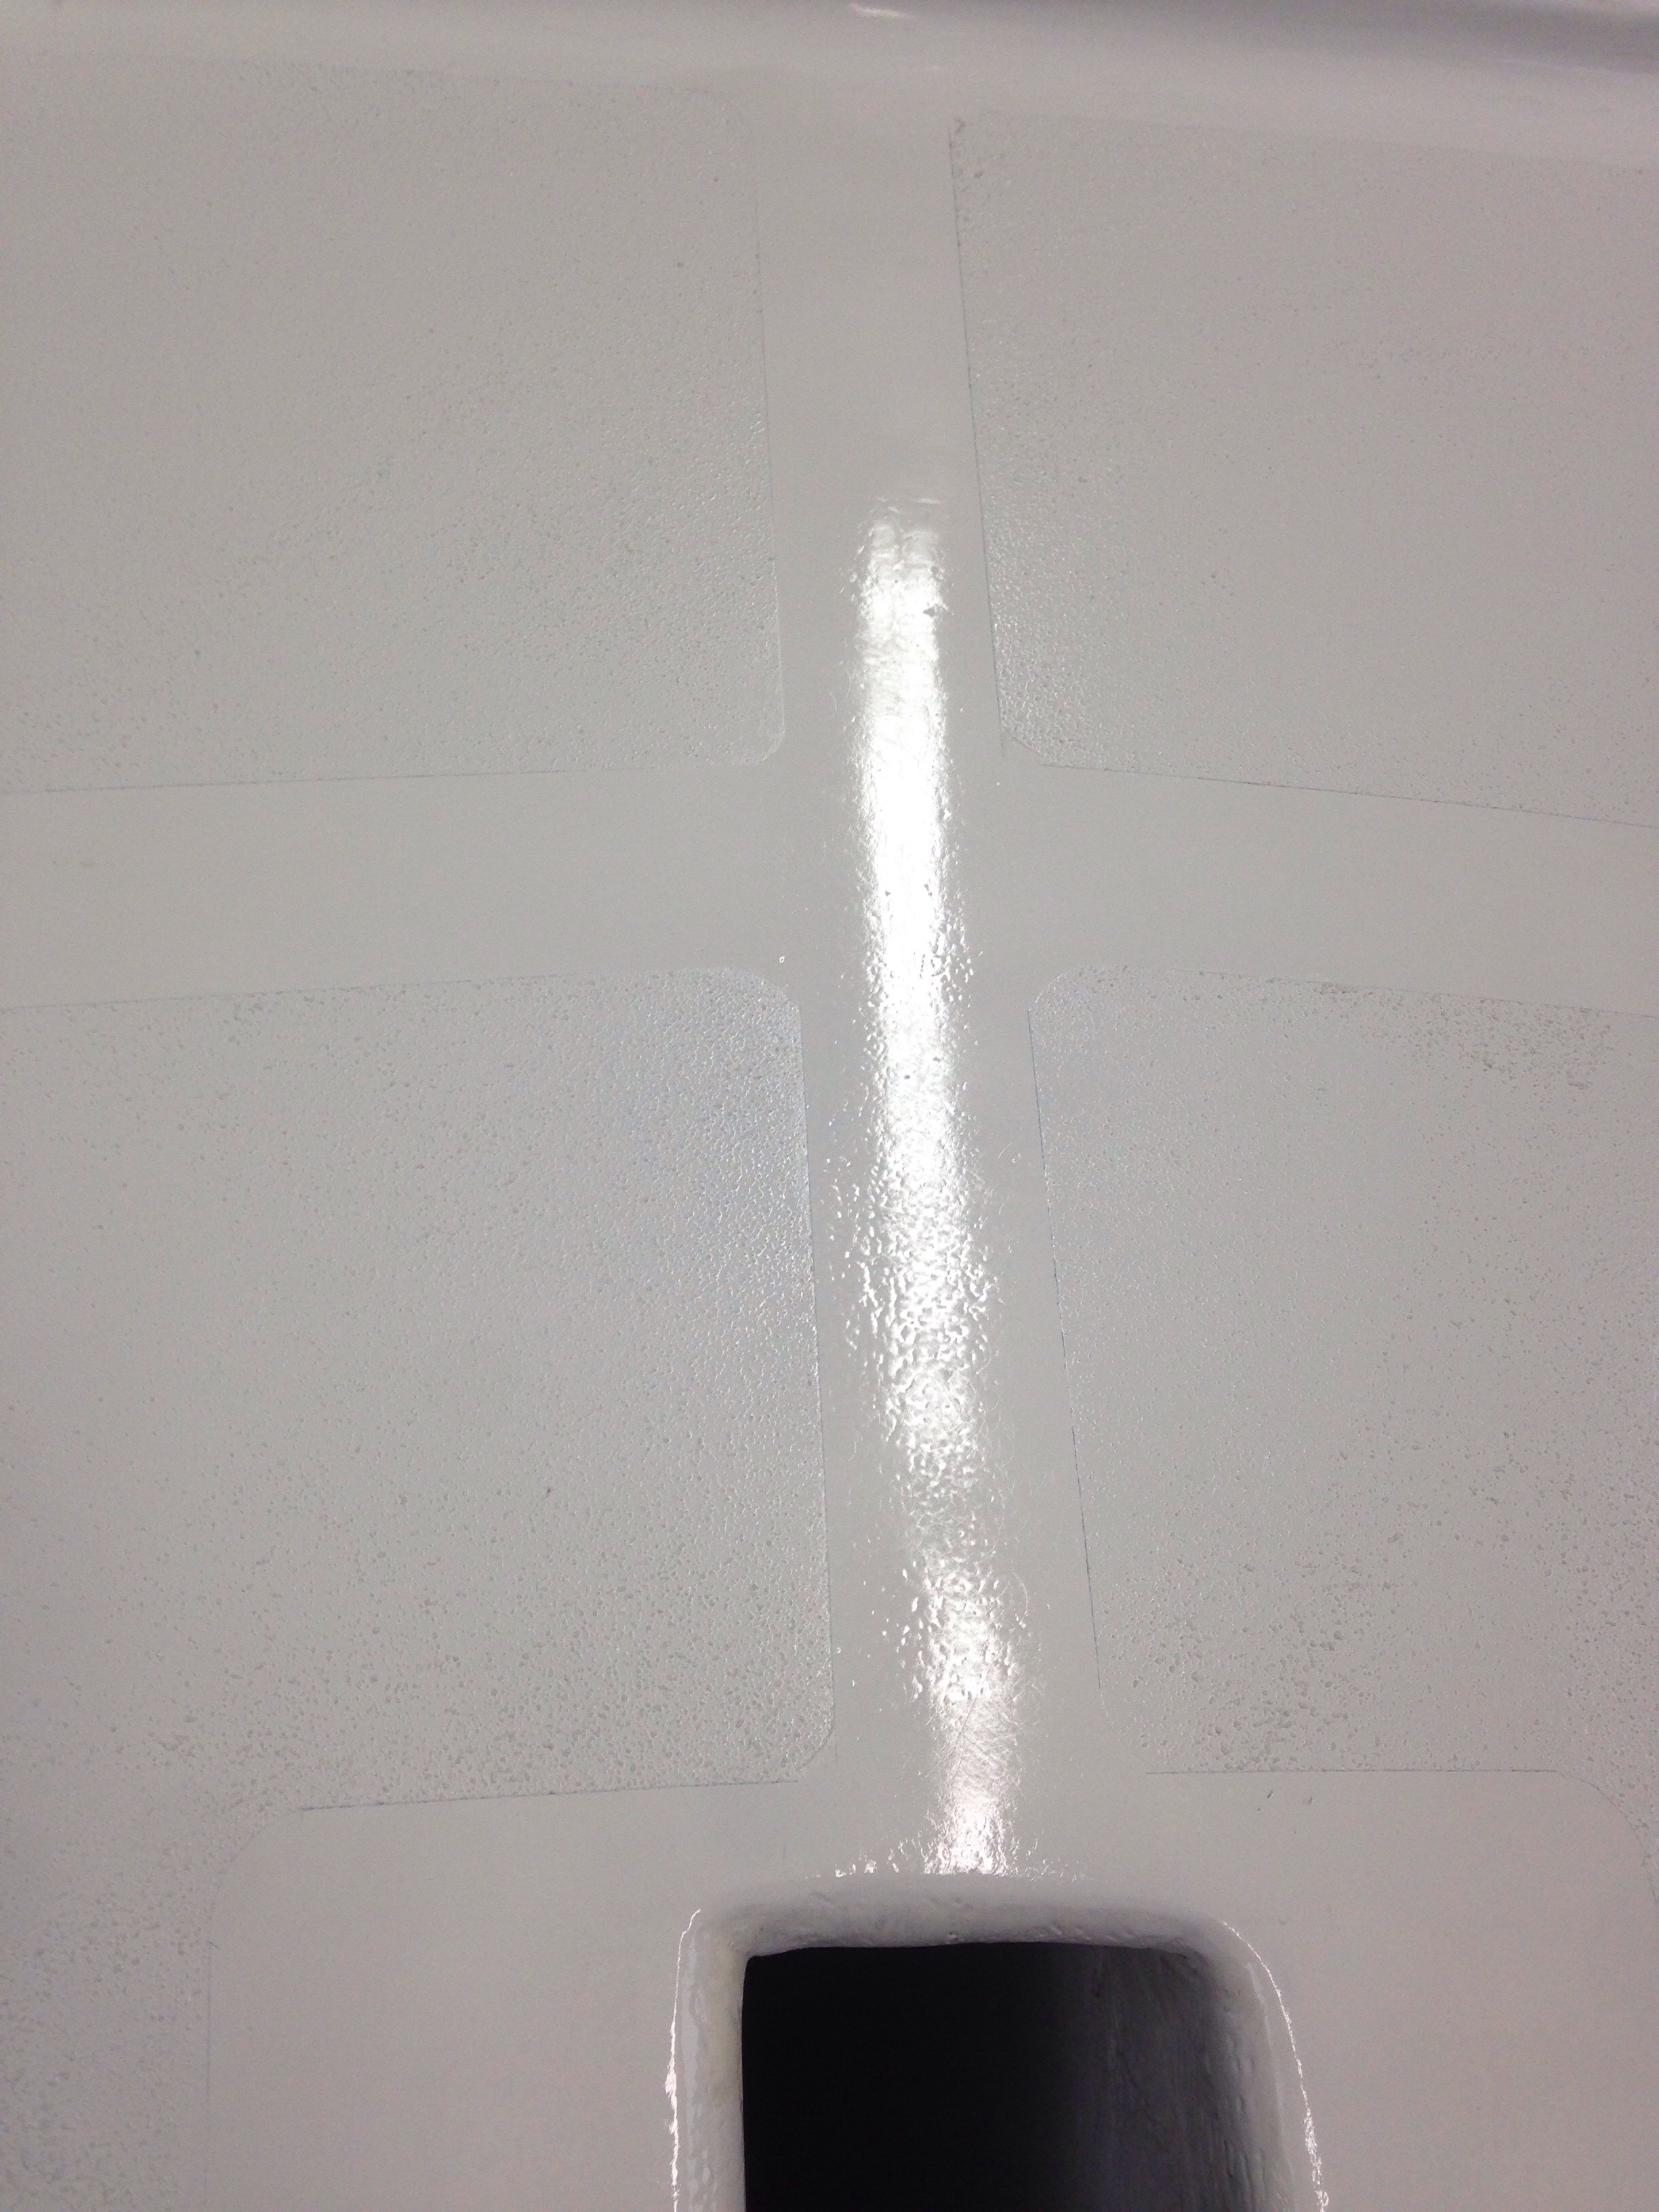
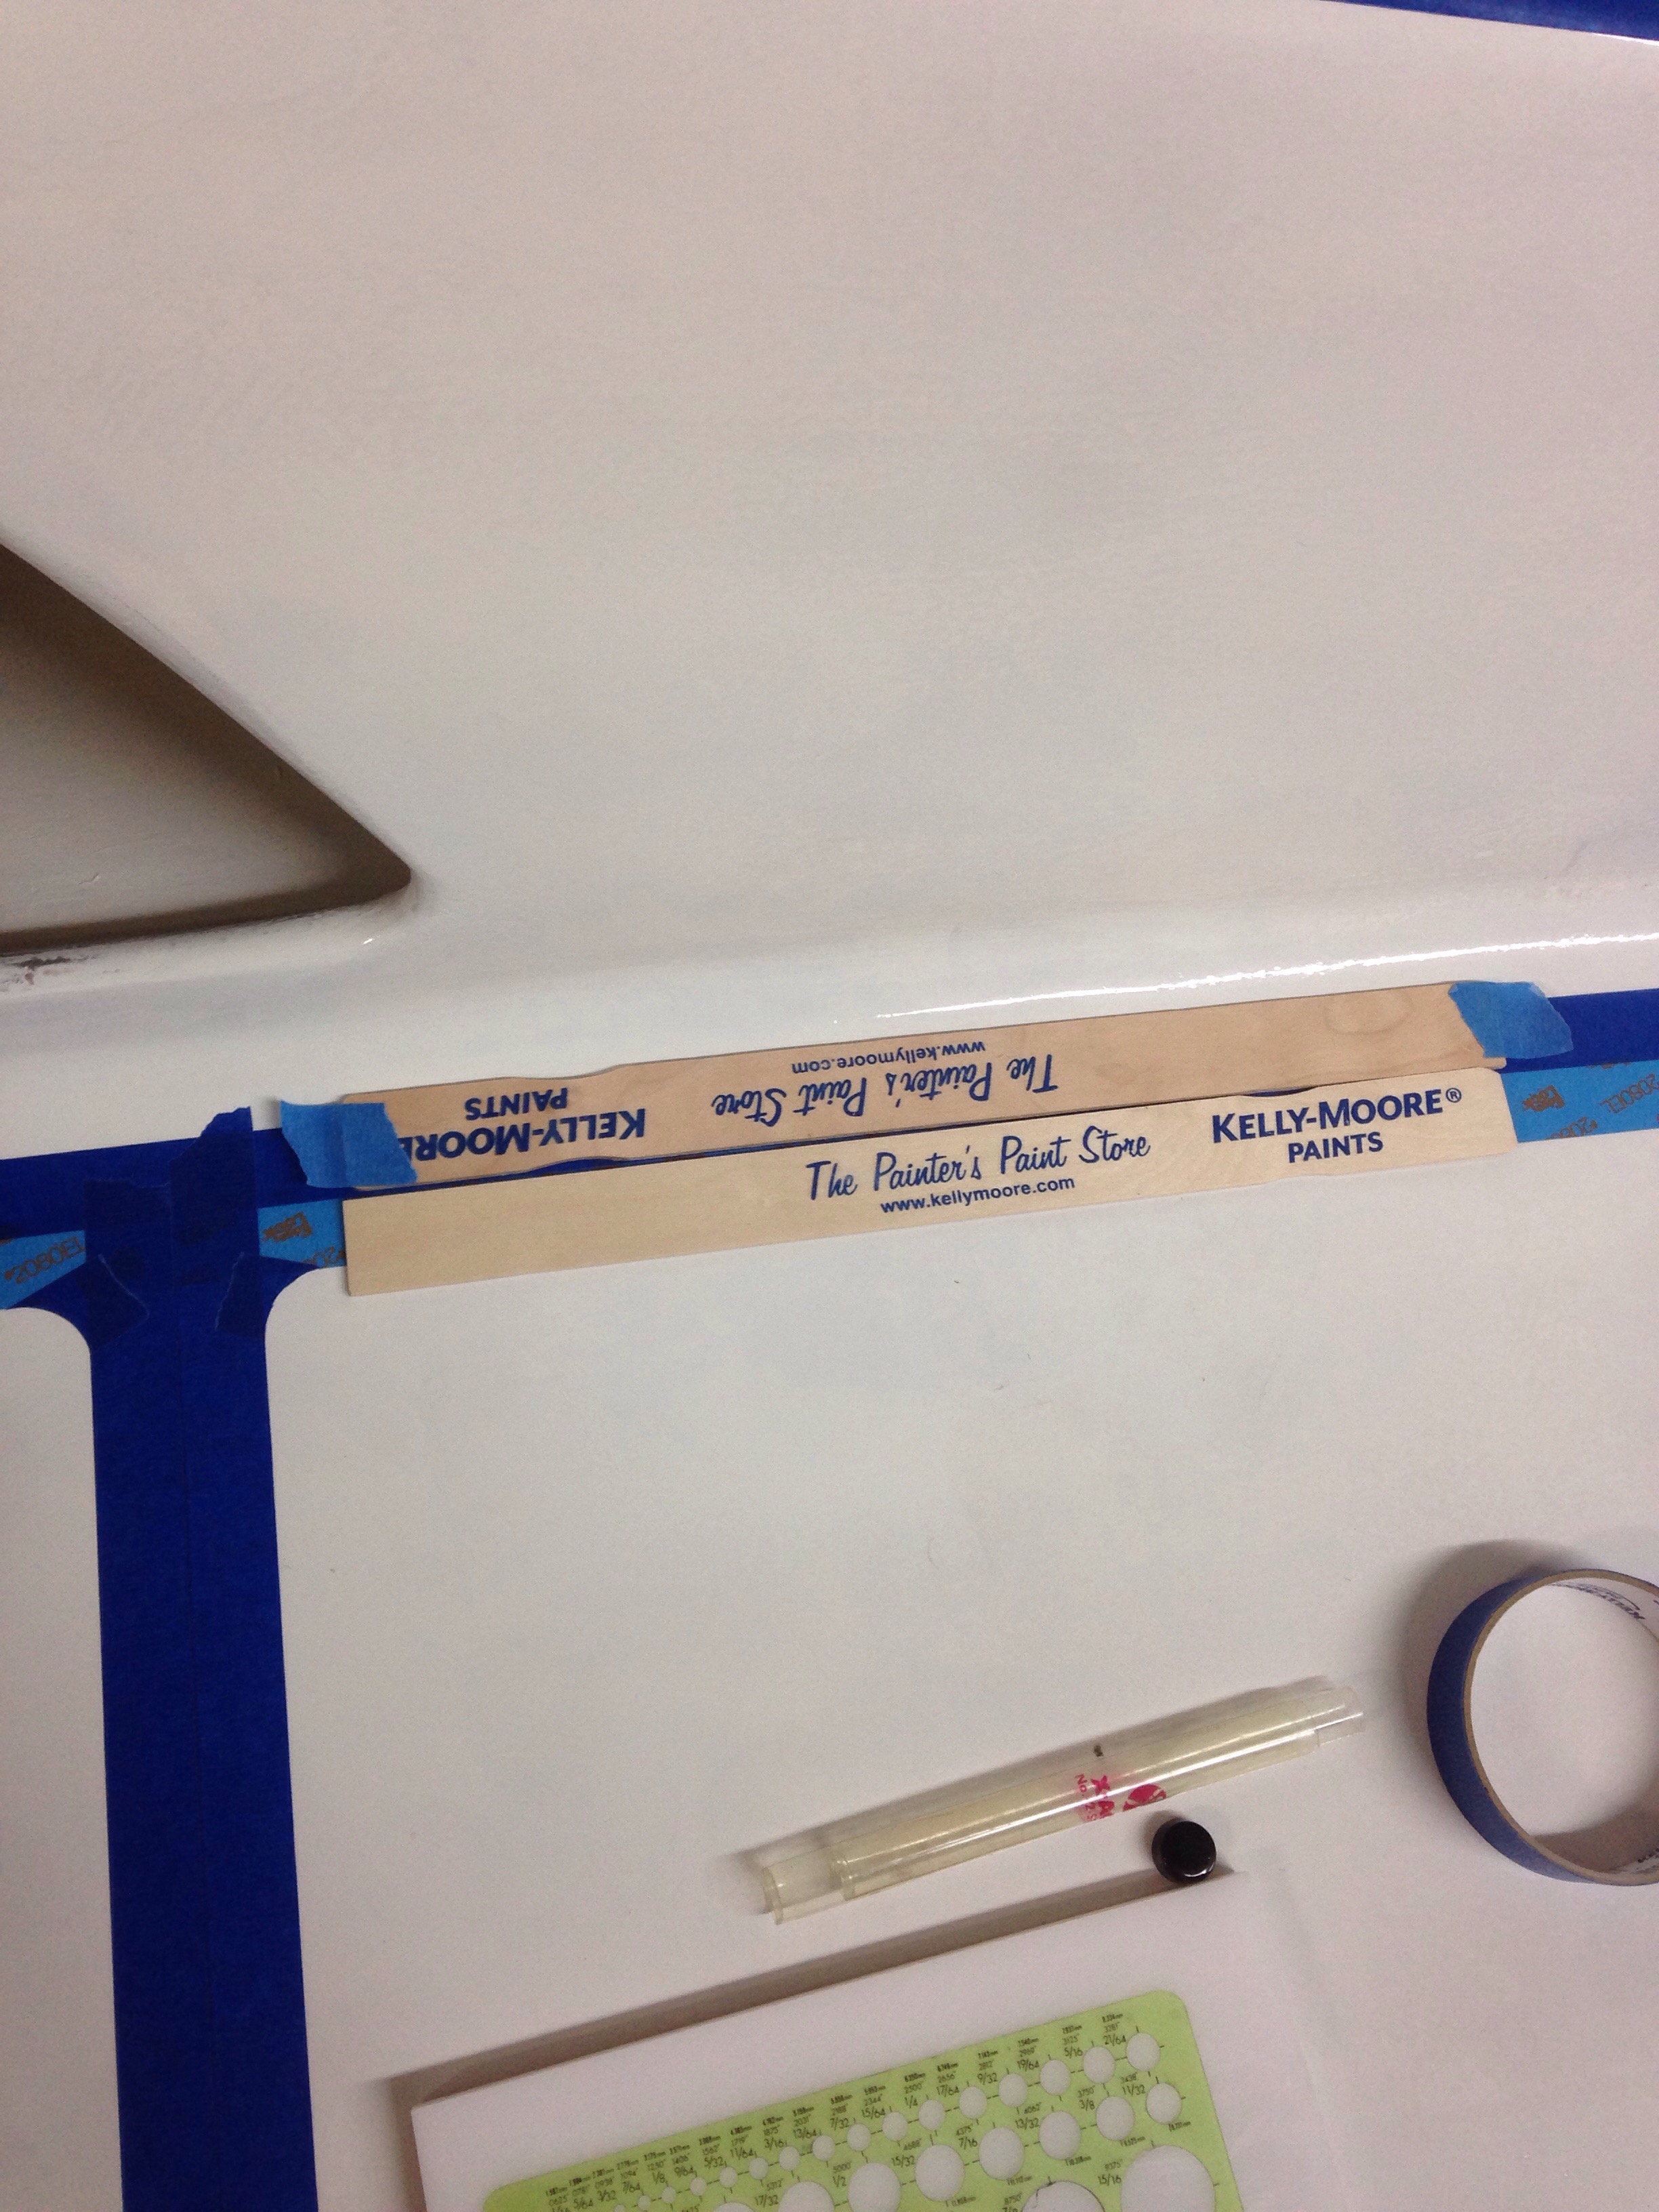
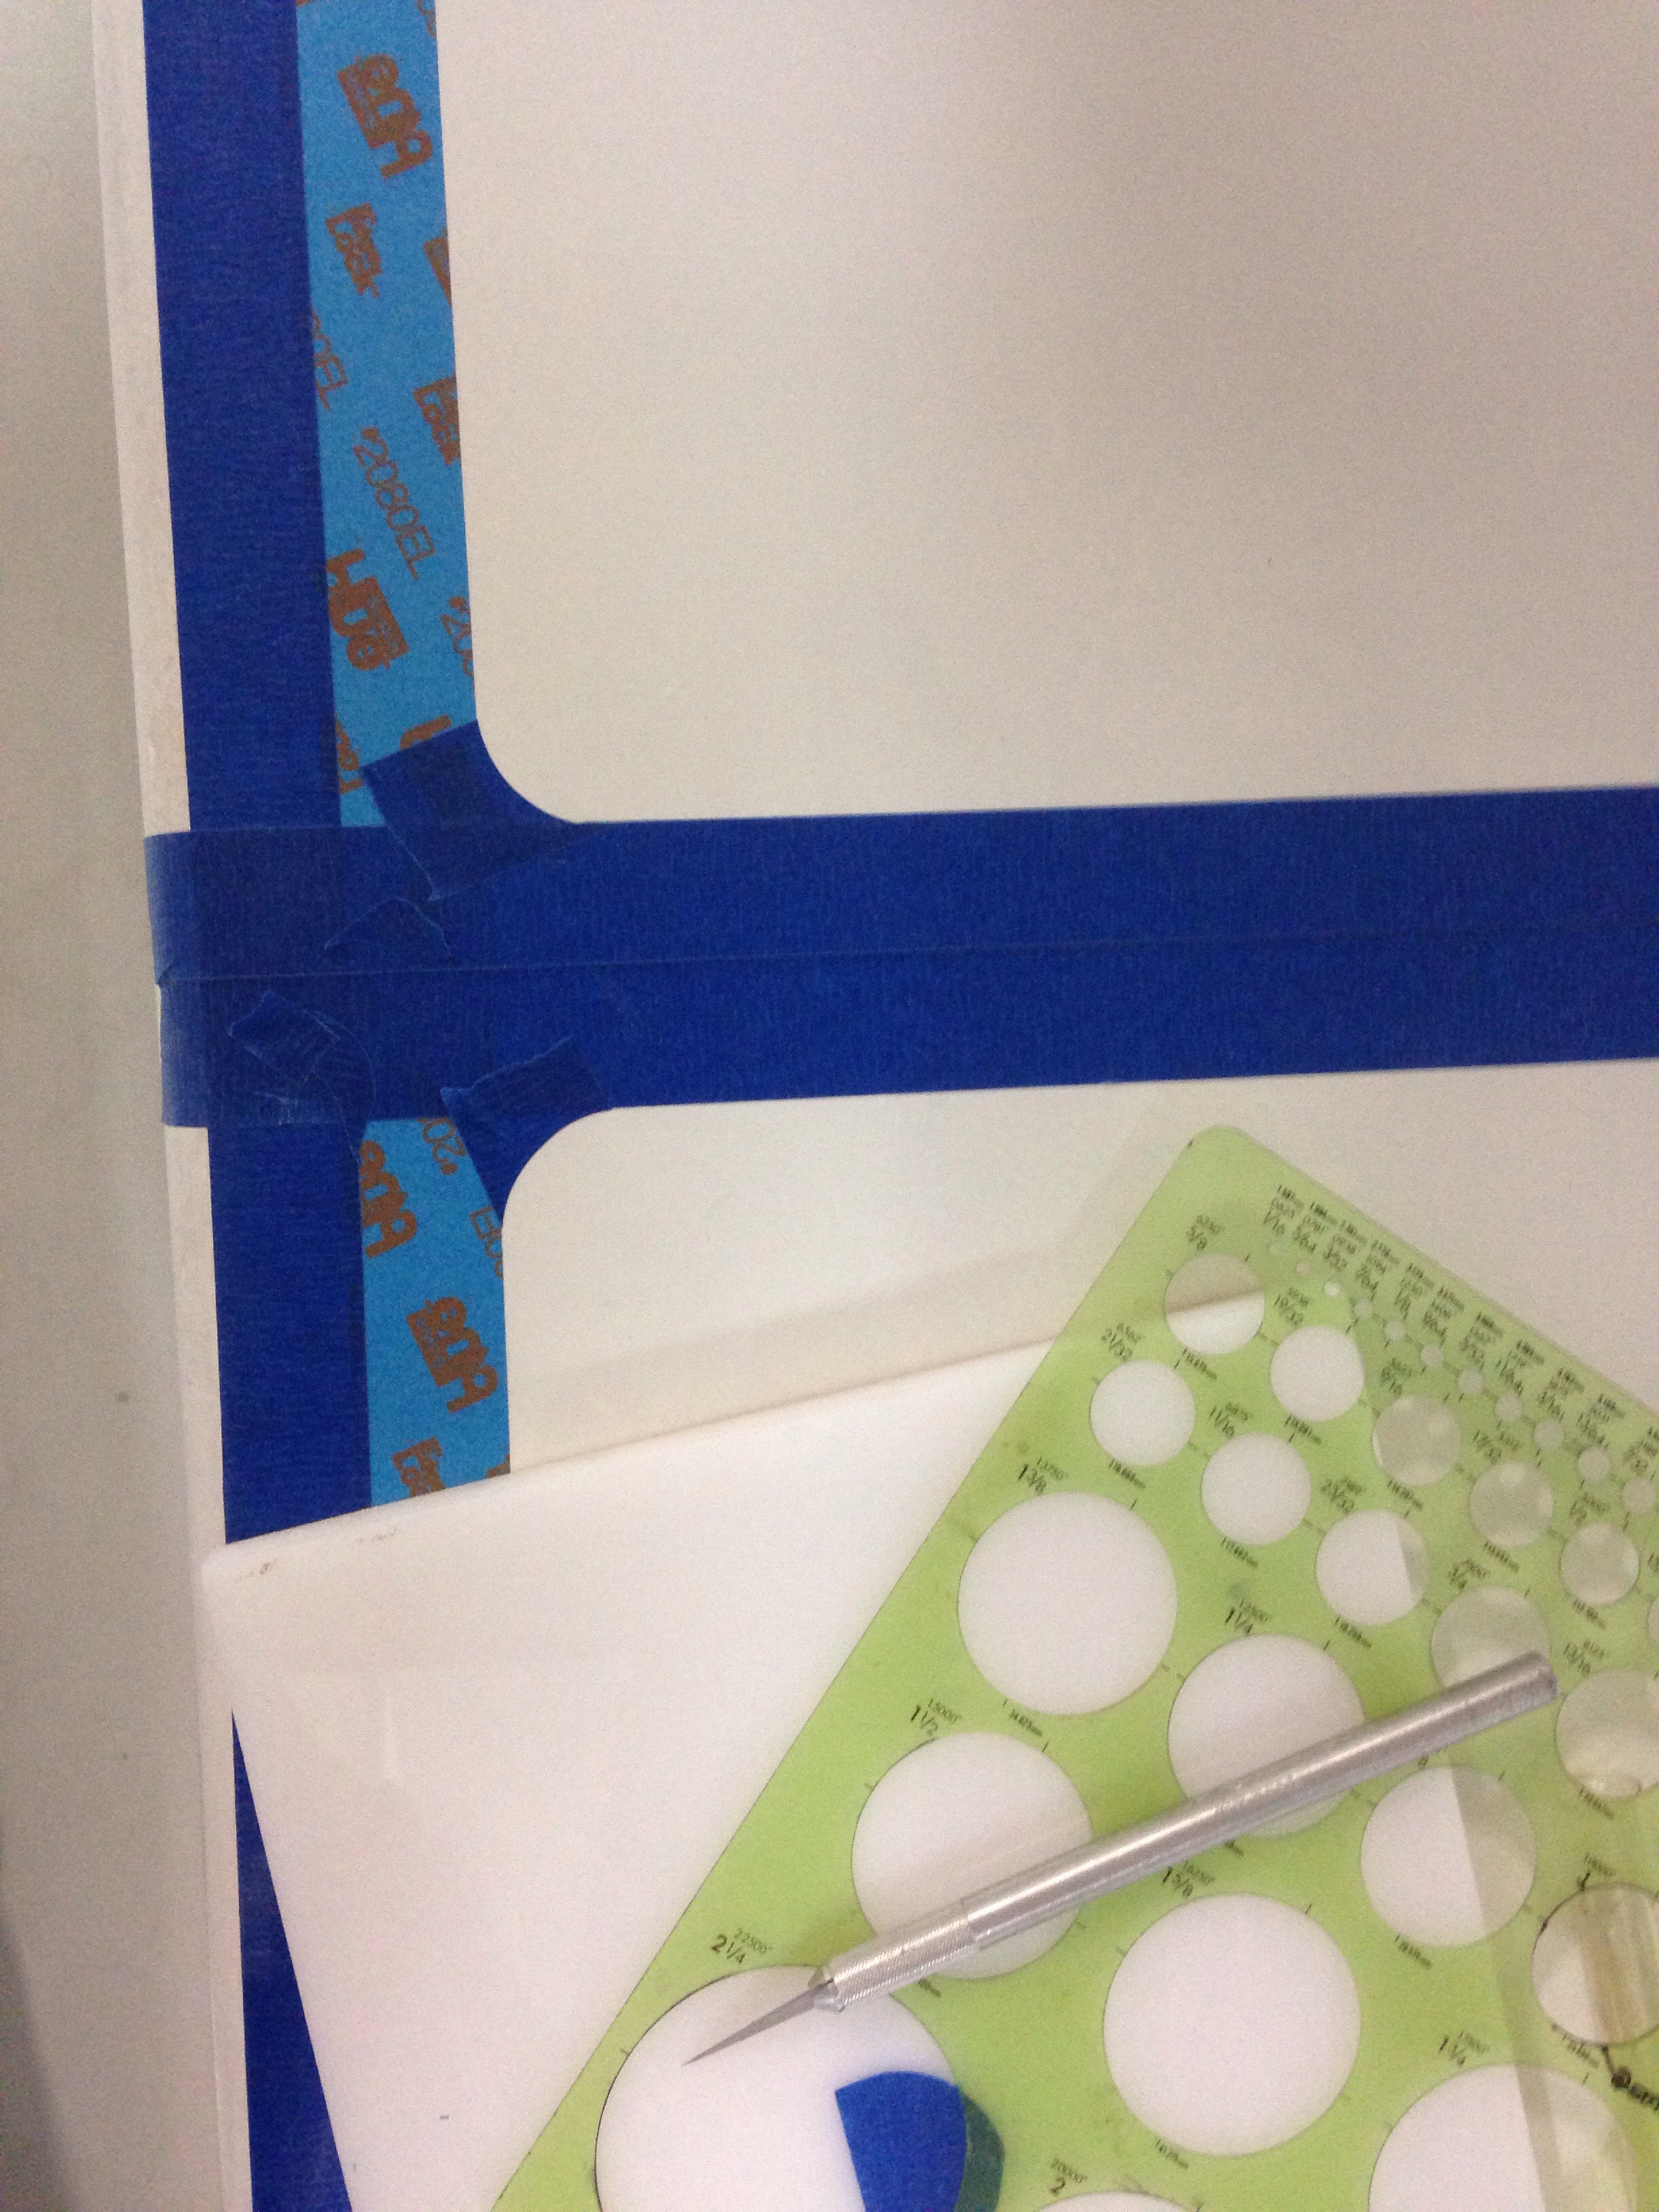
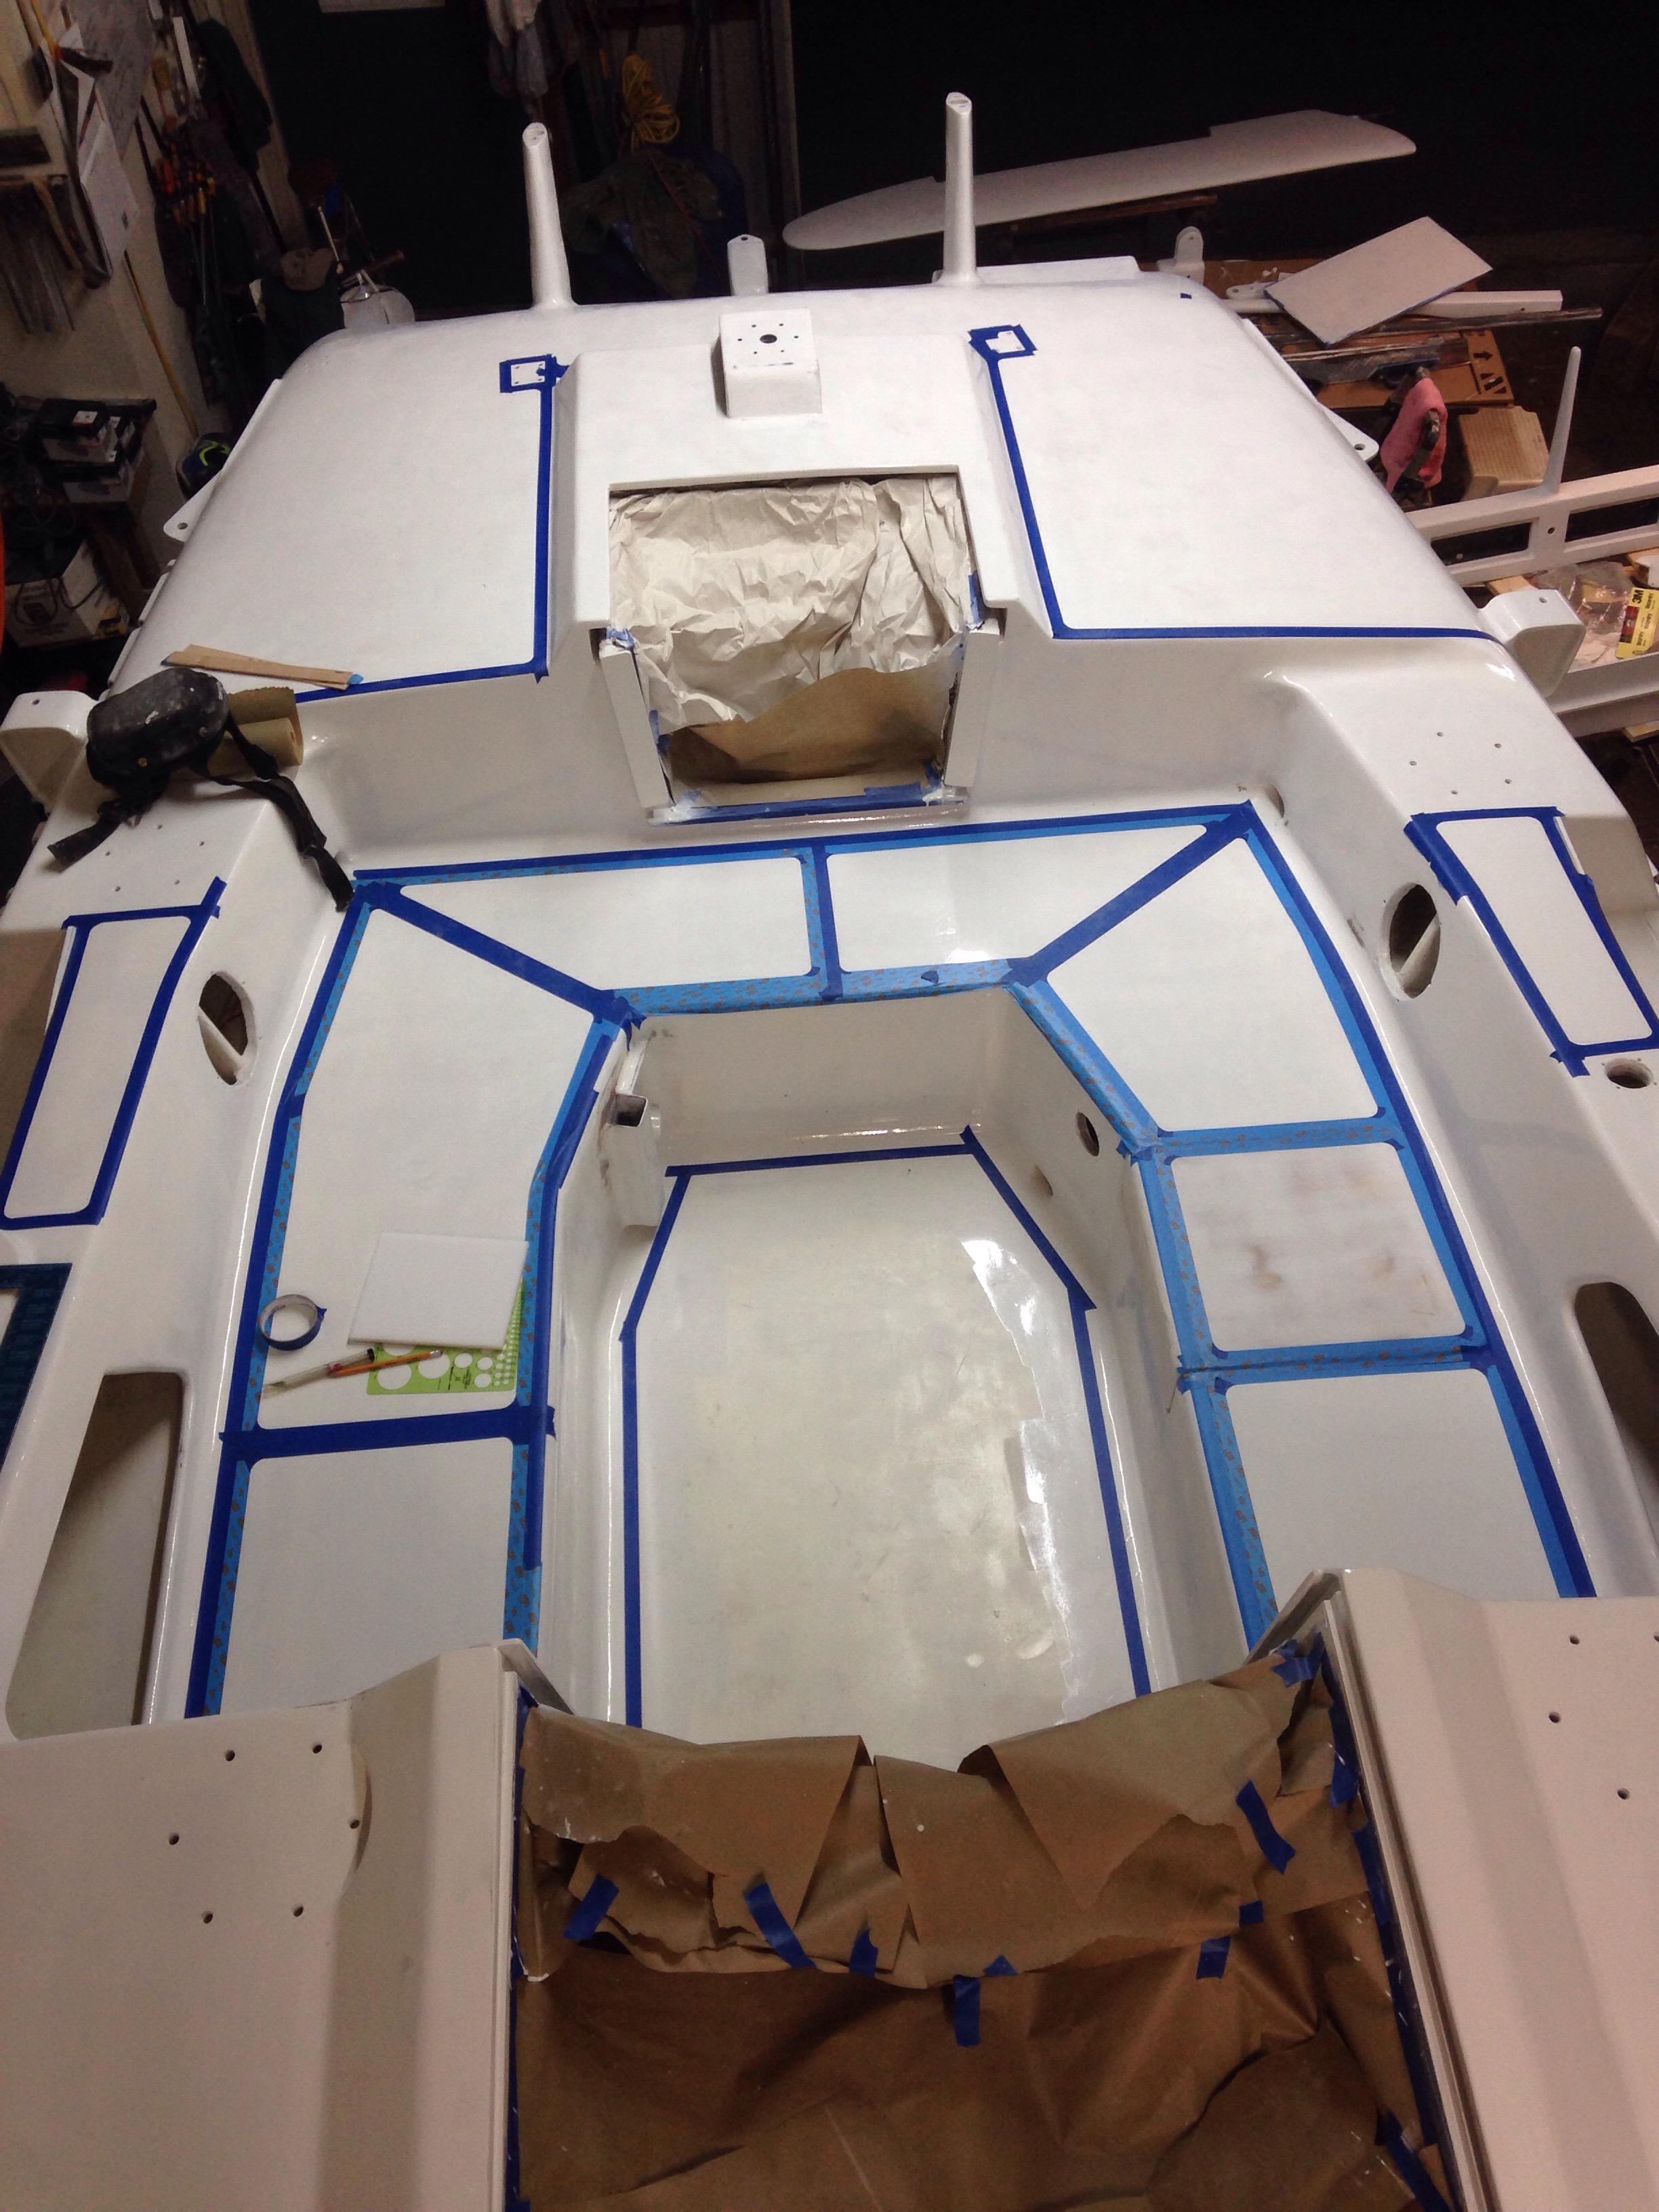
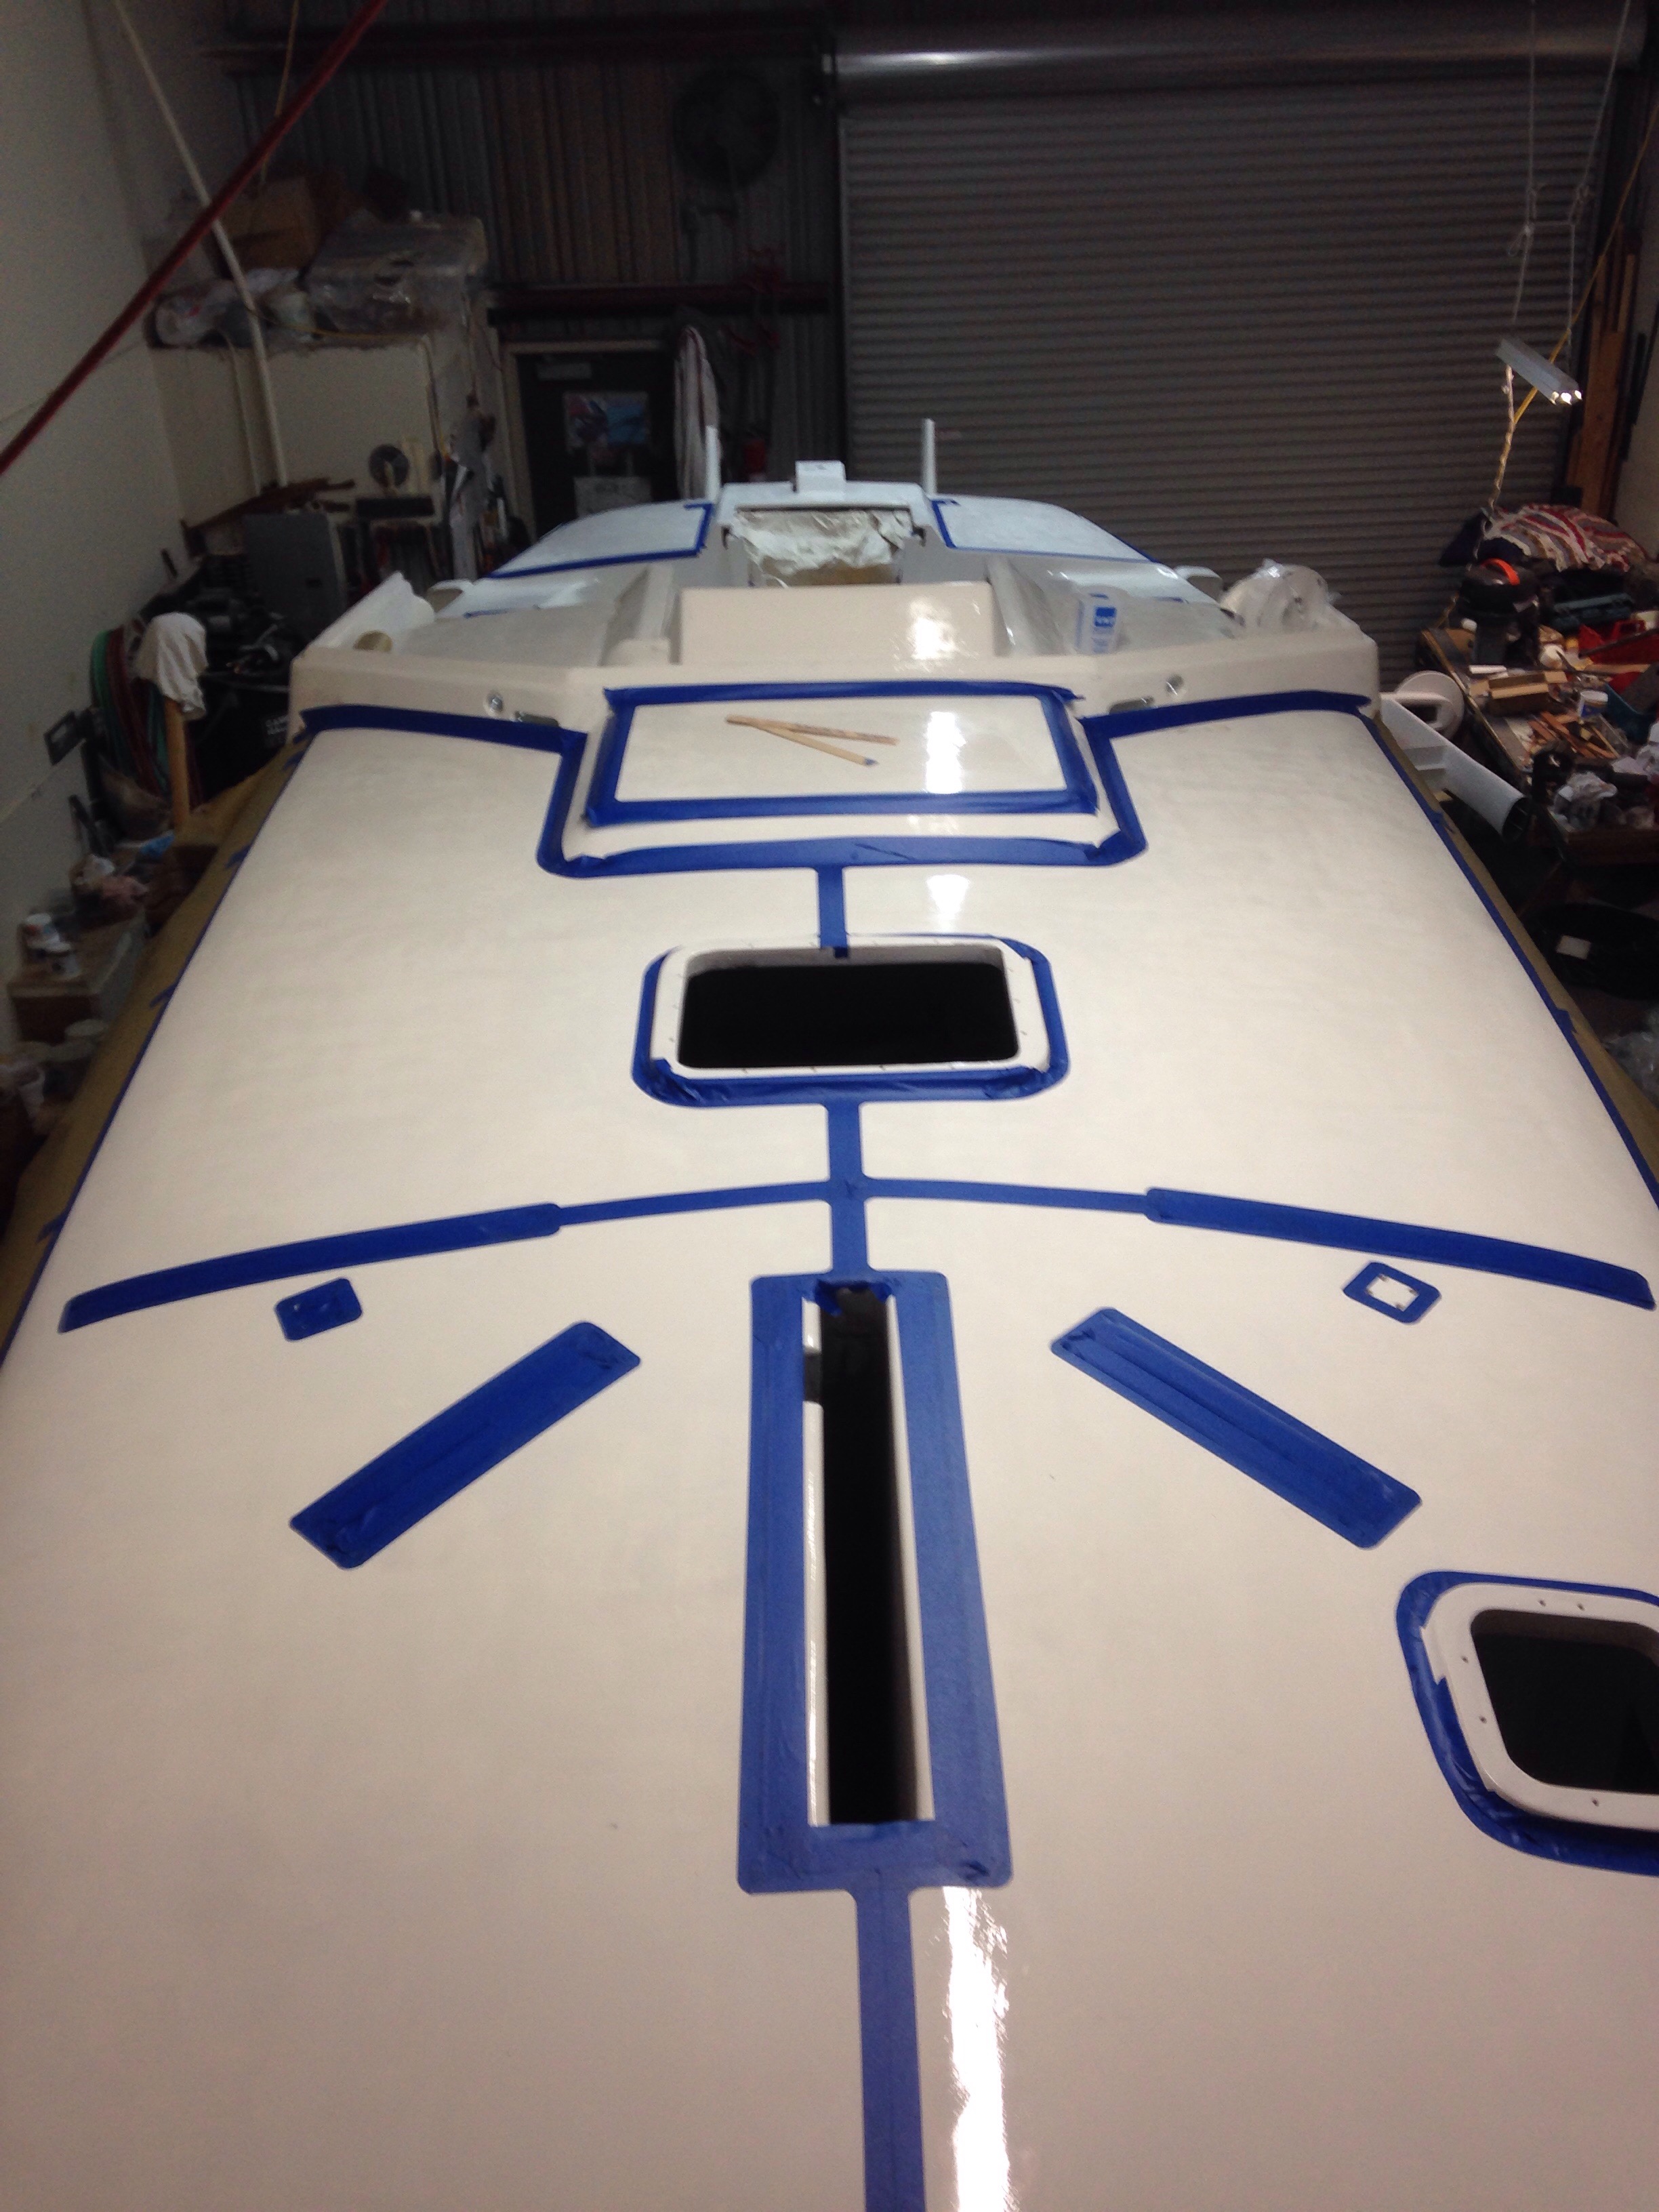
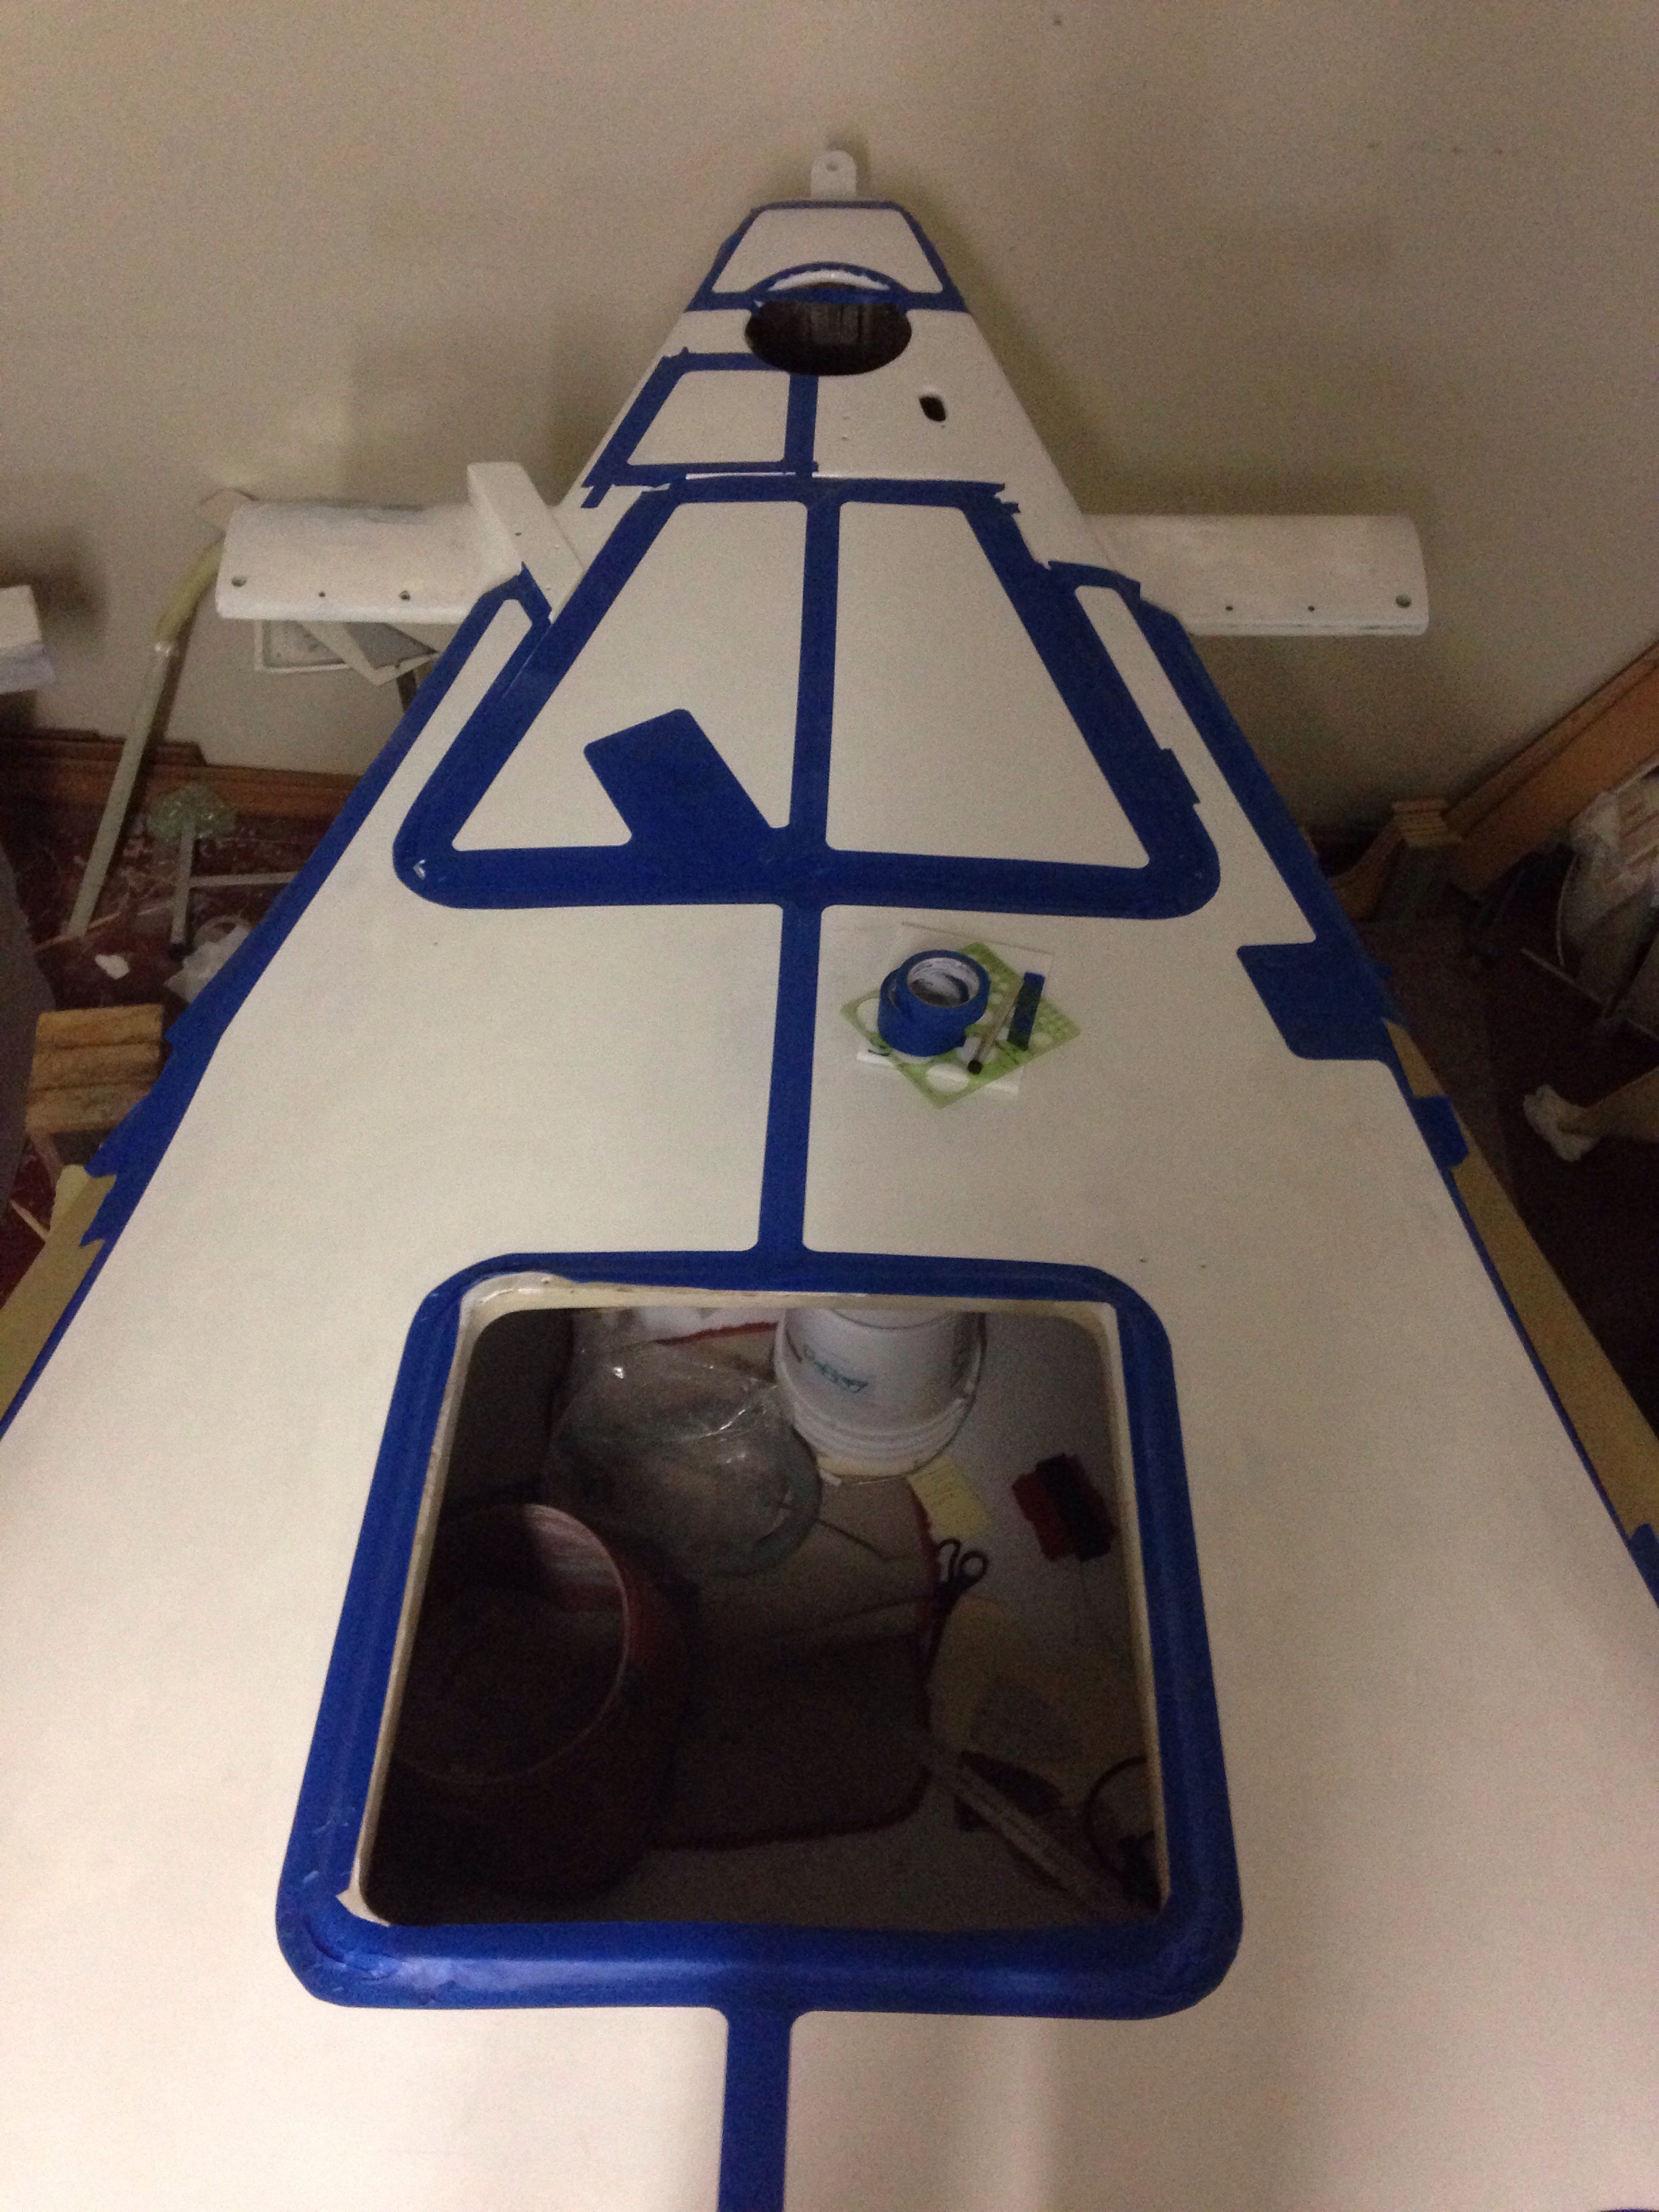
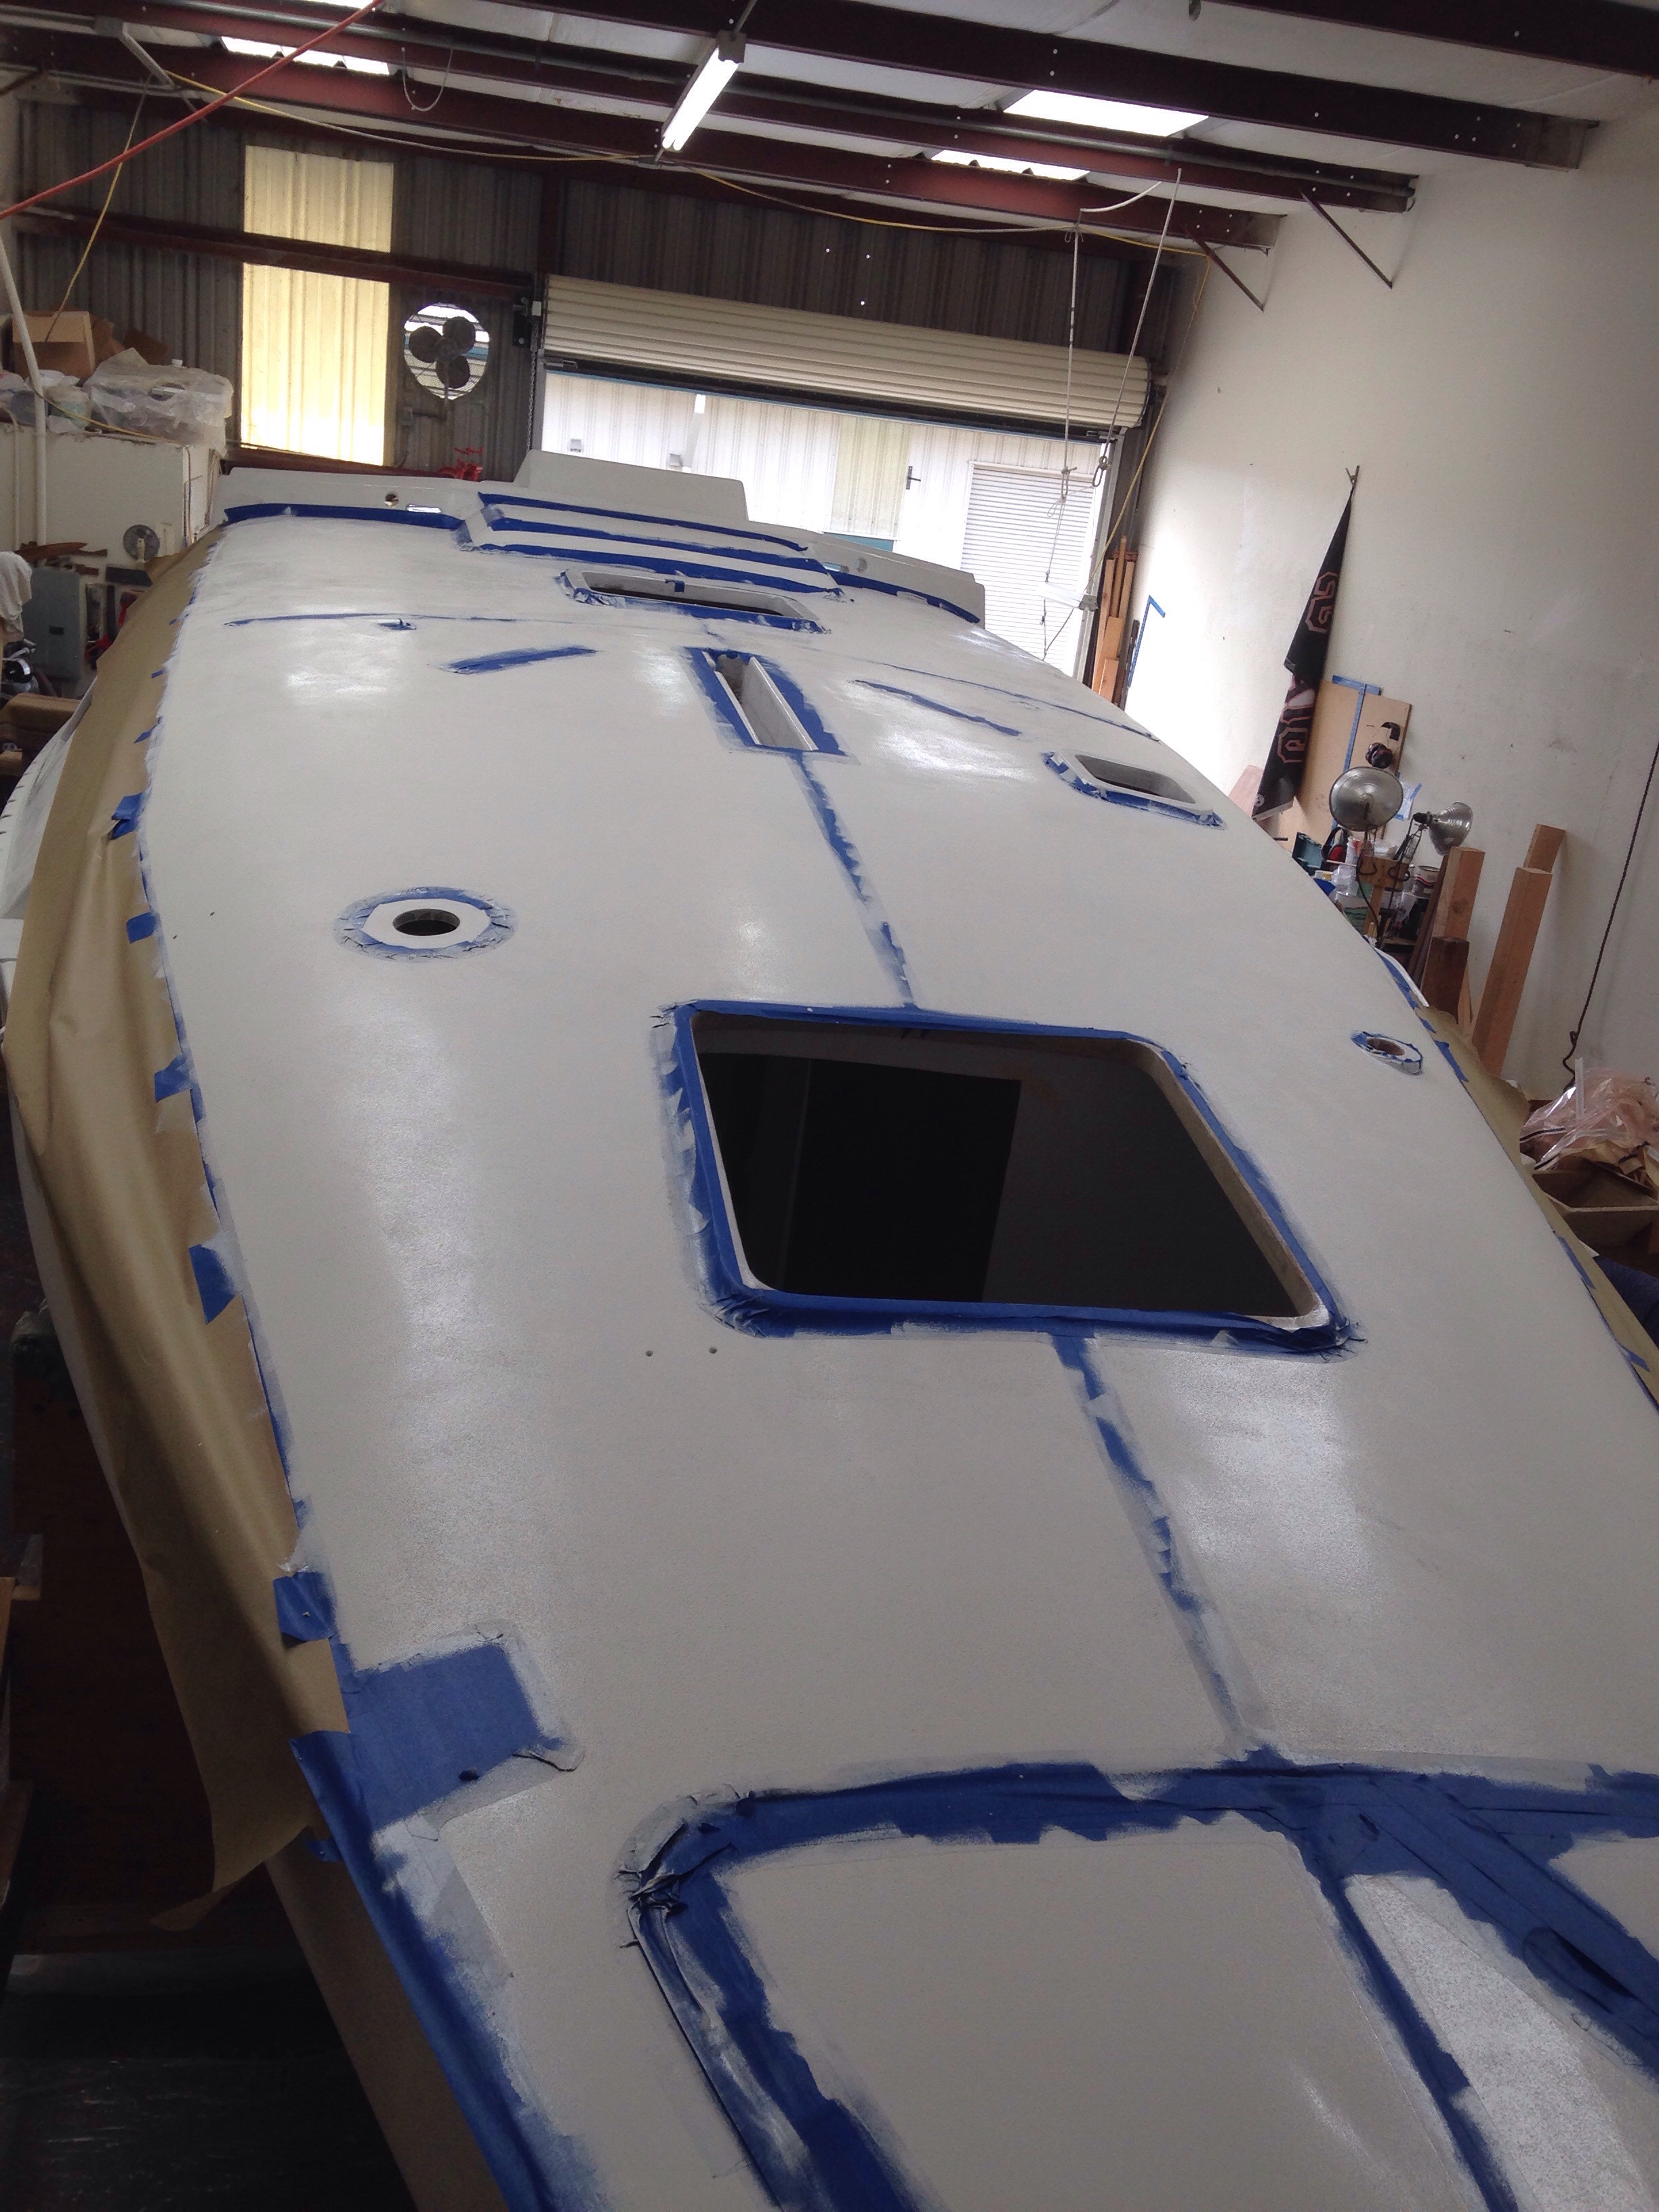
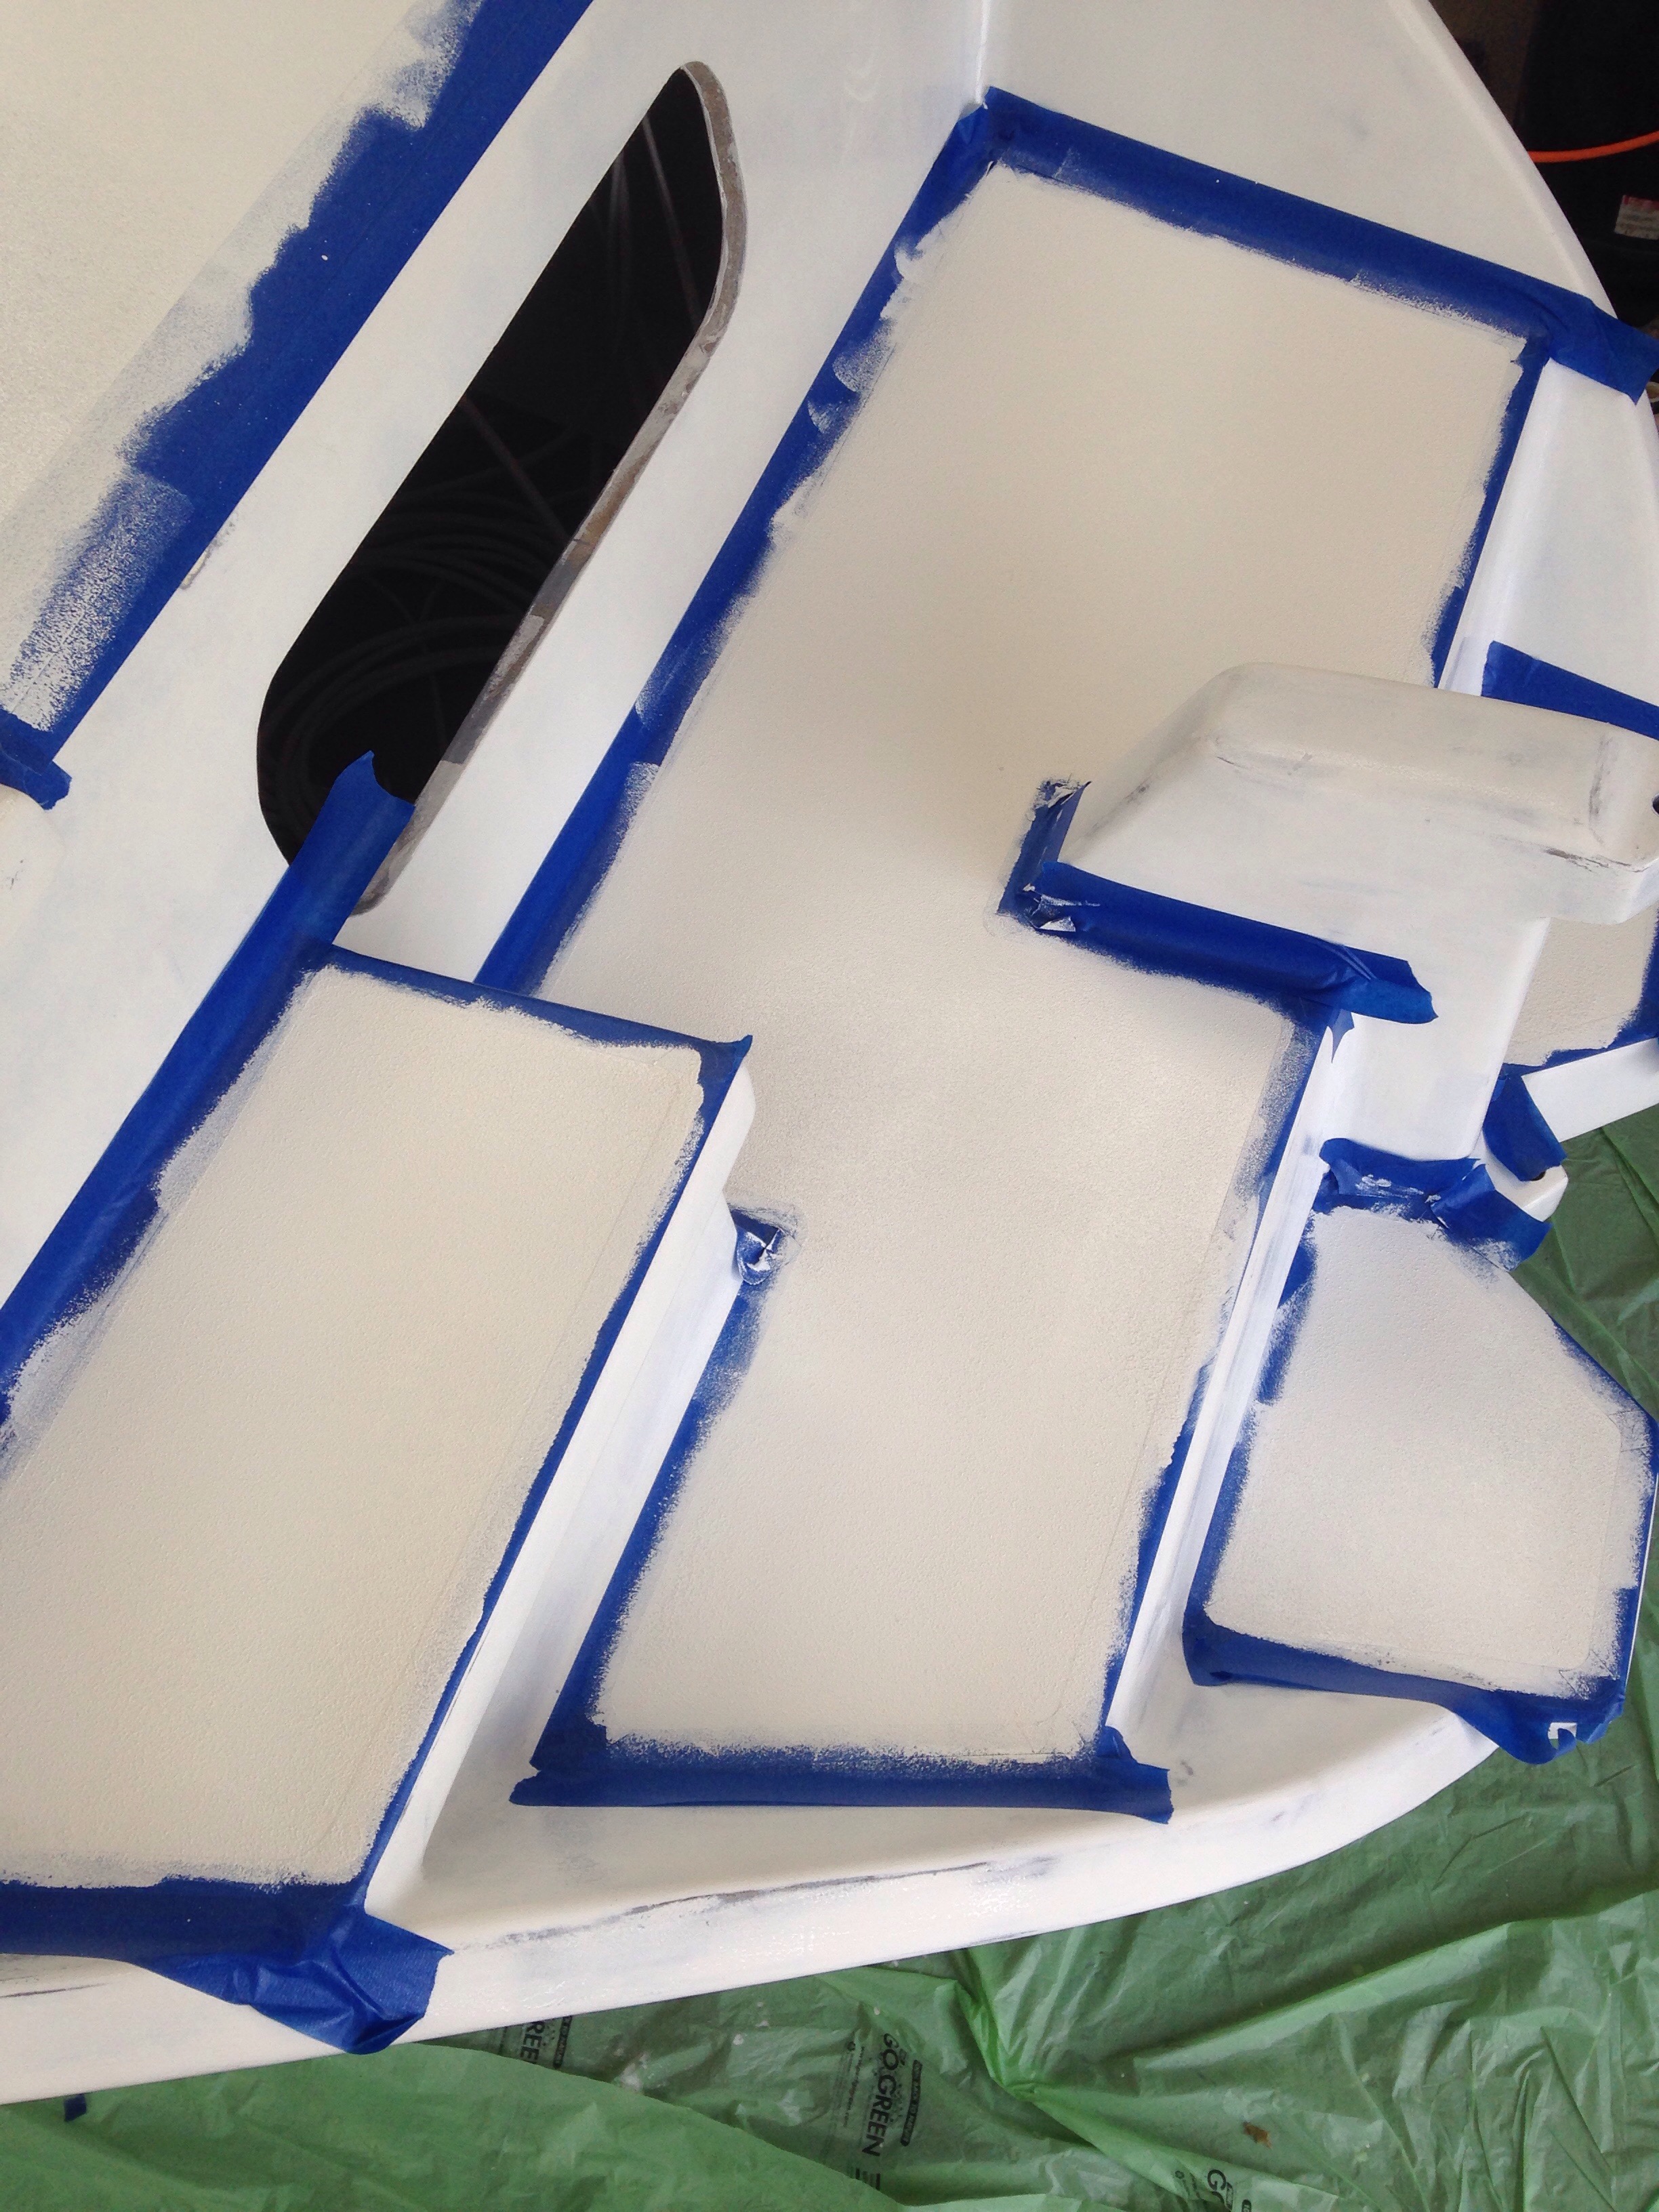
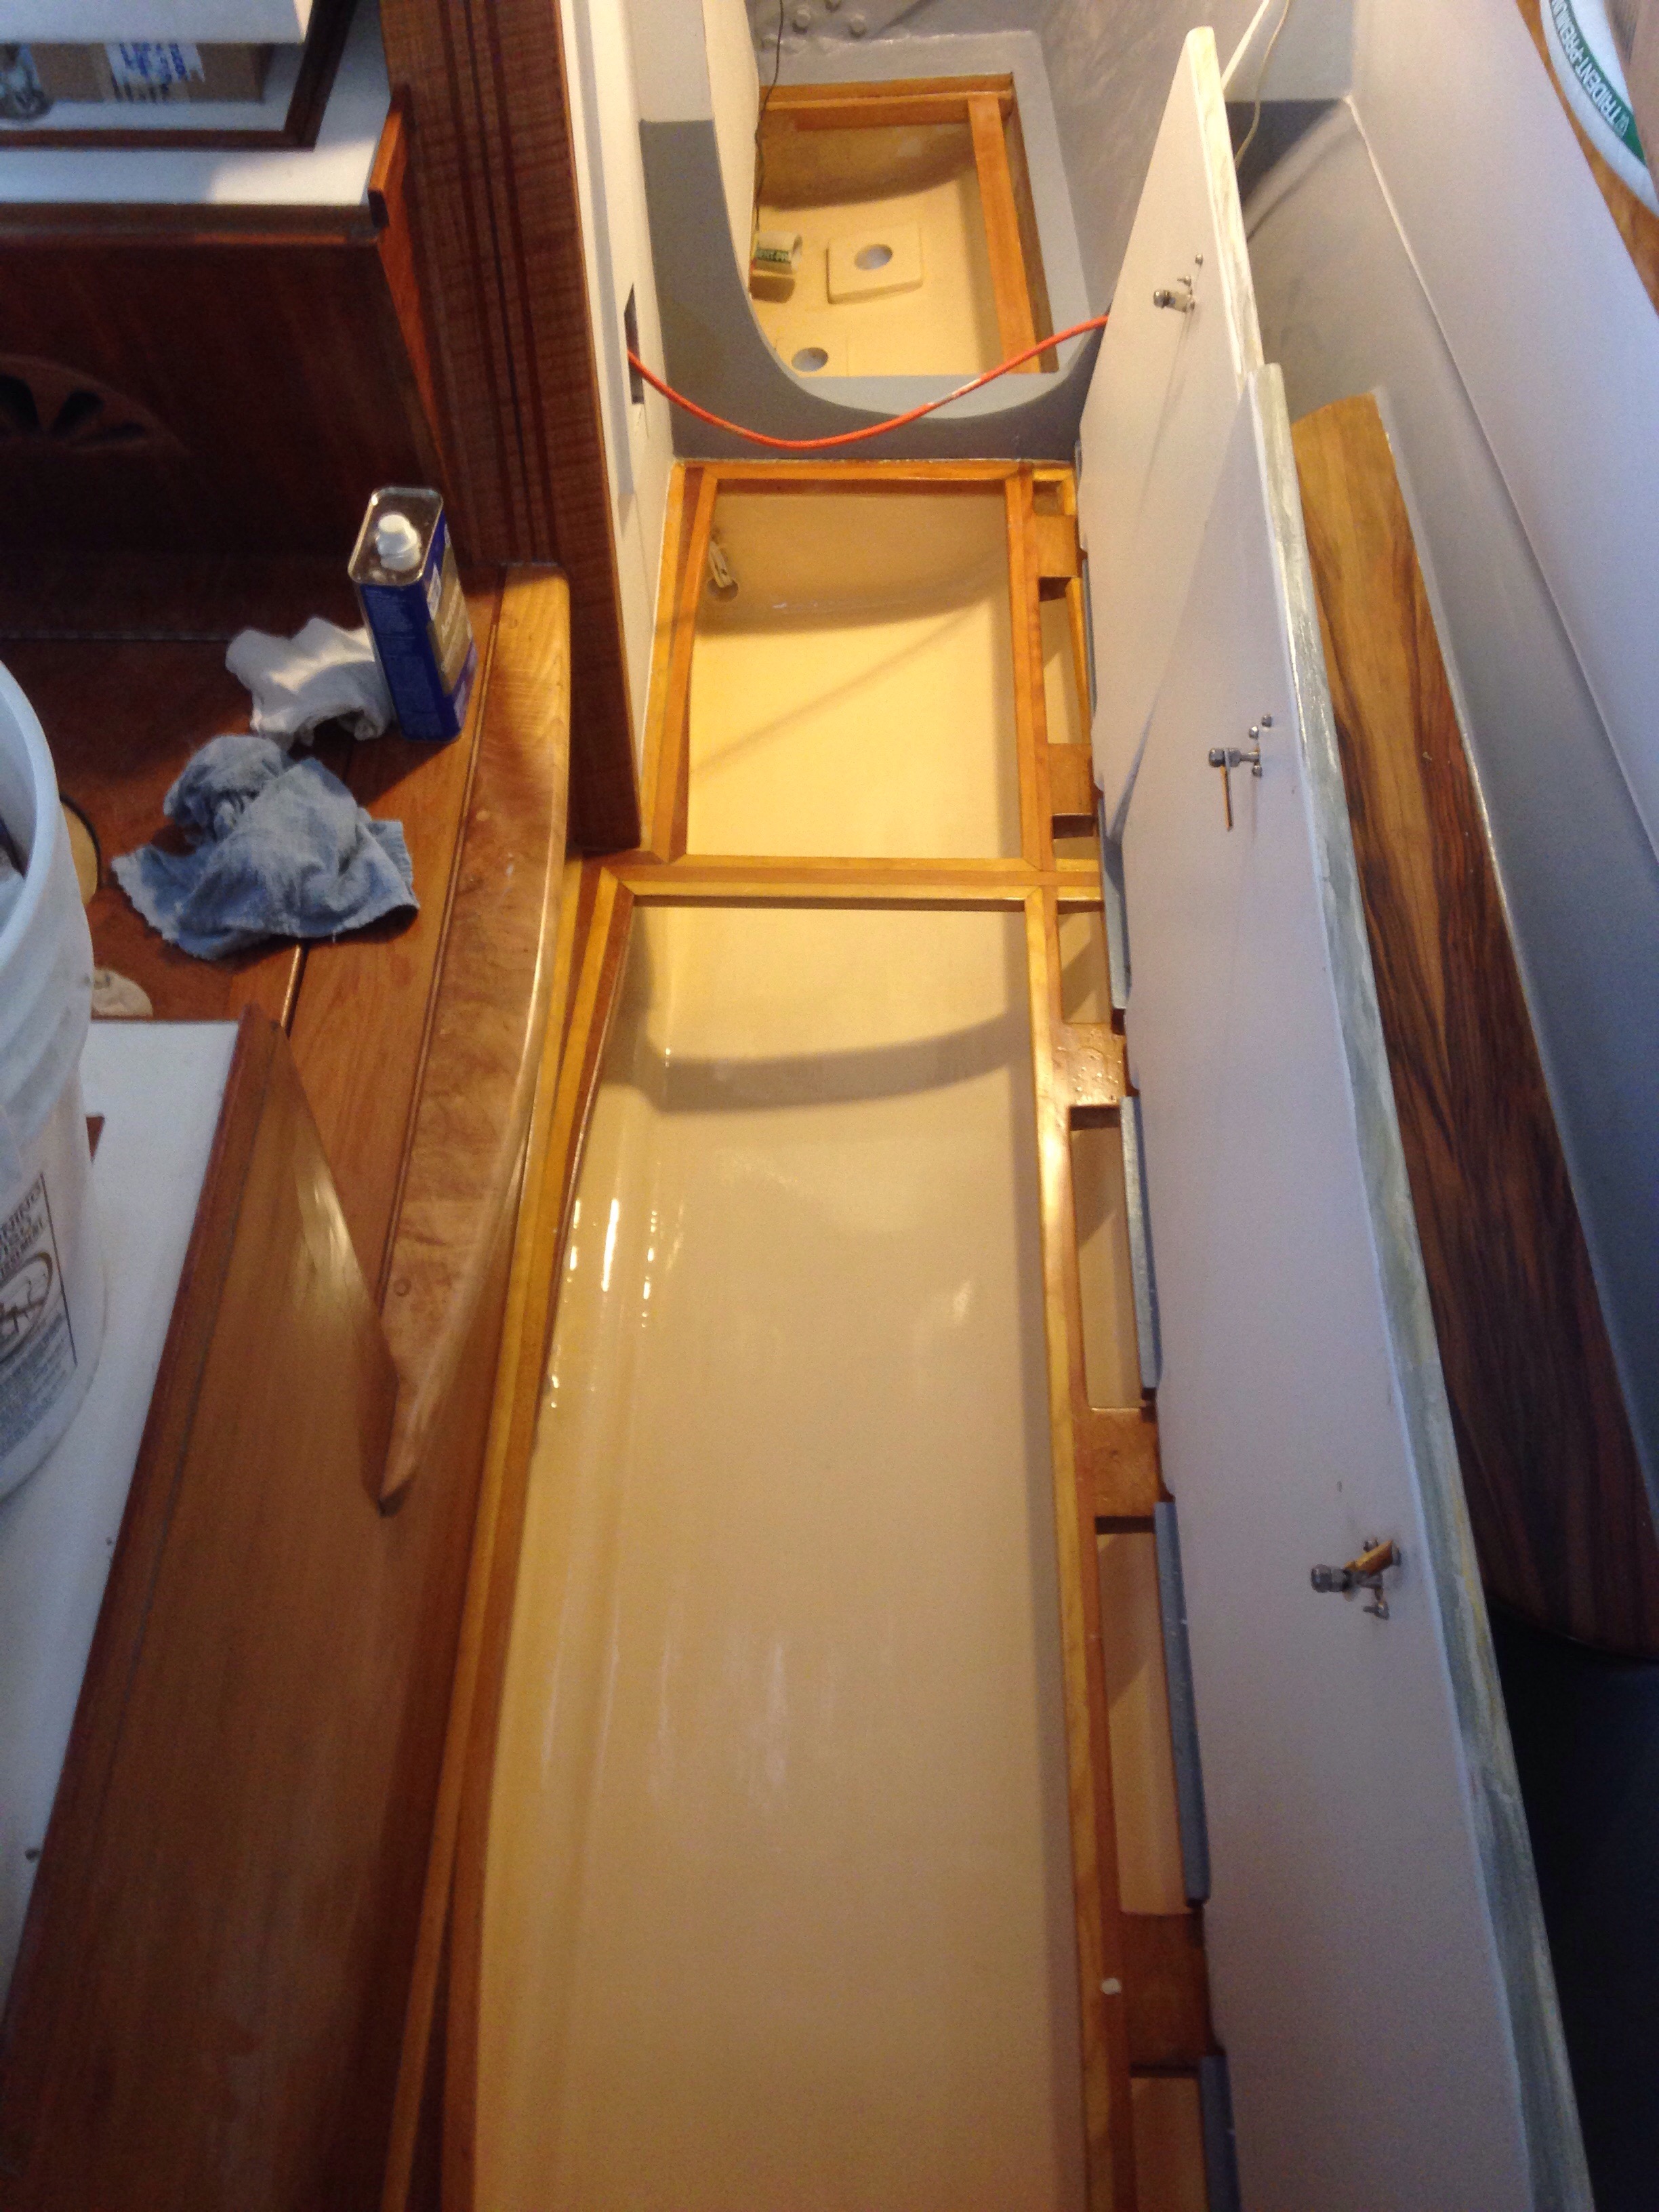
There are many ‘odds and ends’ smaller paint tasks being checked off. Here we’re sprucing up the wine cellar for Jimbo:

20160423-090655.jpg
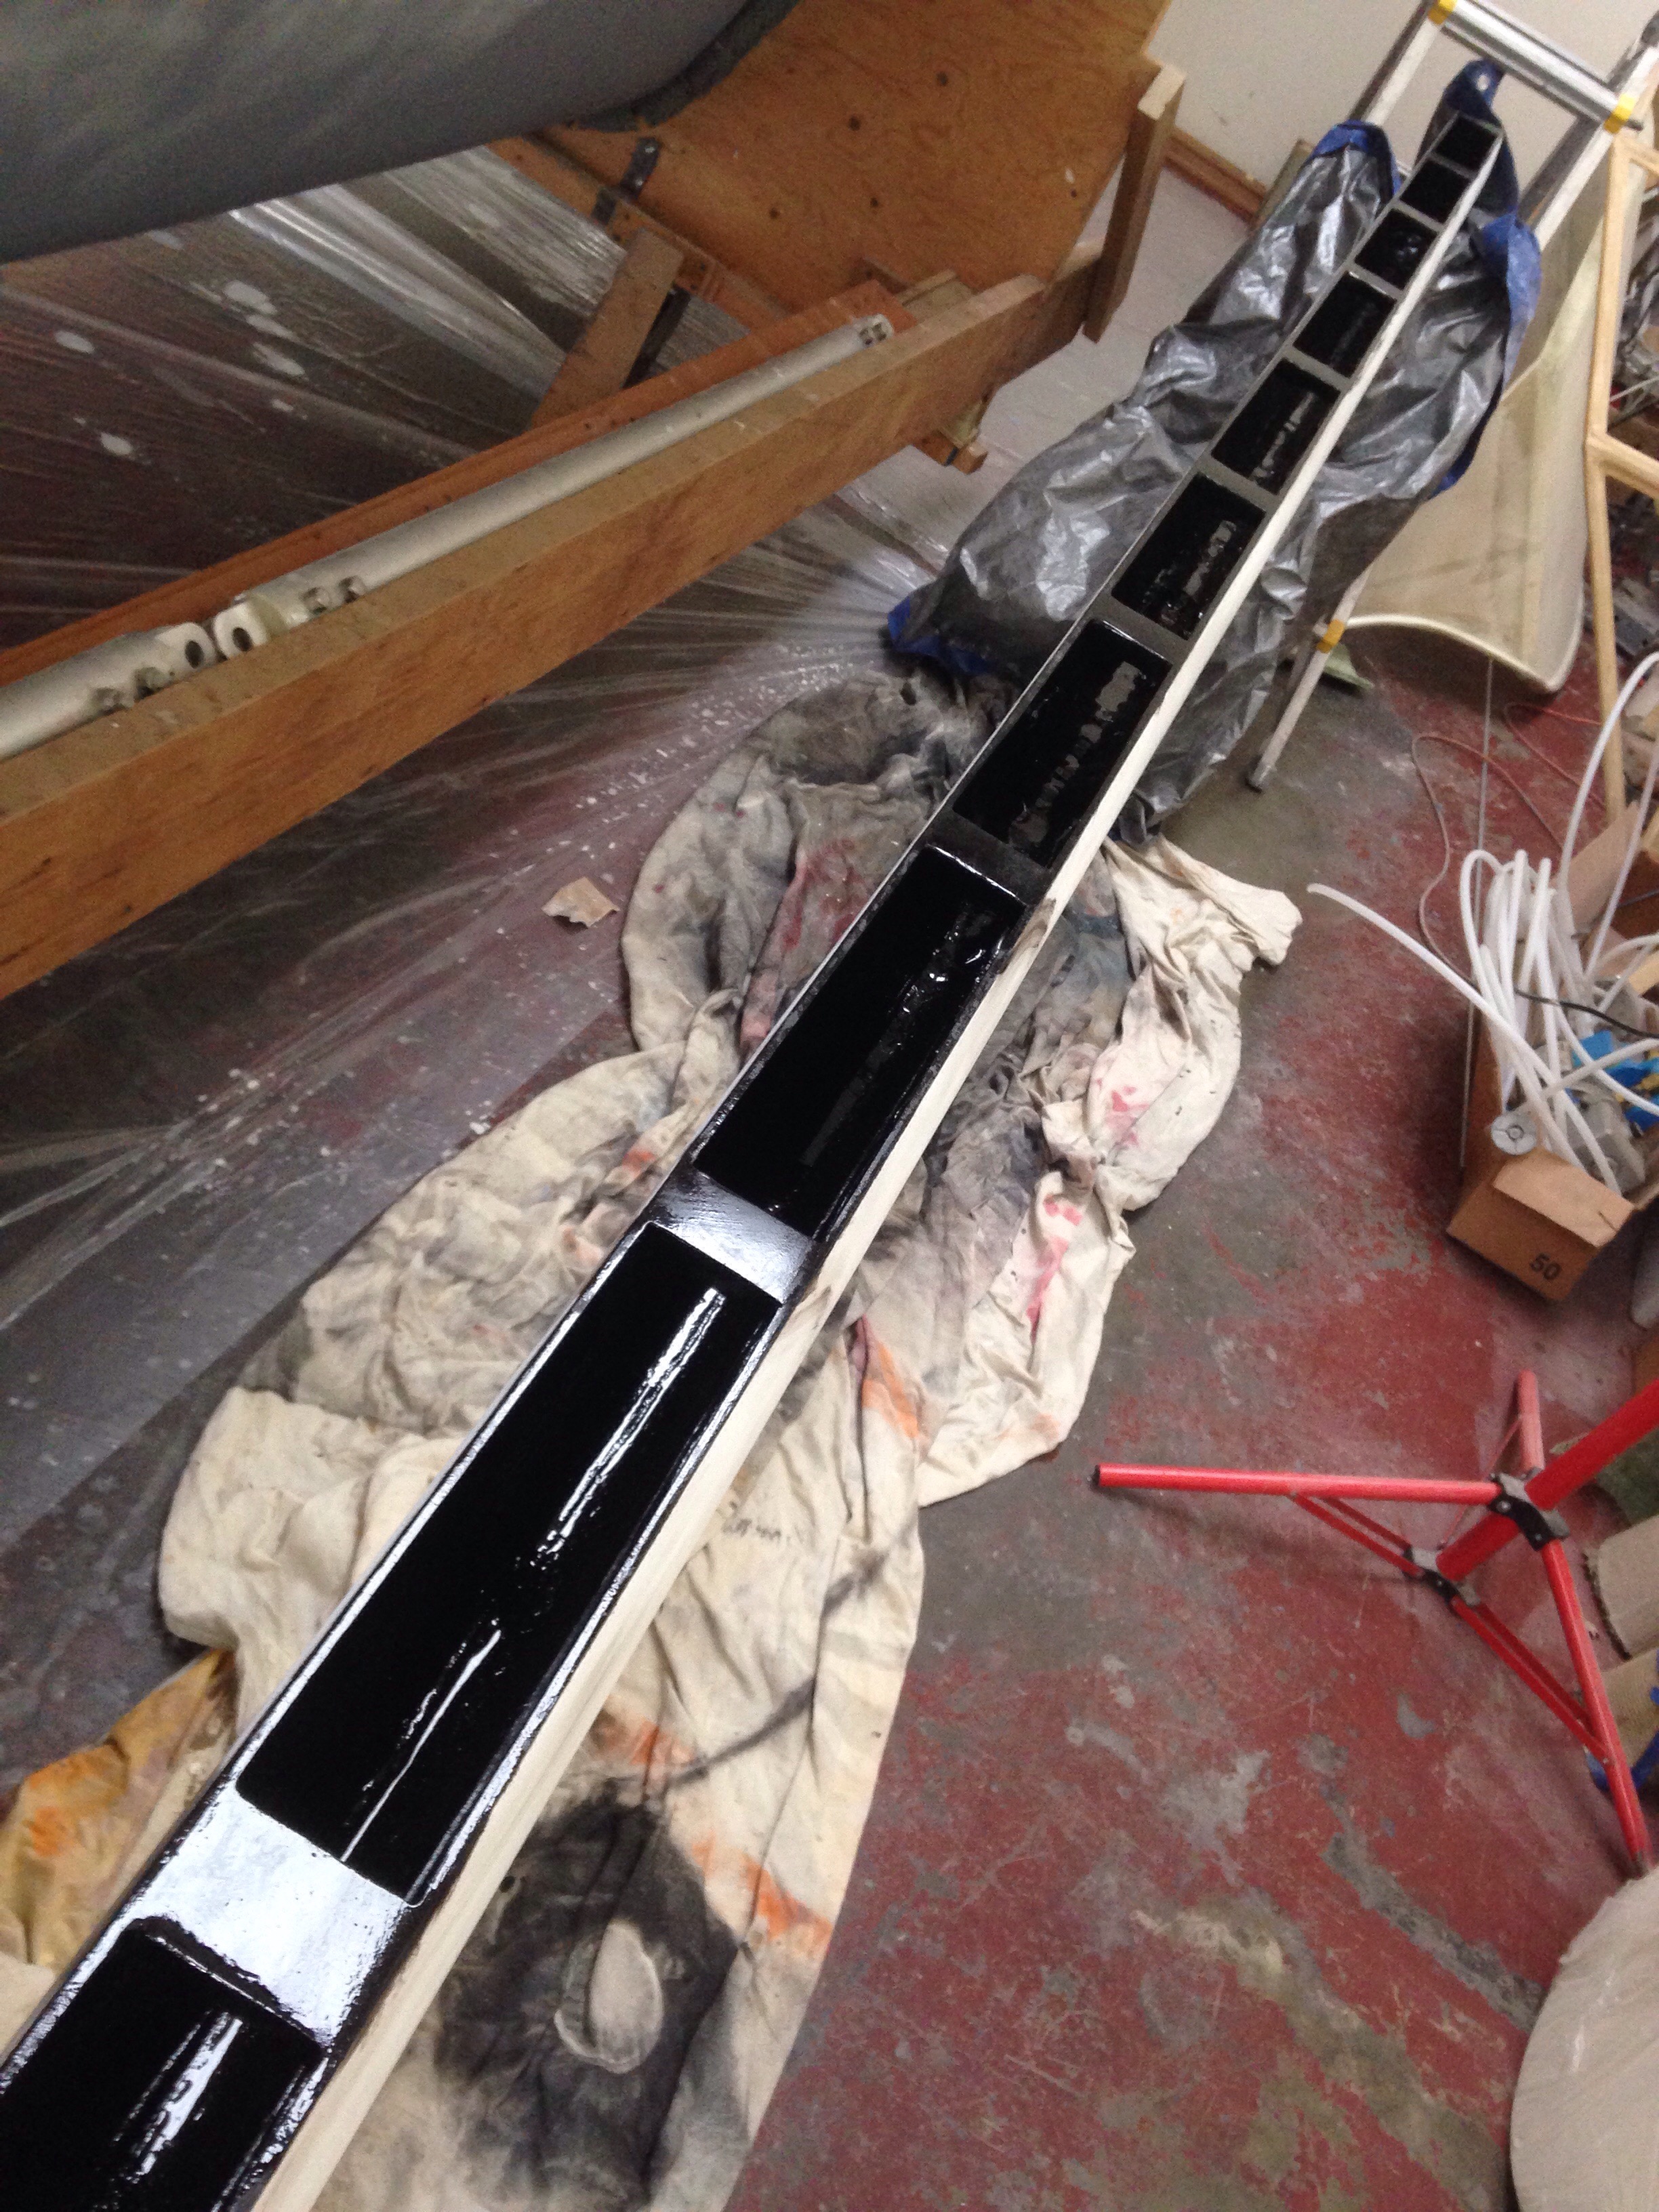
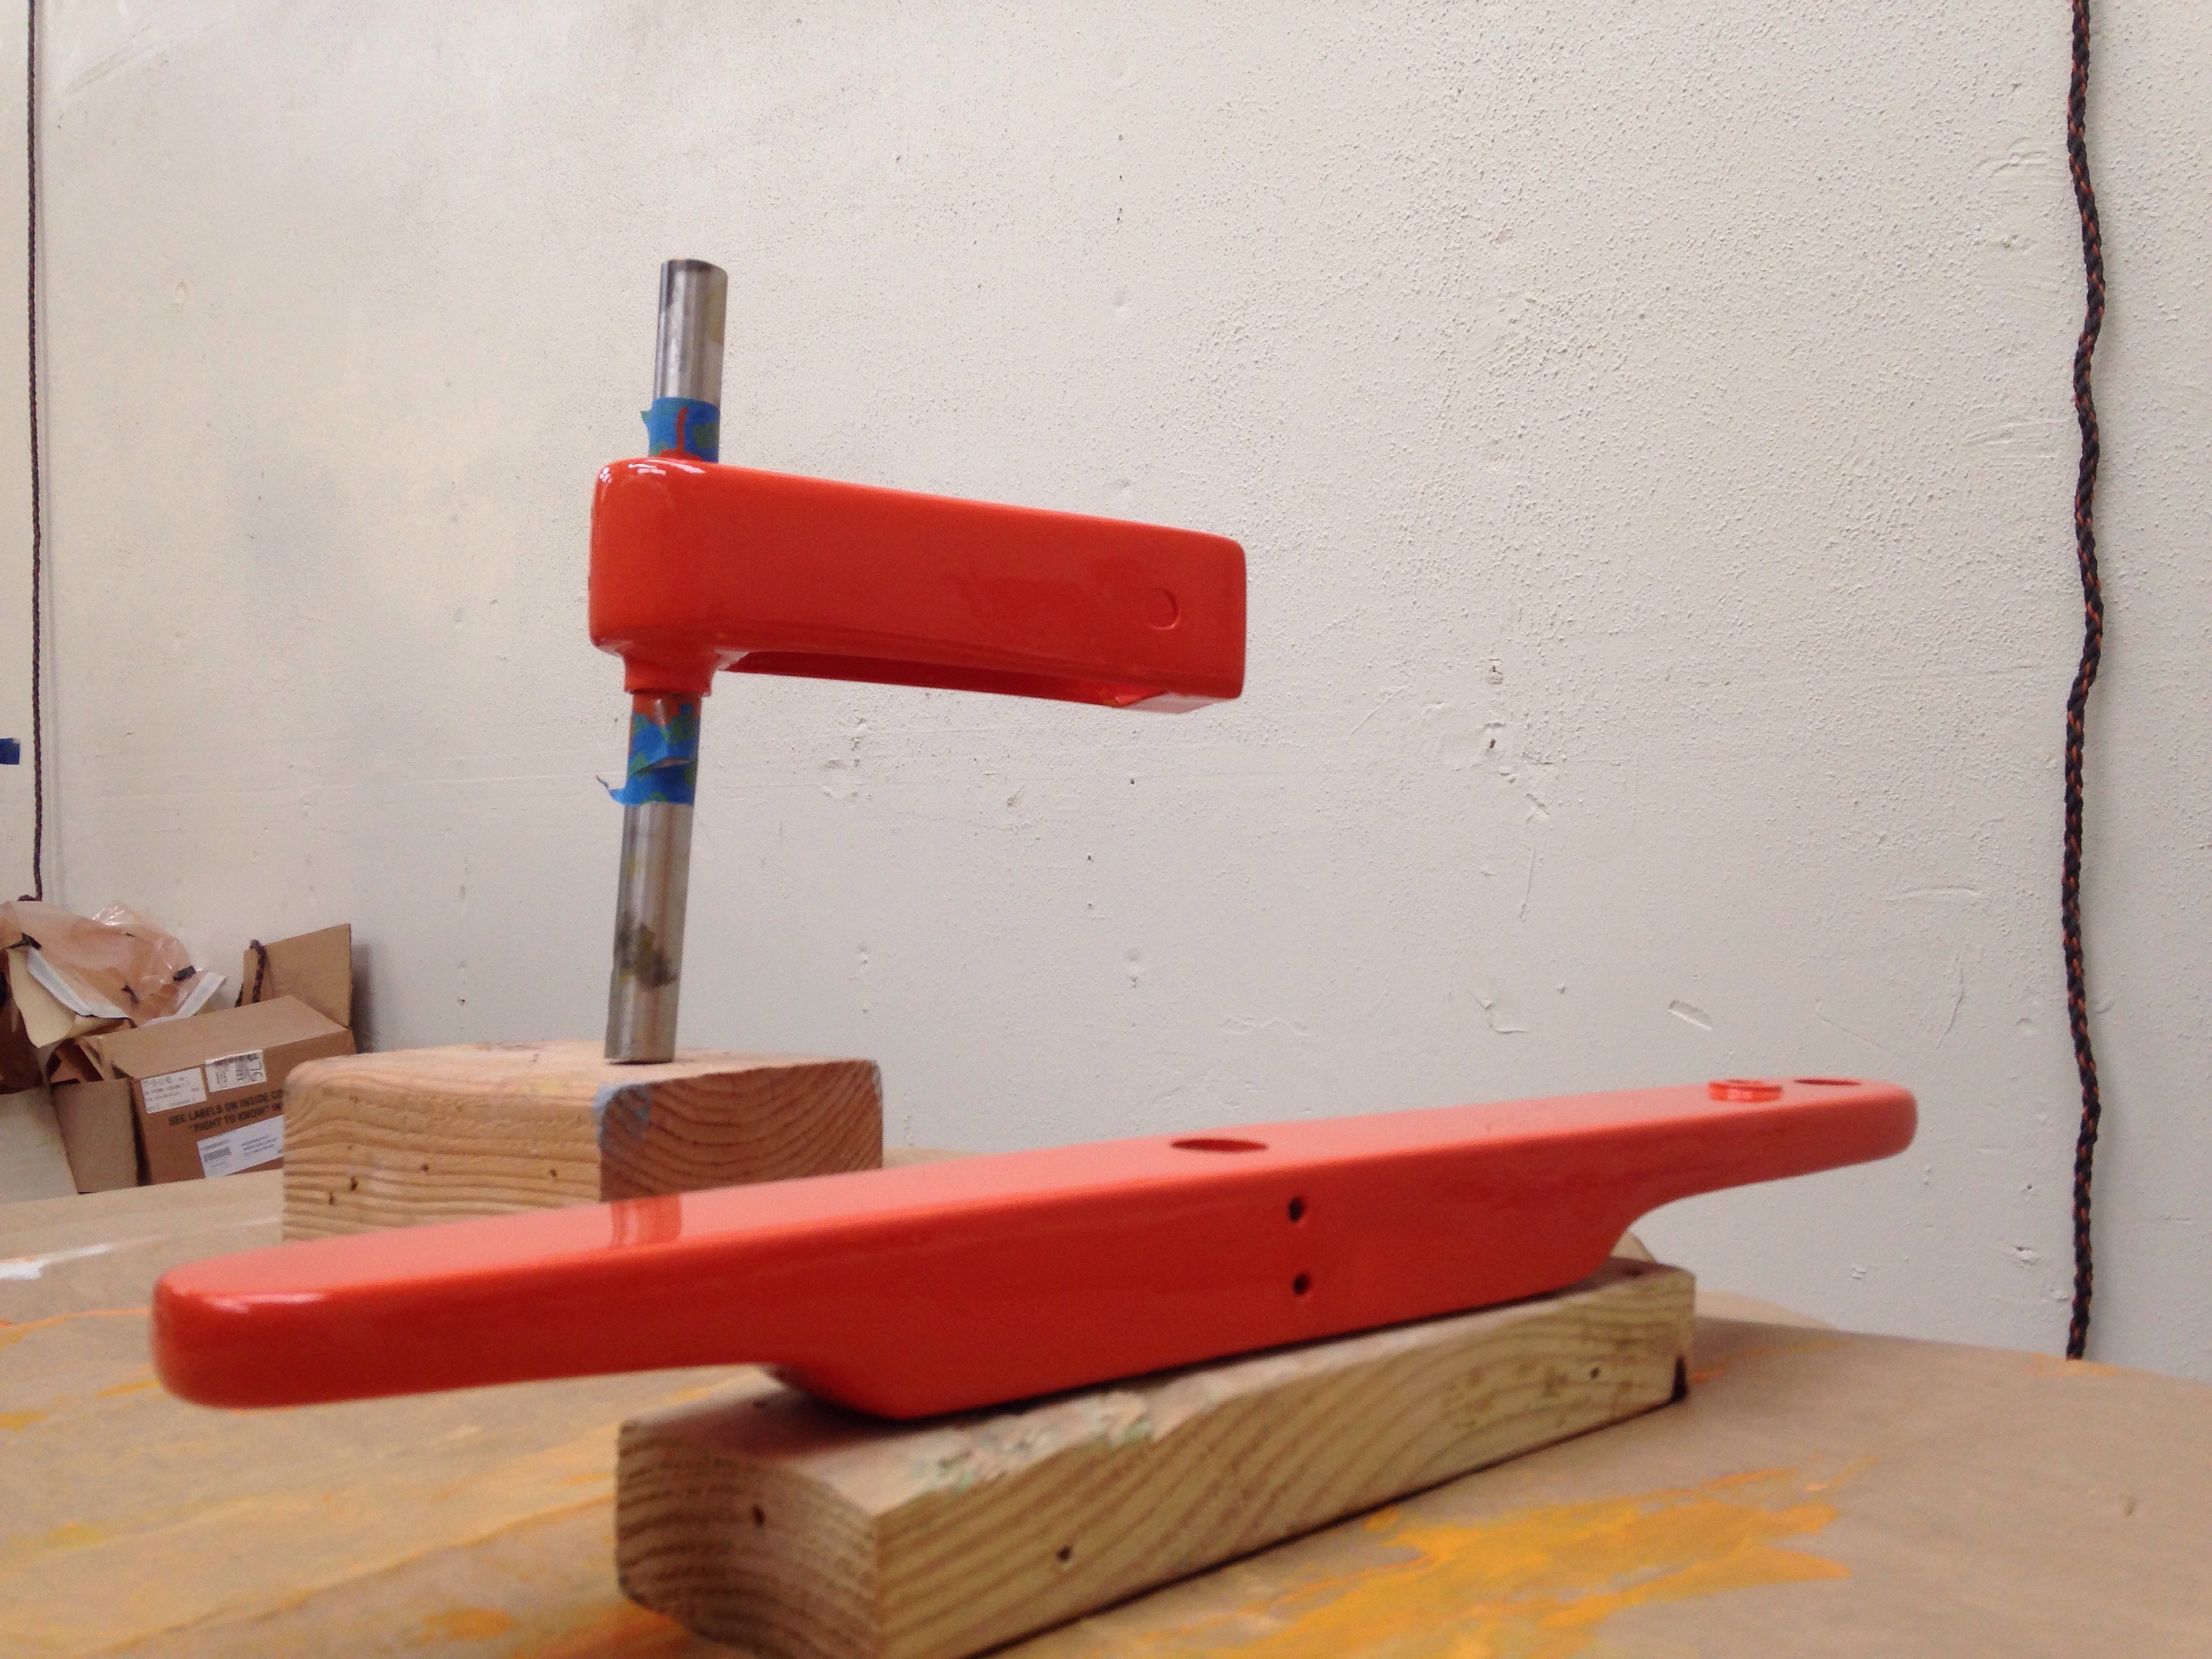
And the boom is finished:

20160423-090820.jpg

20160423-090850.jpg
We put together the bow sprit parts supplied by Keith at Skateaway Design. This is a slick system; it uses the pole only as a positioning device, not load bearing. All the forces are passed through to the bow, the bobstay and the whisker stays. The reacher roller furler hooks on to the stainless steel ‘J’, and the spinnaker tack enters the pole from the slot in the cone fitting, and exits the center of the end cap. (Note to self, the bobstay measure is 103″ pin to pin)

20160423-092158.jpg

20160423-092256.jpg

20160423-092318.jpg
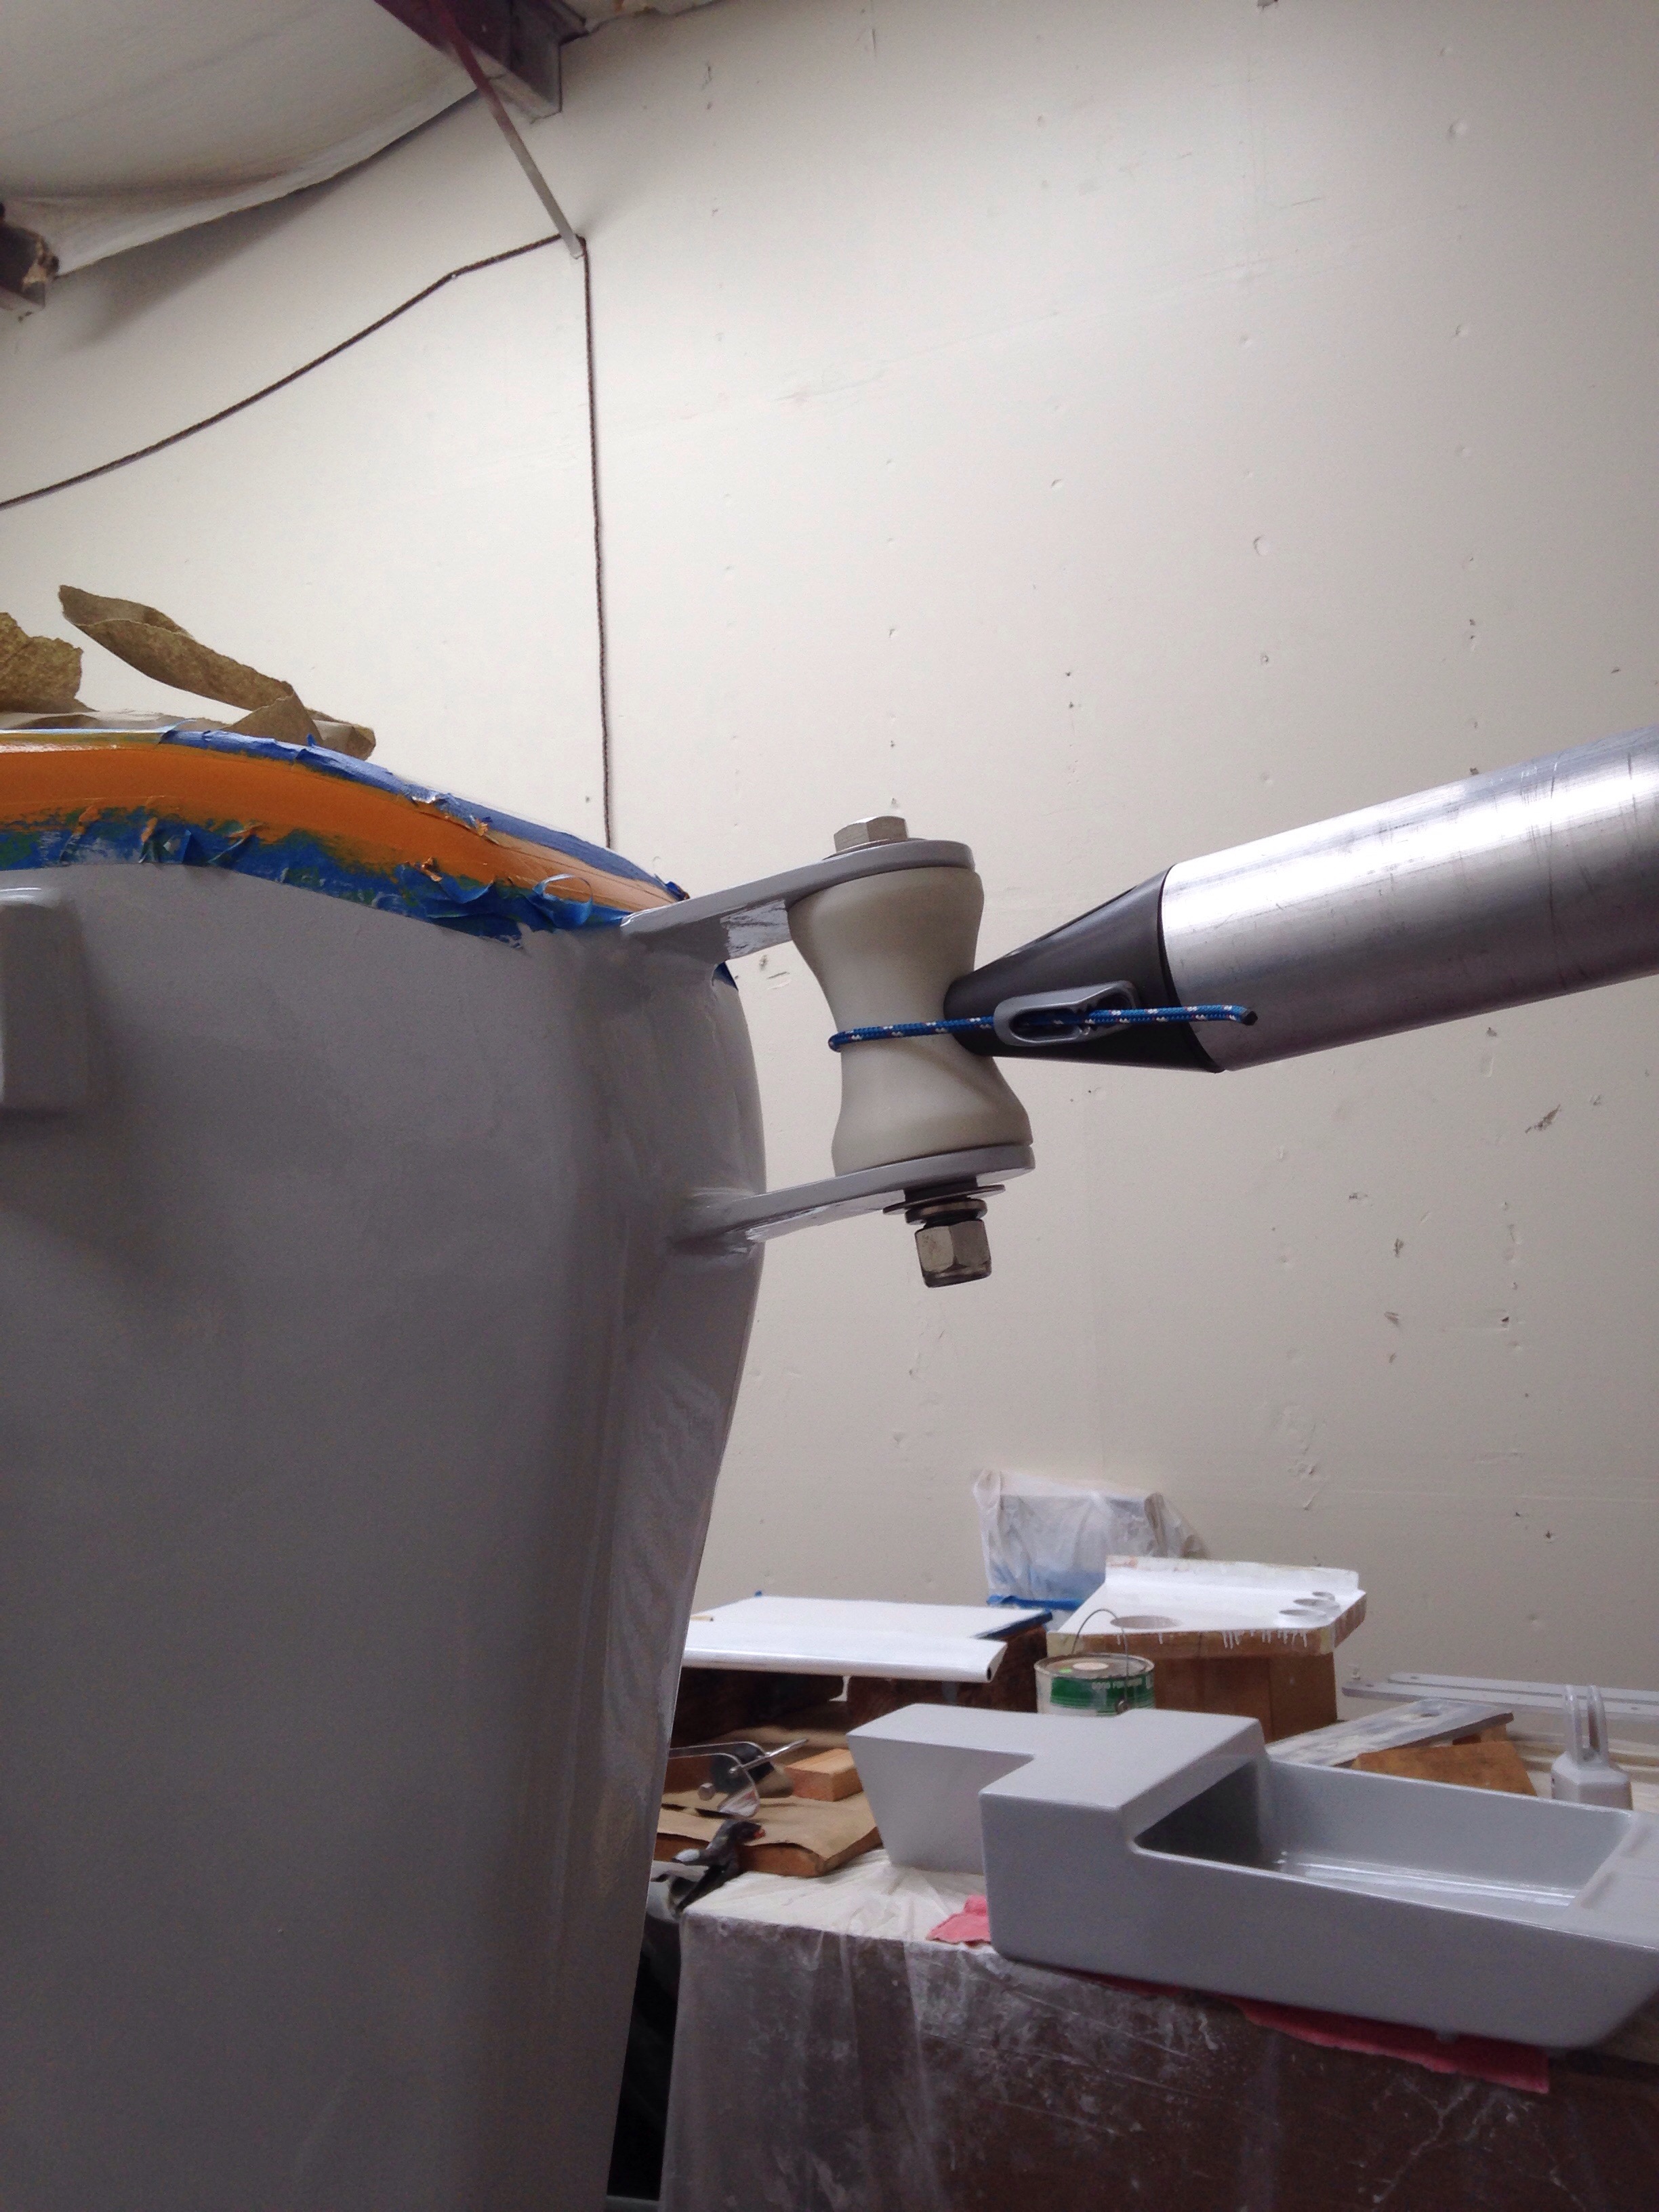
This sprit does not retract upwards; it turns to the side by ‘unleashing’ one of the whisker stays. The bow end rotates on the white delrin roller:

20160423-092552.jpg
Question here for Keith…
Are you thinking that a halyard shackled to the outboard end is always the upward support means? Perhaps a phone call when you’re back home?

Windows and plumbing up next.

Like a ’55 Bel Air

Cream on top, pastel colors on the bottom… Looking good for cruising.

Little grommet neighbors have been hanging around the shop neighborhood lately so they got the fun of pulling tape

20160416-073836.jpg
Then it was time to stand back and breathe a sigh of relief:

20160416-074006.jpg

20160416-074037.jpg

20160416-074058.jpg

20160416-074148.jpg
And this is where we think the waterline wraps around the tail end (stern end rests up above the water):

20160416-074342.jpg
It’s a nice ten-foot paint job, especially for a first time amateur. But since the cockpit needs to be a one-footer, we’re wet sanding today and carefully applying one more coat with newfound roll&tip skills. Cross those fingers! (Yes, all this is counter to news a few months back about having a pro spray guy come in, but that’s what money and logistics’ll get you).

We decided to paint all the metal (aluminum) strut/support parts for the floats, but wanted to anodize the bow sprit. Finally made it to that shop yesterday – nope, our 72″ pole is too long for the tank (yes Bill, by 4 inches!). It’s at least 100 miles to the next anodizer shop so that’s not happening. What do you think, just paint it like the other stuff, or go find the local powder coating place? I don’t know how powder coating stands up to the sea. Hmmmm

Getting the hang of it

Note to self (and other builders): it takes one quart of mixed two-part Interlux paint to cover one coat of everything exterior above the nets.

We thought the purchasing department might have gone a bit overboard on paint buying, but the last Off White quart was cracked open late today to start the rudder and radar / vane tower. With the hard top and hatchboards still to go, (plus a few cockpit area spots needing a third coat) hopefully we have just enough!

Prepping for, and rolling out, this hard candy shell style marine paint has been quite a learning curve, including trial and error of supplies. One has to go bold, even when running up the hill to Home Depot to buy more foam roller covers. Yea, get four of those 5-packs, we’re going to burn through them! Mostly science, but part art in getting the thinner amount right, how much pressure on the roller, etc. I’ve actually not been “tipping” off after the roller; getting good results with small rollers, going back over the work after about a minute and having the roller pop the first pass’ bubbles. Anyway, here are a few glamour shots at the end of a long work weekend.

20160410-225858.jpg

20160410-225916.jpg

20160410-225940.jpg
And for those of you who’ve been in the shop and seen these parts strewn about in their ugly/raw forms, happily note they’re shiny and about ready for prime time.

20160410-230148.jpg

20160410-230205.jpg
And here on the port side anchor locker door you see the hawse-hole where the windlass mounts and drops the chain below the deck.

20160410-230430.jpg

Well, Bob it probably won’t be 72 degrees in the shop during the evenings this week, but if it’s in the 60s we’ll get cracking on the topsides (that today seem a helluvalot bigger than blank BurmaShave billboards to paint…

As good as Christmas presents

Like a kid tearing in to birthday or Christmas presents, all that blue masking tape ripped cleanly off today, and this was one project that went smoothly and was very satisfying.

20160409-215411.jpg

No more painting today, as NorCal was visited by a long spring shower.

20160409-215528.jpg
Lola and Coco enjoyed the wet walk, but it’s too damp and cold to paint. So we had an odd-jobs day, installing some cabinet hardware and cleaning up paint drips/runs, etc in the cabins. Hopefully we’ll be back in business tomorrow.

Sorry about the missing photo yesterday. Trying again here with that upside down boom…

20160409-215758.jpg

Slip sliding away

I told Keith on the phone today that the boat is finally almost done, and yet the list of things to do seems to be growing! Kind of stressful. “The nearer your destination, the more you’re slip sliding away…” (Thanks to Paul Simon for sticking that one in my head all evening)
Maybe we’ll spend time this weekend separating the punch list in to pre-transport vs post-launch tasks. We don’t really need the boat in the workshop to make the freezer lid or test out the self-steering windvane installation. Let’s get sailing and sort the niceties out during the summer.

Good news is that we won’t slip-slide on deck. Finished the whole topsides non-skid job tonight. Here’s how the past four evenings were consumed.

20160408-232228.jpg
After wet-sanding at 320 grit the entire deck and cockpit first coat from last week, we set out to mask the waterways (smooth parts) to delineate all the non-skid. No rulers or tape measures – just consistent distances from edges provided by sliding a couple of paint sticks around.
Then to round off all corners, Mrs.Carter came aboard (finally found a non-itchy / non-nasty job in the shop!) to cut 1/4 rounds using a 1.5″ circle.

20160408-232630.jpg

20160408-232649.jpg
She would cut about 10 ‘moons’ on the cutting board then we lifted the edge and transferred them to the deck where needed. (Leaving no knife marks in the paint the way it’s often done). Must be a hundred or so of those little buggars done. There
were both inside and outside curves to do and this extra couple of hours made the job look much better.

20160408-233032.jpg

20160408-233101.jpg

20160408-233122.jpg
With the masking done it was time for another solvent wipe before rolling on the same Interlux Perfection “Off White” but this time with Awlgrip’s nonskid plastic beads mixed in. This is definitely something to practice off the boat; tricky to get the bead mix ratio and roller saturation right for an even distribution of grit on deck. We had this learning curve on the beams months ago. Once the paint and beads are mixed in your bucket, only pour small amounts at a time in the roller tray so you can frequently stir the bucket and refill the tray – keep those particles even suspended in the paint.
The Second coat went on late today and it all looks good, and I like the texture. It’s pretty aggressive, but that is intentional because there’s so much slope to these decks that we’re scared of loose footing.

20160408-233645.jpg

20160408-233708.jpg

20160408-233726.jpg

20160408-233747.jpg

20160408-233808.jpg
It should be fun for the Saturday morning unmasking, then we’ll finish painting all the gloss areas of the white portions of the entire hull. Might get to start the platinum grey below-the-nets topsides by Sunday afternoon.

(Did anybody notice the jib car tracks are running across the deck, not longitudinally? Thx to a wise old tri mariner)

While deck paint dries we’ve been working paint steps of all those loose parts. Here’s the boom after all it’s final sanding, getting a black “don’t look up in here” treatment to the open underside. (Recall months ago we’ll run the outhaul and reefing systems inside but with easy access, which Lenneman will totally approve :)

Just rewards

This one’s for Schildknecht

20160403-222818.jpg
THAT tasted good after seven hours of painting the deck and cabin top today!

Four and a half years of looking at raw fiberglass and carbon, parti-color fairing putty, various primers, sharpie pen marks and general grunge… And tonight it’s magically replaced by a decent looking boat. Phew!

20160403-223201.jpg

20160403-223221.jpg

20160403-223248.jpg

20160403-223317.jpg

Of course there’s a ton more work to do. That’s the first coat, and we had a bit of trouble from cleaning the surface with mineral spirits, not the expensive Interlux 2333N thinner. The paint started orange-peeling so it took some fussing with re-rolling as it began to get tacky. That mistake was corrected by re-wiping the whole project again. And we had roller problems; as the paint got closer to its curing time or the roller cover was on more than a half hour, the solvents began to eat the foam roller. So we have little bits of crap to sand off in a day or two. I have some (supposedly) solvent and epoxy-proof rollers on the way. And we’ll try the ones Andy Miller text-reco’d this afternoon. (Y’all can search back on this site about 1.5yrs for Andy’s F22 Dart launch party). Dart is up in Washington now, but seeing her splash that first day has been motivating our work for a long time now. Yes Andy, almost…

Thank you to Mrs. Carter for spending her weekend keeping the Homefront gardens in lovely order. The boat builder seems paint obsessed, shirking yard work duties. Divide and Conquer, I suppose. Thanks honey!

20160403-224524.jpg

It’s all in the prep work, we hope…

How many times have you heard, “a good paint job is 90% about the prep”? I guess that makes tomorrow our moment of truth, as there’s nothing left to do but start rolling & tipping the deck on a fine April Sunday. The whole exterior of the main hill is 220grit sanded down to the waterline.

20160402-224945.jpg

20160402-225003.jpg

20160402-225023.jpg

20160402-225041.jpg
It took half of Friday and all Saturday to finish sand (and of course fill and re-sand three more little pinhole fields). That includes sixty bucks spent on the commercial painter neighbor’s assistant. He hand sanded the net lashing tubes all along the hull, plus the entire cockpit and windshield base, because I was just too damn sick of these picky areas that have taken too many amateur hours.

Along with the hull painting we’re trying to keep pace with all the loose parts. Tonight was another primer pass (and some fairing filler in spots) on these:

20160402-225651.jpg
Tucked in to that photo are the 16′ boom, 6.5′ rudder, stern radar / windvane tower, engine bracket / sled, lazarette lid, and main cabin and aft cabin hatch covers. There’s not enough room in the shop to spread everything out properly, so we’re juggling moving stuff inside and out during the day.

Ok, we’ll watch more YouTube videos for reminders on roll&tip boat painting, and cross those fingers for a good looking deck tomorrow.