No more calico

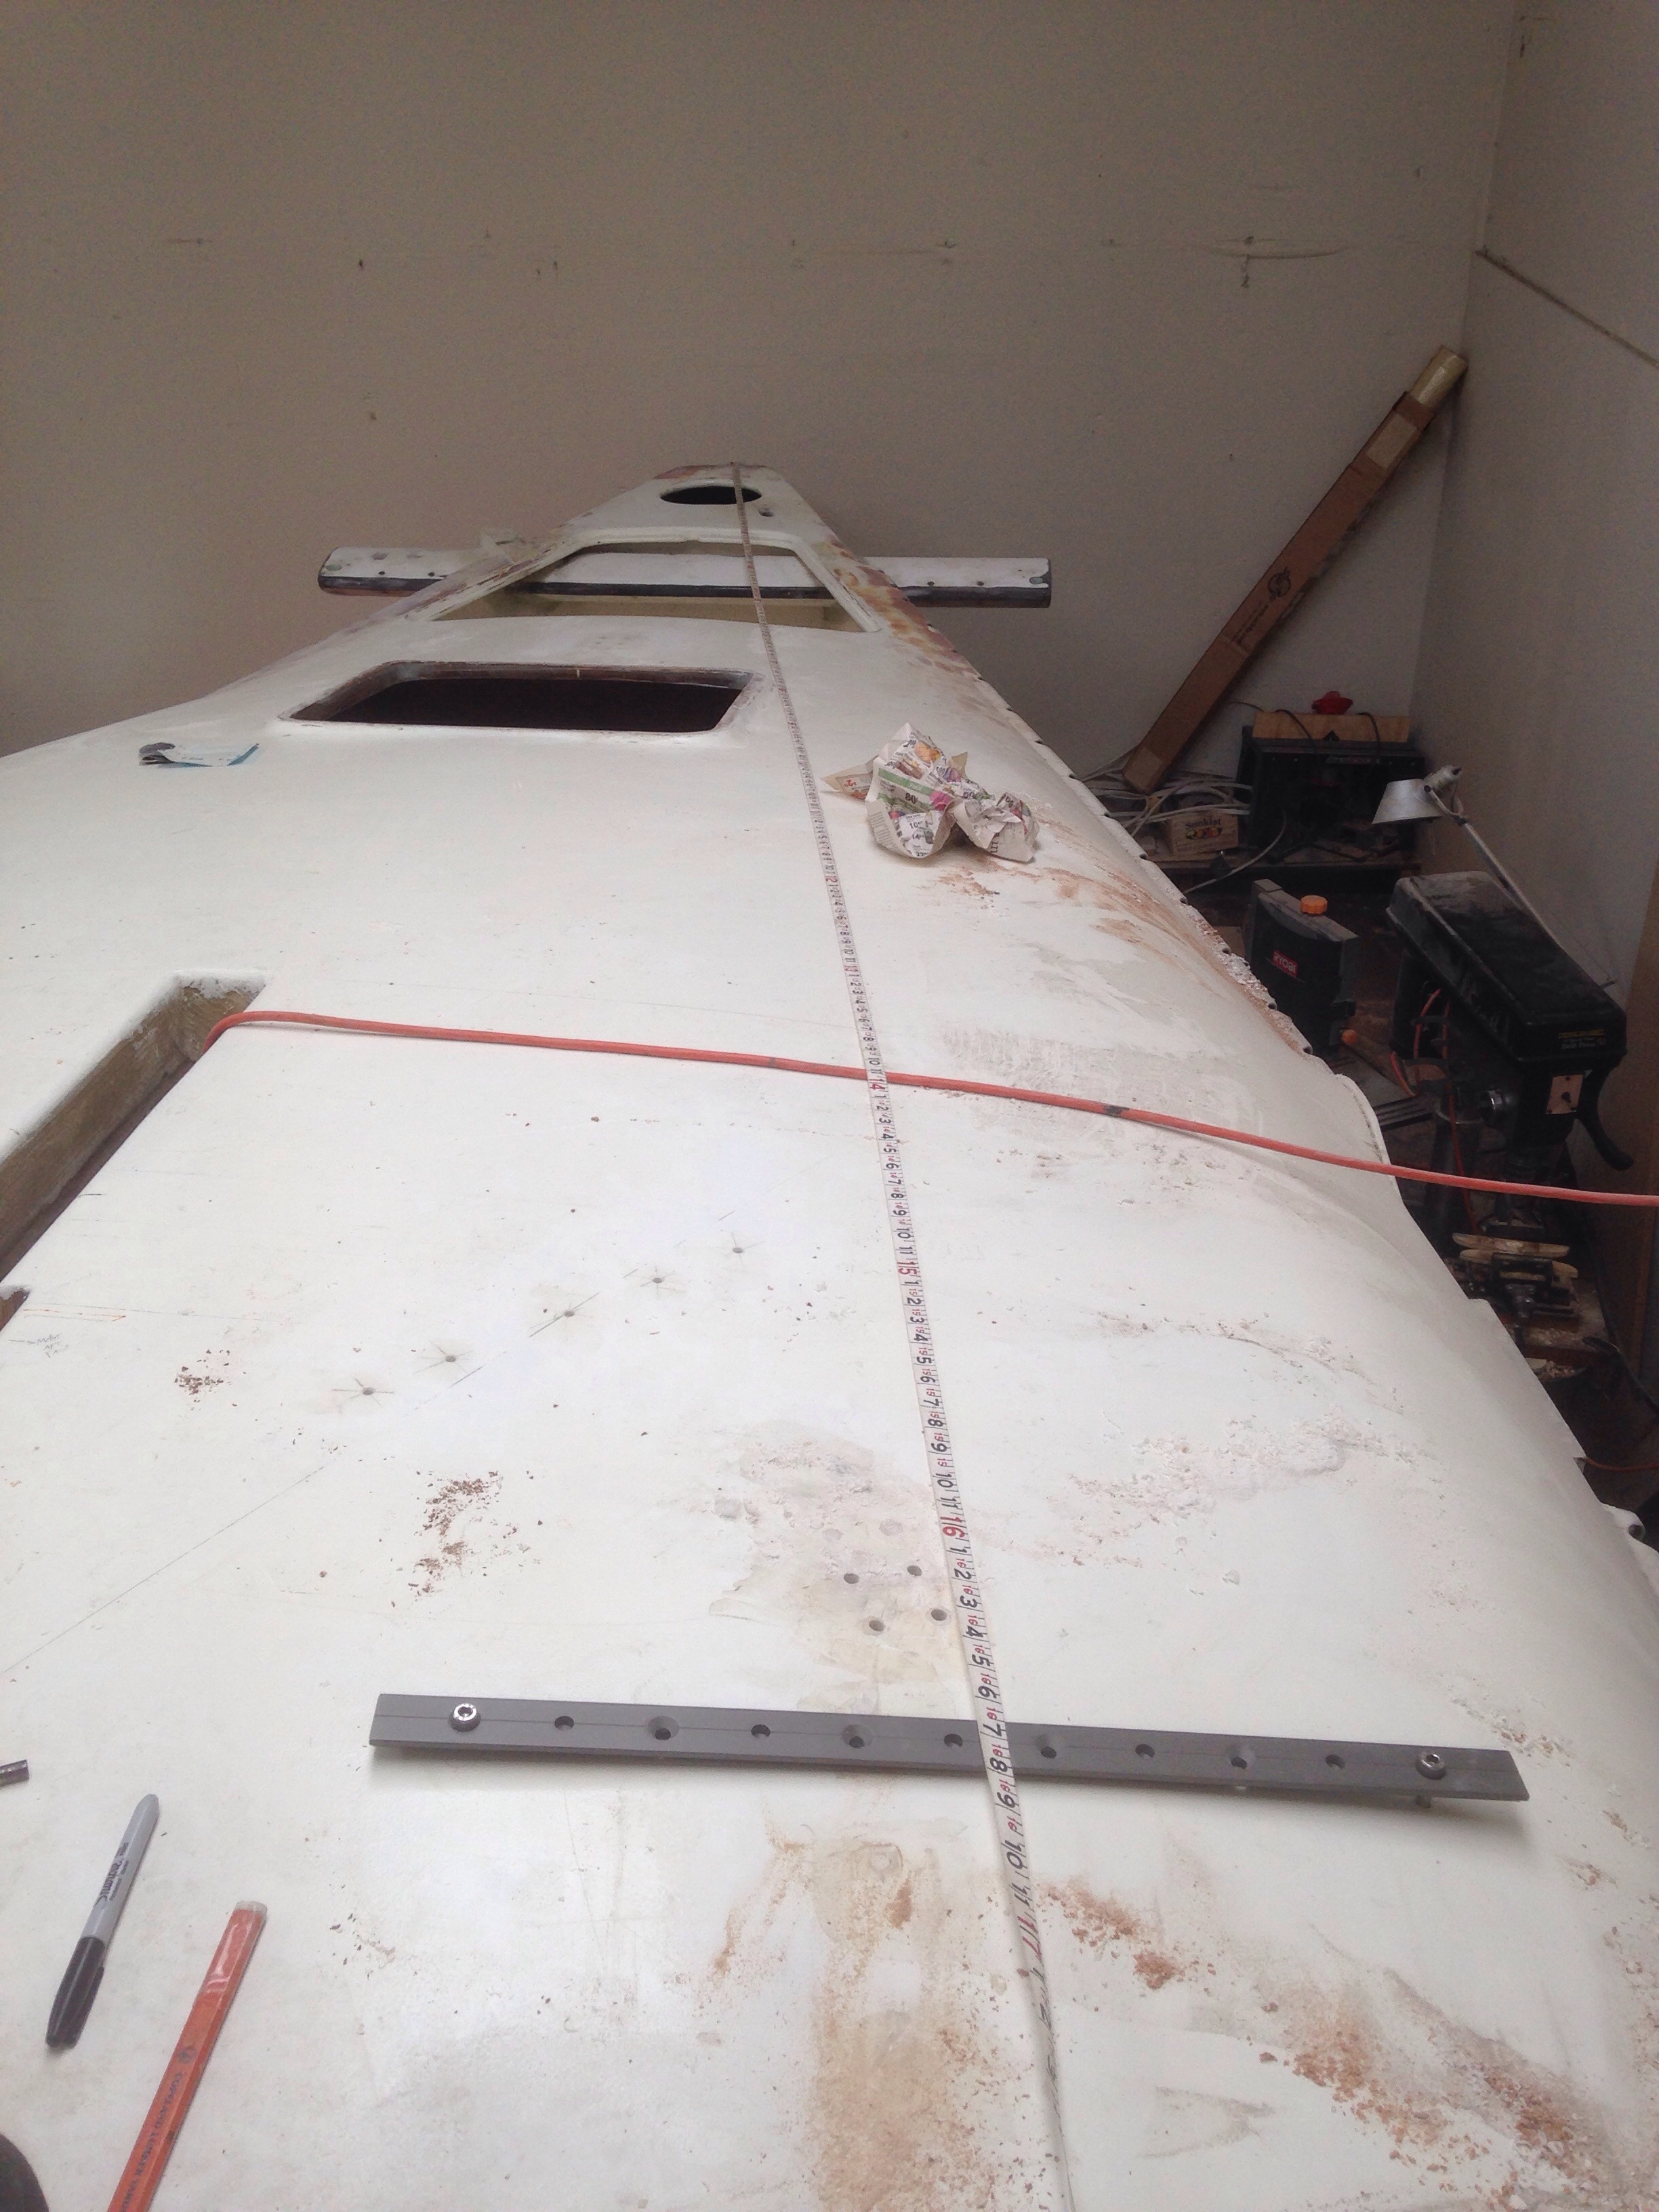
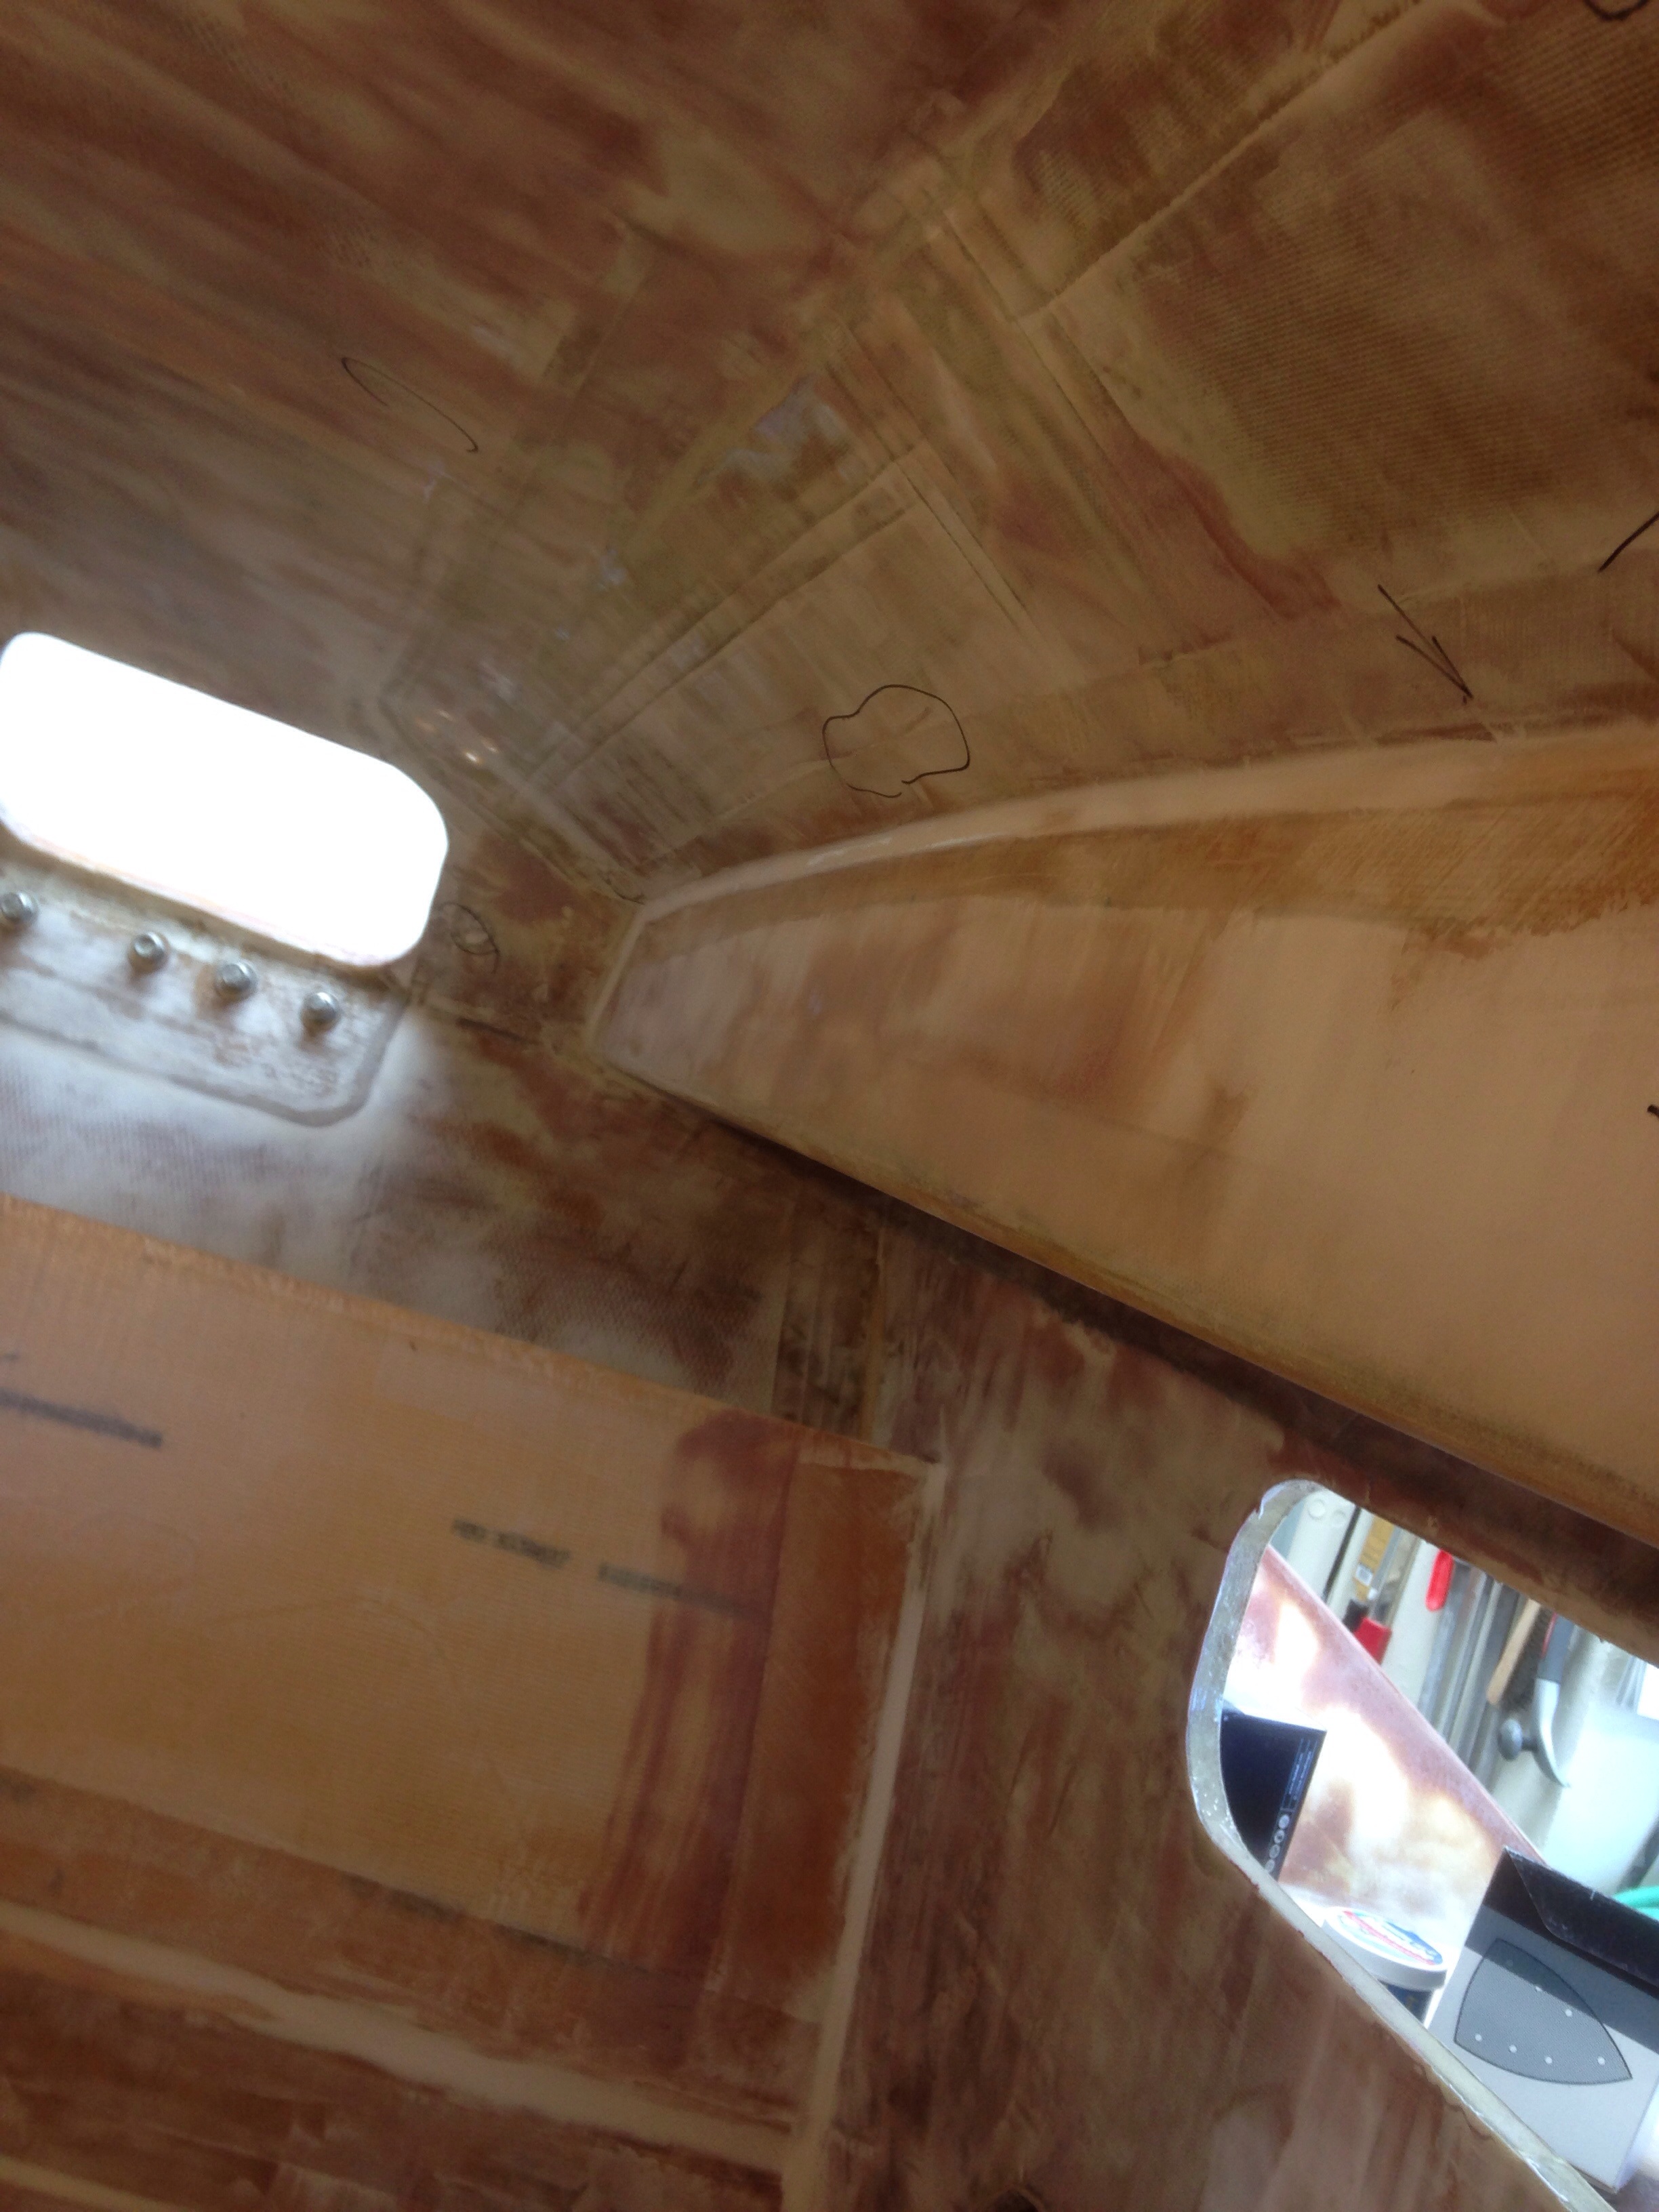
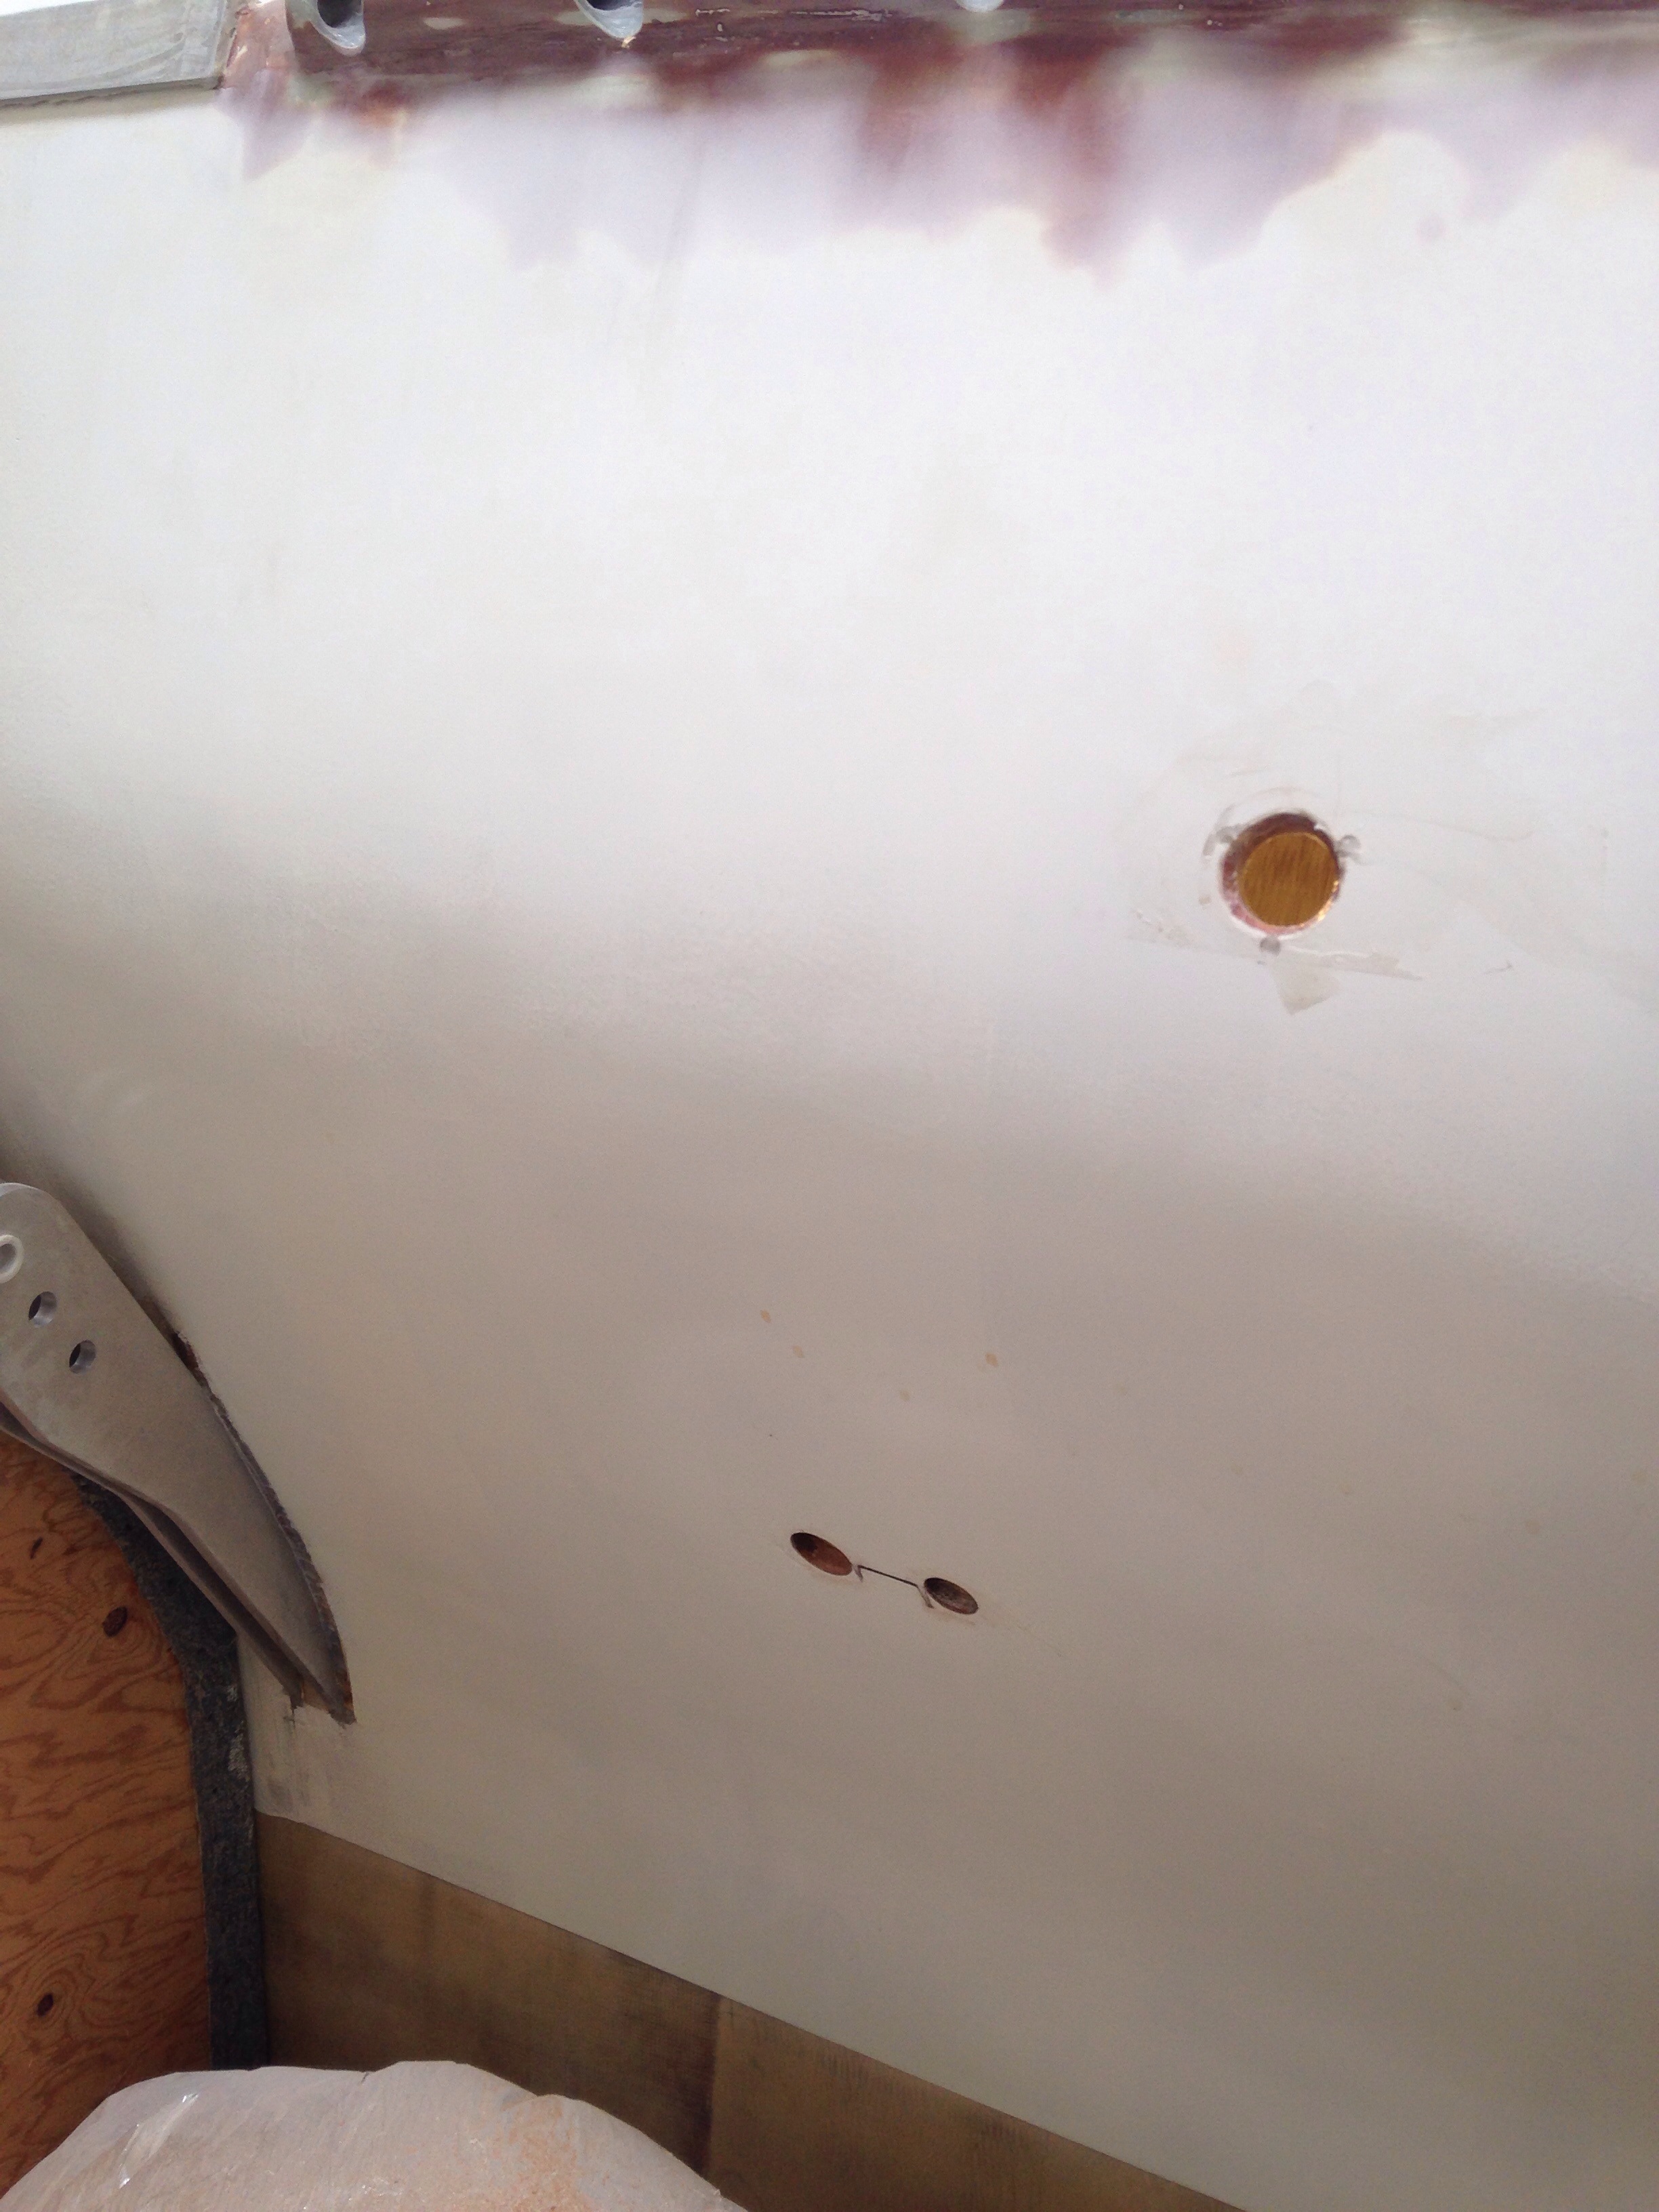
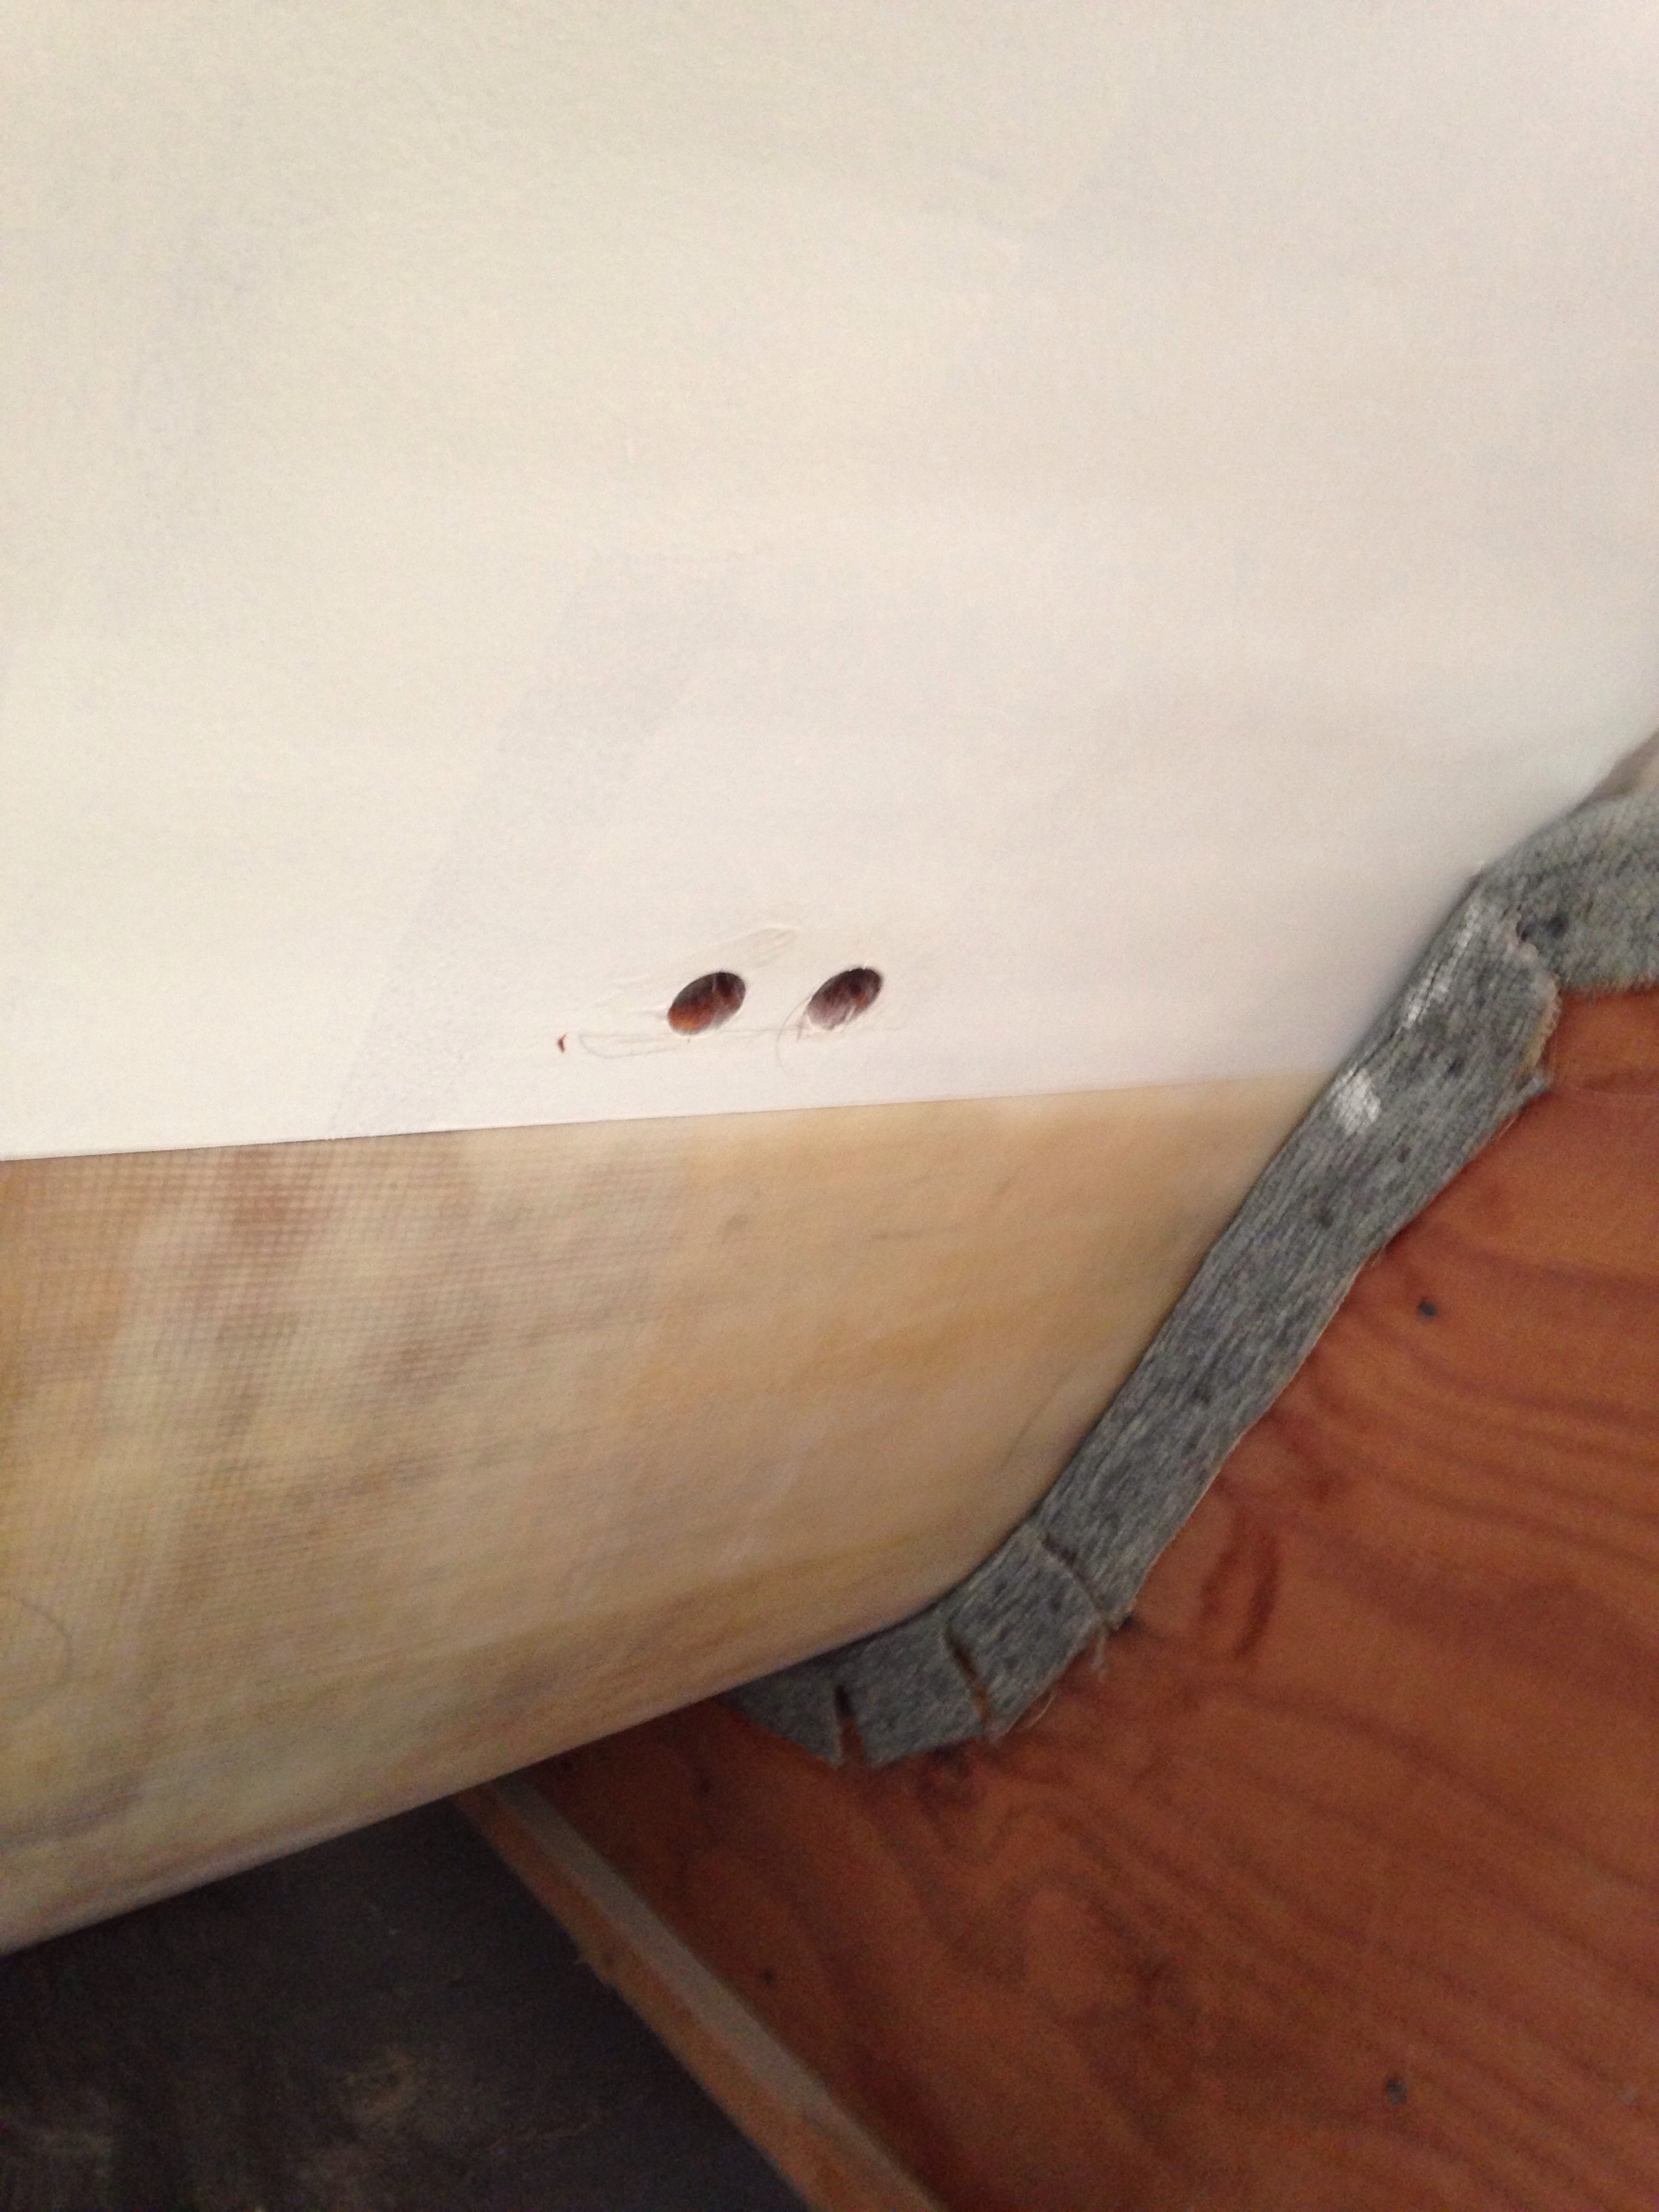
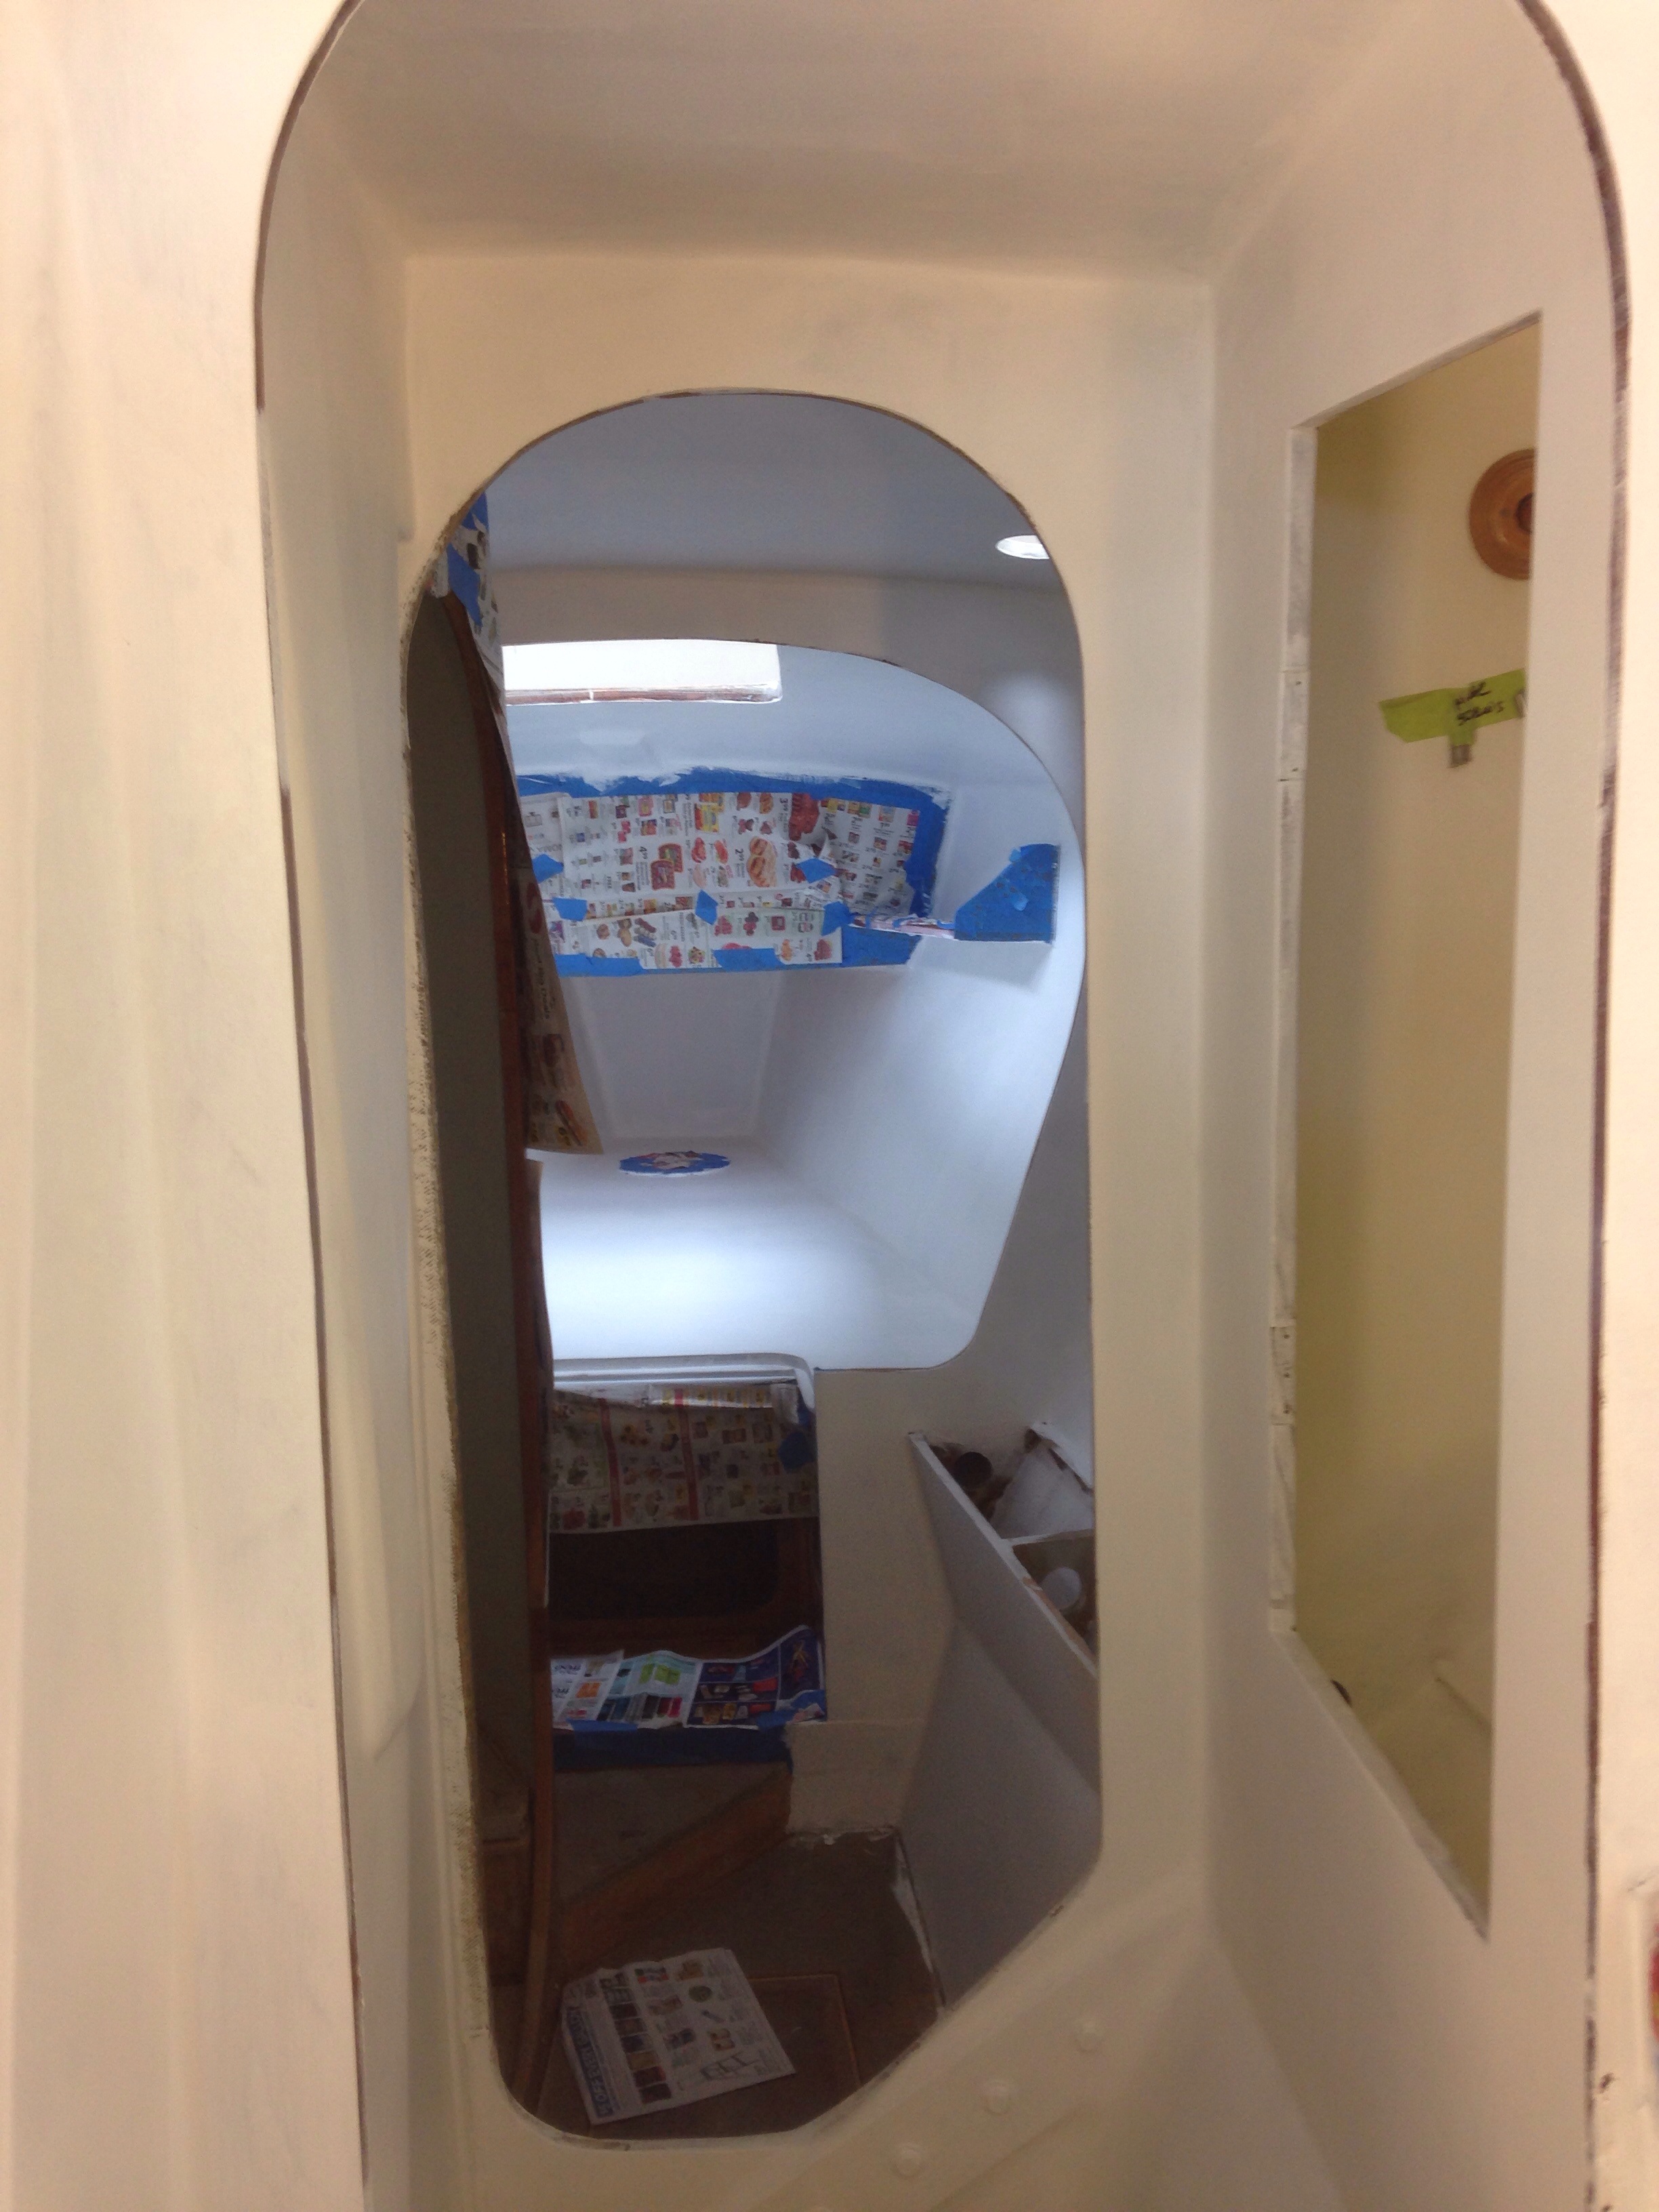
We looked up the other day, wiping the eyes from a big cloud of dust, ears ringing from the sanding machines… And realized the interior fairing was DONE! Put down the sandpaper, clean out the boat and go get some primer. Here’s where things stood Friday evening to start Memorial Day weekend.

20150527-223303.jpg

20150527-223329.jpg

20150527-223343.jpg
Kind of like an abused calico cat, but very smooth.

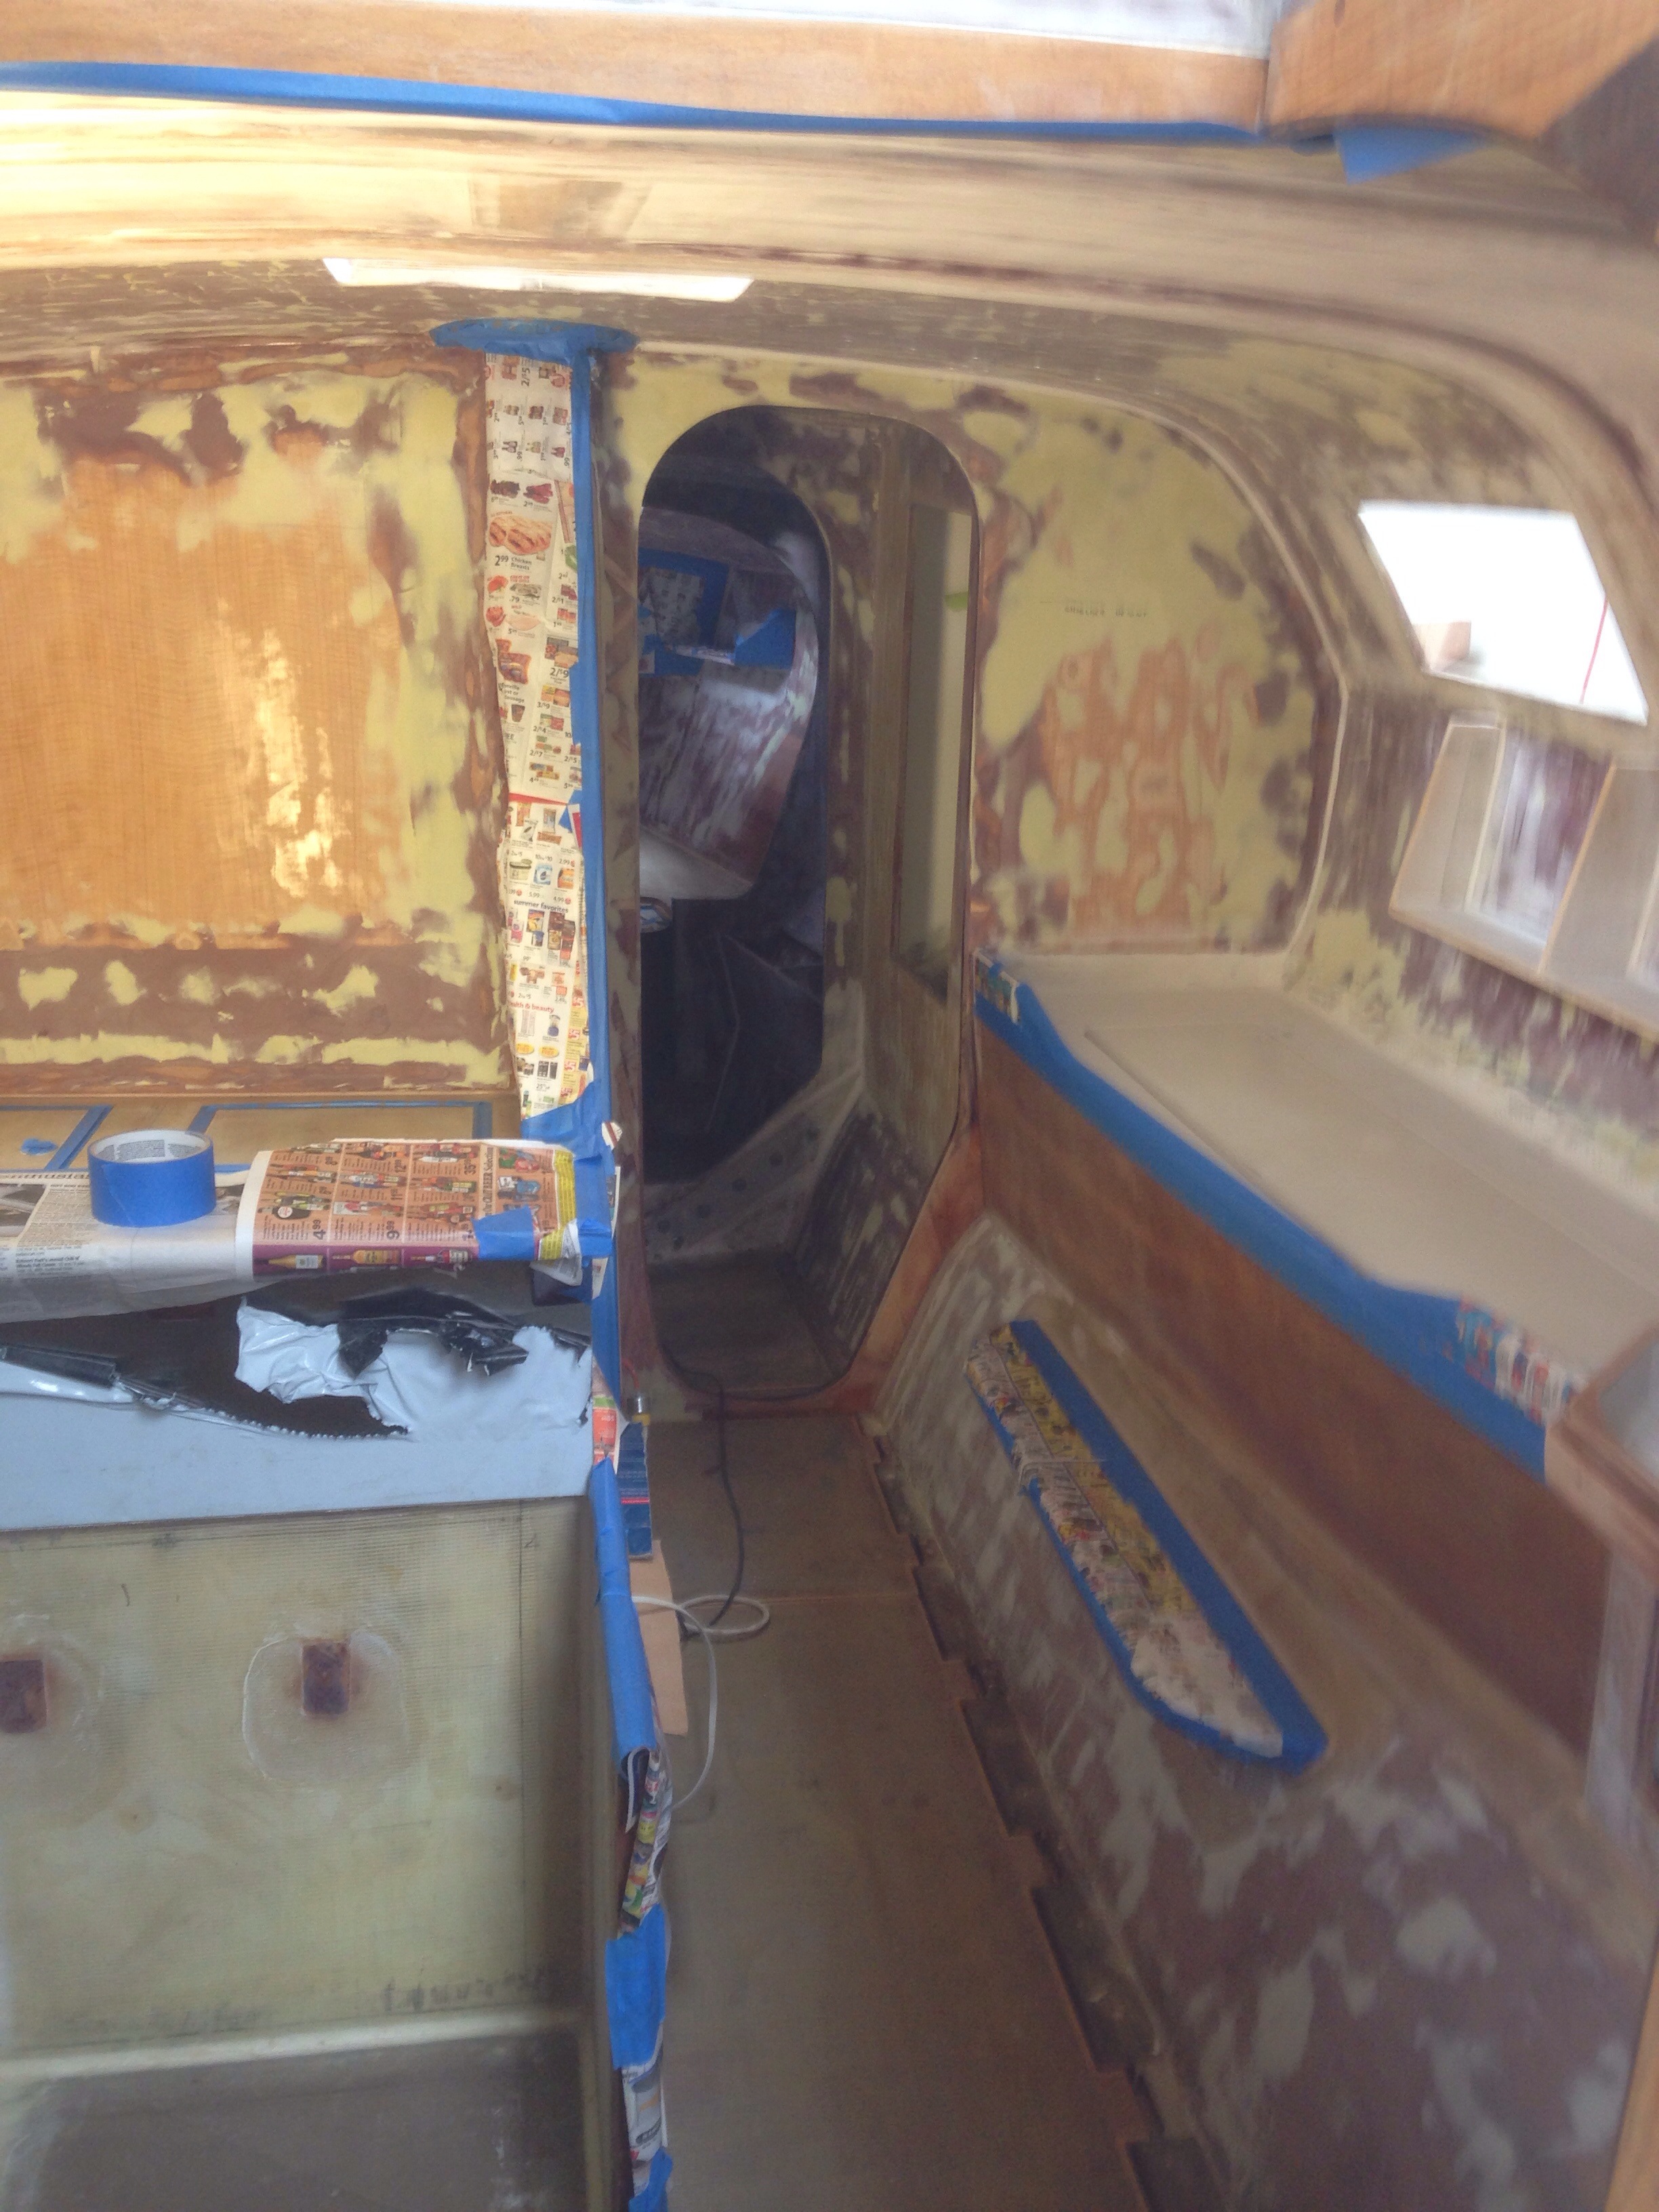
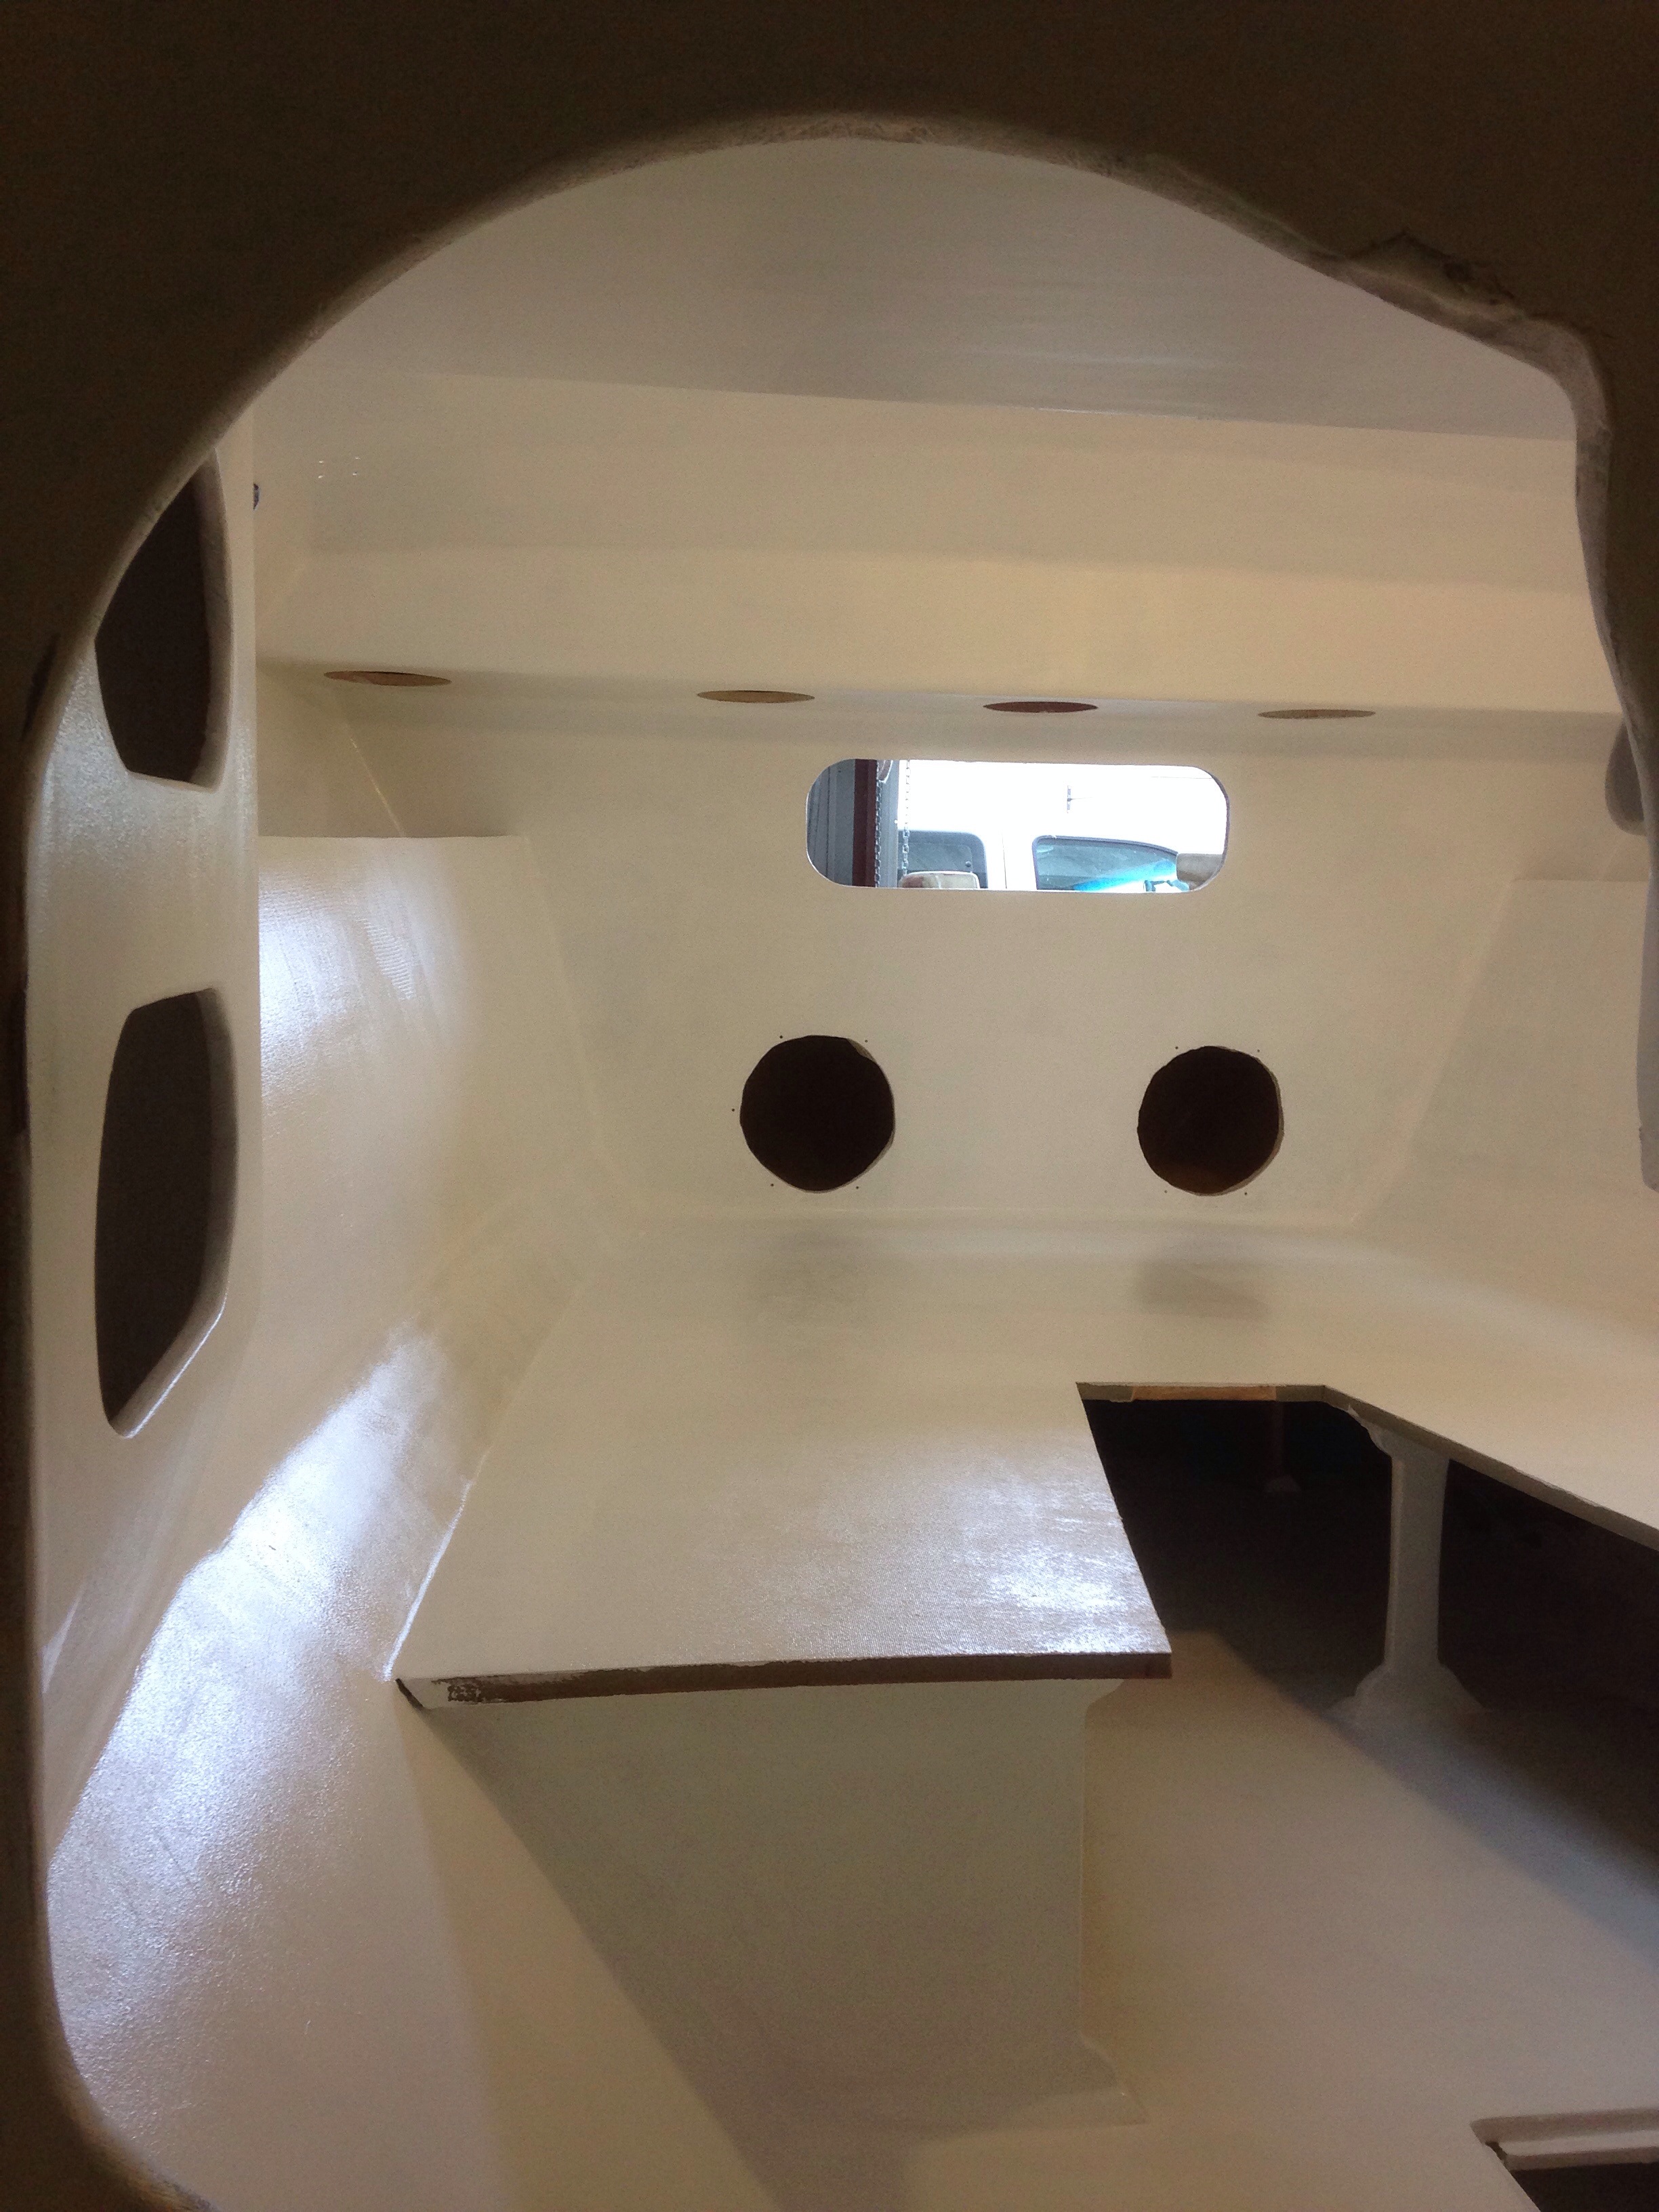
After lots of reading and listening to recent experiences of boat owners using high quality acrylic latex house paints inside their boats, we decided this is our route too. Much safer for the applicator, easy cleanup, unlimited color choices and ability to match later, and about 20% of the cost of marine topsides paints. Thank you Keith for recommending this stuff – it was great throughout Sunday and Monday marathon sessions. Used 2.5 gallons for two coats applied by roller.

20150527-223748.jpg
The result is startling (good) – boat feels bigger inside and so much happier. Wood accents are already visually “popping” and will get better over next week or so.

20150527-223942.jpg

20150527-223957.jpg

20150527-224012.jpg

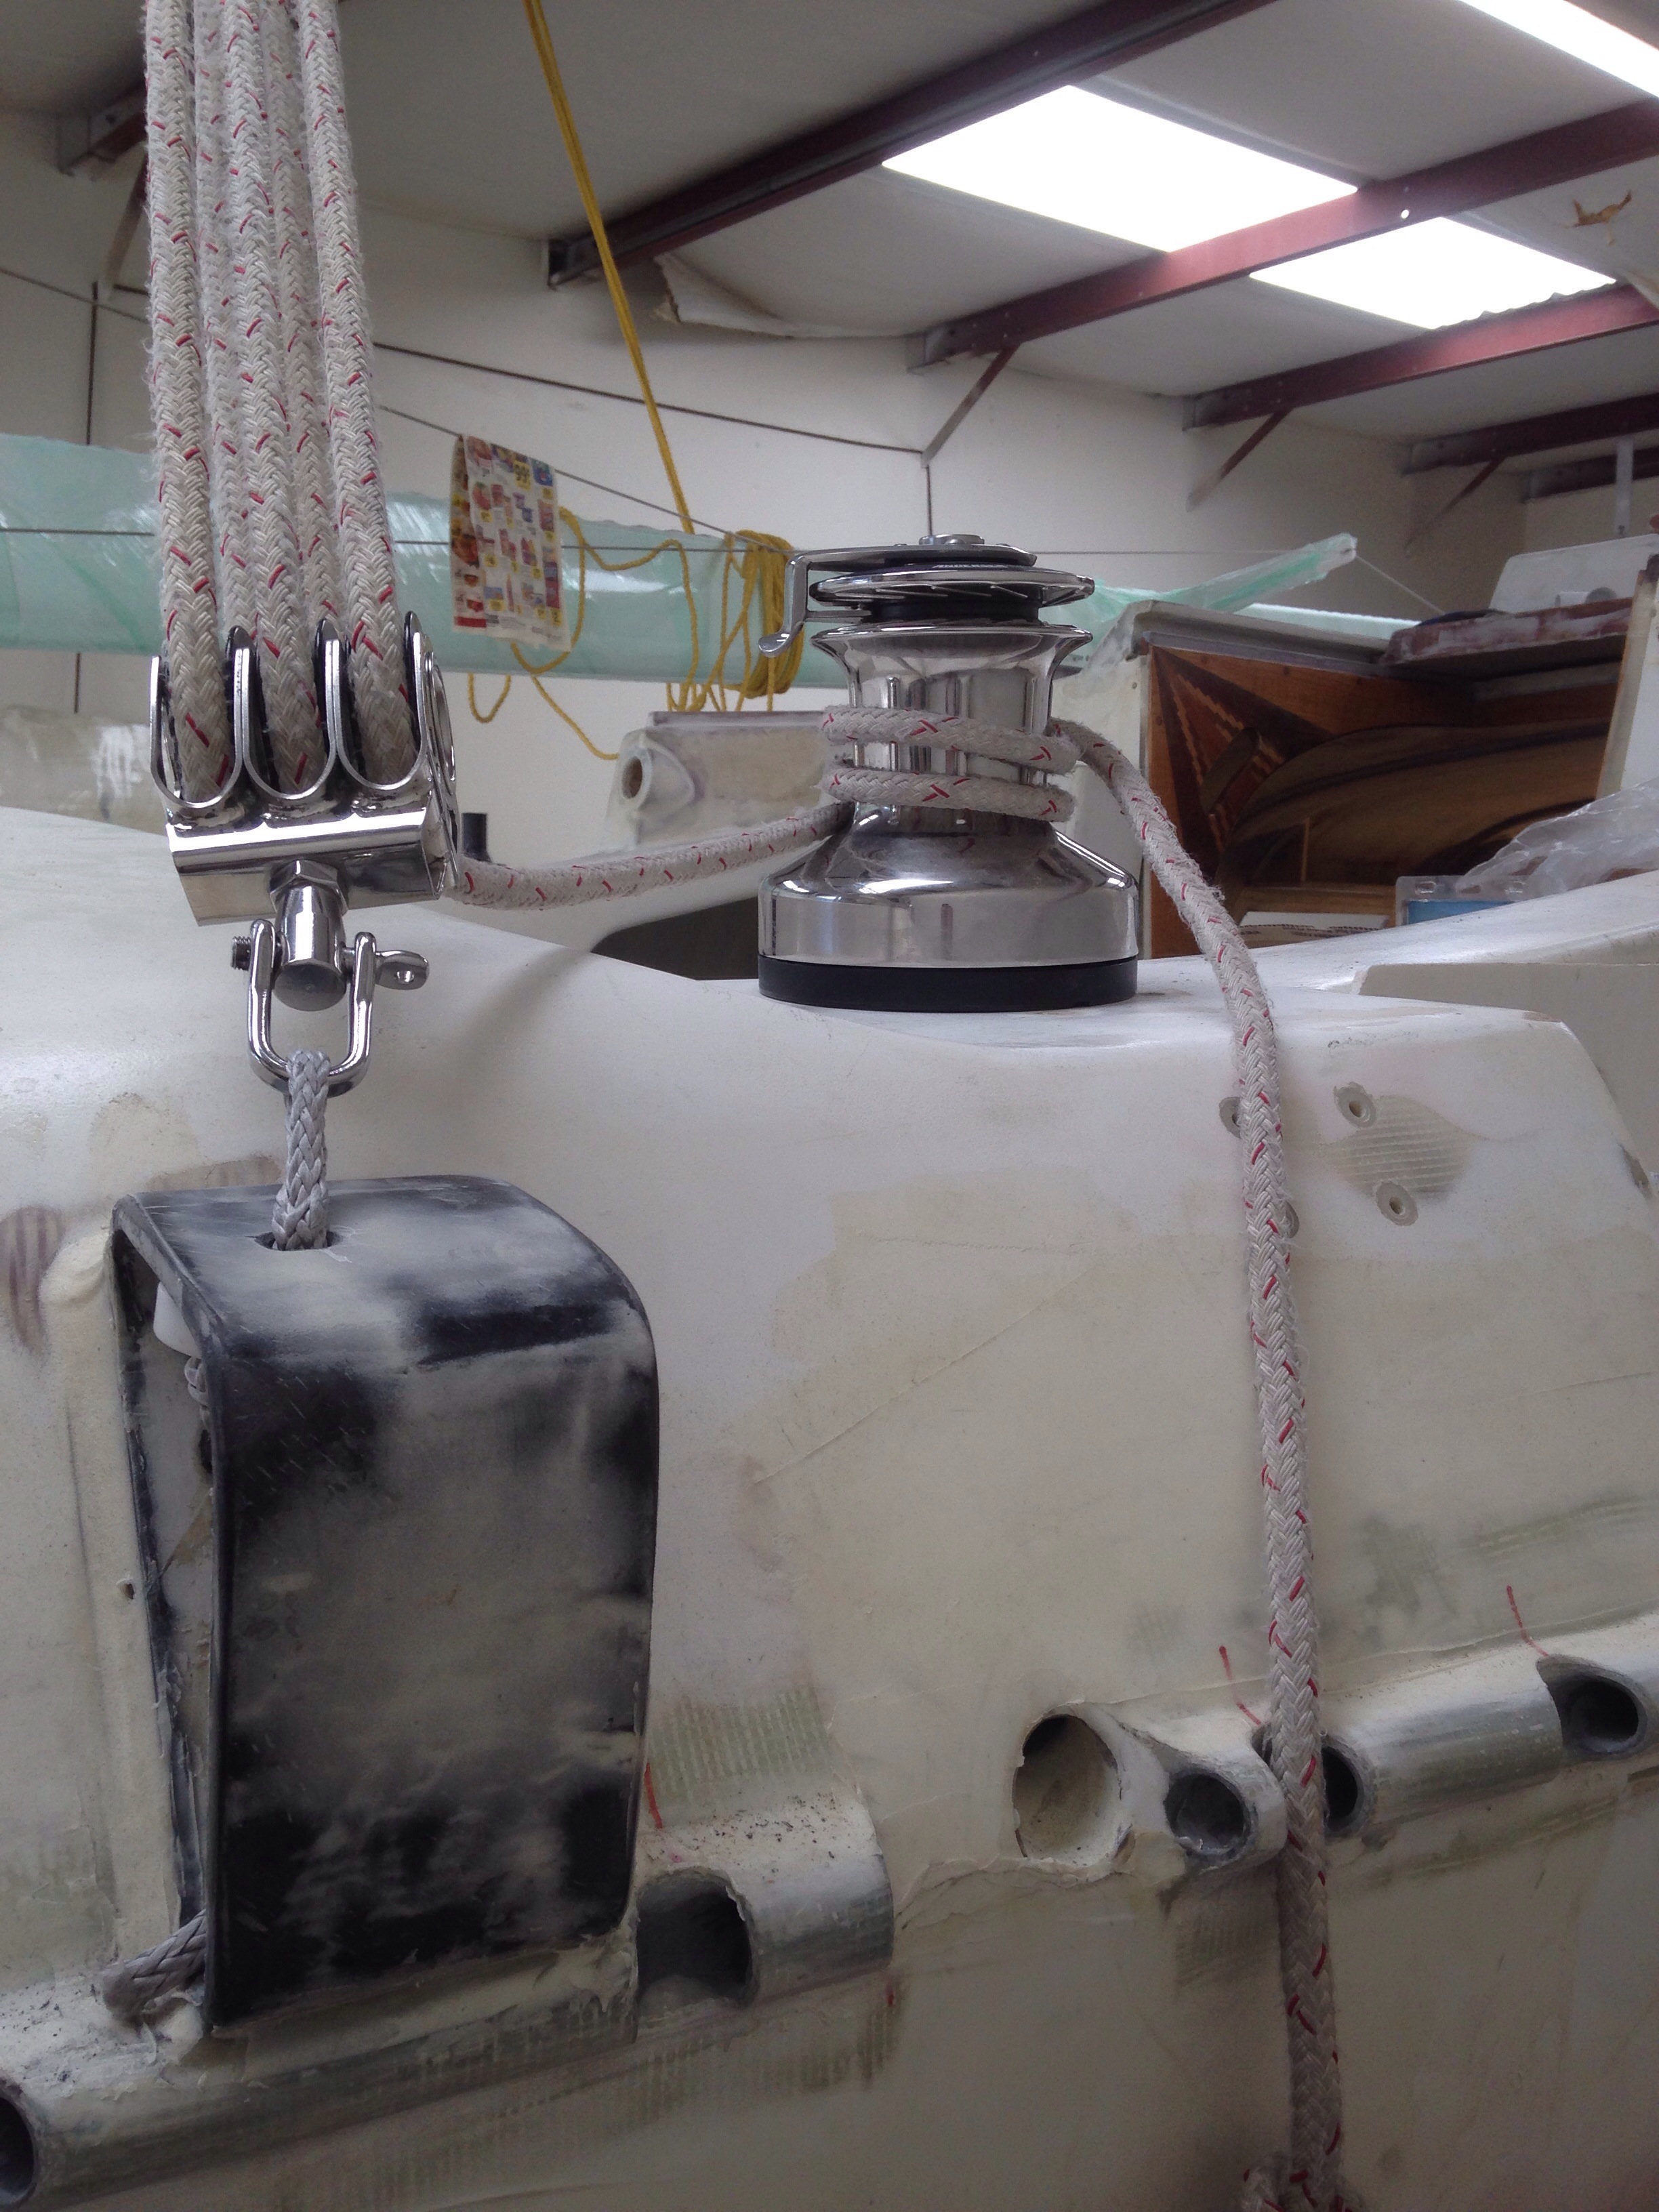
Jeanne and I returned late this eve from working on her Dad’s San Jose house, feeling worn out. But right inside the door, ready to lift the spirits is a thousand feet of the highest-tech line ready to match up with the mast and new sails! Great work organizing, cutting and splicing by Skateaway Designs. We’re almost done pulling all the cordage together. This task was a heck of a list (partially on that left hand panel).

20150527-224600.jpg

If you’re wondering why people are using dyneema for shrouds and forestays – this box at 55lbs has all three 50’+ cables and over 800′ of halyards in it. The stainless steel shrouds for our 35′ mast F27 weighed more than all this stuff, and this mast is 15′ longer. Tremendous weight advantage, plus it’s much stronger than the steel.

Next up is glue bonding all those 100+ pieces of fancy trim wood you saw on the back table a few weeks ago. Let’s hope we can read our legend notes on what goes where!…

We’ve got power!

Probably the most thought out purchase of this boat build is the sails. We looked at so many options, and it came down to getting great advice. After an expedient one month build for three big sails, they arrived by truck from Maine Sailing Partners this week.

20150522-185521.jpg
The octagon box is the Tides sail track for the mast – rolled up and 48′ long. We had to replace the one that came with the mast due to lowering the gooseneck position (resulting in a longer track and sail hoist distance).
The dyneema and Dacron blend cloth weave looks fantastic in person! The mainsail weighed in at about 85 pounds, but look at how compact it is compared to complicated laminate sails. This should be so much easier to handle in stowing/covering, yet it’s still a race-competitive durable sail. Can’t wait to hoist!

20150522-190011.jpg
The jib is unusual in two ways. It is fully battened horizontally, so it will be stored in a zipper bag, still hanked on when not in use. And it’s reef able, so we’ll have an adjustable tack leading back to the cockpit. The excess part of the reefed sail gets folded up against the hoisted portion and covered up by an integral zipper pouch. This will all make more sense when we can show you photos with the mast up.

20150522-193255.jpg
The third sail is a masthead reacher that will fly from the bow sprit and roll up on a Colligo furler. We made it solid blue, using a simple nylon cloth – not intended to be an upwind sail.

20150522-193943.jpg
We also made a change on deck to better match the jib. The tracks for the jib turning cars are now athwart ships to keep the jib clew always the same distance from the forestay. We can trim the sail sideways – closer to the mast and centerline or opening up the slot without de-powering the sail.

20150522-194518.jpg
The jib on this boat is planned to be a real workhorse in so many conditions. Really looking forward to learning how to make it perform well!

Final details of interior fabrication are finishing up and we’re on track to roll on primer throughout the boat insides this weekend. Three years of working towards paint – it’s finally coming true.

Wobbly arms

Wobbly arms and burning shoulders is what you get trying to make a smooth, fair surface overhead in your boat. Griffin and Colin are safe now as the aft cabin top got finished today! No more wheedling from dad to get you sanding in there :)

20150515-151514.jpg
Here’s the main cabin with just a bit more edge work to do this weekend and we should be ready for interior priming early next week.

20150515-151639.jpg
With this much practice, one gets fairly proficient at making the corner fillets.

The tricks turned out to be (1) 1:10 ratio of cabosil to glass balloons in the epoxy mix, (2) keep the mix runny, just falling off the spatula and laying it in the corner starting from the bottom, and (3) using a mortar board to really press out the air bubbles of the mixed putty before applying to the target area. Most of these don’t need any sanding at all.

20150515-152110.jpg

The sheet metal shop neighbor cut stainless steel panels for the galley backsplash and countertop. The vertical piece was bonded in place yesterday and the counter skin was glued down to its glass and foam base here. The sink is under mount, so the epoxy putty was tinted grey on the inner edges that will be showing.

20150515-152418.jpg
There’s more edge sanding to do. The stainless steel is hiding beneath a grey plastic cover for now, so you don’t get to see it until the interior is all painted soon.

Above the stove and counter will be a four foot long by seven inch wide bar; a plank of mahogany has been saved for many years to make special accents in the boat – this bar will be a centerpiece if all goes well. We finally got access to the right saw and big planer, resulting in some fantastic wood grain pieces for laminating to foam cores. Here’s a peek at what’s coming.

20150515-152937.jpg

20150515-153002.jpg

Bowels of a boat

Another item on the ‘prep for paint’ list is solving of all the plumbing runs, especially as they relate to fitting around cabinets, bulkheads and the hull sides. As to be expected, everything starts at the throne.

20150506-075134.jpg
We originally wanted all the pipes hidden, but the space is proving too tight. Some of the piping and the deck port for waste pumping will live behind this cover.

20150506-075534.jpg
With the toilet plumbed we moved on to drainage for bilge and shower sumps, then the two sinks. More holes in the hull!
While at sea, the sewer tank gets pumped out just above the waterline, and the holding tank vent is the smaller hole below the port hole (vent has an inline smells-filter)

20150506-075934.jpg
Moving aft about five feet, tucked inside a cabinet behind the shower, are the bilge and shower sump exits, with the fresh water tank vent above.

20150506-080118.jpg
And the last two were drilled just forward of the aft beam – one for the propane locker vent and the other a discharge line for the desalinator.

20150506-080454.jpg
Most of the needed bulkhead pass-thrus were cut to route pipes/tubing. Then it was a trial fit of the propane system, which fit the new locker nicely. It’s all done to ABYC standards, including a propane fume alarm system as we’re forever haunted by my grandparents’ near-tragic monoxide incident aboard a boat 50 years ago.

20150506-081216.jpg

Charlie’s visit to the shop yesterday delivered very nice dyneema strops to anchor the twin mainsheet system. RickH, I think this Vee is going to work as advertised. We hooked it up to the shop rafters and by controlling the two ends of the sheet we got both mainsail trimming and traveler functions working well. Next stop – let’s see it with a huge sail in play :)

20150506-081925.jpg

20150506-081955.jpg

Speaking of sails – they’re done and will get on a truck next week. That’ll be an exciting delivery!