Yea! We’re finally getting some decent rain in Northern California. I have no problem bowing to nature in this case, even if it does screw up boat projects. In between showers, we’re getting stuff done. Here are the main sheet block pads done, installed with some leftover windshield super tape. 
The starboard main cabin ports got their new polycarbonate pieces. This is 1″ Very High Bond 3M tape, then Sika 295 black sealant around the outside edge. 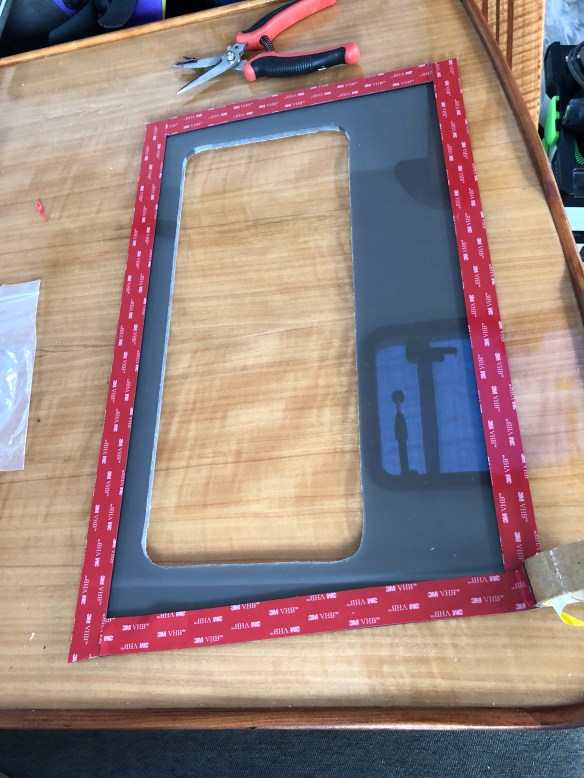
 the center one with the big cutout gets a ‘floating’ Lewmar opening port reinstalled next time I go down to the marina.
RickWS, I think we’re ready for baking, as 1.5yrs after launch I’ve finally hooked up the propane. The locker was built into/under the cockpit lazarette, and it sticks down into the equipment room alongside the freezer box. For service, it needed an overboard vapor drain, an electrical pass thru for the tank on/off solenoid, and one for the gas line. 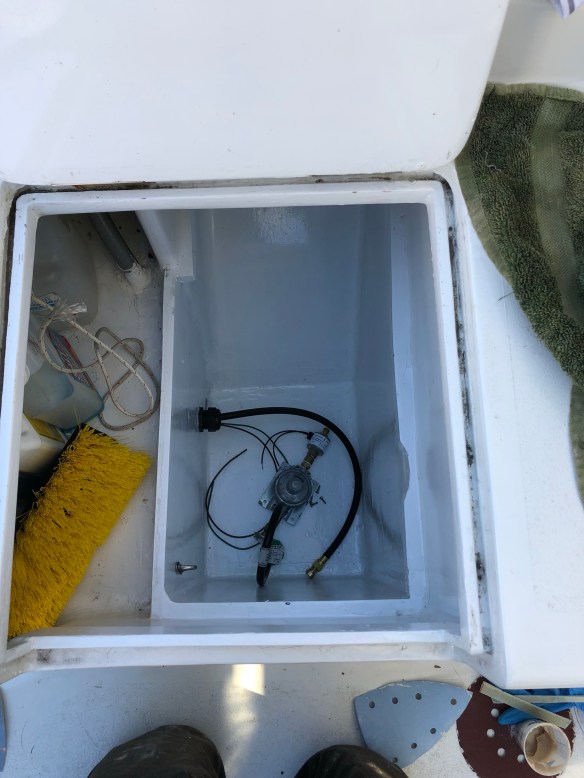

Just need to fill the tank on that next drive to the marina and test it all out. Jeanne is on boat-strike until we can boil water for afternoon tea.
Also completed are those watertight Armstrong inspection hatch covers. First a look at the 10″ ones on the float bows. 


So far in the rain both have stayed bone dry, so this looks to be a good fix on a previously poor execution. Here are shots of the 7″ aft ones; these required grinding away the original built-up bases for the old style ports, plus filling in the bolt holes. I’ll try to remember to get a photo of the one-piece Armstrong plates so this all makes more sense. 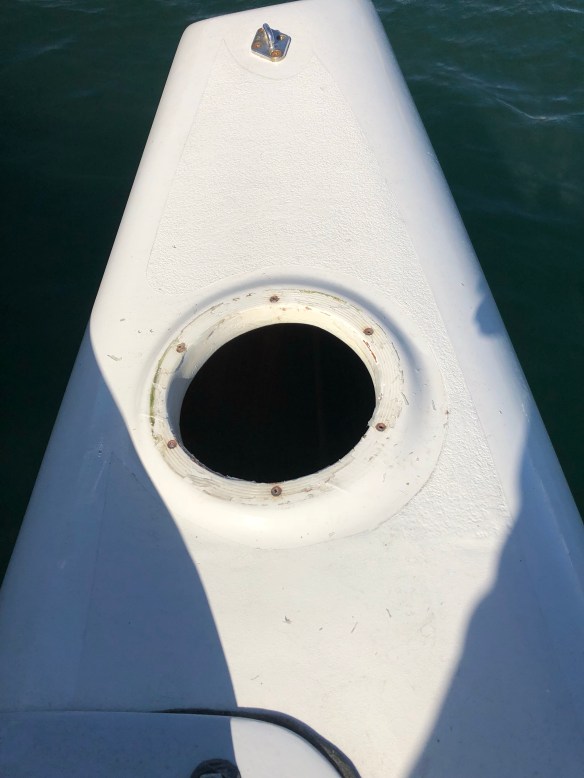

This next one may sound insignificant, but there was actually quite a bit of angst and procrastination about how to secure the various cabinet / locker doors. Mainly because I was a bit afraid of hitting the wood veneer doors with a crude hole saw. Proceeded with caution and now the doors latch shut!
Along with hot water, Jeanne would very much appreciate solving the tough ingress/egress issues of this boat. We could hop around the F27, but on this one the beams, coamings and cockpit seats are all much taller. I need to make various transition steps as we’re just not spring chickens anymore. First up is widening the coaming where the aft beams cut in to the hull. This is an odd spot in the boat design, and the F36 we saw in WA last September had these covered. So here goes. 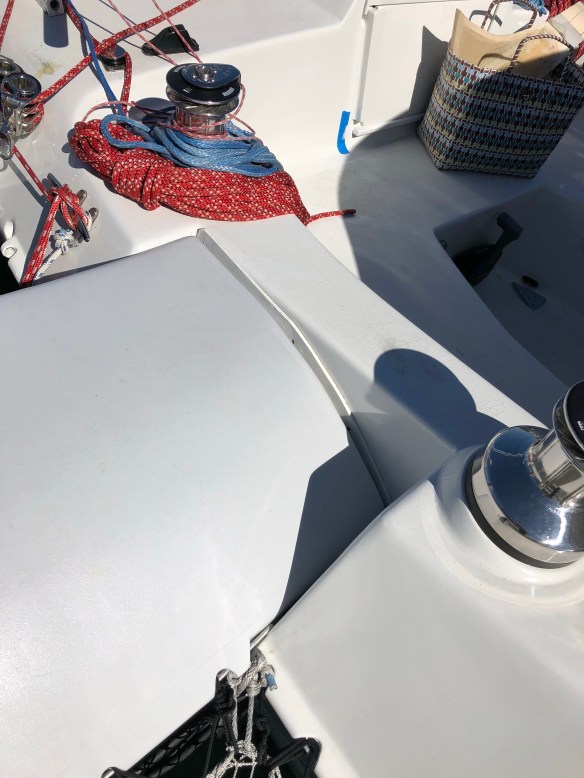

They will be a little tricky, as they can only be permanently affixed to the beam and not the hull, for potential de-mounting of the beams/floats some day. We’ll update as we go on this one.
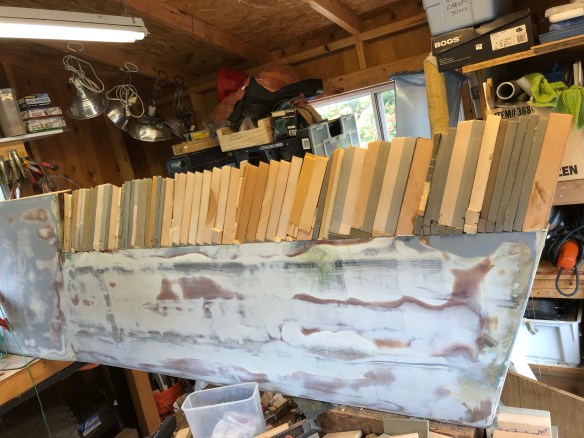
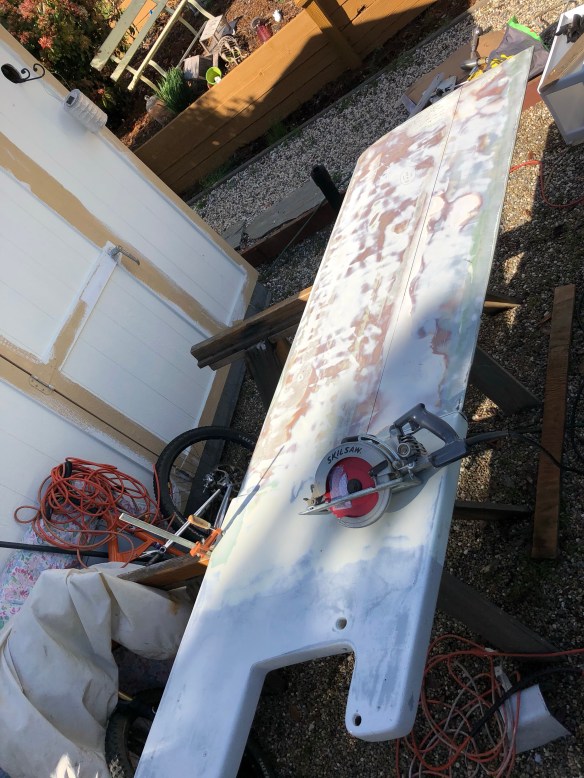
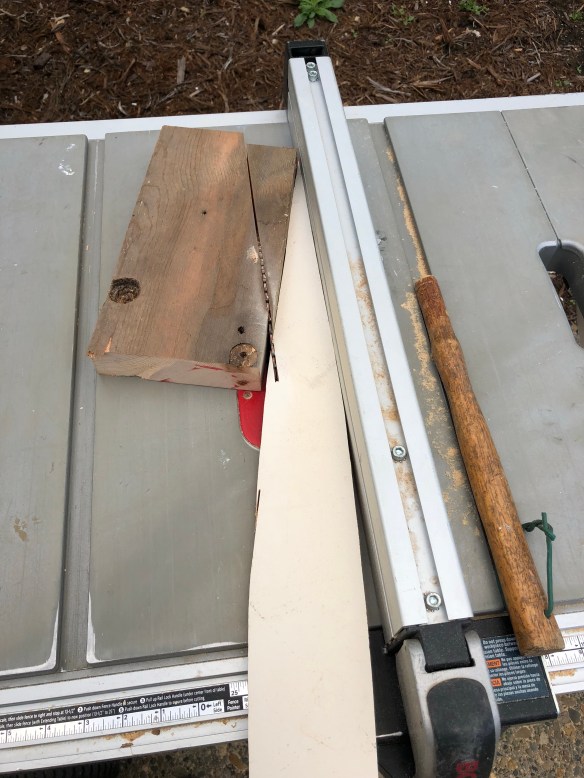
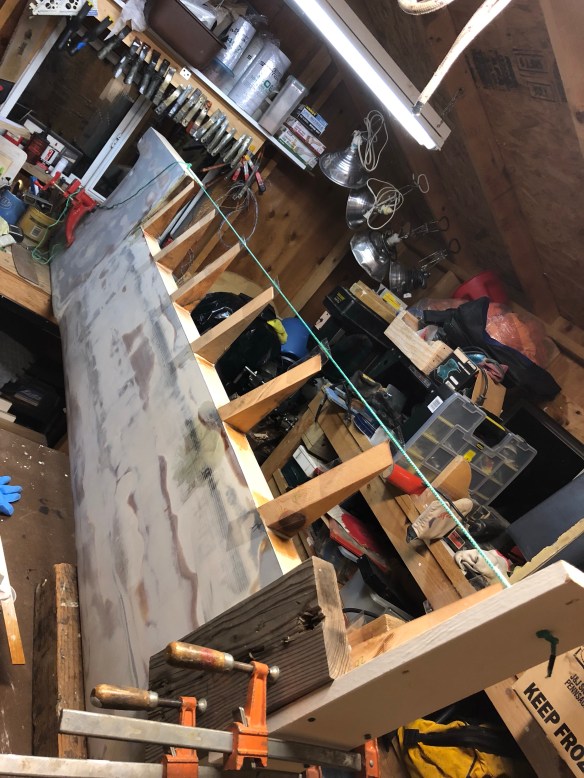
Meanwhile, back at the ranch… the daggerboard has been sitting under a tarp at home awaiting some reshaping work. We got the paint stripped and cleaned up the little work shed to tackle this, now that the weather is moving towards epoxy-appropriate warmth. 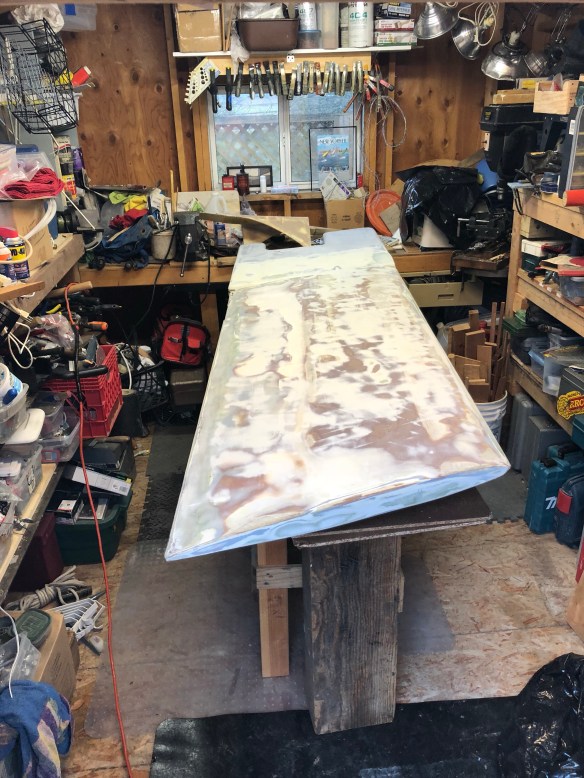
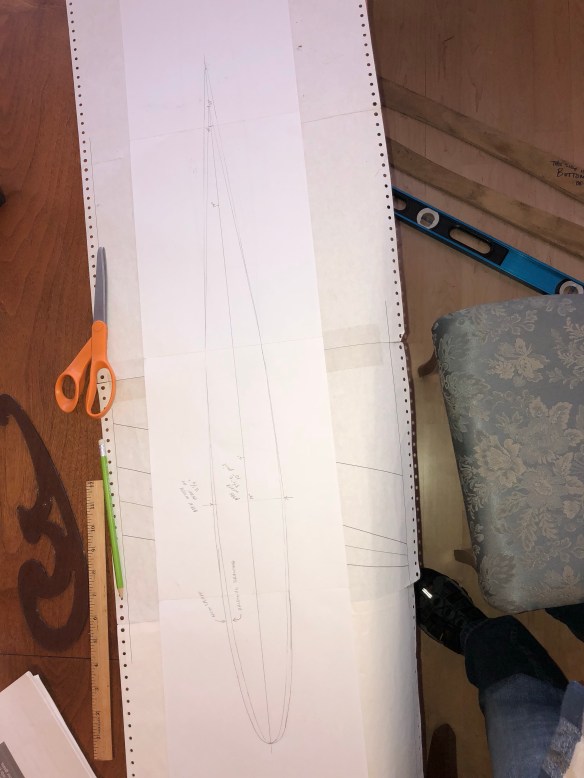
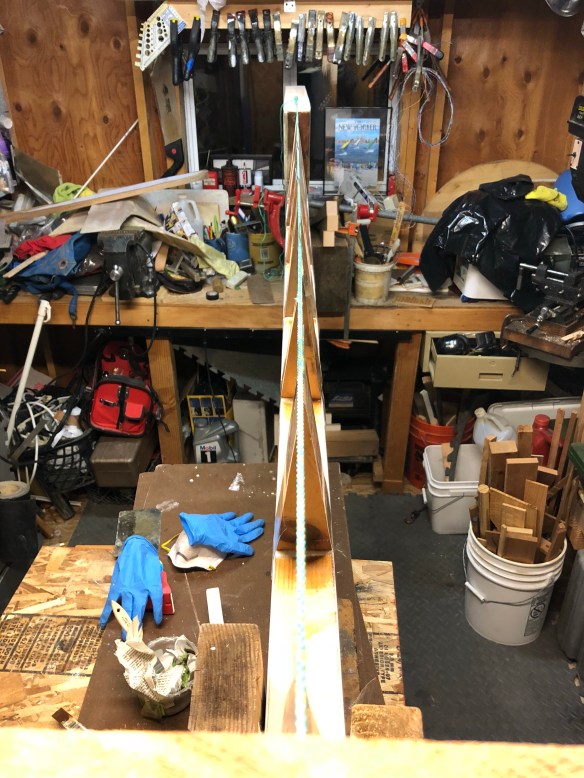
That’s an 8′ board in a 12′ shed, so the belly gets sucked in as one works. I’m pretty sure I built it to plan, but looking at it now, plus advice from the master Shipright during our Nov/Dec haulout, we’re thinking it really needs more bulbous-ness at the leading edge. We made a pattern of the hull pass-thru at the bottom of the boat while it was on land, and that is now transferred to a plywood cutout to use as a “don’t add more than this!” guide in this project. If anyone has ideas on how to attack this such that I work symmetrically, I’m all ears. Step 1 will be blocking and clamping it up on the trailing edge (leading edge pointing to ceiling) to at least be able to 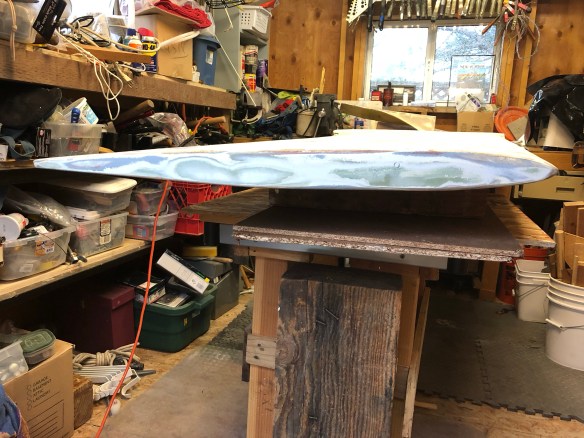 eyeball it. Here goes!
PS. Last time we reported on shore boat #1. Tonight I’m thrilled to report my dear sis Allie joined me on a trip to the SUP shop in Santa Cruz to look at VESL brand paddle boards. She was hooked and bought one while I shopped. Next thing I know, she’d bought mine too! Now that’s family love right there :). We can fight over the paddle board and the loser gets off Ravenswing via the portabote.
At 10′, the SUPs stick out the back of our new pickup’s 5.5′ bed, which of course sounds like an excuse to look for truck racks. 
It was a bittersweet goodbye to the amazing diesel X5 bmw, but this Ram with the eco diesel v6 is powerful, comfortable and has averaged 24mpg over 6k miles, half of which were towing a 6,000lb trailer across the country. Yea, that’s my testimonial Fiat-Chrysler. You got this one right.


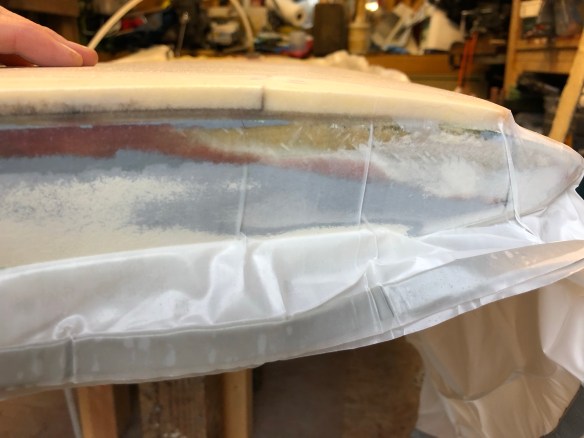


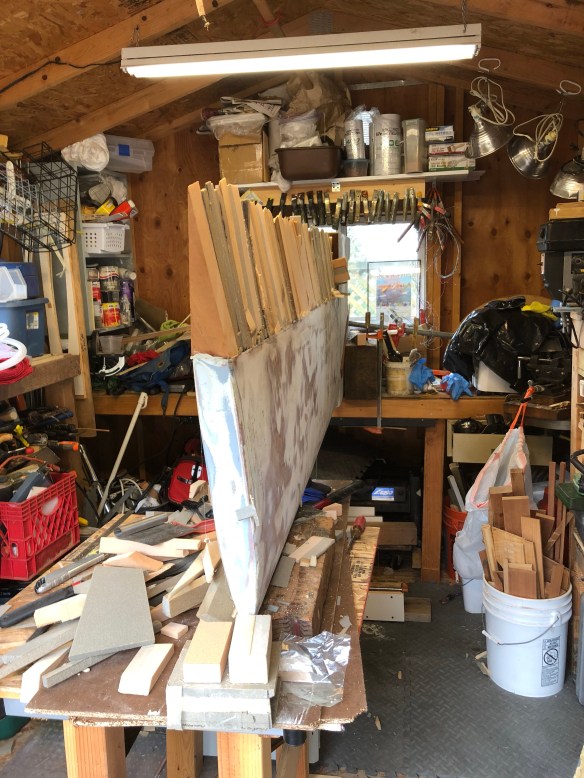


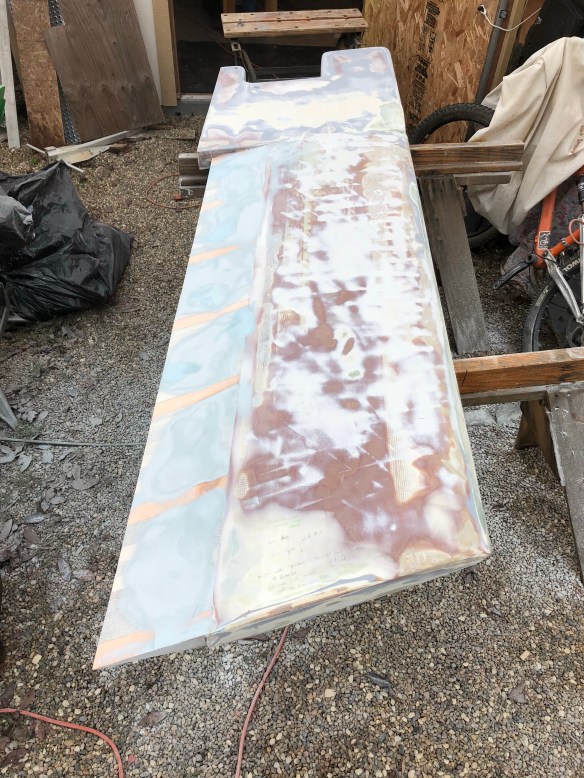
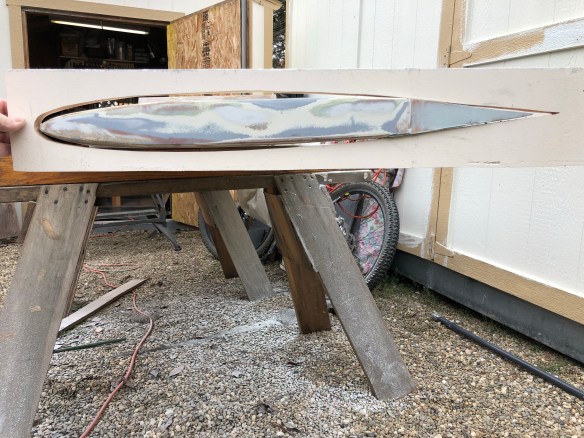

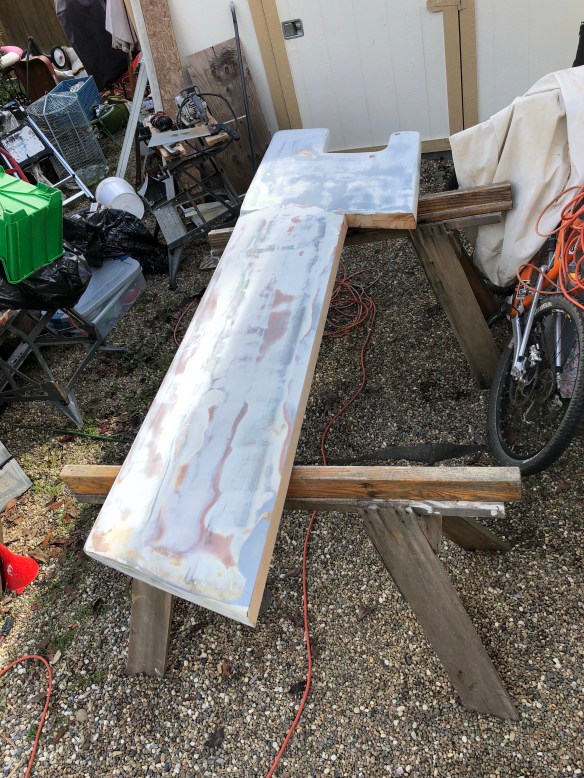

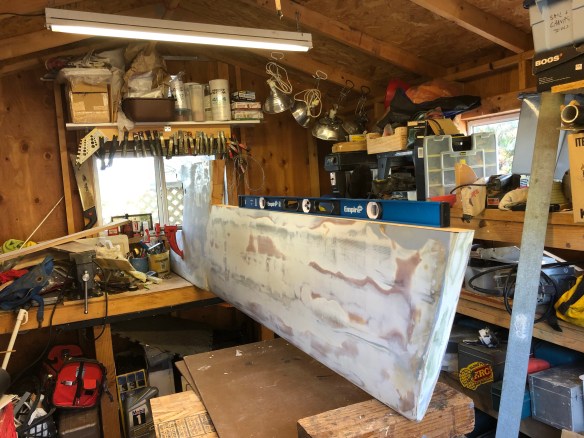

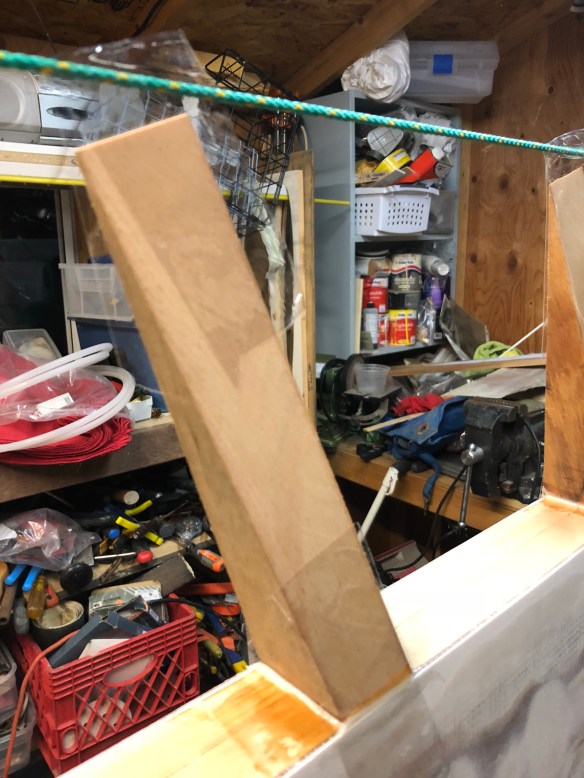
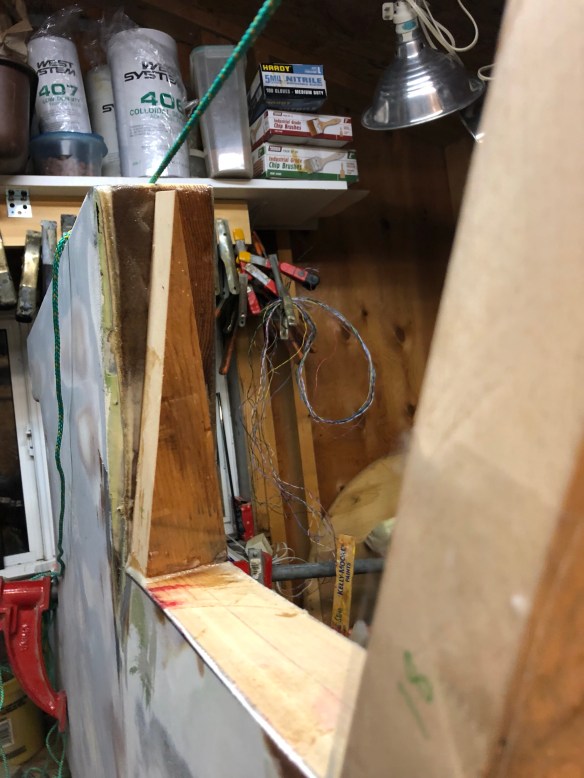 This weekend we’ll fill in between these wood blocks with foam core and get this new tail shaped and ready for fiberglass. I have a feeling adding the right shape to the board on the front half will be much trickier than this aft-half job.
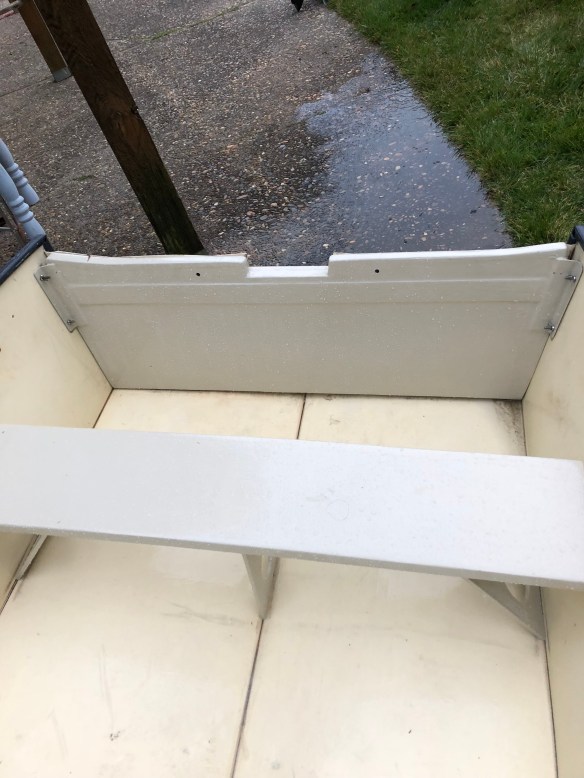 The game plan for Ravenswing’s dinghy is the folding 10’ Portabote and 4hp motor we found “barely used” on Craigslist a few years back for $700. The plastic hull folds flat and secures nicely on the nets. But the original heavy plywood seats and transom were a big bummer. A wise man would have coughed up the $1700 at the boat show for a new one, but no, we thought “we can just quickly redo those in foam core!” Well over a year later that little project finally concluded. Still need to install the replaced motor choke parts scavenged at Bill’s Outboards in Sausalito last year, then we’ll go find out if Jimbo’s little nemesis boat seems any more realistic as the voyagers’ launch.
 Here we prepped the area to mold some Kevlar protection pads.
 They’ll get some paint and then get sticky-taped in place.
 We expected to show you new starboard side portlights by now, but the Bay Area FINALLY got some real rain so our al -fresco boat is taped up until the sky dries and sun warms enough for painting to resume.
  The word from MA is optimistic about our mast getting in to production finally. Haven’t seen photos of carbon on the mandrill yet, but we’ve been assured that’s imminent. Meanwhile, to stay somewhat sane, we’re taking some rides on OPB. Rafi upgraded from the Corsair 750 to a really nice F31 OneDesign, ex-“F-bomb” out of San Diego, now LookinGoodII and it’s fast as hell. That’ll get the other bay 31s to take notice. We had a very windy Sunday afternoon South Bay blast, and the mutinous crew demanded the new skipper figure out how to reef the large main :).