Plenty of masking tape

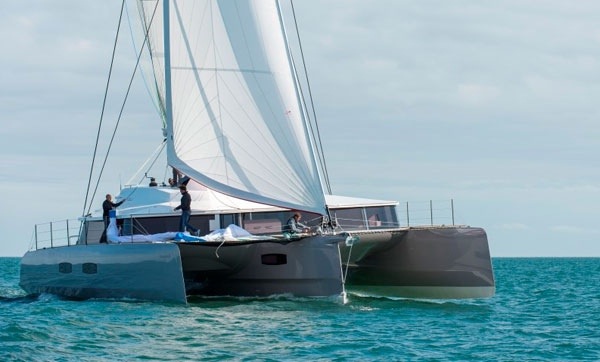
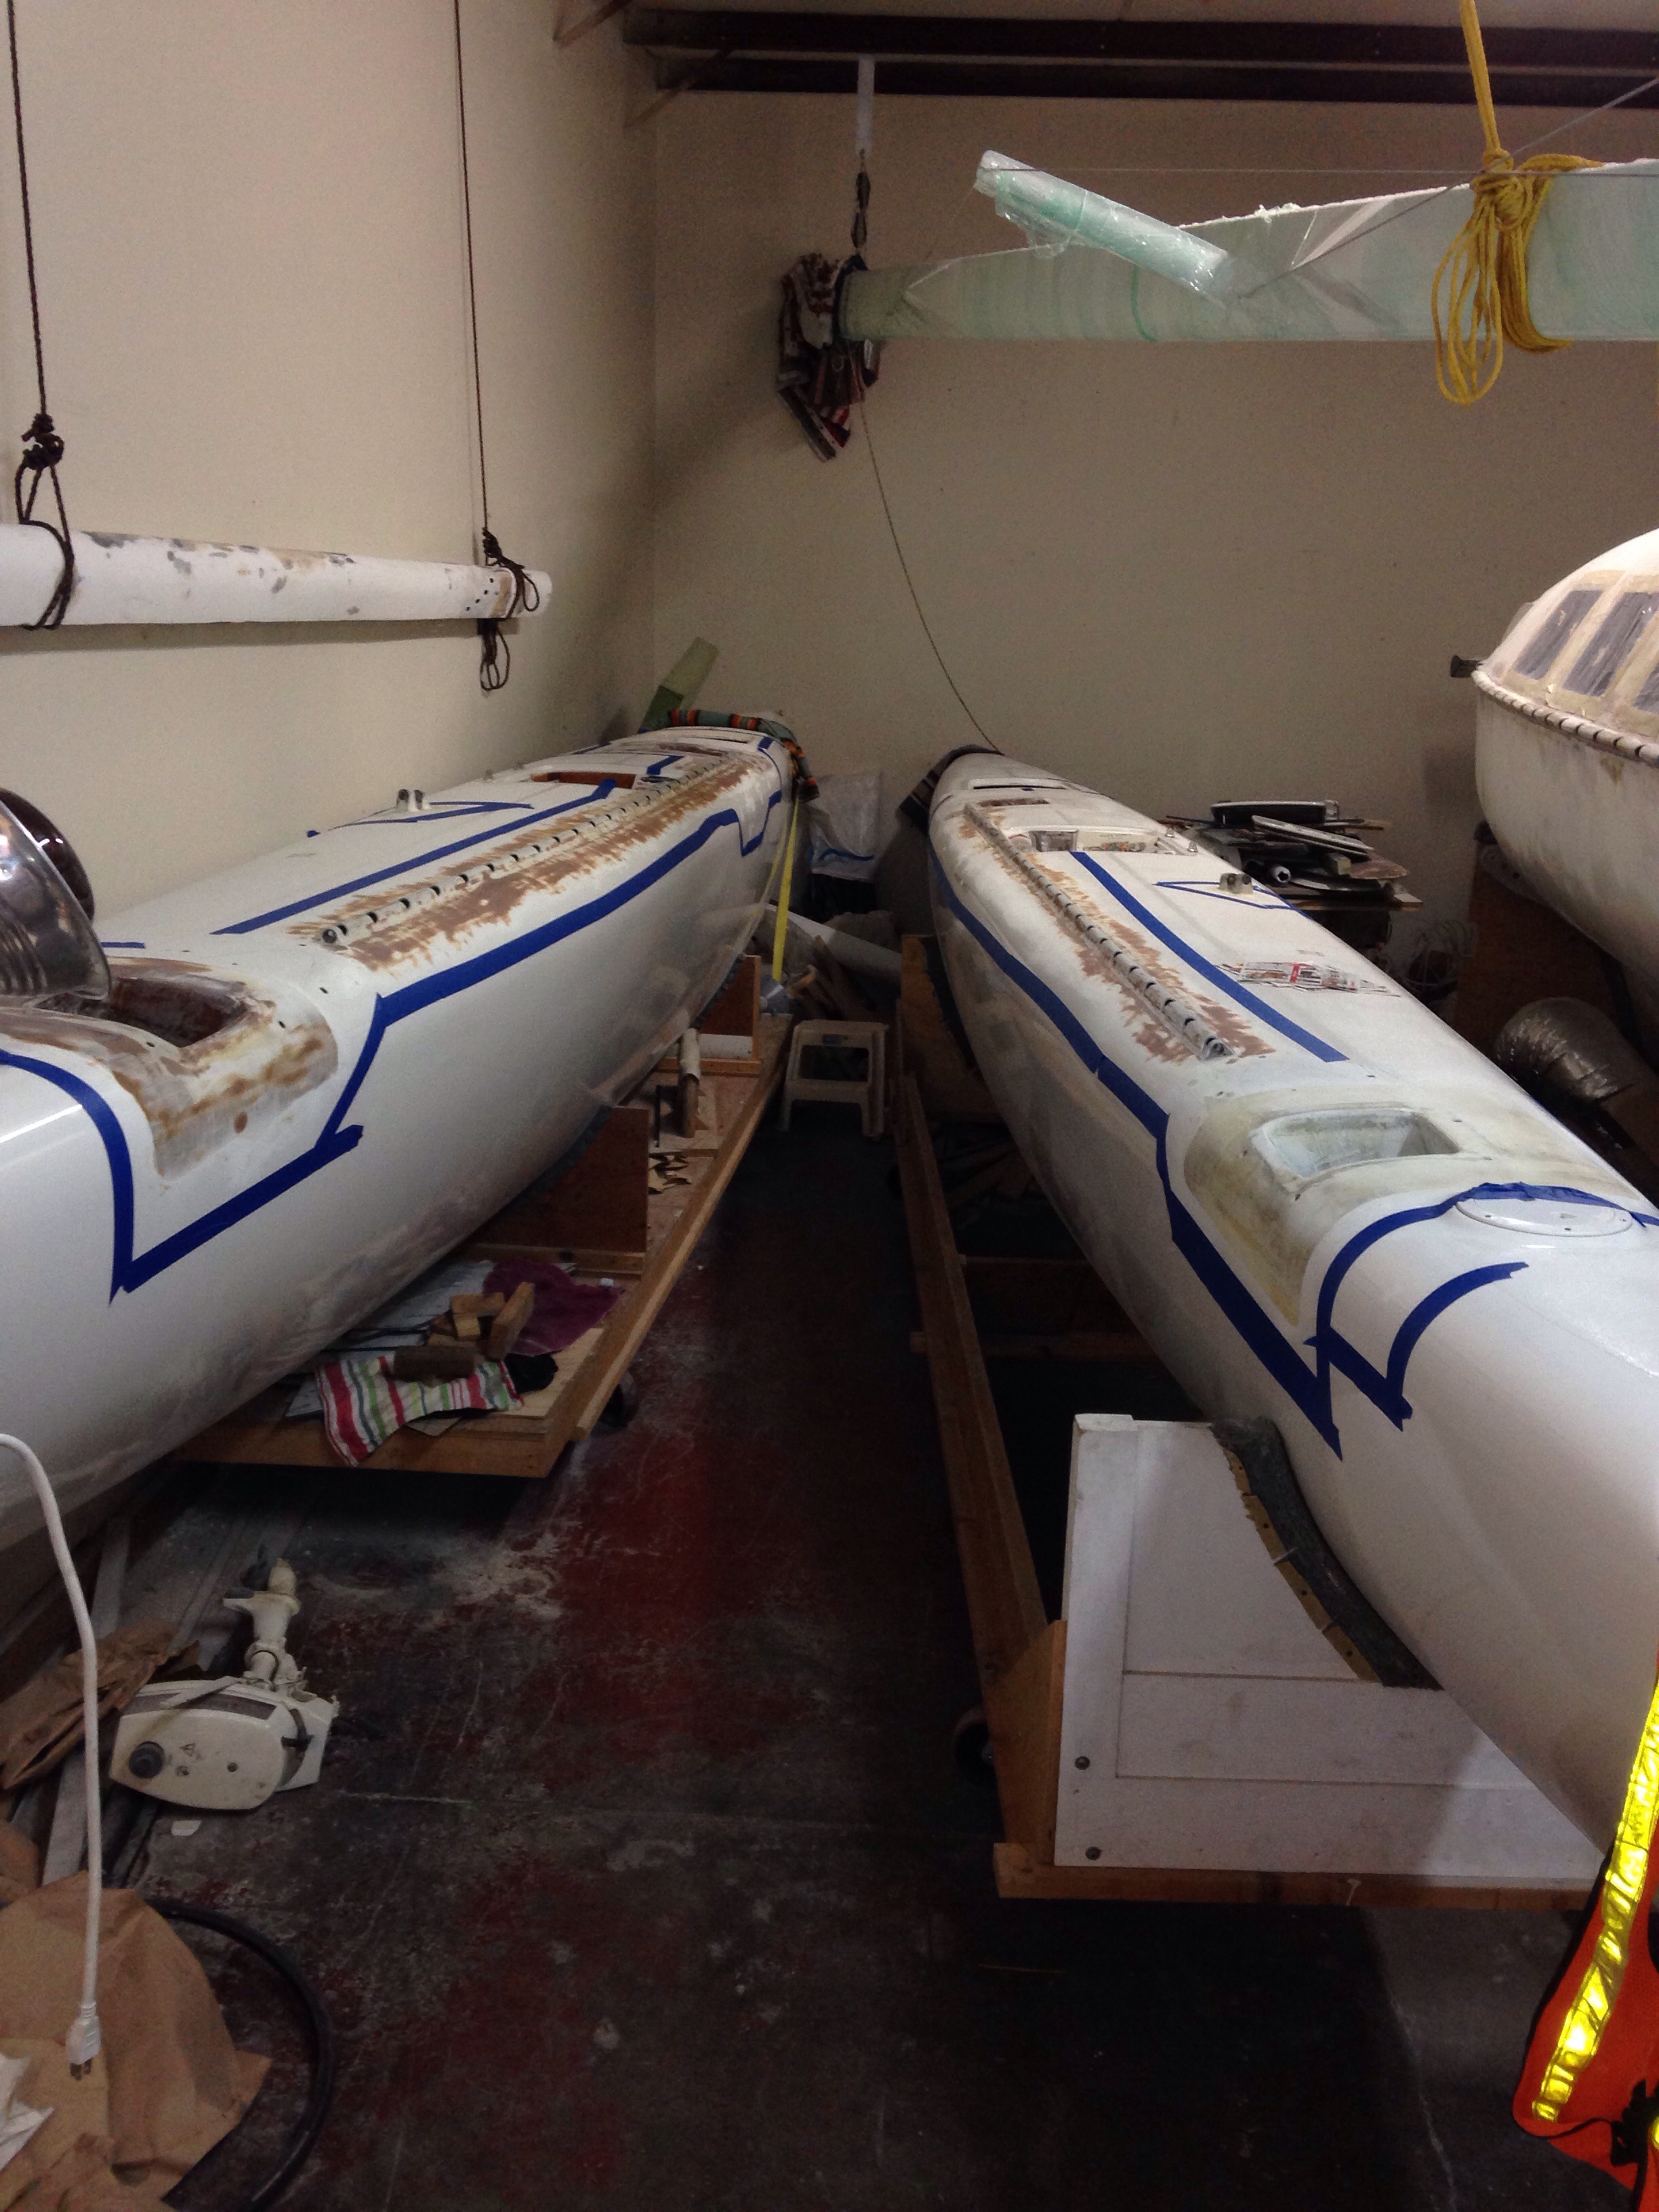
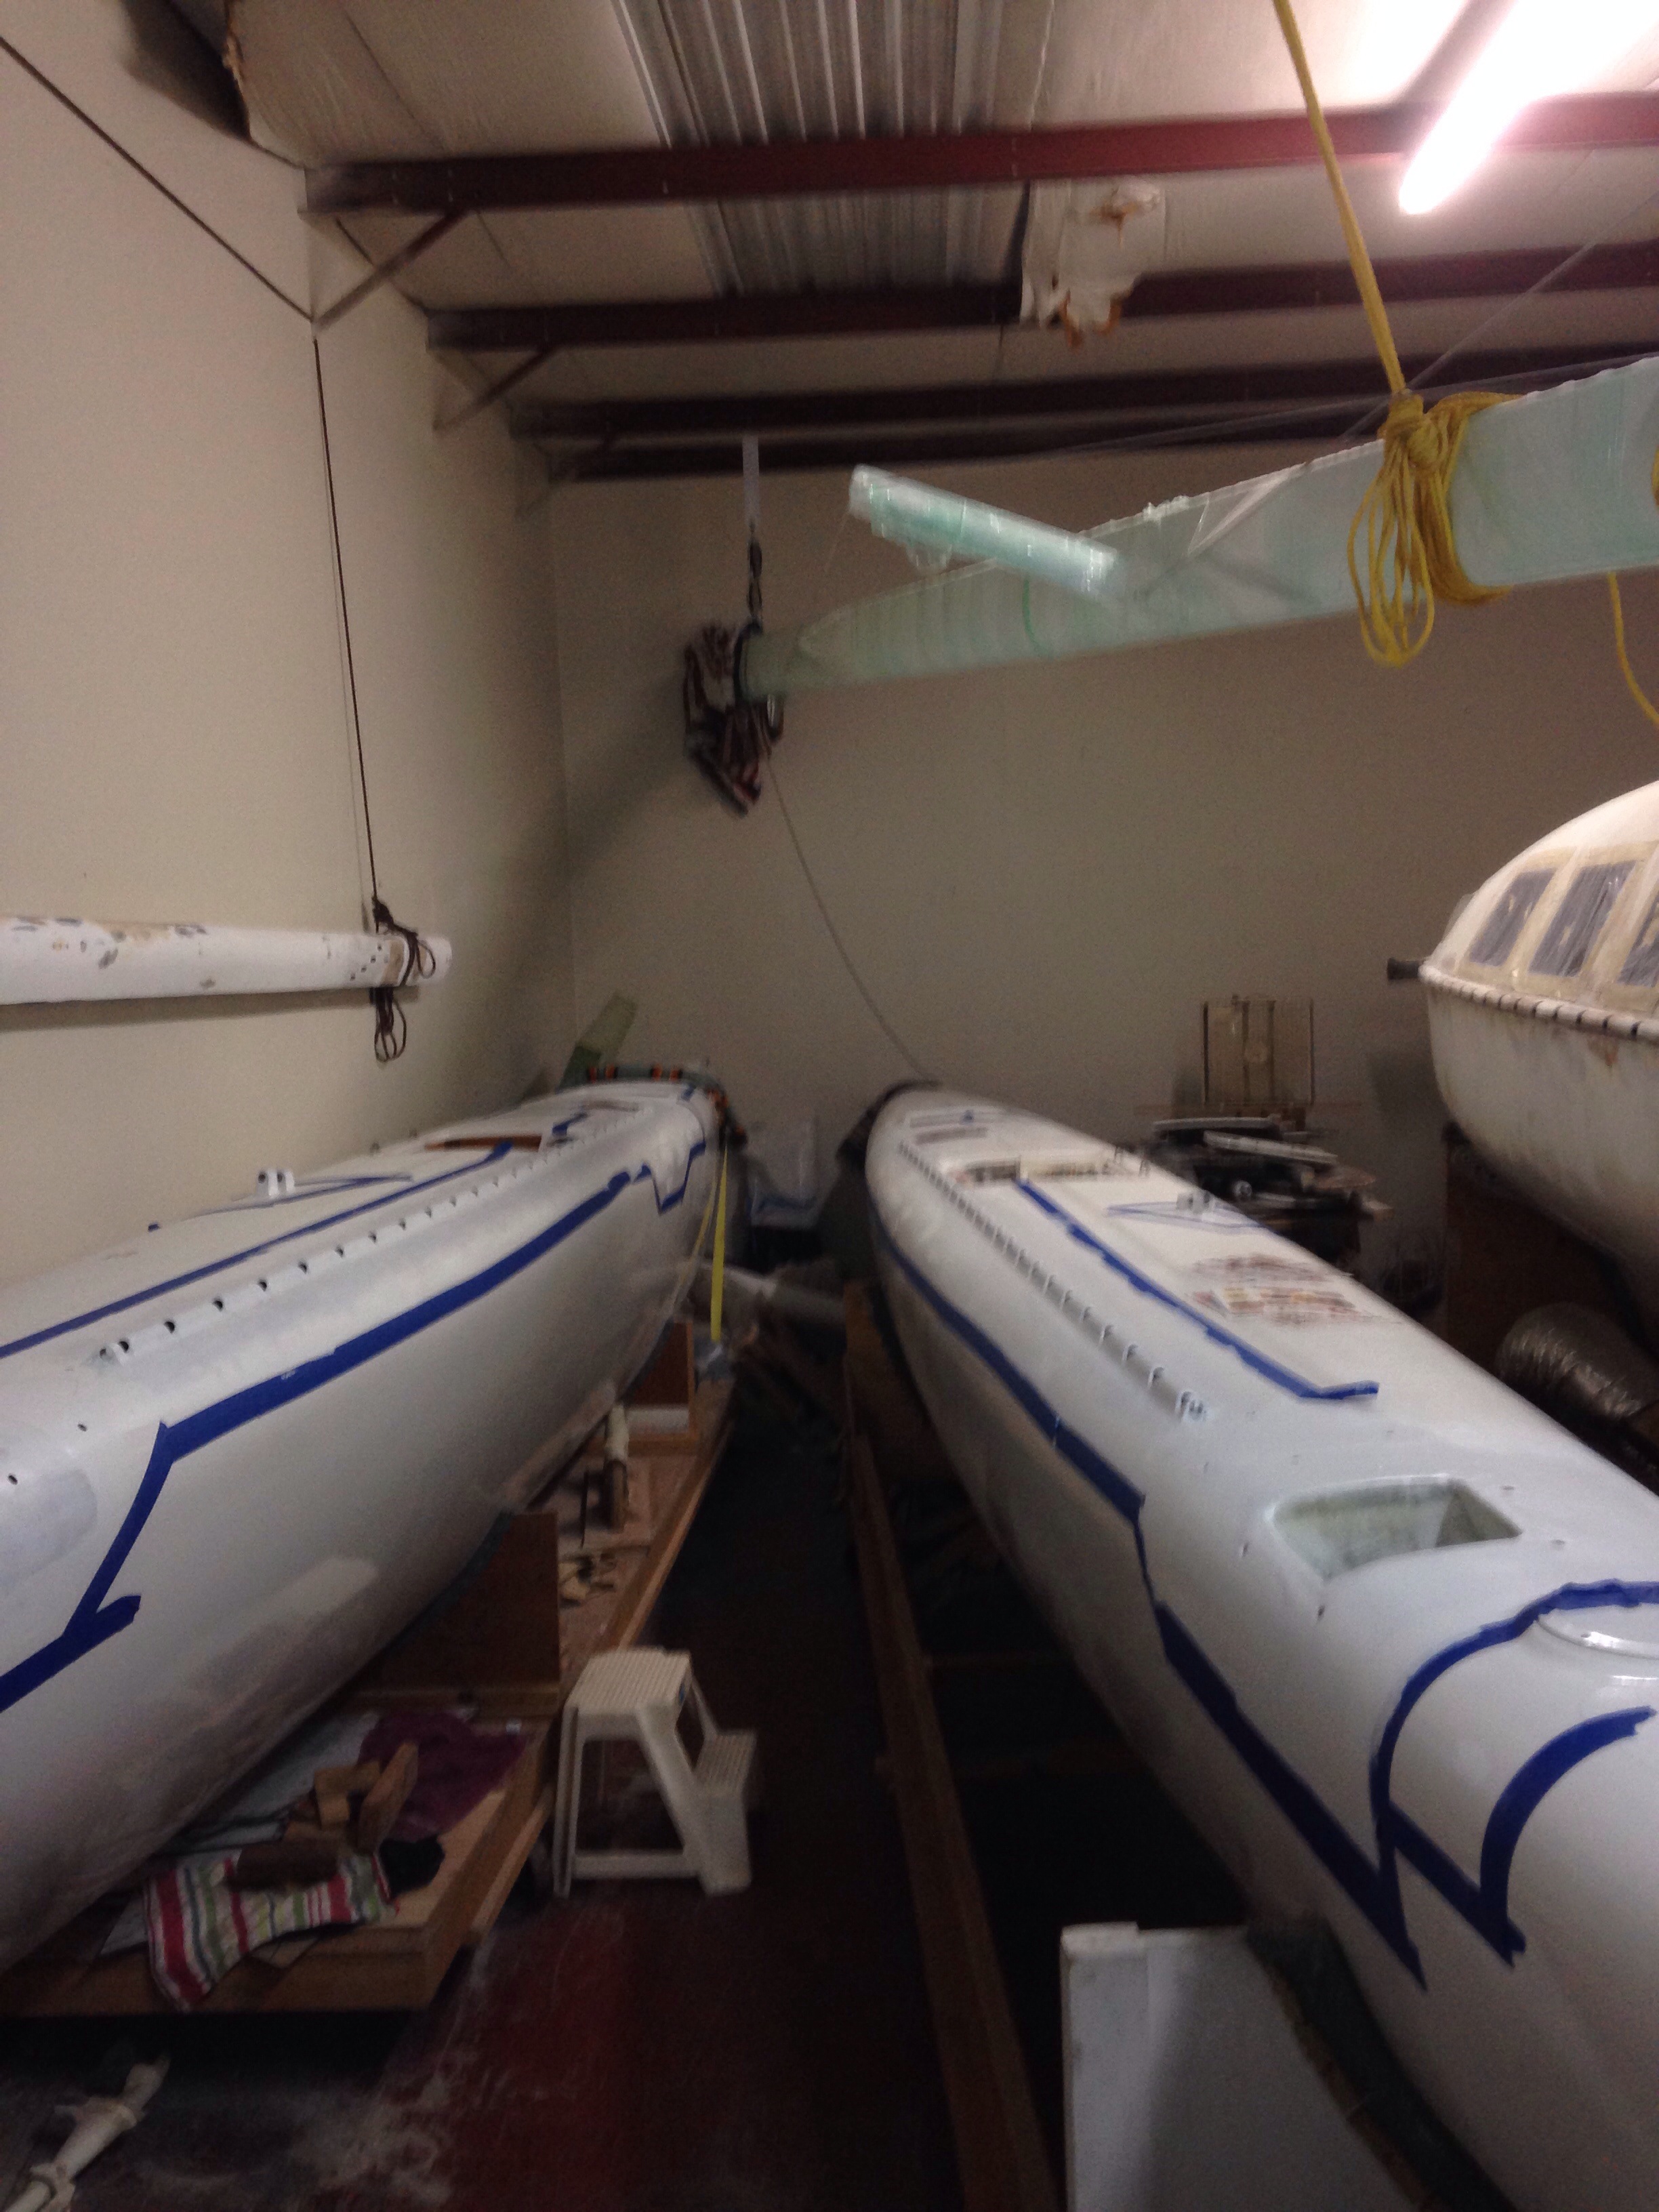
Painting part of a boat might be trickier than painting the whole thing. The two floats / amas were finish-painted 5+ years ago, but we updated them this year with the new chainplates, net lashing tubes and beefier deck hardware. We had one unopened quart of the previous generation Interlux off-white two part polyurethane; it needed to do the whole job… Here we are after the glossy paint:

20150630-225631.jpg
This is applied with a smooth foam roller and tipped-off with one stroke if a brush at 45 degrees. Definitely an art, easy to screw up, and must be done with very thin paint.

20150630-225831.jpg
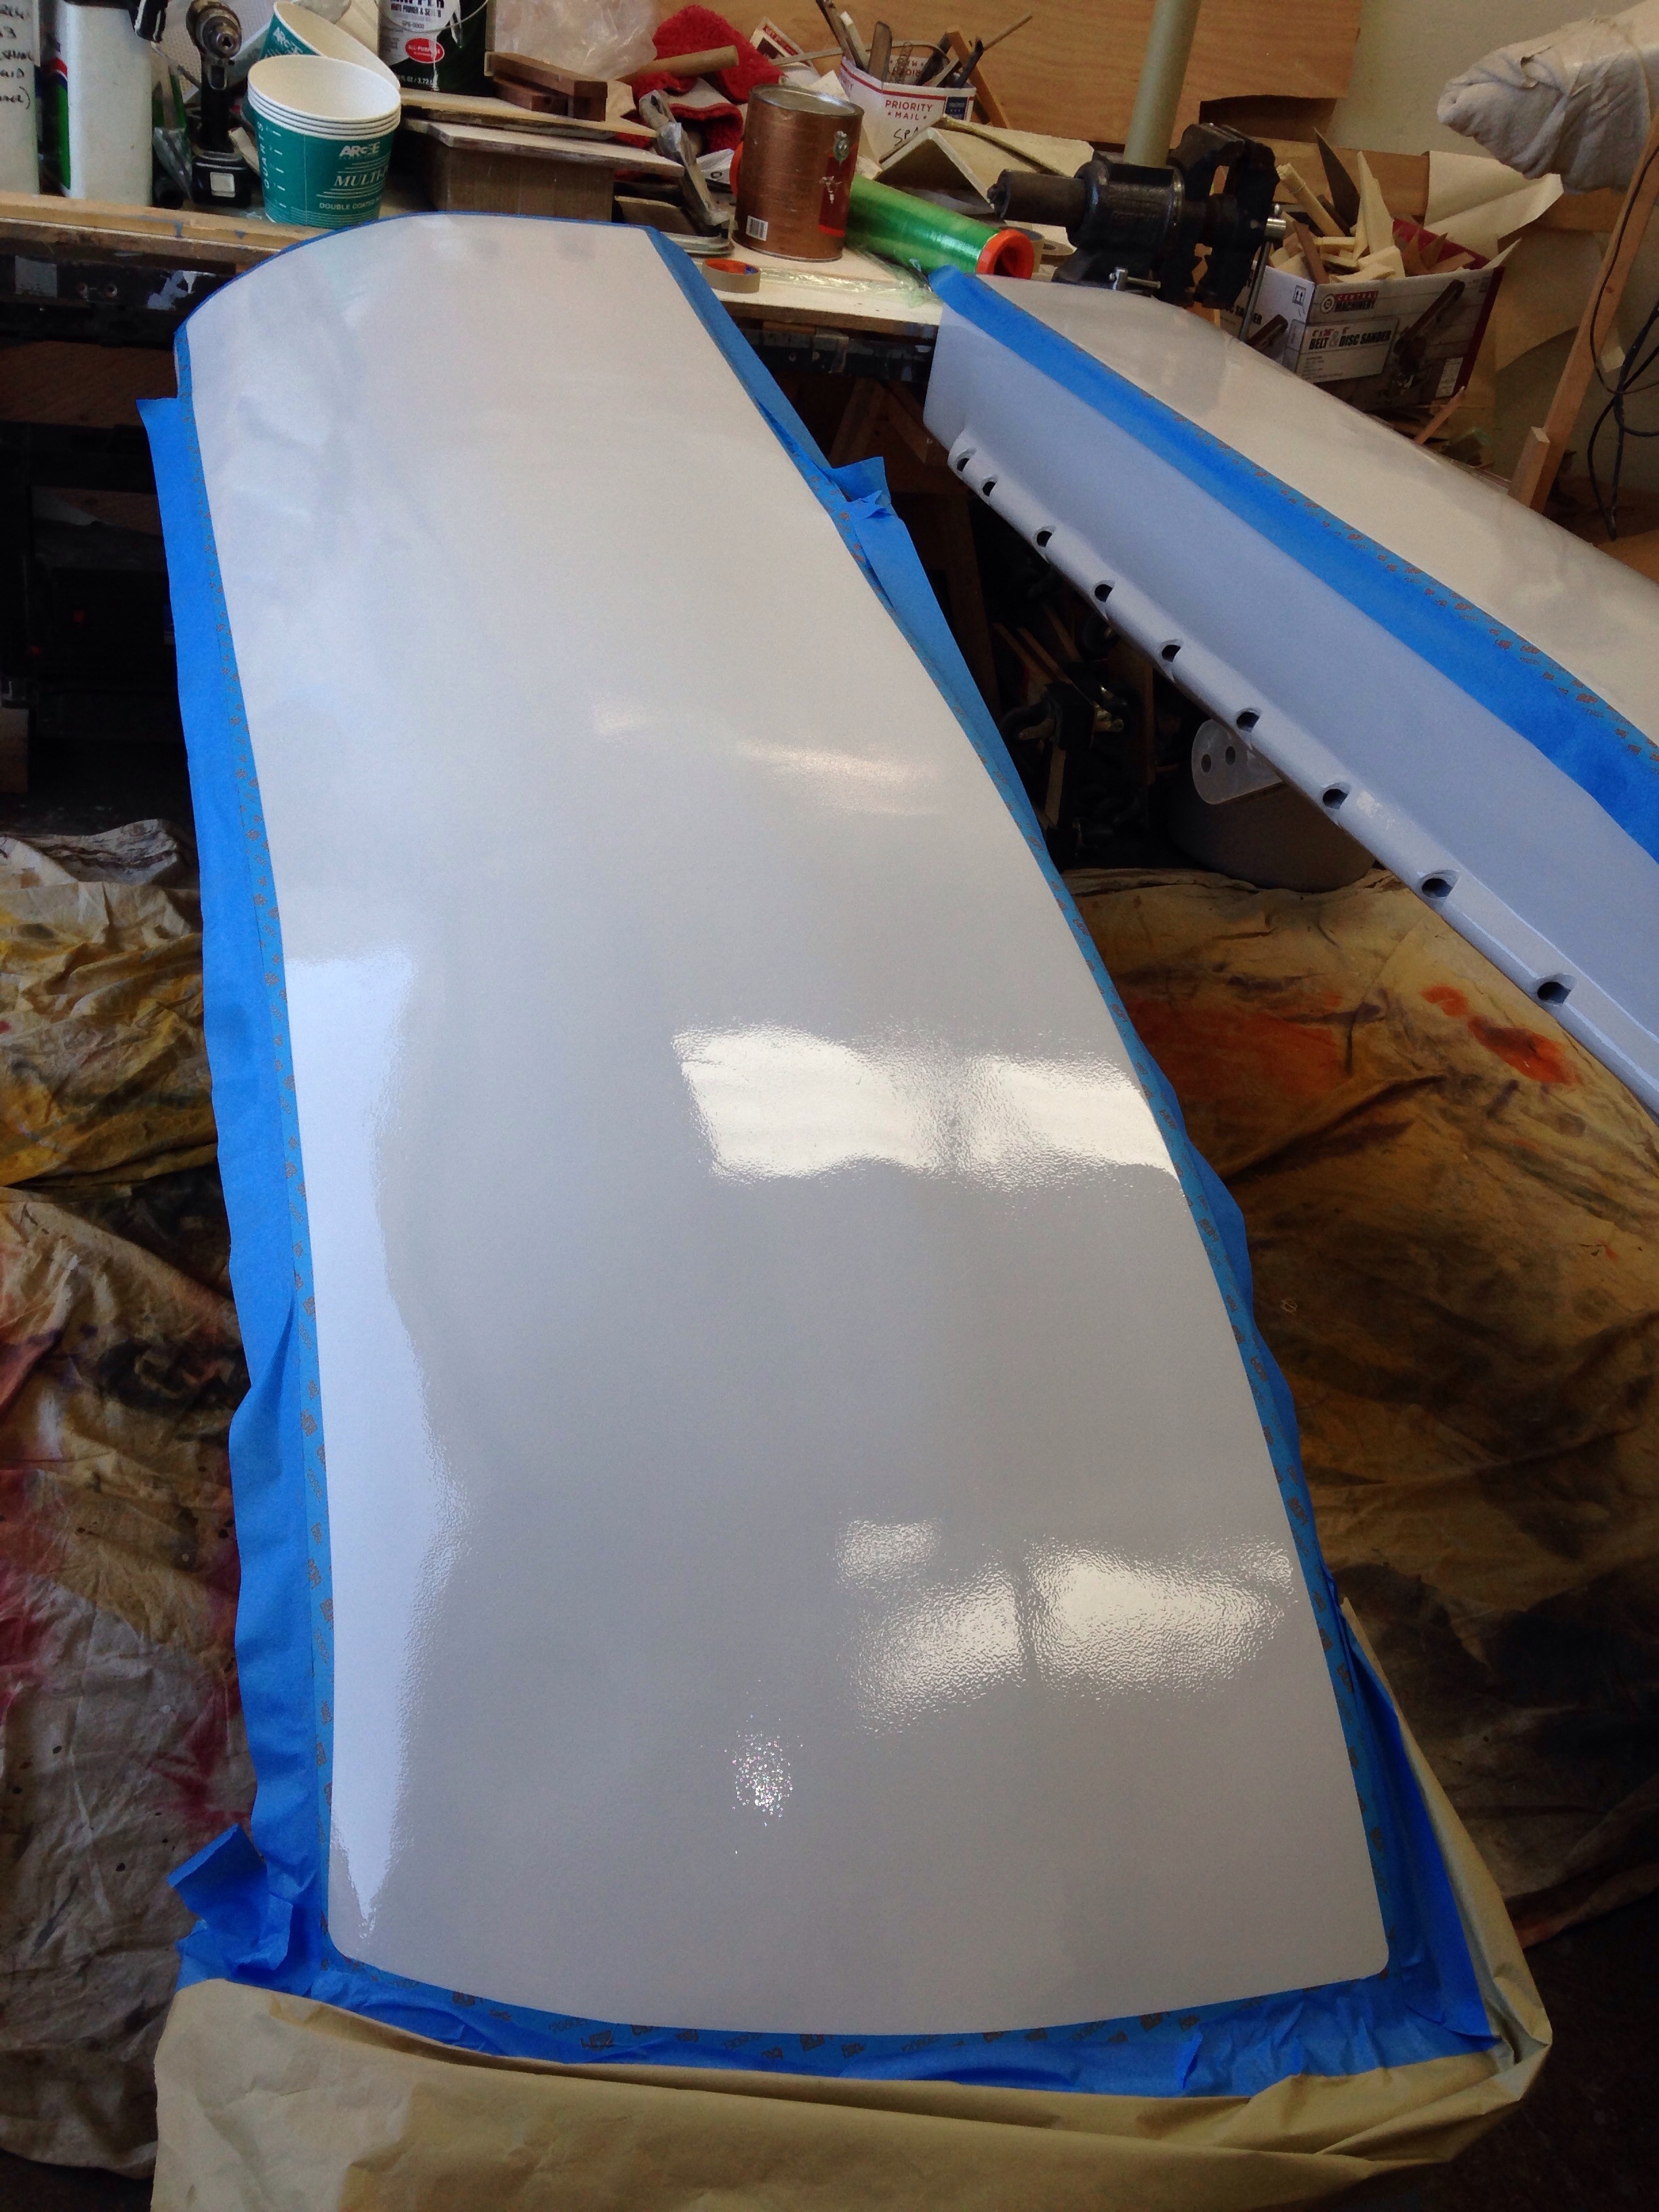
Now the masking goes back on to make out the non skid areas:

20150630-225944.jpg

20150630-230000.jpg
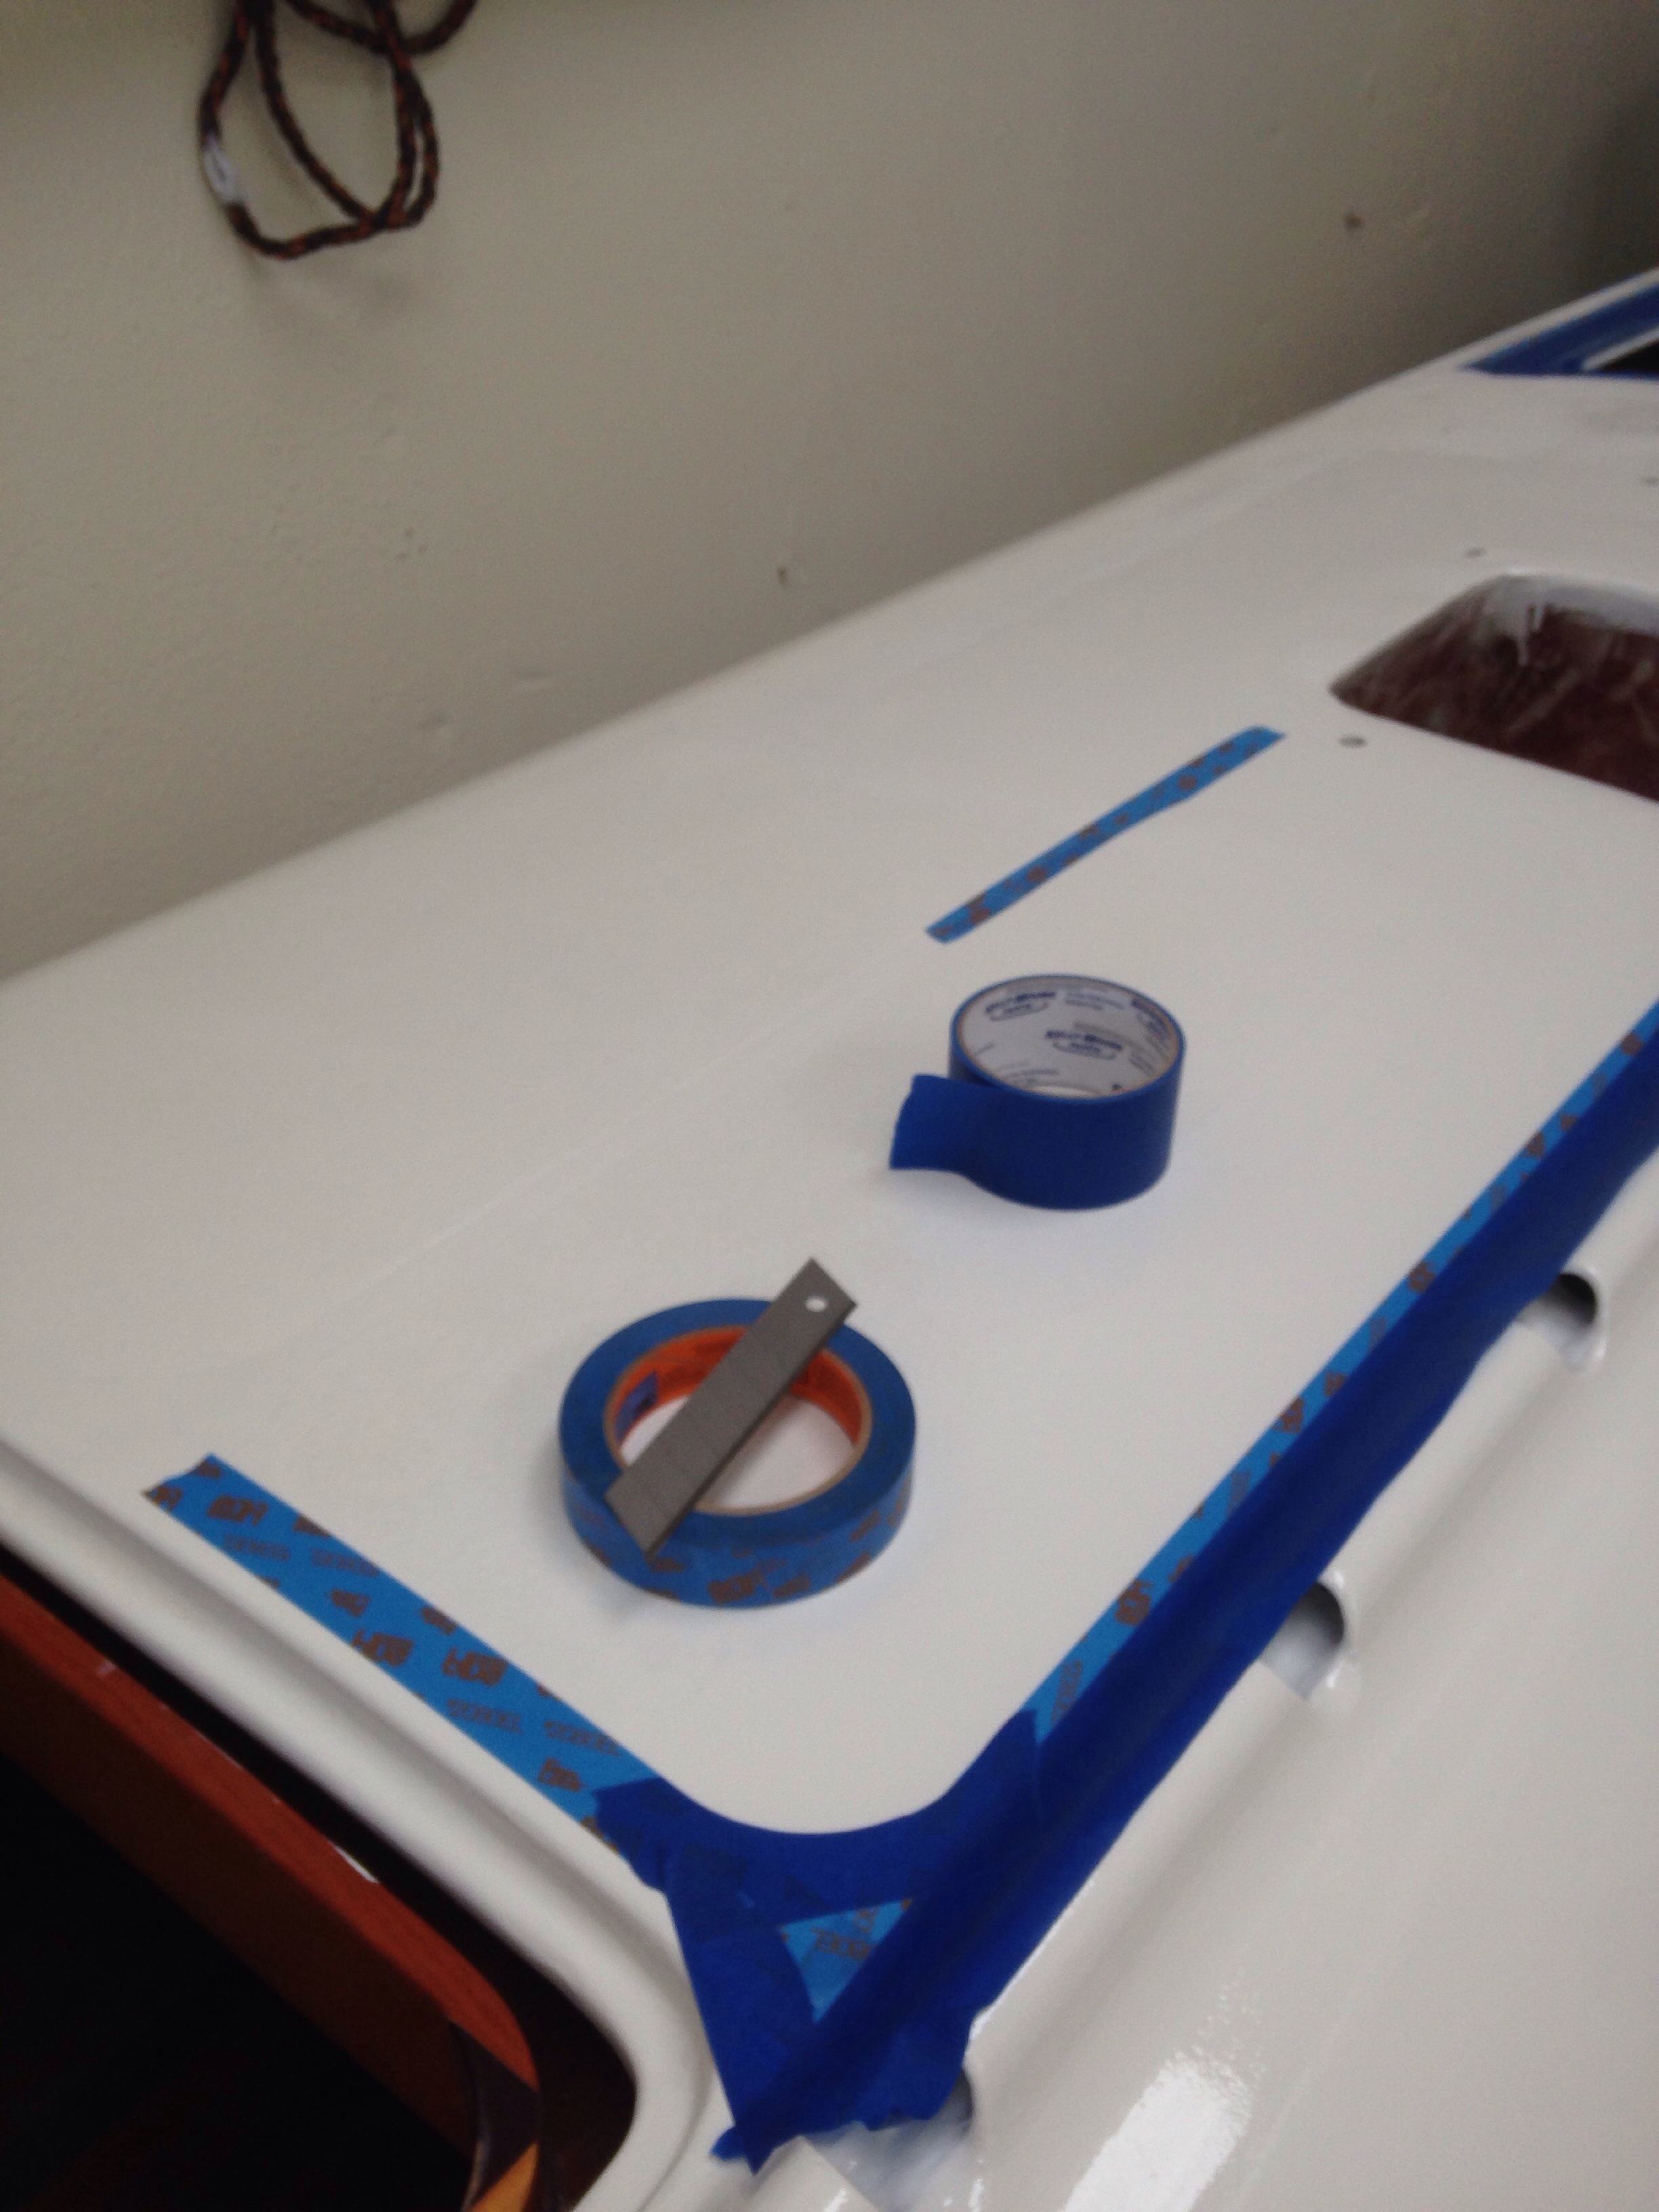
Yep, the tape roll was the just-right size to make an elegant arc near the hatch. We pulled all the tape this evening and are satisfied with the results.

20150630-230142.jpg
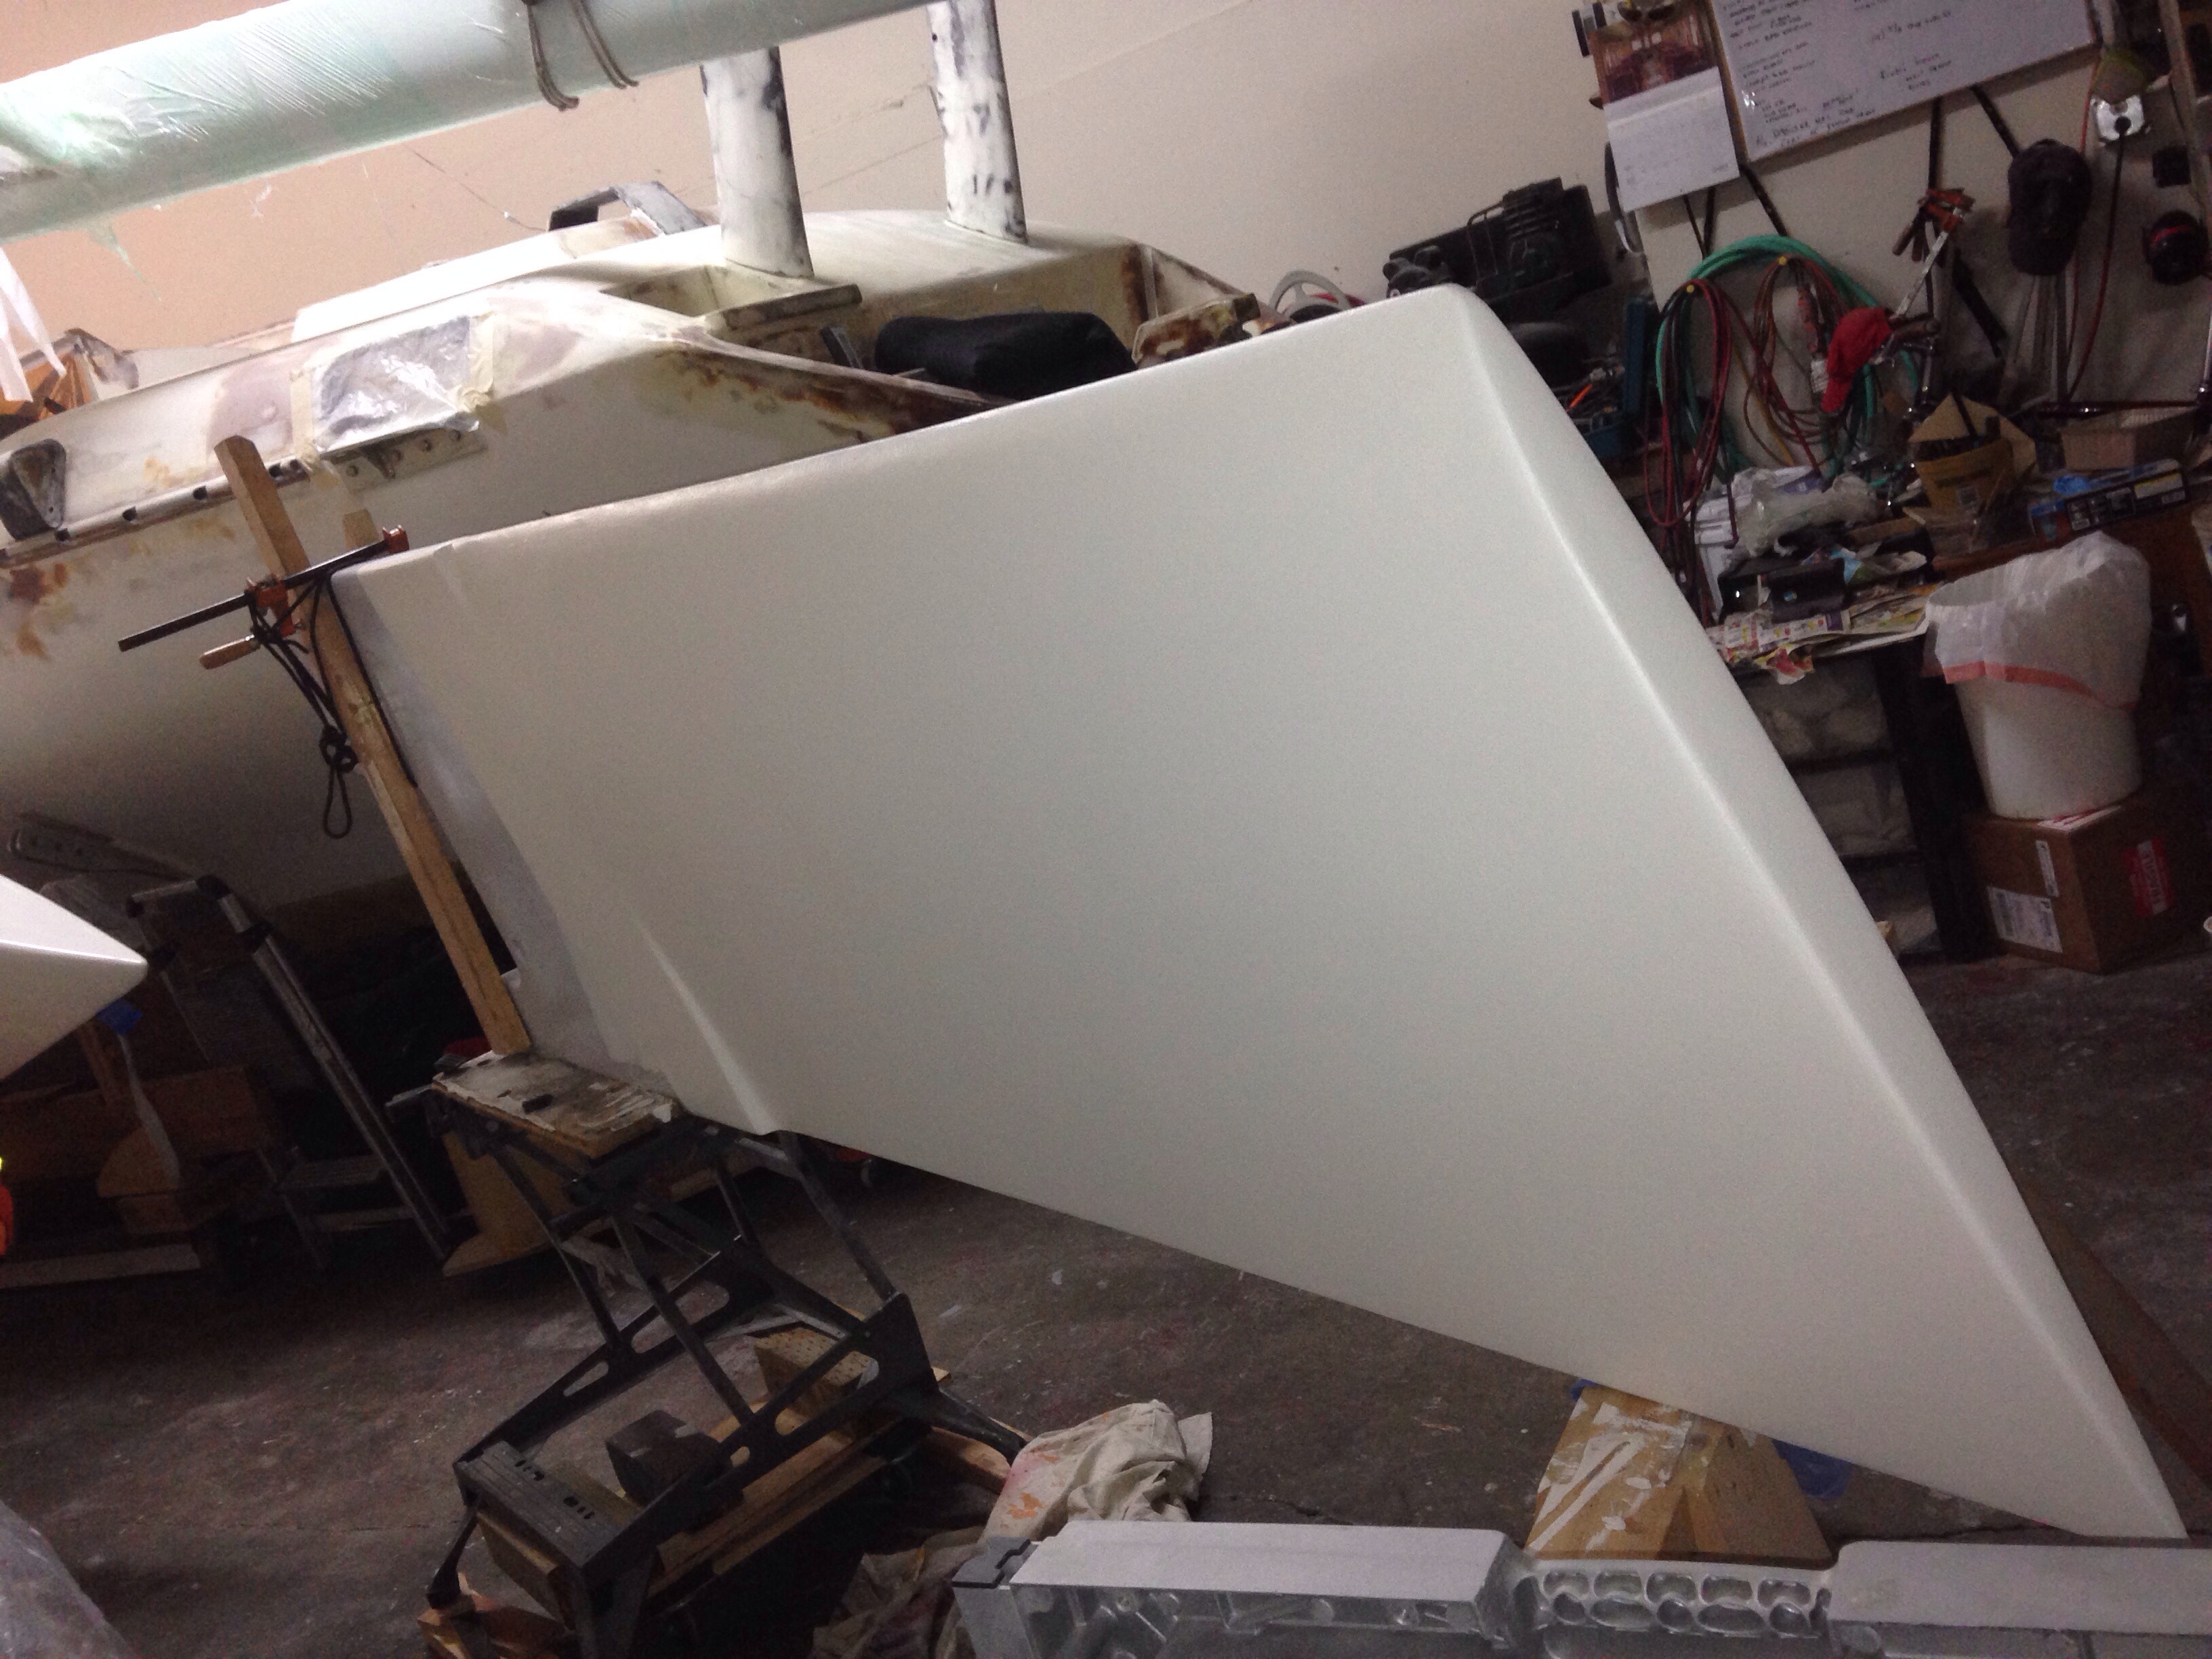
The floats are now done and ready to move out of the shop. We tried to mask off for the few inches of bottom paint each hull needs but their dollies are too in the way. After an hour of rolling around the floor getting pretty frustrated in the 95 degree heat I realized this job will be much easier just before launch when the boat is assembled and the floats are suspended in air. So we need to account for 24 hours of dry time in the assembly schedule. There is also deck hardware to install but that can be done while the hulls are on their trailer in July. We’ll talk about the butyl tape method later.

So tomorrow afternoon we’ll take our best shot at loading these 35′ hulls

20150630-230900.jpg
On to this trailer:

20150630-230934.jpg
It’s a 35′ heavy duty aluminum boat trailer, now with 4x4s lashed over the bunks to accept our floats on their trollies. We have 8′ of width on the trailer while the trollies pushed tight side by side are 7′. The trick will be lifting them 32″ in the air to clear the trailer. Between our chain-hoist from a shop roof girder, and the neighbor’s forklift hopefully this goes alright. Ought to be exciting anyway!

PS – if any readers know of a F32/32/33 looking for a very nice big aluminum trailer, send them our way. We’re borrowing a friend’s; it was outfitted new for a Corsair 37 for delivery cross country, and was never road-used after that. It should be available for sale in later September.

Rollin’ out the paint

The boat shop is a bit more navigable tonight with the FINISHED beams loaded on their little trailer and stored off site. The daggerboard is getting its last bits of bottom paint, and once that cures will get wet-sanded smooth over the weekend.

20150625-234432.jpg

The remaining work on the floats is painting the net lashing tubes, the chainplates and some other minor modifications to the hatches. Here we’re finally ready to get that going.

20150625-234723.jpg
And this evening was the first coat of Interlux PrimeKote.

20150625-234813.jpg
Work was actually stopped last week while Greg visited Colin’s place in Virginia. We made new mountain biking friends and found about 100 miles of great trails. Definitely going back there! But the best part was finally sailing Colin’s Coronado 15. Long time blog followers remember the second boat we squeezed in to the shop last year for a rehab – careful what you find on craigslist. Anyway, the little orange boat is a kick in the pants.

20150625-235415.jpg
Right after VA we picked up Keith and Val Burrage at SFO for a day of sailing aboard a nice charter cat (thanks again Rick!) then time in the shop for Keith to inspect the work and help unpack the sails he designed. The HydraNet sailcloth looks and handles great so far. As a pleasant surprise, it’s semi translucent so it should look pretty swanky up in the sky

20150625-235743.jpg
This is a full batten jib, and in this shot it’s reefed down with the excess foot rolled up and tucked in to a pocket bag that zips on to each side of the sail. Keith and others swear this is possible at sea.

20150626-000039.jpg

We’ll keep the paint rolling, and figure out how to juggle numerous projects while layers dry.

The neighbors are talking

On Sunday Rick Waltonsmith brought his 35′ heavy duty aluminum boat trailer up to Santa Rosa on loan to our project. We’ll use it first to store the completed floats and mast offsite. And it should be able to haul the main hull to the marina for the launch. This gives us much more flexibility than renting a semi truck flatbed. Seeing the big trailer at the shop Monday morning got the local business owners buzzing, “maybe he is actually going to finish that darn thing!” The best part is all their offers of help for the day we roll it out of the shop, use jacks to remove the cradle, and slide the big trailer under the boat. Hopefully in July …

Today was non-skid painting. I had heard a nice trick for masking rounded corners, so we gave that a try.

20150615-215328.jpg
Make the 45 degree corner then cut around a quarter with a sharp blade.

20150615-215542.jpg
And peel away the excess.

20150615-215646.jpg
It took about an hour to mask the four beams with all the corners.

20150615-215906.jpg</a
Griff and I went back after dinner, about two hours after the second coat, and pulled the masking. Very happy with the results.

20150615-220150.jpg

$2.1mil colors

During a lunch break from rolling out the first coat of finish paint, some web surfing turned up the newly launched Neel 65 tri. It’s width is our 39′ length and you can order it in the seven staterooms configuration.

20150614-071359.jpg
But what struck me is they’ve copied our color scheme; white cabin top and deck, silver topsides, white bottom paint, and white rig & sails. I wonder if they paid a color consultant in that $2.1mil price tag?

Our topsides paint is Interlux Perfection 2-part polyurethane in “platinum”. Here’s the first coat on the beams yesterday.

20150614-071736.jpg
Today will be a 400grit wet sand then the second coat. And non-skid tomorrow.

While exterior paint dries we go back inside to mess with the cabins. The galley is coming together nicely. The stainless steel is working out well.

20150614-072046.jpg

The forward wardrobe/dressing area gives a feel for how the wood trim looks against the paint. Long gone is the original thought of clear-coating the cedar-strips hull for a full wooden boat look, but adding back touches of hardwoods is only adding about 20lbs total to the boat and makes it feel much better than just paint and plastics.

20150614-072404.jpg
BTW, that hole above the clothes shelf is where one of the 1″ beam bolts comes thru. You can check the beam bolting integrity at sea while you sort thru your socks.

BEAM me up, Scotty!

The four big beams (that stretch between the three hulls) were set aside a year ago, knowing there was still some surface finishing to do. This week we pulled them out from under the boat and got to work.

20150609-232342.jpg
They’re big, over 8′ long, and weigh much more than one average person can lift. Each one got a cheap moving dolly so I can push them around the shop. This is the level of finish fairing we went for. Particularly the undersides – a decent job but not going nuts on an area that people won’t be looking at regularly.

20150609-232641.jpg
To help move them in to place for painting, and to load them for transport, we bought a $49 Harbor Freight chain hoist – wish this came a long time ago.

20150609-232938.jpg
The fairing process isn’t pretty, but after two coats of primer they suddenly come to life as finished boat parts.

20150609-233209.jpg
Building these from scratch was a huge undertaking, and this is one relieved smile.

20150609-233334.jpg
You can also see the shop is really crammed. A brainstorm hit – could we finish the beams and store them on our little utility trailer? So Charlie came over today and we put together a frame of 10′ bunks. The beams should fit across the trailer, all four loaded from front to back, and then we can roll out to the driveway or storage yard.

20150609-234026.jpg
The topsides paint is ordered and the next photo update should have fully complete beams for you.

As fabrication winds down and painting ramps up, we need to clean up. The pickup was 3/4 full from clearing Jeanne’s dad’s property, so the shop was target two. Letting go can be tough – see the original hull cutout for the main companionway; it’s the cedar strips piece Jeanne is reaching towards. Lots of “old” pieces of the boat are off to the recyclers :)
(And Jim might recognize Origami’s old blown out jib on the dump floor)

20150609-234709.jpg

While exterior fairing and paint rounds dry, interior trim-out continues. So far we’re using epoxy to bring out the wood’s colors and provide a permanent seal. It doesn’t leave a great finish, so now we’re experimenting with finish coats of polyurethane.

20150609-235113.jpg
Hopefully this stuff will sand nicely between coats and buff out beautifully. Stay tuned.