I looked up and suddenly it was done

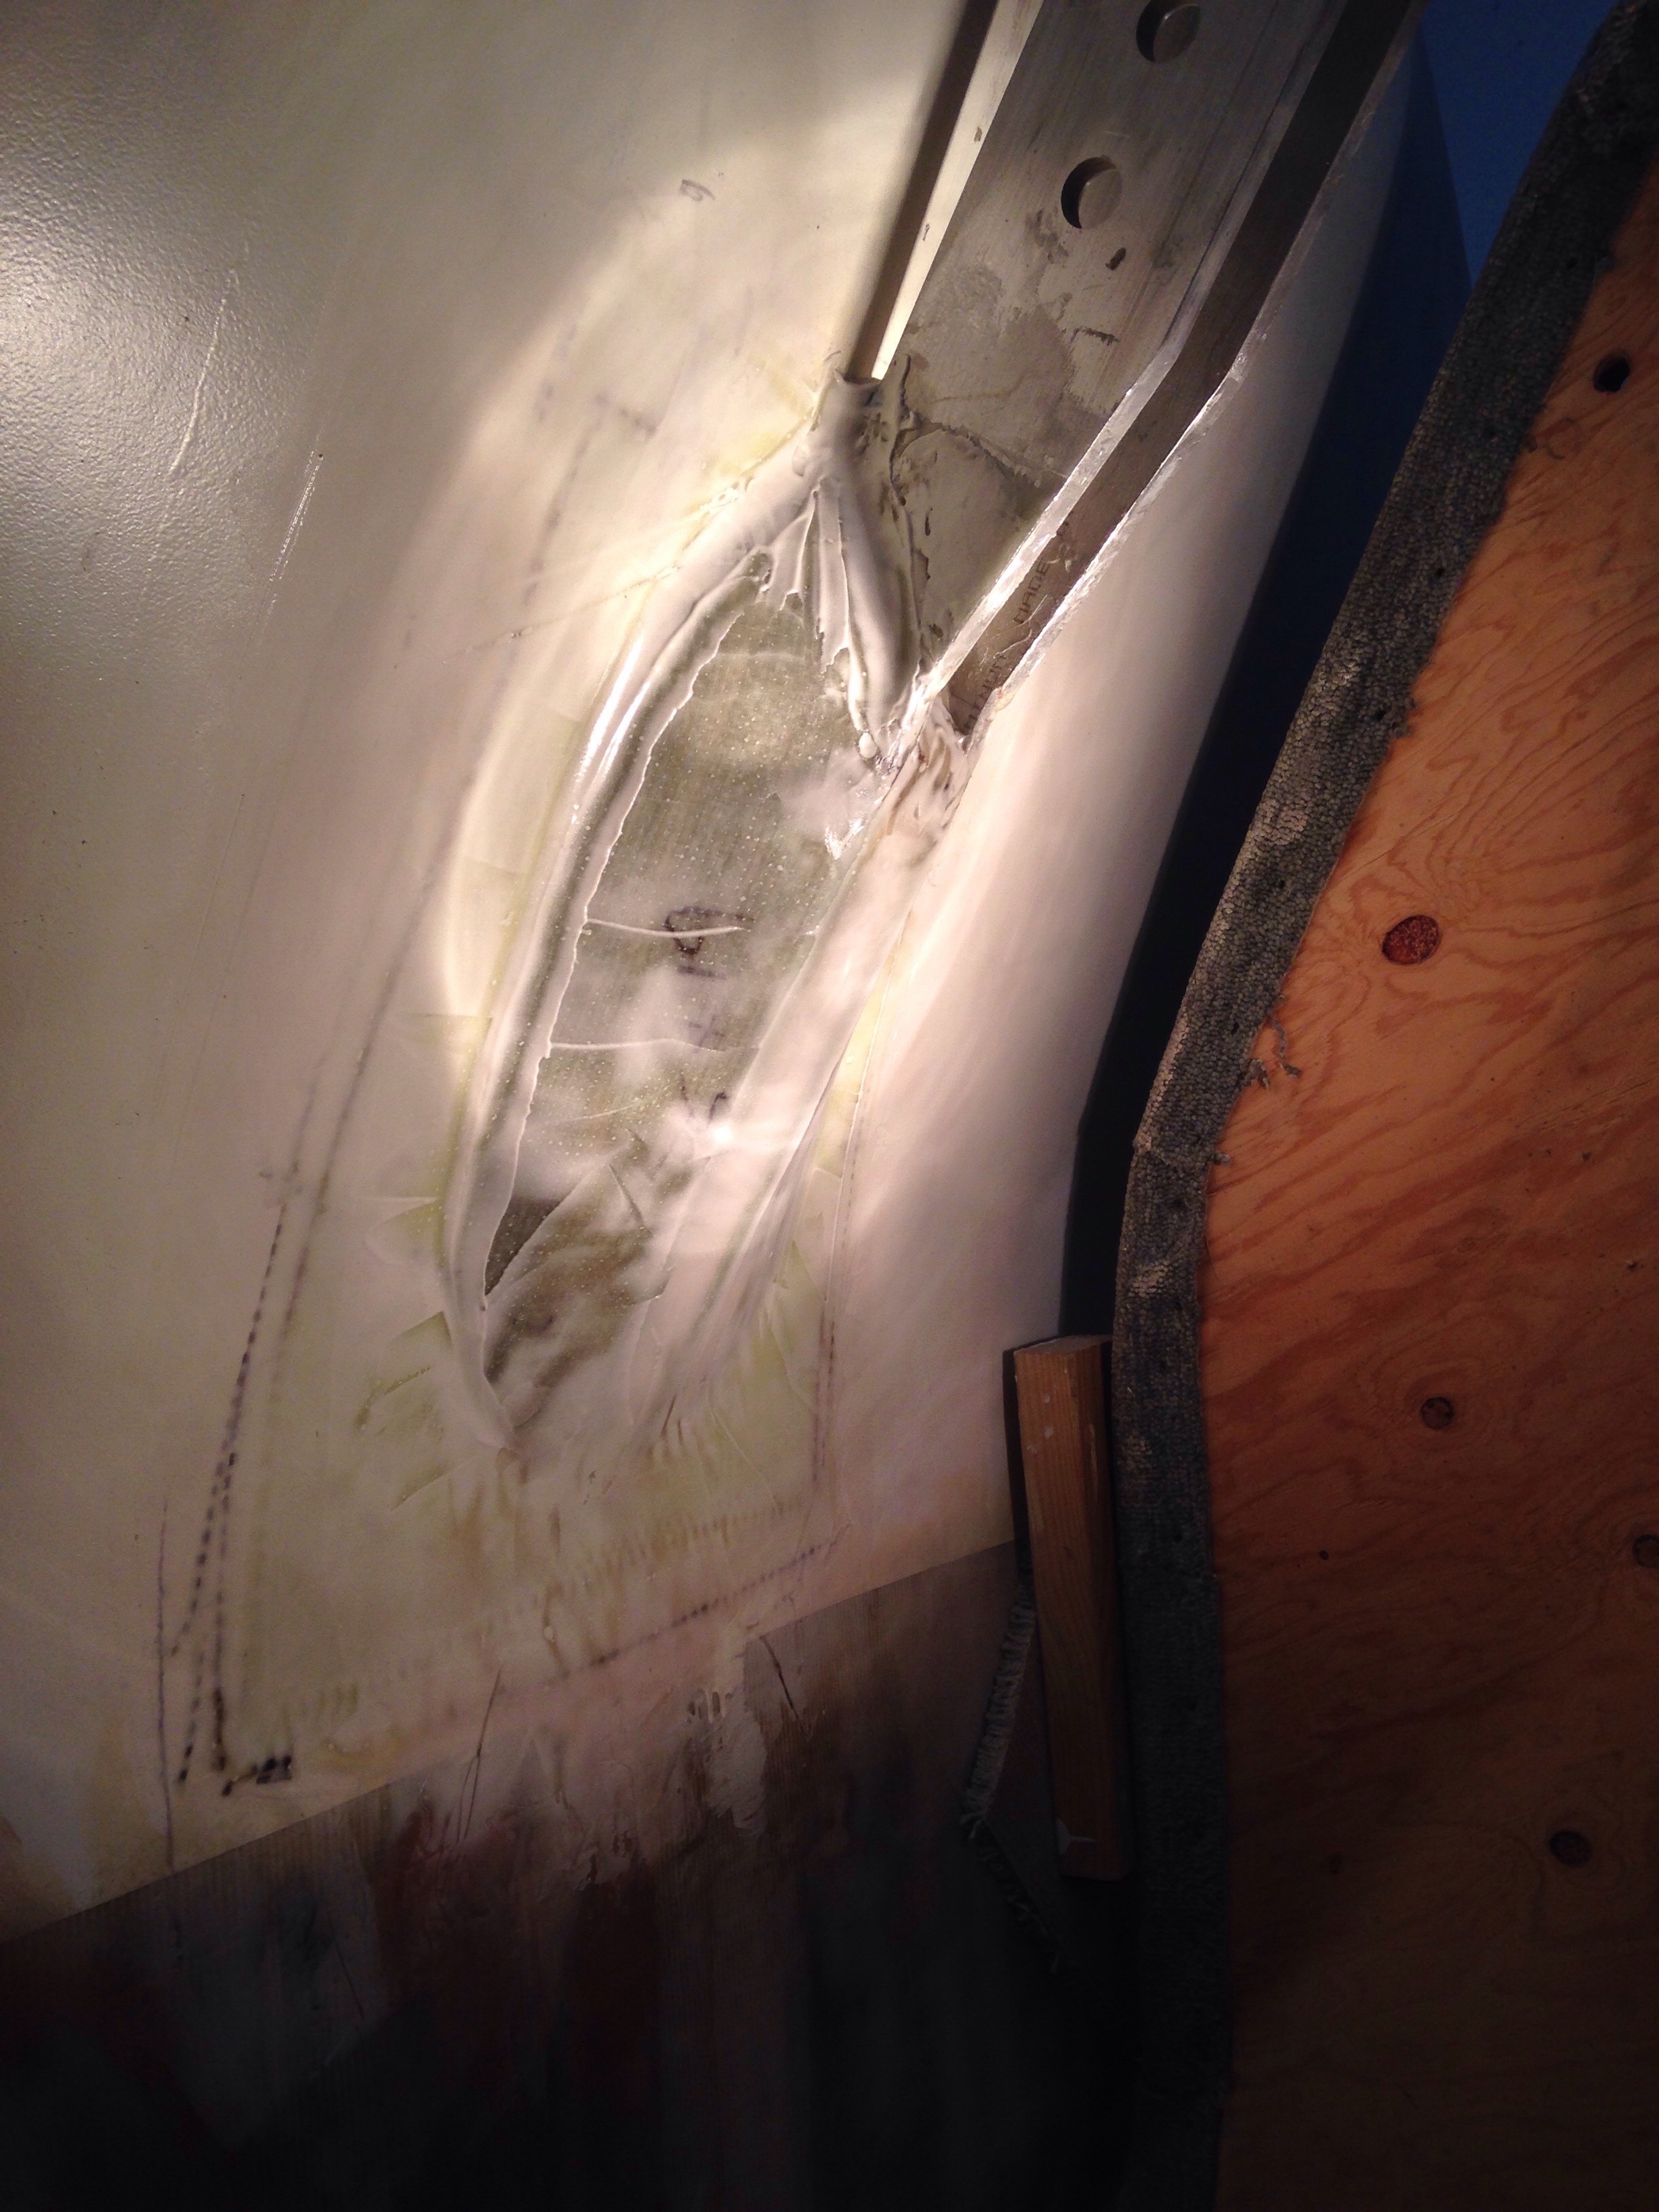
The fairing process of this big hull seems to go on in a punishing ‘foreverland’ manner. So much sand paper laid to waste, so many times back to the mixing table for epoxy putty. Tired arms. And then suddenly this evening, this was it:

20151228-212538.jpg
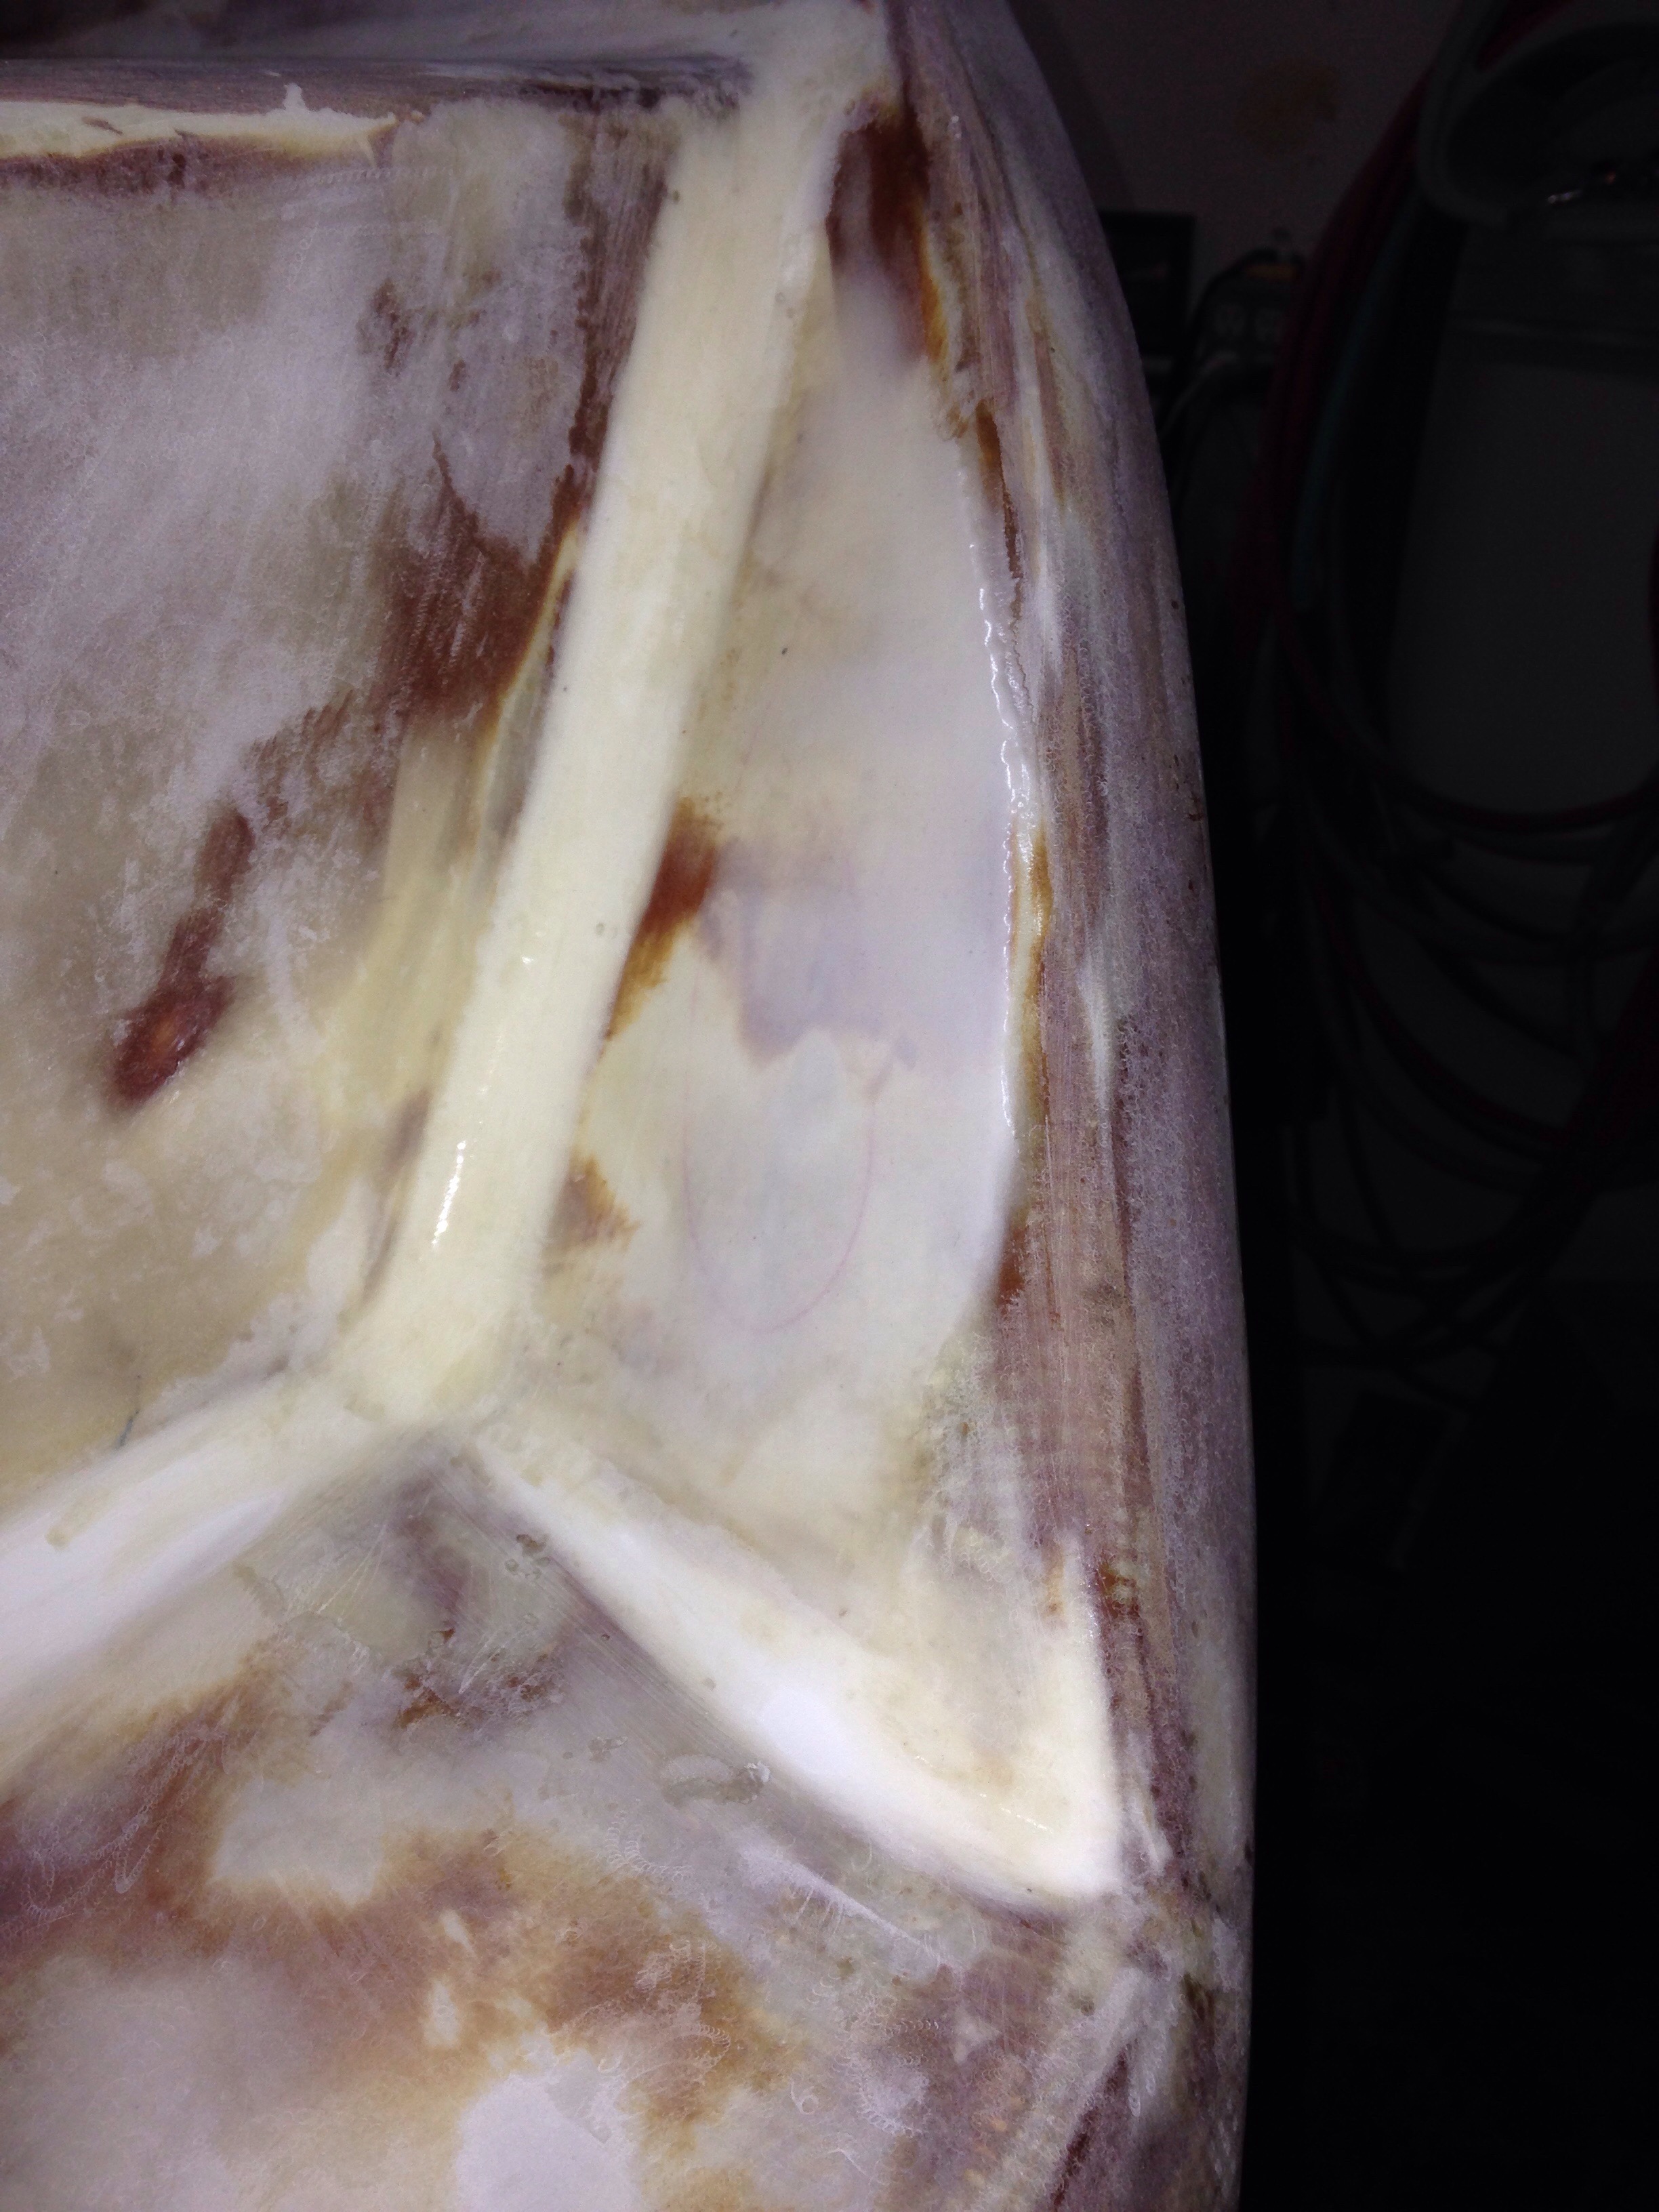
That’s the last surface on the whole exterior of the boat that needed just a bit more goo (in white, as a skim coat) to fill some imperfections. Yea! At last. There were a dozen other small spots ahead of this one, and they’ll all get a quick final hand sanding as soon as the shop warms up enough to cure the epoxy (no heater in our thousand sq ft California locale). We’ll prep for primer and start rolling once we get back to above-60 reliable daytime temps.

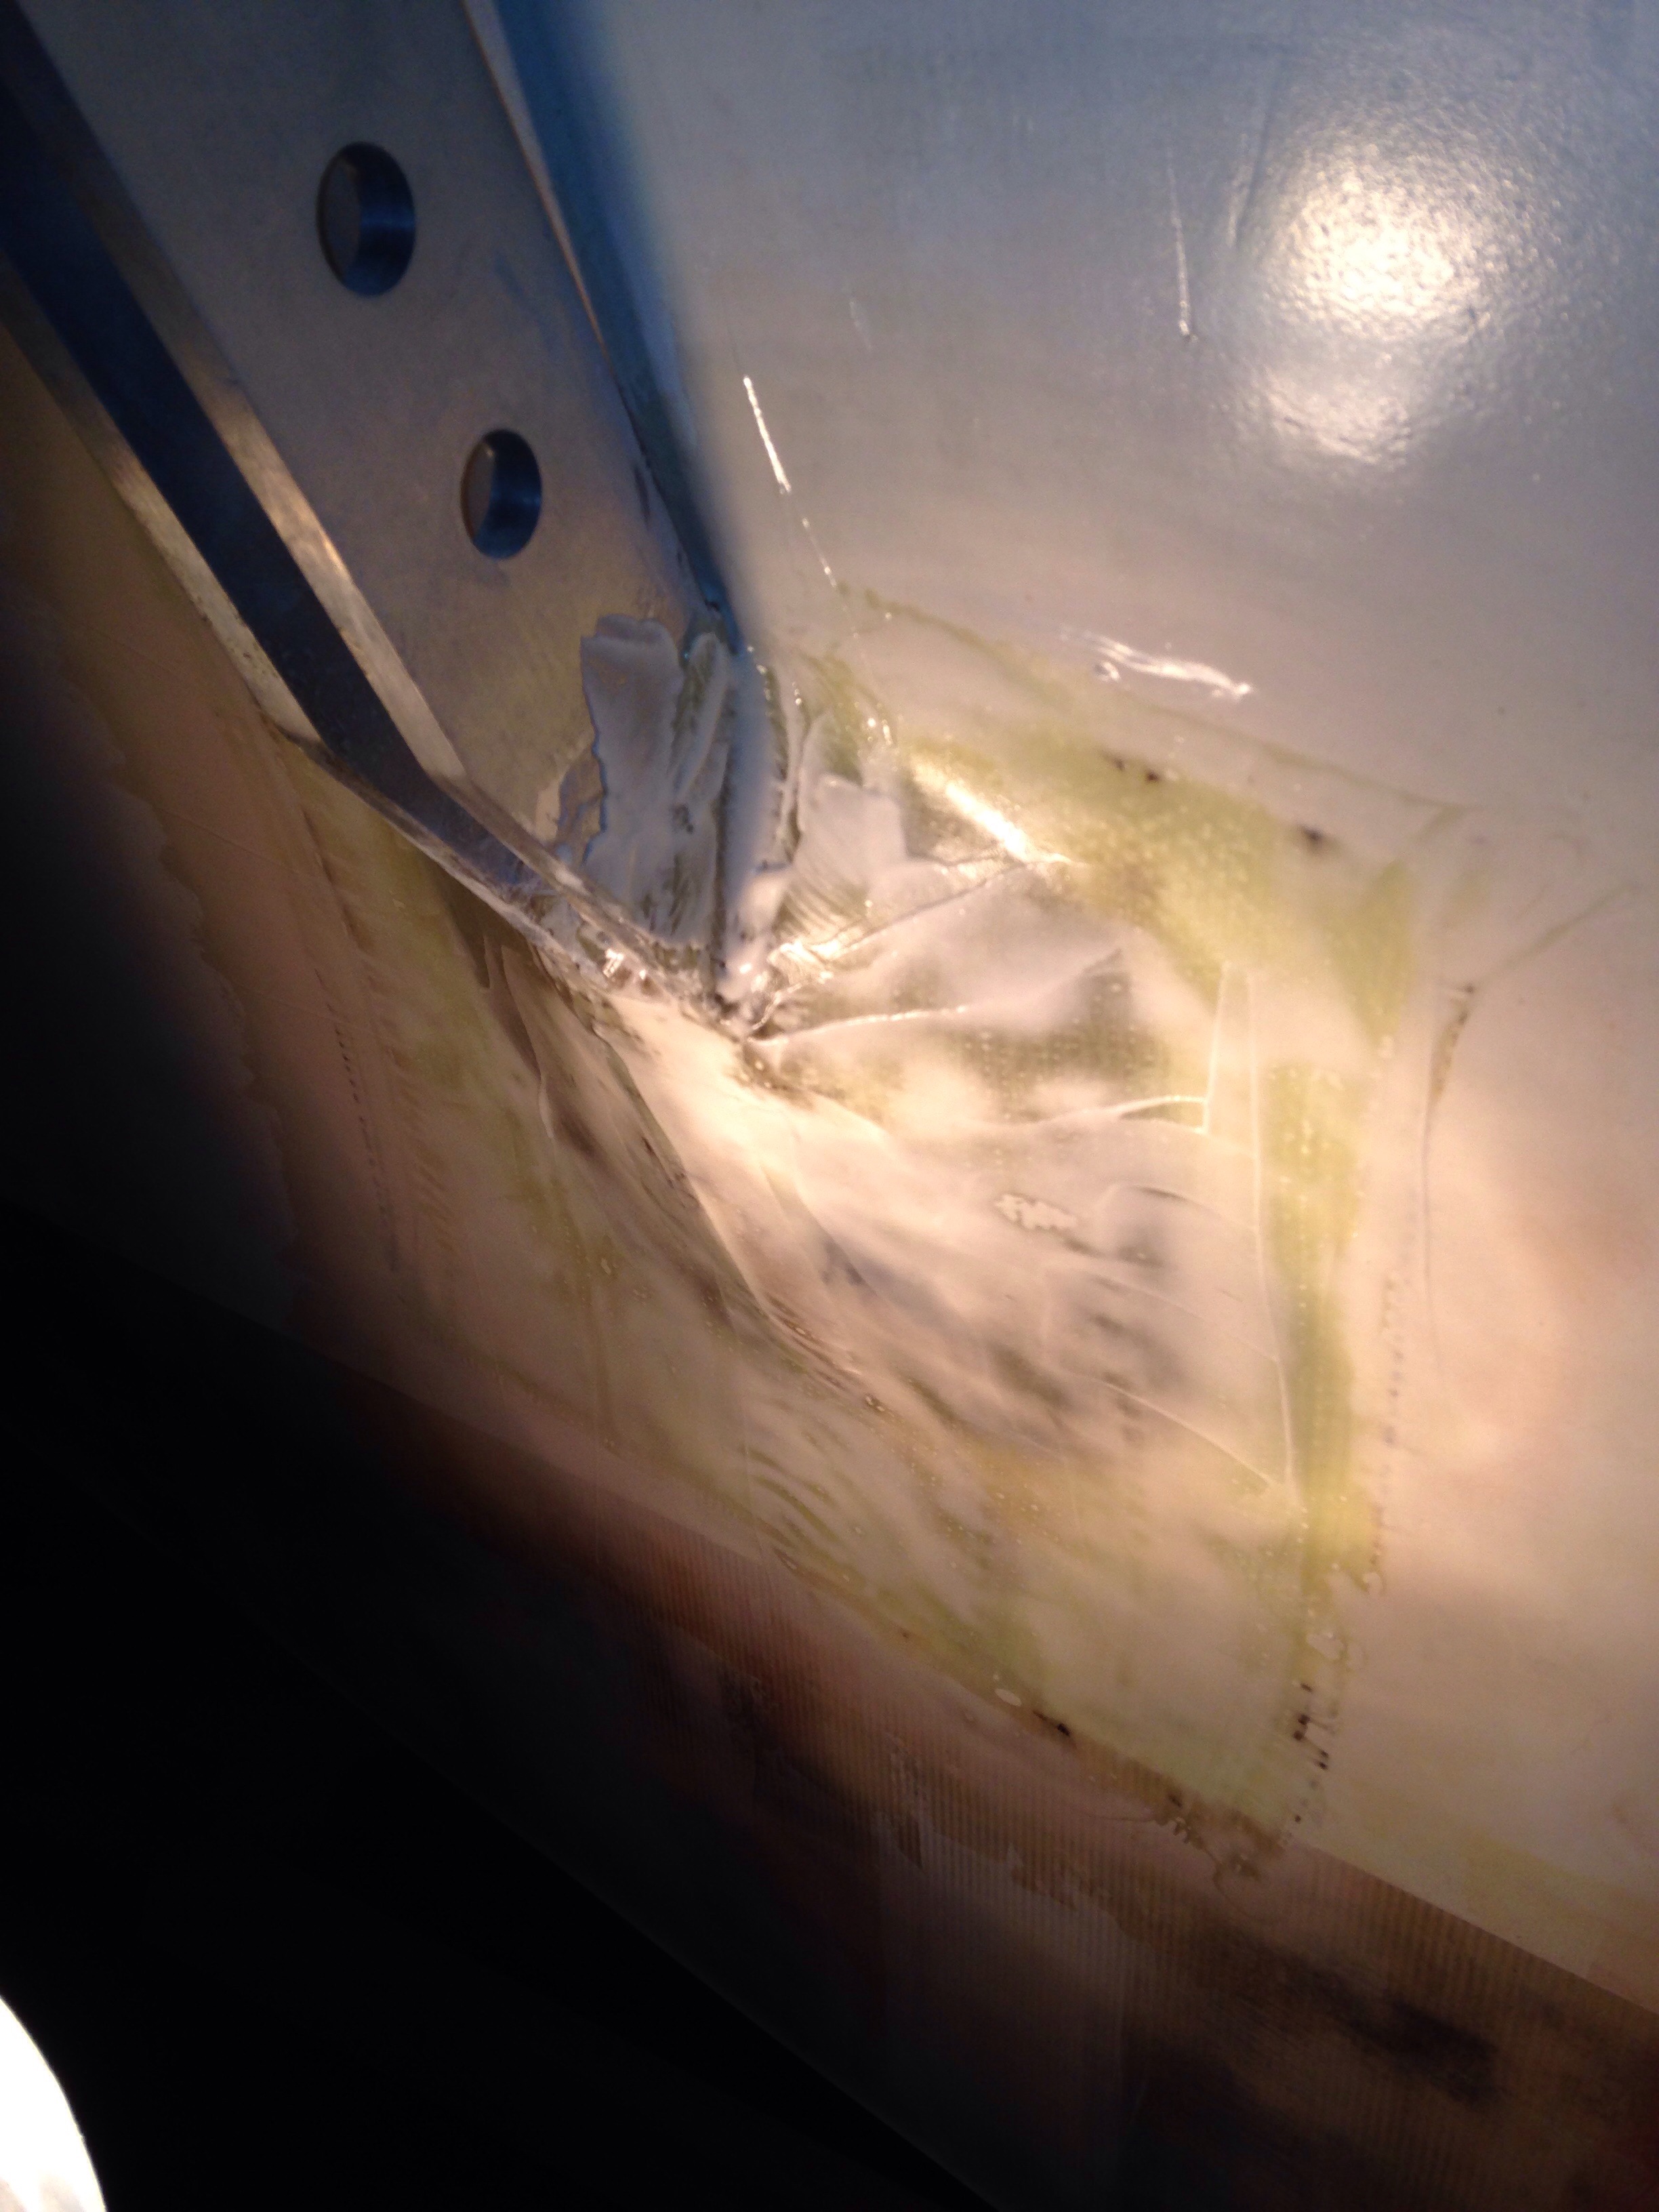
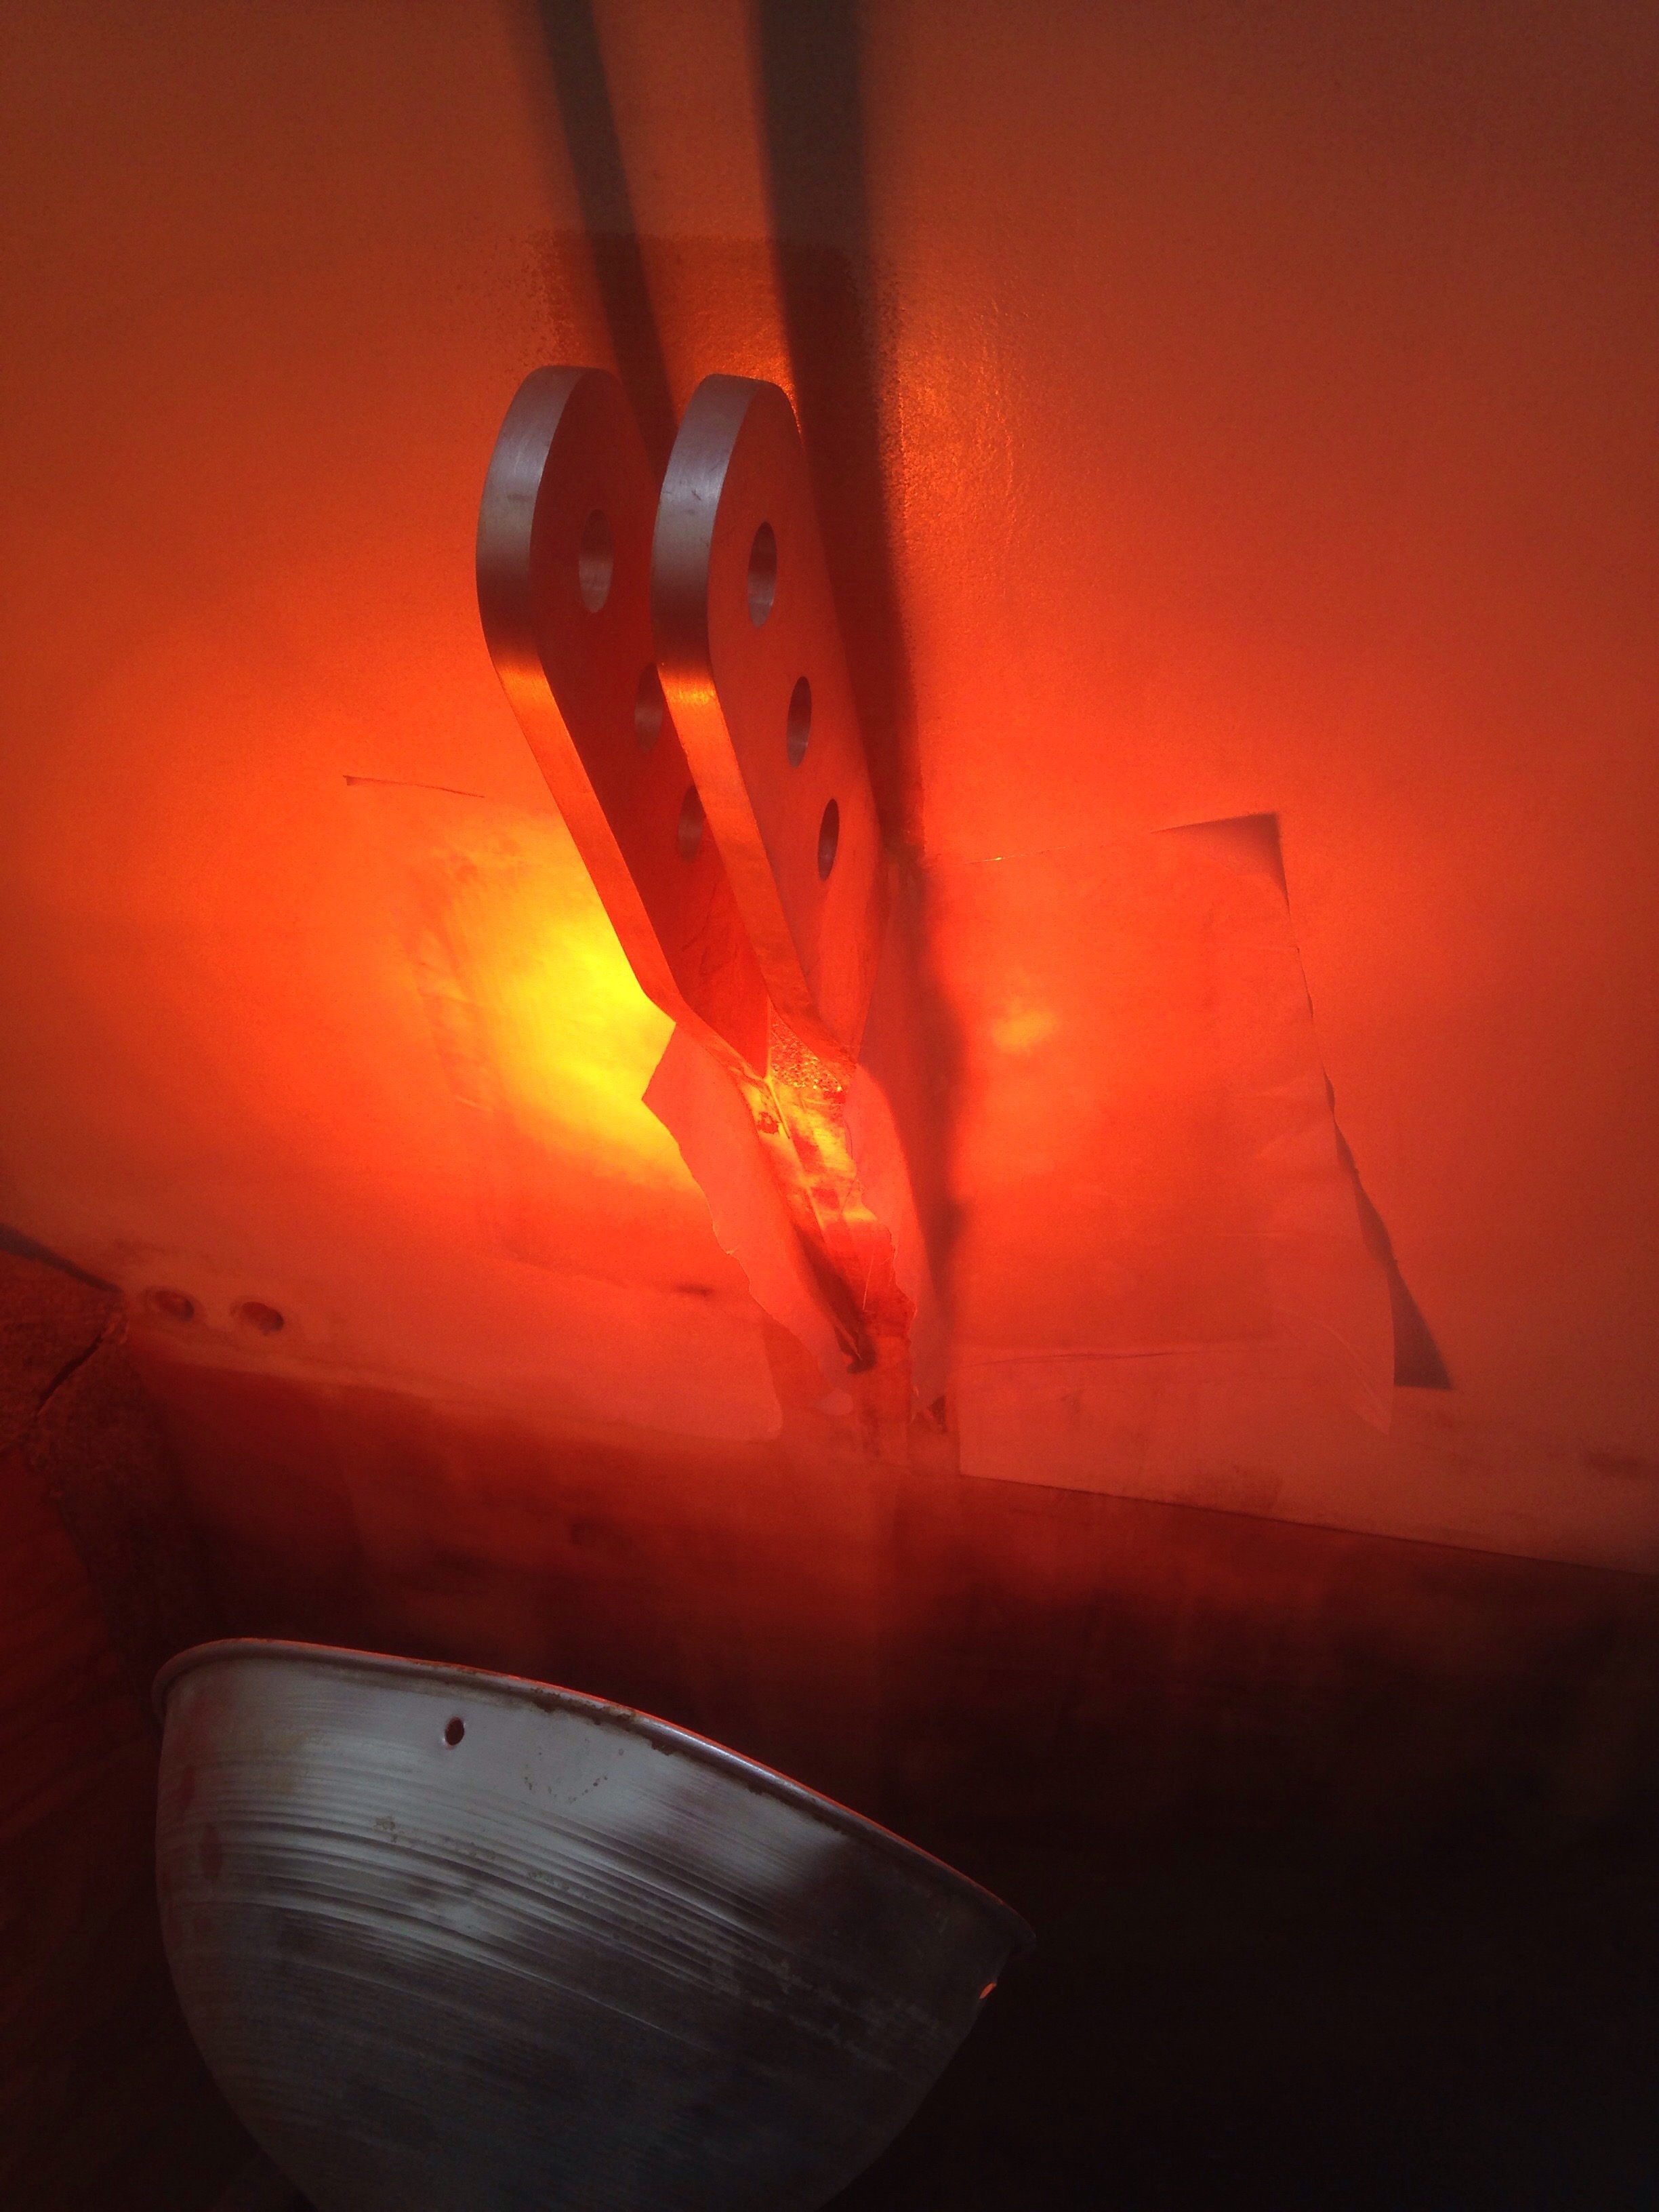
Here’s how those beam strut fairings turned out

20151228-213018.jpg
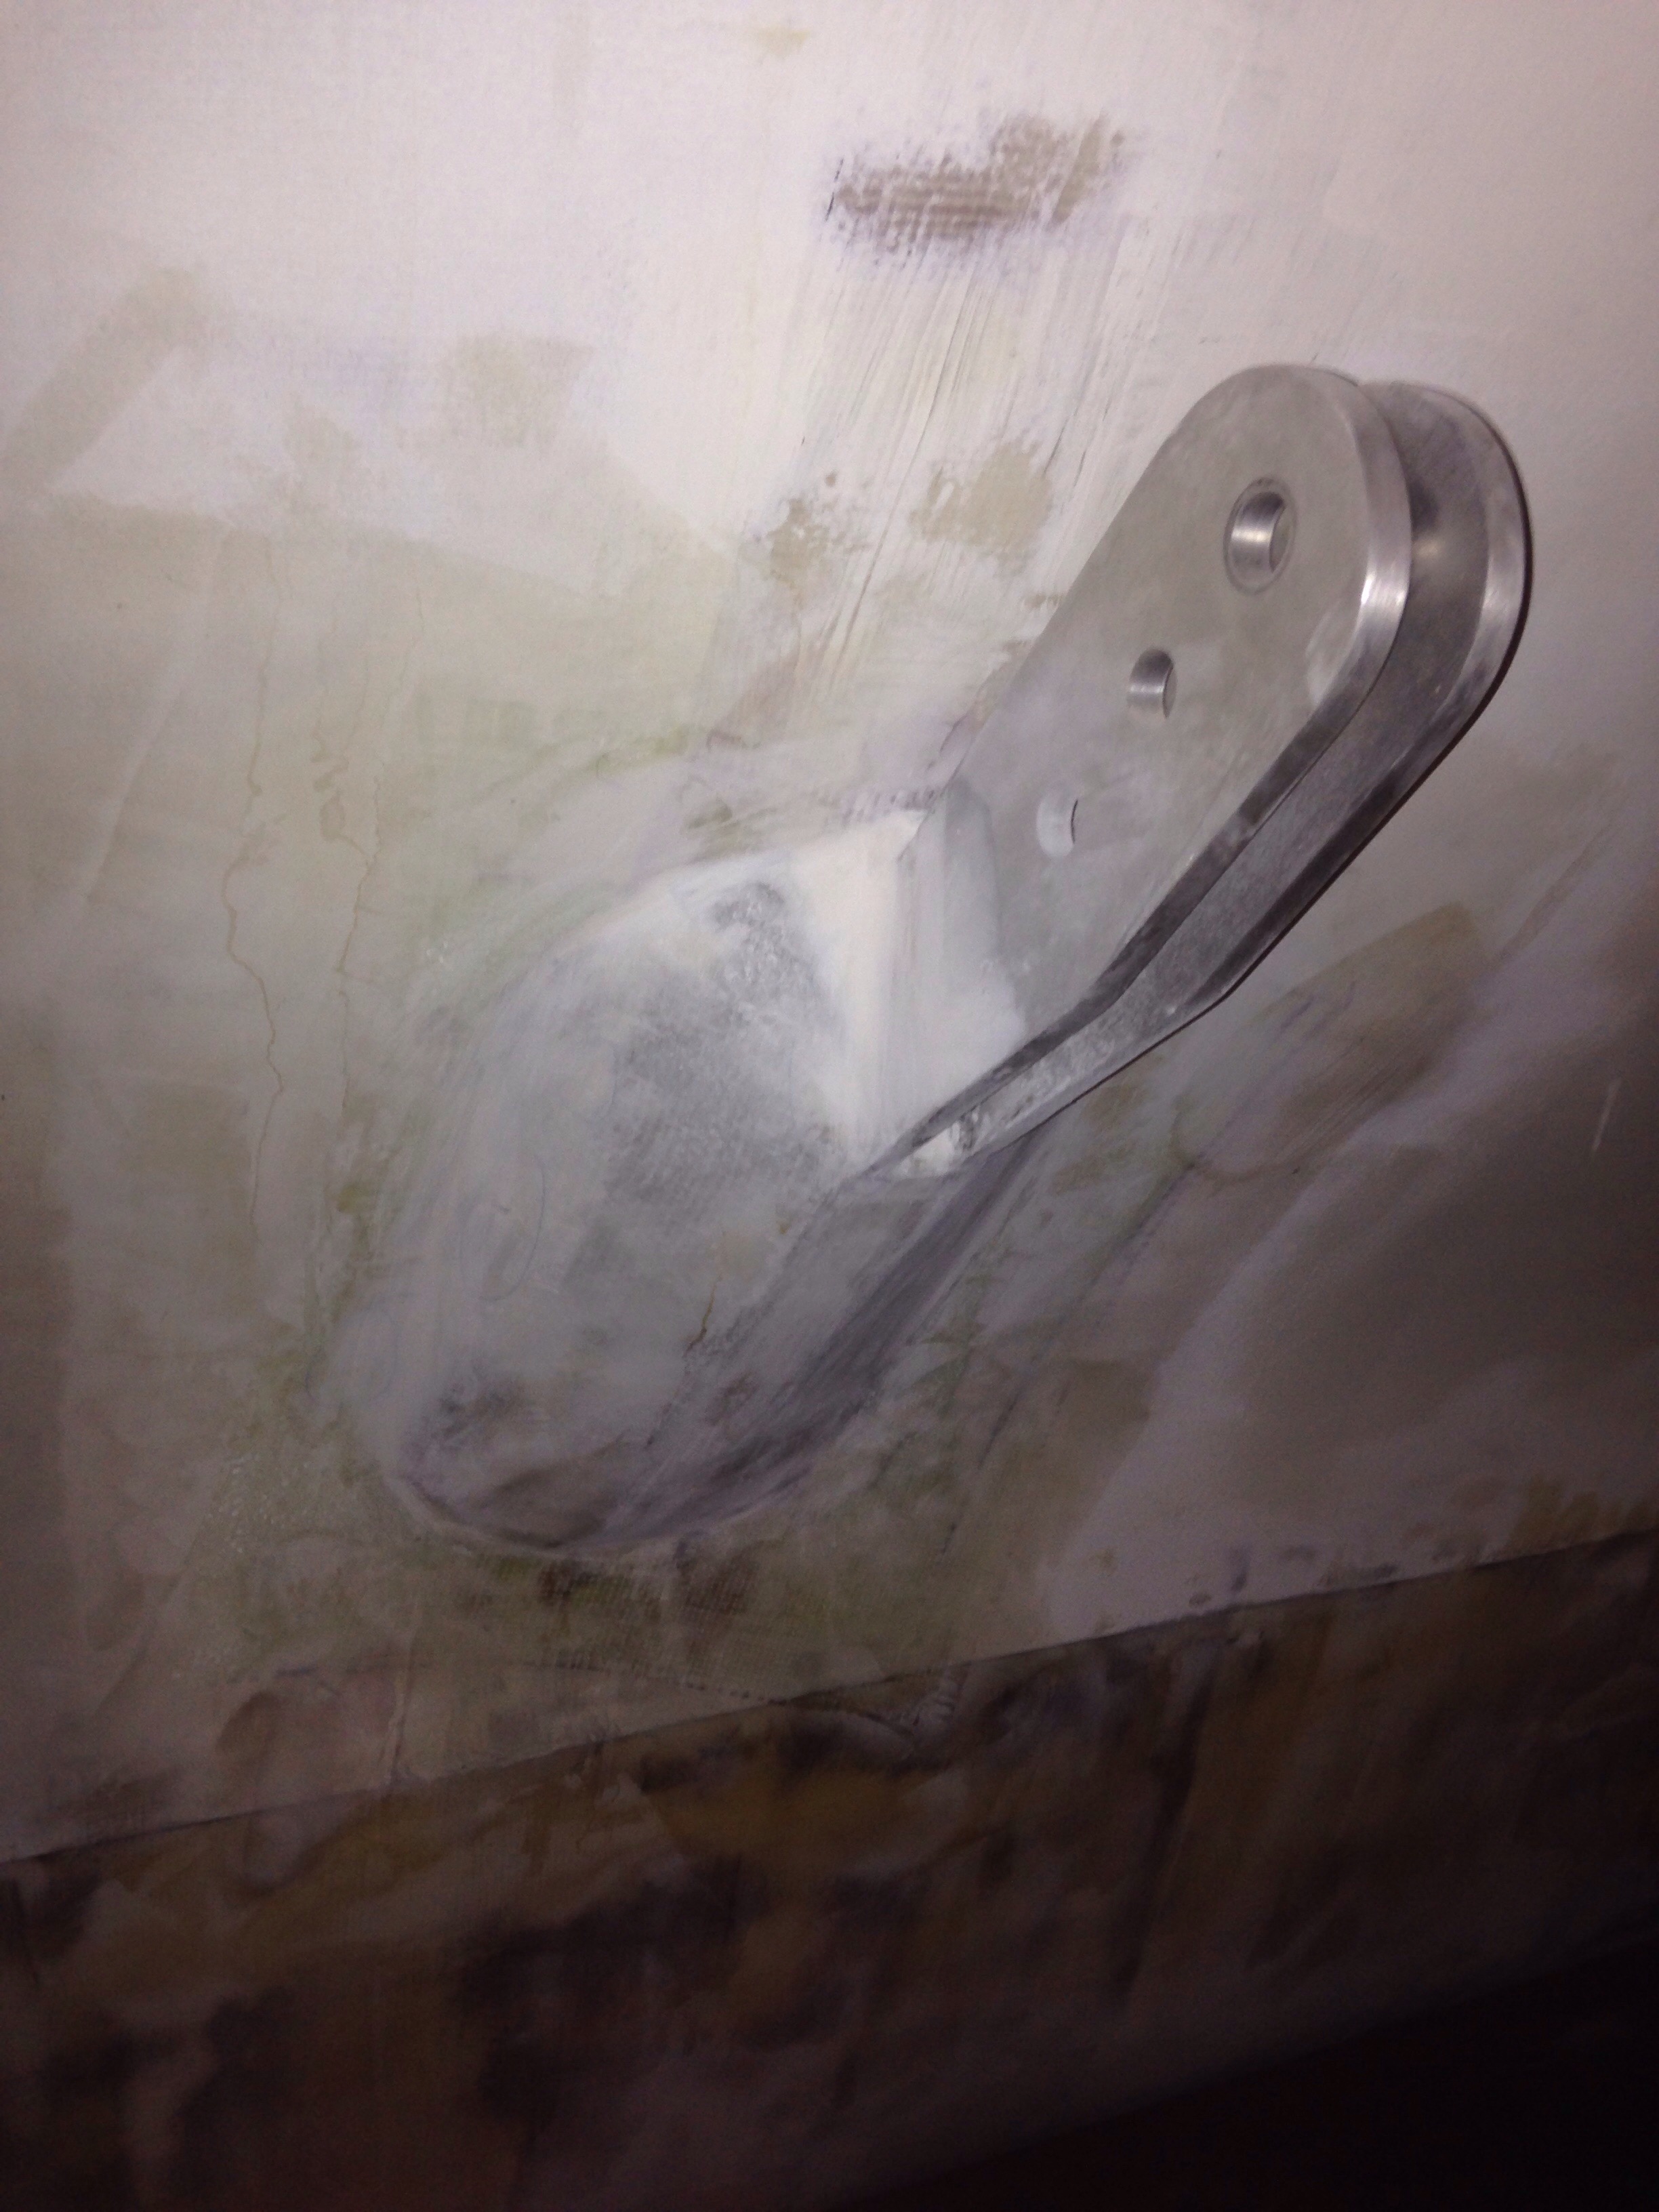
Those will help smooth the water flow through waves, and further seal the hull at a key flex/stress point.

Charlie knows about the big cardboard box of foam core off-cuts. It’s divided in to still-unused foam scraps on one side and various composite part scraps on the other. We’ve been thinking about a lightweight, removable cockpit table and how to mount it. A quick scrounge in the cut box found part of the original tiller idea:

20151228-213435.jpg
You’re looking at it now cut another foot shorter, with the old foam core dug out of the target piece. Once it was cleaned up, we laminated it to the lower face of the cockpit bench, near the engine control cable conduit. So now we have a custom carbon fiber table mount that weighs about four ounces :). Making the table and the leg now sits on the growing POST-launch to do list.

Time to go back inside the boat and start wiring while we wait for painting weather.

Hitting bottom

… But in a good way. The underwater portion of the hull is almost done with fairing. Each square foot done with the big sander this week is a completed step, and there’s just the last 8′ or so at the stern to finish up tonight. Very much looking forward to painting, instead of sanding, the bottom of the boat.

Just above the waterline we’re finishing up those beam brace tang fairings. The stack-and-glue foam was rough shaped with a wide blade on the multi tool.

20151221-193259.jpg
Then the flapper disk on the grinder, and finally a sander to smooth out the shape.

20151221-193409.jpg
The white ring on the sander is glue gun residue. That gummed up the sander quickly – could have done more spot-glueing instead of continuous beads to lessen the glue sanded.

20151221-193609.jpg

20151221-193631.jpg
Here’s the outer fiberglass lamination. This process worked well: spread epoxy on the boat and let that get tacky while the fabrics are prepping. Lay out a transport plastic (an old bag here). Wet out the two layers of glass cloth and cover the outside face with peel ply. Carry the whole package to the hull and hold it in place, then reach behind and start pulling away the transport plastic. This way there’s actually no touching of the wet fabric, and no distortion.

20151221-194242.jpg

20151221-194308.jpg
We did the first one with a vacuum bag but found it wasn’t necessary – the other three worked just fine with plain hand layup.
Here we are with a first layer of fairing putty.

20151221-194542.jpg
And here after a sanding pass and second coat added. These will get sanded again, and fairing touch ups tomorrow night if needed. With that, all the main hull fabrications will finally be DONE! Through the holidays we’ll do any more needed little fairing touch ups, and get the first of the primer started.

20151221-195454.jpg

Good to talk with you again.

Well as you probably noticed, the boat shop went dark for a month while the builder hit the road. First was a week in South Africa for business. These guys stood by the car on a quick visit to a city park in Pretoria…

20151218-173157.jpg
Right after that flight home we acquired a decent little used trailer and drove out to Colin’s place in Virginia for Thanksgiving. We are those weirdos on the freeway with the dogs and the cat standing on our laps.

20151218-173452.jpg

20151218-173513.jpg
New Mexico was a highlight; weather great for achy joints and a nice place for a boat shop some day…

20151218-173630.jpg

And so, we pick up the story with the last hull finishing project – sealing and strengthening the beam strut hull braces. For years they have been pressed up against the cradle, inaccessible for the necessary fiberglass work.

20151218-173853.jpg
It’s time to lift the hull and slide the cradle forward. First the bow –

20151218-173957.jpg
Then the stern, using the permanent plates which are the terminals for the aft beam horizontal braces. These posts sit atop bottle jacks.

20151218-174137.jpg
If you flip your computer over you see we get the clearance needed to slide the cradle. I think this is how we’ll transfer the finished hull to the boat trailer for transport to the launch Marina.

20151218-174310.jpg
Now we have clear access around the brace-to-hull joint, ready for finishing.

20151218-174418.jpg
First step is fillets on both sides and 1708DBM tape for strength.

20151218-174534.jpg
This evening structural foam was glue-gunned in and tomorrow all four of these pods will get shaped in to “fairings”. Will attack with little saws and the flapper disk on the angle grinder before a final sanding.
And yes, multiple ouches accidentally touching the hot glue!

20151218-174825.jpg