State champs!

Gratuitous cross promotion here as we can’t help but shout about niece Molly Carter’s high school varsity lacrosse team winning Northern California state tournament this week. The final game saw frequent scoring, lead changes, many minutes tied, capped with Novato breaking the 9-9 tie literally as time ran out to win the title. Fans rushing the field, dogpile of players, people crying – the whole enchilada. Molly played a lot of minutes as a freshman, so it’s big shoes to fill in the coming years :)
Here with her brother Mack and the champs medal.

20160523-183445.jpg
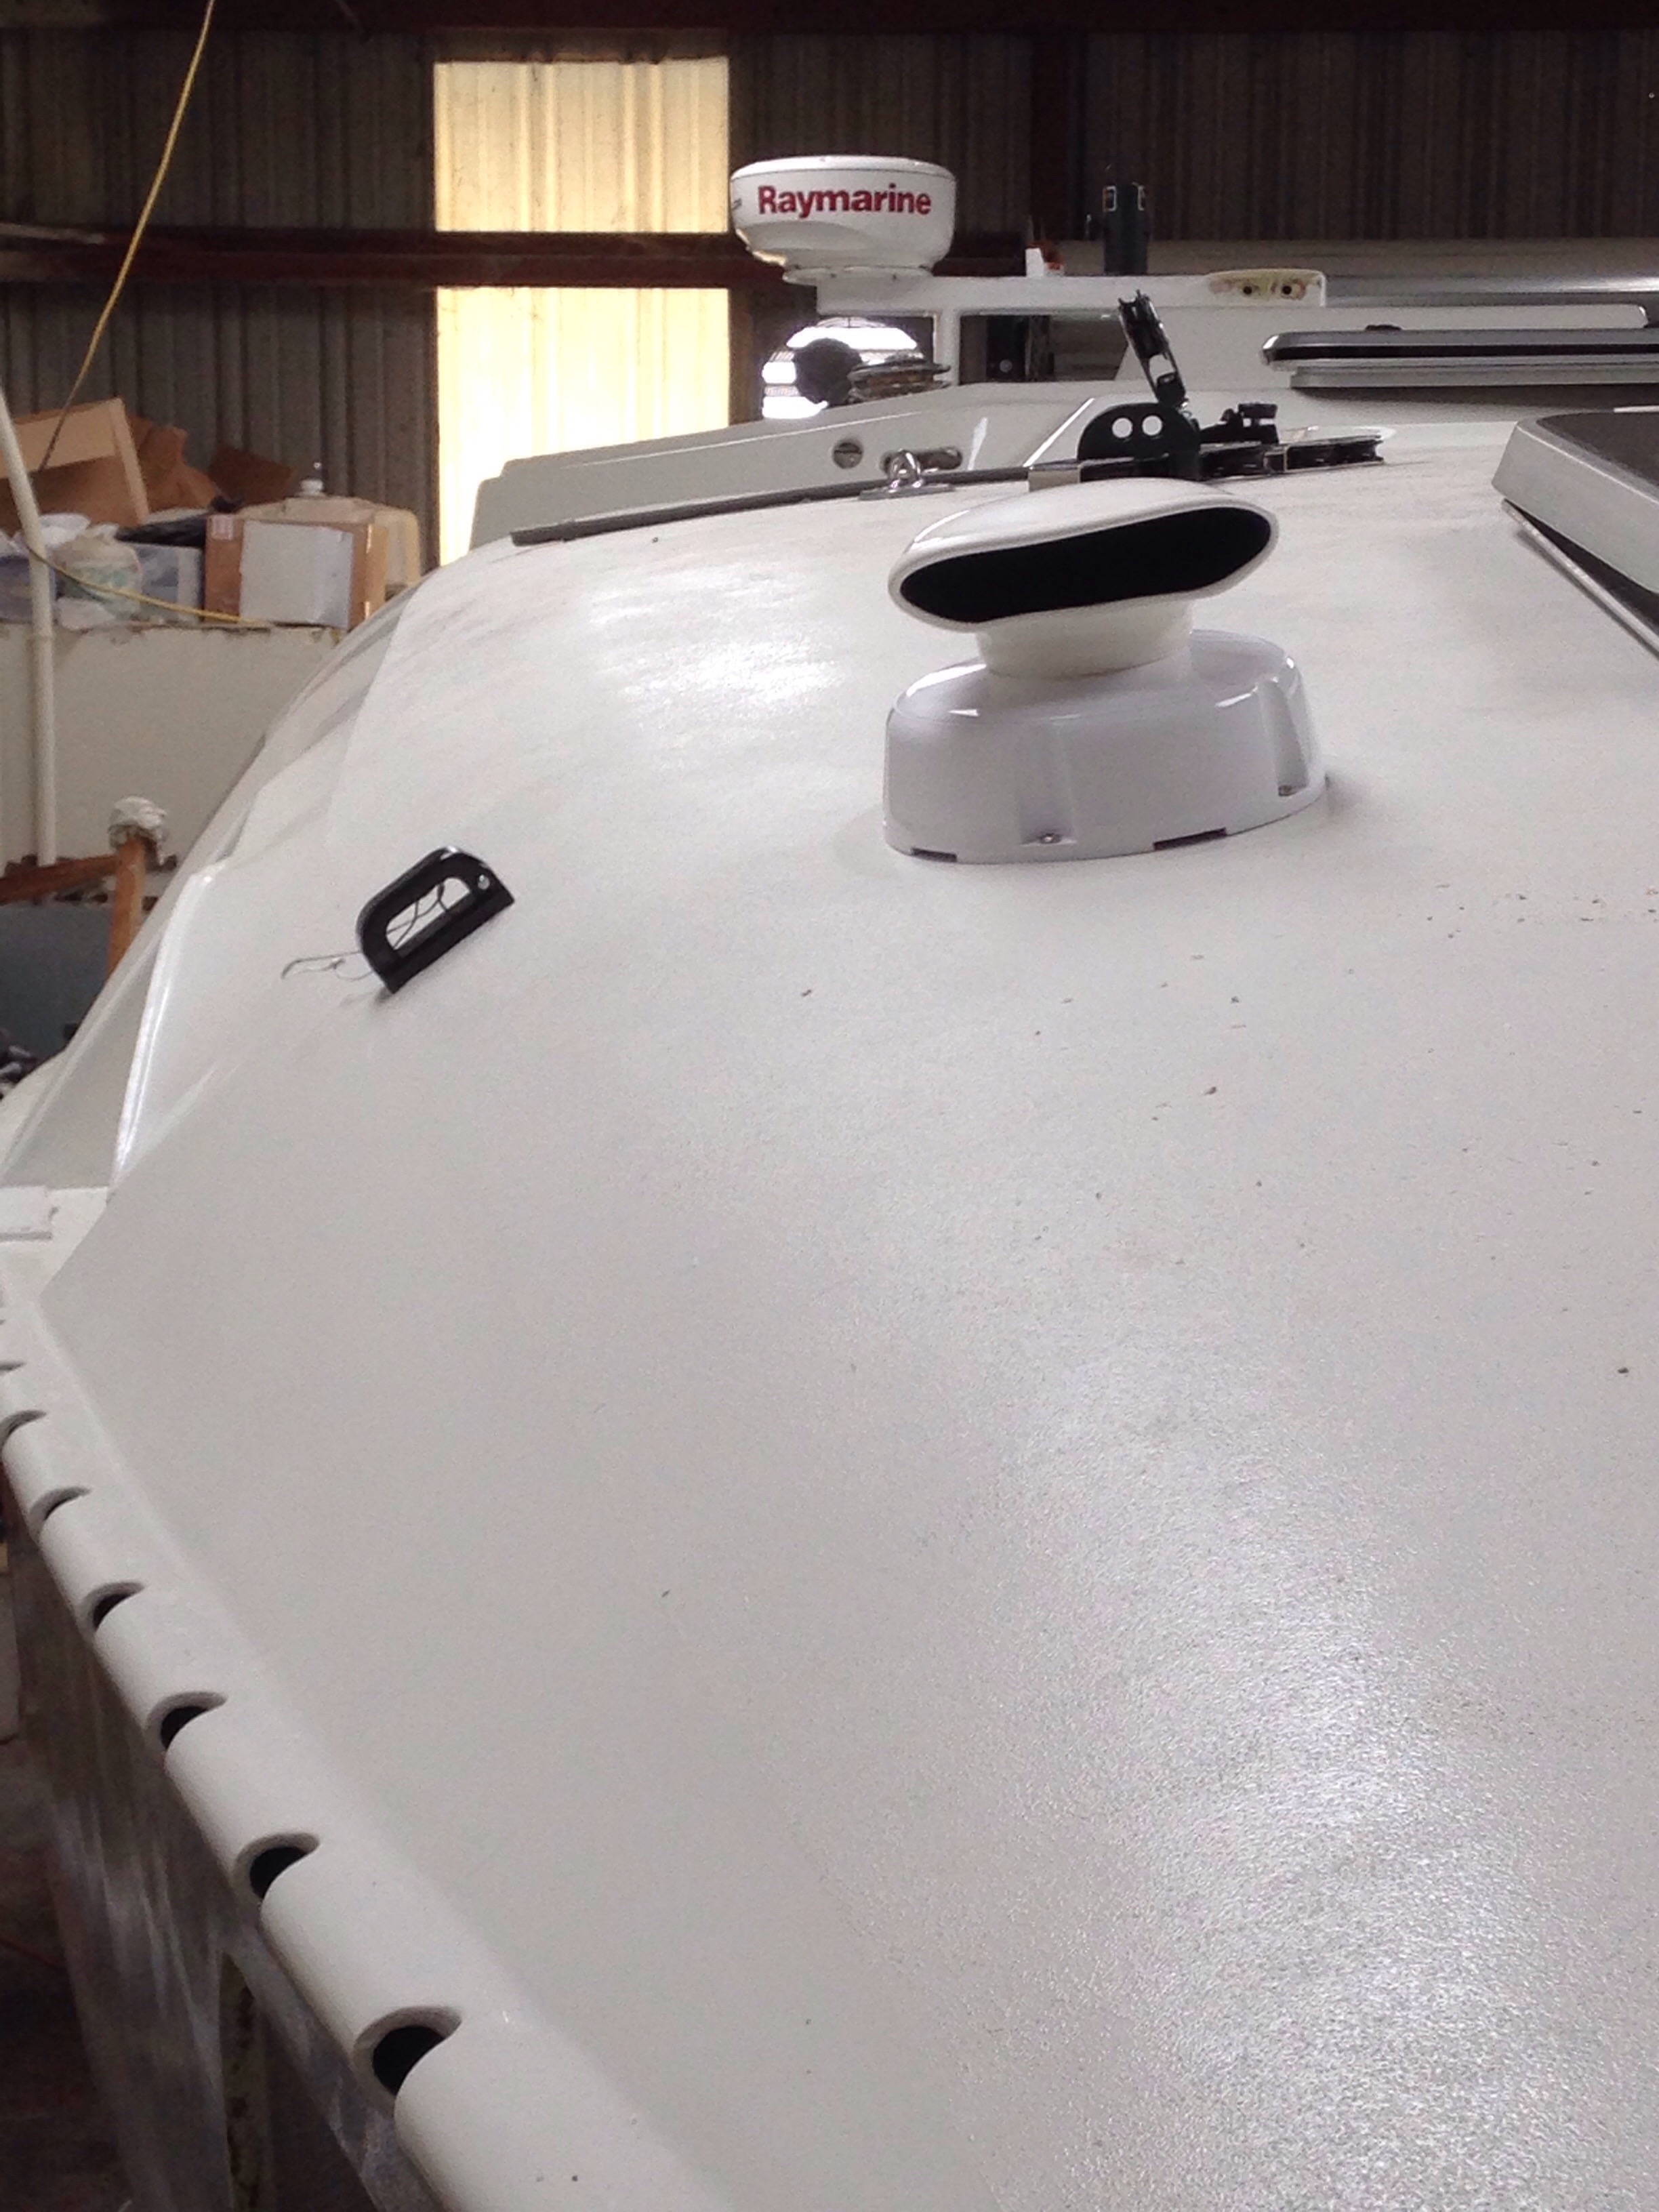
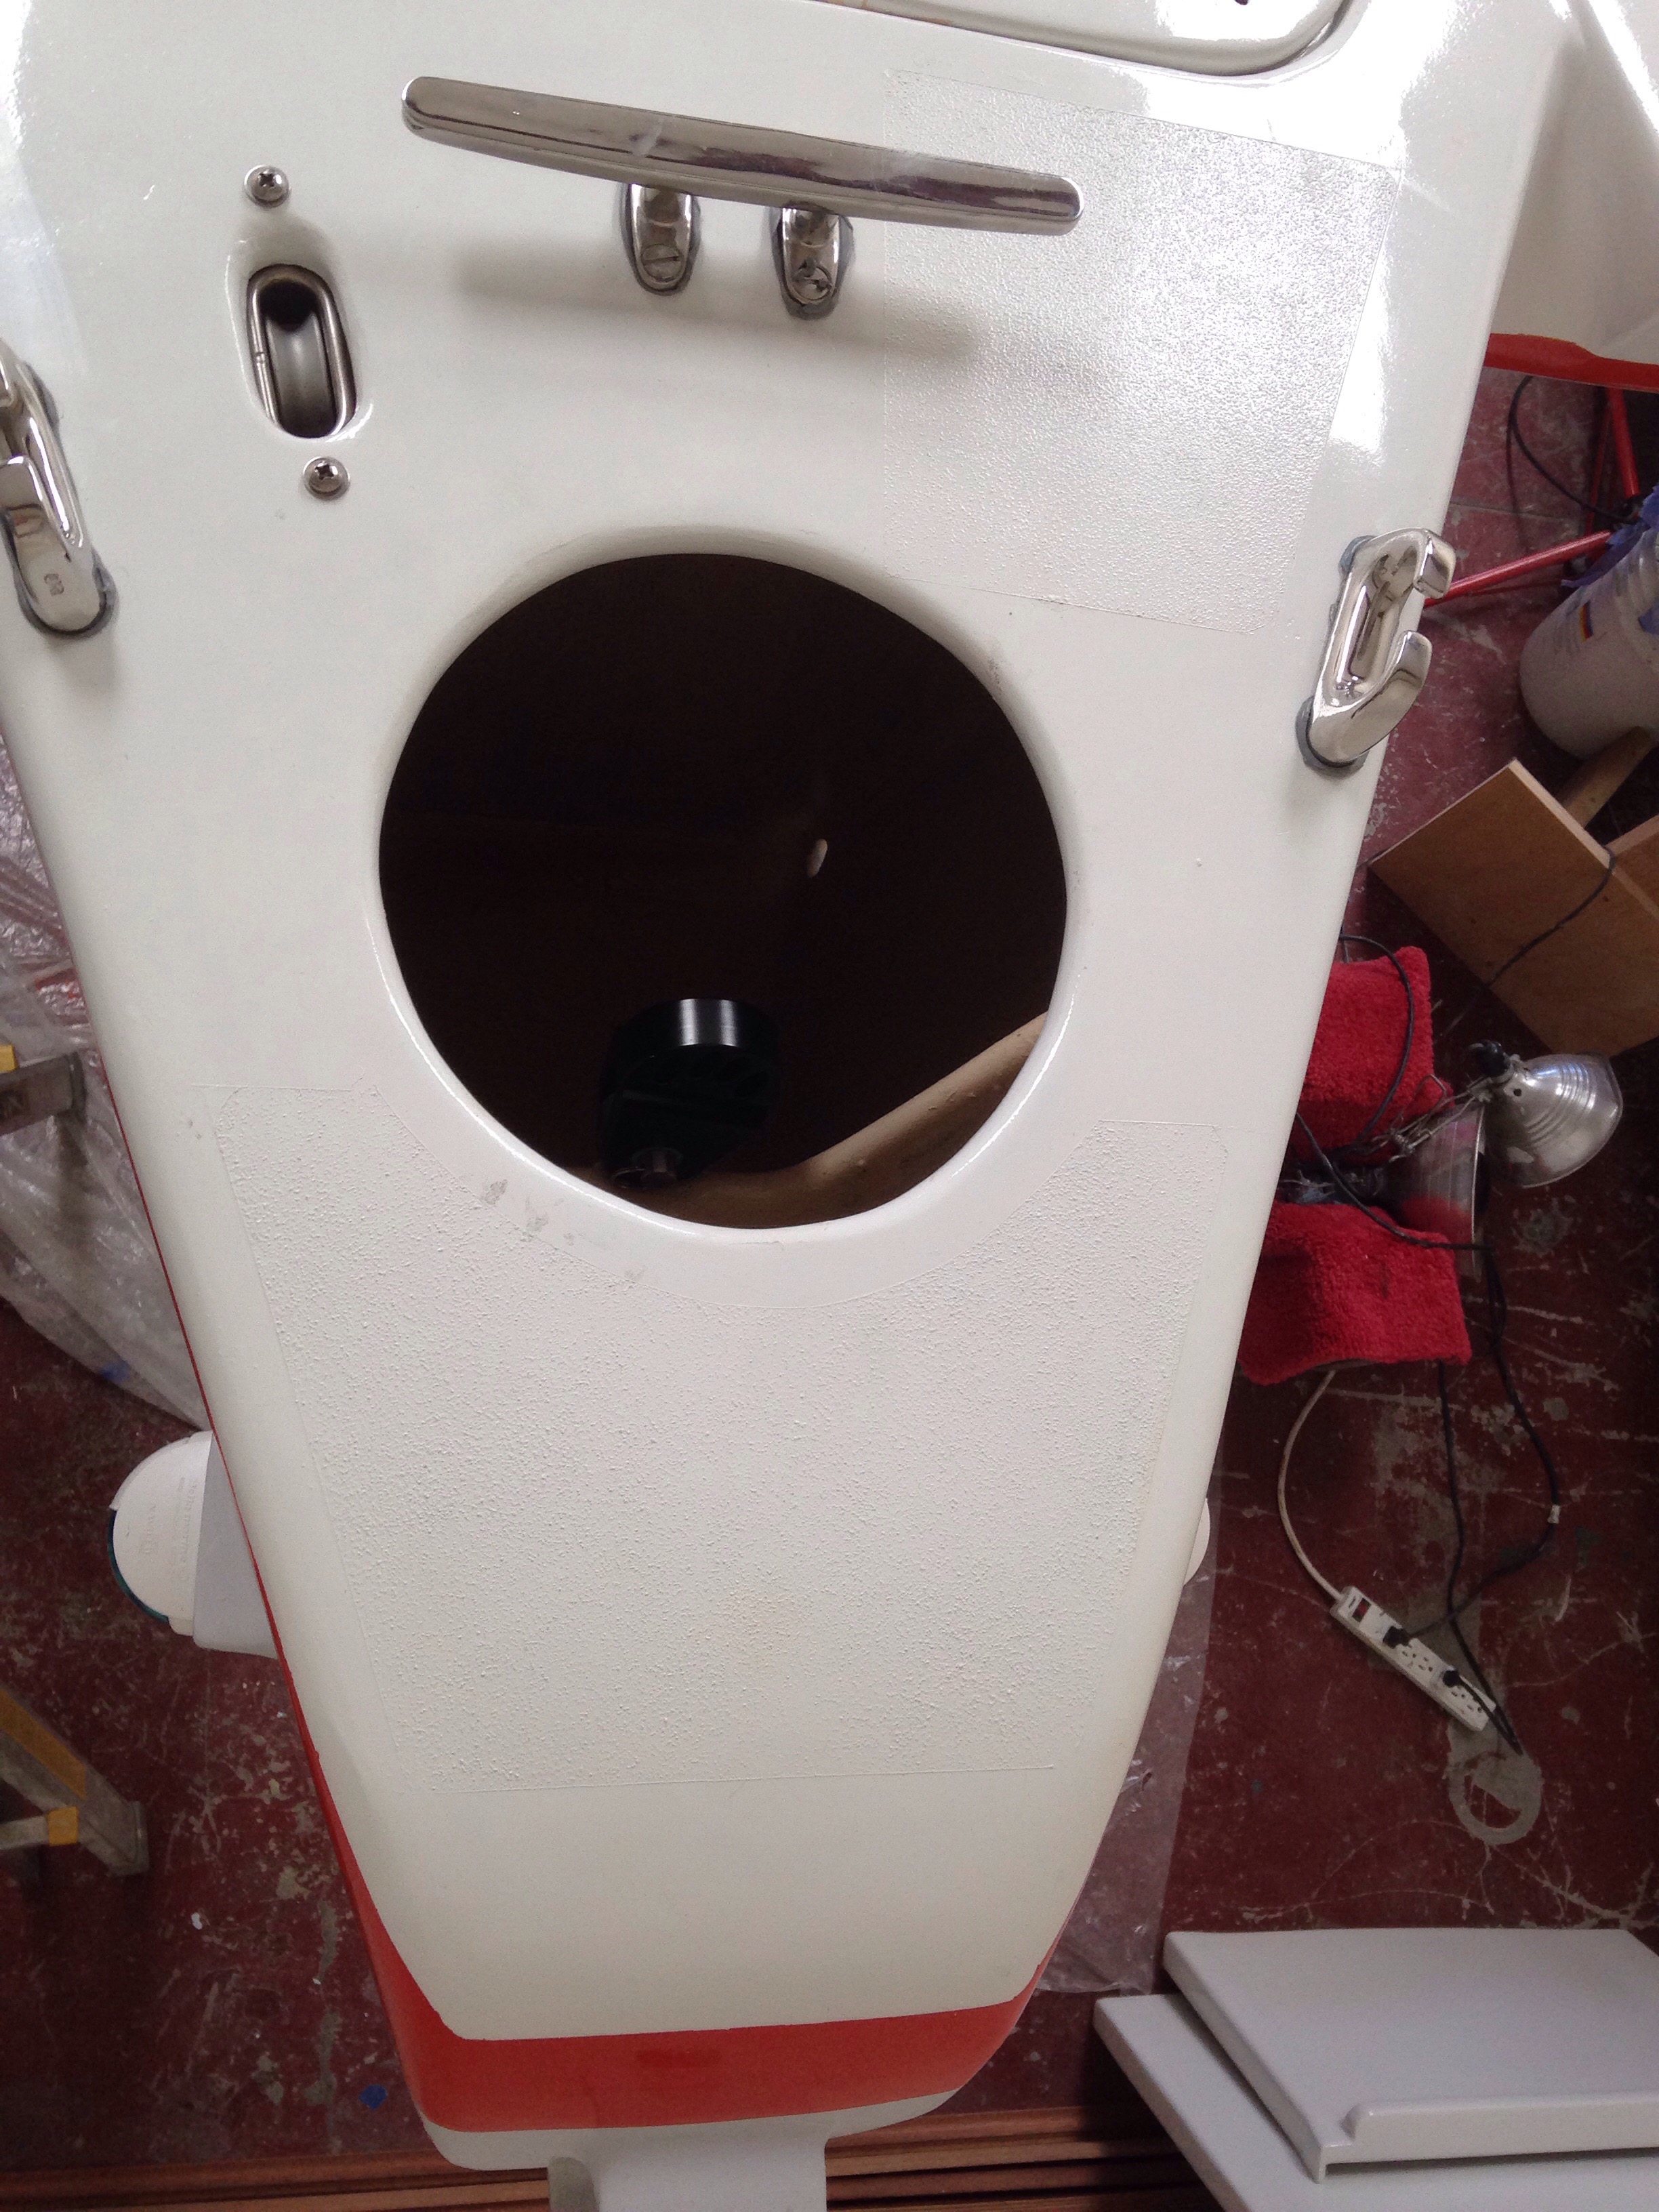
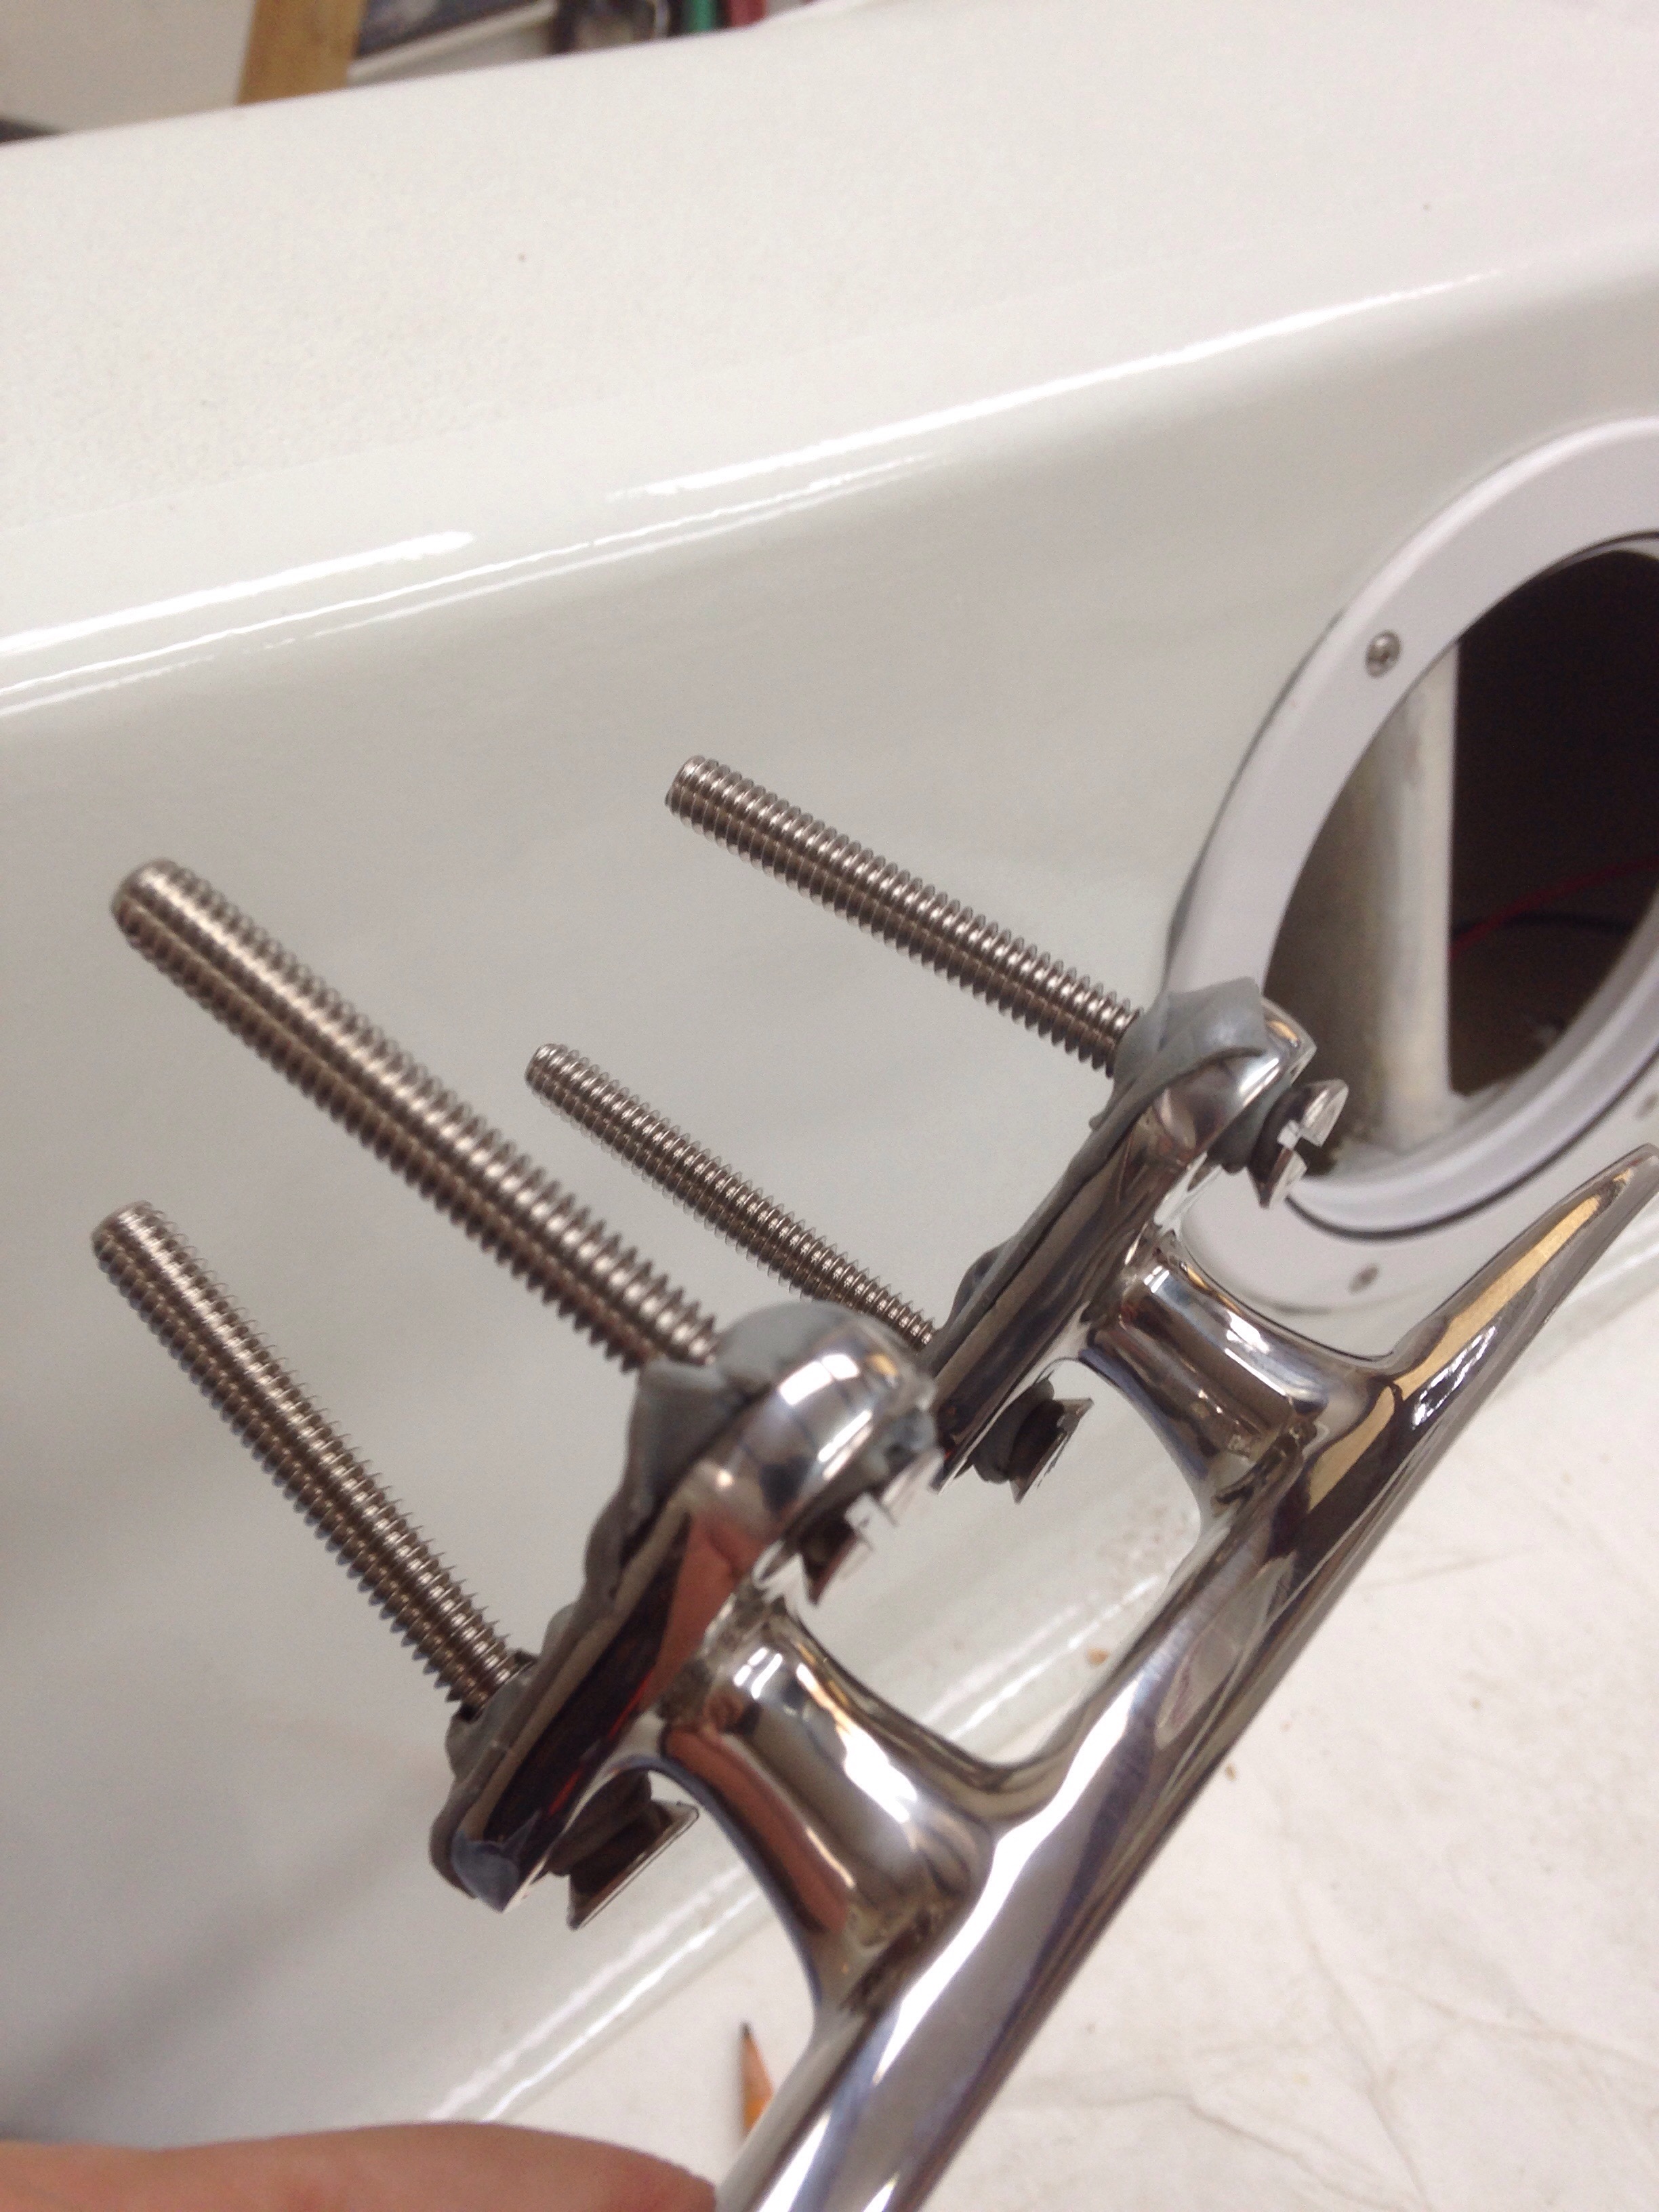
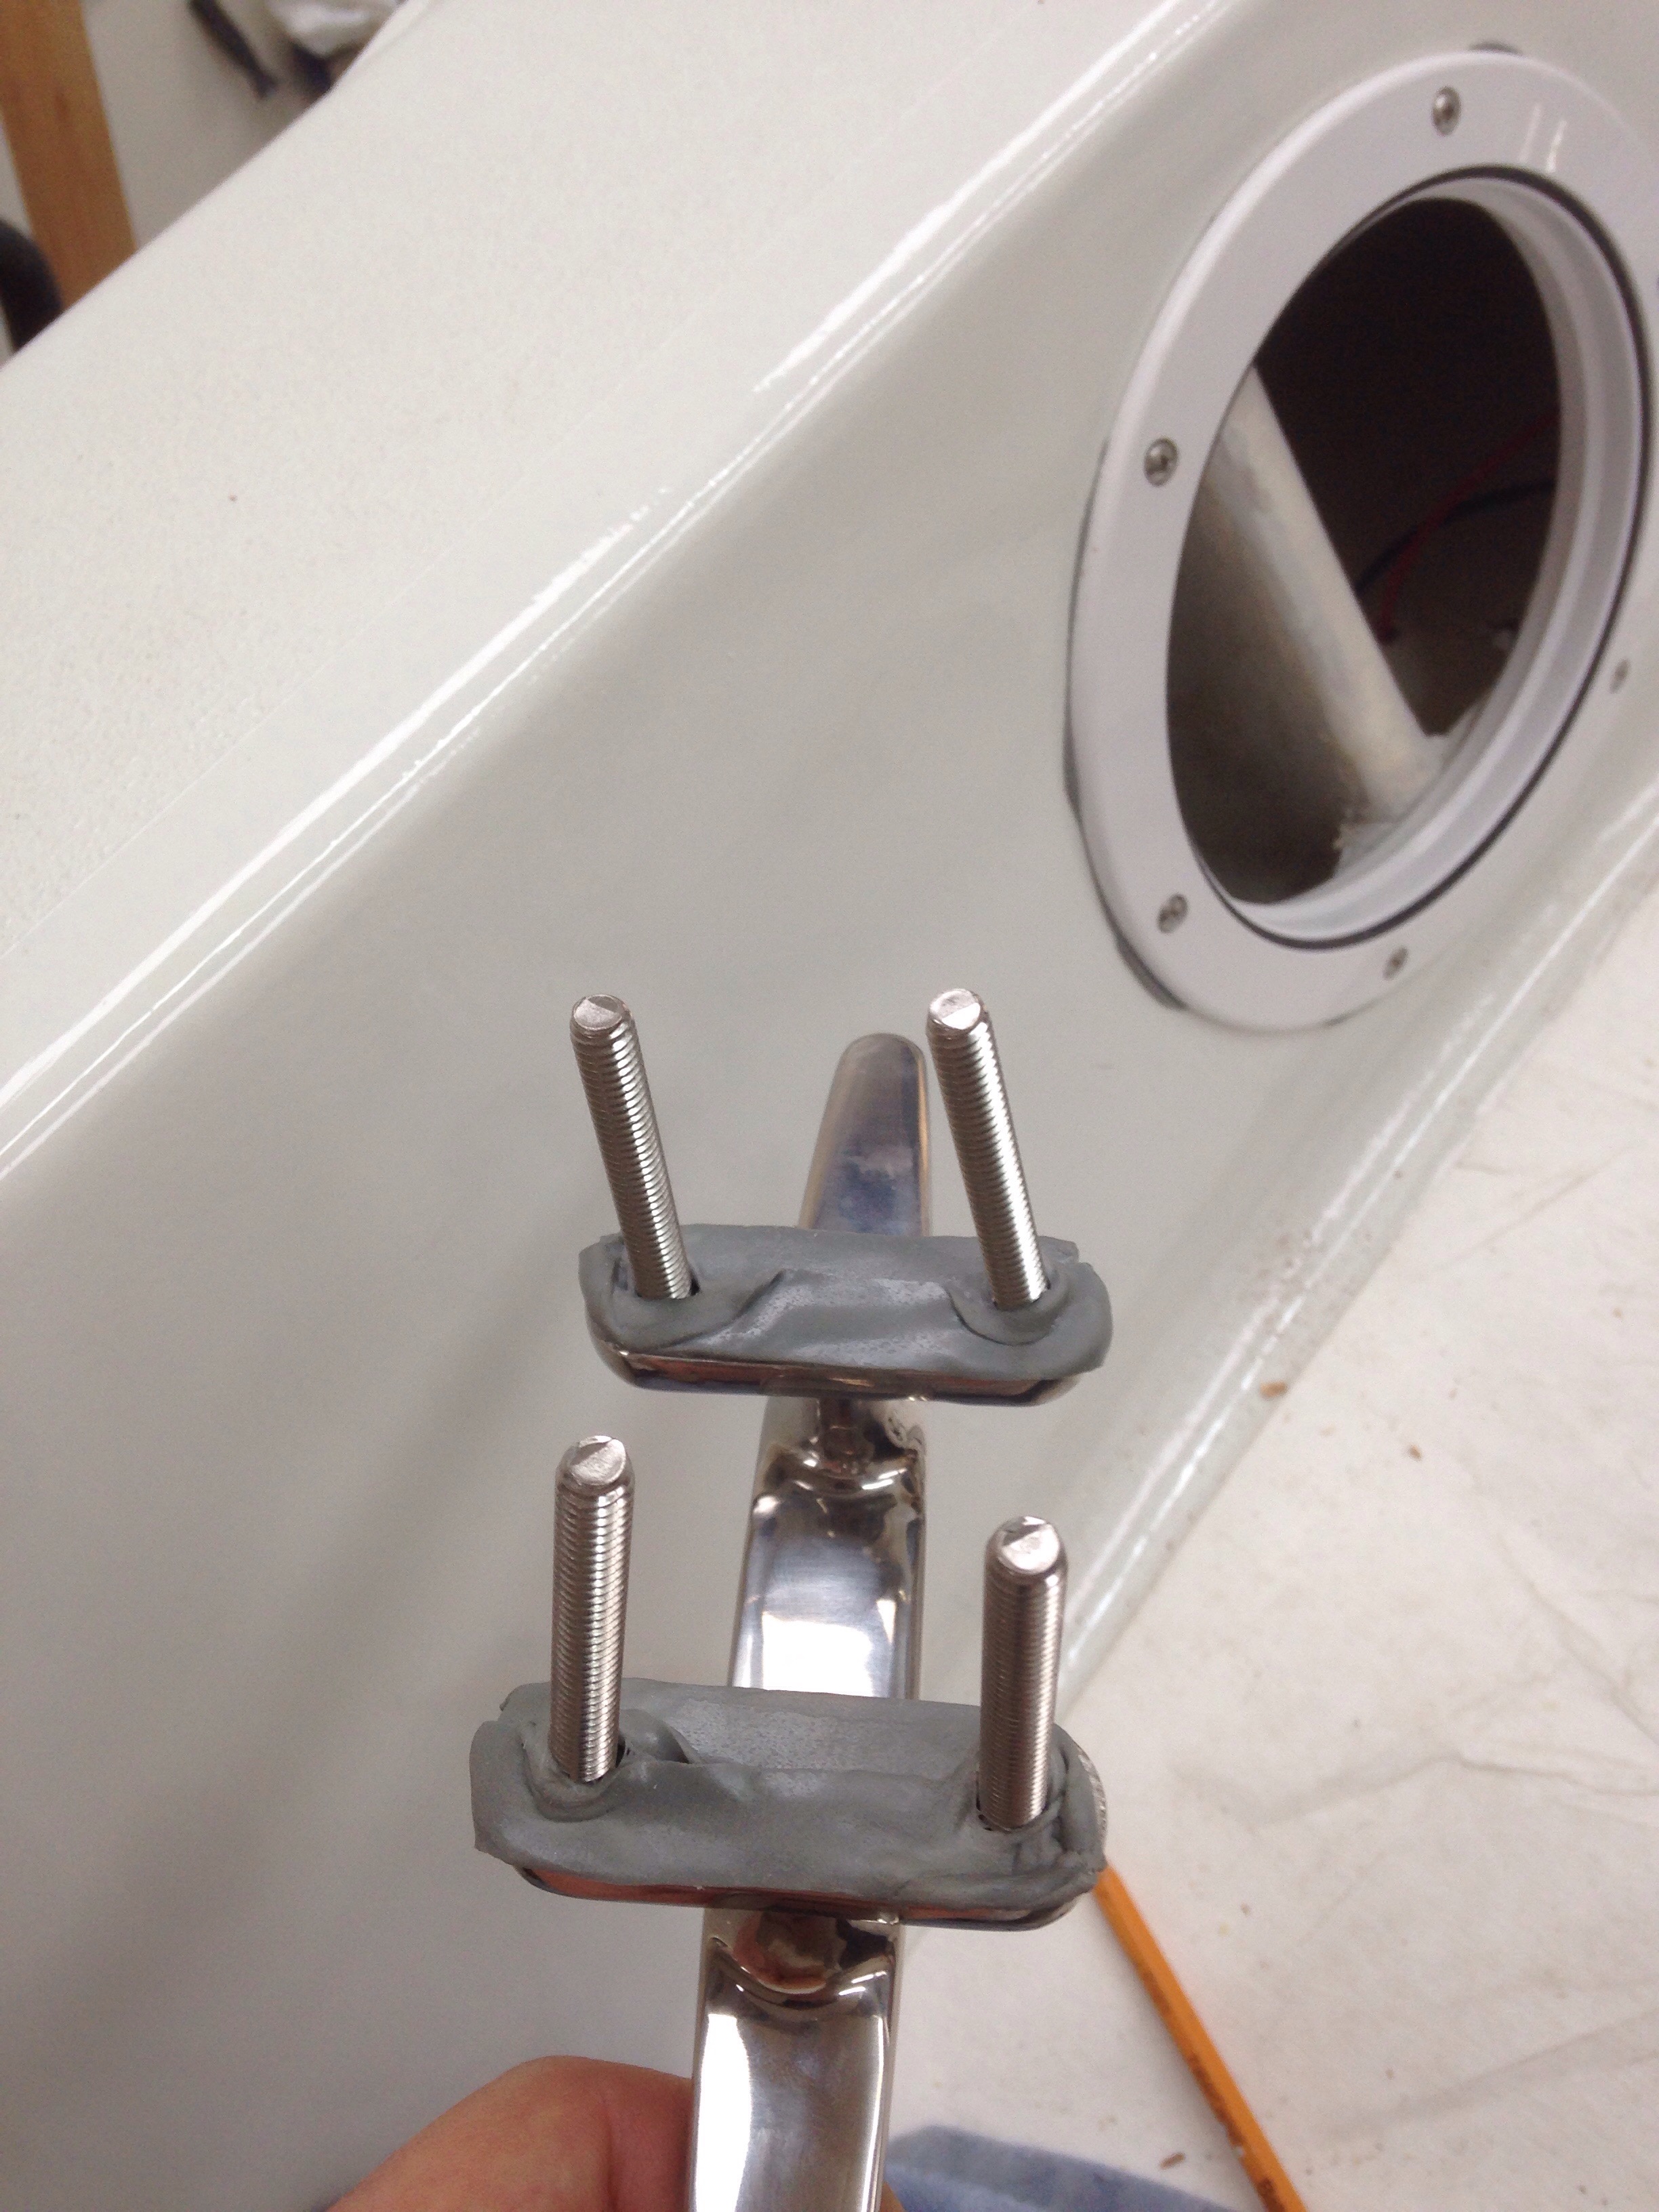
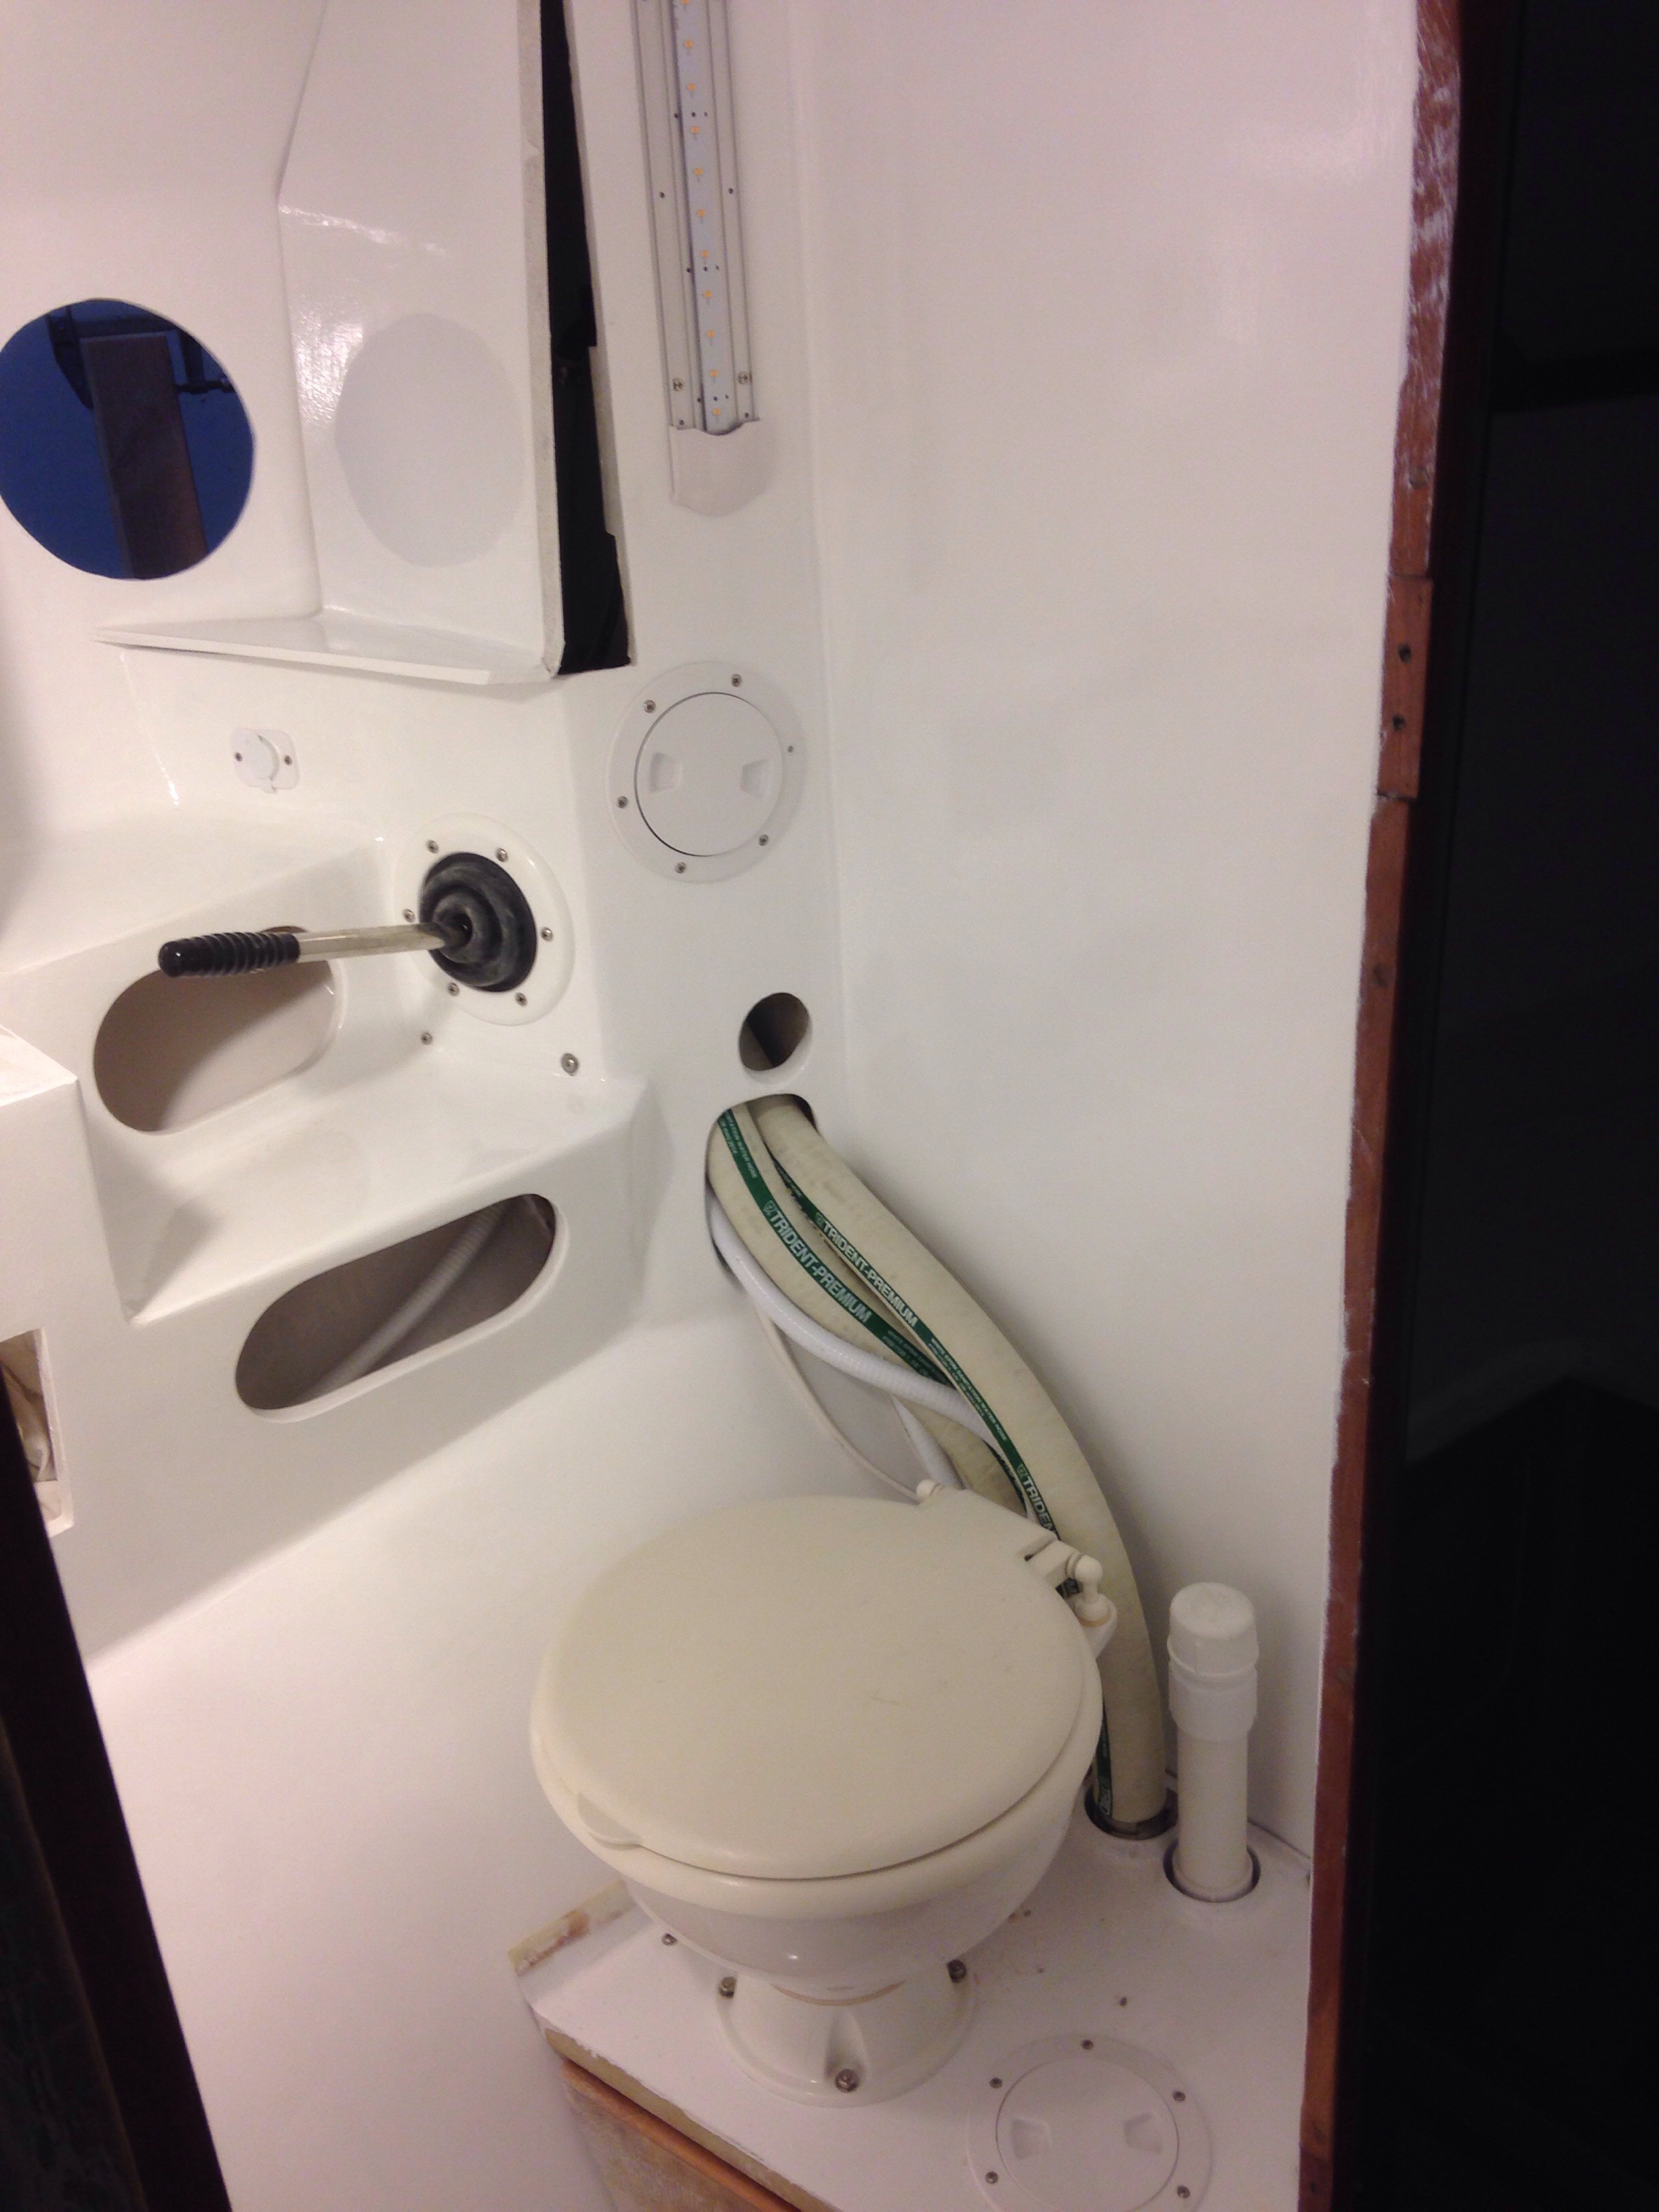
Back at the shop we had a big weekend of putting stuff together. There are 7 thruhulls; 3 below the waterline and 4 drains for sinks and pumps. First some BoatLife bedding caulk…

20160523-183709.jpg
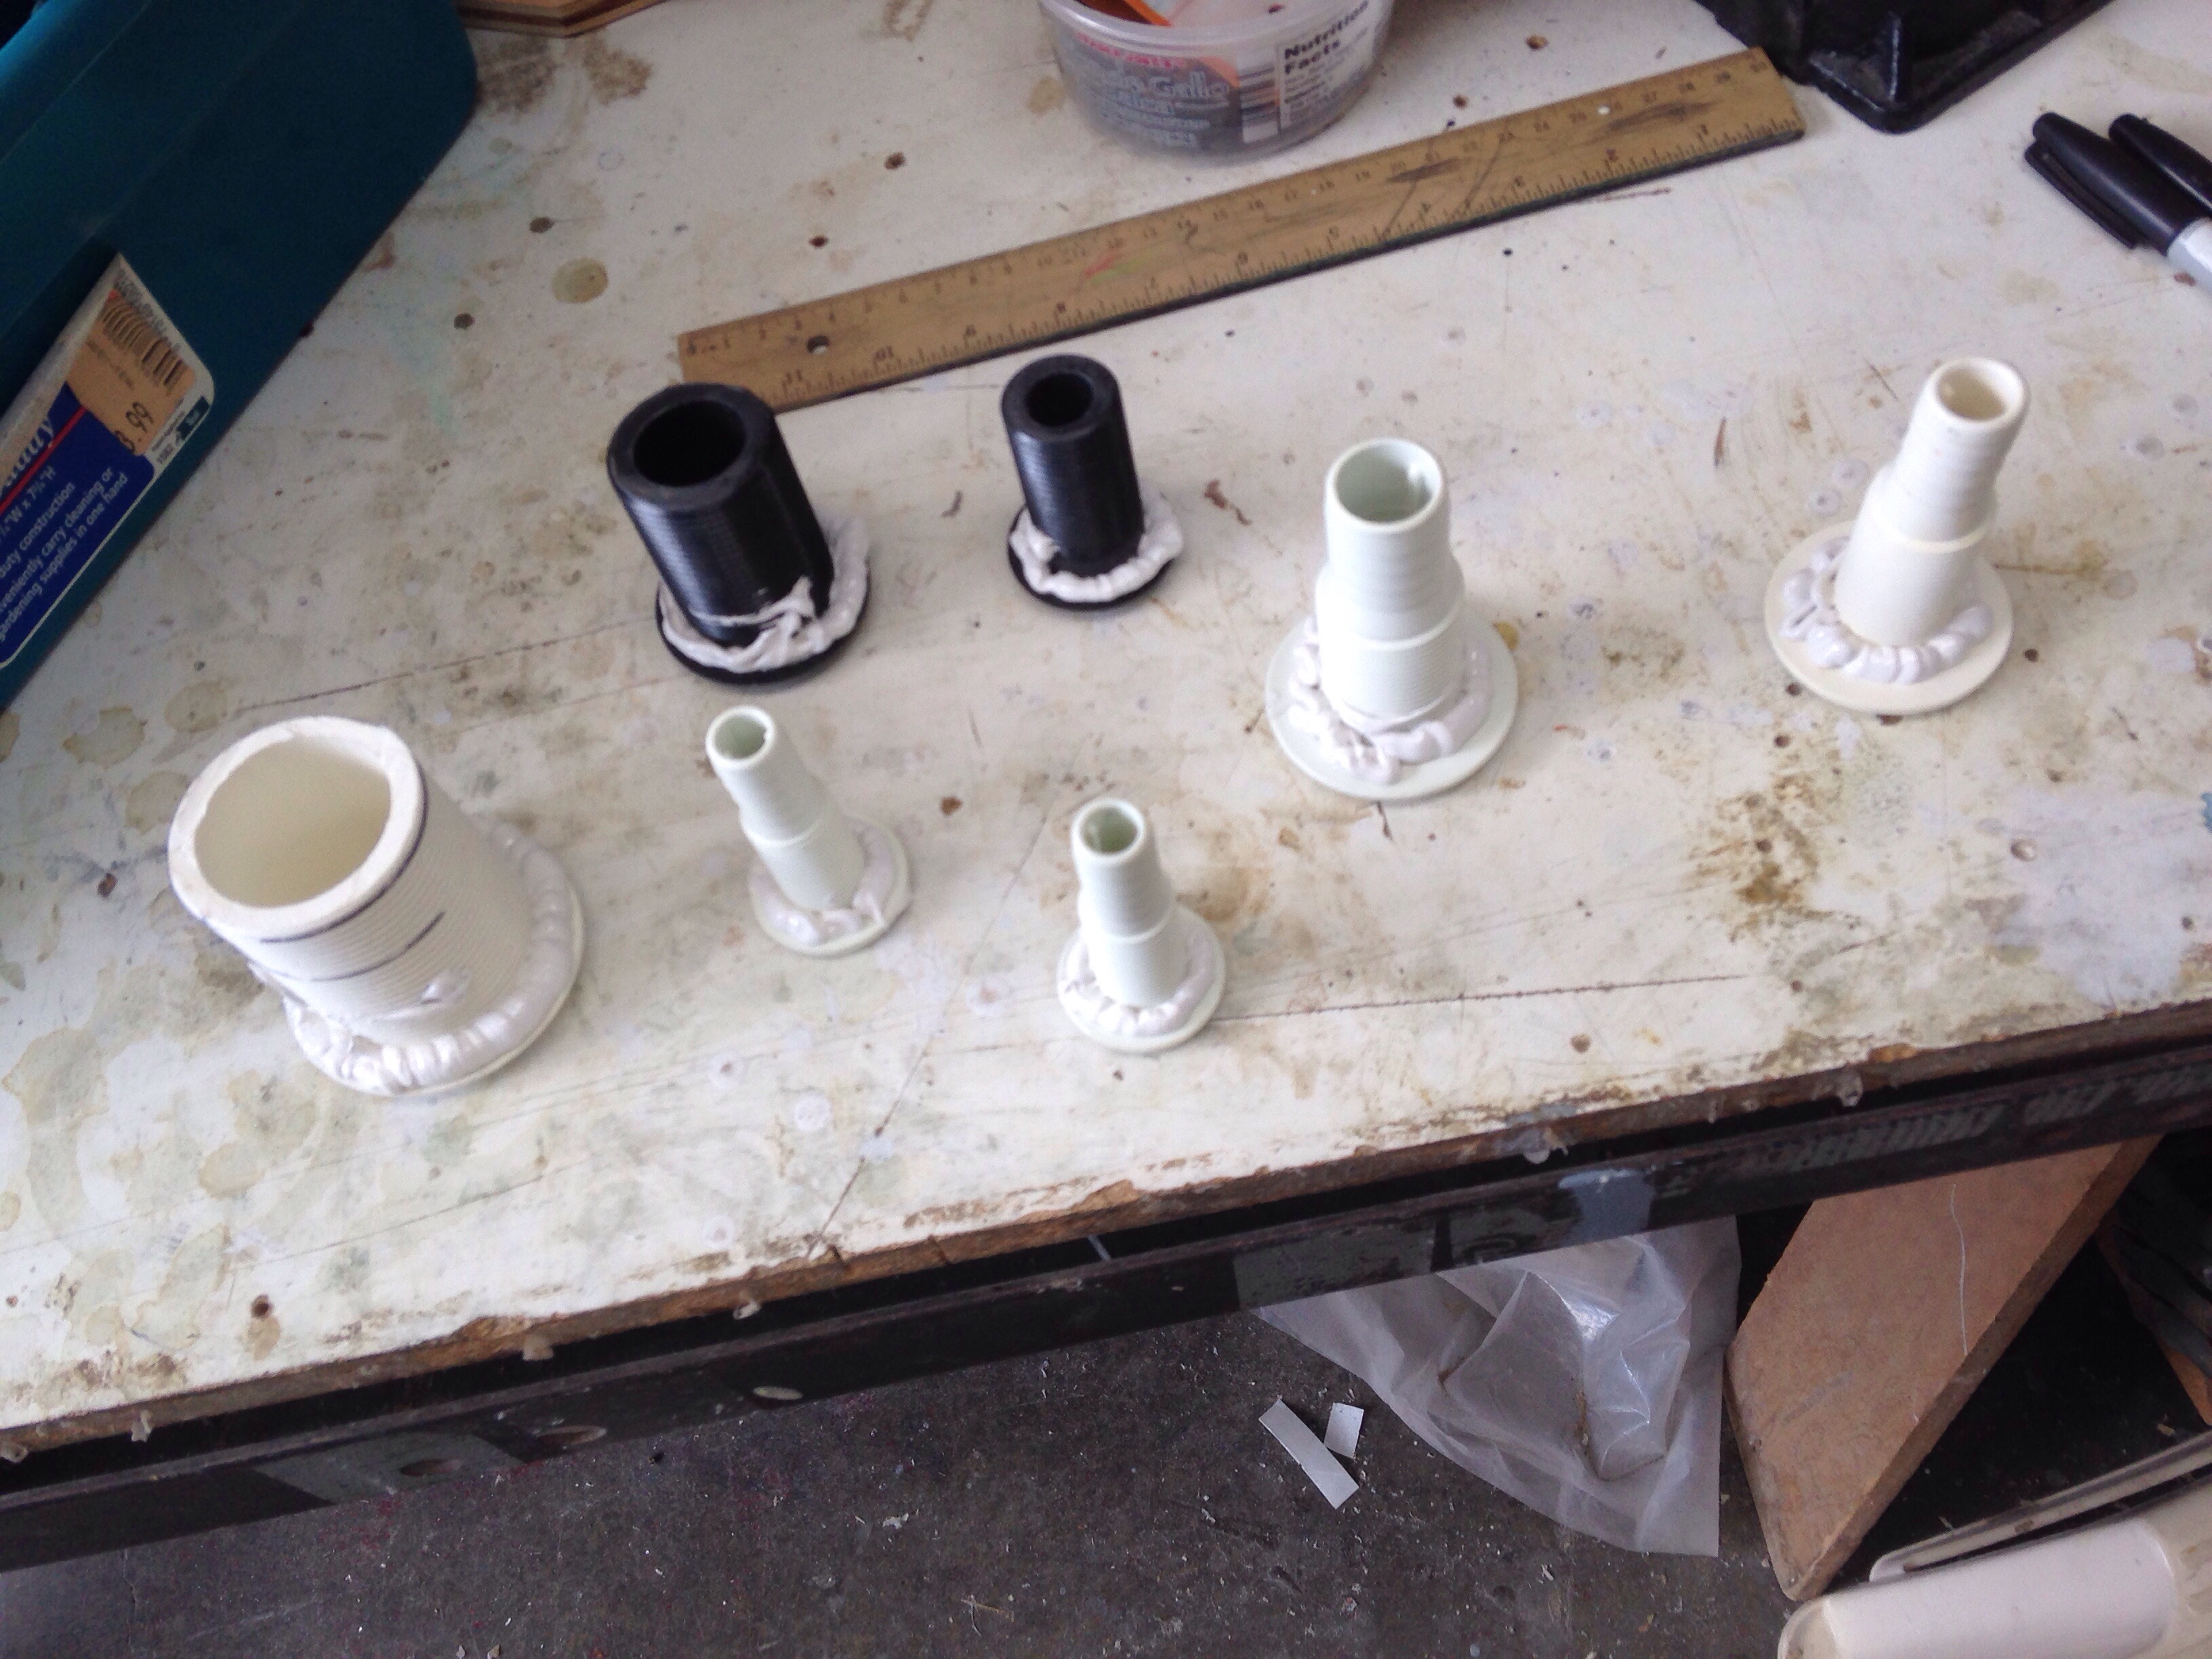
Press them in, deal with the backing plates and nuts inside, and wipe away the excess goo. Came out fine.

20160523-183814.jpg
The only regret is buying the mushroom head fittings instead of the flush heads. That call was made over a year ago because I was insecure about cutting the 45 degree chamfers. In retrospect it would have been pretty easy. So here’s a tiny bit of robbed speed we’ll suffer.

20160523-184108.jpg
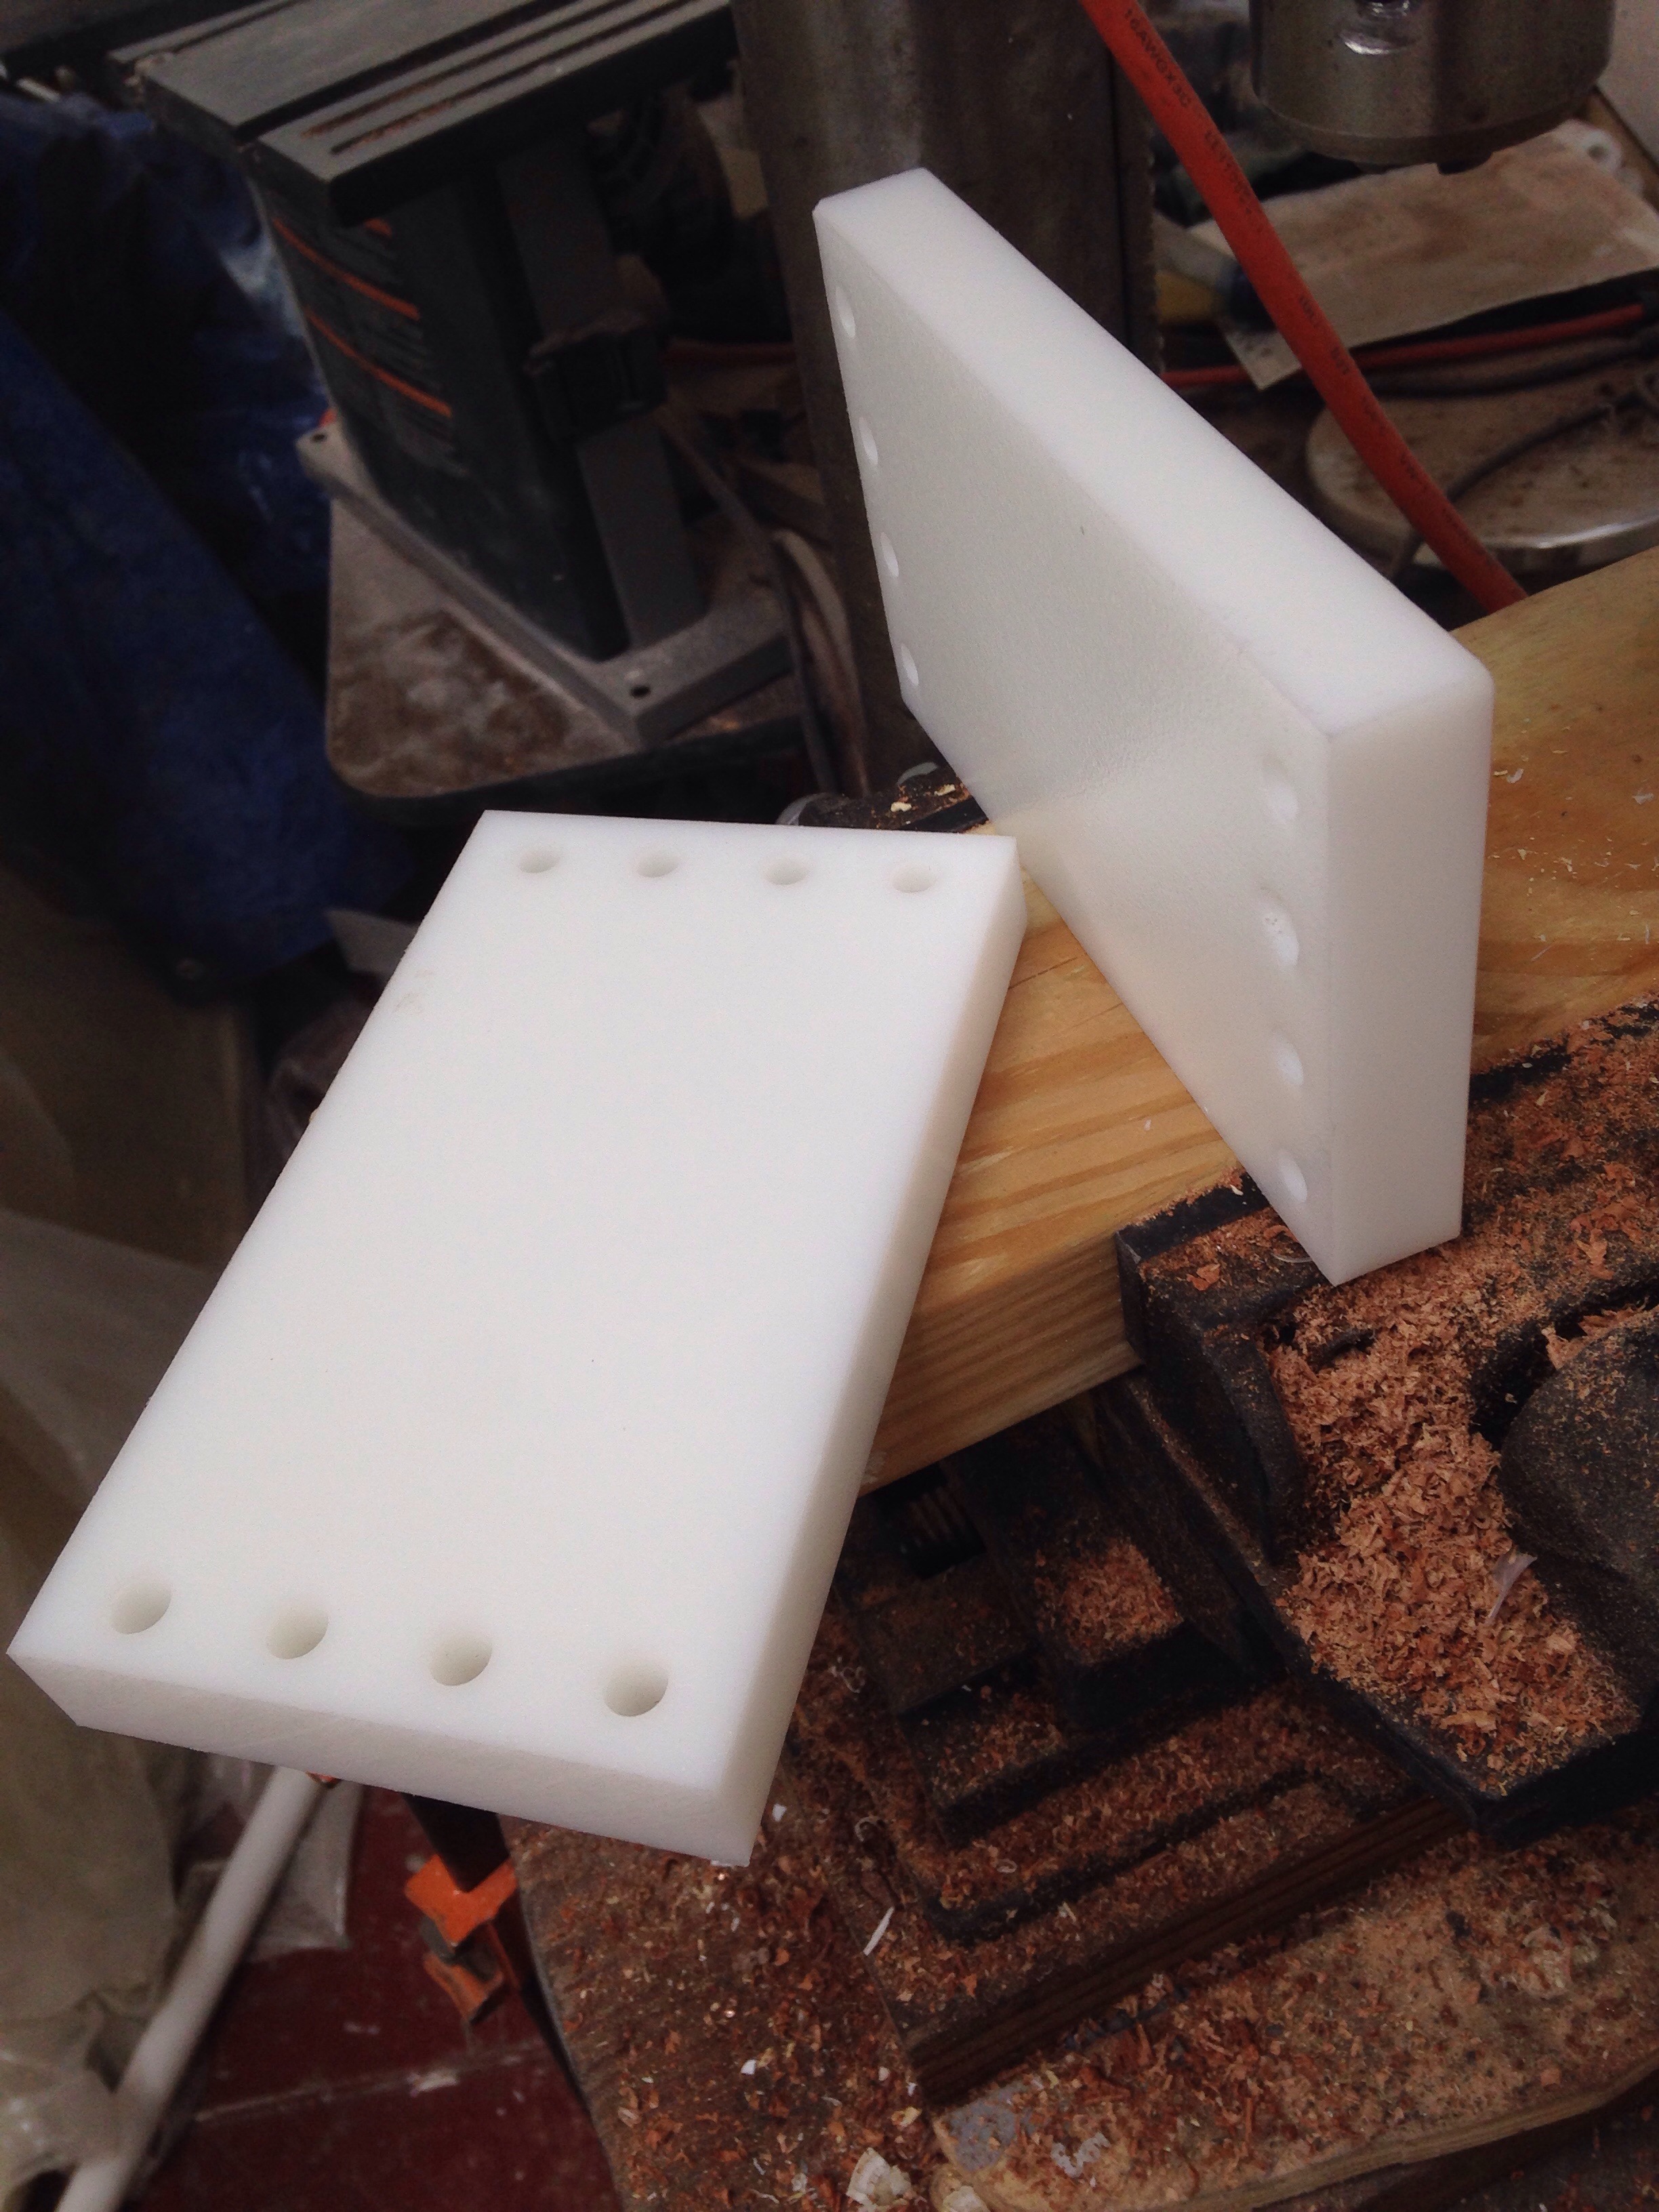
We’re also tackling any last fabrication parts, including this plate inside the cabin that holds the daggerboard down-force turning block inside the dagger trunk. This will get carefully sealed and primed to avoid electrolysis as much as possible.

20160523-184322.jpg

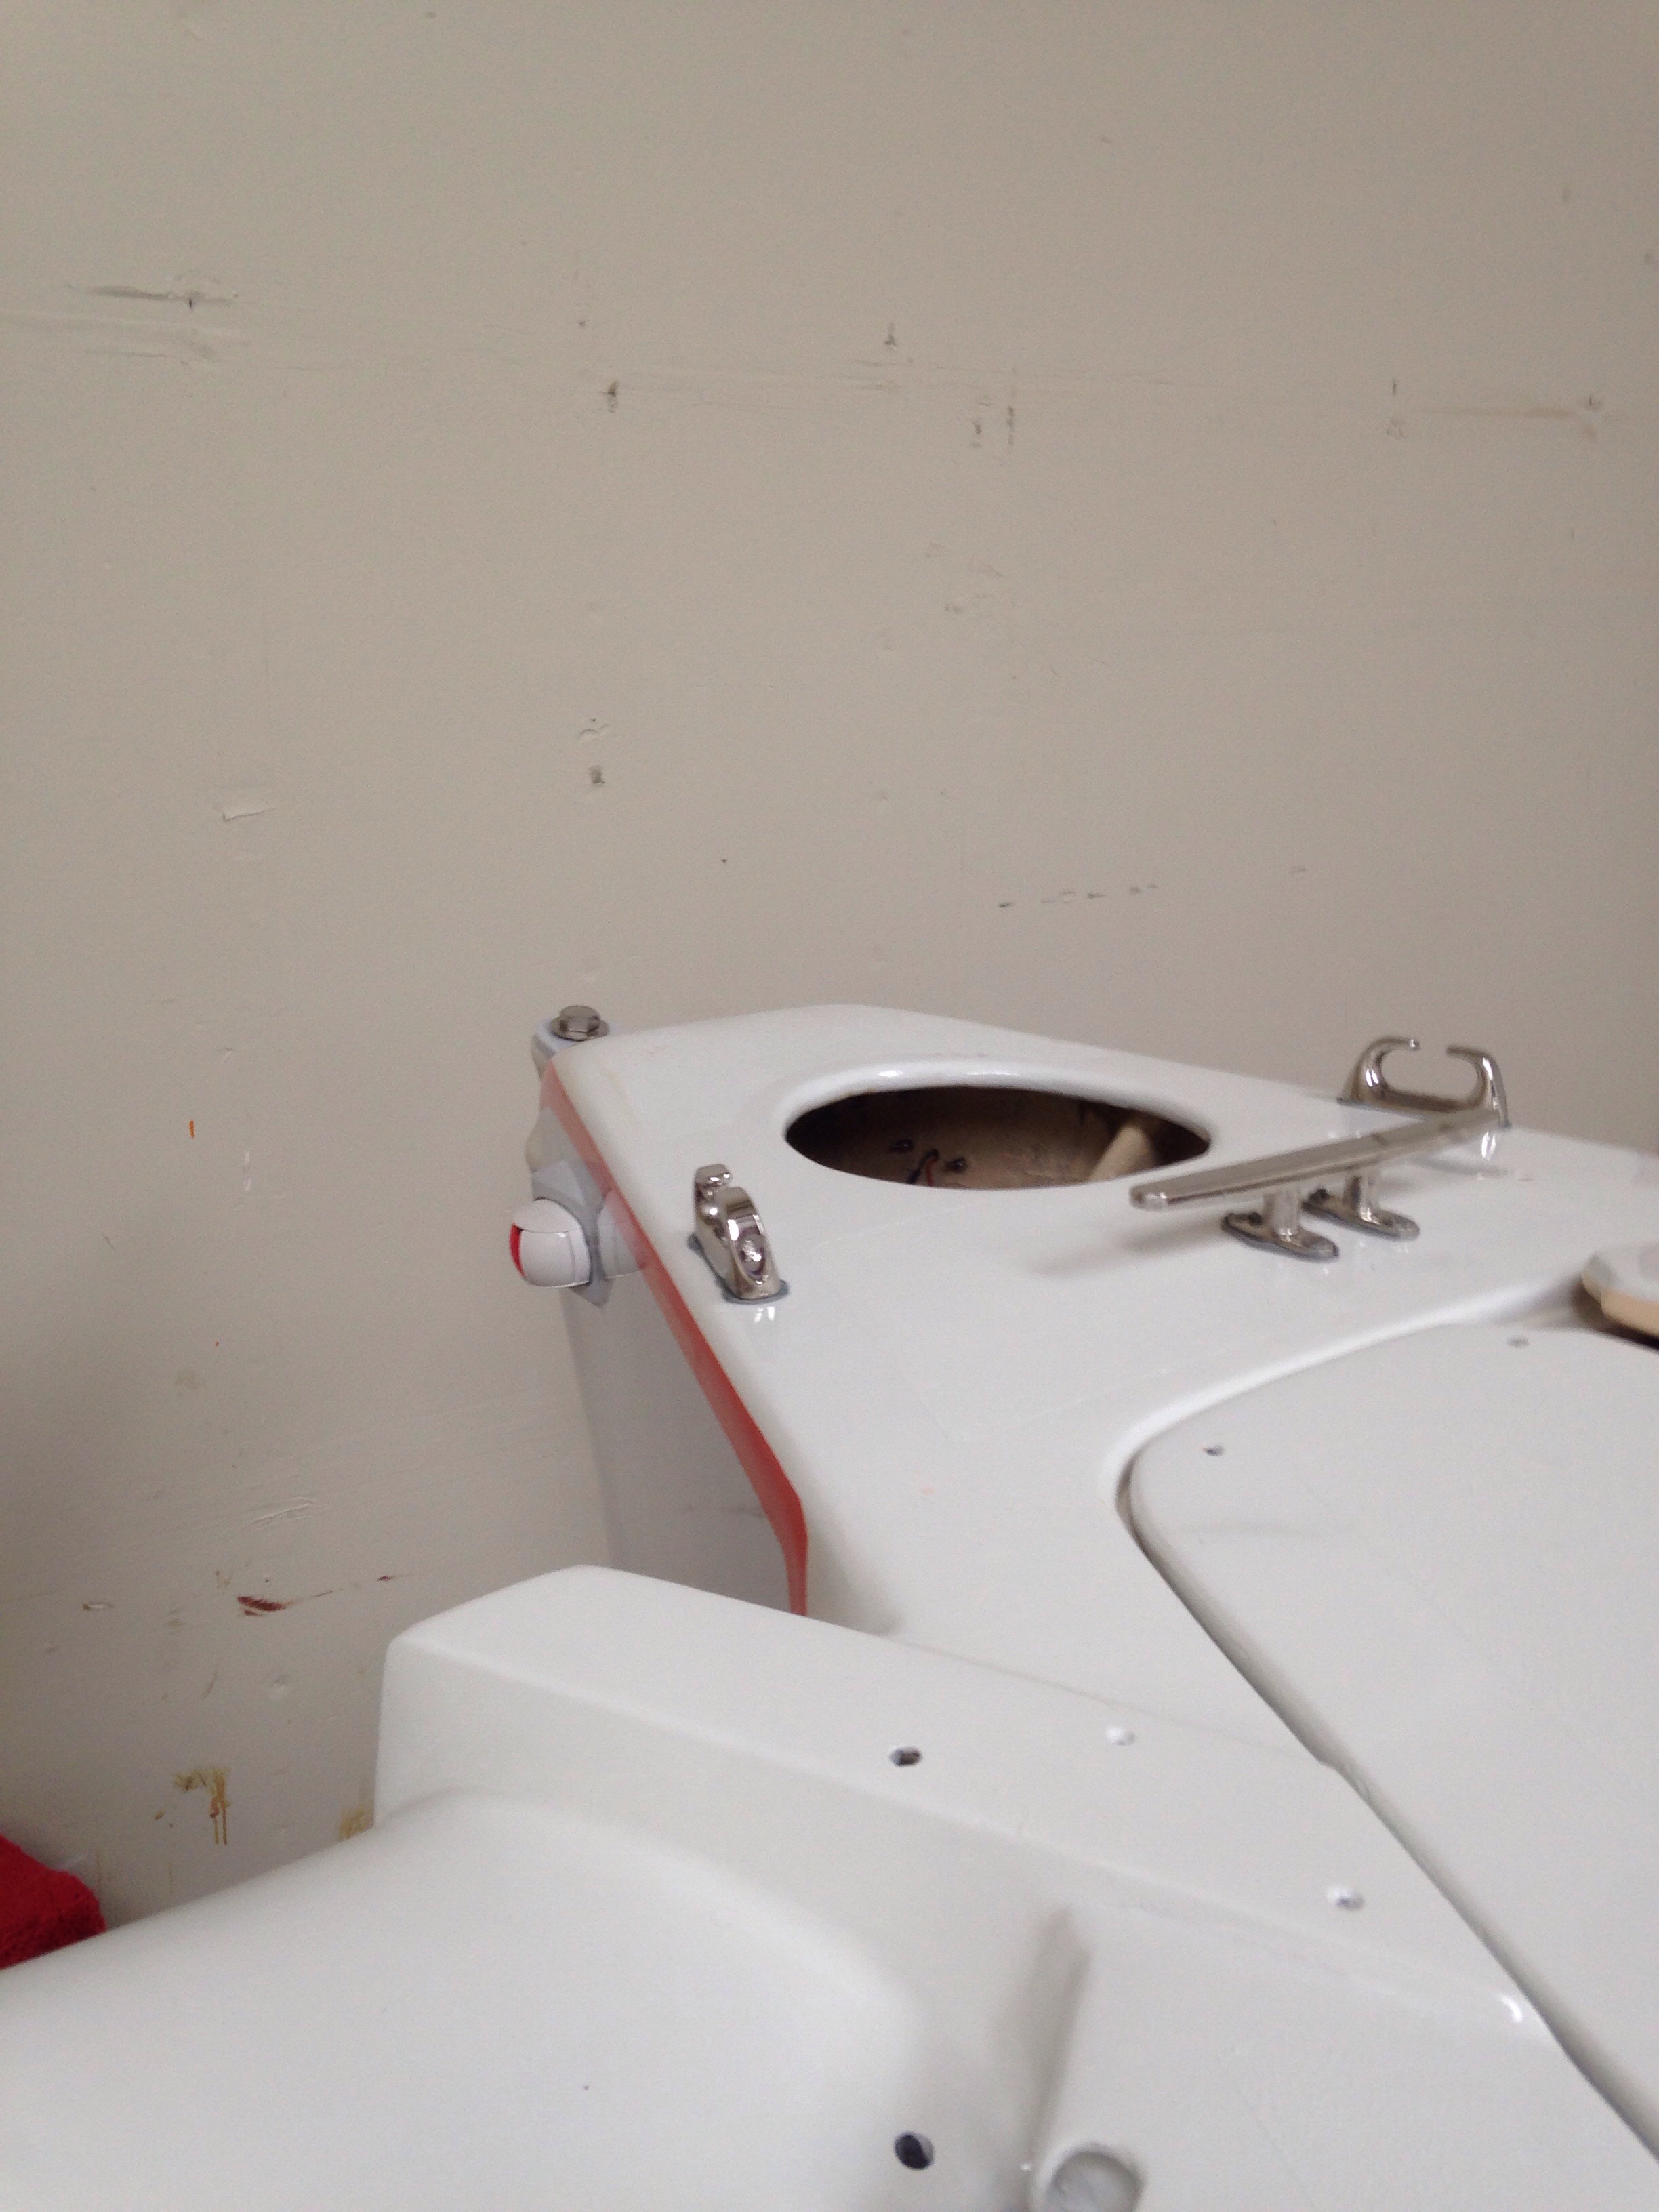
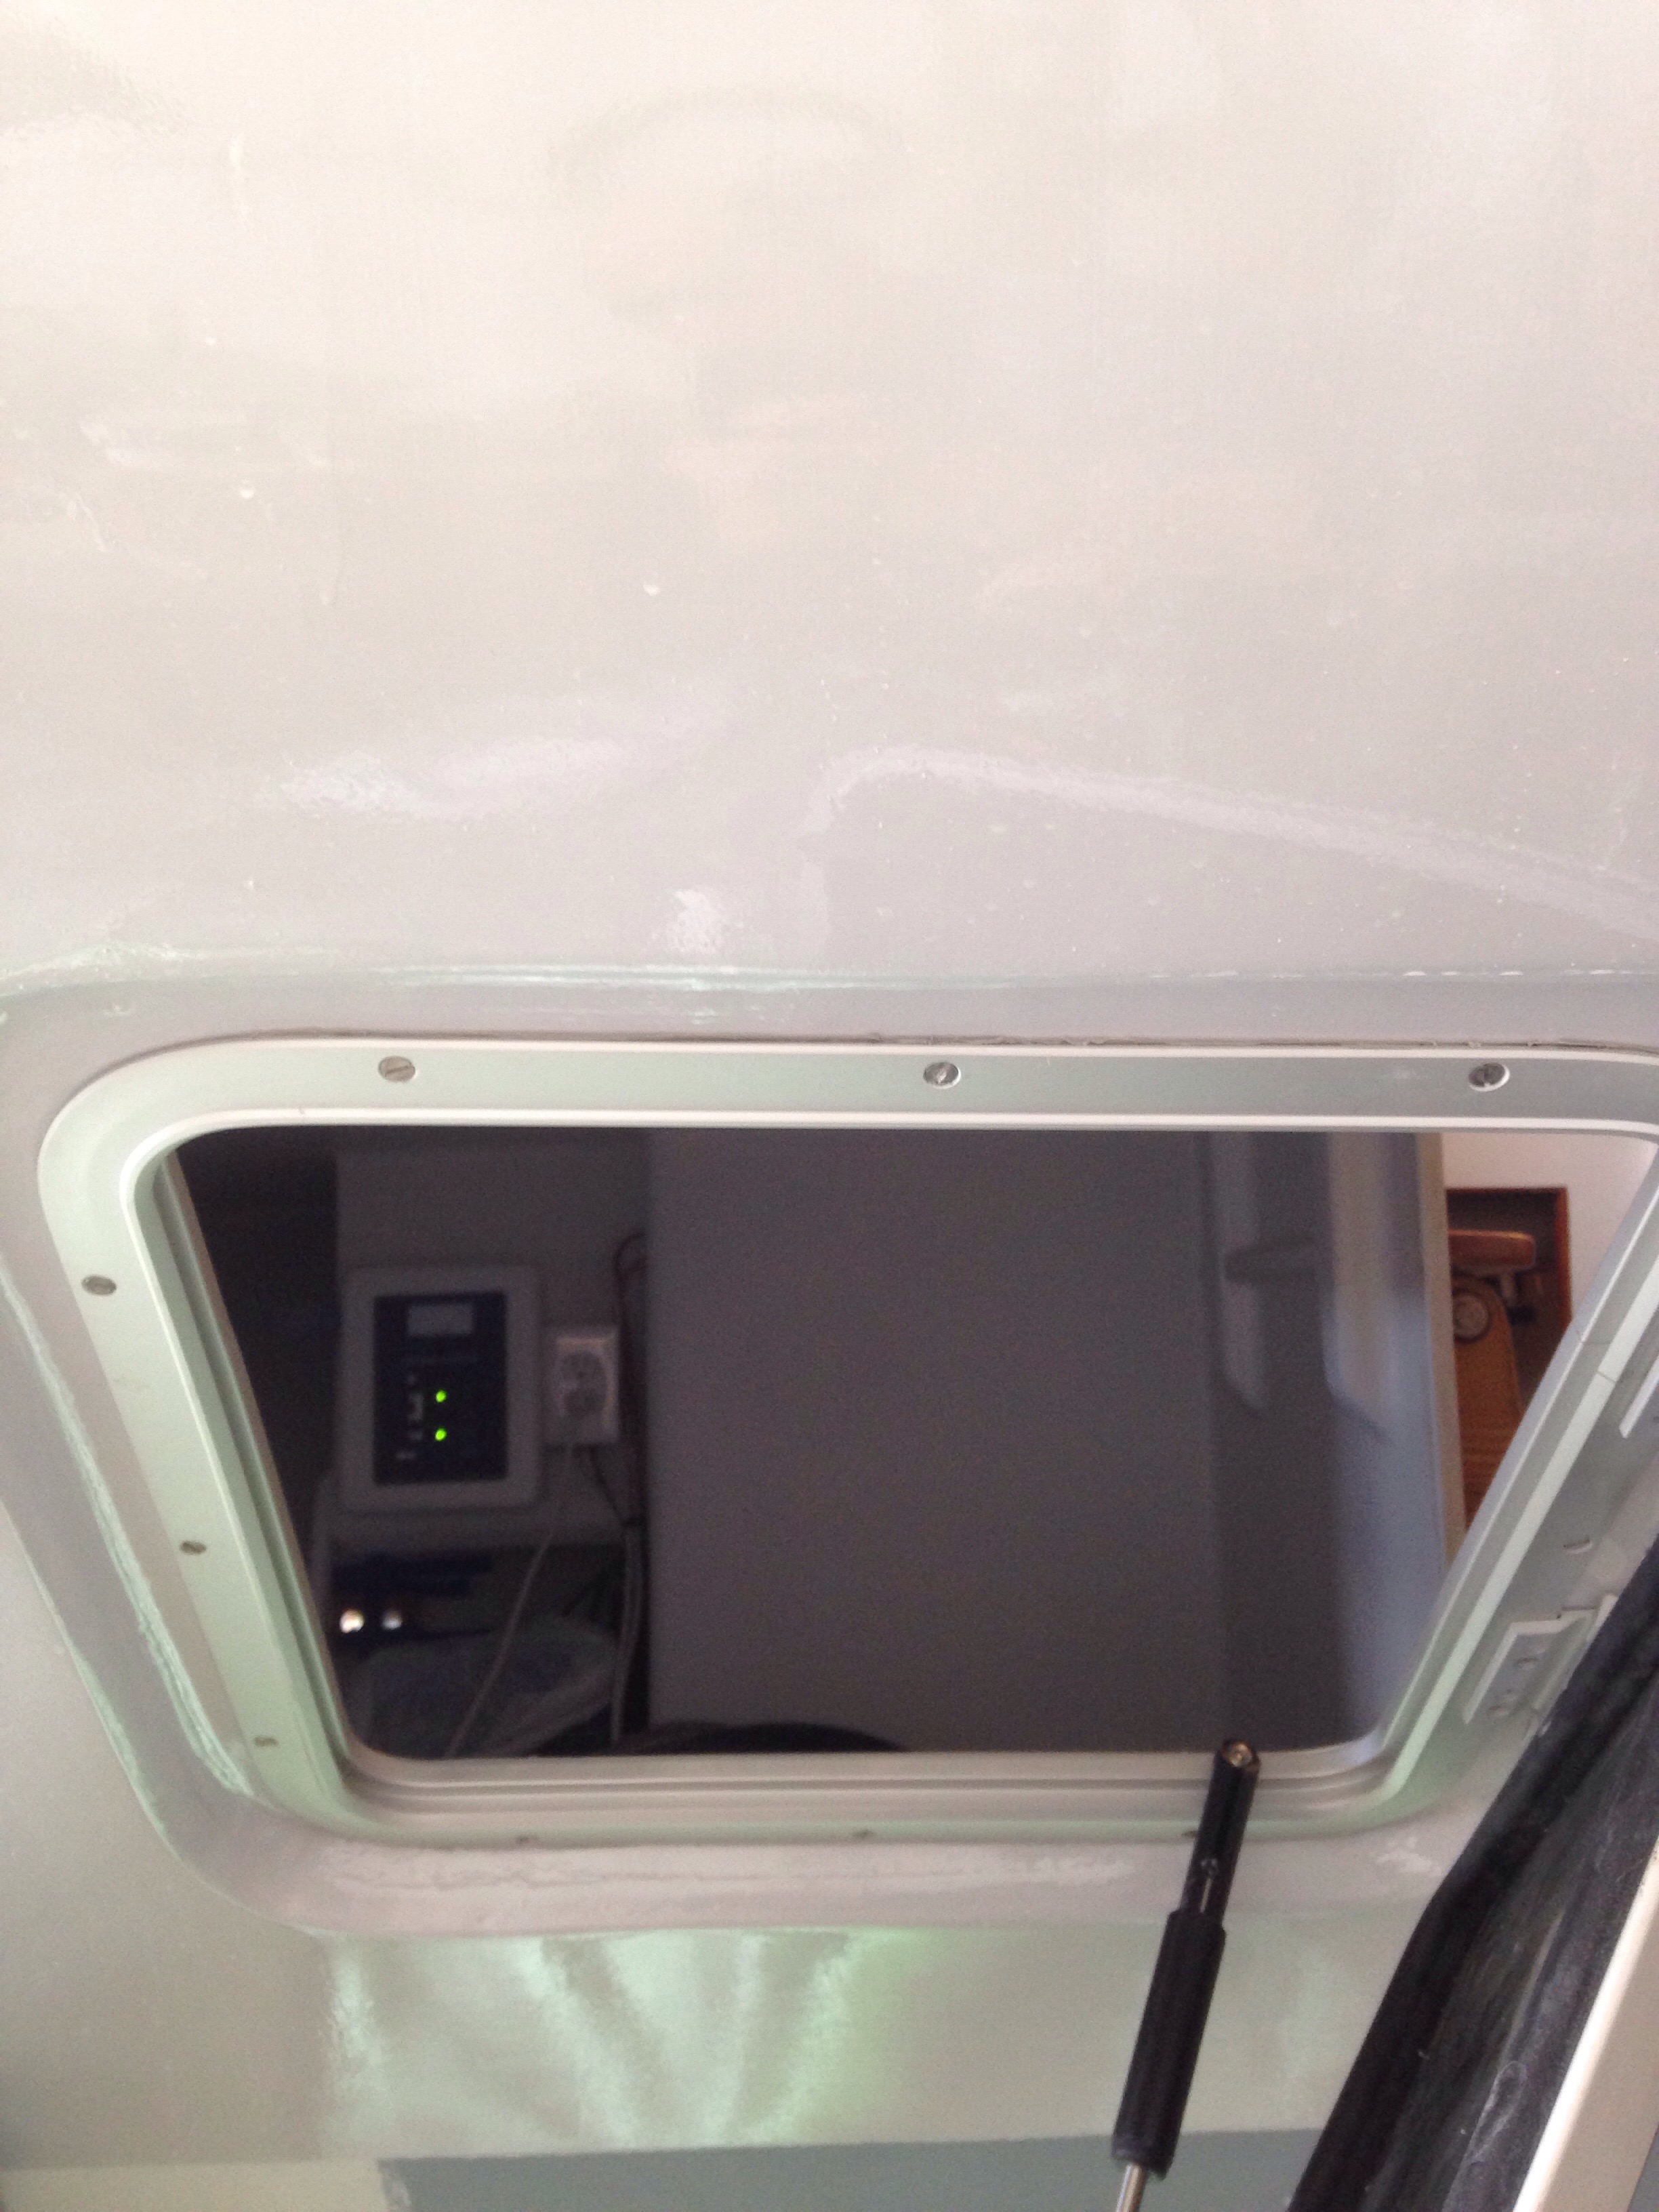
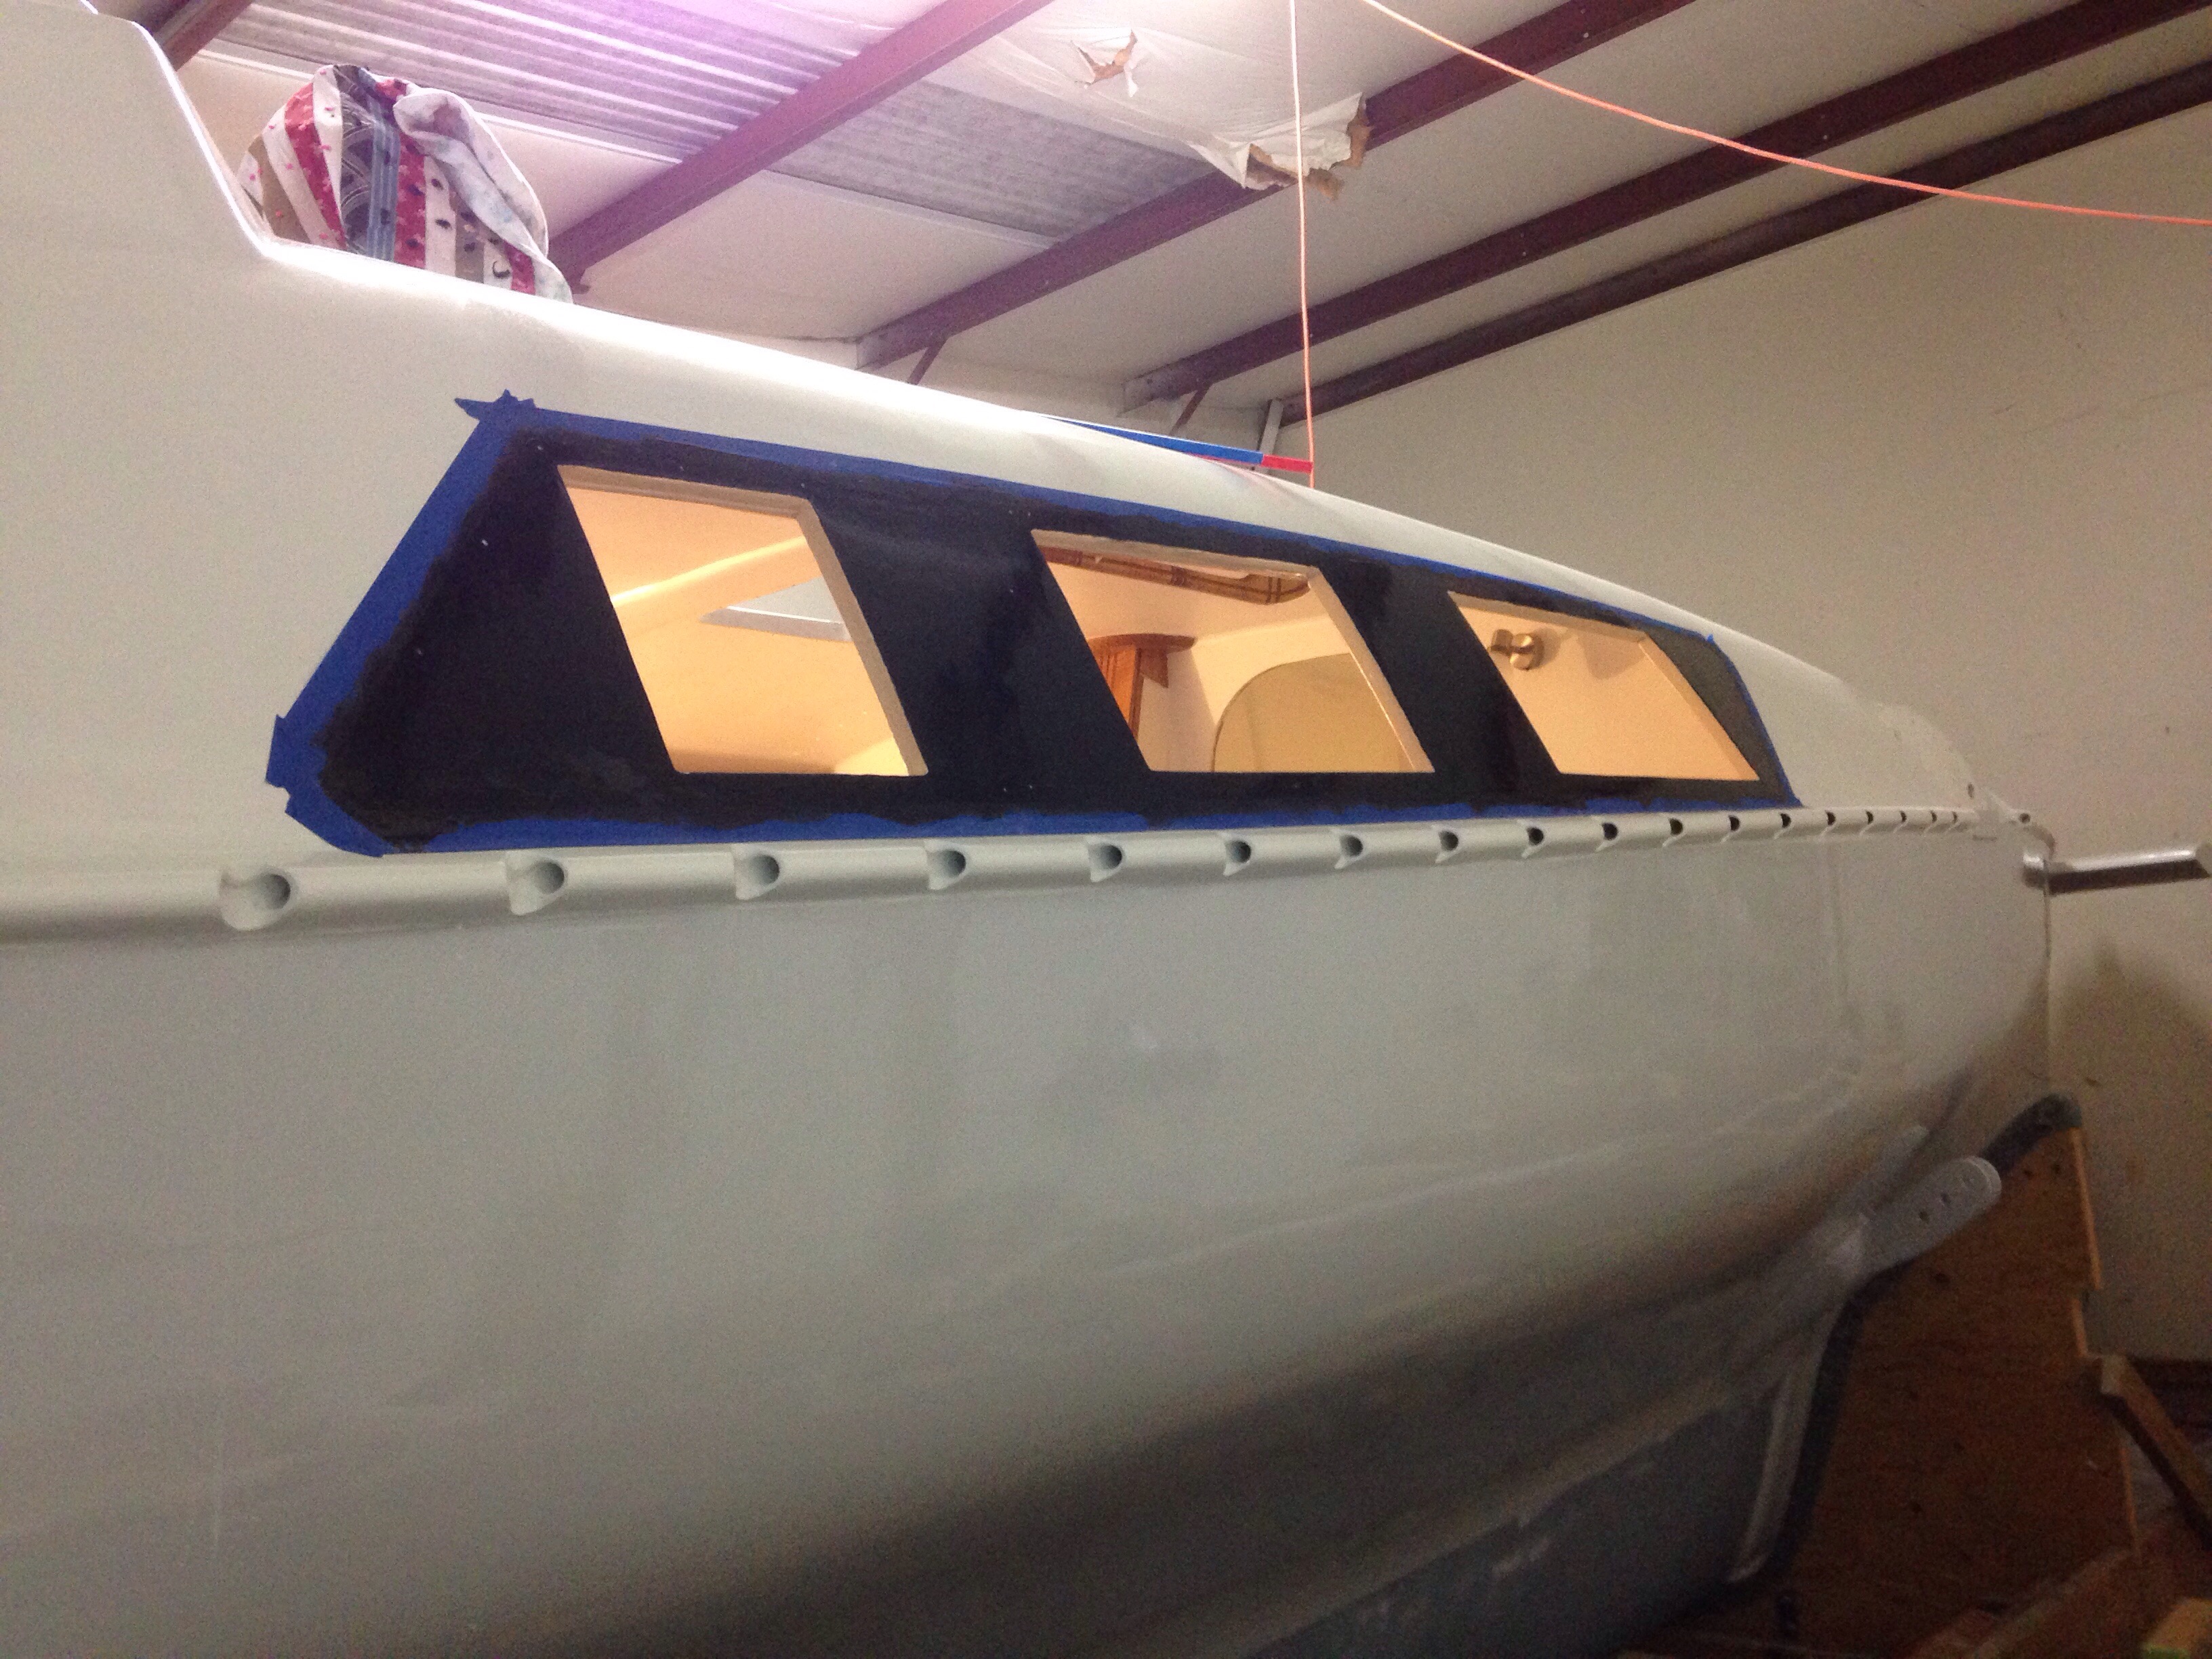
Luis in Lisbon asked about the opening ports. These are Lewmar Flush Mitre #3s:

20160523-184530.jpg

20160523-184549.jpg 
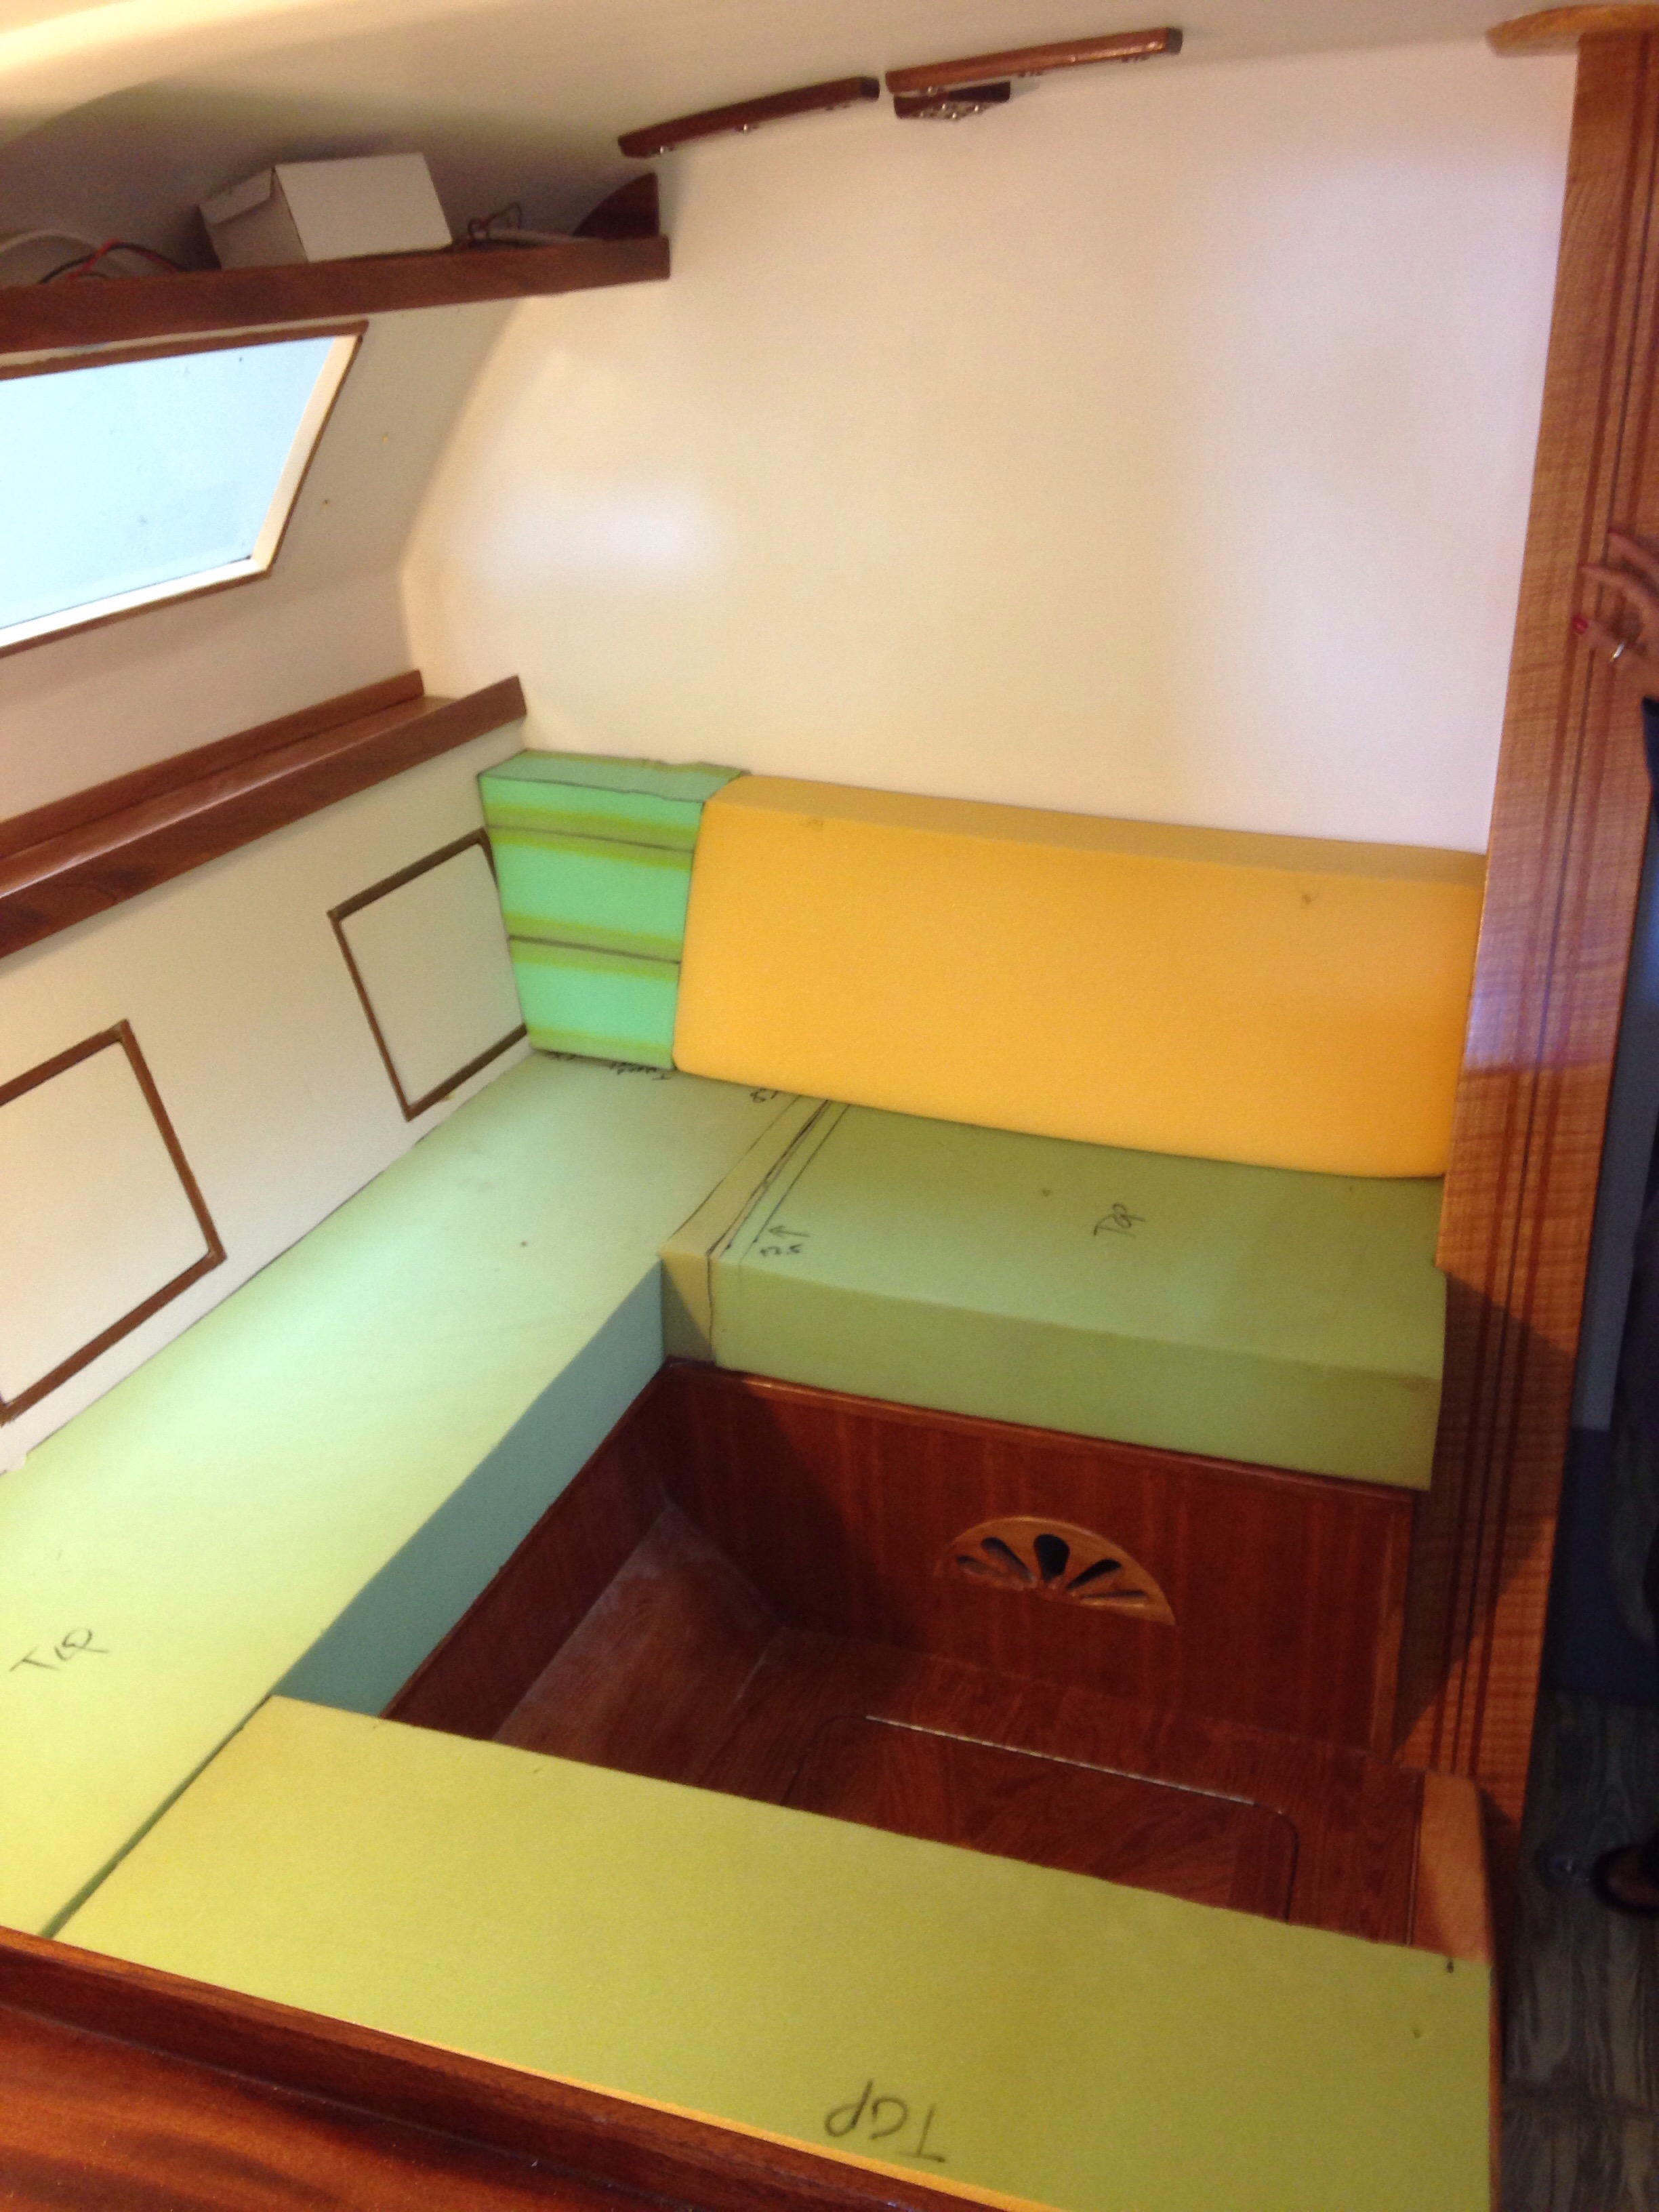
they don’t really match with the wood trim inside, but we’ll love the ventilation and they look good blending in with the smoked Lexan from the outside. Also, these windows get more obscured by nice fabrics coming. Way to go Jeanne and Leslie for a whole Saturday of magic with foam blocking.

20160523-184824.jpg
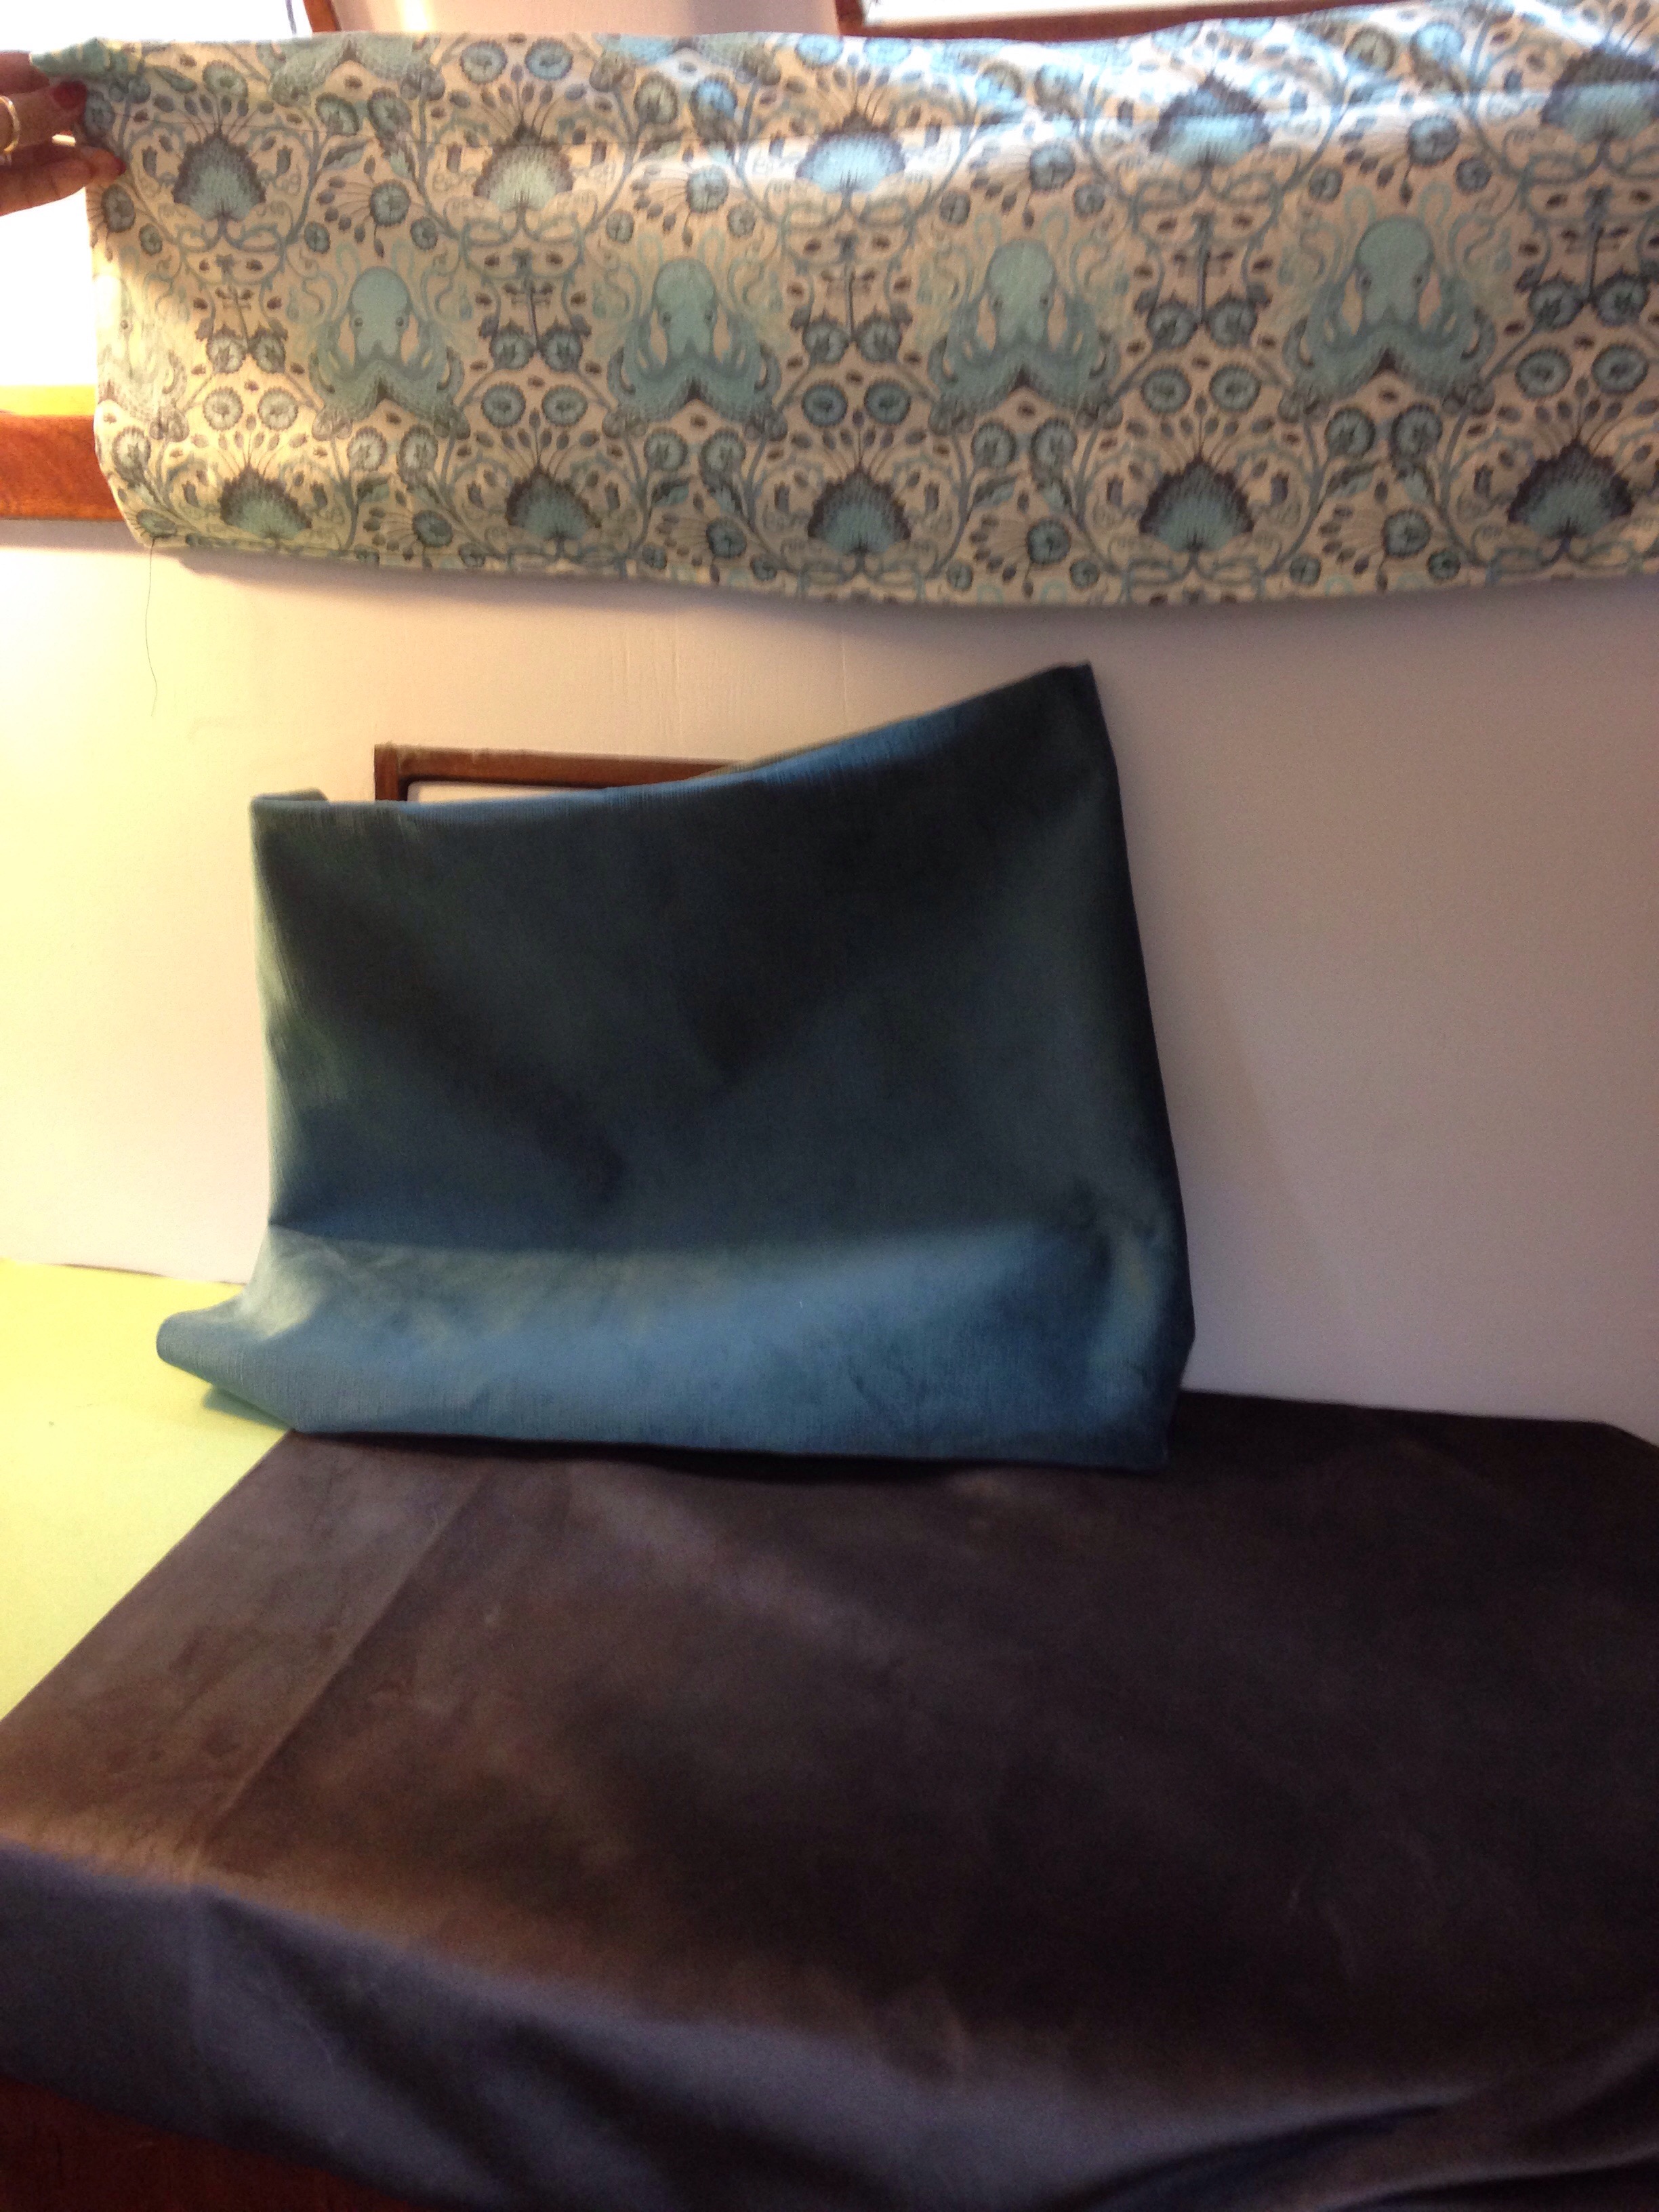
Patterns are being made for these pretties…

20160523-184915.jpg
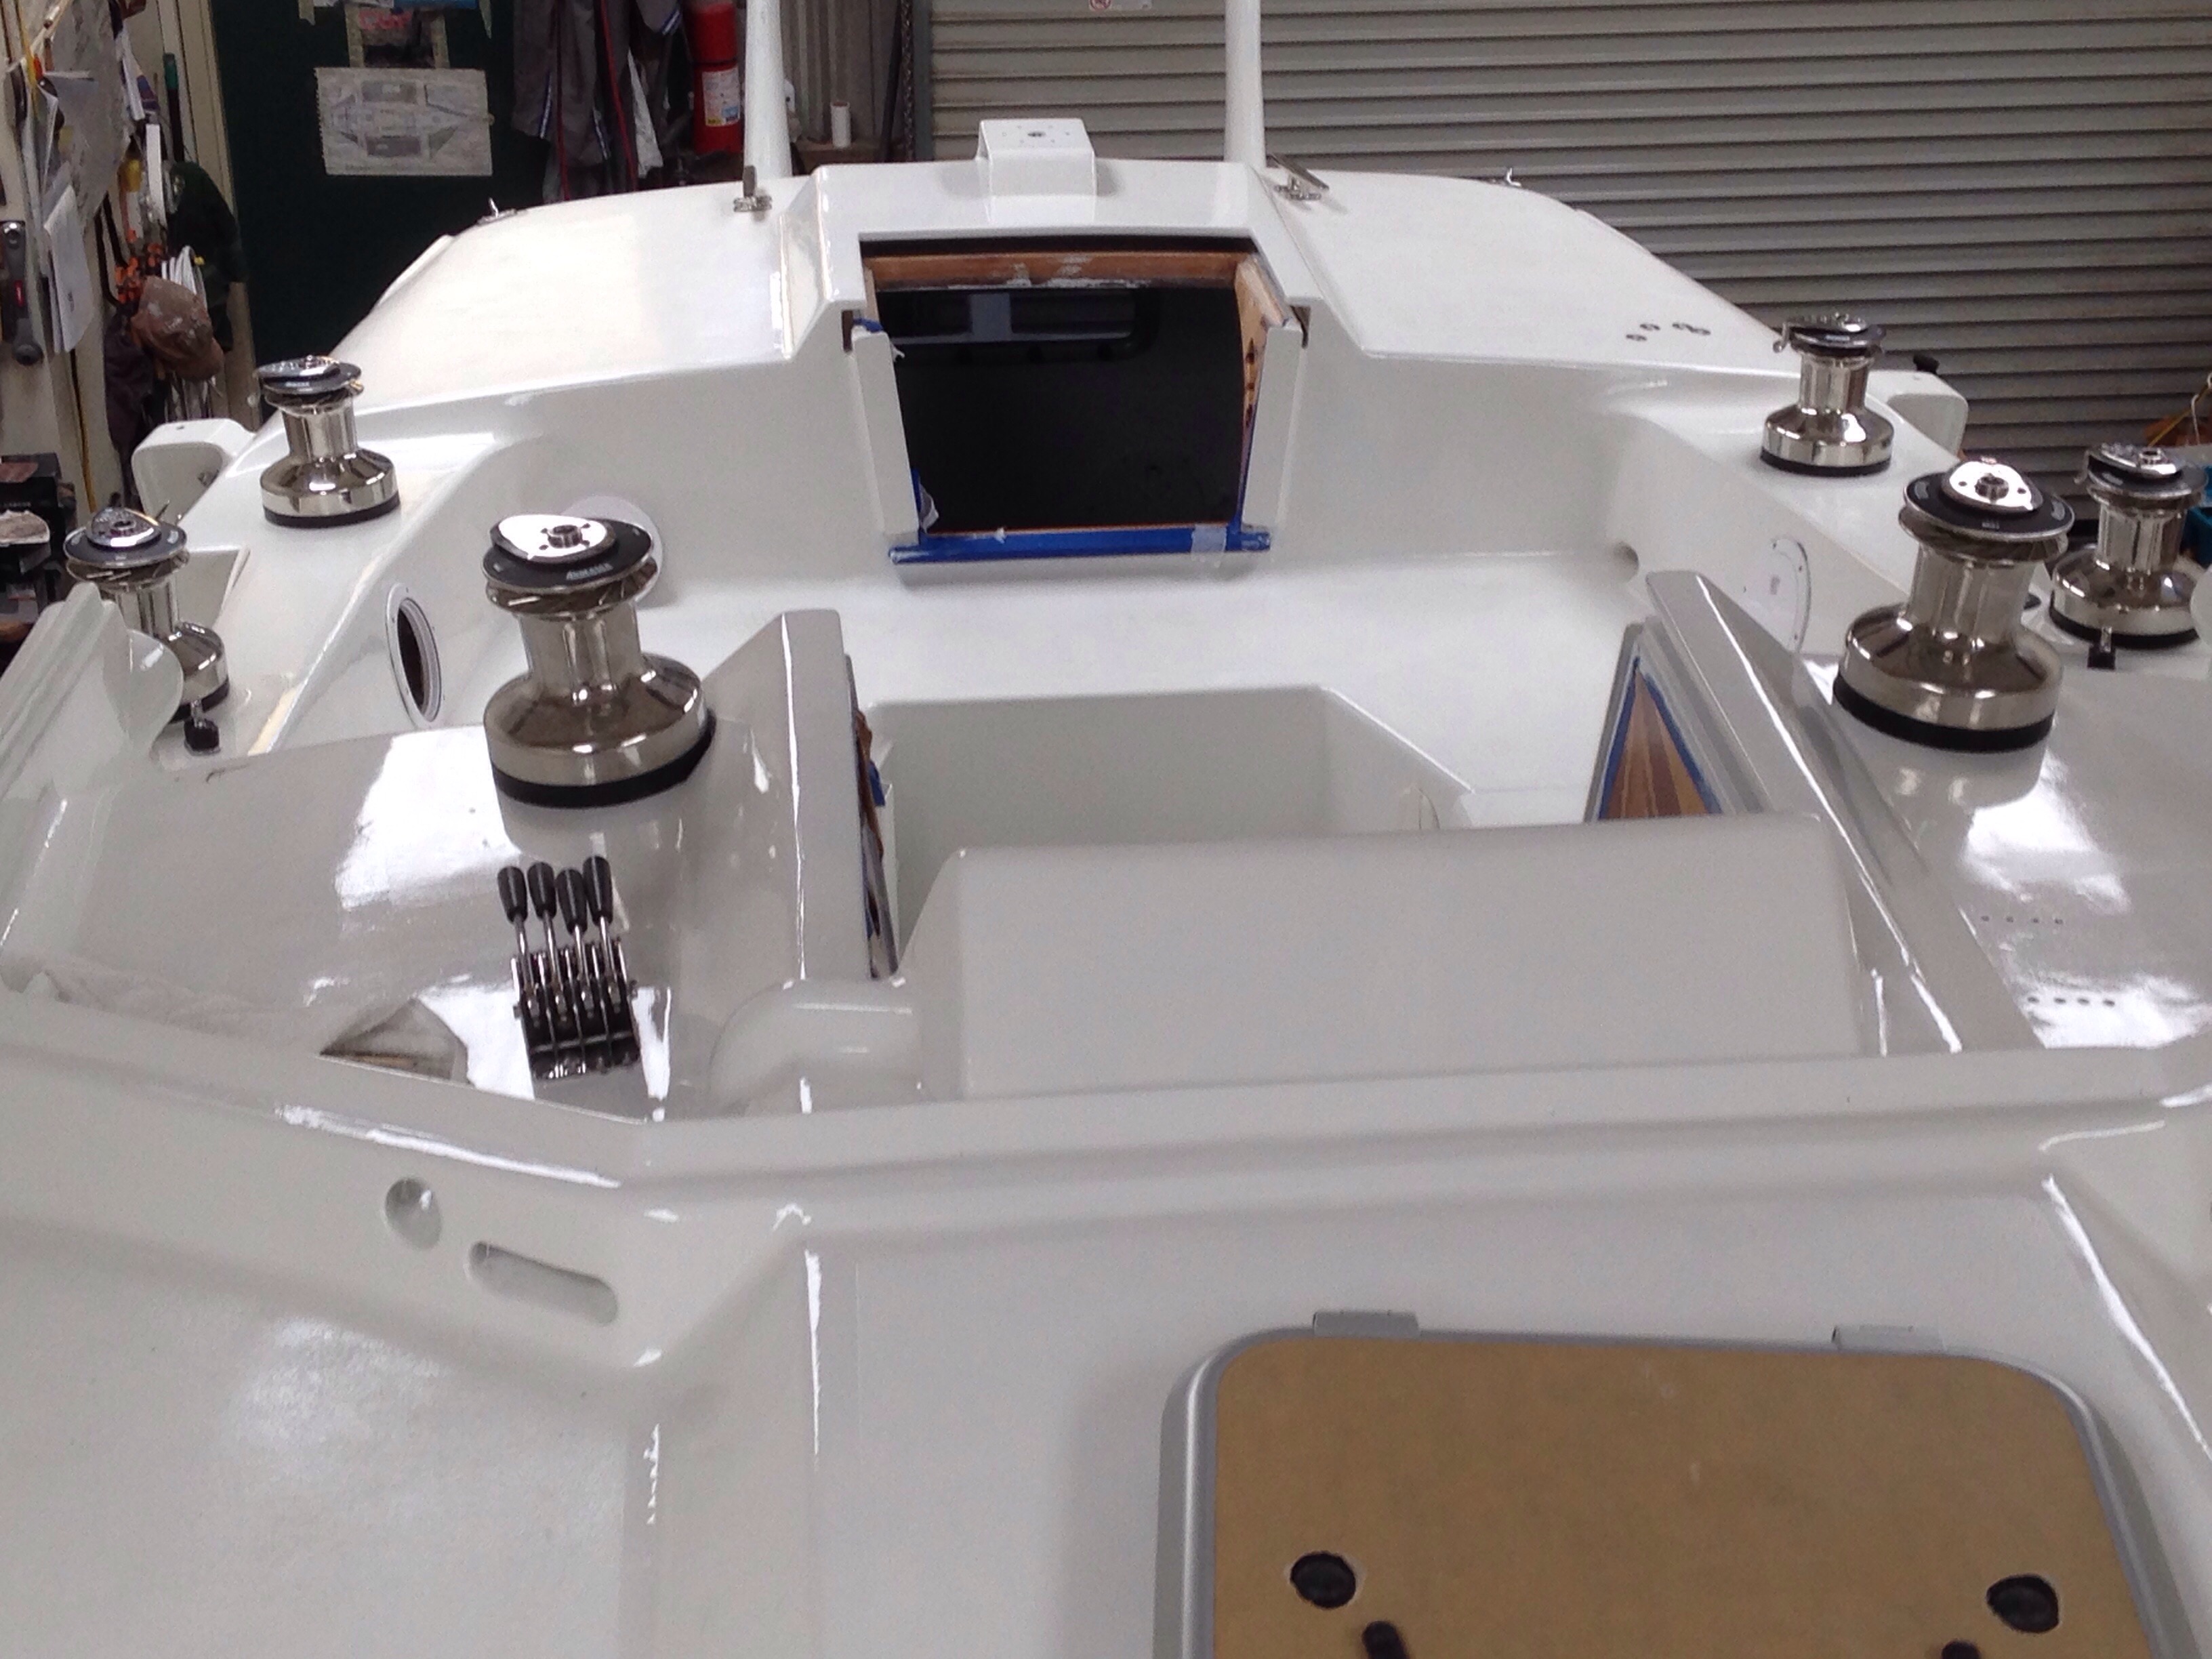
Now that the labor for hardware is done, we’re happy to have invested extra time in making backing plates, cutting individual bolts to fit in to acorn nuts, etc. The trim is looking pretty good according to recent visitors.

20160523-185100.jpg

20160523-185114.jpg
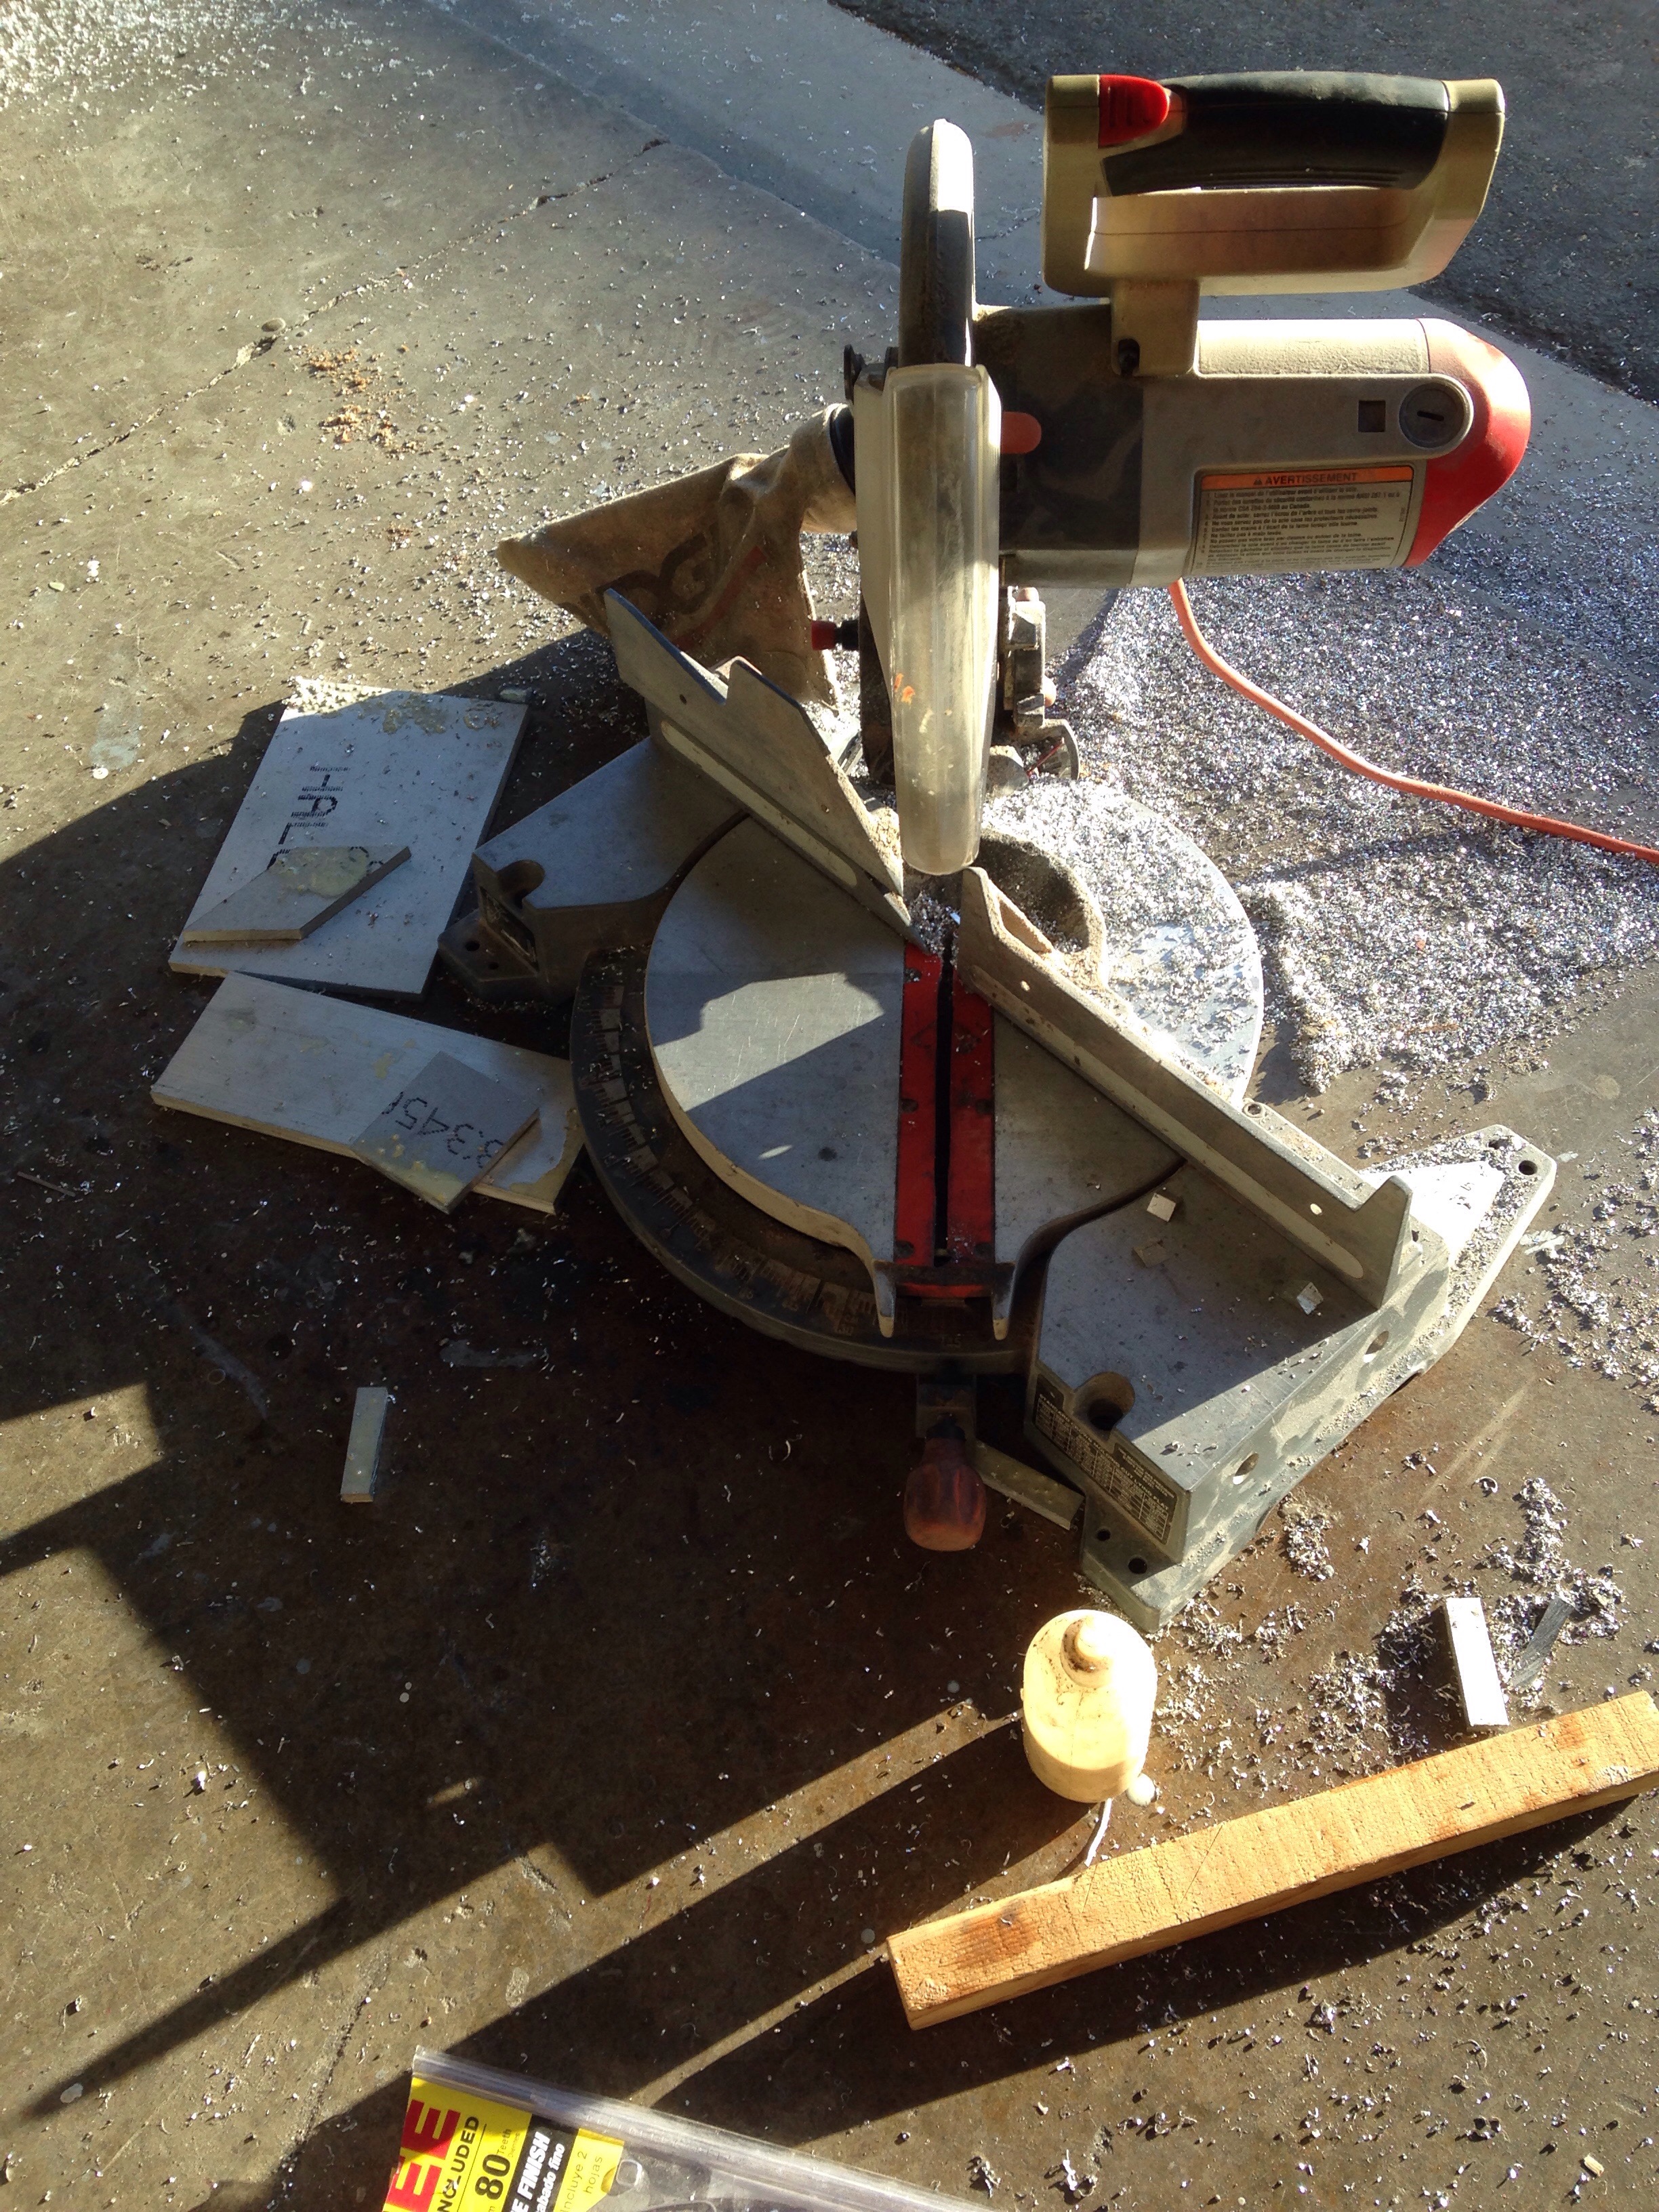
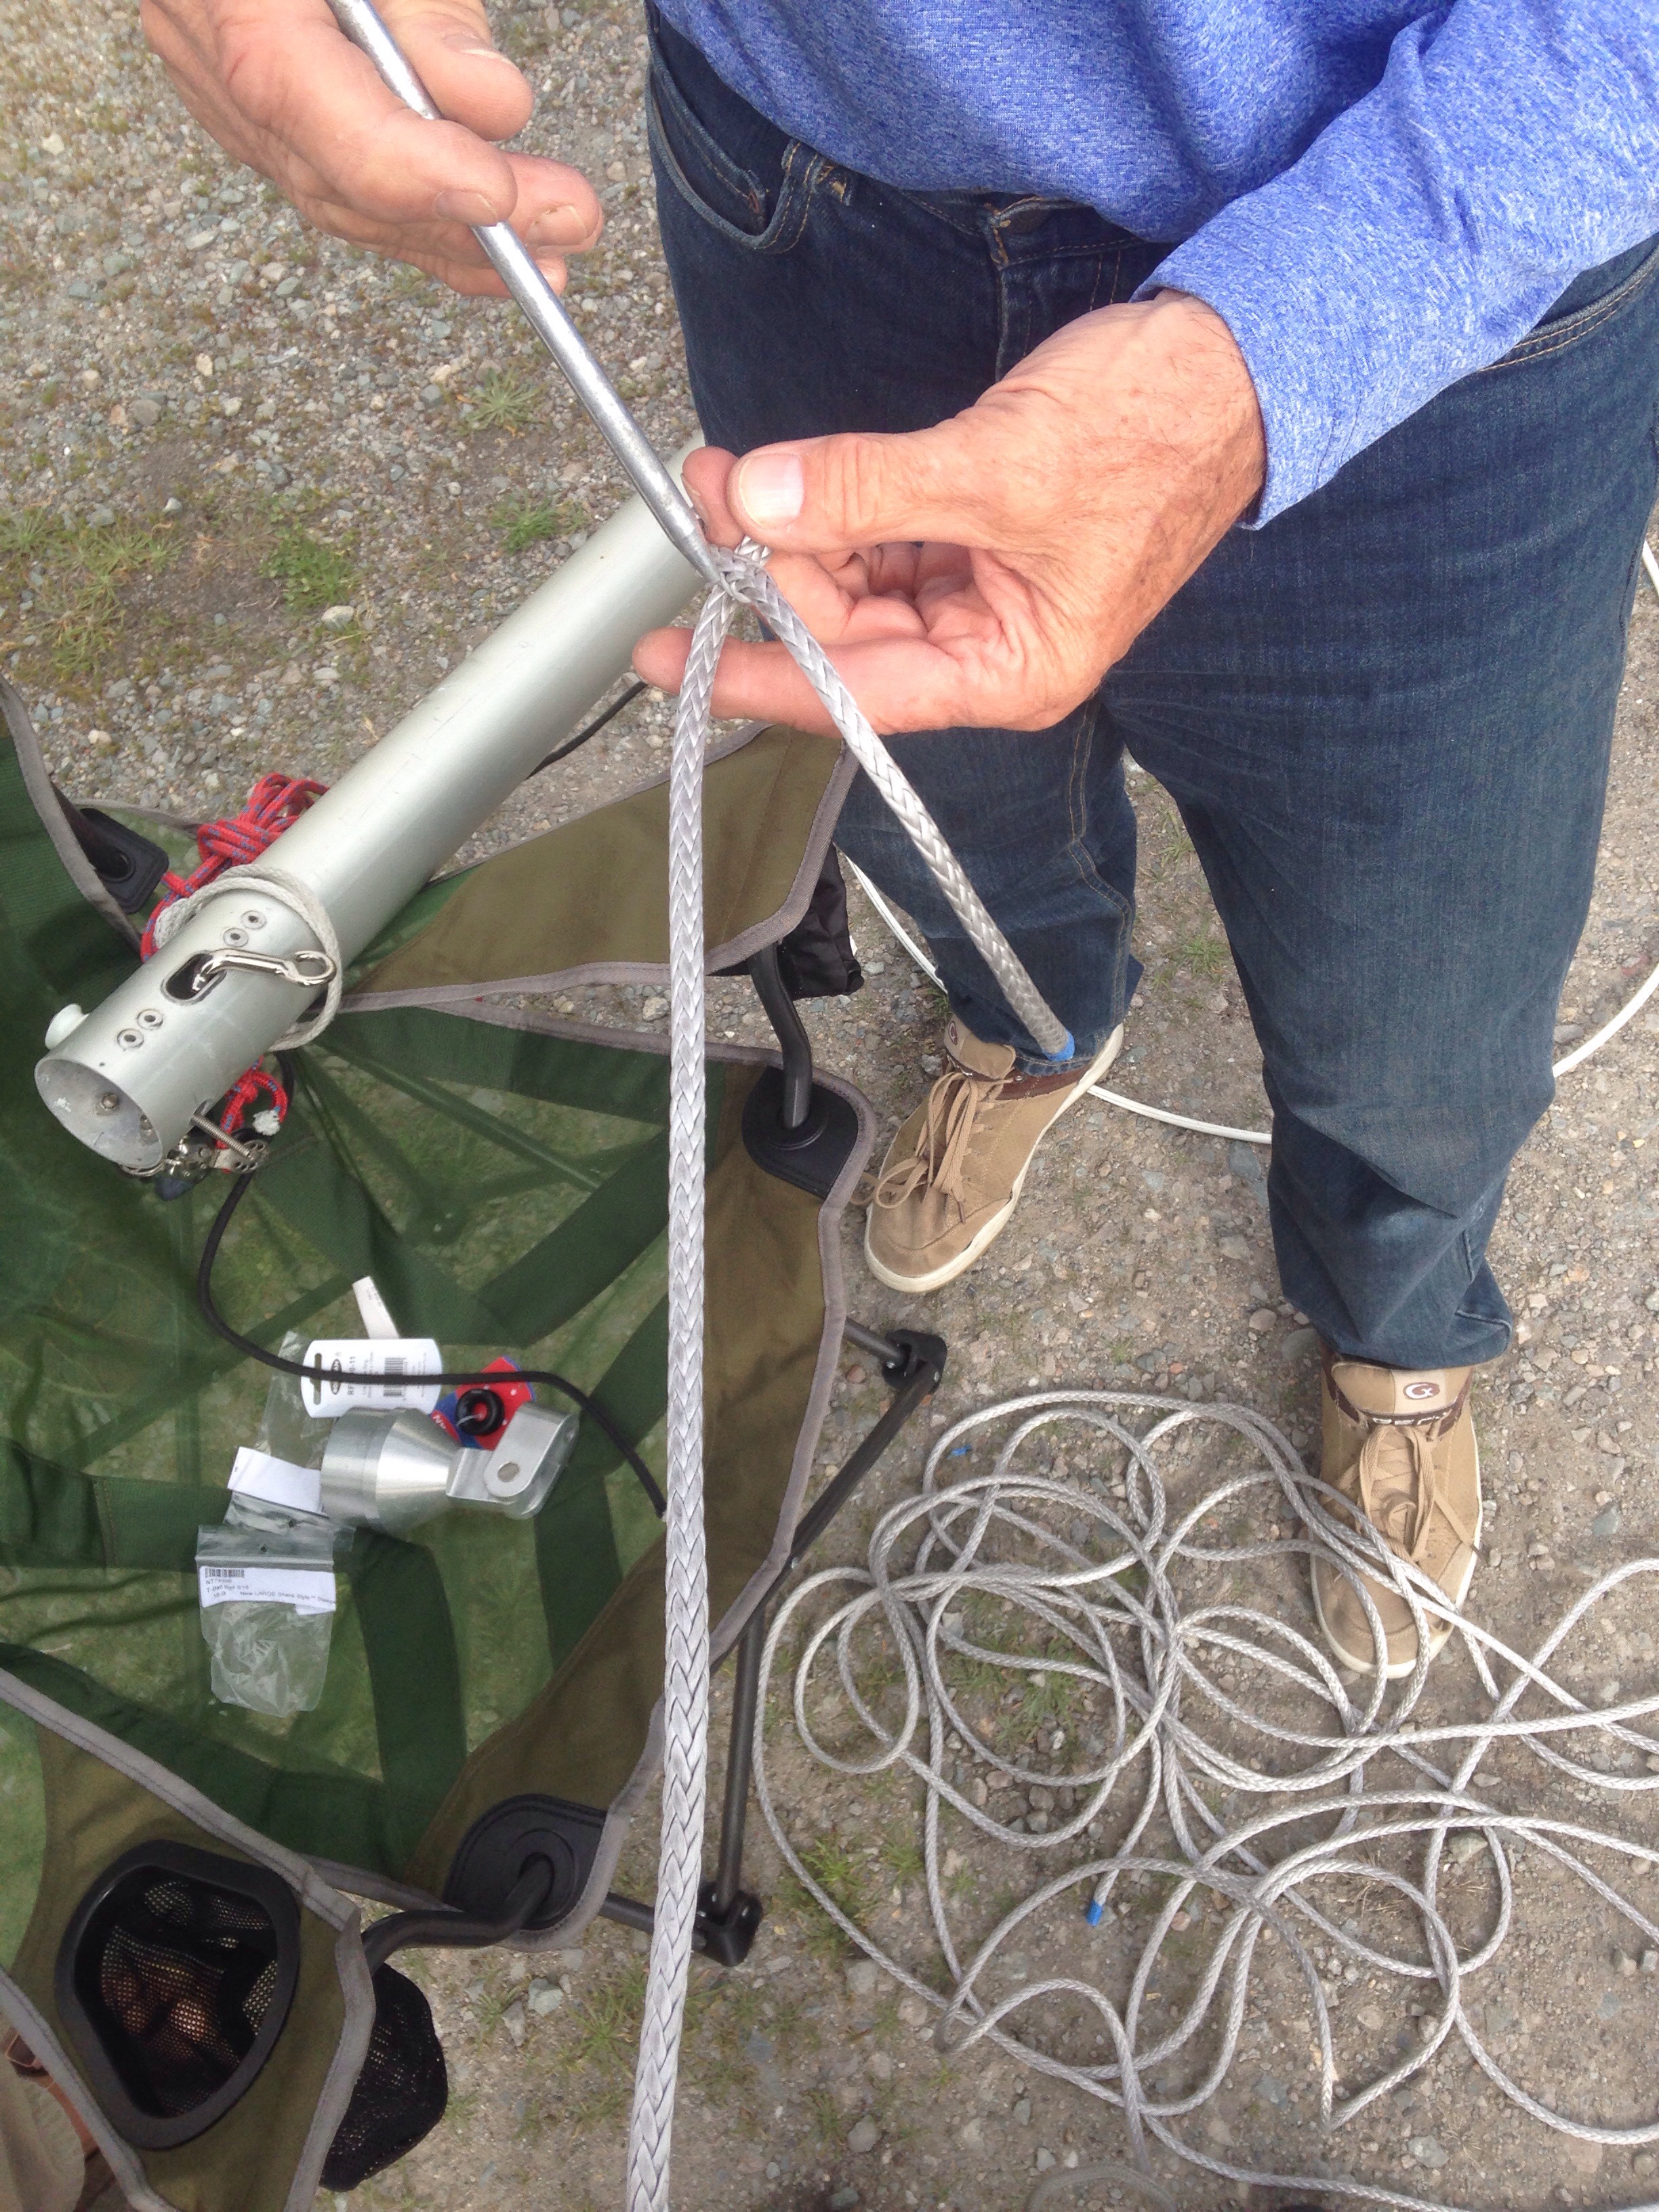
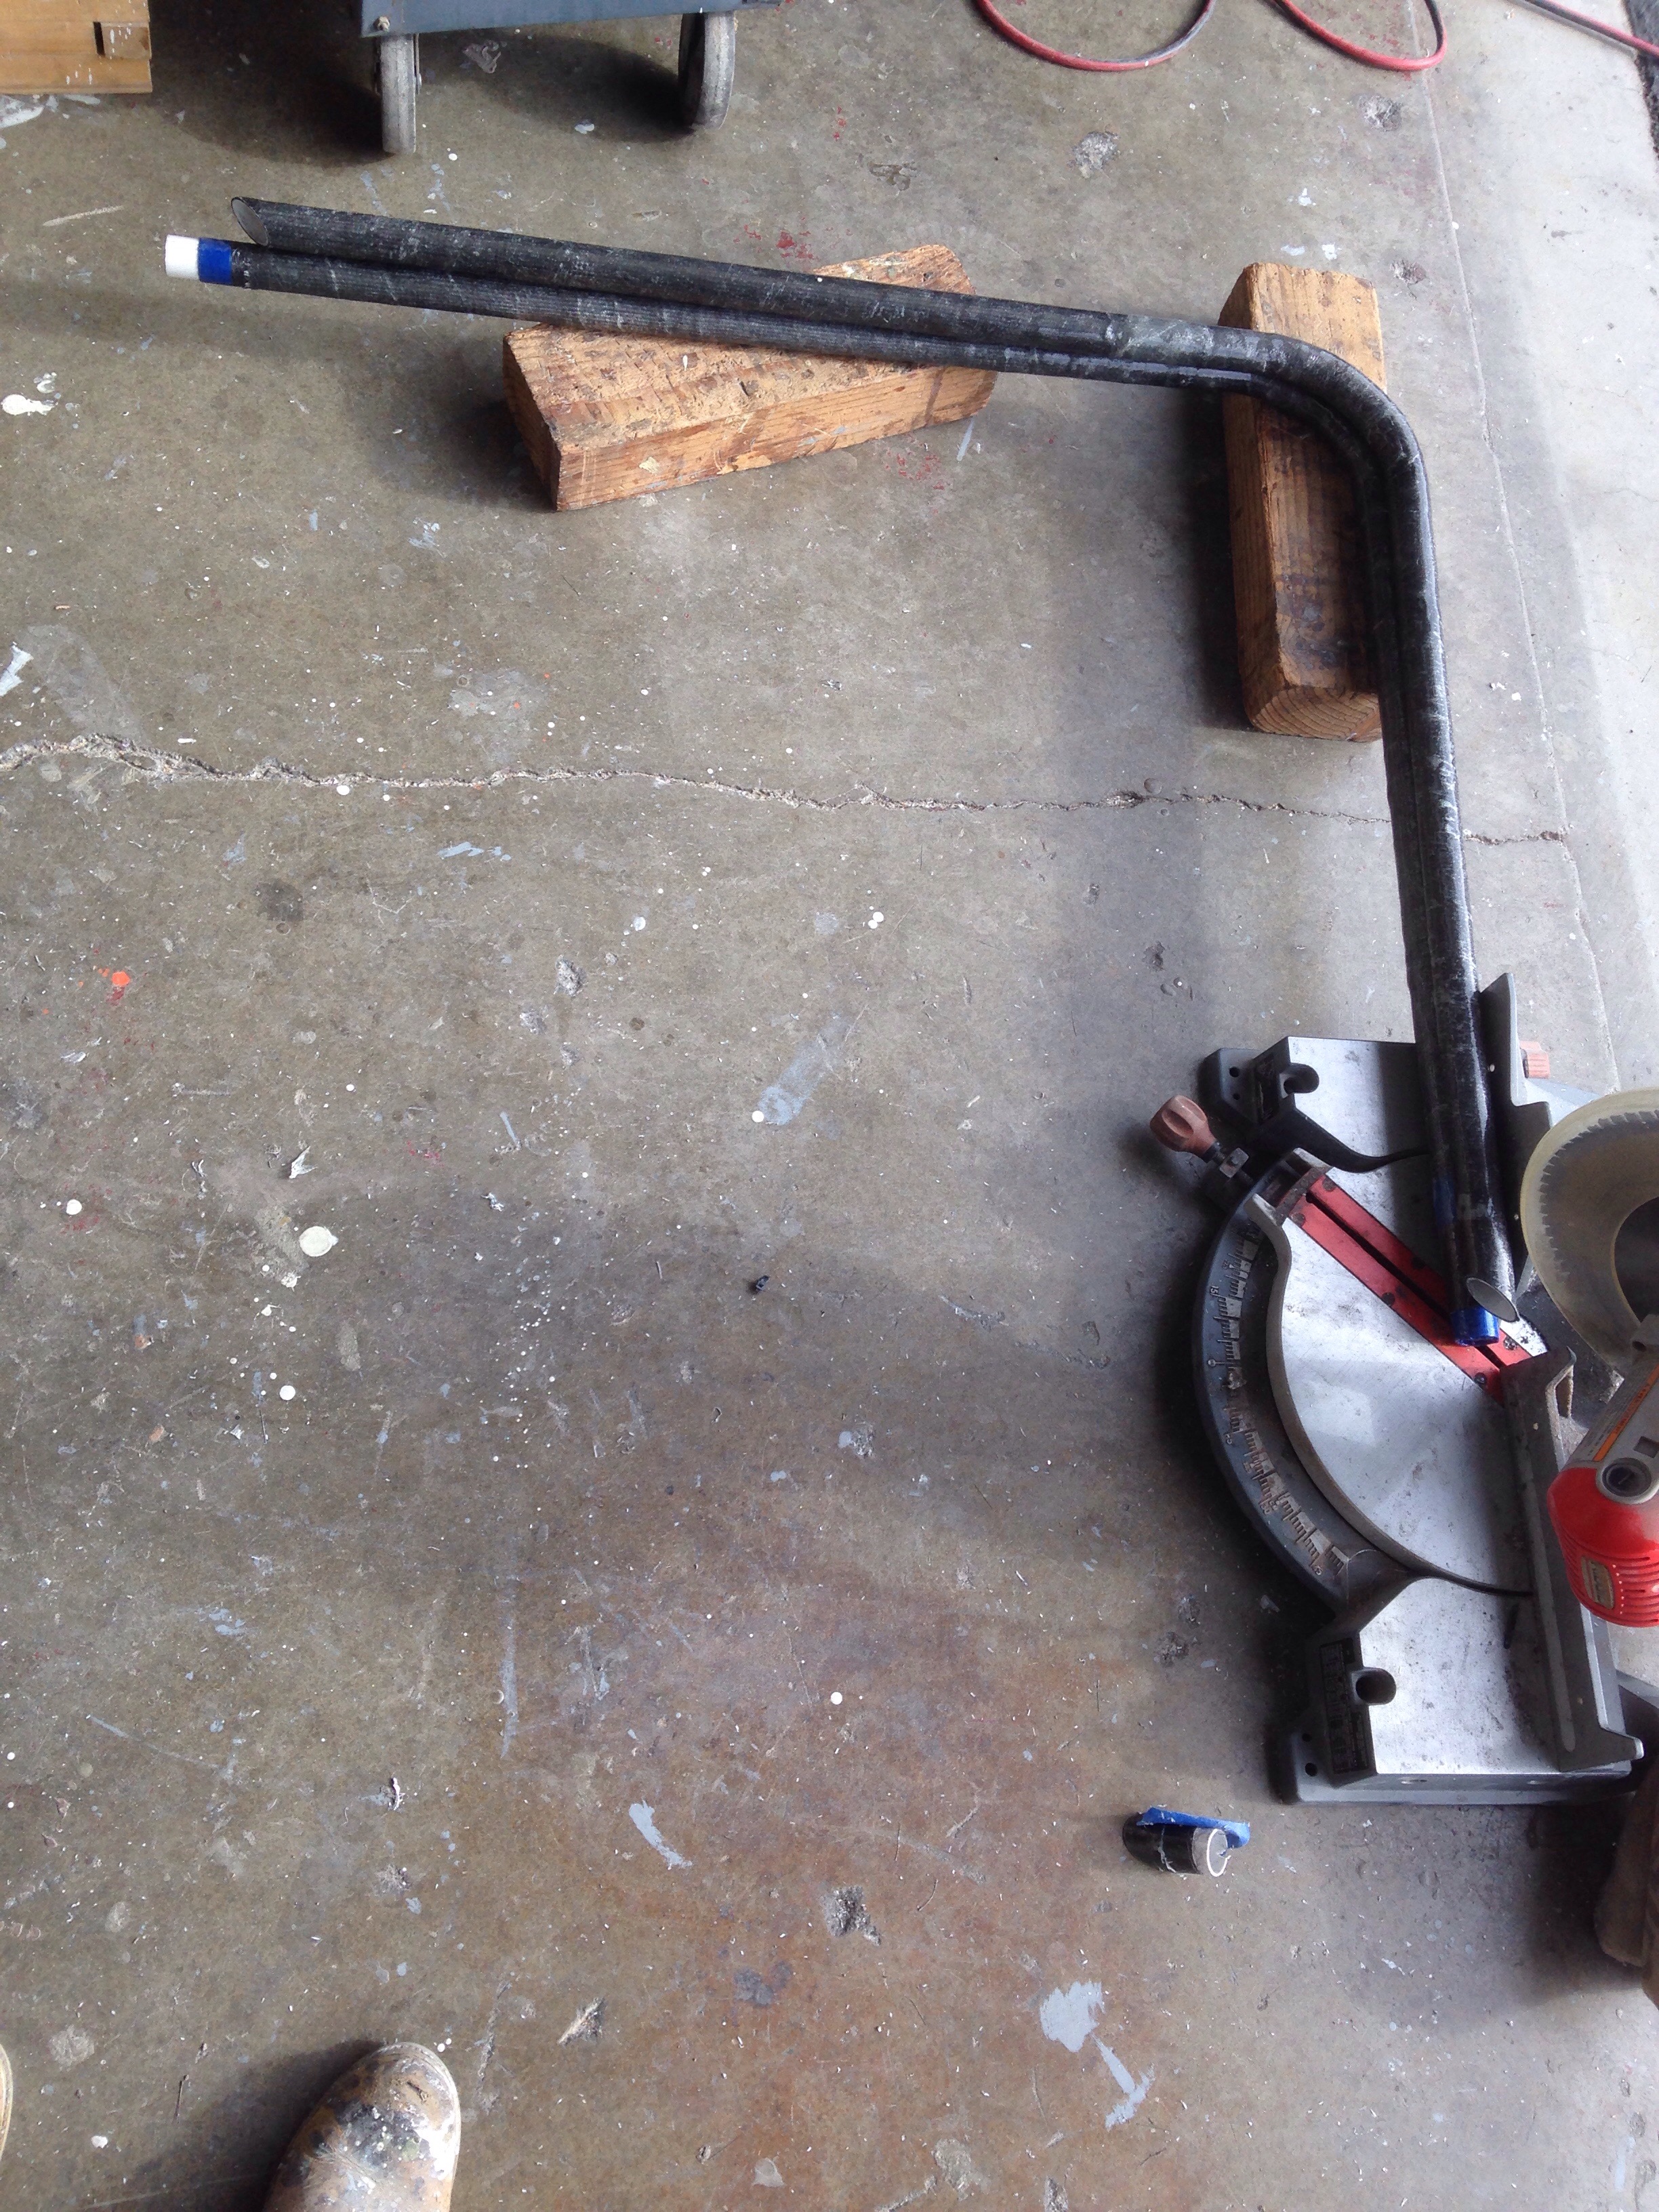
I’ve only ignored Keith’s excellent advice once, which was him saying it’s not worth building a pulpit. I haven’t had good luck with schedules, costs, etc with welders, and since the mast base is out for ransom right now we decided to utilize on hand materials and knock this off the list with labor. It also means we can feel ok about it as an experiment, and modify/change sans-guilt later.
Grabbed some thin-wall (schedule 200) 1″ PVC plus 90degree PVC conduit bends and epoxy putty / light glassed them together. Decided to use the heavy carbon uni we had purchased to make a bow sprit long ago. And the leftover 5oz uni 2″wide roll for spiral hooping around the uni. Then cover it with a light fiberglass sleeve and this nifty shrink-wrap tubing from Soller Composites in New Hampshire (ok, we did spend about $30 on new materials for this project)

20160523-185848.jpg

20160523-185908.jpg

20160523-185925.jpg

20160523-185948.jpg
Here it is part way thru the heat gun process. The film shrinks 2:1, spurring away bubbles and leaving a nice surface.

20160523-190056.jpg

20160523-190112.jpg

20160523-190127.jpg
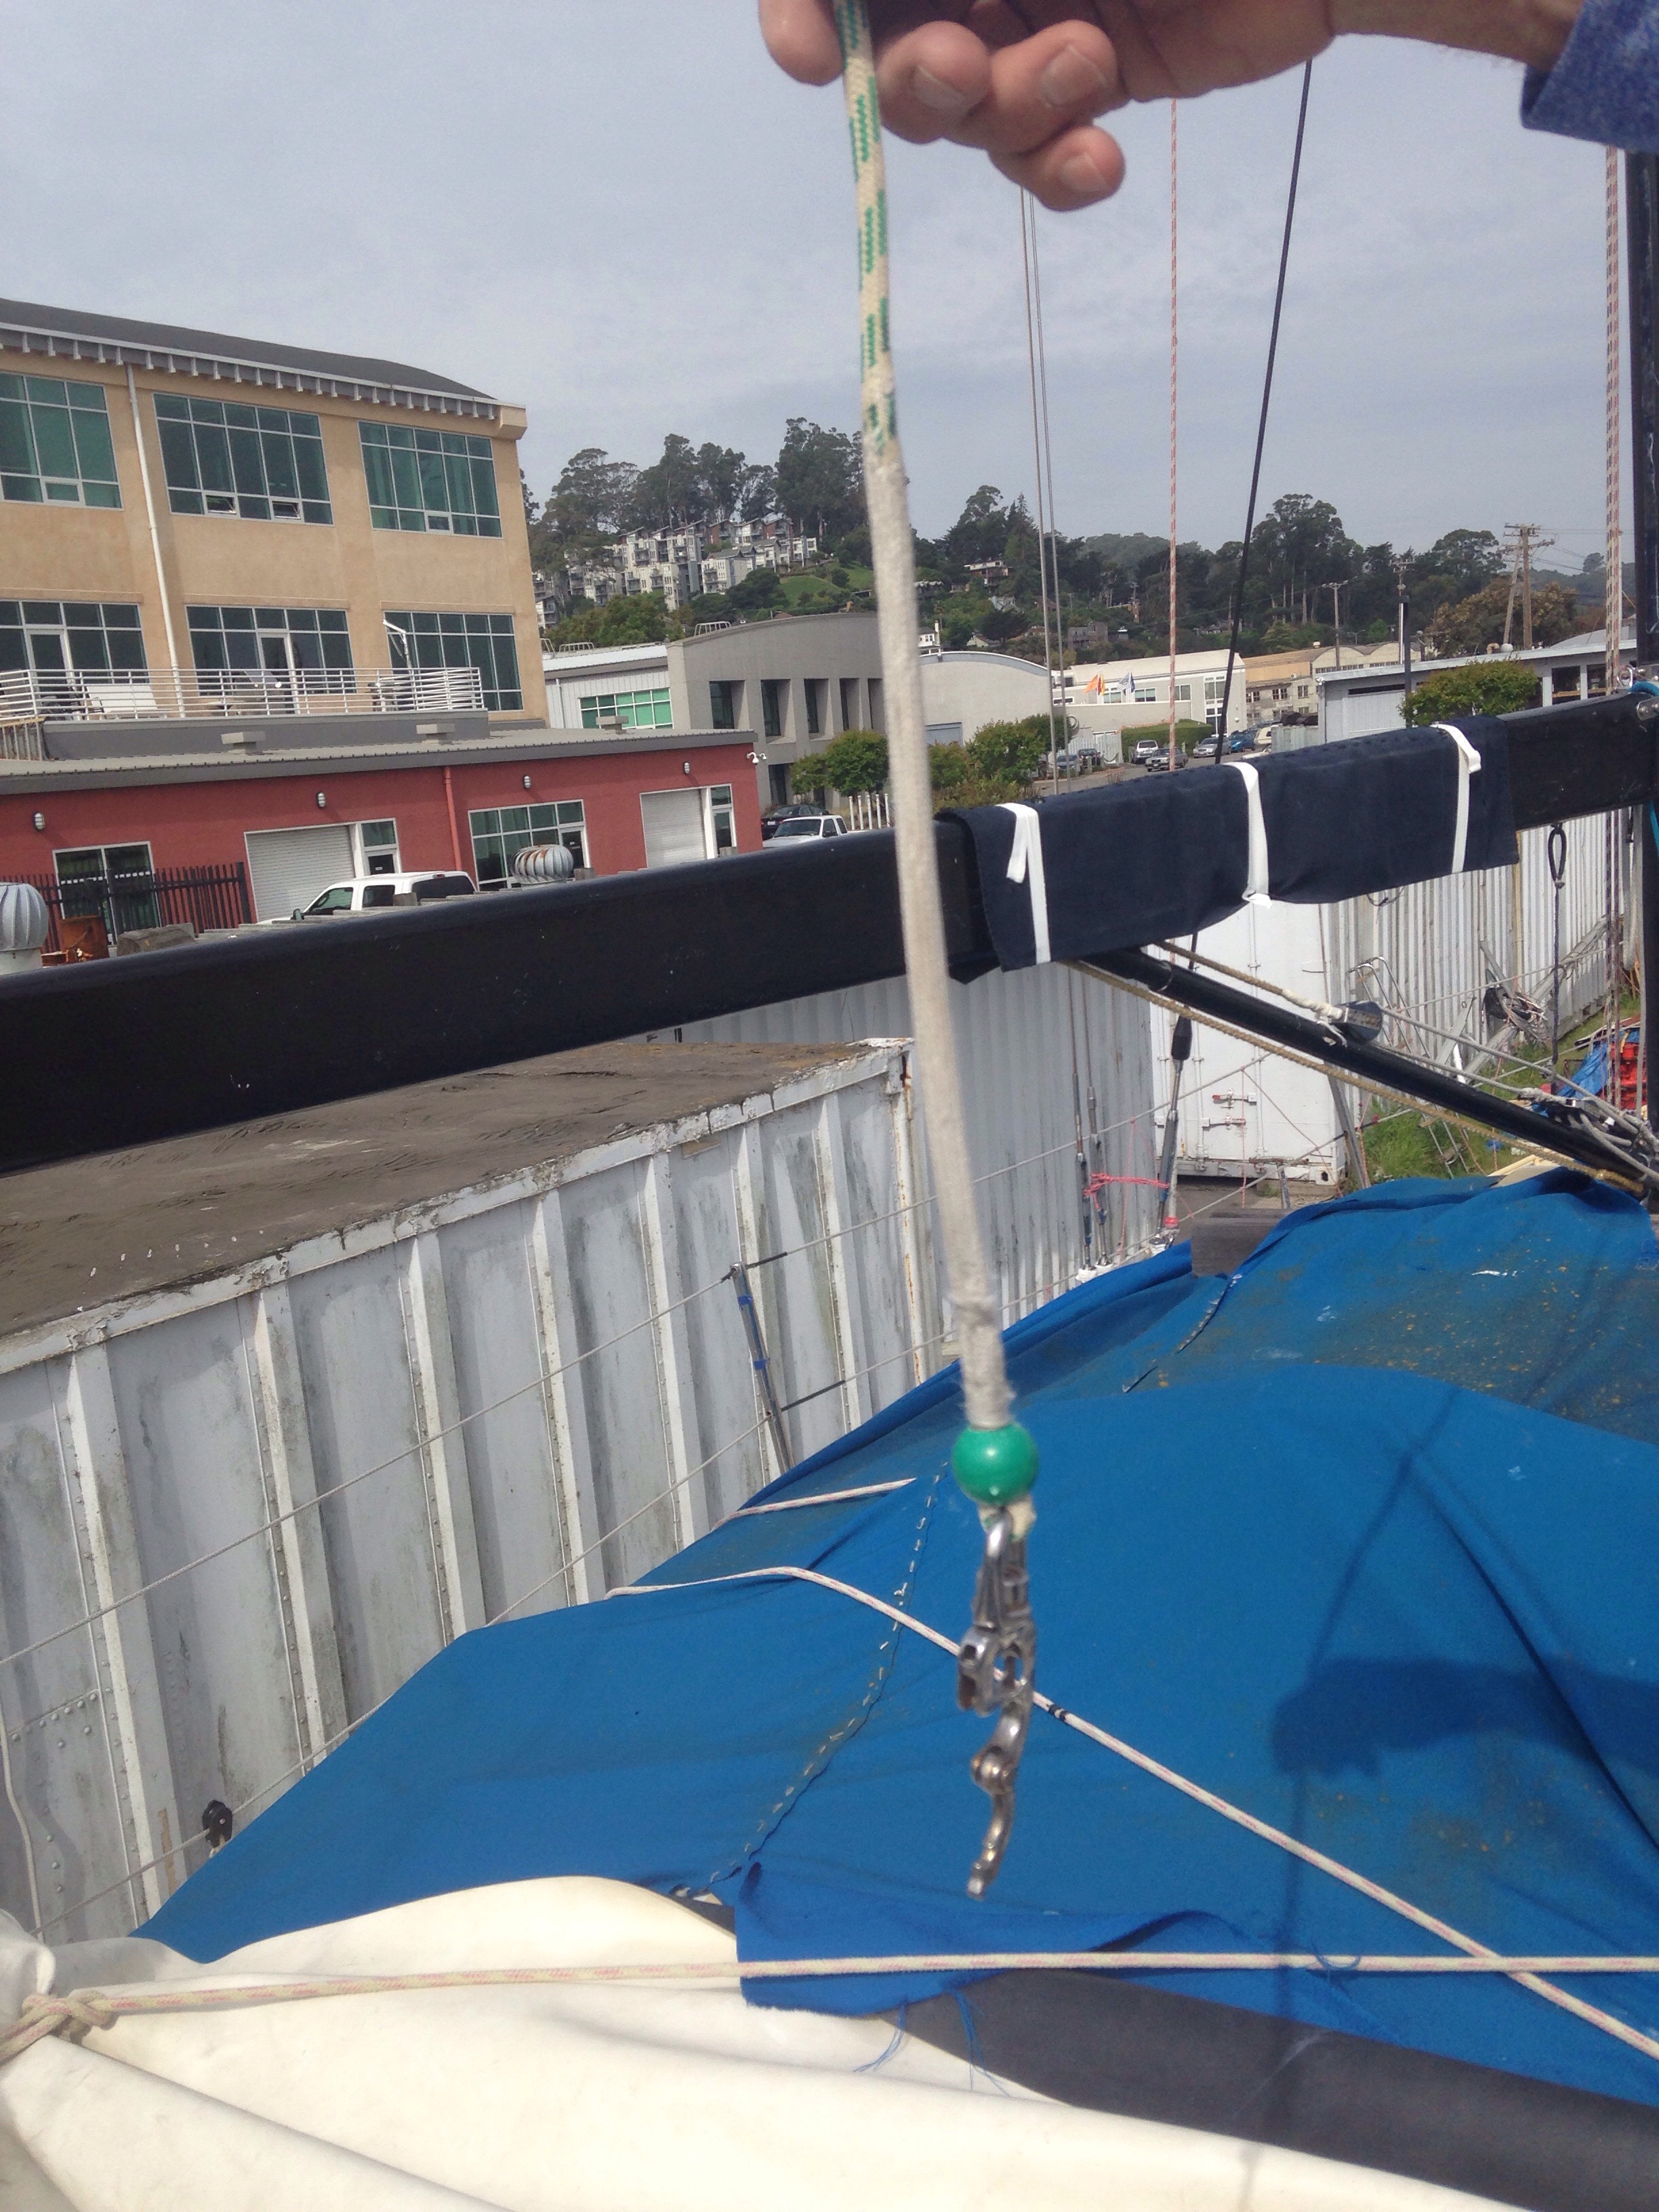
Because these are working from a 45 degree bend, it was pretty easy to line up the foot cut and site these on the deck.

20160523-194231.jpg

20160523-194254.jpg

20160523-194312.jpg
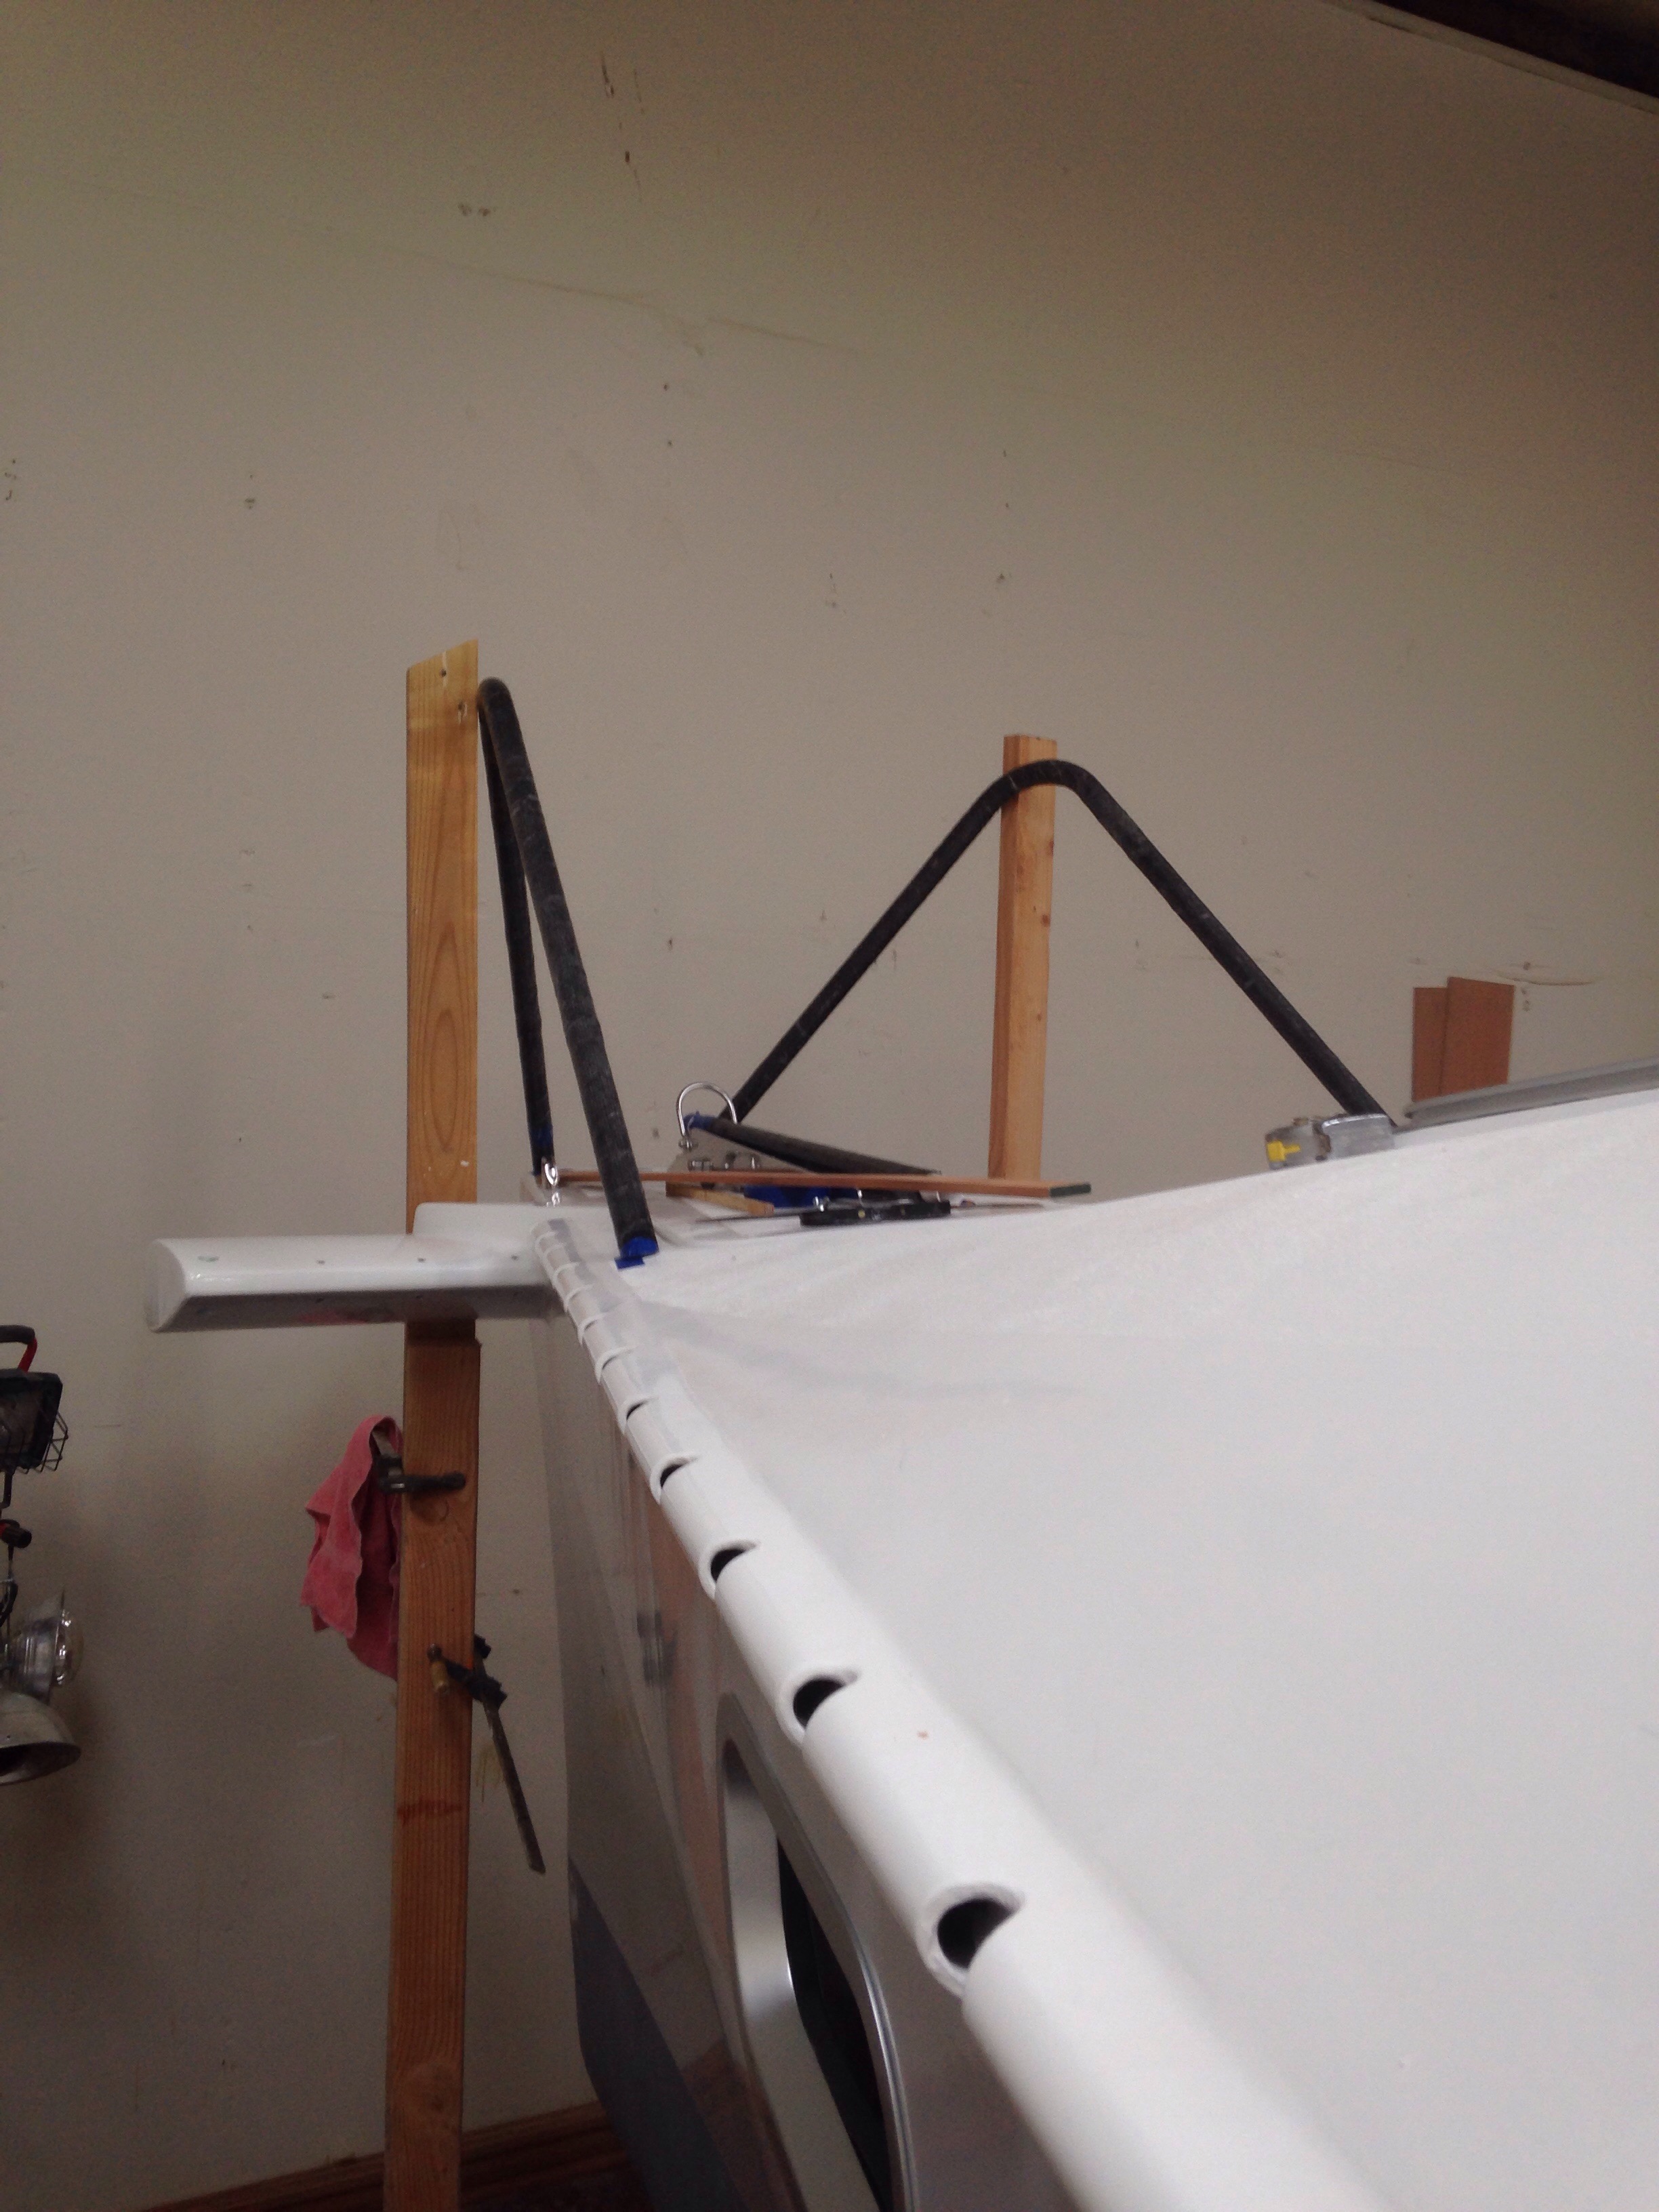
There is also a cross bar intersecting the forward slope tubes, ahead of the forestay. Along with structure strength, it will catch the lowered furled up reacher.
Tonight we’ll make a sheet of three layer 1708DB that can then be cut in to four of these ‘feet’

20160523-194835.jpg
We’ll show you in a few days how the feet become bolting flanges on to the tubes.
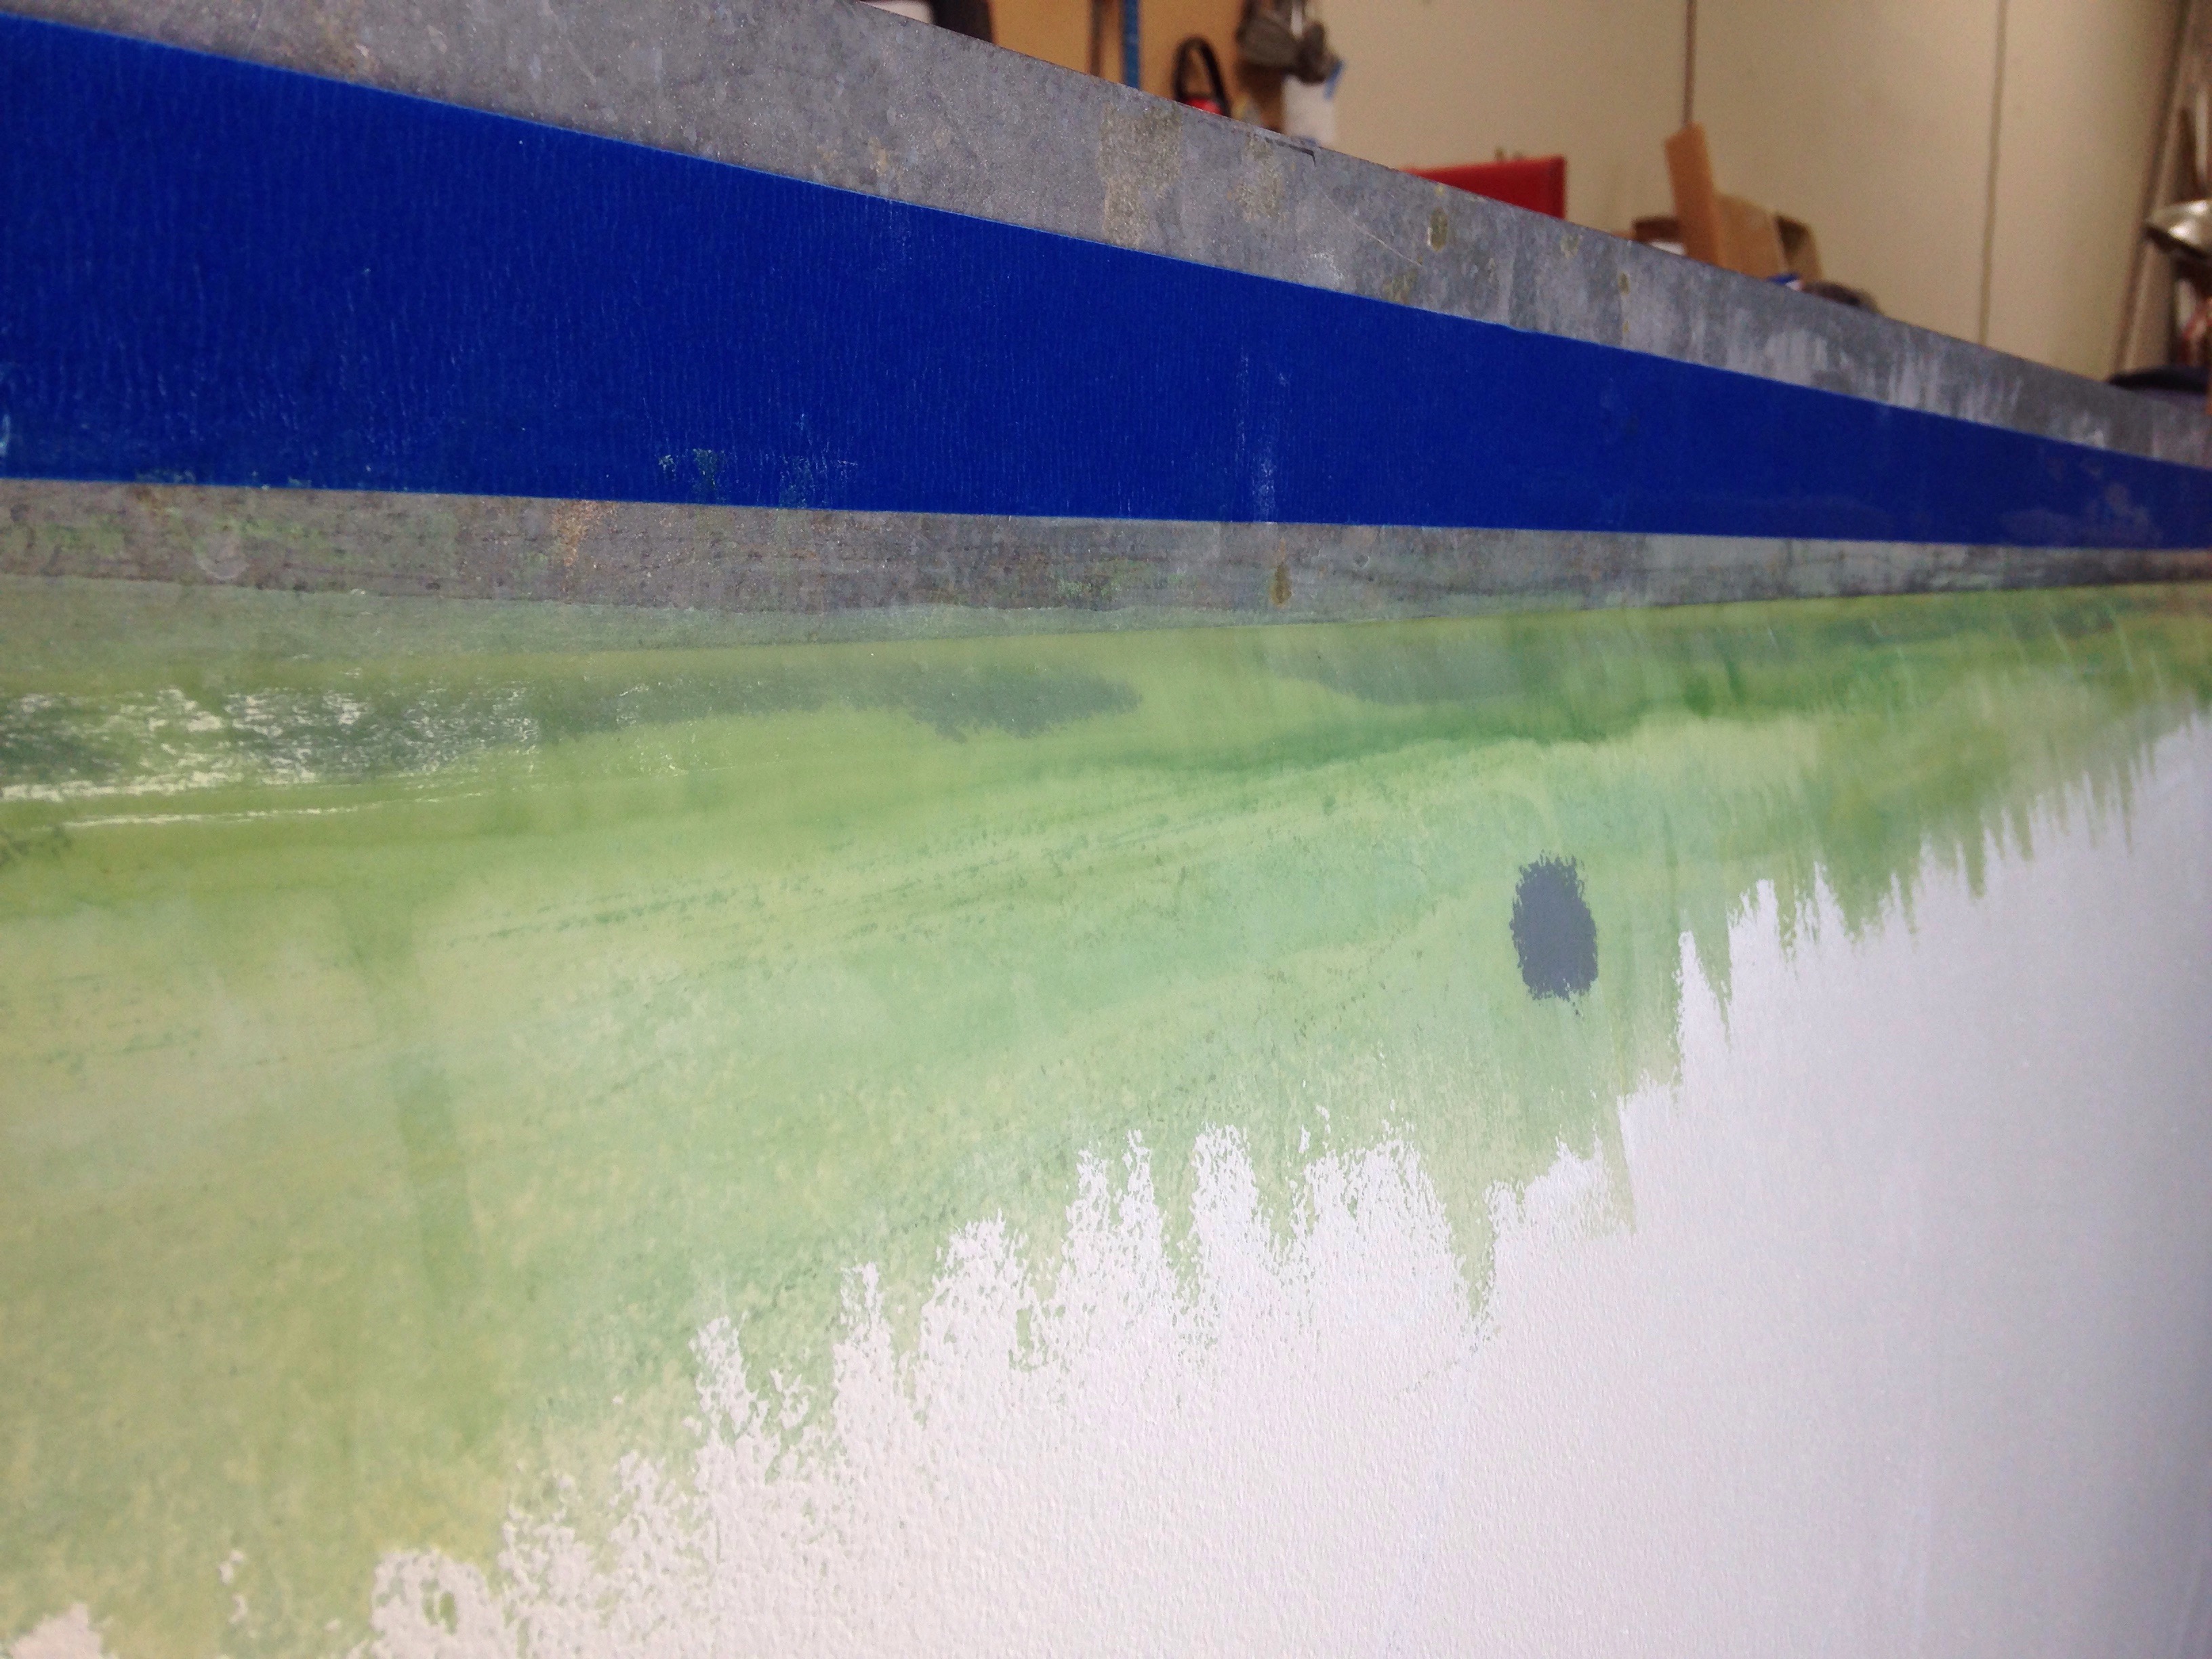
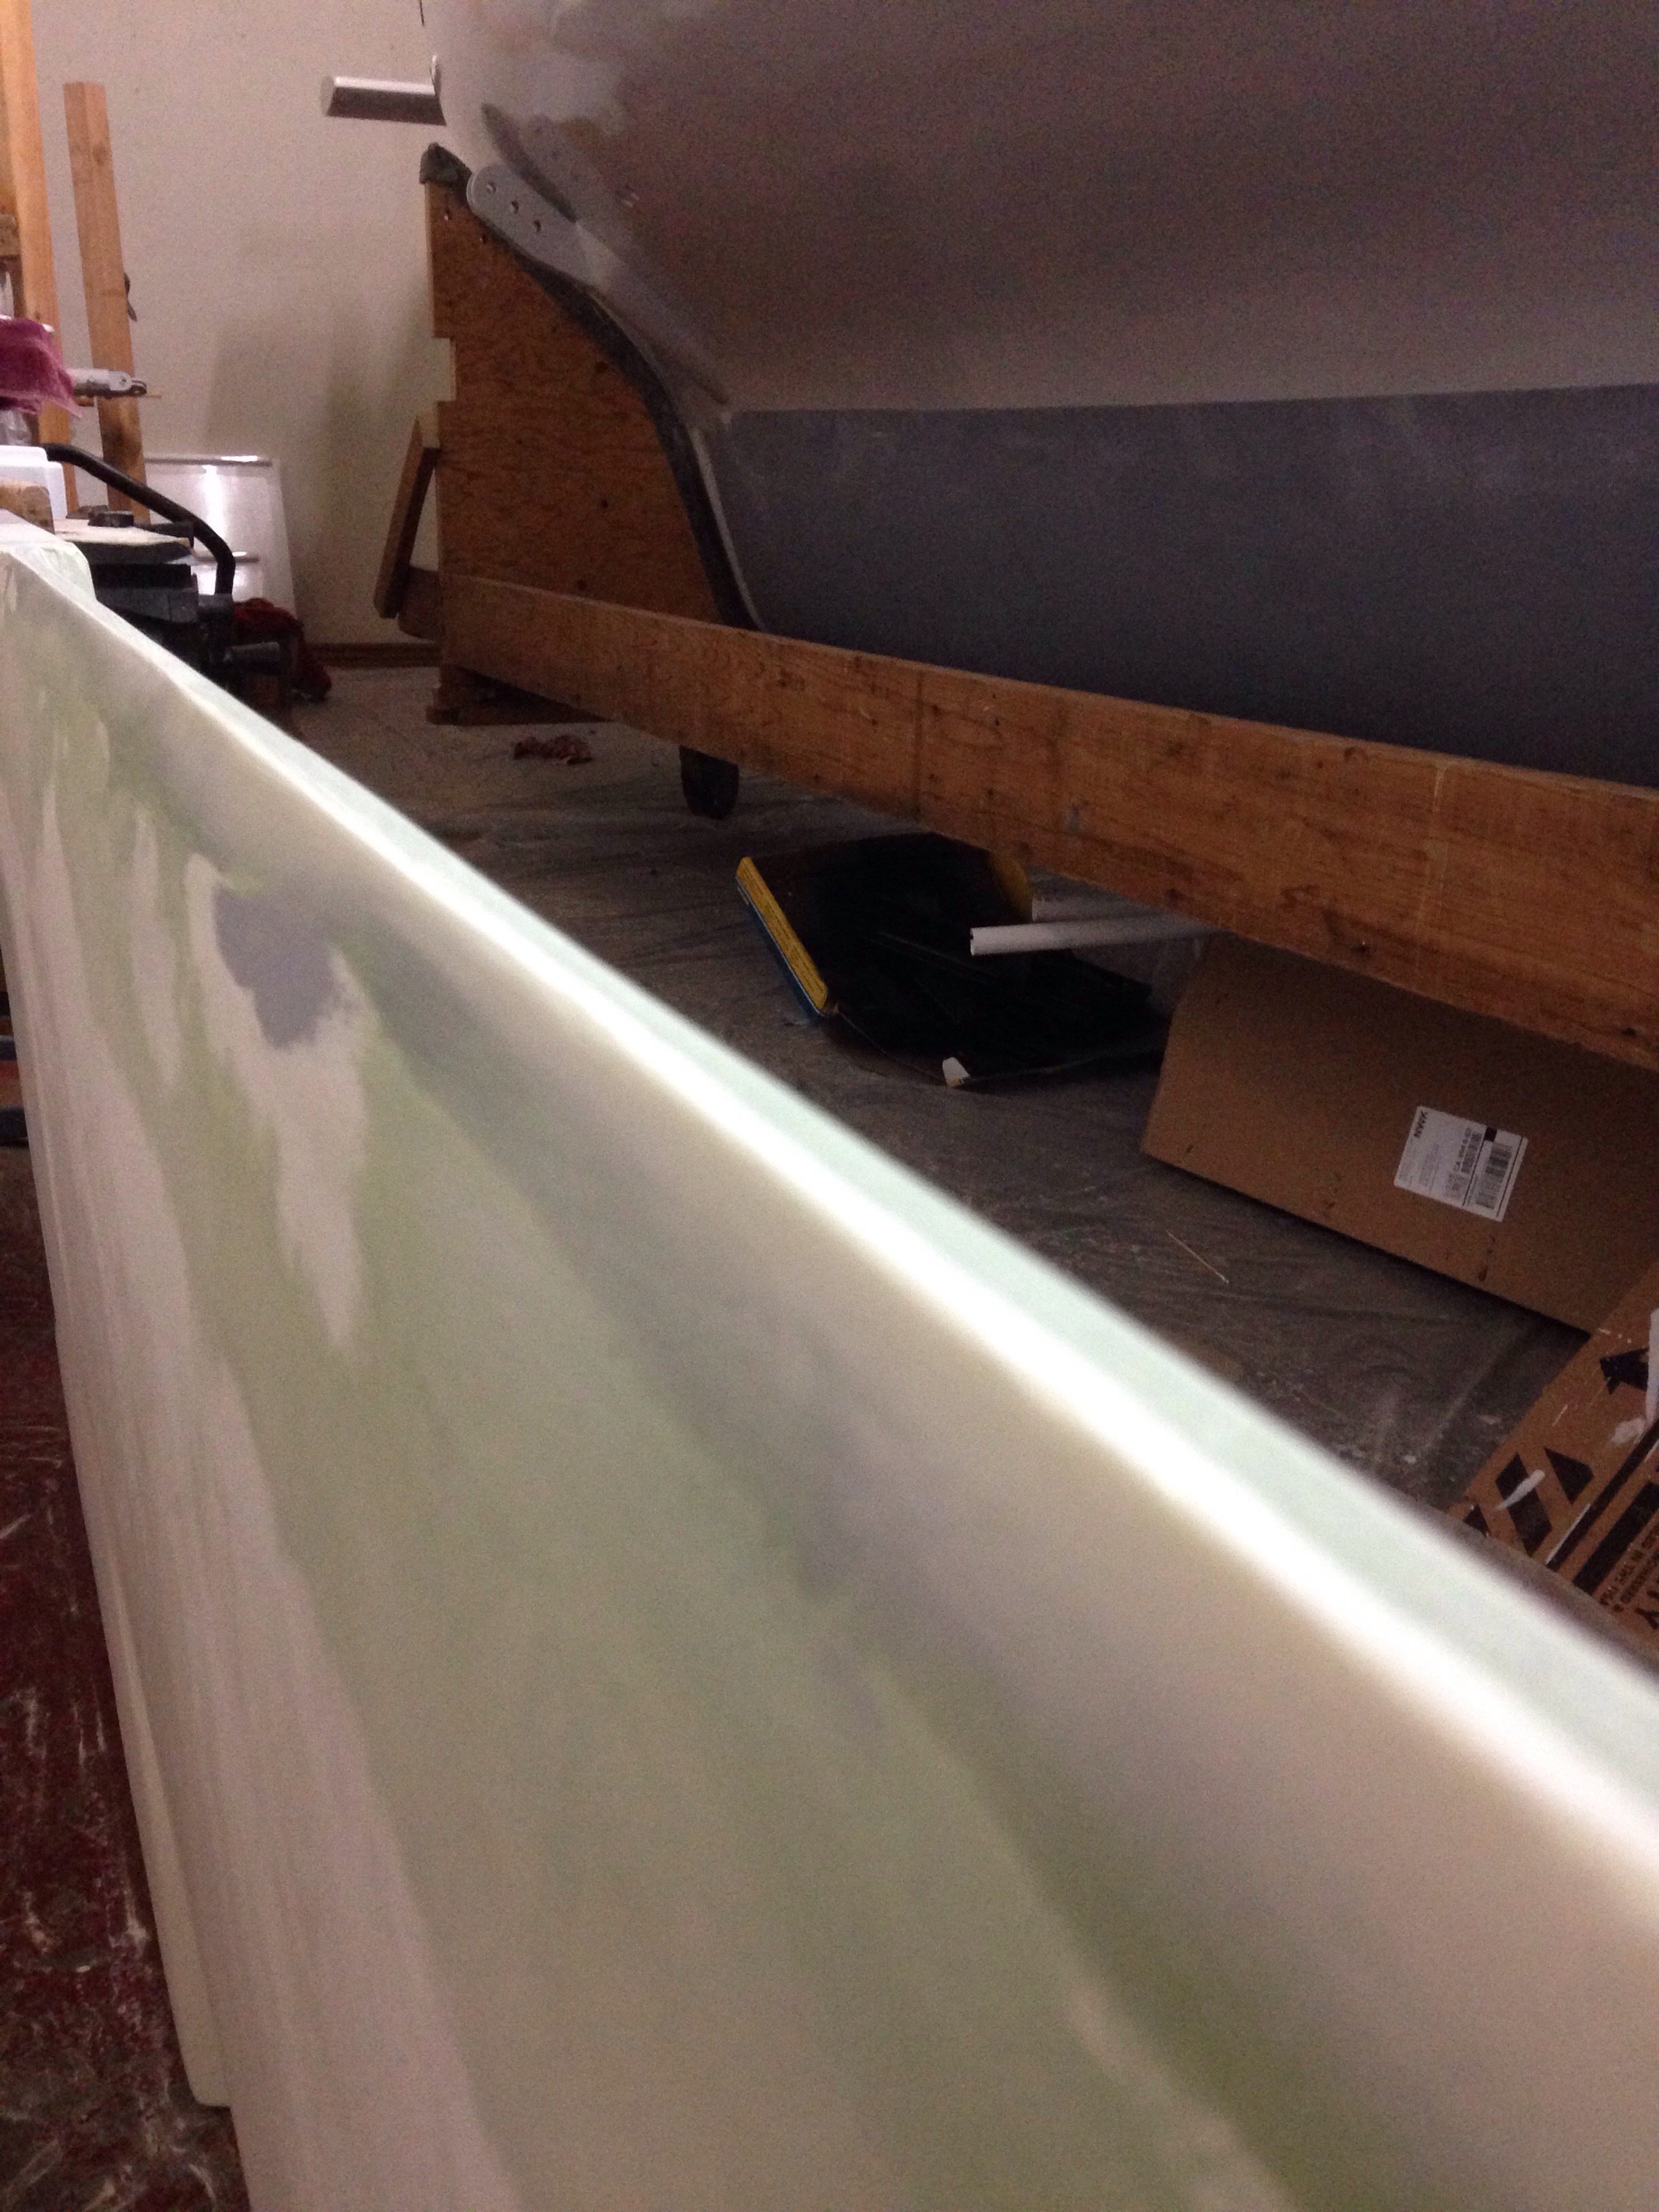
Meanwhile, the daggerboard is getting a bit more shaping love. After applying Coz’s clever guide tool, we realized that the port size was a little flat compared to starboard. Now THAT would have slowed things down. So we’re being careful with this shaping job (that should have been done last year!)

20160523-195203.jpg

If you’re following this story and want to be around at the beginning of the boat’s water life, come on out. The basics are:
Fri June 10: morning: drive beams trailer to Napa then set floats on ground at Napa Sea Ranch (launch site). Deliver mast to Napa Valley Marina (a few hundred yards away). Evening: take empty boat trailer to Santa Rosa and transfer main hull from shop dolly to boat trailer.
Sat June 11: drive main hull to SeaRanch. Lift and bolt beams to hull, on trailer. Lift floats up to waiting beams. Install engine and nets. Expect at least all day.
Sun June 12: finish boat assembly items. Go to marina and dress the mast (halyards, diamonds, shrouds, etc)
Launch the boat!
Monday June 13: motor to Napa Marina for mast stepping.
Go sailing, God willing.

Let us know if you want to details/directions/a role in the process.

The new boat will first dock at Charlie’s house on the Napa River, and within a few days make its way into the bay for a summer dock. Probably in Richmond but we’re still poking around. There will be MANY “sea trials” sailing days and you’re all welcome to come along. We’ll be posting times via this blog, so sign in for updates if you haven’t already.

18 days to go. And the list is still long. I have an evening of tanks and hoses to go join together!

T – minus three weeks!

Ok friends, start your countdown timers ’cause we’re setting the launch date for the June 11/12 weekend. Many self imposed deadlines have come and gone over the past four years, but today we can actually see the finish line. While y’all are grilling, drinking, riding, sailing, etc for Memorial Day weekend, we’ll be hitting this punch list hard.

20160518-224539.jpg That’s the list on the shop white board, and of course there’s another dozen or so items in the margins of the little orange notebook the builder carries around :) (eg fix the flat tire on the trailer holding the beams out in the driveway)

All deck hardware is just about buttoned up now. About an hour more of securing a few more bolts to go. Ventilation should be good inside, with three deck hatches, the two companionways, a dorade up front, two opening ports in the main cabin, two in the bow, and three in the aft cabin.

20160518-225148.jpg

20160518-225218.jpg

20160518-225255.jpg

20160518-225319.jpg

The all-stainless steel purchasing for sailing hardware has Jeanne appreciating the “boat bling” look. All this stuff cost about like buying decent gold and diamonds, but hopefully the enjoyment per hour is well spent on the sea side of the equation.

20160518-225647.jpg

20160518-225710.jpg

20160518-225737.jpg

Last year we wrote about concerns of the captive-pin mast base, especially after seeing the same design as our mast’s step having cracked on the Contour34 tri. Recall the Keith at Skateaway set us up with a receiver cup at the bottom of the mast. Yesterday we finally tackled designing and building a replacement mast step. Farrier’s F39 plan isn’t quite right because he has the halyards on either side of the receiver ball, while we built our mast for them to exit just aft of the ball. So we used Farrier’s load solving but did some shape changing. Things were a bit tricky because the deck slopes about seven degrees off level and we want the ball to sit close to level with the water. Here’s the one we’re replacing. Missing in the photo is a high density plastic insert carved with a cylinder to accept the round steel pin from the mast. Note the old piece is stainless steel.

20160518-230529.jpg
So first on paper, then mocked up in wood. The plywood chunk at the left represents the deck slope.

20160518-230630.jpg
Next was sharp blades on the chop saw and table saw to cut shapes and make the 7 degree bevels needed. Ouch, $125 for about 2-1/2 sq feet of 1/2″ and 3/8″ 6061 aluminum.

20160518-230830.jpg
Took about three hours last night to cut and sand/grind everything in prep for the welder this evening.

20160518-230939.jpg

20160518-230956.jpg
The welding shop was happy to get things properly prepped, with 1:1 scale drawing and a wood go-by mockup. We had left the proper 1/4″ fillet weld spaces at the seams – overall not bad for first time amateurs. Then the casually noted, yea we can do this in two hours; that’ll be $280, sir. After that it’s a stop at the anodizer, and this will be a $500+ part even though we designed it and cut it all out. Geez.

The bow area got its last big job, the forestay installation. Thanks again to Colligo for custom cutting this in titanium. Kind of a pity it’s hidden down in the hole. Keith will note the nice big ring nut to anchor the jib tack adjuster :)

20160518-231624.jpg

20160518-231700.jpg

20160518-231714.jpg

The bottom paint isn’t on yet because the thru hulls aren’t installed because one had to be special ordered from Forespar, etc (see how this works?), and we don’t want to mix up bottom paint until the daggerboard is also prepped. Last winter recall the America’s Cup foils building vet Cozmo pointed out the flaws in my dagger leading edge (“you know that sag will be slow, Carter” has been haunting for months ). He instructed on setting up a straight edge and re-fairing. Here goes: first see the problem gap.

20160518-232213.jpg next we filled that void.

20160518-232252.jpg
And got the leading edge of the board back to a straight line up and down.

20160518-232345.jpg

20160518-232413.jpg
A quick phone call with the foil master tonight confirmed the next step is to make a careful wooden shaping jig cut from a proper foil leading edge shape (have that shape in the Farrier full size plans). He said we only need to worry about getting the right leading edge rounding, and a properly symmetric first three or so inches shape flowing back. So the jig can be short-legged, not pulled all the way down these very large daggerboard sides. A few more hours this week to go.

All the hardware backing plates are pretty woods inside – more photos next time- but anything outside is plastics. This 3/4″ high density stock from Tap machines very easily to make spacers under the rope clutches.

20160518-233317.jpg
This is the stuff we’re doing each evening now as the push to finish the list heats up. Very excited for Saturday when Jeanne and Leslie measure all the seating areas and map out the cushion foam we’ve been squirreling away for a couple years :). Curtains begin this week too. Yea!

Time for bed(ding)

Quick update here before shutting down for the night. We’re really liking the butyl tape approach to bedding the deck hardware for leak prevention. (Reminder you can search the word Butyl on this site and find the link from last year to a pro tutorial)
Here the material is applied to the bottom of the part, and underneath the bolt head:

20160509-235905.jpg

20160509-235919.jpg

20160509-235937.jpg

In some cases it makes more sense to put a small ring of butyl rubber around the bolt hole on deck, then press the part in to that. Try it either way. But in all cases the bolt head must be kept still, not disrupting the butyl placement, and the nut tightened against the bolt. I did all parts where one person can reach (coaming winches, for ex), but mostly this is a two person job. Great use of one’s son just back from college this week! (Thx Griff). And Charlie came to lend a hand too. He was forced to wash all the brand new bolts in acetone, and we were surprised by all the machining gunk at the bottom of the parts cleaning tray. This cleaning seems sure to help stop leaks later

20160510-000530.jpg
Along with sailing and docking hardware, we have four hatches to install. Here’s the escape hatch under the starboard aft beam.

20160510-000723.jpg

20160510-000740.jpg
See how close to the waterline that is? Our intent is to NEVER use it as an emergency escape, but frequently make easy loading of groceries from the dinghy in exotic anchorages!

We took a recent drive to Sausalito and stopped in for progress on the Matthew Turner – being – built – tall ship (that’s probably enough for googling). The timeline has been roughly parallel with our build, but their scale is immense. If you drive through Marin, this is a must see!
This 100’+ sailboat is being constructed from local timber.

20160510-001151.jpg

20160510-001219.jpg

20160510-001236.jpg it’s just amazing workmanship, and even though they’re using modern tools, the techniques of traditional wooden boat building are fully in play. Hand carving every plank (averaging over 3″ thick!) and steaming them in place, three a day, for months, all by the continuous stream of volunteers. Mankind at its best :)

This ship is very close to Origami’s old storage yard, and the shop of builder Gordie Nash. He ran a little hands-on seminar for synthetic rigging, and we got our splicing techniques all figured out (and Papilon gets a STRONG bowsprit upgrade after her Farralones race)

20160510-001755.jpg
Here we’re drawing the long end of the line through the splice hole to really lock in the no-slip feature. I hadn’t known that trick and now feel much better about my halyard shackles holding for life. Charlie and I each also ordered some spectra cover material so we can protect halyards near the shackle ends – the far end of this light colored cover is frayed and buried in to the cover of the halyard line. Tedious job but a great result, especially for a spinnaker or reacher deployed for days on the ocean.

20160510-002201.jpg
We listen carefully to everything this guy says, except that he was a little embarrassed by the results of this year’s Vallejo 1-2. Yea, he bulleted both days. Again. 75 miles of racing with everybody to his stern, upwind both ways. Modest and damn good sailing.
And one curious note from that session – Gordie is covering his dyneema lifelines with cheap-to-buy electricians cable shrink wrap. Definitely need to get the NON-glue version, and you can pick most any color you can think of. Very clever.

20160510-002419.jpg

What’s it called on a boat?

The head? The water closet? Who says it can’t be The Throne just because it’s aboard the ship?

First we have the empty hole:

20160501-220039.jpg
Then stuff it with the form-fitted tank built last summer:

20160501-220133.jpg
Spend a day sketching, measuring, cutting, swearing and contorting a sore back to finagle all this sanitation tubing:

20160501-220310.jpg
And finally we can install the hardware;

20160501-220358.jpg
This is a Lavac vacuum pressure toilet. The flushing process is easier to understand than the common marine version. This one relies on the lid forming a seal; after use one lowers the lid and pumps the lever ten times. The vacuum pressure clears the bowl and circulates flush and rinse water. The waste does not drop straight from toilet to tank as it does in an RV; here we’re pumping up through a high loop (flooding prevention safety) and back down a heavy duty tube to the tank. We will empty the tank either with deck pump out services, or a thru hull valve below the waterline. That is only going to work while the boat is underway and moving quickly enough for the passing water to suction the holding tank. At this point we have to hope the speed required isn’t too great to be practical. Stay tuned this summer for more on that disgusting topic. Also, next week we’ll look at the grey water system that will supply the toilet flushing.

On to the view. Last year Charlie and I drove to Sacramento to get special scratch resistant Lexan (polycarbonate) for the main cabin fixed port lights (Windows). Unfortunately the many holes were drilled to the original plans before I read up on advances in adhesive products. We don’t need all the bolt holes! So I decided on a compromise of using the 120 holes and going with screws into epoxy fill, not through-bolts. And Sika 295 UV adhesive. (Note, needed just over one tube for the whole job). First we painted the area under the Lexan to help hide the adhesive and create a more uniform look.

20160501-221751.jpg
There are three panes for each side, roughly corresponding to the hull cutouts. On the middle panes, we’ve added a “floating” opening port for ventilation. Here’s that work, done on the workbench so the metal frame can be bolted together with the required flat surface.

20160501-222031.jpg

20160501-222048.jpg
See how nice and centered that floating port is in the fixed pane? Well that of course didn’t fit on the boat! Thought it was so clever to work it out on the bench, but never held it up to check before cutting. Damn, it was supposed to be 1″ off center! The metal frame hit the hull so I went home Friday night deflated. Saturday noon trip to TapPlastics for $130 more Lexan and by dinner time we had two replacement panes cut, edge-radiused and drilled. Installation took from 8pm to 12:30am, and now we’re happy.

20160501-222616.jpg
Sunday was a half day prepping and installing opening ports (2 forward, 1 head, 2 aft cabin sides, 1 transom). We’re using butyl tape – very sticky and very pliable – works great and makes zero mess compared to caulk-like stuff in tubes.
Here’s a round porthole over the lavatory; photo records the last spot we can still see the tongue and groove construction of the cedar core. Howard did an incredible job on that, and it’s just one of the factors why this boat has taken 20 years to build.

20160501-223232.jpg
And with the primary painting wrapped up, we’ve been stealing away minutes from big jobs to do fun little final installs. I’ve been looking at the empty compass pods for a long time, and now think this turned out well. With one on each side of the cockpit this should work well for driving. Hopefully they’re not too close to the nearby winches!

20160501-223524.jpg

PS – it was kind of hard to see all the screw heads in that finished windows photo, right? That’s because my dear wife poked a lot of holes in this box so we could spray paint all the shiny little screws I don’t want to see :)

20160501-224220.jpg