I know, I know, you subscribed to this thing and you expect frequent Ravenswing updates. Well the Carters wish you a happy 2019, belatedly. 
We left off two months ago showing a box of Pelagic Autopilot parts. Installation is now underway. The drive unit has to hang out in space, given our cassette-style rudder. Here’s mocking up the placement…

That’s going to need a stiff arm, 16″ tall off the swim-step deck. There was about 2′ leftover from that old Craigslist-find windsurfer mast that is now the pickup’s SUP rack.  the base bracket is an offcut scrap from the first (didn’t like the feel) steering iteration. Repurposing these quality carbon pieces saved a bunch of time, and was free! The bracket will mount in these four holes, and the power cable gets an outlet plug in the transom.
The controller easily went in to the companionway dashboard, and the brain box will be bulkhead mounted in the equipment room once we buy a bit more wire. We should be testing this unit in just a few more boat work days.
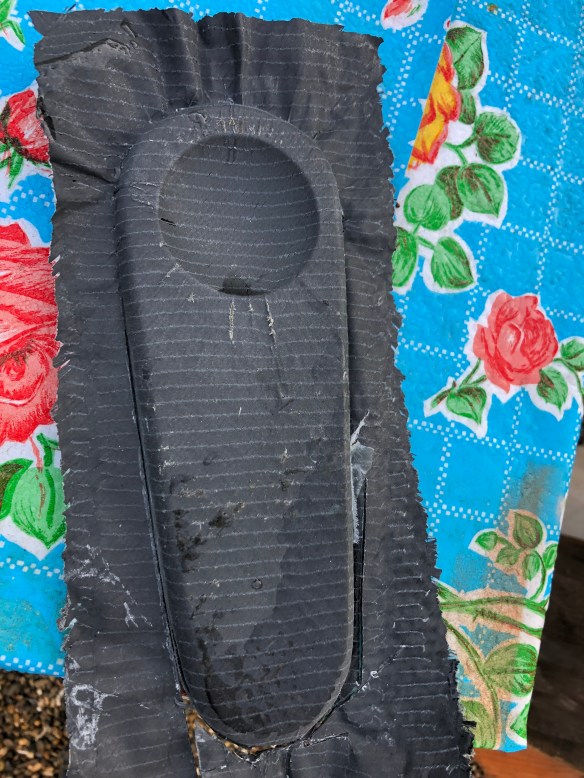
In November we started thinking about everything that needs to be trialed / pushed hard here in the bay before 2019 ocean voyages. A big nagging item has been filling the toilet holding tank to capacity and testing the at-sea emptying. Well let’s just say that we never got to the “take it out 3 miles and pull the plug” part. In retrospect, I should NOT have chosen a complicated shape, under floor sewage keeper as my first-ever composite tank build. The idea was it would drain like a water ballast tank on powerboats (or our old Macgregor 26x). Get up above 8kts and suction will empty the tank. So we pumped 15 gallons through the toilet, filled the tank, and things didn’t smell so good. A bit of sewage was now outside the tank, under the bolted-in bathroom floor. Uh-oh.  That hideous photo is after hand pumping three buckets and trudging them up to the Marina toilet, then ripping out the tank that we had spent days building a few years ago. GROSS! (If you really want to see the old tank, search on the Plumbing link at the home page, back in late 2015 I think)
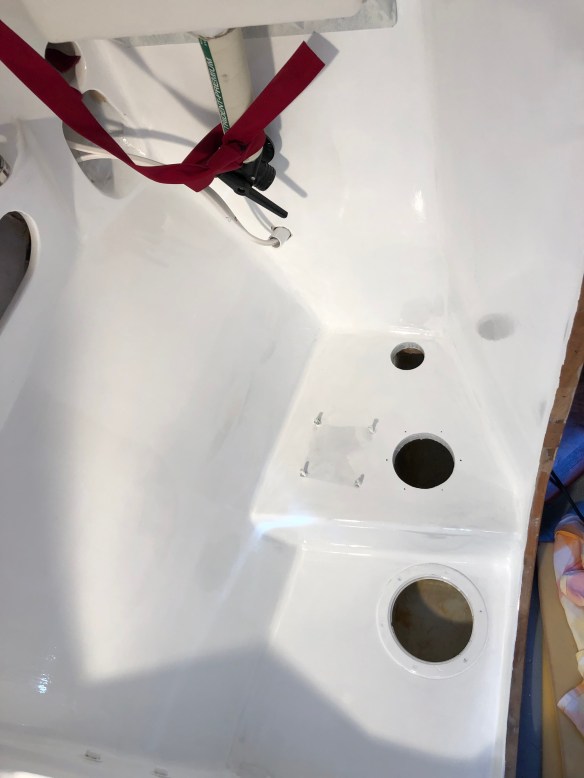
Once cleaned up, it’s time to lower down, then bond in, the previously bolted (removable) sole. Upper level is the toilet deck. The old tank had used all the non-white space here as it’s form. 


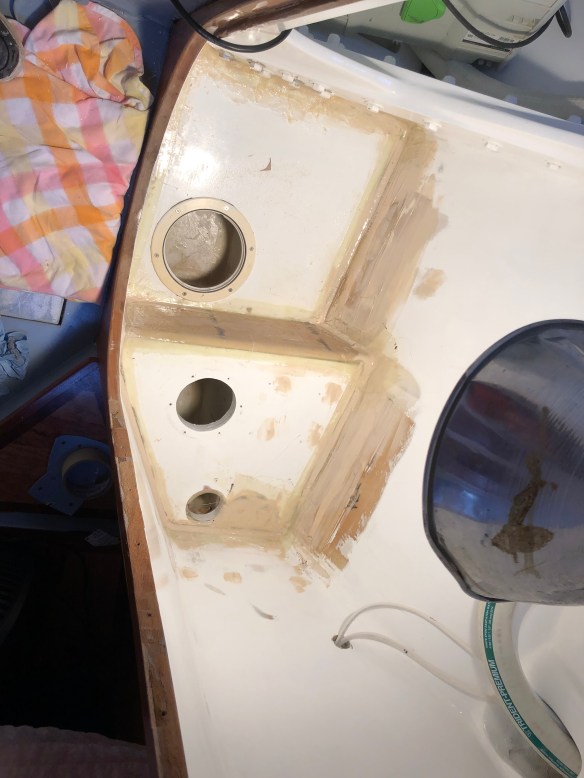
Yes those are inspection hatches in the sole; the sea drain for the new tank runs under this floor and the shower, over to a proper 1.5″ seacock.
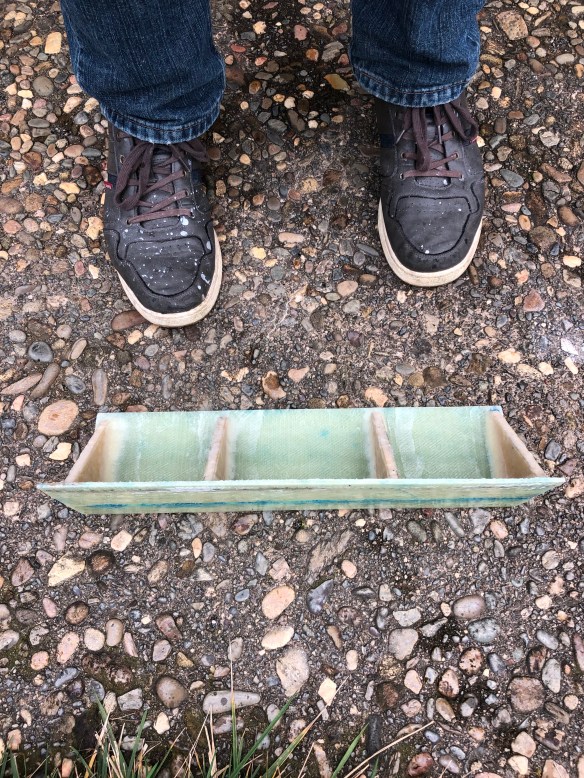
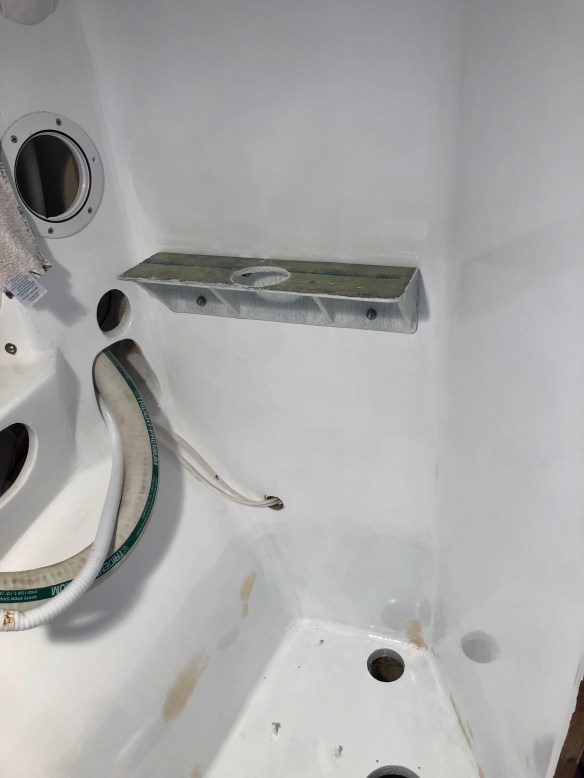
The new tank will be bulkhead mount, behind the toilet. It sits way above the waterline, so this should be a foolproof simple gravity drain. Also the dock-based pump out will be only a 3′ lift, which is light duty for most Marina pumpout stations. And yes, I forked over $200 for a factory built Ronco plastic tank with our specific fittings pre-installed. It will sit on this little shelf, made yesterday to bolt to the bulkhead at the forward end of the head compartment (bathroom). 
I probably deserve all your poop jokes at this point, but just remember, my mother still reads these comments.
A week after throwing our old tank in to this dumpster, somebody else apparently got even more pissed off than me… I doubt it will plane.

 His Dad Joe is a sailing captain, mom owns a Santa Cruz 50, Aunt & Uncle with Ravenswing; well let’s just say he has some sea miles ahead of him.
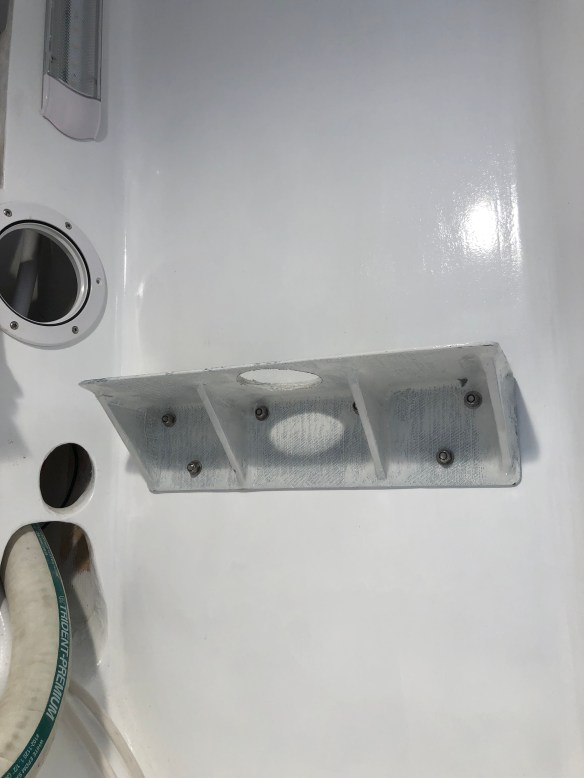
 One more paint coat and the plumbing reinstall this weekend will put the head back in business.
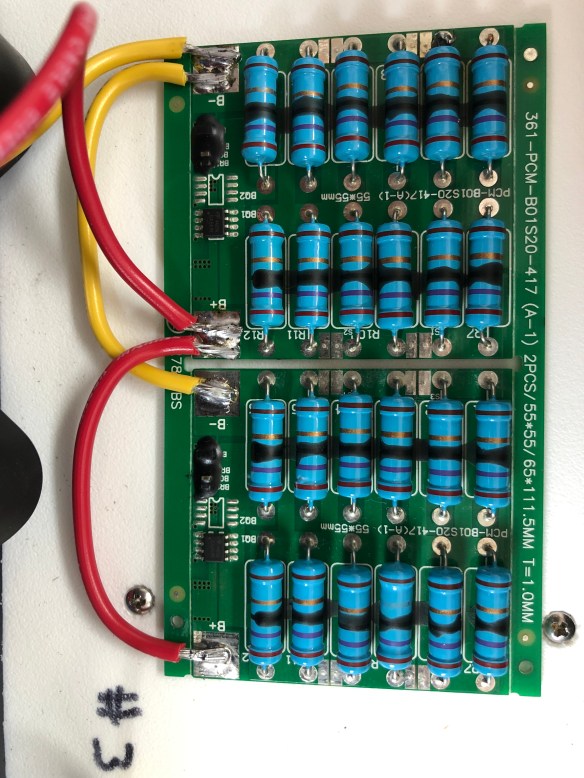
 what you’re looking at (the green circuit boards mounted above the batteries) are charge balancing modules to regulate the pace at which the four “cells” of this battery bank rise in charge voltage. The risk in an LiFePO4 bank is the cells getting out of voltage balance from their neighbors, and potentially ruining sections with out-of-range values. With these little control boards, when one cell reaches 3.6volts (its full charge), the incoming voltage is converted to heat in those blue resistors. That cell is effectively bypassed from further charging while the others catch up. That’s as simple as I can say it, but there’s more going on with the numbers. It’s a crude version of a Battery Management System, and we’re judging it sufficient for our solar-only gentle charging regimen. Coming up soon we’ll install the CellLog that monitors and alarms each of the four cell voltages that get out of range. That will complete our safety installation.
 YESSSSSS! As soon as the autopilot install is done, we’ll get out and test/tweak/learn all this gear.
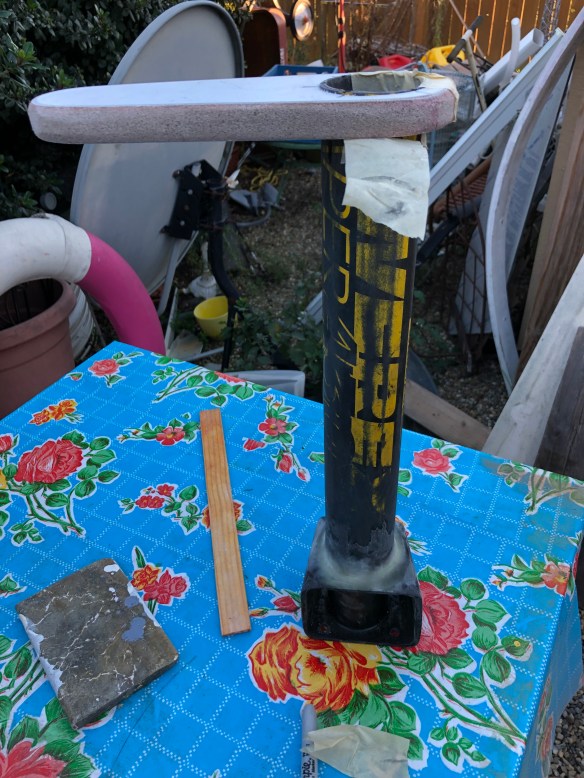

 it’s bonded together now, faired and primed. Paint coat tomorrow if this rain departs for points east.