All settled in

The boat shop is busy again now that (a) Griffin is officially a NorCol Golden Bear, (b) Colin closed on the duplex in Virginia and (c) Jeanne’s folk’s San Jose house is ready for rent (that last one took us a solid 5 day push to get done!)

20150830-170302.jpg

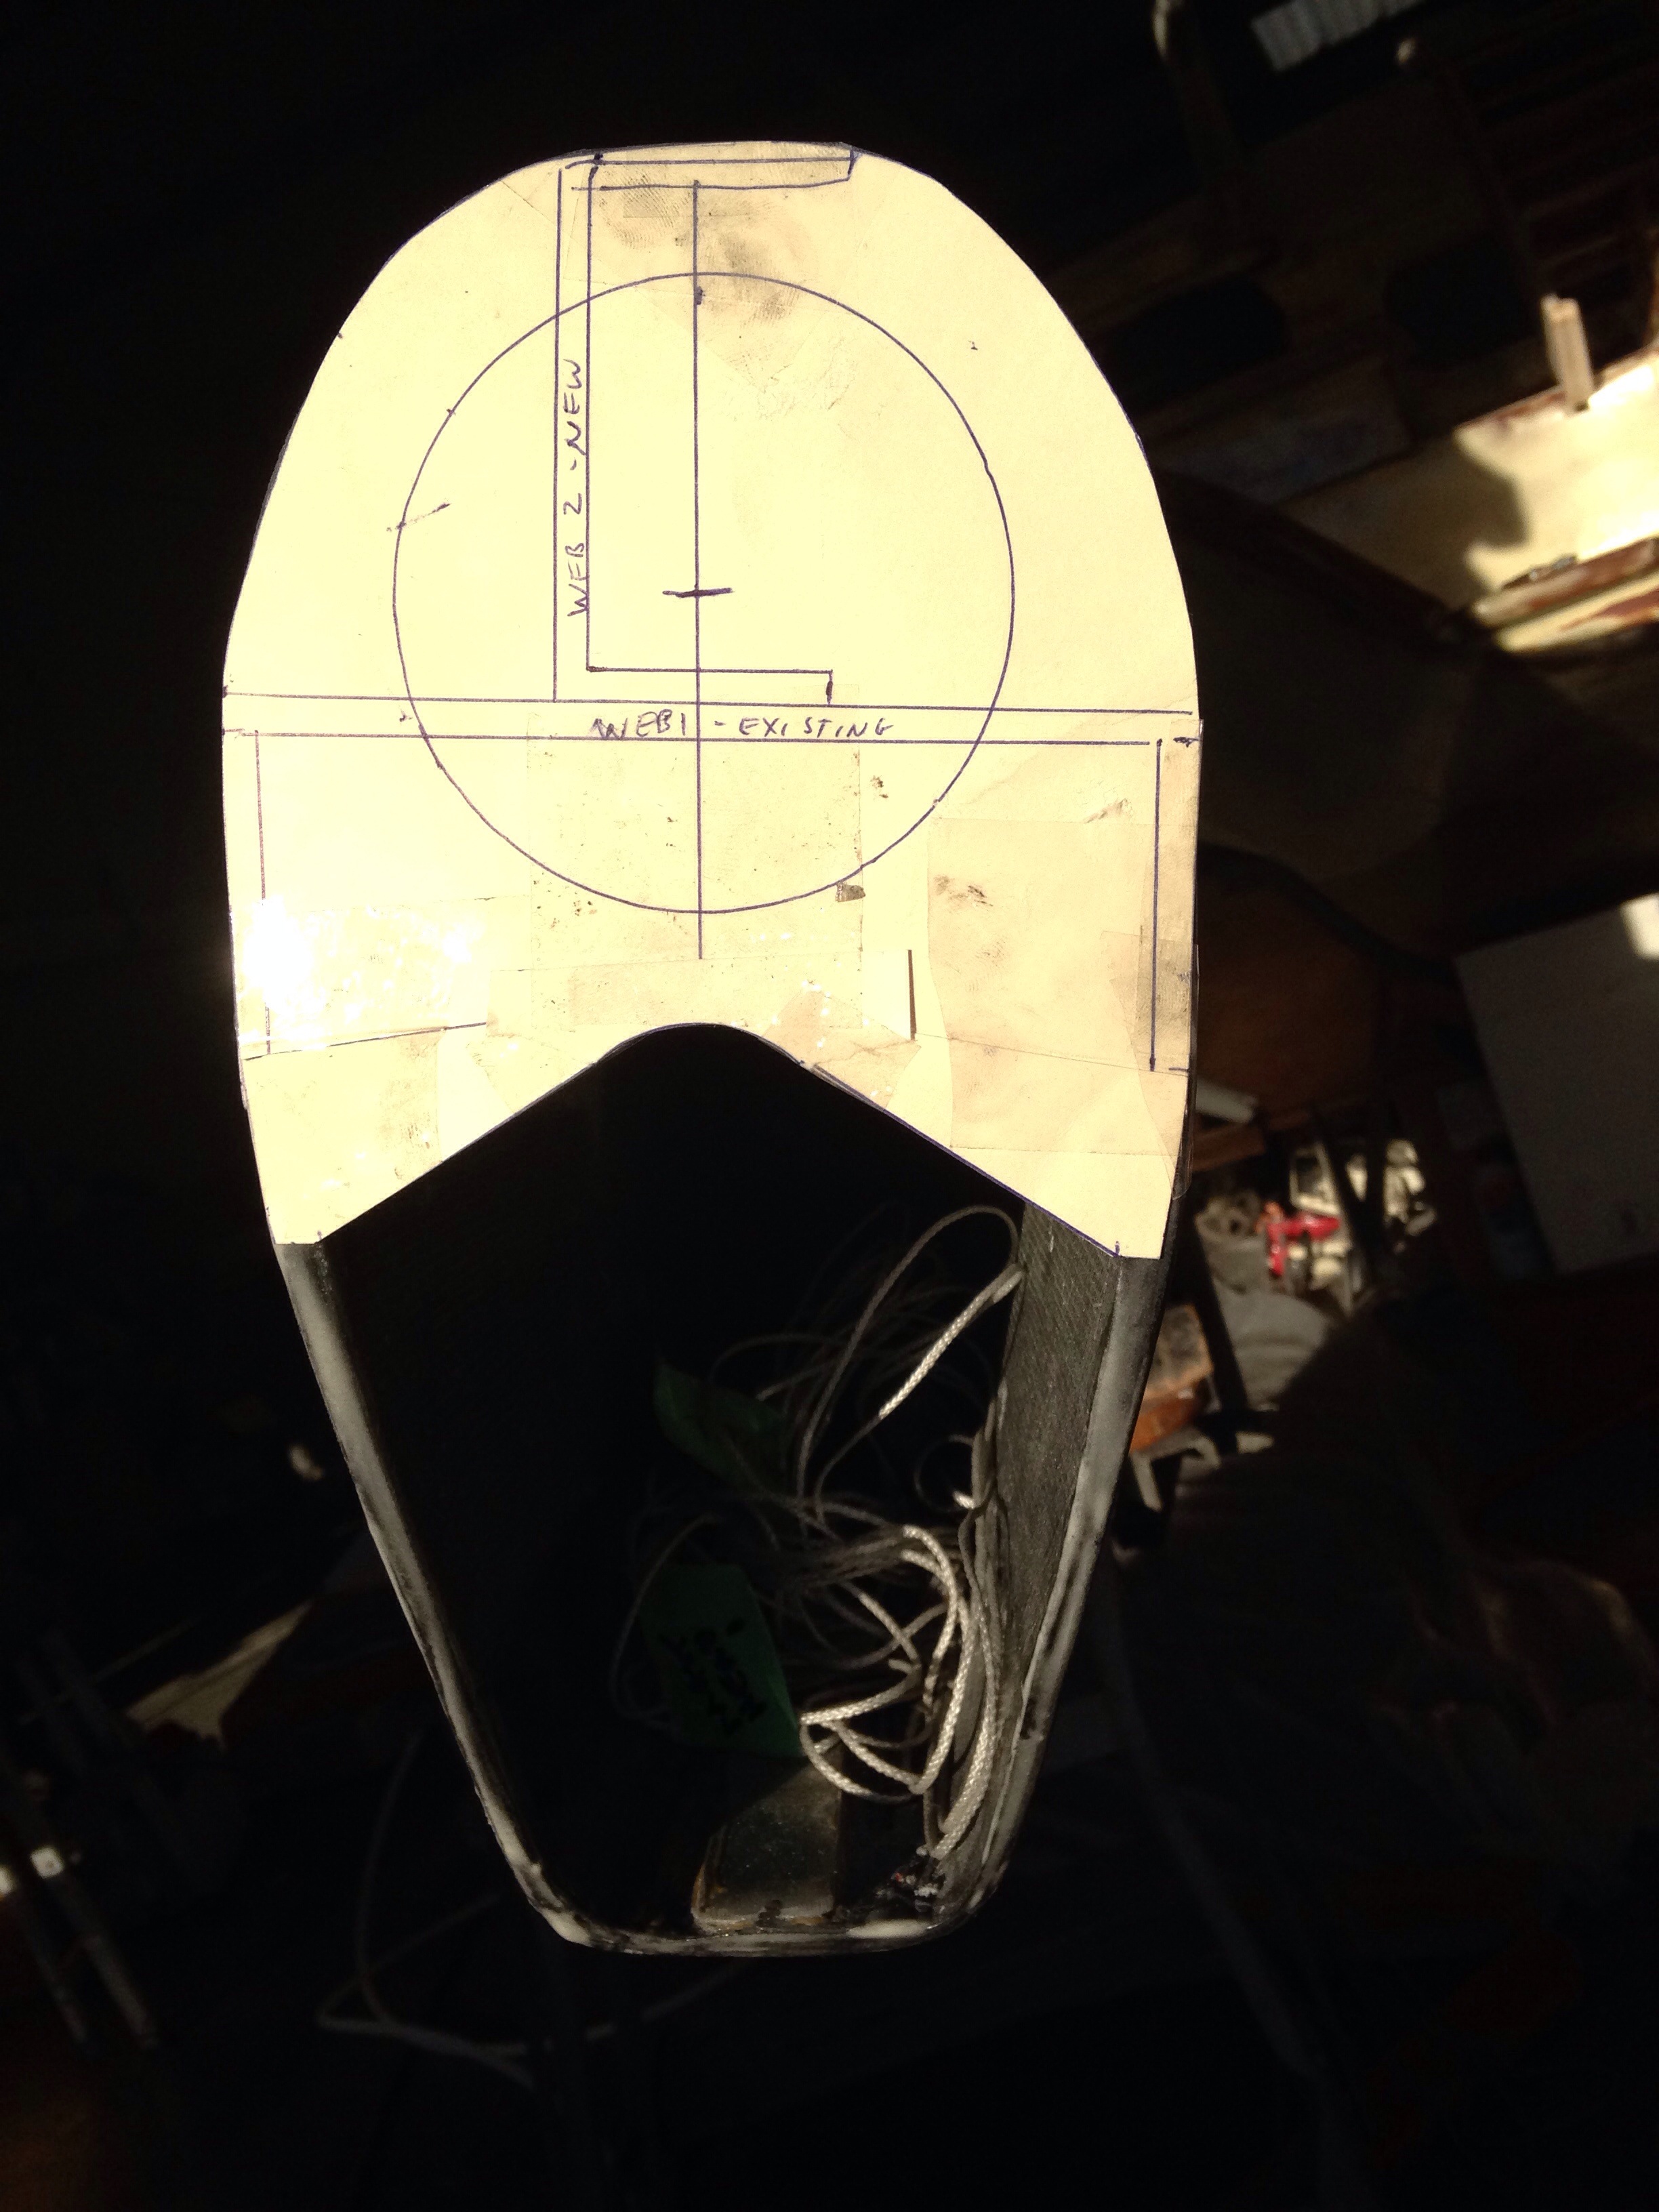
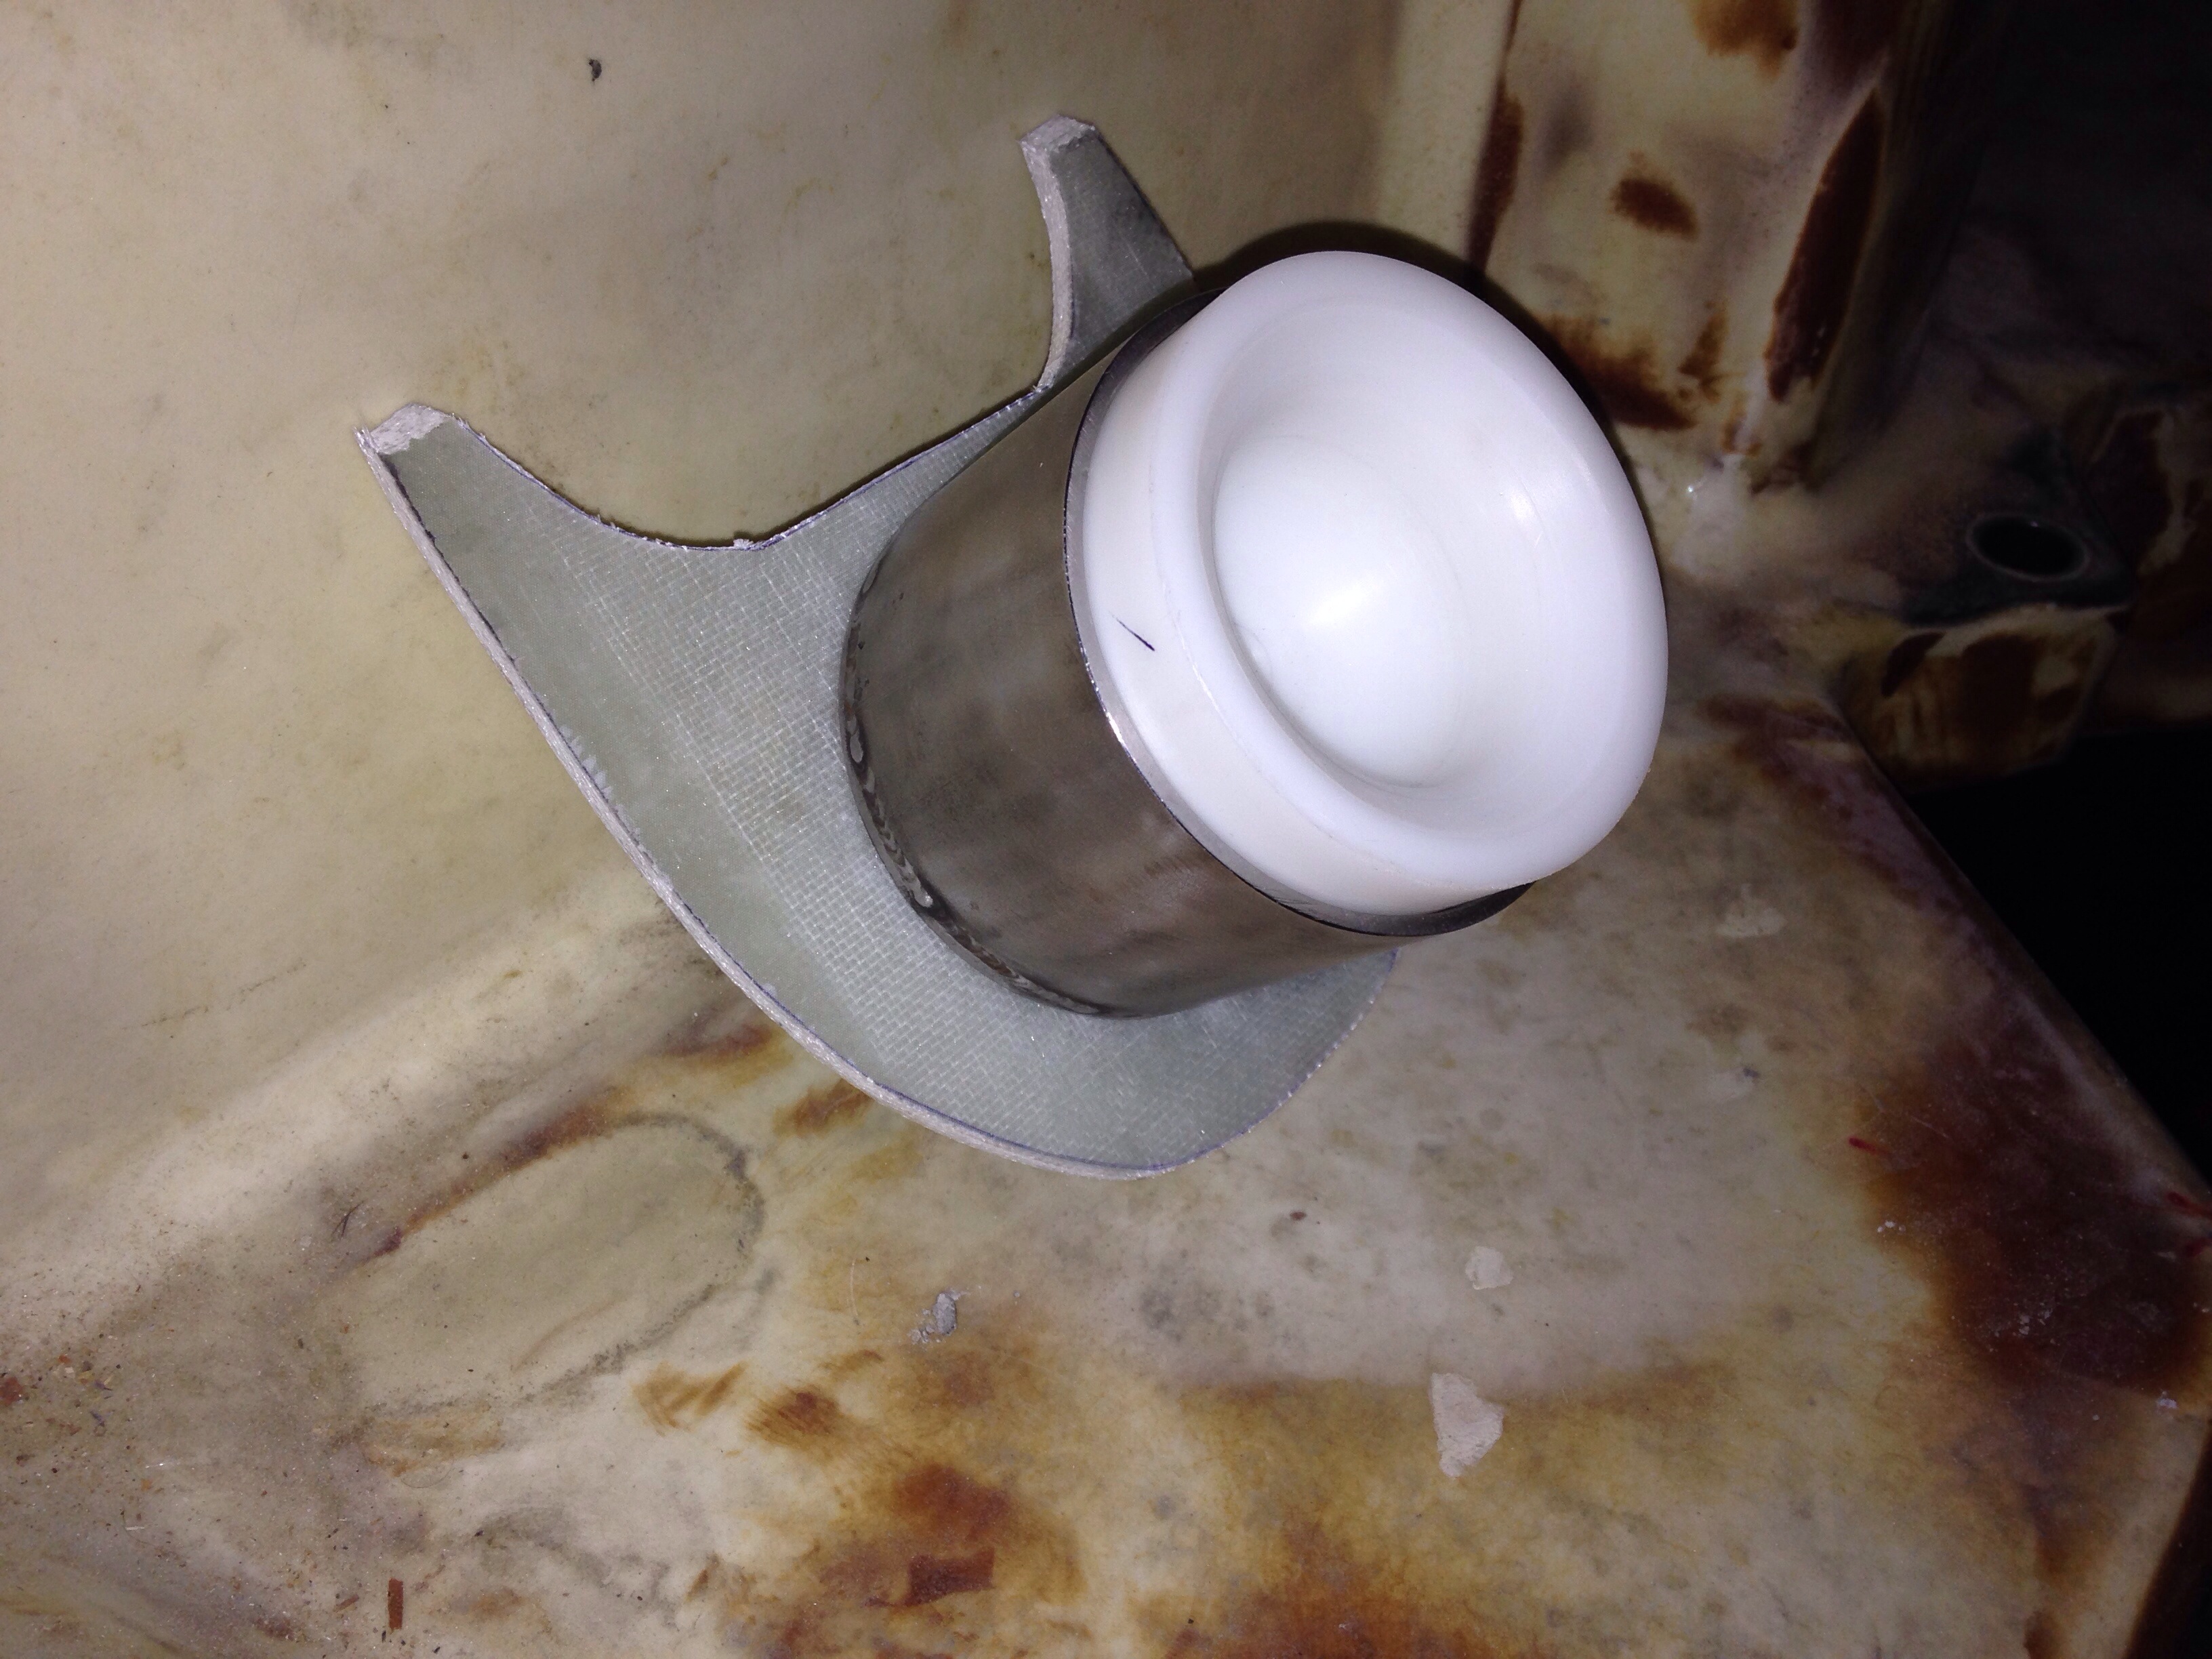
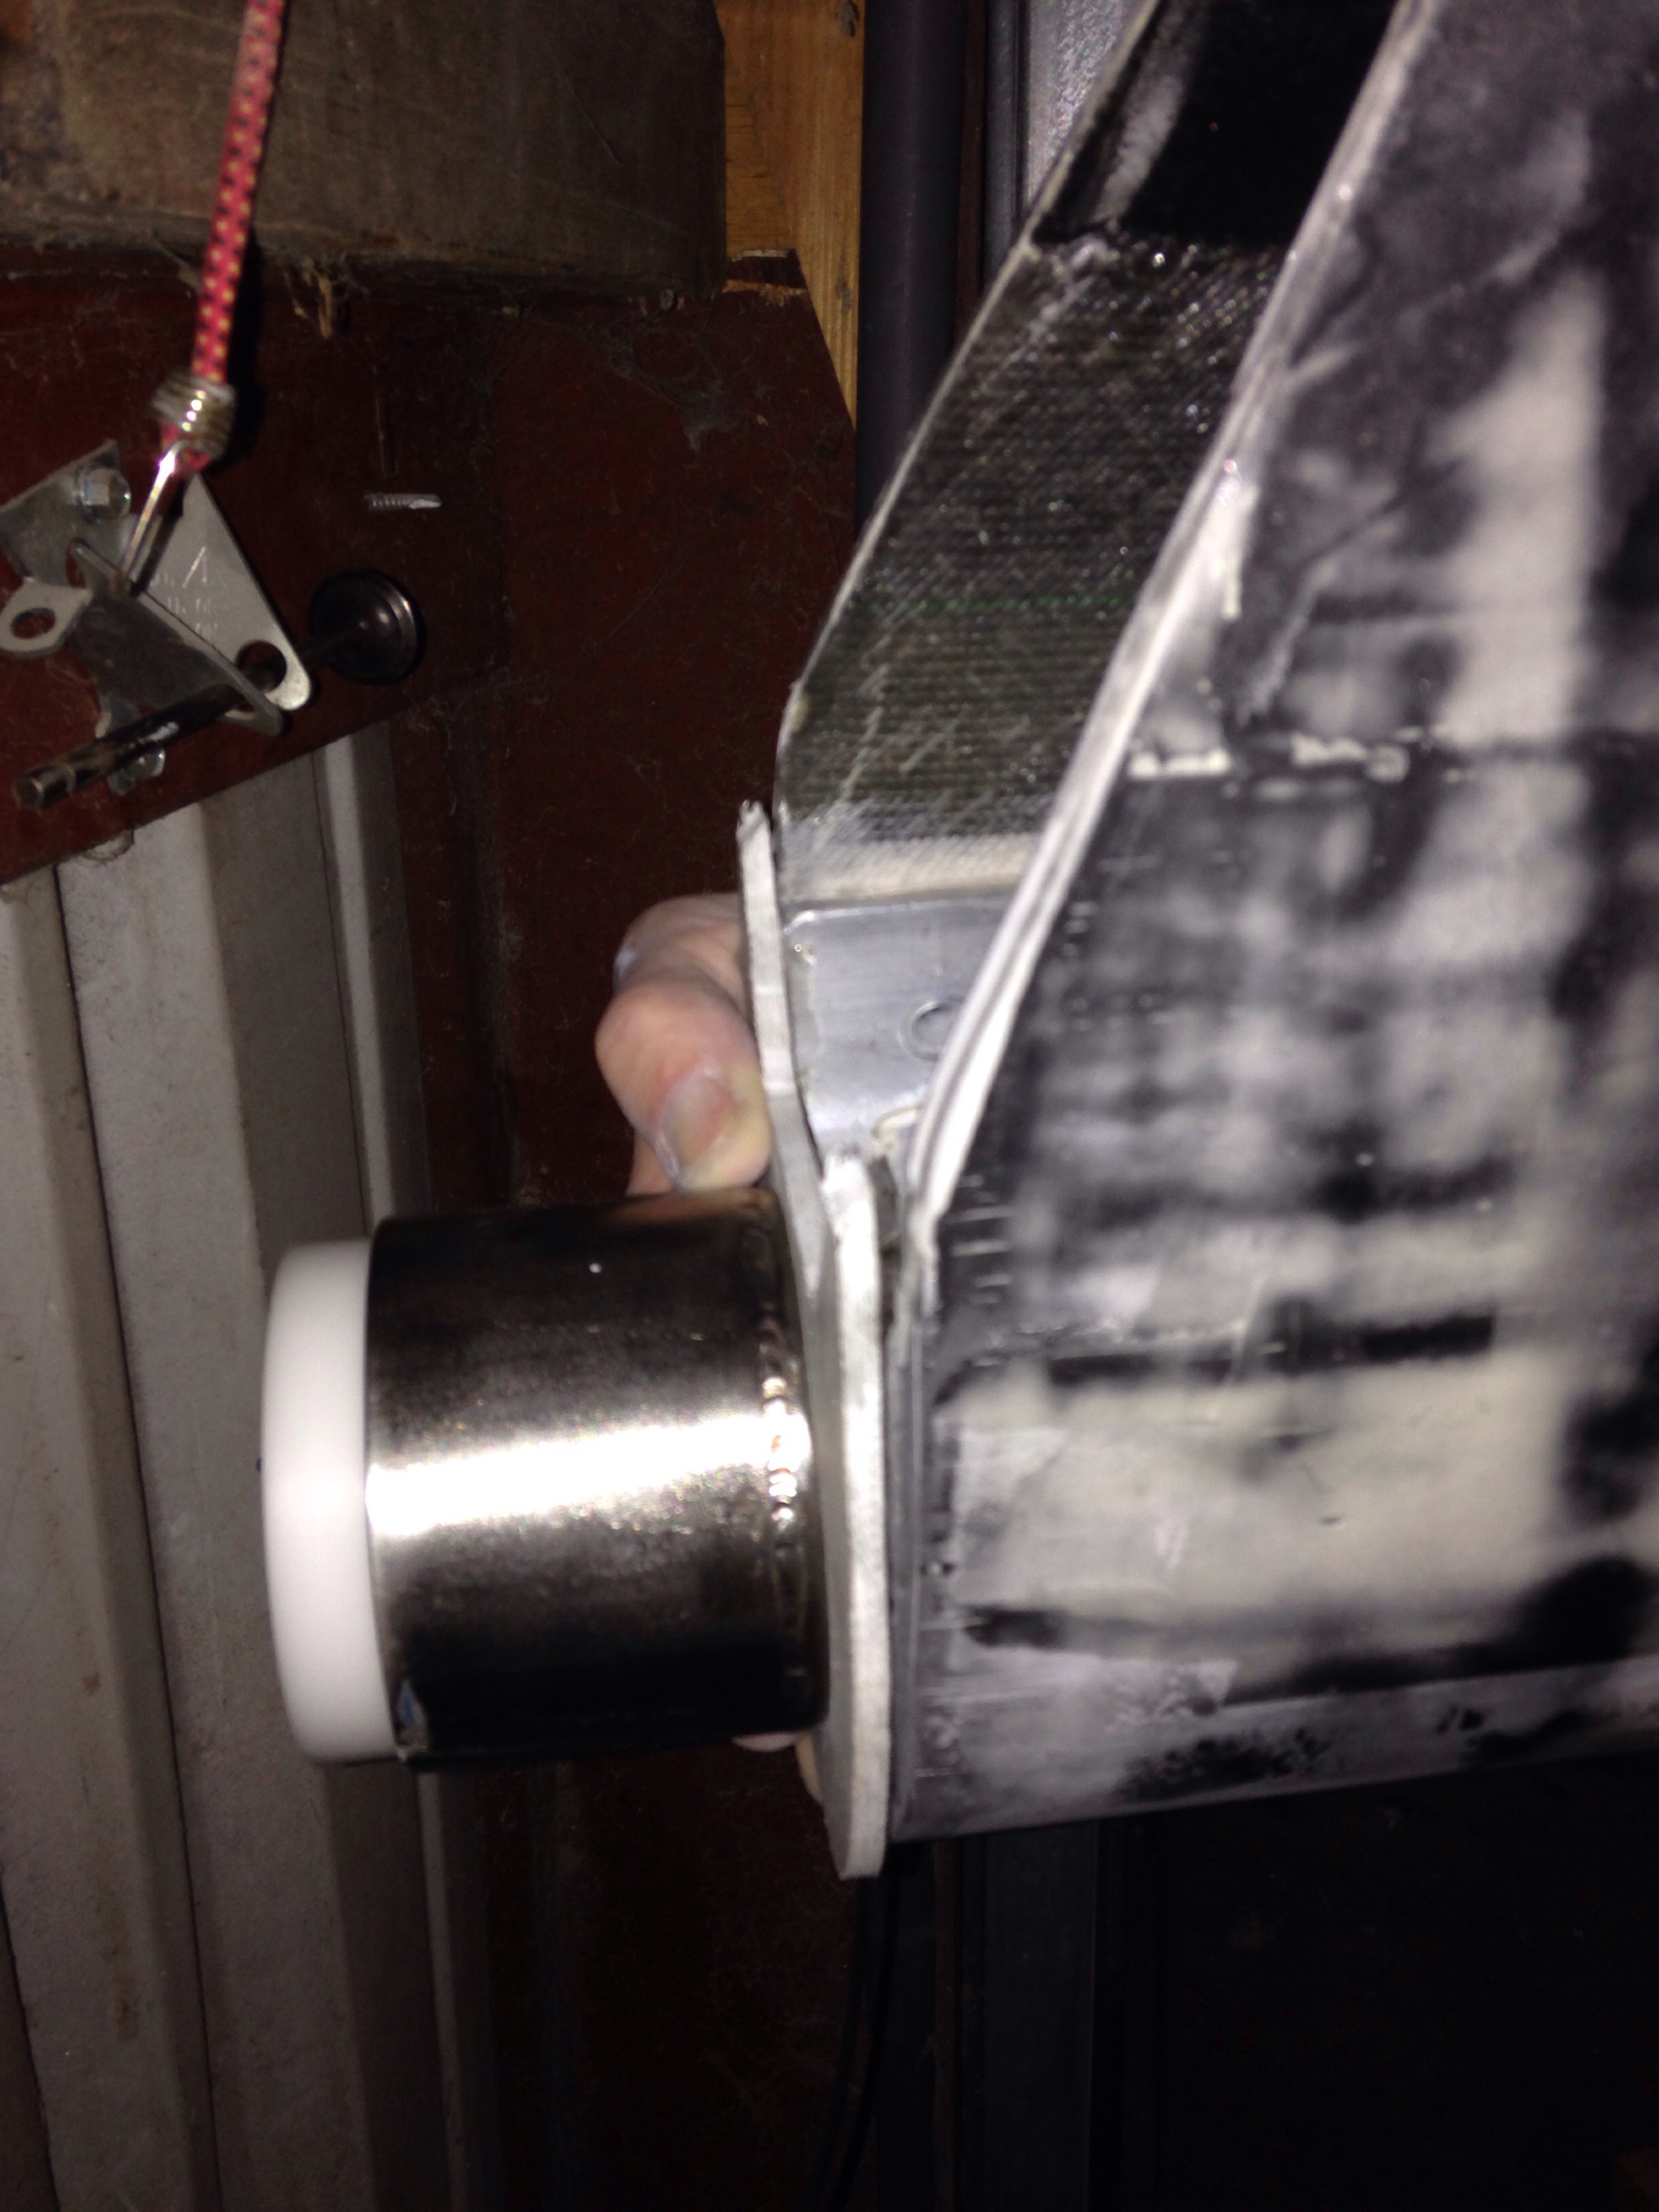
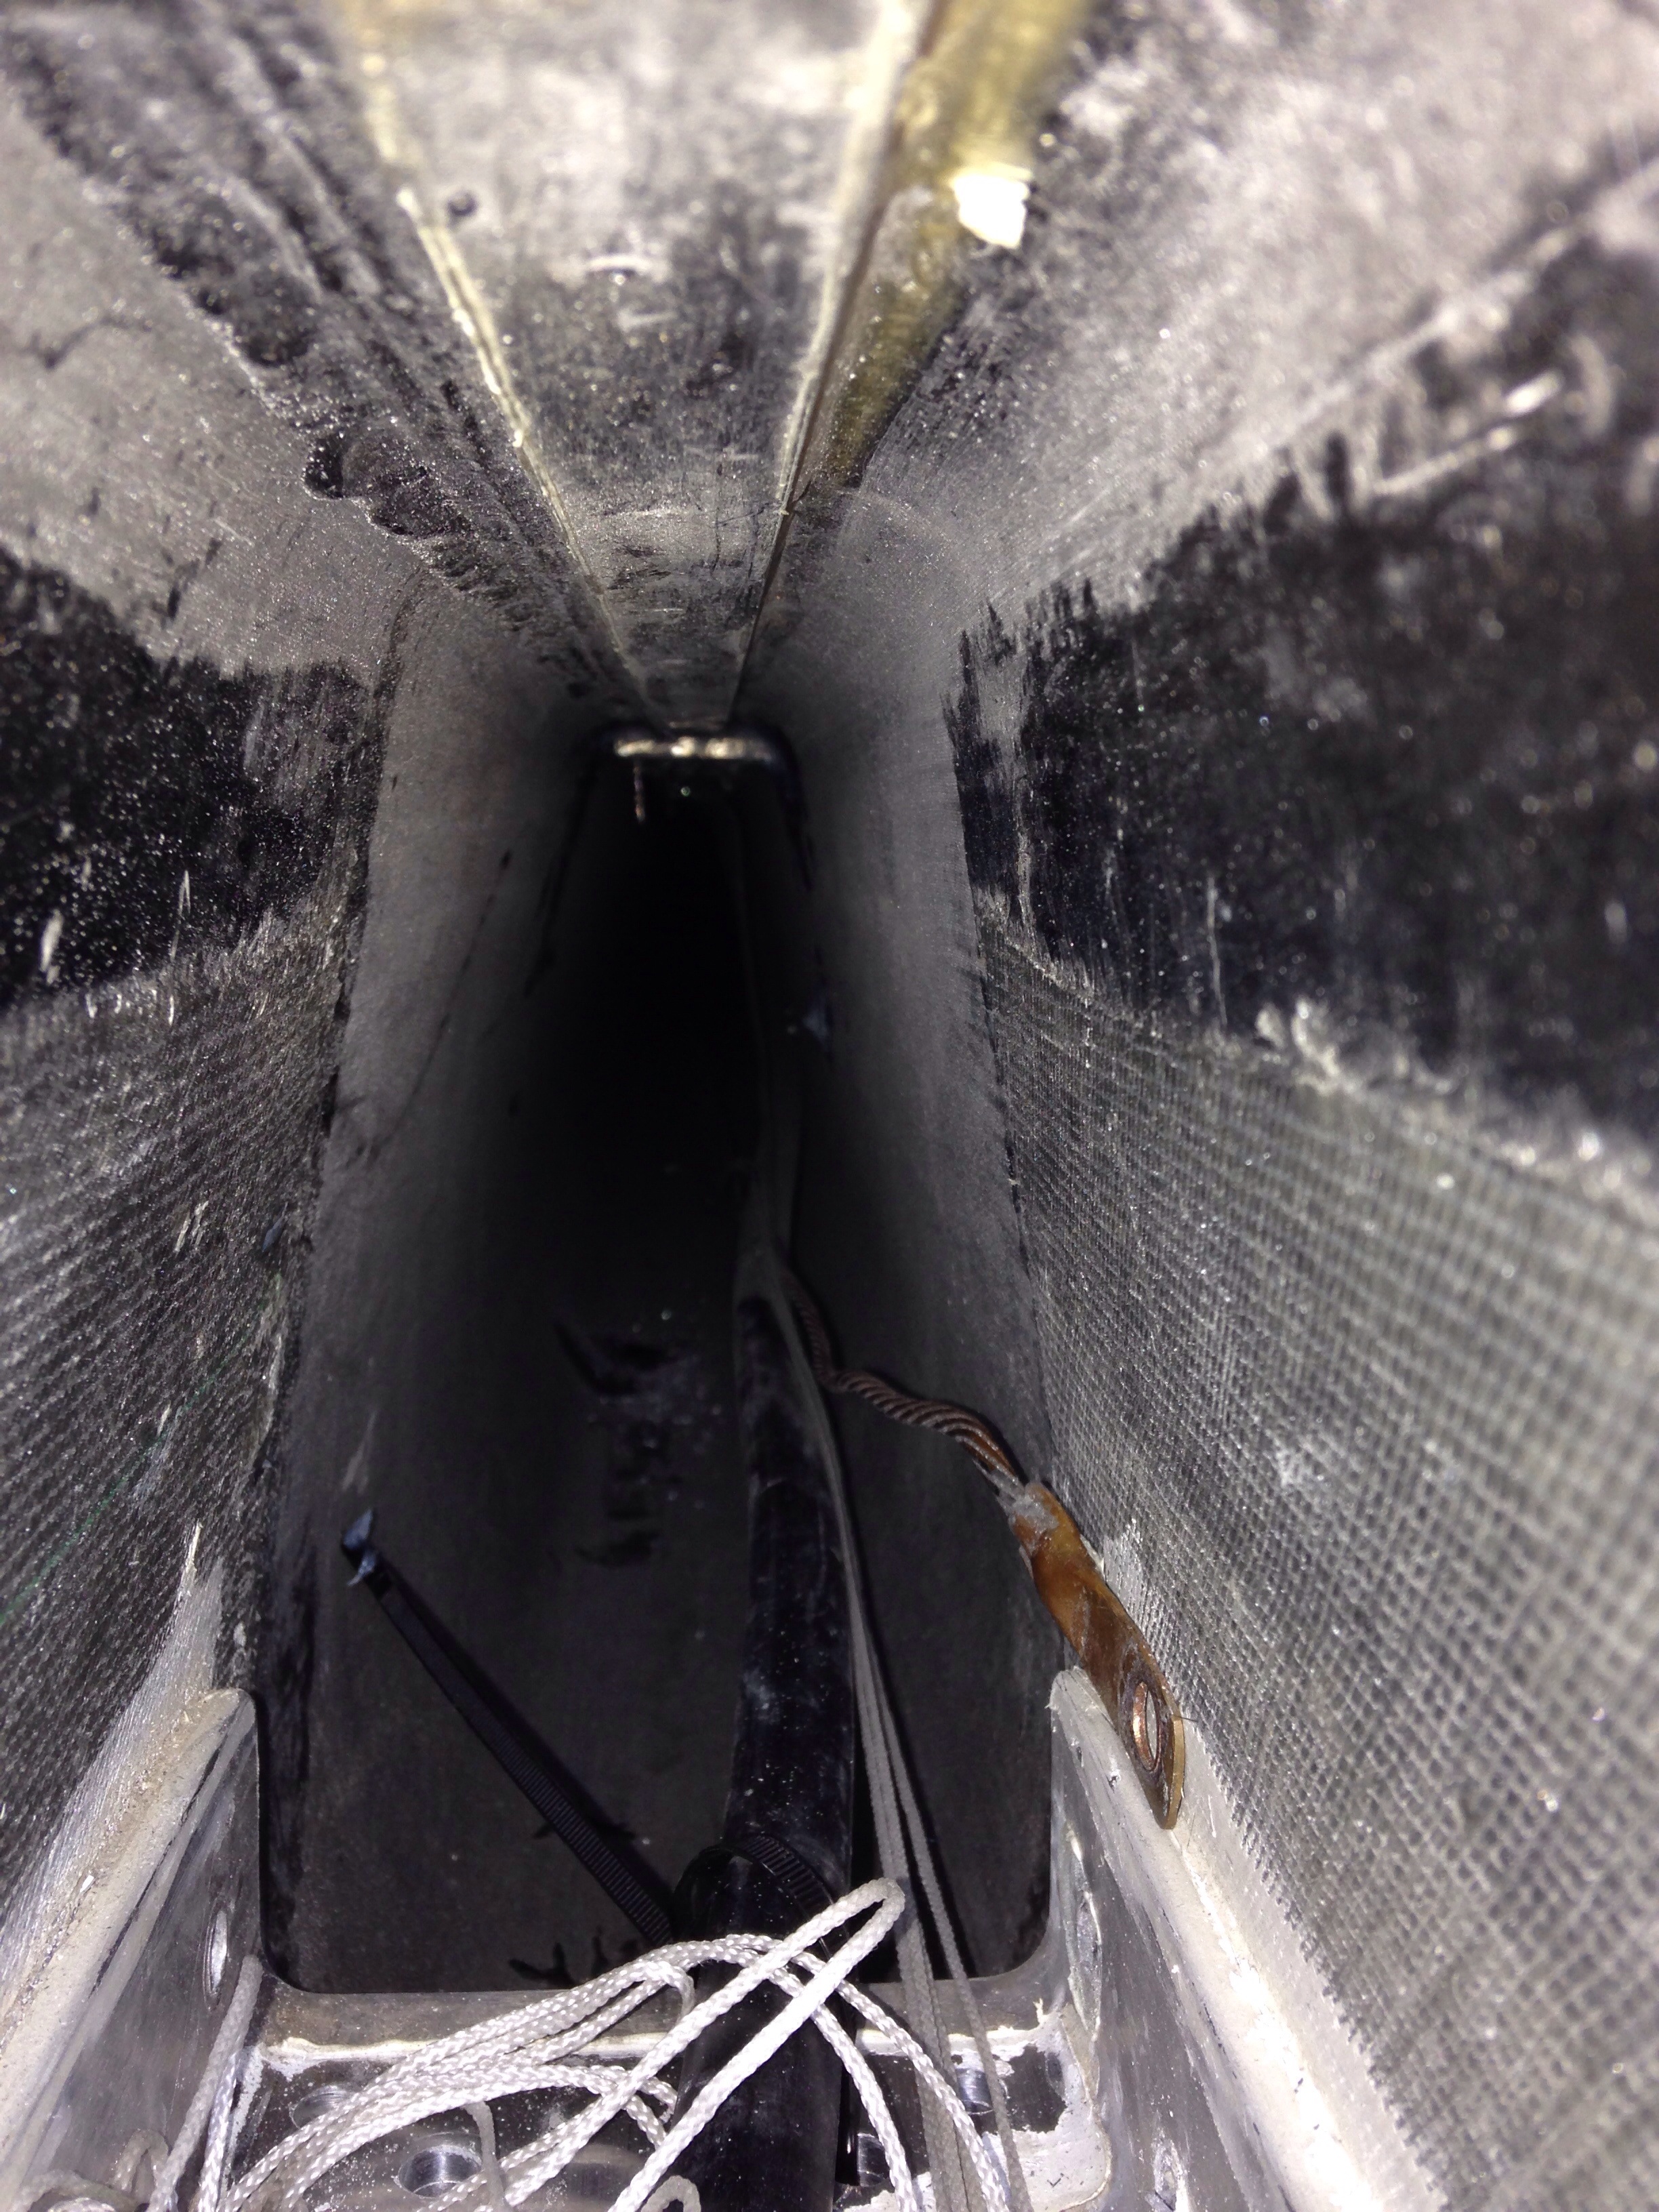
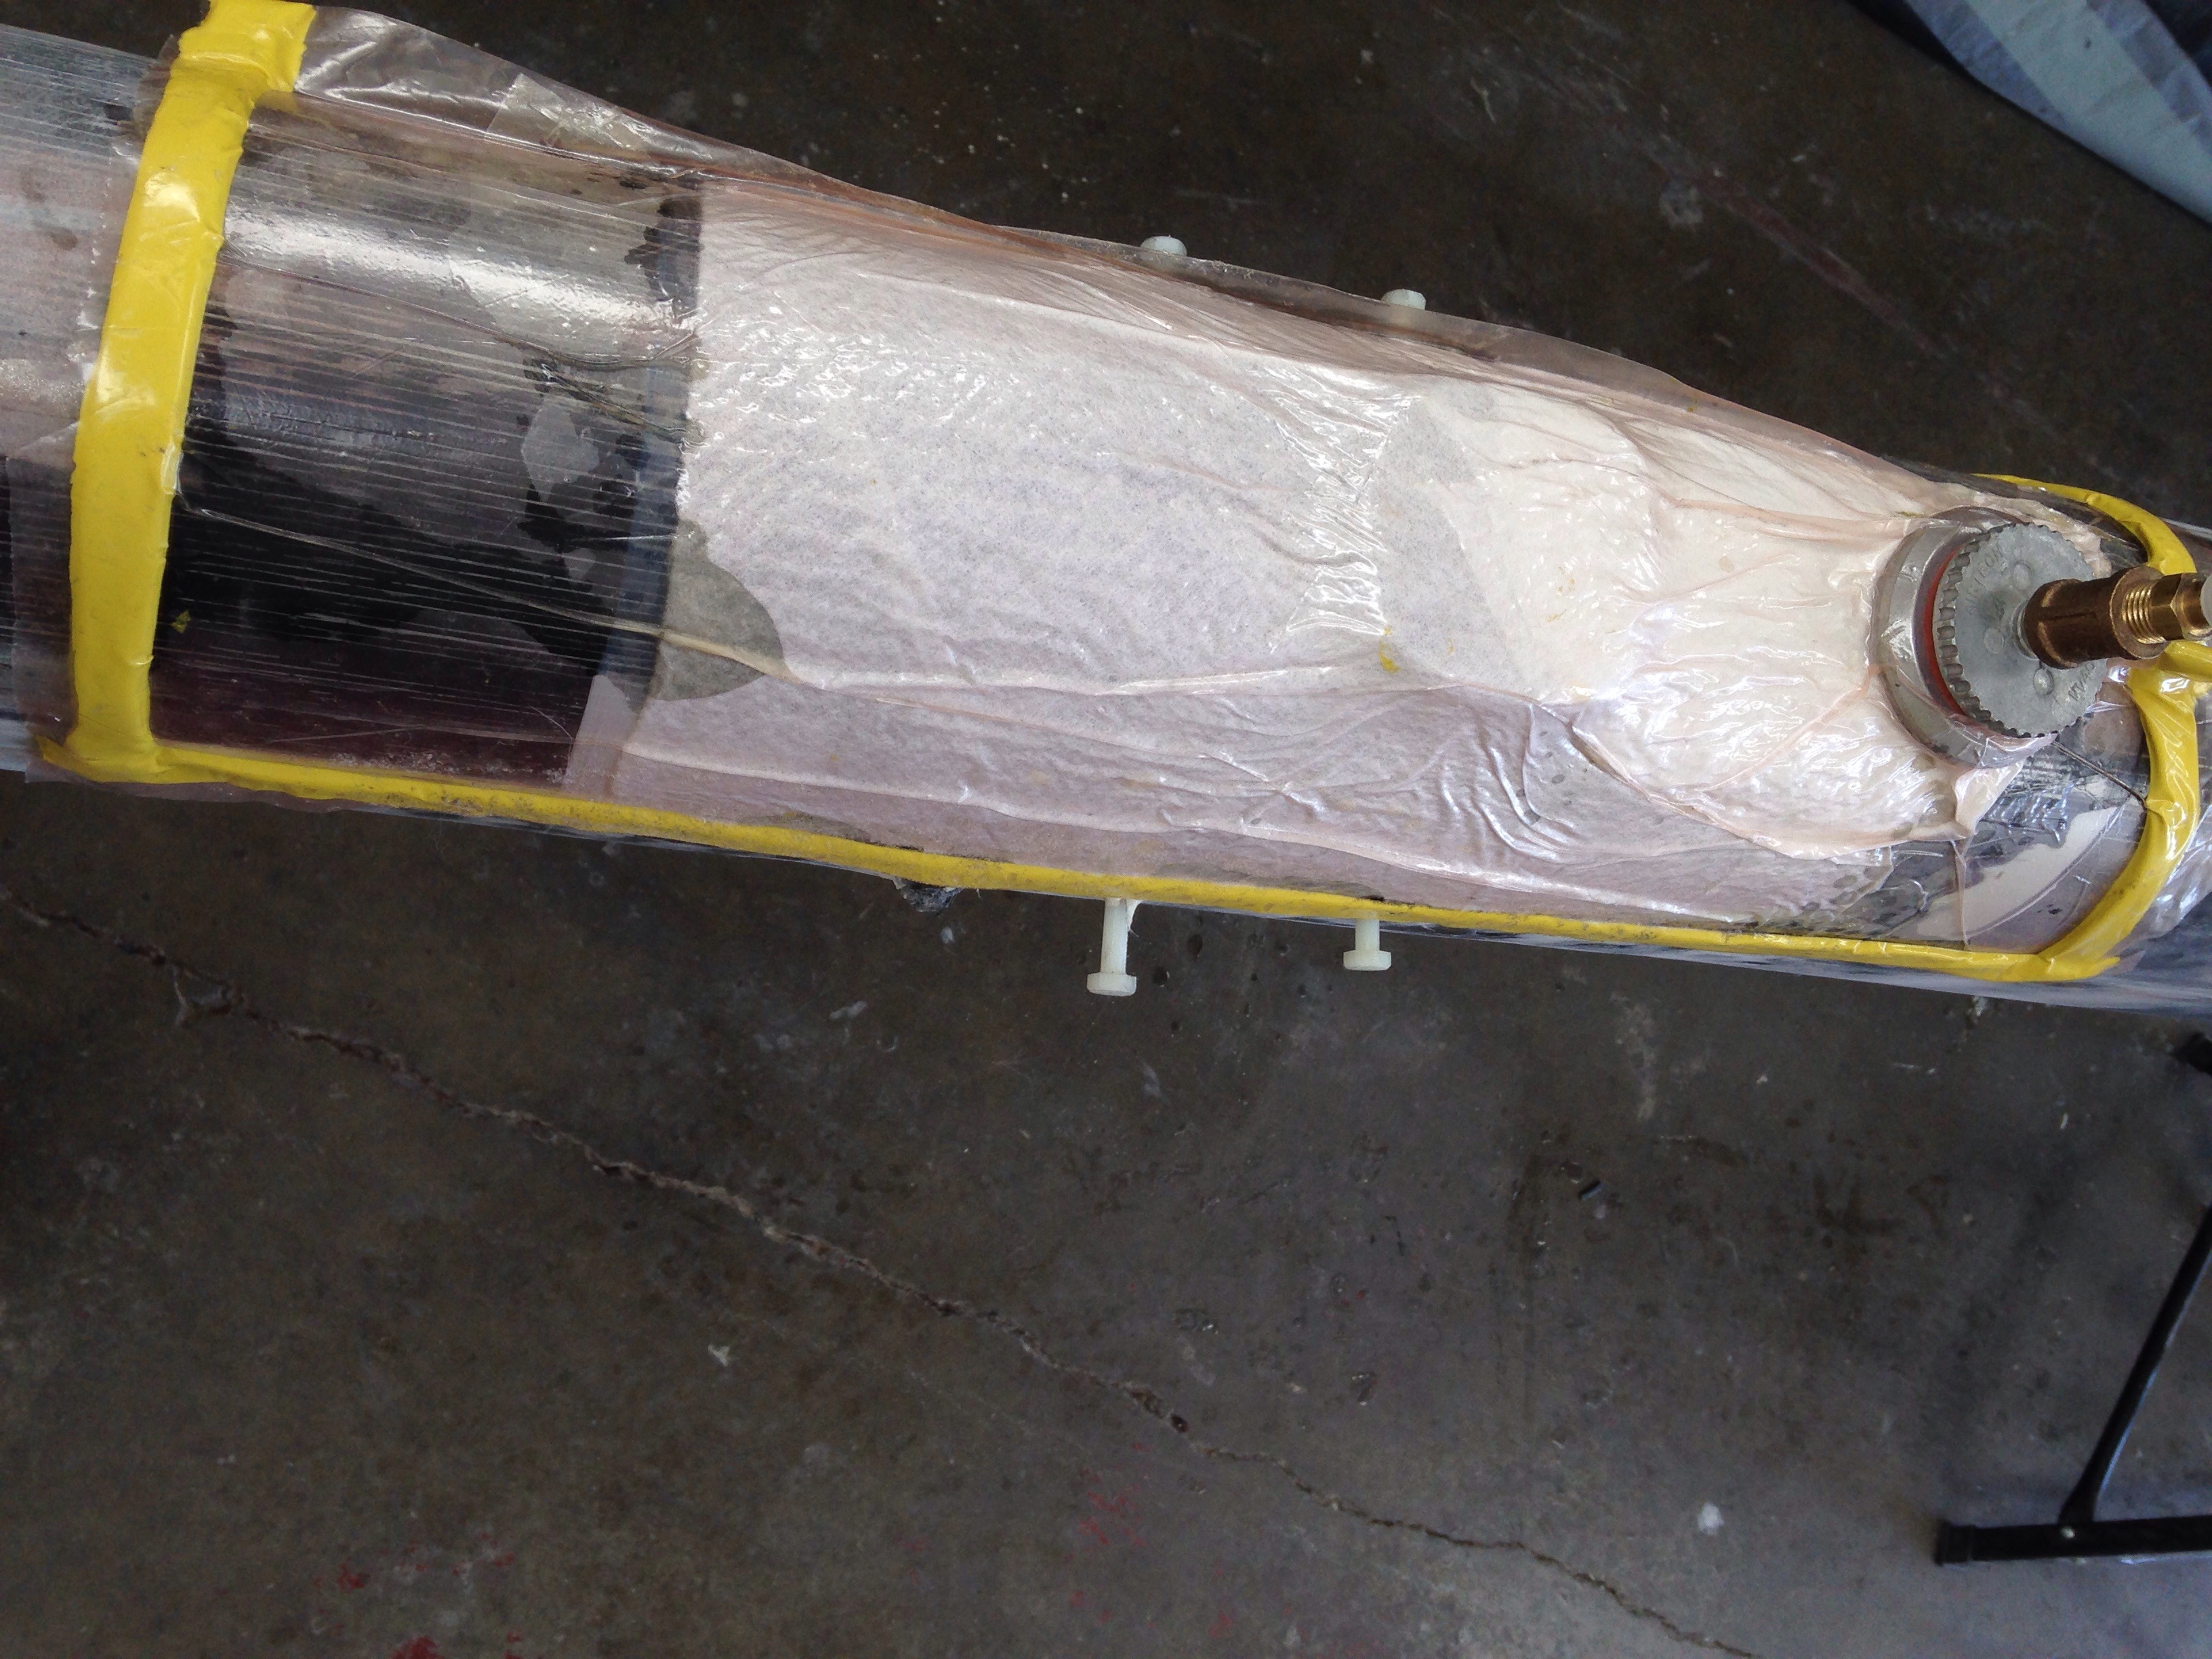
Here’s how the mast foot finished up. The perpendicular centered web of aluminum that Keith asked for was installed before building the new end cap.

20150830-170450.jpg

20150830-170515.jpg
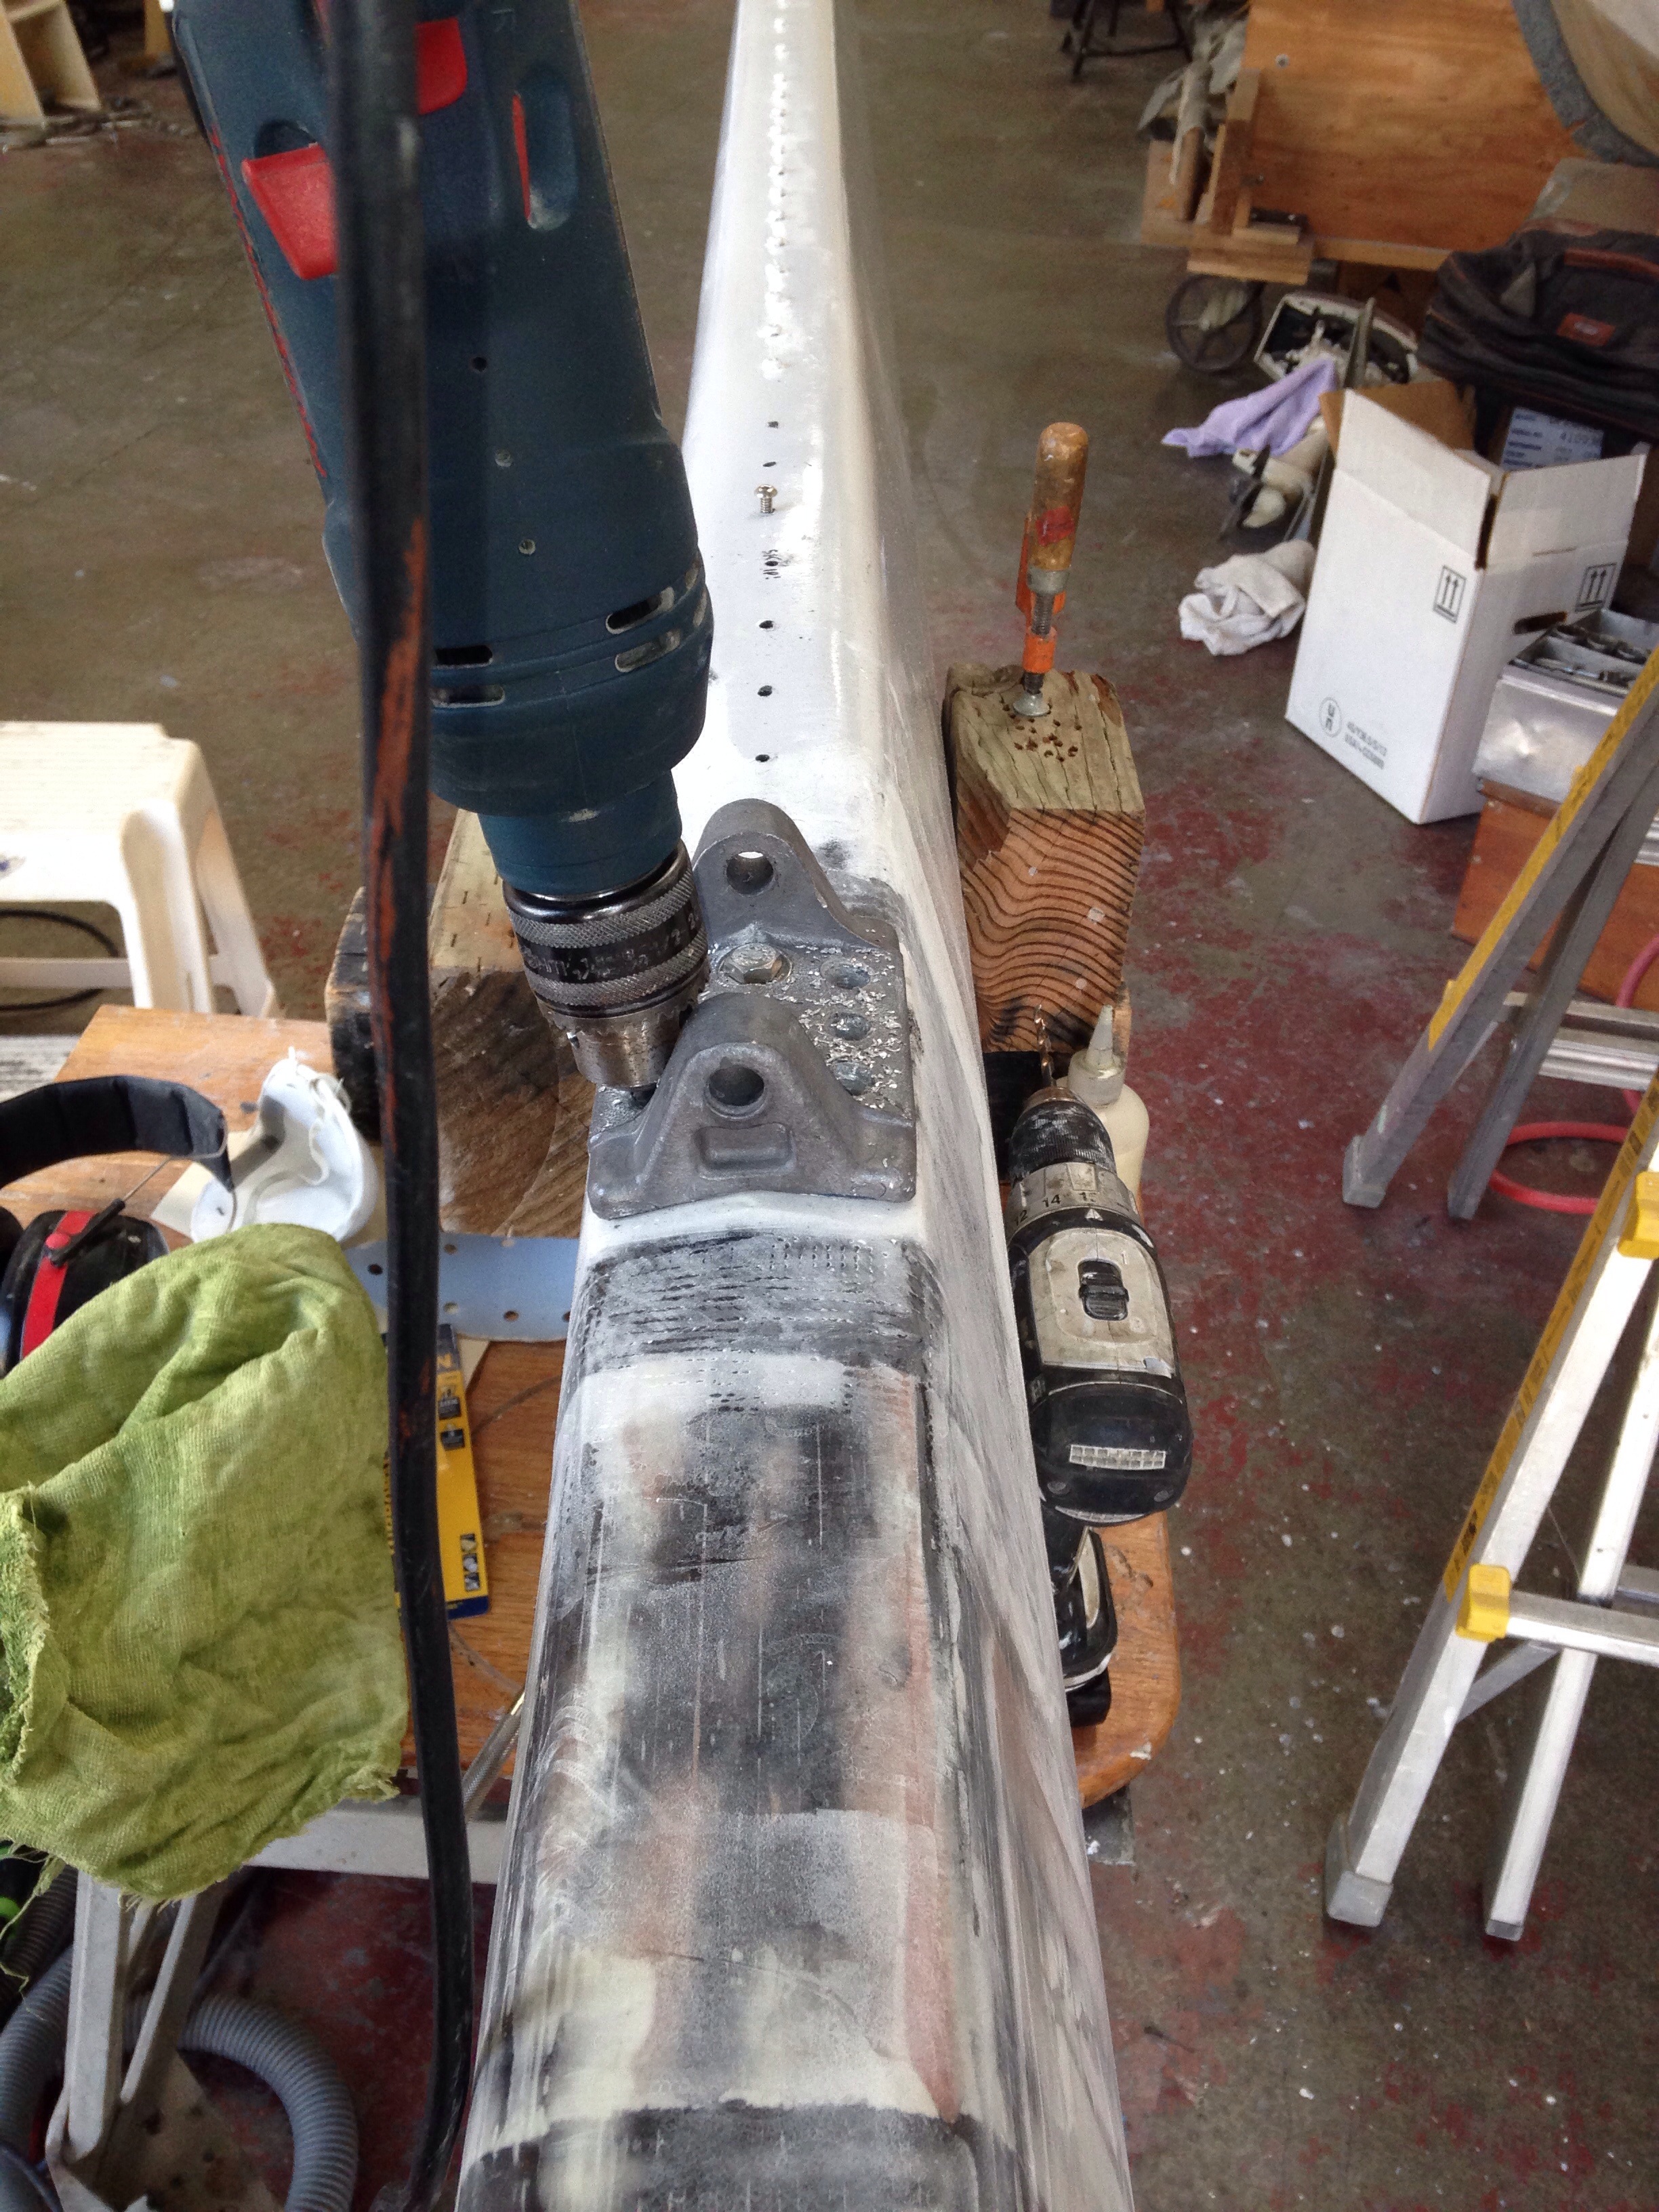
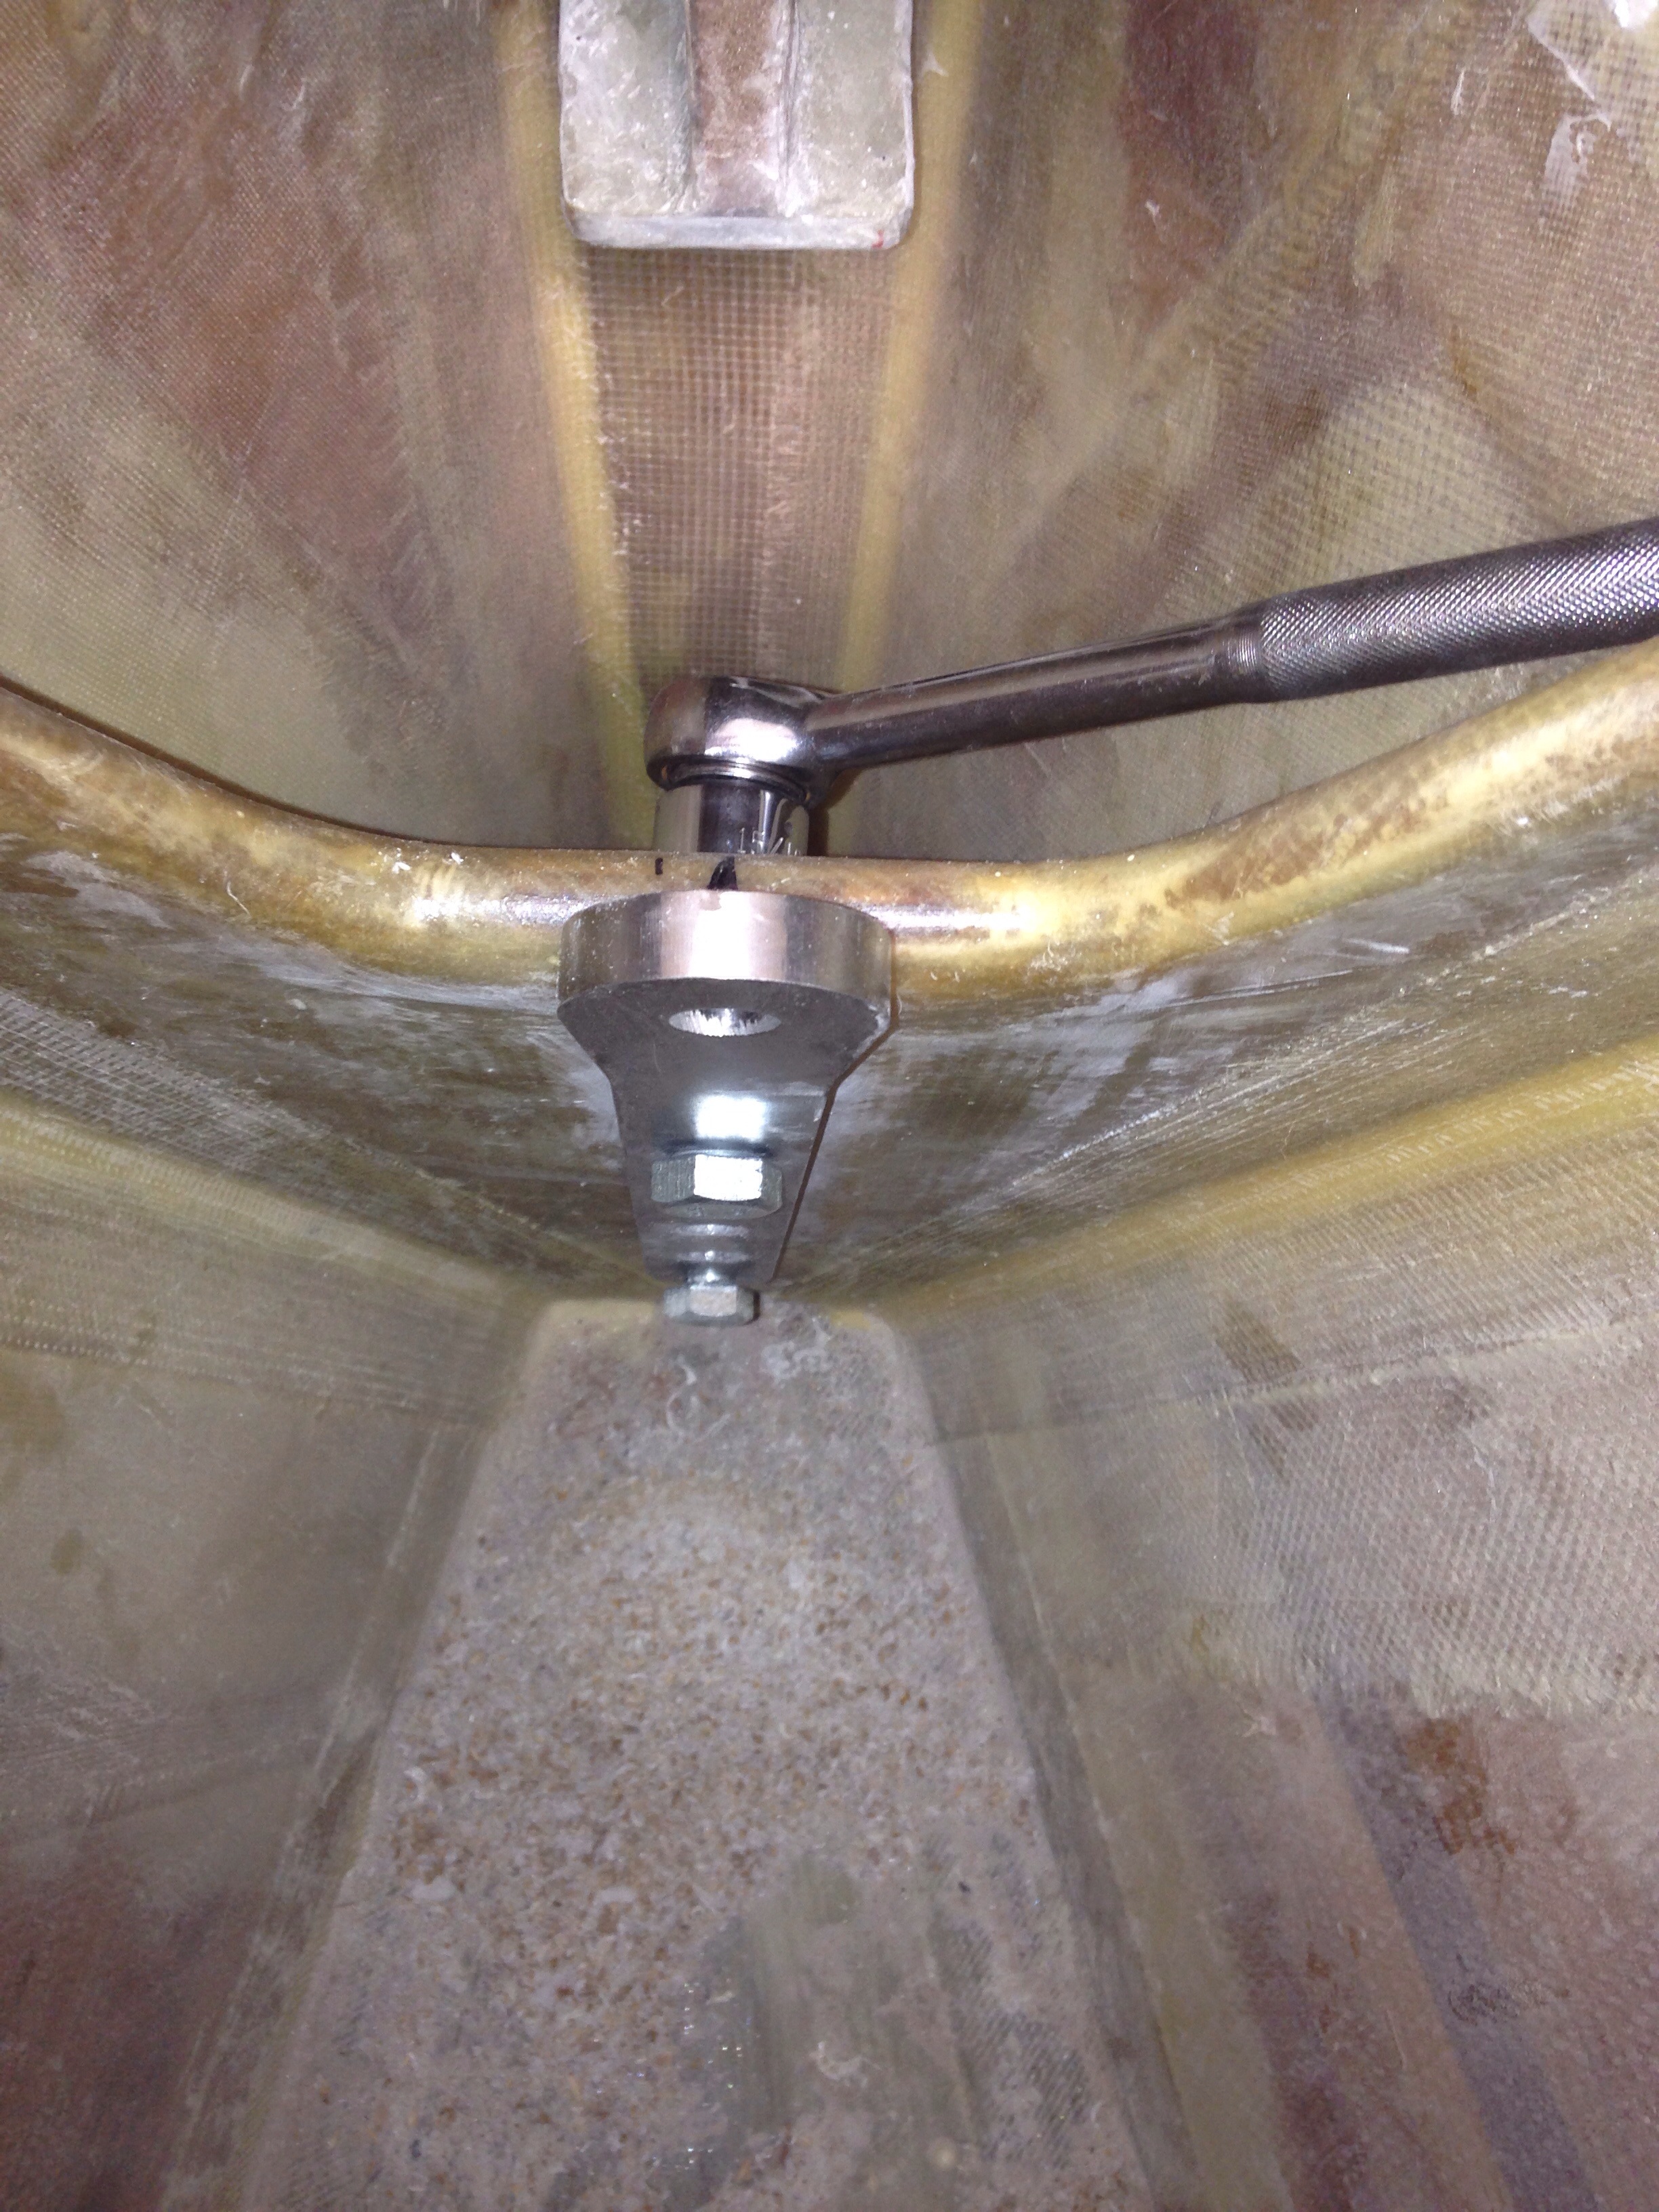
While the bonding putty dried, we went back to re-attaching the 175 Tides mainsail track clips.

20150830-170630.jpg
This was done on Carter Time – an unfortunate reality warp wherein the husband asks the wife to come over and help put these screws in …”it’ll take us about an hour”. Three hours later, plus a trip to Fastenal for more screws because someone painted the heads of the originals, making them useless, and the wife is returned home. Carter time sometimes applies to mountain biking but seems primarily to be an acute problem around the boats. Has anyone else been cursed with this affliction ?

After the new web, the cap was bonded and carbon-wrapped. The nylon-insert backing nuts holding the SS cup got red Loctite are now entombed, but we don’t expect they’ll ever need to be touched.

20150830-171235.jpg

20150830-171254.jpg
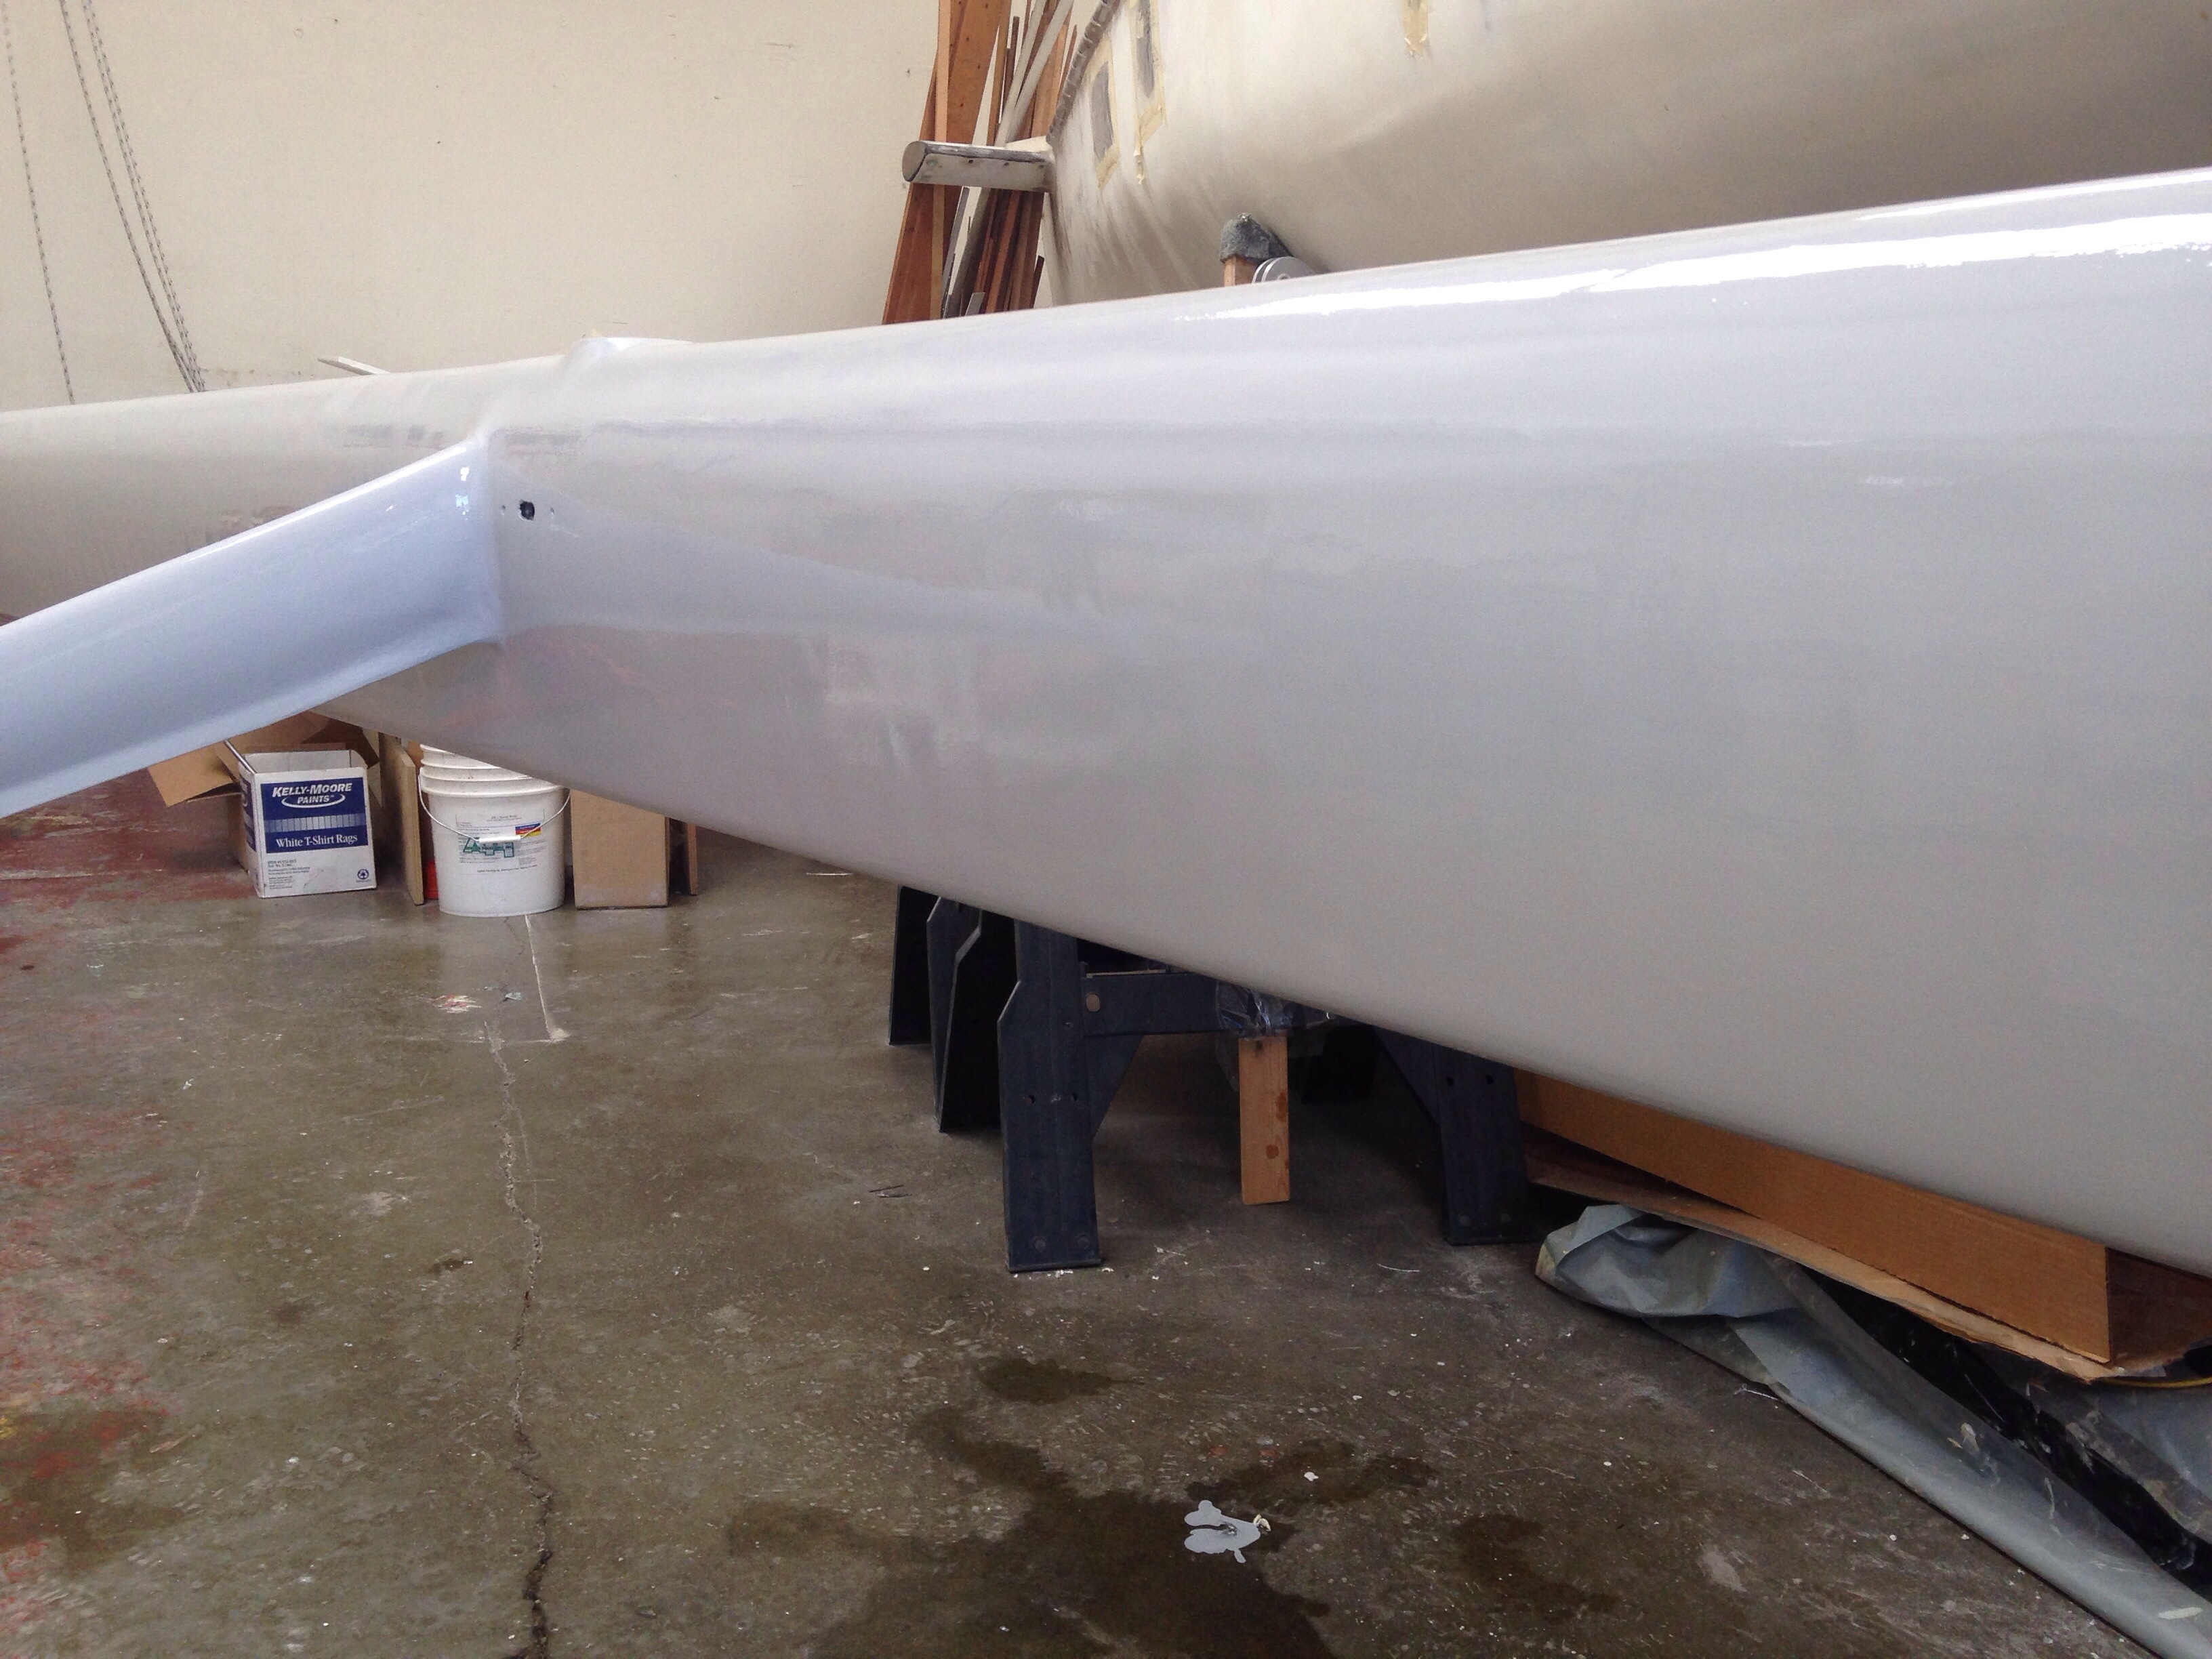
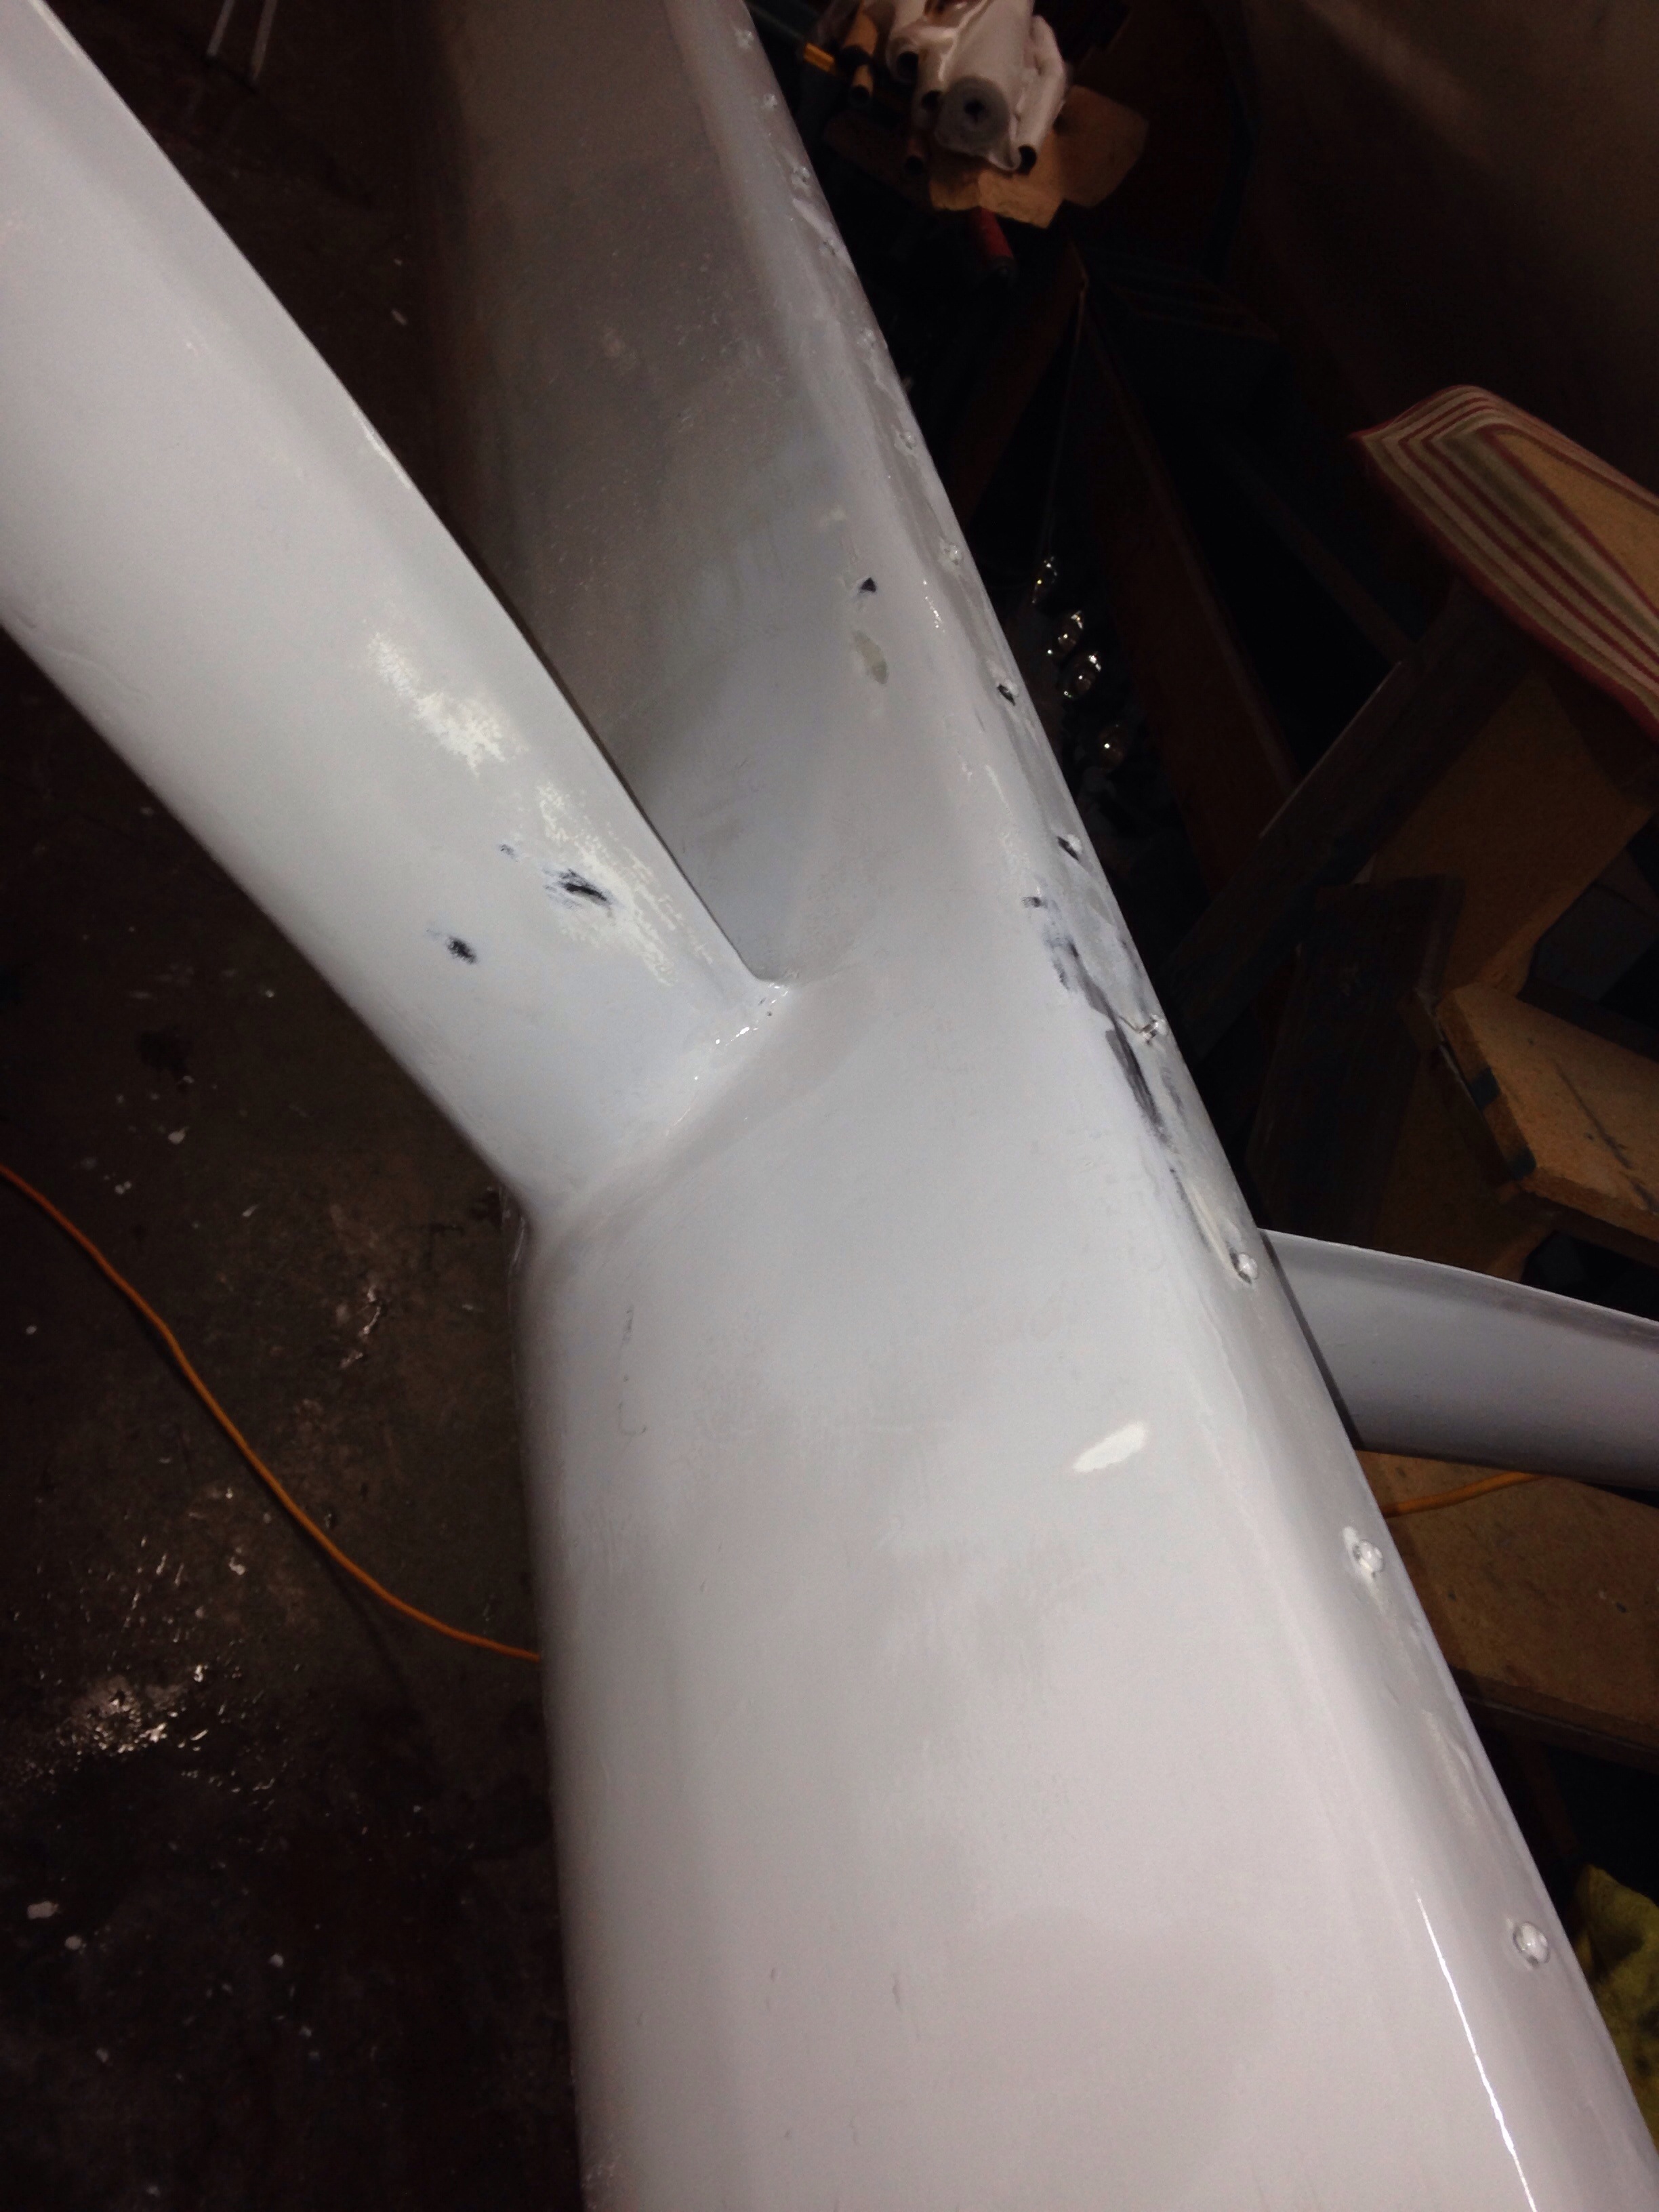
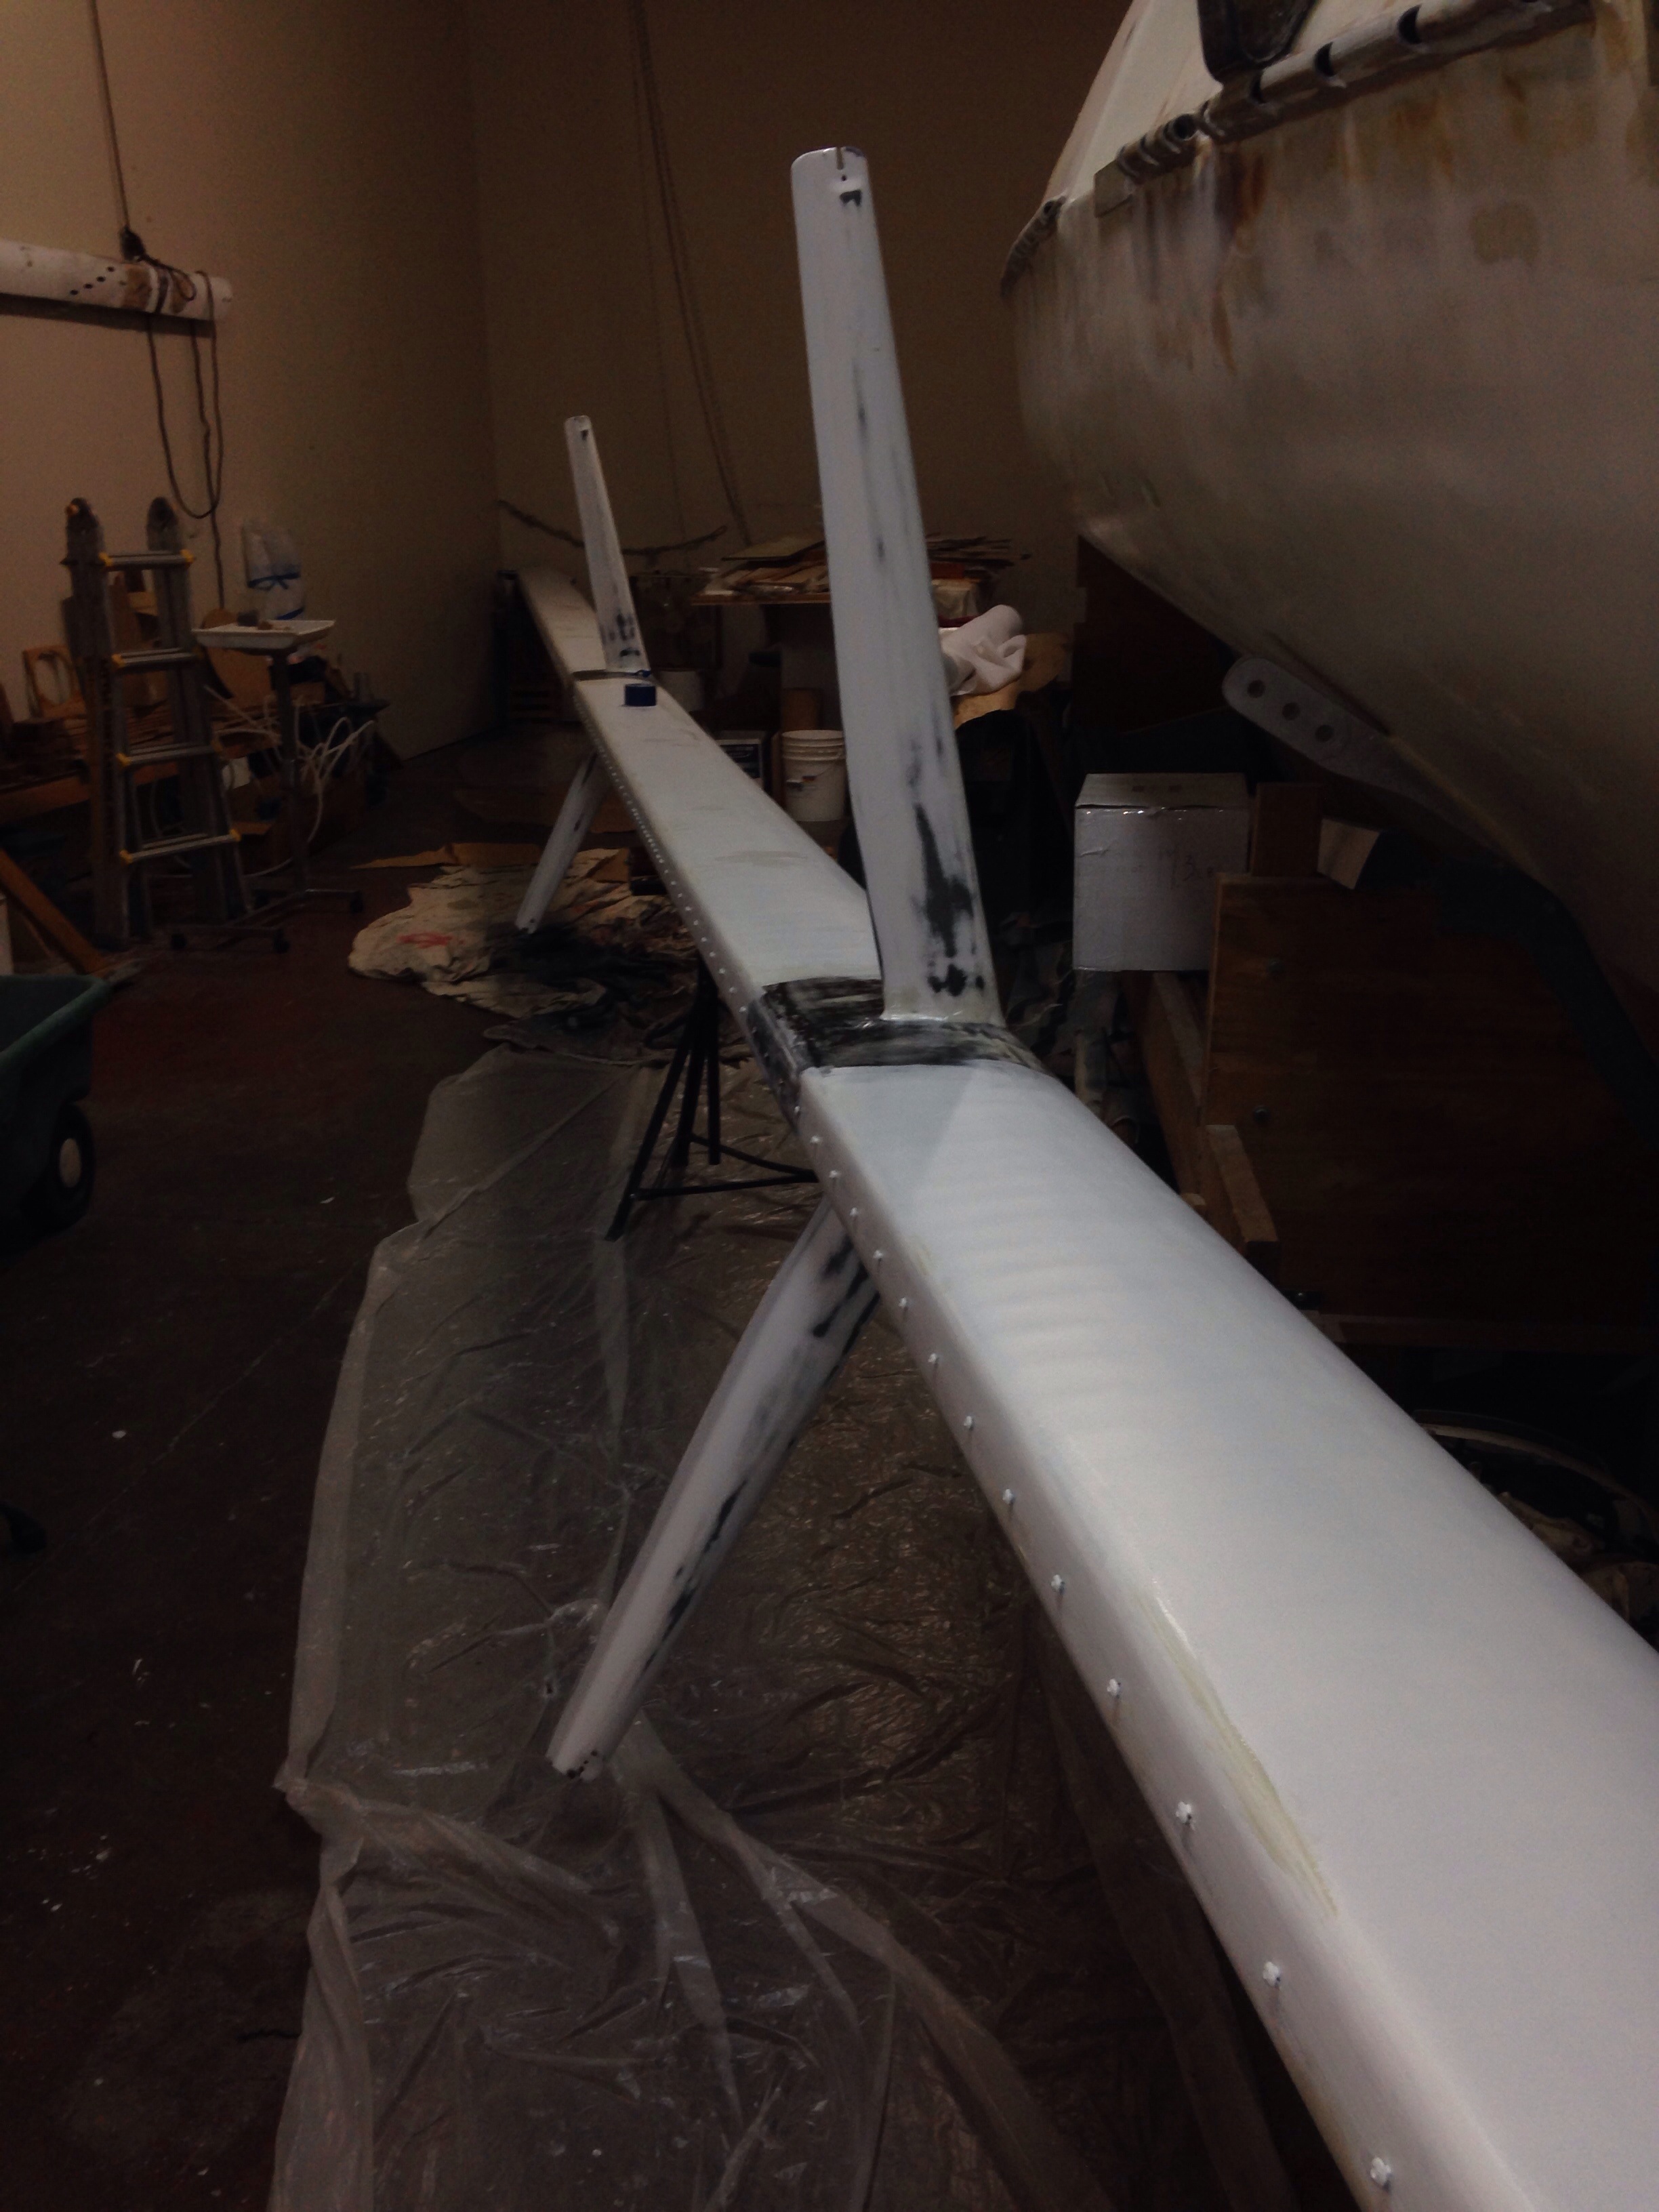
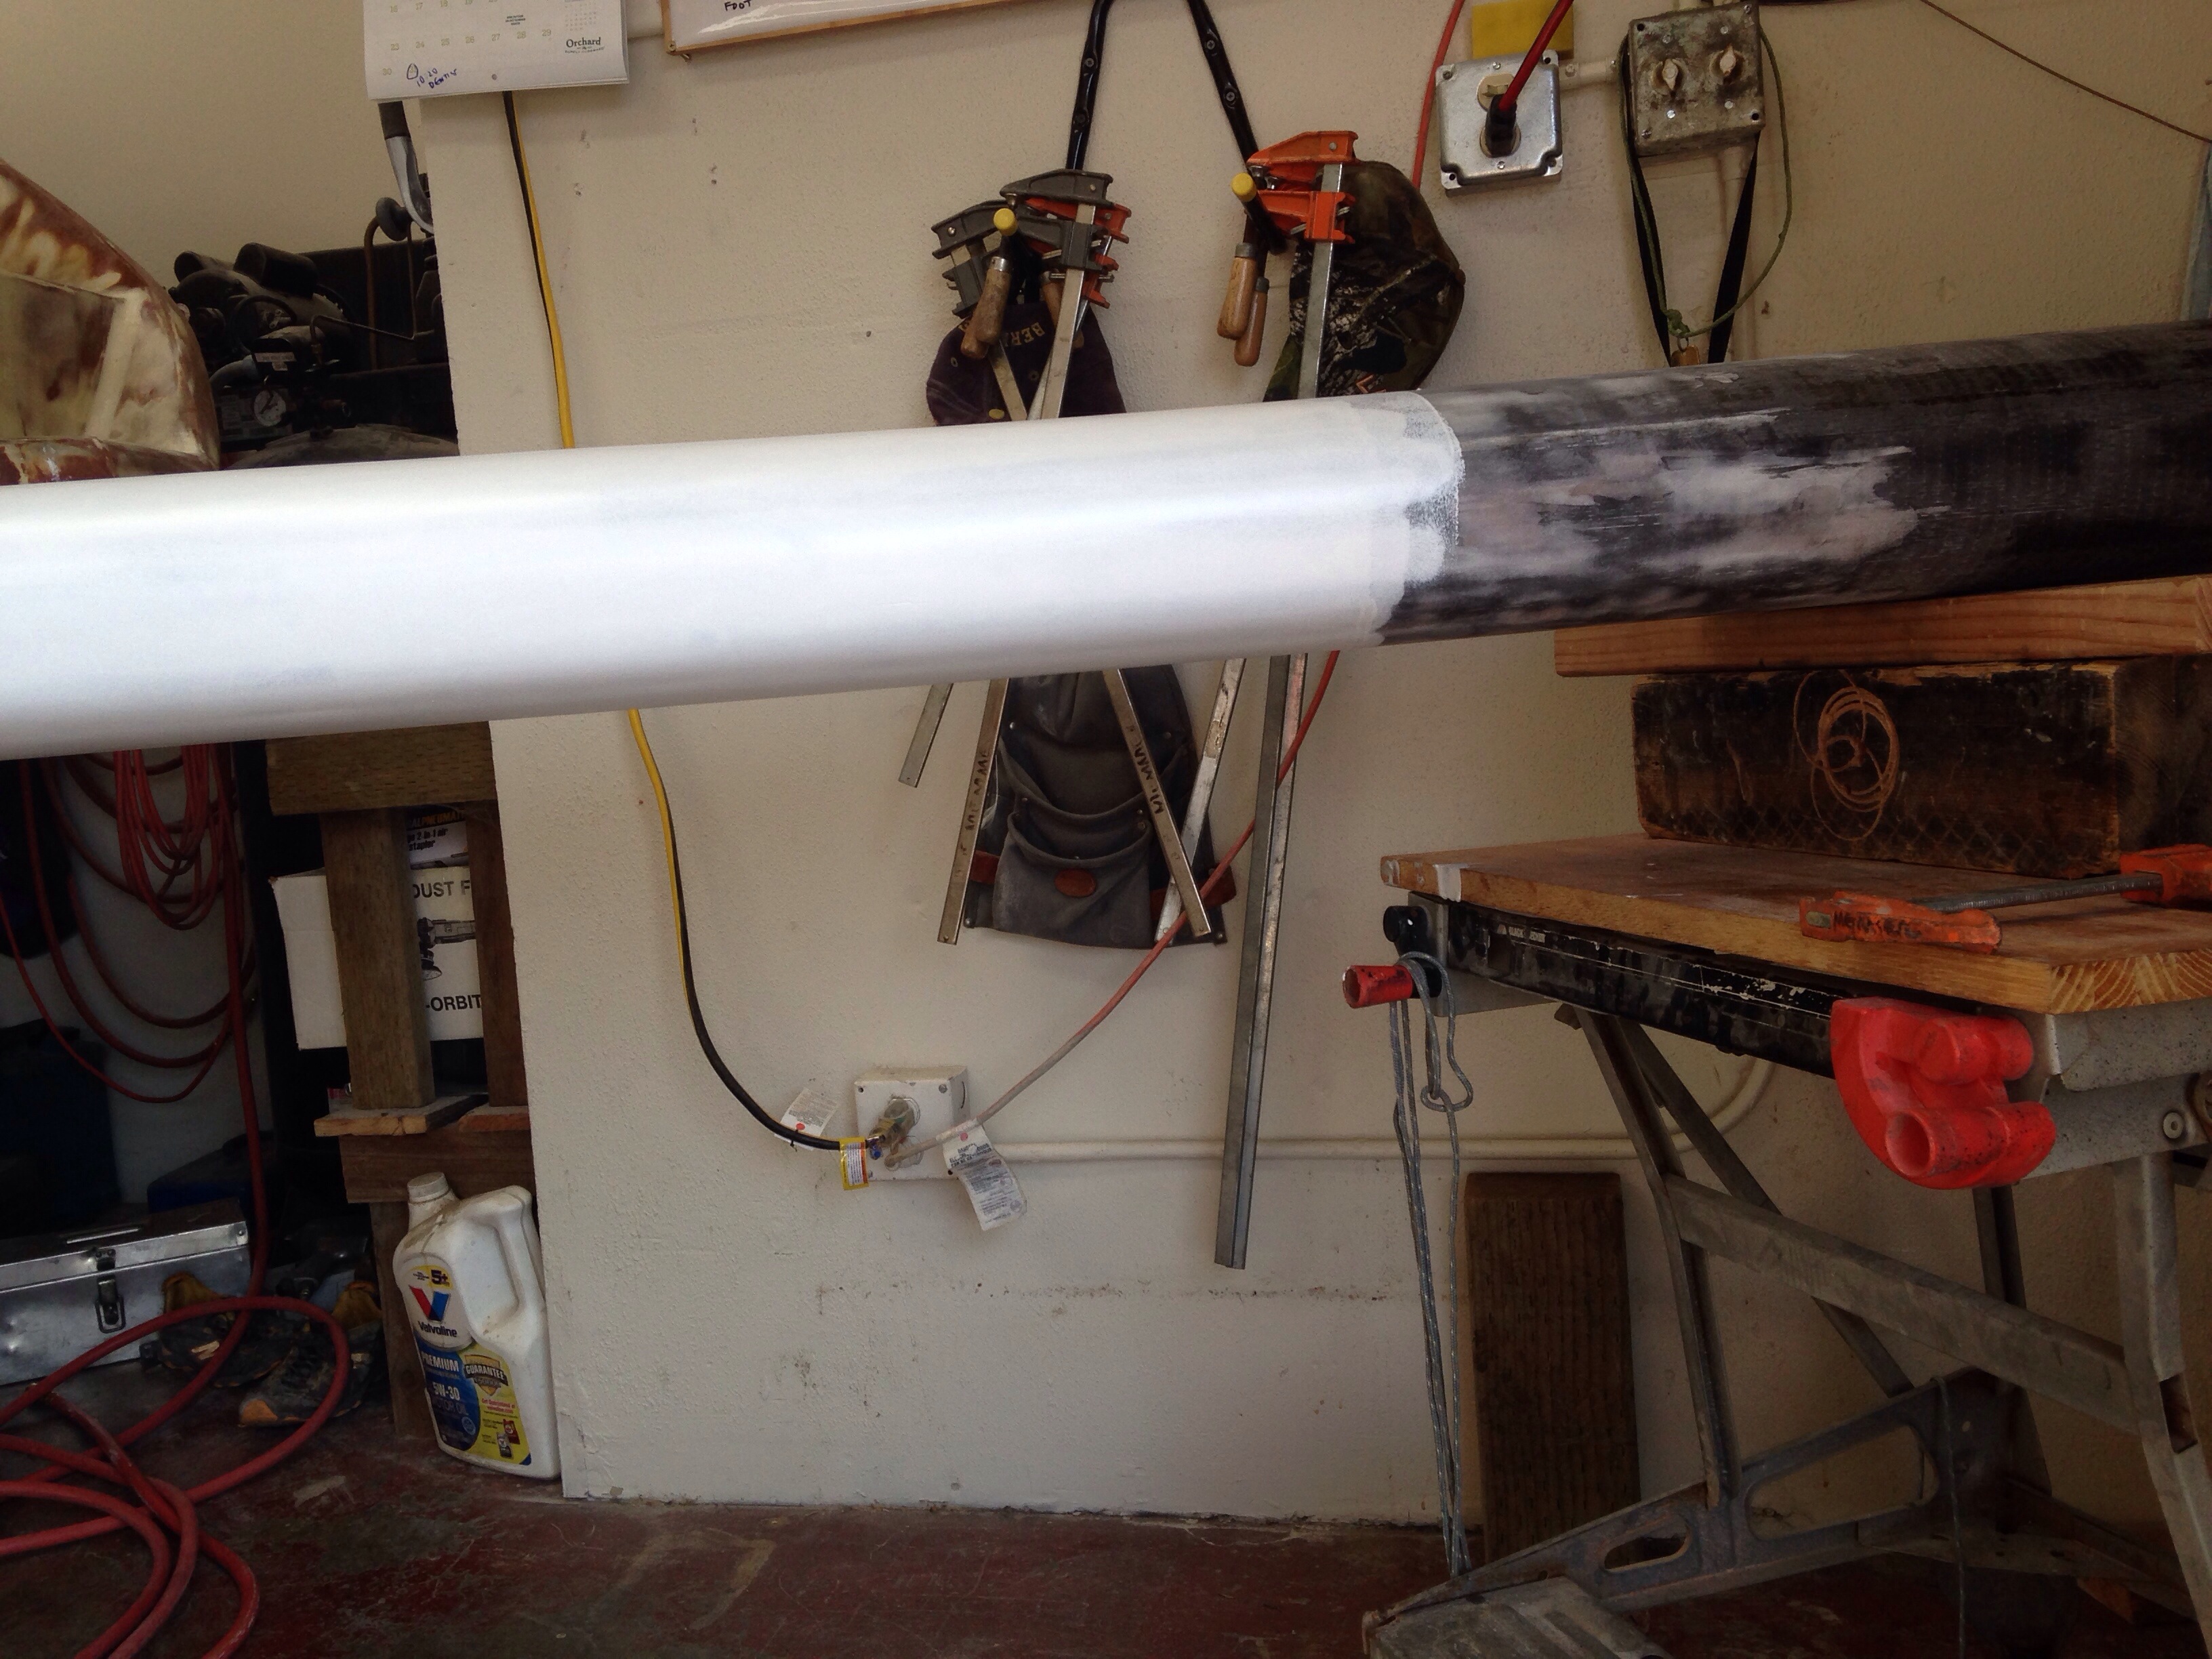
After a few more hours of installing hardware (gooseneck, sail track, etc) the rebuilt mast was complete. At 225 lbs we needed a new way to get it atop the trailer. Hmmm- look how the beam extends about 36″ out the eave of the neighbor’s roof…

20150830-171512.jpg
Late Saturday afternoon the shops neighborhood was deserted so we grabbed the ladder and bolted the chain hoist to that beam. With the mast on rollers Jeanne and I pushed it up against that building, lifted it 8′ in the air with the hoist and then drove the trailer in very close to the building. One local guy took pity and came over to help us steer / push the mast in to place atop the float and the whole thing was pretty smooth (but always stressful to lift these big expensive parts way up high!). No photos were taken – we had our hands full. Here the mast clears the pickup cab by 2 feet and overhangs the float end by about 4′

20150830-171953.jpg

So here at the end of August “the big parts” are all on trailers, stored and ready for launch – floats, mast, beams and daggerboard. The main hull needs a week of final glassing bits and fairing, and all of its exterior paint. The interior is 95% prepped for final paint, which will be sprayed this week. After paint is done both inside and out, we’ll do wiring then plumbing and finally install all the deck hardware. It’ll be a very busy September in the shop.

Taking flight

Congratulations to Griffin as he heads across I-80 to Univ of Northern Colorado. Your parents are very proud of your work and choices to start this next life step!

20150815-230404.jpg
Jeanne is making the drive with him, and the house is eerily quiet today. So the builder buried his head in the boat work today so as not to mope about the place.

Last week we visited Dean Pederson’s place to see the custom 25′ Brown tri he’s preparing to launch (more on that when we get some photos); that boat has a lovely 35′ custom carbon mast. The rotator cup looked built on to an end plate. And the next day Keith at Skateaway Design laid out our plan to add one more fore/aft web inside the last foot of mast, then cap the bottom and affix the new steel cup to that cap. All the compression downforces will then be shared through both the forward walls of the mast and a Tee structure inside. This cardboard mockup shows the internal webs underneath via blue ink.

20150815-231215.jpg
The cap was made by laminating a dozen layers of 12oz under vacuum on the work table. The cup has bolt head recesses cut inside – the backing nuts will be entombed after the cap is bonded on so we will secure them thoroughly.

20150815-231531.jpg

20150815-231546.jpg
Now we’re waiting for a piece of aluminum channel to make that final web inside the mast.
The new gooseneck position was drilled and tapped today. Goose visited yesterday and worried how we’d get that backing plate 31″ up inside the mast. It got slathered with high density putty and hand placed about 28″ in, and slid the last inches with a pusher stick. Careful repeated tapping set the plate down in the epoxy putty mix and it bonded well overnight. This morning the mast was flipped back over and the thread tapping for 8 bolts went in fine.

20150815-232113.jpg

20150815-232126.jpg
To beef up the last two feet (spread the load a bit above the 12″ internal webs, we added one more spiral wrap of 5oz tape and 28″ more of 6oz longitudinal uni.

20150815-232420.jpg
Above the gooseneck area the mast is now complete so the painting progressed well this week. It’s done in Interlux Platinum color – same as the beams last month.

20150815-232600.jpg

20150815-232618.jpg
This has been good learning of the roll & tip method, and more importantly how imperfect fairing or priming shows through. If the surface isn’t perfect before painting, the paint ‘ain’t gonna hide it, but rather it accentuates the blemishes. And yesterday we learned that trying to work all angles vs gravity is tricky, as in painting around the whole mast at once. The face that was pointing up looks great (those photos above), but what had been facing the floor ended up with some paint blotches and runs. Pretty frustrating tonight to be sanding away money and causing repaint work tomorrow. See the after-wet-sanding spots from tonight.

20150815-233221.jpg
With the mast almost done we made it back to the main hull today, and thanks to Charlie’s loaned right angle drill finally tackled the awful access job of boring five big 5/8″ holes in the forestay bulkhead to receive that chainplate. Colligo Marine took our specs and custom cut the chainplate in titanium. Thank you Guy Stevens for challenging me how we’d inspect and/or replace a stainless steel chainplate since it’s getting permanently bonded in place. The titanium is going in to this “forever” spot instead.
It was over 90 degrees up in this corner of the shop, with really bad angles for the installer’s knees, etc. After many foul words uttered and about an hour and a half all holes were lined up and the plate successfully dry fitted. It’ll get bonded in once the right bolts arrive.

20150815-233918.jpg
The boat shop will go quiet for a few days while I fly to CO and join Jeanne for freshman parent orientation and sightseeing in Greeley/Boulder/Denver area. Then we’ll get this mast project wrapped and hammer away at the cabins finish details…

Quick photos for Keith

Today we finished up the mast spreaders and prepared the last two feet of the mast for its new base attachment.

20150810-191641.jpg

20150810-191659.jpg
Good news for Stephen and Curtis, Jim Antrim, Guy Stevens and Keith – all that deflection at the spreaders is now totally gone; the walls are much stiffer!

Here’s the last foot or so of the mast before and after removing the steel pivot pin:

20150810-191847.jpg

20150810-191903.jpg

20150810-191929.jpg

20150810-191942.jpg

20150810-191956.jpg
And here’s the relative size of the new cup that has to get mounted inside the mast:

20150810-192039.jpg
Stay tuned for a proper plan on fixing this cup solidly…

Back in white

What a relief to get some paint back on the mast! All those sail track screw holes were tapped, fairing done, and some epoxy primer rolled on.

20150808-214424.jpg
Then we made a composite base for a steel pad eye just below the upper spreader as the terminal for the check stays, part of the running backstay system. After the base cured it got some carbon exterior reinforcement to maintain proper position.

20150808-214630.jpg
Late today the spreaders were bonded back on and tomorrow they’ll get carbon tape reinforcement.

20150808-214730.jpg
The surface looks good just in primer, so we’re eager for final paint during the week. Note to the future: the mast surface shows some minor flat spots / deviations. This is due to six added layers of hand layup (vs the original structure’s vac bagging) and overlapping fabrics. We chose not to add the cosmetic-only fairing weight it would have taken for a full-smooth finish.

20150808-215134.jpg
And since we’ve gone this far with the mast, we decided to tackle an old concern. The mast currently has a 1″ stainless steel pin sticking out the bottom. This pivot-pin is received on deck in a stainless steel box with a delrin cylinder machined out the same size as the pin. The mast would rotate freely around the pin but could not tilt in any direction. The mast builder is also the designer of the Contour 34 tri, and we saw first hand on that boat how this constrained pin had busted the SS deck box welds. So we want to replace the system with a steel ball mounted on the deck and a matching cup inside the foot of the mast. Here are the new parts from Skateaway Design that need to get mounted.

20150808-215746.jpg
The SS cup will get bolted to a horizontal plate and somehow attached to the mast walls. The white delrin slides up in to the SS cup.
Then the new trailer hitch ball needs to get bolted to the deck plate box. Here it’s just resting on top.

20150808-220004.jpg
I think we can weld a small plate on top of the box to receive the ball, and drill a large hole on the bottom of the box for access to the big nut that secured the hitch ball to the base box.
We’ll show you the hard part – securing the cup inside the mast – once the current pin gear is disassembled (after we’re done paint prepping with the “rotisserie” function of that pivot pin).

If anyone wants to debate how to secure that cup inside the mast, send your thoughts!

Thanks

Tap tap tap

It was easy to fill in all the old holes on the mast from the prior installation of the Tides Marine sail track. But we knew there would be pain ahead when the beefed up mast was ready. Ugh, it’s been five hours so far to drill and tap about 100 bolt holes.

20150804-191748.jpg

The green tape is the same one you saw two weeks ago, marked with the old holes so we could ensure the new ones are far enough away.

We tried putting the threading tap in a low speed power drill, but the machine’s torque broke the bit – seems you really need that touch of doing it by hand. 70 more to go, a couple minutes each… No TV tonight :)

Thanks Latitude38!

wow, Latitude gave our boat some nice real estate in their August issue. You can read their story in the online edition, or page 84 of the print mag. Go to Latitude site here

When managing editor Andy Turpin visited the shop, I was a bit vague about the project history between the two families. So a few clarifications from the article… Howard and I combined add up to about 7k hours. It was Howard’s idea to ‘take a bit of the forest to the sea; I liked that and have continued with the cabin woodworking he started. Thankfully, we have Farrier’s updated plans for the F39 cassette rudder system, so that part of the steering is built to plan. We’ve customized the steering linkage components, and of course all that trim tab / wind vane stuff. And for those who are really tracking my details, the beams fit in to sockets in the floats, not the main hull :)

A big thank you here to the Latitude 38 staff for taking the time to drive up to Santa Rosa, do the fact-checking phone calls and give us so much encouragement. That 2015 Baja HaHa start line is now sounding too optimistic, but Ravenswing will be out there sailing this year and we love the last line in his story.

For you Latitude readers who’ve just clicked over, notice the Follow button on the right side of this website home page. Sign up with your email address and you’ll get the latest installments of the build sent about once a week. WordPress does NOT use the email addresses for anything else and the list is confidential.  I’ll be posting details about launching and test sails where we’ll need plenty of crew to shake down the new boat. Hope to see you out there. 

We only got a few of the “credits” into the article – there are many more fantastic supporting companies and individuals to this project (I don’t think you can build one of these boats alone!). We love the help from Skateaway Design, Colligo, Digital Marine of Sausalito, Fiberglass Supply in WA, Applied Poleramic (epoxies), Golden Oldies Multihulls in Reno, and MultiMarine in Venice (yea, that’s Leneman’s summer splash tshirt I’m wearing in Latitude shots). If any readers want sourcing help, drop me a line. 

Thanks for reading!