Hi folks – sorry for the time gap as I had some software troubles with the latest WordPress update. Plenty has happened on 005. For example, just when I thought the rudder was done, the conversation at the boat show with the founder of ScanMar self-steering systems led to purchasing an AutoHelm wind vane that will steer a trim tab on the trailing edge of the rudder (think of the flaps on the airplane wing). Haven’t heard of anyone who has done this yet with a Farrier cassette rudder system, so I’ve engaged Jim Antrim, a SF Bay Area naval architect, to design the modifications I’ll need to keep a working foil shape. Stay tuned on that story, after the first meeting with Jim.

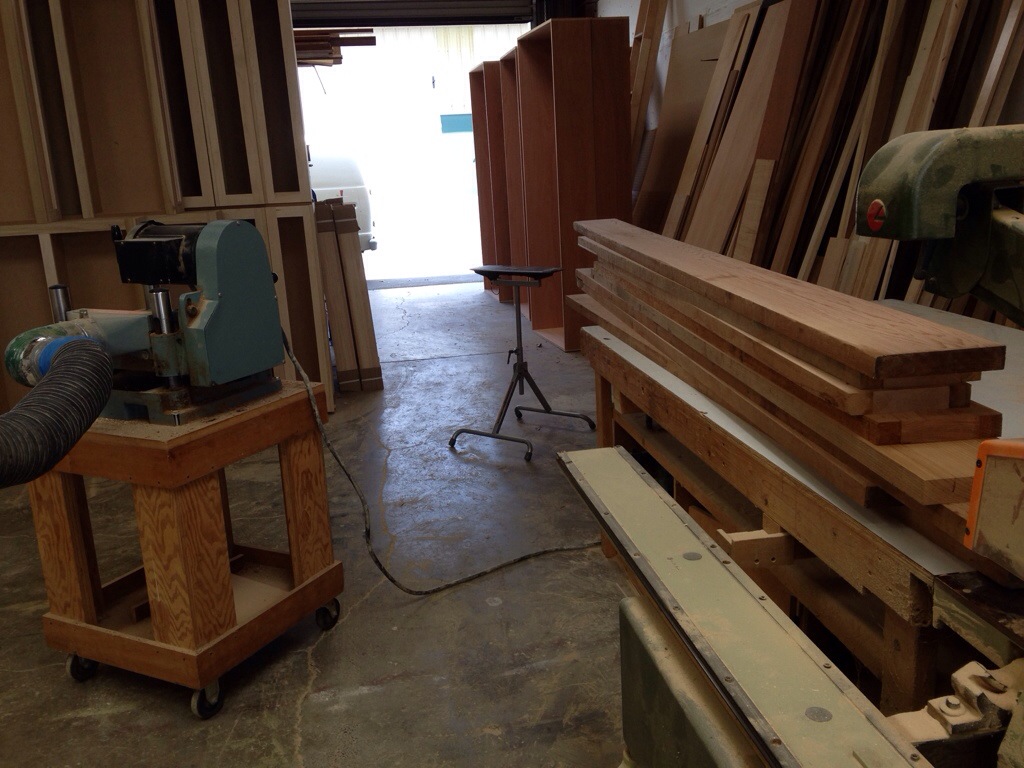
So, the ‘keel’ – most visitors to the shop ask how the boat can be sitting close to the floor, “where’s that big fin that sticks under a sailboat?” Then we have the conversation about the 100,000 lbs of buoyancy from the leeward float and we look at the big slot in the bottom (and top) of the hull. Well that big hole is almost plugged with the new retractable daggerboard. It started life as these western red cedar 2×8″x10′ planks that we’re milled about 25 years ago.

Since the dagger trunk is already installed, we cannot build the daggerboard too thick such that it sticks or jams going up and down. The plans warn to make it smallish and later on use shims to take out any sloppy movement. So we calculated a 2.5″ thick wood core was needed before the fiberglass work. So that led to planing the planks down to 1.25″ each…
There’s a big thanks to neighbor Michael for the hour we spent using his big planer. Our machine would have taken much more work, plus his magic sawdust collection system made it all disappear!
Now the planks get arranged for glueing up – 80 board feet of 8″ cedar was a pretty big load!

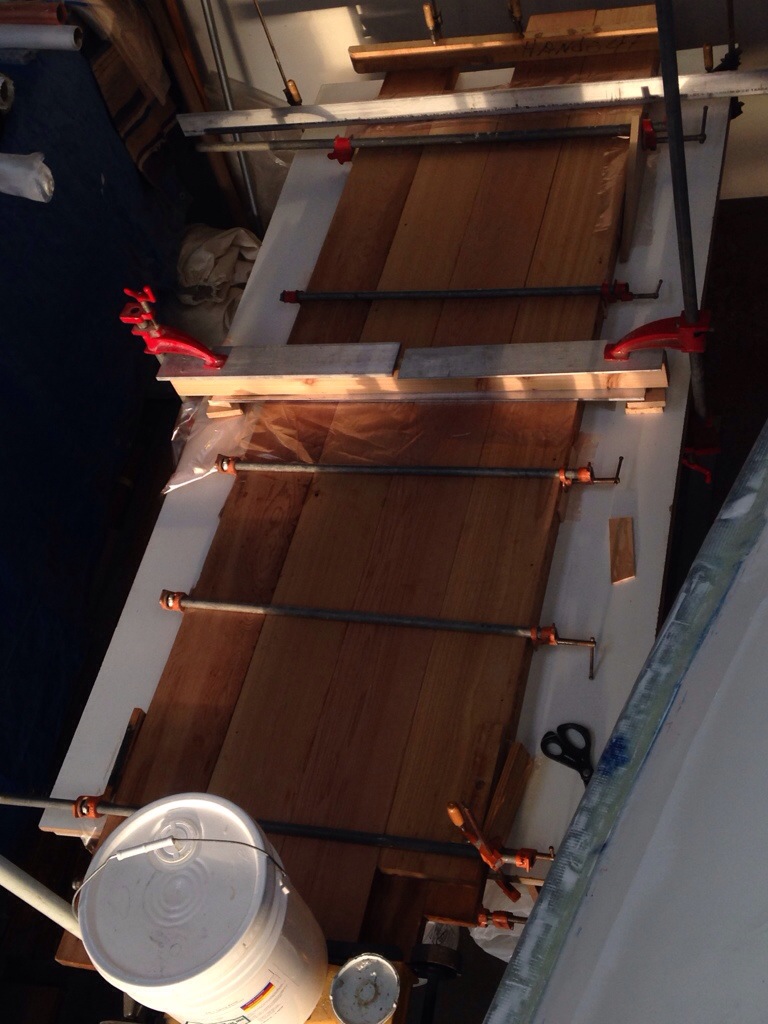
This job didn’t get a full size plan and tracings as the dagger is one consistent for-aft size and built on parallel lines. So we just traced it all out right on the wood.

Now for the underwater shape – that comes from a full size drawing in the plans, and we took depth measurements at set intervals along the curve, just as was done building the rudder last month.

On the first side we started with the router,but the huge amount of material to remove proved daunting. So we switched technique mid stream, and I’d say this is the way one should try: set a good circular saw to the contour line depth that follows a straight line, and run the circ saw to cut that groove. Repeat for all the depths needed to create 1/8″ depth steps. 1/16 would be better, but my big worm drive saw couldn’t be set that precisely. Then we cleaned out the cuts with blown air and spray painted to get dark lines at the trough bottoms.
 now it’s relatively easy with the power hand planer to shave down the board until getting close to the spray paint lines. And we found the final shape with the ShurForm.

Next up was rebating out more wood to make 10″ wide carbon fiber stiffeners down each side. Our original football field worth of unidirectional carbon rolls is now down to a single first down’s worth.

The plastic pipe segments near the top of the board are where the pull up and pull down ropes will be attached.
And actually, before the carbon went on, the cedar was cut through to refill with a hardwood insert of maple at the intersection of the waterline below the boat and the board’s midpoint.


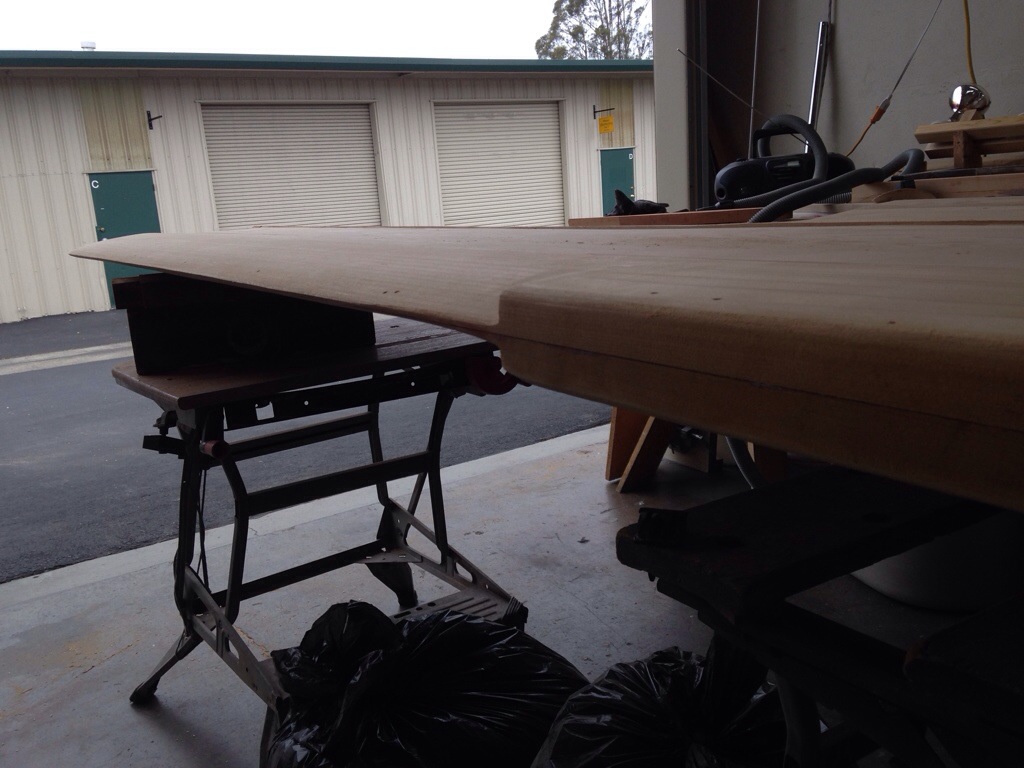
The fiberglass skin is now applied, except for wrapping and vac bagging the board’s edges tomorrow. More photos in a few days when it starts to look good. It’s sized like a barn door, a tad over 8′ long. Gonna take a couple of us to wrangle it up on deck for trial fitting!