Inching Forward

We’ve done a good job ignoring the bottom on the hull for years now. It helped to store lots of supplies under there and hide the work needed. But Thursday evening was time for a big cleanup and rearrange, centering the boat in the shop with good clearance all around. Time to drop to the ground with a bucket of epoxy filling putty and get to that bottom job.

This is looking up at the stern, about half way thru applying the final primary skim coat. The pencil line is hand drawing the bottom paint waterline at the same 35″ above the floor all the way around. We’re going to apply bottom paint 4″ above the planned waterline, especially since I don’t want to have to pull the boat for re painting if it rides low at the initial launch.

20151025-082824.jpg

Inching along the hull, carefully filling all little nicks, gaps, hollows and pinholes from construction and earlier prelim fairing a few years ago…

20151025-083000.jpg
And 8 hours later, finally getting to the pointy end!

20151025-083047.jpg

Next up is spray painting a “guide coat” to look for any more low spots. That’ll take some photos to explain.
But not today; it’s time for a day off and crewing in the Great Pumpkin Race on Drew’s F27. Sail fast!

4th coat

It occurred during the endless sanding tonight that maybe all the fairing work is what truly makes it the builder’s boat. The hands on every square inch of this 39′ beast, multiple times with big sanders, the “torture board”, hand sanding tools and finally just holding the damn paper until it gets too hot in your fingers. All the fiberglass, carbon and fancy epoxy buildups – now we sand that labor and money away. Could be frustrating, but instead tonight just maybe it’s more like sculpting – keep chipping away and we’ll find that pretty boat in the stone. Lots of chipping away, to be clear!

The deck area is close. Where other builders get it done in three fairing passes, we’ll apply coat #4 tomorrow to fix various blemishes and still unfair spots.

20151021-233129.jpg
Marking the blemishes with a pencil as soon as they’re spotted in sanding is a big help later.

20151021-233143.jpg

20151021-233201.jpg
See the shiny (low) spots in the last photo of the companionway slider cover; that’s probably one more pass of putty then final sand before primer. A couple more days of spot fixing like this will have us ready on the whole boat down to the water line. Next up will be somehow lifting the hull a few inches off its big trolley and fairing the whole underwater area. A busy weekend ahead…

Heading outside

I know, nothing here for a month and now two posts in one evening – what gives, Carter? We’re blaming it on time spent starting up a new company. The boat didn’t get finished quite soon enough before a good commercial opportunity cropped up. So we’ll be splitting time now until the launch. The business is centered around shipping ports and this boat will make a fine floating office. For my Haggin friends – Wychocki and I are partners again, now with EagleRail

We’ve happily declared the interior complete enough to move back outside, finish all fairing and do the complete exterior paint job. Along with the video in the prior post, here are more interior details.

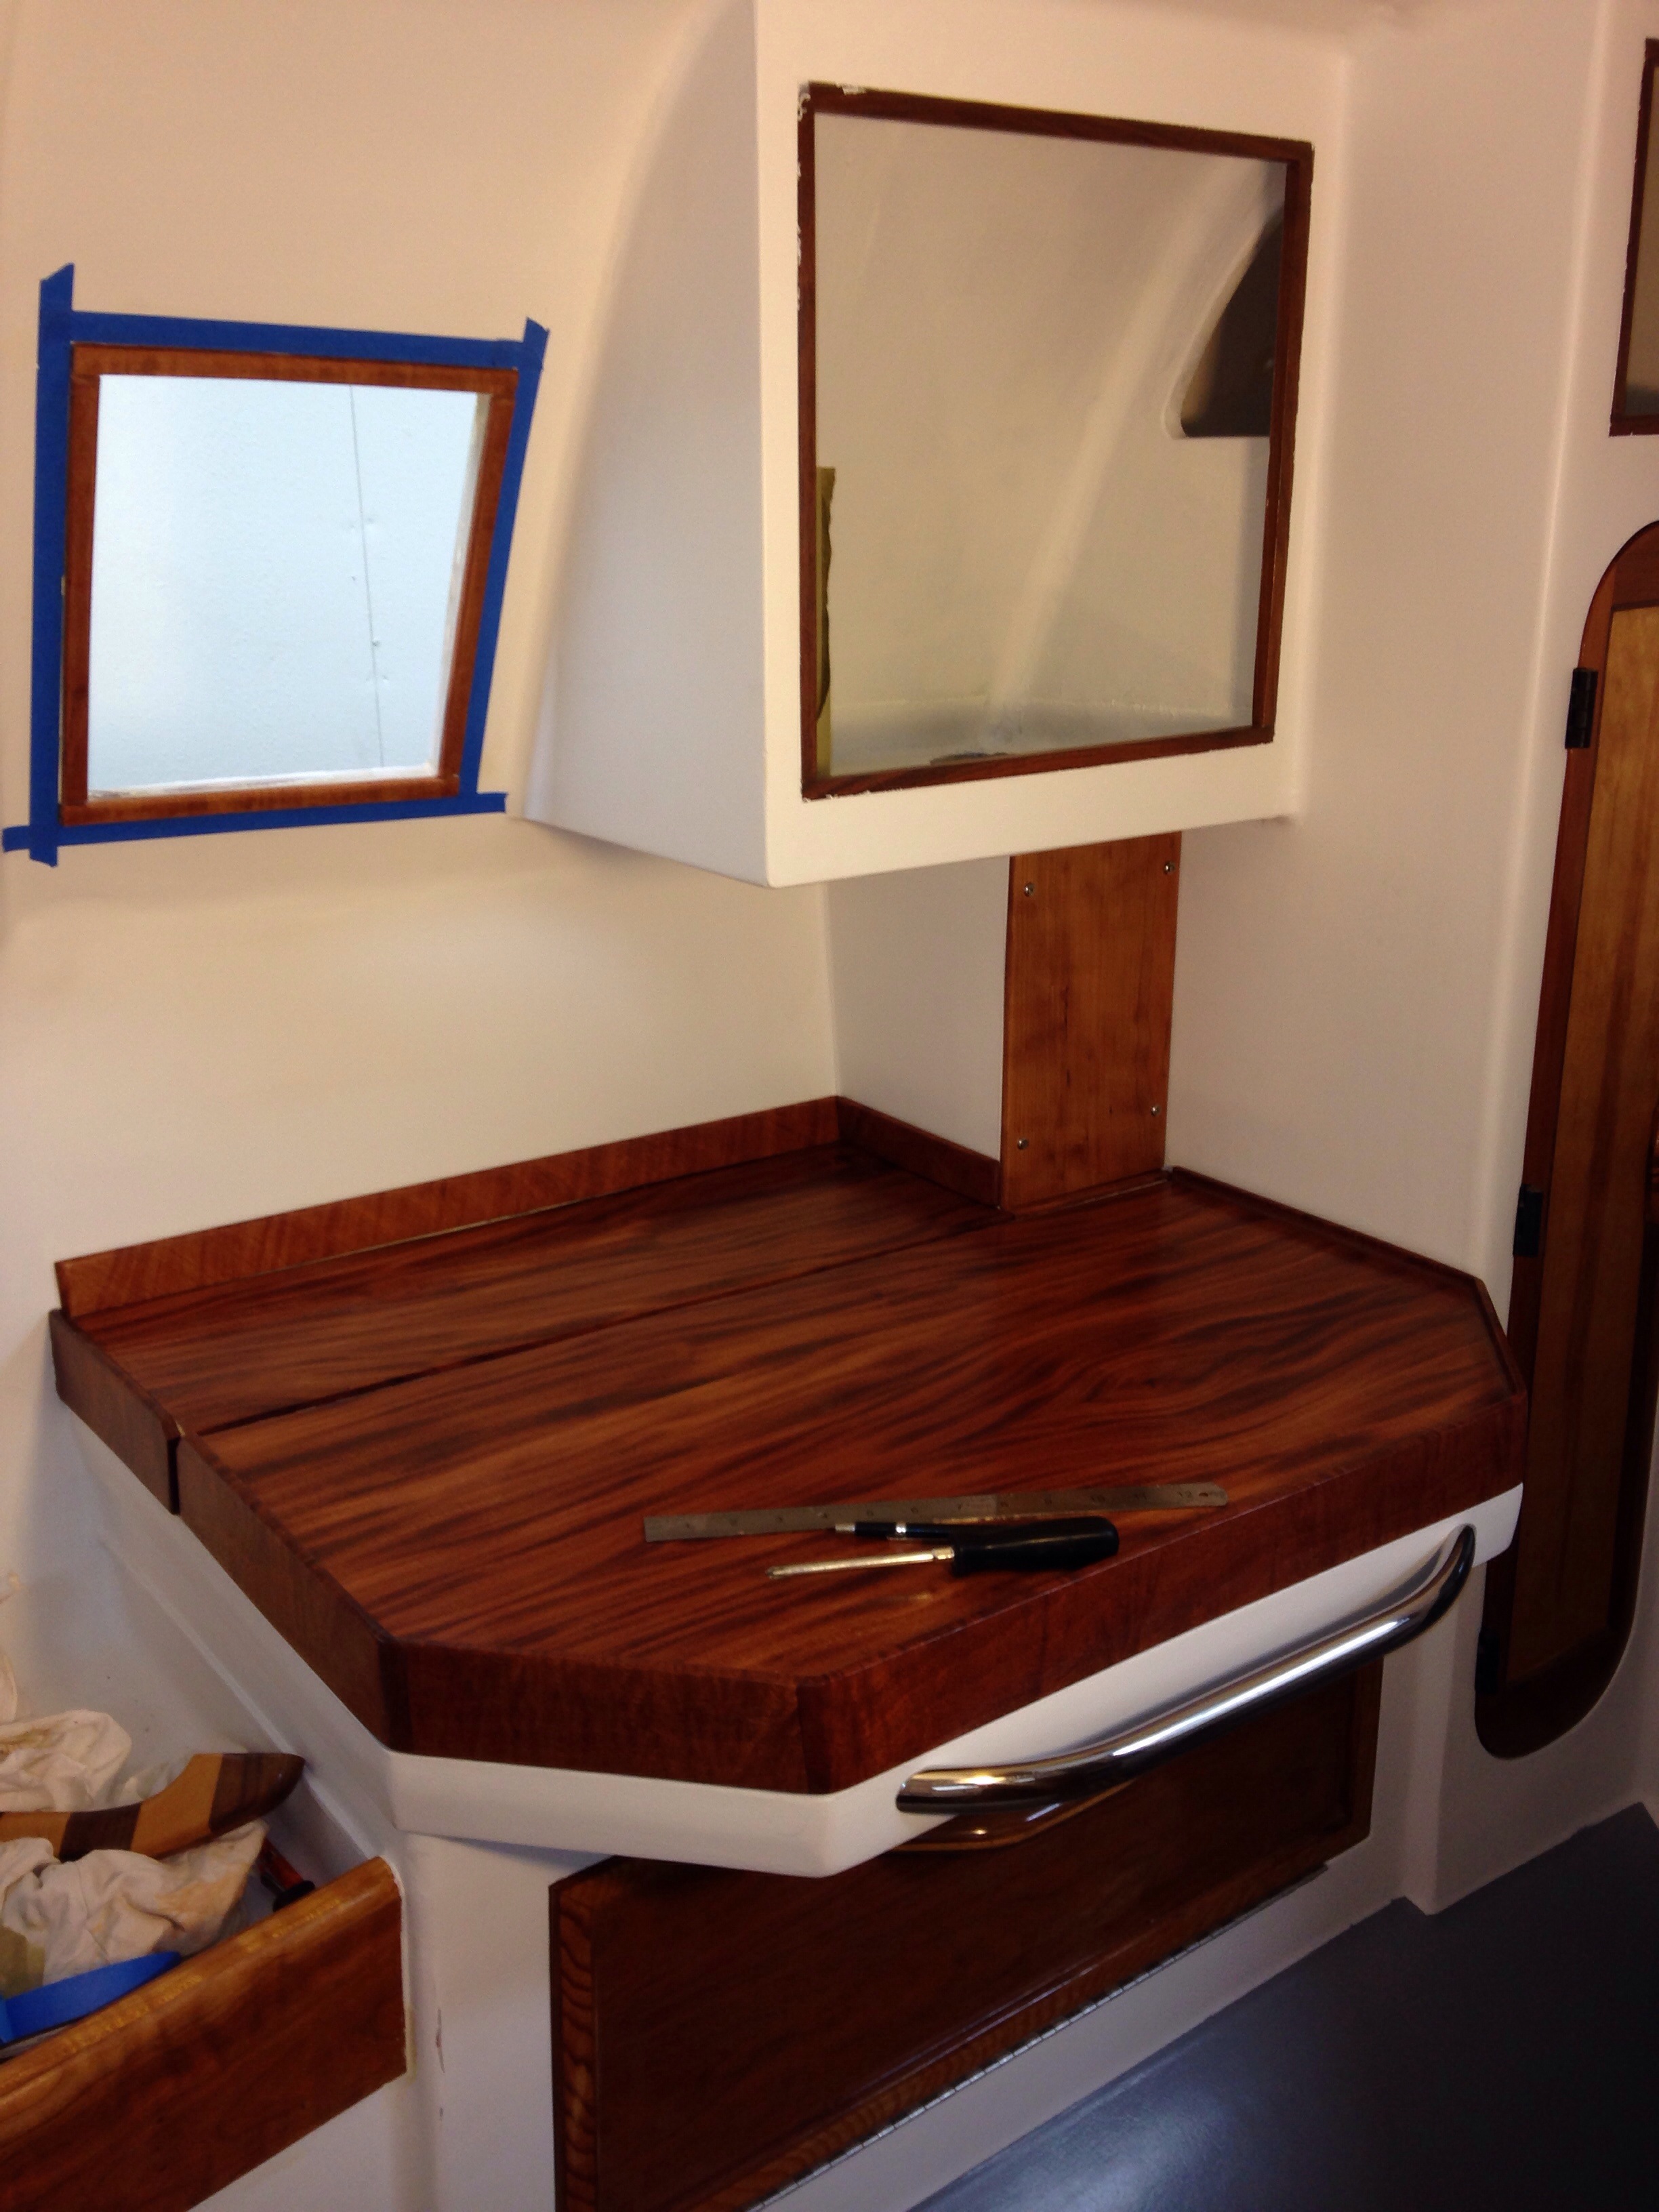
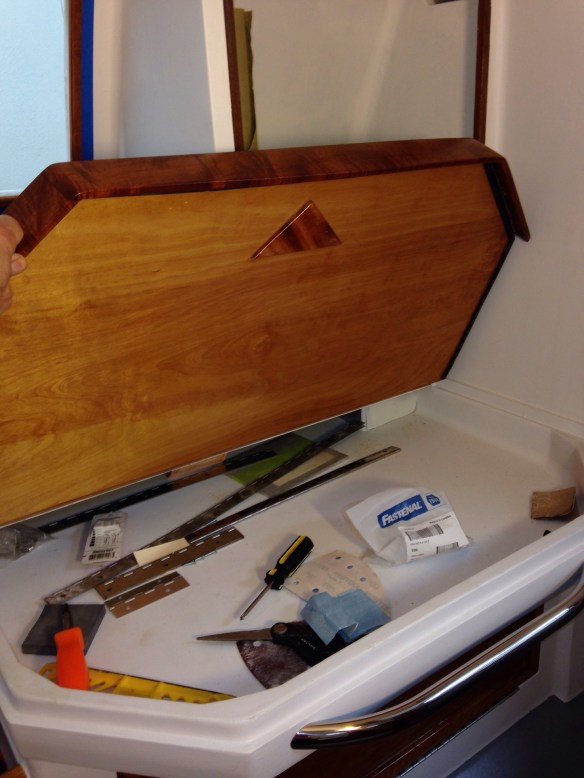
Installation of the tiger-eye chart table top:

20151019-223548.jpg

20151019-223606.jpg

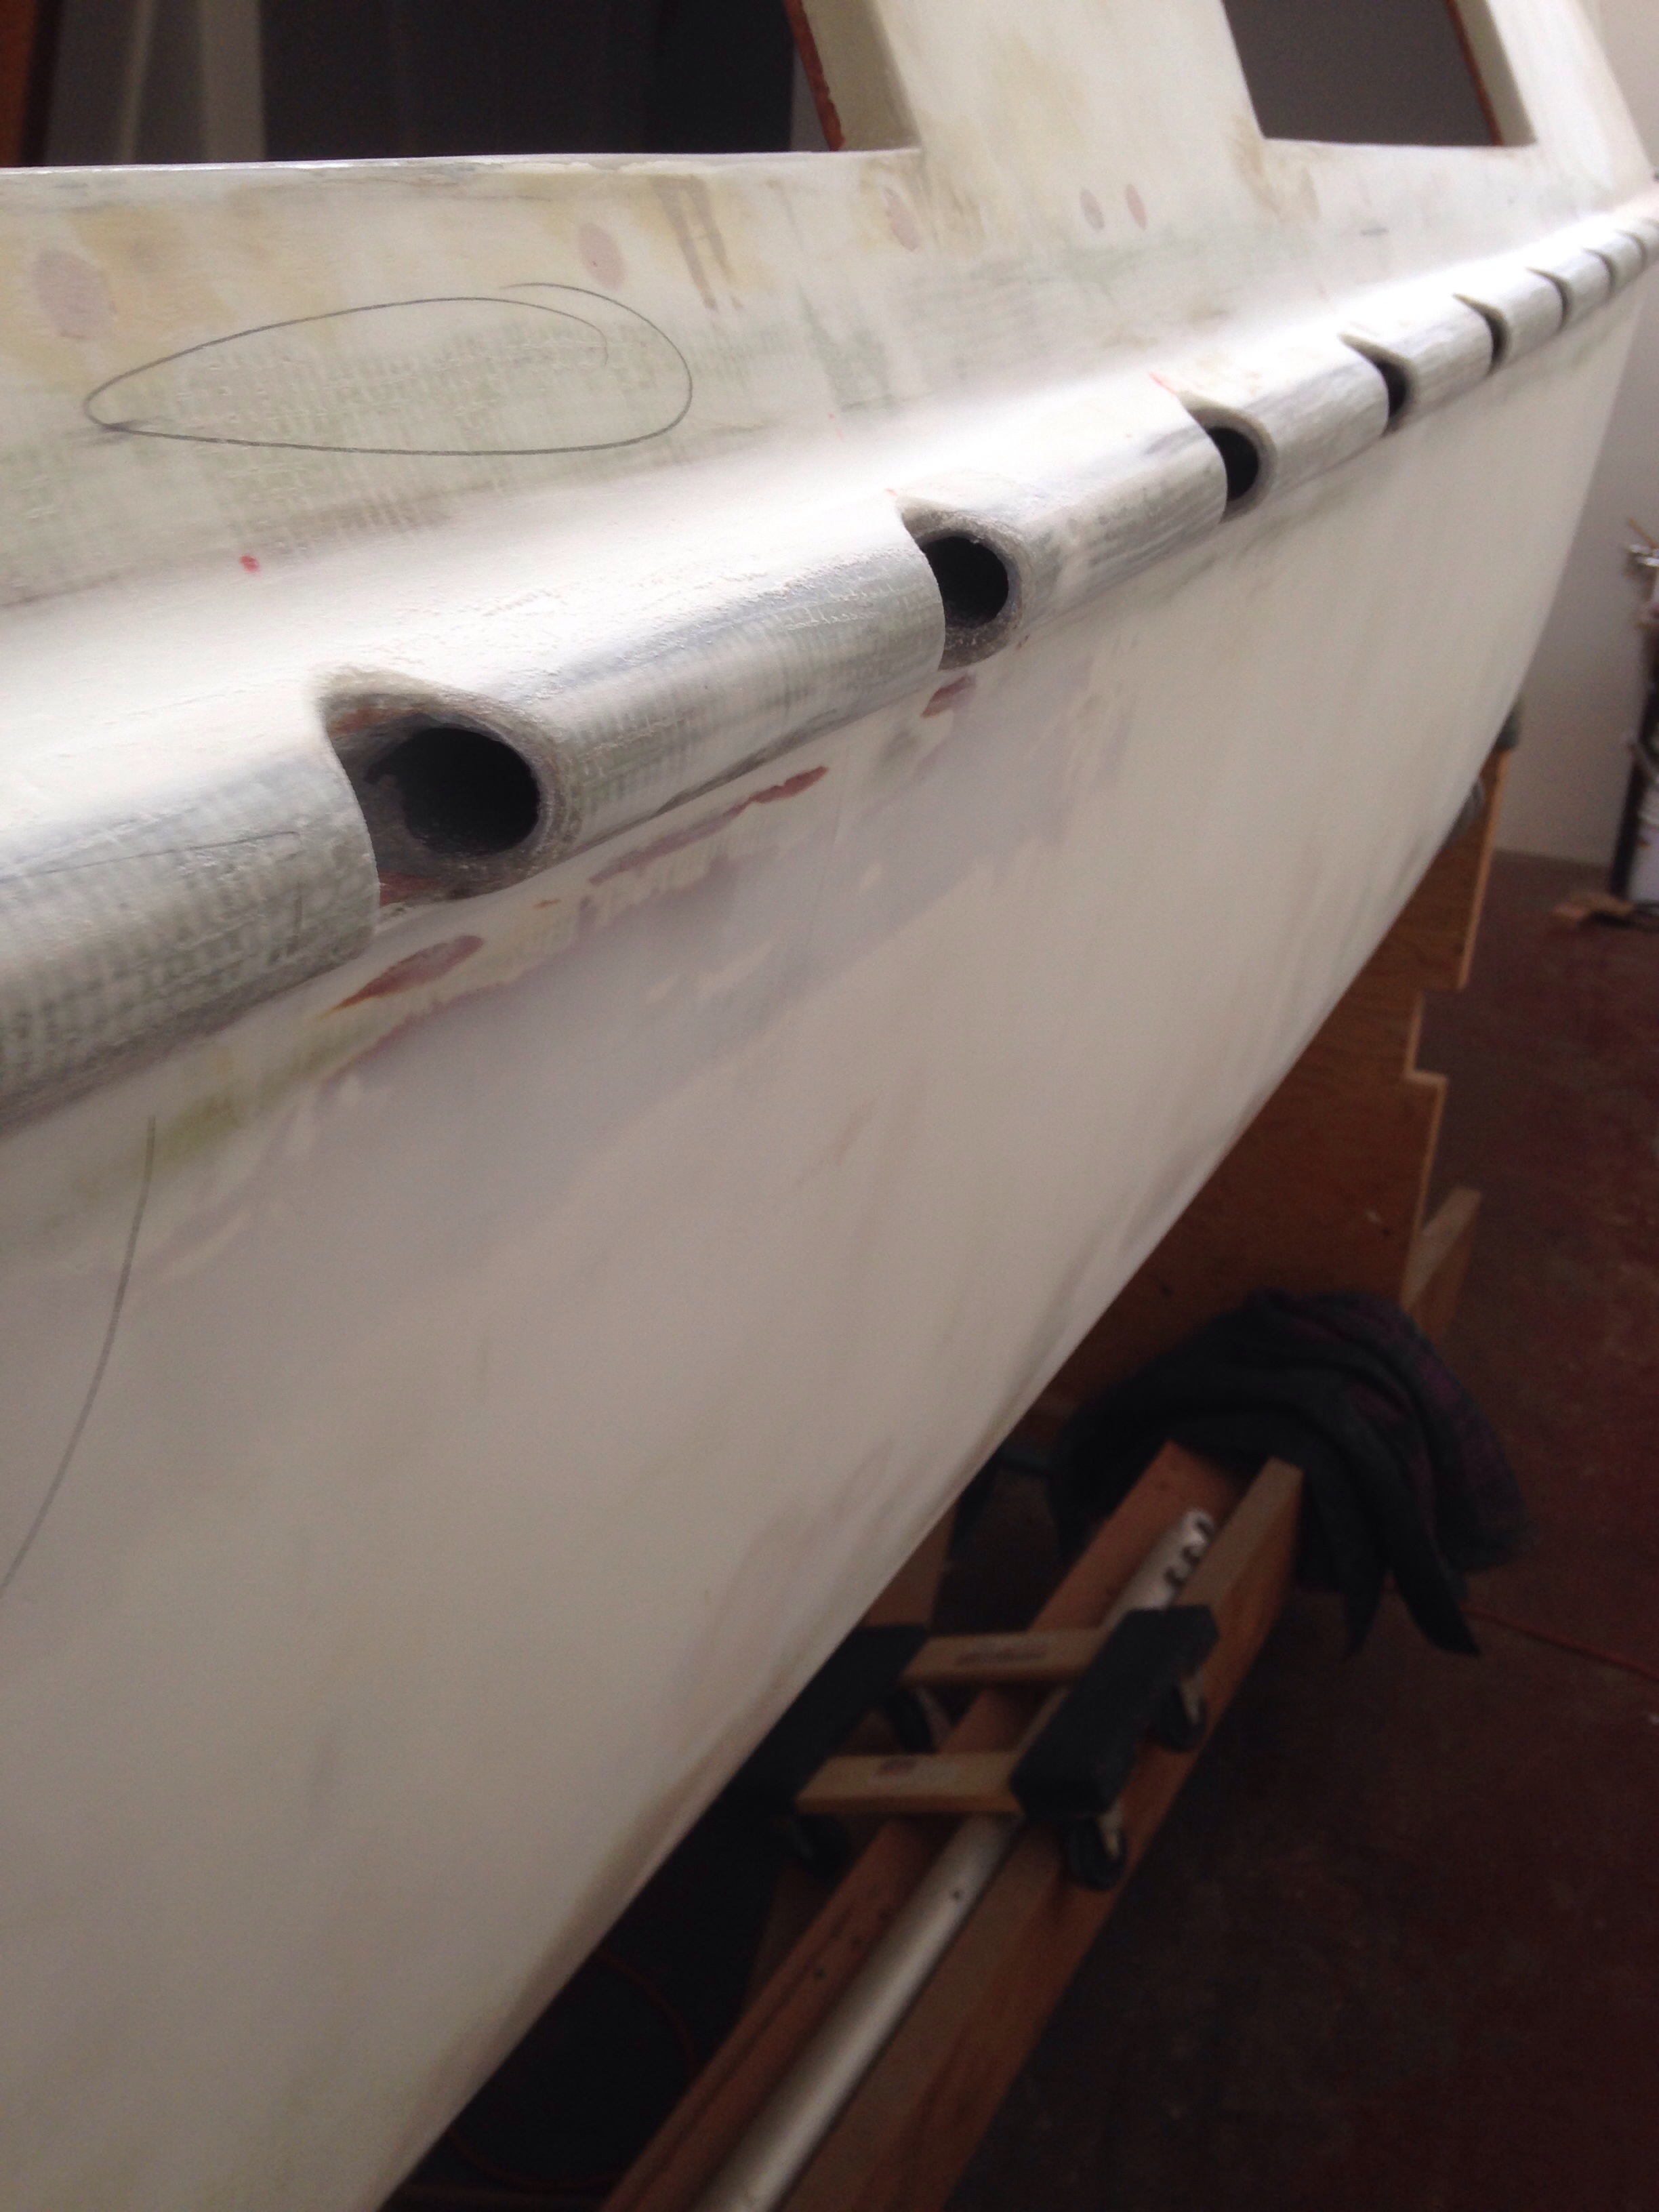
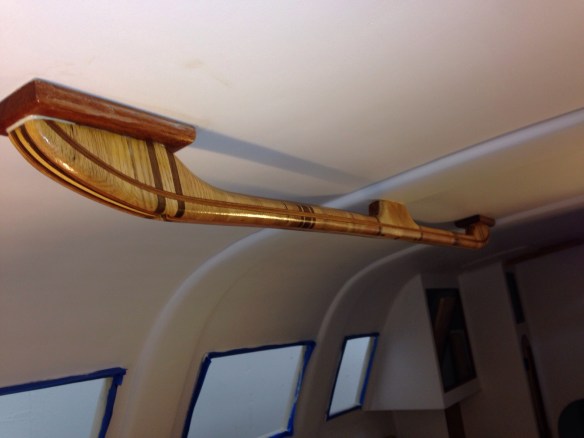
A grab rail over the saloon

20151019-223700.jpg
And completed galley

20151019-223746.jpg

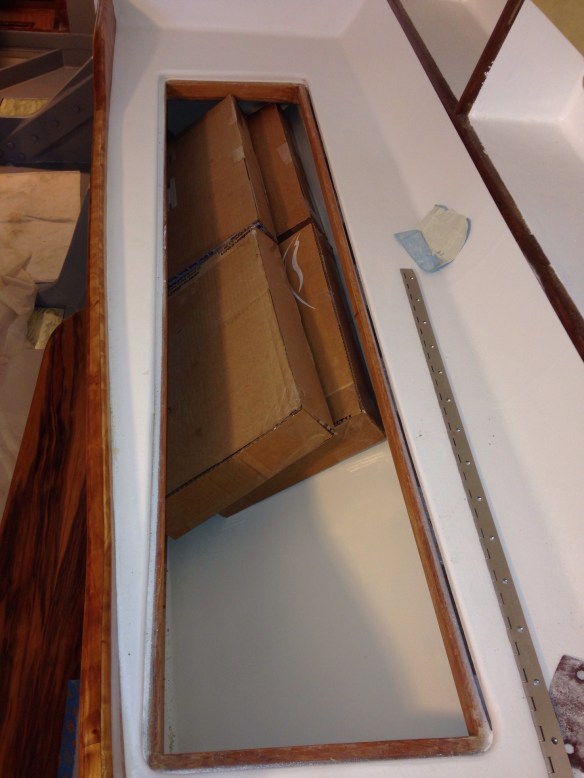
There’s a lot of planning work behind the electrical system, particularly because we want to get the higher capacity / reduced weight and size of lithium batteries but not pay the $6-7k prices of pre-packaged marine lithium iron phosphates. The rise of battery cars is helping bring costs down for the DIY types. After a lot of digging plus advice from an experienced friend, we’re now shopping for four 3.6ish volt LiFePO4 cells with 400 amp hour capacity. These are dramatically smaller and lighter than a lead acid pack of 400amp hours. These cardboard mockups show them just fitting in a shallow locker under the sea berth / couch in the saloon, with room just aft for charging and switching equipment.

20151019-224517.jpg
A lot of people on the Farrier trimarans discussion forum are interested in switching their Fboats to Lithiums so we’ll be chronicling the progress here with dedicated posts once more info comes through. Right now the 400 amp size is hard to get from China. One firm is offering 700 amp hour cells for almost the same price, but they are too big for our spot. So we’ll keep digging.

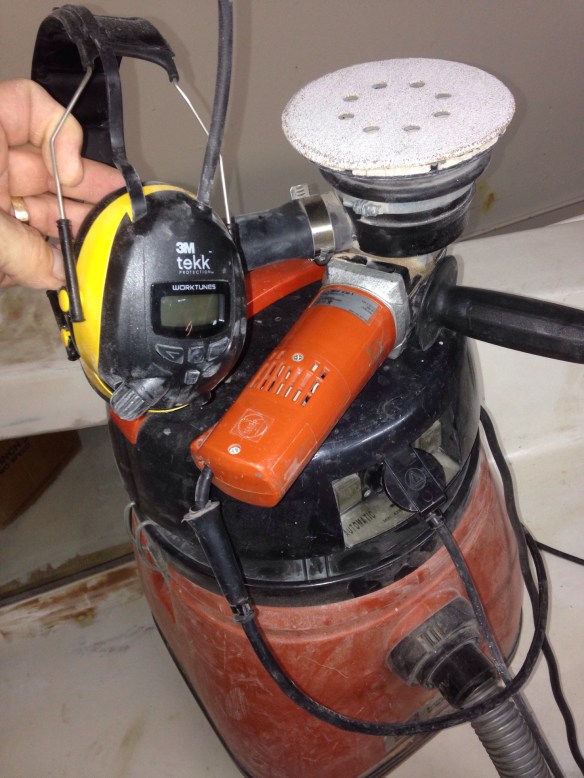
Meanwhile it’s sore arms from sanding the deck. There are just a few spots needing final fairing compound skimming tomorrow, then we’ll progress to topsides. Even with $800+ in great sanding machines around, the back breaker always comes back to hand sanding. The curves around the hatches tonight are cause for tired hands.

20151019-225253.jpg
Making sanding blocks to fit non-linear surfaces may not seem necessary but has been a big help to get consistent results. For example, having dowels the same size as the shaped trowels that make fillets yields clean sanded curves.

But for the 90% of sanding time the loud machines are running, perhaps the best tool is the FM/iPod ear safety covers. This is making the soul-sucking work of sanding a bit more bearable. Thanks Colin for leaving these with the shop!

20151019-225821.jpg

It’ll be great to get the ugly splotches all covered up soon with nice consistent primer paint!

videos for Cozmo

cos-1Does this guy look like a pro sailor / pro boat-builder or what? Marc Cosbey has prepared a lot of grand prix sailboats for some of the biggest races in the world (like his America’s Cup mugshot above). Last winter the re-launch of the first big Gunboat, in timeĀ for the Transpac, had his attention. And if I don’t screw this up, we might get his skills roped in to Awgrip-spray the F36 this fall. So before Coz says yes, he wants to see the project so far. Since he lives 4 hours away in the beautiful Sierras, here’s some video to start the conversation…

4 crappy iphone movies for you, Coz; the main hull, the deck, the interior (nothing needed in there) and a quick overview of the workshop. The two float hulls, the mast and the 4 beams are already finished in Interlux Perfection (roll & tip) and off at a storage yard.


shop video

hull video

deck video

interior video