There’s strength in the sleeves

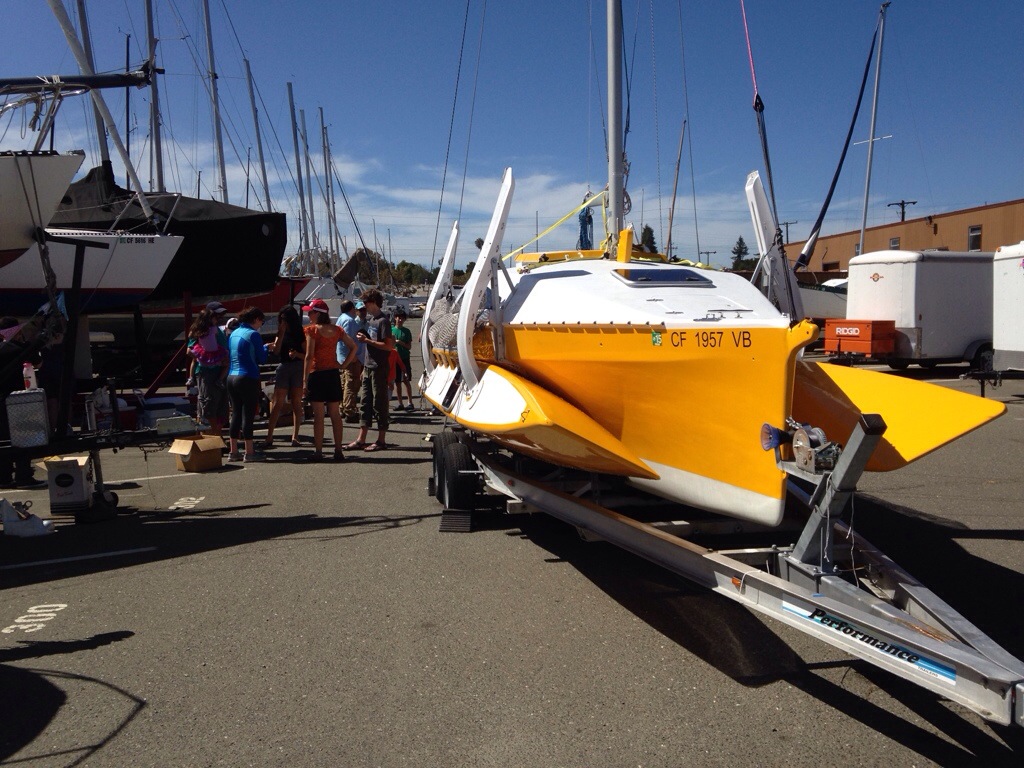
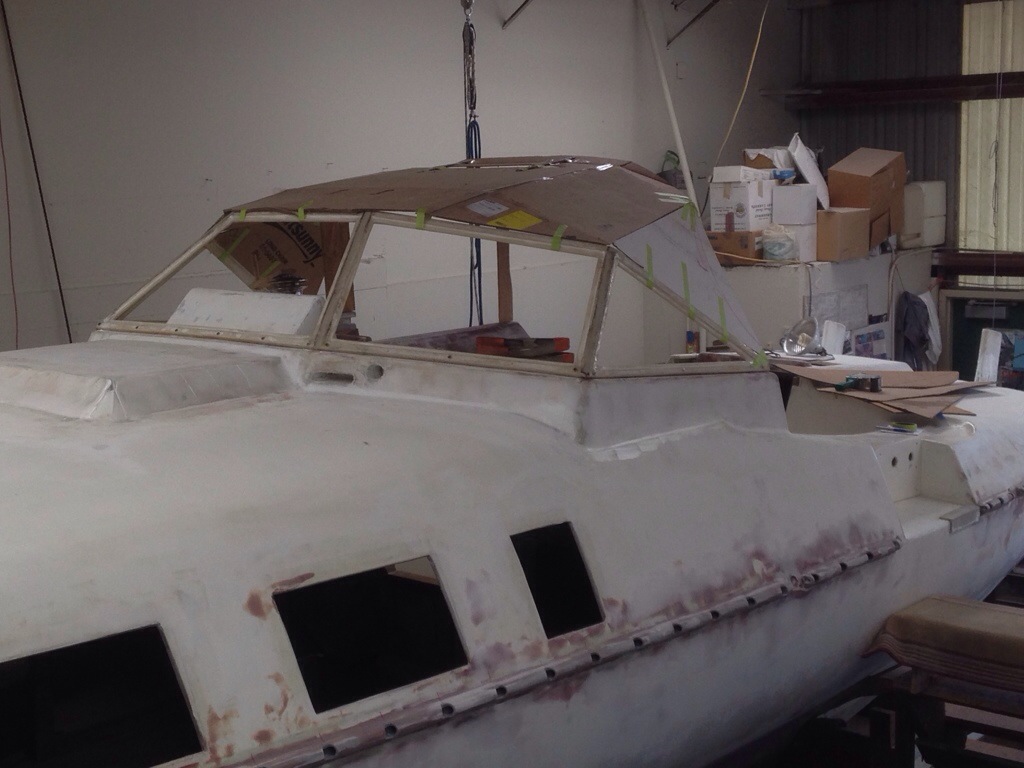
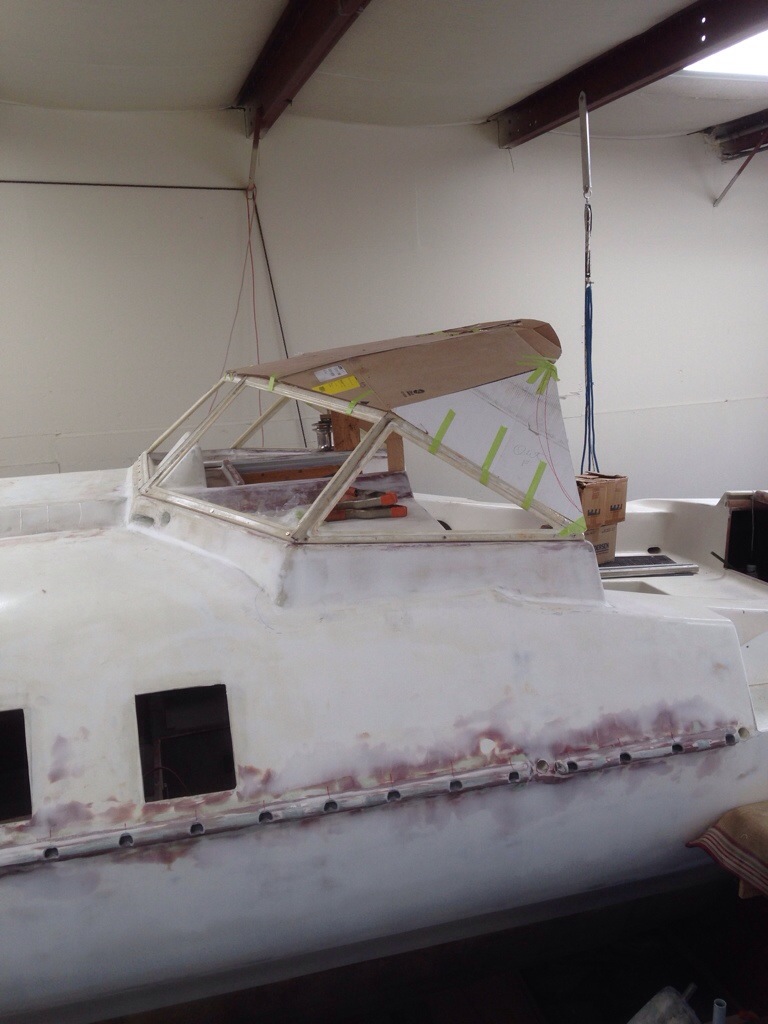
Building the beam sockets in to the float hulls last year was an interesting lesson in how much structural stiffness can be achieved by close-fit sleeving of two parts. Since we need the stern tower to be demountable for trucking, the sleeve method sounded like a good thing to try. And the results came out great.
Here are the permanent stubs waxed and ready for the tower legs

20140927-203752.jpg
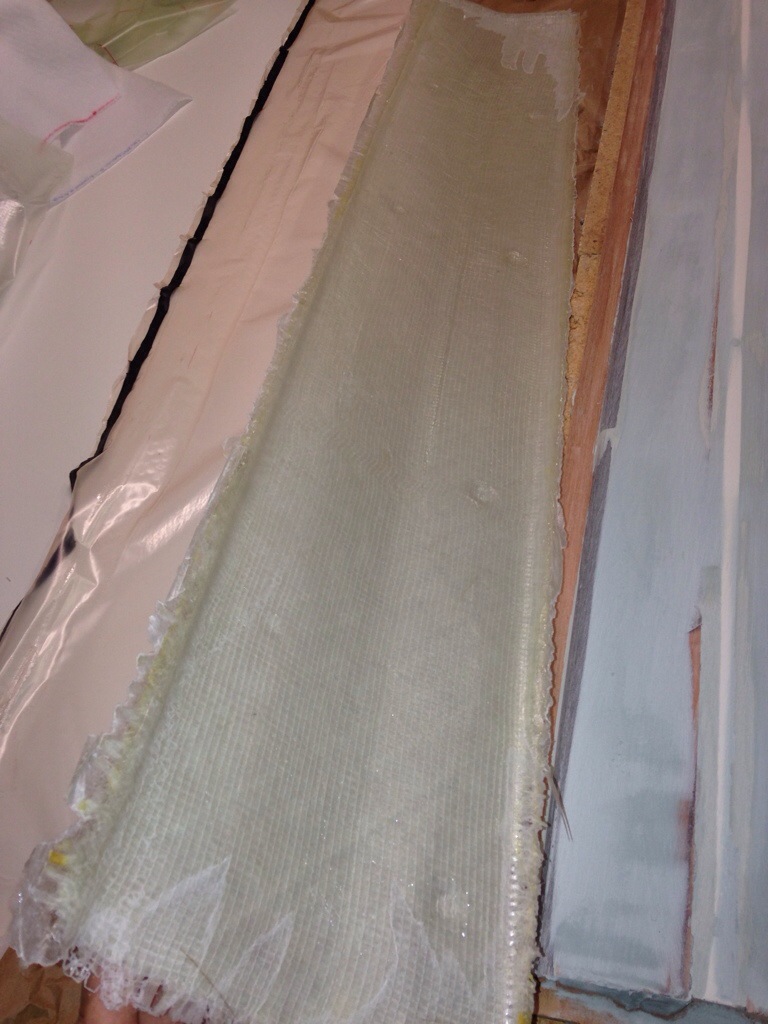
Then the tower legs got bolted in place on top of the stubs, and the carbon wrapped around the stub-leg stack.

20140927-203924.jpg
With that lousy experience many months ago of the beam socket getting stuck on the beam, this time we went with overkill of multiple techniques for non-stick:

20140927-204139.jpg
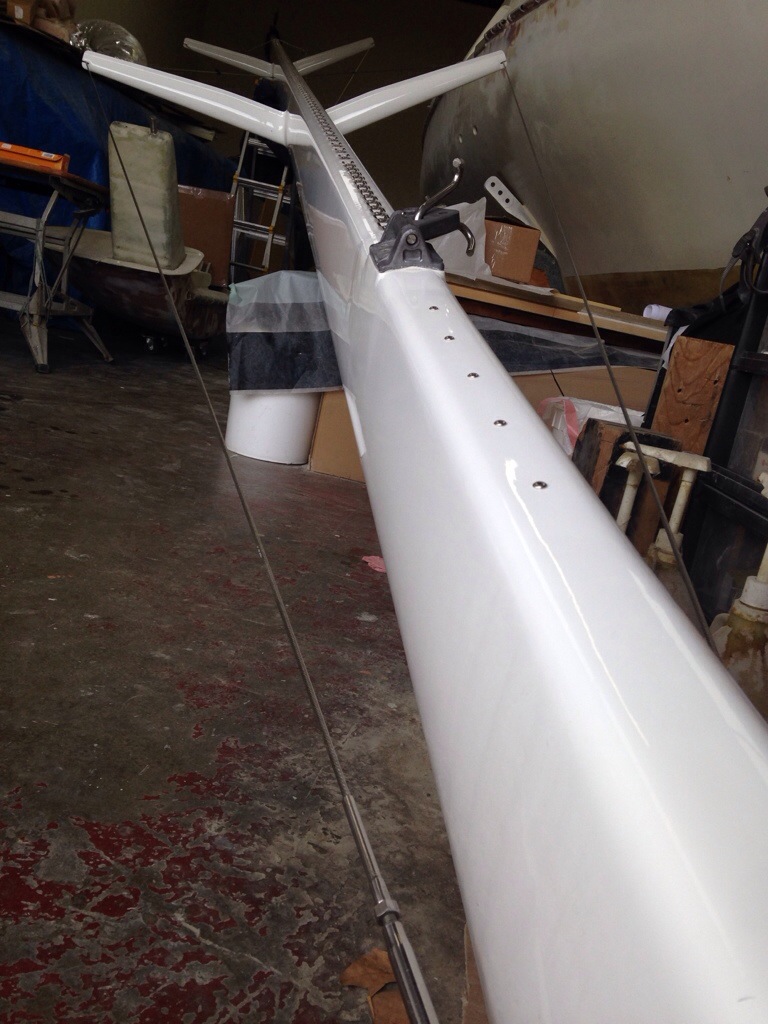
Once the carbon and glass combo wrap cured, we released the thru bolts inside the aft cabin, and with a little tap the new sleeves legs popped right off.

20140927-204319.jpg

20140927-204427.jpg
With a bit of cleanup trimming around the bases, and pulling out all that wax paper, the finished legs are getting some fairing compound and are ready tomorrow for mounting the cross plates, forming an equipment tower. The sleeved legs are already solid as a rock without the horizontal pieces to tie them together – yea! And the whole tower is coming in at about ten pounds and all hidden internal wire handling. MUCH happier than an expensive, heavy, corrosion prone metal one. Epoxy goo and carbon fabric are fantastic :)

45 feet of ugly

20140926-202305.jpg
Rumor has it a nasty old single-wide mobile home has come back to life as a multihull boat support vehicle. So while you wouldn’t trust this thing for any human activity, Stephen’s old trailer did a great job hauling our mast the last 200 miles west from Toronto. The mast had piggybacked on a Formula 30 cat (which looks great and is for sale in Reno) and made it to the Marcoe’s side yard. It was a HUGE relief to finally get this thing tucked away in the workshop. Jeanne and Griffin were heroic in figuring out wedging the 50′ into the 48′ shop.

20140926-202911.jpg

20140926-202926.jpg

20140926-202942.jpg
Although I had seen the mast last fall in Canada, today is a fresh reminder of how nice it looks and the quality of workmanship used. Because it was designed for a different boat, and was built 6-7 years ago but never used, the delivery trip took a detour to naval architect Jim Antrim’s office on Tuesday for a professional opinion on the suitability for our boat. Eagerly awaiting his report.
Wednesday morning was consumed with cleaning the mast from years in storage and the transcontinental drive. The last photo today is for Jimbo – as if you were standing there directing me, after the bath the whole thing got wrapped in movers’ stretch plastic so it’ll be all fresh for the launching day!

This afternoon was a special treat while glass work on the hard top and stern tower cured. It’s time to install SAILING STUFF!

20140926-203735.jpg
Everything is based off the hull centerline and the center pin of the mast. Basically a big geometry exercise to plot out the halyards exiting the mast base and running back through the windshield holes. The jib car track placement comes from the plans.
All bolts are getting oversized drilling; next up is backfilling those holes with solid epoxy putty, then re drilling holes using the bolt diameters. This process prevents the soft cedar core from compressing when the bolts are tightened. See the too-big holes all around the ceiling hatch.

20140926-204214.jpg
We’ll figure out how to do this same process but with recesses on the bottom of the boat where the plumbing through-hulls can be made flush for streamlining. Saw that done on a custom boat and it is great.

Ok, small detour tomorrow, having to make the 450 mile round tripper to take the big blue meanie trailer back to Reno. Really hoping it doesn’t rain or spit snow on those bald tires!

20140926-204748.jpg

Hard top progress

I should call it a dodger, but that’s just not possible for a diehard Giants fan. Anyway, the roof over the main companionway got started today. First up was the solid corner panels above the side windows.

20140918-183728.jpg
The top panel is cored with 1″ foam board; decided to go with the forgiving/flexible Home Depot stuff ($10 a sheet) instead of fighting a $200 sheet of divinycell.

20140918-183929.jpg

20140918-183939.jpg
It’s held in place via holes, string and backing blocks until the outside layers of fiberglass set up tonight.
Using a layer of 12oz bidirectional and one heavy unidirectional. Will probably do the same on the underside and see how rigid the resulting structure turns out. Got a nice idea for an upturned lip around the aft edge, to give strength, a big hand hold, and deflect water out of the cockpit. Saw this in practice on Jim Milski’s beautiful Schoinning 44(?) catamaran he built in ’09.

20140918-184422.jpg
Also went aboard Roger and Dianna’s Catalina 470 Di’s Dream in Catalina last weekend and saw all kinds of on deck improvements for boat handling. Here’s his solar panel mount on the hardtop:

20140918-184626.jpg
And these ring-nuts used in many spots make great multipurpose anchors …

20140918-184724.jpg
And I have to find these simple line snubbers / beer can cozies! Great for saving hands when releasing lines thru the clutches while the winch is occupied:

20140918-184858.jpg
The anchor locker is an already vented place for dinghy gas, and that black tackle on the right provides slack relief from the windlass when he needs to work with the chain:

20140918-185032.jpg</a
And here's a really nice alternative to the big granny bars on a deck – do a mast-mount hand and line hold instead:

20140918-185137.jpg
All the boat visiting occurred during the SoCal TaTa hosted by Latitude38. Jim brought Origami to the shop for a prep day then we towed to Santa Barbara for a fantastic weather Channel Islands week. Our little 27 footer was the fastest boat in the fleet, beam reaching faster than 60 footers!
Can’t even imagine what the big new tri will be like in those ideal conditions. Hopefully next summer will tell!

20140918-185621.jpg

Very motivating…

… Seeing another builder’s boat get launched! Saturday was the first dip for Andy Miller’s F22, christened “Dart” at the Alameda crane launch pad.

20140904-110220.jpg

20140904-110242.jpg

20140904-110255.jpg
His project took about four years from purchasing the plans, with very impressive dedication in the off hours from his busy engineering career. It was fun watching Dart go through the build stages and it’s very inspiring to see the finished product – makes me want to get painting!

20140904-110747.jpg

20140904-110757.jpg
Dart floated well above her waterline (before we stacked 10+ humans aboard), the new engine fired right up, the beams unfolded perfectly, and the Ballenger rig looks fantastic. Andy has some used f24 sails to modify and use before making that one more big purchase. Can’t wait to get out sailing on this speedster :)
Great work, Captain Andy!

20140904-111104.jpg

Above the deck

This week we’re driving towards completion of big exterior pieces. First up is the windshield, which after much fussy fairing work is looking pretty good. Time was well spent making accurate patterns for the Tap Plastics people to cut the smoked acrylic windows.

20140902-144101.jpg
They are rebated in the frames so as to come out flush-mounted. We’ll try just bonding them in, but little blots could be added if needed later. The panes are stored now, awaiting the boat’s final painting.

20140902-144403.jpg

20140902-144423.jpg
Next up is the hard dodger roof which is in cardboard mockup now. Trying to find the right balance of minimal windage, being able to see over it standing at the tiller, not whacking one’s head going in/out of the cabin companionway, and not being an ugly blob. Oh, and not blocking the cabin top winches!

20140902-144854.jpg

20140902-144905.jpg

20140902-144924.jpg
That last photo also shows the new stern tower leg stubs getting faired in before the remove-able legs can be sleeved on. Here are the steps so far:

20140902-145159.jpg
PVC pipe at the center for a wiring conduit and foam core strips shaped to give it all some faux-wing contour. The two stubs were built whole, but I should have done one 30″ and cut it in half. Then we transfered a half-model of the shape and made a plug mold for the 48″ legs. I was pretty darned happy with this first molding project, but…

20140902-145630.jpg
In the photo you can see dimples in the panel; the vacuum was strong enough to collapse some unsupported wood in the mold. Argh – good learning that a plug must be SOLID.

So the mold got repaired and four leg-halves made just fine without bagging.

20140902-150032.jpg
Now we’ll join the two sides around some internal rib spacers.

20140902-150139.jpg

20140902-150154.jpg
These parts are set aside awaiting 24″ threaded rods that will get embedded in the legs, pass through the stubs and be bolted from inside the aft cabin.

20140902-150326.jpg
Ok, the box from McMaster Carr just arrived, so those long bolts can go in this afternoon. Then it’s time to design the top part of the tower for all the various gear.