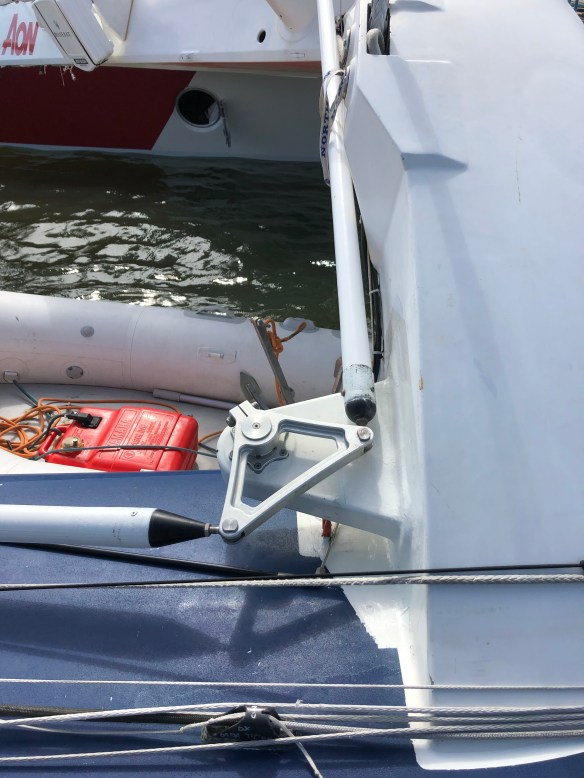
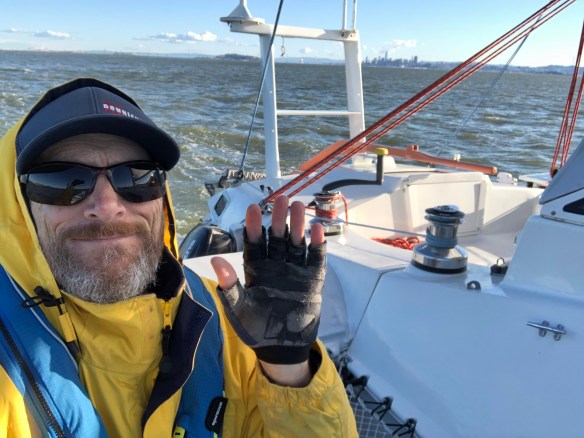
Jim drove down from Medford to take a Delta cruise on Ravenswing, to start getting used to the navigation and safety gear. Tuesday we had a great sail around Treasure Island. The wind went light by the Bay Bridge and we were hoping it would pick up to get us back to Richmond sans engine. Careful what you wish for in SF Bay. Ten minutes later I was regretting not taking a reef. It was a wet and nasty ride across The Slot, and what became more boat trials. Found three things that need big changes. 1) the mast rotation control arm bent its 3/8″ in-mast mounting bolts. 

 It’s now in the Bay Marine metal shop getting upgraded. There will be five attachments to the mast, instead of the original two.
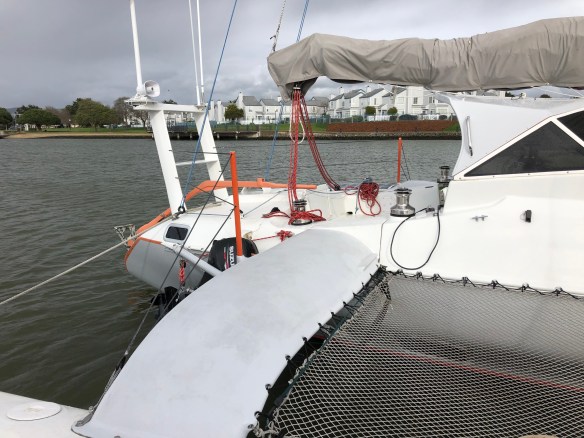
2) The rudder gudgeon tower was flexing side to side, and actually began cracking some of its fiberglass laminations. 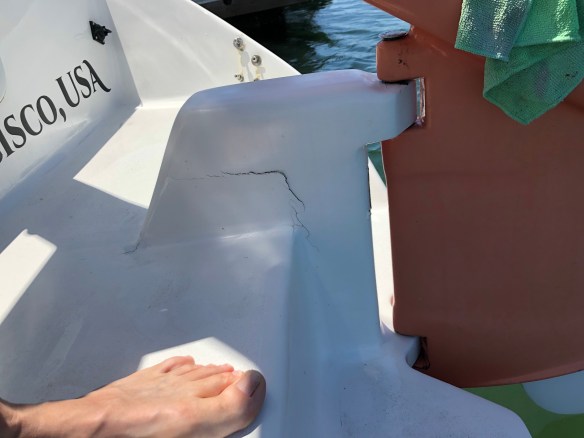

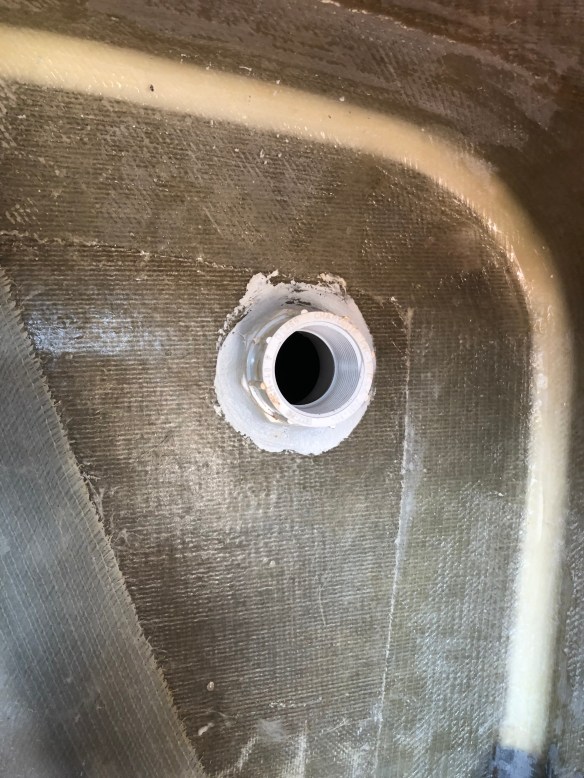
I motored up to Napa Marina early Sunday morning, and today began the strip down for a reinforcement rebuild. This all happened because we didn’t build the kick up box in Farrier’s plans. He wrote that a permanent bond to the hull of the gudgeons base is fine, but the plans didn’t detail it. I didn’t consider the lateral forces the rudder would transmit to those gudgeons, thus the flexing (BAD) post. For any F39 builders, I’ll say that the lamination schedule in the plans is INSUFFICIENT for these side loads. Please feel free to write /discuss this, as sadly there’s no Ian Farrier to question to anymore. In the coming days we’ll see how this fix goes.
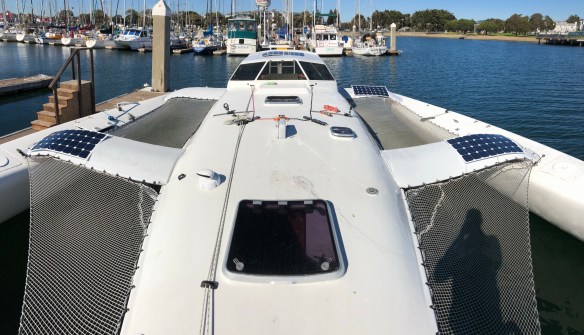
3) the emergency escape hatch was forced OPEN by the short chop waves some time during that blast reach Tuesday. As the wind subsided past Angel Island, the boat felt sluggish so I went below to look around. Holy Shit, the damn hatch was open and waves had been firehosing in. It screwed up the new fridge (yet to diagnose), soaked the aft cabin and generally brought somewhere in range of 50/100 gallons aboard. Thank goodness it was (like the 2017 mast), very close to our marina. Wednesday was written off for boat cleanup. Salt water got everywhere. Yuck.
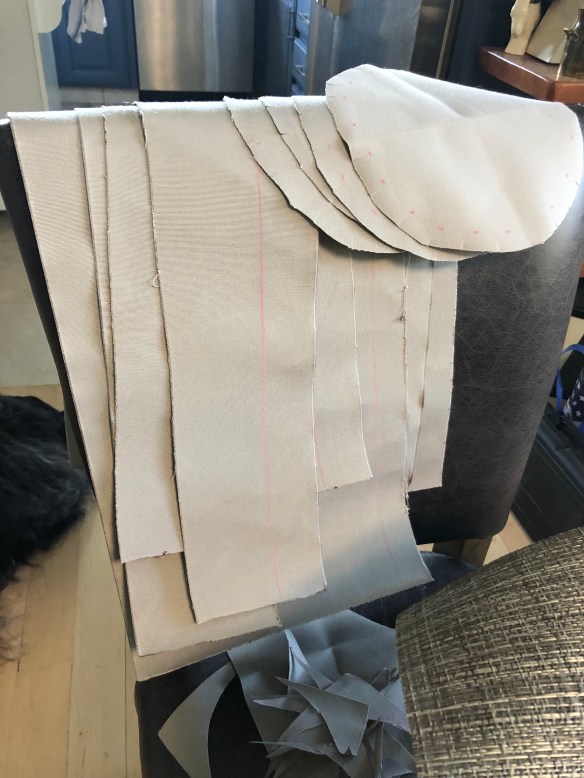
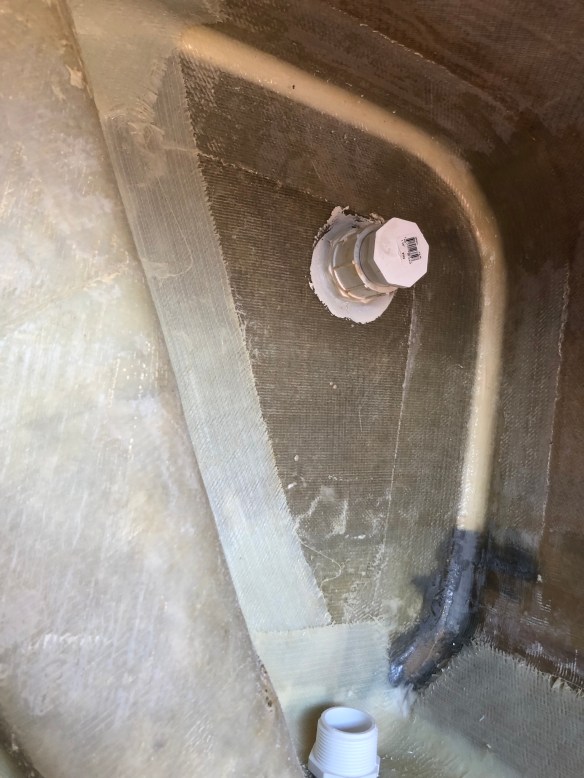
The hatch was purchased by Howard the hull builder and I had checked it off the list as done seven years ago. But looking closely at it now, it’s dangerously misused as a hull-side hatch. Should only be a light duty cabin top install. The two plastic legs barely grab the frame. It’s gotta go. Skateaway Designs provided us the drawing for a proper ocean safety hatch, and I’ll be relieved to NOT see the water racing by anymore. That stuff is cute for watching fishies in a pretty anchorage, but No Thanks at 20kts and nasty weather. Over the weekend i started making carbon and foam parts. 


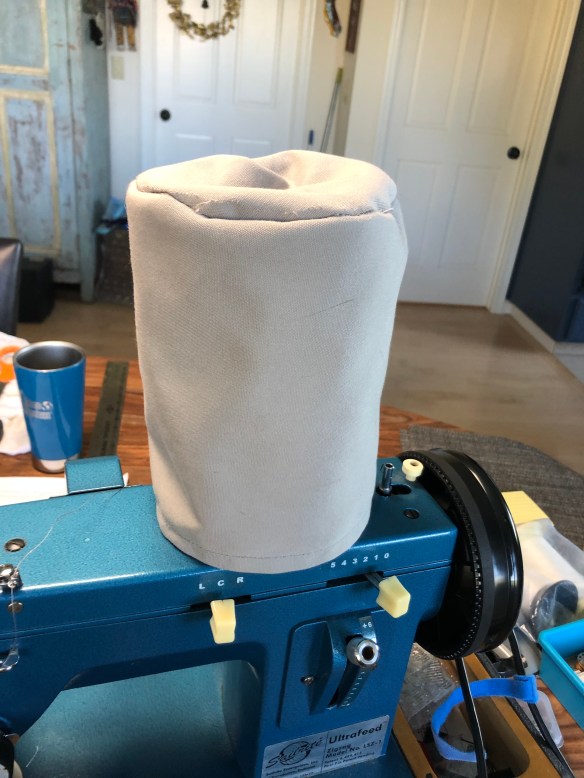
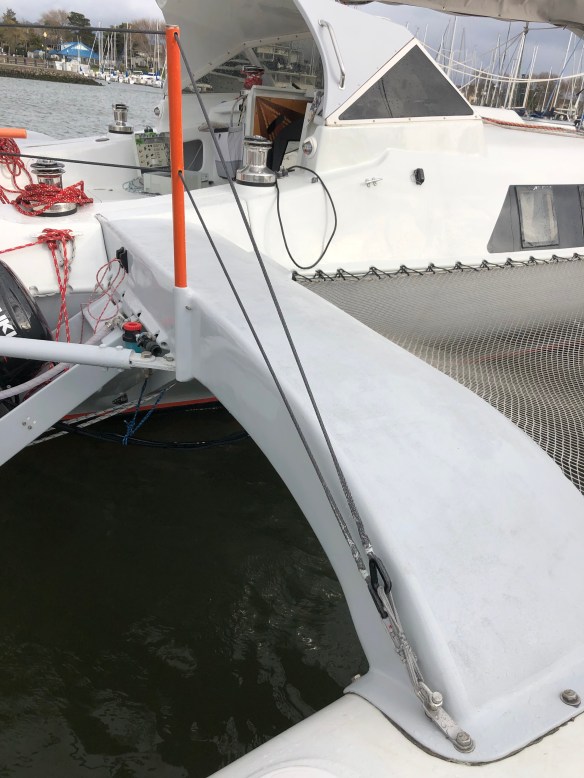
The square piece will get bonded to the hull where the old glass hatch was. There will be an outer door that’s flush with the outside of the hull, and an inner door panel facing into the cabin. Kieth, that third photo down shows you the perfectly flat stopper ring that will take the neoprene for the outer door panel. Pretty happy how that’s looking.
PS – the stack of triangles is a teaser of some new shaping for the rudder gudgeons tower.
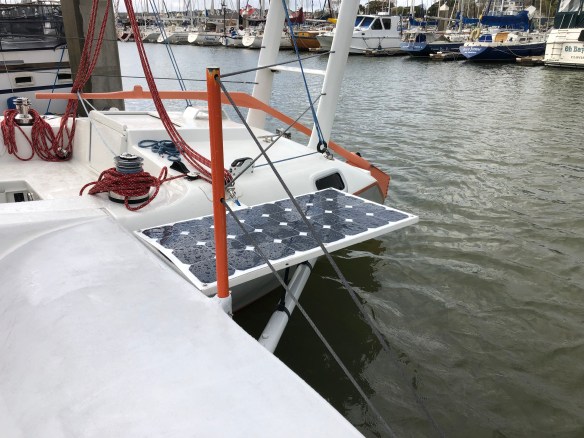
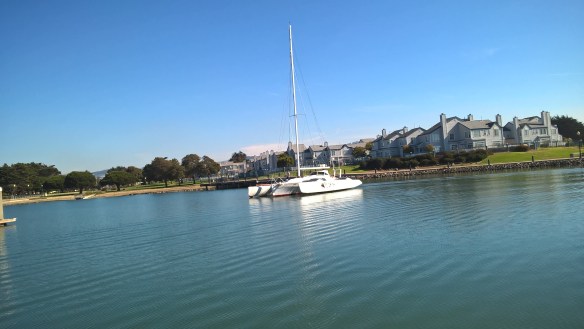
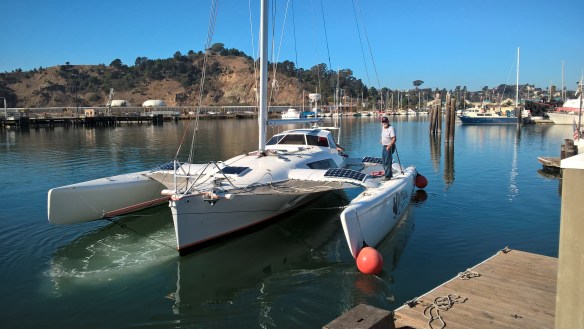
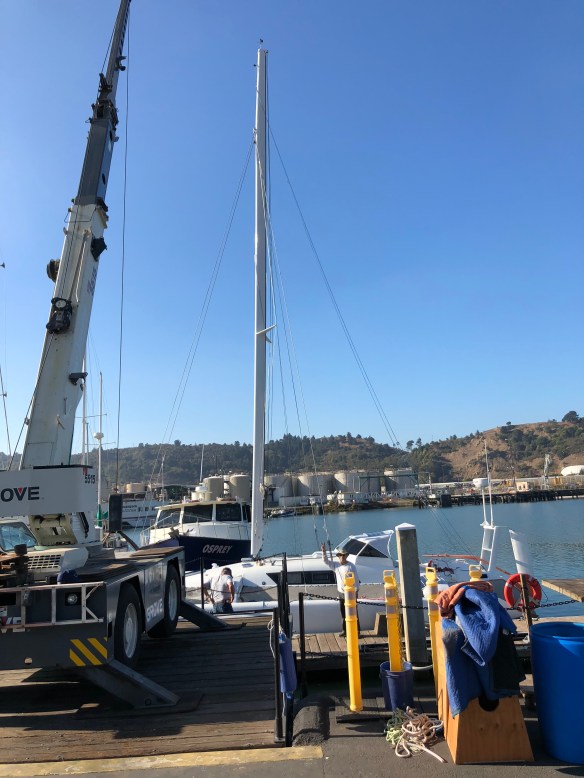
So this is Ravenswing’s third haulout since her marvelous launch day 3 years ago. Today we tried out the rail trolley at Napa. 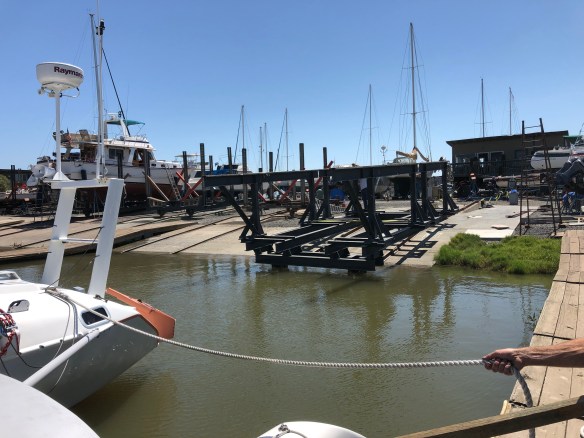
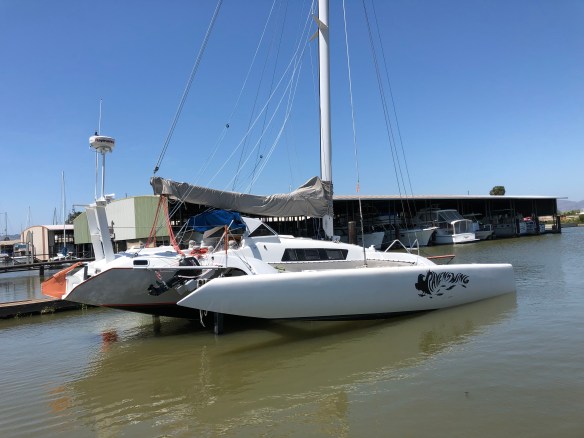

The veteran manager Tom hadn’t done a Multihull backwards there. It was a little tricky but now the stern work area is easy to get to. Otherwise it would have been WAY up in the air hanging over the steep ramp.
I’m telling you guys – seriously – I spent a few hours looking at everything that makes her go, asking the gods, “what else”? needs attention before heading south. We’ve redone the daggerboard, rudder, Autopilot, mast, boom, tweaked sails and running rigging, continue to refine electrical and plumbing. I think these current three reach the end of my worry list. But go ahead, anyone who’s sailed with us, do you have any concerns for us? Let’s get all the bugs out now.


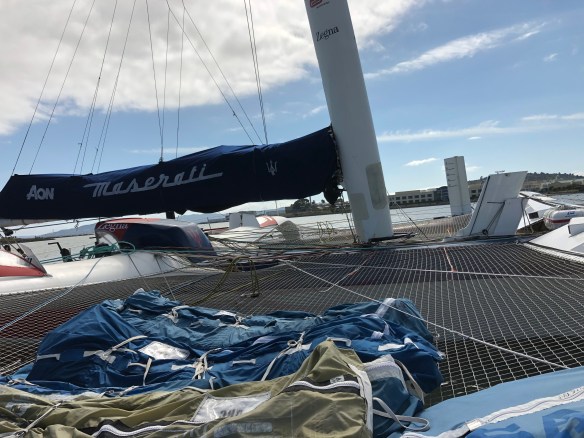

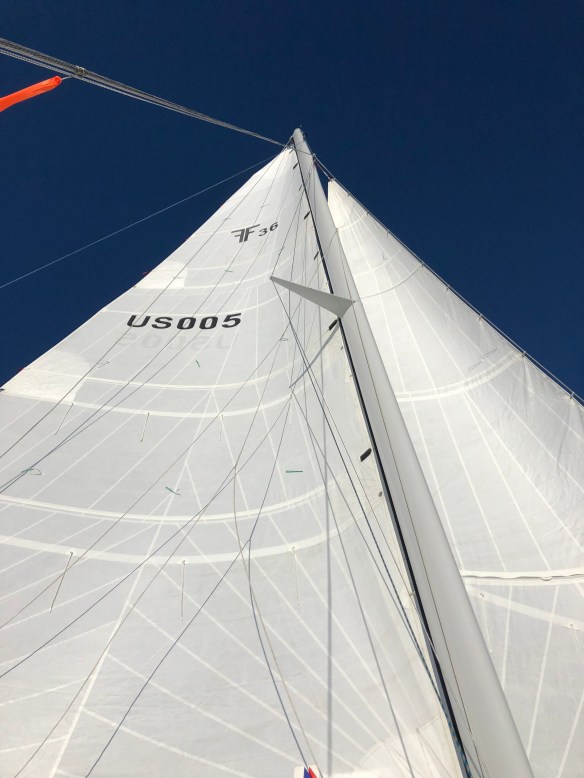
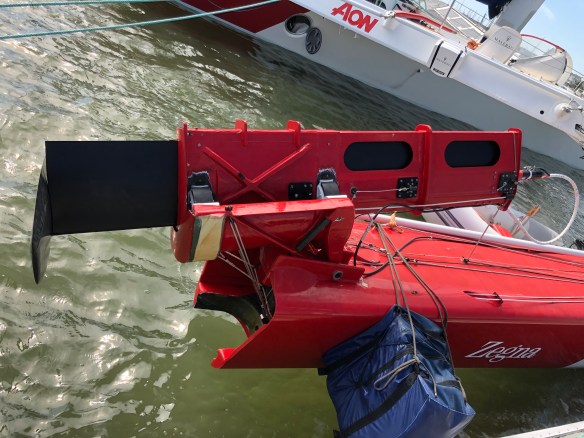 Very interesting to look at the retrofit foiling gear on this ocean-crossing racer.
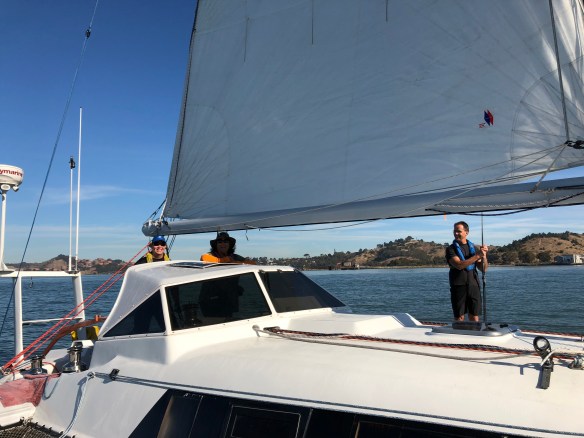
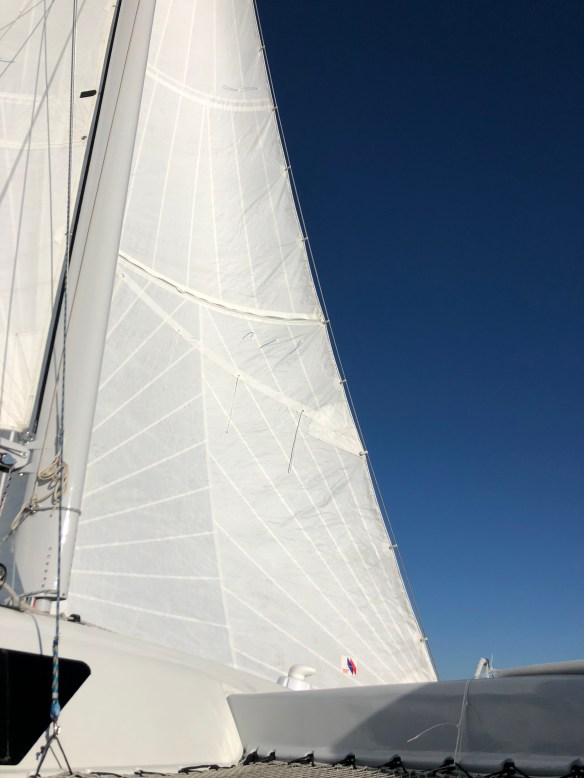
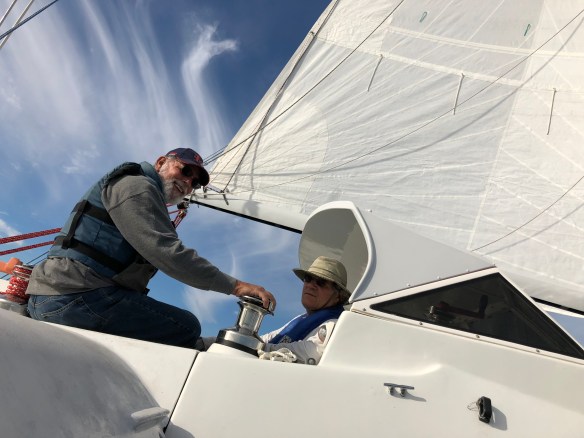
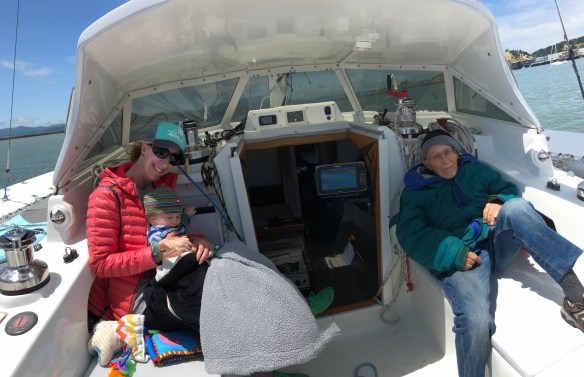 Reefed main, no jib, Autopilot and a light breeze made for the perfect mellow day for granddad/grandkid. The siblings enjoyed catching up too. Some day, Westley, I’m sure you’ll be shaking out the reefs and calling for the big Ravenswing spinnaker!
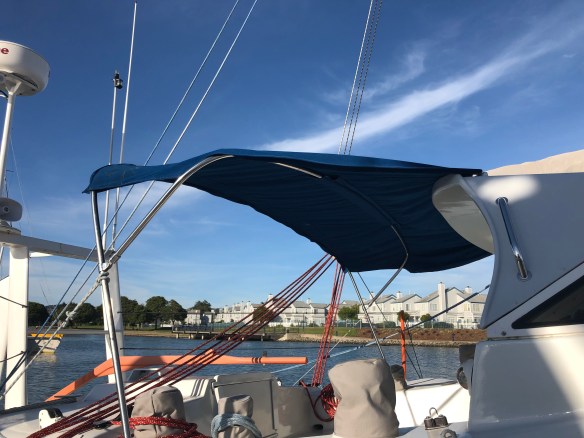

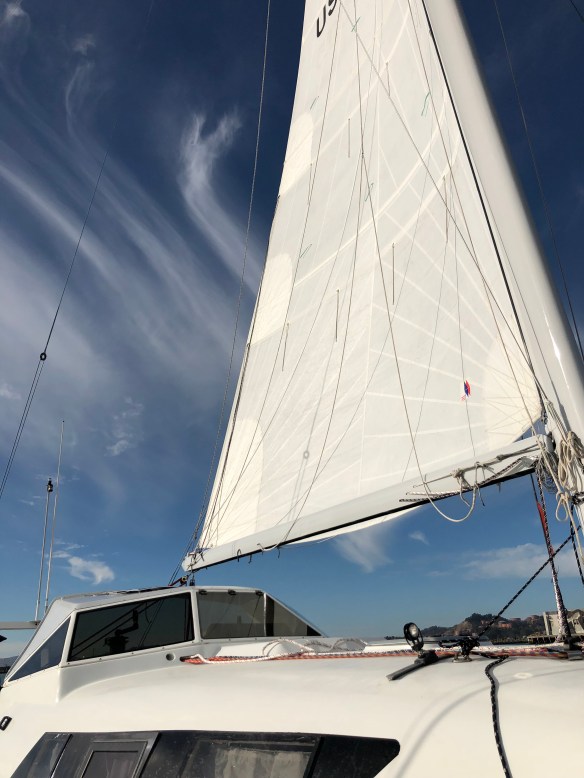
 We’ll sail it this way to see if the boom clearance will work.
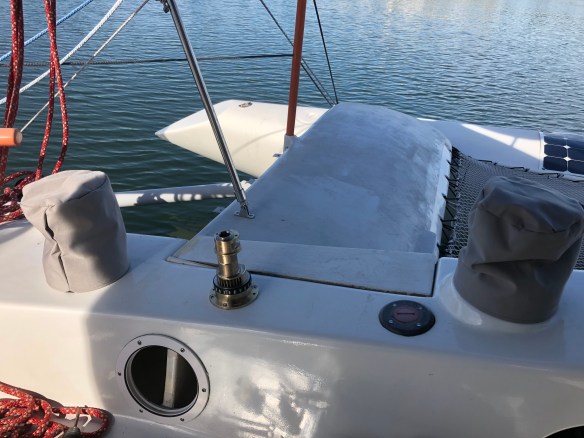


 A week back four of us sailed out the Gate and up to Duxbury Reef in light wind. It was great just to have a mellow, mindless sail. But by 4pm the wind died way down for our slow cruise home. It was the first time docking in the dark, and yea, we didn’t quite catch the dock cleat on the first pass :)
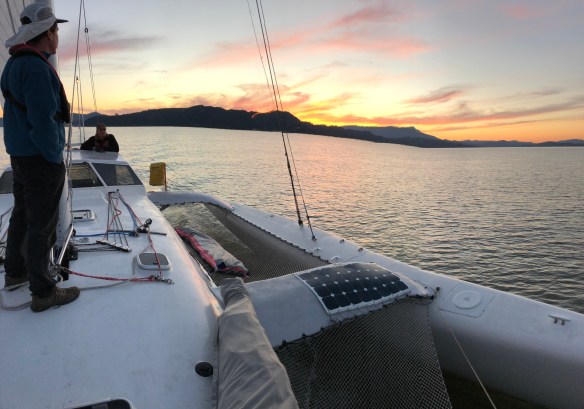


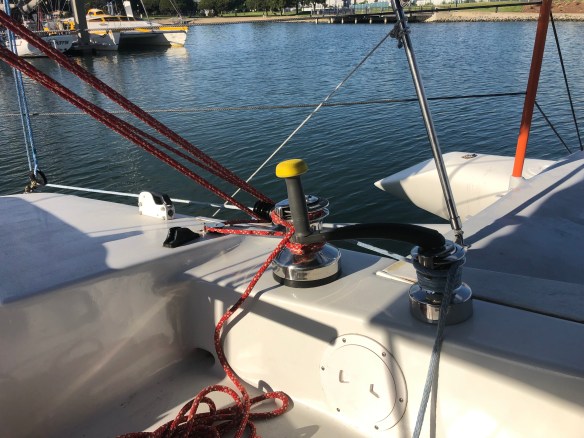
 It was supposed to be sexy exposed carbon weave, but the square tube shape was tricky to mold and there were various little wrinkles and gaps, so they needed fairing then paint like everything else. This all got started last June visiting Skateaway when Keith impressed on me the problems with leaving heavily loaded halyards in the teeth of rope clutches during ocean passages. So now the sails will be raised and trimmed with the help of the clutches, but once underway the lines get cleated on these new pins then the clutches eased off.
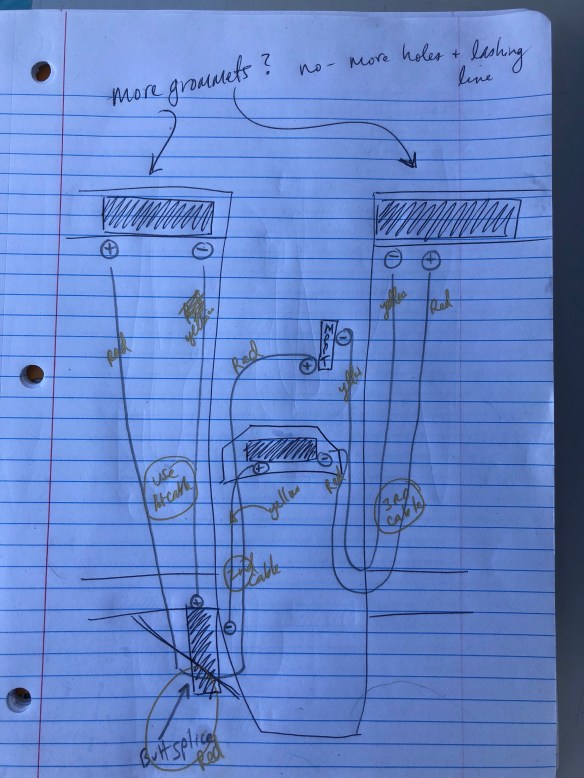
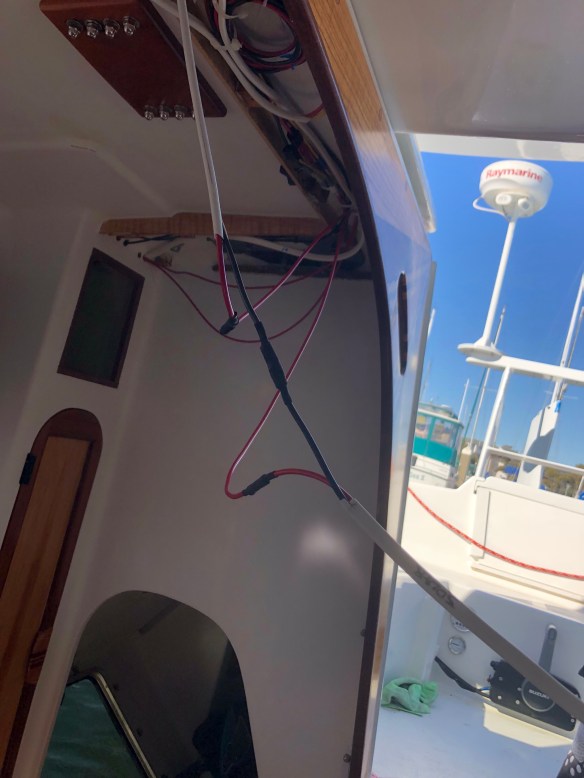
 This monitor is fed by the little red wires (yes Anton I fused each one) strapped along the battery-holder braces.
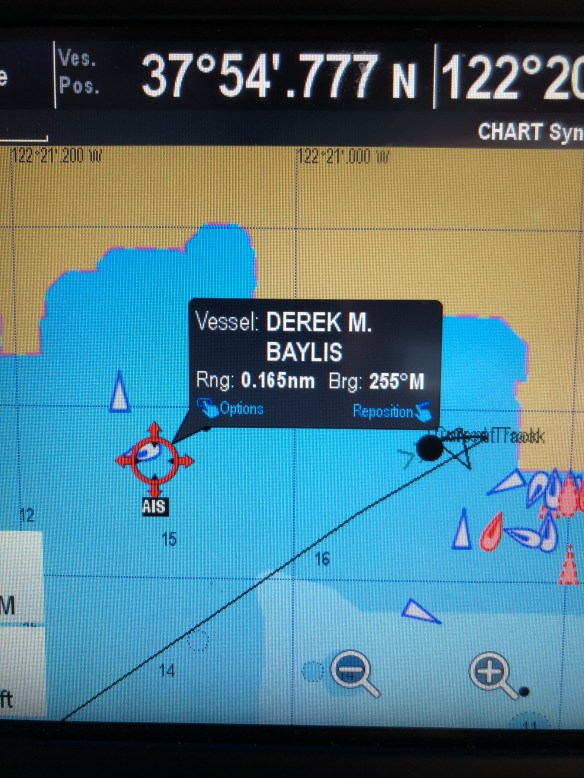
 We bought this fancy chartplotter system and I’m old enough to freak out that it didn’t come with a manual. The online version didn’t make it clear that the charts seem to require the microSD card to stay in the unit in order to be used. So again, to those of you who sailed with this thing, I figured out today we DID have the detailed charts in there. Just needed to switch the viewing source.
  I think we’ll step up to the Navionics charts that we’ve come to really like on the iPad/phone.
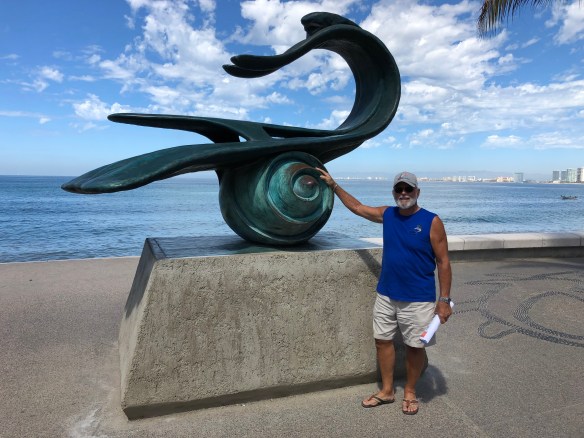

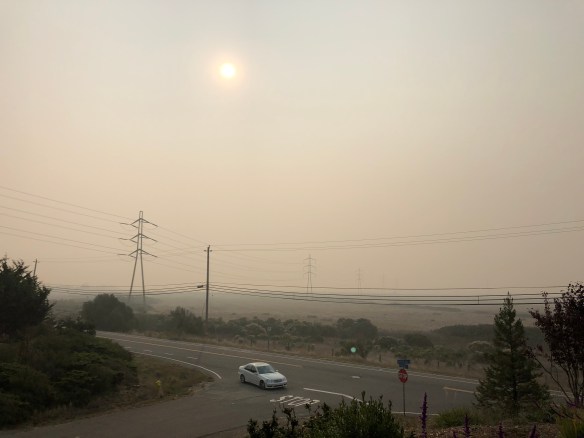
 Here’s the view from their front patio.
  We visited all the primary guest marinas, and I’m leaning towards the vibe at LaCruz / Punta Mita. There’s also a very good free anchorage with easy town access. Ravenswing got ‘cleared’ to enter the MexOrc races next March. Hopefully in a different class from the MOD70 tris!
 We even made time to visit the embroidery shop, and they did a great job translating the boat’s graphics to crew-wear.
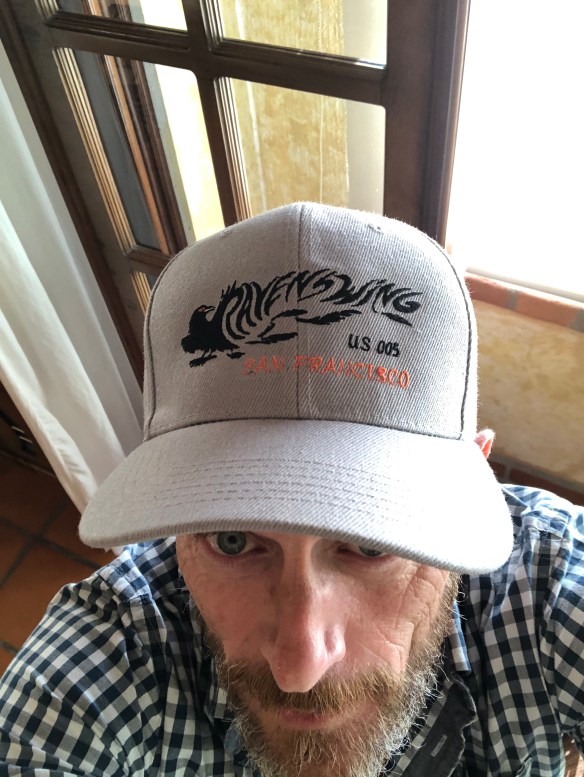


 This was only the second time we’ve had the Reacher up (big blue sail), and big thanks to ChrisH for slacking the halyard way off to curl the luff once we turned downwind. This thing makes a great chicken-chute that way! Here you go, framed up with The Rock (Alcatraz prison)
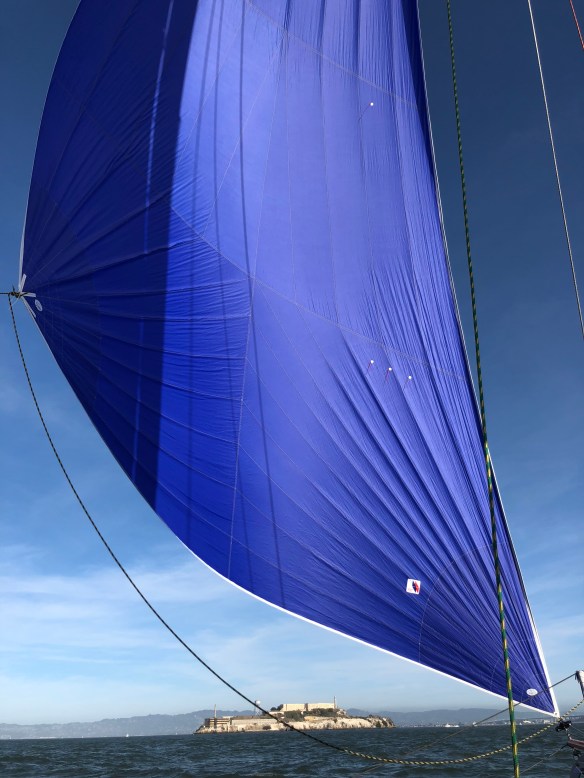 I didn’t drive that day, instead I roamed around the boat looking at new-to-me vantages. The best was the aft cabin – Rick is right, that’s going to be a nice spot on passages.

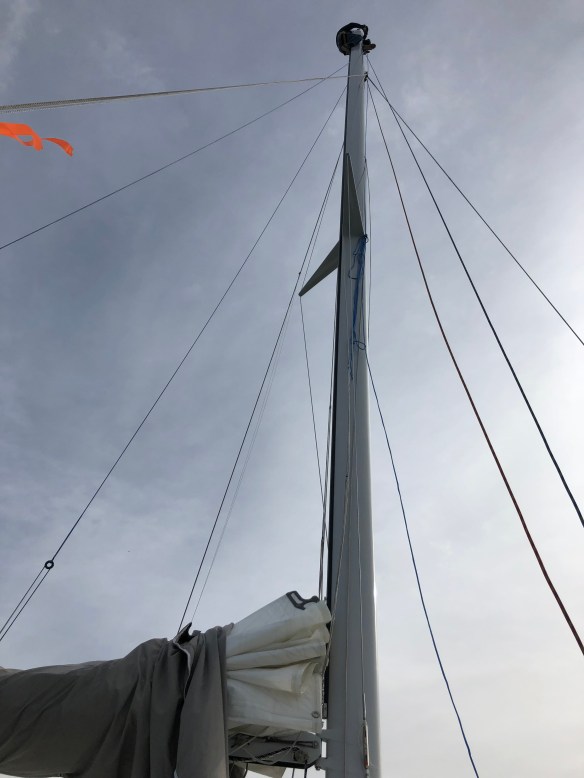

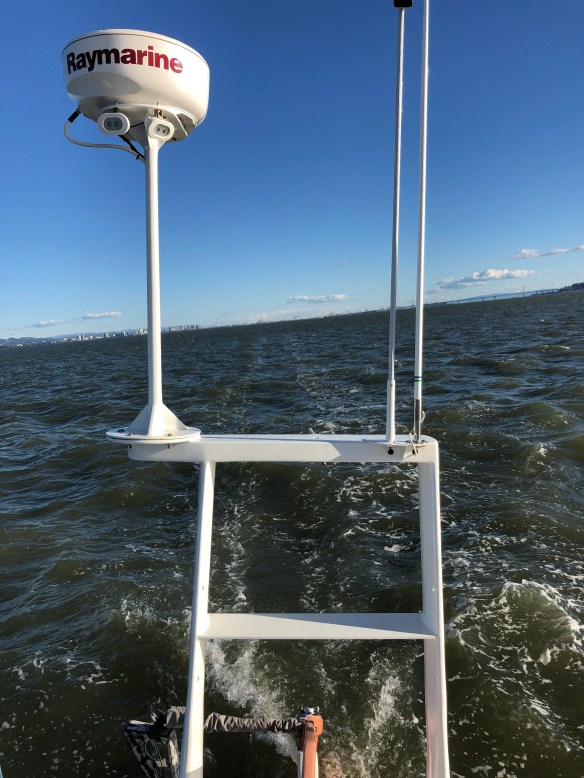
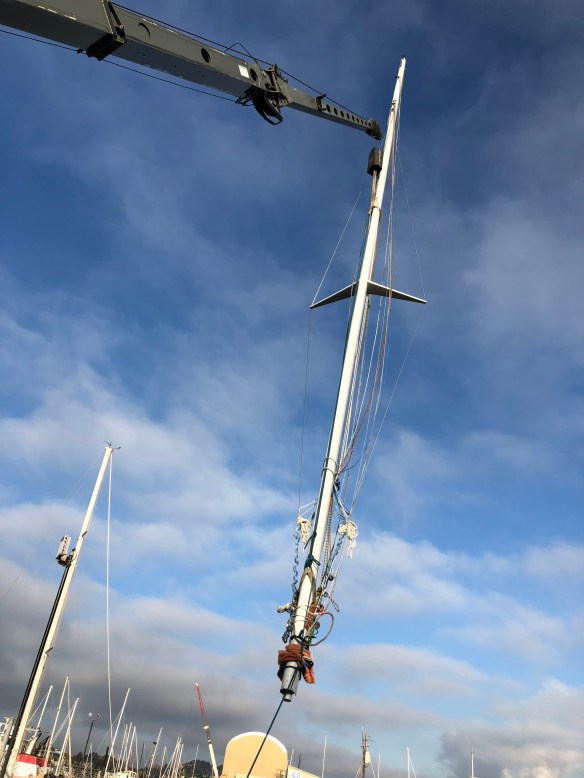
 The installation instructions did not warn about Bluetooth being dependent on line of sight. I put the unit in the middle of the masthead for strength, etc, but the crane on the aft portion, including a big steel sheave pin, is blocking our signal down in the cockpit area. Argh. So the SailTimer folks just sent us an offset arm so we’ll move the unit in to clear air about a foot aft of the main sail track. More on this topic later.
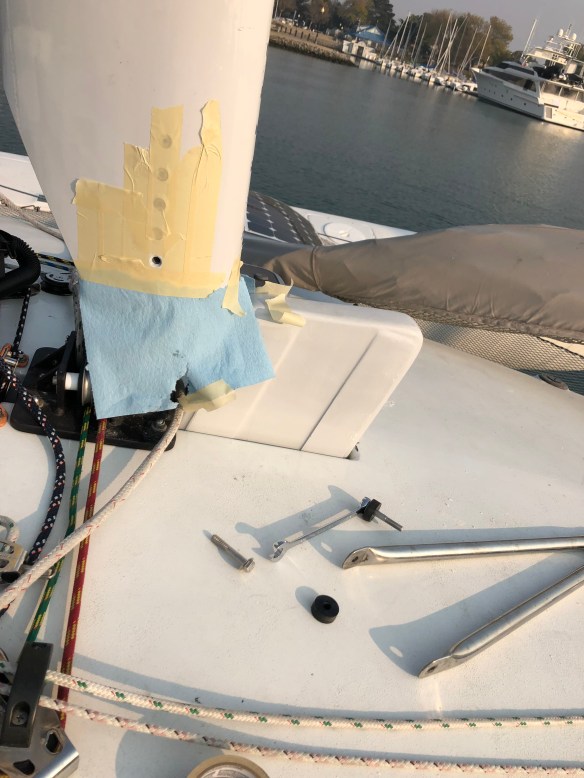 I made a slurry of epoxy thickened with bonding fibers, and syringed it in there.
 Keith, I kept the black plastic spacers because of how the metal shape fits the mast. Plus I think they help with shock absorption. But I did go another 1/2″ deeper than we talked about. We’ve sailed it once in light winds, and it worked fine. Time will tell.
 We also added this 3′ long leader to the reacher control sheets – this helps pull the sail around the forestay during tacks or jibes. I’ve known about this for spinnakers, but just realized we needed it for this sail too.
 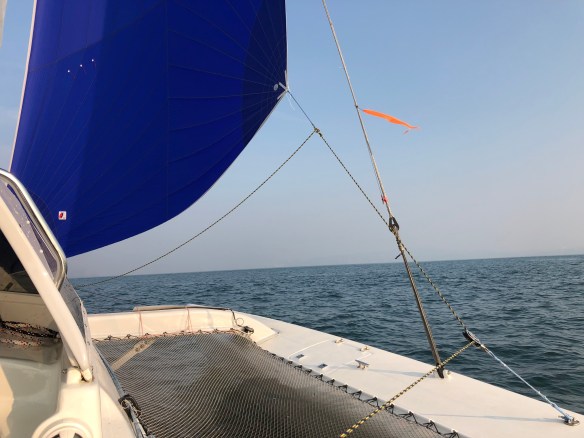 And one more shot trying wide-angle to get more sense of the two sails working together…
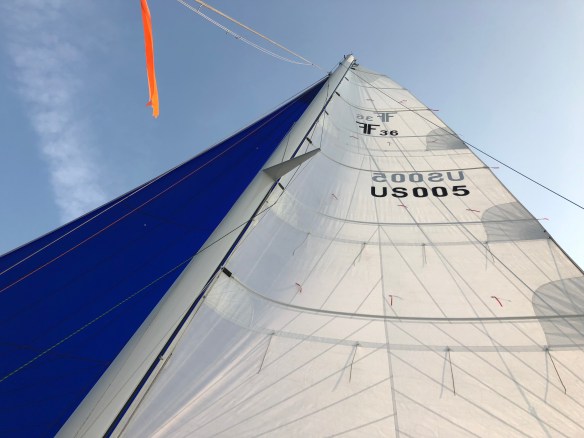 This one is for John Franta at Colligo, and Keith at Skateaway Design, for showing how well our bowsprit hardware came together and makes this sail easy to manage.


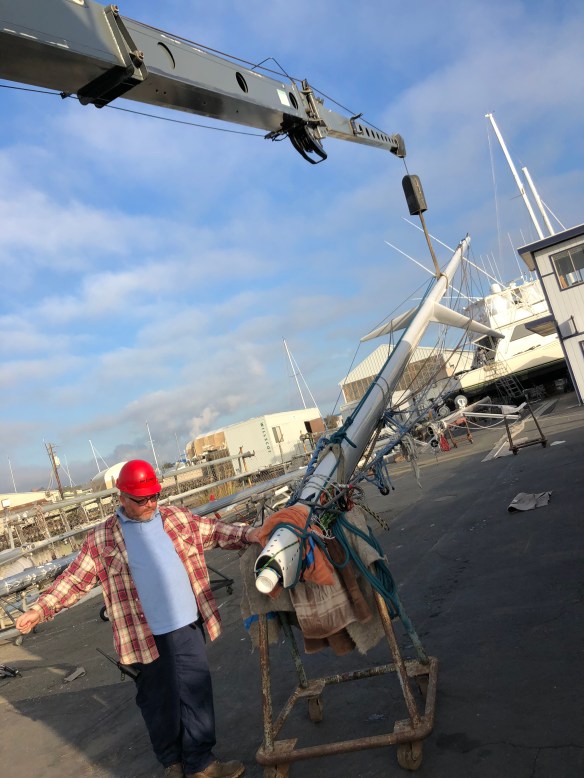


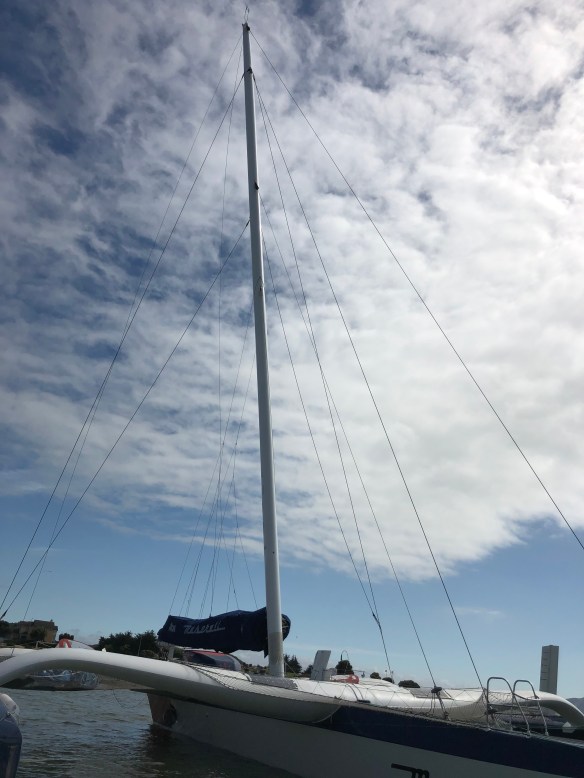
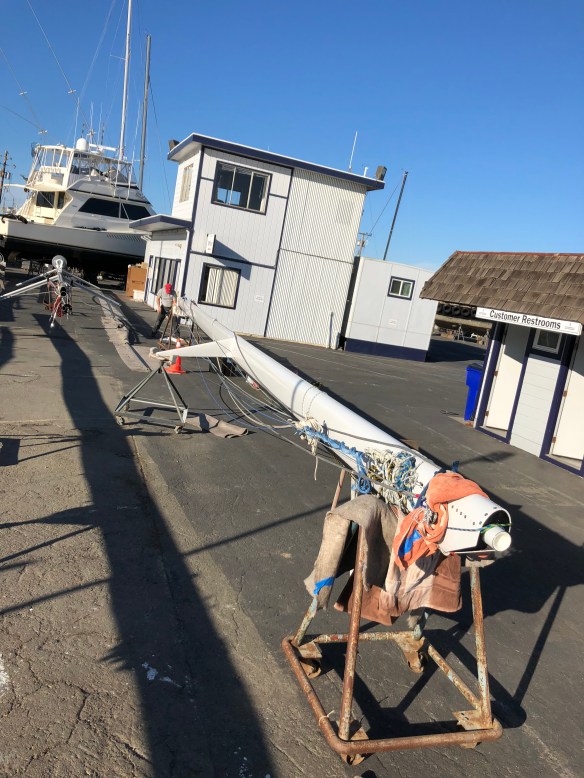
 Big thanks to Rolf and Kris at Bay Marine for expert crane work. Carlos, Jim and I went on deck once they had the mast down on the ball, and we lashed the two cap shrouds and forestay in about 15 mins. Just those three lines, then they removed the crane.
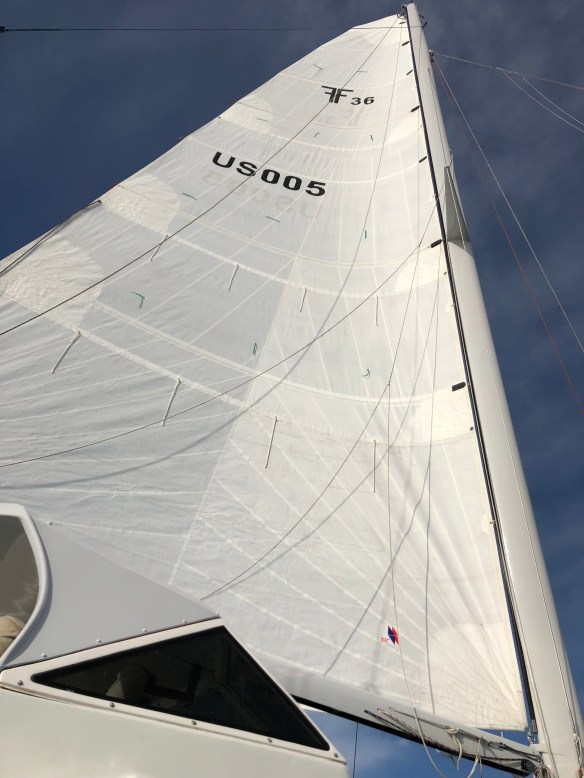

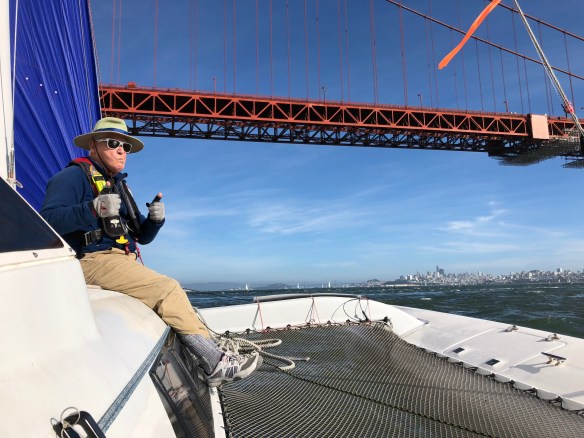
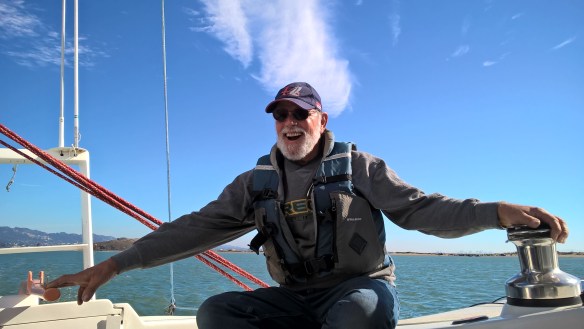
 kudos to Jim for driving the boat today and keeping the mast in the sky. 100% improvement over last time :)
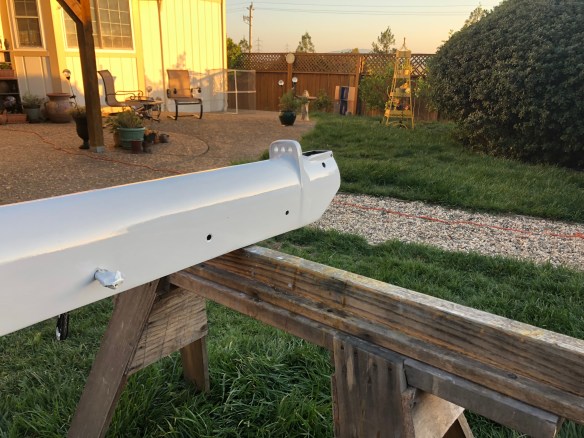
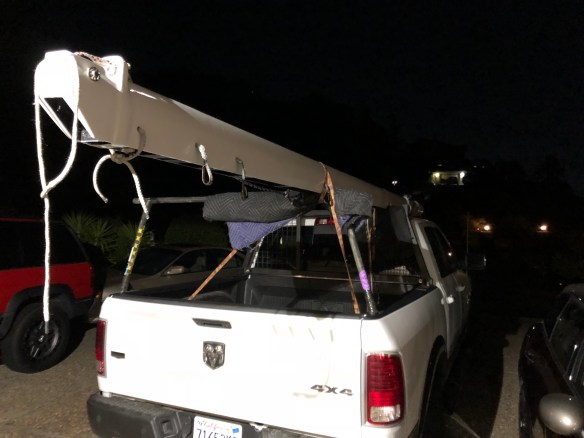 After a good home cooked dinner (second major spousal gift of the day), it was a couple hours in the garage dressing out the boom for duty tomorrow. The new outboard end sheave box, and the mast-connect toggle system came out great. Reefing the three clews will be much better this time around.


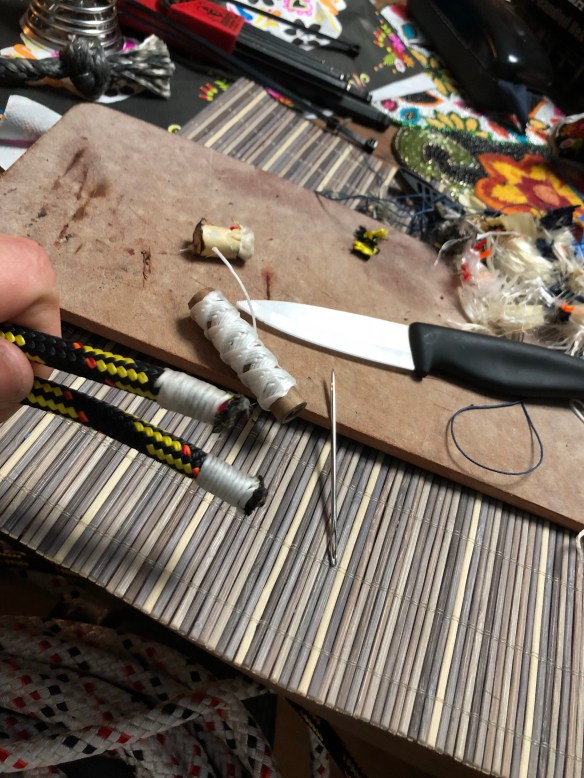
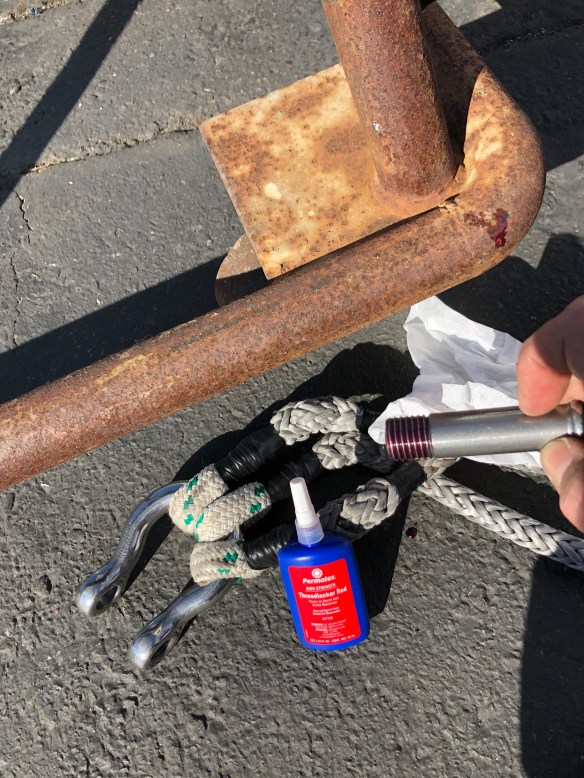 Then lashing with 1/8″ amsteel dyneema. Look how nice the hound turned out; after I left CompEng the owner Ted made a perfect press-fit steel bushing to exact fit the shackle pin. Another element of how everything on this mast is top shelf.
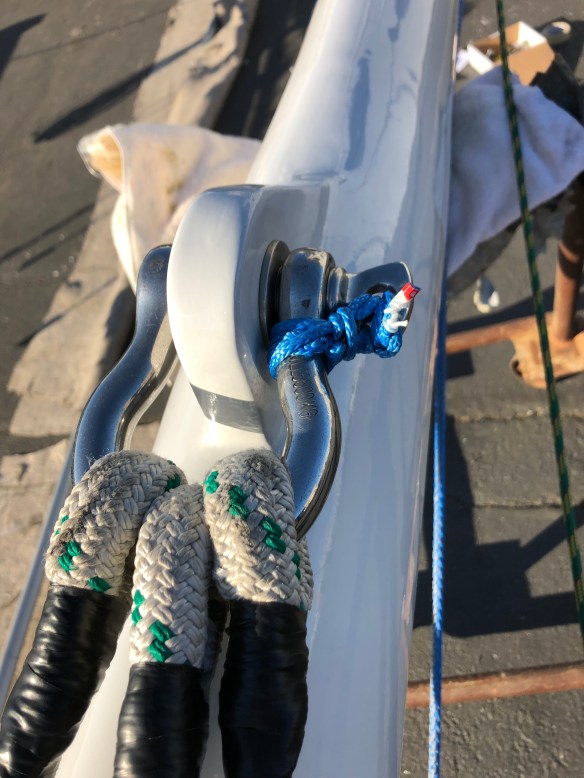

 At the boat, the solar system charging the lithium battery bank got up to a full 14.2volts charge today, once we dialed in details like the Peukert curve, absorption voltage, and efficiency rating. The Victron BMV712 is run via a Bluetooth app, making the custom configuration very easy. The hard part is deciphering and deciding what you want with your LiFePO4 batteries. Now with full charge we’ll start using the chart plotter and radar for the first time, and if that goes well, get into testing the fridge. All of these things were installed two years ago and have sat unused!

 that’s got to be the lightest curtain rod possible!
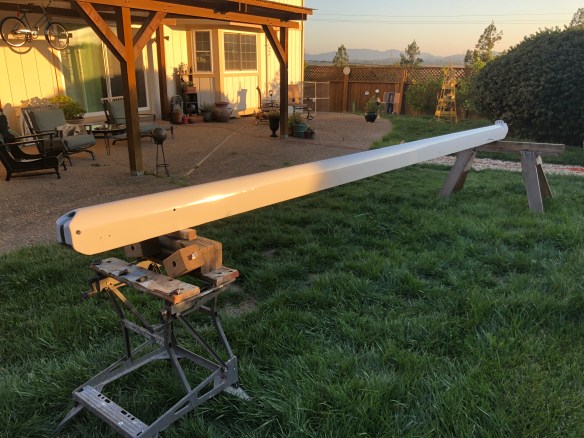


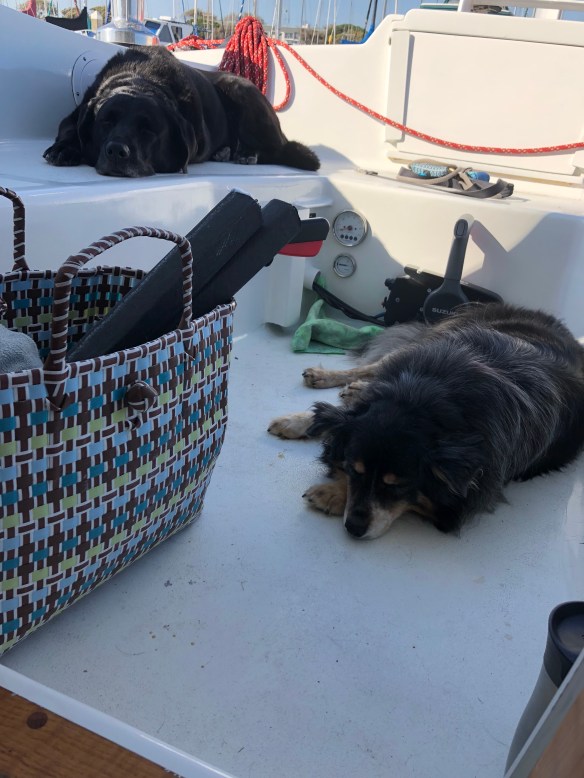
 these two were no help that day, except for occasional scaring away of seagulls