Gone Fishing

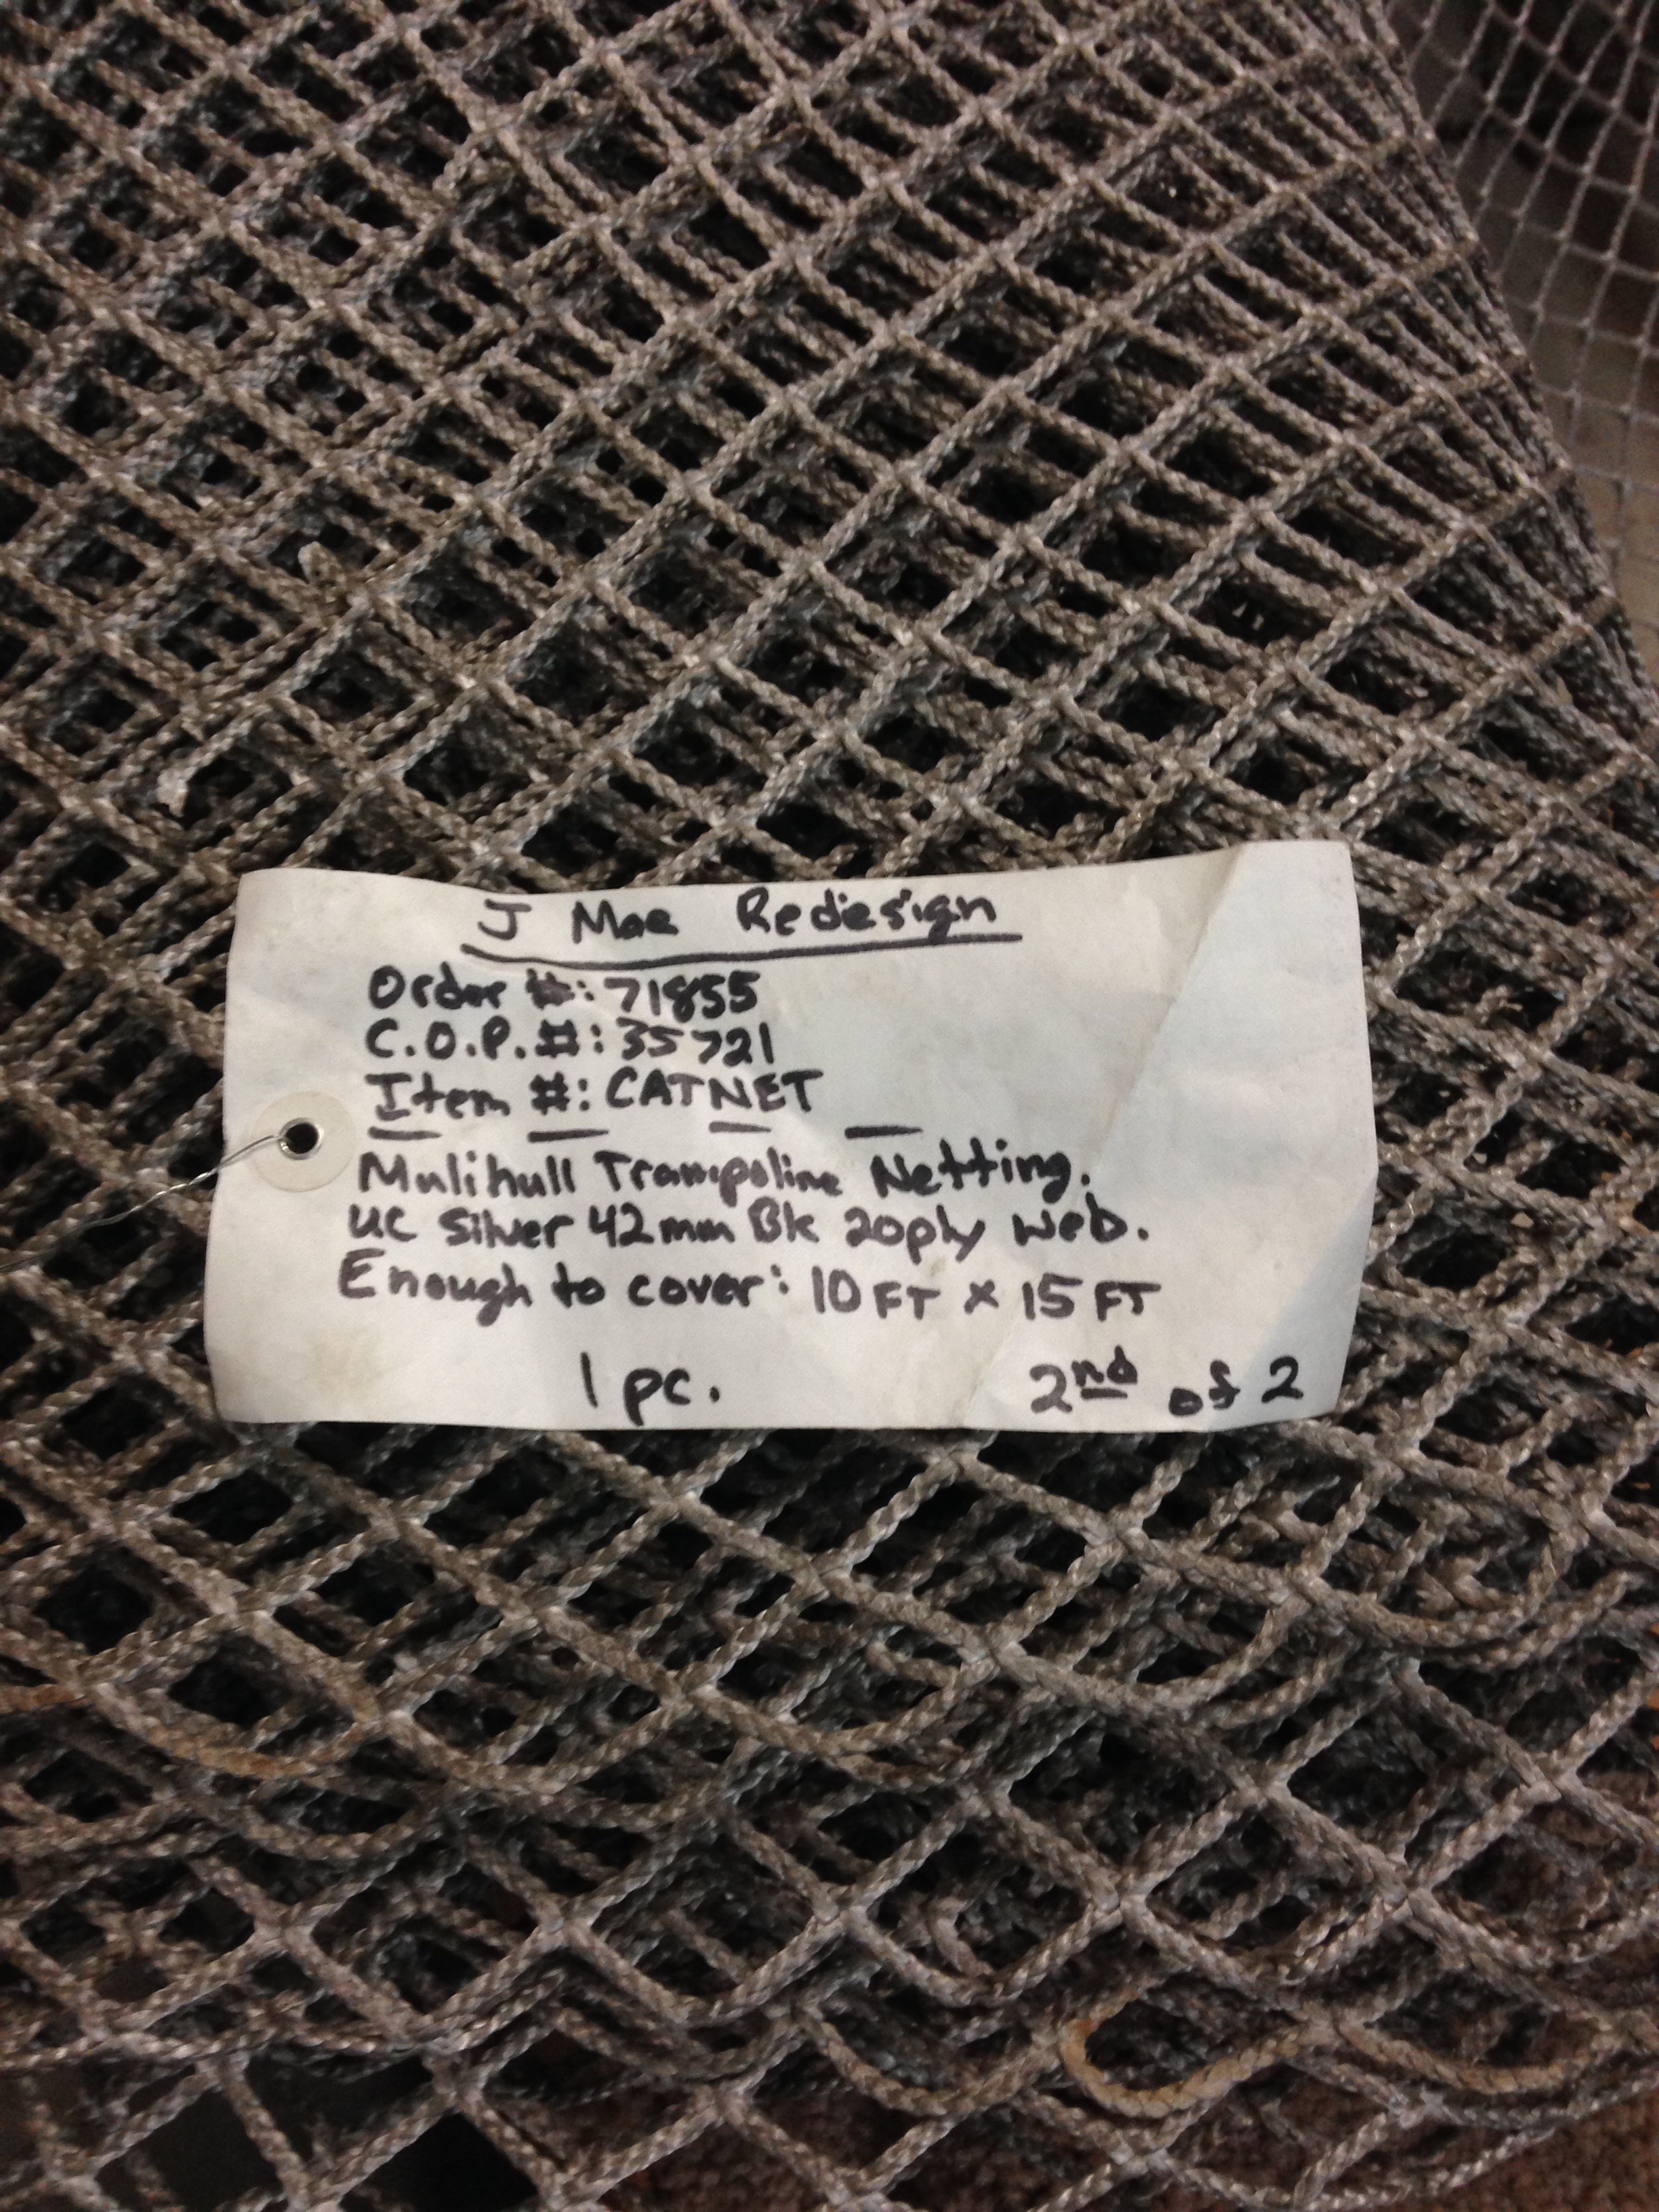
Some of you are thinking we’ve gone a bit nuts for not yet sailing Ravenswing. Believe me, it’s not for lack of desire. There’s just a lot to do first. Such as… It wouldn’t be safe on a windy SFBay day to hoist the jib on that skinny bow with no nets or pulpit. This weekend we got the bow nets built and installed. This whole project turned out really well. Starts with dyneema fishing net from net-Sys.com up in the Port Townsend, WA area (also in AK). They sell it by the pound from a ten foot wide roll. Our 30’x10′ order was about $1,900 delivered. An F31 might use about $1,500 worth. That and twenty or so labor hours gets you the same nets as the Oracle Amerca’s Cup boats. (Yep, from the same people). Here’s the stuff:


We found step one is to transfer the measurements to the ground with nails/screws/pegs every foot along the outline. We subtracted two inches from each side to give lacing-to-boat room. 

The netting is cut with a hot knife. Get a good one for this, and heed the 15second current flow warning.   We subtracted the two inches all around but added back one row of squares/diamonds for capturing a bolt rope. Roll over that single row edge, like up the pattern, and weave the bolt through the net. 

(On the bows you don’t subtract that two inches along the diagonal run from main hull to beam). Start by tightening the bow to float cable 

Next we positioned the net with zip ties! (Great idea Dean and Carlos). 

We took two passes of the lashing line through each eye slot on the boat, which helps keep the bolt rope in the net fairly straight. 
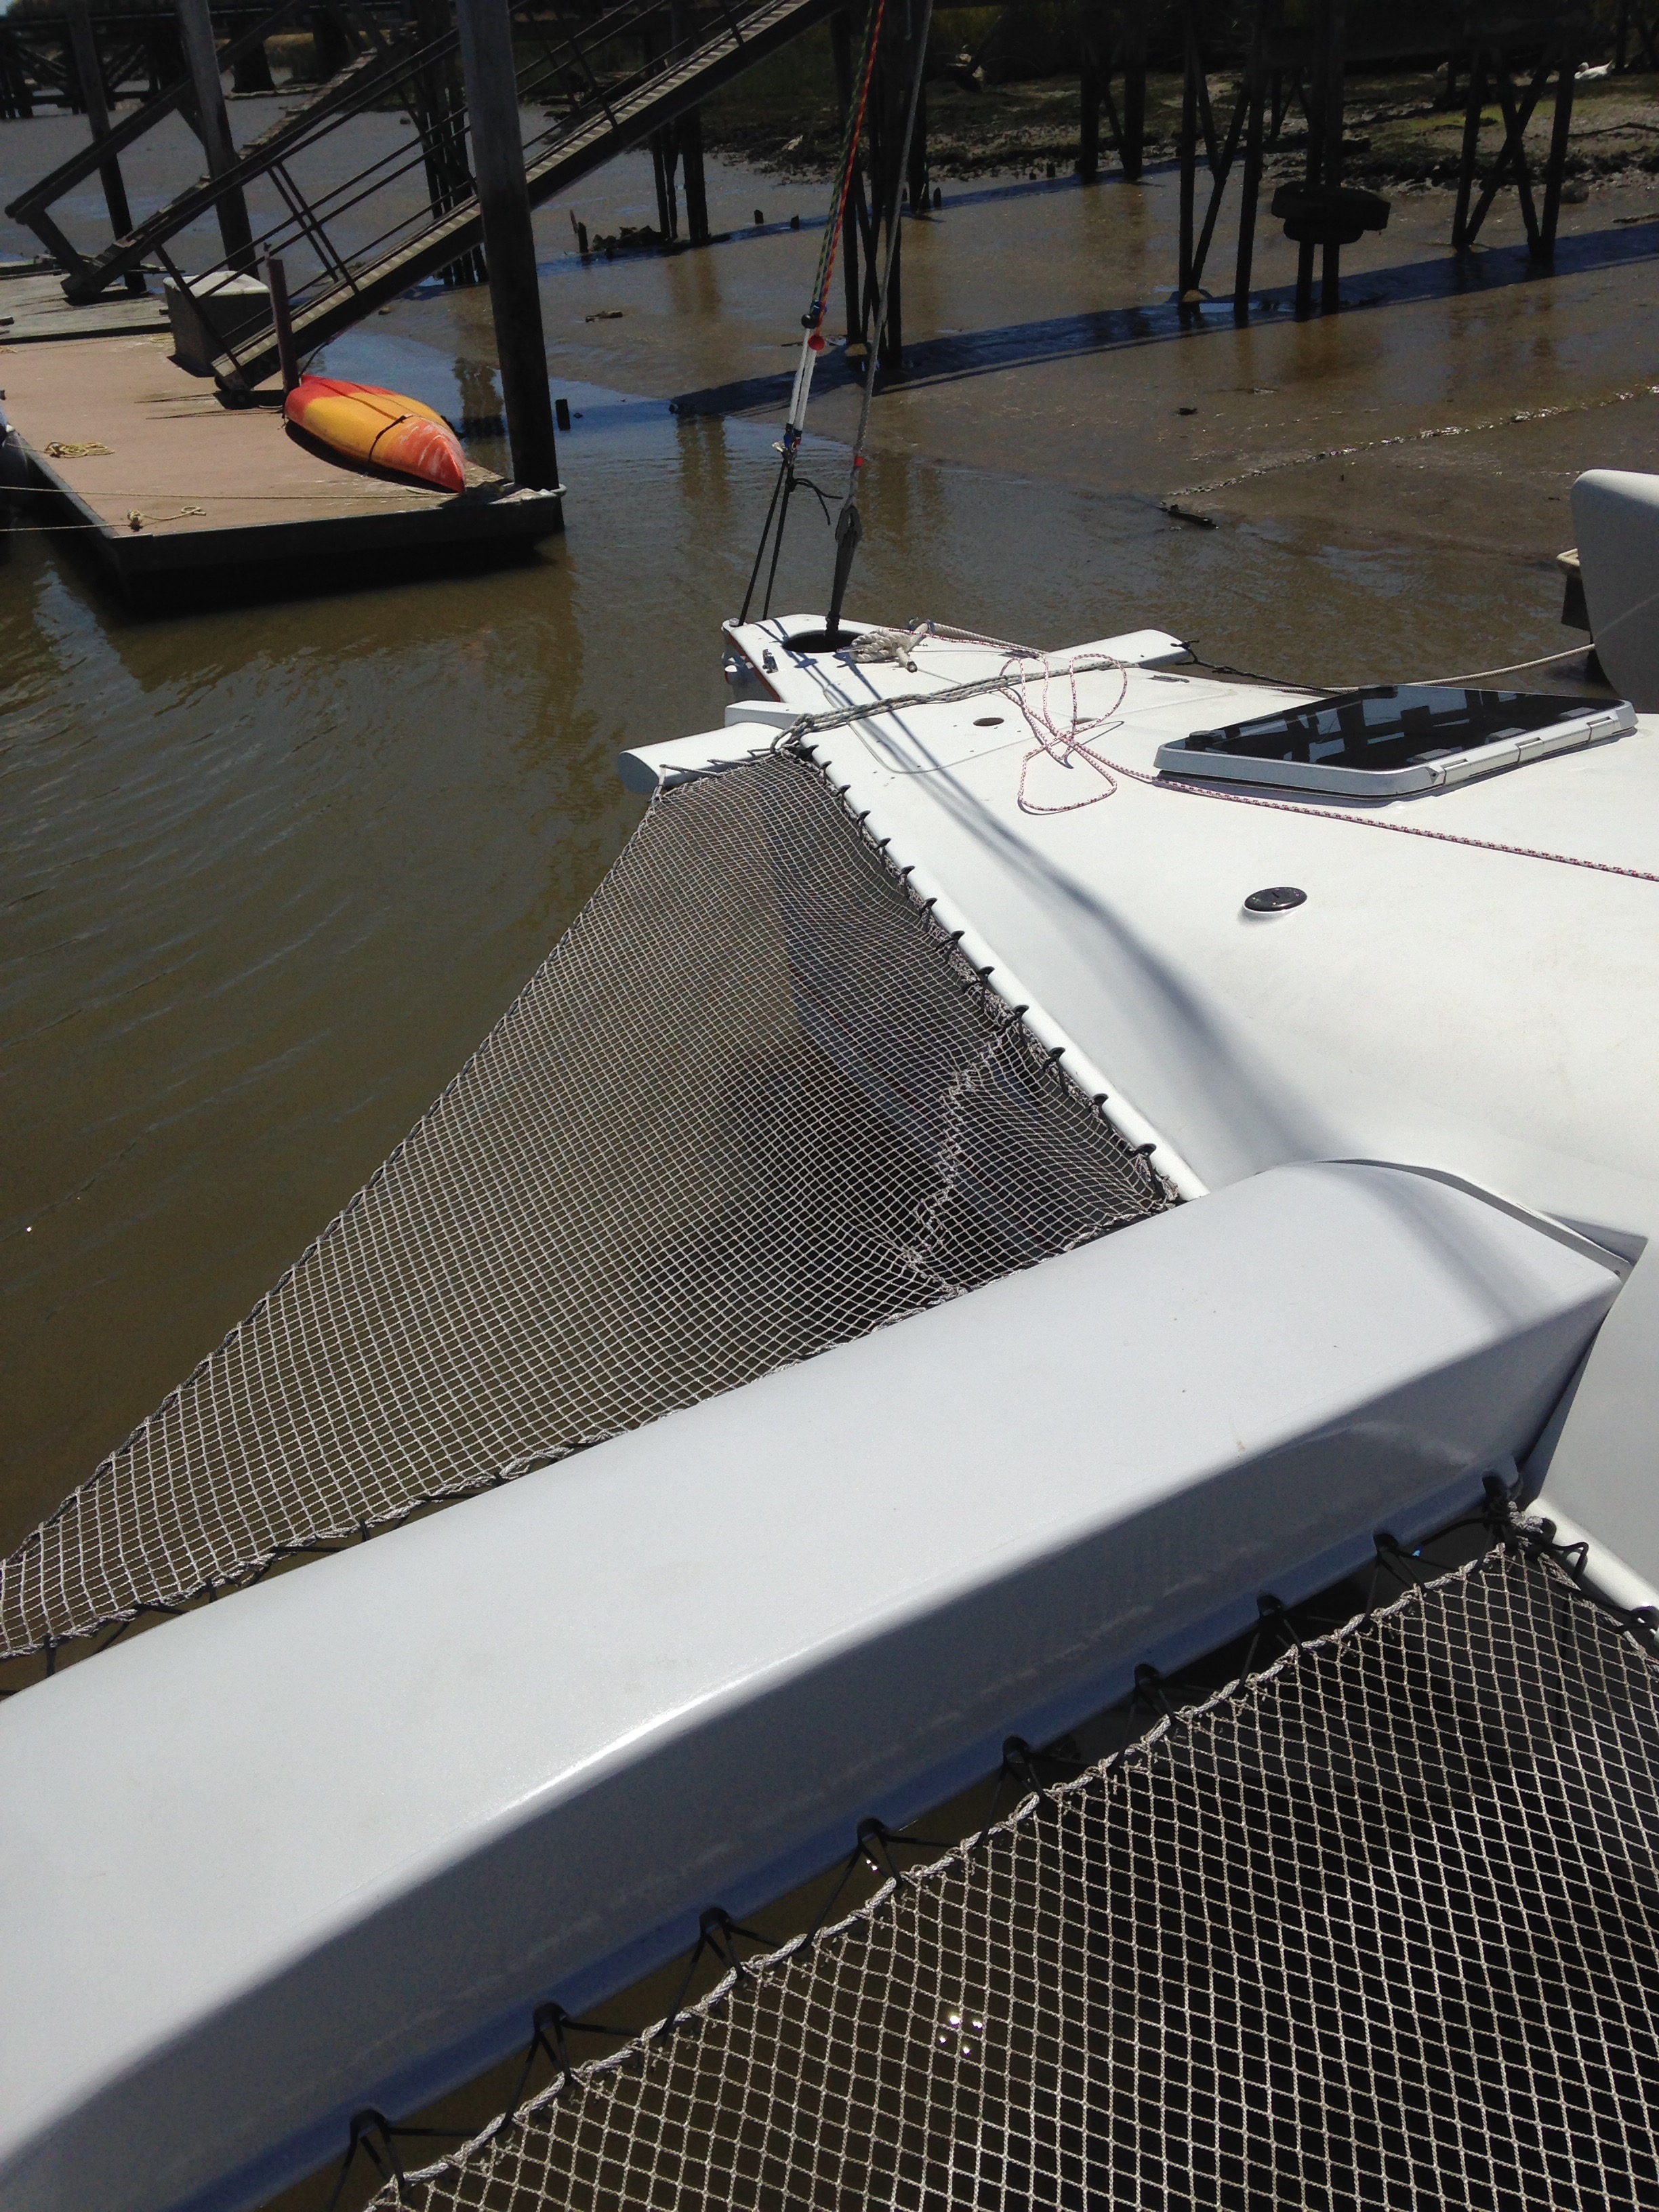
The black line is a Samson 5mm utility double braid. We used up a 300′ roll for all four nets. Long continuous runs make each net easily adjustable. Great project for the ambitious DIY-er!
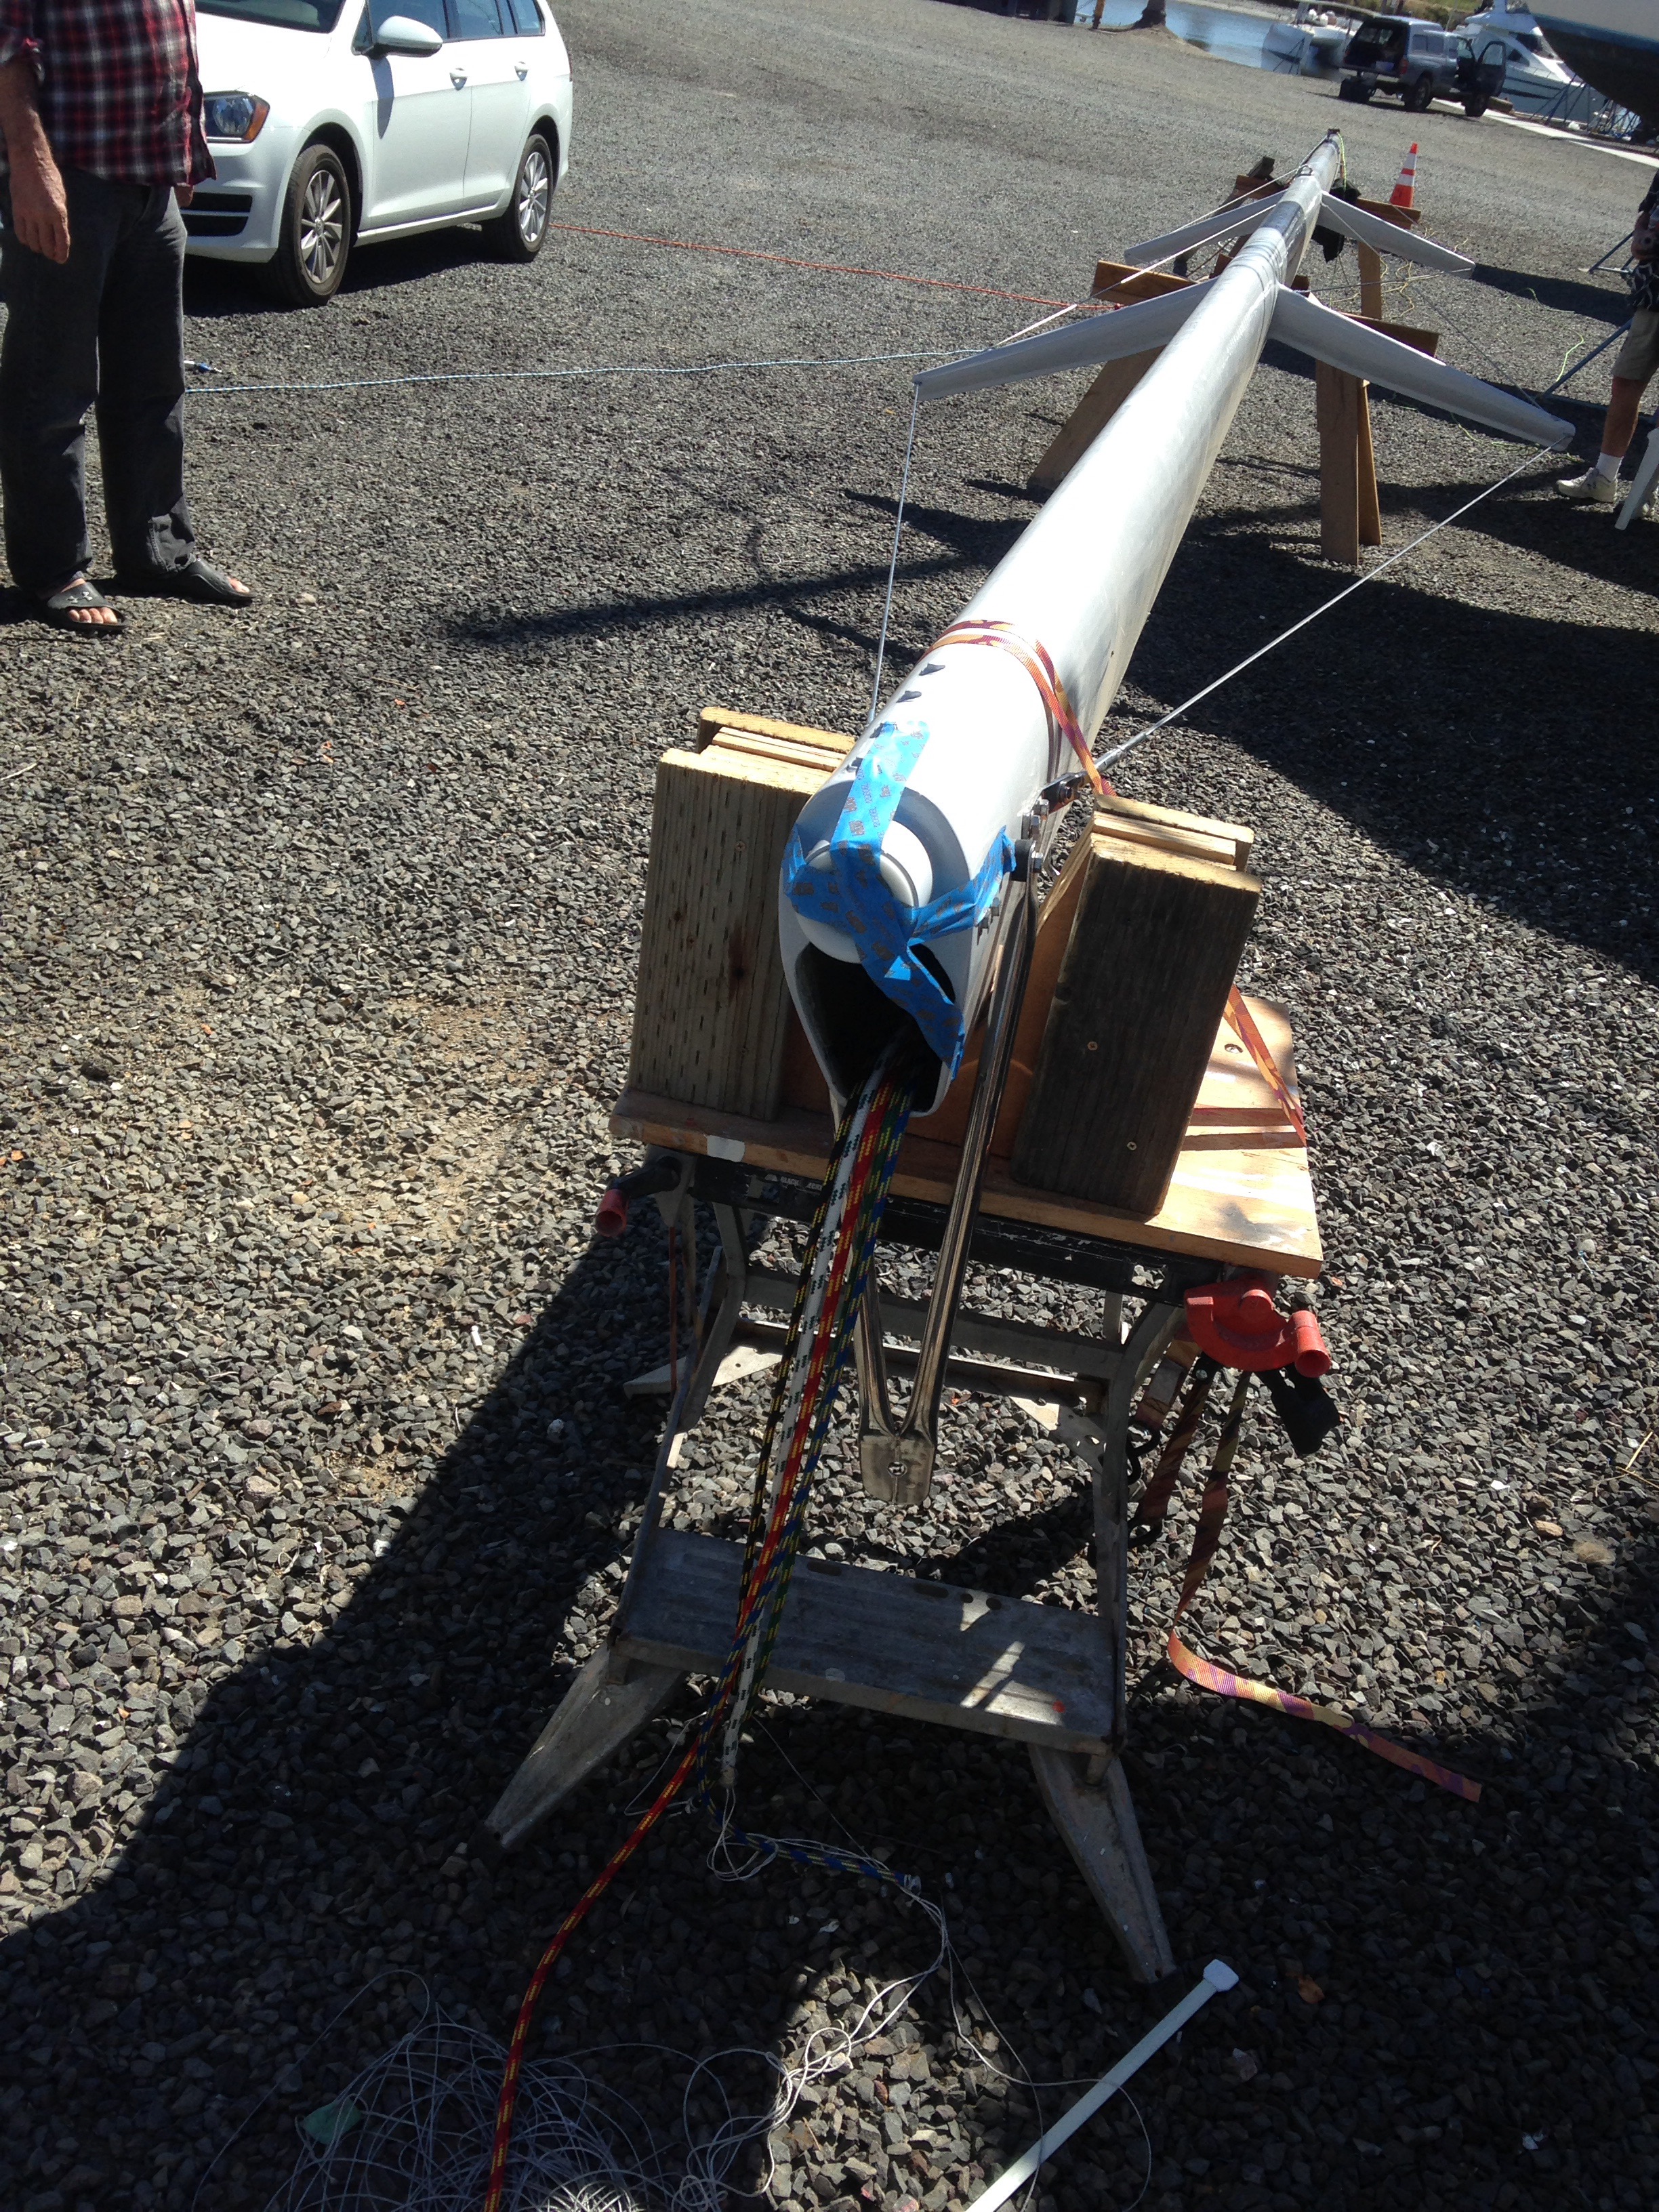
We fitted the boom and sorted out various fittings – gooseneck, outhaul, reefing technique, etc.  

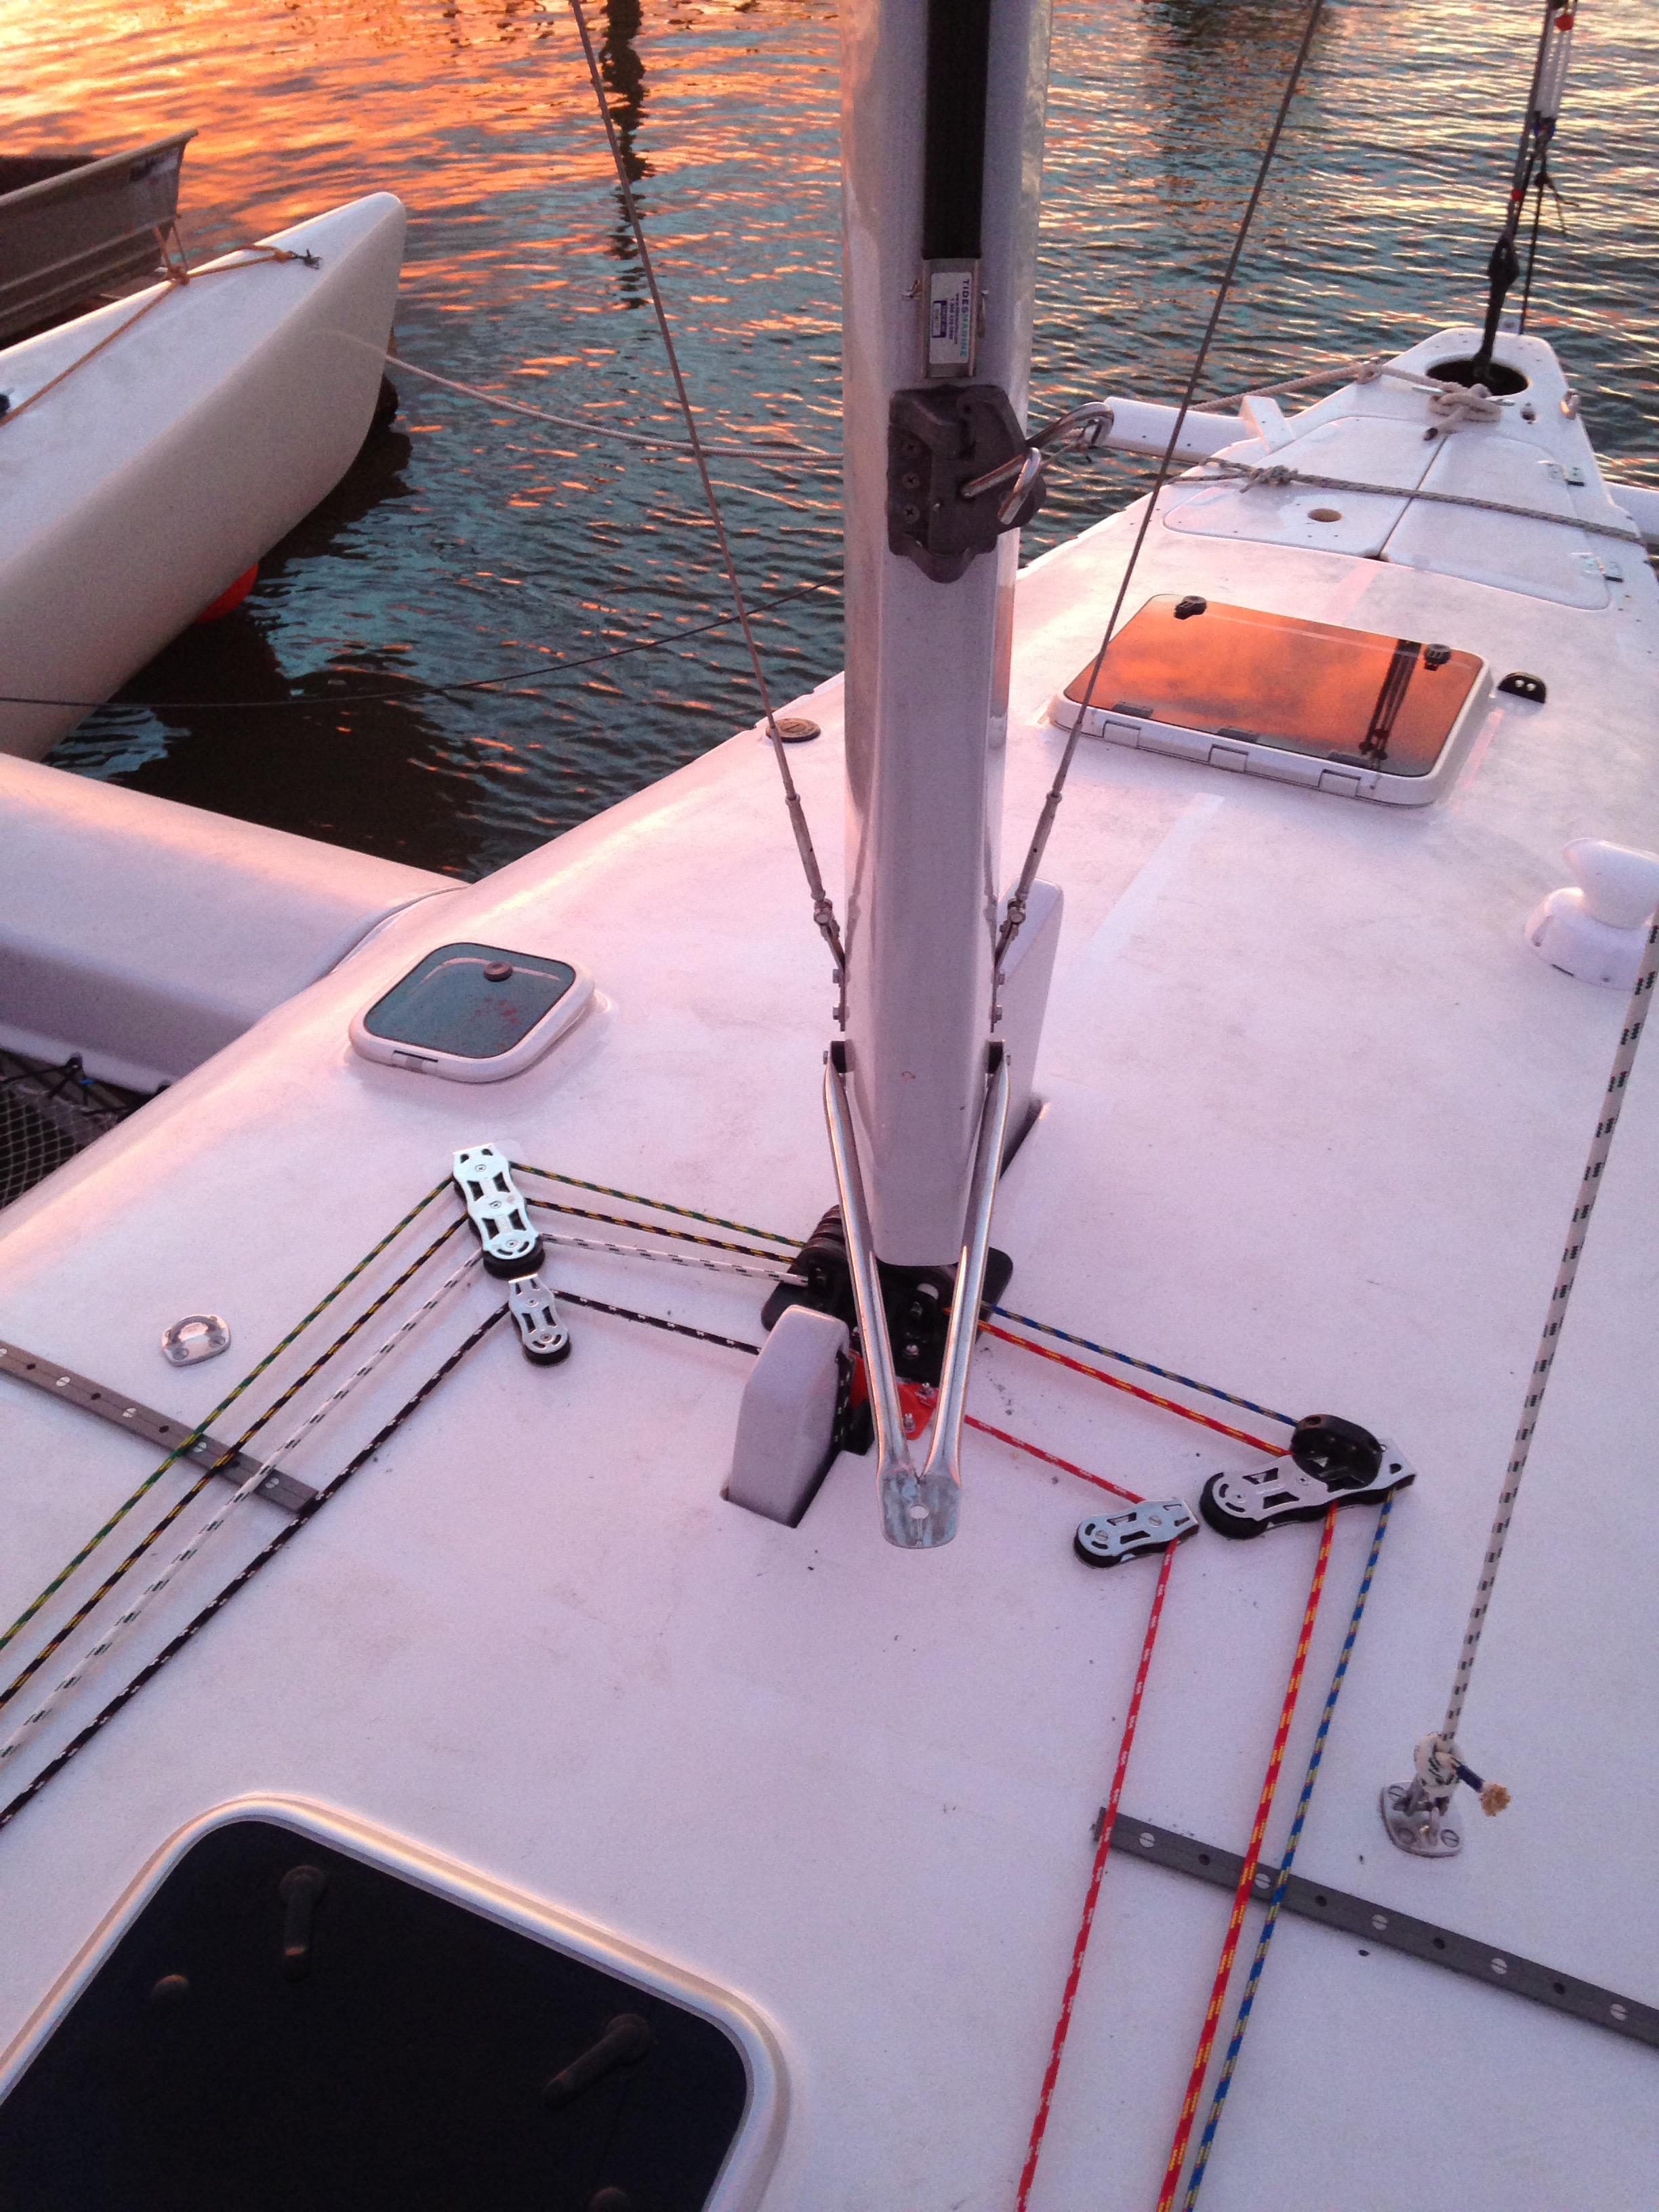
Keith, we respliced the upper back stay terminal to match the end of the lowers – all good now. And here you can see our Leneman “Delta Vee” main sheet. The red is all one line with a cross-over leg (see the middle path of the left hand triple upper block feeding the double on the lower right). Essentially this setup combines the traveler and main sheet into one tool. You can tension either end of the line and pull on the crossover segment to travel the boom windward or leeward. We’ll find out of the traveling is possible by hand or not. 

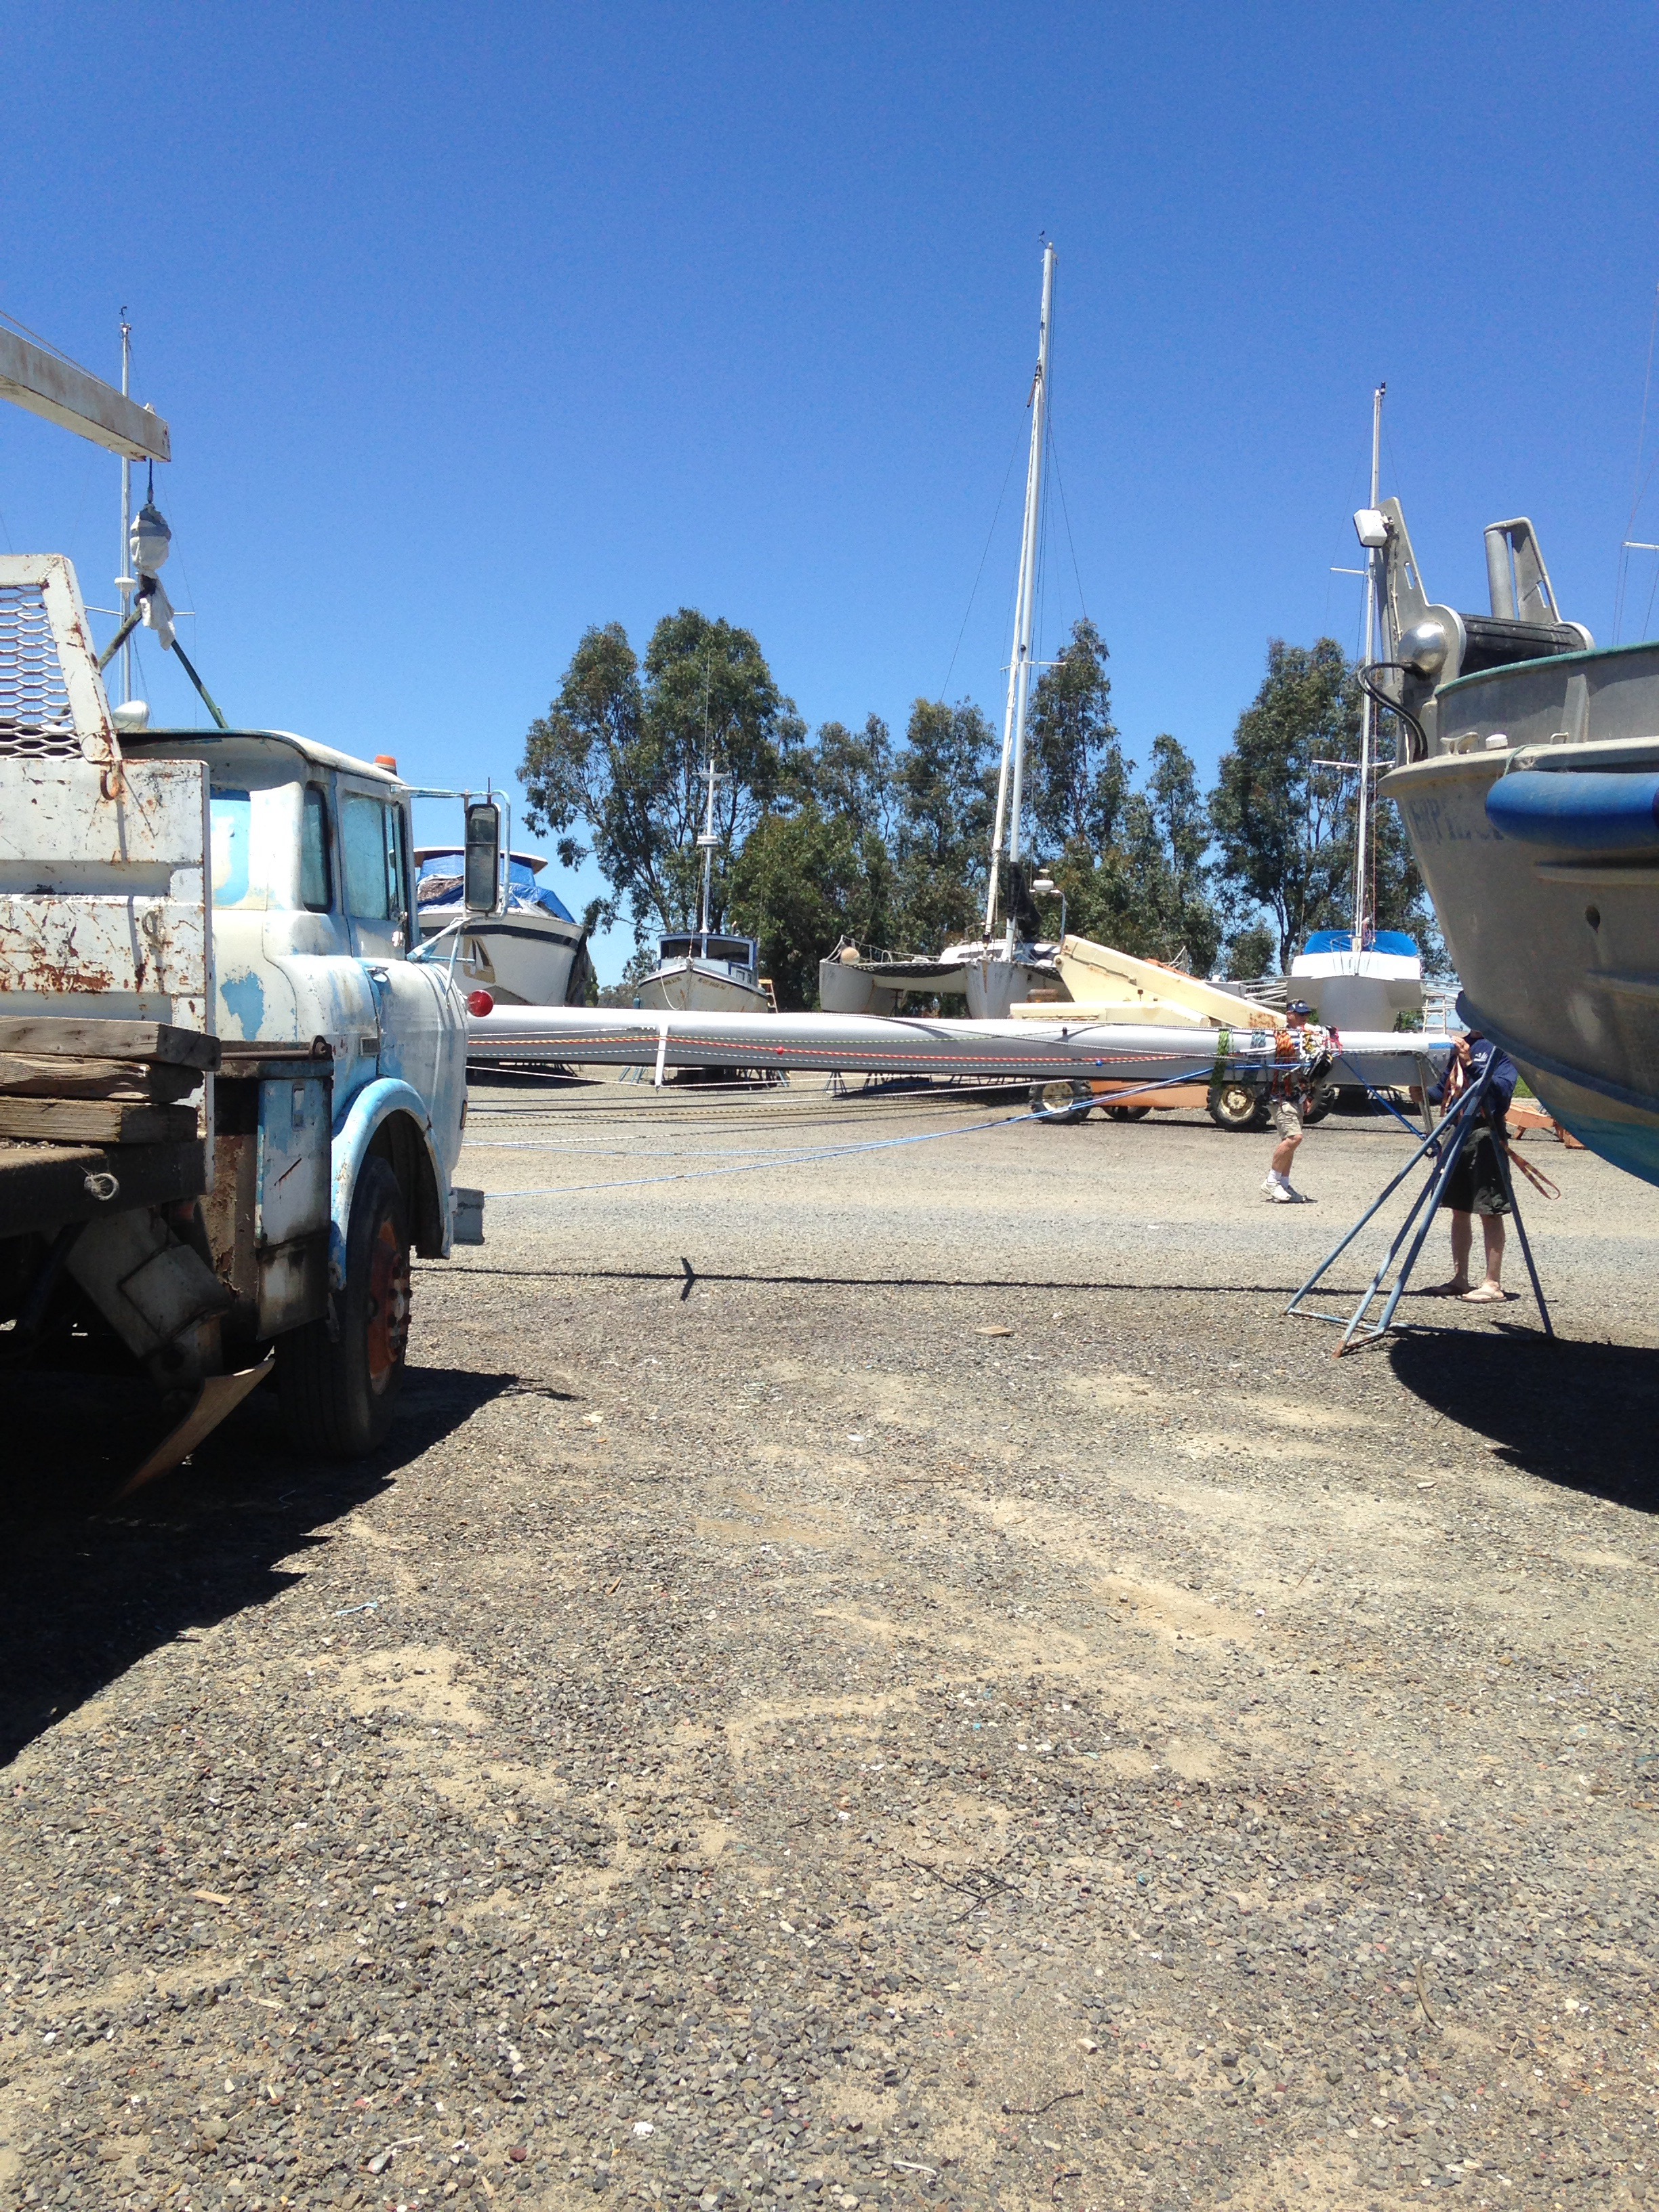
By Sunday afternoon the rig was ready for sails. We unboxed the main (sat a year in the garage!) Holy Cow is this beautiful, heavy duty work. Huge thanks again to Skateaway Designs for engineering all this.

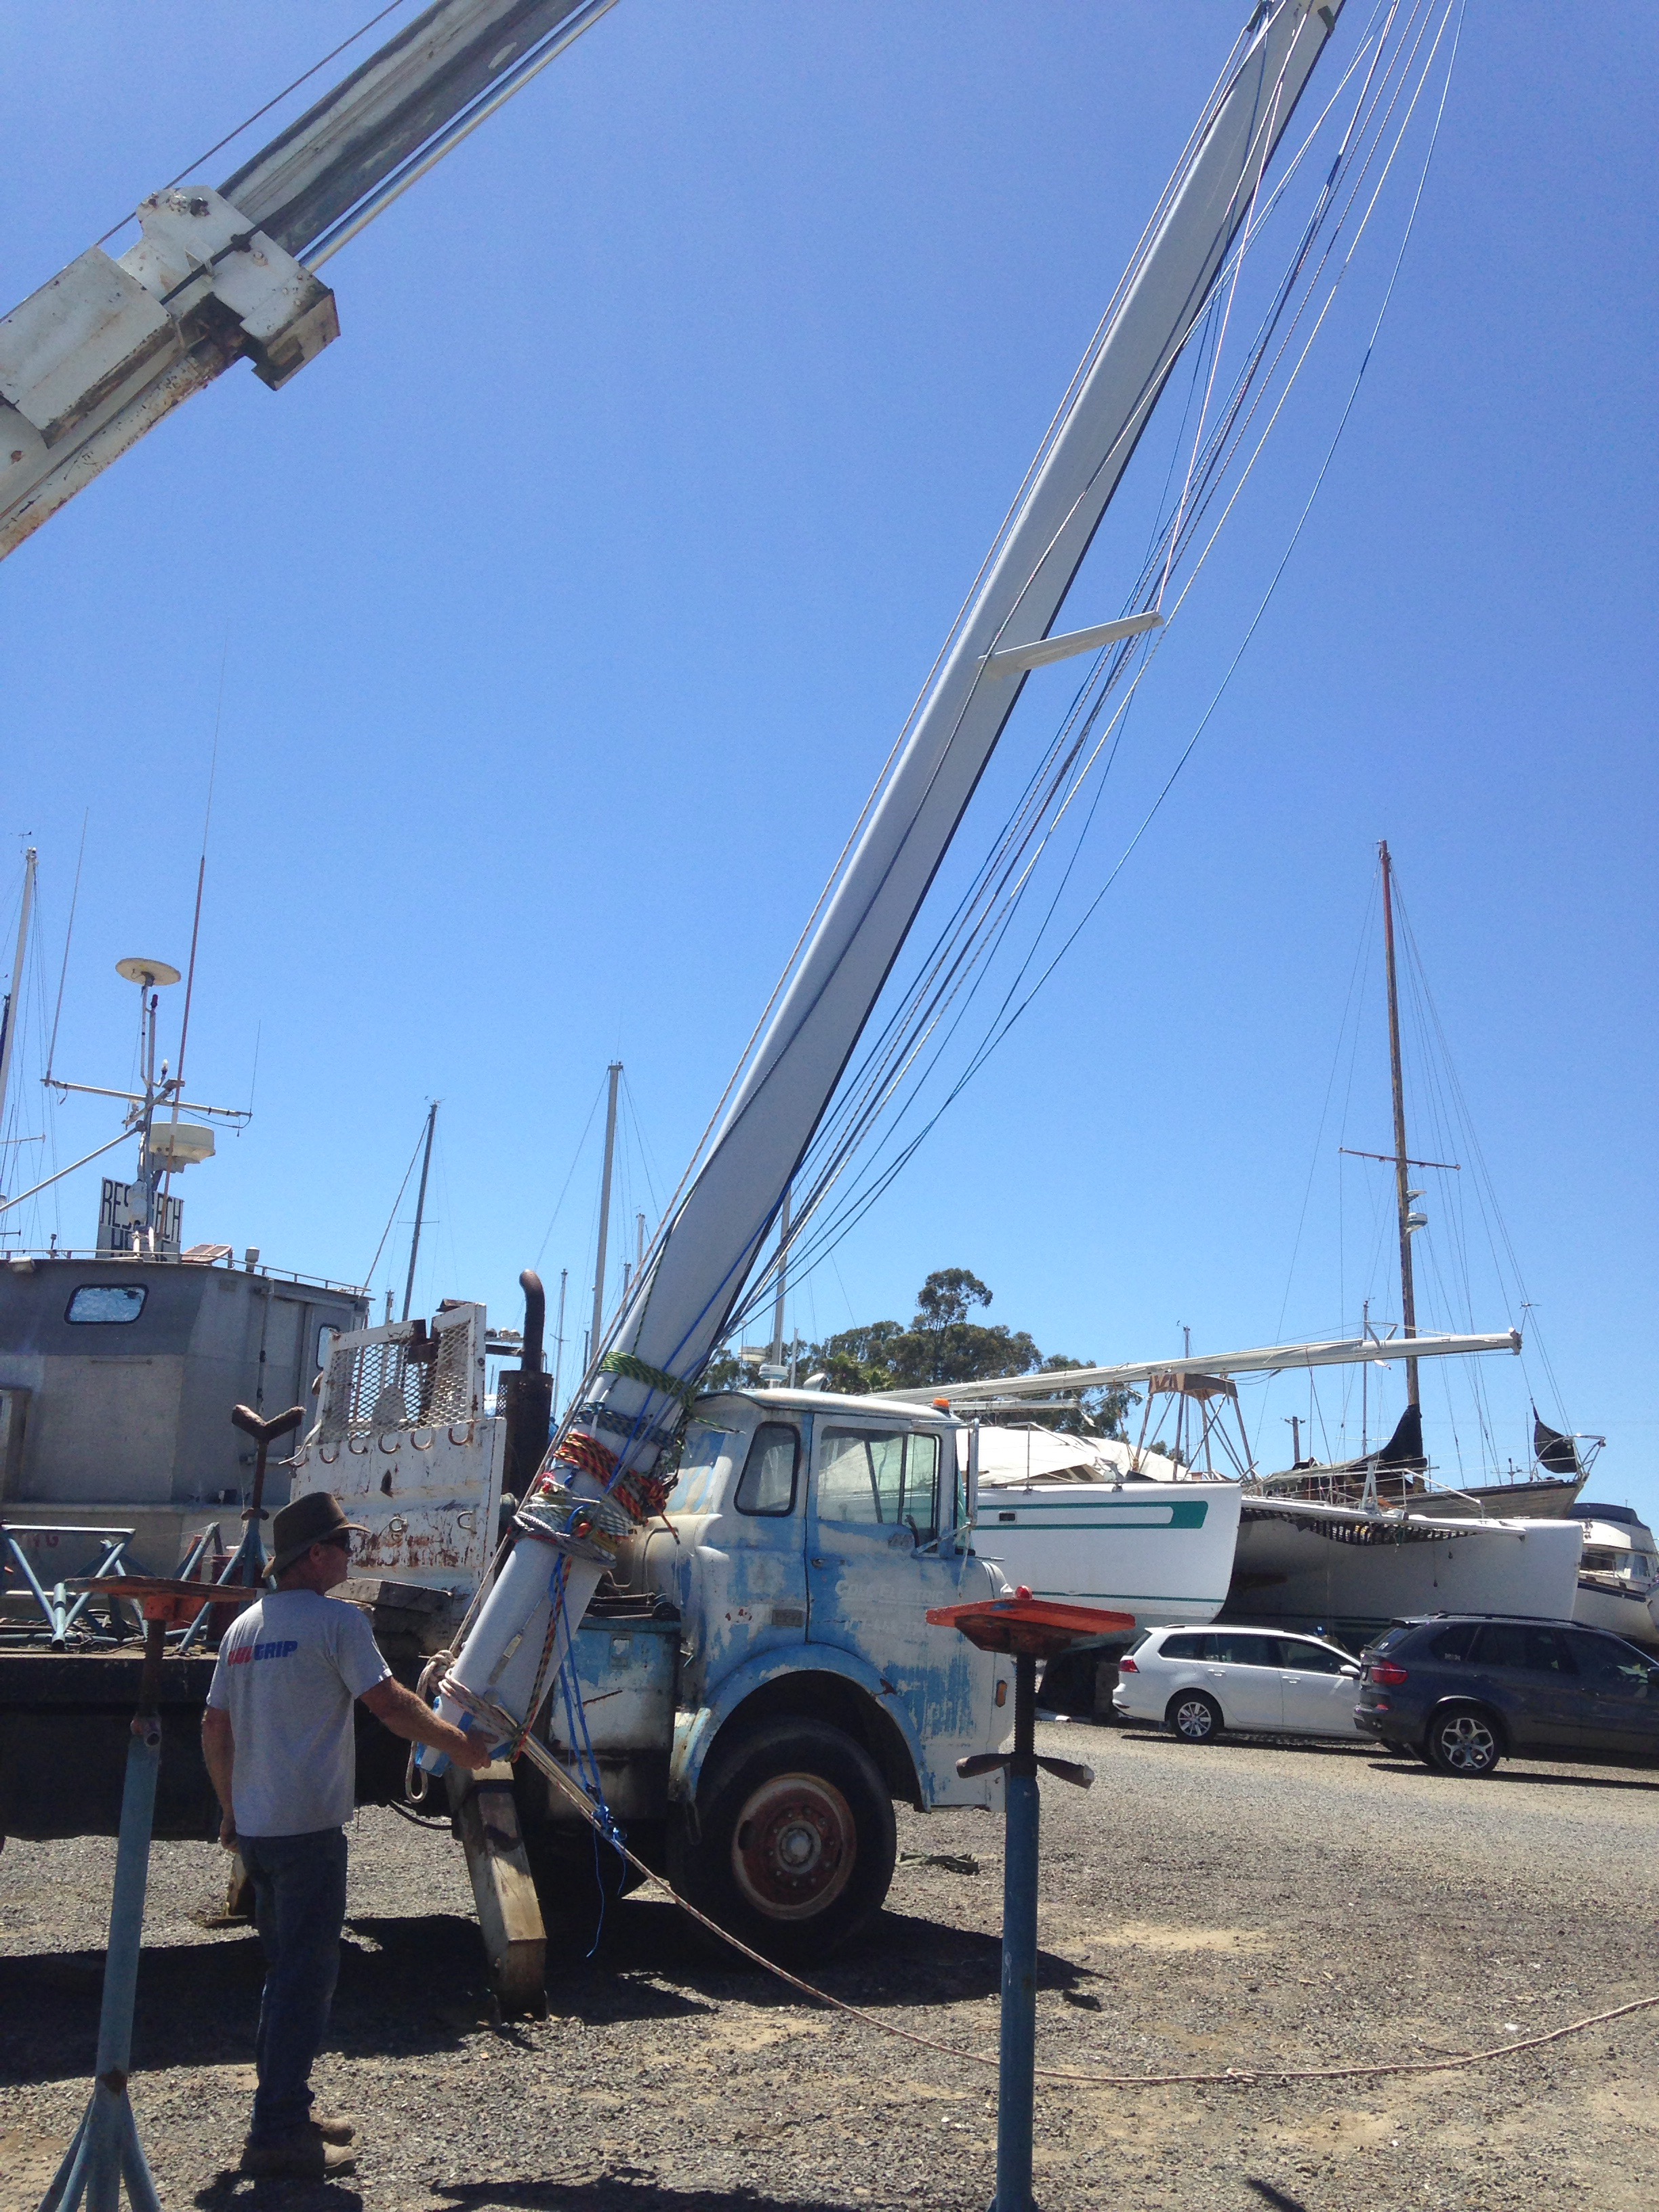
Charlie and I installed the battens and figured out the sail track. Look at these beefy Schaffer cars. 

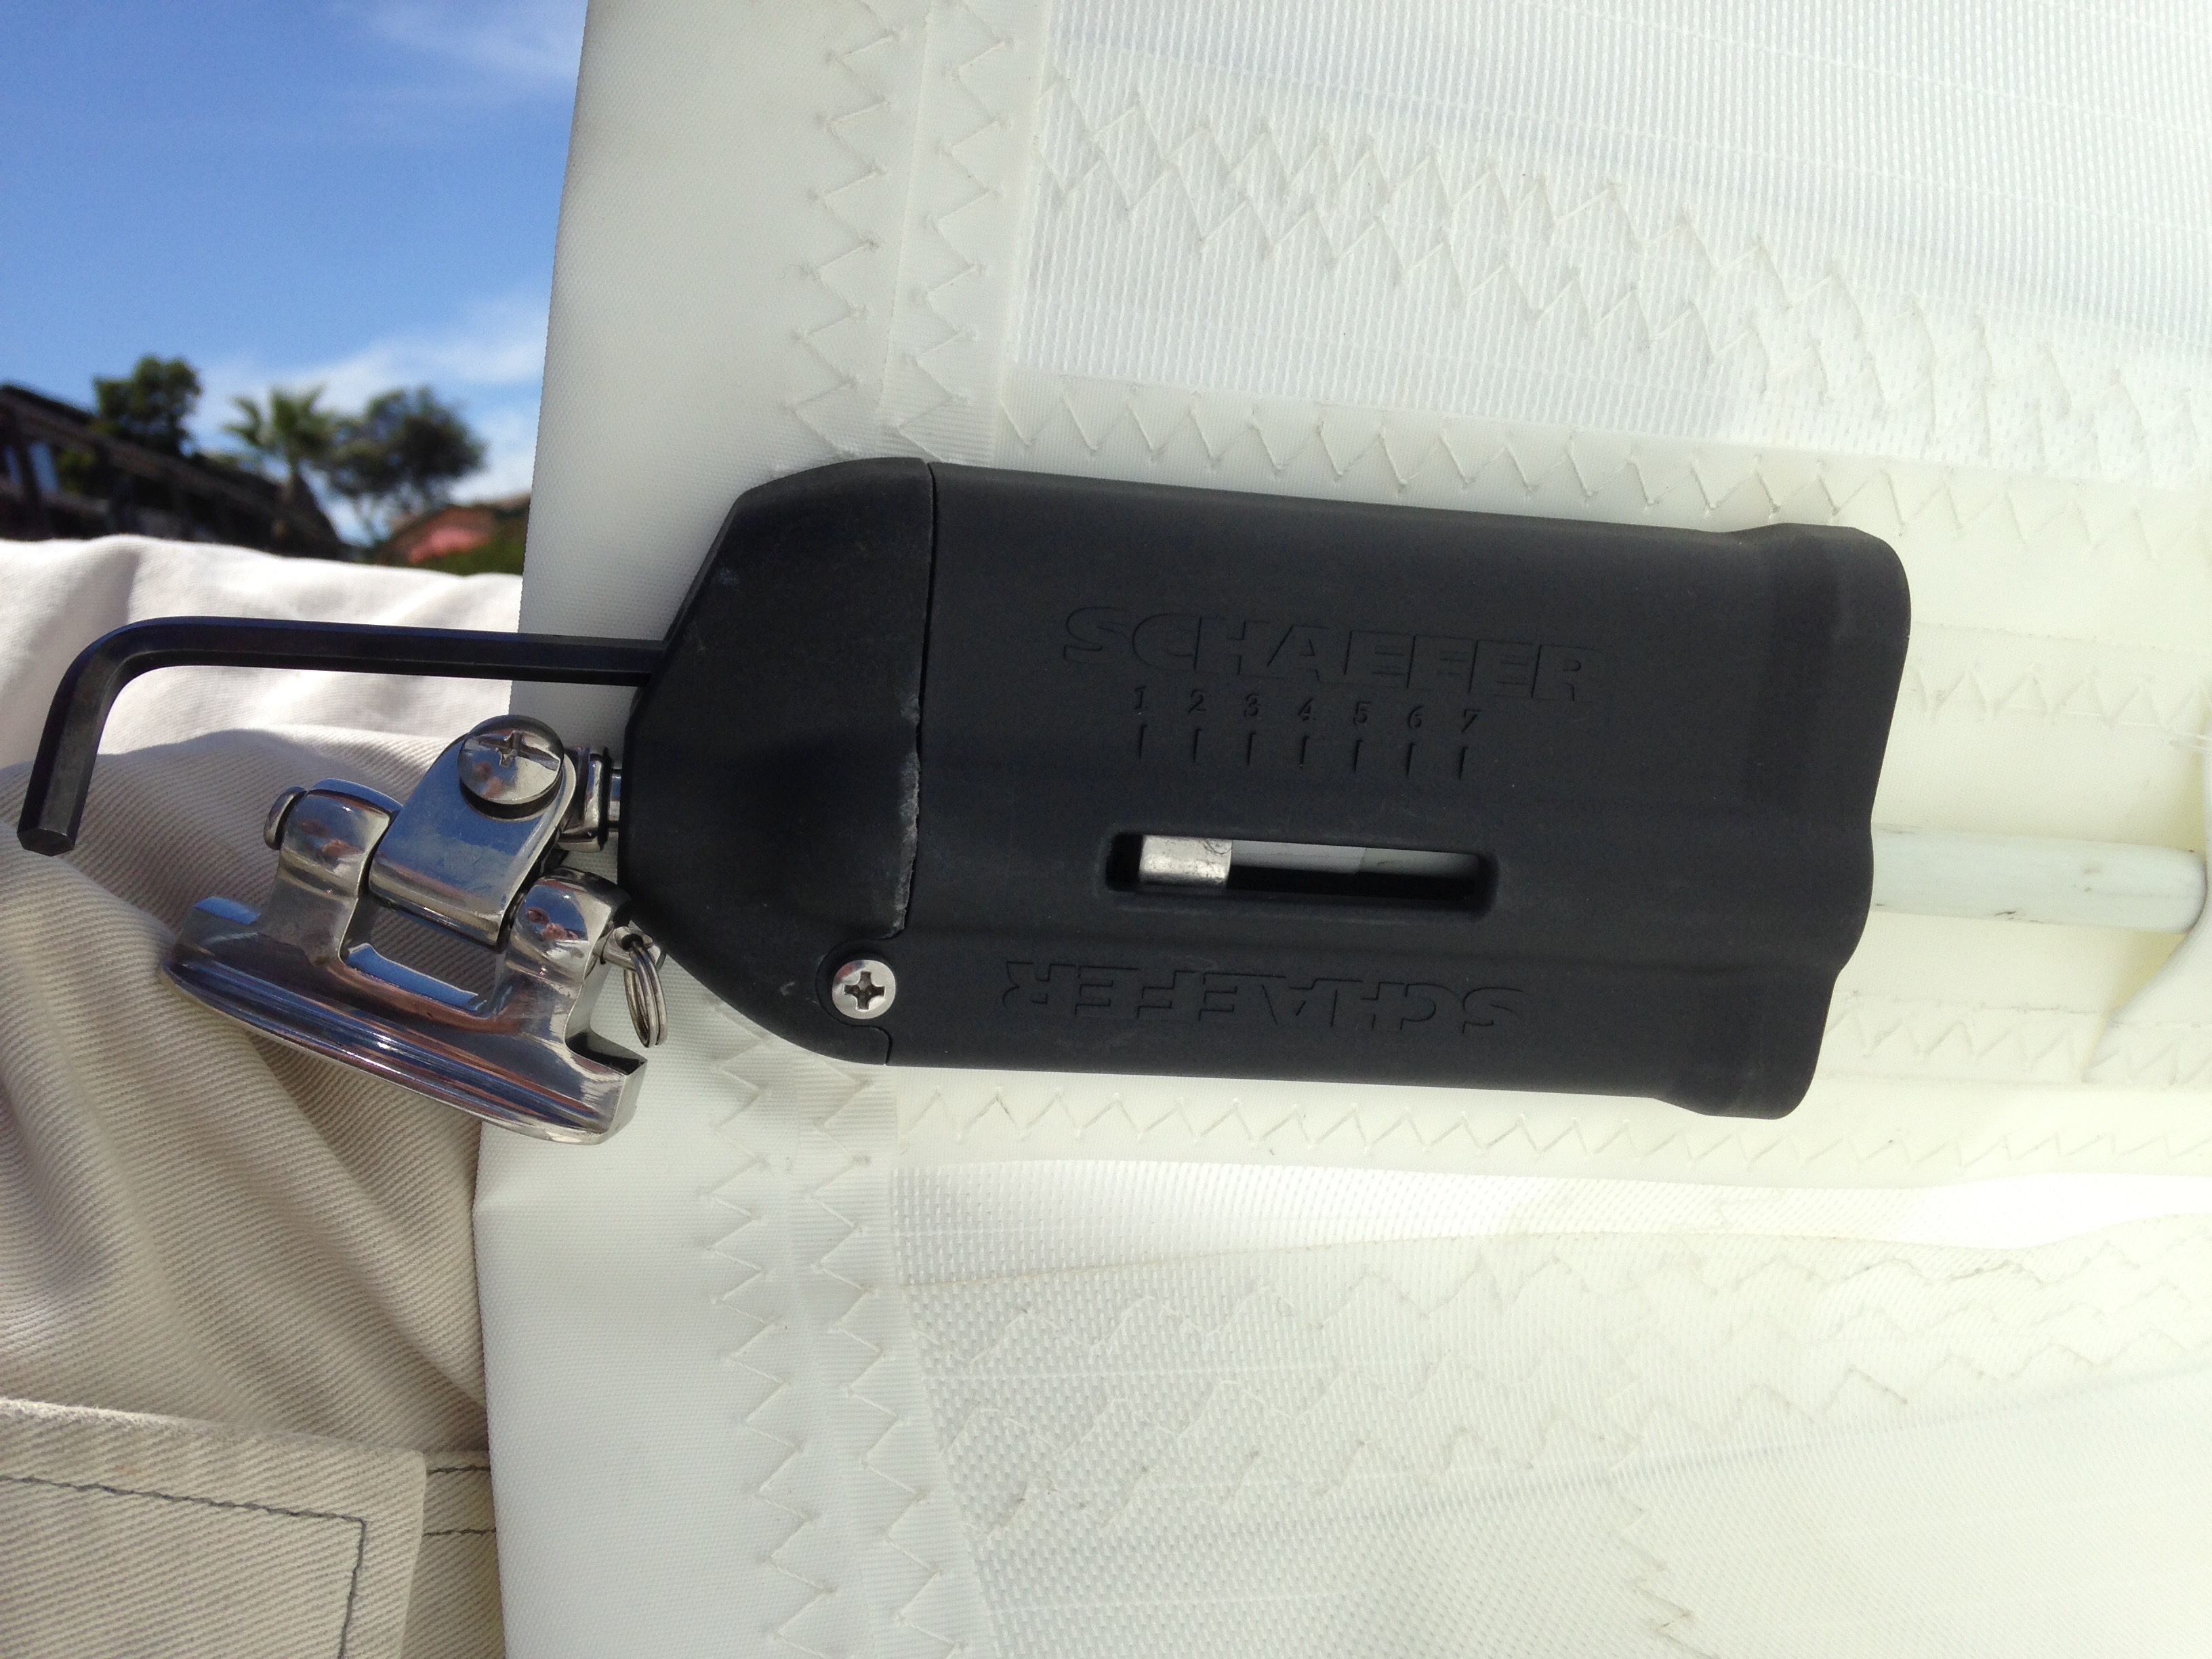
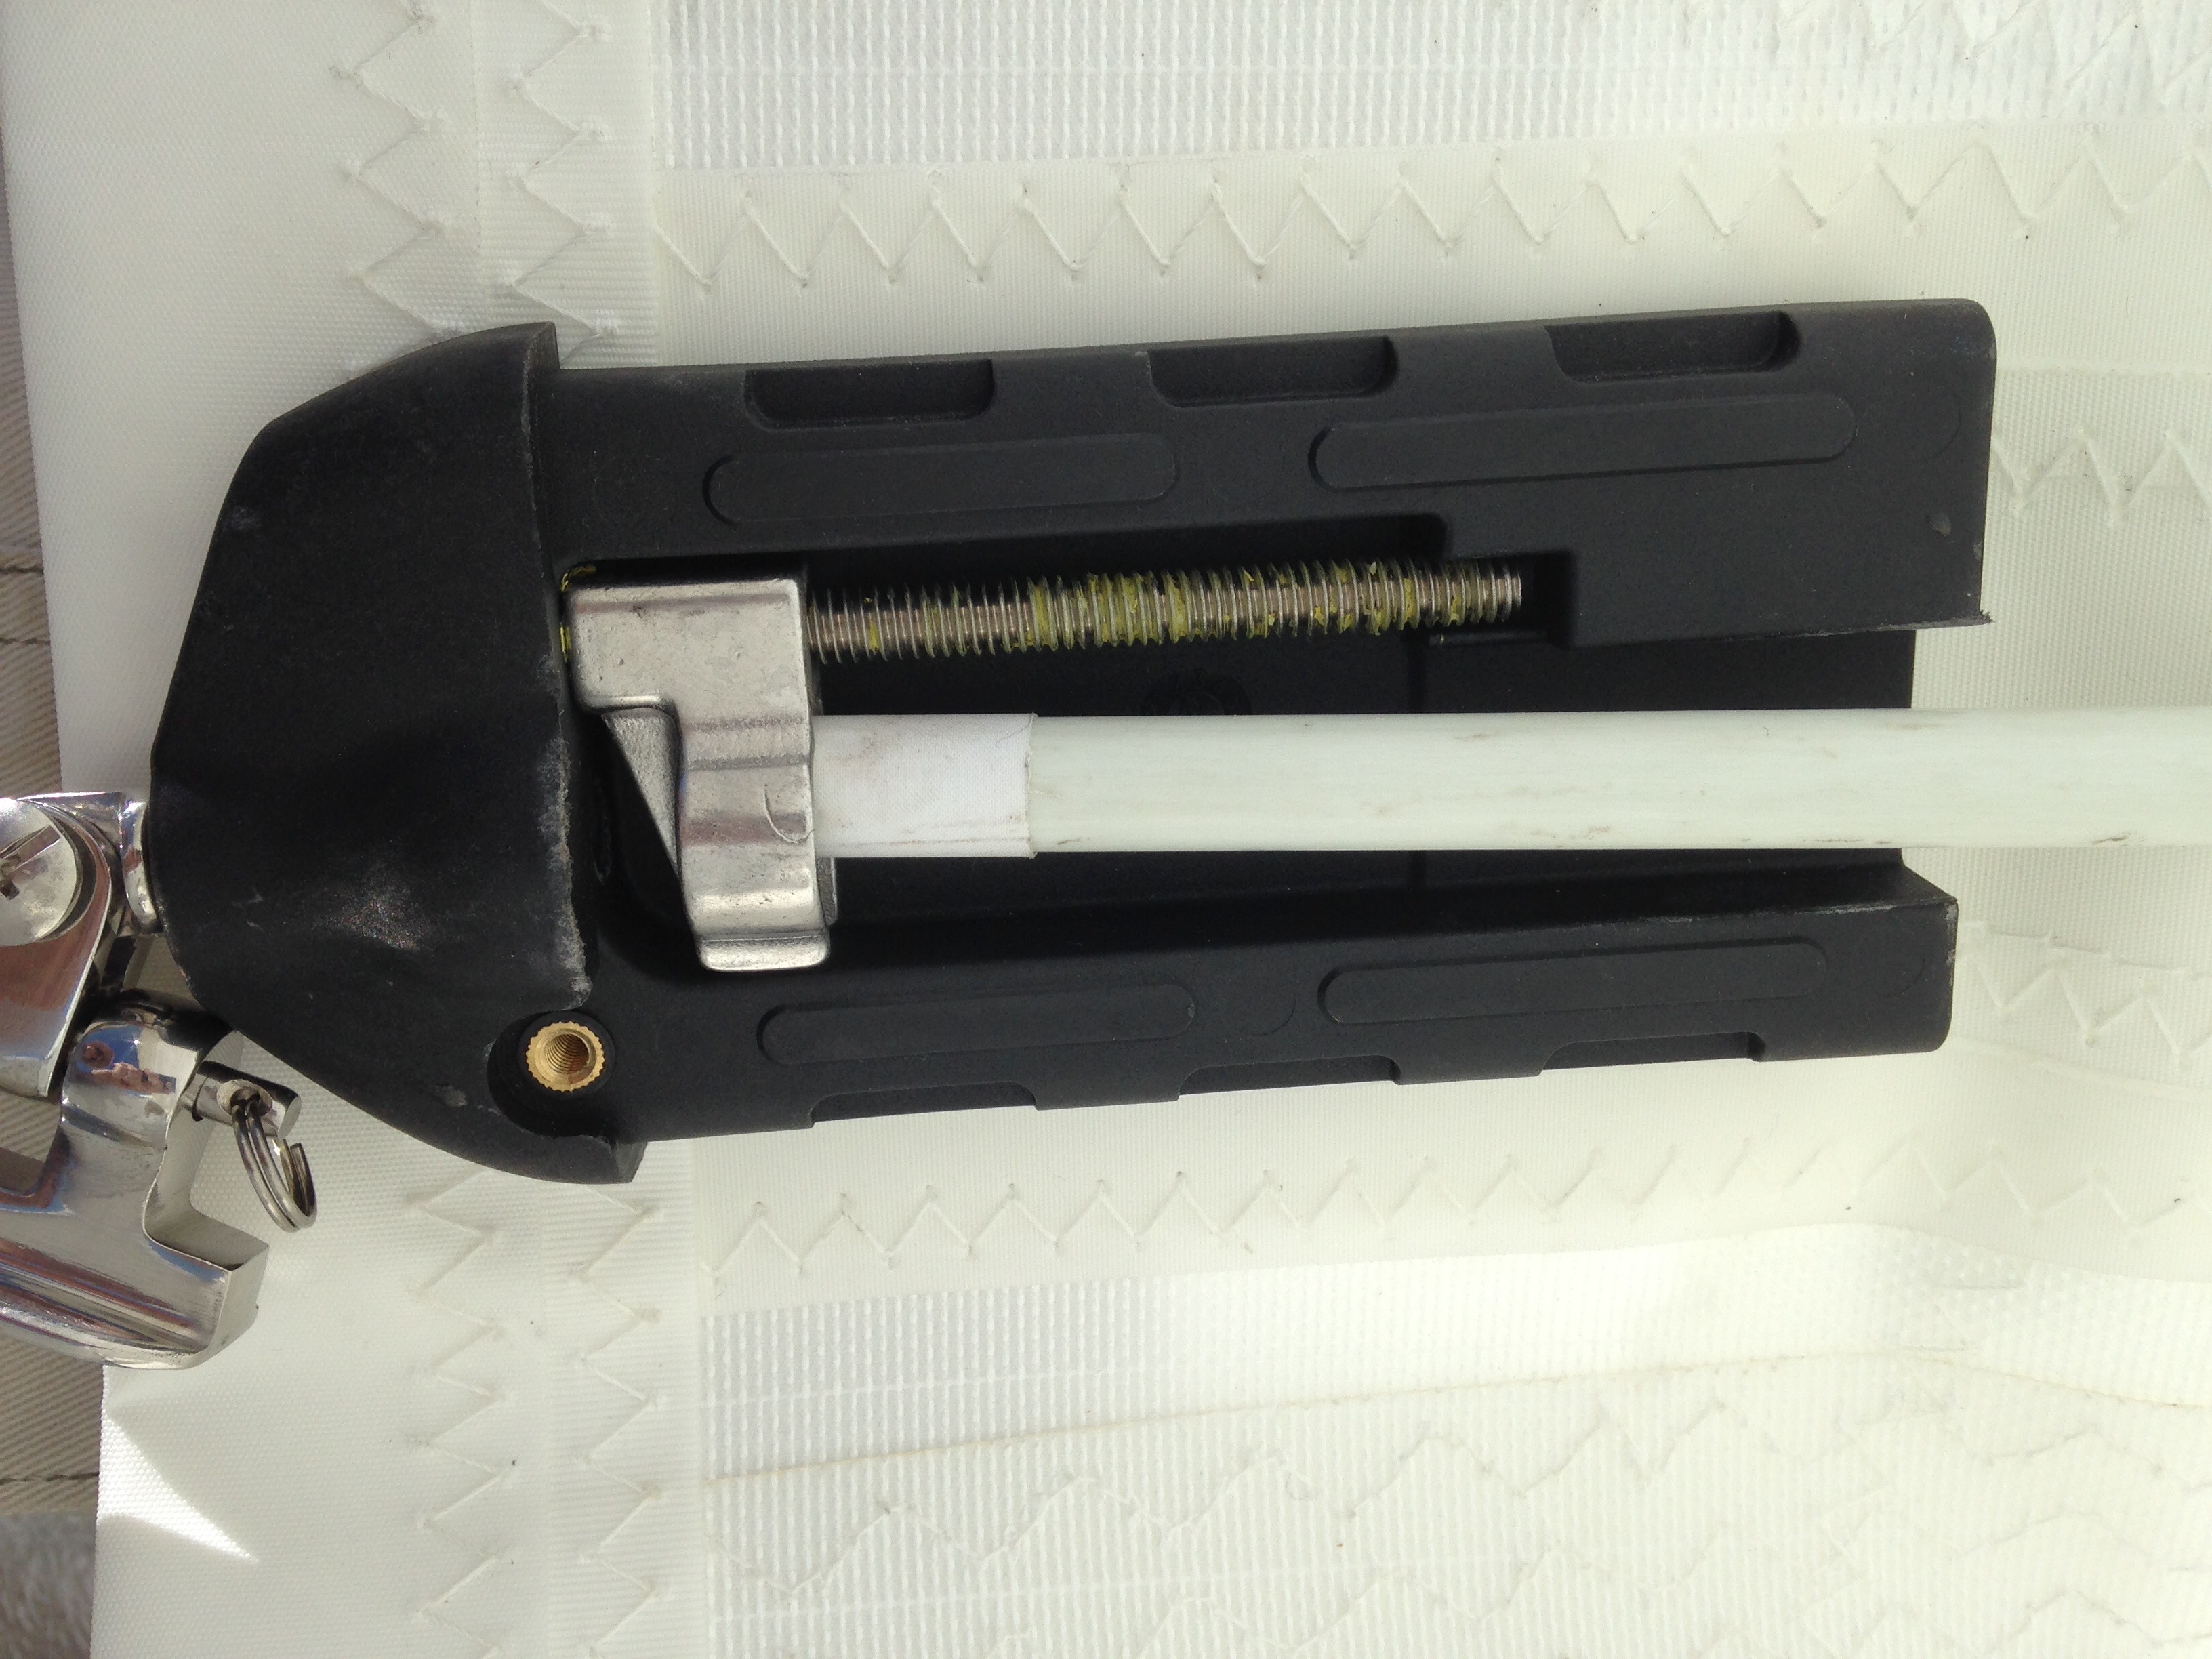
That Allen wrench in the first photo is batten tension adjustment. Happy it’s at the mast easy to get to (our past sails have always been out on the leech). We were ready to hoist just as the afternoon land breeze kicked in. After a brief moment of “we can do this” reality of this 47′ tall sail set in and we wisely postponed til the next windless early morning I can get back to the boat. 

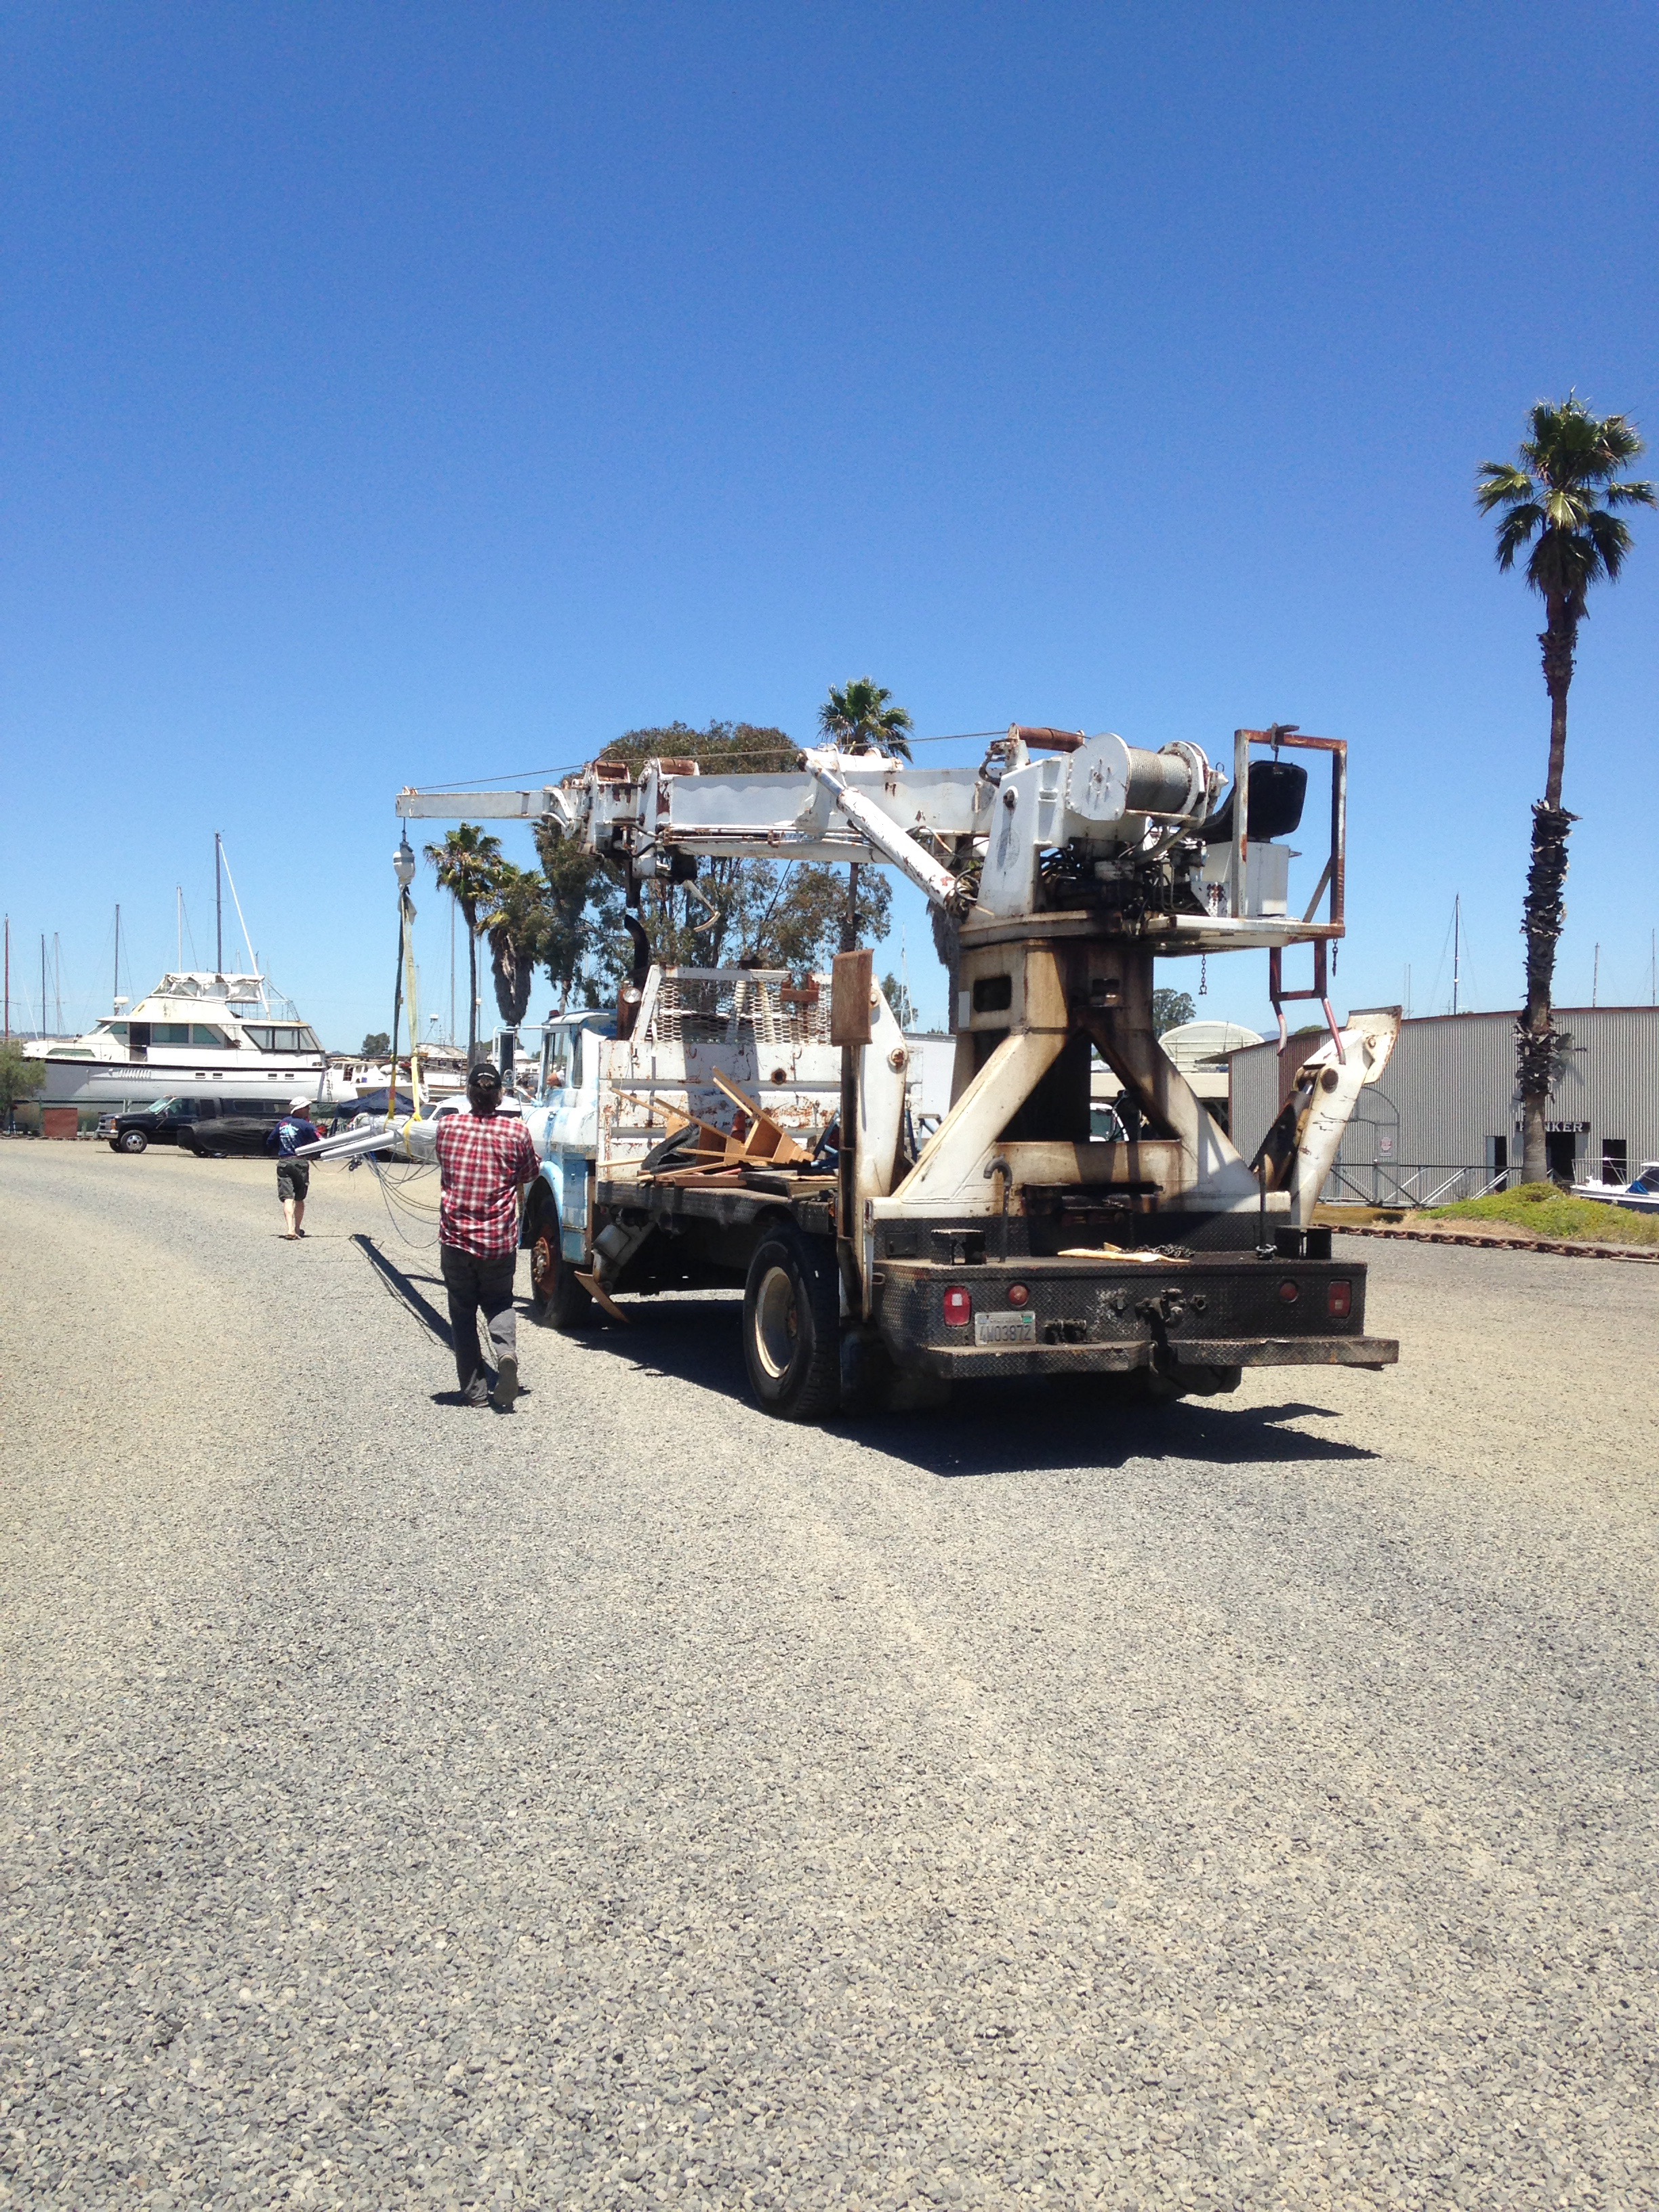
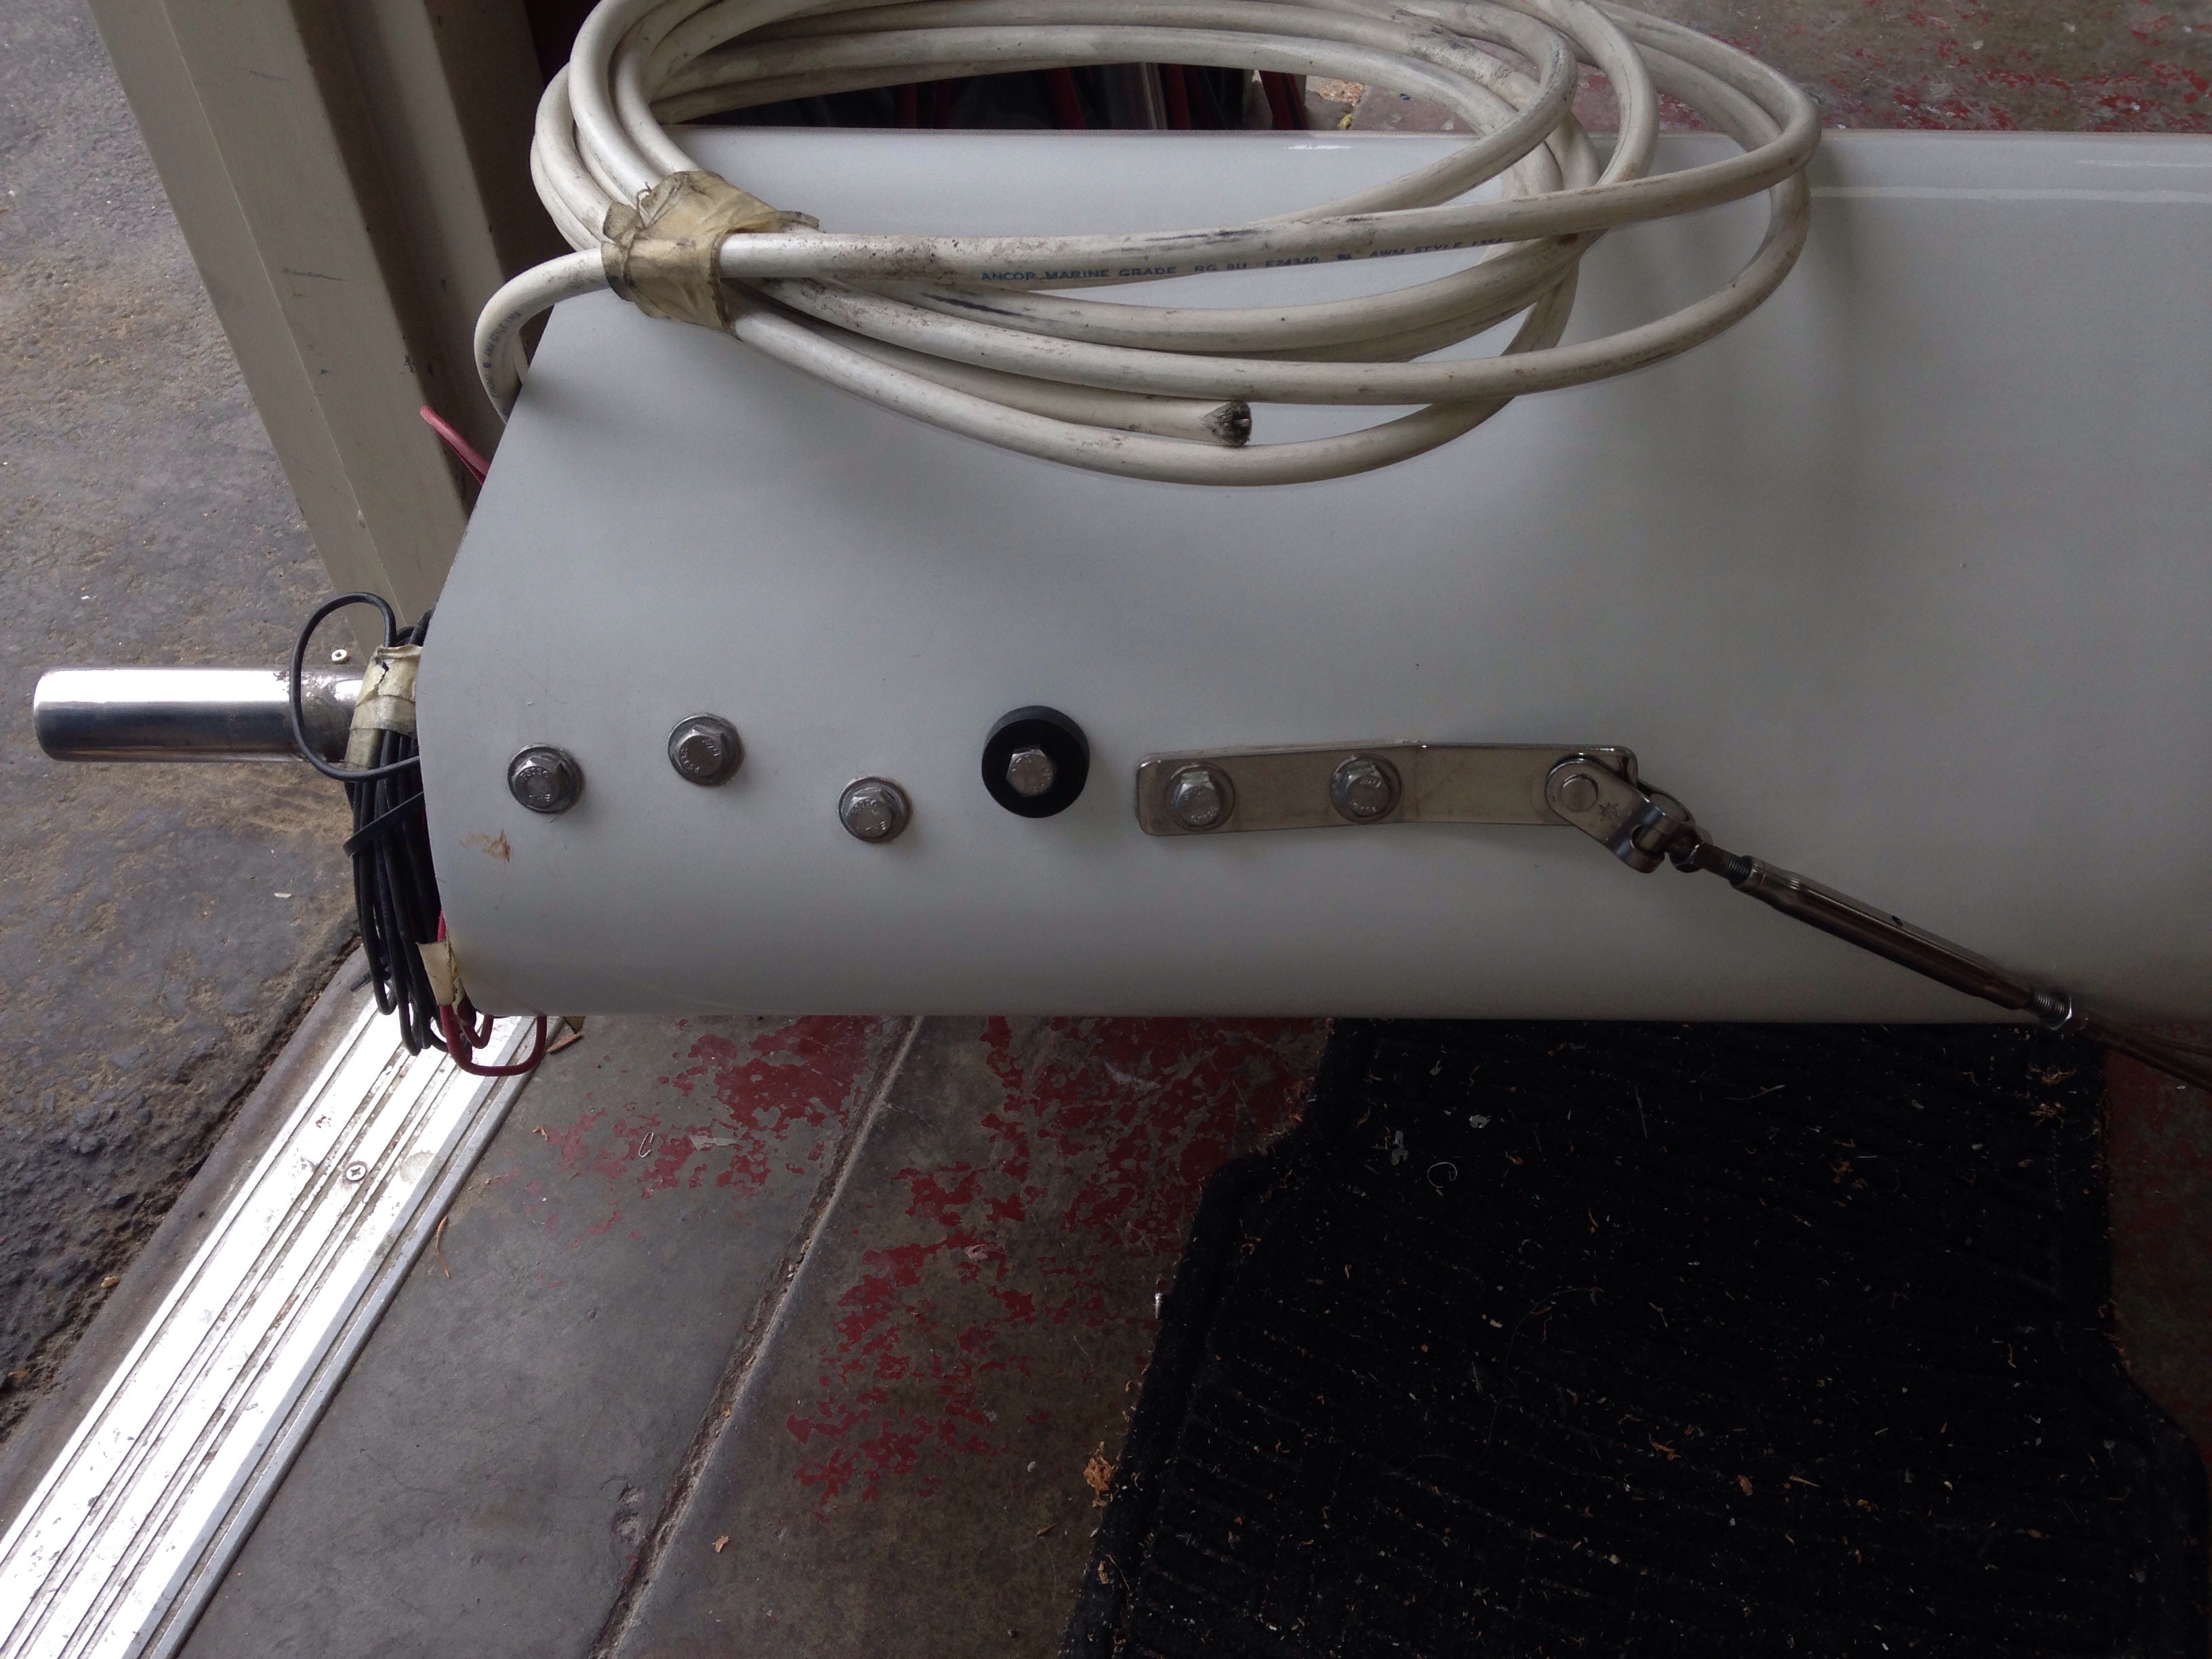
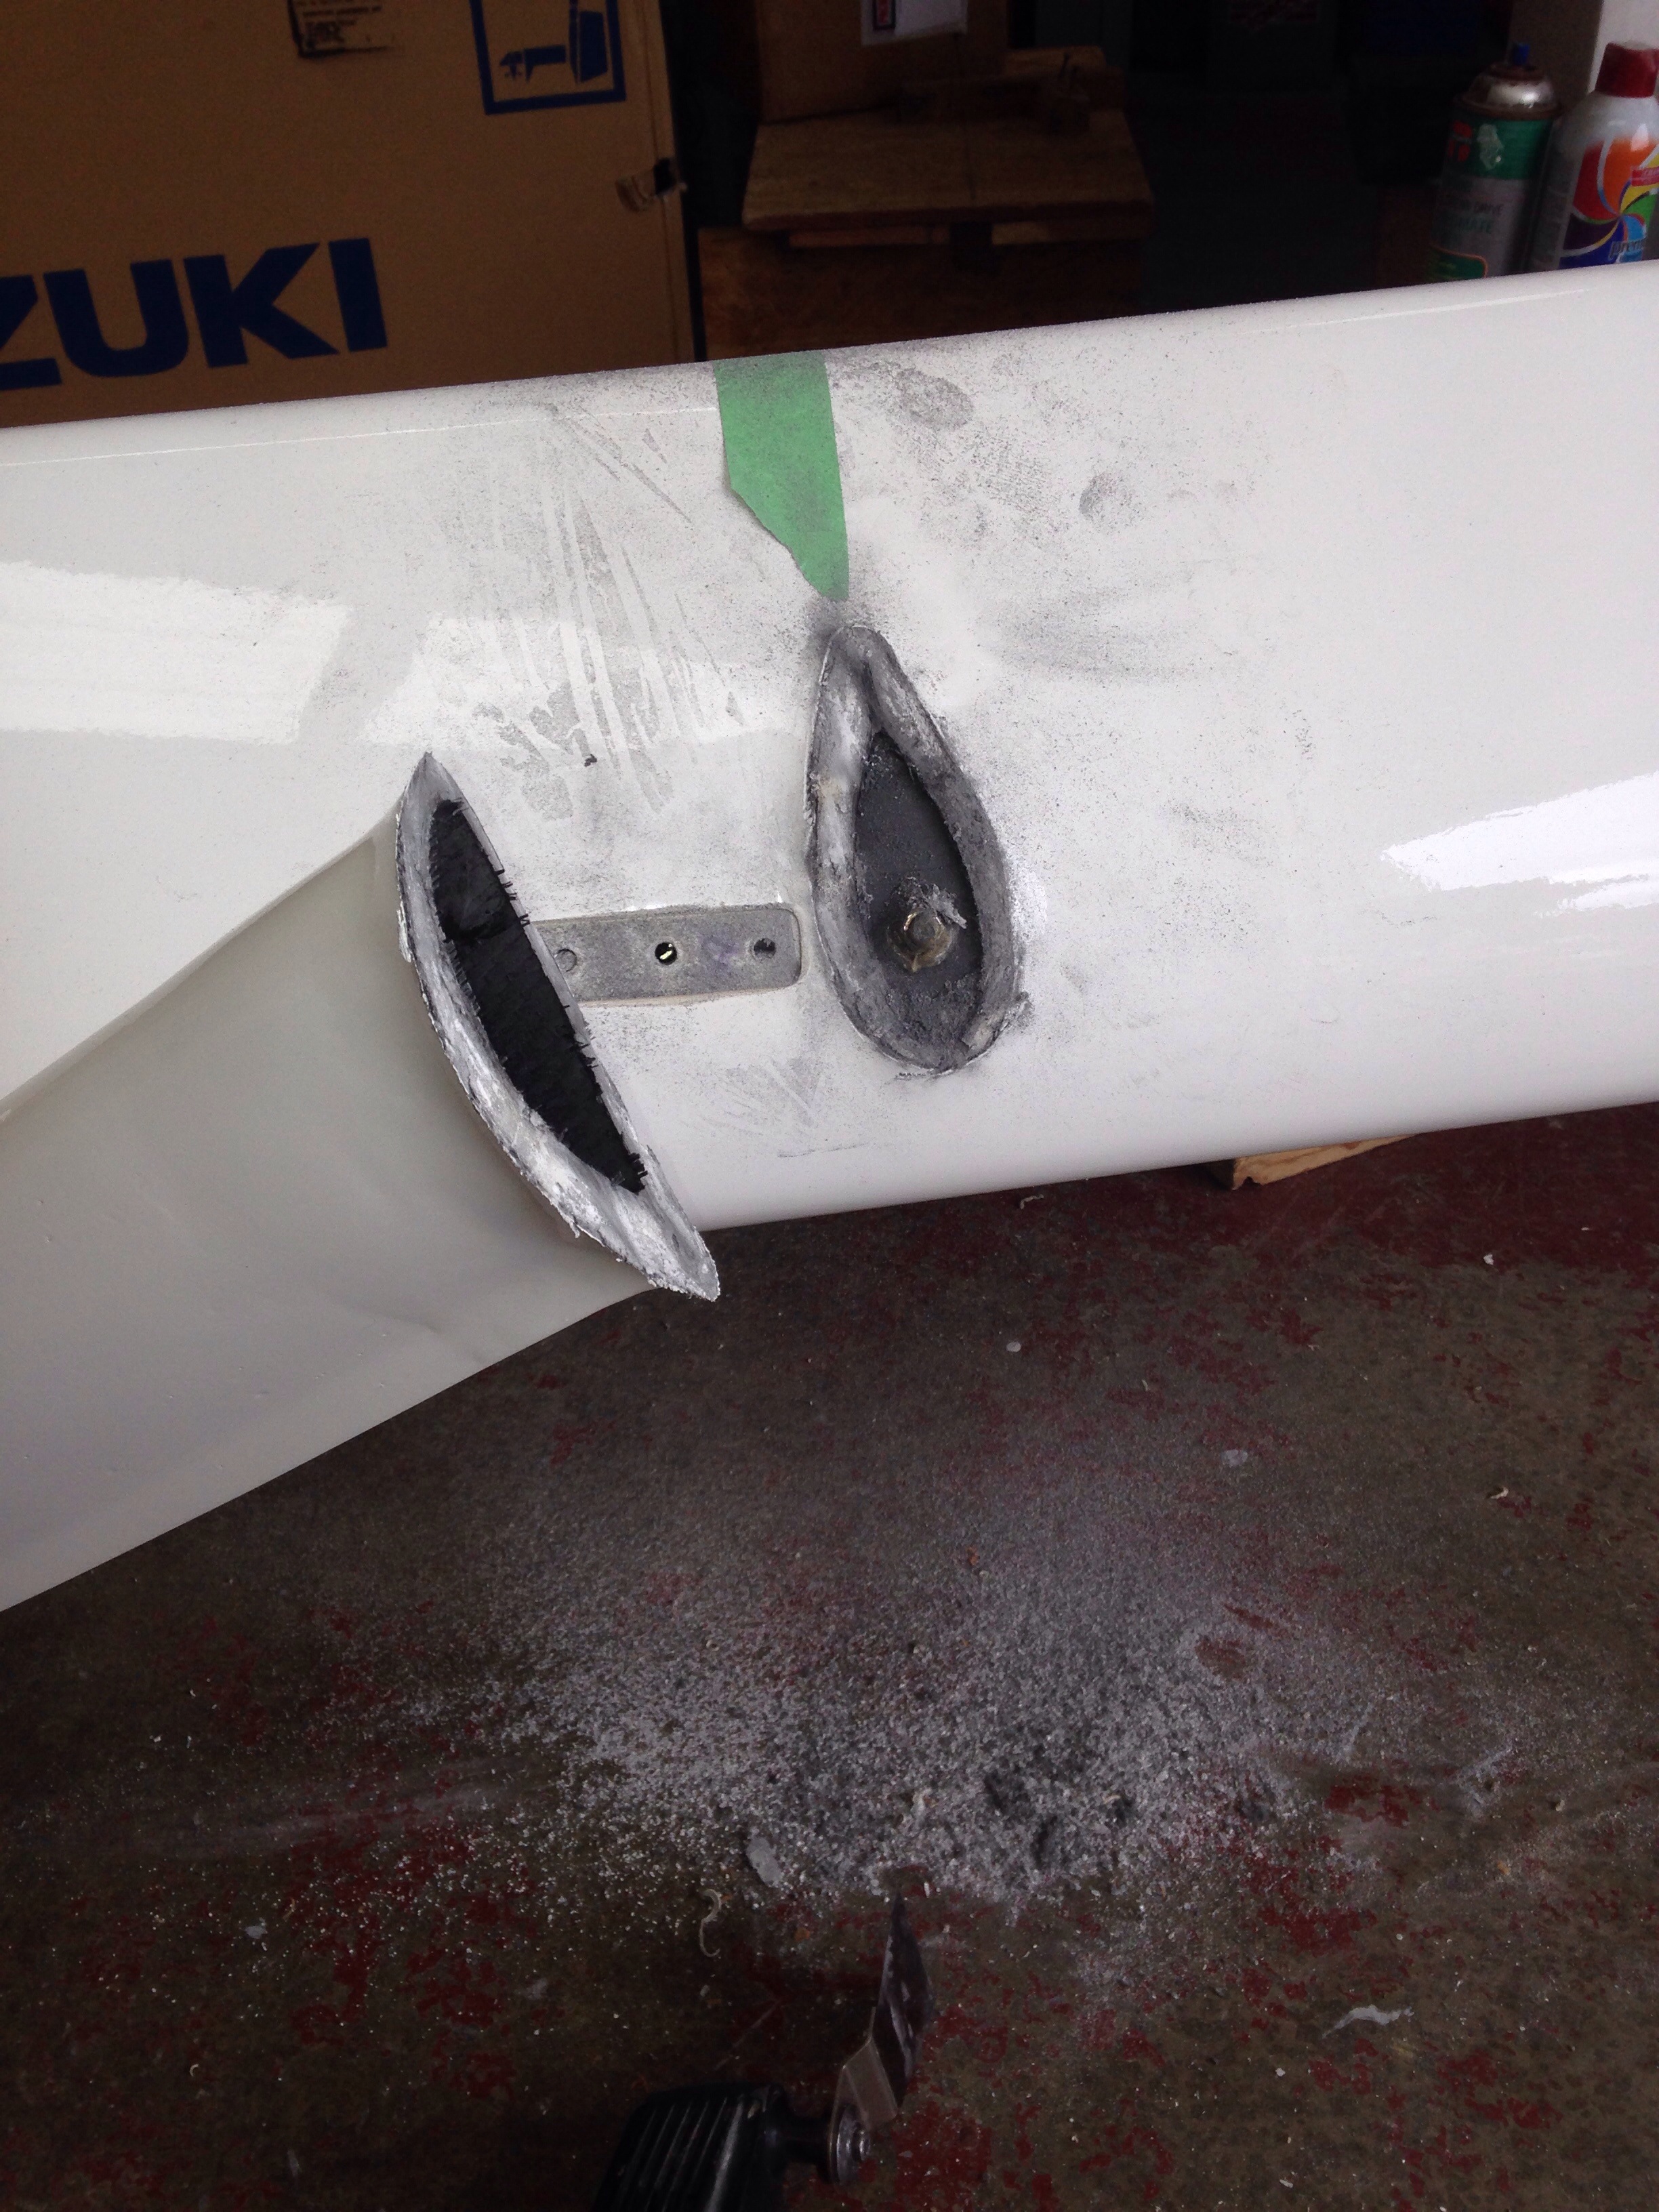
Another big item pre-sail is a steering gear change. Bottom line is I ‘over designed’ the tiller to steering arm connection and it resulted in some play in the steering. I could sense it slightlyin the shop but once underway (by engine last week) we knew this wasn’t good enough. After sleeping on it a brainstorm hit – the design could eliminate a junction by hard-fixing the tiller stub to the steering arm and turning the bearing surface horizontal (using a wide turntable style bearing instead of a boat rudder bearing). We need to make some new parts in the shop but the base on the boat stays the same. Did a dry-fit Sunday eve and this looks to be a big improvement. 

So, we didn’t hit the goal of sailing this weekend, but wth a good push in the evenings this week things should be good for sailing and moving the boat to a new end-tie slip in Richmond, CA for July 4 fireworks. As soon as she’s docked all attention turns to emptying and cleaning the shop for the July 7 handover to the landlord. That will be a huge relief but bittersweet loss of such a handy place to work. 

Sailin an enjoying soon. Right now it’s still a long punch list of small jobs to finish. 

1,000 words

A picture’s worth…

A peaceful sunset to celebrate the builder-now-driver’s first solo manuevers, docking Ravenswing back at CharlieJ’s after a big day getting the mast stepped at Napa Valley Marina. We again had a nice big crew starting at 8am, and by 3:30 the stick was upright and everyone else rolled home. I had a couple of quiet hours to finish standing rigging install chores, all the while fretting the wind pinning the boat up against the reeds and muddy bank beneath the crane. (How would we motor out of this tricky spot???)
But back to the top. The daggerboard “sticky wicket” emergency shop work led to an anxious Sunday re-install.

If that’s hard to see, it’s because it’s ALL THE WAY DOWN in this shop. Yea, the mast step can go back in over this trunk. This board is big. It floats, so moving it through most of its travel is pretty easy by hand, but the last foot or so up or down needs a winch. If we’re needing to pull it up fast because of an obstacle, simply freeing the down line will pop the board up three feet in a few seconds. 

With the dagger solved, attention turned to prepping the mast. ‘Dressing’ took about 3 hours by RickW, RickH and Dean. Holding the mast upright is highly dependent on one huge shackle on the front face near the top. Here’s the pin coming in from the port side into the Jesus shackle. (Yes we pray this thing never gives way)


And two years of making sure the halyard messenger lines didn’t get trashed in the shop or transport. So happy when all five halyards popped out the bottom. 

Now ready for the crane. We had to move about 500 yards to a stable crane parking pad with only the mud bank and reeds for the boat. (Sorry these are in backwards order)
The straps for walking it across the yard very different from the vertical lift, and we had transition time while the crane sat at the water and I went to fetch the boat. Standing it up was painless, especially due to the skill and equipment of the Napa Valley guys. 

Yard manager Mike had to stand there 15 mins holding the mast in the rotator ball while we struggled with lacing the 1/4″ spectra through the lacing eyes. But a couple of small trims, cussing and “just push harder!” Got it done. 

It’s amazing seeing a big mast rotating freely in the breeze – so foreign to the monolithic columns of seeming sturdiness that most associate with sailboat masts. A wednesday evening sail aboard Mile Leneman’s big fast cat Minette prepared me for today.

All shrouds and stays were set, so I had to call for the crane release. Now or never, don’t be shy about it… 

Step back a hundred yards and she looks like an F31.


Sunday night I had trouble motoring in close quarters. We need to sort out motor steering. This evening was a shot at redemption, and it worked. Holdin the motor makeshift turnin lines and respecting the transitions from forward to backwards made this go much better. 

A word to the other first time builders: 

That’s not a deck hardware photo; that’s the result of countless nights and weekends in the shop working one part at a time. The final install where this stuff begins to fit together is so worth it! Keep going. 

A few more glam shots here, then it’s back to the shop evenings this week for ladders, hatch boards, pulpit, etc. 

First cruise

The wind never backed off on Wednesday (launch day) so Ravenswing stayed at the ramp dock overnight. Yesterday Griffin, Charlie, his friend Larry and I took the boat off the dock for first forward motion.  Here’s to thousands of miles of bow wake. 

With just 18″ of dagger down and 2k rpm on the outboard the boat easily turned 180 in about its own length. The propeller and outboard are noticeably small but I think it will be ok – just have to be smart about it all the time. 


The yellow lines are makeshift motor steering. We’re going to figure out a permanent solution as this maneuverability aid seems important. The motor say nice and deep, but the stern is dragging a bit without the mast up front, so we’ll wait and see about trim. 

The weather was great for a 30 min shakedown, then docking at Charlie’s house on the Napa River. It’s a mile from the Napa Marina where the mast is waiting for weekend dressing. 


The bummer of day 1 was the daggerboard not lowering beyond the foot or so we were able to test last Friday in the shop driveway. Turns out the board gets a little bit thicker as it extends up from the bottom and this is enough to prevent deployment. Argh, one more back breaking pulling of the board and lugging it through Charlie’s wife’s yard to the pickup.  Which led to six hours late night of templating, grinding off paint and power planing away excess fairing buildup. We had worked to build in more curve last year, but I was out of synch with what Howard had built many years ago with the exit slot. Tonight the dagger hangs in the shop like a side of beef, except this one is getting thin primer and bottom paint coats Fri/Sat for relaunch Sunday.

New builders, don’t make my mistake of underappreciating the thickness of fairing, primer and paint. This has caused considerable pain over this weekend, first on the stuck starboard float and now the dagger in trunk. I should have painted samples with all the layers and measured with the caliper, and further adjusted the dagger core. The float problem was just being greedy about cleaning up the beam sockets before final paint. Pretty dumb, as no one will see those parts of the boat and they were already waterproof and solid. The price of rework is frustration. 

In between paint coats we’re trying to recover from the weekof moving   and assembling. The shop is worse than my room as a teenager. 


Now the trollies are gone and the trash pile grows. We’ll scramble to finish bolt-on parts including ladders, hardtop, pulpit, etc. before clearing it out over July 4 weekend. 

Here are the Kevlar and carbon hatch boards getting their edges rebated by Dremel. They’ll go to the boat this weekend to check before fairing and painting.   

Tonight let’s salute a talented sailor at the other end of the ownership spectrum. Captain Rick Holway is saying farewell to his beloved Newport 33 Pelagic Fantasy, as she gets her second owner now. Rick and Pelagic have been a force in the Gulf of the Farallons, winning racing classes, commodore-ing the Singlehanded Sailing Society and perhaps most importantly observing and counting the bird species of our coast. Rick, I thank you deeply for all the offshore mentoring you’ve invested in me this last decade. Boat ownership does not define a sailor  – I think it’s the pushing off from a dock each day. And I’ll be a little selfish here to say it’s good you’ll have time on your hands now to sea trial and cruise Ravenswing. 

Still planning the mast stepping for Monday morn at Napa Marina. Let us know if you’d like to participate. Somebody has to channel Keith Burrage onto the boat!

Boat Angels.

Here’s the next hero of the story. Jim from around the shop corner happens to have a huge Gradall in his front yard and a few weeks ago I asked if he could help lift the boat bow a few inches on Trailer Day. So this morning he drives over with this

20160611-230449.jpg
And we start asking, “if we get you close and you don’t extend the boom far, how much can this thing lift?” So imagine Eggleston’s huge relief when Greg’s sketchy plan of blocking and bottle jacks got trumped by complete security / capability

20160611-230707.jpg
We’re hard pressed to buy this man a nice enough dinner in gratitude of saving the builder’s hide on this one. We had a big crew of friends on hand to adjust the Corsair37 trailer to fit the F39 hull, and after three hours of prep the boat rolled away from her Santa Rosa shop looking so differently from the Christmas 2011 arrival.

20160611-231014.jpg

20160611-231058.jpg
That’s Rick Waltonsmith, trailer owner, and your builder checking the fit. Rick’s new, definitely non-trailer able Explorer 44 tri “Round Midnight” is slated to be our buddy boat and/or sparring partner depending on the day:)
The dagger’s new 5/8″ slimmer waistline was glassed overnight, got fairing putty while the guys finished trailer strapping, and primer tonight.

20160611-231457.jpg
This setback is delaying the water launch at least a day, so those of you planning a visit on Sunday be warned – not a champagne day! Hot, working, bad grass allergies and gnats kind of day. Now targeting Monday for splashing.
It was surreal towing this huge boat through the Sonoma and Napa counties of my childhood on a gorgeous Saturday afternoon. Sailing can be a solo pursuit, but this week is the true definition of community as interested friends and new acquaintances are drawn to this launch by a shared human spirit of accomplishment (and the lure of some fun water time!)

We didn’t have enough blocking to get the floats high enough to join the beams this evening, so Jim, Griffin and I departed before sunset while Charlie and Carlos and Rick stayed in the field working on cartersboat with no Carters in sight because they wanted to finish an earlier problem solve. Jeanne, our sons and I are amazed witnesses to all of your generous time and spirit fellow boat assemblers. We are so grateful you are here bringing this to completion!!! We’ll rally at the SeaRanch in ten hours :)

20160611-232438.jpg

110,000 pounds

That’s a big number – the “righting moment” of this F36 design. The leeward float and beams have all that upward water bouyancy pressure opposing the mast and sails that are trying to drive the float in to the water. Add in some high speed sailing and pounding through waves, and we get many tons of force compressing down through the nice new carbon fiber mast. This month we turned attention to getting the sailing rig finished, beginning with confirming all the specifications. Our mast was built for a Shuttleworth 35′ cat; he’s a designer who calls for very tall rigs and minimized weight. Calculations on that boat’s design show about a 70k lbs righting moment, which is in line with the measurements of our mast, including it’s 175 lb weight. Basically, we need to bulk this thing up to a new fighting weight.

Pardon the details here as we thoroughly document this project to assist with the refitting process…

Bulking up means we’re adding more structural material to the mast and increasing it’s compressive load capability to bring it in line with that big righting moment limit. Carbon and epoxy will be applied to the outside, so the mast must first be stripped back to a bare pole. It’s more than a little heartbreaking to cut in to this beautifully finished piece. Here we are at the start, with only the Tides sail track off (but the Tides clips still there)

20150710-191424.jpg

20150710-191450.jpg

20150710-191522.jpg

Step 1 is lowering the gooseneck to bring the boom down to about a foot over the windshield and hardtop. Unbolt the gooseneck receiver and use it to form a new putty base in the correct spot.

20150710-191742.jpg

20150710-191801.jpg
Here’s the detail of the original position, in case someone else wants to raise the boom back up some day. I’ll leave the bolt holes with plastic plugs under the sail track.

20150710-191941.jpg

Next is taking careful measurements of parts that will go back over the new work.

20150710-192058.jpg

20150710-192114.jpg

20150710-192324.jpg

Jeanne’s sailing partner Leslie worked all day stripping down the mast, including over 100 sail track screws. But she respectfully declined the painful job of taking a saw to the spreader roots. They had been bonded on very well, but succumbed to the Fein multimaster. There is a stainless steel structural rod at both sets of spreaders, with the ends bolted thru the mast wall and the nuts entombed in the hollow spreader bodies.

20150710-192756.jpg

We built a simple spindle rack system so the spar will rotate during the work, and finished the day sorting out and securing new messenger lines inside the mast for the five halyards. The mast is ready for a session of sanding away all the lovely paint this weekend.

A big thank you here to Stephen Marcoe, Jim Antrim, Guy Stevens and Keith Burrage for insisting we review the mast specs between the two boats. Keith and Ted VanDuesen came up with a smart work plan to increase compressive strength and upsize the wall stiffness characteristics. We’ll build the hoop strength via two tight-spiral wraps of 5oz uni. Start the first one clockwise, using 2″ wide fabric, just less than 90 degrees off the centerline. The second wrap goes the other way, forming a shallow X pattern along the entire spar. After this hoop work we’ll bulk up with 4 layers of 6oz uni, laid straight up the mast for the entire length. This will all be hand layup work, and not vacuum bagging as we want specific manual control on keeping the uni perfectly straight along the spar. Bagging runs the risk of introducing warp or wiggle to the fibers.

The folks at Soller Composites are weaving us 2″ wide rolls of 5oz T700 aerospace grade Hexcel carbon uni. to handle the hoop spiral. The mast is about 30″ around; six wraps per foot X 50′ tall X 2 trips = 1,500 feet of carbon fiber. At about $0.40/ft

The longitudinal layers are coming on 10.4″ wide rolls of 6oz IM7 (822ksi) carbon uni. 50′ X 3 strips of 10″ to get around the 30″ mast X 4 layers = 600′. Soller has 300′ rolls at $1.29/ft.

We’ll stick with our high grade Applied Poleramics epoxy, confident that these good materials will make a superior finished mast tailored right to the boat’s engineered specs.

Stay tuned for updates on paint stripping then the new laminations. Also we’ll try to get some glam shots of the cabin woodworking – it’s looking great now in the final polyurethane phase.

Motor mock up

The new hinge design looks good – nice and clean up under the beam. Had to use a wood dowel on place of the real steel hinge pin because the metal wouldn’t quite fit past the neighboring brace structure. Must remember to put the real pin in BEFORE mounting the beam to the boat at launch time!

20140722-223737.jpg

So here’s the basic idea of the engine position. I’ve only seen this placement on Humdinger (the Walter Green tri that’s just now finishing the PAC Cup) and photos of the big boat VirginFire in the Caribbean.

20140722-223943.jpg

The real trick here is to see if there’s really enough vertical lift room to raise the motor enough under / next to the aft beam brace pole. This wood mock up has the prop fin 13″ above the waterline, much like we sail with the F27 motor tilted up. I need to find a real 20-25hp motor this week to judge how much the engine cover tapers in – thats the part that will hit the brace at the top. Really hoping this all fits as ell as I’m eyeballing it!

20140722-224259.jpg

20140722-224312.jpg

PS – the windshield frames are coming along nicely. Probably will have Tap Plastics custom cut and bevel edge the smoked acrylic from templates. Worth paying their cutting fees it seems.

Apologies made

We closed up the shop early Thursday to make the parents evening at Griffin’s baseball camp. It’s hosted by Dusty Baker who actually attended this time because he’s not managing the Cincinnati Reds this summer. Griff had a strong camp and won a batting award, and I got to shake Dusty’s hand and apologize for cold nights at Candlestick in the 70’s when I wished he would strike out (as a Dodger). His reply was, “and I didn’t, did I” with a sly smile.

20140718-184621.jpg
Ok, it was a couple of months back that the windshield base grew up out of the deck. Yesterday the removable windshield got mocked up in cardboard.

20140718-184919.jpg

20140718-184935.jpg

20140718-184949.jpg

20140718-185007.jpg
The windshield should provide a lot of protection from nasty SFBay slop spray, and it’s intentionally wide to really enclose the cockpit once the hard dodger and cloth Bimini are fitted. A lot of modern boats are doing nice rounded / curved spray hoods, but I think this look serves the original Farrier intentions and it’s much more realistic to build quickly and cleanly.

20140718-185617.jpg
The cardboard became templates for the five panel frames, and we cut a 3/4″ wide router pass around the outer facings to allow 1/4″ deep acrylic windows to flush mount in the frames. Expecting the windows can simply be glued in, using some of the amazing new bonding products. Also, the middle panel will be built with a hinge on top so that window can swing forward to allow a breeze to pass through (thinking ahead to the tropics – thanks Geoff!)

The frames are corner-glued now and once that sets up we’ll vacuum bag each panel’s laminations this weekend.