$2.1mil colors

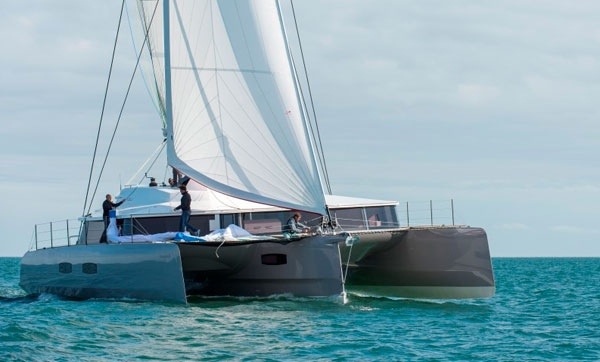
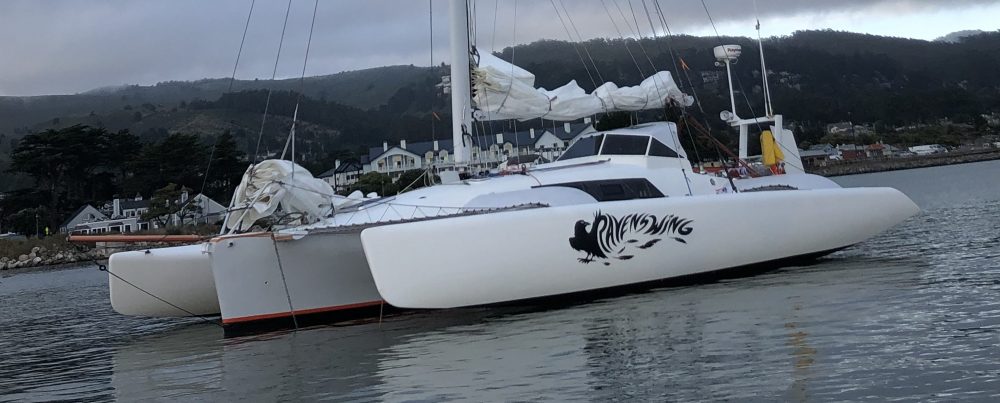
During a lunch break from rolling out the first coat of finish paint, some web surfing turned up the newly launched Neel 65 tri. It’s width is our 39′ length and you can order it in the seven staterooms configuration.

20150614-071359.jpg
But what struck me is they’ve copied our color scheme; white cabin top and deck, silver topsides, white bottom paint, and white rig & sails. I wonder if they paid a color consultant in that $2.1mil price tag?

Our topsides paint is Interlux Perfection 2-part polyurethane in “platinum”. Here’s the first coat on the beams yesterday.

20150614-071736.jpg
Today will be a 400grit wet sand then the second coat. And non-skid tomorrow.

While exterior paint dries we go back inside to mess with the cabins. The galley is coming together nicely. The stainless steel is working out well.

20150614-072046.jpg

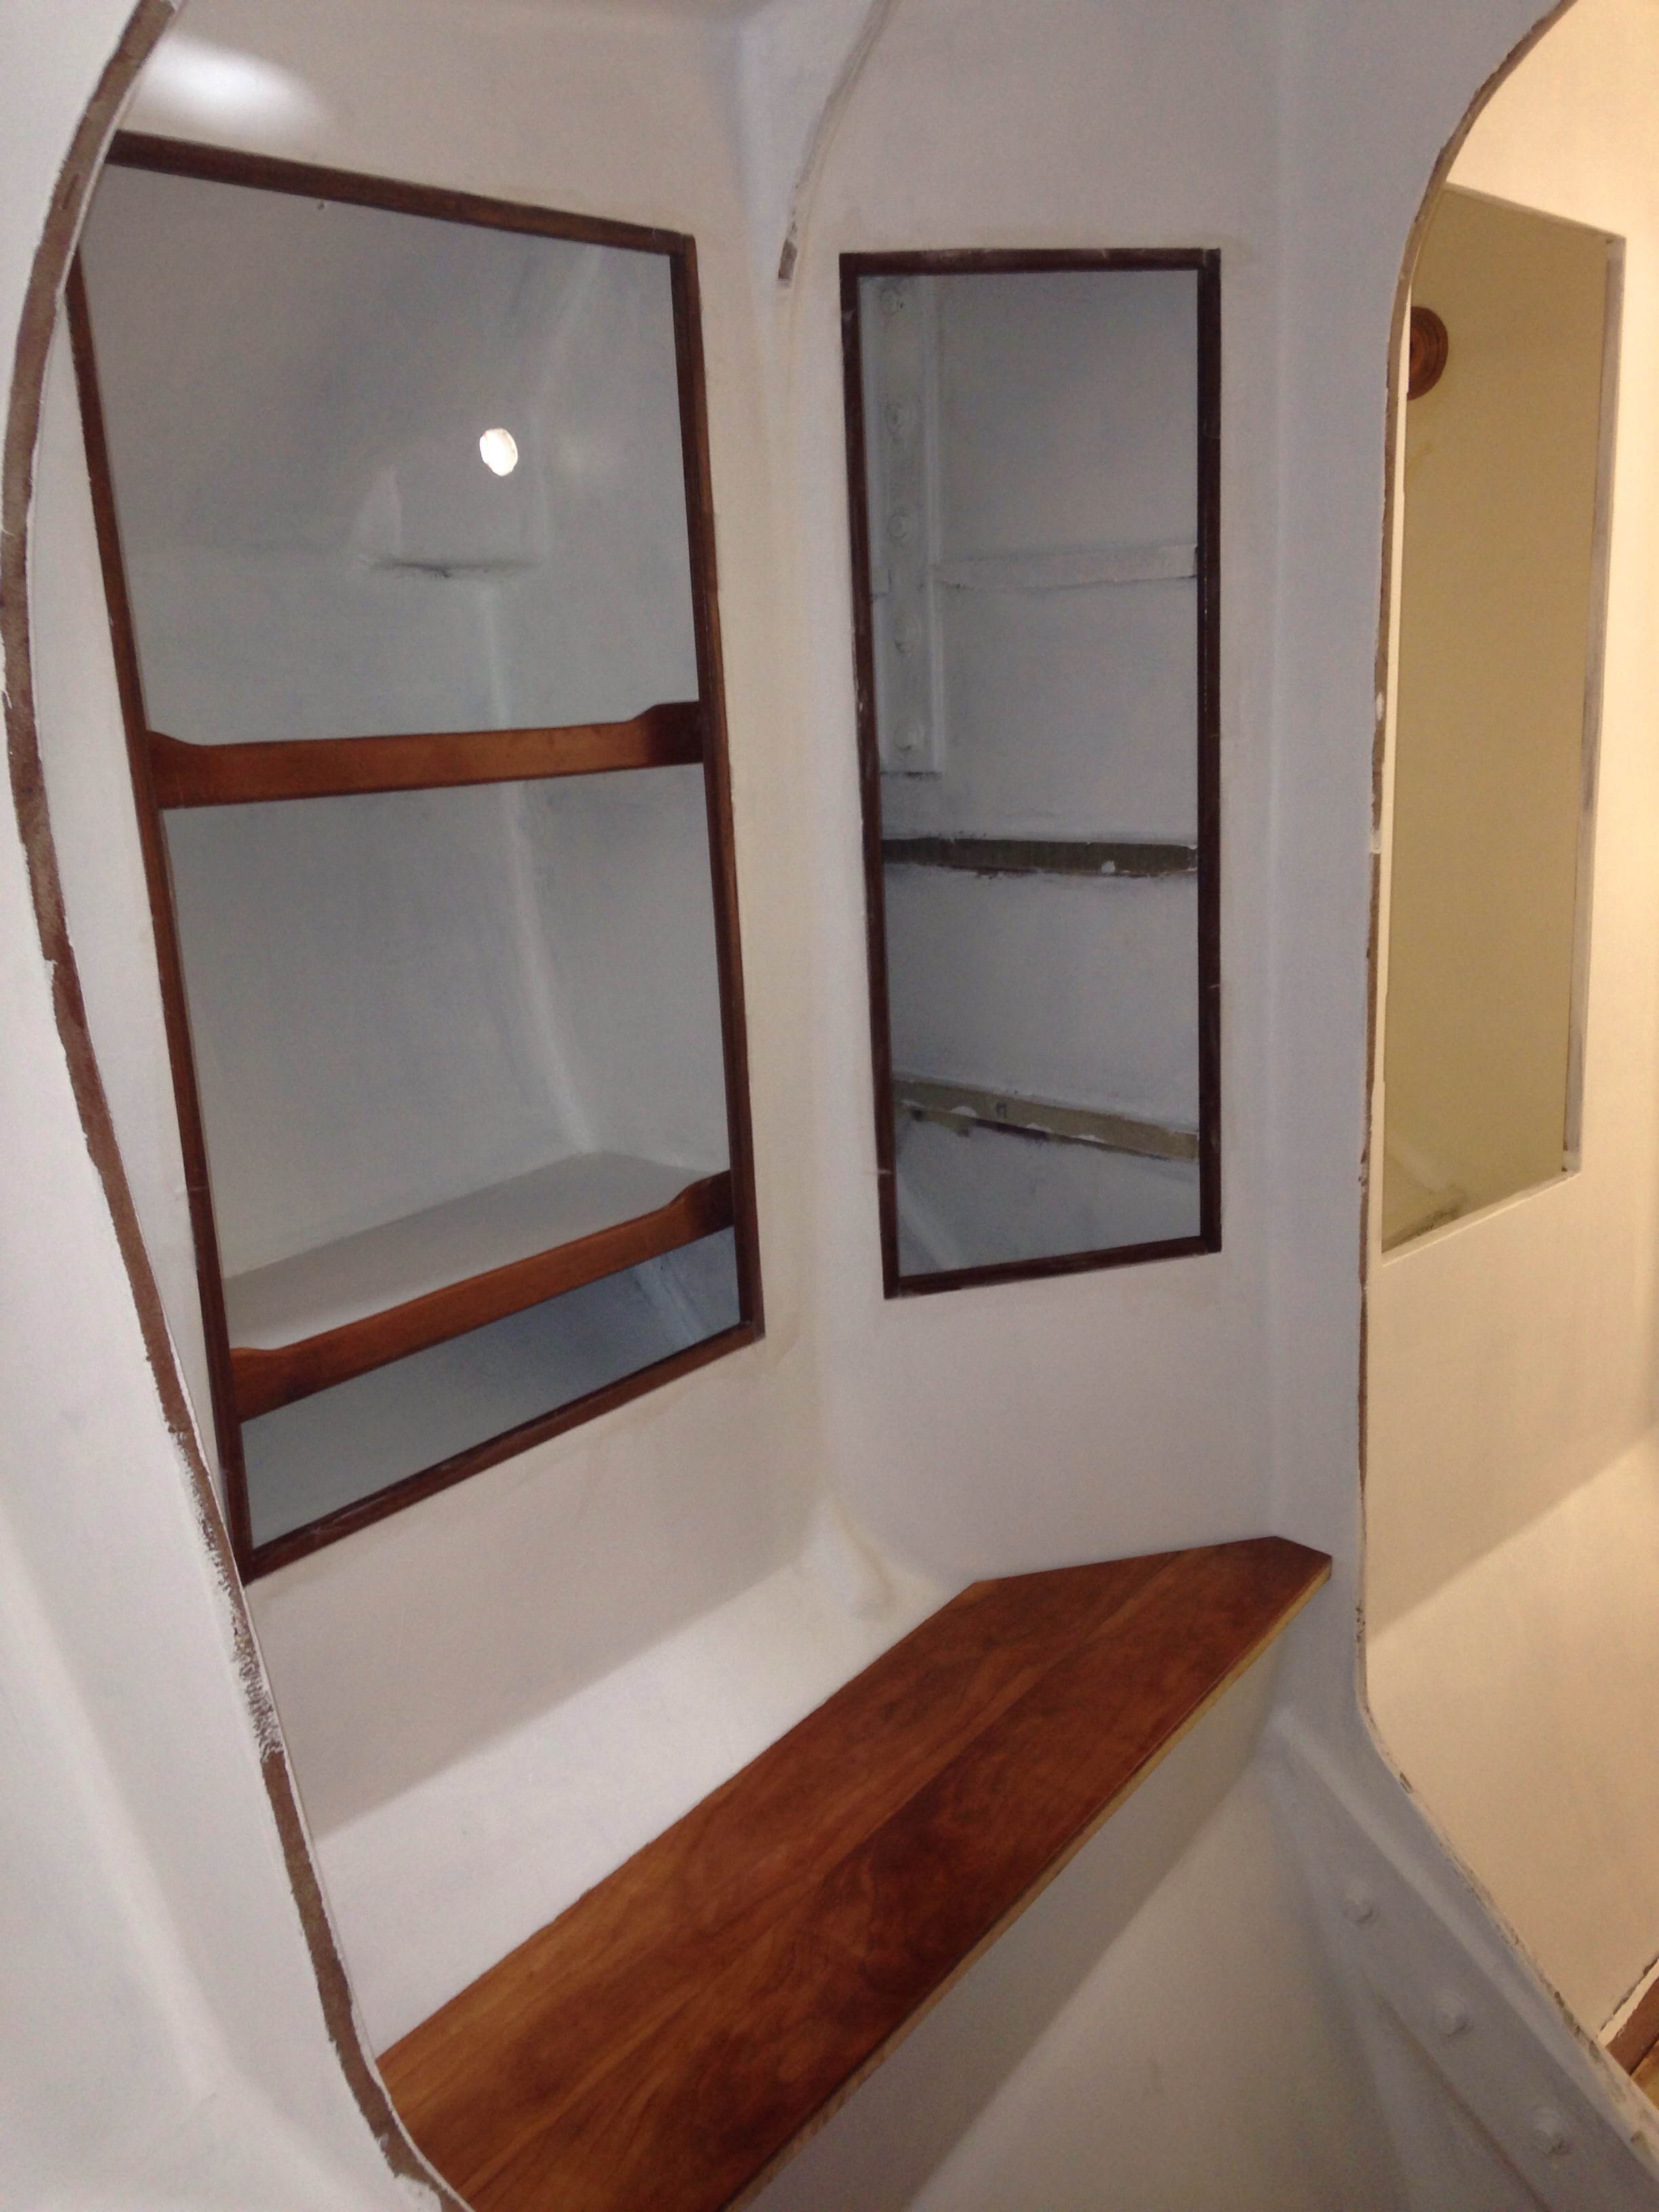
The forward wardrobe/dressing area gives a feel for how the wood trim looks against the paint. Long gone is the original thought of clear-coating the cedar-strips hull for a full wooden boat look, but adding back touches of hardwoods is only adding about 20lbs total to the boat and makes it feel much better than just paint and plastics.

20150614-072404.jpg
BTW, that hole above the clothes shelf is where one of the 1″ beam bolts comes thru. You can check the beam bolting integrity at sea while you sort thru your socks.

BEAM me up, Scotty!

The four big beams (that stretch between the three hulls) were set aside a year ago, knowing there was still some surface finishing to do. This week we pulled them out from under the boat and got to work.

20150609-232342.jpg
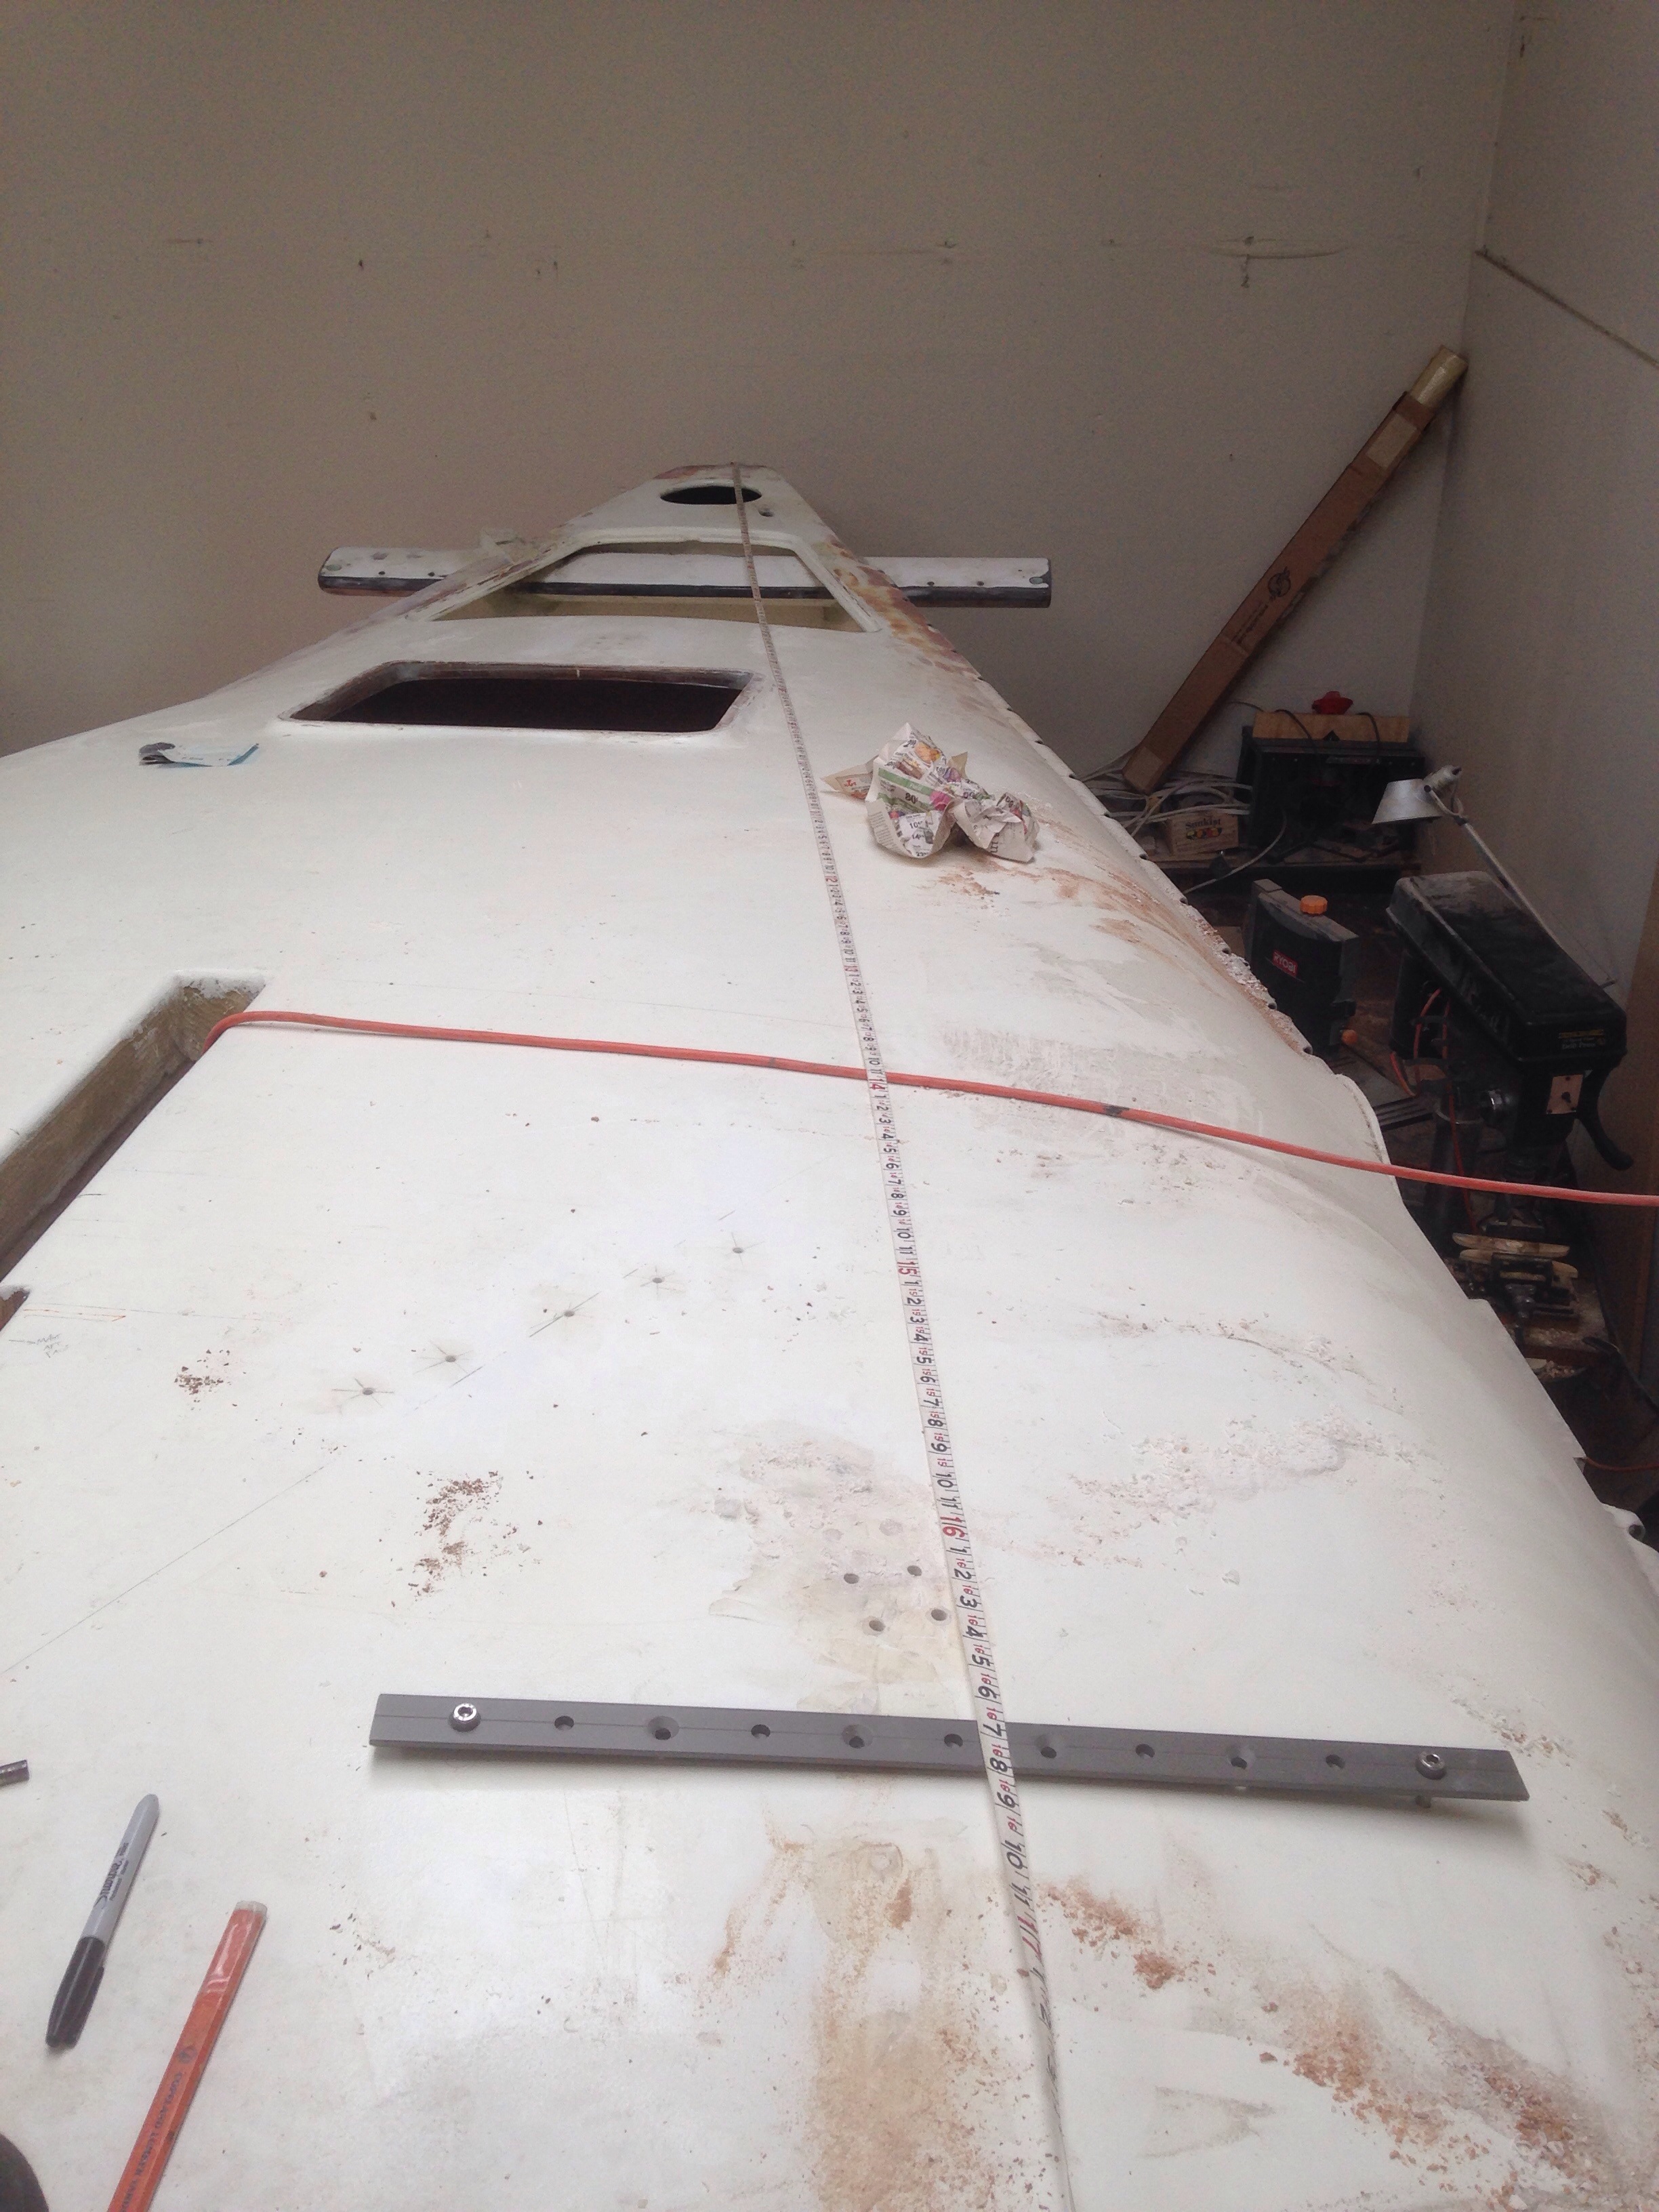
They’re big, over 8′ long, and weigh much more than one average person can lift. Each one got a cheap moving dolly so I can push them around the shop. This is the level of finish fairing we went for. Particularly the undersides – a decent job but not going nuts on an area that people won’t be looking at regularly.

20150609-232641.jpg
To help move them in to place for painting, and to load them for transport, we bought a $49 Harbor Freight chain hoist – wish this came a long time ago.

20150609-232938.jpg
The fairing process isn’t pretty, but after two coats of primer they suddenly come to life as finished boat parts.

20150609-233209.jpg
Building these from scratch was a huge undertaking, and this is one relieved smile.

20150609-233334.jpg
You can also see the shop is really crammed. A brainstorm hit – could we finish the beams and store them on our little utility trailer? So Charlie came over today and we put together a frame of 10′ bunks. The beams should fit across the trailer, all four loaded from front to back, and then we can roll out to the driveway or storage yard.

20150609-234026.jpg
The topsides paint is ordered and the next photo update should have fully complete beams for you.

As fabrication winds down and painting ramps up, we need to clean up. The pickup was 3/4 full from clearing Jeanne’s dad’s property, so the shop was target two. Letting go can be tough – see the original hull cutout for the main companionway; it’s the cedar strips piece Jeanne is reaching towards. Lots of “old” pieces of the boat are off to the recyclers :)
(And Jim might recognize Origami’s old blown out jib on the dump floor)

20150609-234709.jpg

While exterior fairing and paint rounds dry, interior trim-out continues. So far we’re using epoxy to bring out the wood’s colors and provide a permanent seal. It doesn’t leave a great finish, so now we’re experimenting with finish coats of polyurethane.

20150609-235113.jpg
Hopefully this stuff will sand nicely between coats and buff out beautifully. Stay tuned.

No more calico

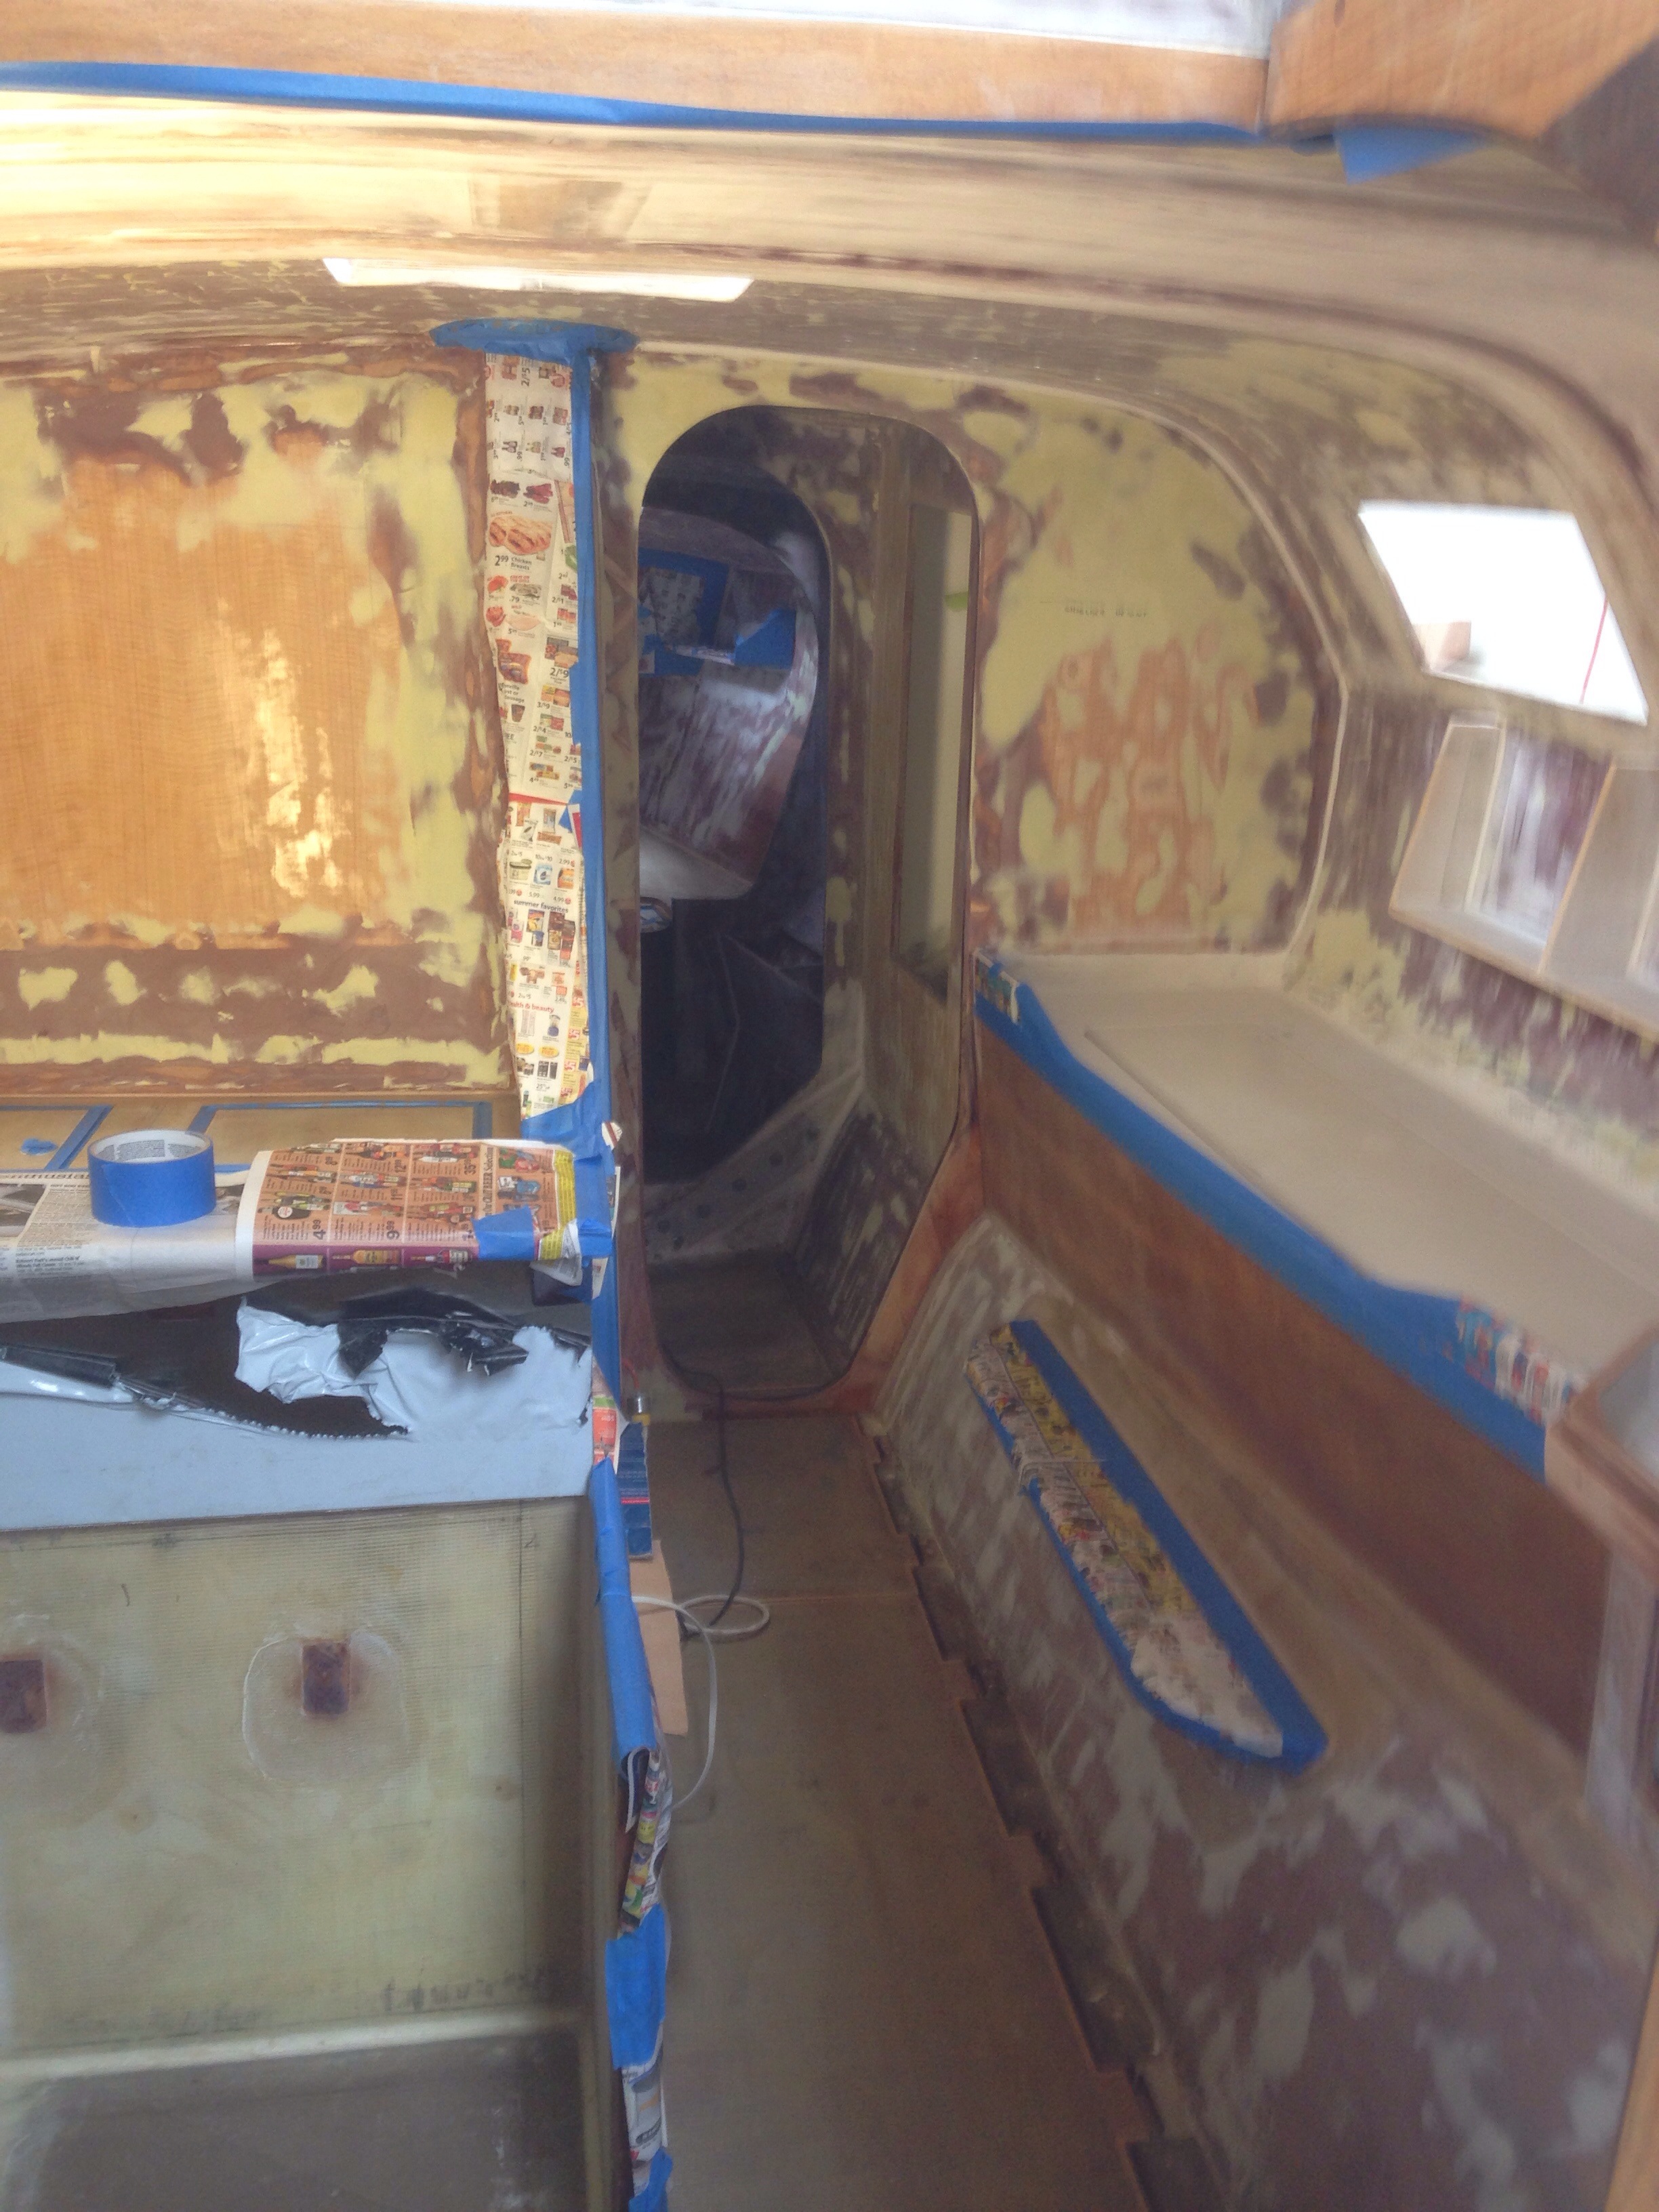
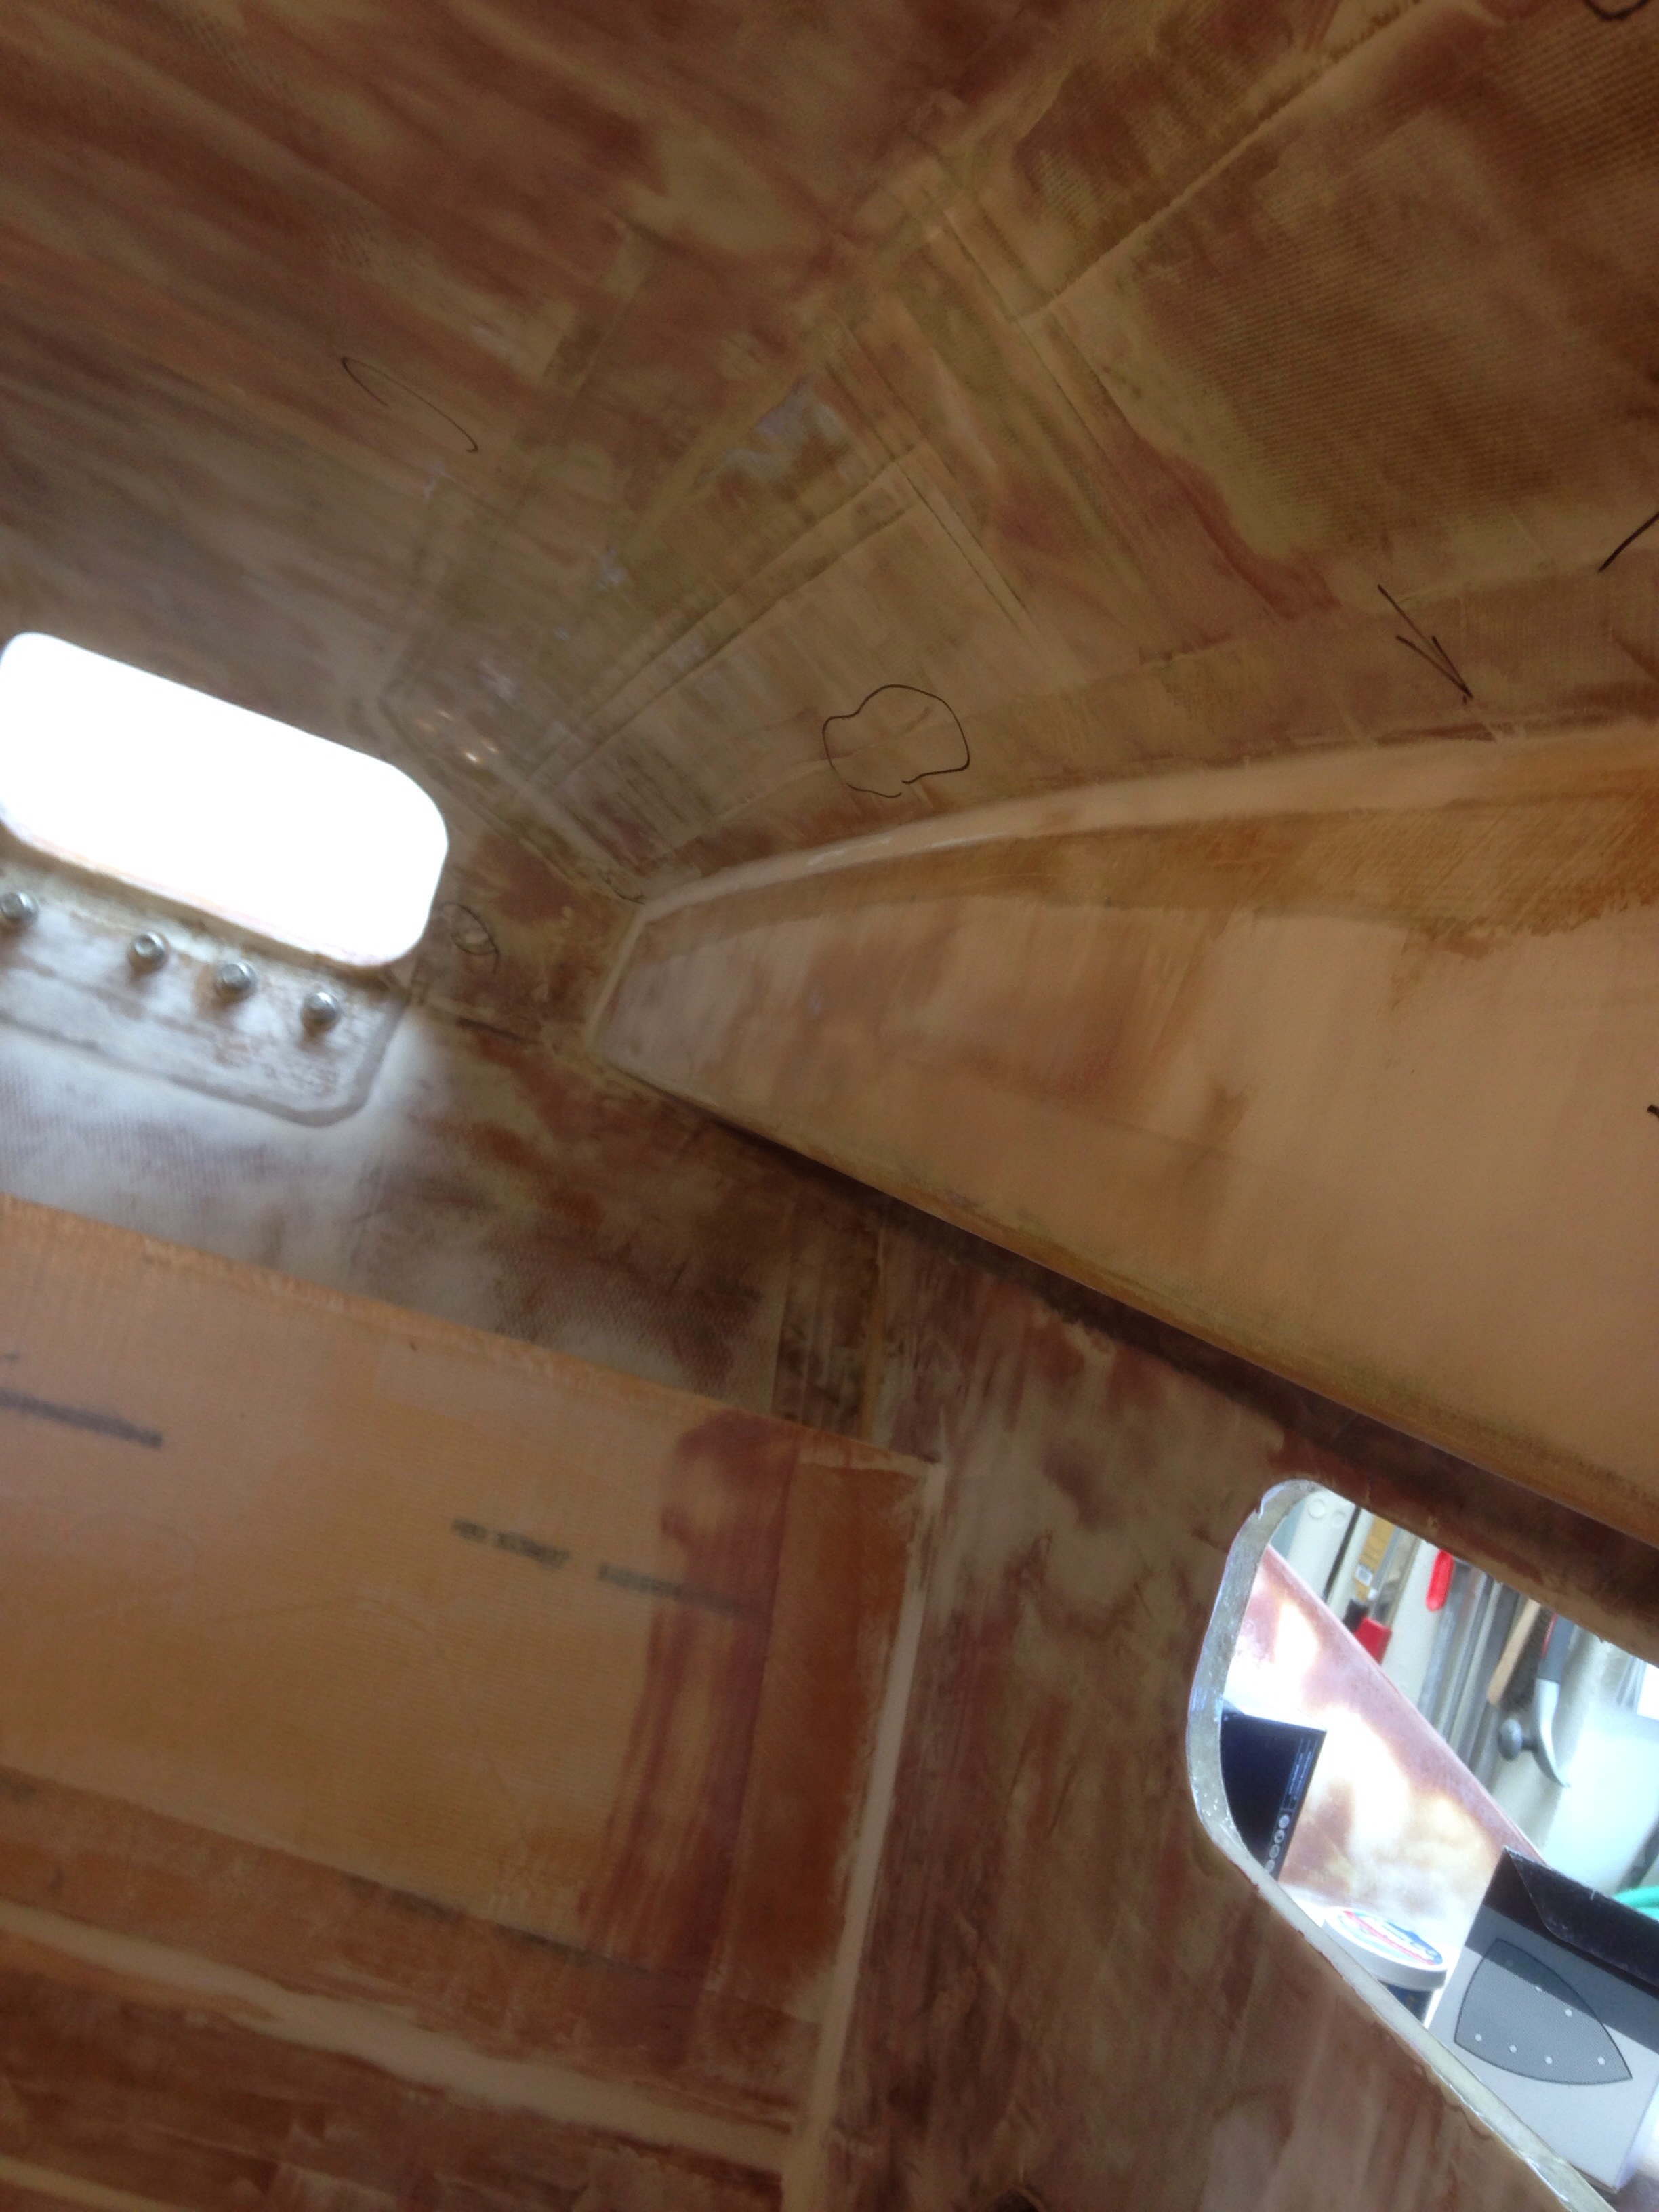
We looked up the other day, wiping the eyes from a big cloud of dust, ears ringing from the sanding machines… And realized the interior fairing was DONE! Put down the sandpaper, clean out the boat and go get some primer. Here’s where things stood Friday evening to start Memorial Day weekend.

20150527-223303.jpg

20150527-223329.jpg

20150527-223343.jpg
Kind of like an abused calico cat, but very smooth.

After lots of reading and listening to recent experiences of boat owners using high quality acrylic latex house paints inside their boats, we decided this is our route too. Much safer for the applicator, easy cleanup, unlimited color choices and ability to match later, and about 20% of the cost of marine topsides paints. Thank you Keith for recommending this stuff – it was great throughout Sunday and Monday marathon sessions. Used 2.5 gallons for two coats applied by roller.

20150527-223748.jpg
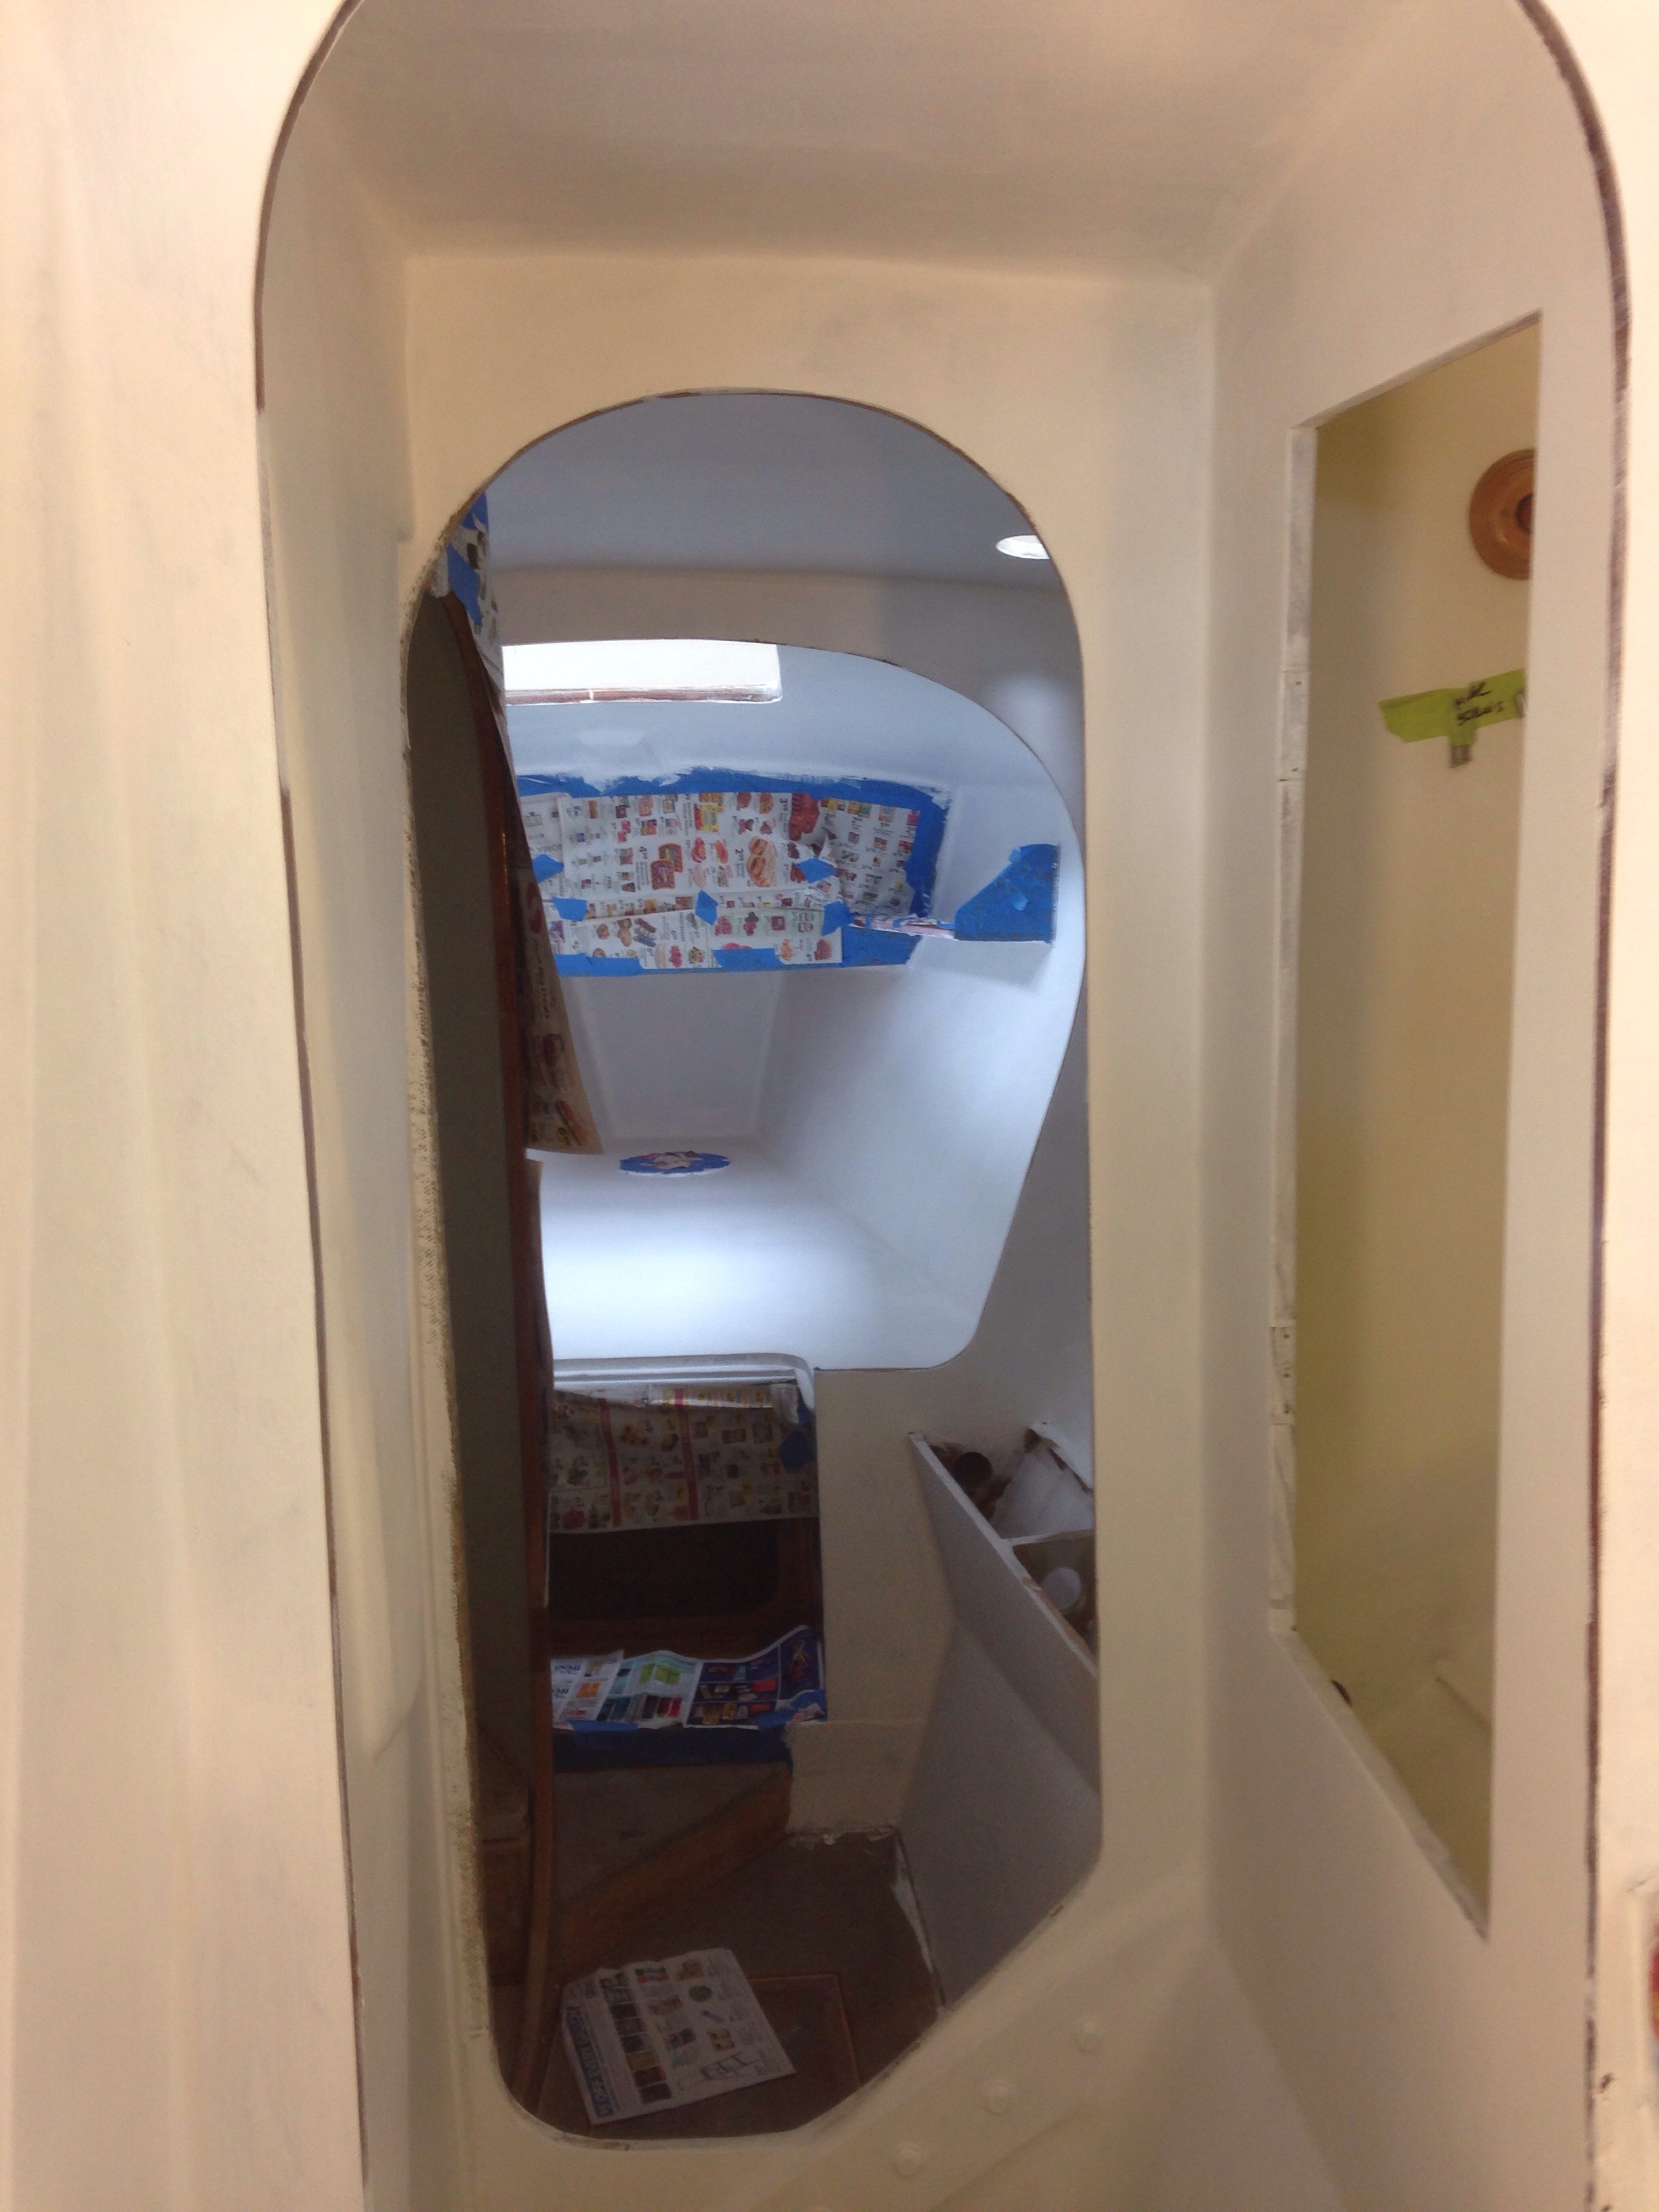
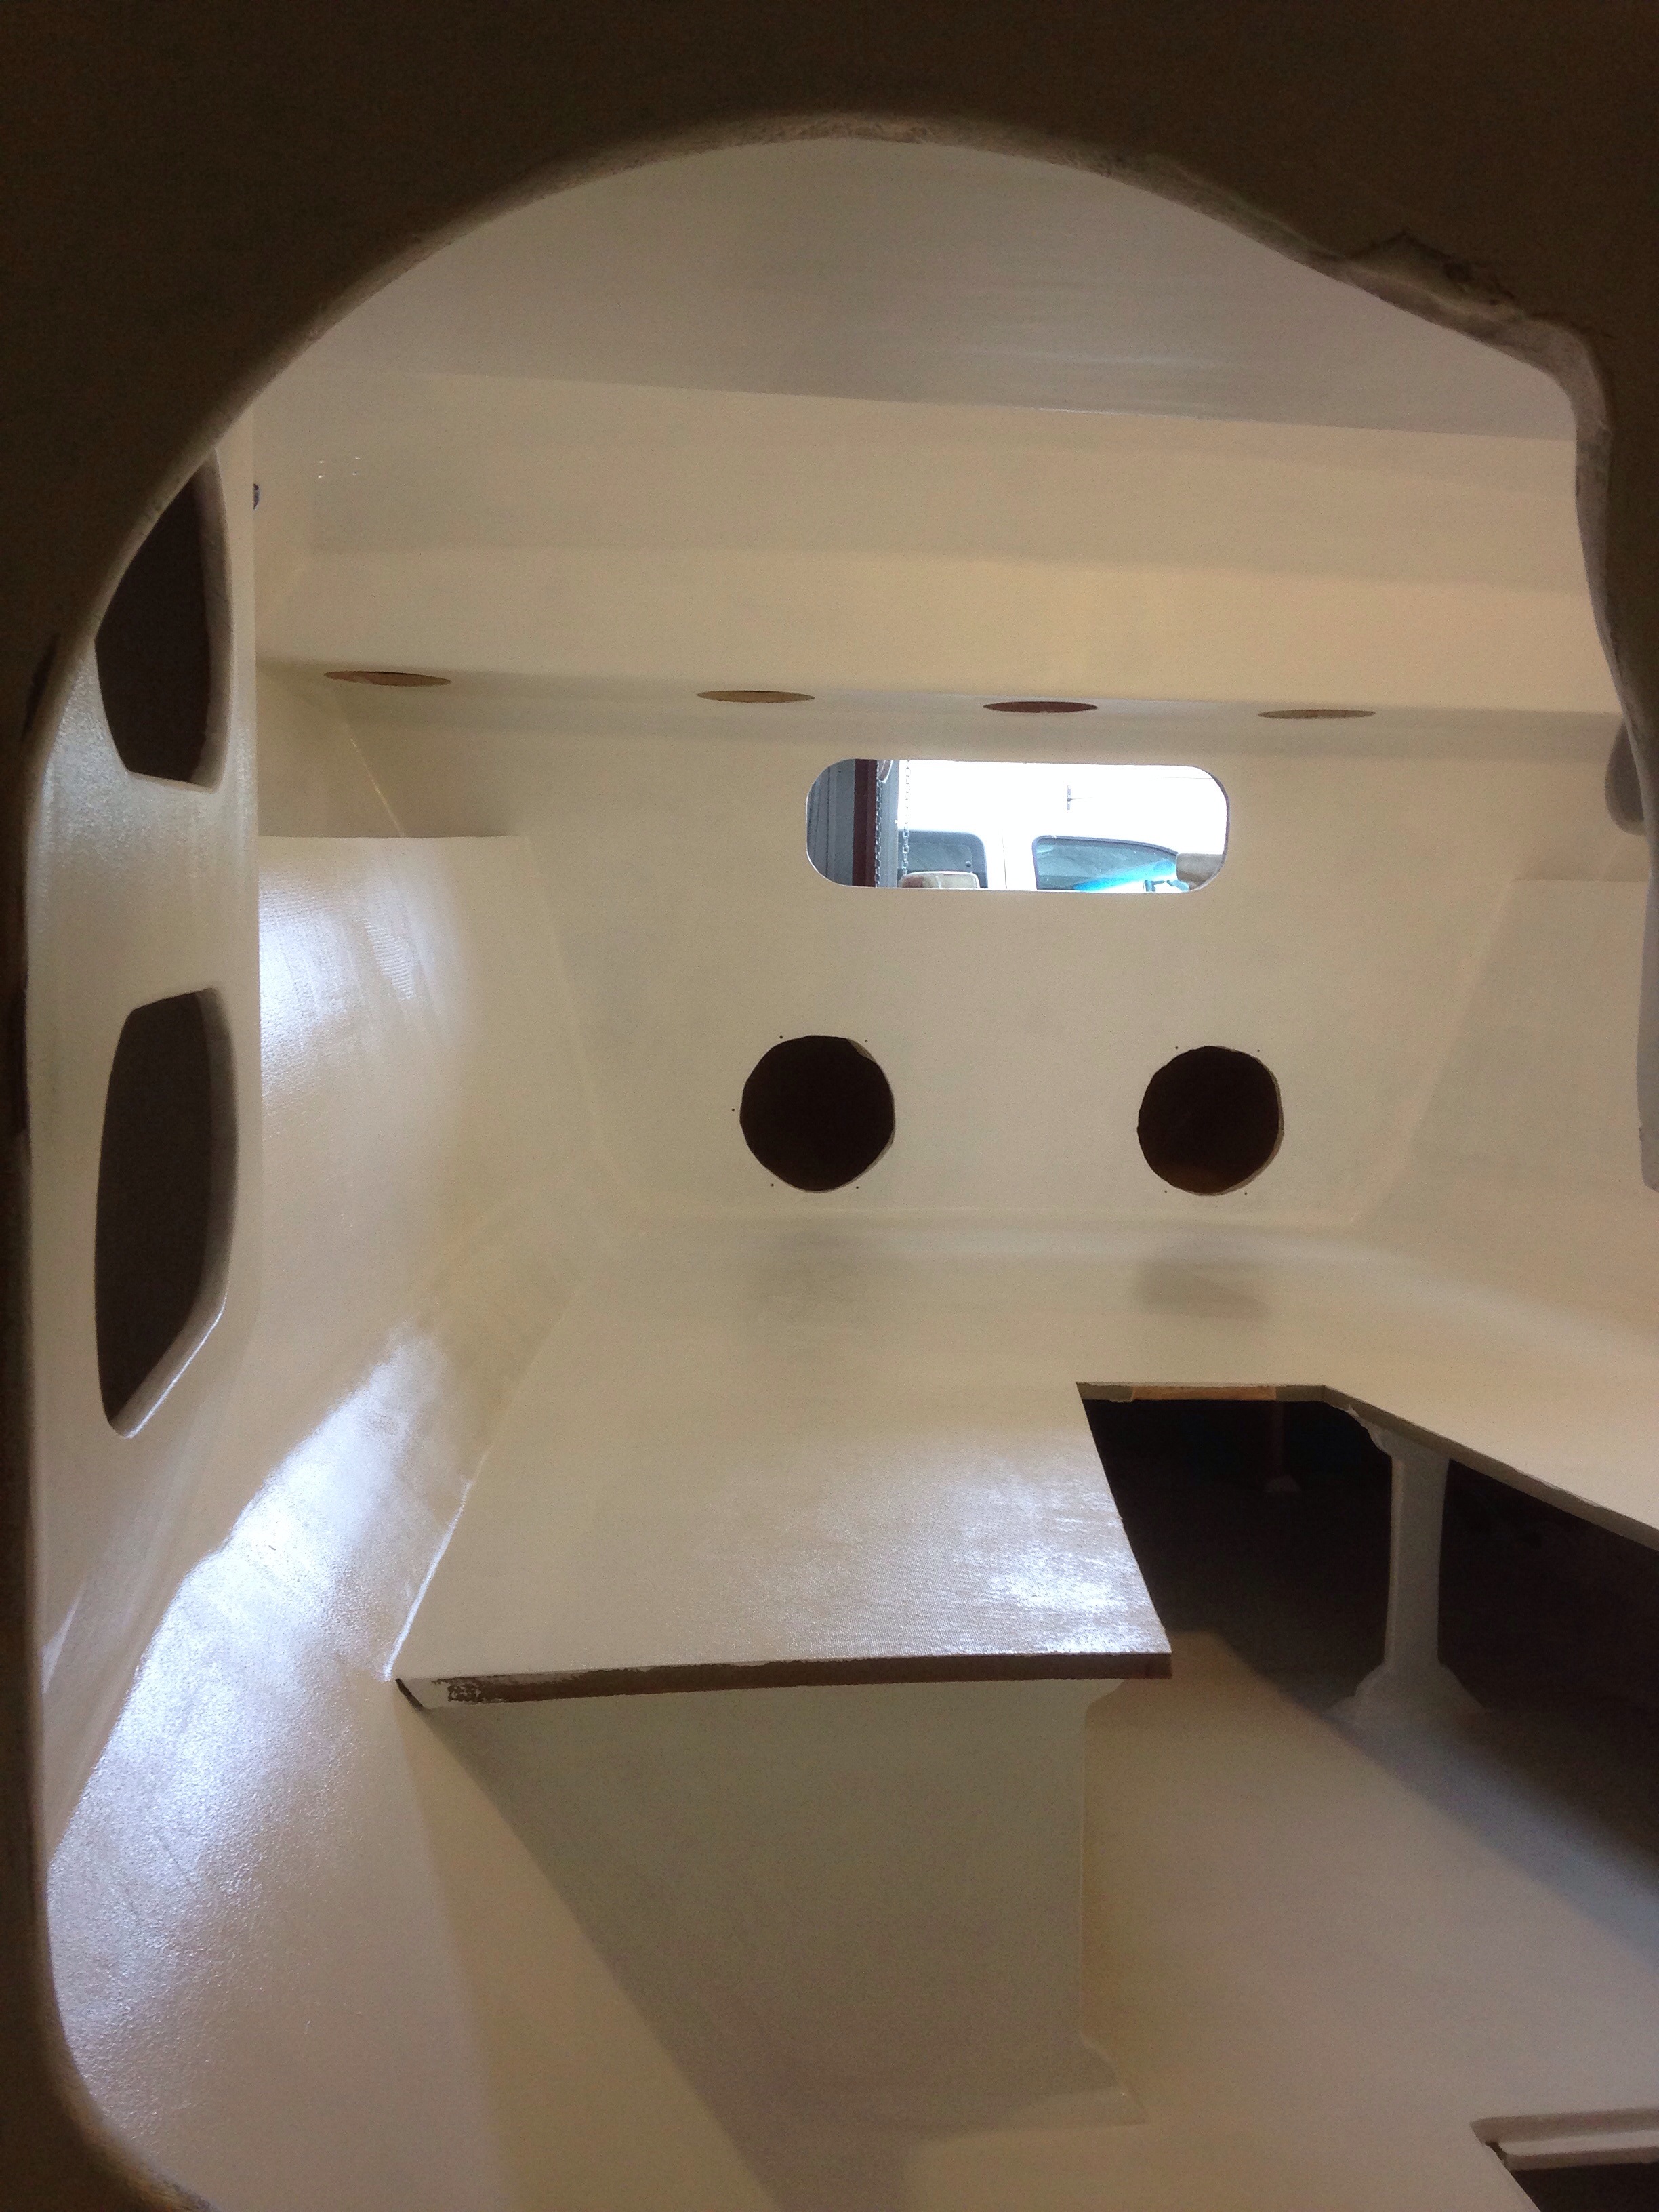
The result is startling (good) – boat feels bigger inside and so much happier. Wood accents are already visually “popping” and will get better over next week or so.

20150527-223942.jpg

20150527-223957.jpg

20150527-224012.jpg

Jeanne and I returned late this eve from working on her Dad’s San Jose house, feeling worn out. But right inside the door, ready to lift the spirits is a thousand feet of the highest-tech line ready to match up with the mast and new sails! Great work organizing, cutting and splicing by Skateaway Designs. We’re almost done pulling all the cordage together. This task was a heck of a list (partially on that left hand panel).

20150527-224600.jpg

If you’re wondering why people are using dyneema for shrouds and forestays – this box at 55lbs has all three 50’+ cables and over 800′ of halyards in it. The stainless steel shrouds for our 35′ mast F27 weighed more than all this stuff, and this mast is 15′ longer. Tremendous weight advantage, plus it’s much stronger than the steel.

Next up is glue bonding all those 100+ pieces of fancy trim wood you saw on the back table a few weeks ago. Let’s hope we can read our legend notes on what goes where!…

We’ve got power!

Probably the most thought out purchase of this boat build is the sails. We looked at so many options, and it came down to getting great advice. After an expedient one month build for three big sails, they arrived by truck from Maine Sailing Partners this week.

20150522-185521.jpg
The octagon box is the Tides sail track for the mast – rolled up and 48′ long. We had to replace the one that came with the mast due to lowering the gooseneck position (resulting in a longer track and sail hoist distance).
The dyneema and Dacron blend cloth weave looks fantastic in person! The mainsail weighed in at about 85 pounds, but look at how compact it is compared to complicated laminate sails. This should be so much easier to handle in stowing/covering, yet it’s still a race-competitive durable sail. Can’t wait to hoist!

20150522-190011.jpg
The jib is unusual in two ways. It is fully battened horizontally, so it will be stored in a zipper bag, still hanked on when not in use. And it’s reef able, so we’ll have an adjustable tack leading back to the cockpit. The excess part of the reefed sail gets folded up against the hoisted portion and covered up by an integral zipper pouch. This will all make more sense when we can show you photos with the mast up.

20150522-193255.jpg
The third sail is a masthead reacher that will fly from the bow sprit and roll up on a Colligo furler. We made it solid blue, using a simple nylon cloth – not intended to be an upwind sail.

20150522-193943.jpg
We also made a change on deck to better match the jib. The tracks for the jib turning cars are now athwart ships to keep the jib clew always the same distance from the forestay. We can trim the sail sideways – closer to the mast and centerline or opening up the slot without de-powering the sail.

20150522-194518.jpg
The jib on this boat is planned to be a real workhorse in so many conditions. Really looking forward to learning how to make it perform well!

Final details of interior fabrication are finishing up and we’re on track to roll on primer throughout the boat insides this weekend. Three years of working towards paint – it’s finally coming true.

Wobbly arms

Wobbly arms and burning shoulders is what you get trying to make a smooth, fair surface overhead in your boat. Griffin and Colin are safe now as the aft cabin top got finished today! No more wheedling from dad to get you sanding in there :)

20150515-151514.jpg
Here’s the main cabin with just a bit more edge work to do this weekend and we should be ready for interior priming early next week.

20150515-151639.jpg
With this much practice, one gets fairly proficient at making the corner fillets.

The tricks turned out to be (1) 1:10 ratio of cabosil to glass balloons in the epoxy mix, (2) keep the mix runny, just falling off the spatula and laying it in the corner starting from the bottom, and (3) using a mortar board to really press out the air bubbles of the mixed putty before applying to the target area. Most of these don’t need any sanding at all.

20150515-152110.jpg

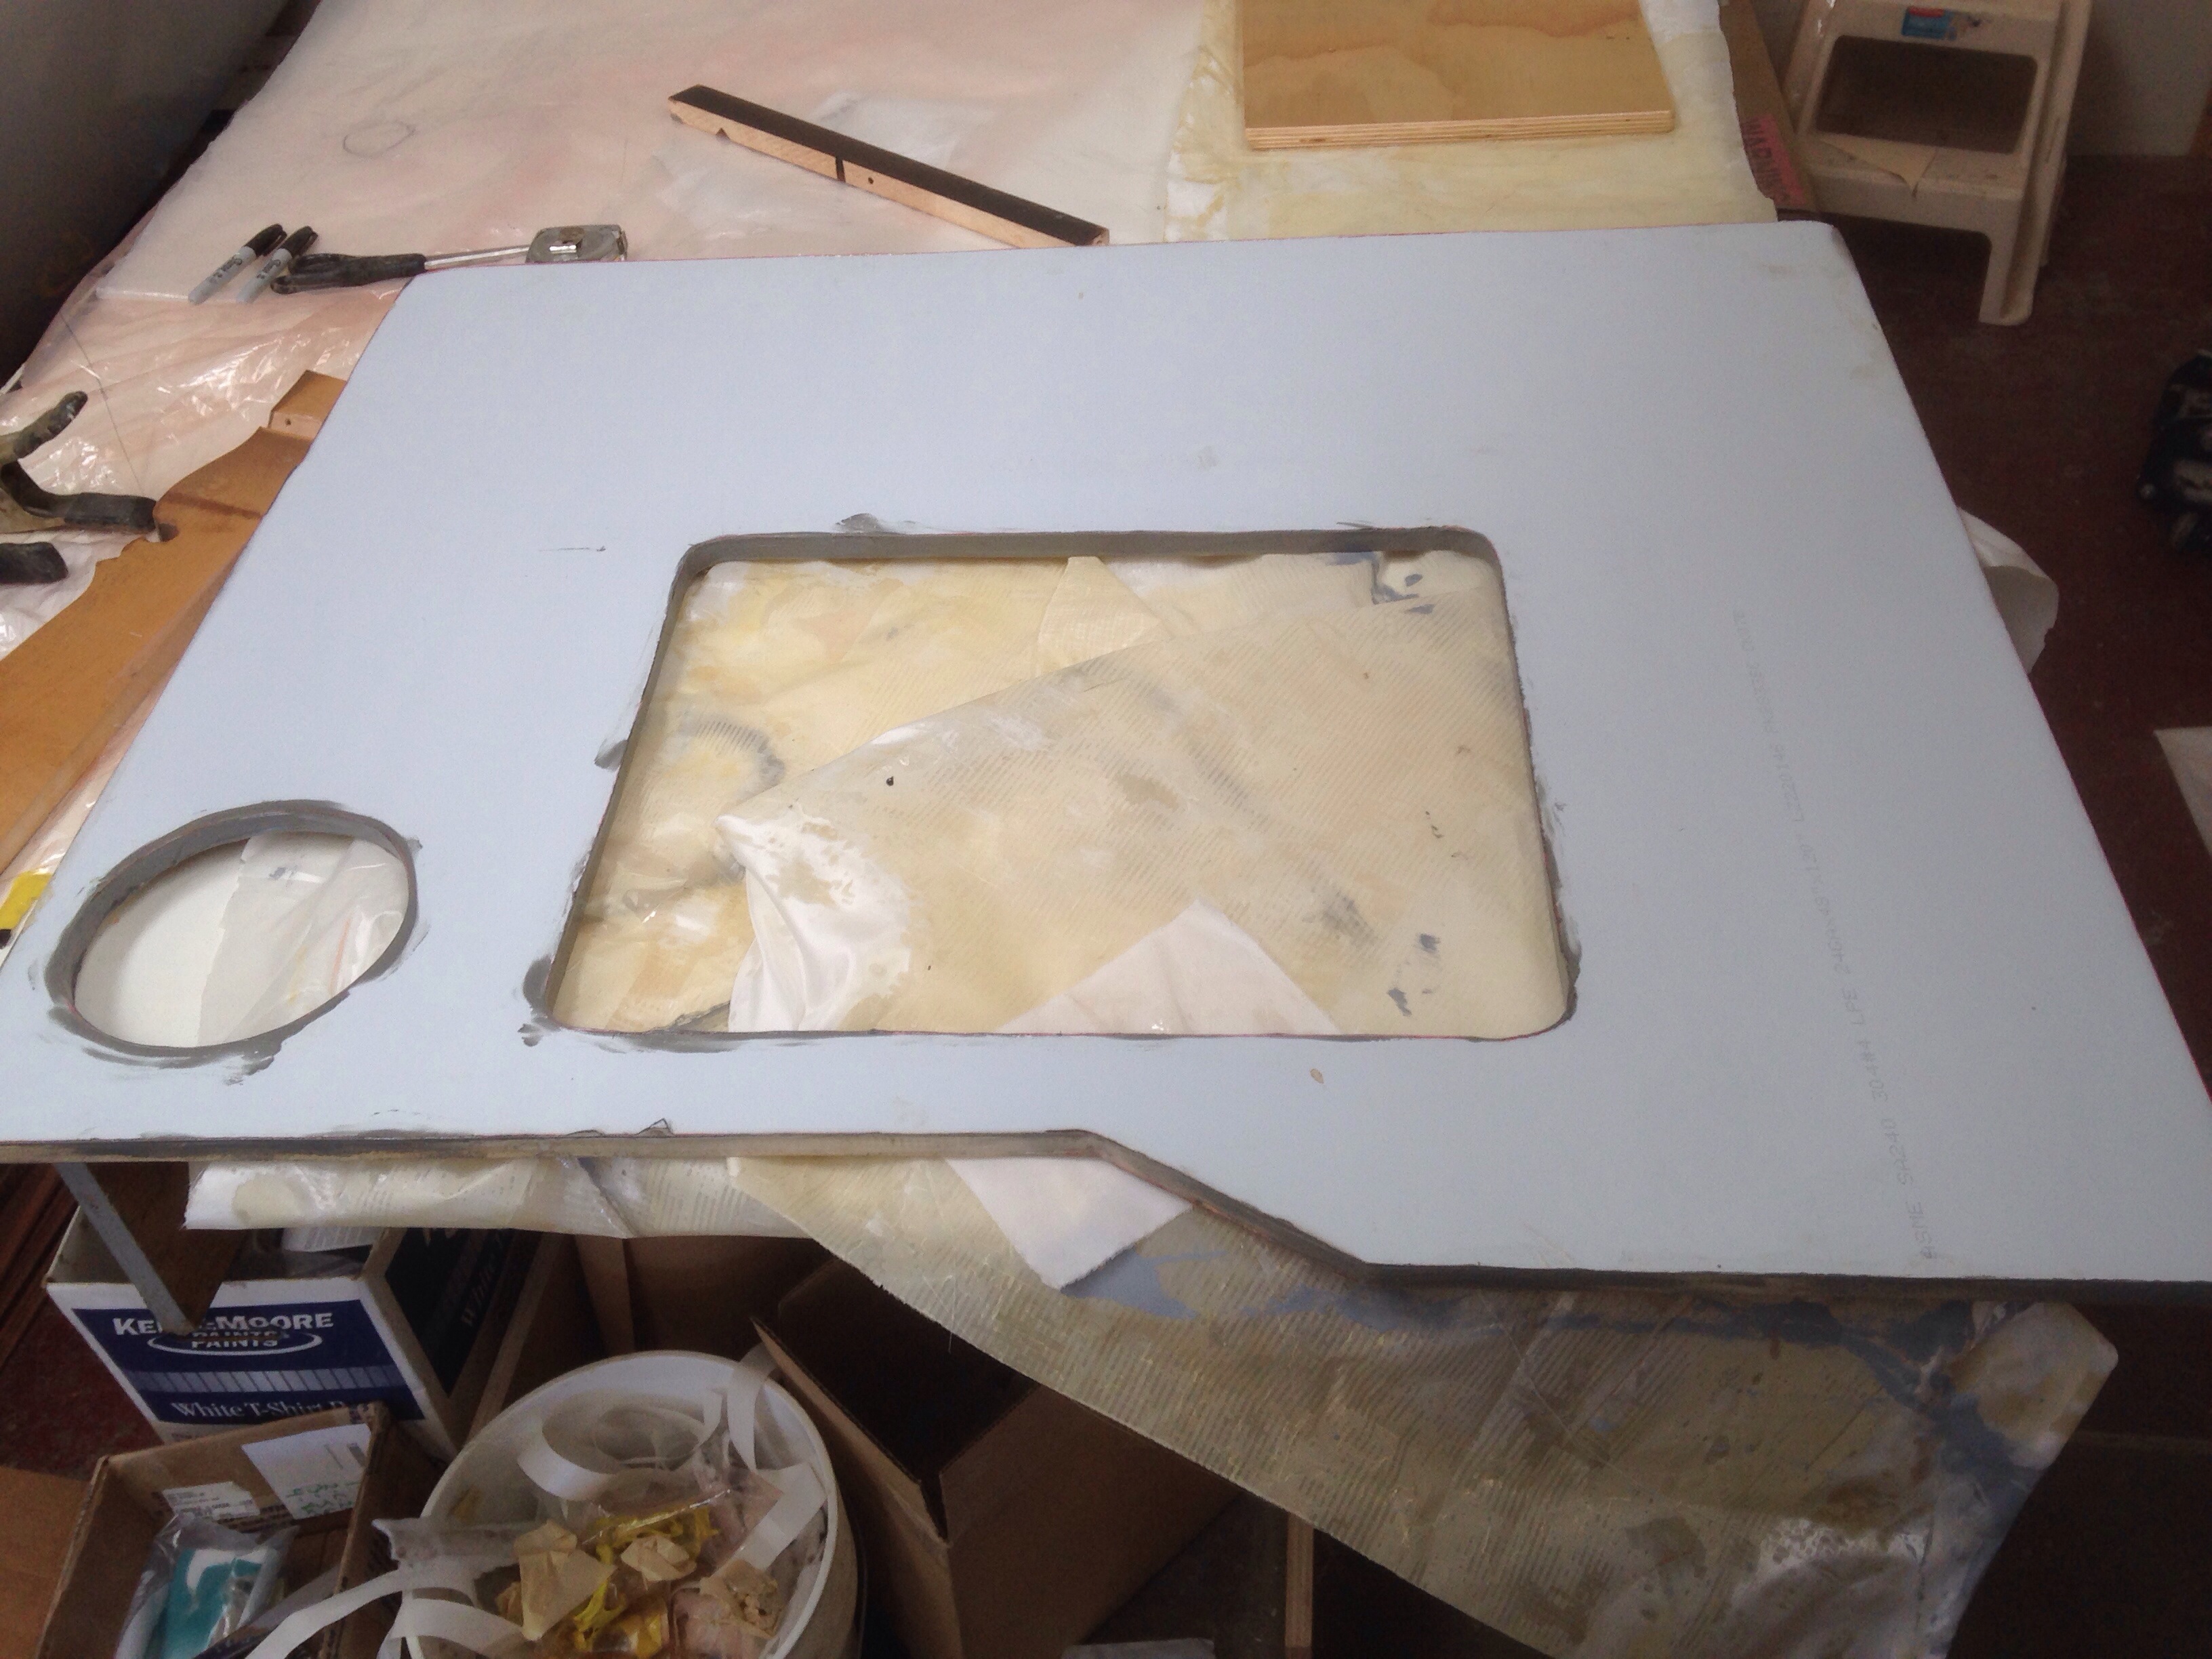
The sheet metal shop neighbor cut stainless steel panels for the galley backsplash and countertop. The vertical piece was bonded in place yesterday and the counter skin was glued down to its glass and foam base here. The sink is under mount, so the epoxy putty was tinted grey on the inner edges that will be showing.

20150515-152418.jpg
There’s more edge sanding to do. The stainless steel is hiding beneath a grey plastic cover for now, so you don’t get to see it until the interior is all painted soon.

Above the stove and counter will be a four foot long by seven inch wide bar; a plank of mahogany has been saved for many years to make special accents in the boat – this bar will be a centerpiece if all goes well. We finally got access to the right saw and big planer, resulting in some fantastic wood grain pieces for laminating to foam cores. Here’s a peek at what’s coming.

20150515-152937.jpg

20150515-153002.jpg

Bowels of a boat

Another item on the ‘prep for paint’ list is solving of all the plumbing runs, especially as they relate to fitting around cabinets, bulkheads and the hull sides. As to be expected, everything starts at the throne.

20150506-075134.jpg
We originally wanted all the pipes hidden, but the space is proving too tight. Some of the piping and the deck port for waste pumping will live behind this cover.

20150506-075534.jpg
With the toilet plumbed we moved on to drainage for bilge and shower sumps, then the two sinks. More holes in the hull!
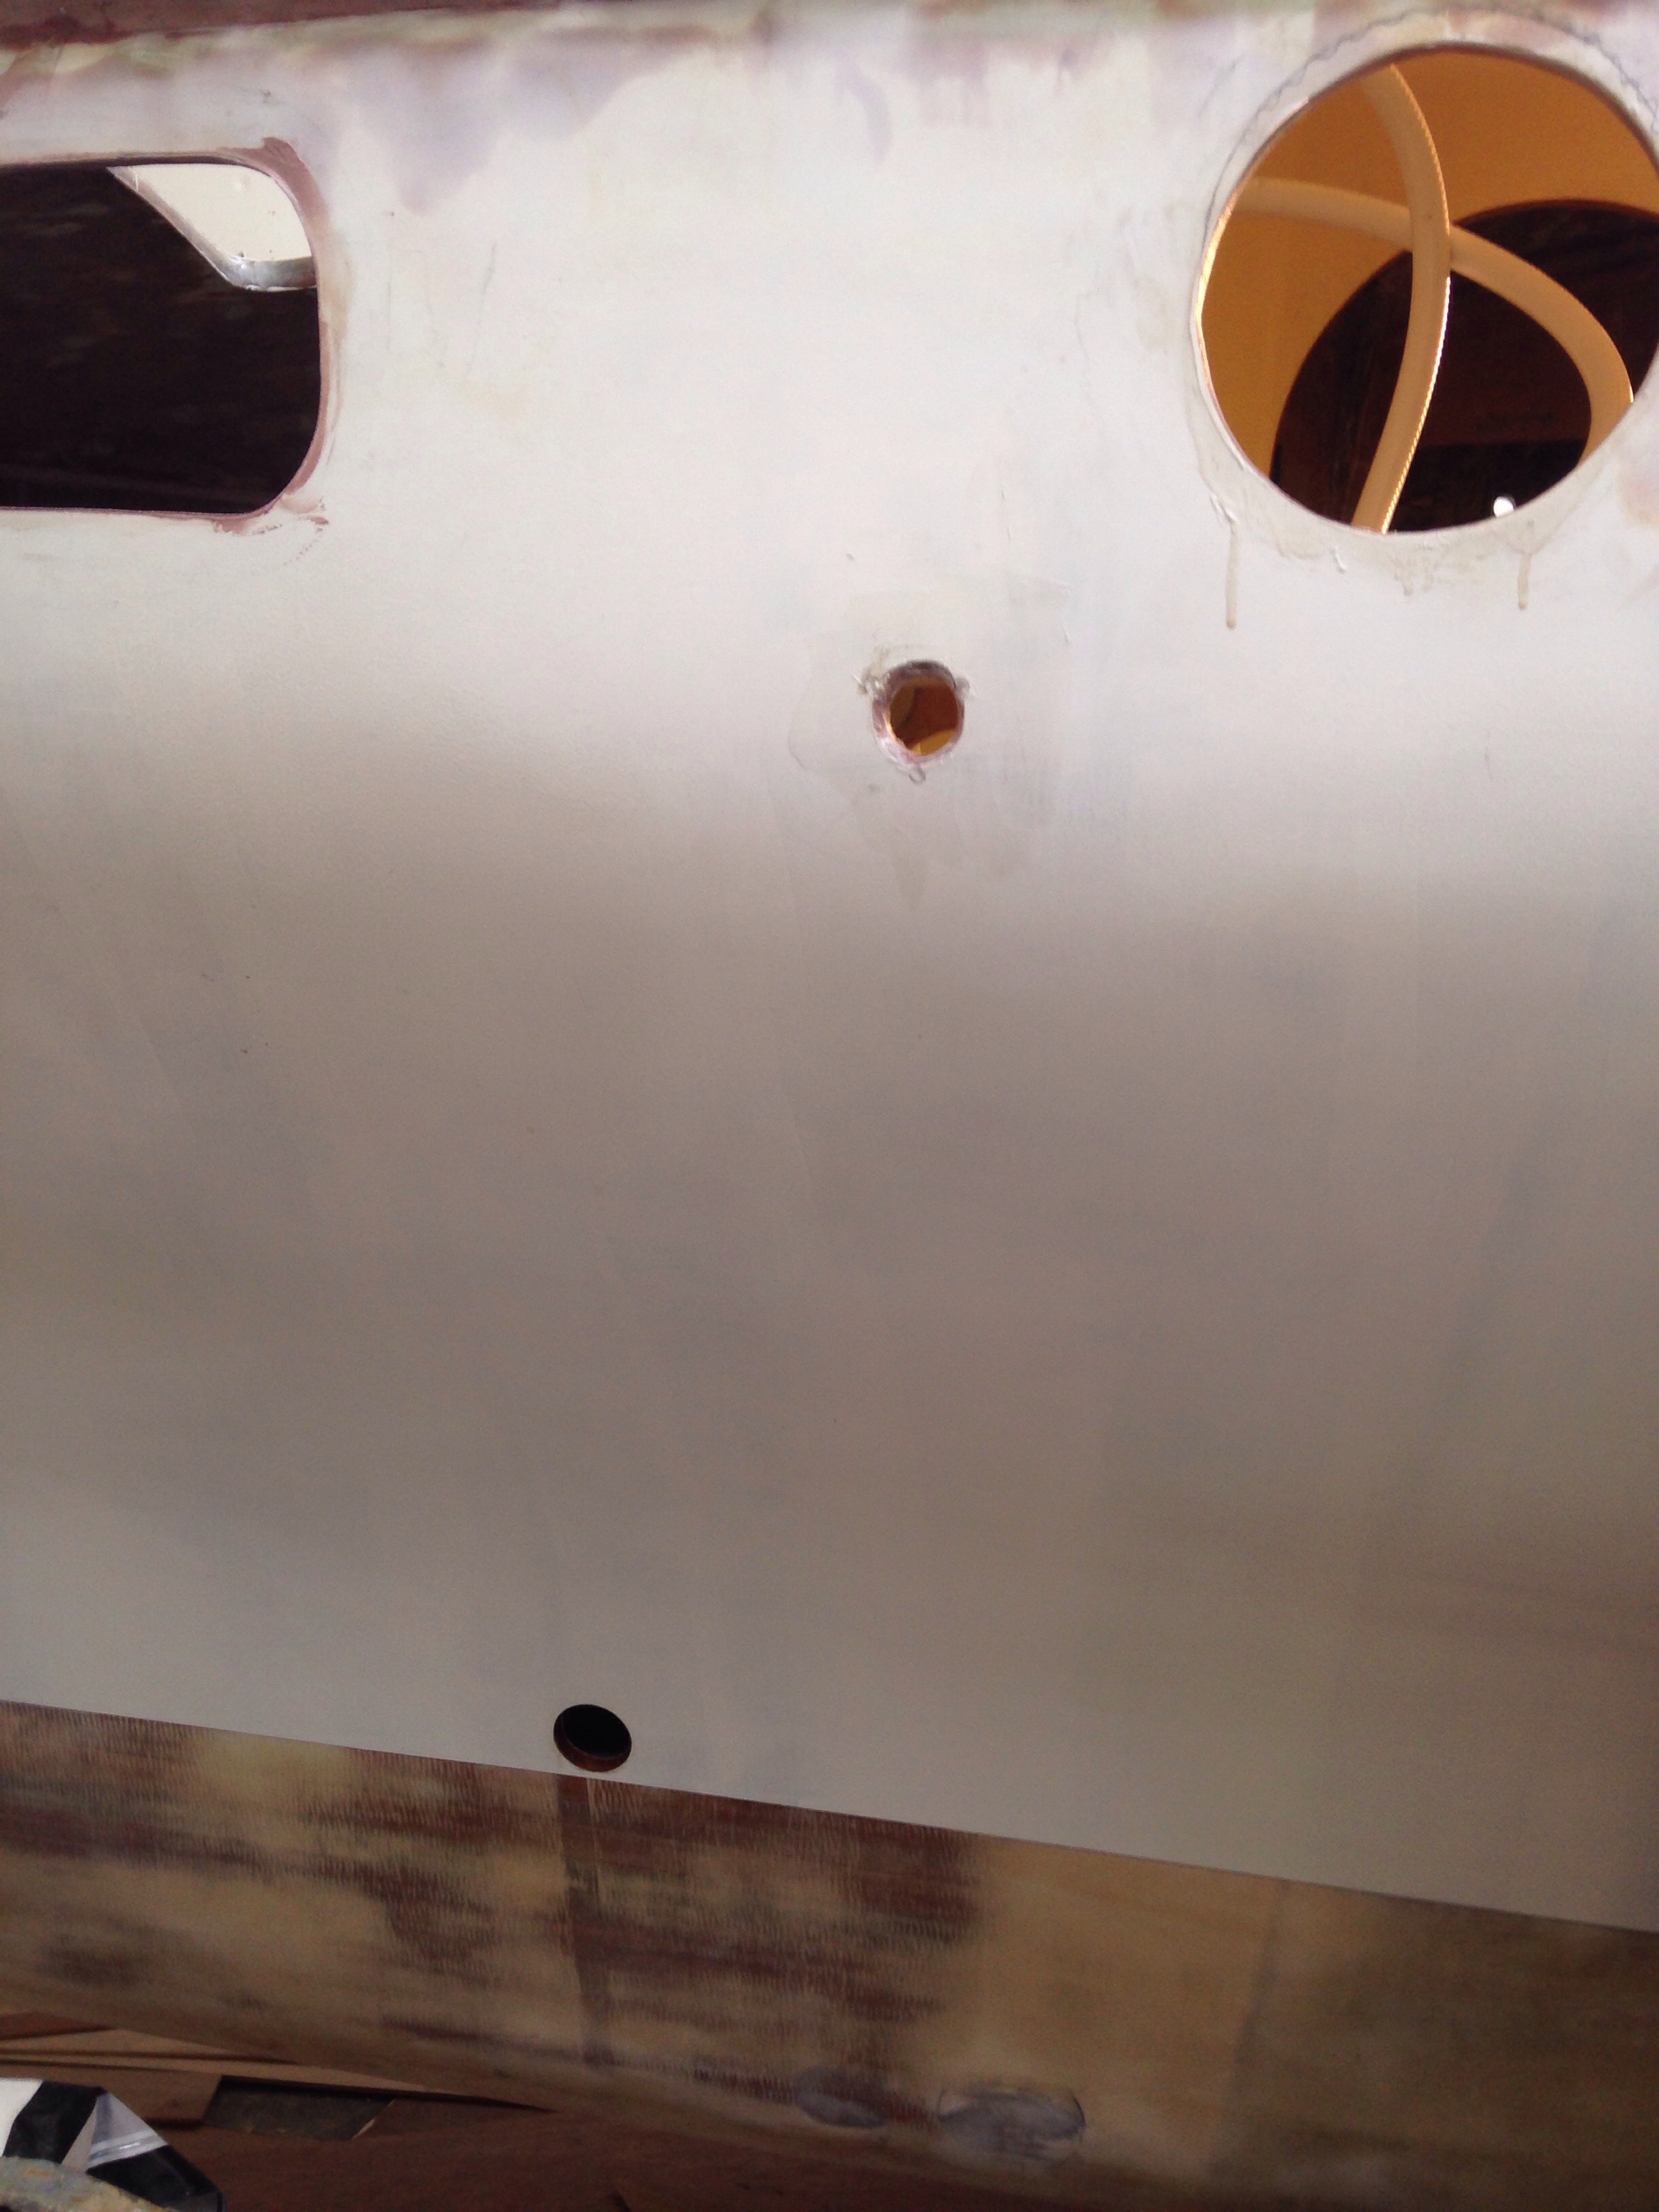
While at sea, the sewer tank gets pumped out just above the waterline, and the holding tank vent is the smaller hole below the port hole (vent has an inline smells-filter)

20150506-075934.jpg
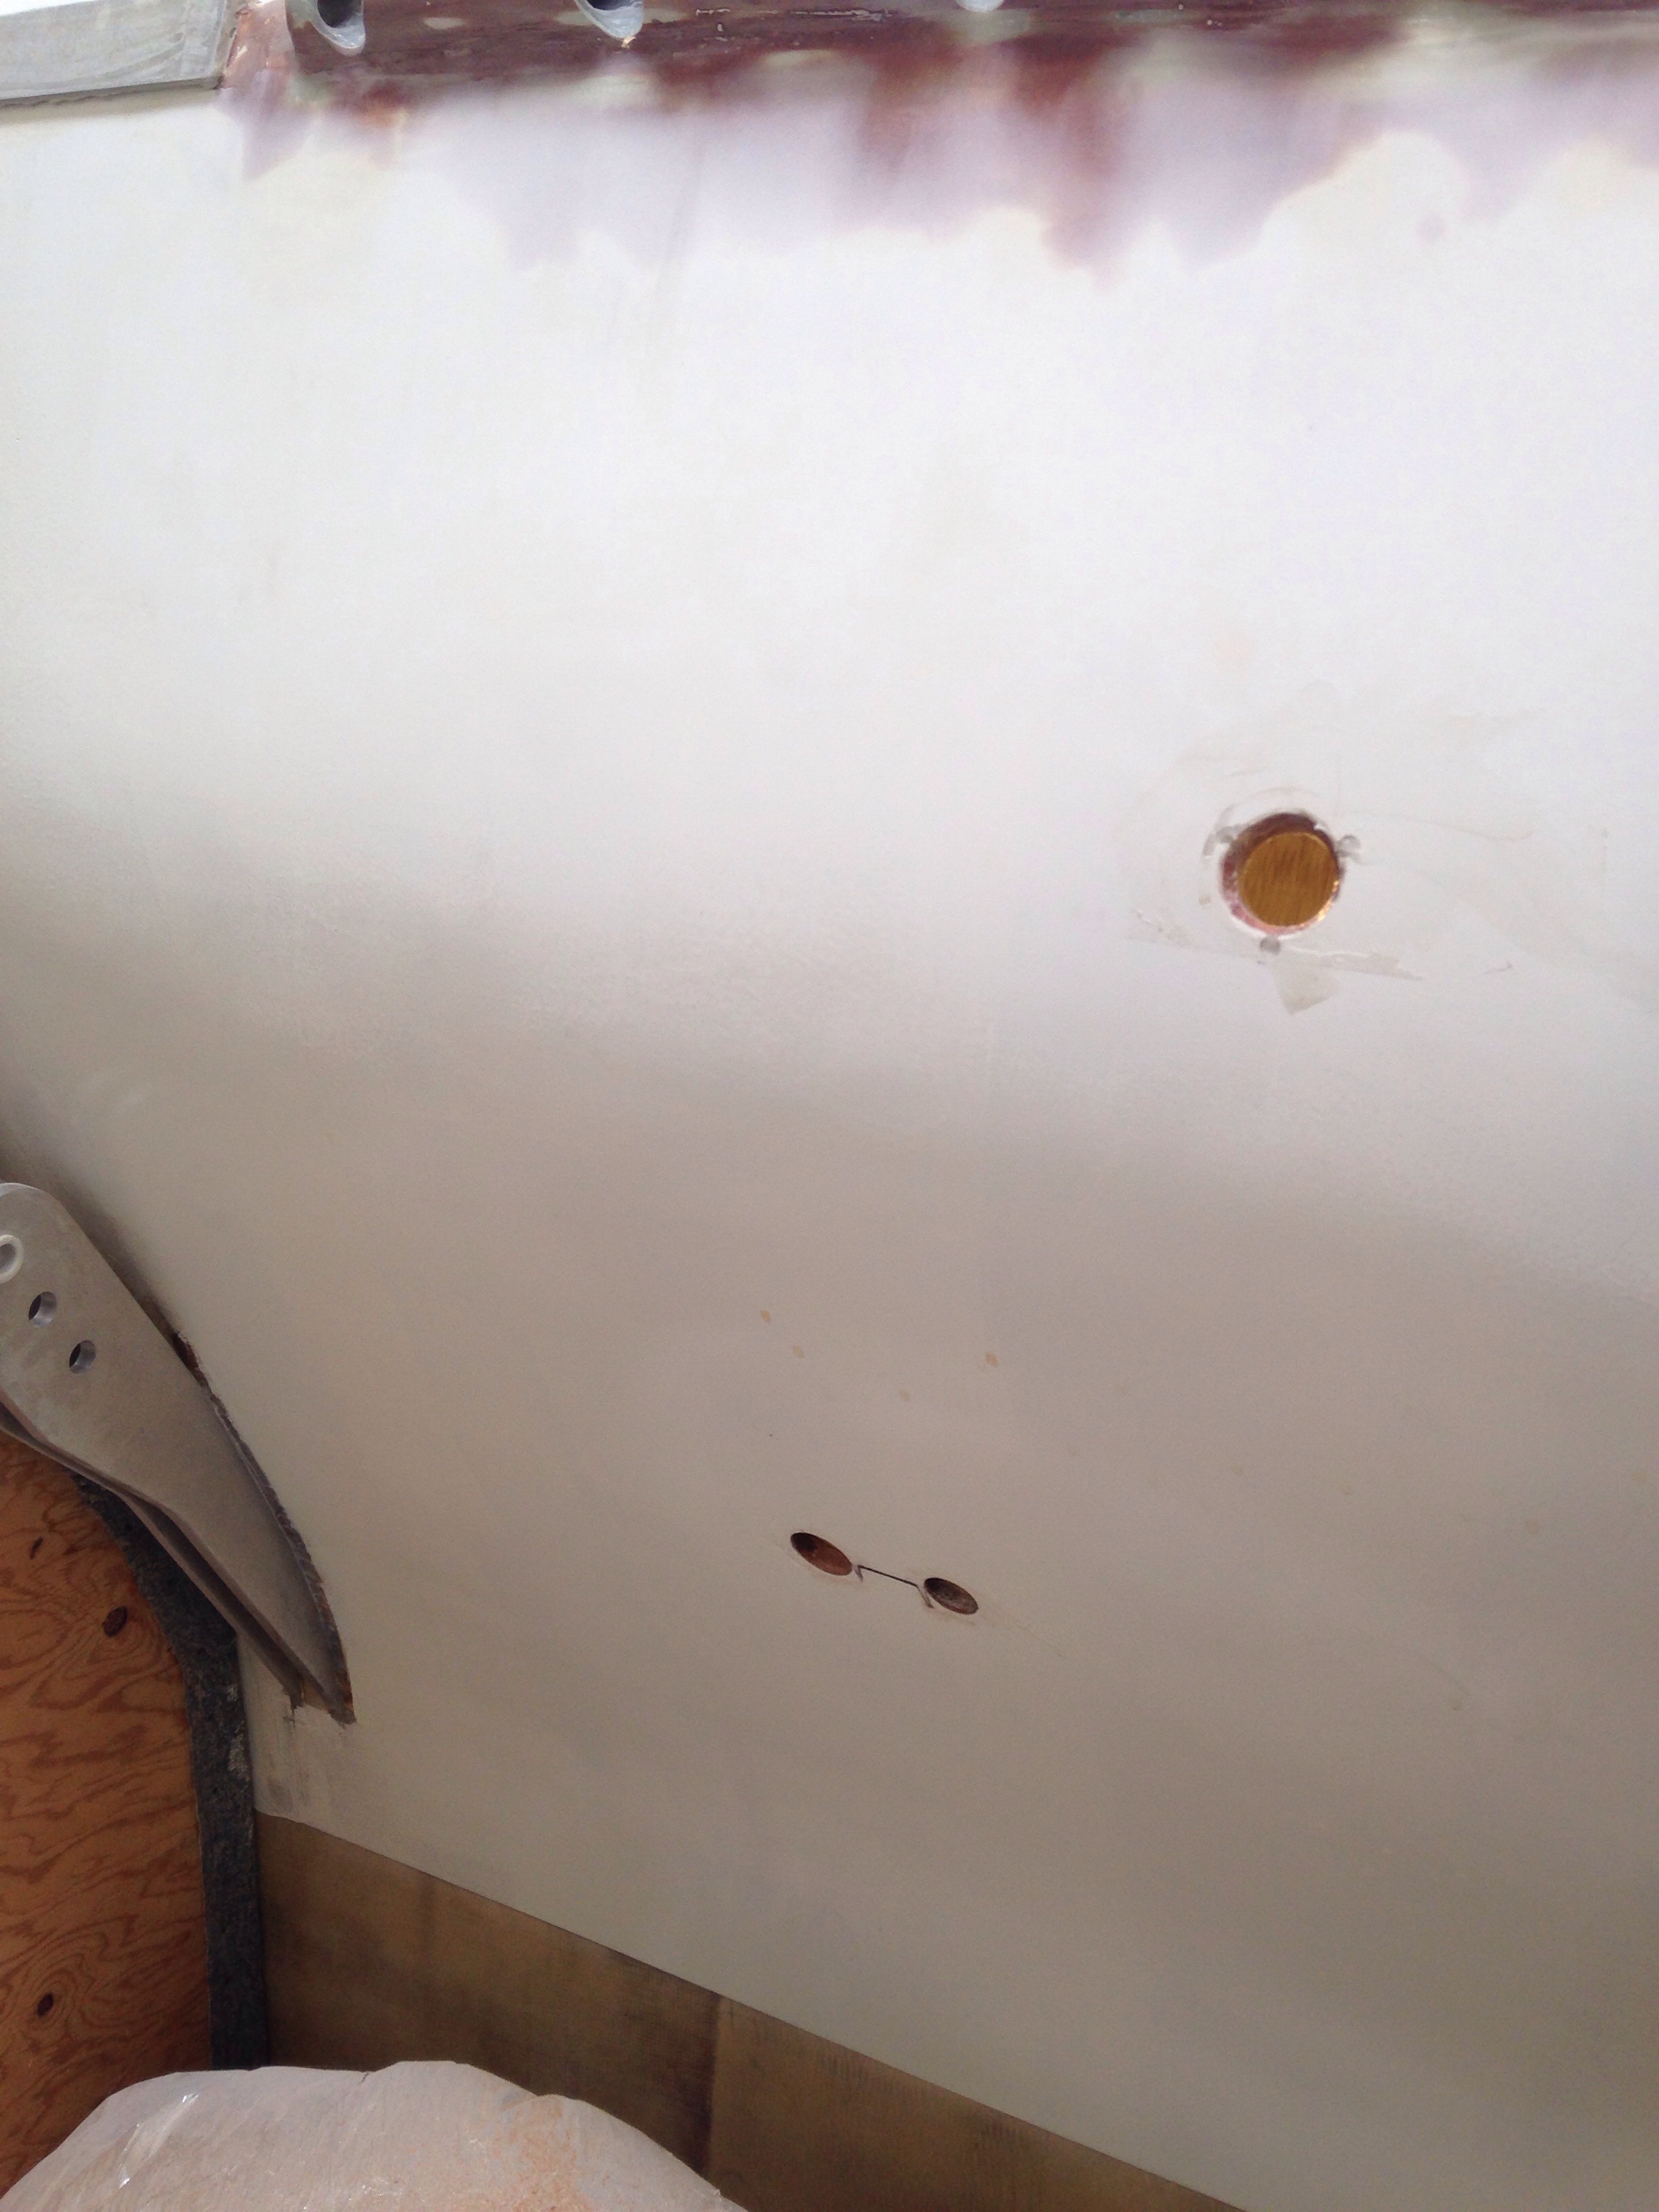
Moving aft about five feet, tucked inside a cabinet behind the shower, are the bilge and shower sump exits, with the fresh water tank vent above.

20150506-080118.jpg
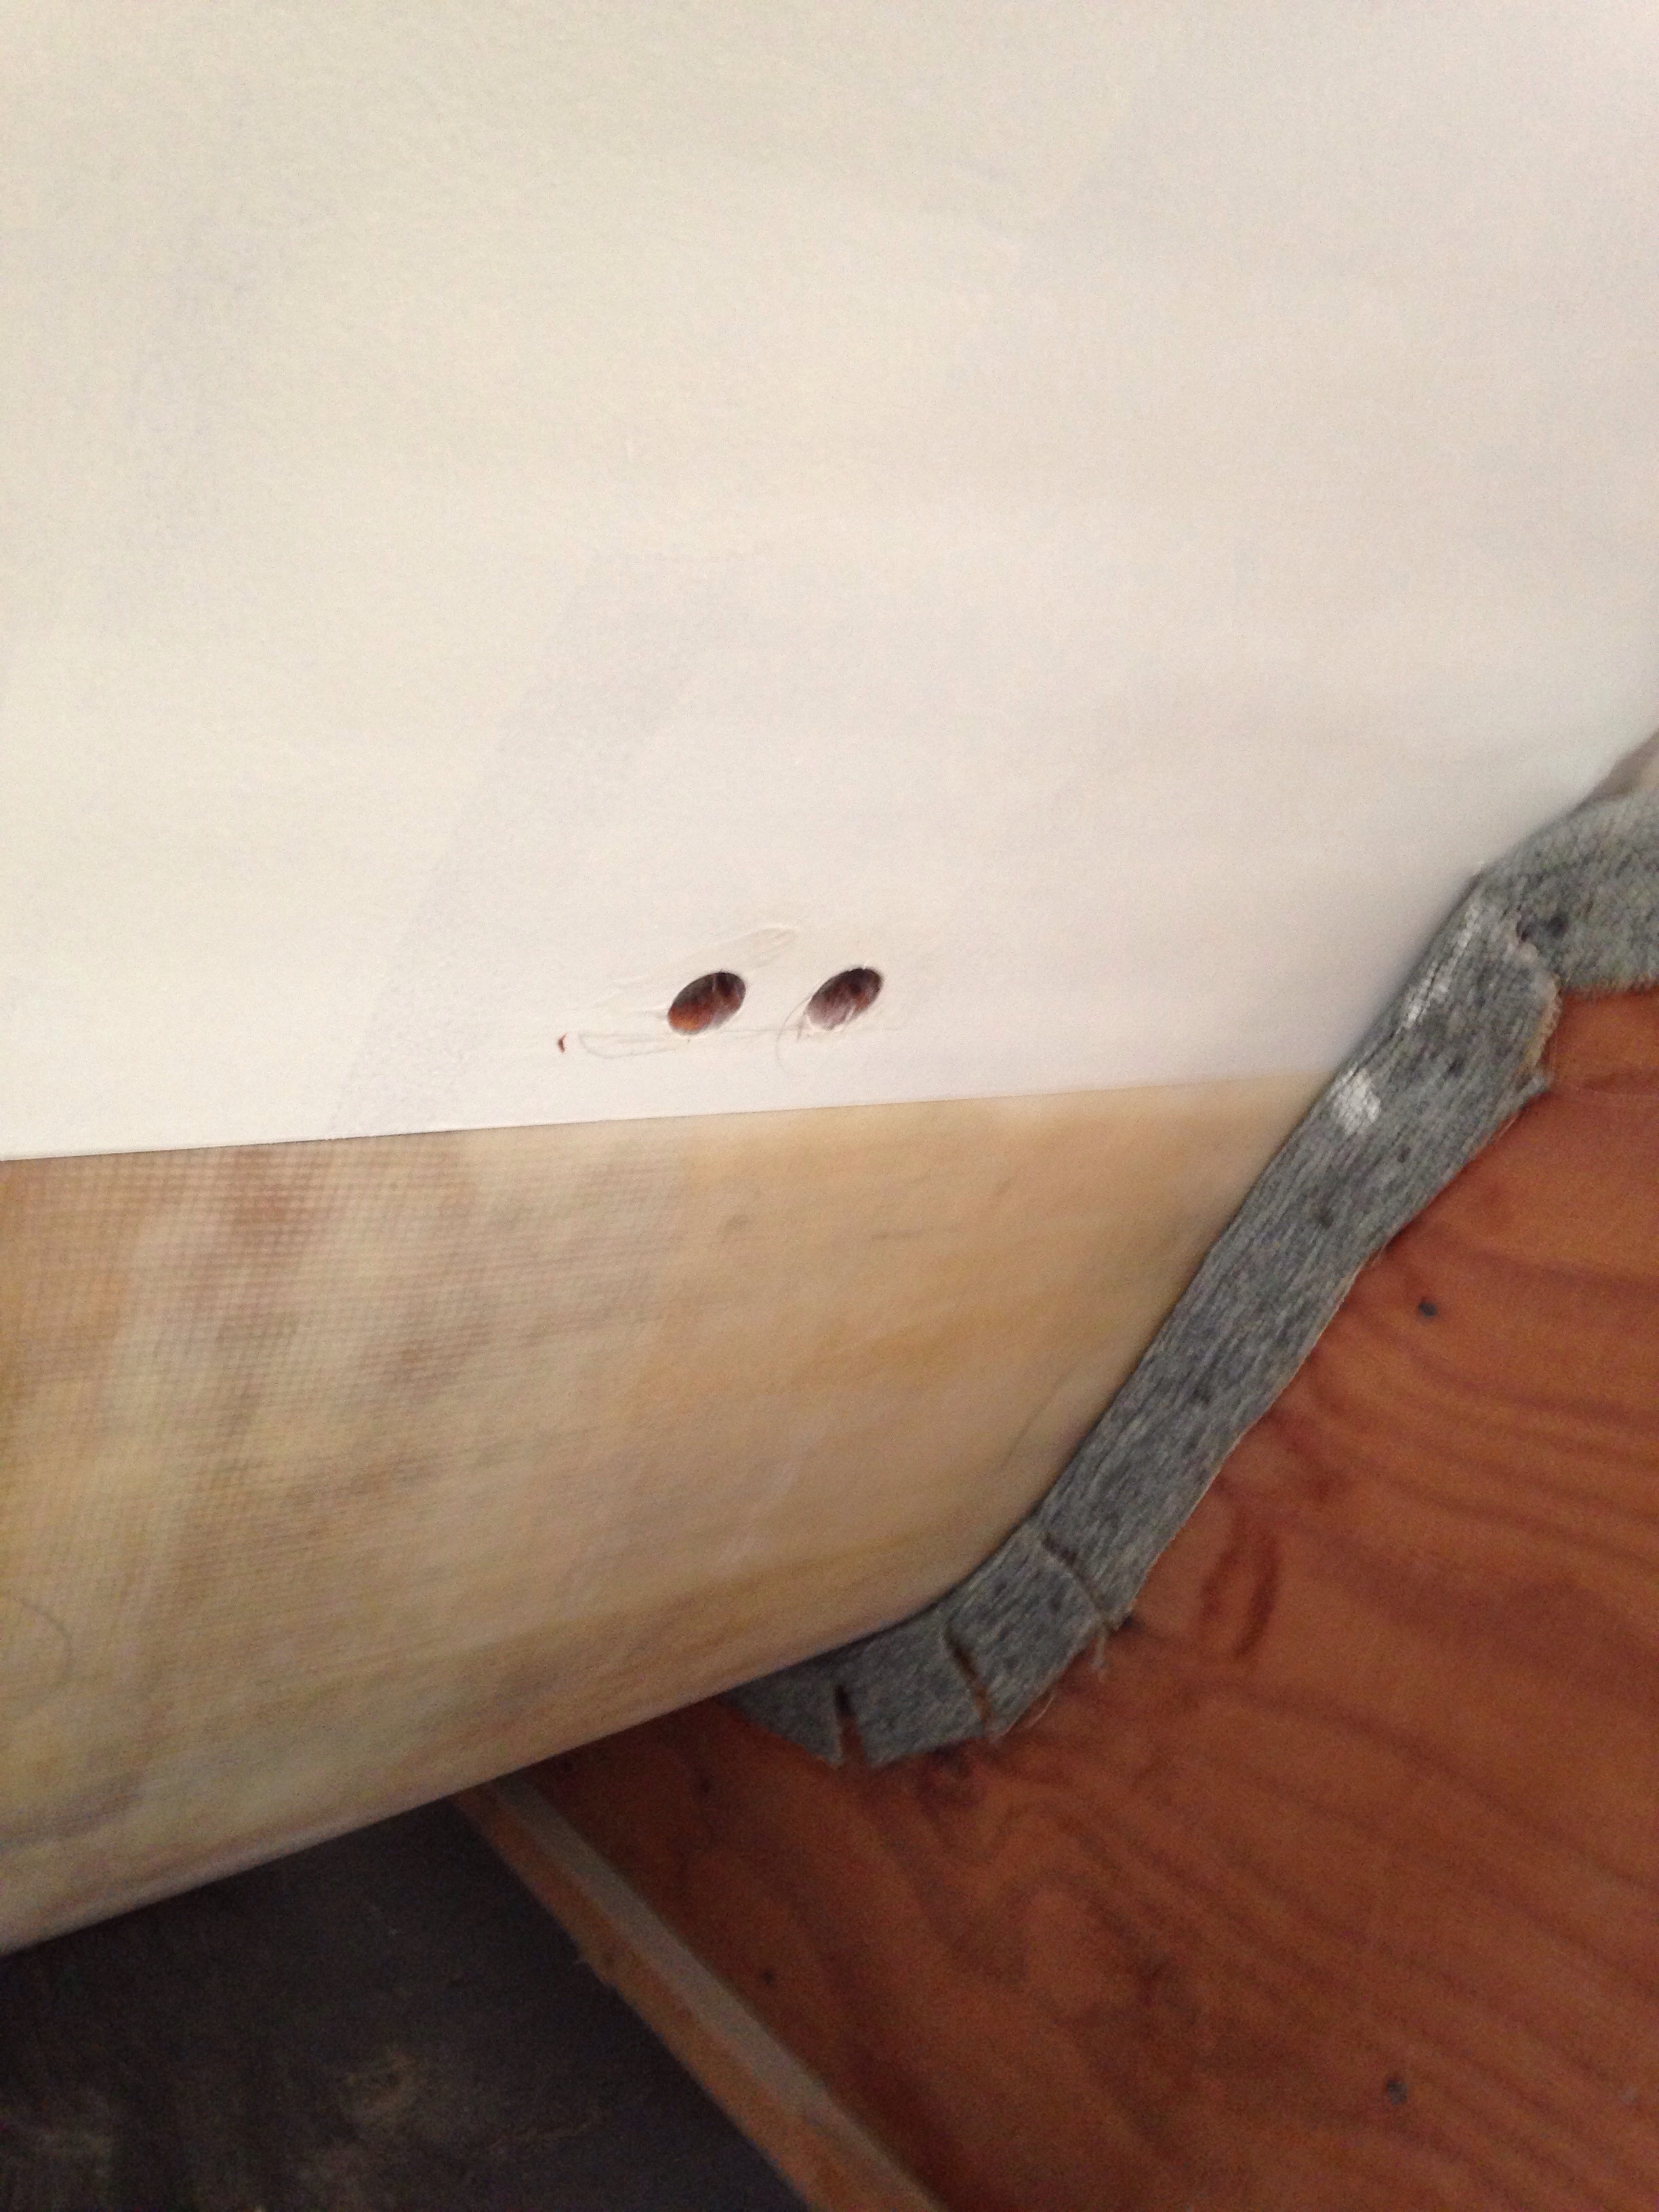
And the last two were drilled just forward of the aft beam – one for the propane locker vent and the other a discharge line for the desalinator.

20150506-080454.jpg
Most of the needed bulkhead pass-thrus were cut to route pipes/tubing. Then it was a trial fit of the propane system, which fit the new locker nicely. It’s all done to ABYC standards, including a propane fume alarm system as we’re forever haunted by my grandparents’ near-tragic monoxide incident aboard a boat 50 years ago.

20150506-081216.jpg

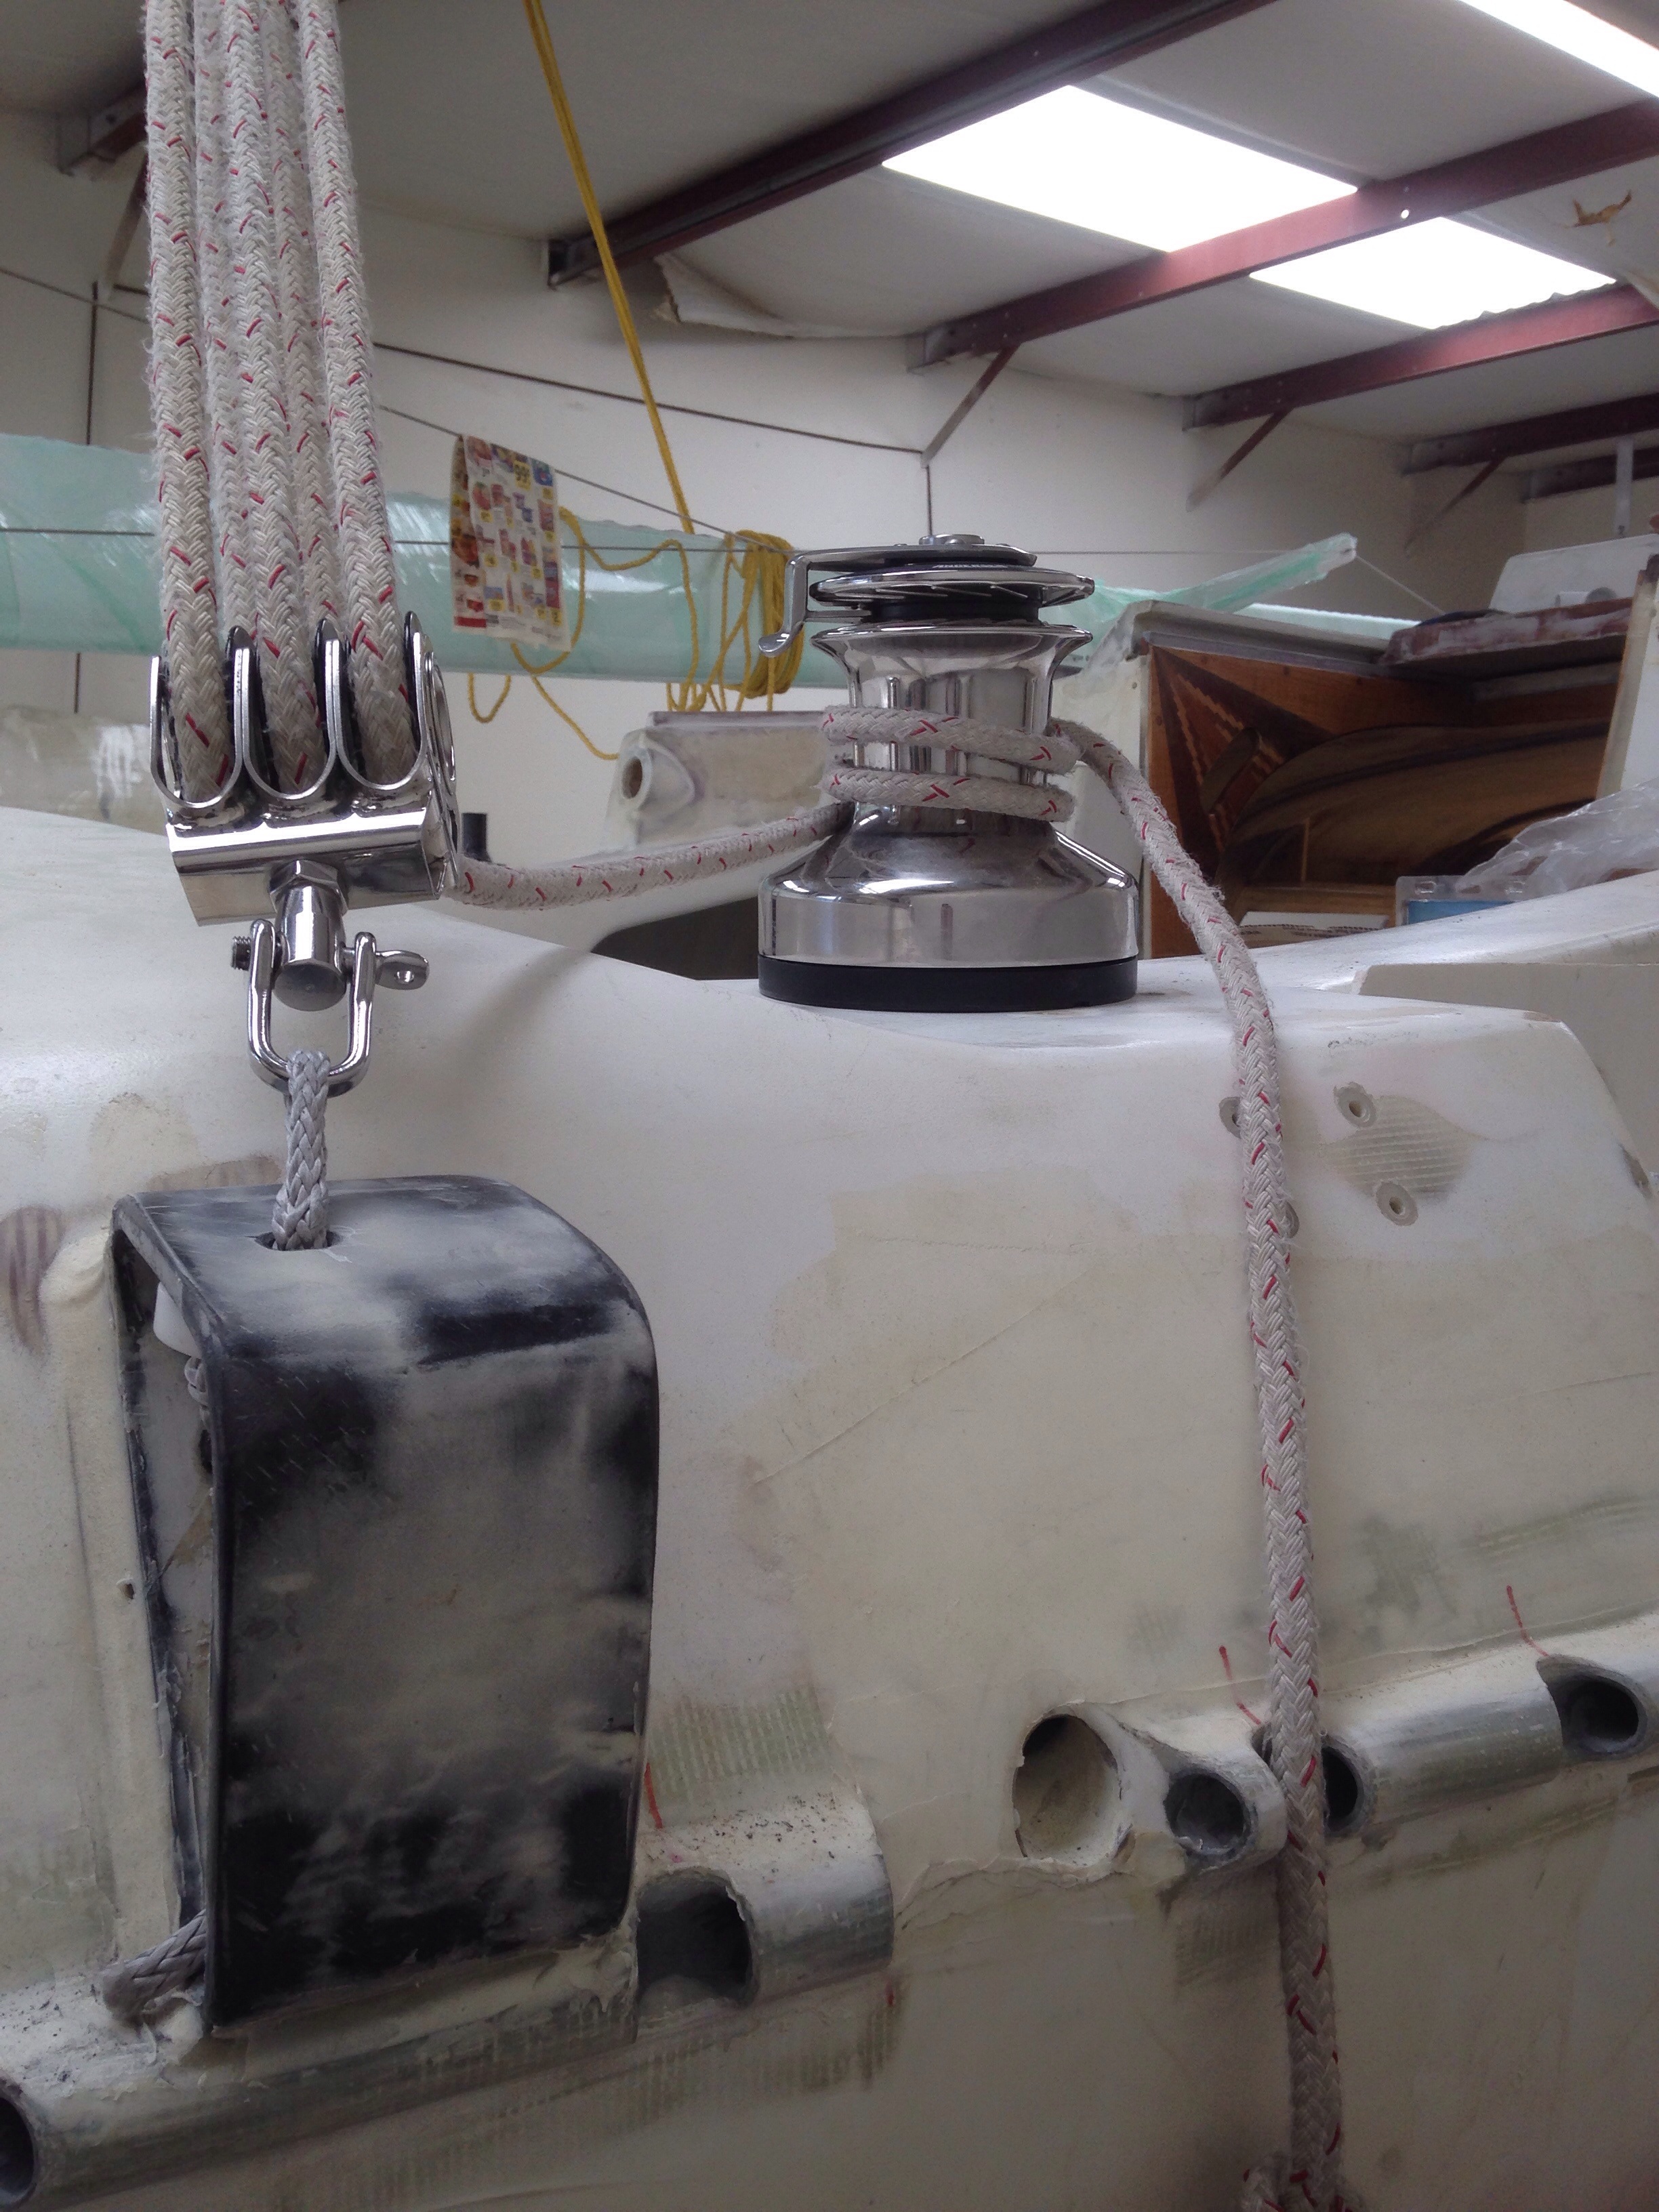
Charlie’s visit to the shop yesterday delivered very nice dyneema strops to anchor the twin mainsheet system. RickH, I think this Vee is going to work as advertised. We hooked it up to the shop rafters and by controlling the two ends of the sheet we got both mainsail trimming and traveler functions working well. Next stop – let’s see it with a huge sail in play :)

20150506-081925.jpg

20150506-081955.jpg

Speaking of sails – they’re done and will get on a truck next week. That’ll be an exciting delivery!

Messing about

Remember Tom Sawyer whitewashing the fence? All day long before they escaped to the river rafting. Today’s version was fairing putty for the aft cabin. To one bucket, add: 4 pumps of epoxy resin, 1 pump of hardener, a half scoop of Cabosil and a scoop and a half or so of phenolic micro balloons. Stir and add balloons til just past runny. Smear on walls, bunks, cabinets, overhead, etc. Repeat process when bucket is empty. Over and over :)

20150429-182859.jpg
Peeking in the porthole later, it looks kinda like whitewashing the walls. However this leads to sanding tomorrow! And probably a second, finer coat of fairing compound. All in the name of GETTING TO PAINT – the new big goal.

After the cabins get primer paint, we’ll bond in all the wood trim pieces. The foam panel to wood seams will get touched up, then the finished wood gets masked off for the final paint. So all that wood trim is getting epoxied now.

20150429-183240.jpg
Every piece has a number written on the back for placement, as they’ve all been cut to size. Lots of little busy work and not much to show you here on the website for a bit.

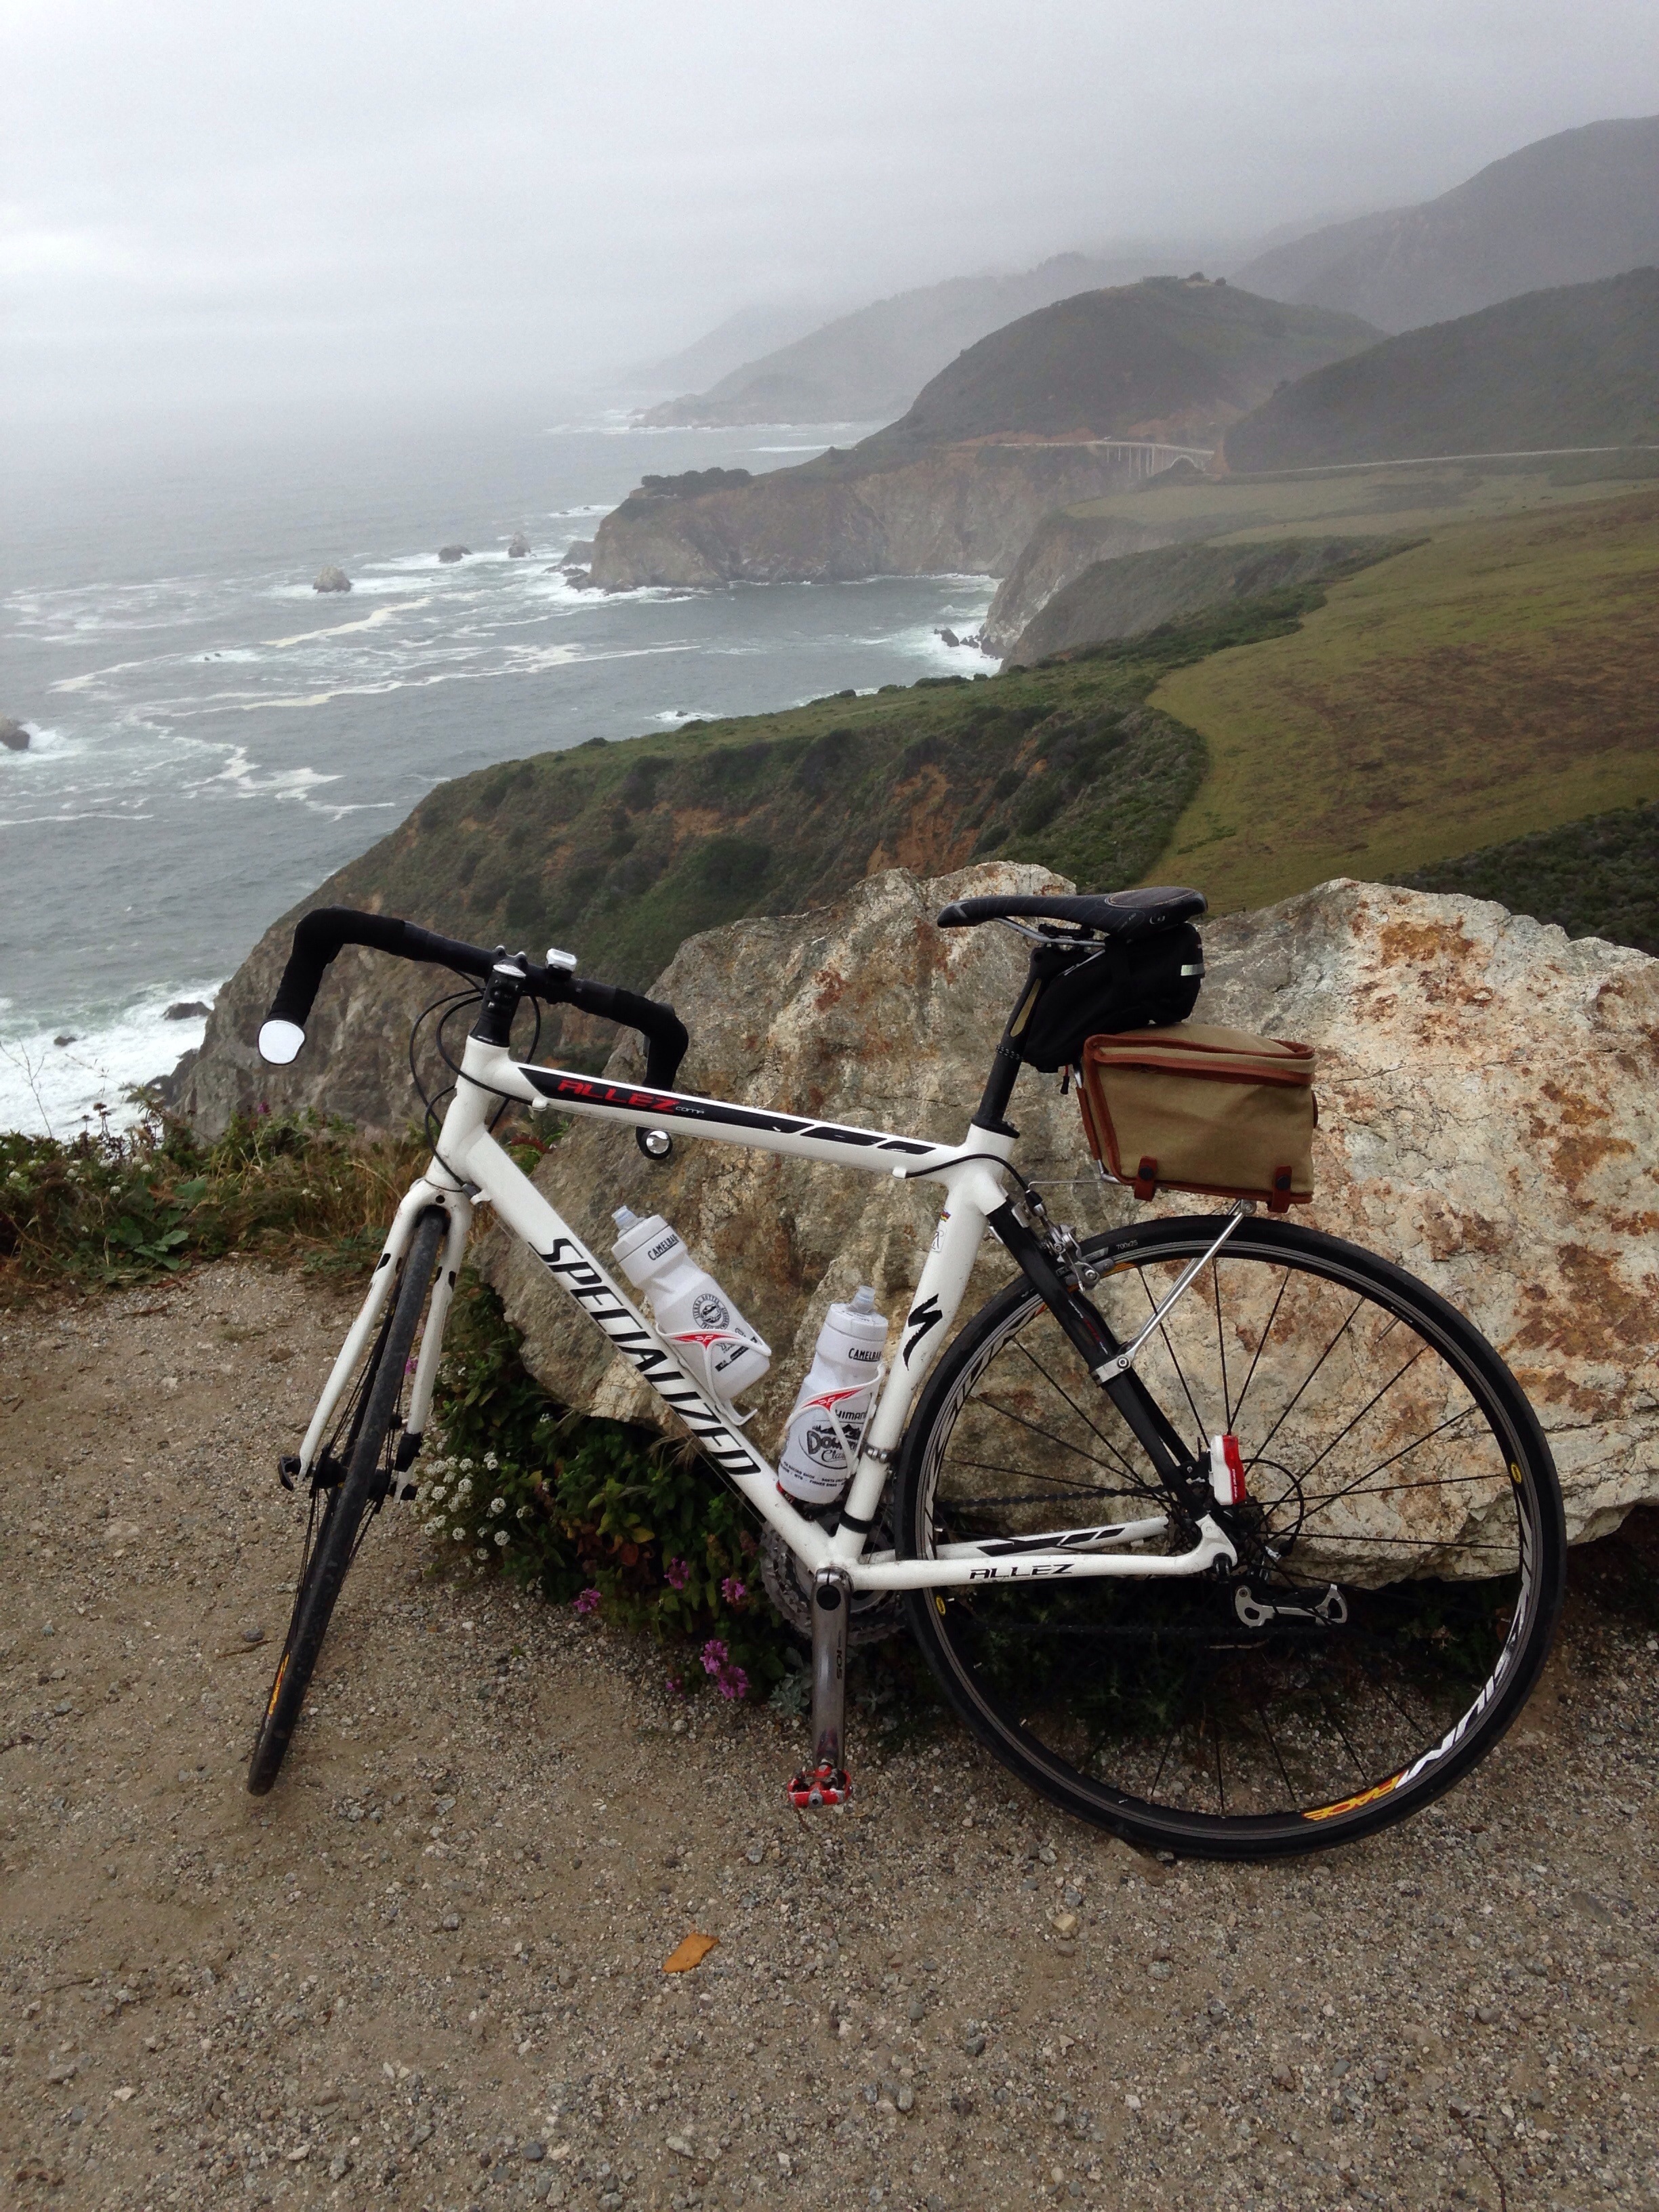
The bike trip last week was great inspiration for this fall. Rolling down the pacific coast highway, thinking about sailing the new boat on a parallel path soon!

20150429-183528.jpg

20150429-183618.jpg
Big rain eliminated the 5Th day leg to Santa Barbara, but we enjoyed 300 miles anyway. And we learned that strenuous biking burns about 5,000 calories over a 75 mile day. So we of course chose to eat like kings. Bill attacks tri tip and linguisa in Santa Maria…

20150429-183856.jpg
Thanks for the good company, my friend! And to Mark, Dave and Steve. And especially Fred for driving the suitcase car :)

Get back in the box

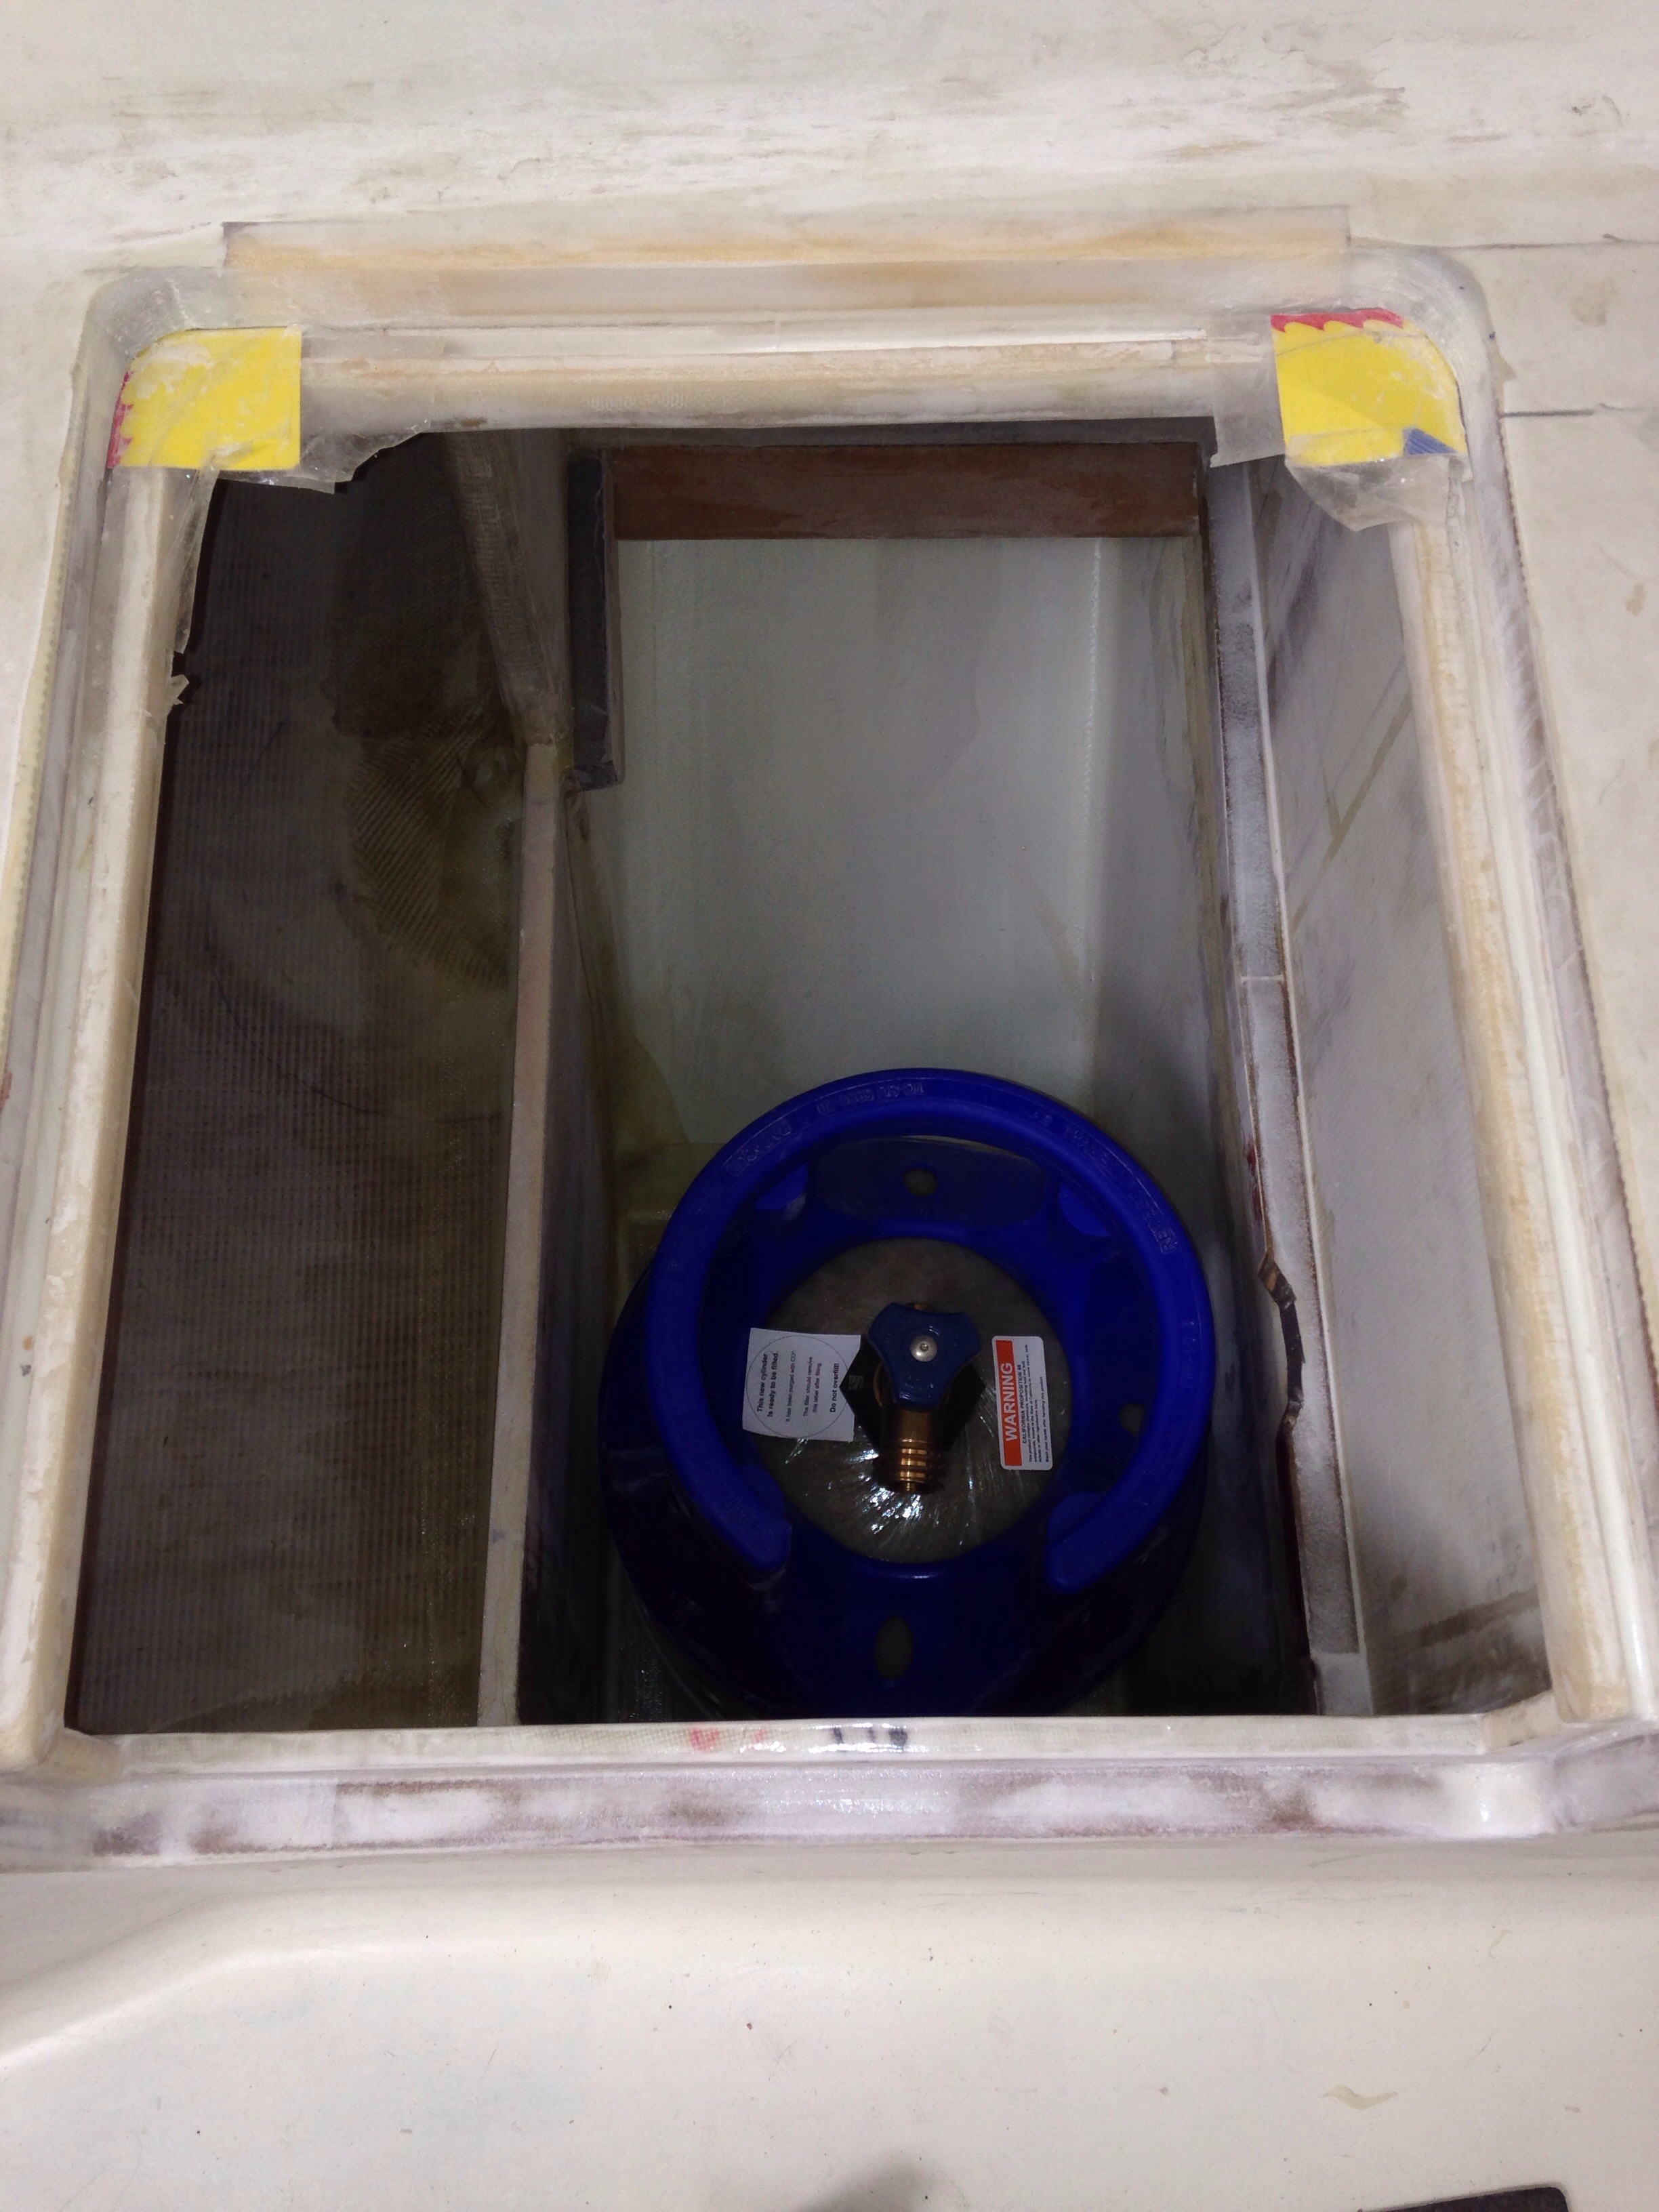
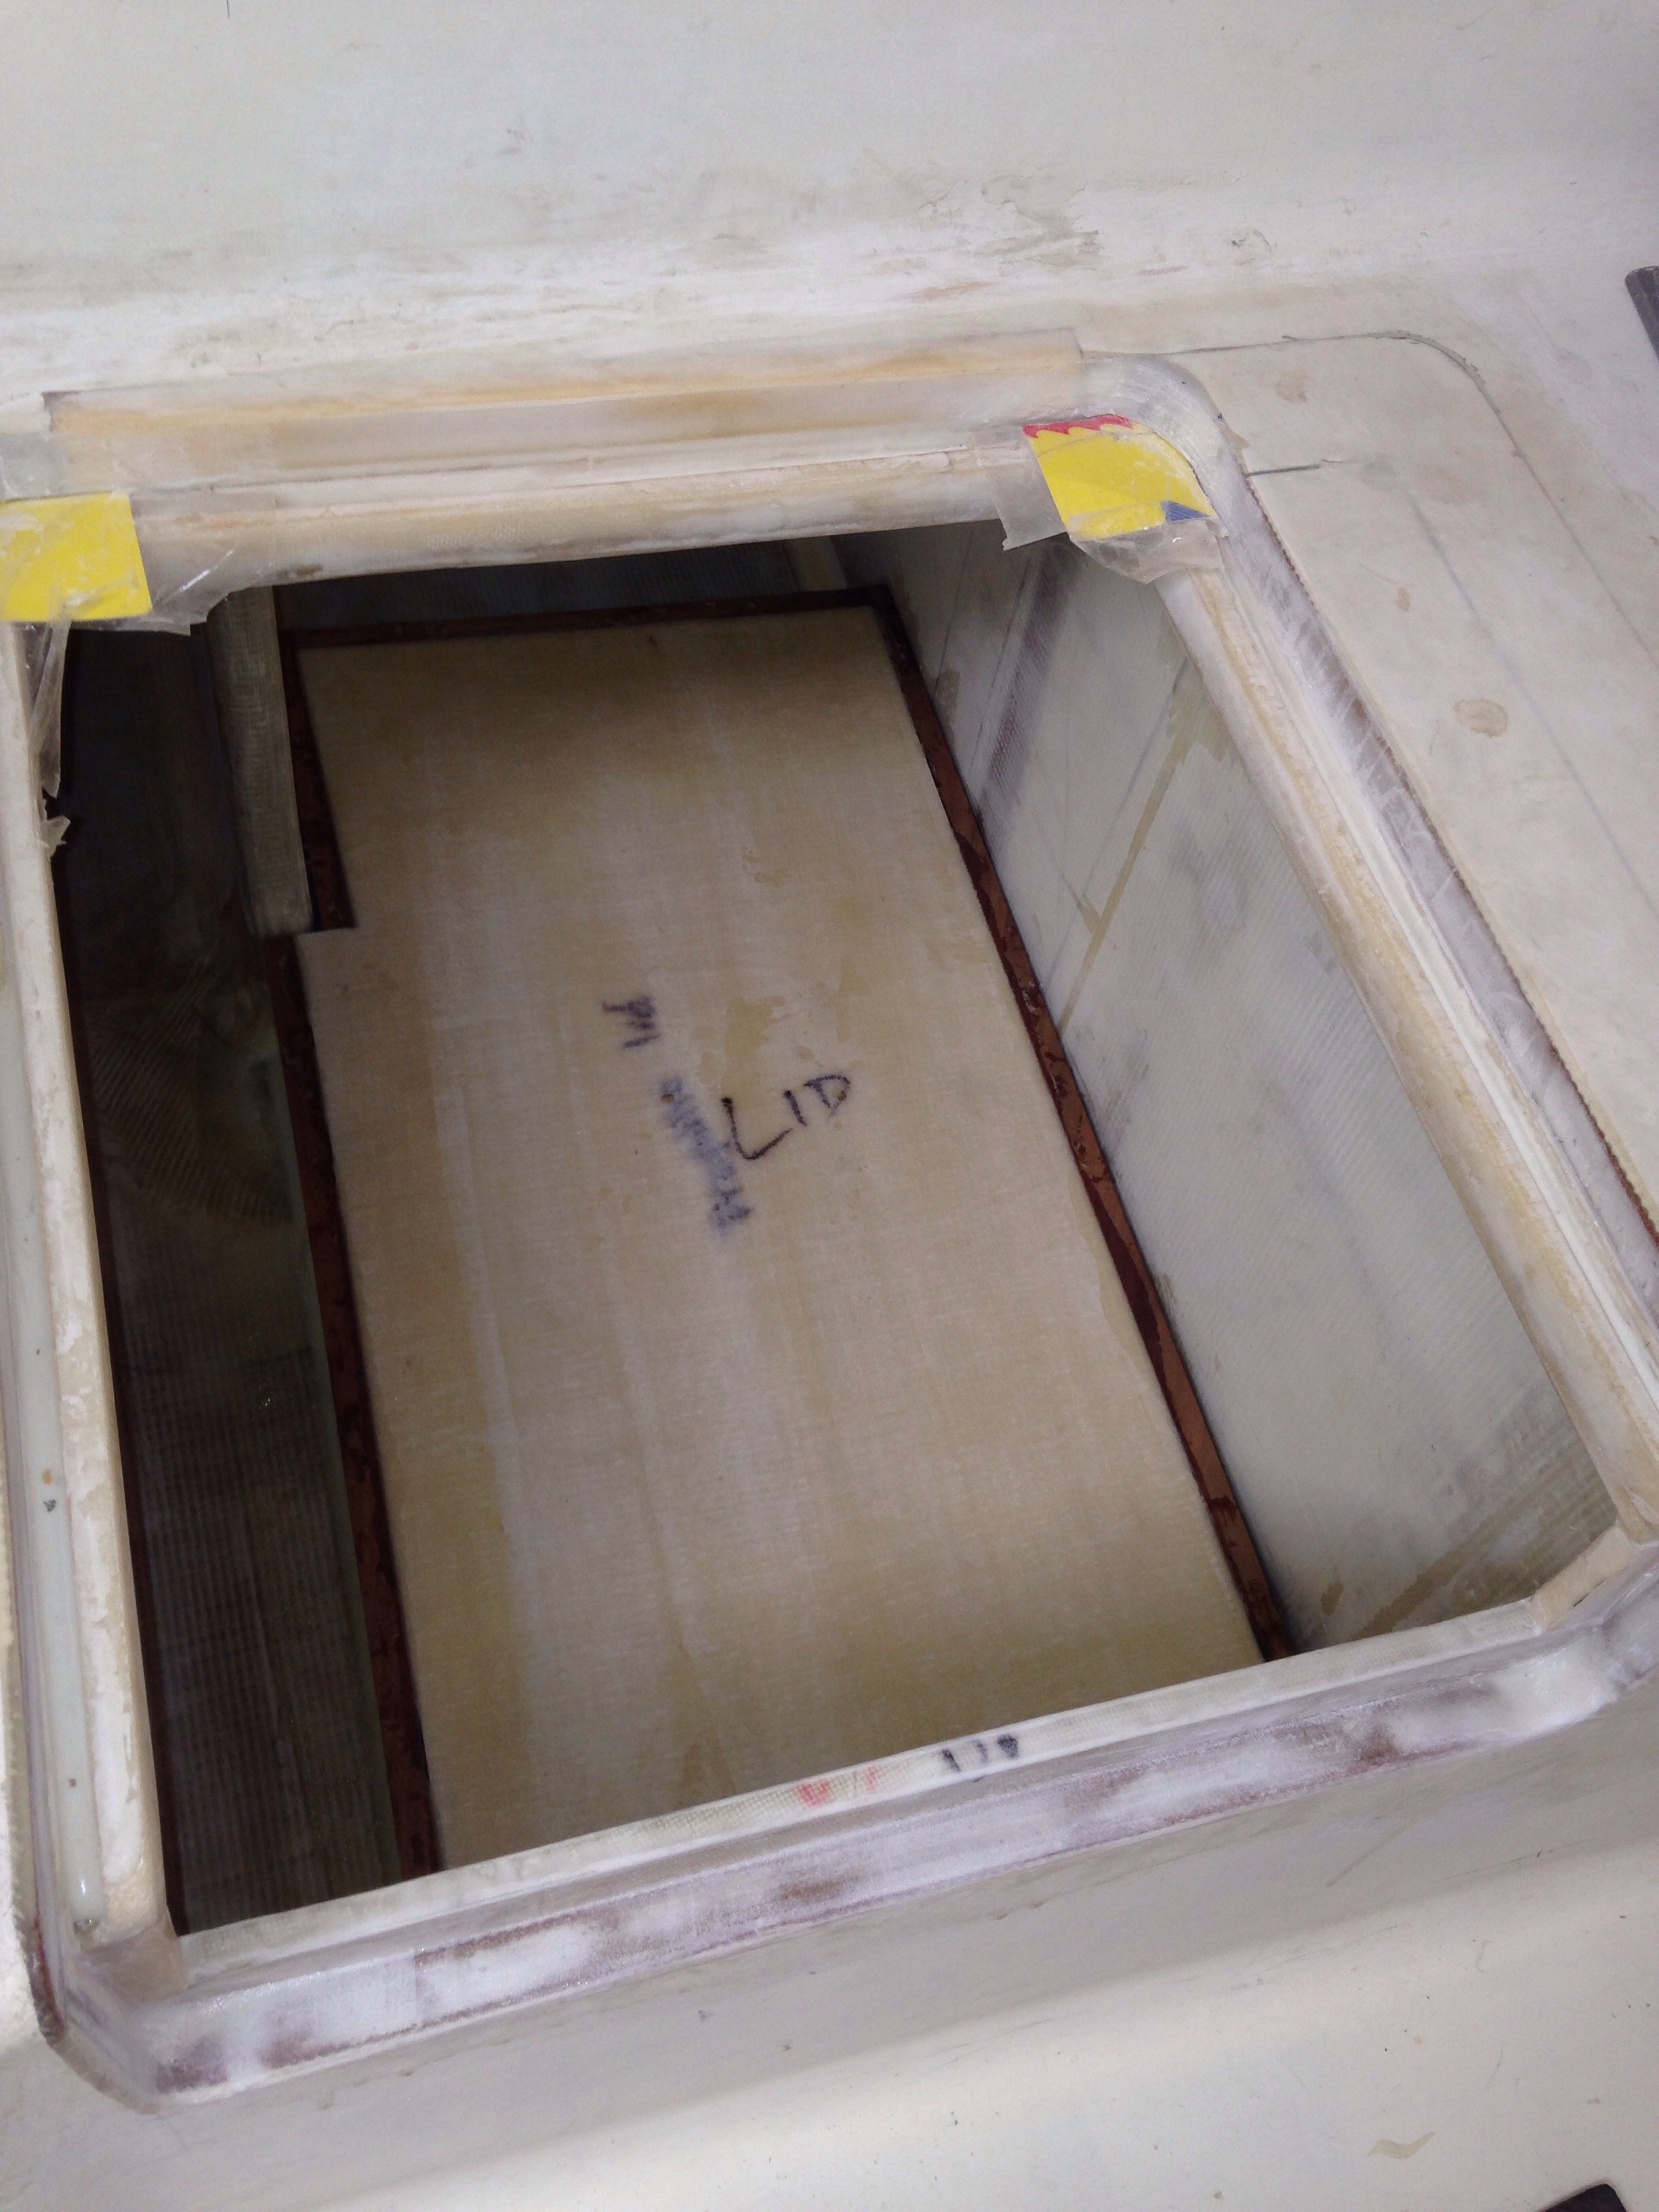
We last saw the new propane tank sticking up from the cockpit lazarette storage bin. Here we are post-surgery.

20150420-225757.jpg
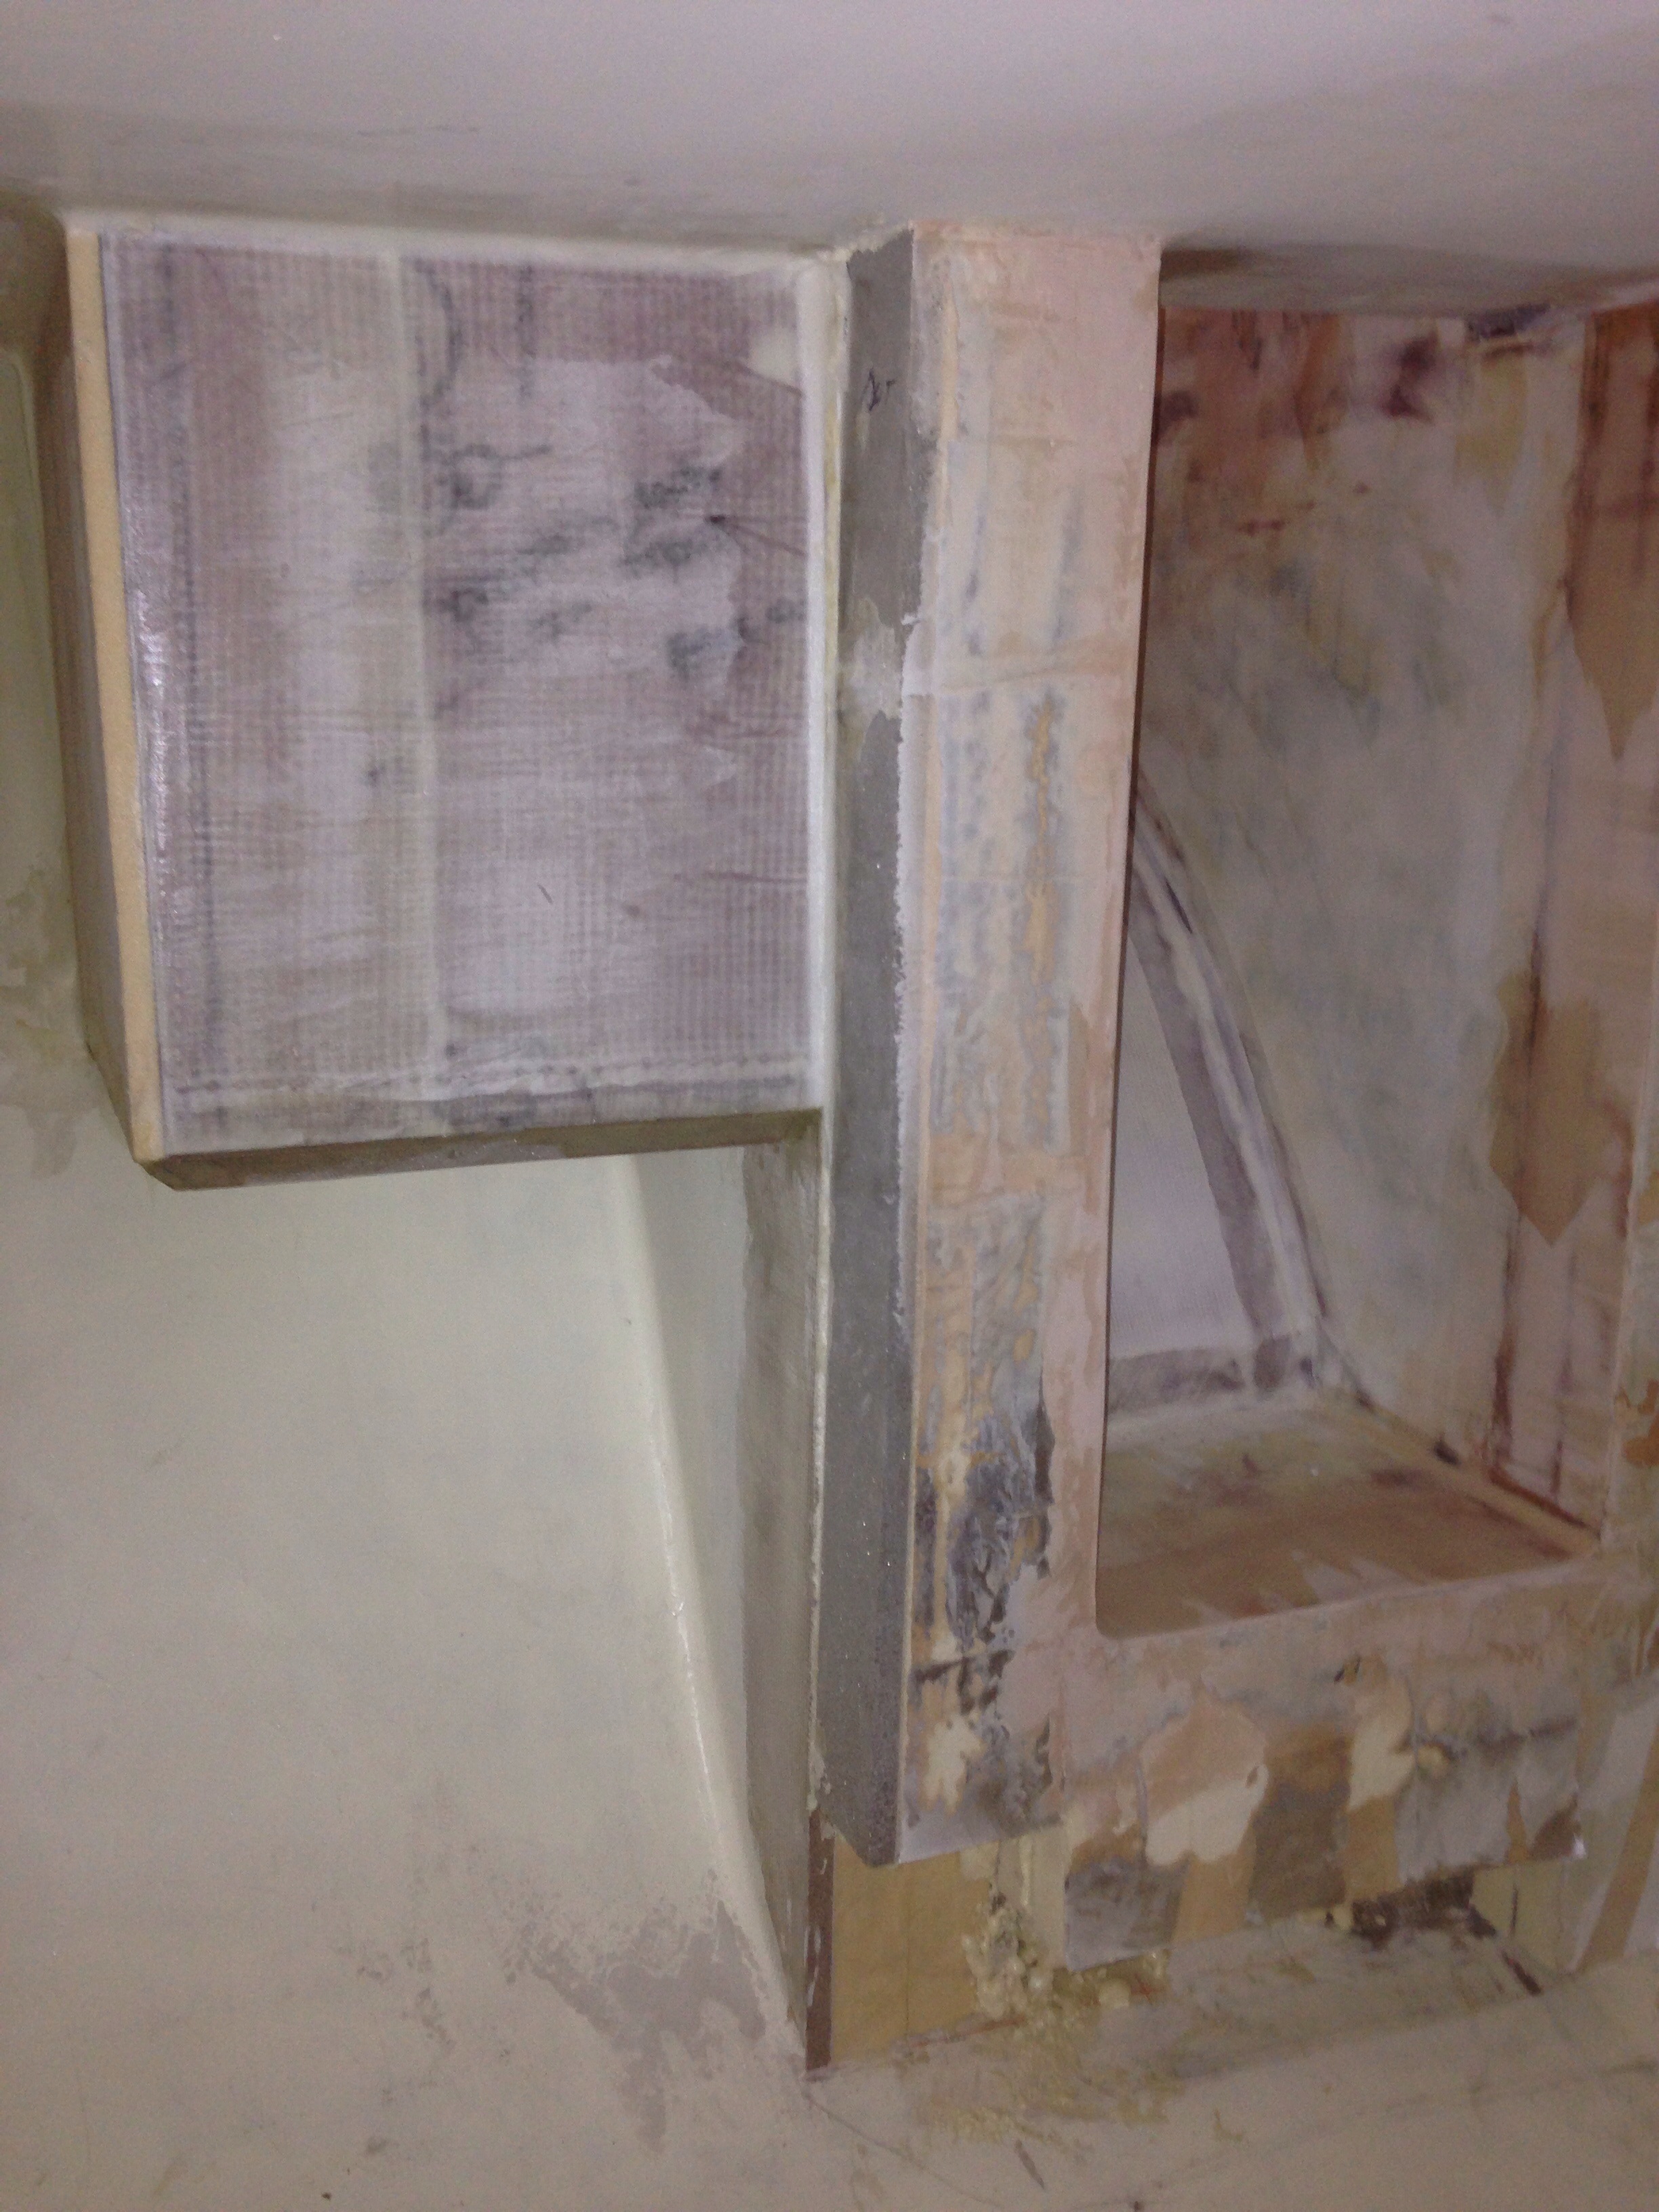
The propane tank, regulator and solenoid valve will live inside this dedicated locker, with a vapor drain tube at the bottom, running straight to its own thru-hull about 18″ above the waterline. The new locker invades the equipment room – it’s the purple foam panel in this shot, with the still-open fridge sitting to the right.

20150420-230053.jpg
The freezer compressor will get a shelf below the propane box.
And back up in the cockpit, the propane locker gets a waterproof lid that sits 2″ above the lazarette bottom.

20150420-230238.jpg

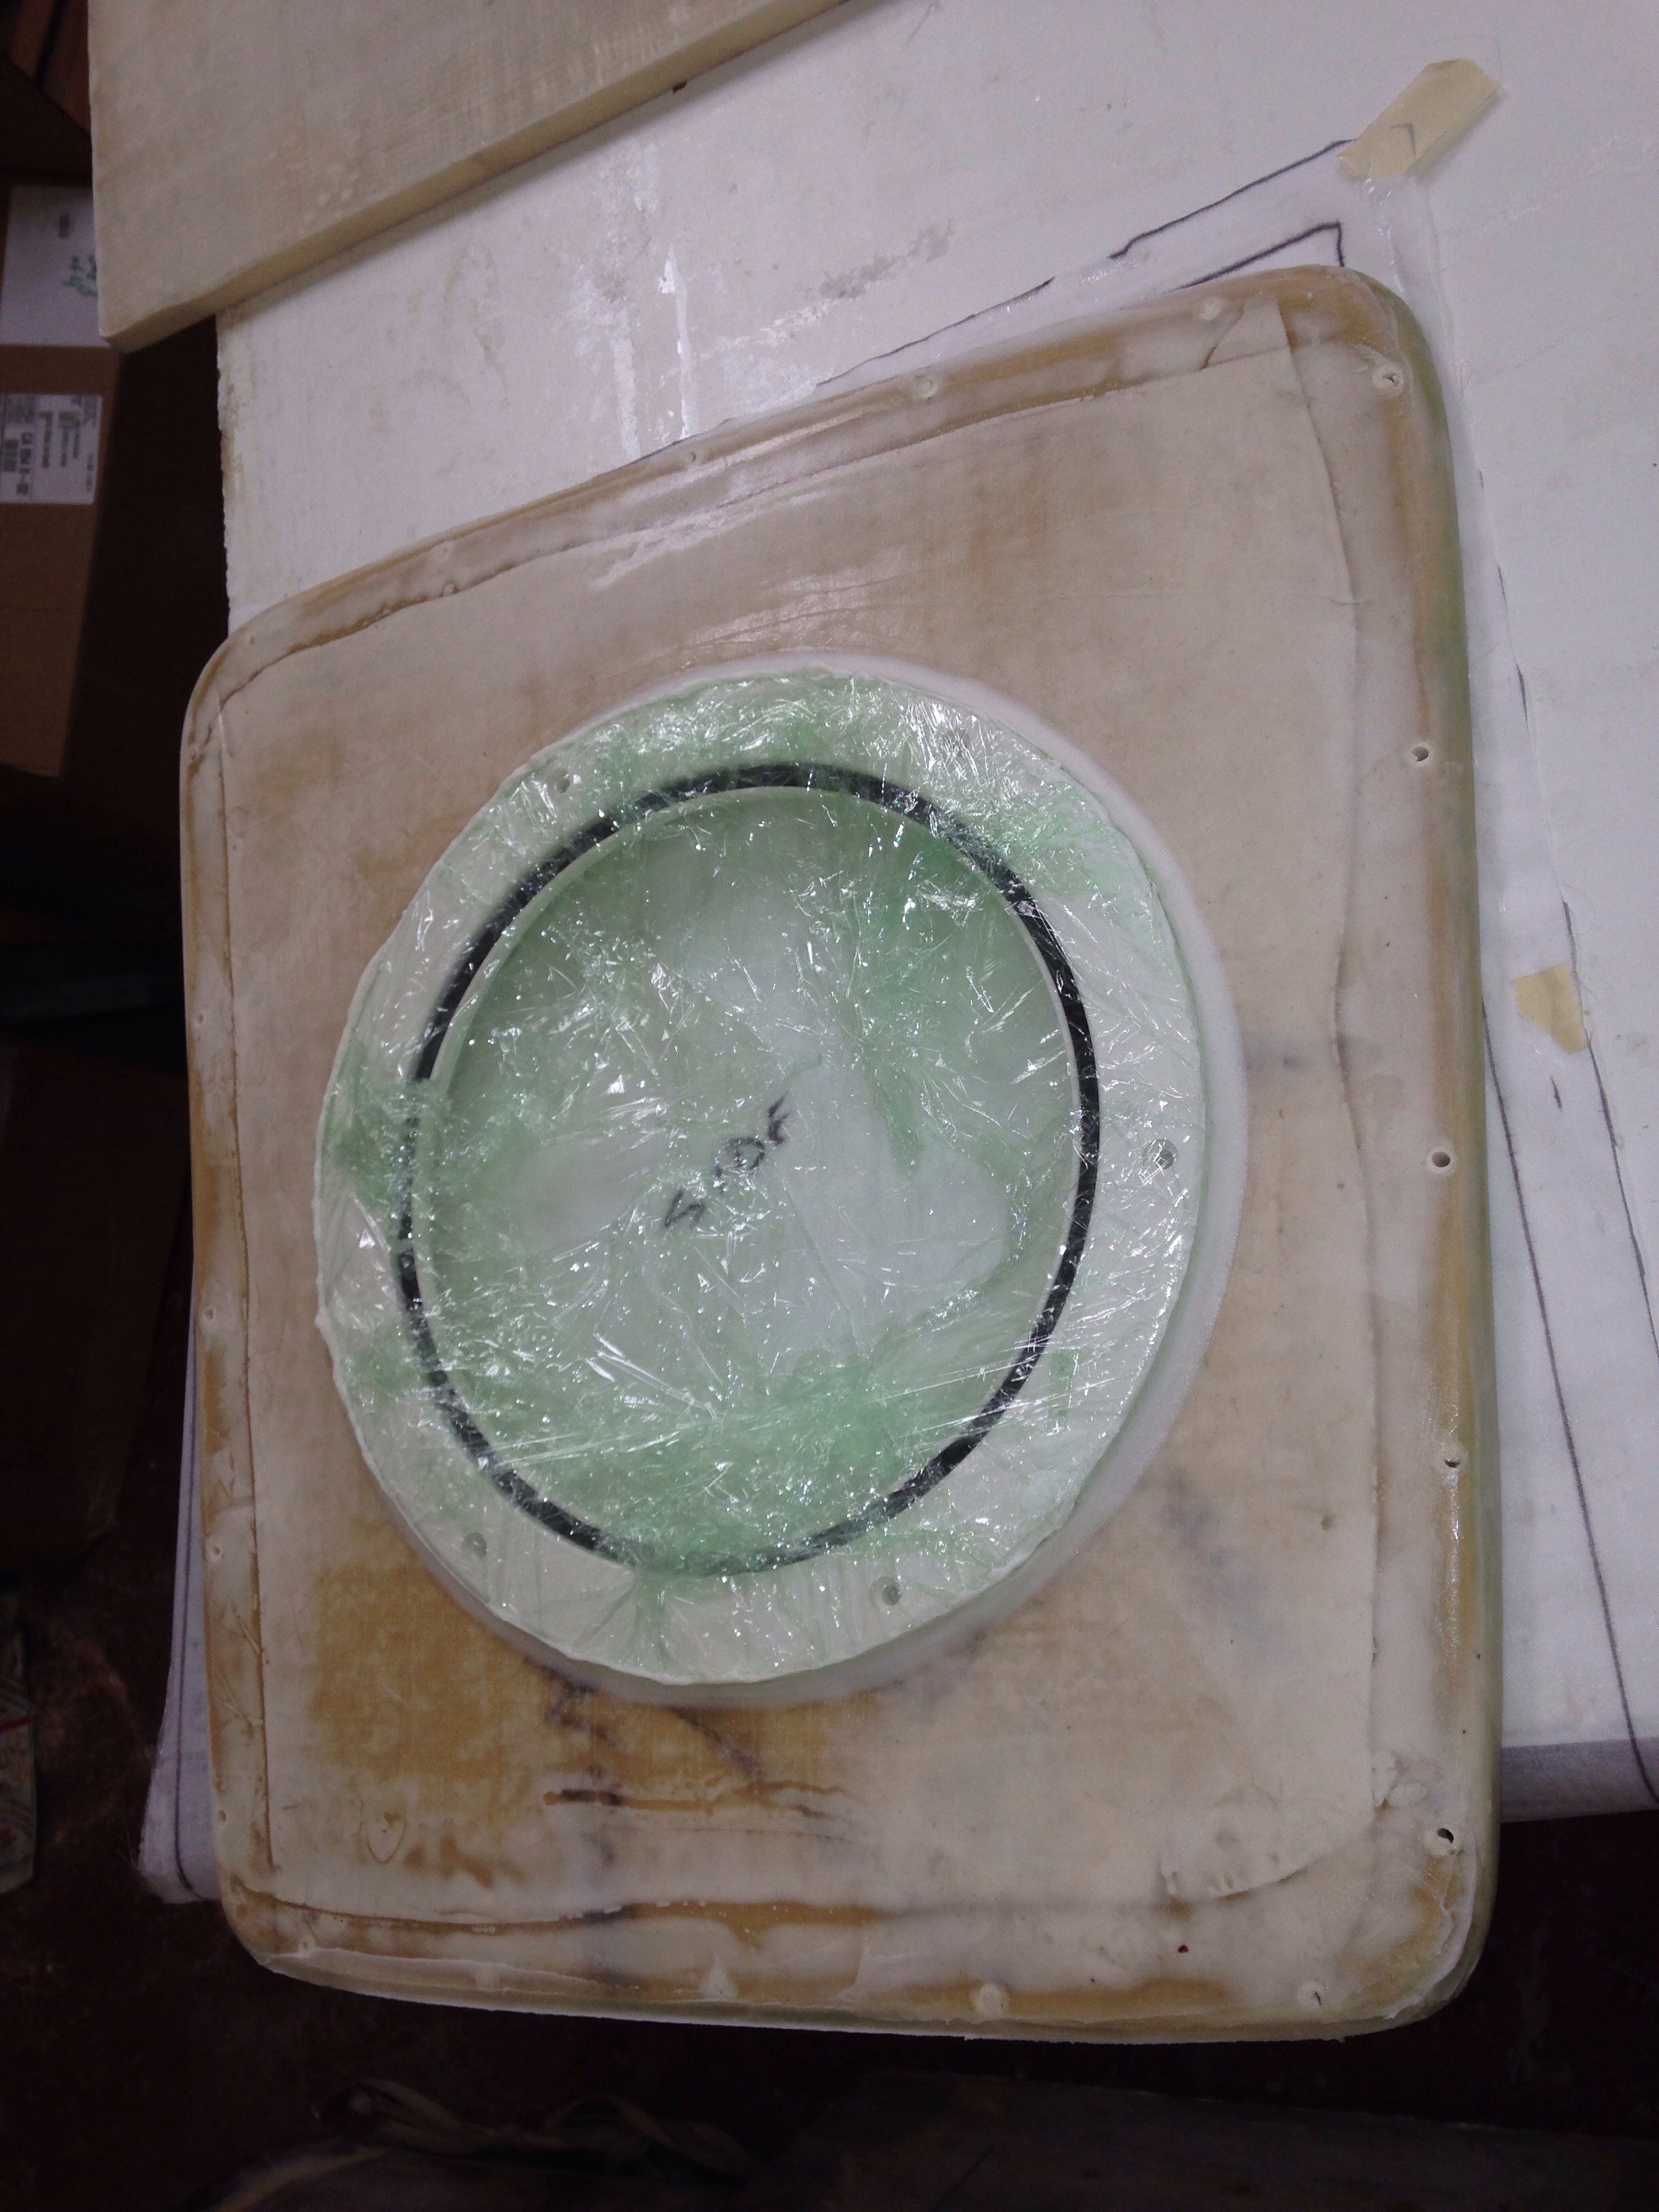
Some of the finish parts are flat pieces that can’t mount directly to curved surfaces. We saw that months ago with building up bases for two winches. Here’s an inspection port for the forward section of the port float. Cut the 10″ hole in the curved deck, wrap the part in non-stick plastic and press it in to a bedding of epoxy/cabosil putty. Carefully trim the edges and let it cure.

20150420-230612.jpg
After some finish sanding that should look just right.

The same technique is needed on the last two opening portlights. We already cut the hull and made Lexan fixed windows, but later decided more ventilation is needed, so we bought a Vetus port for each side. The hull is curved at the top so we’ll do a buildup before installing the port.

20150420-230930.jpg
In that shot you can just see the original cutout – wider, shorter and with steep angles that match the stern shape. The new ports aren’t as sexy, but the occupants of that stateroom will be happier campers. The aft cabin is nice and bright now with all its holes cut.

The shop goes dark for the next six days as the builder grabs his bike and sets off with 4 friends riding to Santa Barbara. With a little luck we’ll be on the train home Sunday and slinging epoxy again next Monday. 350 miles down Hwy 1 should really raise the eagerness level for sailing this boat down the coast in Sept!

Fresh air

This afternoon we cut more holes in the hull to install four of eight Vetus opening ports. It was a bit disappointing to find the company does not provide cutting templates, but only a difficult to decipher measurements chart. So after some worrying we figured out how to use the inner faces and add back 7/16″, etc. Lots of pencil/ruler/scissor work but good results.

20150416-191208.jpg

20150416-191249.jpg
The forward ports – round one in the Water Closet and rectangles in the fore-cabin – are the heavy duty ocean hull side rated. The three in the aft cabin are cabin-side rated, meaning the seals and latches are less aggressive.

20150416-192351.jpg

20150416-192411.jpg
It’s very nice to see all this new light in the cabins!

Boxes of goodies

This past weekend was the big annual Oakland sailboat show and we caught up with suppliers. Quality parts came home with us, and 4 boxes arrived from Defender in CT. We also made a deposit on a discounted Viking ocean life raft – the price locks for a year; we don’t want the raft certified until we need it this fall, this extending it’s service interval 4 months or so. Next we handed the BottomSiders folks patterns for the cockpit cushions.

20150415-234610.jpg
It’ll be five pieces around the horseshoe shaped benches. Similar vinyl dipped, closed cell cushions have been on Origami for 10+ years and still look new, so that was an easy choice.

Parts were sorted out today by theme. Lighting will be almost all LED; one incandescent steaming light (only used under engine power) was a $16 Hella find, and we already had a few halogens we may still use.

20150415-235204.jpg
The two spreader lights won’t go on the mast; one will mount on the hardtop facing the foredeck and the other on the stern tower to light the steering gear and boarding area when needed at night. RickH, we’ll have small red lights under the hardtop to illuminate the sail controls and instruments area underway at night.

Keith wanted the largest possible bow shackle on the mast hound as this will hold the forestay and side shroud dyneema cables (one shackle connects all the mast support lines). It’s huge, bigger than one’s palm. RickWS, I like this better than the other solution you showed me, but we’ll be plenty careful about seizing that pin!

20150415-235915.jpg

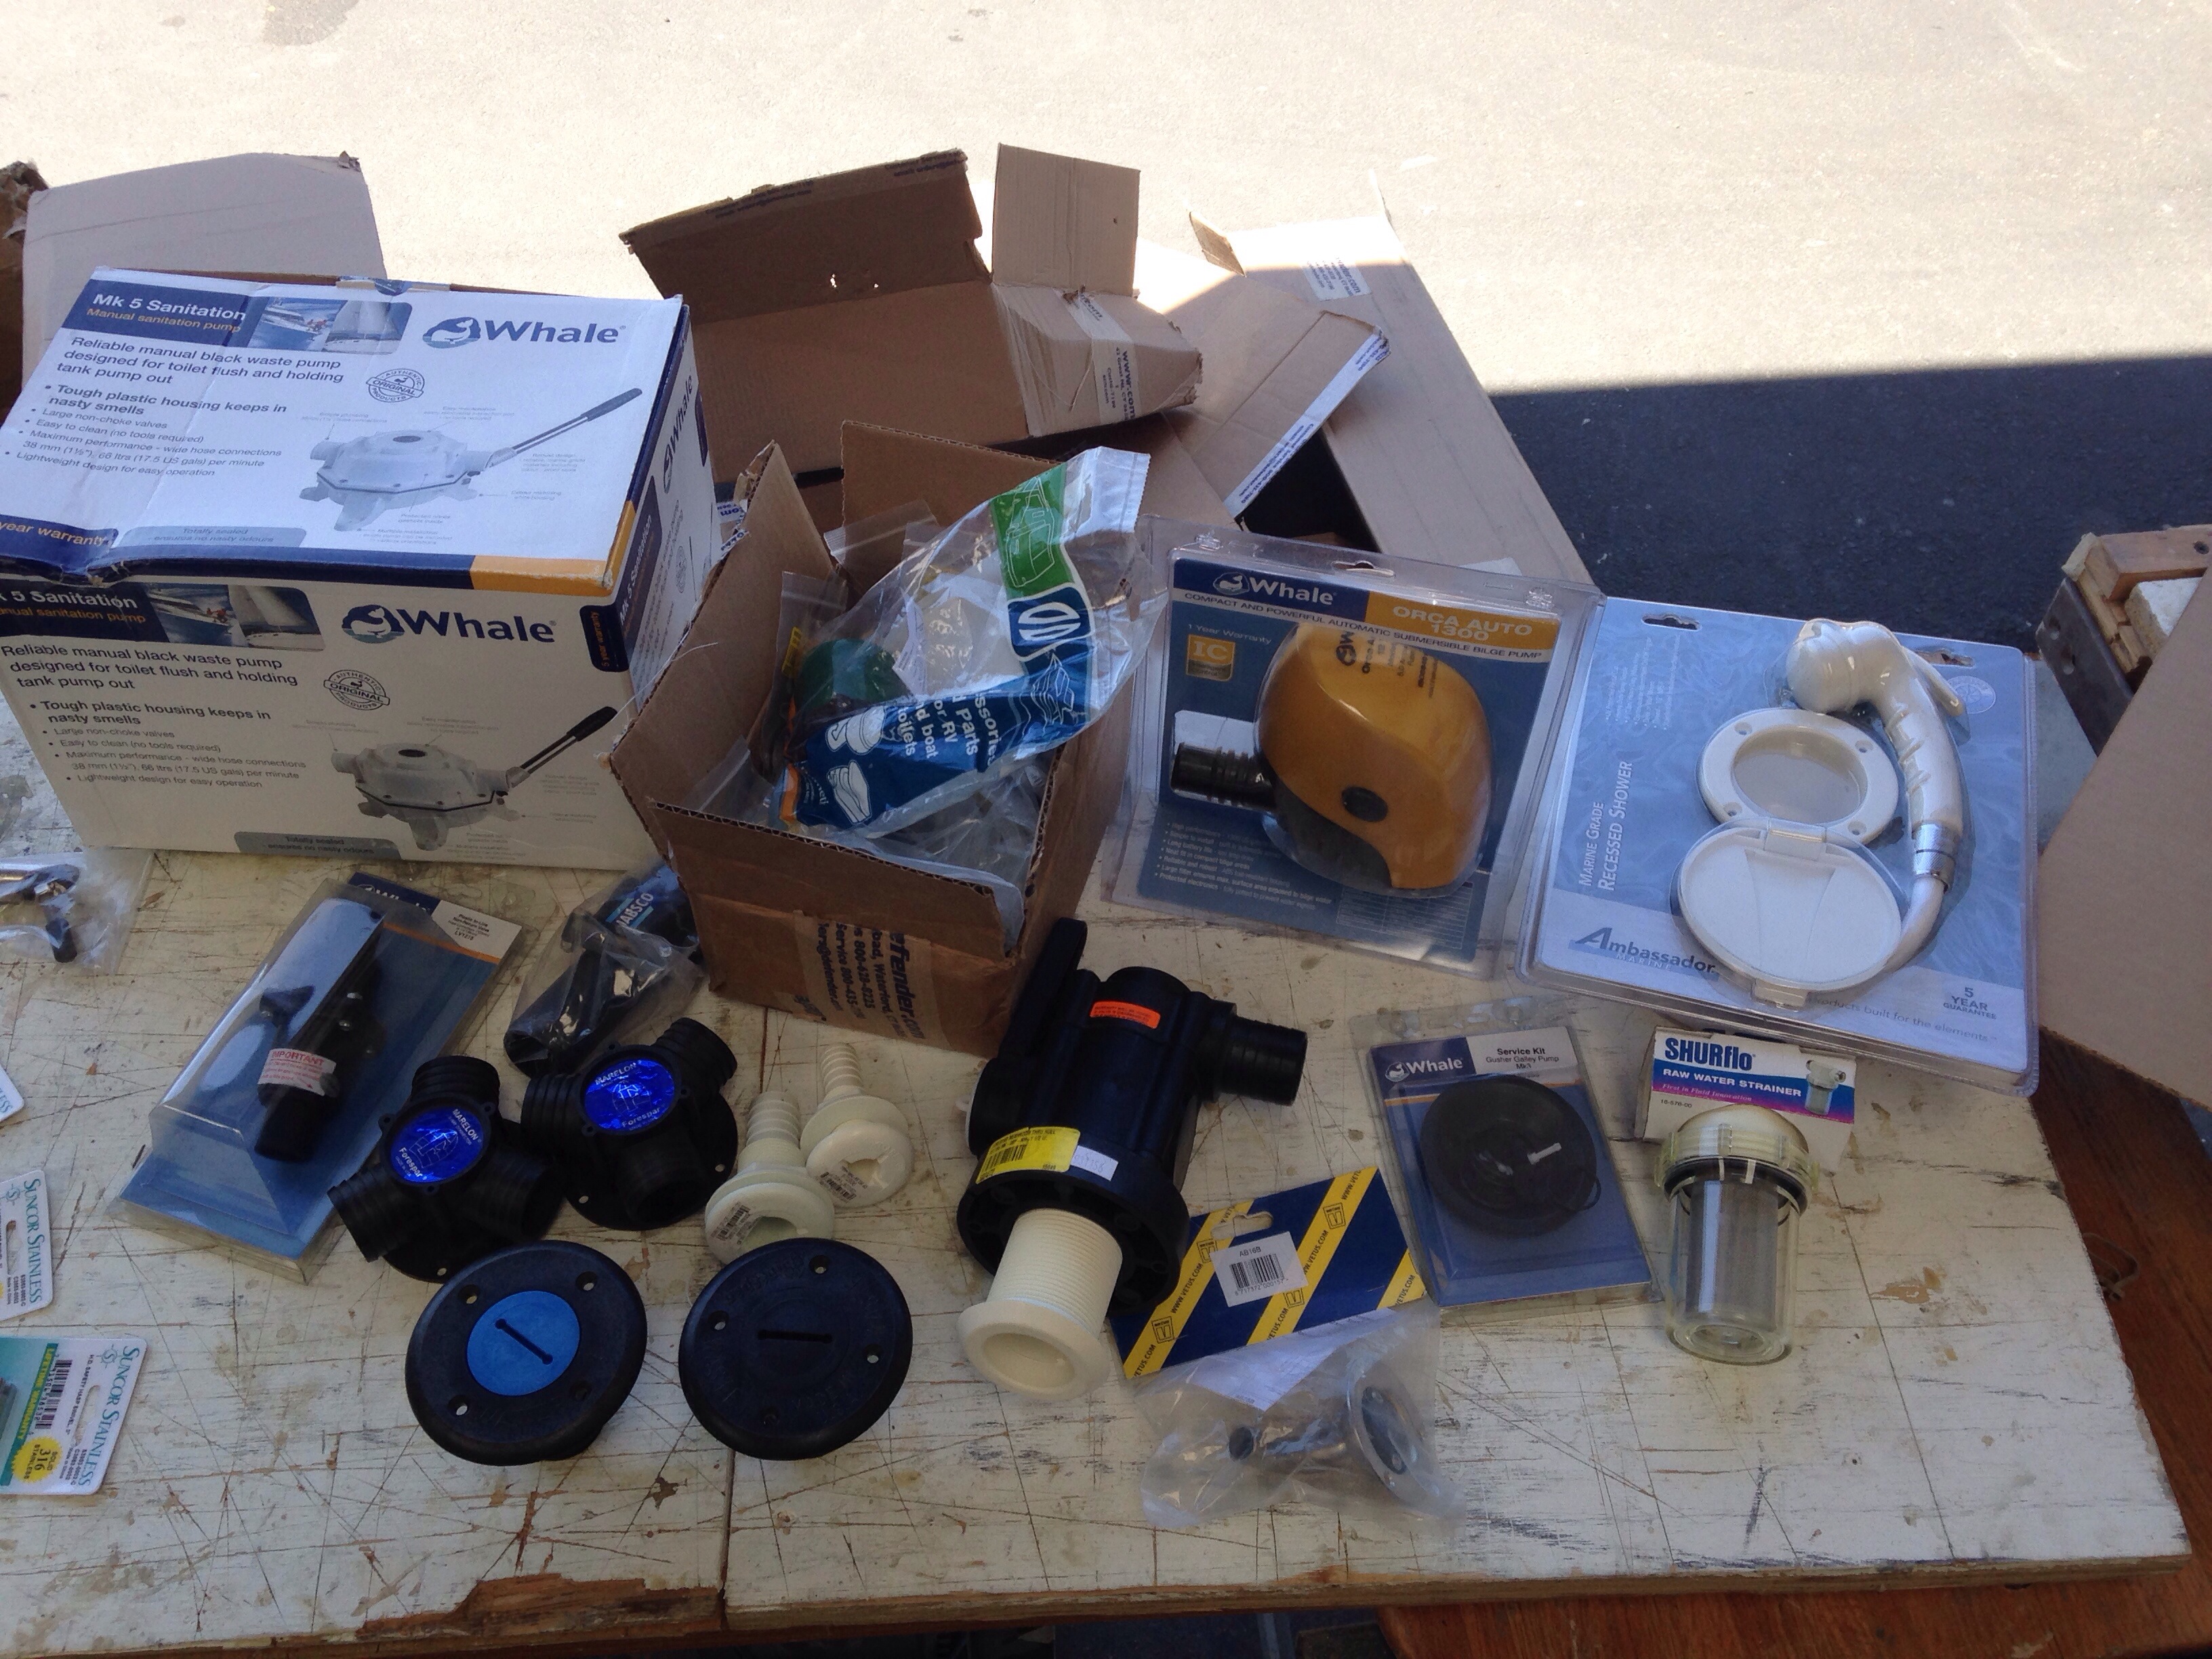
Some of the many plumbing parts… A 1-1/2″ seacock / ball valve combo unit is much bigger than we realized so it changes the waste plumbing plan a bit (it won’t fit under the shower floor as planned). We keep finding more thru-hull needs, but still just two under the waterline. Latest adds are watermaker discharge line (97% of what goes to a reverse osmosis unit is bypassed back overboard, so says the Spectra salesman), and a propane locker vapor vent.

20150416-000421.jpg

20150416-000451.jpg
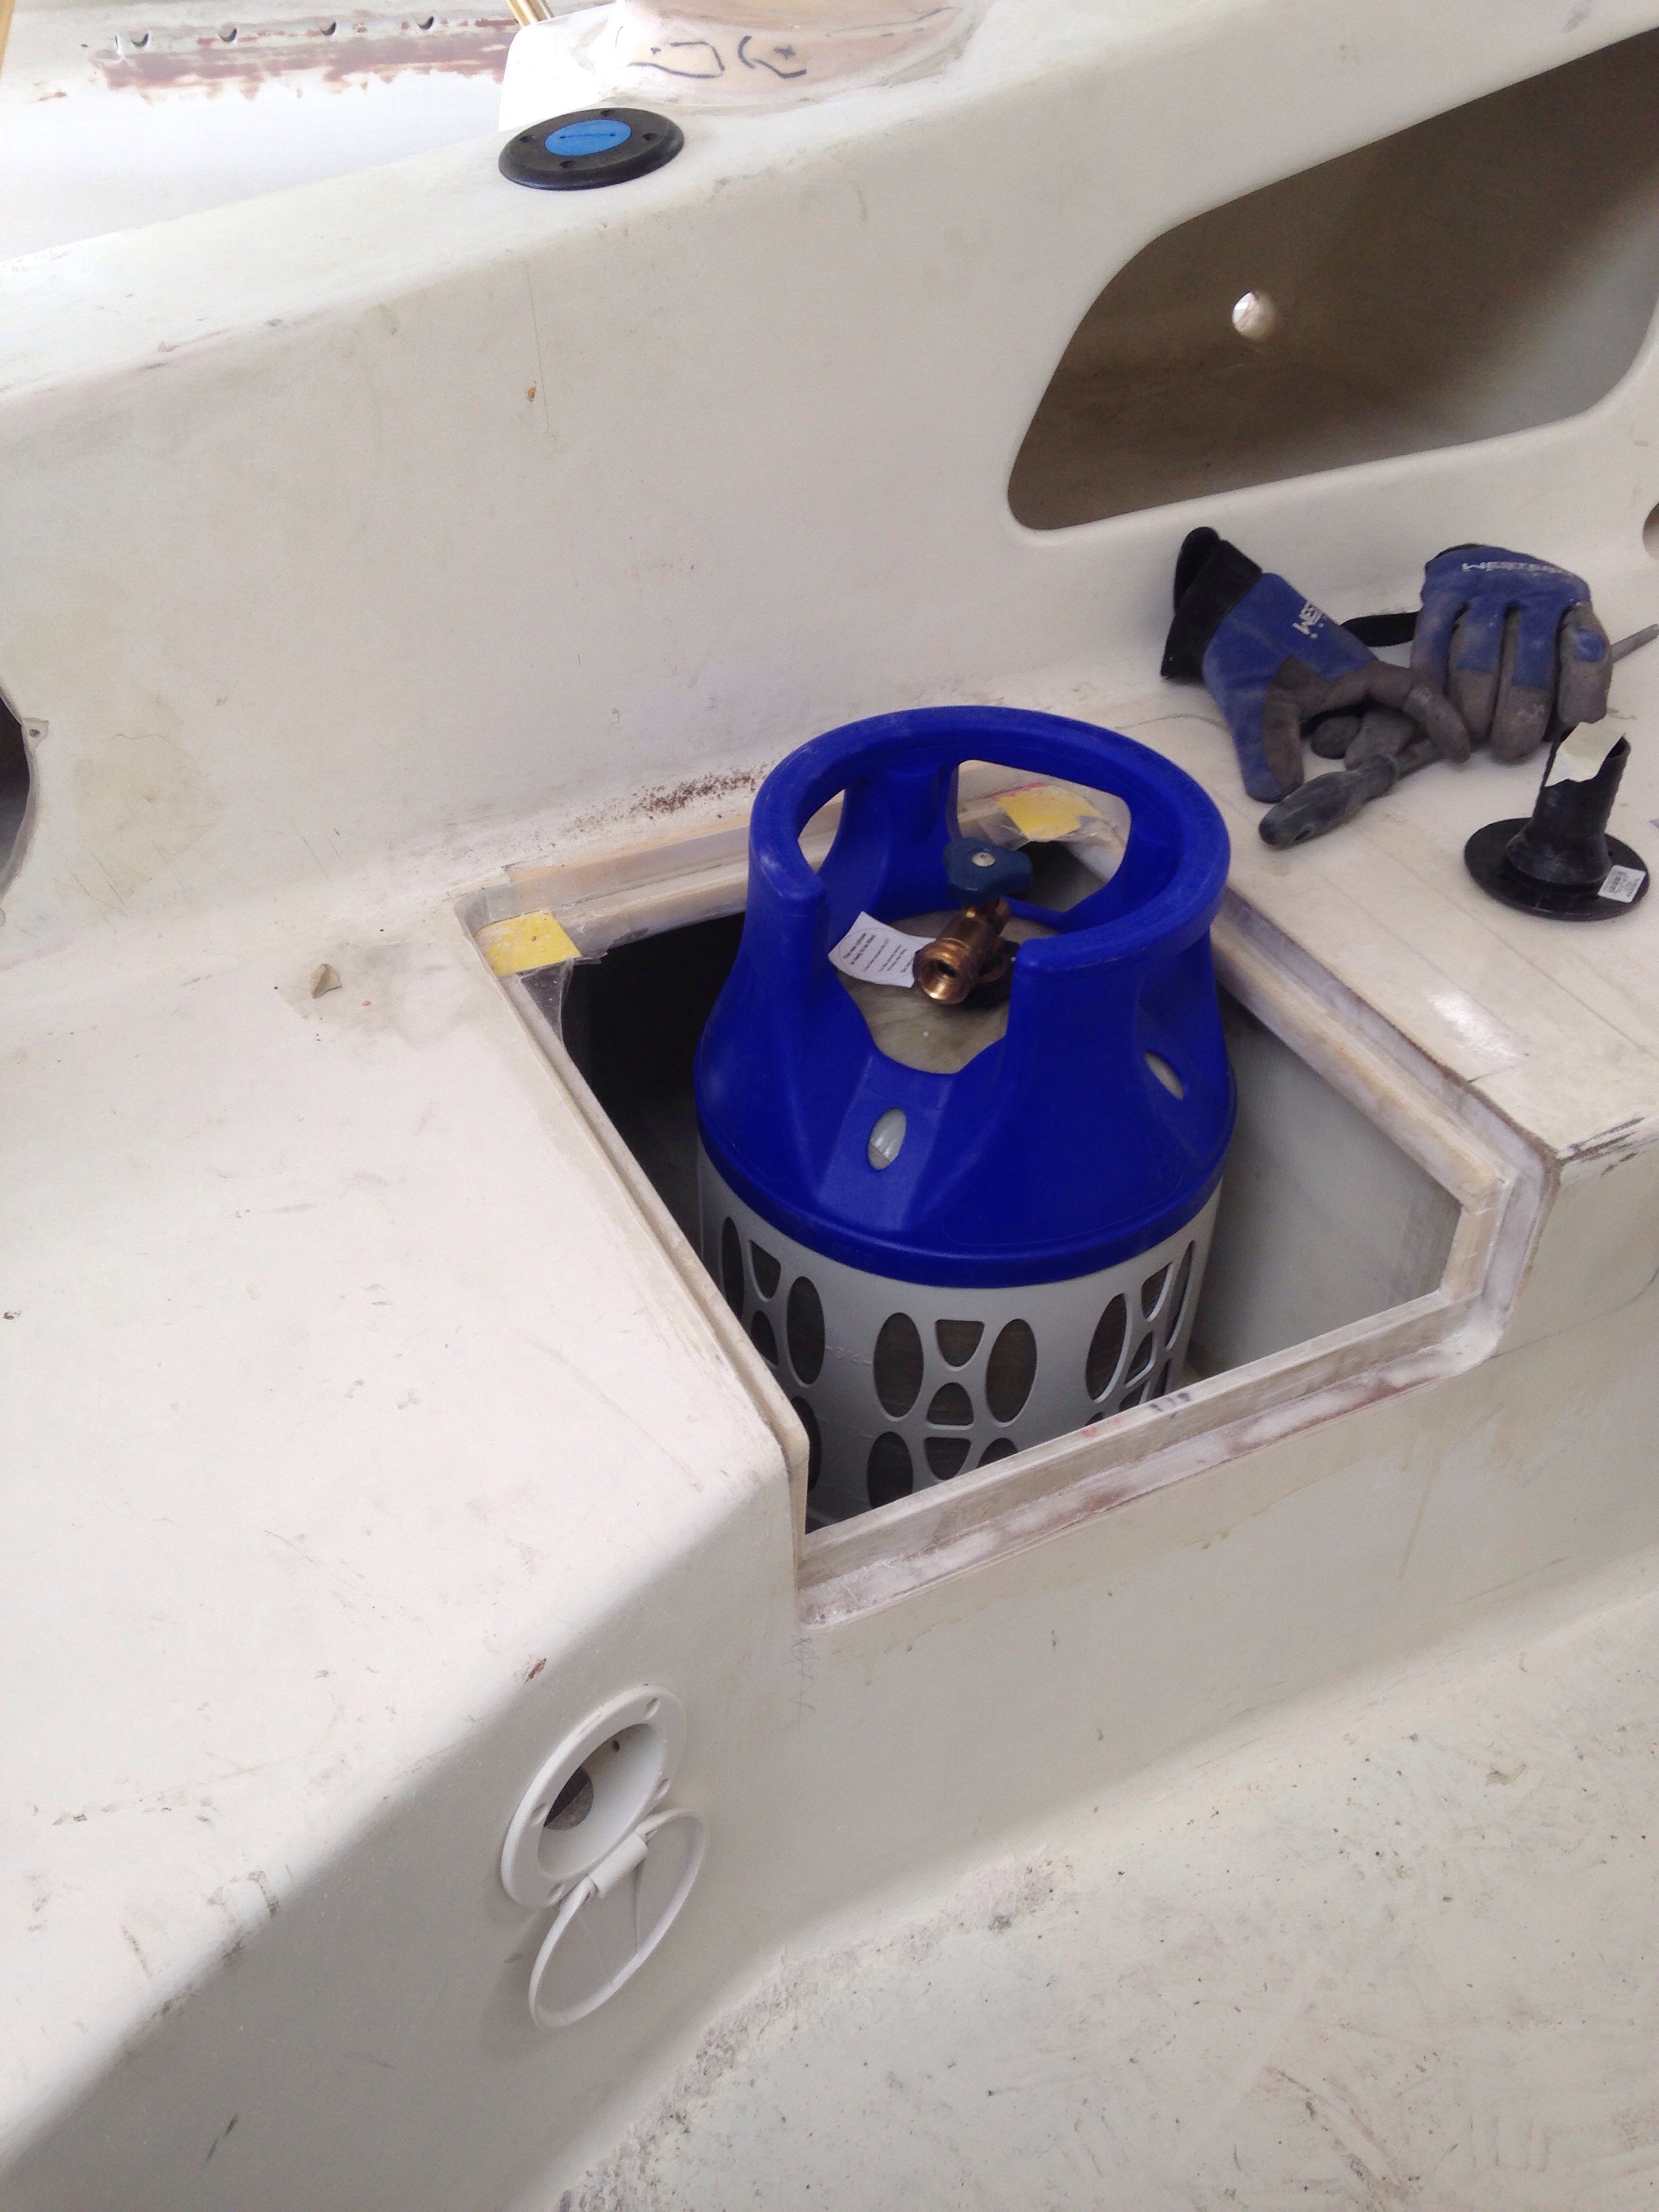
We’ll detail the propane system later, but of course step one is cutting the lazarette floor to make room below for a sealed propane storage locker. This fiberglass and plastic tank is 1/2 the weight of the steel ones under your BBQ at home, plus it won’t corrode and is easier to take in the dinghy for refilling. See here how the tank needs to drop down at least a foot.

20150416-000847.jpg
Also in that photo, the fresh water fill (black and blue disk) was installed next to the port coaming winch, and the outdoor shower on the cockpit bench bulkhead. That’ll make a nice senior citizen shower – just sit down safely and discreetly in the cockpit, lather up, and rinse it off thru the scuppers :)

The shop went quiet for some days while Greg took a consulting job, then joined Griffin to have a look at the University of Mississippi. If you haven’t seen an SEC football school, the TV-deal money translates to huge, attractive building projects on these stately old campuses. The Ole Miss folks are very charming to prospective students. Big decision due this month. From CA, you fly to Memphis, so before the flight home we walked along the Big River watching the barge-push skippers do their amazing jobs. And yes dear, the fried pickles are good.

20150416-001831.jpg