Between the decks

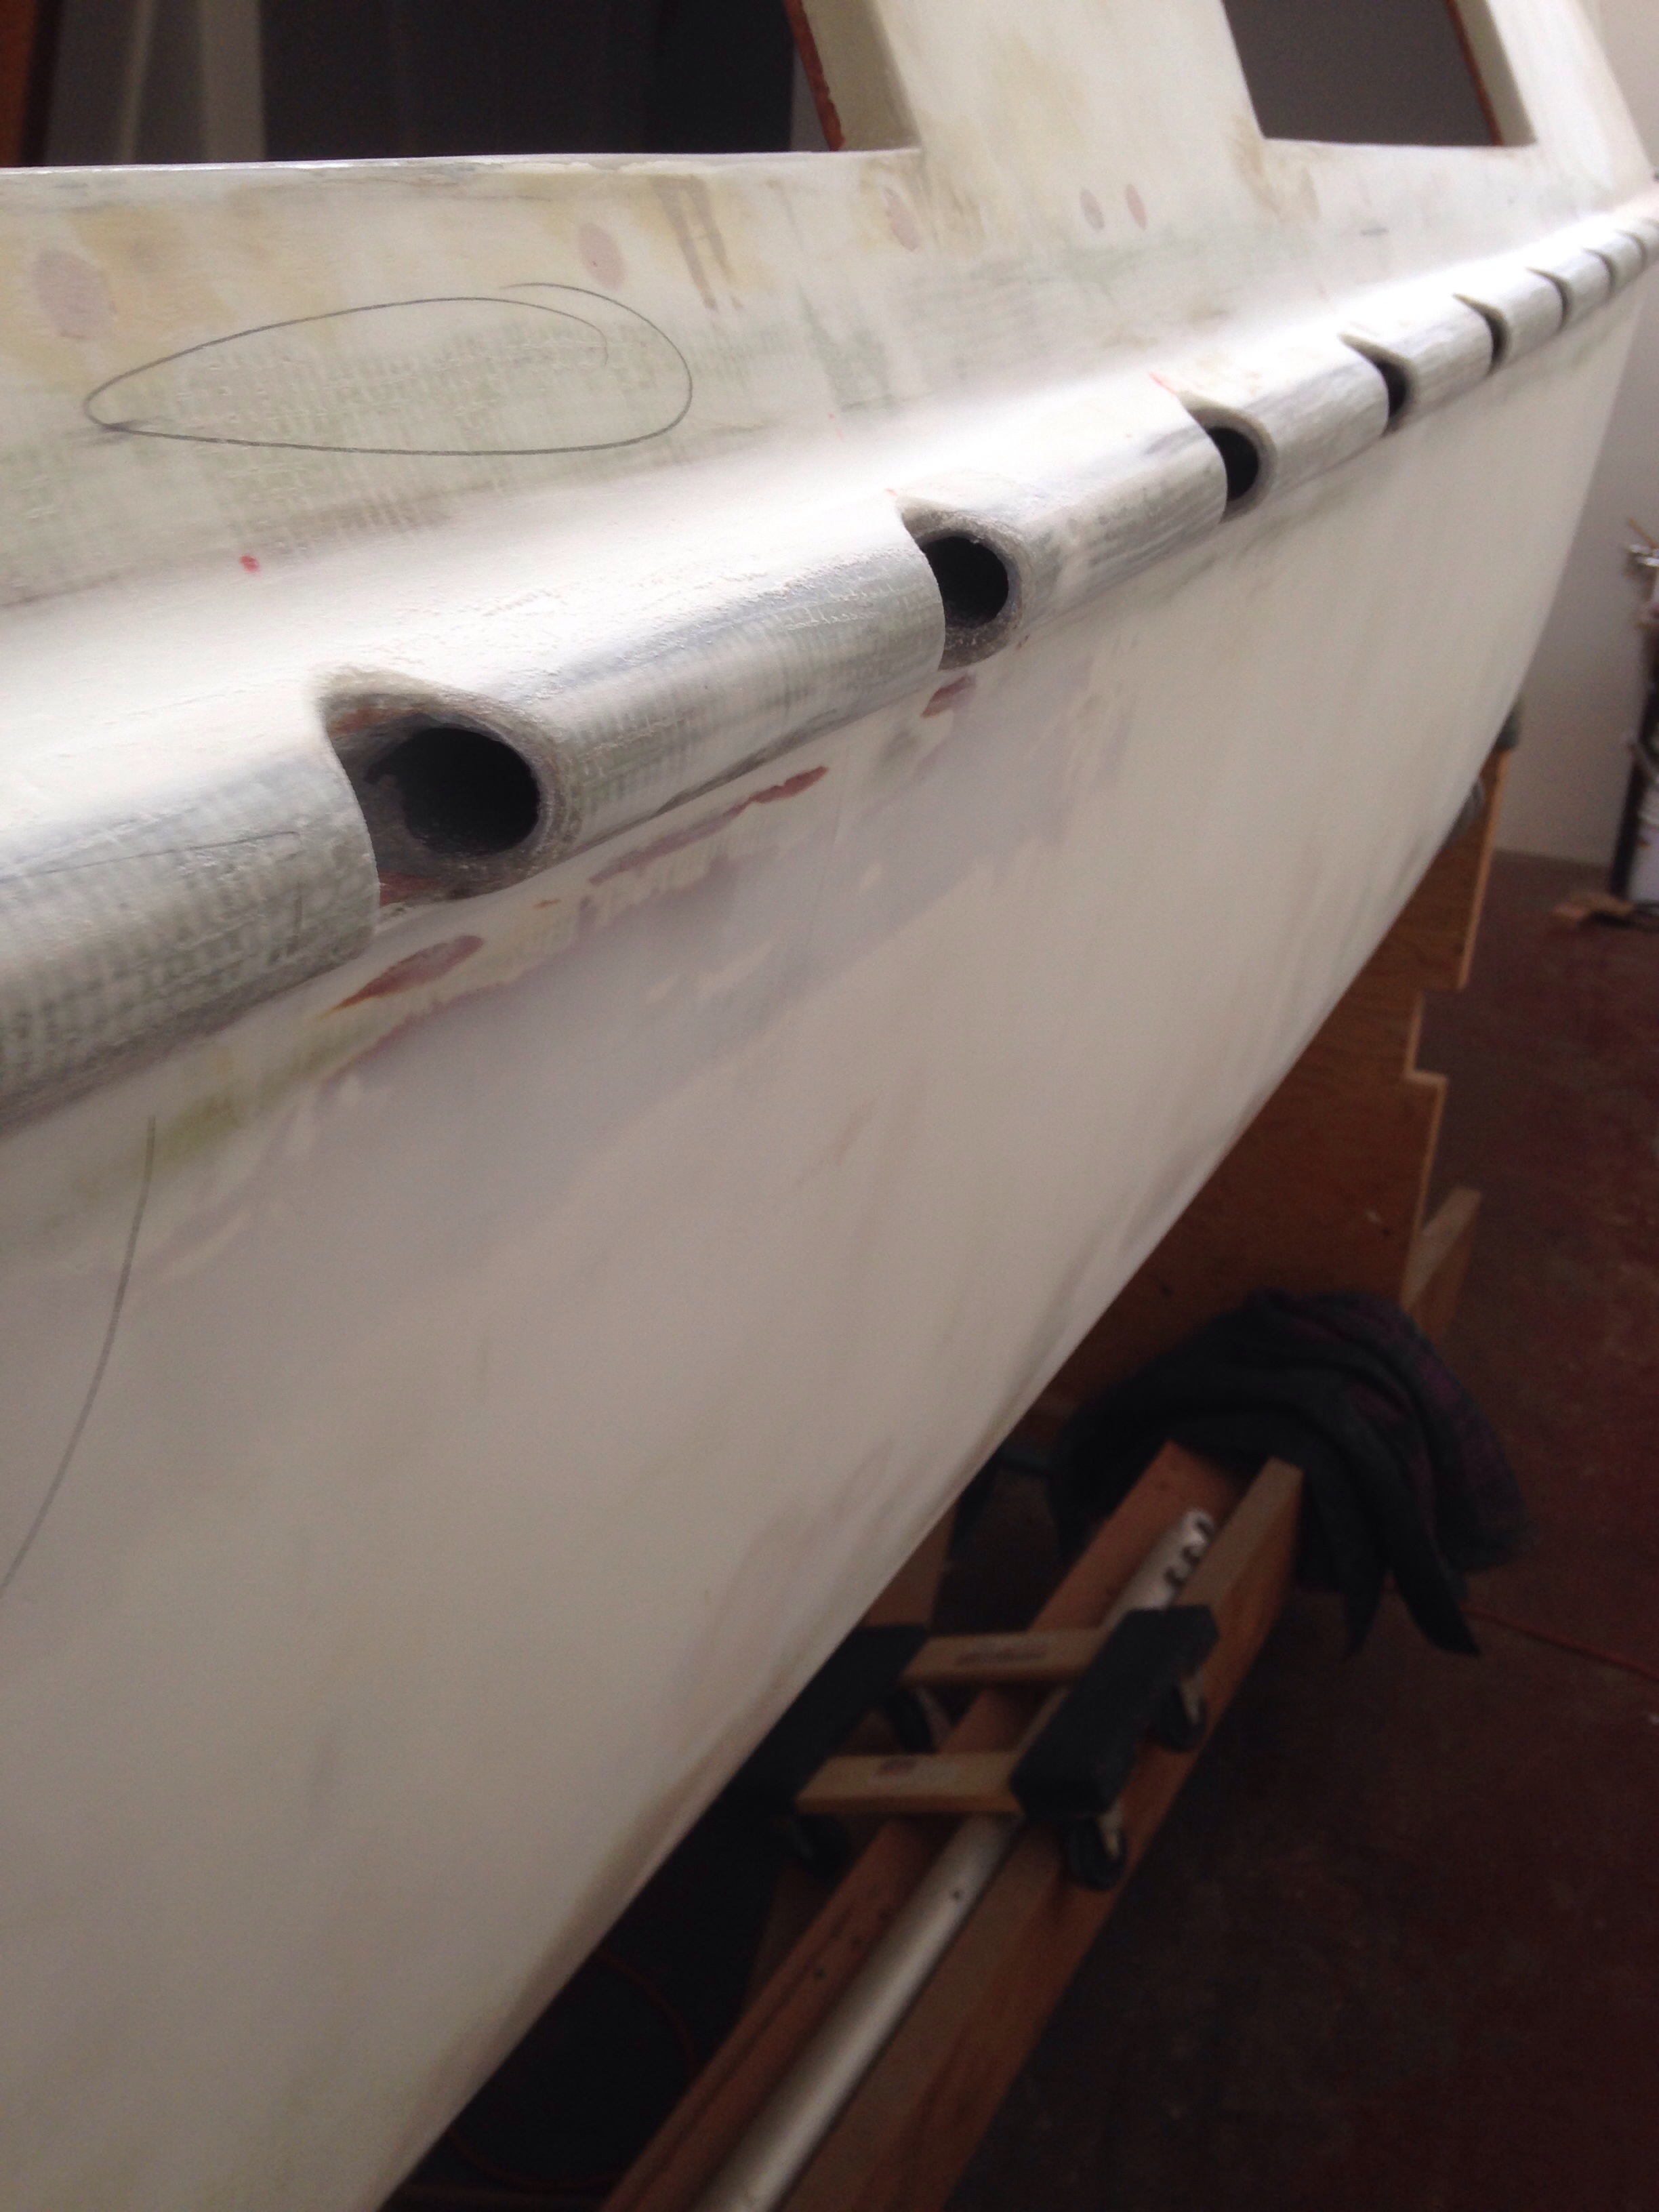
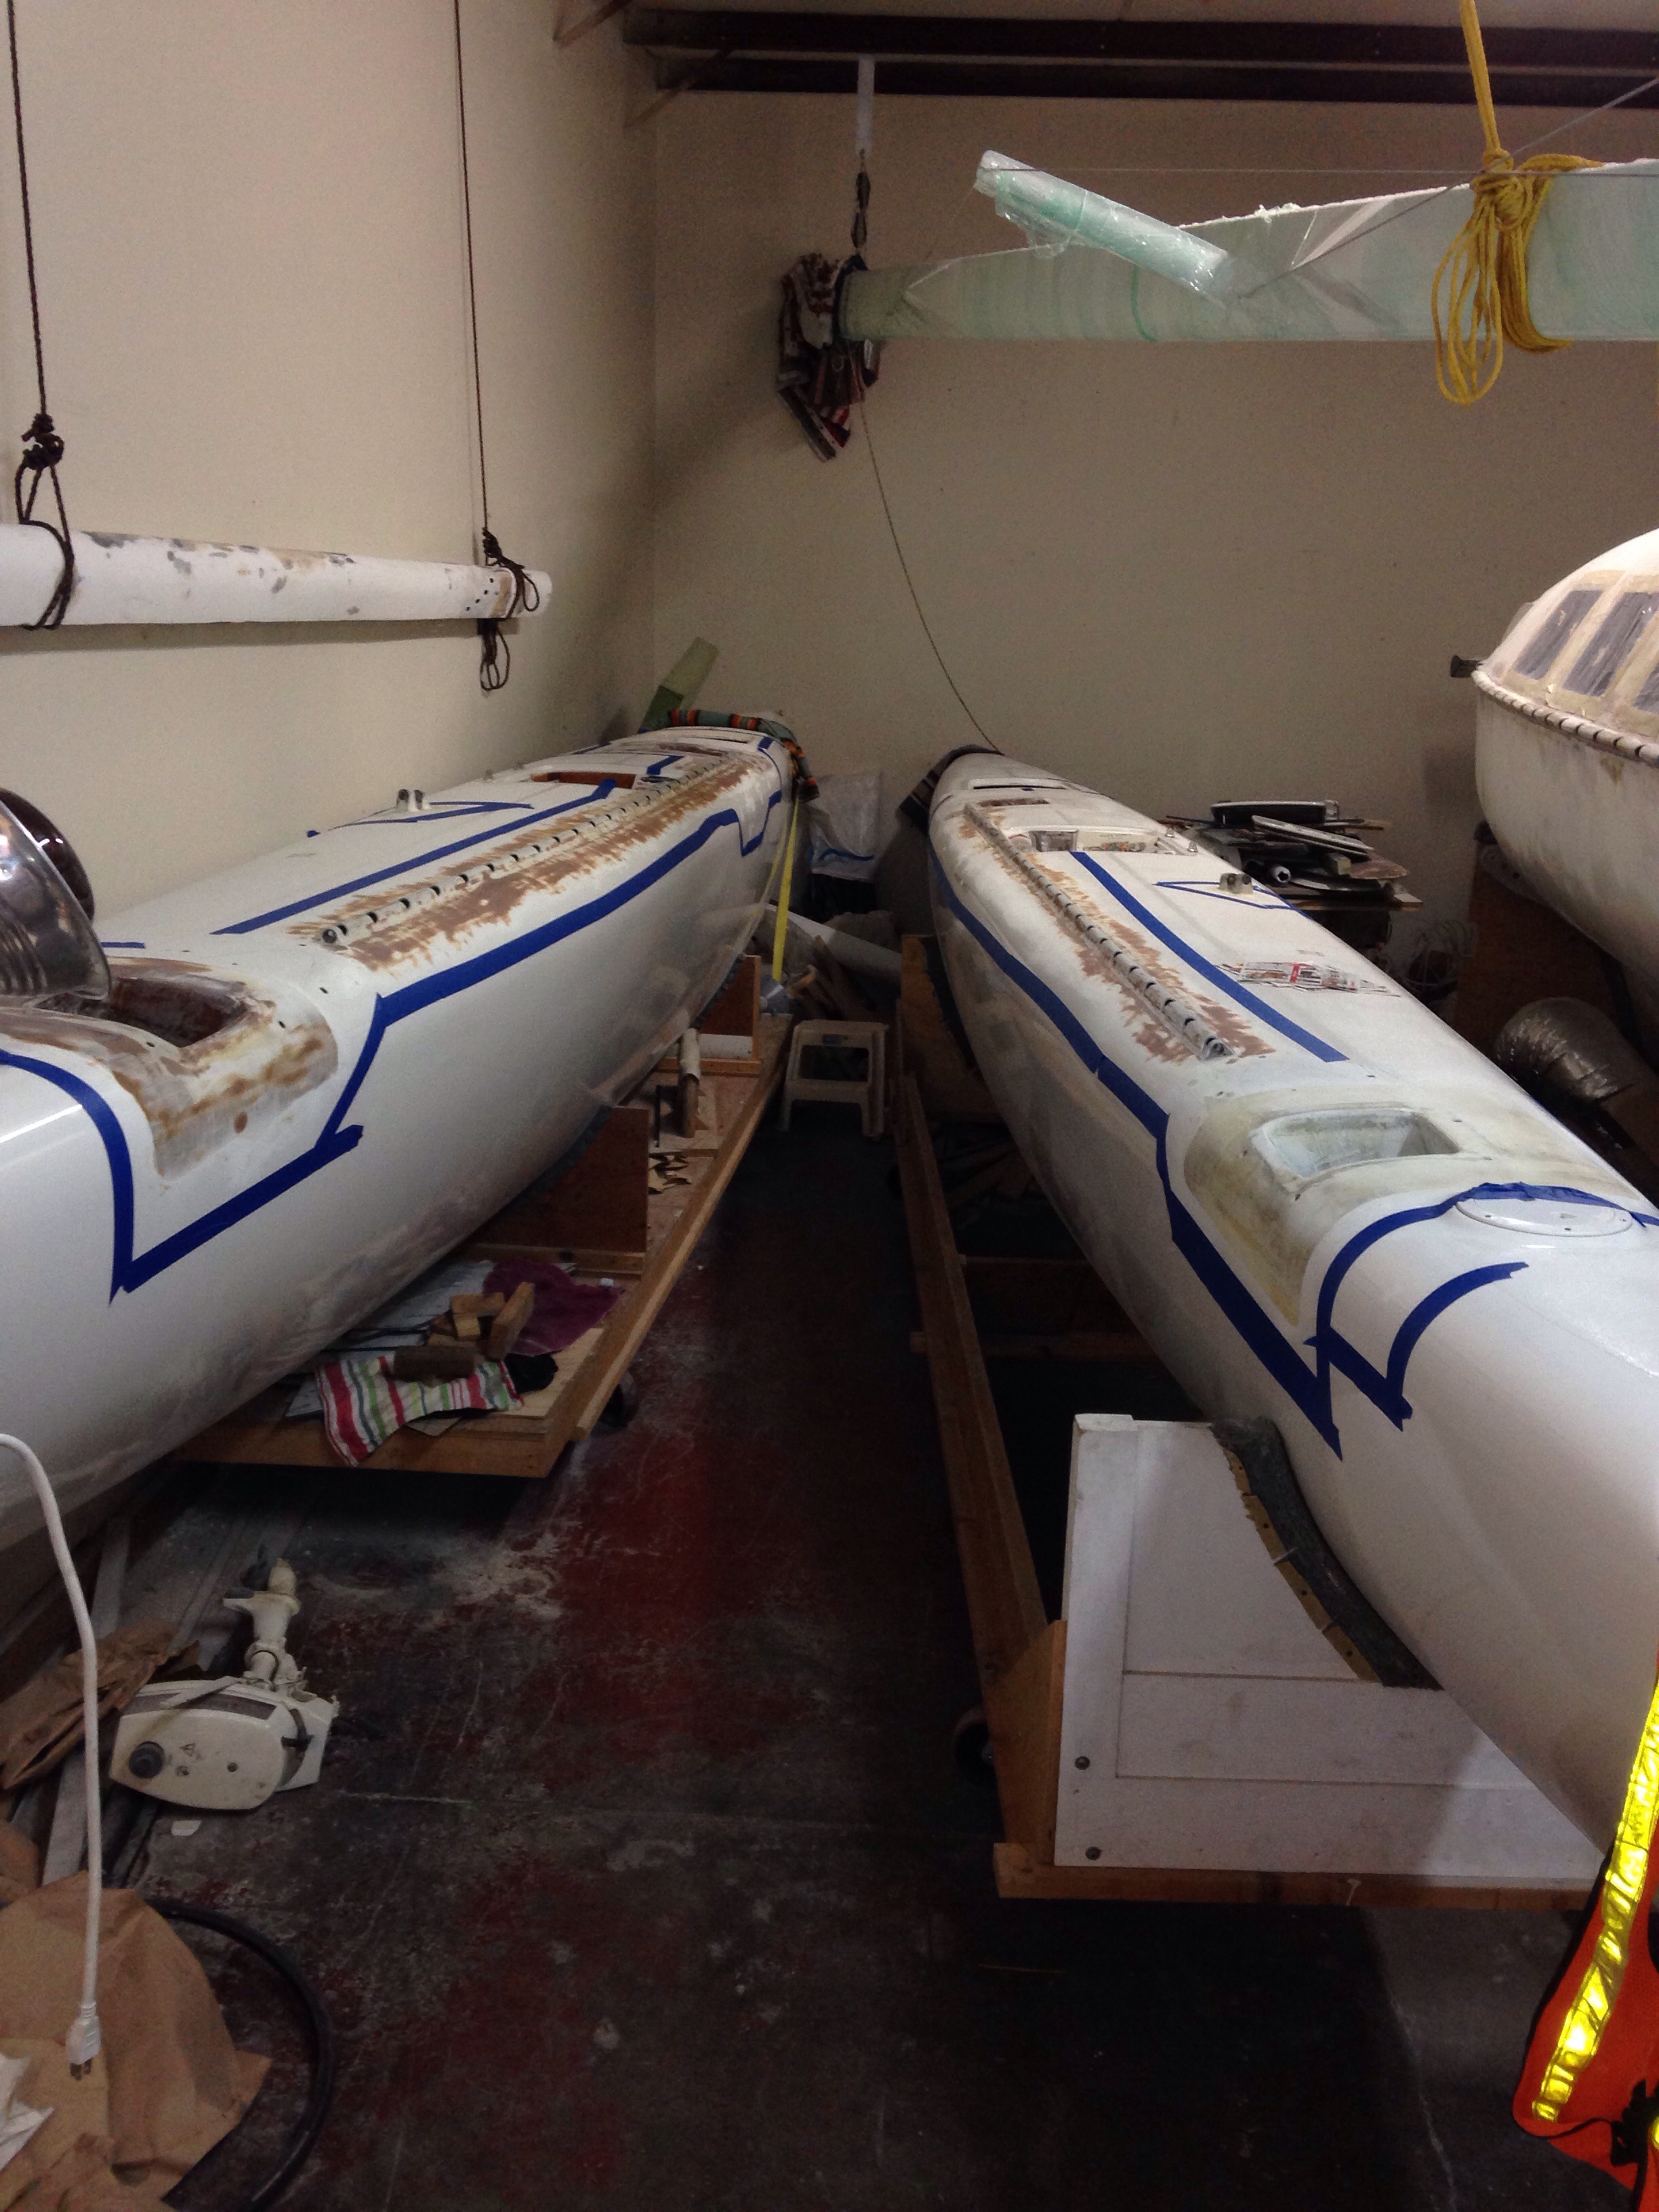
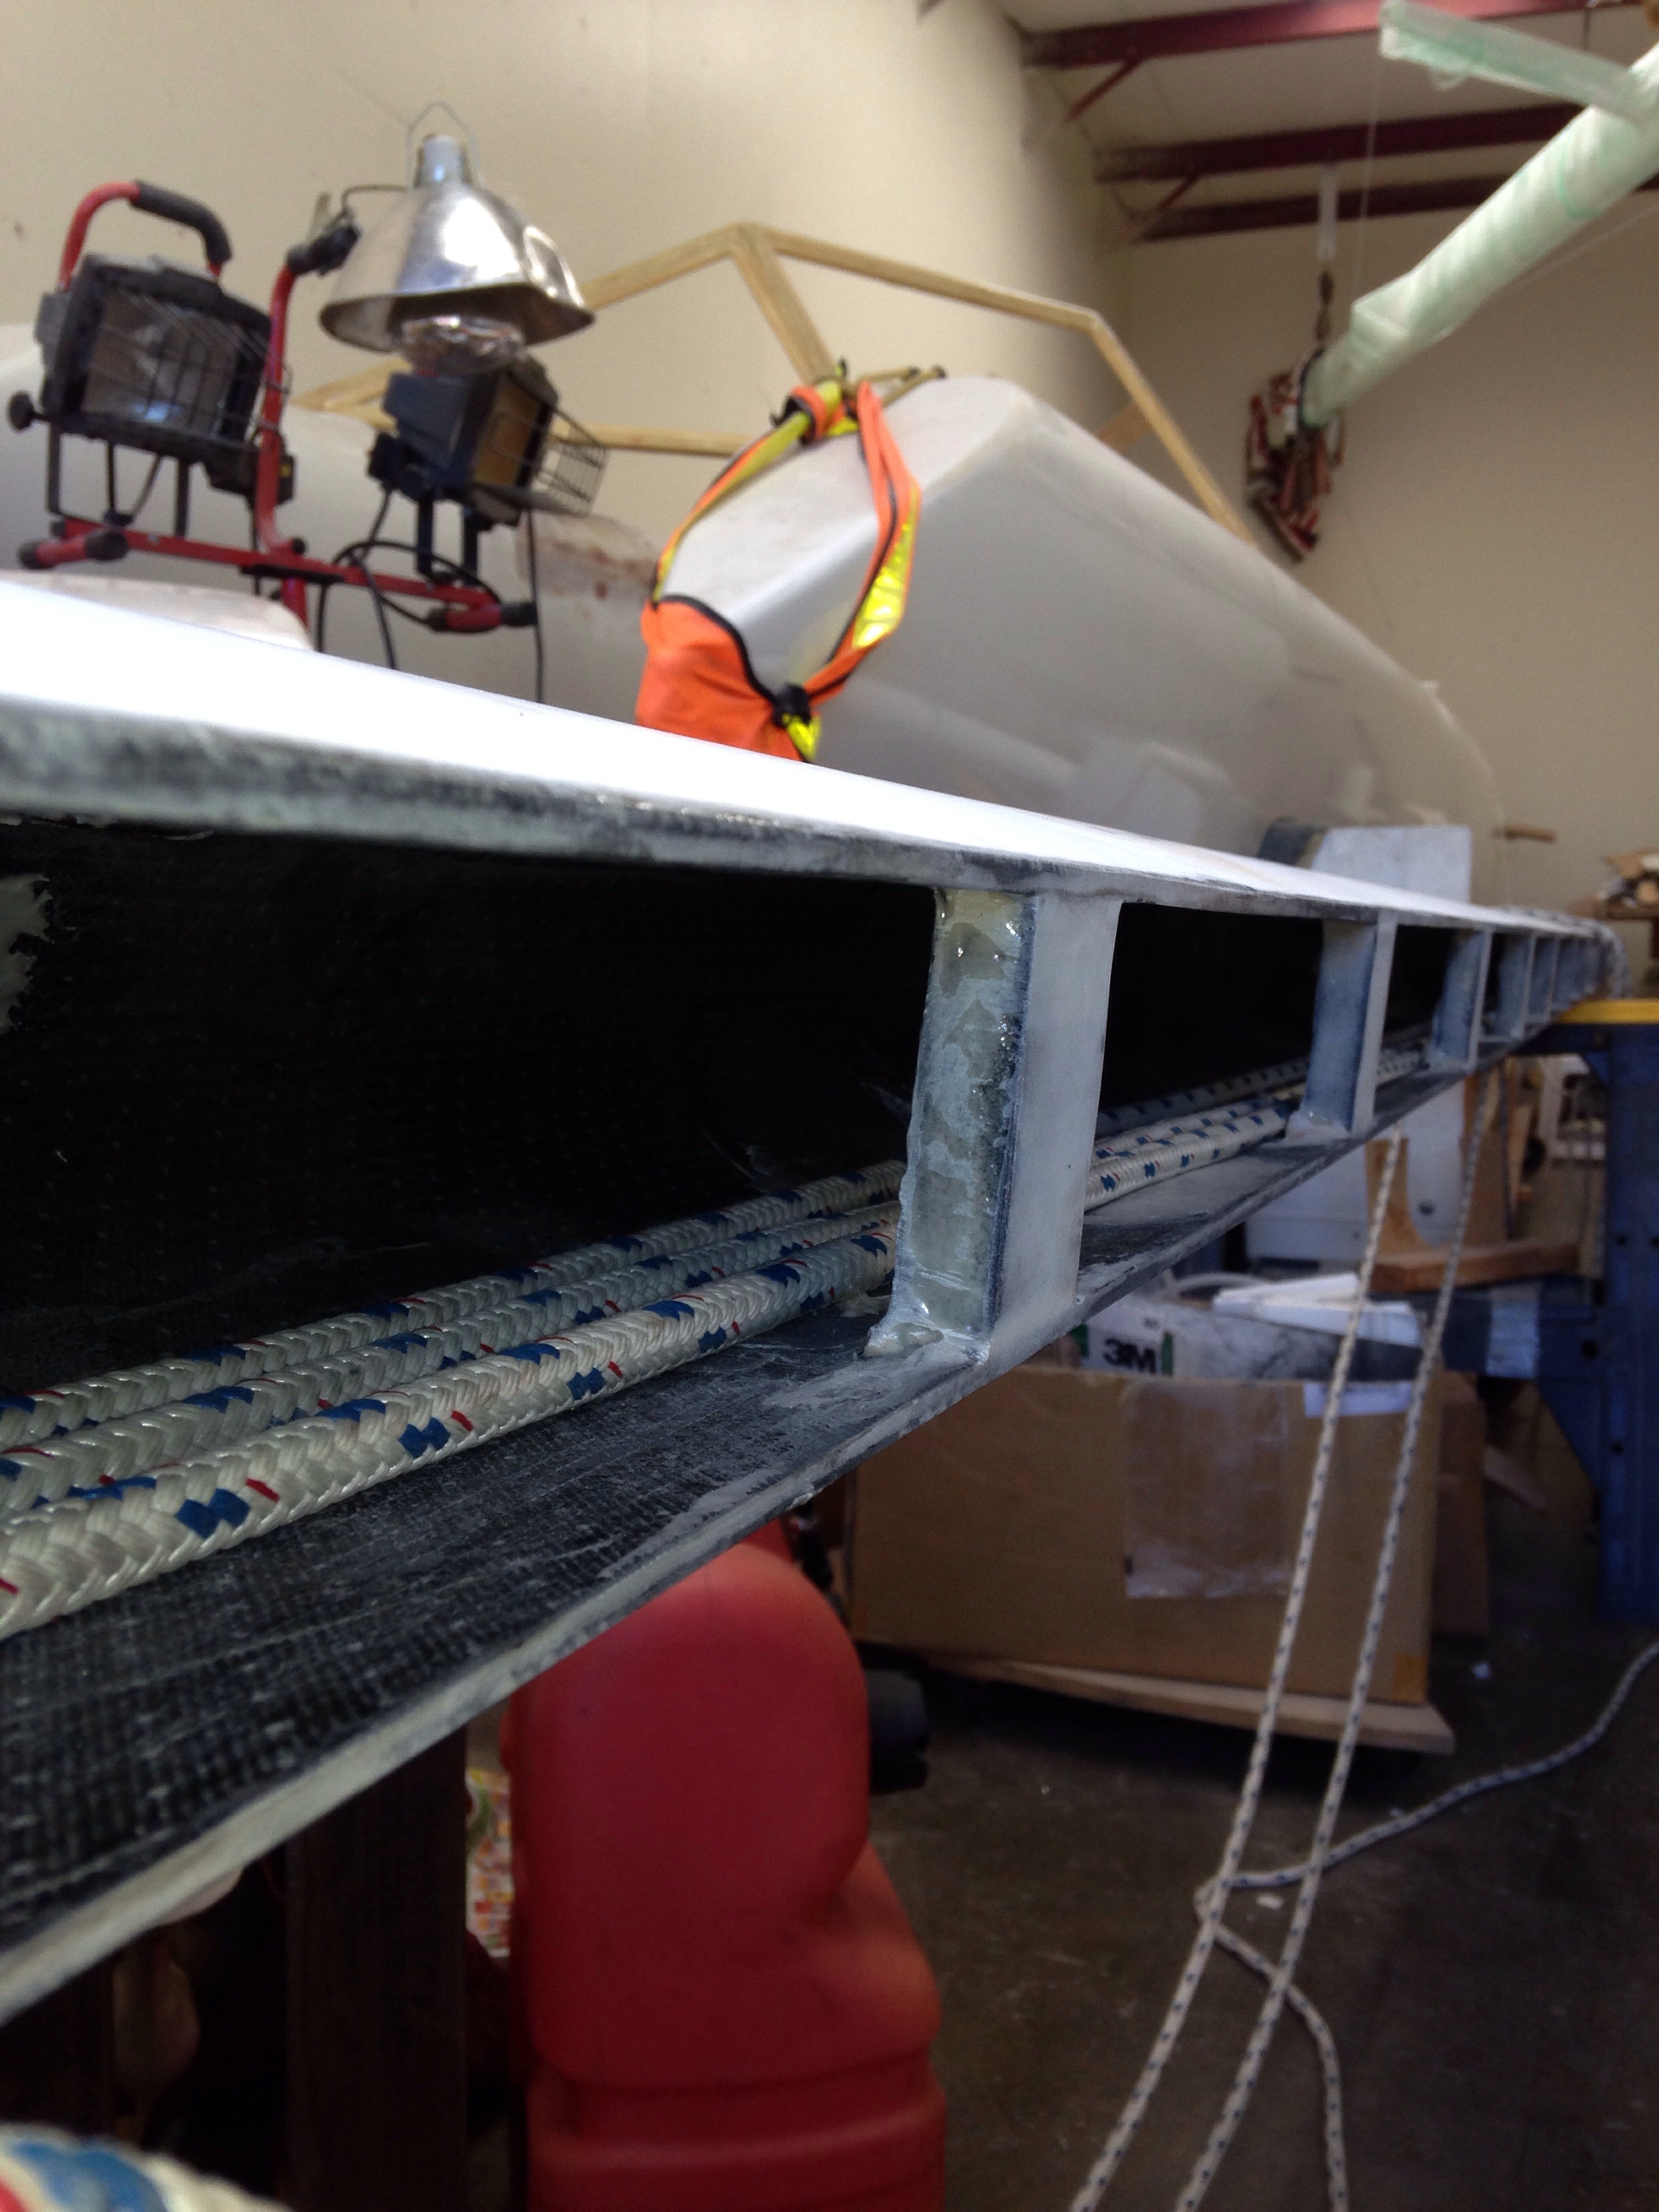
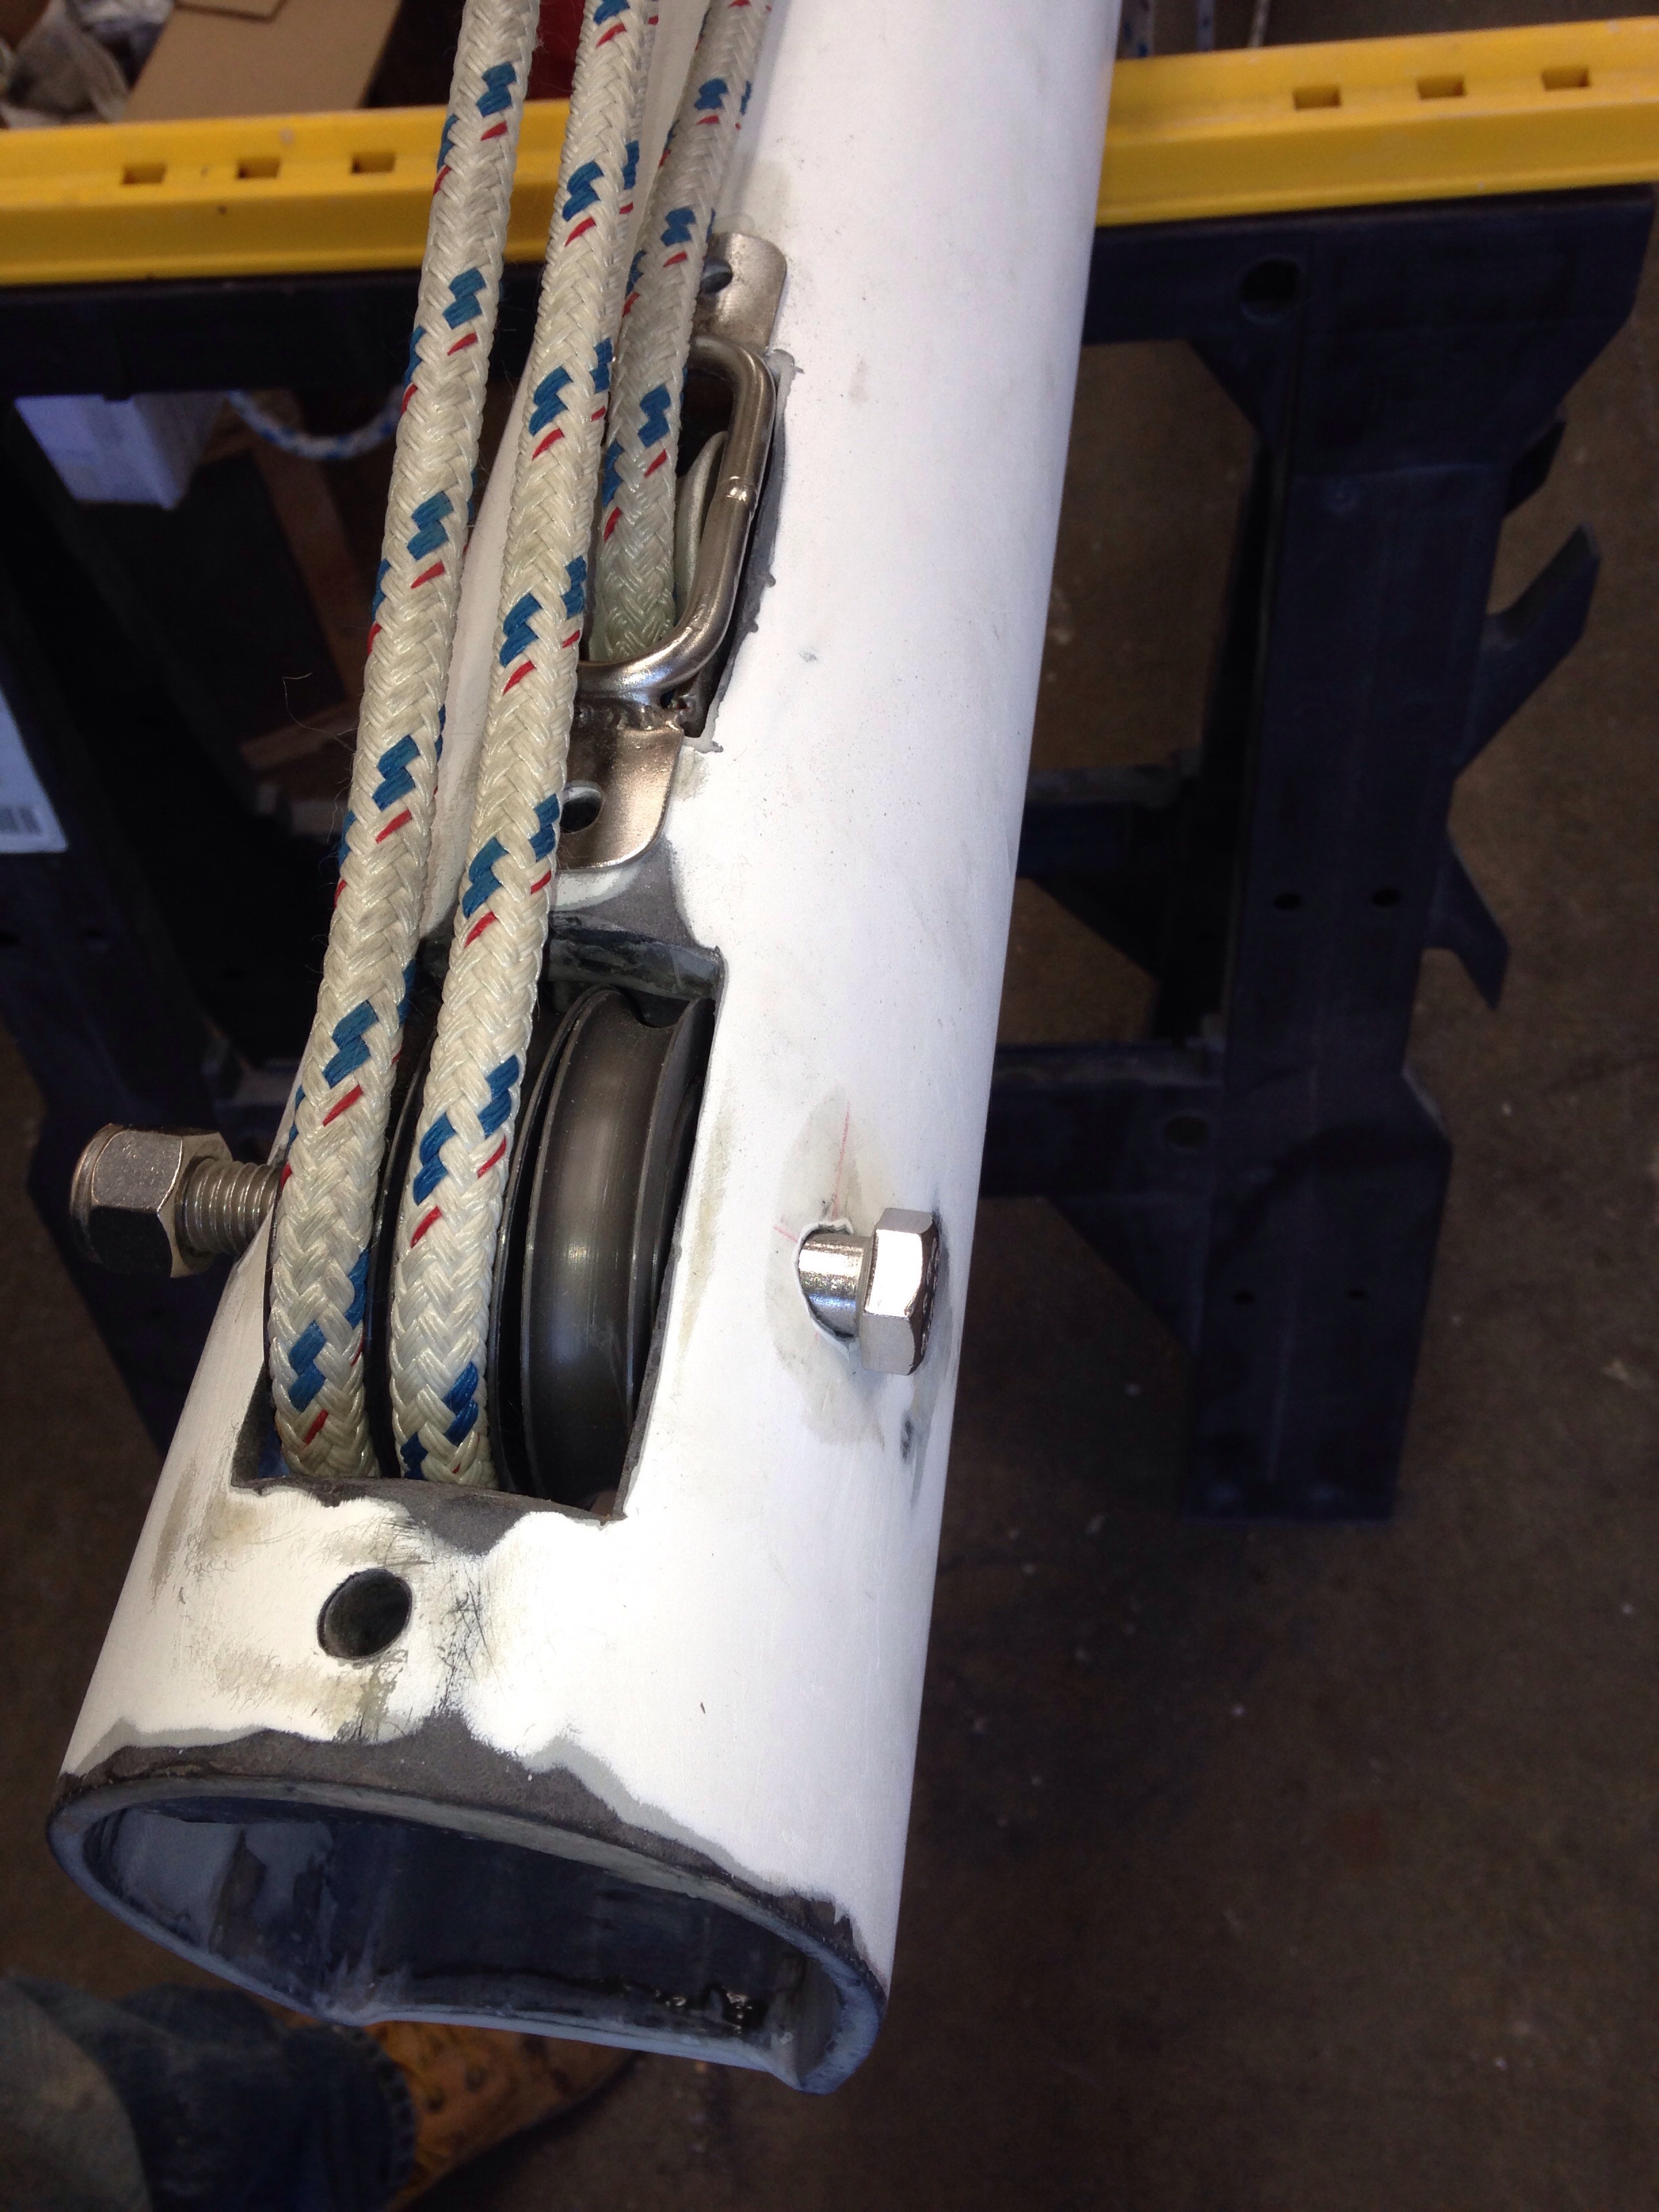
So, we’ve reported on the hull exterior & deck being ‘done’, and you’ve seen the painted & trimmed interior. But there’s a bit more fabrication of ‘the spaces in between’. This weekend we tackled deck fills for water and diesel, through the cockpit coaming box and lazarette, to the equipment room. We’ll use flexible pipes between the deck fills and solid fiberglass tubes that bisect the tops and bottoms of lockers. The Forespar marelon deck fills are 1.5″ OD. 1″ sched 40 PVC wrapped about ten times in lightweight glass cloth gets to exactly 1.5″:

20160110-205255.jpg

20160110-205312.jpg

20160110-205330.jpg
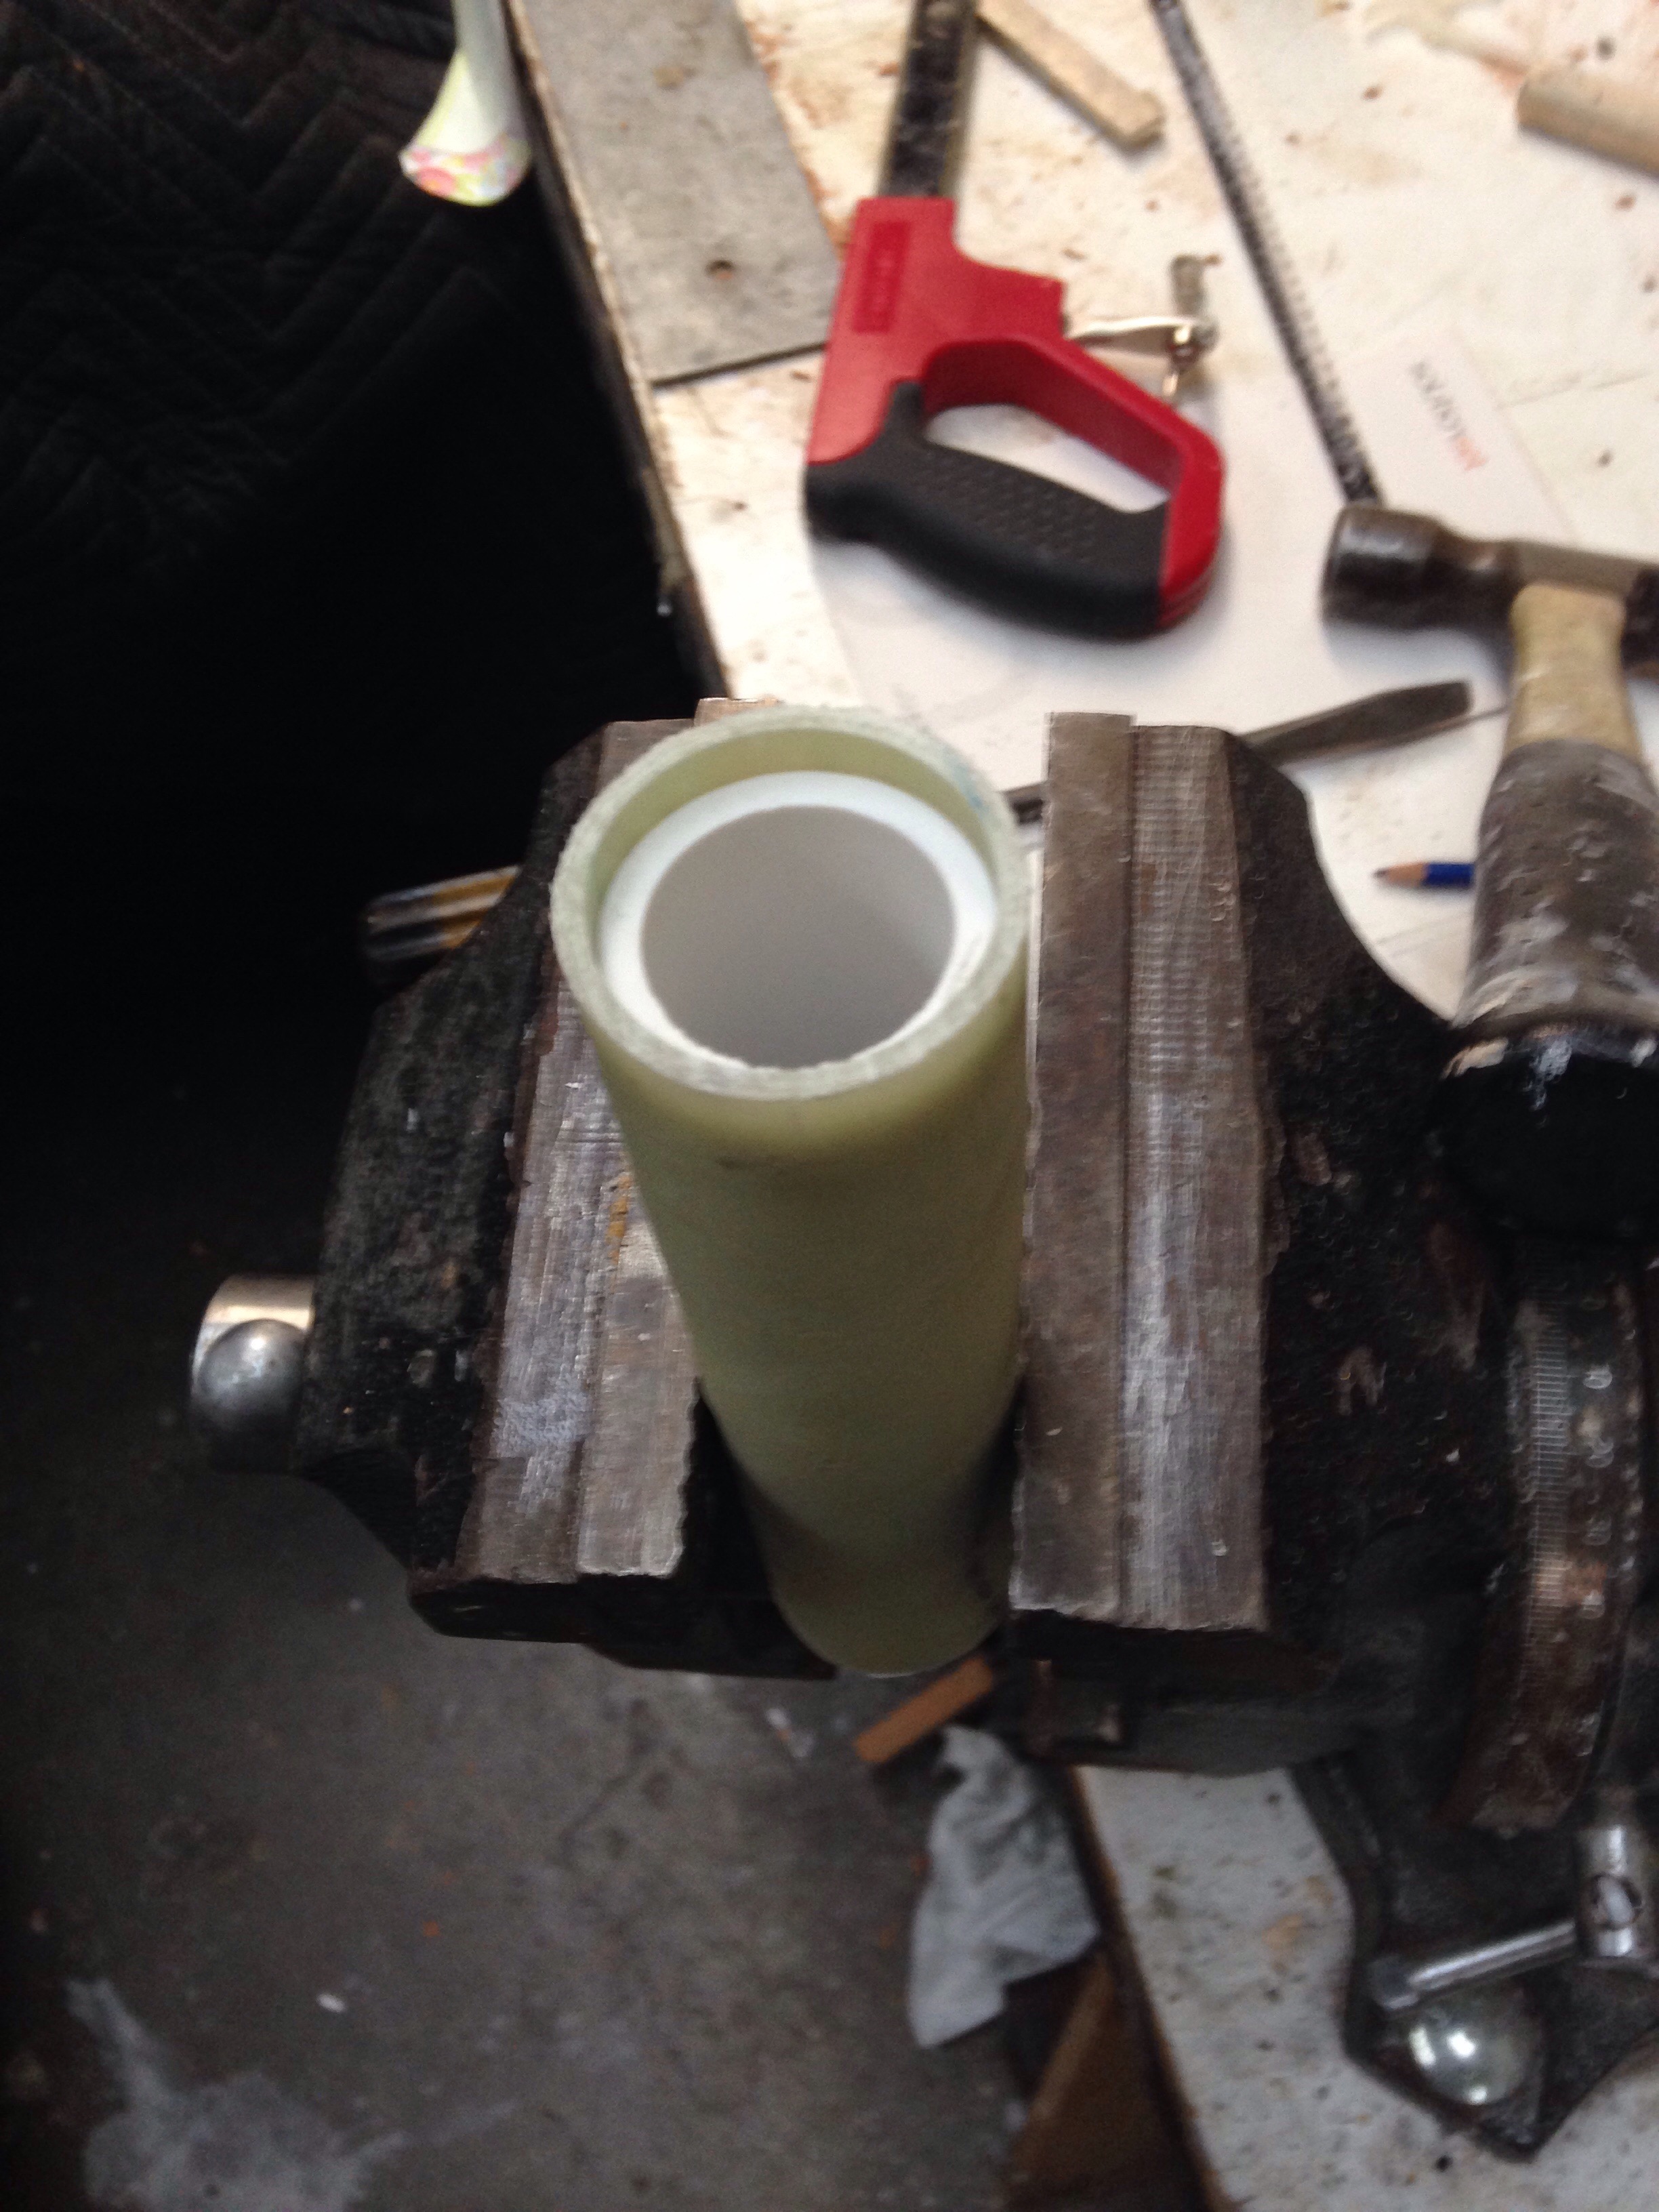
The pipe was coated in good mold release wax, so a few hammer taps on a big screwdriver popped it out

20160110-205519.jpg

20160110-205543.jpg
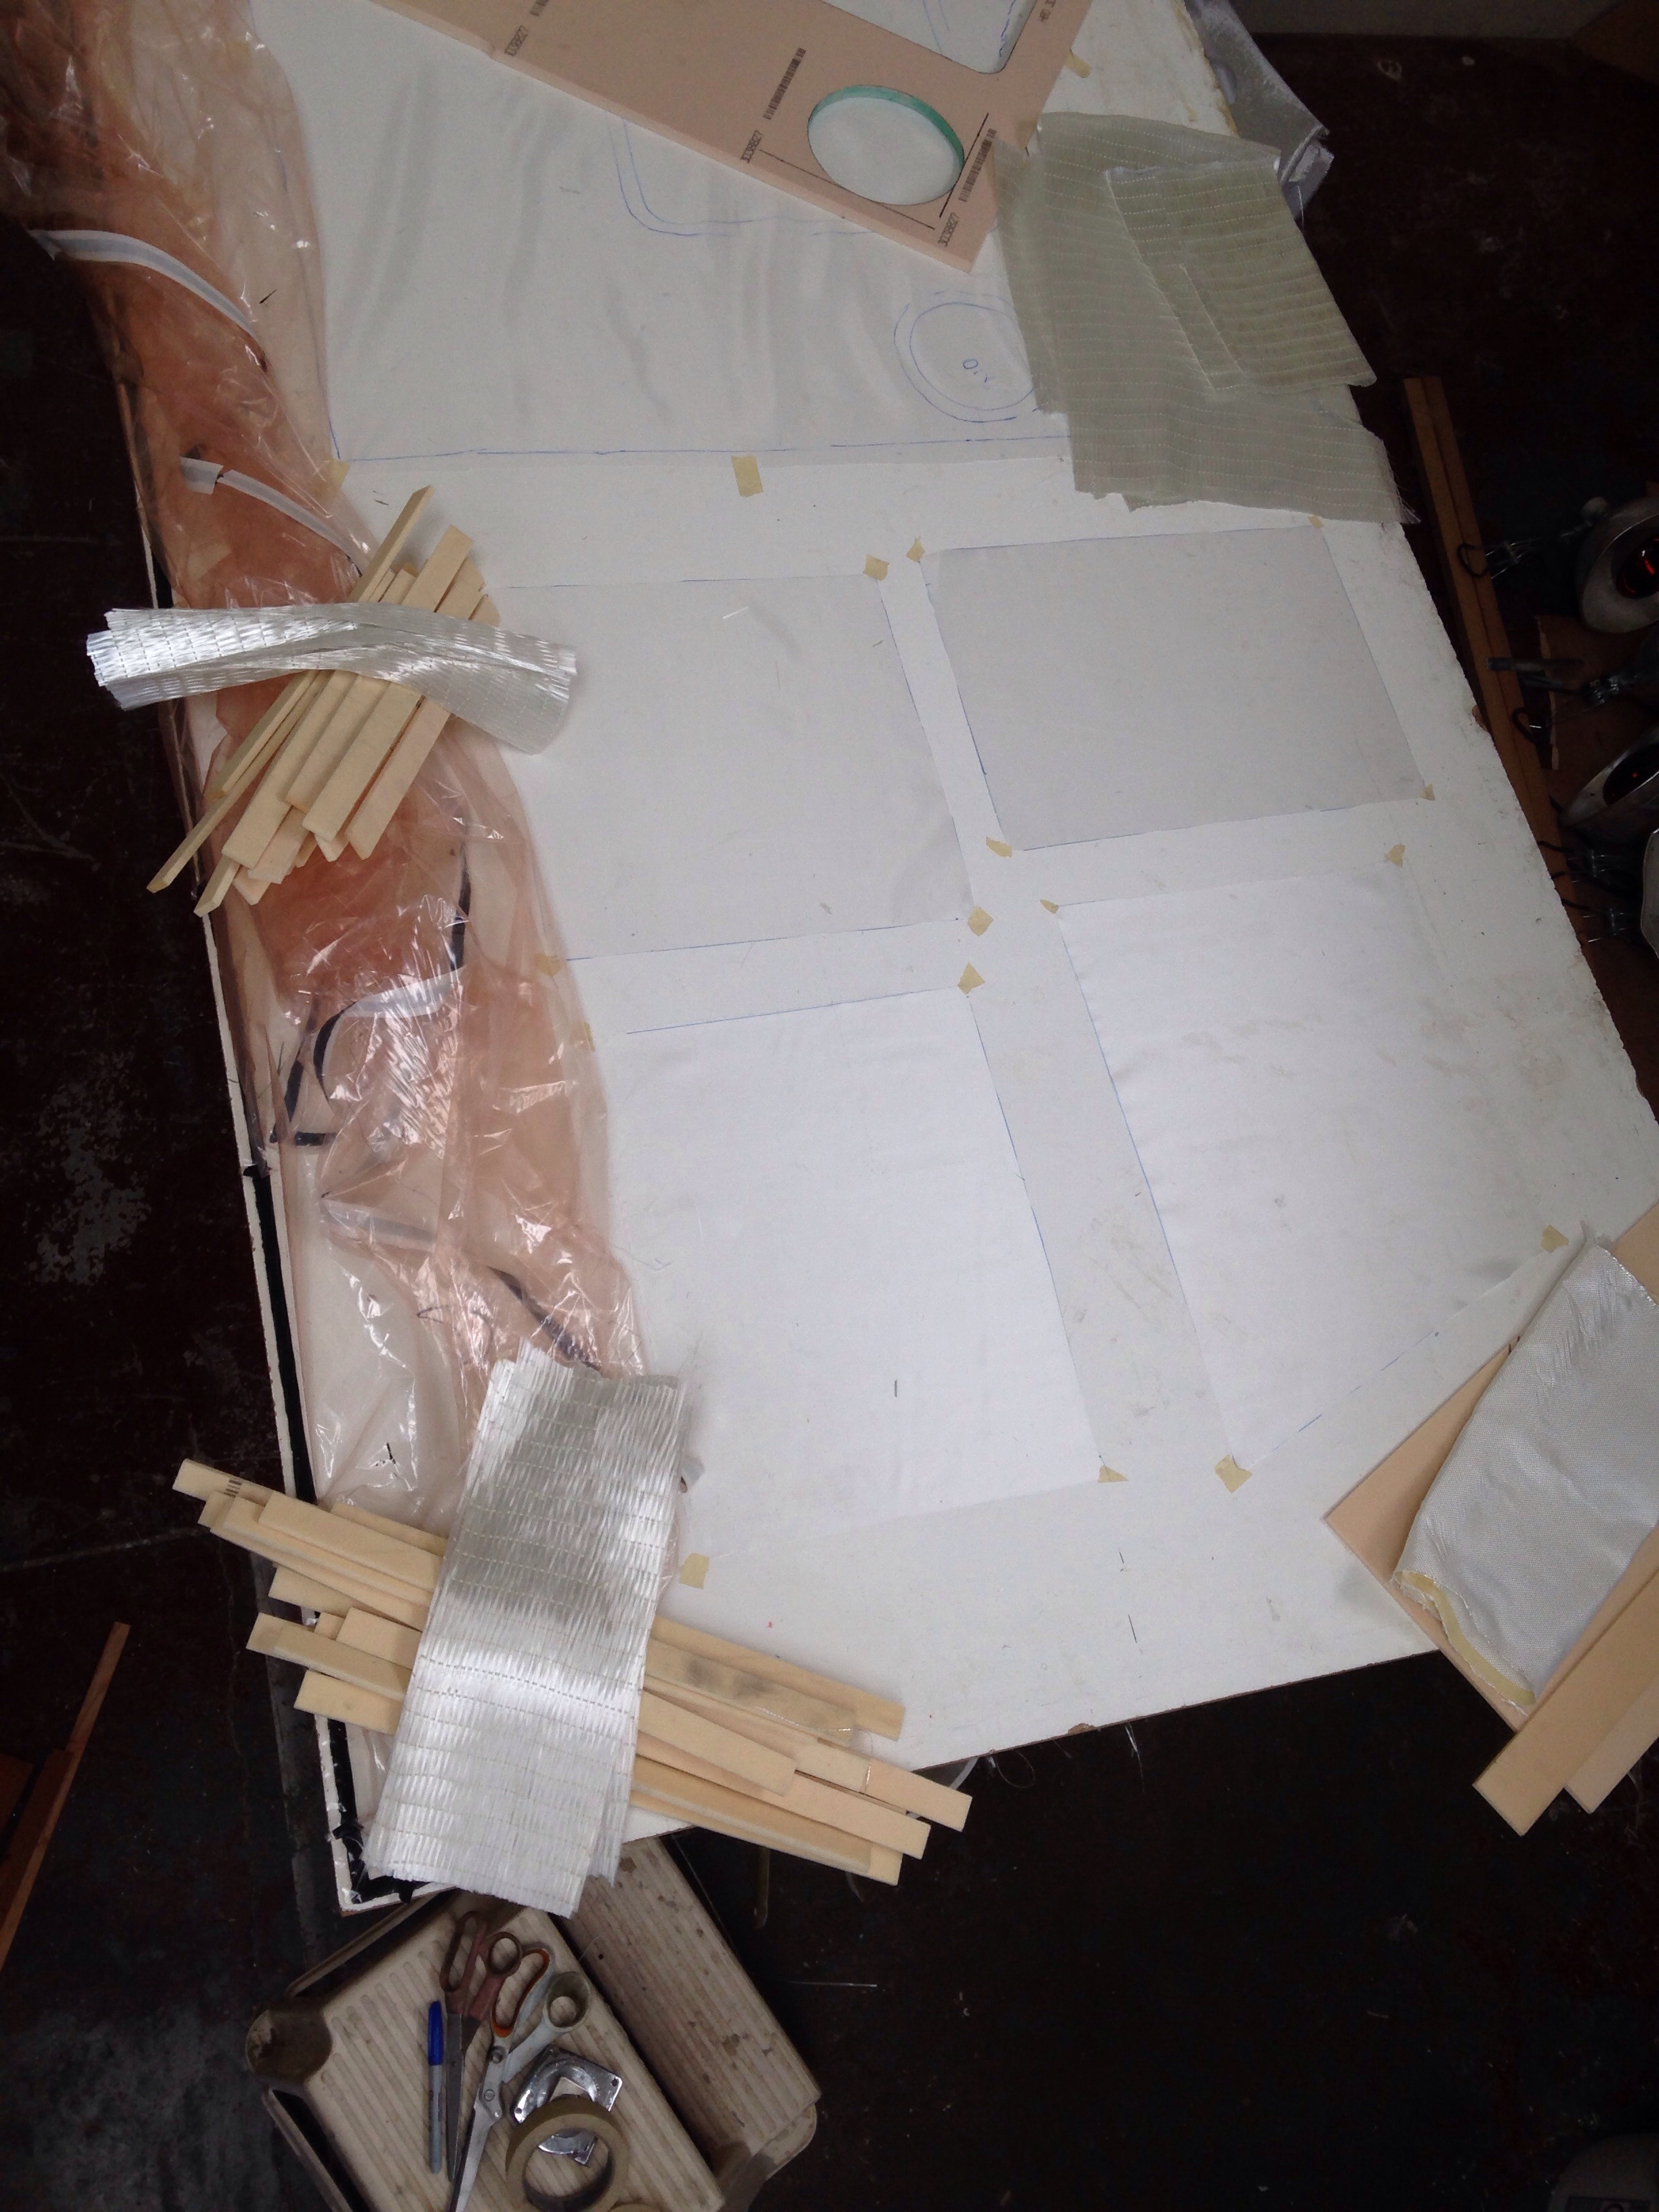
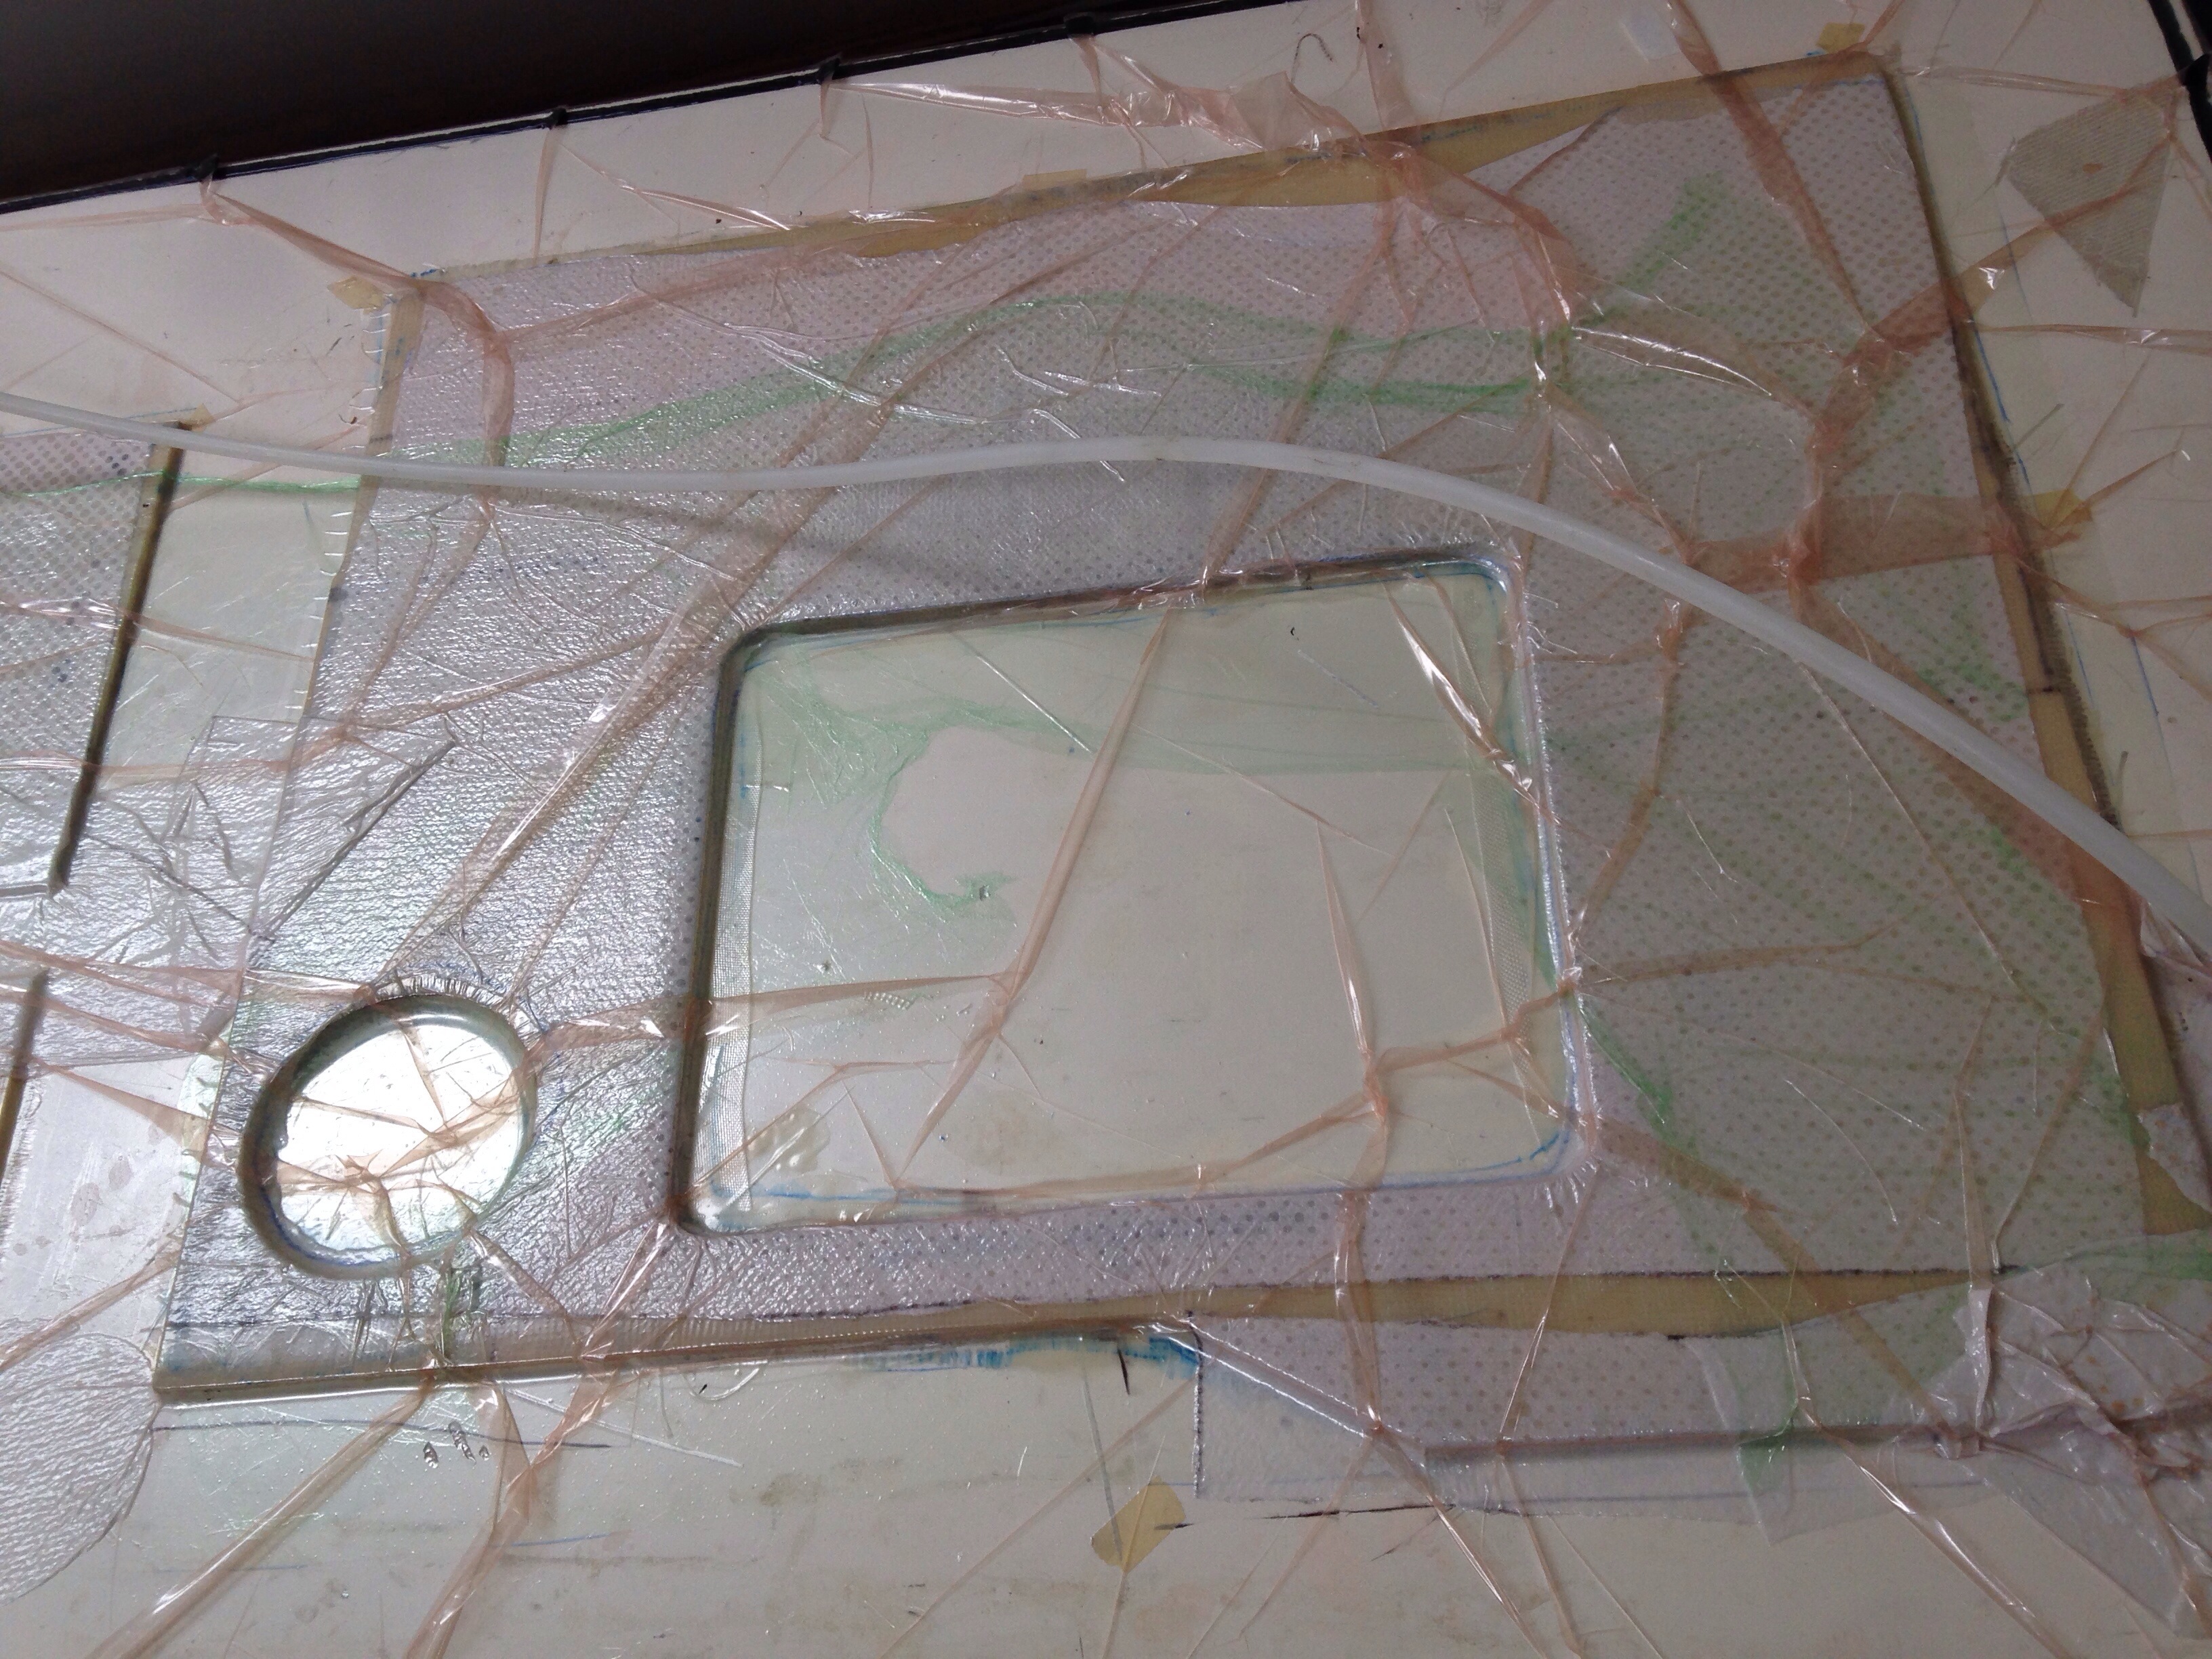
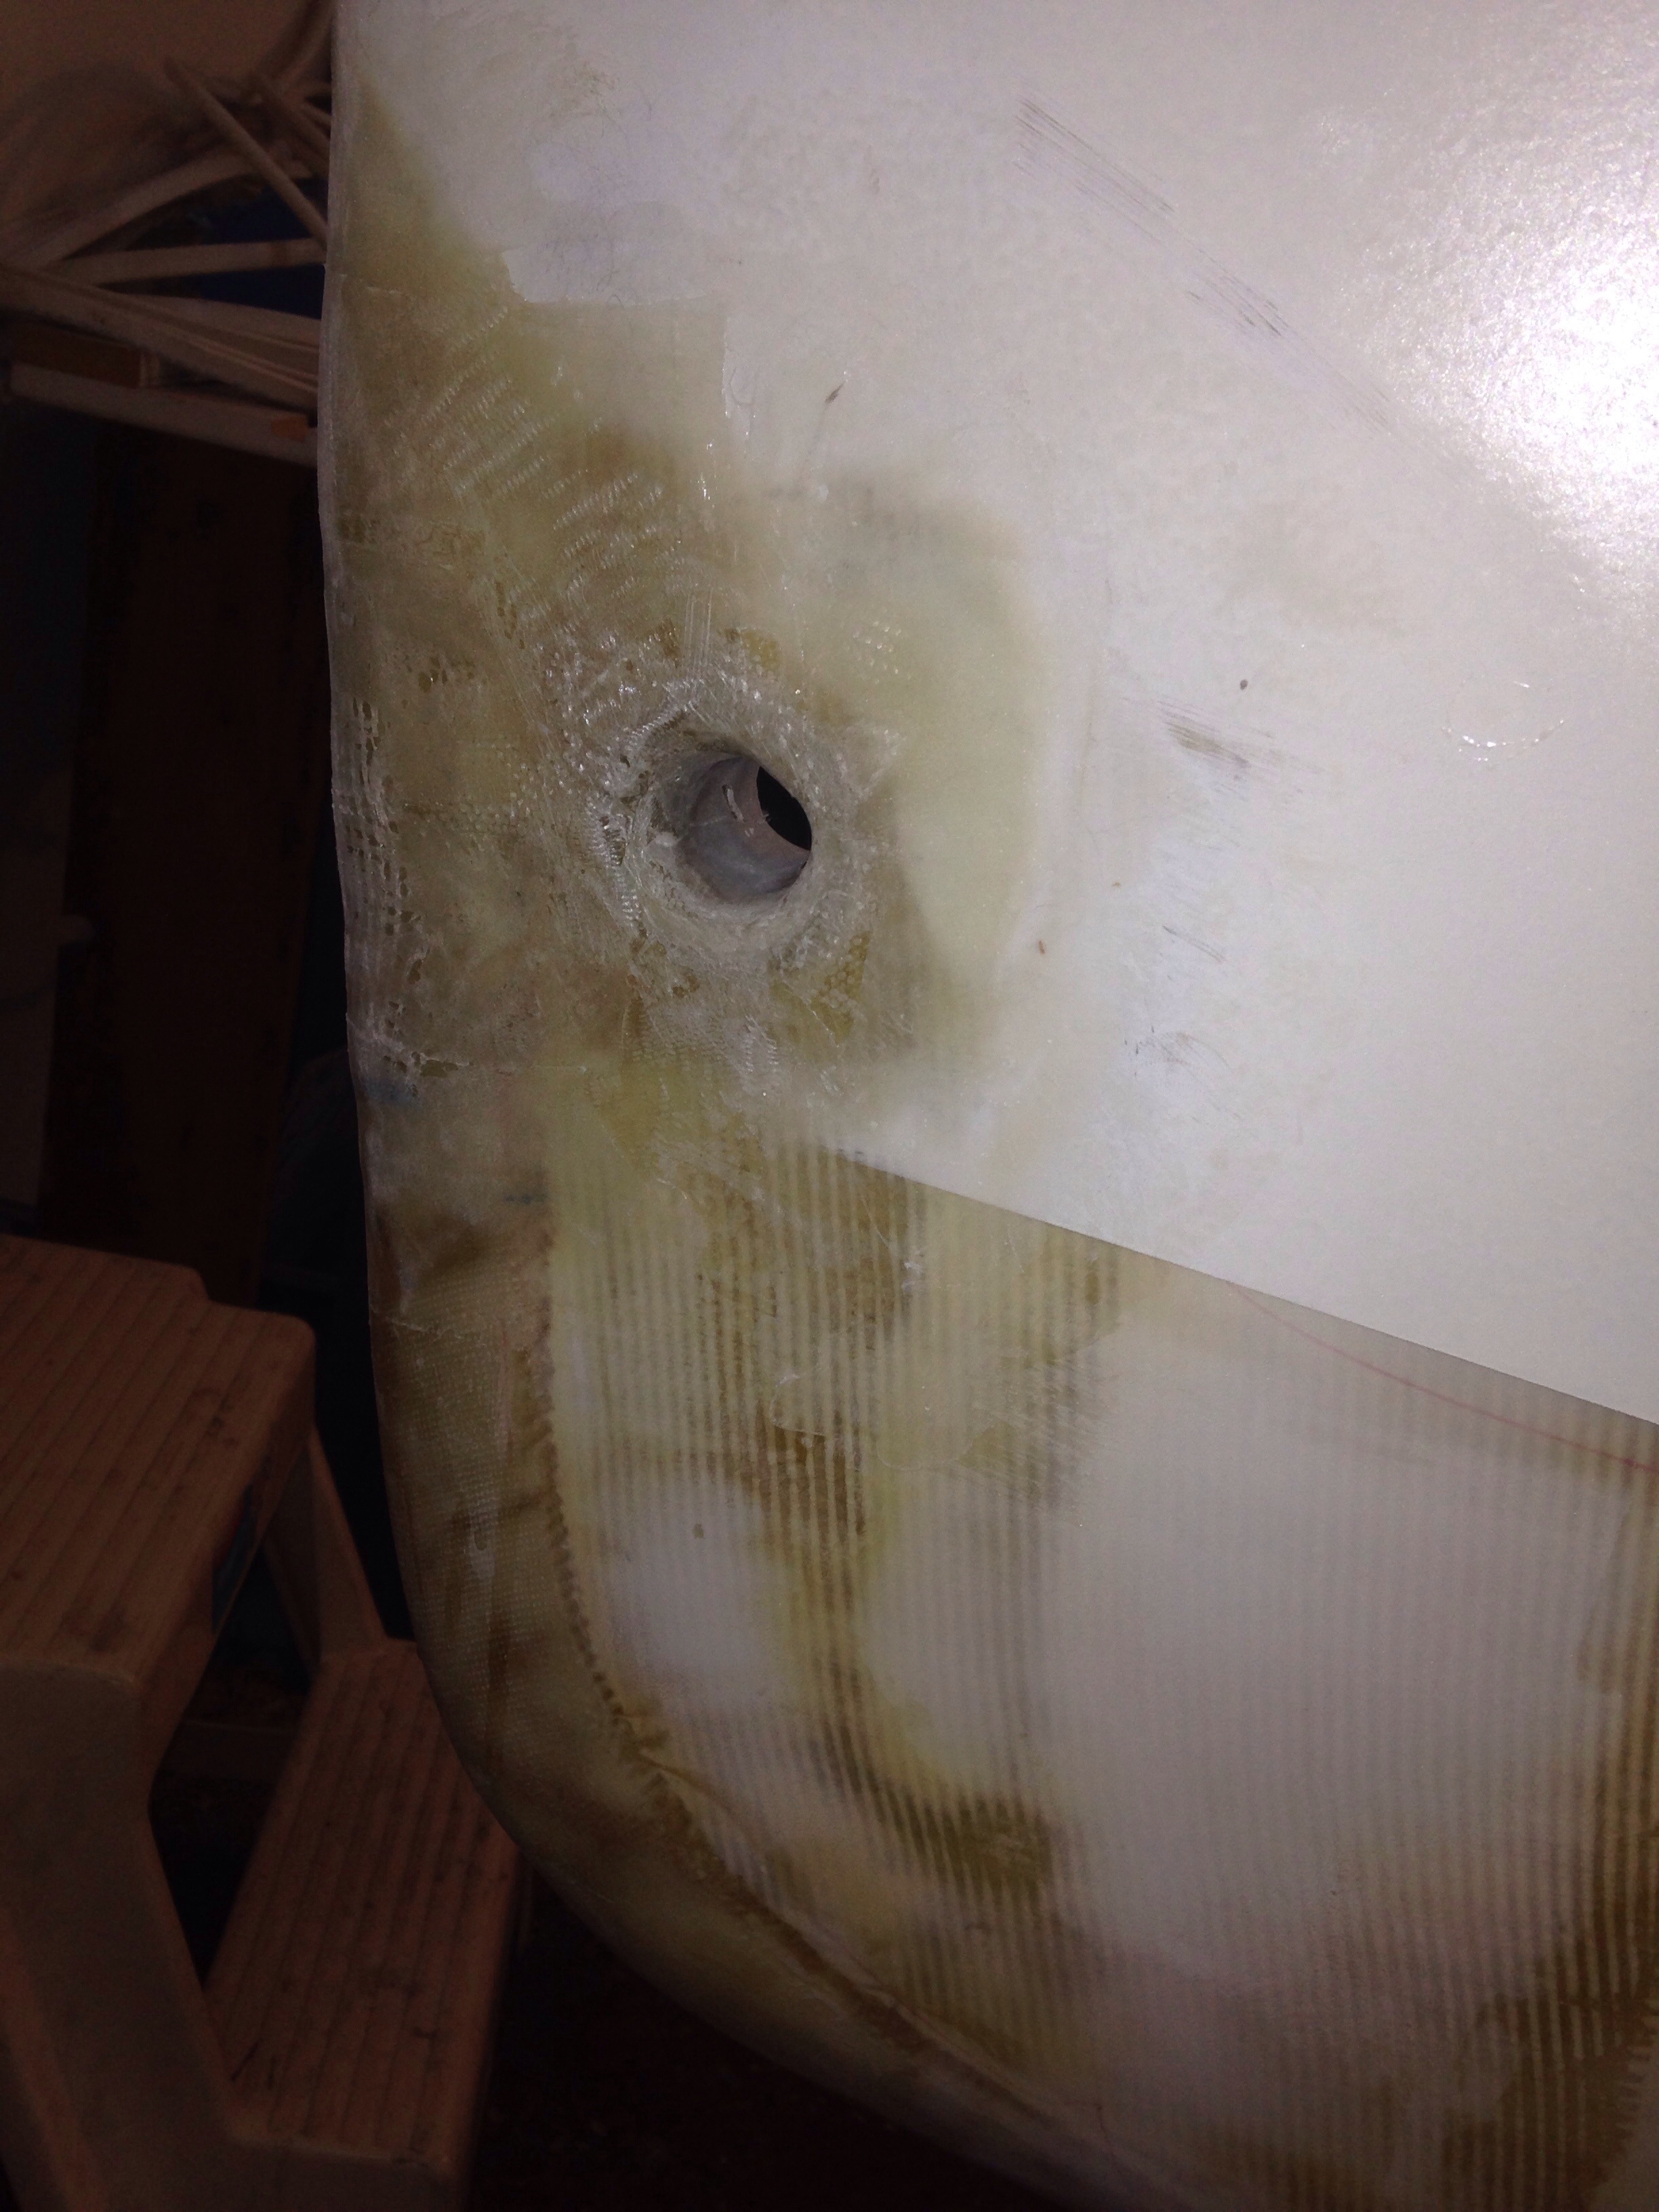
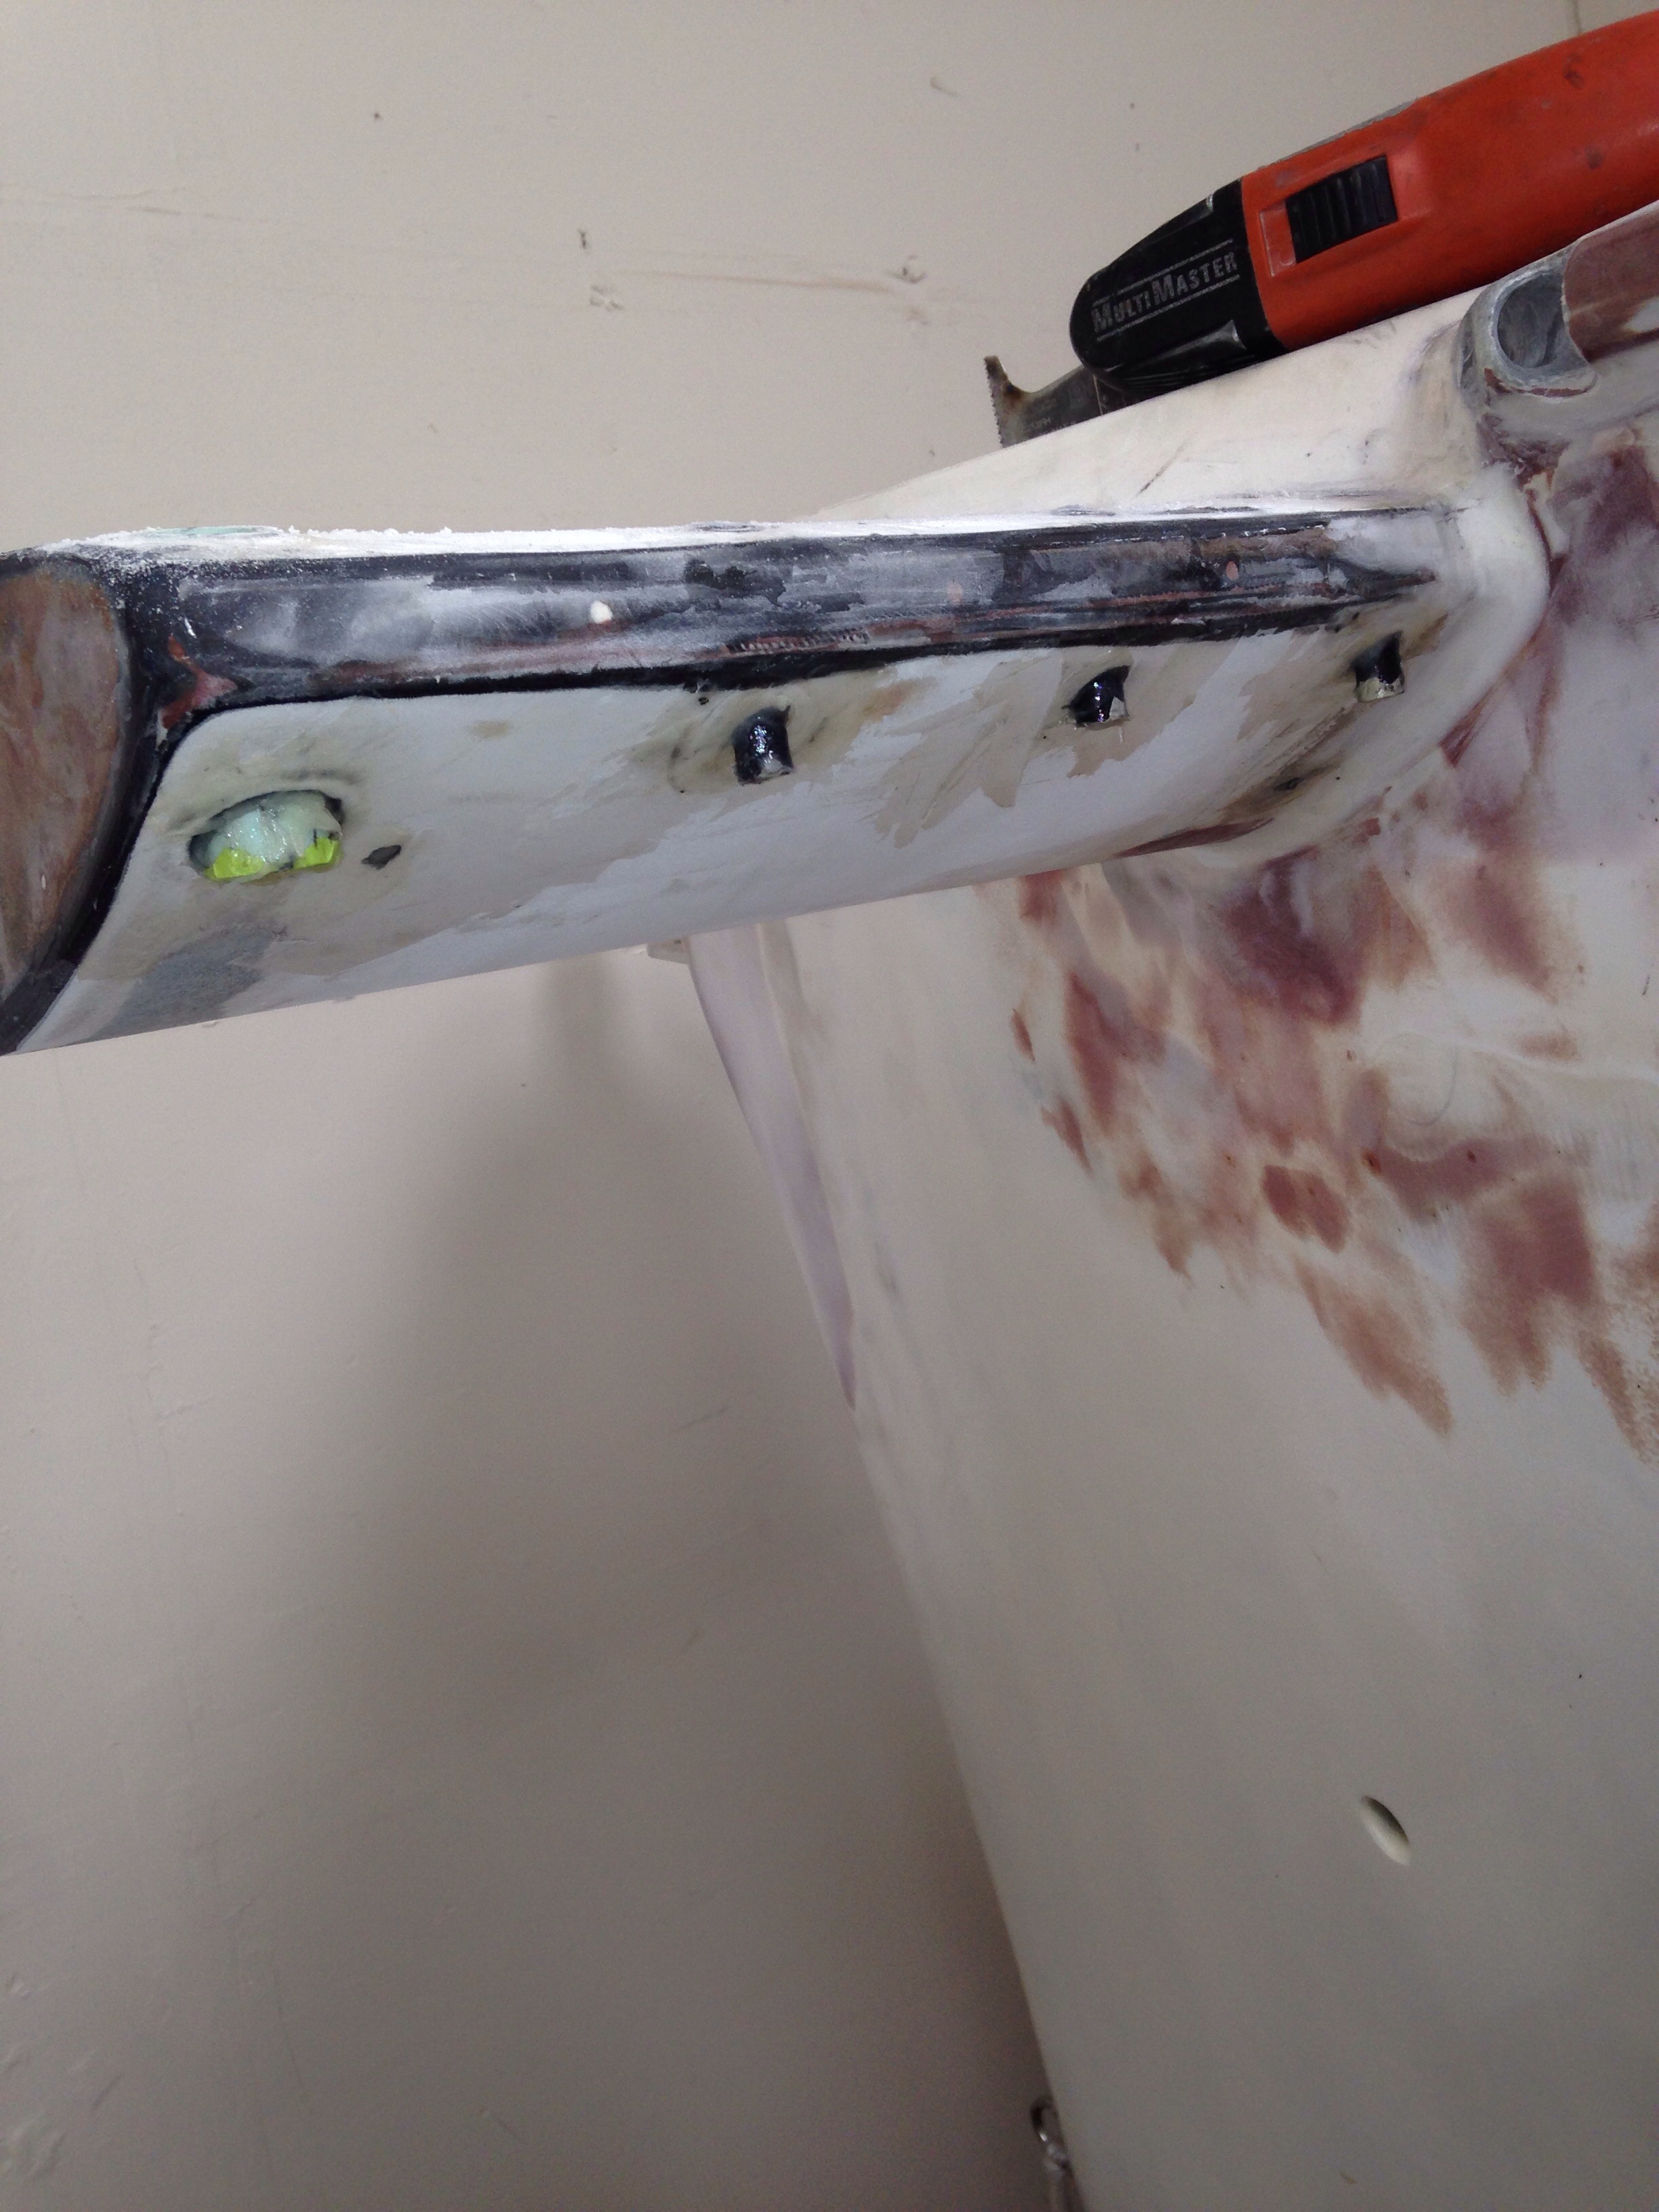
The diesel and water deck pass throughs are on the left, and the grey curve is a trial fit of PVC conduit that will carry the 110v shore power to the inlet on the right.

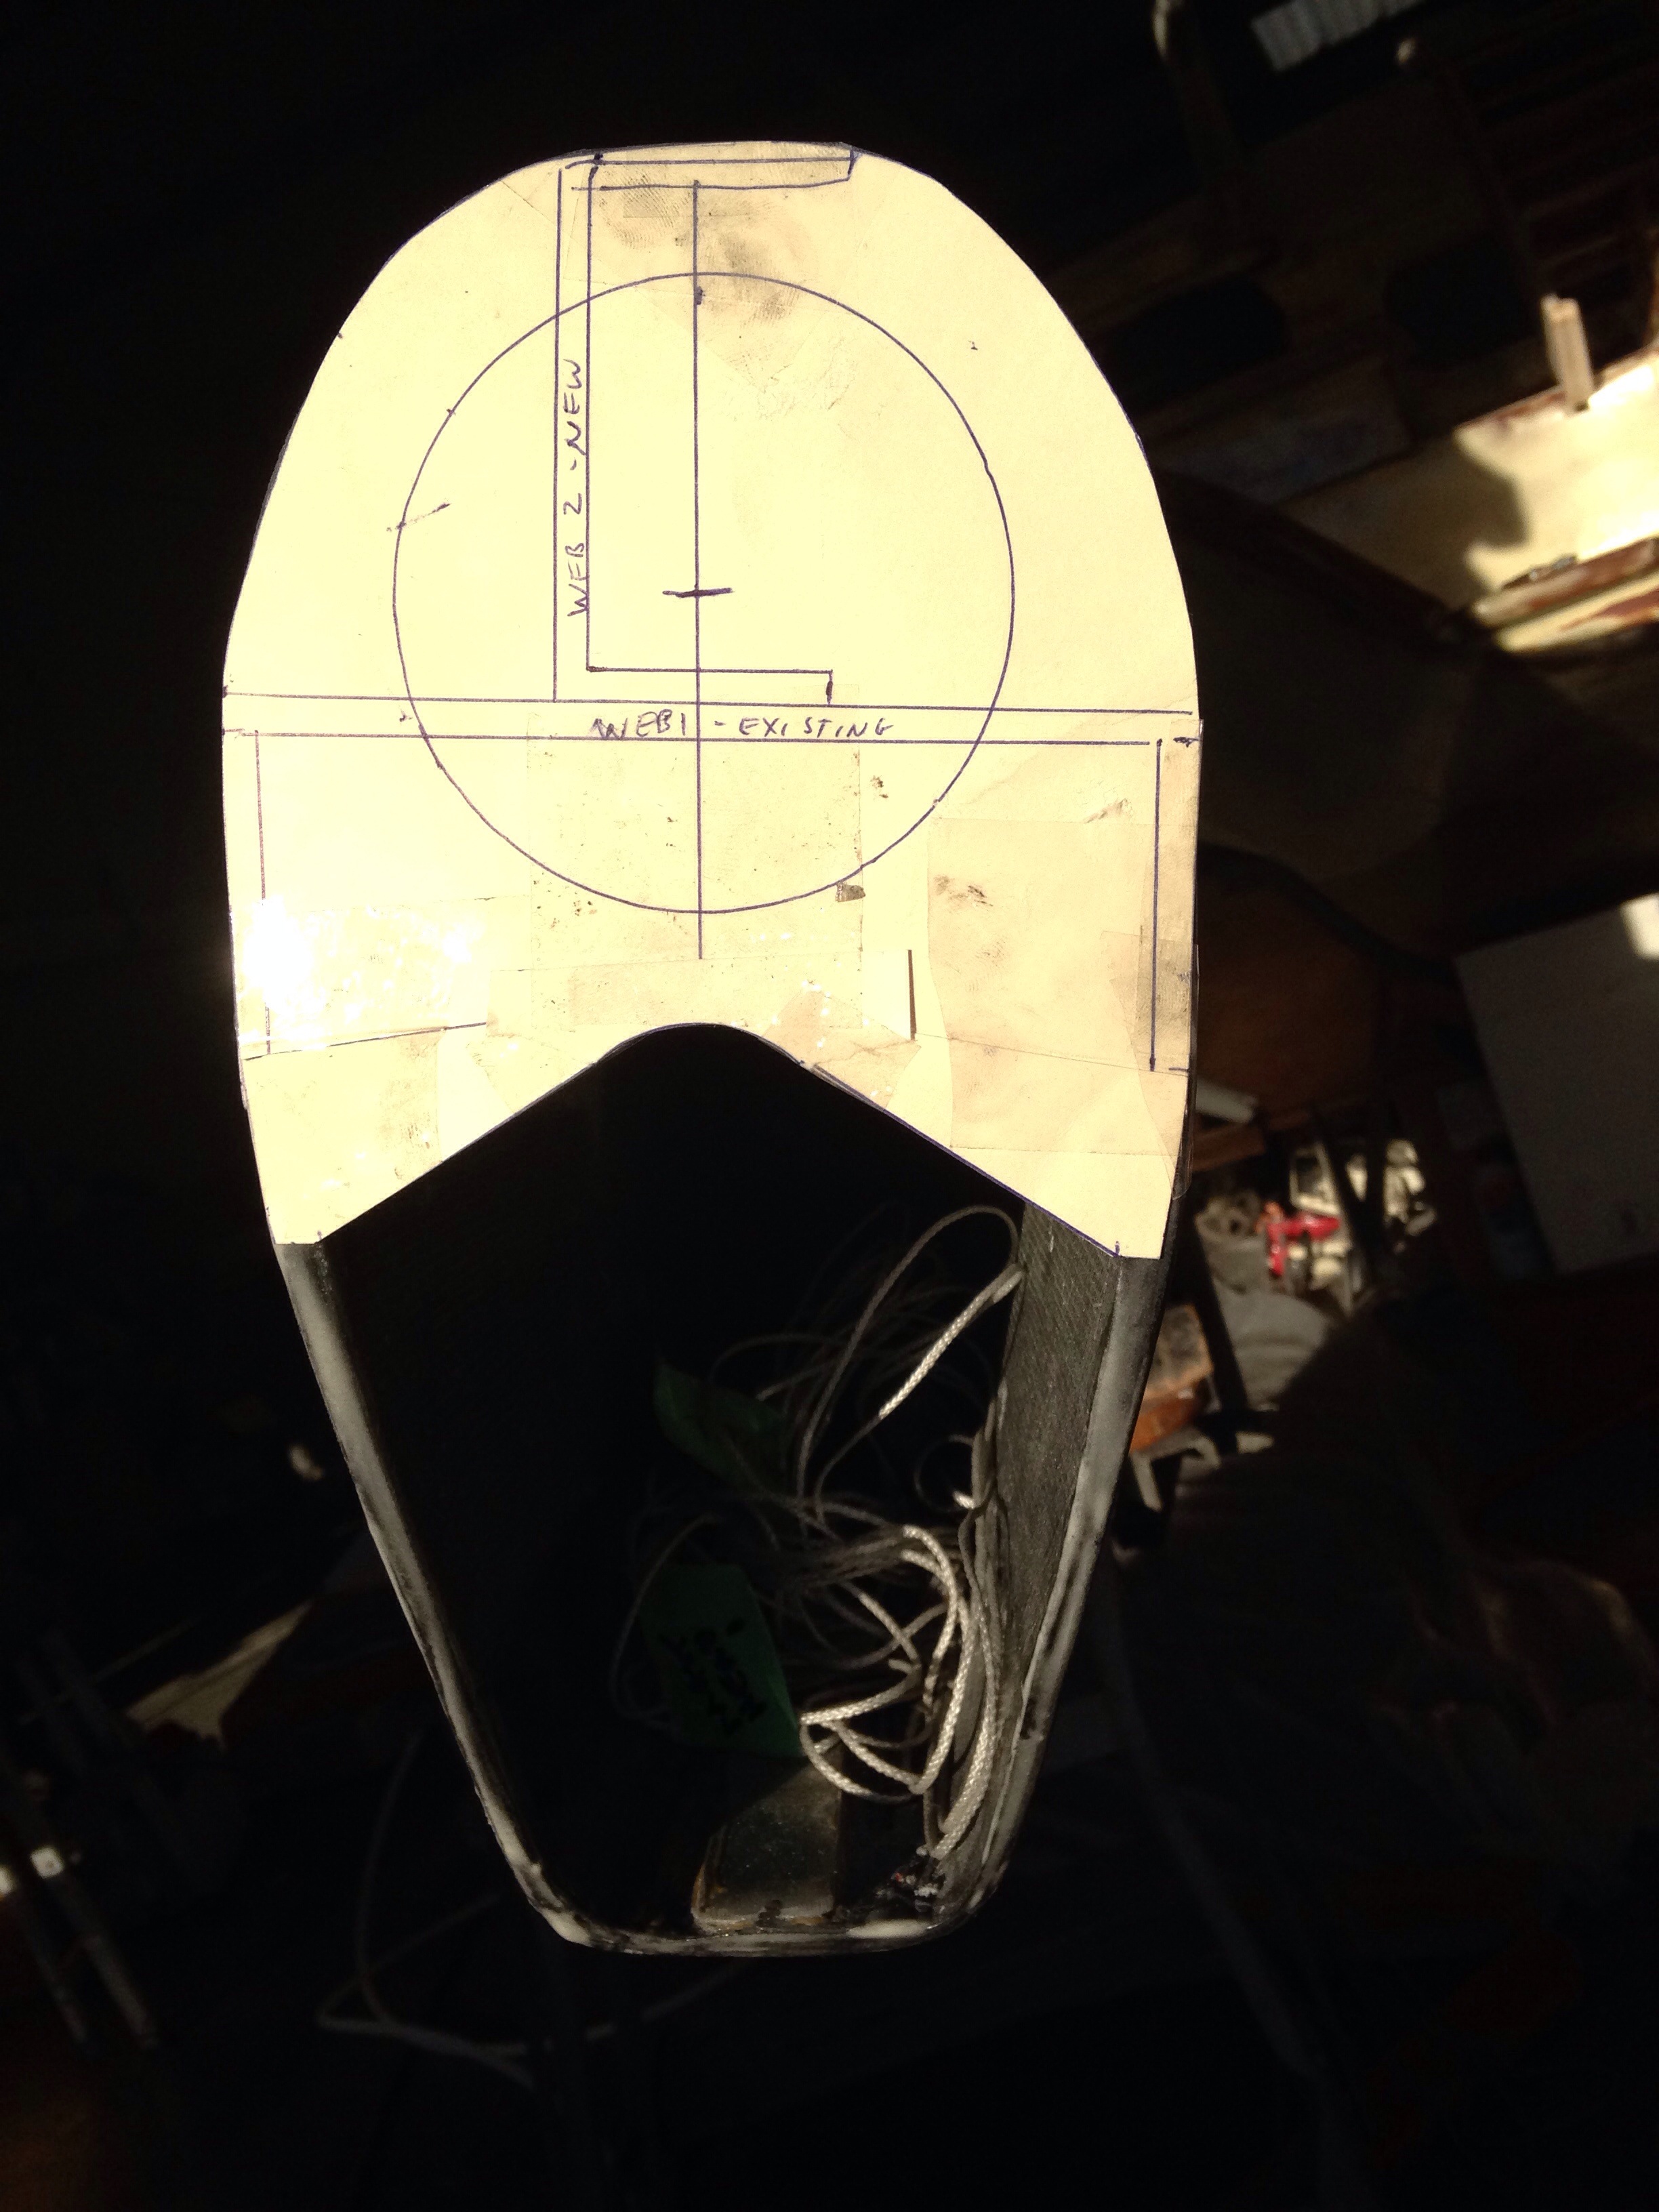
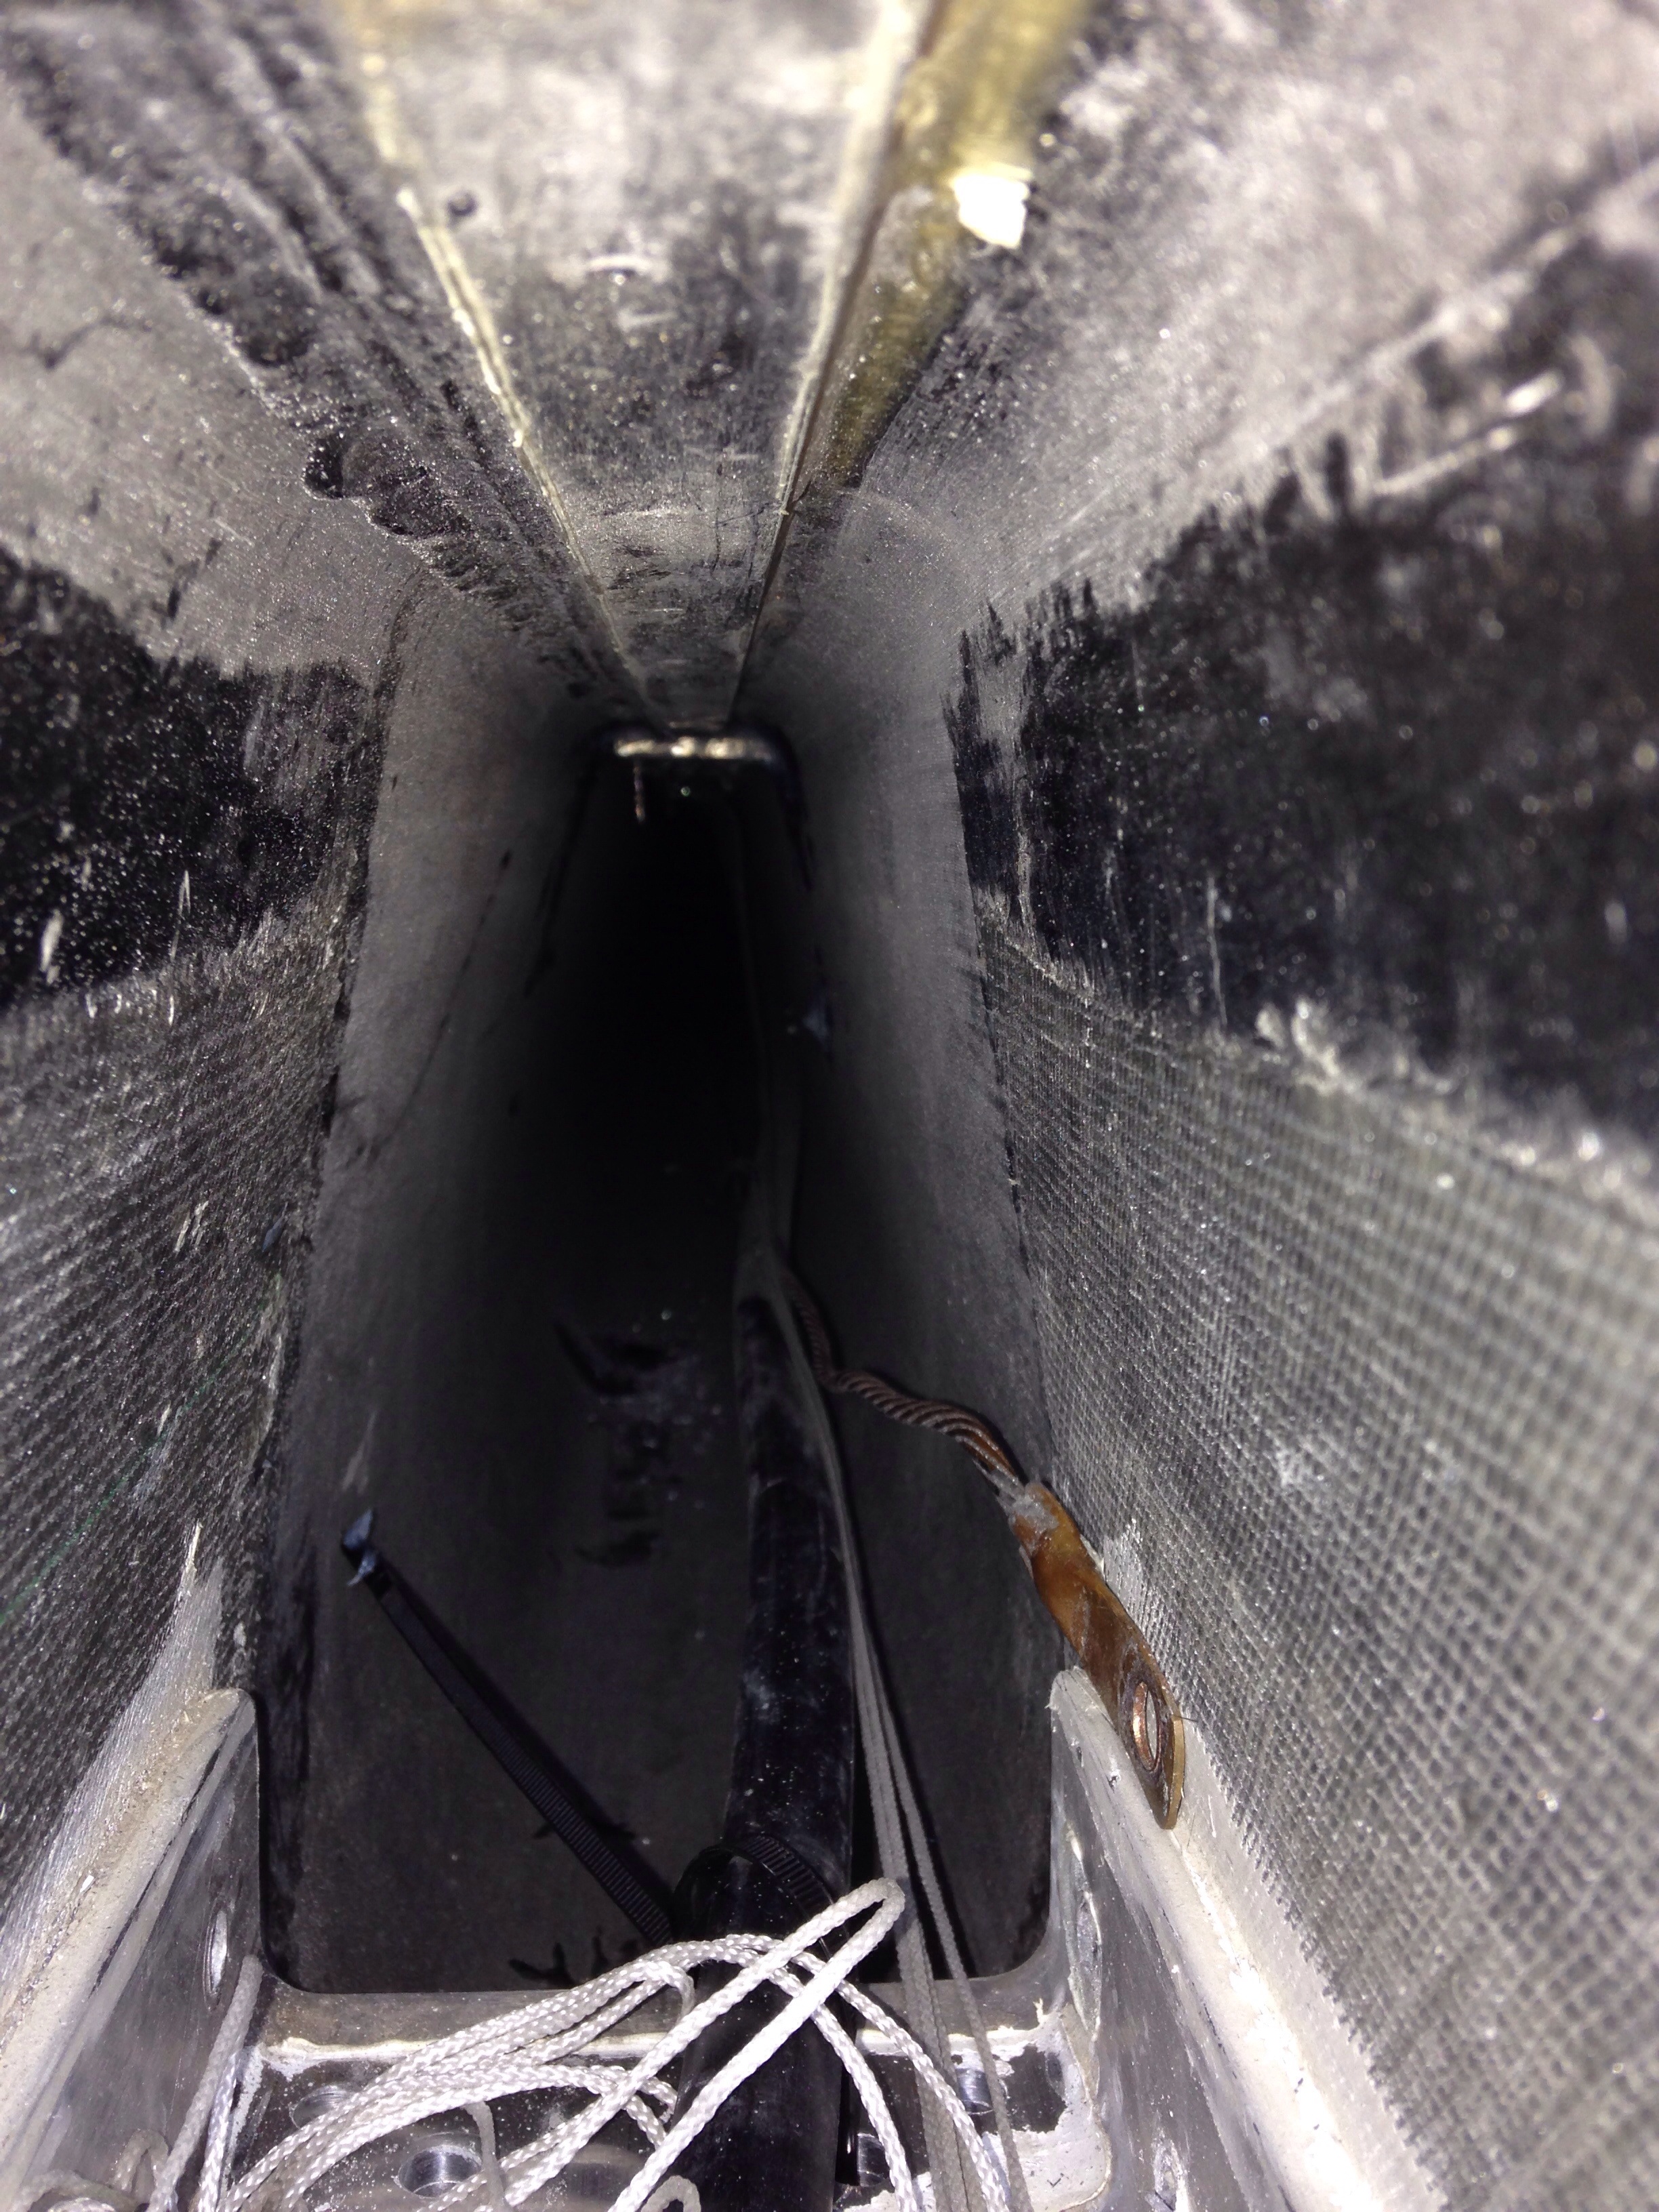
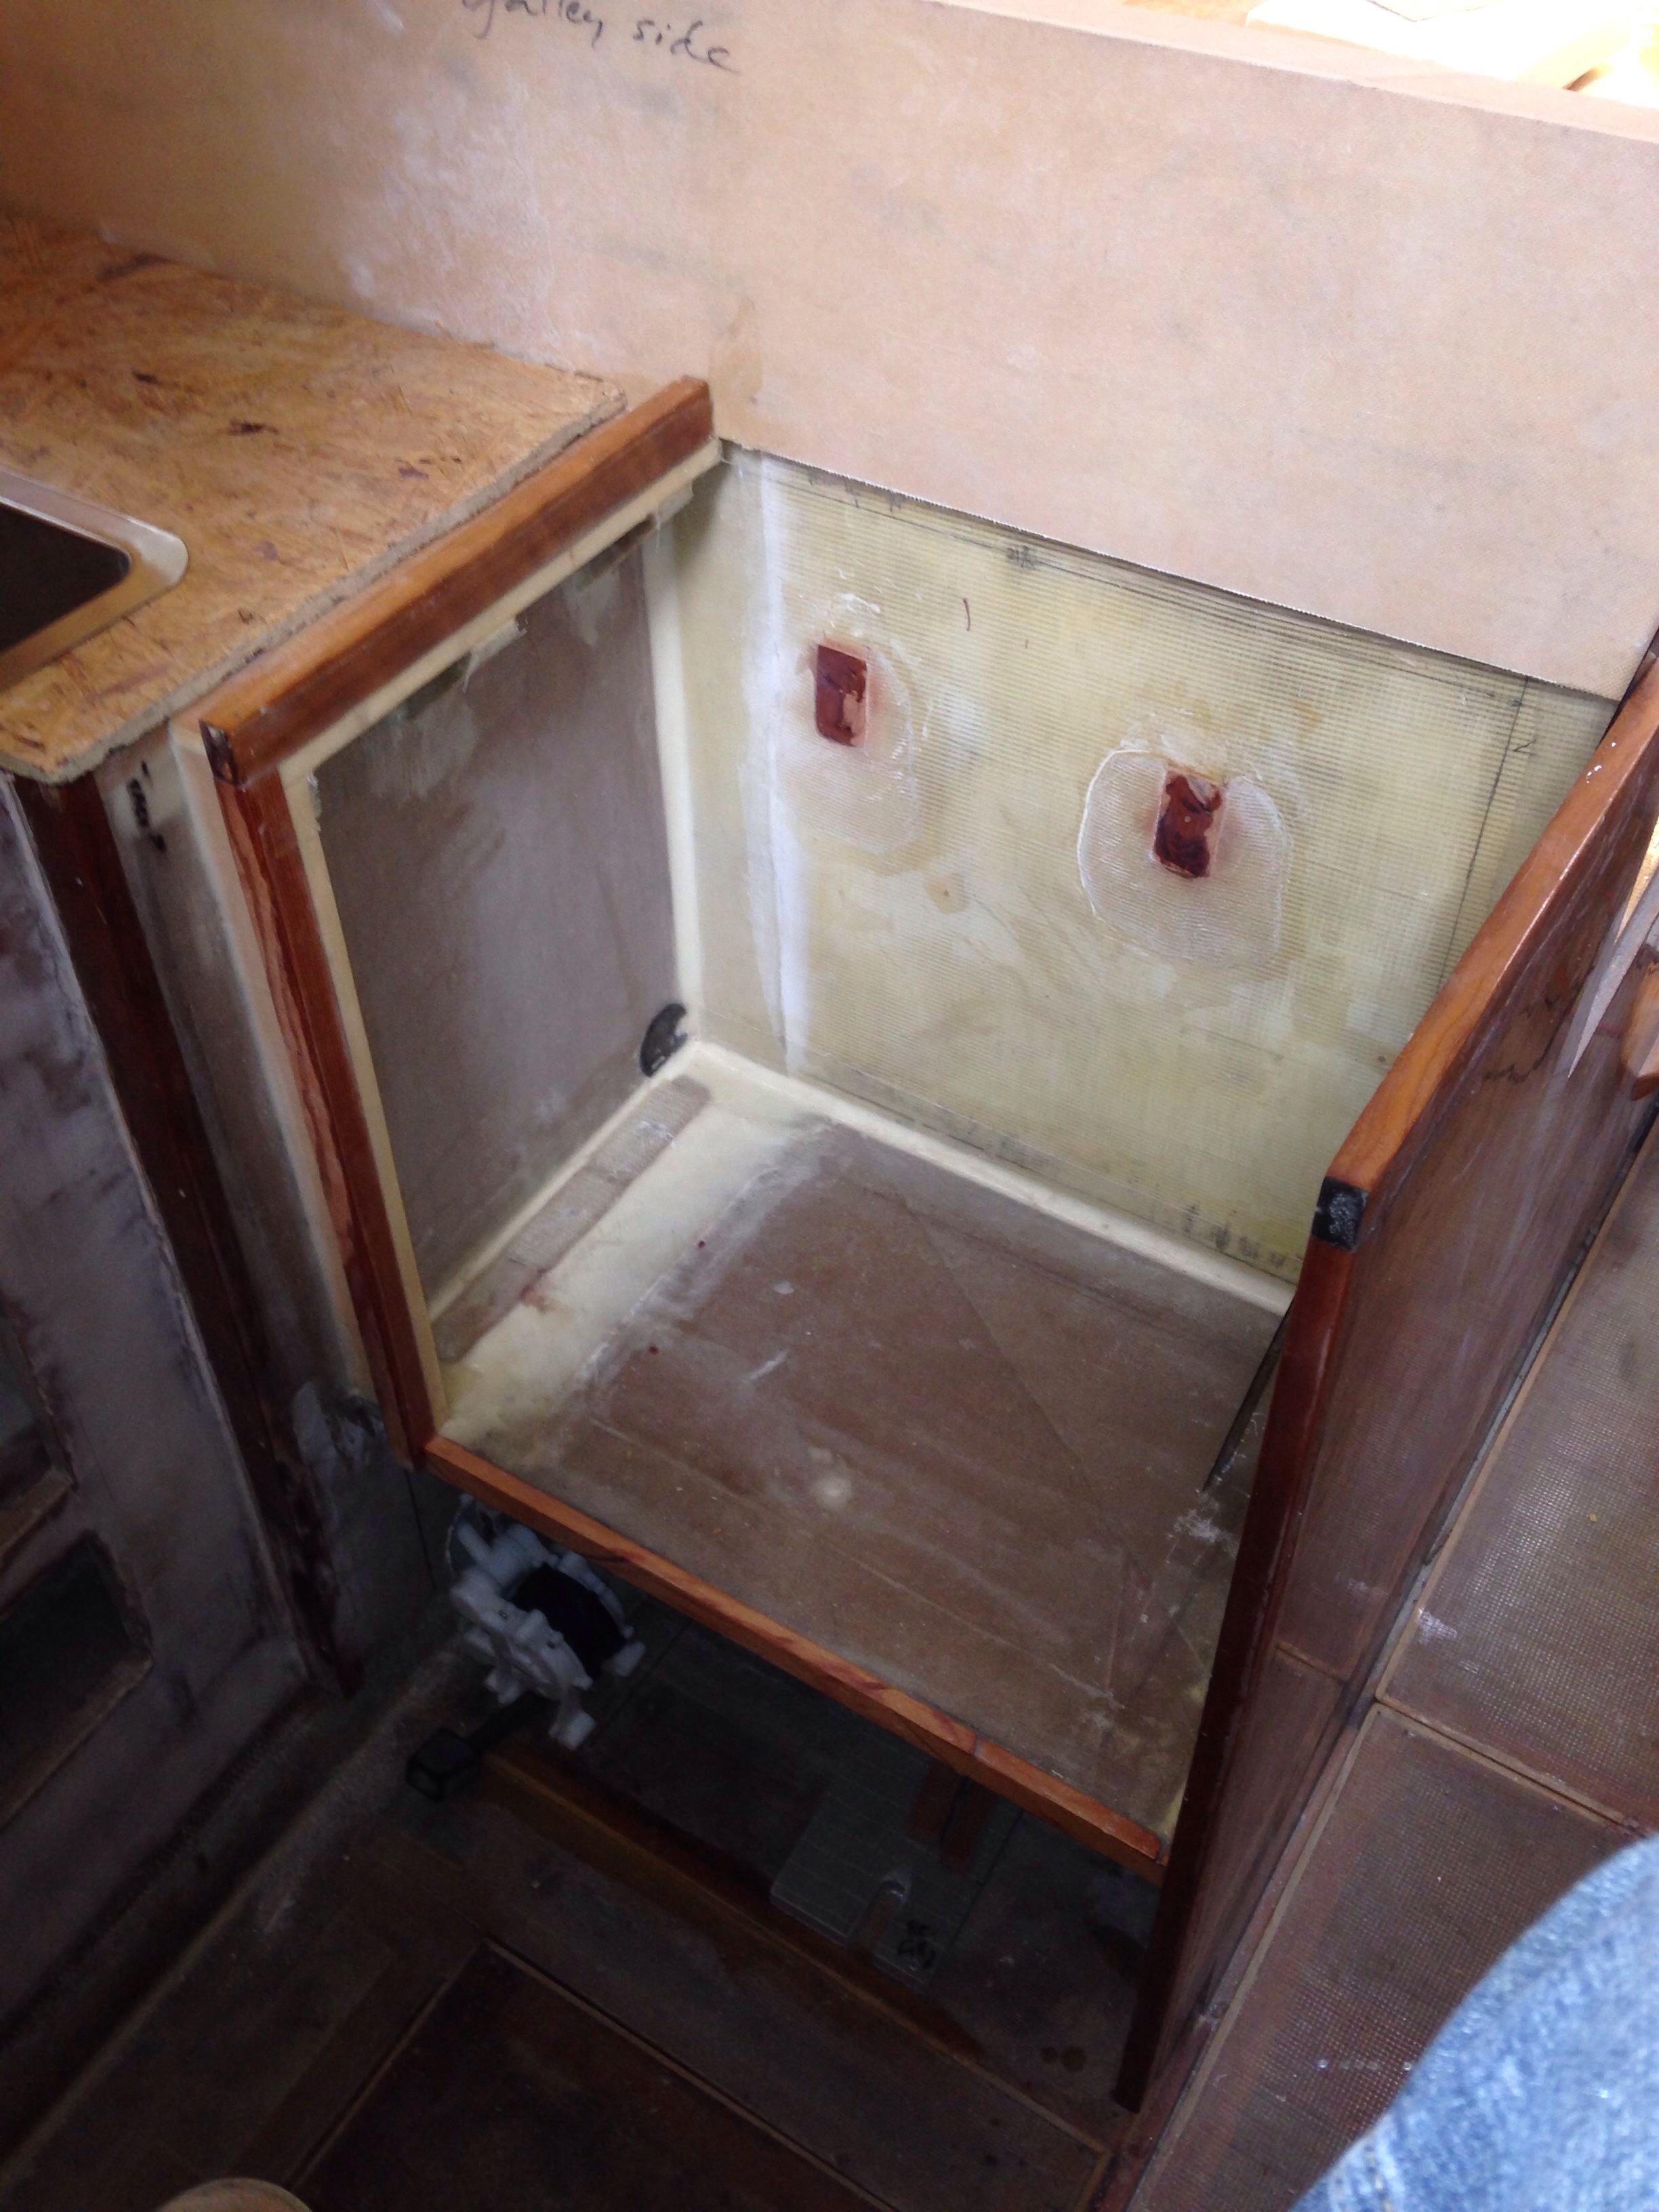
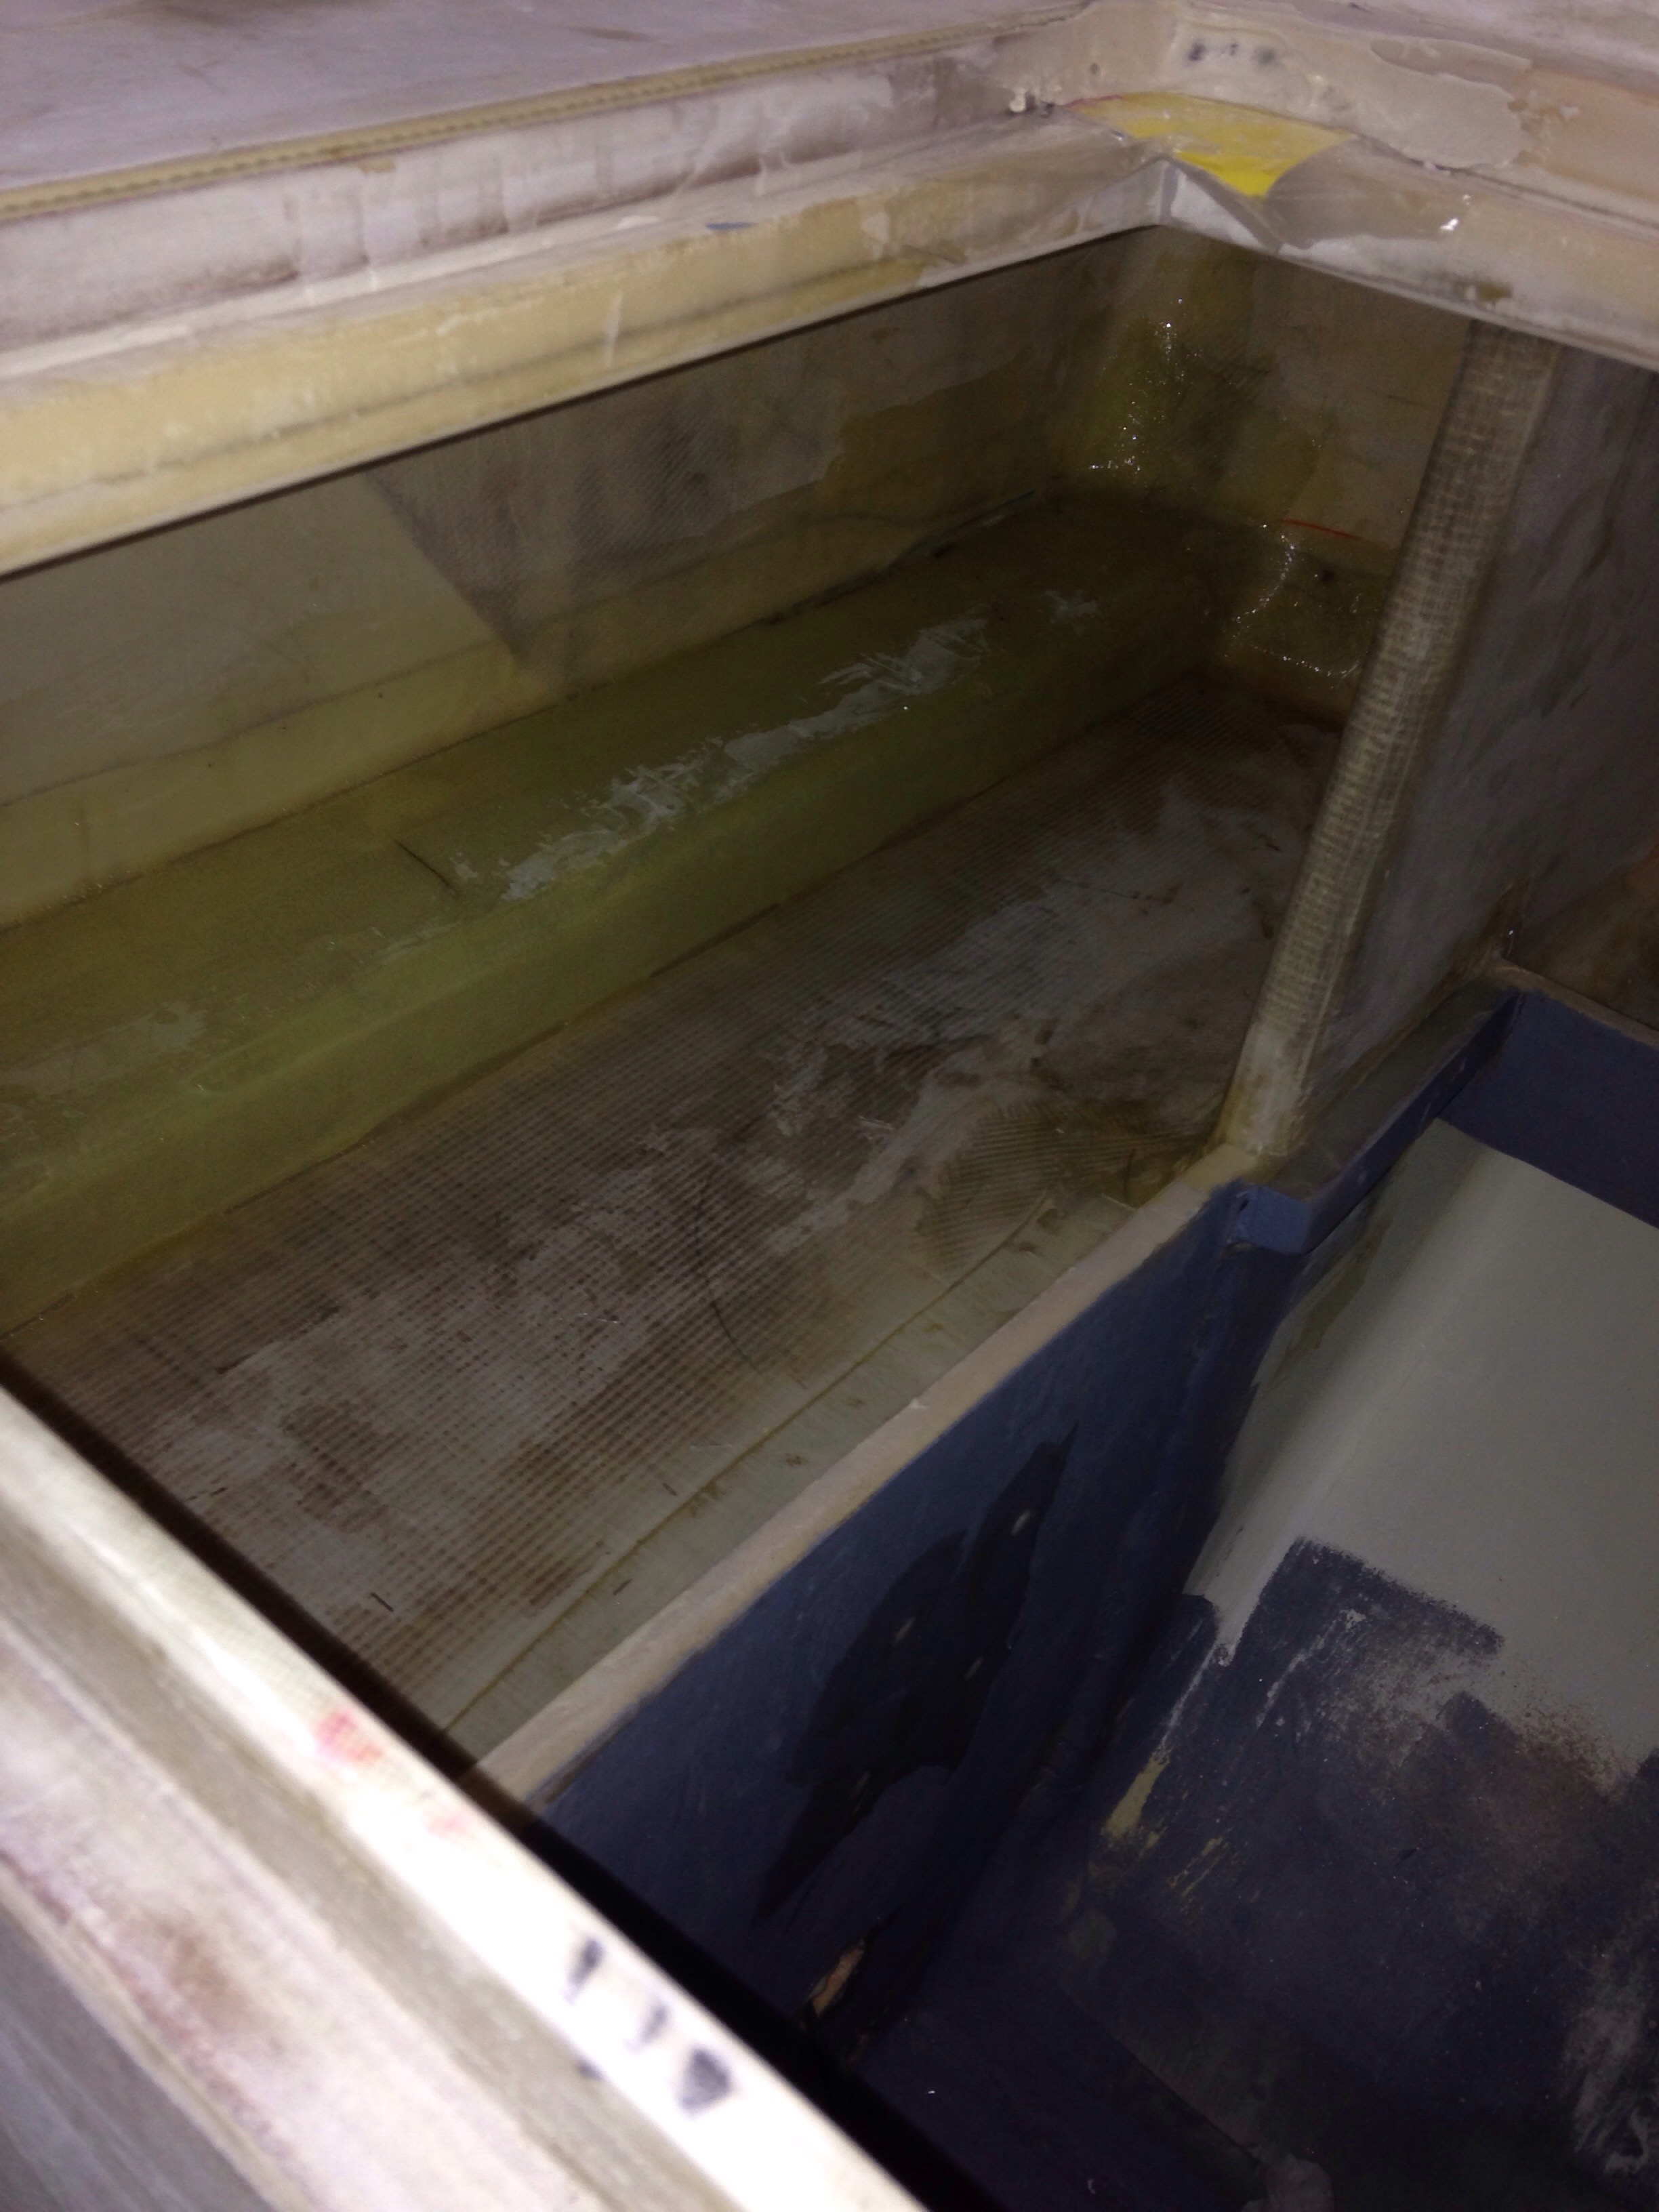
The lazarette currently has the main cockpit drain entering and exiting its aft edge.

20160110-205847.jpg

20160110-205909.jpg
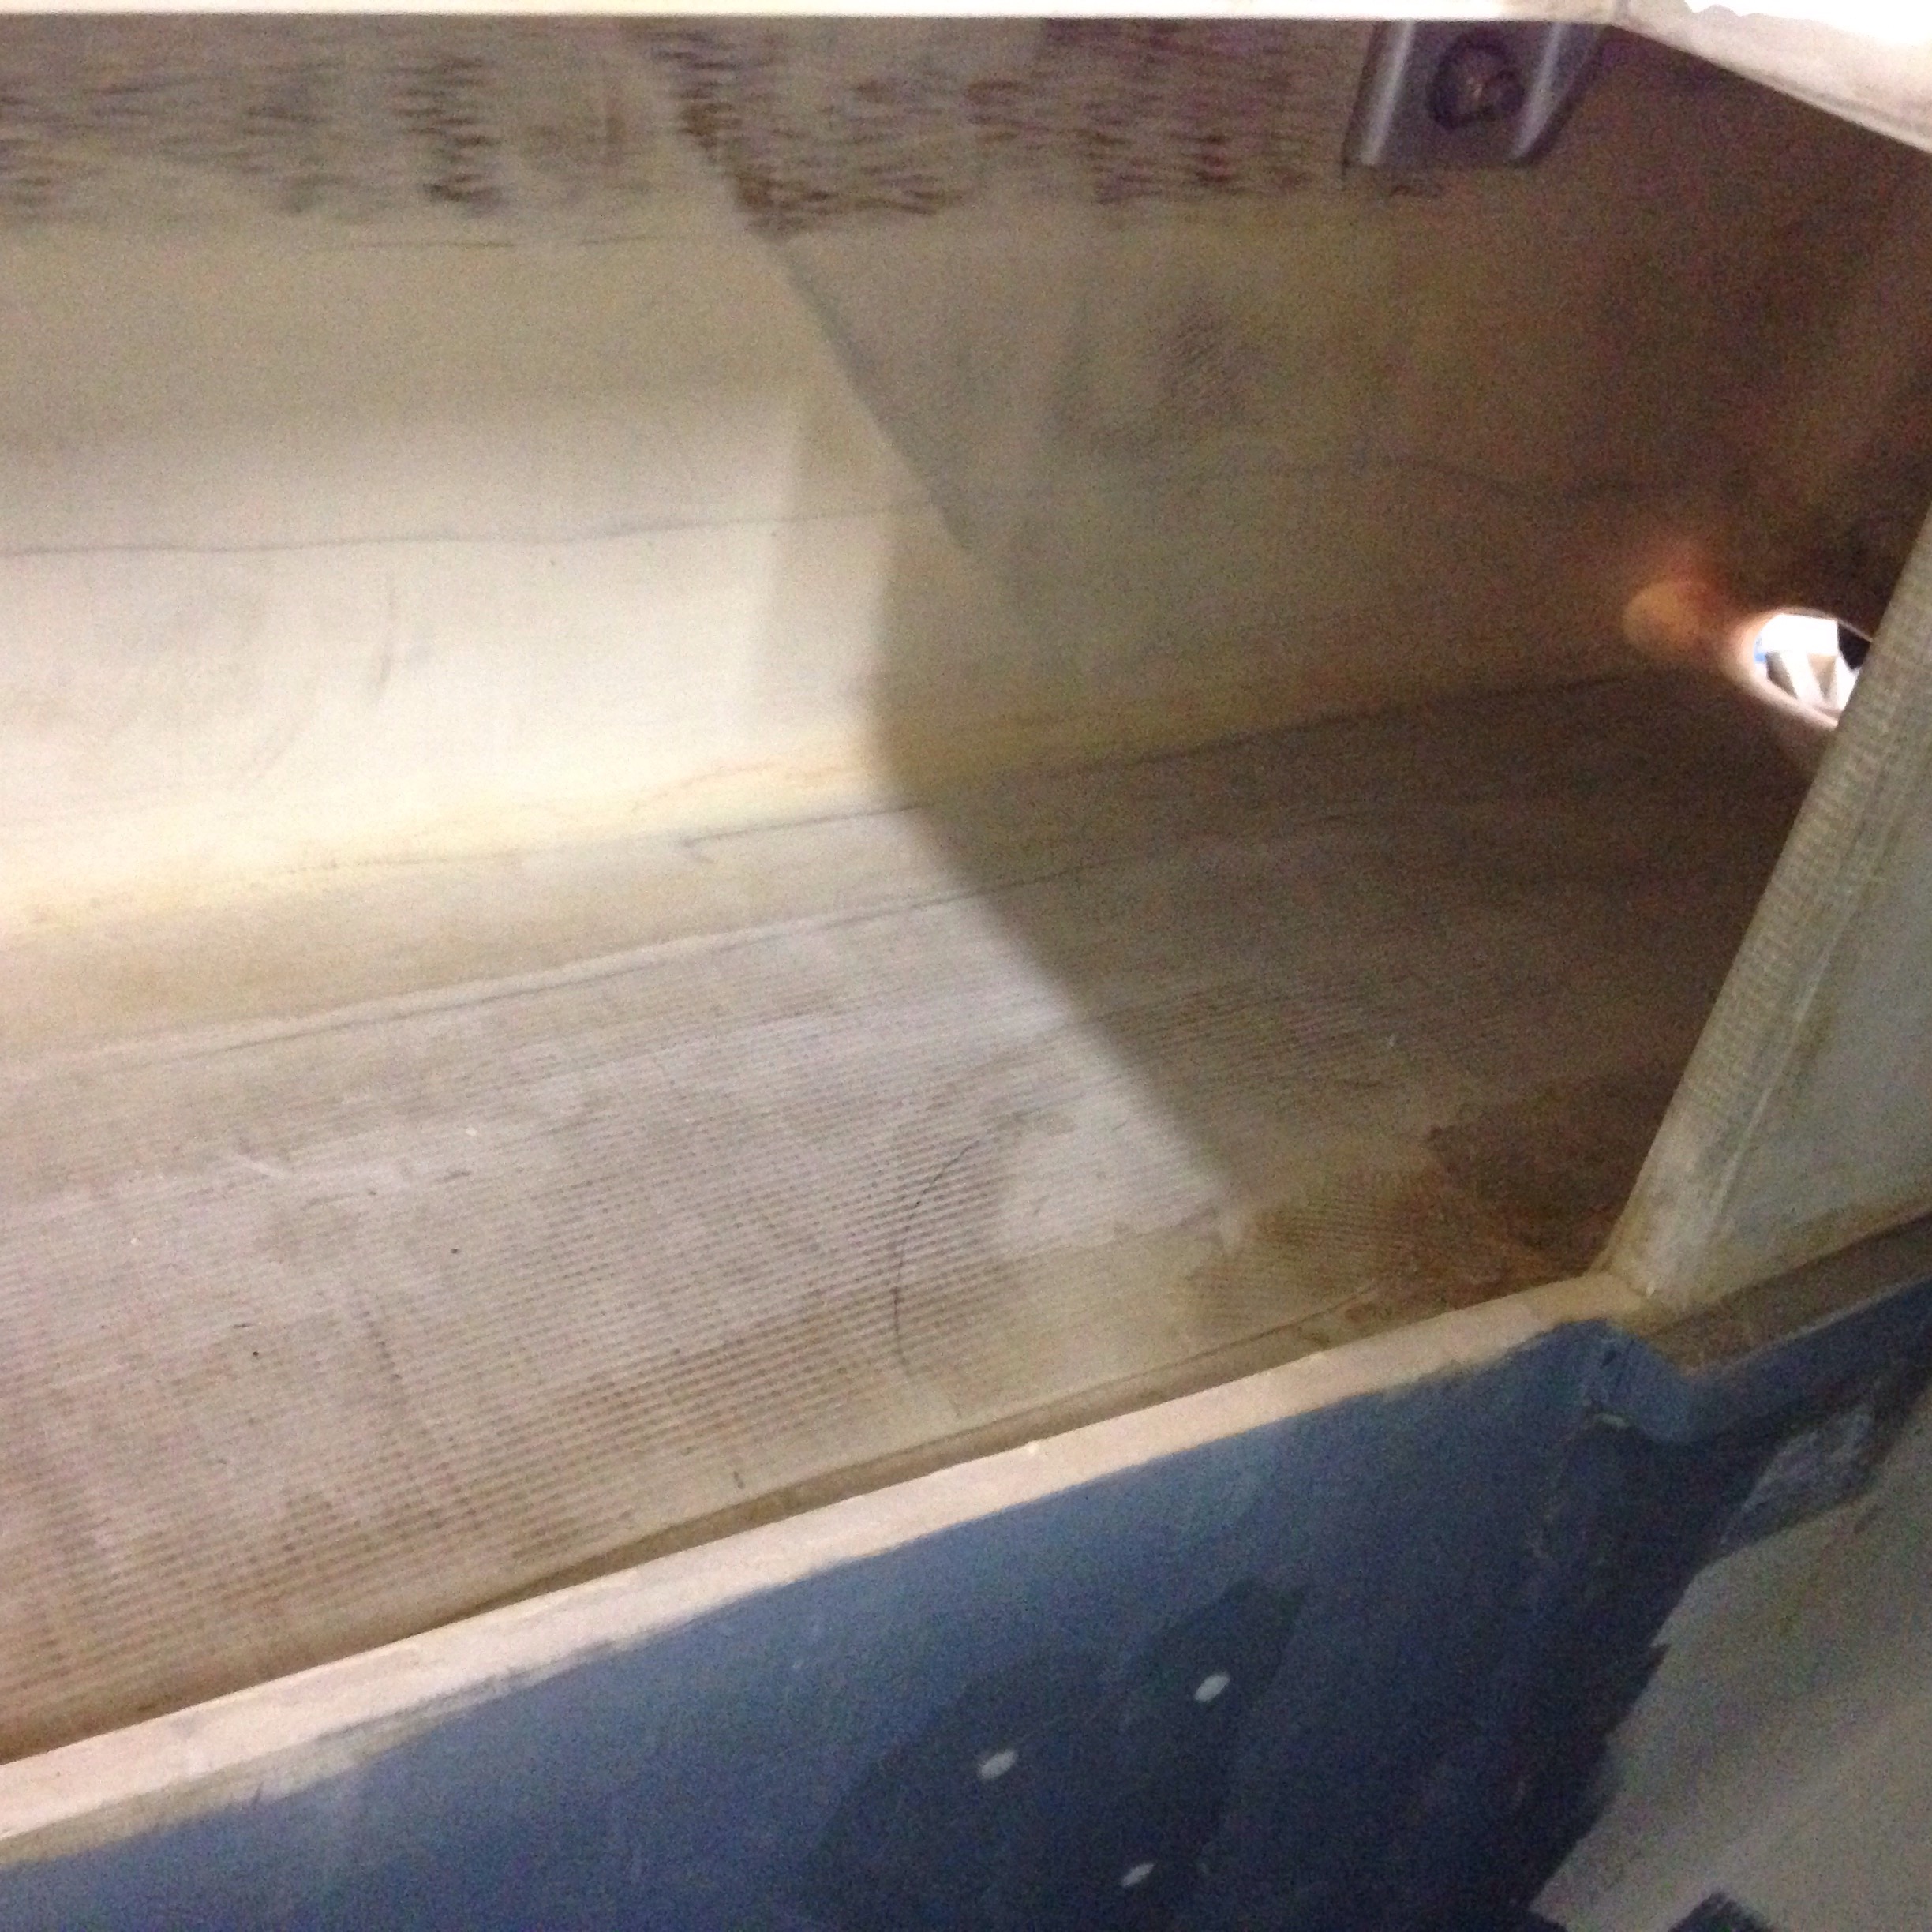
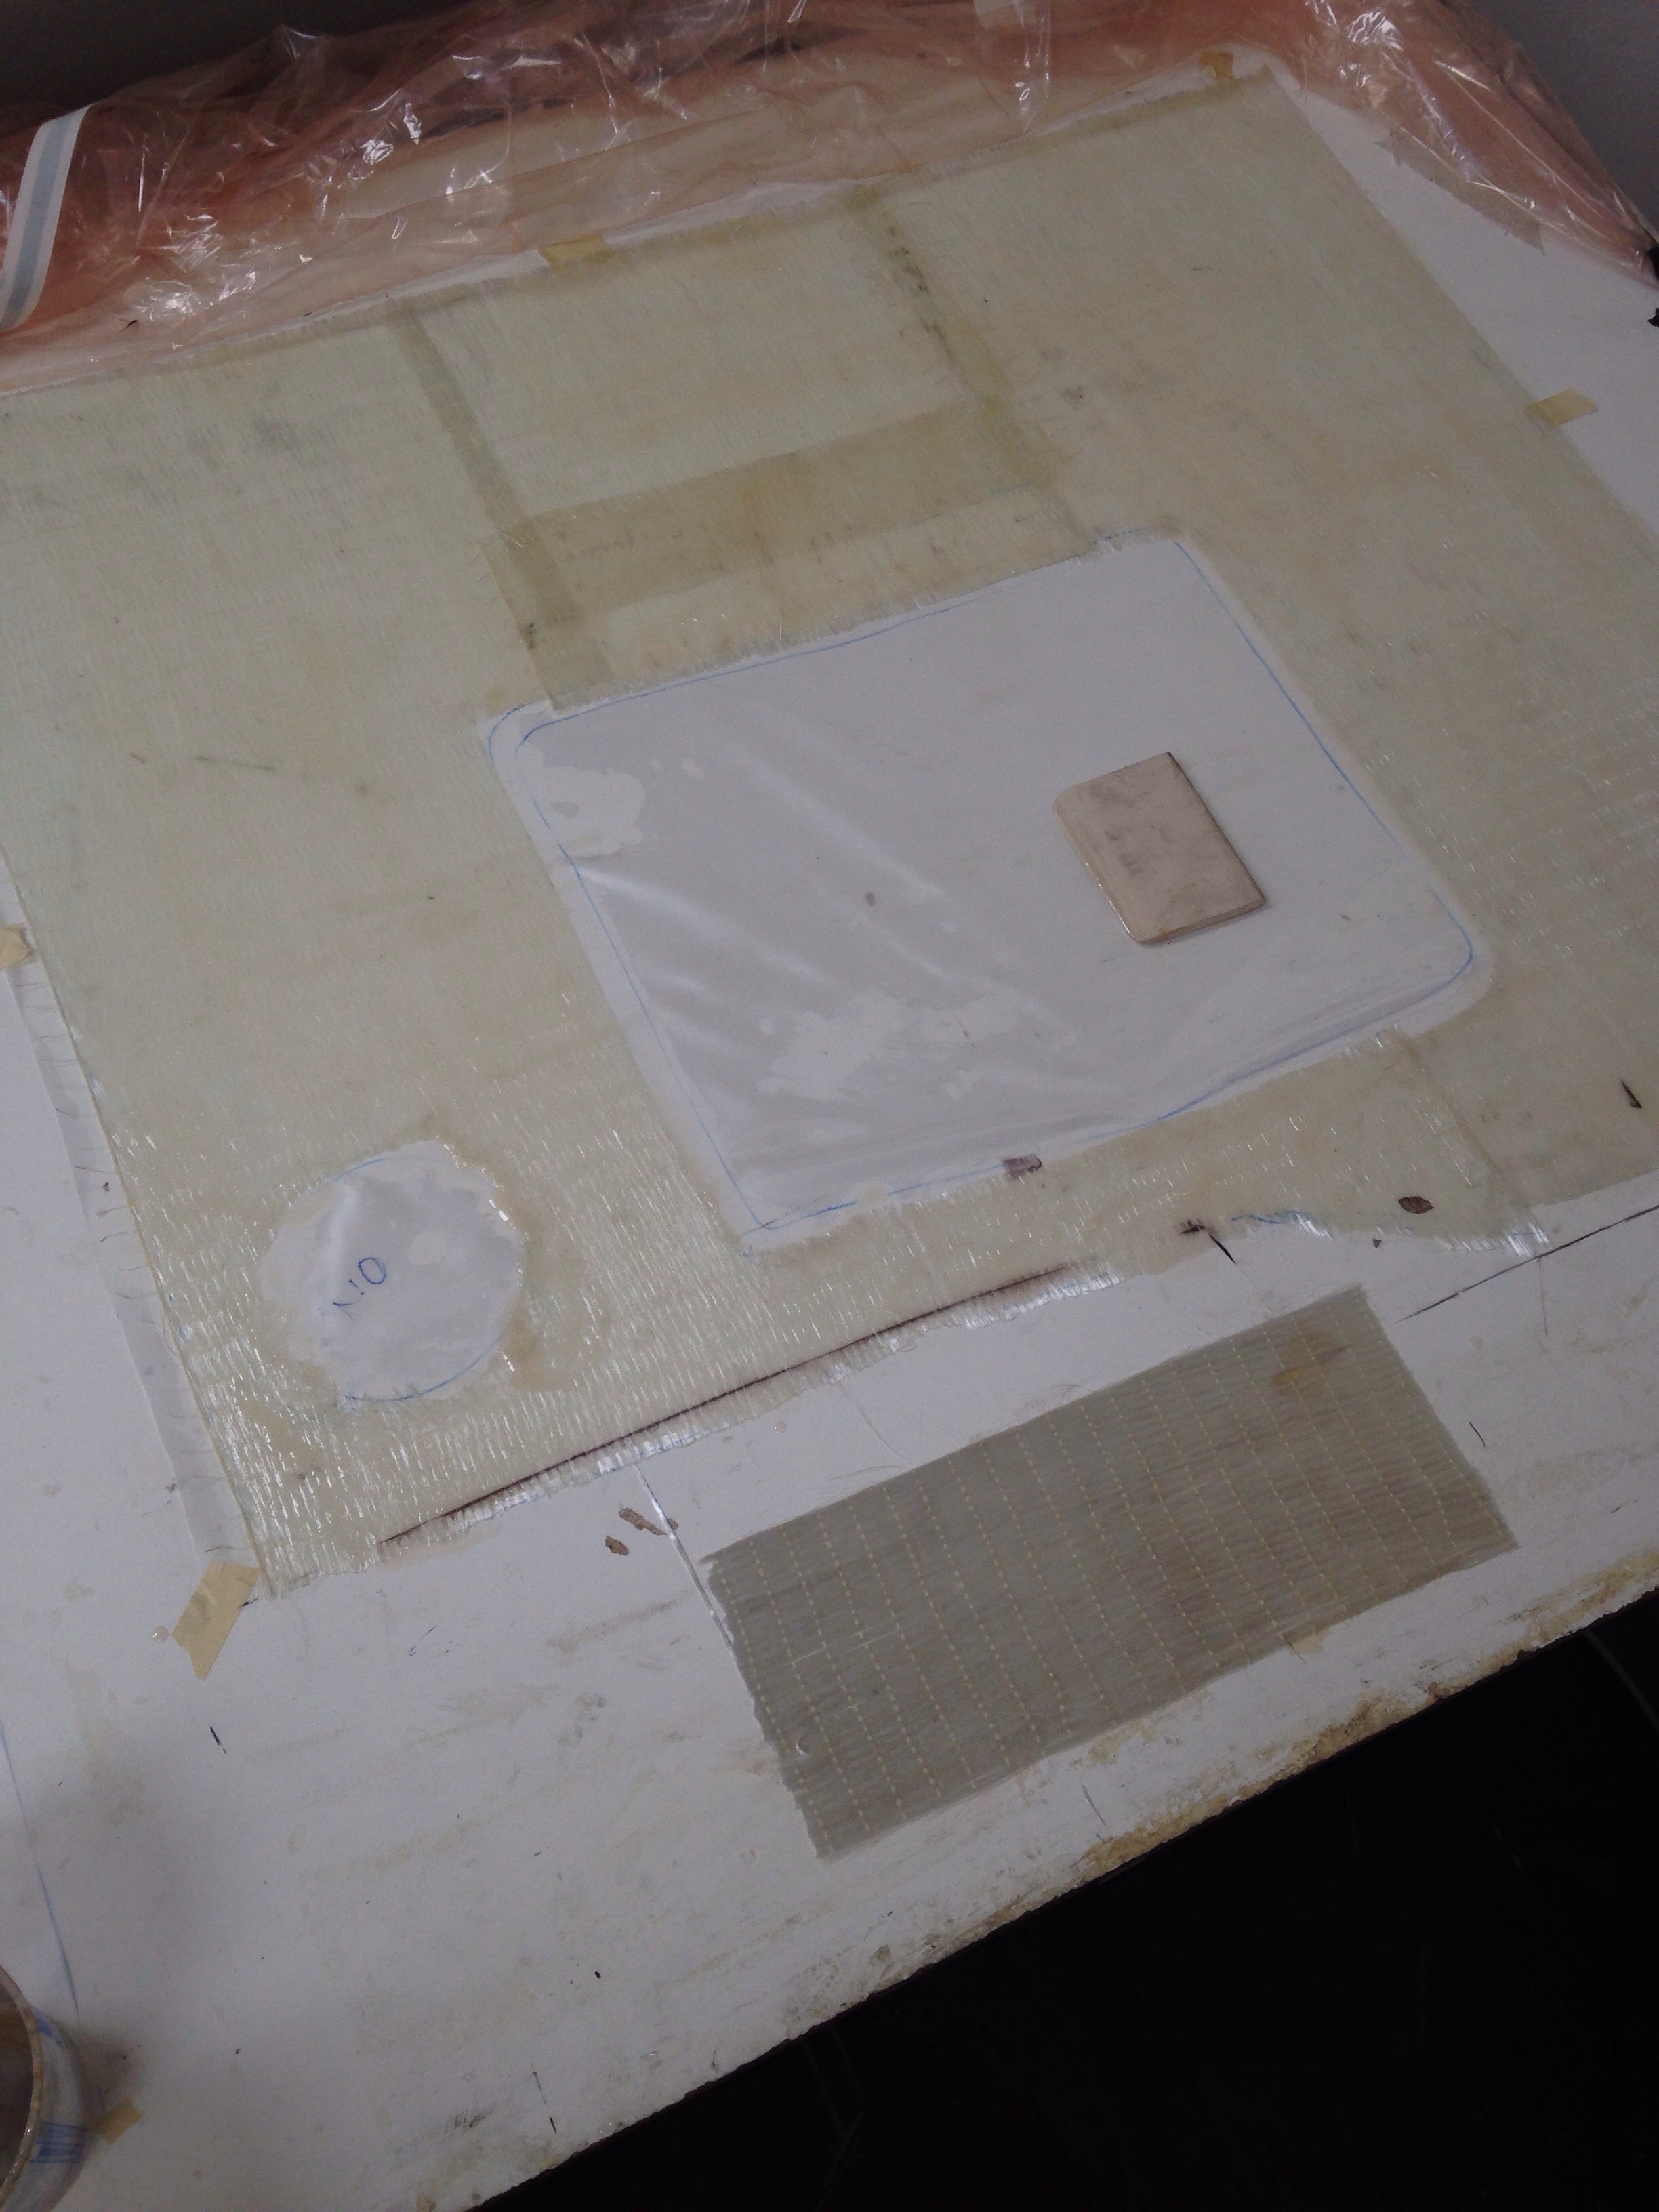
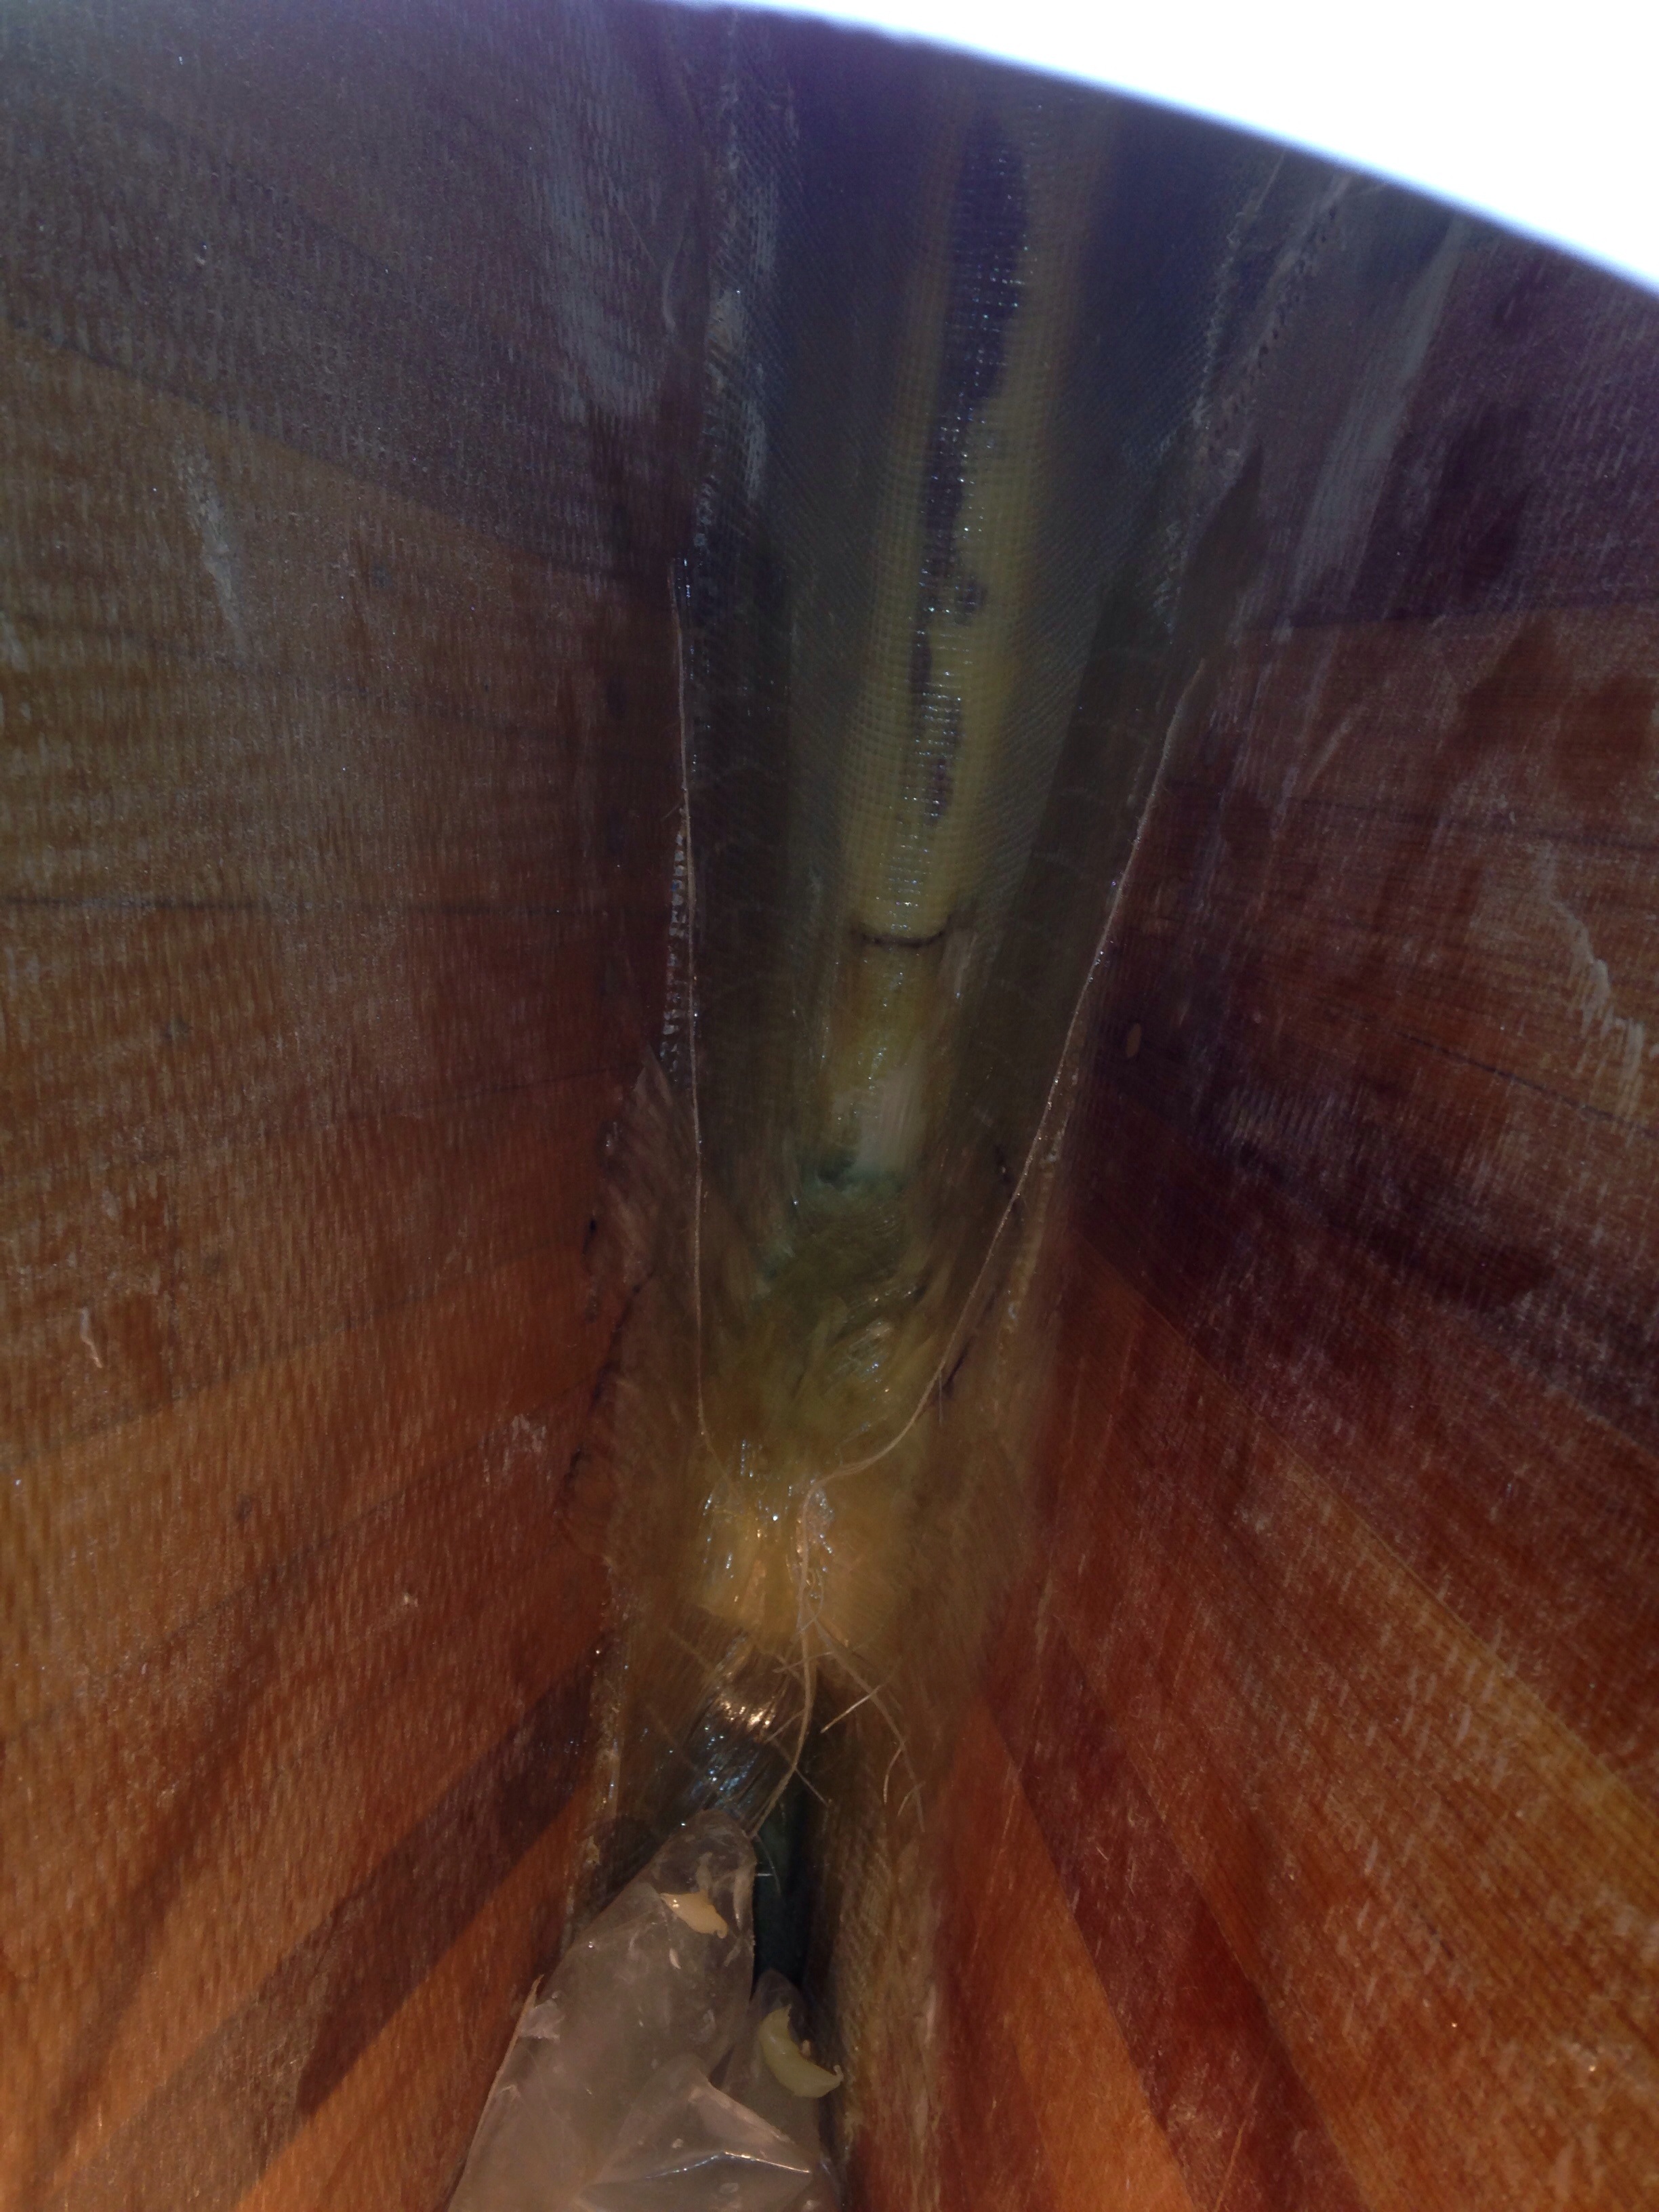
That needs a dedicated drain tube, especially since the propane well was added in this compartment. And there’s already a second overboard drain for the lazarette on its forward hull edge. So here’s a simple 90degree form with non-stick tape and peel ply laid in before the glass channel is made.

20160111-223906.jpg

20160111-223929.jpg
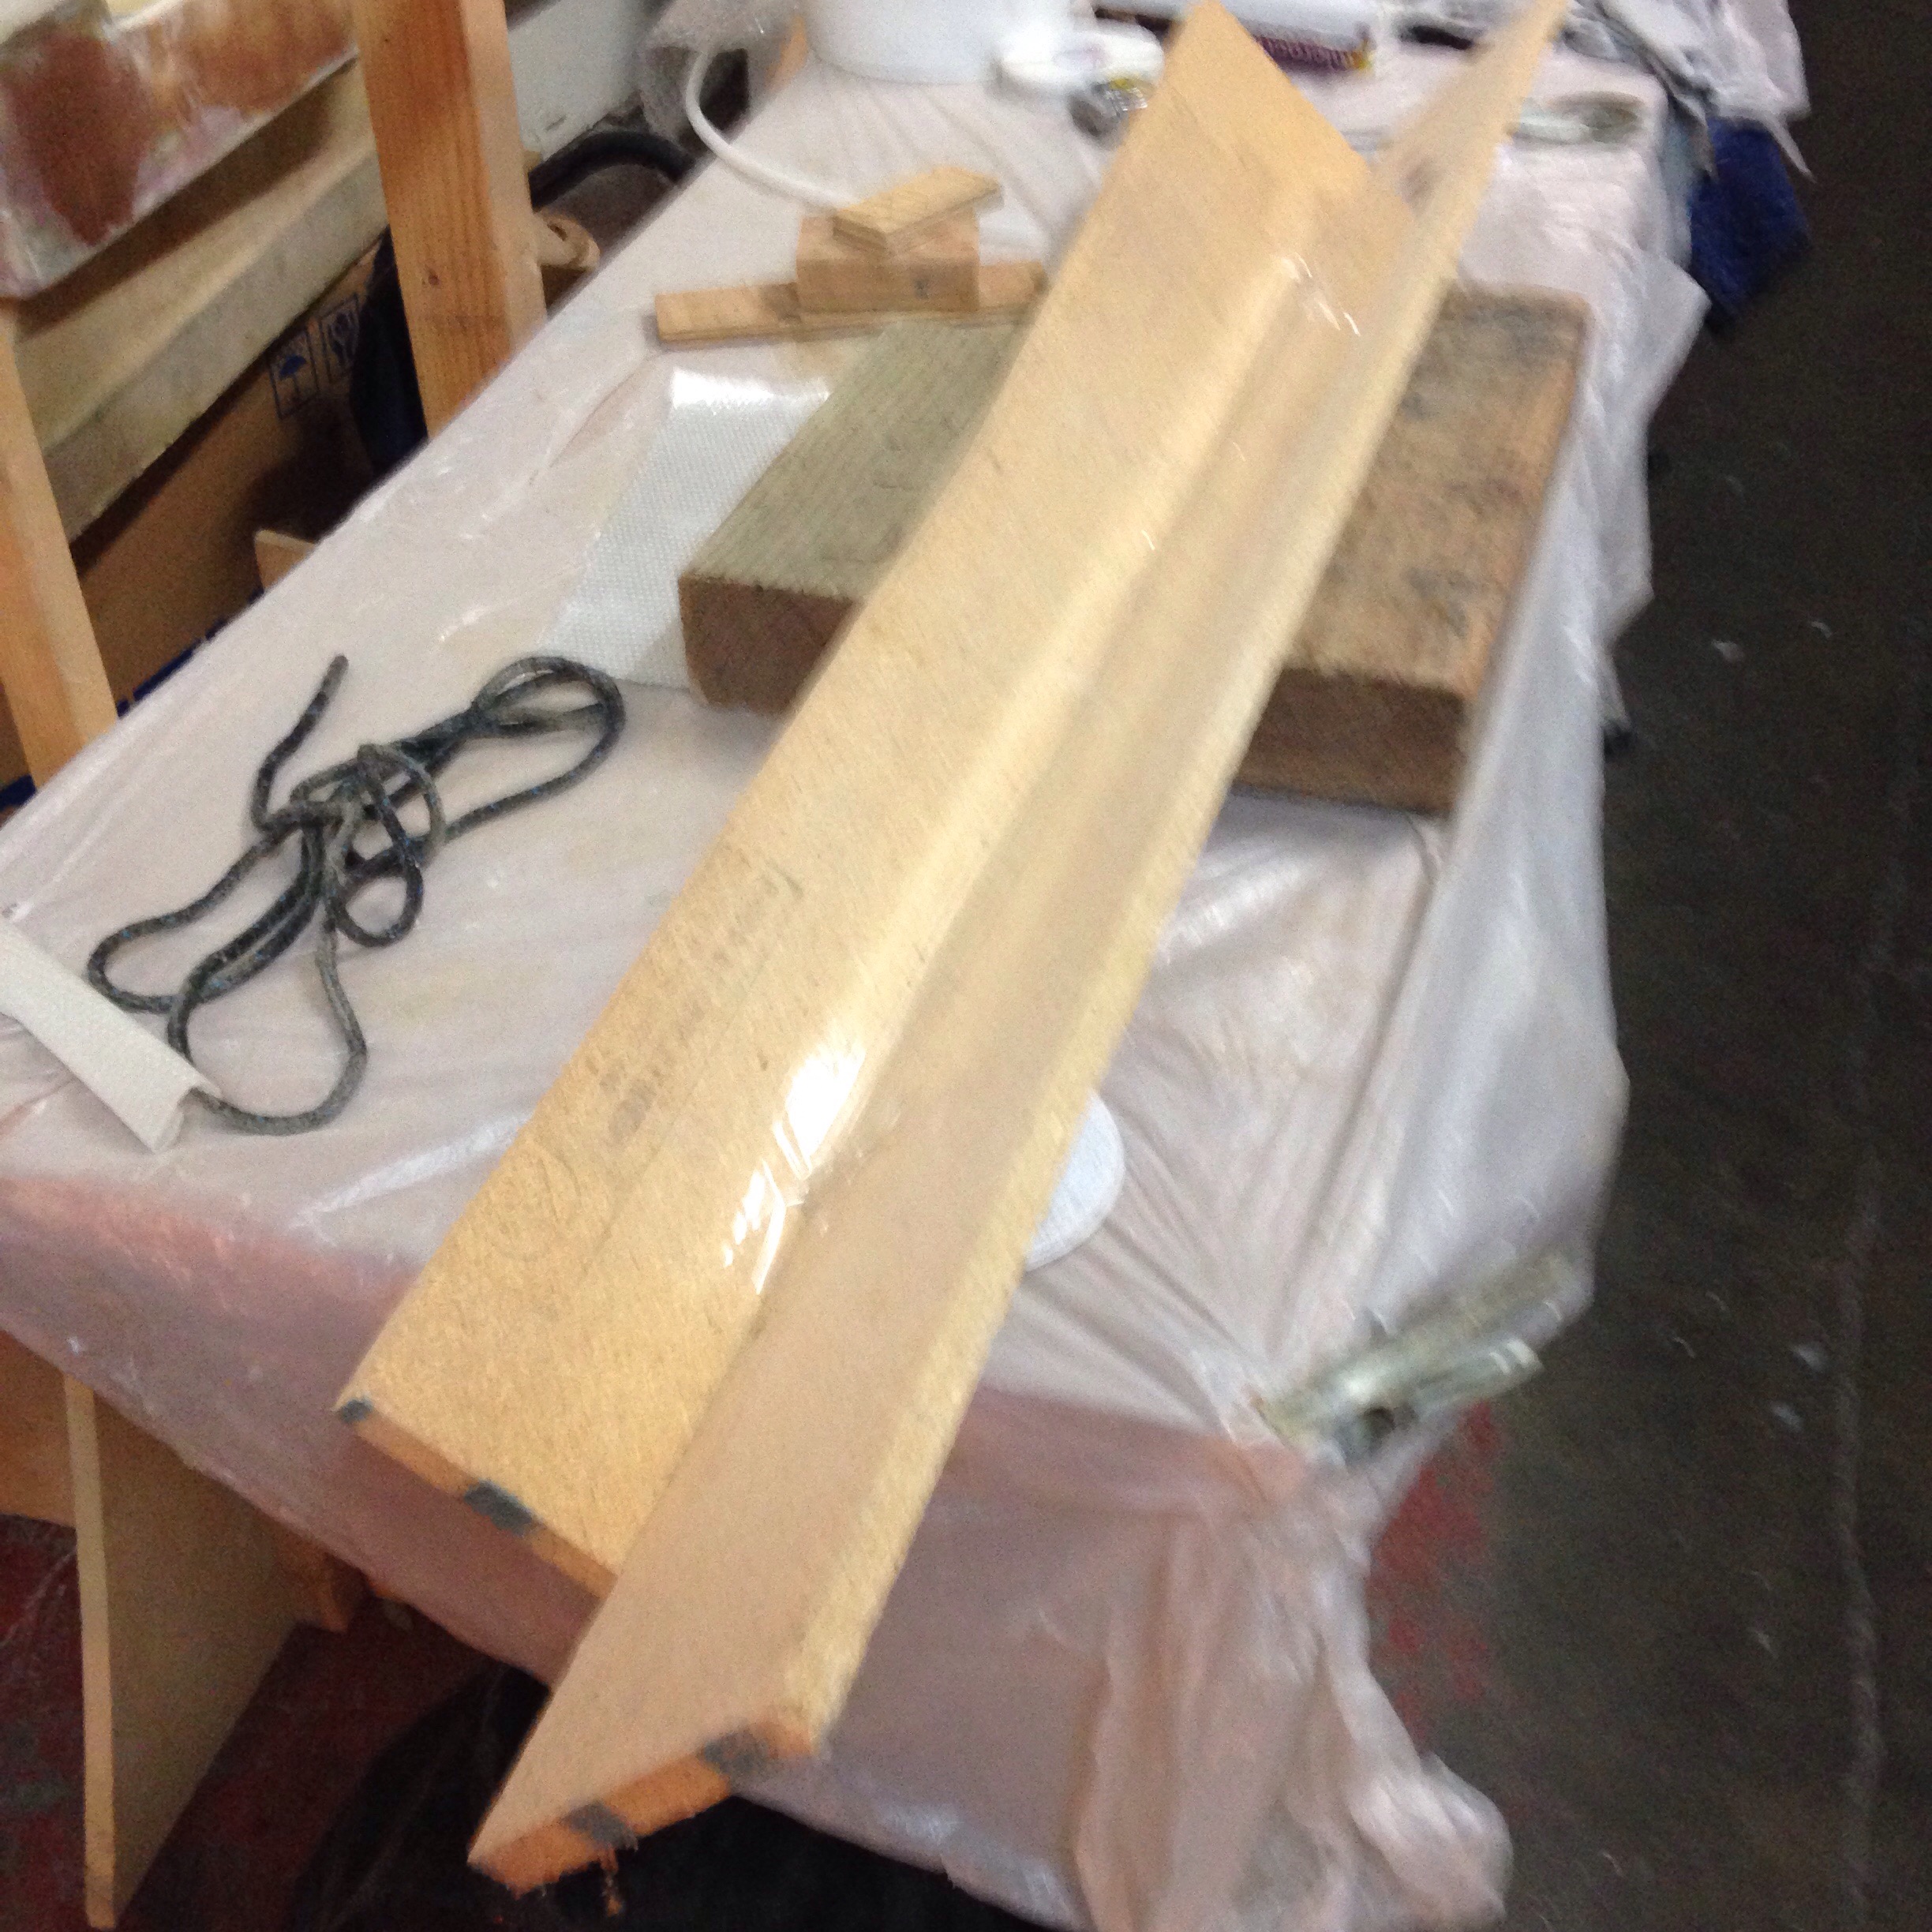
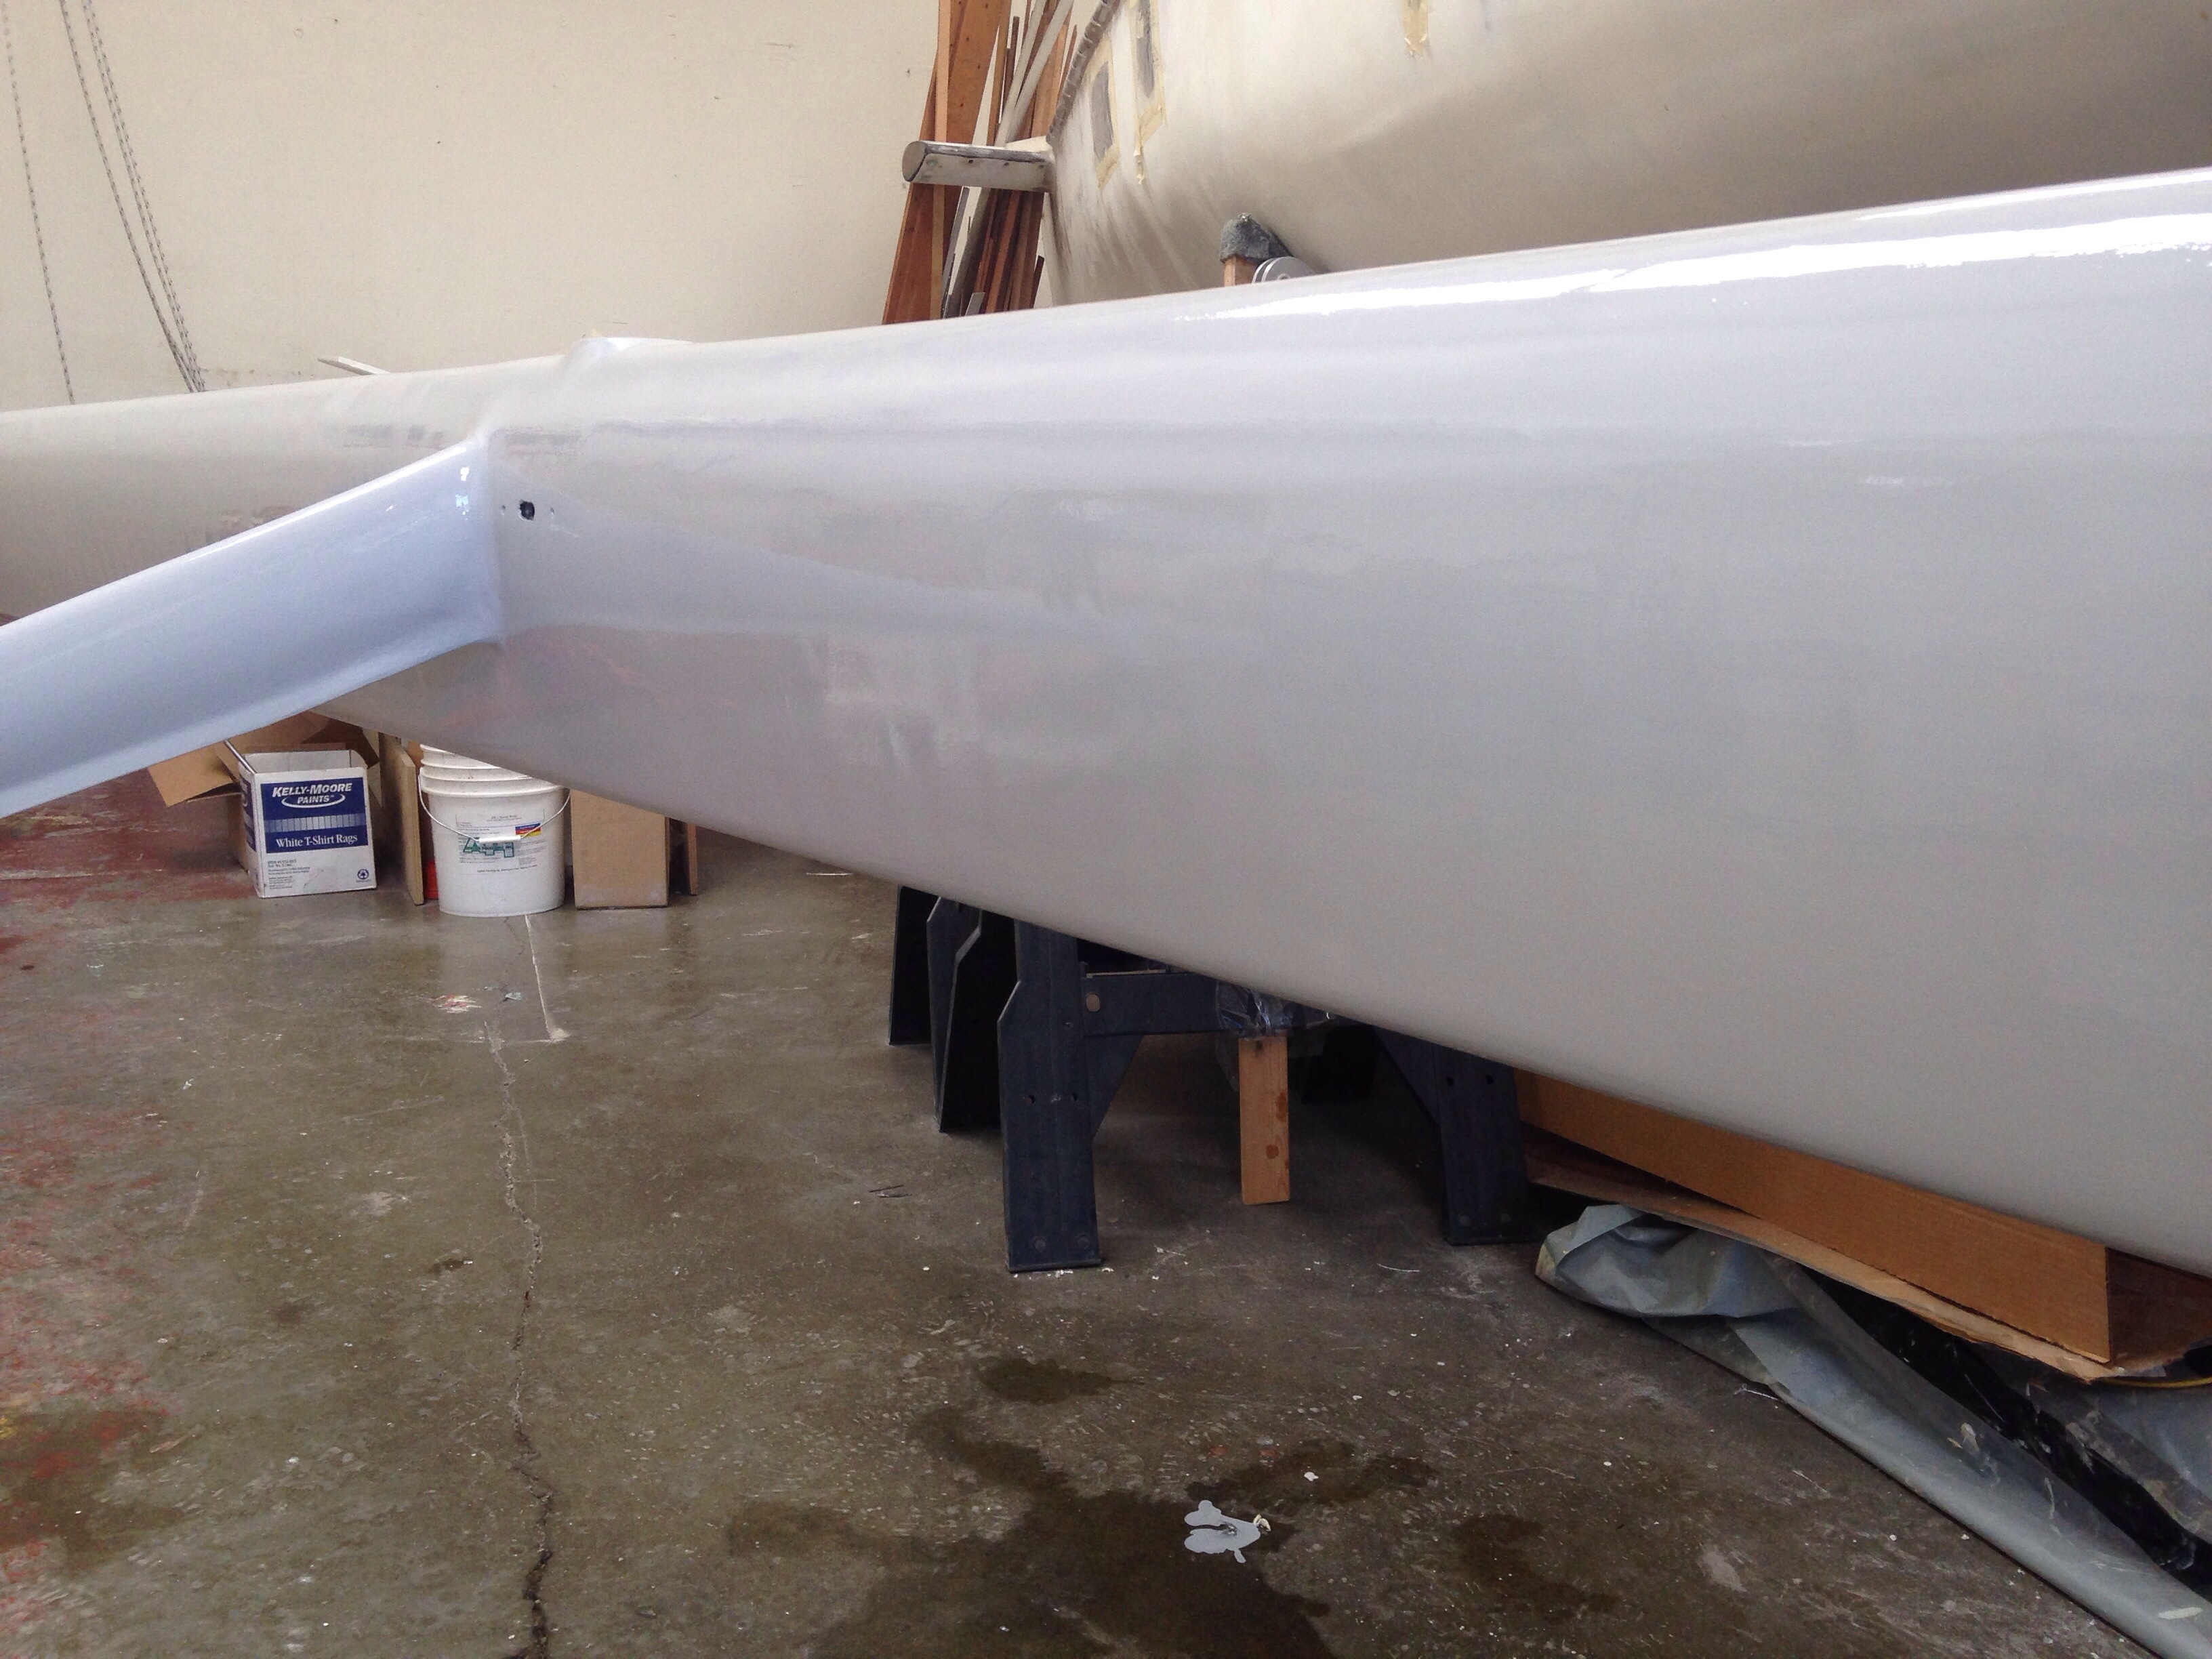
And the new piece tabbed in place.

20160111-224027.jpg
It looks like the diesel Espar heater will exhaust through the hull up high in this area so we’ll wait in placing the second half of the diesel and water filler pipe pass through tubes until the exhaust pipe is in place.

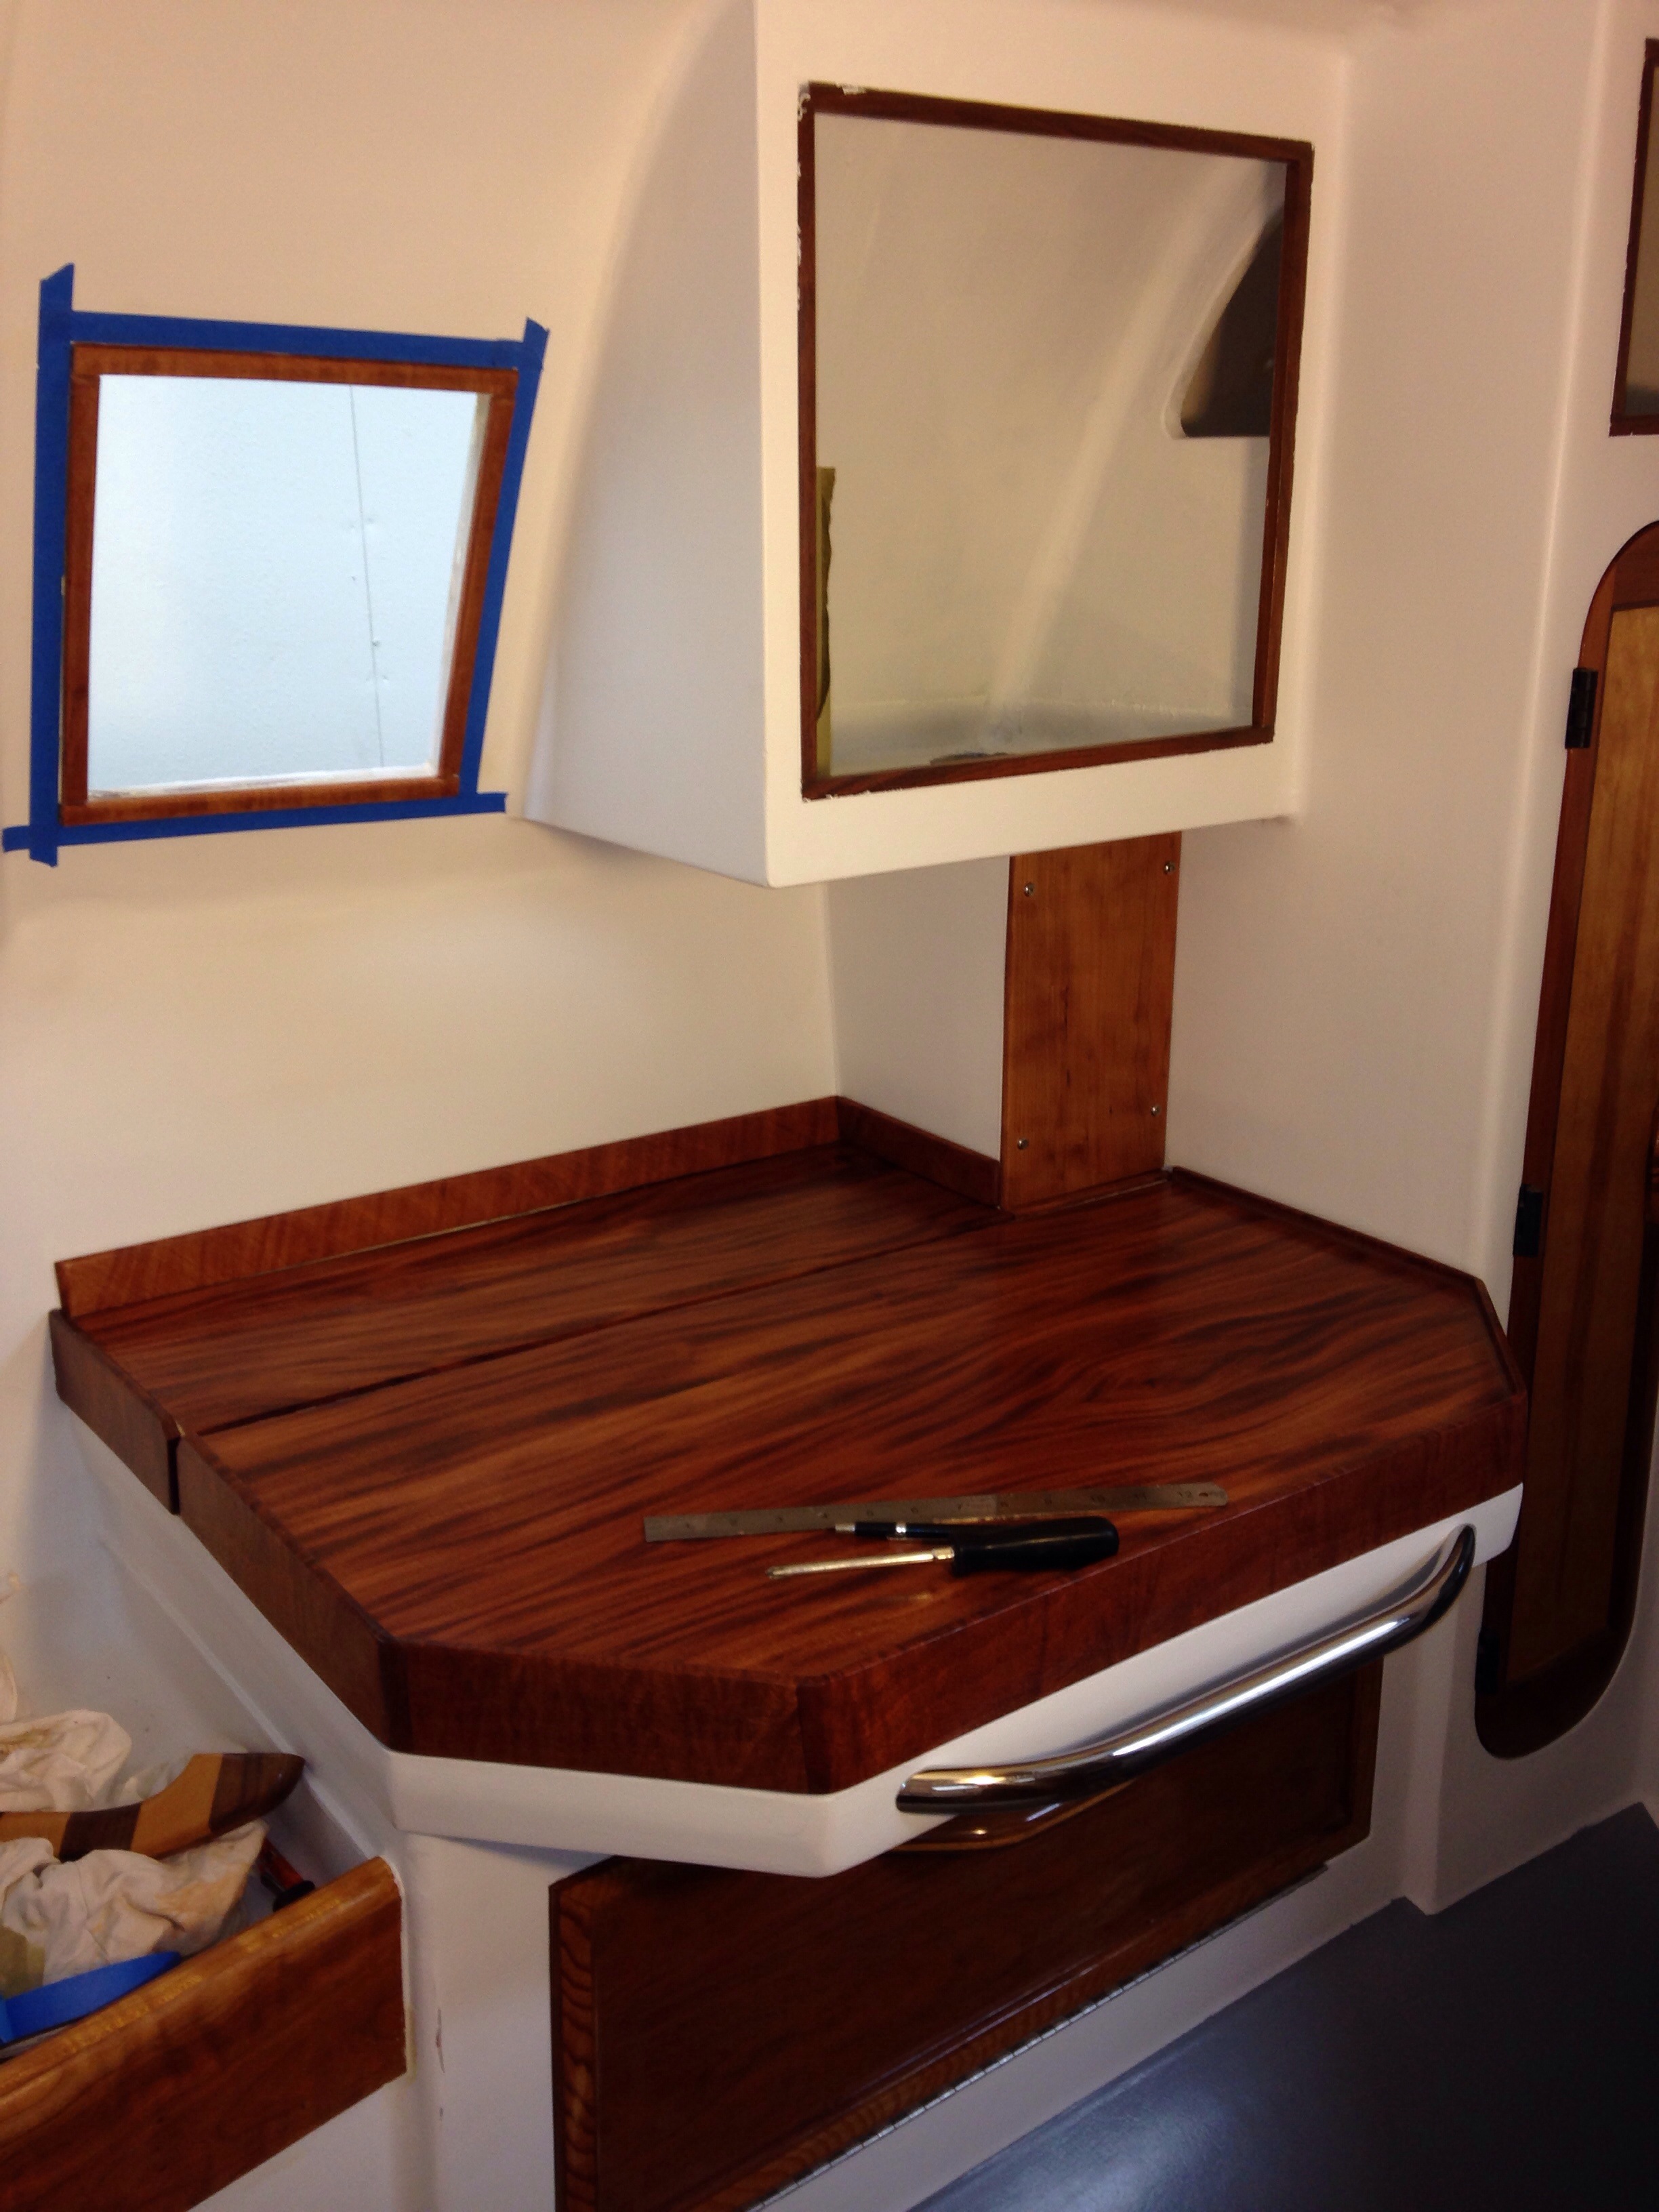
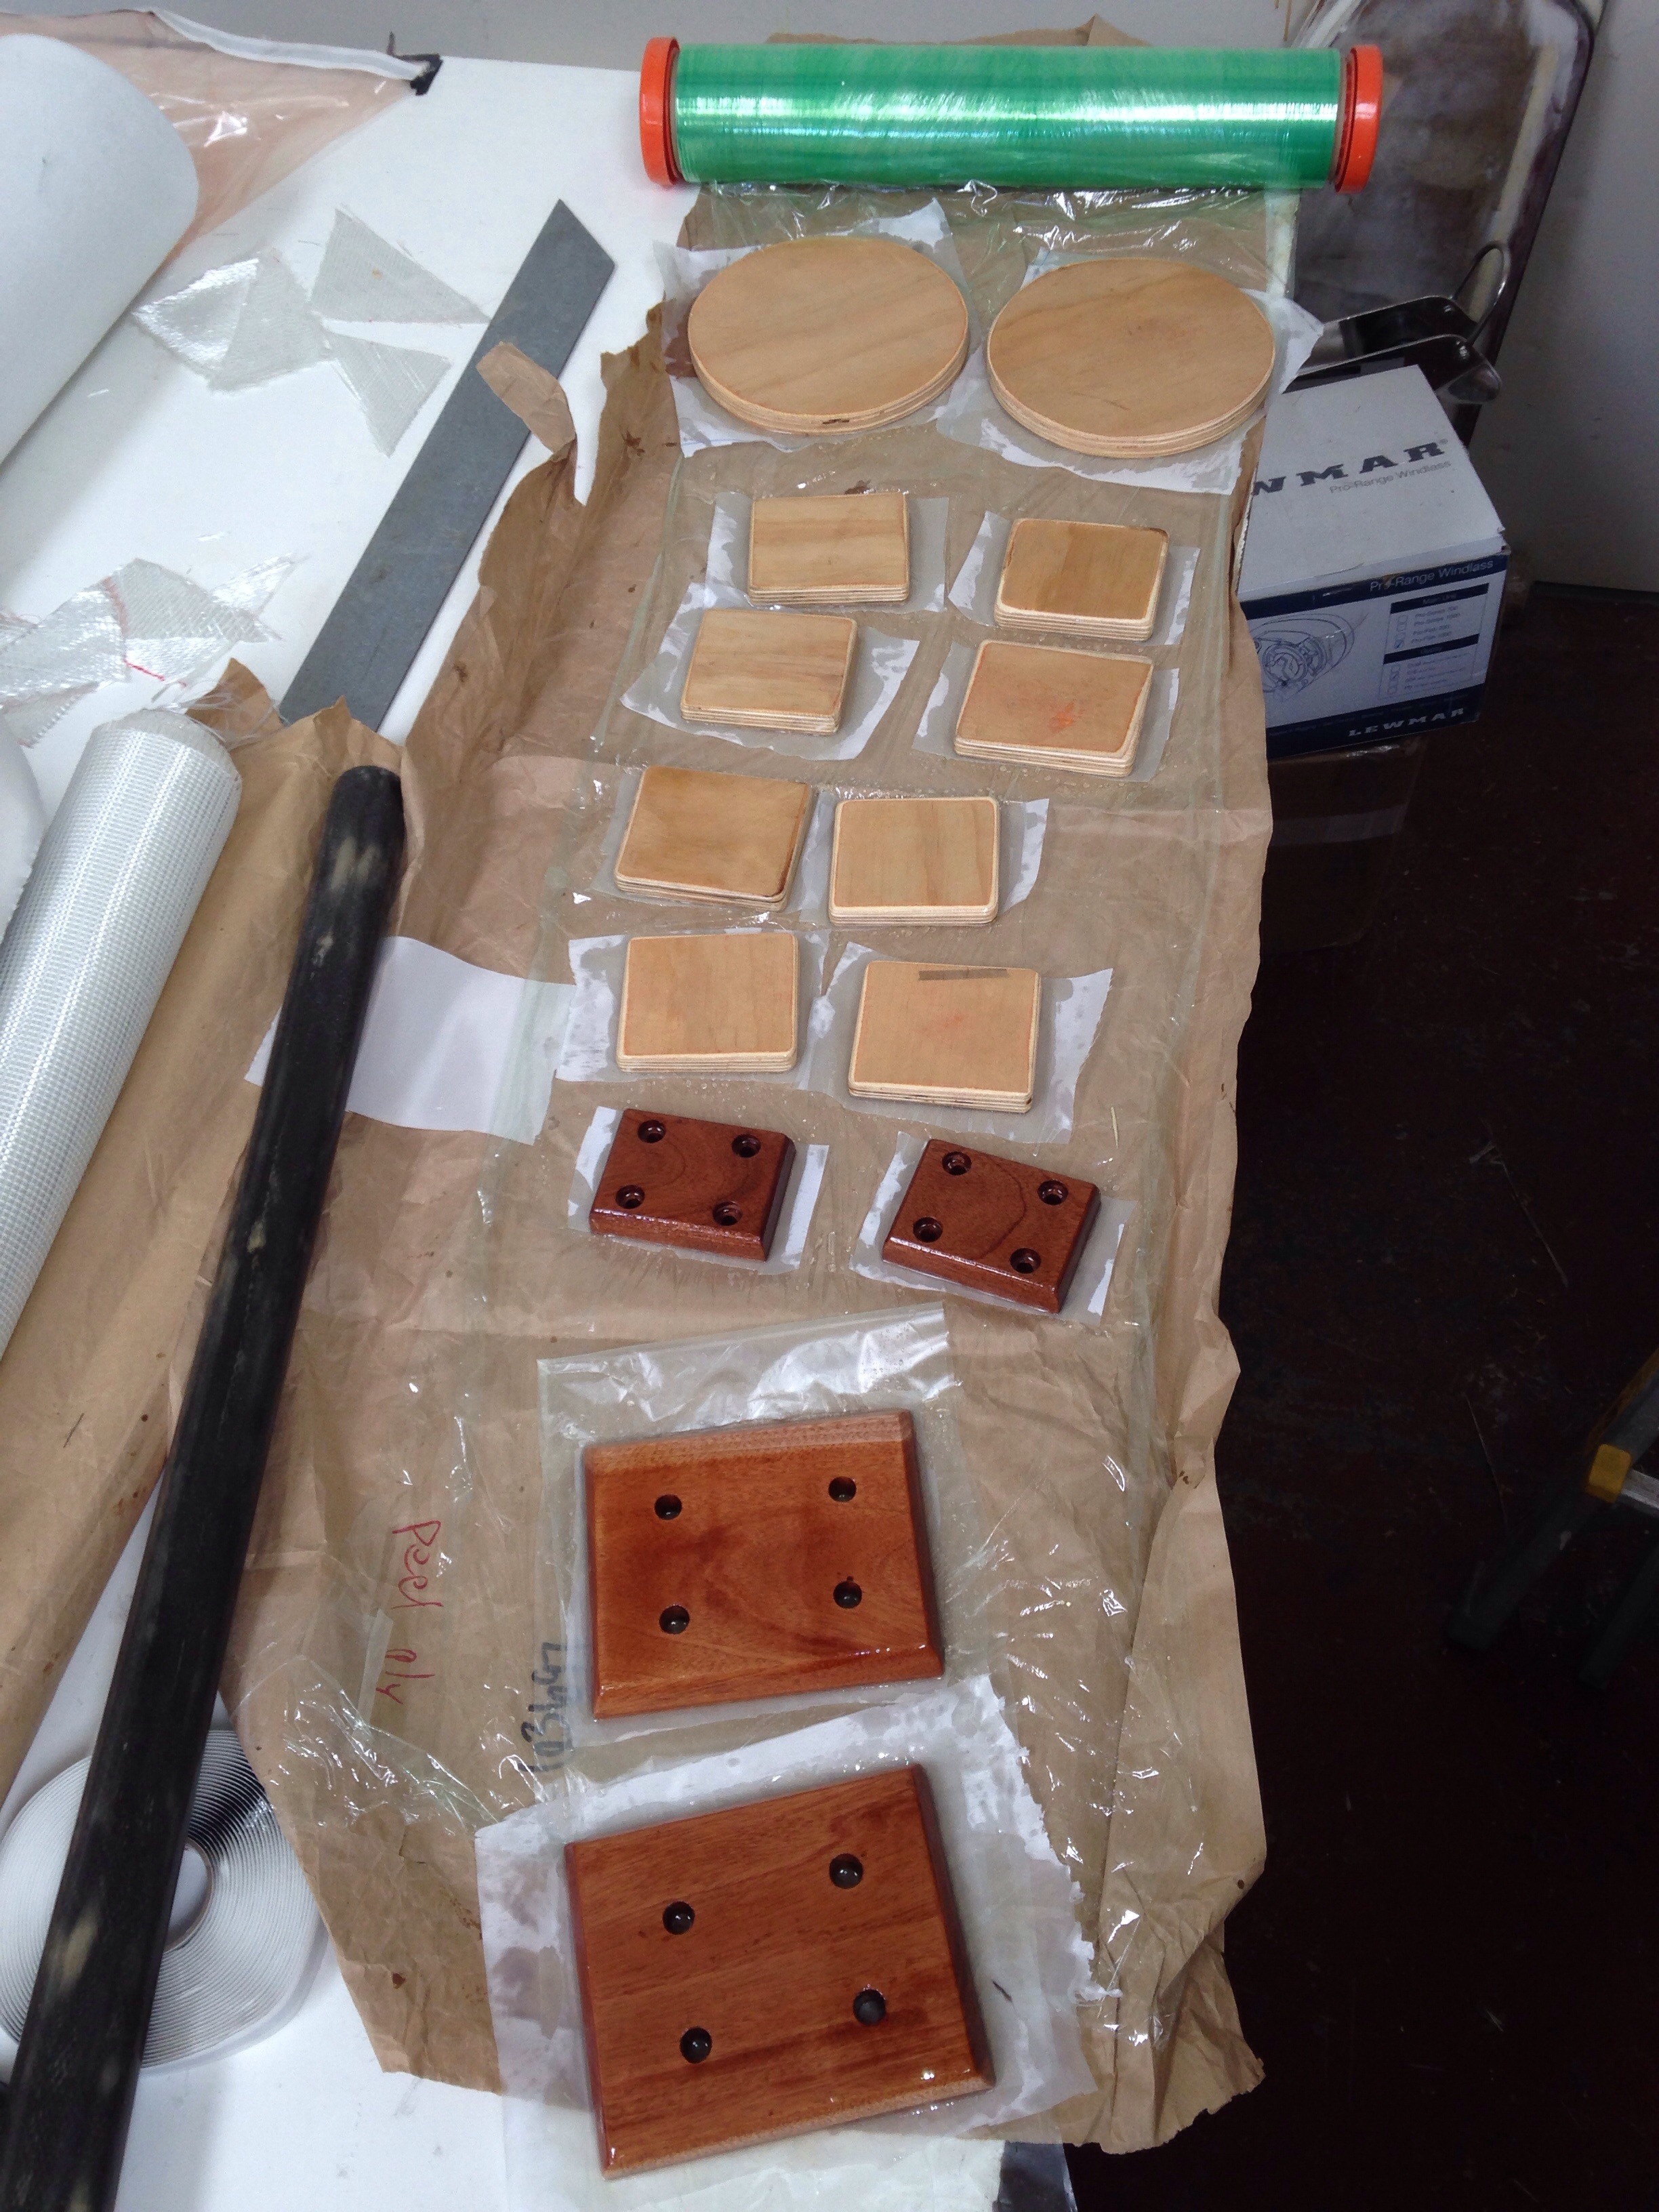
Random segue over to wood finishes: we’re happy with the transparent non skid that was added to the sole (floorboard) panels a couple months back. But that was added to a floor-finishers polyurethane that came out too yellow. The companionway sills and steps needed non skid yet we don’t want to cover the woodwork with the standard tape. So here they are redone in Interlux Perfection topsides paint with zero pigment (labeled simply Clear) and a heavy dose of non skid powder.

20160111-224956.jpg

20160111-225010.jpg 
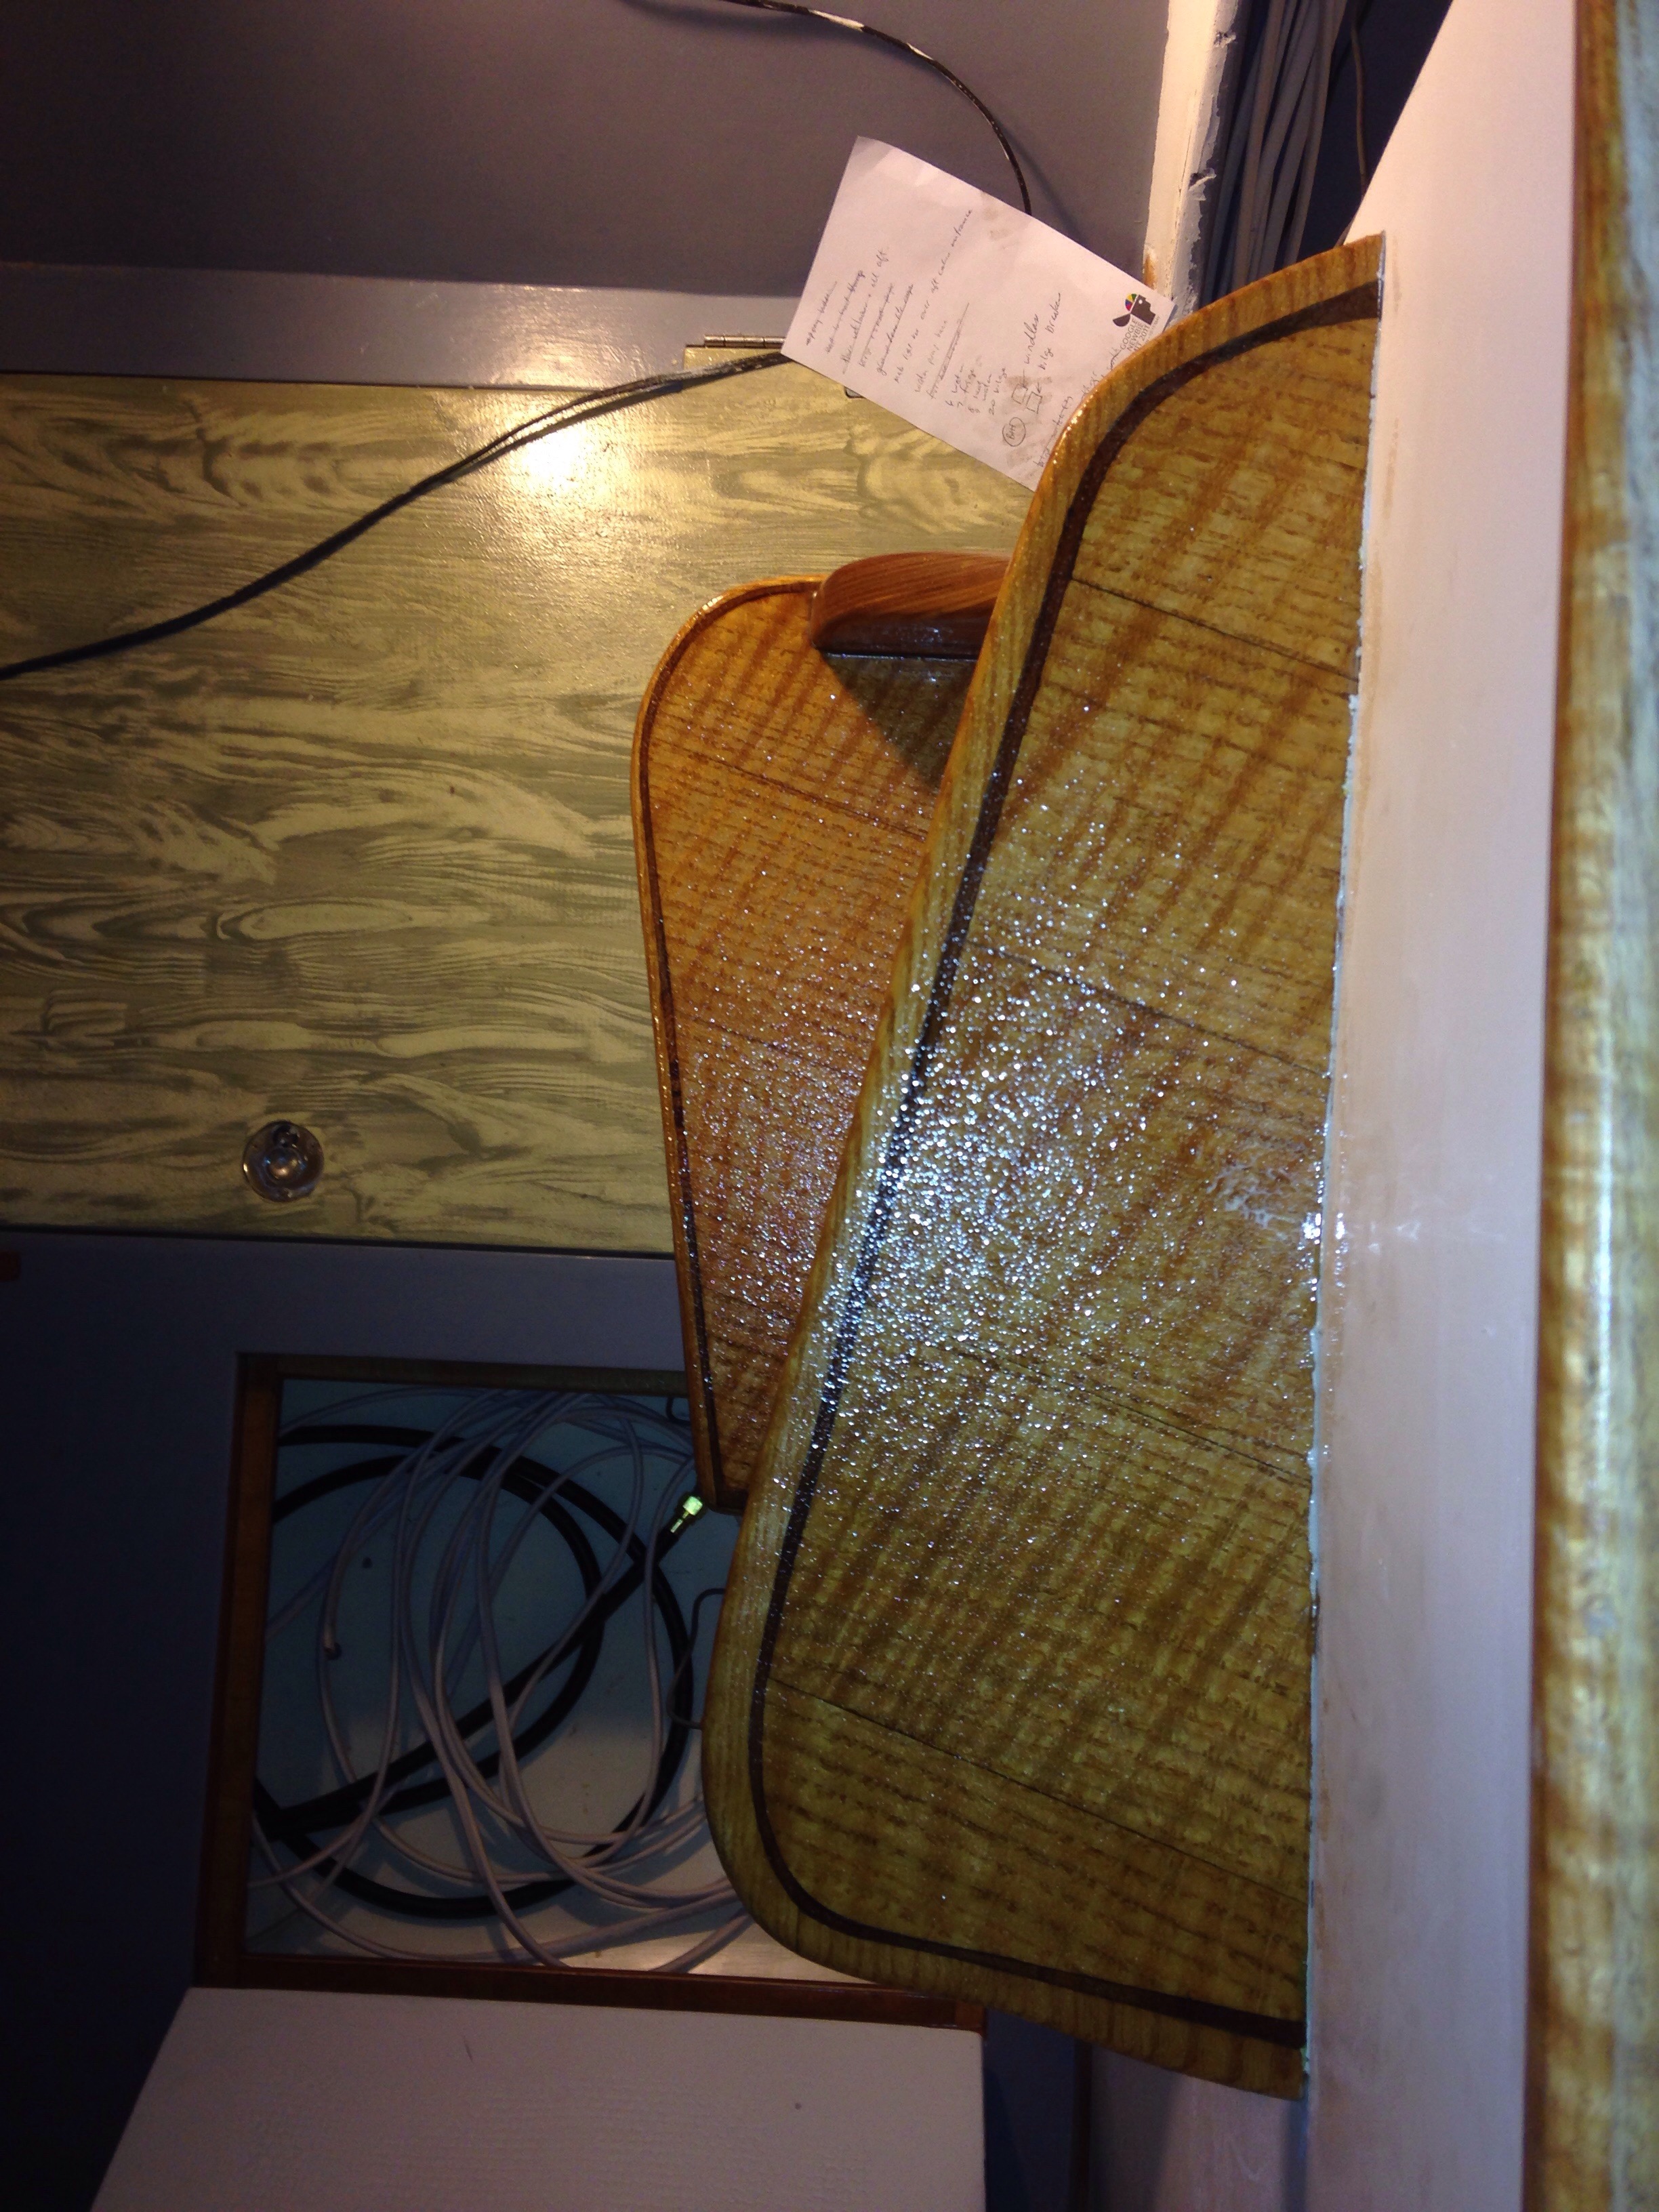
Very happy with the results.

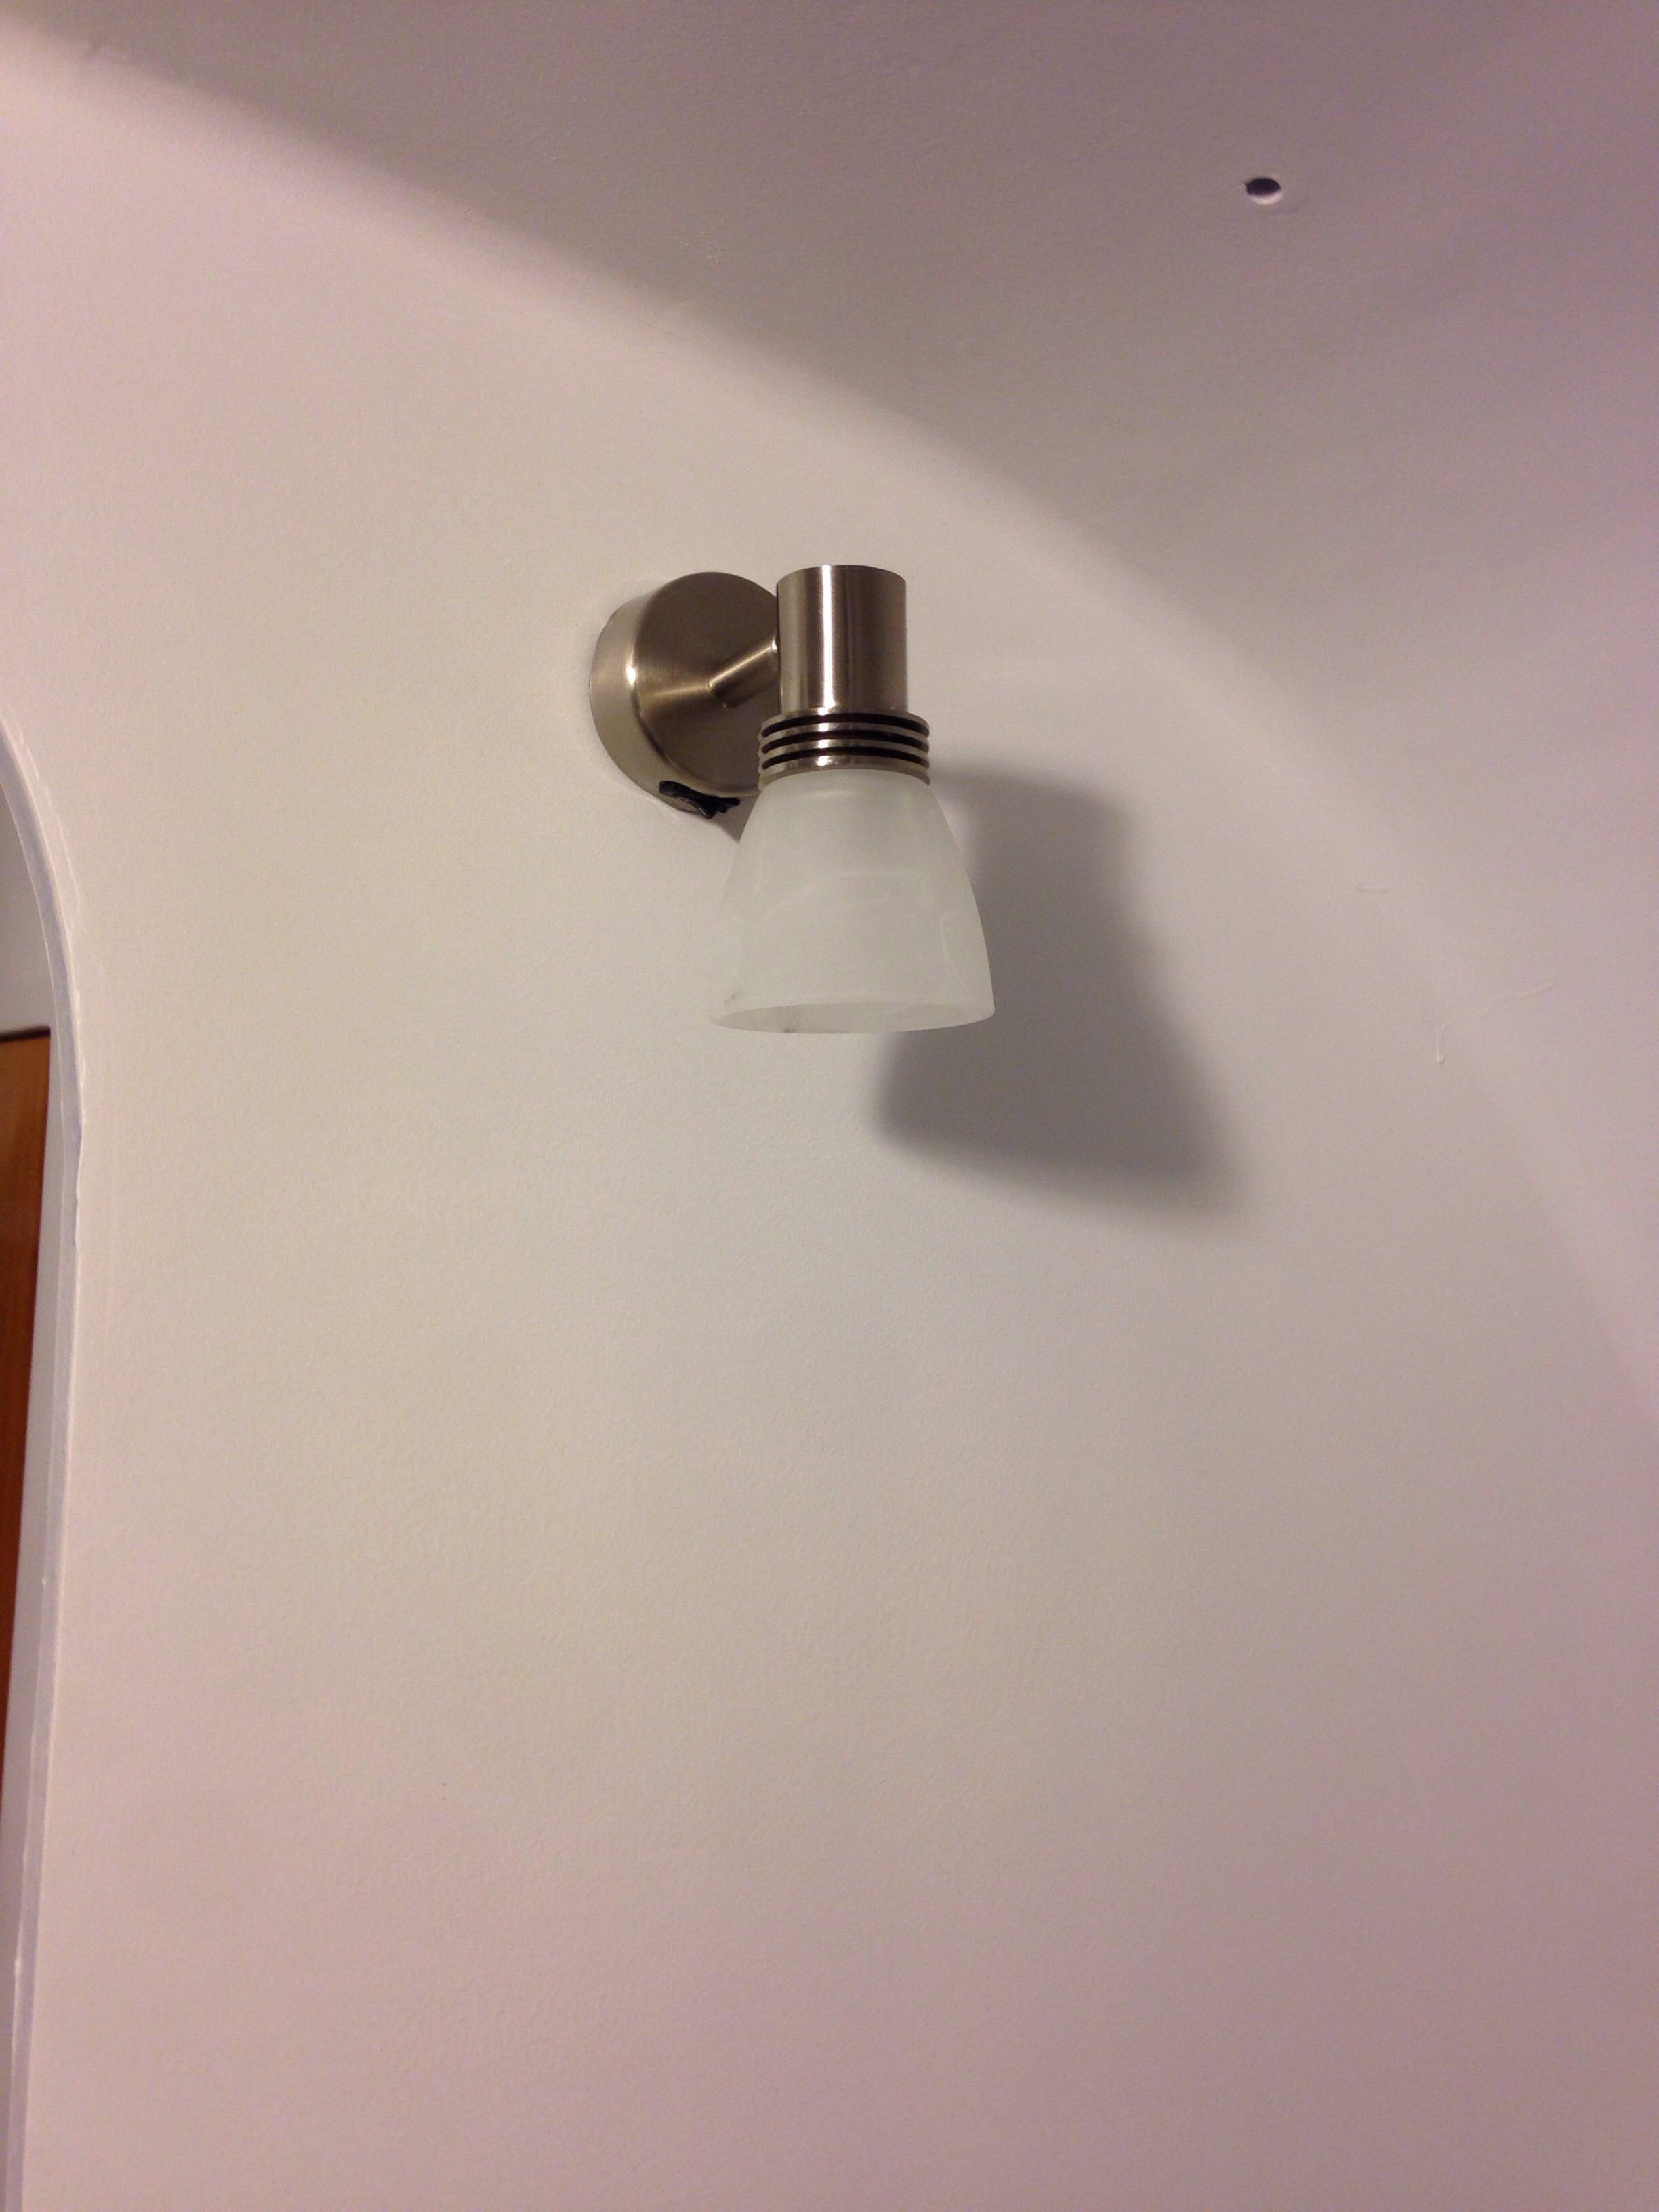
And while we await that big box of electrical parts, we’ve finished up cable runs and installed most of the cabin lights. There are two halogen map lights, and everything else is LED. There’s a bit of angst about turning on all these lamps for the first time in place – really don’t want it to be the sterile, operating room blue-white look. The catalog copy and packaging has lots of “warm, soothing” descriptors but the old marketing hand here says “we’ll see”.

20160111-225619.jpg

20160111-225634.jpg
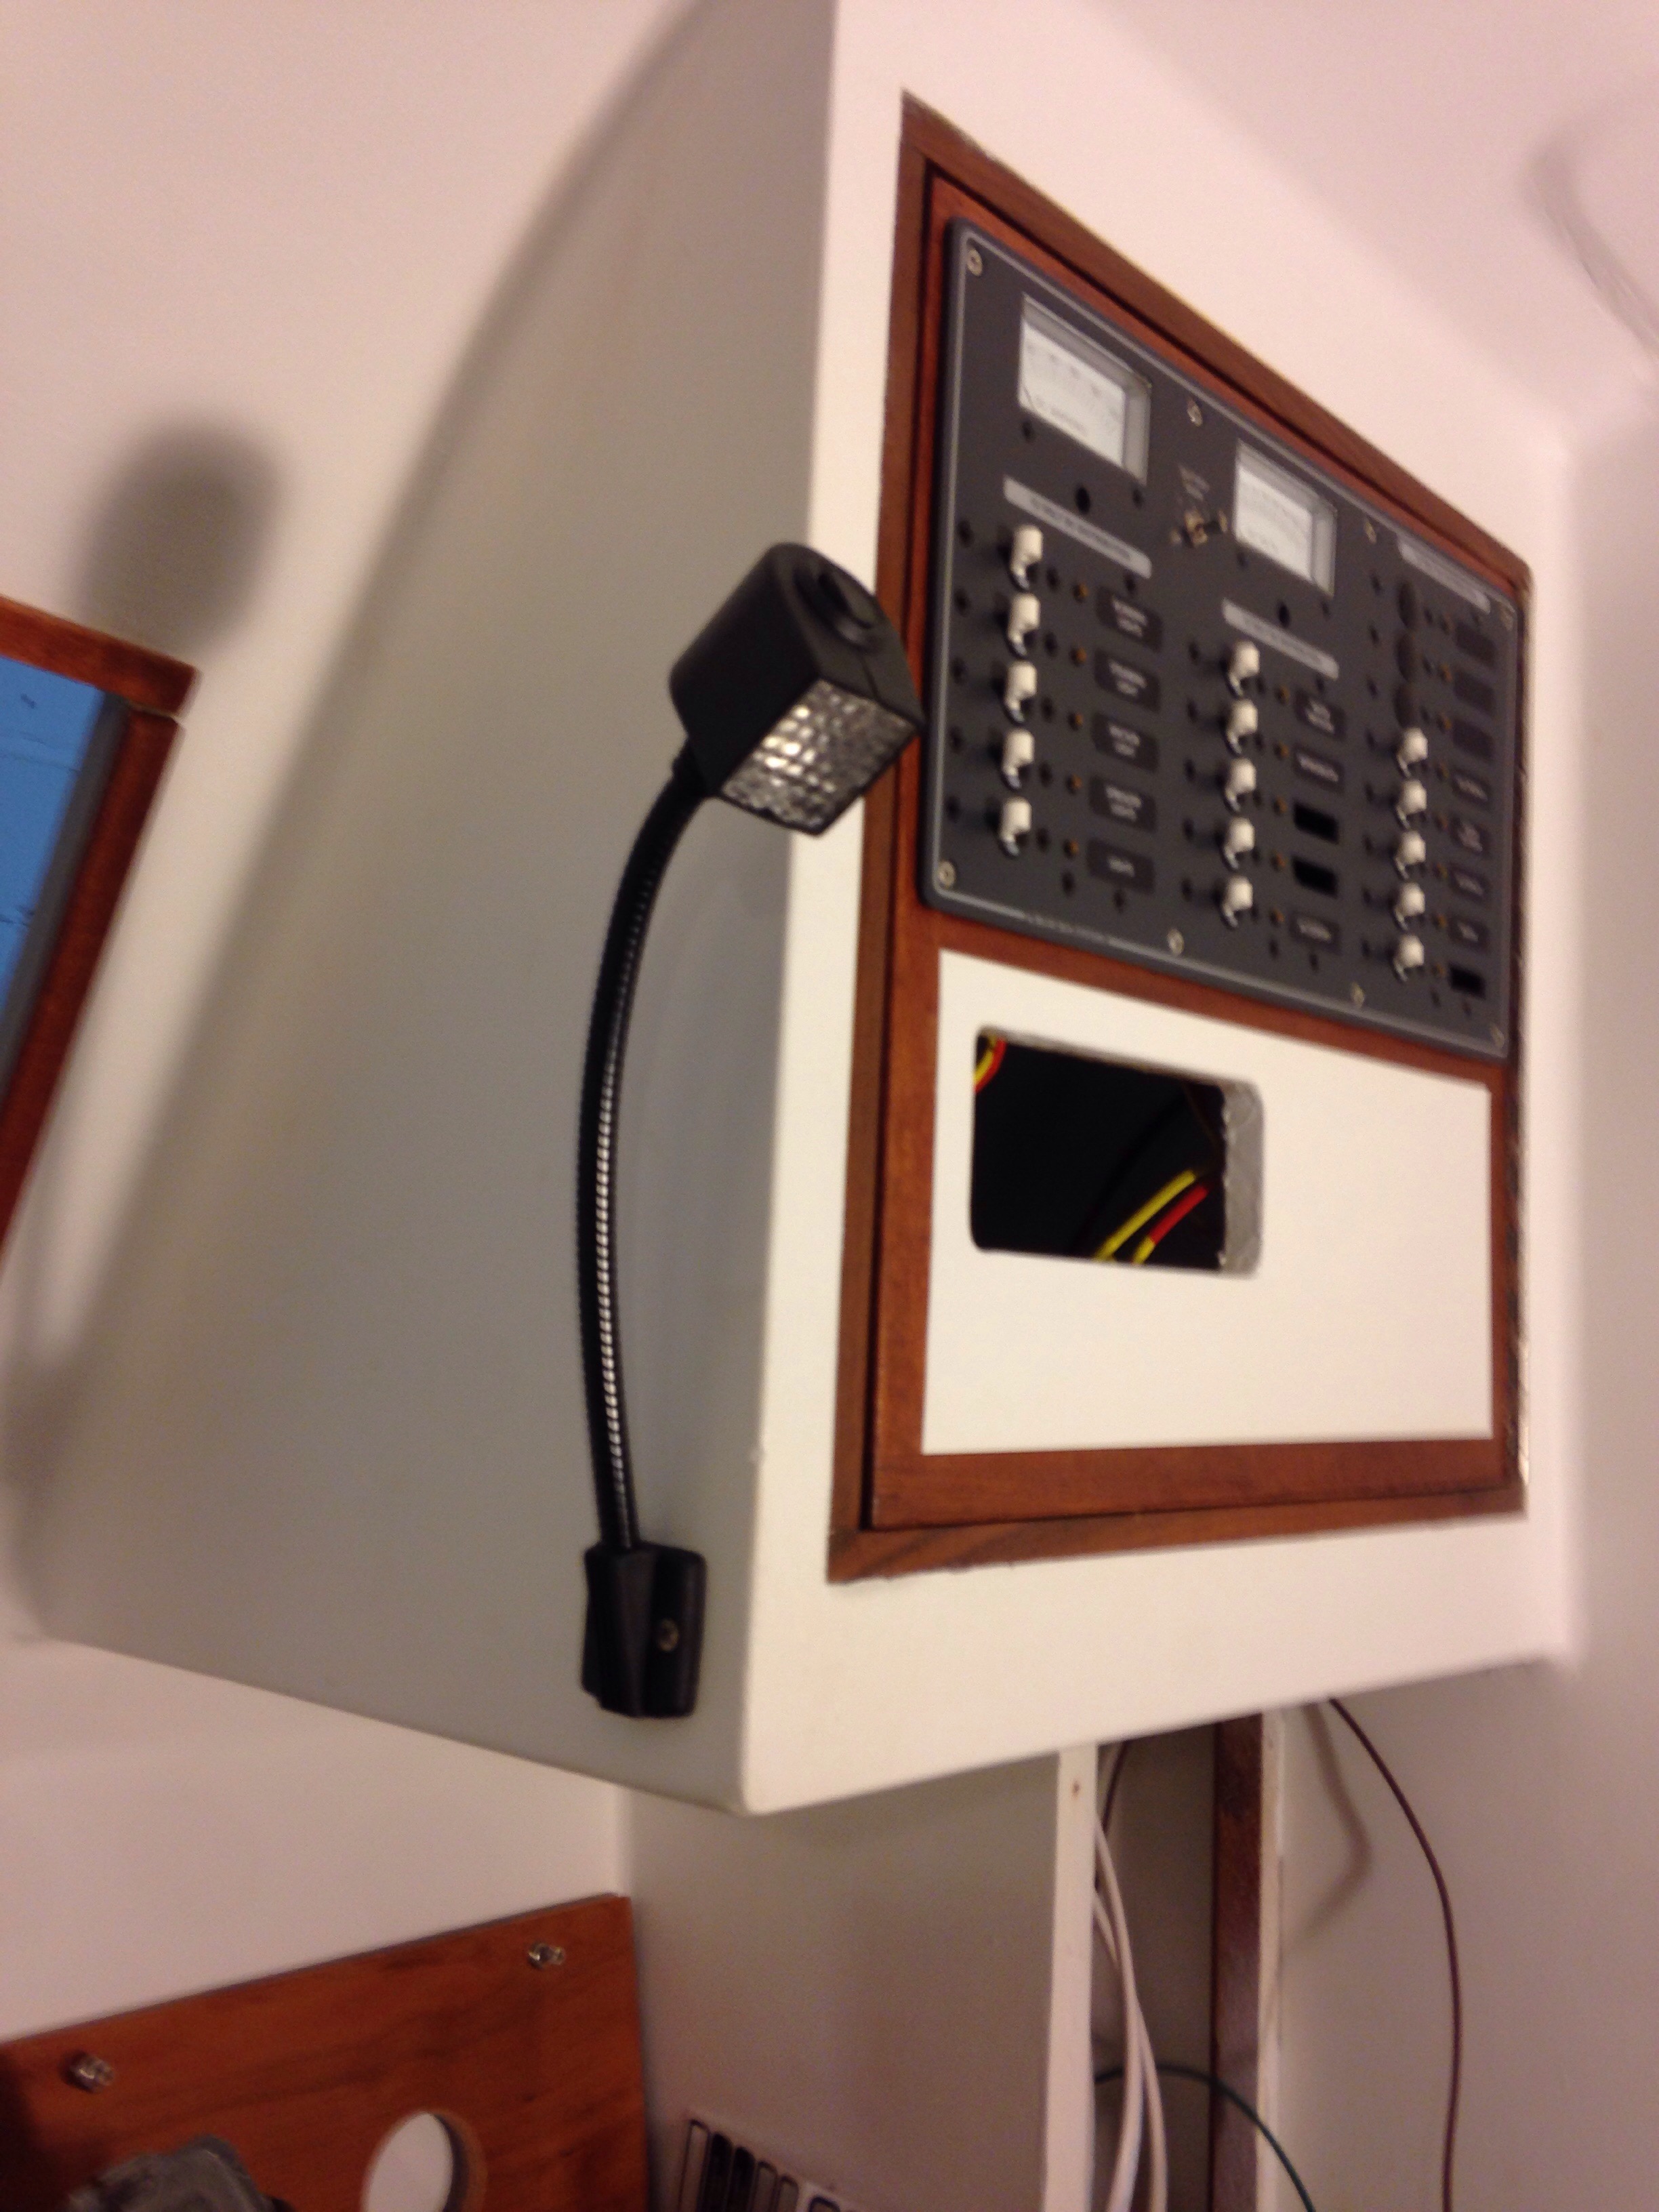
Hopefully usps will deliver and we’ll dive in to 100’s of crimps and heat shrinks over the next few evenings.

4th coat

It occurred during the endless sanding tonight that maybe all the fairing work is what truly makes it the builder’s boat. The hands on every square inch of this 39′ beast, multiple times with big sanders, the “torture board”, hand sanding tools and finally just holding the damn paper until it gets too hot in your fingers. All the fiberglass, carbon and fancy epoxy buildups – now we sand that labor and money away. Could be frustrating, but instead tonight just maybe it’s more like sculpting – keep chipping away and we’ll find that pretty boat in the stone. Lots of chipping away, to be clear!

The deck area is close. Where other builders get it done in three fairing passes, we’ll apply coat #4 tomorrow to fix various blemishes and still unfair spots.

20151021-233129.jpg
Marking the blemishes with a pencil as soon as they’re spotted in sanding is a big help later.

20151021-233143.jpg

20151021-233201.jpg
See the shiny (low) spots in the last photo of the companionway slider cover; that’s probably one more pass of putty then final sand before primer. A couple more days of spot fixing like this will have us ready on the whole boat down to the water line. Next up will be somehow lifting the hull a few inches off its big trolley and fairing the whole underwater area. A busy weekend ahead…

Heading outside

I know, nothing here for a month and now two posts in one evening – what gives, Carter? We’re blaming it on time spent starting up a new company. The boat didn’t get finished quite soon enough before a good commercial opportunity cropped up. So we’ll be splitting time now until the launch. The business is centered around shipping ports and this boat will make a fine floating office. For my Haggin friends – Wychocki and I are partners again, now with EagleRail

We’ve happily declared the interior complete enough to move back outside, finish all fairing and do the complete exterior paint job. Along with the video in the prior post, here are more interior details.

Installation of the tiger-eye chart table top:

20151019-223548.jpg

20151019-223606.jpg

A grab rail over the saloon

20151019-223700.jpg
And completed galley

20151019-223746.jpg

There’s a lot of planning work behind the electrical system, particularly because we want to get the higher capacity / reduced weight and size of lithium batteries but not pay the $6-7k prices of pre-packaged marine lithium iron phosphates. The rise of battery cars is helping bring costs down for the DIY types. After a lot of digging plus advice from an experienced friend, we’re now shopping for four 3.6ish volt LiFePO4 cells with 400 amp hour capacity. These are dramatically smaller and lighter than a lead acid pack of 400amp hours. These cardboard mockups show them just fitting in a shallow locker under the sea berth / couch in the saloon, with room just aft for charging and switching equipment.

20151019-224517.jpg
A lot of people on the Farrier trimarans discussion forum are interested in switching their Fboats to Lithiums so we’ll be chronicling the progress here with dedicated posts once more info comes through. Right now the 400 amp size is hard to get from China. One firm is offering 700 amp hour cells for almost the same price, but they are too big for our spot. So we’ll keep digging.

Meanwhile it’s sore arms from sanding the deck. There are just a few spots needing final fairing compound skimming tomorrow, then we’ll progress to topsides. Even with $800+ in great sanding machines around, the back breaker always comes back to hand sanding. The curves around the hatches tonight are cause for tired hands.

20151019-225253.jpg
Making sanding blocks to fit non-linear surfaces may not seem necessary but has been a big help to get consistent results. For example, having dowels the same size as the shaped trowels that make fillets yields clean sanded curves.

But for the 90% of sanding time the loud machines are running, perhaps the best tool is the FM/iPod ear safety covers. This is making the soul-sucking work of sanding a bit more bearable. Thanks Colin for leaving these with the shop!

20151019-225821.jpg

It’ll be great to get the ugly splotches all covered up soon with nice consistent primer paint!

Taking flight

Congratulations to Griffin as he heads across I-80 to Univ of Northern Colorado. Your parents are very proud of your work and choices to start this next life step!

20150815-230404.jpg
Jeanne is making the drive with him, and the house is eerily quiet today. So the builder buried his head in the boat work today so as not to mope about the place.

Last week we visited Dean Pederson’s place to see the custom 25′ Brown tri he’s preparing to launch (more on that when we get some photos); that boat has a lovely 35′ custom carbon mast. The rotator cup looked built on to an end plate. And the next day Keith at Skateaway Design laid out our plan to add one more fore/aft web inside the last foot of mast, then cap the bottom and affix the new steel cup to that cap. All the compression downforces will then be shared through both the forward walls of the mast and a Tee structure inside. This cardboard mockup shows the internal webs underneath via blue ink.

20150815-231215.jpg
The cap was made by laminating a dozen layers of 12oz under vacuum on the work table. The cup has bolt head recesses cut inside – the backing nuts will be entombed after the cap is bonded on so we will secure them thoroughly.

20150815-231531.jpg

20150815-231546.jpg
Now we’re waiting for a piece of aluminum channel to make that final web inside the mast.
The new gooseneck position was drilled and tapped today. Goose visited yesterday and worried how we’d get that backing plate 31″ up inside the mast. It got slathered with high density putty and hand placed about 28″ in, and slid the last inches with a pusher stick. Careful repeated tapping set the plate down in the epoxy putty mix and it bonded well overnight. This morning the mast was flipped back over and the thread tapping for 8 bolts went in fine.

20150815-232113.jpg

20150815-232126.jpg
To beef up the last two feet (spread the load a bit above the 12″ internal webs, we added one more spiral wrap of 5oz tape and 28″ more of 6oz longitudinal uni.

20150815-232420.jpg
Above the gooseneck area the mast is now complete so the painting progressed well this week. It’s done in Interlux Platinum color – same as the beams last month.

20150815-232600.jpg

20150815-232618.jpg
This has been good learning of the roll & tip method, and more importantly how imperfect fairing or priming shows through. If the surface isn’t perfect before painting, the paint ‘ain’t gonna hide it, but rather it accentuates the blemishes. And yesterday we learned that trying to work all angles vs gravity is tricky, as in painting around the whole mast at once. The face that was pointing up looks great (those photos above), but what had been facing the floor ended up with some paint blotches and runs. Pretty frustrating tonight to be sanding away money and causing repaint work tomorrow. See the after-wet-sanding spots from tonight.

20150815-233221.jpg
With the mast almost done we made it back to the main hull today, and thanks to Charlie’s loaned right angle drill finally tackled the awful access job of boring five big 5/8″ holes in the forestay bulkhead to receive that chainplate. Colligo Marine took our specs and custom cut the chainplate in titanium. Thank you Guy Stevens for challenging me how we’d inspect and/or replace a stainless steel chainplate since it’s getting permanently bonded in place. The titanium is going in to this “forever” spot instead.
It was over 90 degrees up in this corner of the shop, with really bad angles for the installer’s knees, etc. After many foul words uttered and about an hour and a half all holes were lined up and the plate successfully dry fitted. It’ll get bonded in once the right bolts arrive.

20150815-233918.jpg
The boat shop will go quiet for a few days while I fly to CO and join Jeanne for freshman parent orientation and sightseeing in Greeley/Boulder/Denver area. Then we’ll get this mast project wrapped and hammer away at the cabins finish details…

Plenty of masking tape

Painting part of a boat might be trickier than painting the whole thing. The two floats / amas were finish-painted 5+ years ago, but we updated them this year with the new chainplates, net lashing tubes and beefier deck hardware. We had one unopened quart of the previous generation Interlux off-white two part polyurethane; it needed to do the whole job… Here we are after the glossy paint:

20150630-225631.jpg
This is applied with a smooth foam roller and tipped-off with one stroke if a brush at 45 degrees. Definitely an art, easy to screw up, and must be done with very thin paint.

20150630-225831.jpg
Now the masking goes back on to make out the non skid areas:

20150630-225944.jpg

20150630-230000.jpg
Yep, the tape roll was the just-right size to make an elegant arc near the hatch. We pulled all the tape this evening and are satisfied with the results.

20150630-230142.jpg
The floats are now done and ready to move out of the shop. We tried to mask off for the few inches of bottom paint each hull needs but their dollies are too in the way. After an hour of rolling around the floor getting pretty frustrated in the 95 degree heat I realized this job will be much easier just before launch when the boat is assembled and the floats are suspended in air. So we need to account for 24 hours of dry time in the assembly schedule. There is also deck hardware to install but that can be done while the hulls are on their trailer in July. We’ll talk about the butyl tape method later.

So tomorrow afternoon we’ll take our best shot at loading these 35′ hulls

20150630-230900.jpg
On to this trailer:

20150630-230934.jpg
It’s a 35′ heavy duty aluminum boat trailer, now with 4x4s lashed over the bunks to accept our floats on their trollies. We have 8′ of width on the trailer while the trollies pushed tight side by side are 7′. The trick will be lifting them 32″ in the air to clear the trailer. Between our chain-hoist from a shop roof girder, and the neighbor’s forklift hopefully this goes alright. Ought to be exciting anyway!

PS – if any readers know of a F32/32/33 looking for a very nice big aluminum trailer, send them our way. We’re borrowing a friend’s; it was outfitted new for a Corsair 37 for delivery cross country, and was never road-used after that. It should be available for sale in later September.

Rollin’ out the paint

The boat shop is a bit more navigable tonight with the FINISHED beams loaded on their little trailer and stored off site. The daggerboard is getting its last bits of bottom paint, and once that cures will get wet-sanded smooth over the weekend.

20150625-234432.jpg

The remaining work on the floats is painting the net lashing tubes, the chainplates and some other minor modifications to the hatches. Here we’re finally ready to get that going.

20150625-234723.jpg
And this evening was the first coat of Interlux PrimeKote.

20150625-234813.jpg
Work was actually stopped last week while Greg visited Colin’s place in Virginia. We made new mountain biking friends and found about 100 miles of great trails. Definitely going back there! But the best part was finally sailing Colin’s Coronado 15. Long time blog followers remember the second boat we squeezed in to the shop last year for a rehab – careful what you find on craigslist. Anyway, the little orange boat is a kick in the pants.

20150625-235415.jpg
Right after VA we picked up Keith and Val Burrage at SFO for a day of sailing aboard a nice charter cat (thanks again Rick!) then time in the shop for Keith to inspect the work and help unpack the sails he designed. The HydraNet sailcloth looks and handles great so far. As a pleasant surprise, it’s semi translucent so it should look pretty swanky up in the sky

20150625-235743.jpg
This is a full batten jib, and in this shot it’s reefed down with the excess foot rolled up and tucked in to a pocket bag that zips on to each side of the sail. Keith and others swear this is possible at sea.

20150626-000039.jpg

We’ll keep the paint rolling, and figure out how to juggle numerous projects while layers dry.

Boxes of goodies

This past weekend was the big annual Oakland sailboat show and we caught up with suppliers. Quality parts came home with us, and 4 boxes arrived from Defender in CT. We also made a deposit on a discounted Viking ocean life raft – the price locks for a year; we don’t want the raft certified until we need it this fall, this extending it’s service interval 4 months or so. Next we handed the BottomSiders folks patterns for the cockpit cushions.

20150415-234610.jpg
It’ll be five pieces around the horseshoe shaped benches. Similar vinyl dipped, closed cell cushions have been on Origami for 10+ years and still look new, so that was an easy choice.

Parts were sorted out today by theme. Lighting will be almost all LED; one incandescent steaming light (only used under engine power) was a $16 Hella find, and we already had a few halogens we may still use.

20150415-235204.jpg
The two spreader lights won’t go on the mast; one will mount on the hardtop facing the foredeck and the other on the stern tower to light the steering gear and boarding area when needed at night. RickH, we’ll have small red lights under the hardtop to illuminate the sail controls and instruments area underway at night.

Keith wanted the largest possible bow shackle on the mast hound as this will hold the forestay and side shroud dyneema cables (one shackle connects all the mast support lines). It’s huge, bigger than one’s palm. RickWS, I like this better than the other solution you showed me, but we’ll be plenty careful about seizing that pin!

20150415-235915.jpg

Some of the many plumbing parts… A 1-1/2″ seacock / ball valve combo unit is much bigger than we realized so it changes the waste plumbing plan a bit (it won’t fit under the shower floor as planned). We keep finding more thru-hull needs, but still just two under the waterline. Latest adds are watermaker discharge line (97% of what goes to a reverse osmosis unit is bypassed back overboard, so says the Spectra salesman), and a propane locker vapor vent.

20150416-000421.jpg

20150416-000451.jpg
We’ll detail the propane system later, but of course step one is cutting the lazarette floor to make room below for a sealed propane storage locker. This fiberglass and plastic tank is 1/2 the weight of the steel ones under your BBQ at home, plus it won’t corrode and is easier to take in the dinghy for refilling. See here how the tank needs to drop down at least a foot.

20150416-000847.jpg
Also in that photo, the fresh water fill (black and blue disk) was installed next to the port coaming winch, and the outdoor shower on the cockpit bench bulkhead. That’ll make a nice senior citizen shower – just sit down safely and discreetly in the cockpit, lather up, and rinse it off thru the scuppers :)

The shop went quiet for some days while Greg took a consulting job, then joined Griffin to have a look at the University of Mississippi. If you haven’t seen an SEC football school, the TV-deal money translates to huge, attractive building projects on these stately old campuses. The Ole Miss folks are very charming to prospective students. Big decision due this month. From CA, you fly to Memphis, so before the flight home we walked along the Big River watching the barge-push skippers do their amazing jobs. And yes dear, the fried pickles are good.

20150416-001831.jpg

Outside In

Well, that exterior build punch list is down to just a few things like a pulpit on the bow and a wood plate under the mast base. Short enough to move on to the cabins, and finish up outside in between other projects. Here’s how the past week went down…

The boom is done and ready for paint. This was a really satisfying project, remaking this spar from Transit of Venus’ original mast.
The control lines for three reefs plus the outhaul live inside the boom.

20150326-214155.jpg

20150326-214243.jpg
The hole on the end of that last photo will hold a spectra loop to catch the topping lift. Three reefs around the sheaves in back, with the outhaul just ahead. Here’s the boom end with line guides inside, before capping the end permanently.

20150326-214629.jpg

20150326-214646.jpg
And despite Charlie’s reluctance to cut holes in a friend’s boat, I got him to make these nifty exit holes after we tried out a few design options. (Got a little inspiration from a GM Futureliner restoration show)

20150326-215126.jpg
Next up was replacing a hatch on the port float bow (that unfortunately went missing when we moved the hulls 3 years ago). We took the inspection port off the starboard one and used it as a mold to get the curve right.

20150326-215537.jpg

20150326-215553.jpg
This will now sit idle until a new 10″ port shows up to match the existing one.

20150326-215752.jpg
And up in the cockpit, we finished up more details. All six winches are now mounted; this mid-cockpit pair will handle the reacher and spinnaker sheets. The barber hauler controls are just ahead of the winch, and check out the new little pods for the compasses – there’s a duplicate of this over on the port side. Seems like a good spot, up and out of the way of seated crew / guests, and right in the sight lines of the driver from either down in the cockpit or out on the beams and/or nets.

20150326-220552.jpg
Speaking of the nets – they’re here! Recall last fall we saw F22 Dart’s at the first launch, and we followed up in purchasing 30lbs of Dyneema mesh. Yes, these are fishing supply people that sell it by the pound. This same stuff was on the America’s Cup boats last year, and doing it this way is costing about 1/3 or ordering complete trampolines from known suppliers in FL, etc.

20150326-221026.jpg

20150326-221047.jpg

Work this week in the main cabin shows progress quickly because each task is smaller. We’ve figured out a BlueSea 12volt electric distribution system, and the complete panel will live here above the radios and chart table.

20150326-221344.jpg

The galley is figured out now. The propane stove/oven unit got it’s mounting built (but installed photo forgotten). The metal trim of the unit fits right over the raised wooden rails and trims out nicely.

20150326-221701.jpg
Then looking to the left, we get a big, deep sink – after all, this is a second home, right Dad? The circle left of the sink is a garbage can built in to the countertop, so Jimbo can say it’s a real boat. And the freezer unit is at your far left in the photo.

20150326-222022.jpg
In the sink there’s a very deep strainer basket – that’s important to catch any food scraps as the drain water is set up for a grey water catch tank which will supply the toilet flushing. When we have a few gallons of “grey” stored up, the sink will be switched to drain overboard, via reachable levers in the cabinet. More on that later.

20150326-222431.jpg

I noted in F39 Henny’s and F33 Arno’s blogs recently each spoke of it taking about three hours to get vacuum’d panels all set up and working. That’s my number too. This morning was about 3 1/4 hours getting all the fabrics cut, bagging supplies ready and prepping the after lunch lamination session. Last week we let a wetted sheet slip inside the bag for that float hatch and developed a wrinkle in the piece (that had to be ground away and patched). Got me thinking that we really shouldn’t move a piece at all during the wet out process. So today we tried marking the first-to-table peel ply with the exact foam core locations then taping the peel ply taught at the corners. This worked well.

20150326-223840.jpg
Here’s the galley countertop – the darker yellow foam is high density for the faucets area.

20150326-224003.jpg

20150326-224023.jpg
These four pieces (various galley parts) are what took 3 hours to get ready – that’s about par for our course.

20150326-224143.jpg
Getting the vac bag placed so that it draws in tight against inside cut edges, like the sink and garbage cut outs here, is not yet mastered. With this under mount sink, that edge will show so we’re guessing there’s work to do after un bagging tomorrow to clean up those inside rims. It’s tough to get enough loose bag in all the right places as the pump quickly draws down the pressure. We could do some practice runs without epoxy, but I’d rather just assume today was the last need for that kind of piece on this boat! :)
Bought some hardwood tonight so tomorrow we can tackle the plumbing thru-hulls. Best done with a sober and steady hand…

Working the exterior punch list

A tough thing about the boat build is seeing the calendar slide by without getting to true completion on key stages. So many things need “just a little more sanding” or are dependent upon another part or supplier, etc. But it’s been helping to have milestone goals, such as Finish Exterior Fabrication before returning to cabin fit-out work. We’re checking items off the shop white-board every day on the drive to finish exterior parts and hardware fitting. The reward comes this weekend as we get back in the cabins for the home stretch to painting.

We were going to make fiberglass backing plates or buy G10 sheet (yikes expensive), but decided hard woods would be a better fit. So, hardware mounted where the backing washers & nuts are hidden from sight get 3/4″ marine plywood and pieces in view inside the cabins get chunks from a hard mahogany stock. Here are some plates to back up winches, docking cleats and pad eyes.

20150318-234538.jpg
When the taller people come aboard, you’ll appreciate the counter-sunk holes for the bolt-ends, ie they shouldn’t be catching anyone’s scalp.

Fresh air will be ‘always on’ with this dorade vent. It has a clever catchment to leave splashed water out in deck, not dripping inside. This one is mounted just in front of the forecabin wardrobe.

20150318-234953.jpg

20150318-235019.jpg

The final winches mounting has finished. We’ve had five beautiful Andersen stainless steel units patiently waiting at home for years, but the new running back stays and dual mainsheet setup mean a sixth winch is needed. Thankfully our 46 Self Tailer model was on a $600 off msrp deal last week at Annapolis Performance Sailing so we snatched that up. It clawed back quite a bit of the savings from not having a traveler system, but it makes sense. Here’s what you get when lifting the drum off an Andersen for installation or maintenance.

20150318-235602.jpg
Spin it around and it’s like watching a fancy old clock work. It’s so pretty we really MUST commit to the annual maintenance on these beasts.

Charlie was at the shop eagerly sanding away at some fairing work when he spoke up about “maybe not enough reinforcement around the steering bearing plate”. I’d had a similar thought a week earlier, so with two opinions it was time to beef it up. A bit of carbon to the rescue.

20150319-000013.jpg

All the steering gear worked out well. But I forgot to photo the final assembly. So that will have to wait until it’s painted and I’ll save the work in progress photos for you.

The shop went dark for 4 days in order for the builder to sail little trimarans. Huge thanks to Jared and Paul, owners of Pierpont Performance Sailing, for hosting a Weta spring break getaway at Lake Nacimiento in central Cal.

20150319-000403.jpg
The boat sharing worked well and I got at least 10 hours at the tiller – here in some light air:

20150319-000522.jpg
Got my hat handed to me in the match races by Bruce the Weta class prez with his yellow boat, but learned a bunch. Great weather, good camping, delicious campfire dinners and really swell folks to go with gusty air lake sailing. The Pierpont guys do charters of hot boats in Cal and Mexico, including single berth slots on events like the Newport to Ensenada and Baja HaHa. Good stuff – at PierpontPerformanceSailing.com

Composites instead of steel bow eye

As we finish up the exterior of the whole boat now, there’s a short list of ‘modernization modifications’ that should be done because better ideas have come along since this build began nearly 20 years ago.

The six foot bowsprit gets a bobstay from the end of the pole down to the bow of the main hull just above the waterline. We have a stainless steel u-bolt installed to carry this big load as the spinnaker pulls up and forward. But the u-legs are not in line with the force, and the backing plate is measly. Over time, and probably way out on an ocean, this will become trouble.

20150311-225726.jpg

20150311-225747.jpg
First we tried removing the fitting, but the epoxy was bonded around the threads so this thing was never coming out. We cut and ground it below the surface and entombed the legs and nuts in the new reinforcements. The new hole was cut about a half inch aft of the point where the hull sides meet to form the bow stem. The tube shape is a 1-1/4″ PVC pipe.

20150311-230135.jpg
Inside it got a wedge of high density putty that makes a solid wall, then uni fabrics to spread the load, take over for the PVC, and tie the two hull sides together. The access was tough, reaching just far enough inside the watertight crash bulkhead.

20150311-230426.jpg
Then from the outside we ran strips of uni through the tube and radiated the ends out around the hull about 4″ on both sides of the boat. Three extra layers of uni glass were laid along the pull direction, and that’s what made a bulge on the bow stem just above the new hole height.

20150311-230742.jpg
Then some ‘finish cloth’ bidirectional 6 oz was added to tie it all together before fairing.
Here’s the work in progress after two fairing passes.

20150311-231014.jpg

20150311-231030.jpg
The new bow hole seems plenty strong to better distribute the sails’ force, and no chance of leaky and fatiguing metal. Feels like ten hours well spent.

And here are the photos I mentioned last week about saving some $ on more metal fittings. These are the attachment points for the nets up at the bow, by the anchor. Sort of mini versions of the story above.

20150311-231921.jpg

20150311-231936.jpg
The exterior punch list is almost done, and we’ll get back to the cabin build by late next week.