Ian Farrier’s plans provide for a very strong daggerboard trunk that extends all the way through the boat from the deck to the bottom of the hull. The rectangular head of the board fits snugly inside the rectangular trunk, holding the dagger steady under sail. But what happens when the dagger strikes an underwater object? Ian designed in a weak point into most of his board’s plans, ie they shear off at the hull line rather than rip apart the trunks from the force of the blow.
Now go back a few posts to trimaran Skateaway. Keith designed in a big wedge behind the daggerboard, sitting inside the trunk, that acts as a shock absorbing bumper. I think it’s about 5″ fore/aft at the bottom, and tapers going up. He claims that in 20 years of hard sailing in shoal areas where groundings are common, the system has worked flawlessly in protecting both the board and trunk.
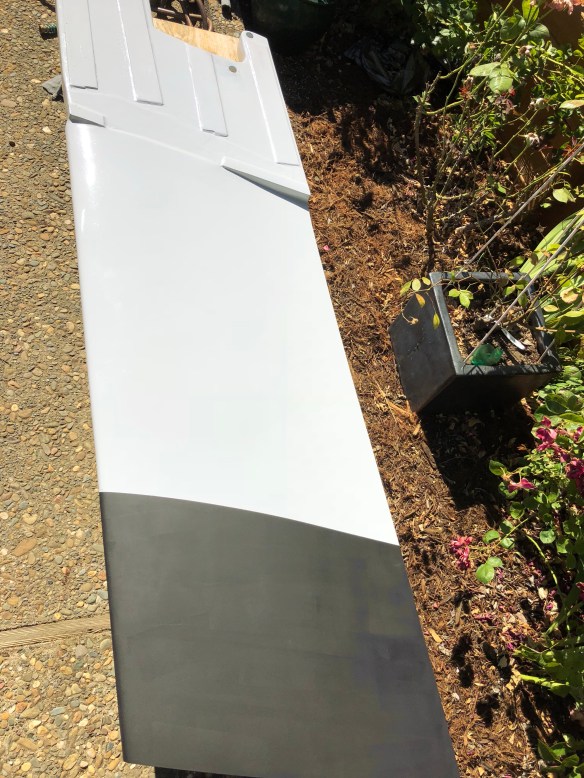
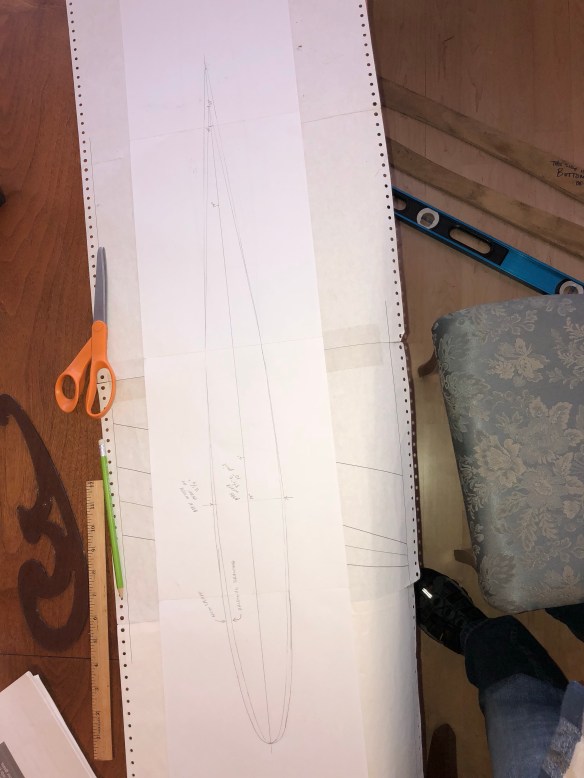
Recall a couple of months ago when we reshaped our dagger, we cut 1.5″ off the trailing edge to get a better aspect ratio (more upwind lift). But I also did it to make room for a shock absorber. After a full Saturday at the boat yard, we spent an hour on the garage floor… (dang, I miss having a workshop! I wonder if Fram / Henny has that problem now too?)

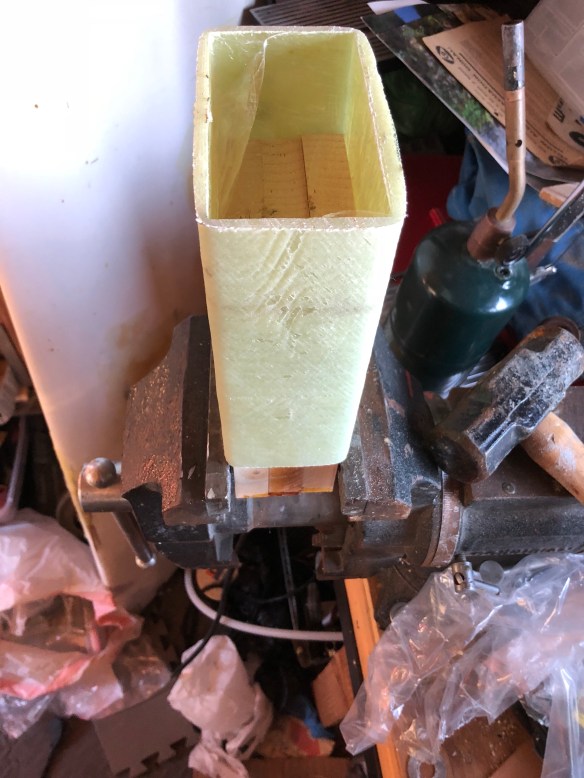
That’s four layers of 12oz biax glass to form a trunk-length strip for holding the shock absorbers. 

We had ordered a 6″x6″x3″ block of neoprene rubber (60 durometer) from McMaster. (Forget that 10% tolerance on the website; this thing was dead-on the advertised 3″ wide). Tablesaw literally burned rubber like an American Graffiti outtake. 

These relief holes are a key part of the shock absorption. The rubber is heavy and expensive, so we compromised to this amount which will protect the board from about 2/3 deployed through fully deployed. Further up in the case the bumper is backed by wood blocks, ie what we had on hand. 
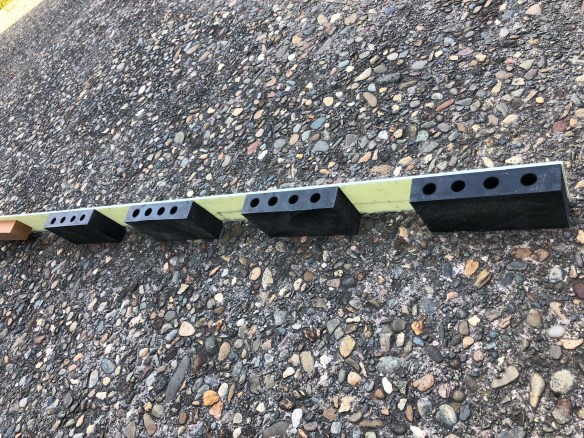
It slid just right down the trunk, behind the dagger, glass side out. 

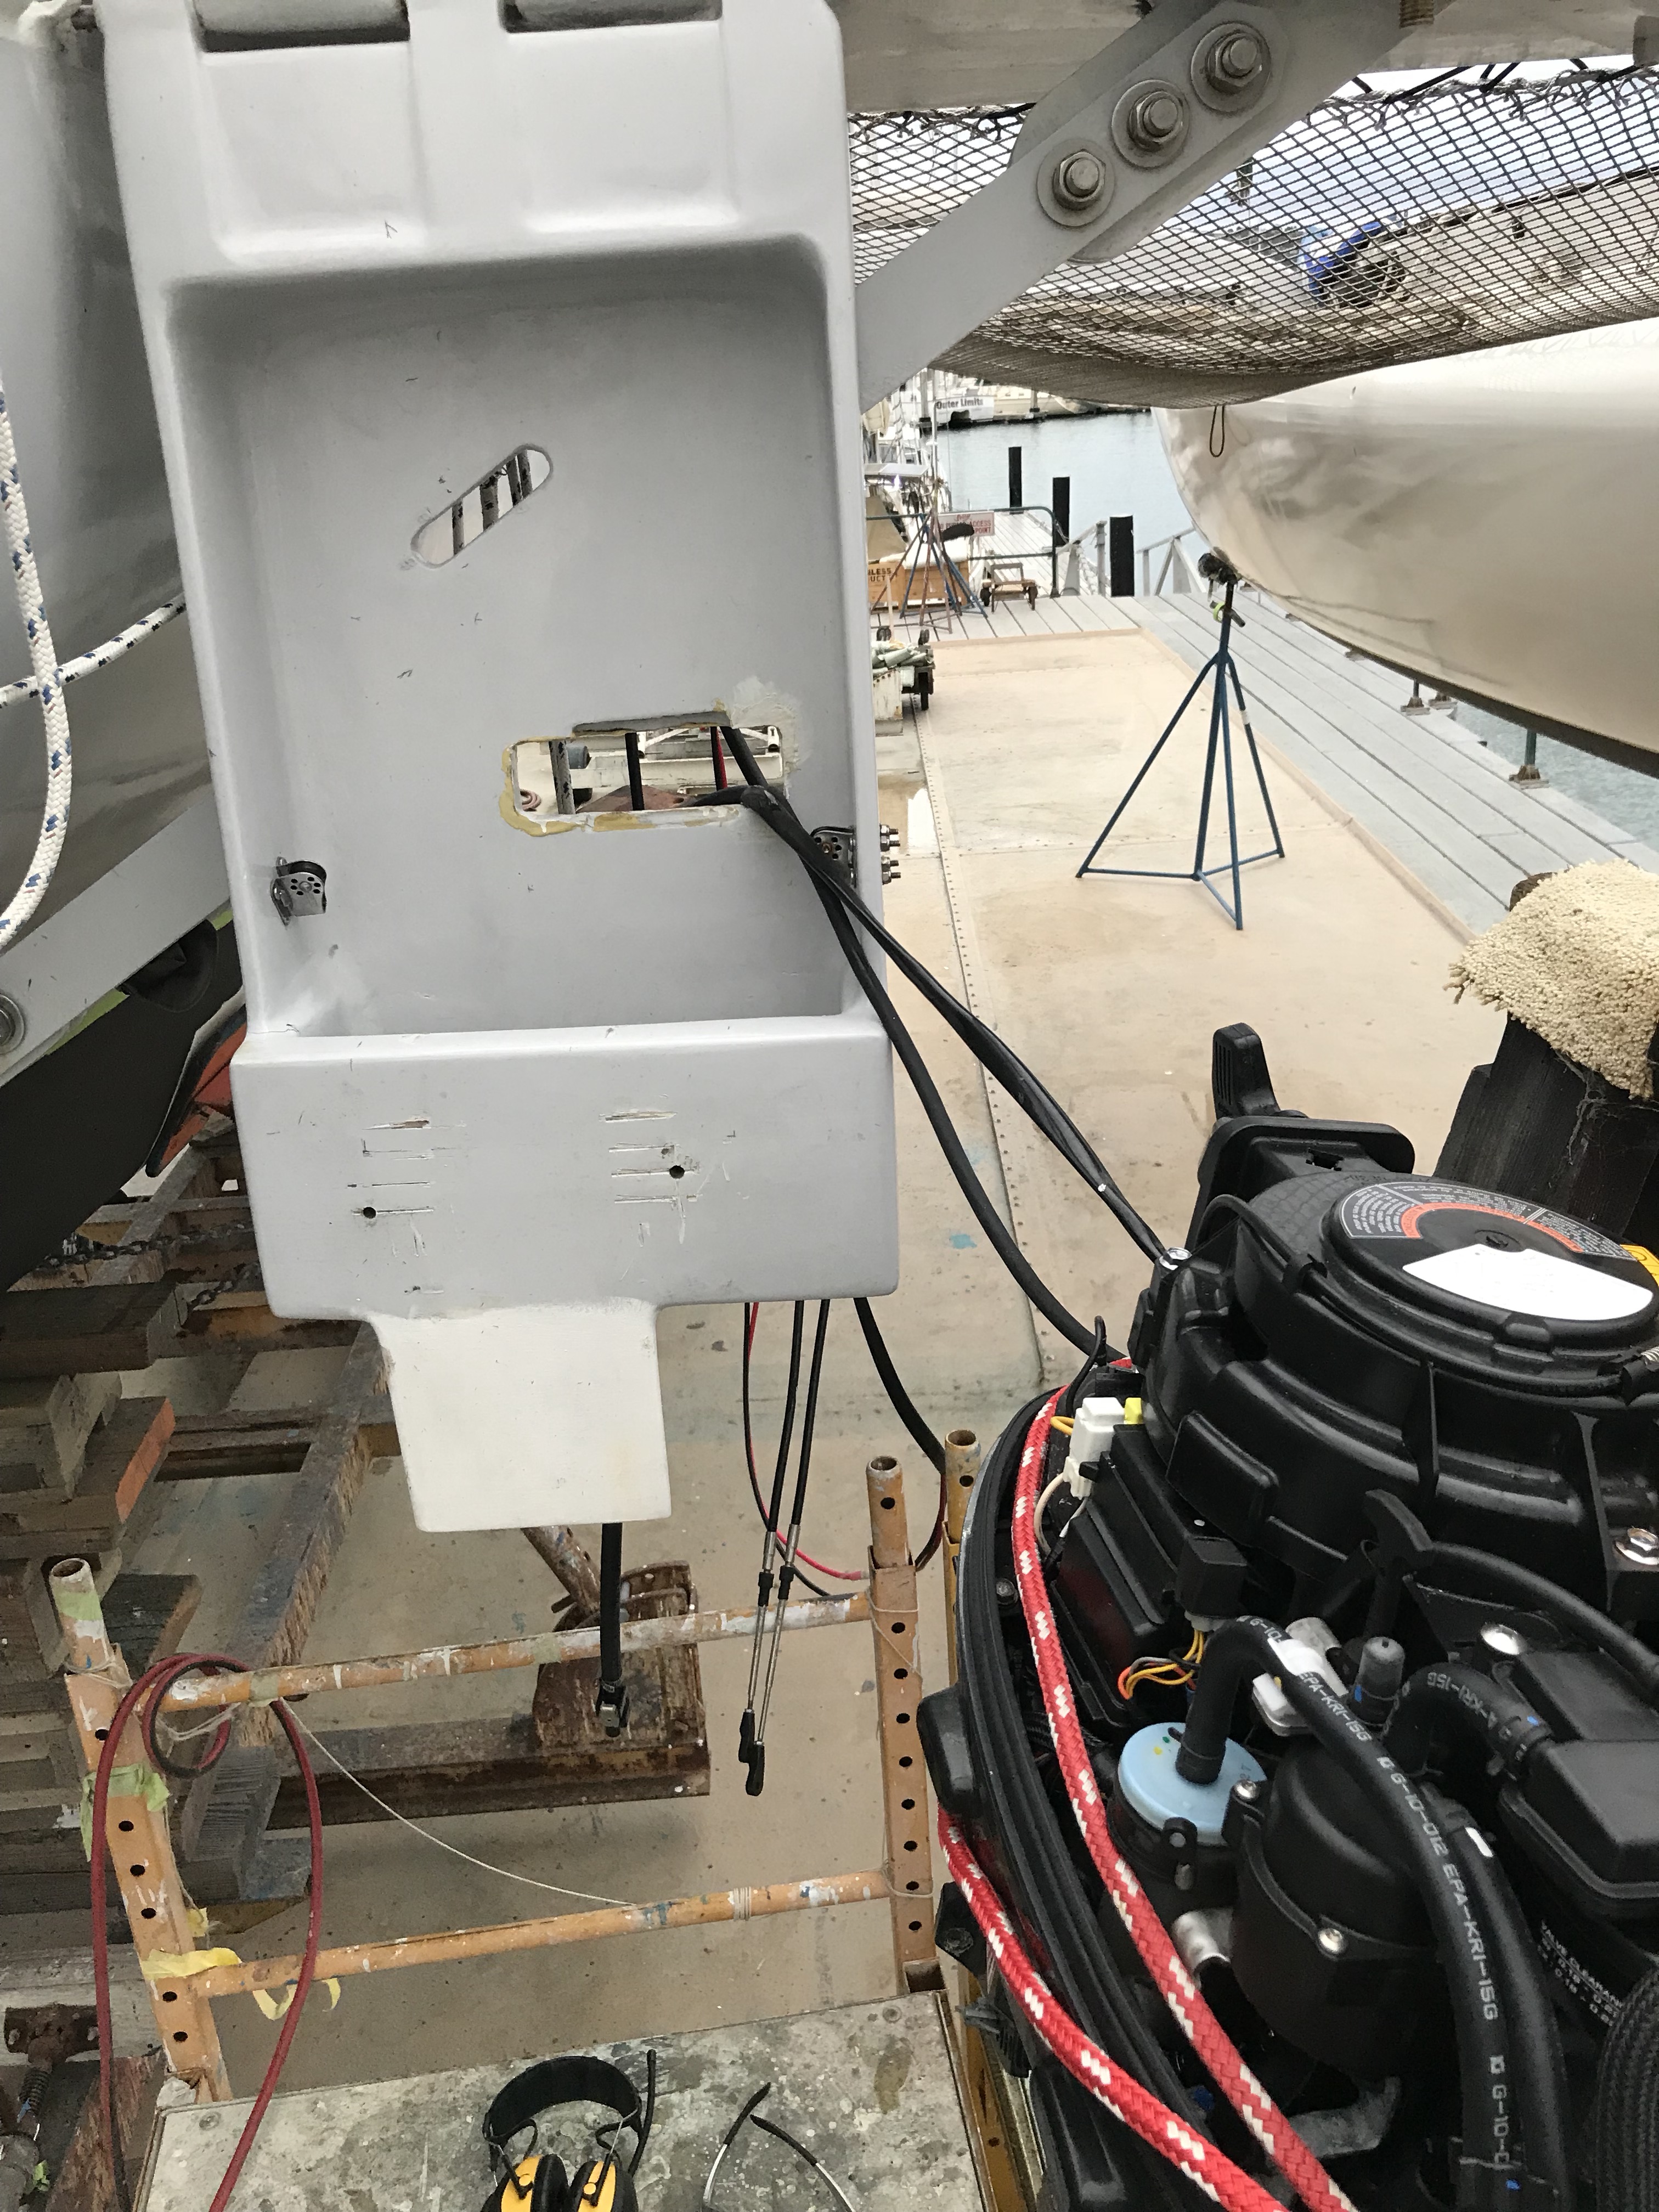
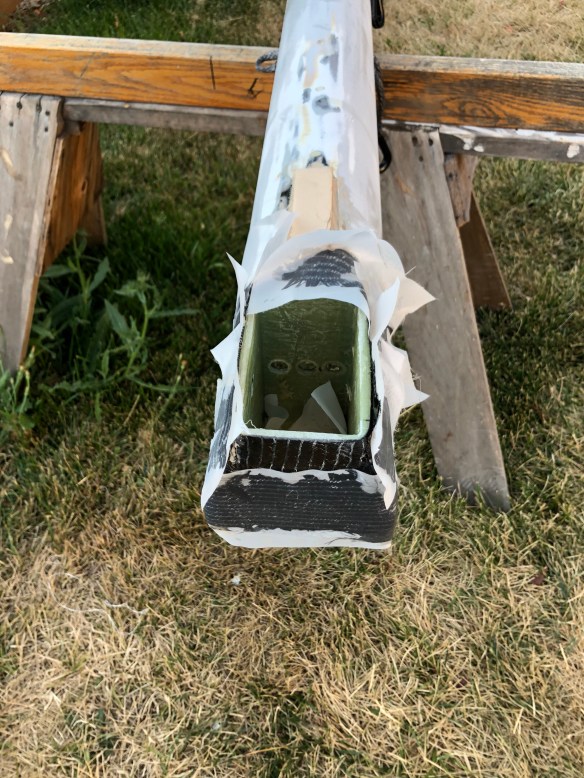
The black plastic plate is affixed to the bumper, and the plate simply screwed in to the upper rim of the trunk. From the bottom looking up, you can see the lowest rubber bumper and the glass plate behind the dagger. The dagger exit slot is about 2″ too long now. We didn’t have time in this haul out to fill in the gaps. Maybe next time, for max underwater efficiency. 
Don’t worry that the board looks off center in the photo. It was being forced to one side at the time.
So, to you F-boat plan holding builders out there, I challenge you: Ian’s not here to debate it with us, but why not make room for a bumper in your dagger trunk? The auto industry figured this out in the 70’s. At least we can hide ours. Make your case two inches bigger? Reshape your dagger to get a 9:1 aspect ratio. Ian designed the F36/39 board too long fore/aft for its width. Today’s foils have proved it. So perhaps fill the rest of that case with this idea!
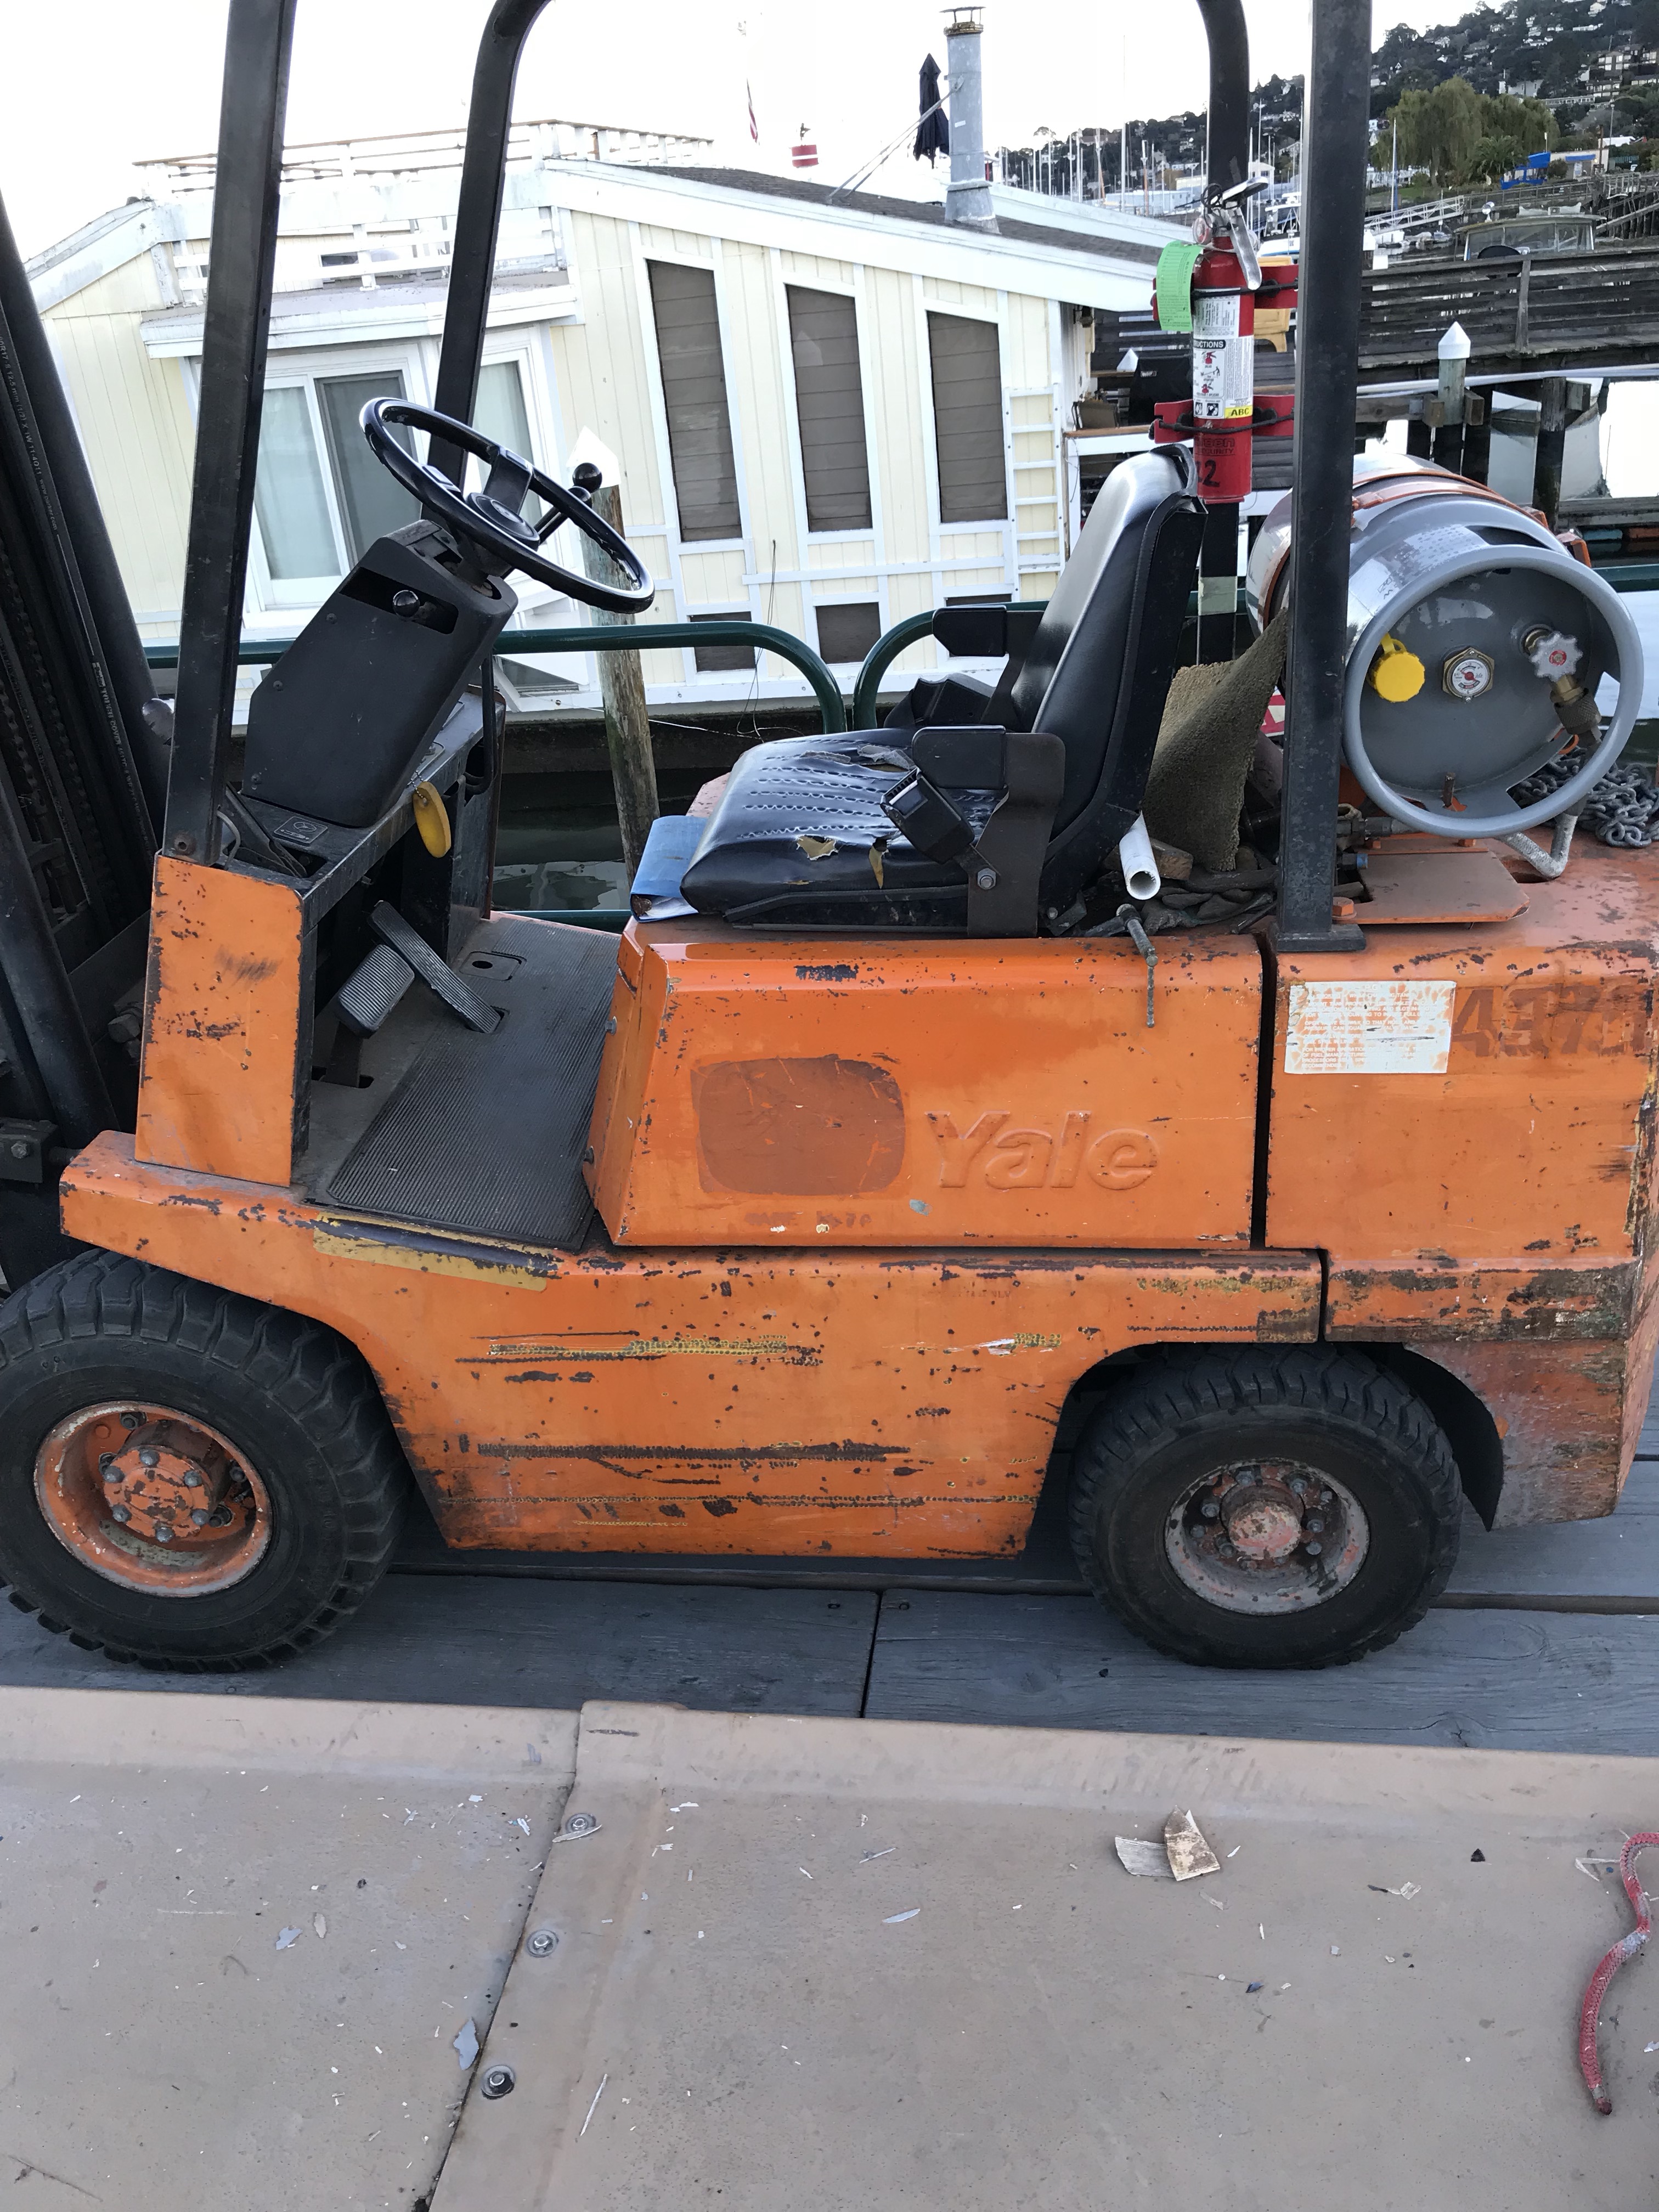
Back when we launched Ravenswing, Charlie made an excellent CrazyCrane in the back of his pickup to help us get the floats into position on the beams. This time we needed a way to get the dagger up and down a couple dozen times for all this retrofit work. We’ll just call this one DingleDerrick. I asked the yard boss to just leave the huge crane over the boat for the weekend. But he said no, there’s no boom brake and the wind is being weird lately. So they craned up two hideous old horses on deck and pointed me to the woodpile. Got to love the DIY boat yard. 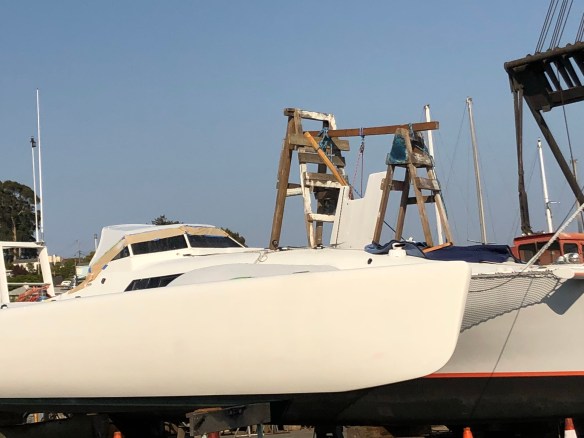
They even let me play with the gas powered pressure washer, and the boat bottom got blasted clean. The above shot has the dodger in its new top-sides matching grey. Warning here to never use the one part Interlux Brightsides paint for mixing bright colors. Our 1/2 yellow, 1/2 red Ravenswing Orange faded severely after just one summer. 
Three hard days done in the yard. Labor Day is easy – applying the new graphics, running some solar panel wires, swapping the engine prop then bugging out to celebrate Dad’s 81st. Last month we finally got his boat out of her slip for a much needed shaking of the cobwebs. Selfie time…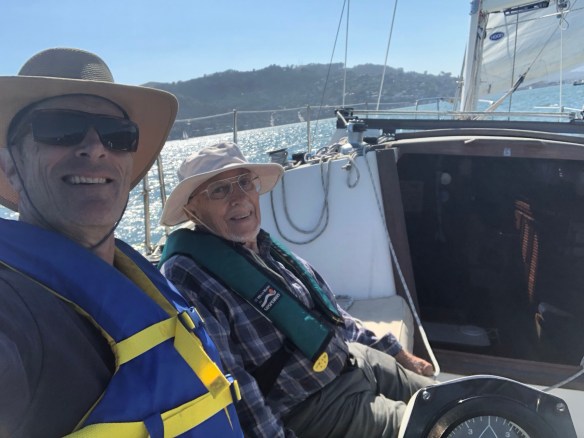
Those smiles were a pretty good recovery from what we found upon entering the cabin that day. 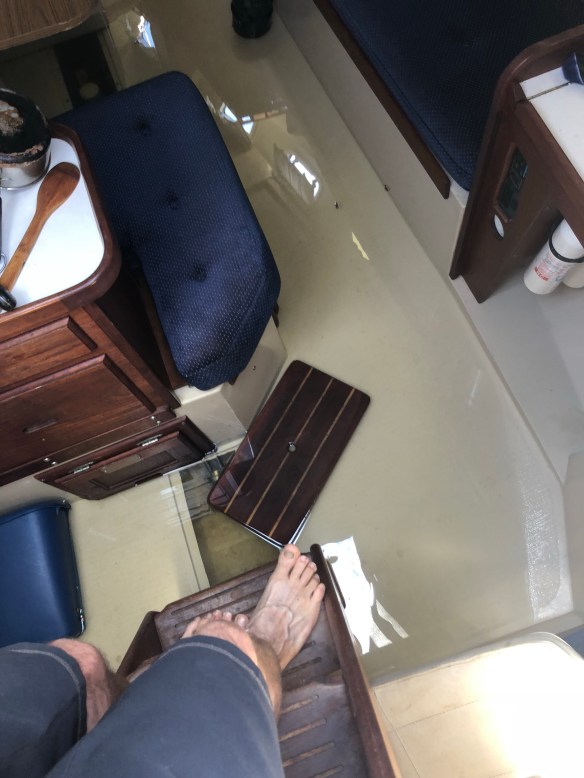
I’d heard the expression “the floorboards were floating” but never really got it. Amazing what a dripping prop shaft seal and failed bilge pump can do in a few weeks unattended! Sorry Dad, I’ll stick to my three hulls / no lead setup :)


 Now it will get a proper fitted sheave box:
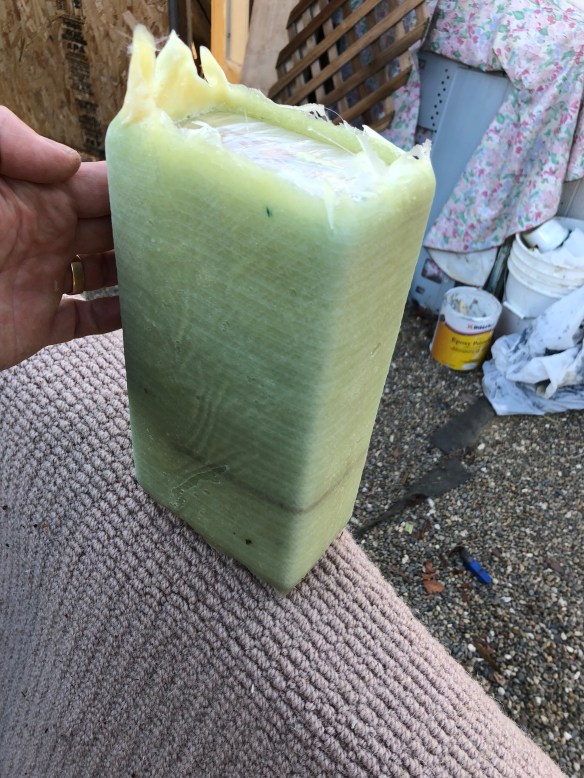


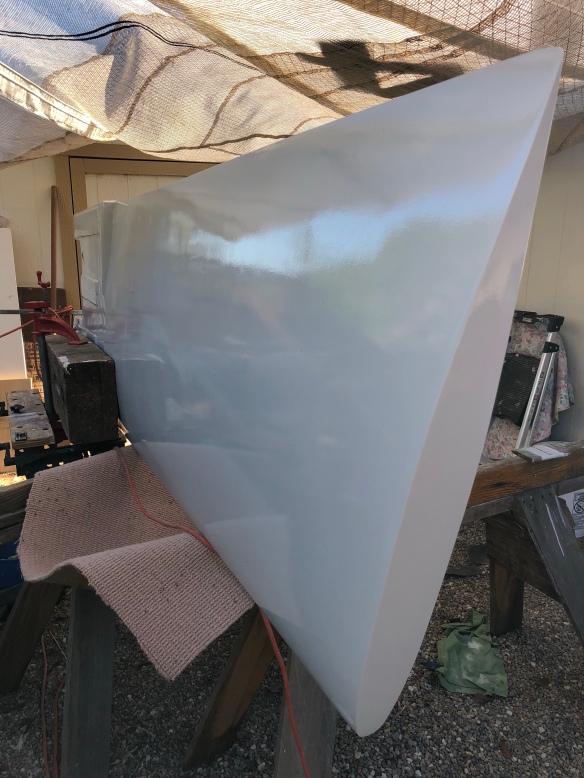


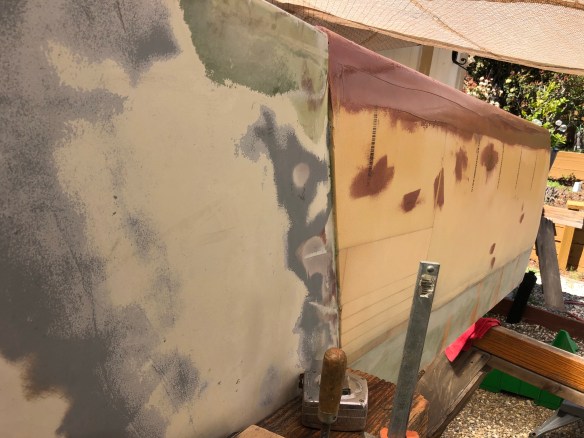
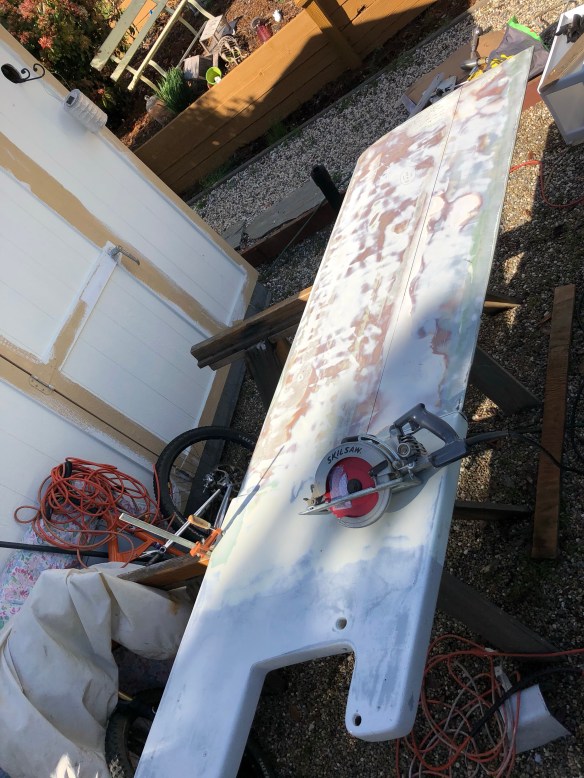
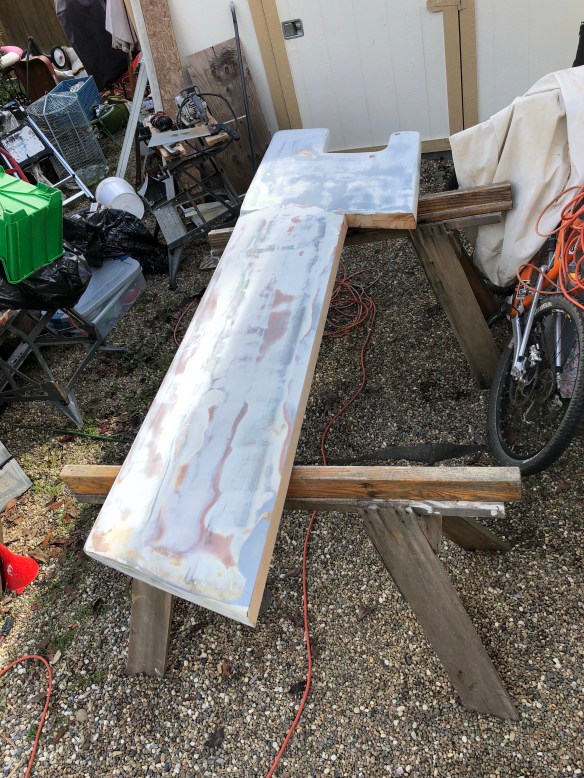
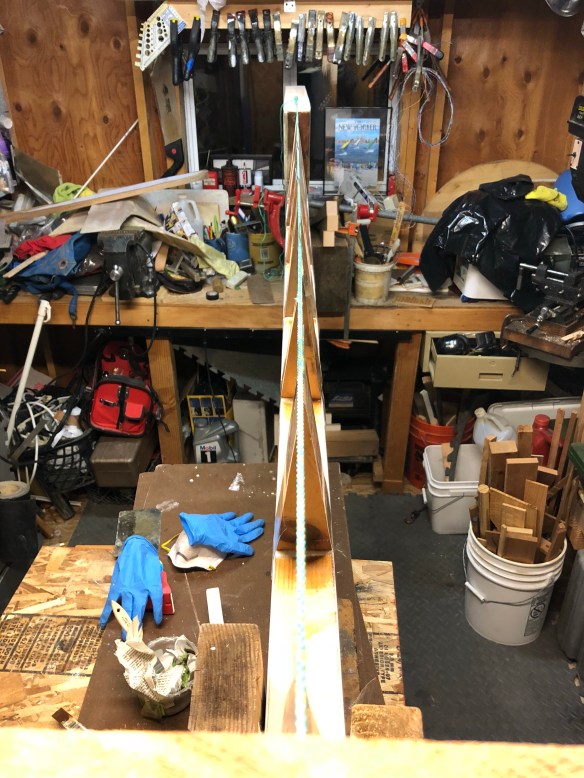
 getting better with a second fill and sand pass, but you can see we went too thin with the bog for a long section about 4″ in from the trailing edge.
 they got the suspension upgrade done and winch bumper mounted, then backed it into a partially rolled shop door. Geez. At the body shop now.
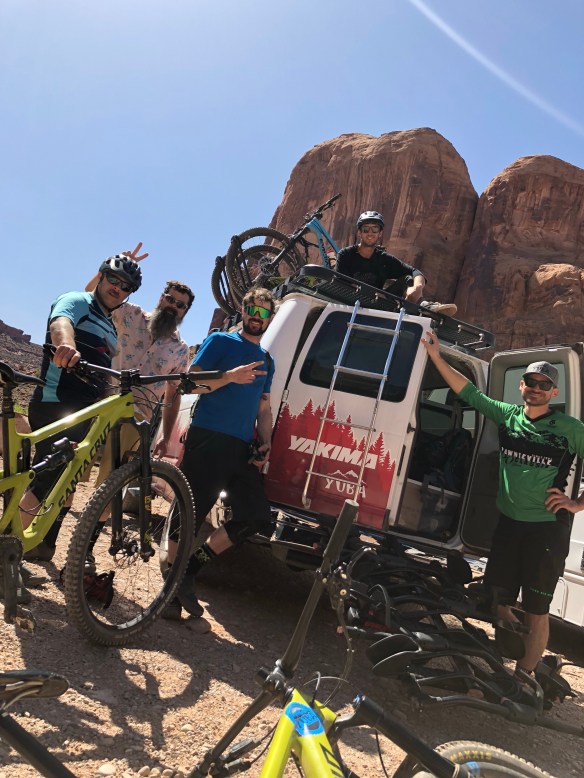
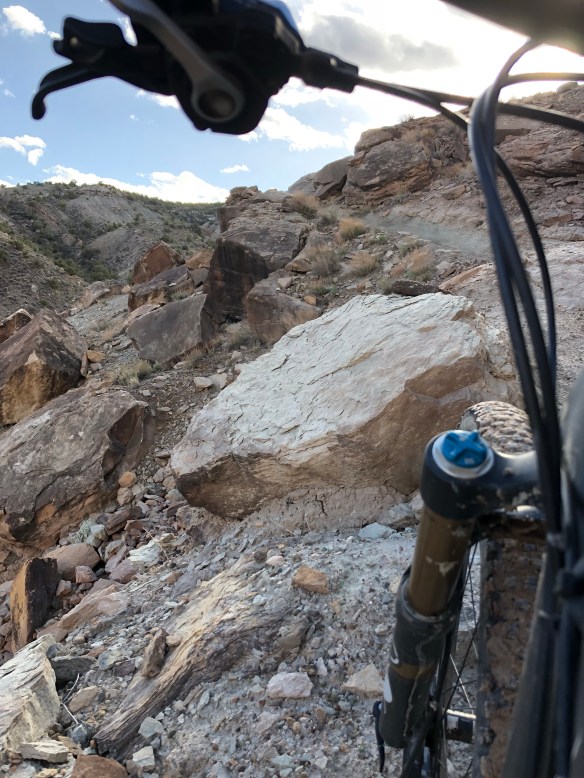
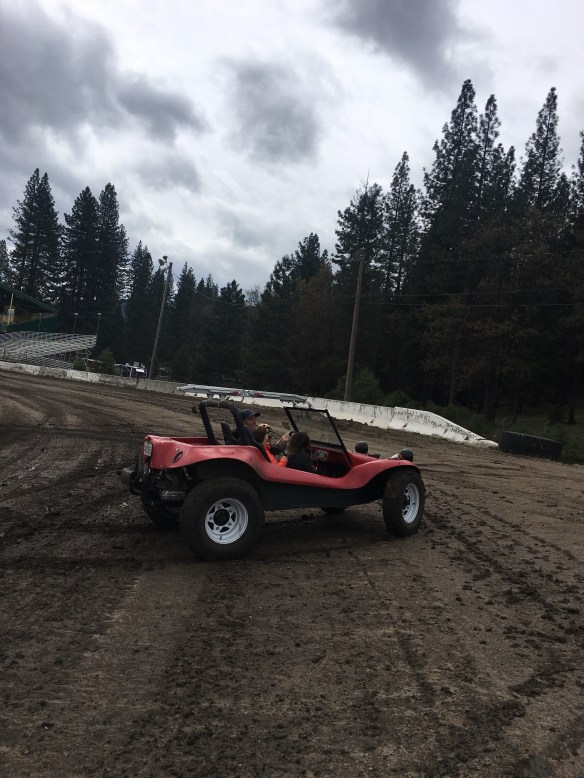 and while we’re in the north Sierra, hit some excellent single track on the new Hightower LT. holy cow, this bike is a bad ass! If any of you Ravenswing fans want to do some mountain biking when we’re not sailing, just holler. They’re lined up in the garage :)


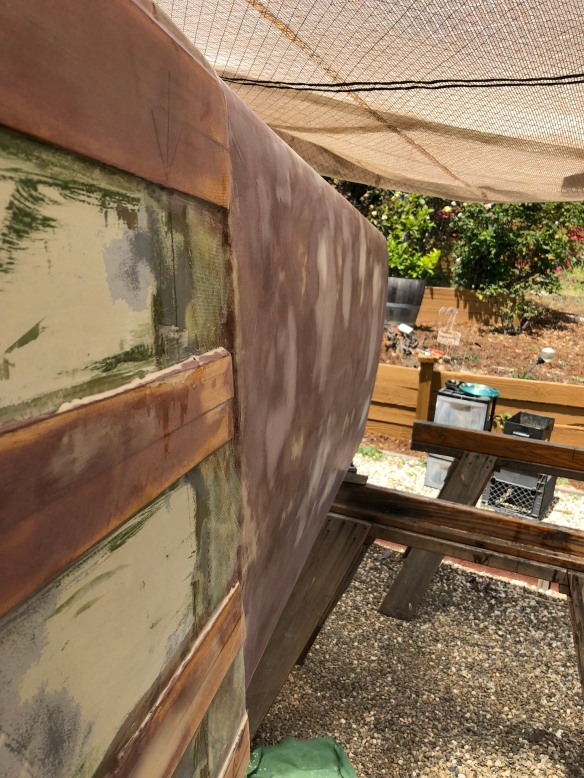
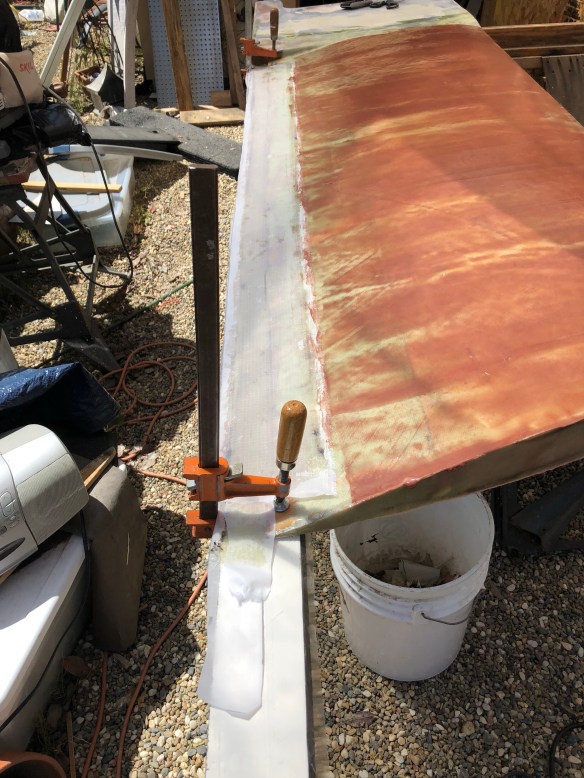
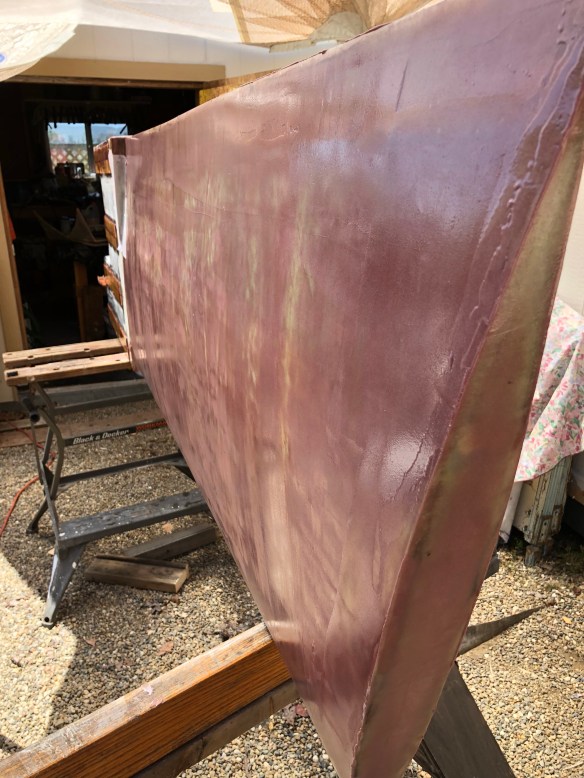
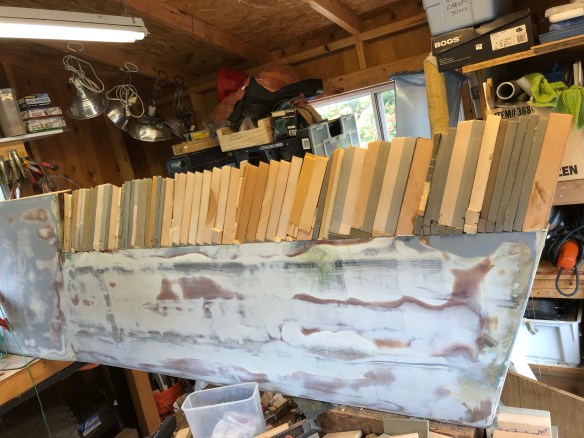
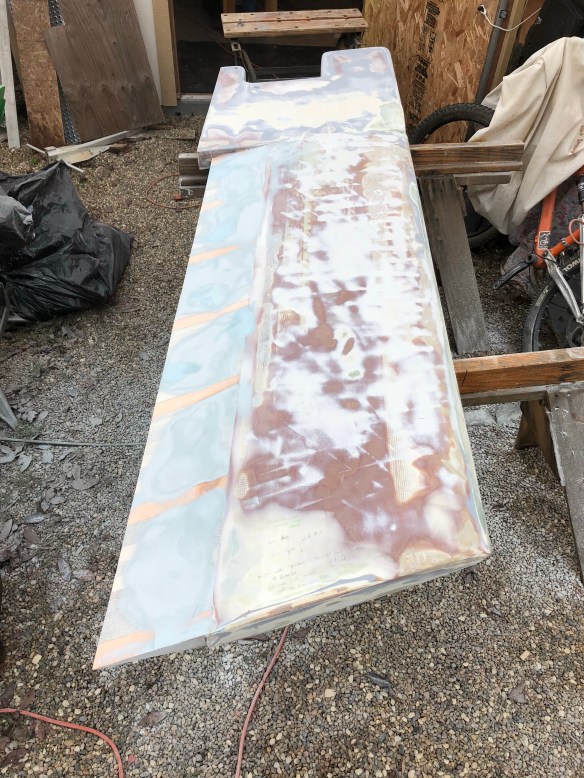
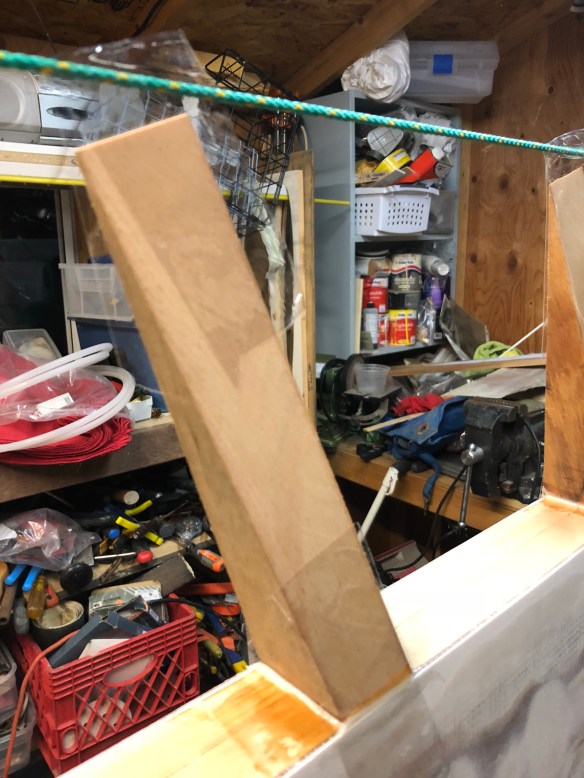
 Mom, the red stuff is the fairing compound applied directly to the foam core, getting the understructure shape just right before the final outer skin of fiberglass is applied.
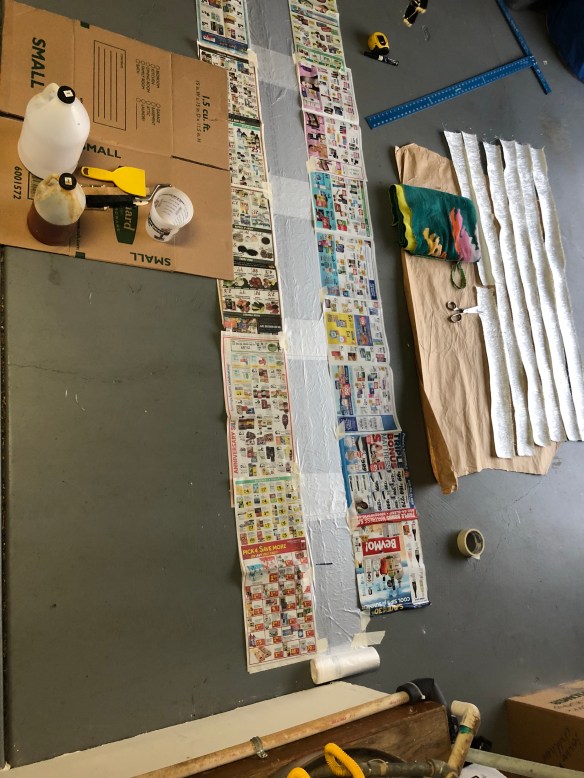
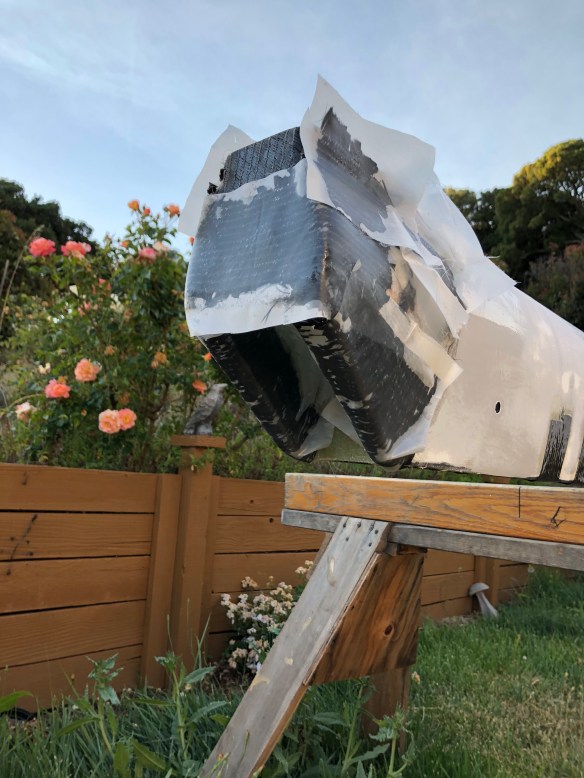
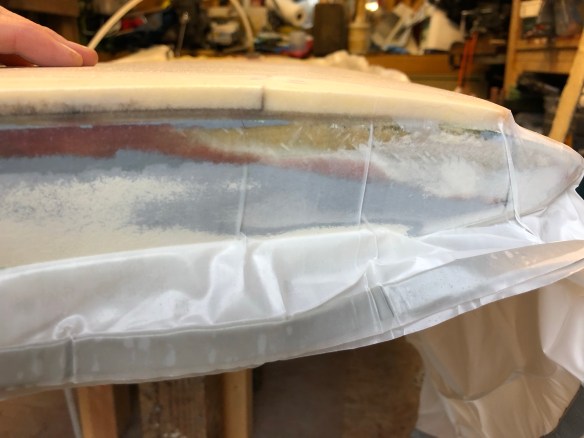
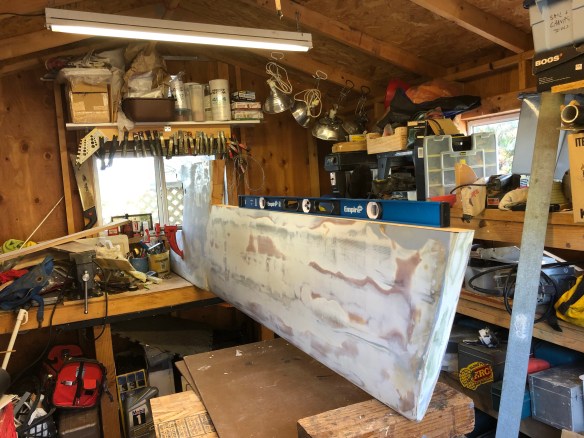
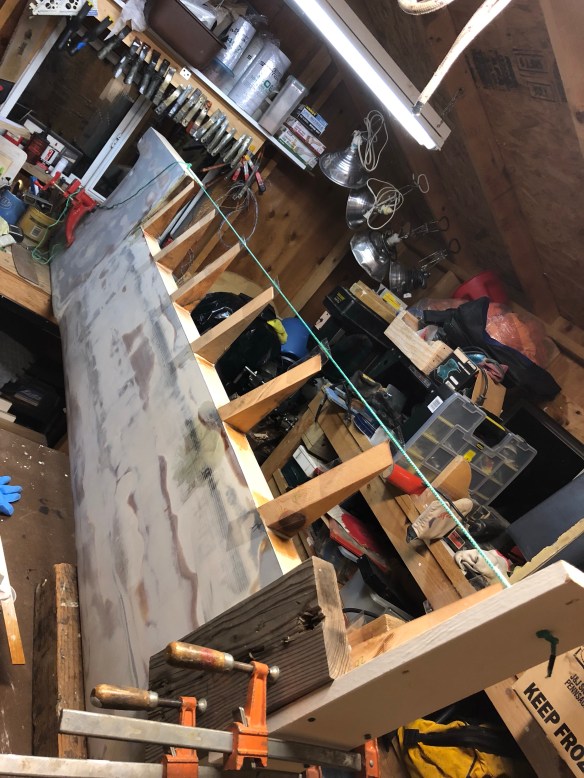
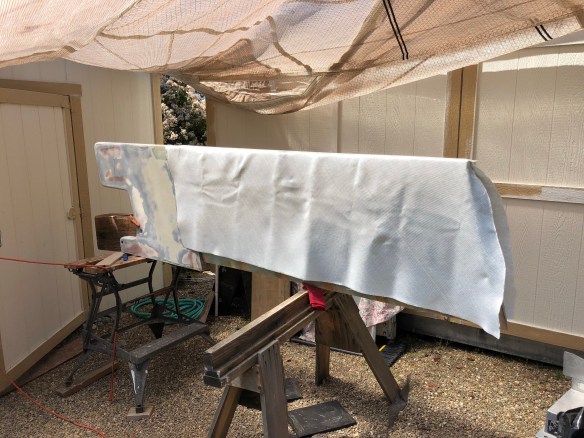 you’d think we’d be old hands at this by now. Got all materials prepped in advance and decided to wet out the glass on a table in the shed. Well, the combo of a fast epoxy hardener and the big cloth being folded many times to fit the tiny table led to heat build up. As I draped the wet cloth over the board the epoxy started kicking off. There was some frantic pressing in place, then realization that some had to be cut away and (thankfully there was enough) new glass cloth added. And of course, because the project is quite large, our normal “stretchalon” vac bag wasn’t quite large enough. I used 4mil basic plastic taped into a bag but that stuff just doesn’t handle as well. Only saw this on the pump
 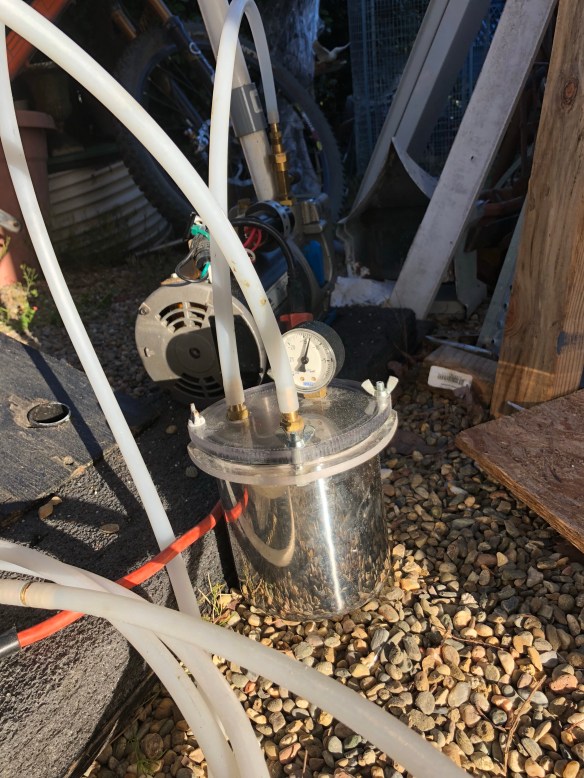 and today we found some air pocket lumps on the board that mean a bit of grinding and reglassing.
 Ugh, guess we’re not to be called pro yet.


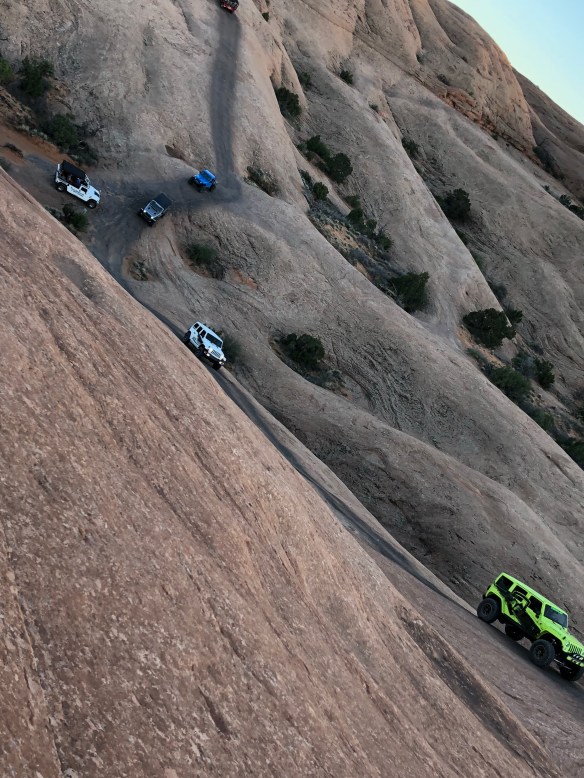
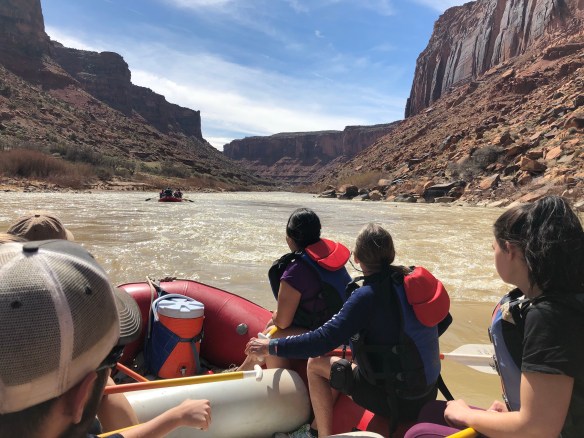


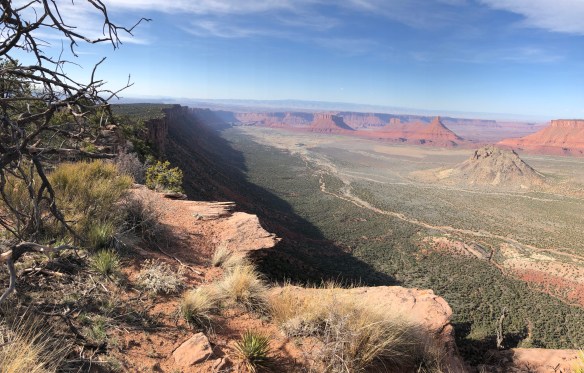


 that was late on a Friday, so Grand Junction Chrysler handed us a loaner car for the weekend and we explored the beautiful area


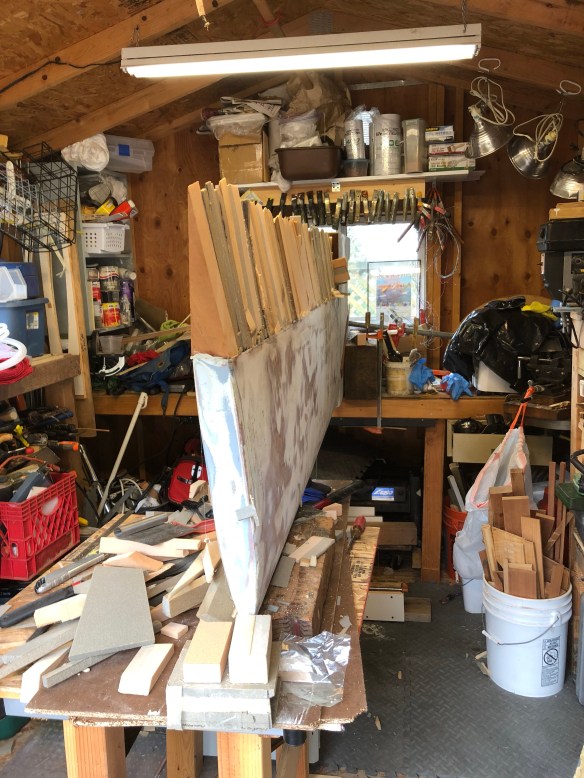


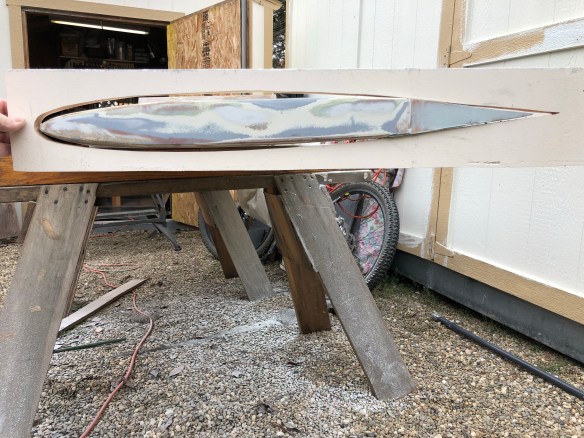


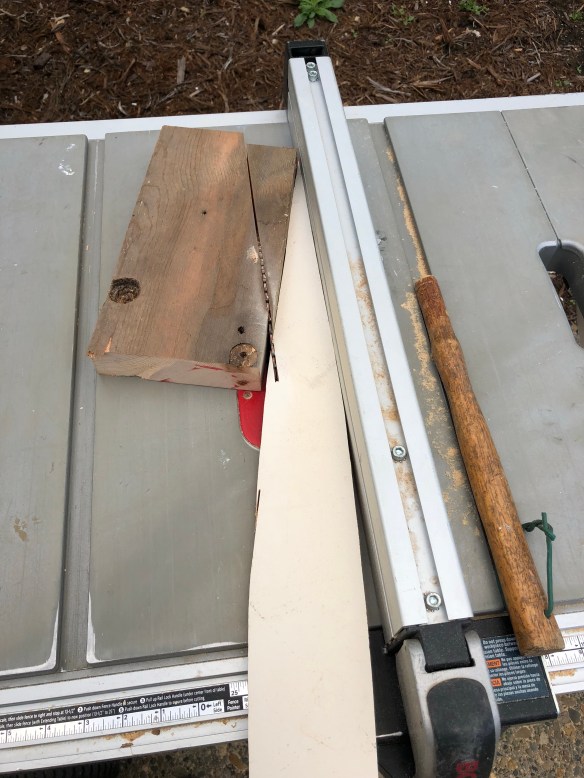

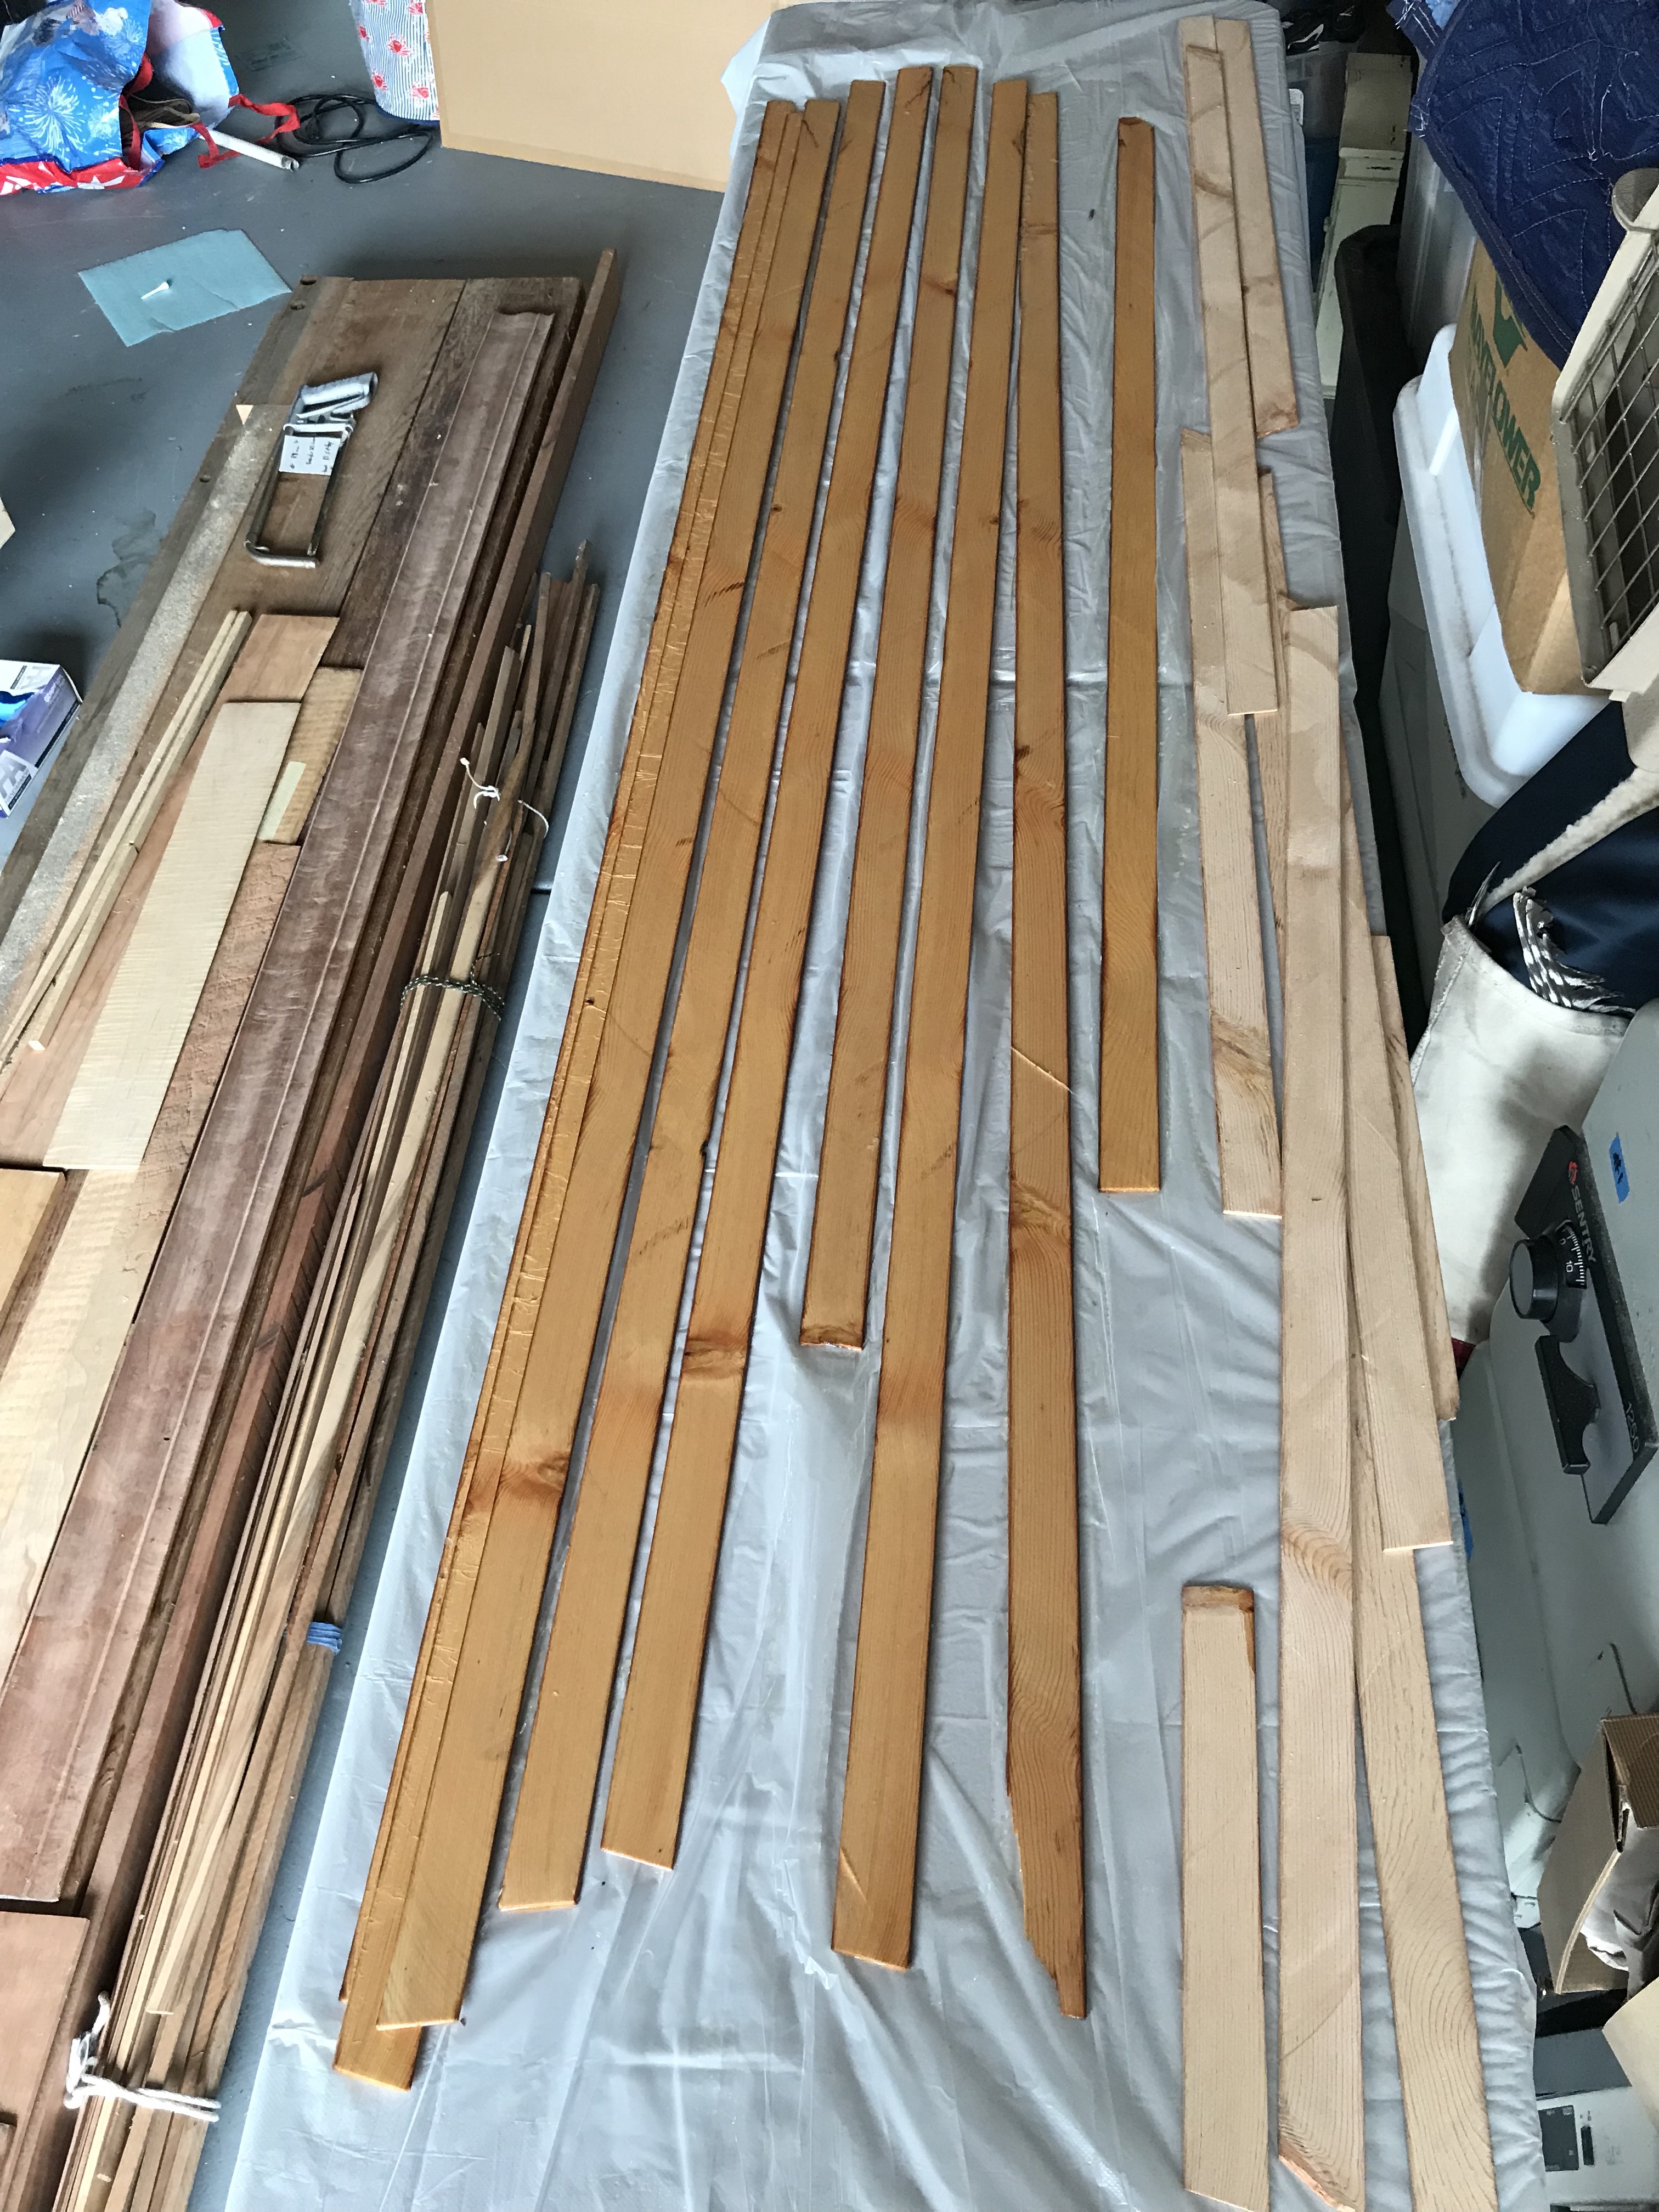
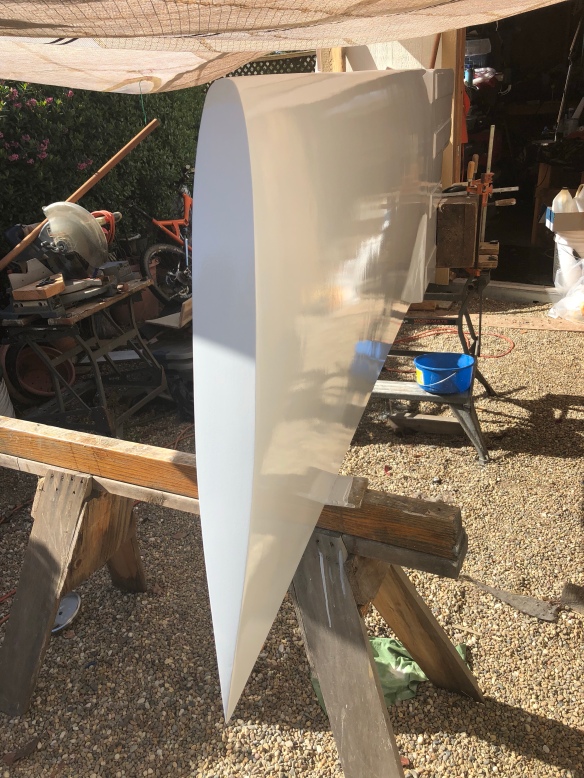
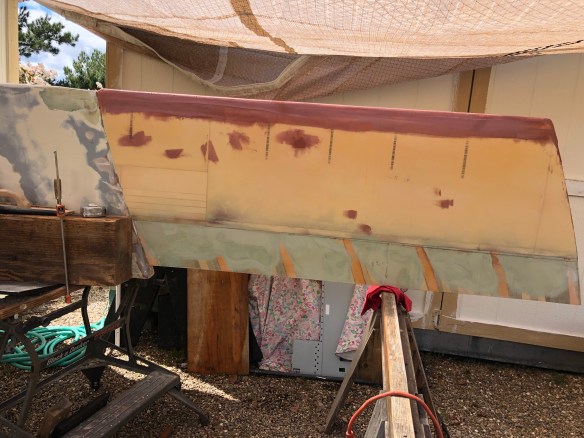
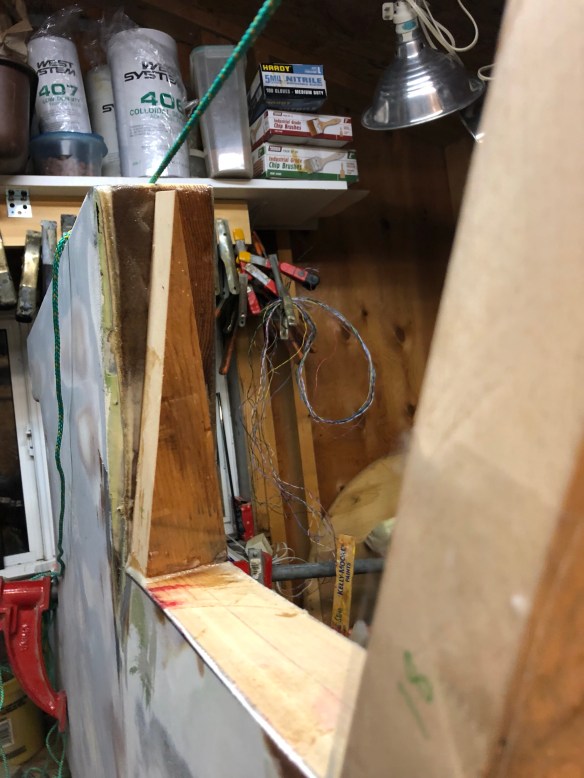 This weekend we’ll fill in between these wood blocks with foam core and get this new tail shaped and ready for fiberglass. I have a feeling adding the right shape to the board on the front half will be much trickier than this aft-half job.