Reds and yellows

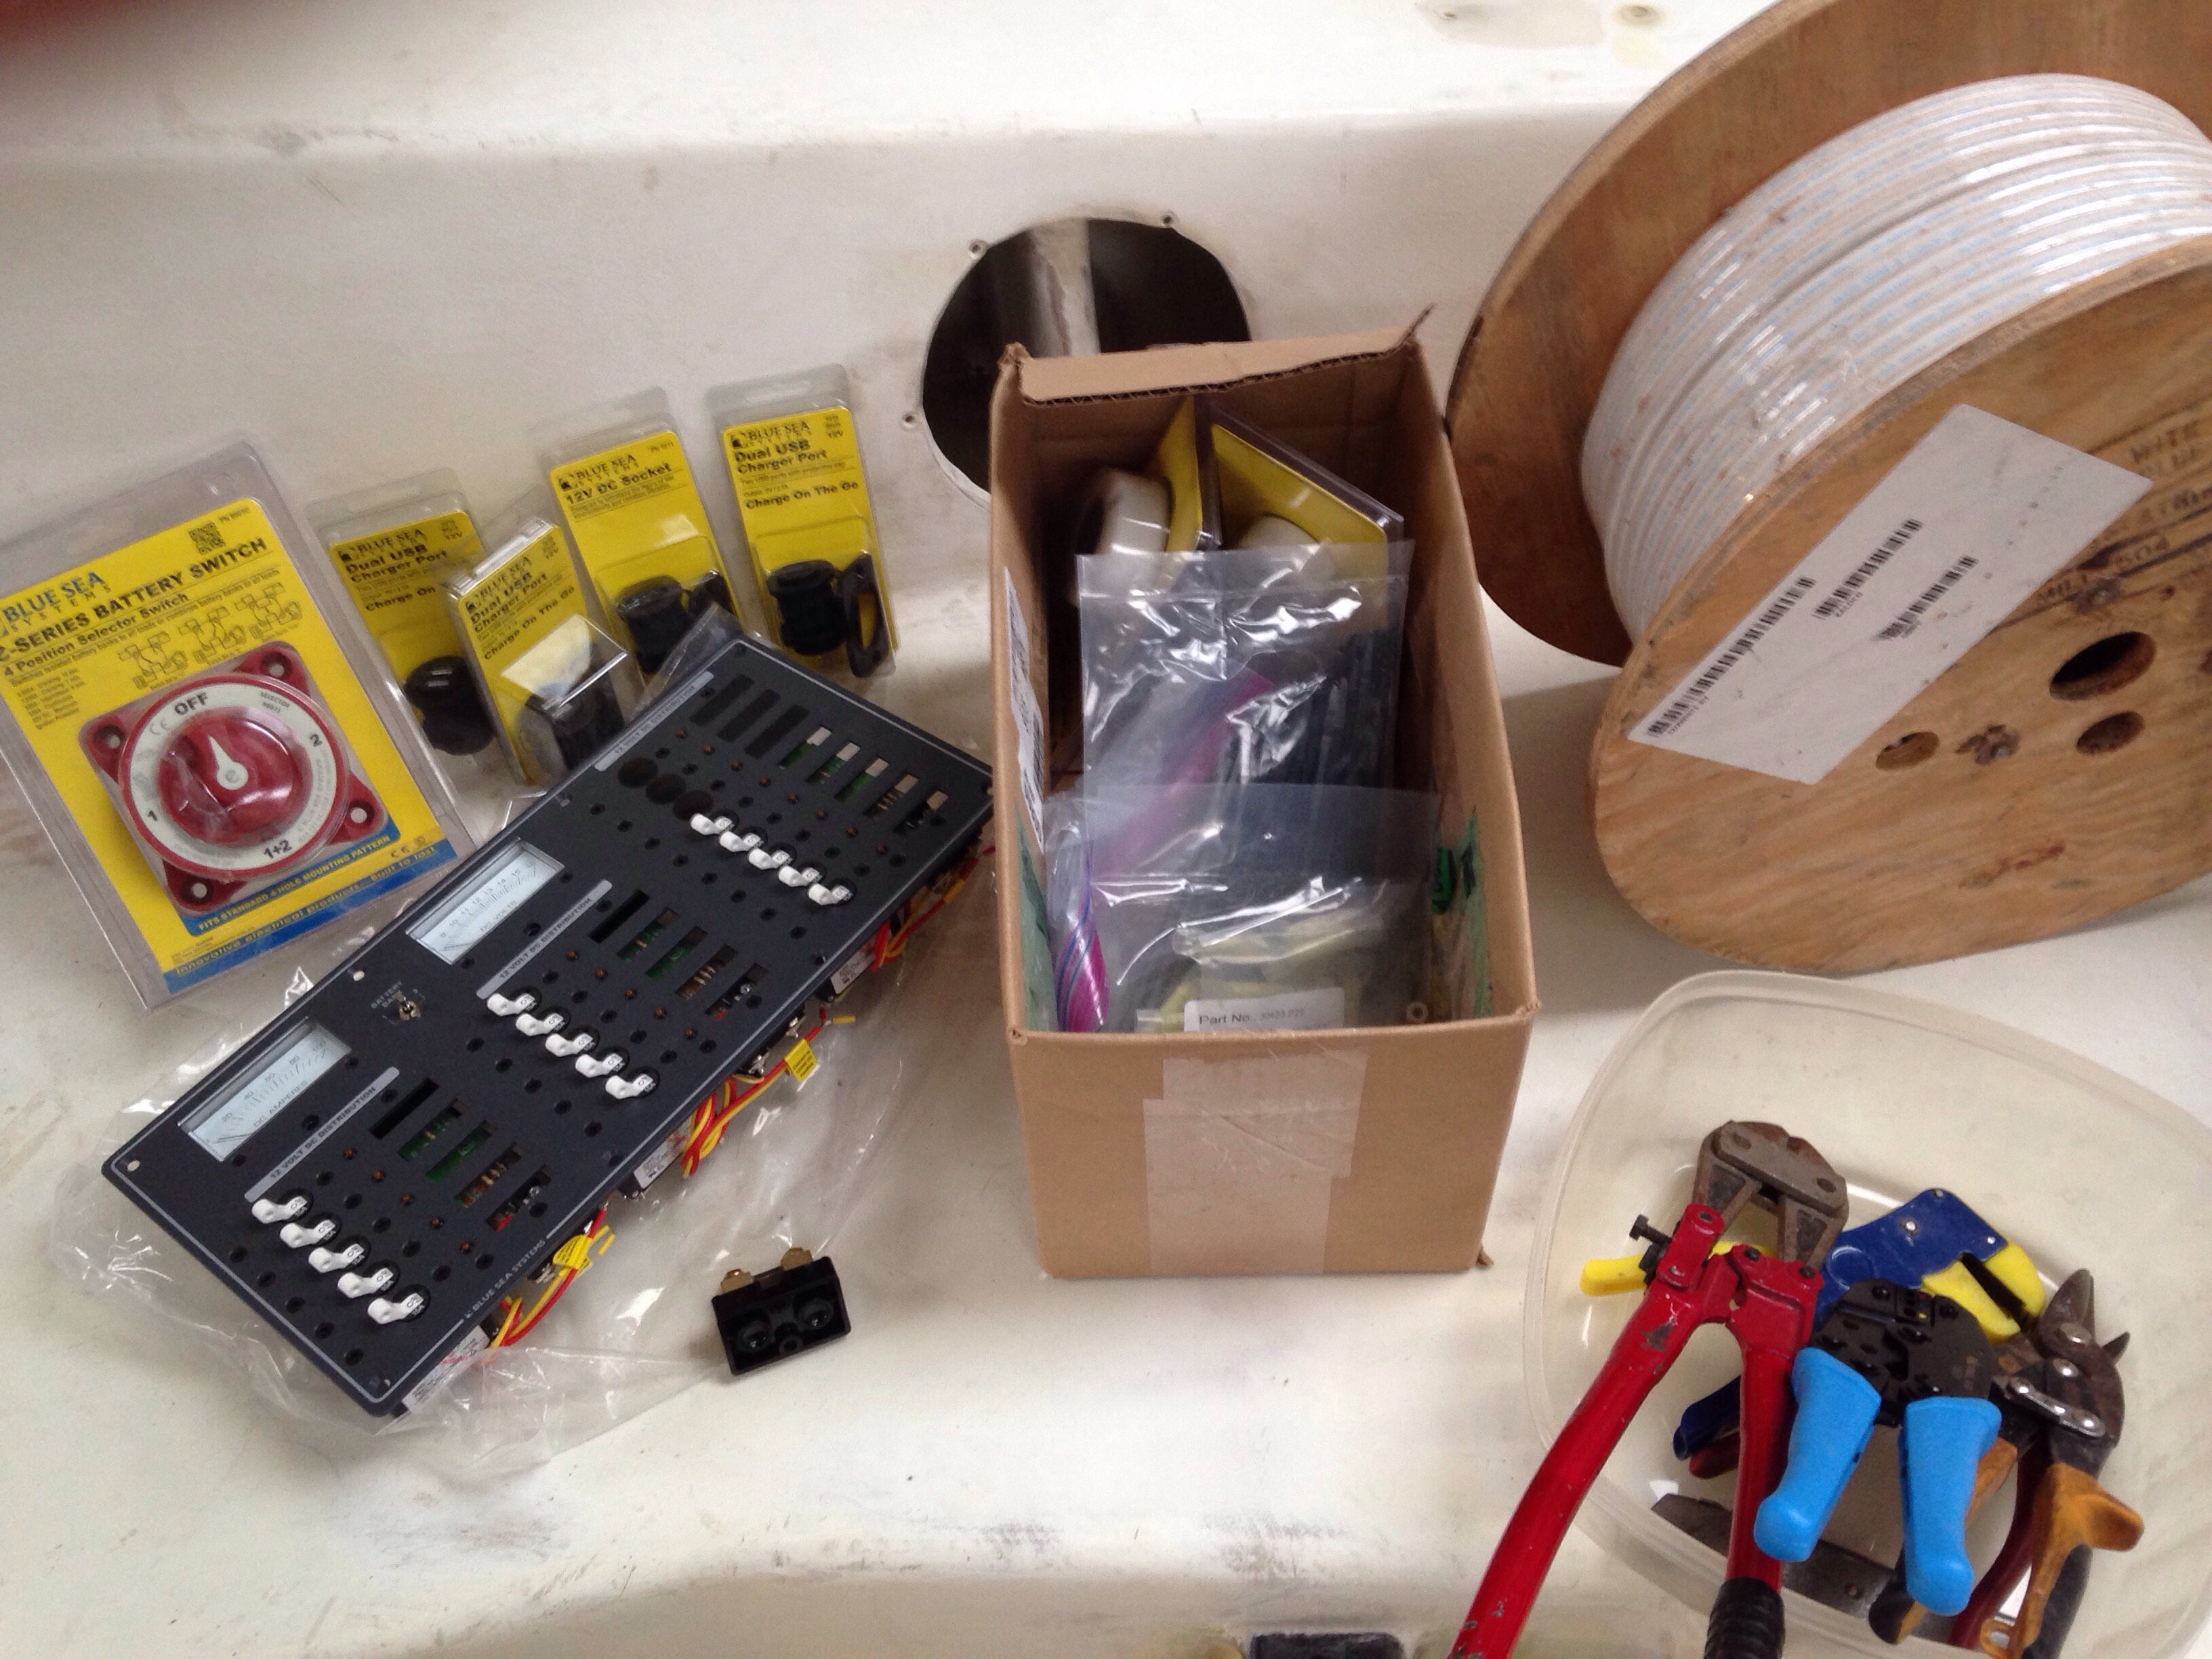
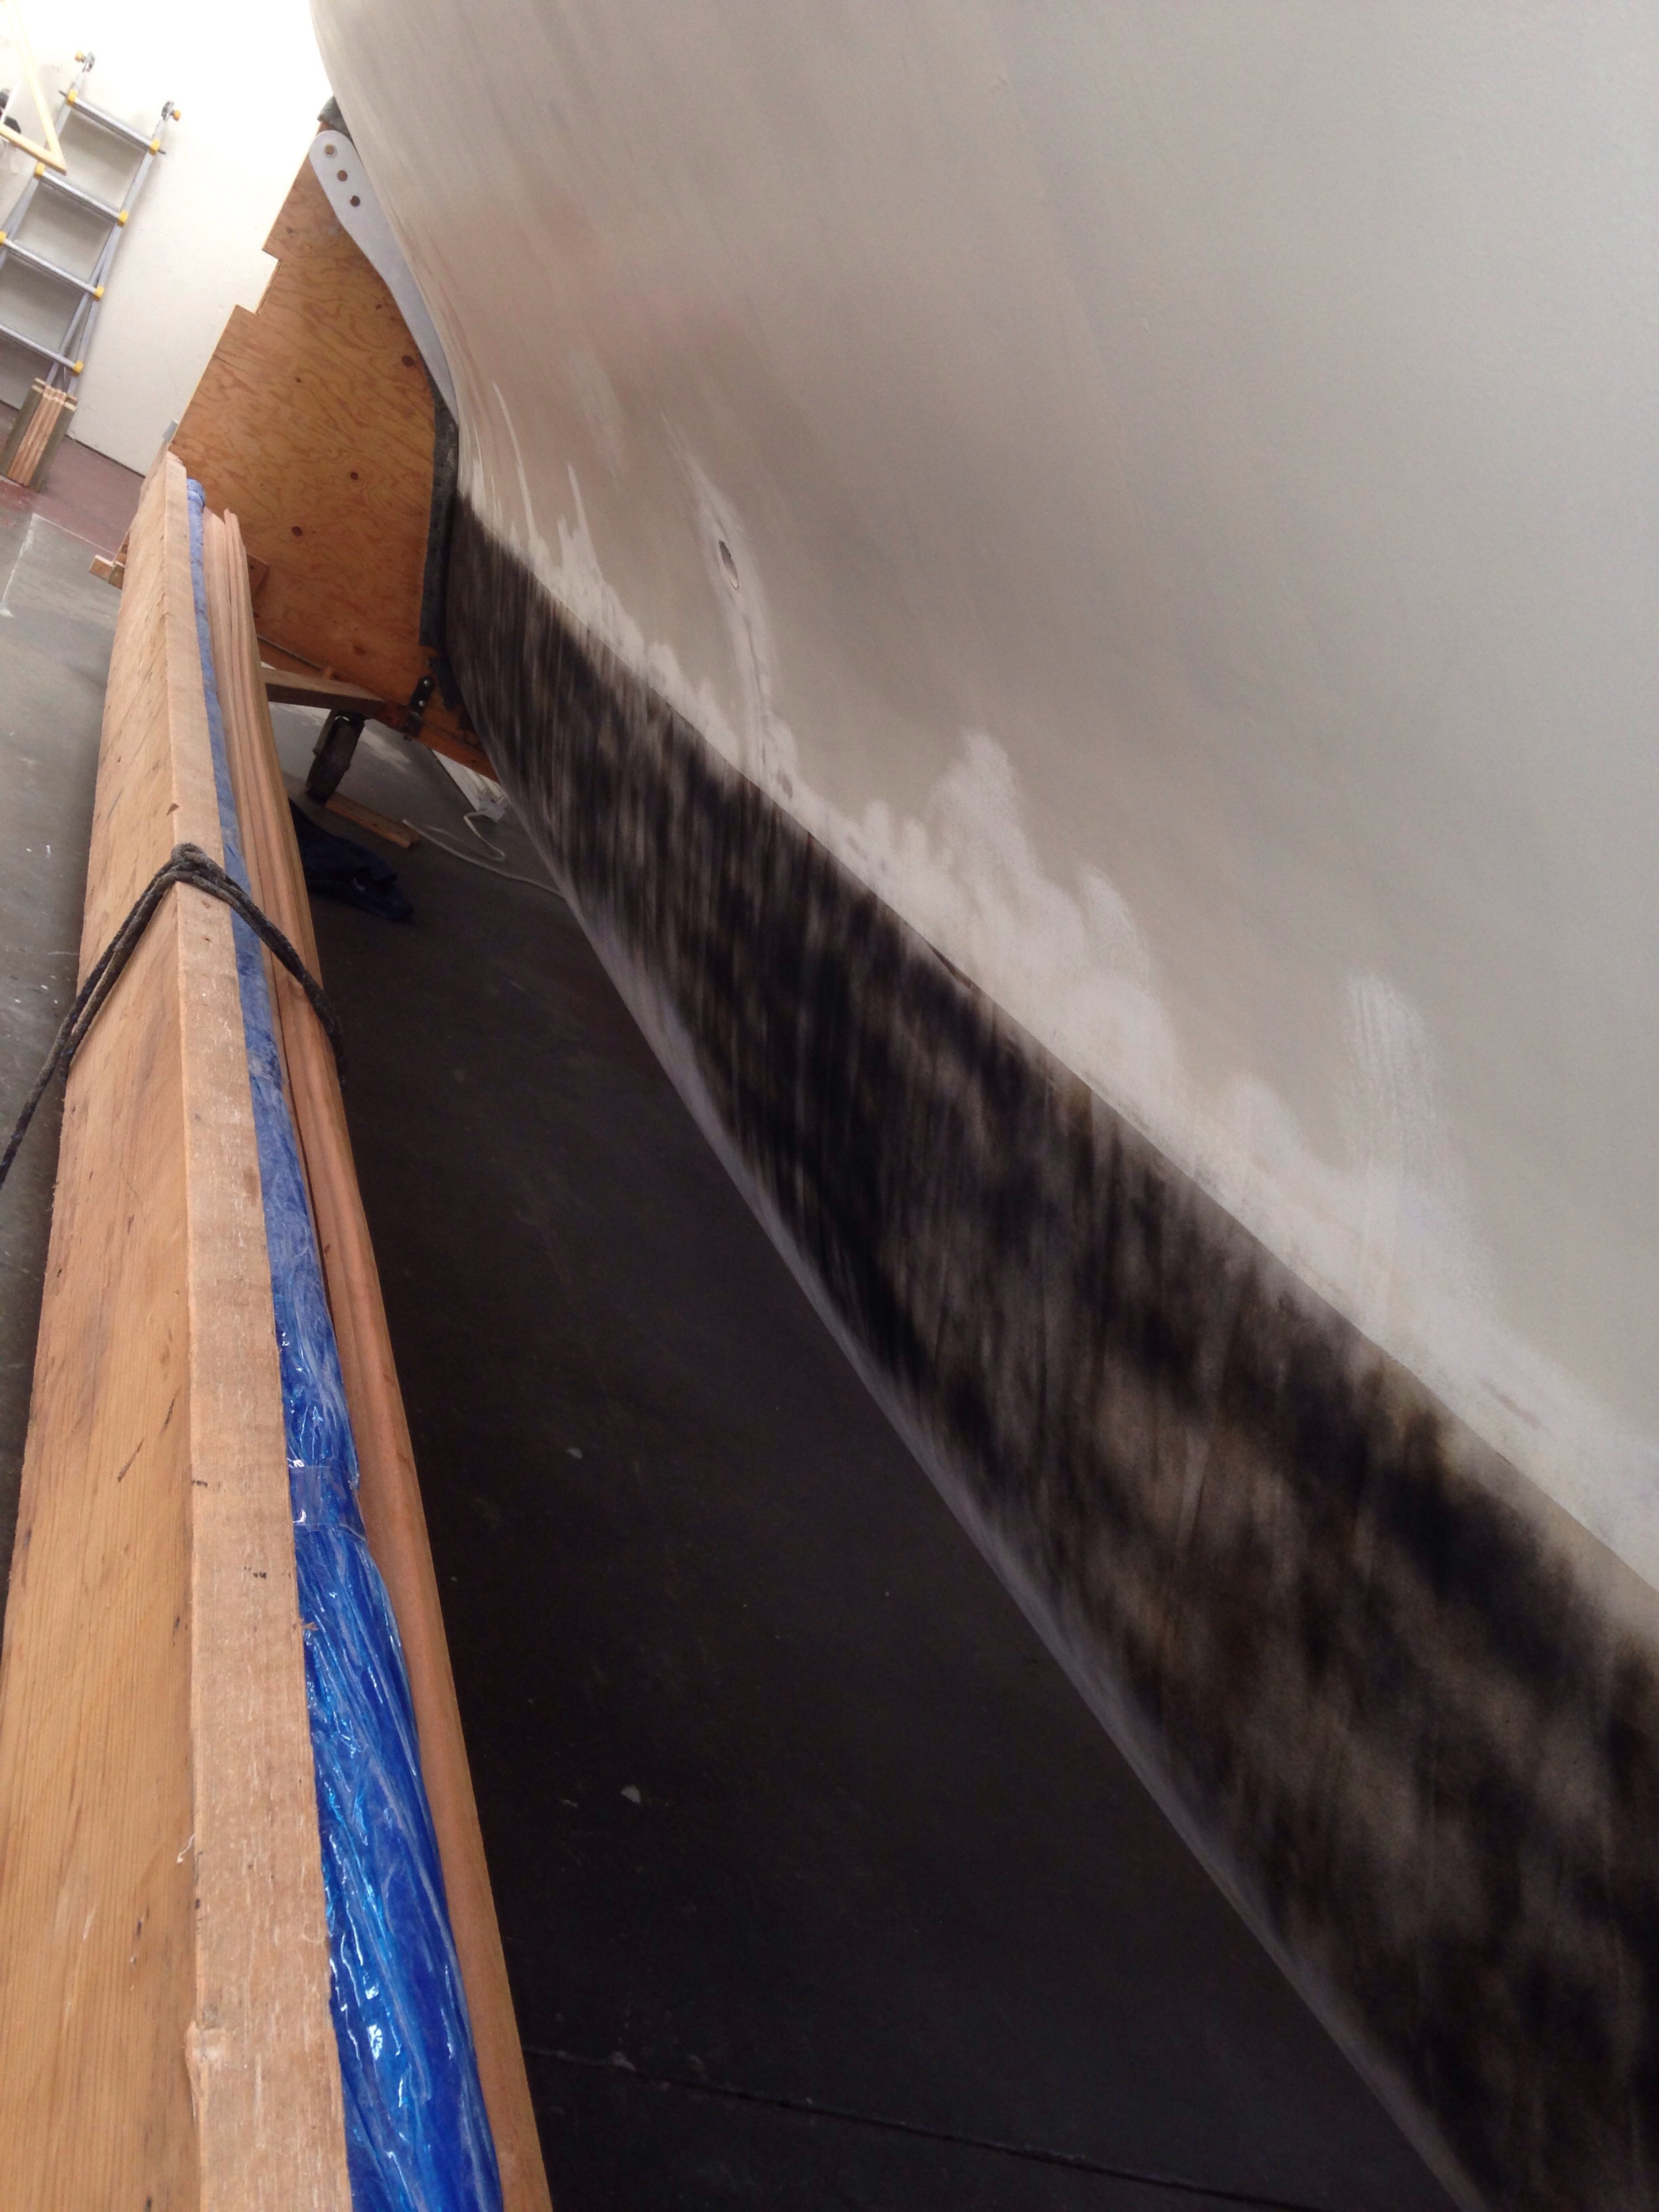
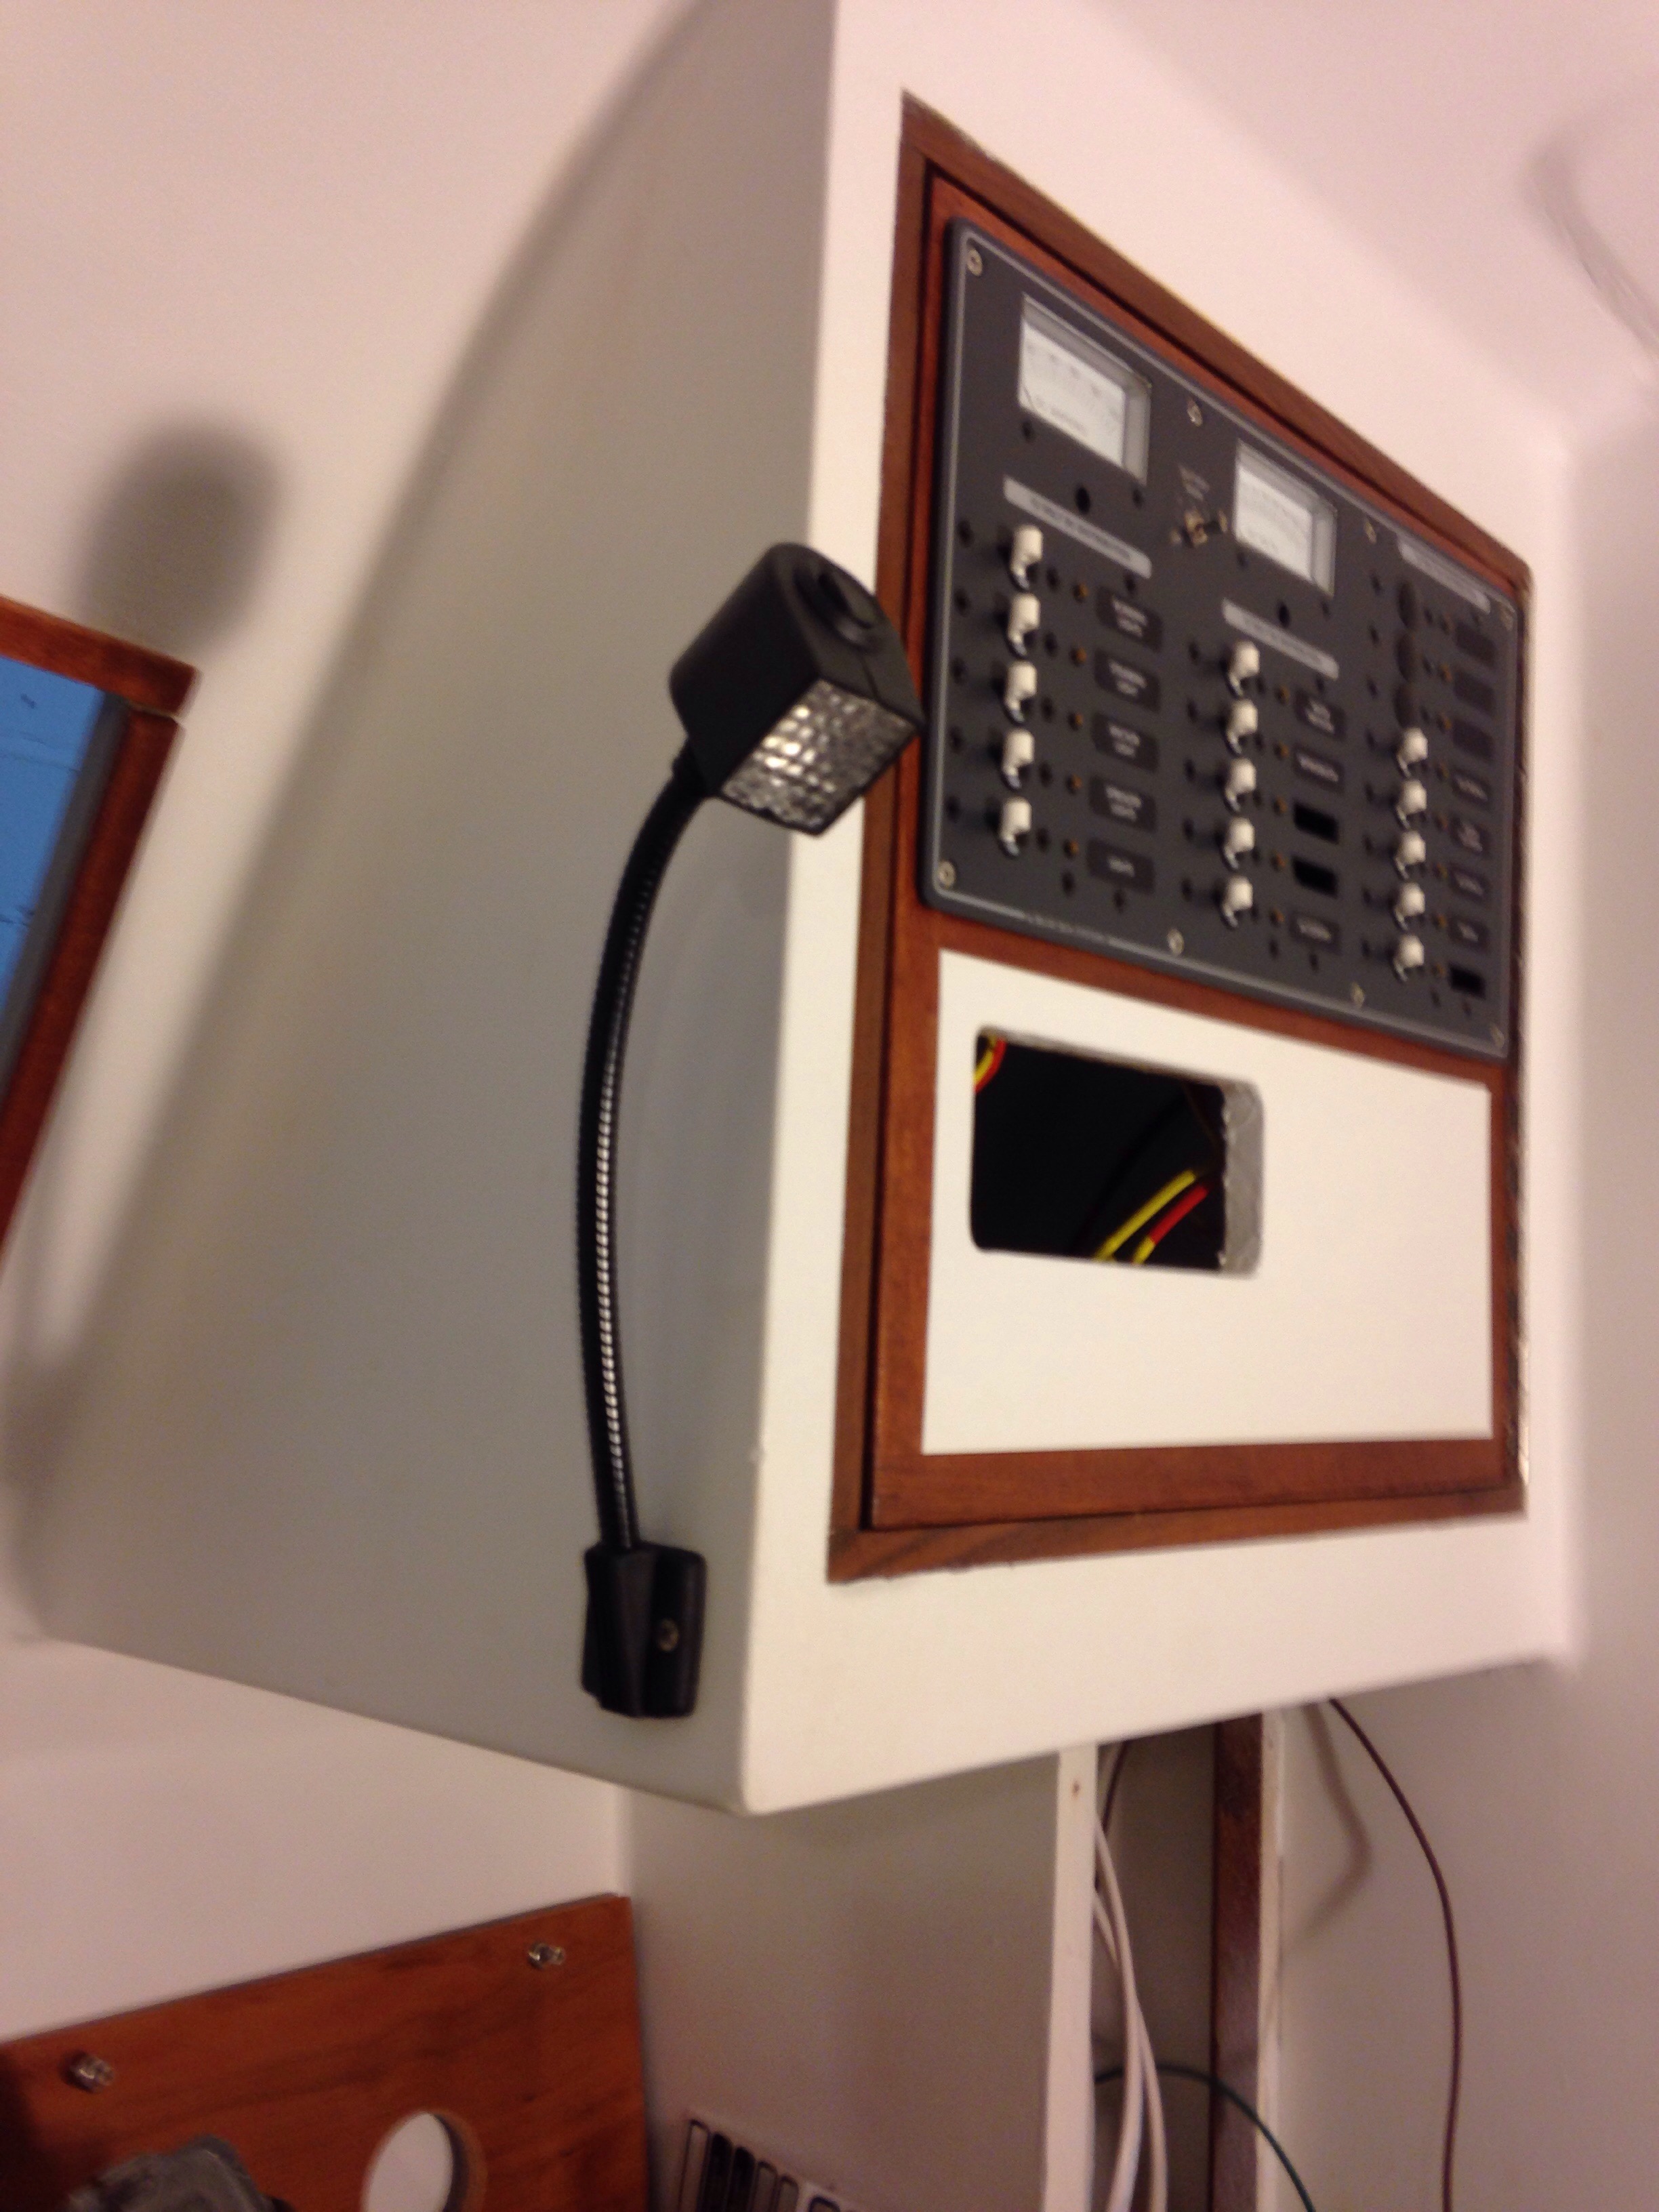
American Boat & Yacht Council (ABYC) electrical standards call for 12volt positive + feeds to use red cable and negative returns – to use yellow. That’s what’s inside the 500′ spool of 12AWG we saw a few posts back. With the right ‘terminators’ in hand (the rings MUST be sized to fit the bolts they slip over, and we have 5 different bolt sizes in the system!), we attacked the panel on Thursday night. Here is 7:30pm

20160116-075202.jpg
And 10:30pm…

20160116-075303.jpg
Then after another hour Friday eve of clipping the casings, adding zip ties and aligning the bundle for door swing

20160116-075506.jpg
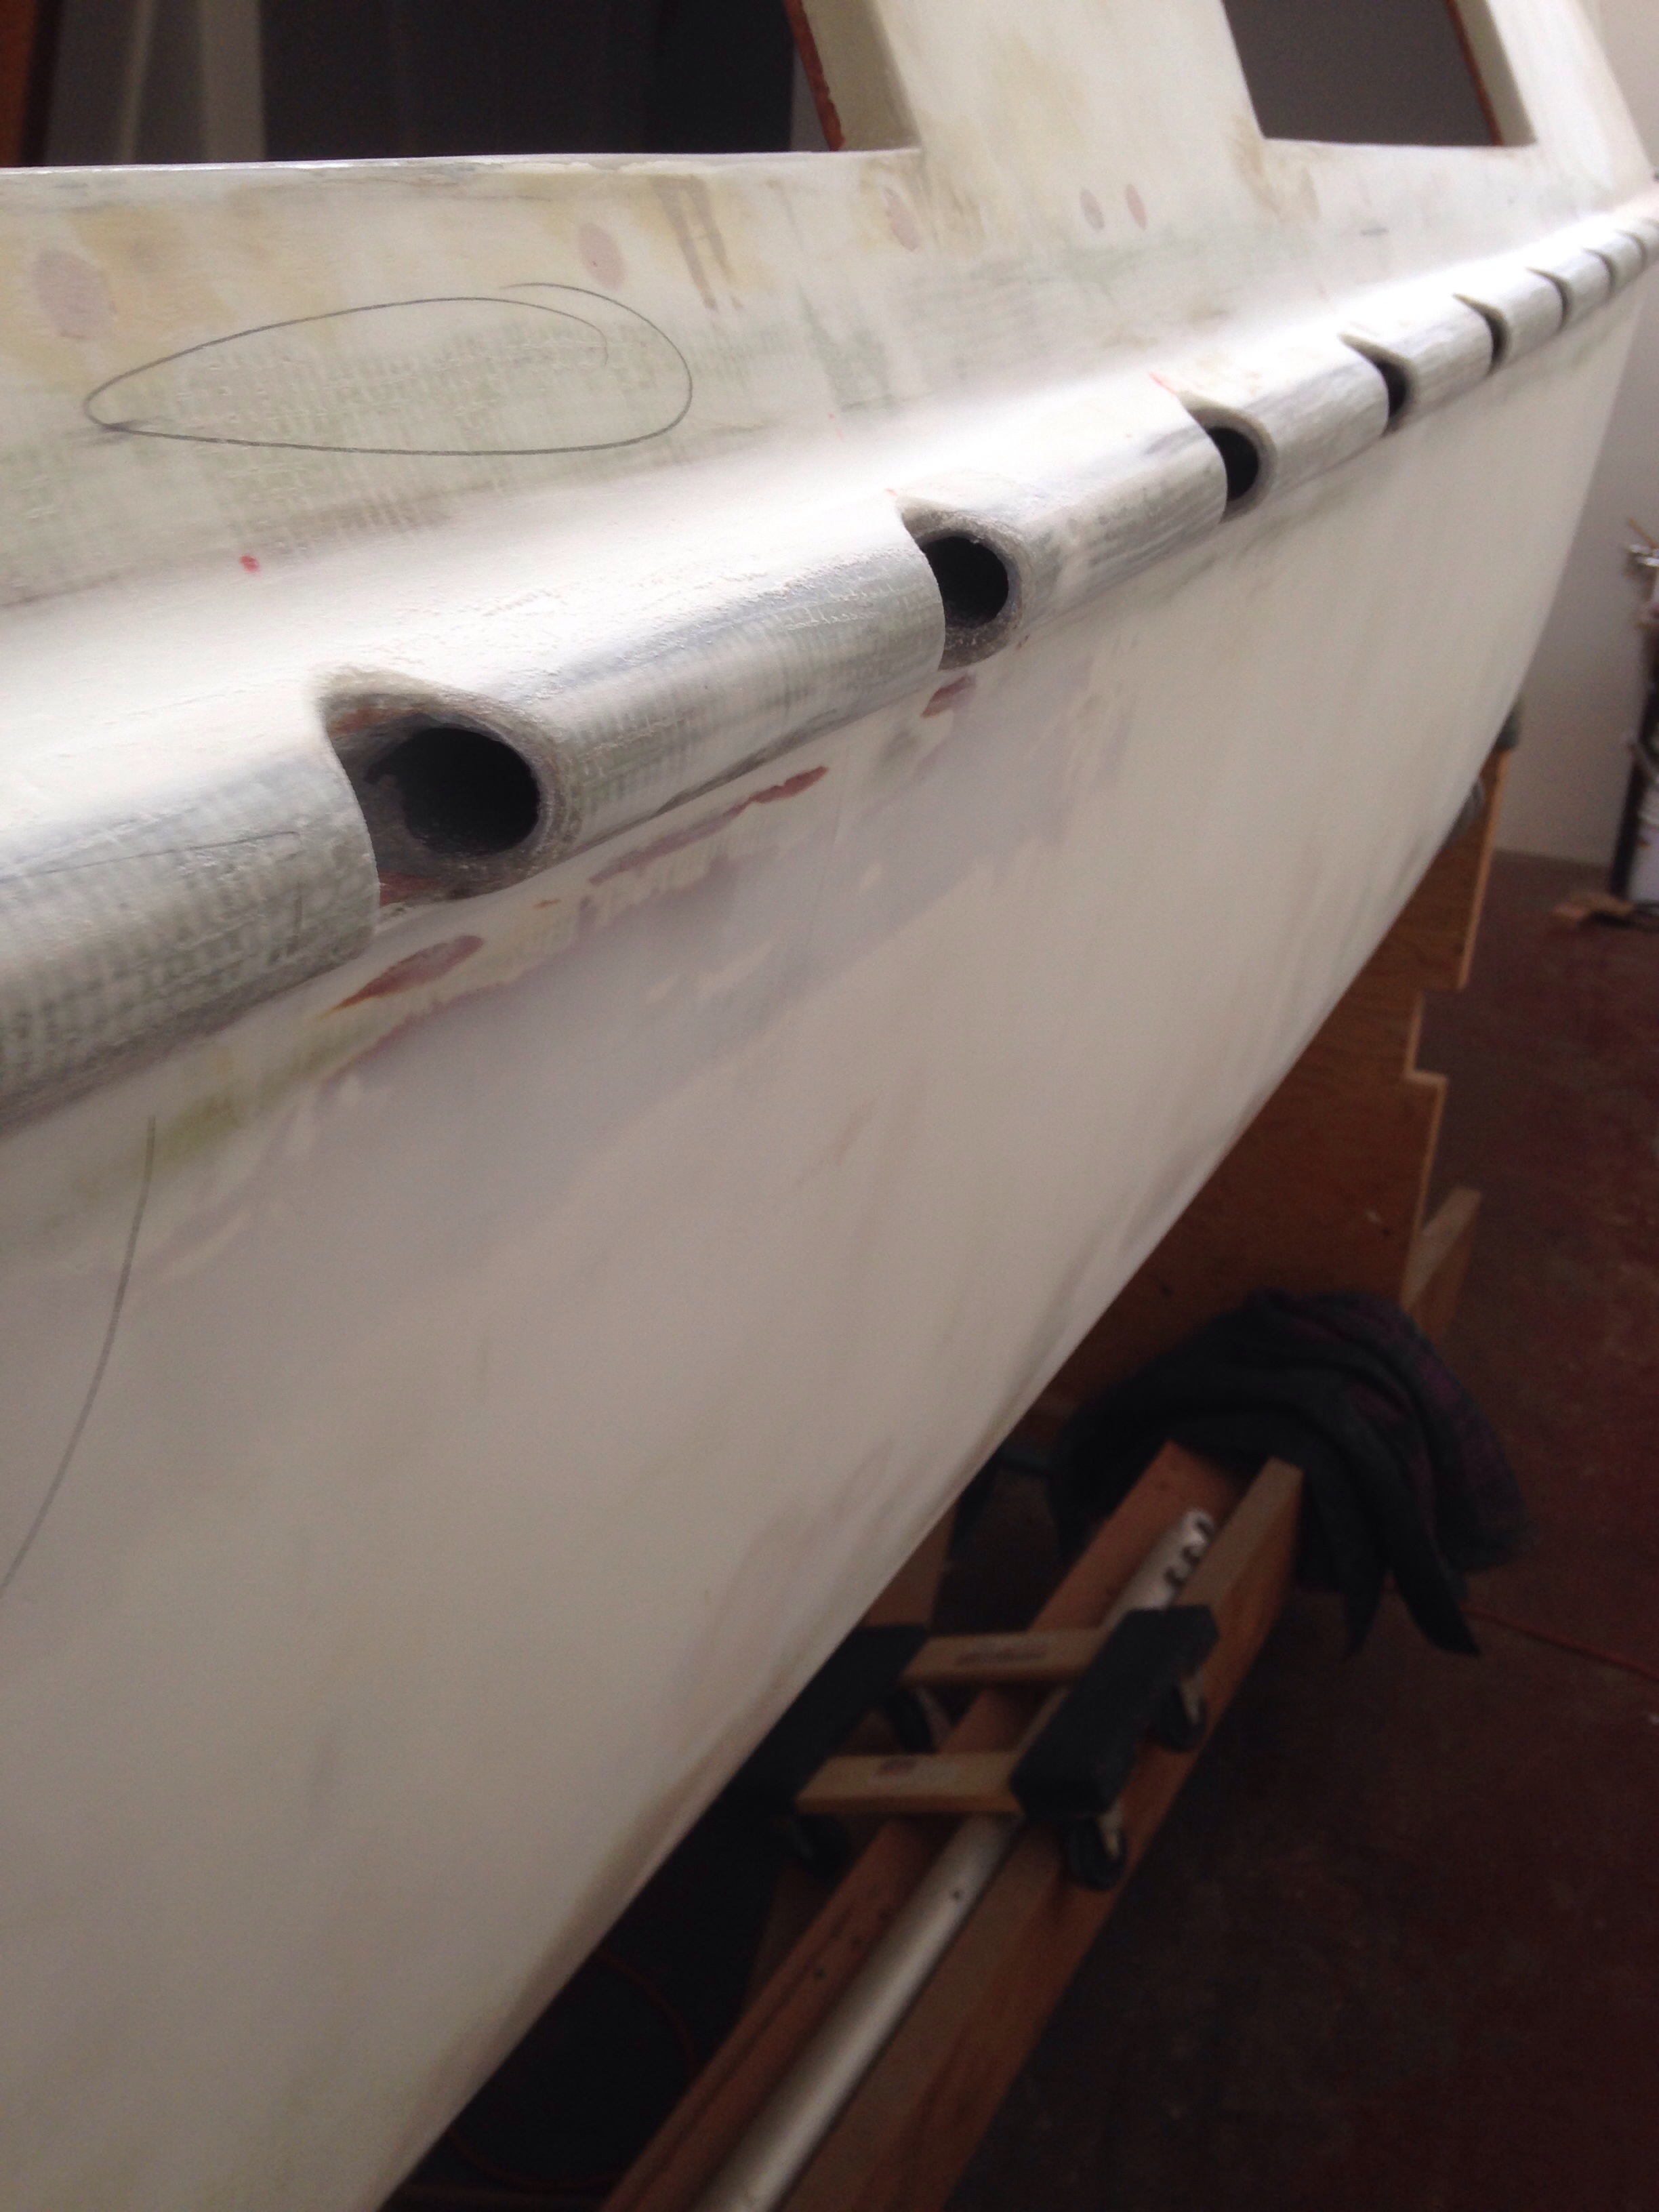
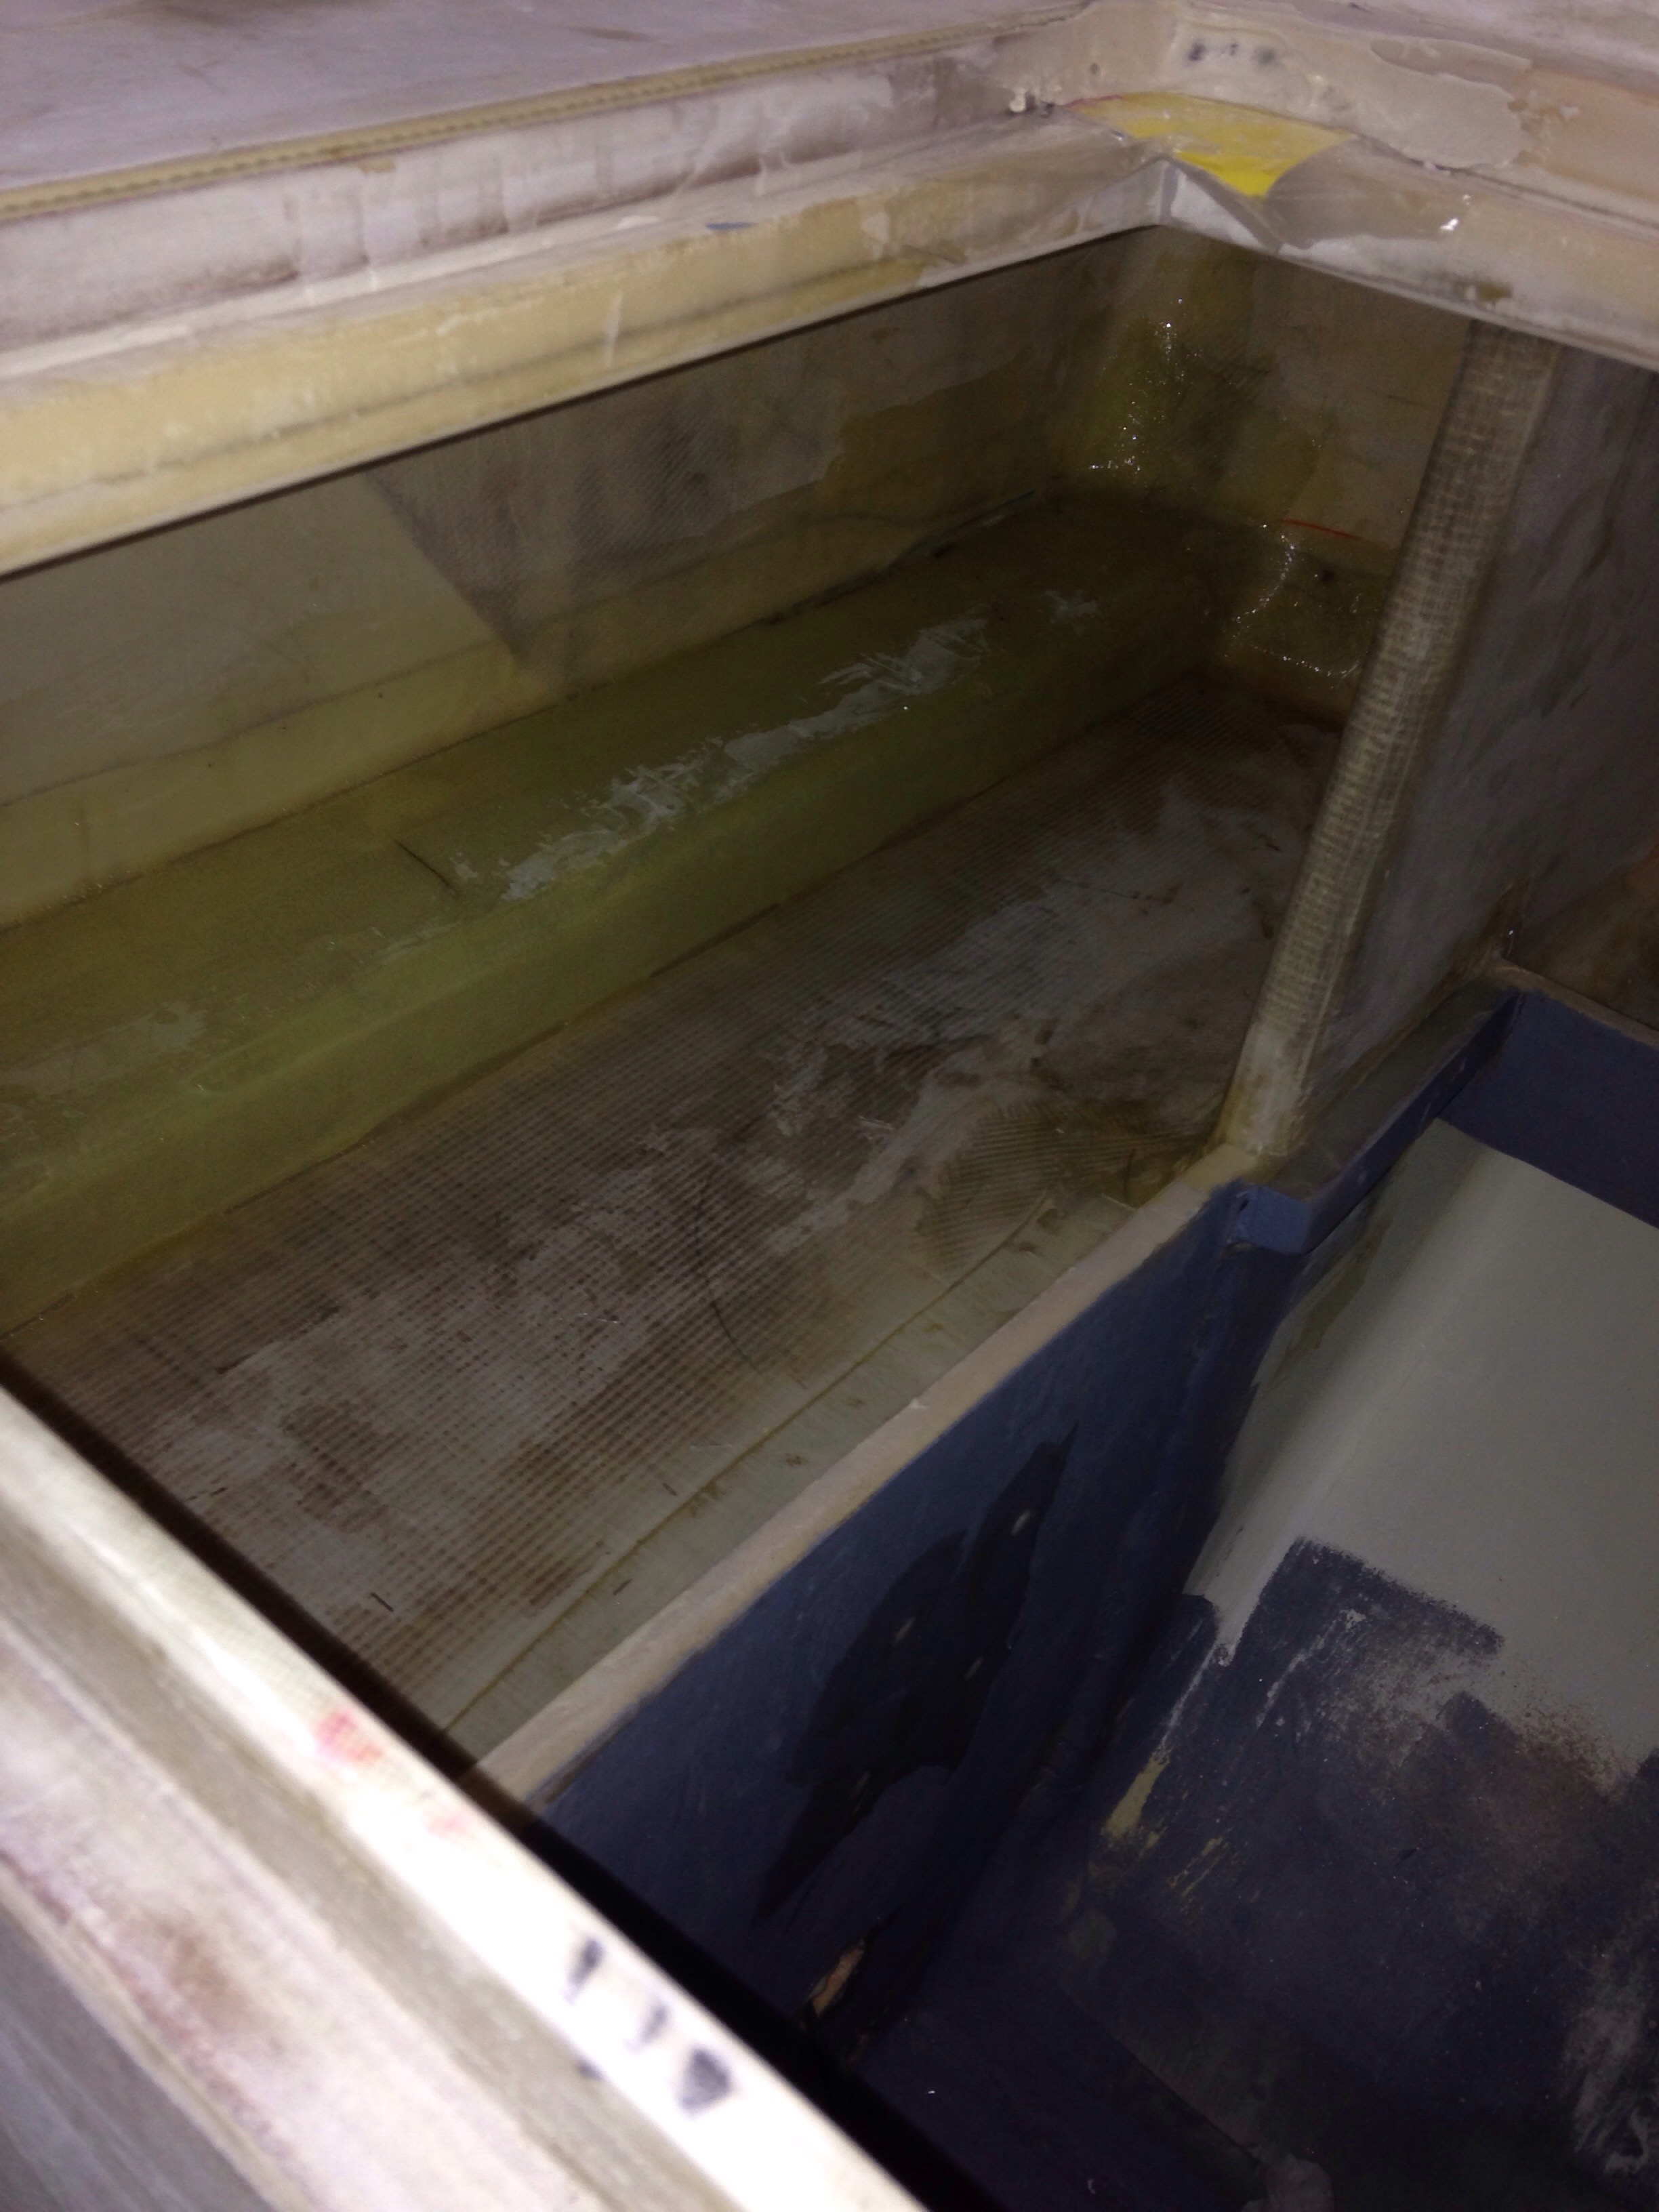
The board glued inside that cabinet today will get a distributor block for all things in the nav station, plus the panel feed cable shunt (which provides the ammeter reading). Last night we also cut the big 2AWG battery cables to feed the panel and return to the batteries, service the main fuse and the windlass needs. Altogether it’s about two dozen lugs that need heavy duty crimpers which we’ll try to rent or borrow. We’ll show you all the primary feed wiring once those lugs are solved.

Returning from an East Bay business meeting, I was fortunate to catch Bay Area Multihull Association veteran Bill Roberts at his amazing new boat that just arrived in Richmond.

20160116-080415.jpg

20160116-080433.jpg
Bill has a great story finding this barely-used but INCREDIBLY outfitted luxury performance Dragonfly 1200 tri in Canada thru Gary Helm’s brokerage. The quality of the Quoring group’s fit and finish looks superb, and the Roberts family gets to enjoy high end carpentry, still-unused appliances and bunks, forced air furnace, etc. (did you catch the bow thruster?) Bill and the Bay Marine staff will hustle to step the 65′ (!!!) mast, lace the nets, and bring all systems out of winterized mode in time for Three Bridge Fiasco day. BAMA folks, it’ll be hard to miss this blue beauty out there. For me it’s fascinating to look at the different design approaches: this 1200 looks like it will power through any seas with authority, sailing fast and carrying a sense of beefy security (big Volvo 4cyl diesel, substantial SS fittings, etc). Our F36 is the same length and a bit wider, but only 40% of the total weight, “Spartanly” finished and a 15′ shorter rig. Should be very interesting to sail and cruise these two side by side.

Ok, back to the wiring tools for a rainy NorCal weekend.

Practice those fillets!

So I’m on my back, sprawled on the aft cabin bunk, reaching up installing lamp wires. Damn, that looks like crap up there! The memories come back from last summer – it was hot, the workspace was awkward and I was SICK of fairing work. There were some spots under the big wiring chase in that cabin with pock marks, uneven fillets and spreader-knife ridges. But “no one will ever see that and enough is enough!” And I had left in a PO’d state. So it was sort of funny two nights ago realizing I was working where future crew will lay heads on pillows and gaze up at the blotchy spots!

20160114-163733.jpg
OK, never mind it’s already painted and the cabin declared done. Go get the sanding and fairing tools and clean it up! We cast a critical eye around the whole interior and found a few more spots that needed a bit more. And all because we’re waiting for the electrical fittings (which just showed up, so it’s Christmas again tonight!)

The point is, for new boat builders, don’t do what I did. Don’t just read the pages in the Gougeon Bros book that make fillets look super easy, and declare yourself ready. They wrote that guide after making 100s of strong, lightweight, elegant joints. But as a rookie “finisher” contorting around the far reaches, working on acute/weird angles, it just doesn’t happen smoothly. I should have practiced! Out on the workbench, in the light, in the fresh air, with nice music on the radio, etc. Make the fillets along the floats bulkheads works of art that no one will see. Get the techniques down. So when the conditions suck inside your to-be-pretty cabin, you are actually very skilled and won’t do work that has to get done a second time.

There, end of soapbox.

We figured out how to light the wardrobe locker areas, which led to a couple more mounting bases needed, plus a nice face frame for the main battery switch. And more Birdseye trim over the galley to hide wiring in case the sink and freezer need additional lighting. That’s a few ounces of wood and glue to future-proof. Seemed worth it.

20160114-165142.jpg

Also huddled under those heat lamps at the top of the photo is another glass tube build – wrapped around a 1.5″ PVC coupler, to line the hose-pass throughs for the toilet platform. That’s the one area inside the boat that needs finish work, so we attacked old problems with fresh eyes this week and get the head compartment ready for proper marine paint as soon as the shop warms up. Today you see your breath in there :(

Between the decks

So, we’ve reported on the hull exterior & deck being ‘done’, and you’ve seen the painted & trimmed interior. But there’s a bit more fabrication of ‘the spaces in between’. This weekend we tackled deck fills for water and diesel, through the cockpit coaming box and lazarette, to the equipment room. We’ll use flexible pipes between the deck fills and solid fiberglass tubes that bisect the tops and bottoms of lockers. The Forespar marelon deck fills are 1.5″ OD. 1″ sched 40 PVC wrapped about ten times in lightweight glass cloth gets to exactly 1.5″:

20160110-205255.jpg

20160110-205312.jpg

20160110-205330.jpg
The pipe was coated in good mold release wax, so a few hammer taps on a big screwdriver popped it out

20160110-205519.jpg

20160110-205543.jpg
The diesel and water deck pass throughs are on the left, and the grey curve is a trial fit of PVC conduit that will carry the 110v shore power to the inlet on the right.

The lazarette currently has the main cockpit drain entering and exiting its aft edge.

20160110-205847.jpg

20160110-205909.jpg
That needs a dedicated drain tube, especially since the propane well was added in this compartment. And there’s already a second overboard drain for the lazarette on its forward hull edge. So here’s a simple 90degree form with non-stick tape and peel ply laid in before the glass channel is made.

20160111-223906.jpg

20160111-223929.jpg
And the new piece tabbed in place.

20160111-224027.jpg
It looks like the diesel Espar heater will exhaust through the hull up high in this area so we’ll wait in placing the second half of the diesel and water filler pipe pass through tubes until the exhaust pipe is in place.

Random segue over to wood finishes: we’re happy with the transparent non skid that was added to the sole (floorboard) panels a couple months back. But that was added to a floor-finishers polyurethane that came out too yellow. The companionway sills and steps needed non skid yet we don’t want to cover the woodwork with the standard tape. So here they are redone in Interlux Perfection topsides paint with zero pigment (labeled simply Clear) and a heavy dose of non skid powder.

20160111-224956.jpg

20160111-225010.jpg Very happy with the results.

And while we await that big box of electrical parts, we’ve finished up cable runs and installed most of the cabin lights. There are two halogen map lights, and everything else is LED. There’s a bit of angst about turning on all these lamps for the first time in place – really don’t want it to be the sterile, operating room blue-white look. The catalog copy and packaging has lots of “warm, soothing” descriptors but the old marketing hand here says “we’ll see”.

20160111-225619.jpg

20160111-225634.jpg
Hopefully usps will deliver and we’ll dive in to 100’s of crimps and heat shrinks over the next few evenings.

It all started when we looked at the map…

The F36 building plans are pretty succinct about wiring the boat for electrical service – get a qualified electrician. We bought time with a marine electronics planner to do overall schematic and equipment selection work. But in the spirit of truly knowing one’s own boat, like everything else so far it’s bear down, learn it and go for it. After numerous sketches and notes over months, a circuits plan got down on paper to match the 18-breakers slot BlueSea panel.

20160107-214038.jpg
The diagram has 14 twelve volt branch circuits from the 100amp panel, a 70amp dedicated service up to the windlass and a bilge pump circuit with 10amp fuse wired to the battery switch. Additional cabling runs handle the remote windlass switch, the propane danger sniffer, VHF antenna, radar cables and sailing instruments. Primary wiring chases are on the starboard side of the boat.
Detail hounds will note the mast isn’t even mentioned; Keith will be happy to hear all wiring was stripped during the mast refit. VHF and anchor light and deck lights are on the stern tower. Steaming light will be near the bow.

The 110volt system will be completely separate, with its panel in the equipment room and cabling along the port side of the hull. We’ll see that next week.

First up was preparing spaces. All bulkhead pass throughs got PVC liners. These helped the cables slide thru like little greased pigs!

20160107-215030.jpg

20160107-215108.jpg</a
Then a scramble when we realized the electric cabinet face hadn't quite been finished before the holidays:

20160107-215230.jpg
Then uncover dusty boxes to bring up on deck the goodies we’d stashed under work tables. That’s a 500′ spool of 12AWG cable. (How could the boat possibly take 500′?! Hold that thought…)

20160107-215722.jpg
We set the spool up on a spinning pole in the cockpit and started pulling. Probably the smartest trick done on the boat in 2015 was writing directly on the cable cover with an ink pen every 3′ as it came off the spool which circuit number we were snaking through the boat. The entire afternoon of laying in 18 cable runs had zero confusion about what was what as you can see the branch circuit numbers everywhere. Here’s 1a, the forward running lights on their way.

20160107-220226.jpg
And this is about four hours later

20160107-220307.jpg

20160107-220345.jpg
Late on Sunday we had run out of large-bore PVC bulkhead liners and decided to keep wiring anyway. So a few days later some backtracking pulled that bundle of cables backwards and through the piece that still had to get cemented in place.

20160107-220917.jpg
The panel slid home nicely, up above the chart desk.

20160107-221240.jpg
Not going to show the panel back yet because the cables aren’t connected; there’s a big box of many sizes needed of various cable end terminators / connectors coming from Defender. That’ll be weekend fun. Meanwhile there are lots of components that need installation now that we can see placements dictated by sensible cable routes. Here are the main battery switch and windlass circuit breaker / cutoff placed under the sea berth just forward of the chart table.

20160107-221857.jpg
While we wait for that box of 300-ish various connectors we’re doing similar prep work on plumbing. And watching the skies for signs of painting season. Still too much rain for that now…

By the way, 450′ of that spool have been swallowed up.

I looked up and suddenly it was done

The fairing process of this big hull seems to go on in a punishing ‘foreverland’ manner. So much sand paper laid to waste, so many times back to the mixing table for epoxy putty. Tired arms. And then suddenly this evening, this was it:

20151228-212538.jpg
That’s the last surface on the whole exterior of the boat that needed just a bit more goo (in white, as a skim coat) to fill some imperfections. Yea! At last. There were a dozen other small spots ahead of this one, and they’ll all get a quick final hand sanding as soon as the shop warms up enough to cure the epoxy (no heater in our thousand sq ft California locale). We’ll prep for primer and start rolling once we get back to above-60 reliable daytime temps.

Here’s how those beam strut fairings turned out

20151228-213018.jpg
Those will help smooth the water flow through waves, and further seal the hull at a key flex/stress point.

Charlie knows about the big cardboard box of foam core off-cuts. It’s divided in to still-unused foam scraps on one side and various composite part scraps on the other. We’ve been thinking about a lightweight, removable cockpit table and how to mount it. A quick scrounge in the cut box found part of the original tiller idea:

20151228-213435.jpg
You’re looking at it now cut another foot shorter, with the old foam core dug out of the target piece. Once it was cleaned up, we laminated it to the lower face of the cockpit bench, near the engine control cable conduit. So now we have a custom carbon fiber table mount that weighs about four ounces :). Making the table and the leg now sits on the growing POST-launch to do list.

Time to go back inside the boat and start wiring while we wait for painting weather.

Hitting bottom

… But in a good way. The underwater portion of the hull is almost done with fairing. Each square foot done with the big sander this week is a completed step, and there’s just the last 8′ or so at the stern to finish up tonight. Very much looking forward to painting, instead of sanding, the bottom of the boat.

Just above the waterline we’re finishing up those beam brace tang fairings. The stack-and-glue foam was rough shaped with a wide blade on the multi tool.

20151221-193259.jpg
Then the flapper disk on the grinder, and finally a sander to smooth out the shape.

20151221-193409.jpg
The white ring on the sander is glue gun residue. That gummed up the sander quickly – could have done more spot-glueing instead of continuous beads to lessen the glue sanded.

20151221-193609.jpg

20151221-193631.jpg
Here’s the outer fiberglass lamination. This process worked well: spread epoxy on the boat and let that get tacky while the fabrics are prepping. Lay out a transport plastic (an old bag here). Wet out the two layers of glass cloth and cover the outside face with peel ply. Carry the whole package to the hull and hold it in place, then reach behind and start pulling away the transport plastic. This way there’s actually no touching of the wet fabric, and no distortion.

20151221-194242.jpg

20151221-194308.jpg
We did the first one with a vacuum bag but found it wasn’t necessary – the other three worked just fine with plain hand layup.
Here we are with a first layer of fairing putty.

20151221-194542.jpg
And here after a sanding pass and second coat added. These will get sanded again, and fairing touch ups tomorrow night if needed. With that, all the main hull fabrications will finally be DONE! Through the holidays we’ll do any more needed little fairing touch ups, and get the first of the primer started.

20151221-195454.jpg

Good to talk with you again.

Well as you probably noticed, the boat shop went dark for a month while the builder hit the road. First was a week in South Africa for business. These guys stood by the car on a quick visit to a city park in Pretoria…

20151218-173157.jpg
Right after that flight home we acquired a decent little used trailer and drove out to Colin’s place in Virginia for Thanksgiving. We are those weirdos on the freeway with the dogs and the cat standing on our laps.

20151218-173452.jpg

20151218-173513.jpg
New Mexico was a highlight; weather great for achy joints and a nice place for a boat shop some day…

20151218-173630.jpg

And so, we pick up the story with the last hull finishing project – sealing and strengthening the beam strut hull braces. For years they have been pressed up against the cradle, inaccessible for the necessary fiberglass work.

20151218-173853.jpg
It’s time to lift the hull and slide the cradle forward. First the bow –

20151218-173957.jpg
Then the stern, using the permanent plates which are the terminals for the aft beam horizontal braces. These posts sit atop bottle jacks.

20151218-174137.jpg
If you flip your computer over you see we get the clearance needed to slide the cradle. I think this is how we’ll transfer the finished hull to the boat trailer for transport to the launch Marina.

20151218-174310.jpg
Now we have clear access around the brace-to-hull joint, ready for finishing.

20151218-174418.jpg
First step is fillets on both sides and 1708DBM tape for strength.

20151218-174534.jpg
This evening structural foam was glue-gunned in and tomorrow all four of these pods will get shaped in to “fairings”. Will attack with little saws and the flapper disk on the angle grinder before a final sanding.
And yes, multiple ouches accidentally touching the hot glue!

20151218-174825.jpg

That wasn’t fun

They say you should only build a boat if you really enjoy the work. And for the most part this has been fun. But there are “those days”… Fairing the bottom has been about 20 hours of squirming around the cold cement floor and holding tools overhead the whole time. Yuck.

After two putty & sanding passes, we hit the surface with spray paint, then used the 24” longboard sanding block to find low spots.

20151103-222242.jpg
Here it is the next day, with the black spots (low spots) filled with a white show-thru putty.

20151103-222628.jpg
Another complete sanding at 120grit revealed everything fair enough to call it done. Tonight was one more putty application pass to fill in all the little trowel dings and gaps. Those are the darker, wet splotches in these photos.

20151103-223020.jpg

20151103-223038.jpg
Tomorrow these will get a light sanding and the whole bottom will get declared Ready For Paint!

Since we’ve been back in fairing mode this week, miscellaneous pieces are also getting handled on the table. Here are a companionway slider, some cabinet panels and the motor mount box.

20151103-223407.jpg
And it looks like we told a little white lie last time; the deck area isn’t quite done as we found a few more bits that need some fairing cleanup. Putty in hand… When in Rome!

ps – congrats to captain Drew for driving F27 Papillon last Sunday to a high finish. Second in the tris only behind a fast F31, dead heat tie with the Gunboat 62, and ahead of the dueling F25carbons. Great day.

Inching Forward

We’ve done a good job ignoring the bottom on the hull for years now. It helped to store lots of supplies under there and hide the work needed. But Thursday evening was time for a big cleanup and rearrange, centering the boat in the shop with good clearance all around. Time to drop to the ground with a bucket of epoxy filling putty and get to that bottom job.

This is looking up at the stern, about half way thru applying the final primary skim coat. The pencil line is hand drawing the bottom paint waterline at the same 35″ above the floor all the way around. We’re going to apply bottom paint 4″ above the planned waterline, especially since I don’t want to have to pull the boat for re painting if it rides low at the initial launch.

20151025-082824.jpg

Inching along the hull, carefully filling all little nicks, gaps, hollows and pinholes from construction and earlier prelim fairing a few years ago…

20151025-083000.jpg
And 8 hours later, finally getting to the pointy end!

20151025-083047.jpg

Next up is spray painting a “guide coat” to look for any more low spots. That’ll take some photos to explain.
But not today; it’s time for a day off and crewing in the Great Pumpkin Race on Drew’s F27. Sail fast!

4th coat

It occurred during the endless sanding tonight that maybe all the fairing work is what truly makes it the builder’s boat. The hands on every square inch of this 39′ beast, multiple times with big sanders, the “torture board”, hand sanding tools and finally just holding the damn paper until it gets too hot in your fingers. All the fiberglass, carbon and fancy epoxy buildups – now we sand that labor and money away. Could be frustrating, but instead tonight just maybe it’s more like sculpting – keep chipping away and we’ll find that pretty boat in the stone. Lots of chipping away, to be clear!

The deck area is close. Where other builders get it done in three fairing passes, we’ll apply coat #4 tomorrow to fix various blemishes and still unfair spots.

20151021-233129.jpg
Marking the blemishes with a pencil as soon as they’re spotted in sanding is a big help later.

20151021-233143.jpg

20151021-233201.jpg
See the shiny (low) spots in the last photo of the companionway slider cover; that’s probably one more pass of putty then final sand before primer. A couple more days of spot fixing like this will have us ready on the whole boat down to the water line. Next up will be somehow lifting the hull a few inches off its big trolley and fairing the whole underwater area. A busy weekend ahead…