From my sole

Not a spiritual moment, but rather a bit of staring down at one’s feet… We’ve been working on the bottom portions of cabin finishing, the soles (floors) and lower hull sides. It needed a darker color down where shoe scuffs will accumulate. The masking process for all this paint work is significant.

20150914-125626.jpg
We learned the hard way we should have used “gorilla tape” brand for masking. The Scotch blue EdgeLock allowed some white to leak thru/under to the finished wood so now there are hours of sand-and-touchups to do. But overall things are looking good.

20150914-125941.jpg

20150914-130002.jpg

20150914-130020.jpg
In that floor shot you see three of the eight total sole panels removed. The wood framing is clear coated to look nice when we lift up the boards for storage. The fixed part of the sole is the slate grey that extends up the hull sides a bit. So that leaves the panels themselves…
First the exposed glass fabric was filled then they were primed and the latch locations chosen. To set the latches flush they need some rebating with the router. We used a hole saw on the drill press to make a 1/8″ pilot track for routing.

20150914-130926.jpg

20150914-131010.jpg

20150914-131033.jpg

20150914-131115.jpg
The hole saw left some small chips that will need a tiny bit of filling, but that’s better than freehand messes with the router.
Here the sole panels get the same paint as the hull interior.

20150914-131342.jpg
And a few YouTube videos later, Martha Stewart’s team had us trained on faux bois painting. Got the tools through Amazon for a few bucks.

20150914-131553.jpg
Then mixed one part of the same grey paint, one part glaze and two parts water. Brush it on, wait a few minutes then carefully but creatively flick those scrapers around.

20150914-131745.jpg

$2.1mil colors

During a lunch break from rolling out the first coat of finish paint, some web surfing turned up the newly launched Neel 65 tri. It’s width is our 39′ length and you can order it in the seven staterooms configuration.

20150614-071359.jpg
But what struck me is they’ve copied our color scheme; white cabin top and deck, silver topsides, white bottom paint, and white rig & sails. I wonder if they paid a color consultant in that $2.1mil price tag?

Our topsides paint is Interlux Perfection 2-part polyurethane in “platinum”. Here’s the first coat on the beams yesterday.

20150614-071736.jpg
Today will be a 400grit wet sand then the second coat. And non-skid tomorrow.

While exterior paint dries we go back inside to mess with the cabins. The galley is coming together nicely. The stainless steel is working out well.

20150614-072046.jpg

The forward wardrobe/dressing area gives a feel for how the wood trim looks against the paint. Long gone is the original thought of clear-coating the cedar-strips hull for a full wooden boat look, but adding back touches of hardwoods is only adding about 20lbs total to the boat and makes it feel much better than just paint and plastics.

20150614-072404.jpg
BTW, that hole above the clothes shelf is where one of the 1″ beam bolts comes thru. You can check the beam bolting integrity at sea while you sort thru your socks.

BEAM me up, Scotty!

The four big beams (that stretch between the three hulls) were set aside a year ago, knowing there was still some surface finishing to do. This week we pulled them out from under the boat and got to work.

20150609-232342.jpg
They’re big, over 8′ long, and weigh much more than one average person can lift. Each one got a cheap moving dolly so I can push them around the shop. This is the level of finish fairing we went for. Particularly the undersides – a decent job but not going nuts on an area that people won’t be looking at regularly.

20150609-232641.jpg
To help move them in to place for painting, and to load them for transport, we bought a $49 Harbor Freight chain hoist – wish this came a long time ago.

20150609-232938.jpg
The fairing process isn’t pretty, but after two coats of primer they suddenly come to life as finished boat parts.

20150609-233209.jpg
Building these from scratch was a huge undertaking, and this is one relieved smile.

20150609-233334.jpg
You can also see the shop is really crammed. A brainstorm hit – could we finish the beams and store them on our little utility trailer? So Charlie came over today and we put together a frame of 10′ bunks. The beams should fit across the trailer, all four loaded from front to back, and then we can roll out to the driveway or storage yard.

20150609-234026.jpg
The topsides paint is ordered and the next photo update should have fully complete beams for you.

As fabrication winds down and painting ramps up, we need to clean up. The pickup was 3/4 full from clearing Jeanne’s dad’s property, so the shop was target two. Letting go can be tough – see the original hull cutout for the main companionway; it’s the cedar strips piece Jeanne is reaching towards. Lots of “old” pieces of the boat are off to the recyclers :)
(And Jim might recognize Origami’s old blown out jib on the dump floor)

20150609-234709.jpg

While exterior fairing and paint rounds dry, interior trim-out continues. So far we’re using epoxy to bring out the wood’s colors and provide a permanent seal. It doesn’t leave a great finish, so now we’re experimenting with finish coats of polyurethane.

20150609-235113.jpg
Hopefully this stuff will sand nicely between coats and buff out beautifully. Stay tuned.

No more calico

We looked up the other day, wiping the eyes from a big cloud of dust, ears ringing from the sanding machines… And realized the interior fairing was DONE! Put down the sandpaper, clean out the boat and go get some primer. Here’s where things stood Friday evening to start Memorial Day weekend.

20150527-223303.jpg

20150527-223329.jpg

20150527-223343.jpg
Kind of like an abused calico cat, but very smooth.

After lots of reading and listening to recent experiences of boat owners using high quality acrylic latex house paints inside their boats, we decided this is our route too. Much safer for the applicator, easy cleanup, unlimited color choices and ability to match later, and about 20% of the cost of marine topsides paints. Thank you Keith for recommending this stuff – it was great throughout Sunday and Monday marathon sessions. Used 2.5 gallons for two coats applied by roller.

20150527-223748.jpg
The result is startling (good) – boat feels bigger inside and so much happier. Wood accents are already visually “popping” and will get better over next week or so.

20150527-223942.jpg

20150527-223957.jpg

20150527-224012.jpg

Jeanne and I returned late this eve from working on her Dad’s San Jose house, feeling worn out. But right inside the door, ready to lift the spirits is a thousand feet of the highest-tech line ready to match up with the mast and new sails! Great work organizing, cutting and splicing by Skateaway Designs. We’re almost done pulling all the cordage together. This task was a heck of a list (partially on that left hand panel).

20150527-224600.jpg

If you’re wondering why people are using dyneema for shrouds and forestays – this box at 55lbs has all three 50’+ cables and over 800′ of halyards in it. The stainless steel shrouds for our 35′ mast F27 weighed more than all this stuff, and this mast is 15′ longer. Tremendous weight advantage, plus it’s much stronger than the steel.

Next up is glue bonding all those 100+ pieces of fancy trim wood you saw on the back table a few weeks ago. Let’s hope we can read our legend notes on what goes where!…

Wobbly arms

Wobbly arms and burning shoulders is what you get trying to make a smooth, fair surface overhead in your boat. Griffin and Colin are safe now as the aft cabin top got finished today! No more wheedling from dad to get you sanding in there :)

20150515-151514.jpg
Here’s the main cabin with just a bit more edge work to do this weekend and we should be ready for interior priming early next week.

20150515-151639.jpg
With this much practice, one gets fairly proficient at making the corner fillets.

The tricks turned out to be (1) 1:10 ratio of cabosil to glass balloons in the epoxy mix, (2) keep the mix runny, just falling off the spatula and laying it in the corner starting from the bottom, and (3) using a mortar board to really press out the air bubbles of the mixed putty before applying to the target area. Most of these don’t need any sanding at all.

20150515-152110.jpg

The sheet metal shop neighbor cut stainless steel panels for the galley backsplash and countertop. The vertical piece was bonded in place yesterday and the counter skin was glued down to its glass and foam base here. The sink is under mount, so the epoxy putty was tinted grey on the inner edges that will be showing.

20150515-152418.jpg
There’s more edge sanding to do. The stainless steel is hiding beneath a grey plastic cover for now, so you don’t get to see it until the interior is all painted soon.

Above the stove and counter will be a four foot long by seven inch wide bar; a plank of mahogany has been saved for many years to make special accents in the boat – this bar will be a centerpiece if all goes well. We finally got access to the right saw and big planer, resulting in some fantastic wood grain pieces for laminating to foam cores. Here’s a peek at what’s coming.

20150515-152937.jpg

20150515-153002.jpg

Messing about

Remember Tom Sawyer whitewashing the fence? All day long before they escaped to the river rafting. Today’s version was fairing putty for the aft cabin. To one bucket, add: 4 pumps of epoxy resin, 1 pump of hardener, a half scoop of Cabosil and a scoop and a half or so of phenolic micro balloons. Stir and add balloons til just past runny. Smear on walls, bunks, cabinets, overhead, etc. Repeat process when bucket is empty. Over and over :)

20150429-182859.jpg
Peeking in the porthole later, it looks kinda like whitewashing the walls. However this leads to sanding tomorrow! And probably a second, finer coat of fairing compound. All in the name of GETTING TO PAINT – the new big goal.

After the cabins get primer paint, we’ll bond in all the wood trim pieces. The foam panel to wood seams will get touched up, then the finished wood gets masked off for the final paint. So all that wood trim is getting epoxied now.

20150429-183240.jpg
Every piece has a number written on the back for placement, as they’ve all been cut to size. Lots of little busy work and not much to show you here on the website for a bit.

The bike trip last week was great inspiration for this fall. Rolling down the pacific coast highway, thinking about sailing the new boat on a parallel path soon!

20150429-183528.jpg

20150429-183618.jpg
Big rain eliminated the 5Th day leg to Santa Barbara, but we enjoyed 300 miles anyway. And we learned that strenuous biking burns about 5,000 calories over a 75 mile day. So we of course chose to eat like kings. Bill attacks tri tip and linguisa in Santa Maria…

20150429-183856.jpg
Thanks for the good company, my friend! And to Mark, Dave and Steve. And especially Fred for driving the suitcase car :)

Three degrees of separation

Not talking about Kevin Bacon here, but rather the need to rake the mast back three degrees from vertical. This tilt of the mast helps the sailing responsiveness and has been factored in to the exact mainsail shape (which is under construction in Maine right now). So we need to get this right.

We can’t stand the mast up, so we’re doing the math at 1/25th scale (2′ vs 50′). The cardboard wedge is 3 degrees wide:

20150331-184644.jpg
We need a hardwood wedge under the steel mast foot to create the angle. The wedge is greater than the 3 degrees because the deck slopes away from level. Based on math measures, here was the first cut.

20150331-184954.jpg
The alder hardwood block was planed to that black line but that yielded a 5 degree tilt, so some trial and error in hand shaping got it right.

20150331-185253.jpg
The wood wedge was then clad in two layers of 12oz BD fabric. This piece was vacuum’d in an actual bag, not on the flat table. The bag pressing in on all sides if done right will put the excess glass right in the middle of each edge for an easy trimming job. This one went pretty well.

20150331-185545.jpg
After some fairing putty, we tested it on deck today and hit right on a 3 degree rake at the mast foot.

20150331-185711.jpg
We talked today about adding a piece of steel atop the wood wedge with the mast base you see above welded to the new plate. That way the bolts holding the whole thing to the deck would pass through steel. As it stands now, the steel square has to be bolted to the wood wedge and the wedge then bolted to the deck. The steel square isn’t wide enough to span the dagger slot and be bolted directly to the deck. Anyone have experience or engineering perspective on this?

Today was spent on holes. First, a big one in the pocketbook, striking a good deal with Defender Industries. This order covers most of the big areas left – ports, plumbing, propane and remaining deck fittings. We did better here than Port Supply or other local sources. It’s been an incredibly rigorous and time consuming process to equip the boat, but the best part is going direct to manufacturers with the help of experts. We’re getting great gear from Lewmar, Colligo, Blue Sea electrical, New England Ropes and Garhauer. Thanks for your help guys!

After giving Defender the Amex number, we tackled the first through hulls. We’ve made plumbing decisions such that there’s only one below-the-waterline plumbing hole (for a seawater manifold) and one for the depth sounder / speed sensor. They are going in tandem placement, just starboard of the daggerboard.

20150403-222417.jpg
Here’s the thruhull inserted upside down to check the depth; we needed to cut off about a half inch of threads. In the second photo you can also see the Kevlar outer skin in the ‘shadow’ of fairing compound – that’s about two feet wide from the bow back towards the stern.

20150403-222829.jpg

20150403-222848.jpg
Further up the hull side, over on port, is the first above the waterline thruhull. This one is the galley sink.

20150403-223018.jpg
All of these holes are being cut too big and then re-edged with epoxy/cabosil putty. We’ll also add back some glass on the outside and fair it in. I decided to do this instead of trying to dig out cedar core in between the original inner and outer glass layers. We’ll see more of the thru hulls during the post-painting fit out.

The main cabin is getting final furniture building. Here’s a cardboard mockup of a backrest cabinet for the seating position on the starboard day bunk. The base isn’t very wide and the hull curves in steeply, so it’s a tough balance to preserve lying down comfort yet make the backrest functional for sitting up. It doesn’t extend to the bulkhead in the left of the photo because that’s the most comfortable spot, leaning back on that locker wall with your feet up on the bunk. Thanks Charlie for the idea to make the backrest swing up to reveal a small storage cabinet.

20150403-223935.jpg

During the cabin buildout we think ahead to wiring – here the chart table gets surgery in the form of a big 4″ series of holes to route cables between the batteries and the circuit breaker panel. This stuff will get clean face plates screwed on to hide the wires after installation.

20150403-224155.jpg

And we’re spreading mahogany dust all over the driveway as the portable mill rips and planes repurposed baseboards and casings in to lovely boat interior trim. The boards on the right end up as excess stock when cabinetry clients change their minds. Good neighbors to have during this build!

20150403-224652.jpg
And so the pile grows, with a couple more days of fitting trim pieces inside, and when complete they will all get sanded and finished in the shop before bonding in to the boat. Painting day 1 inches closer…

20150403-224856.jpg

Note to self

Quick update here for builders to confirm the technique of taping down the peel ply and applying epoxy in the marker lines worked really well. The table side of these panels came out smooth as glass.

20150327-193736.jpg
The galley countertop got some good news – the sheet metal neighbor is going to make a full stainless steel cladding to cover the whole thing. Good idea Jeanne! A very light, very durable solution.

20150327-193959.jpg

Today’s lamination table finishes the shelves of various cabinets, and the long piece is a valence / light box over the dinette.

Actually had to hunt around for tasks to fill the table – that is a great sign, ie we’re almost done with primary parts fabrication!
Thanks for noticing, Dallas :)

20150327-194319.jpg

Outside In

Well, that exterior build punch list is down to just a few things like a pulpit on the bow and a wood plate under the mast base. Short enough to move on to the cabins, and finish up outside in between other projects. Here’s how the past week went down…

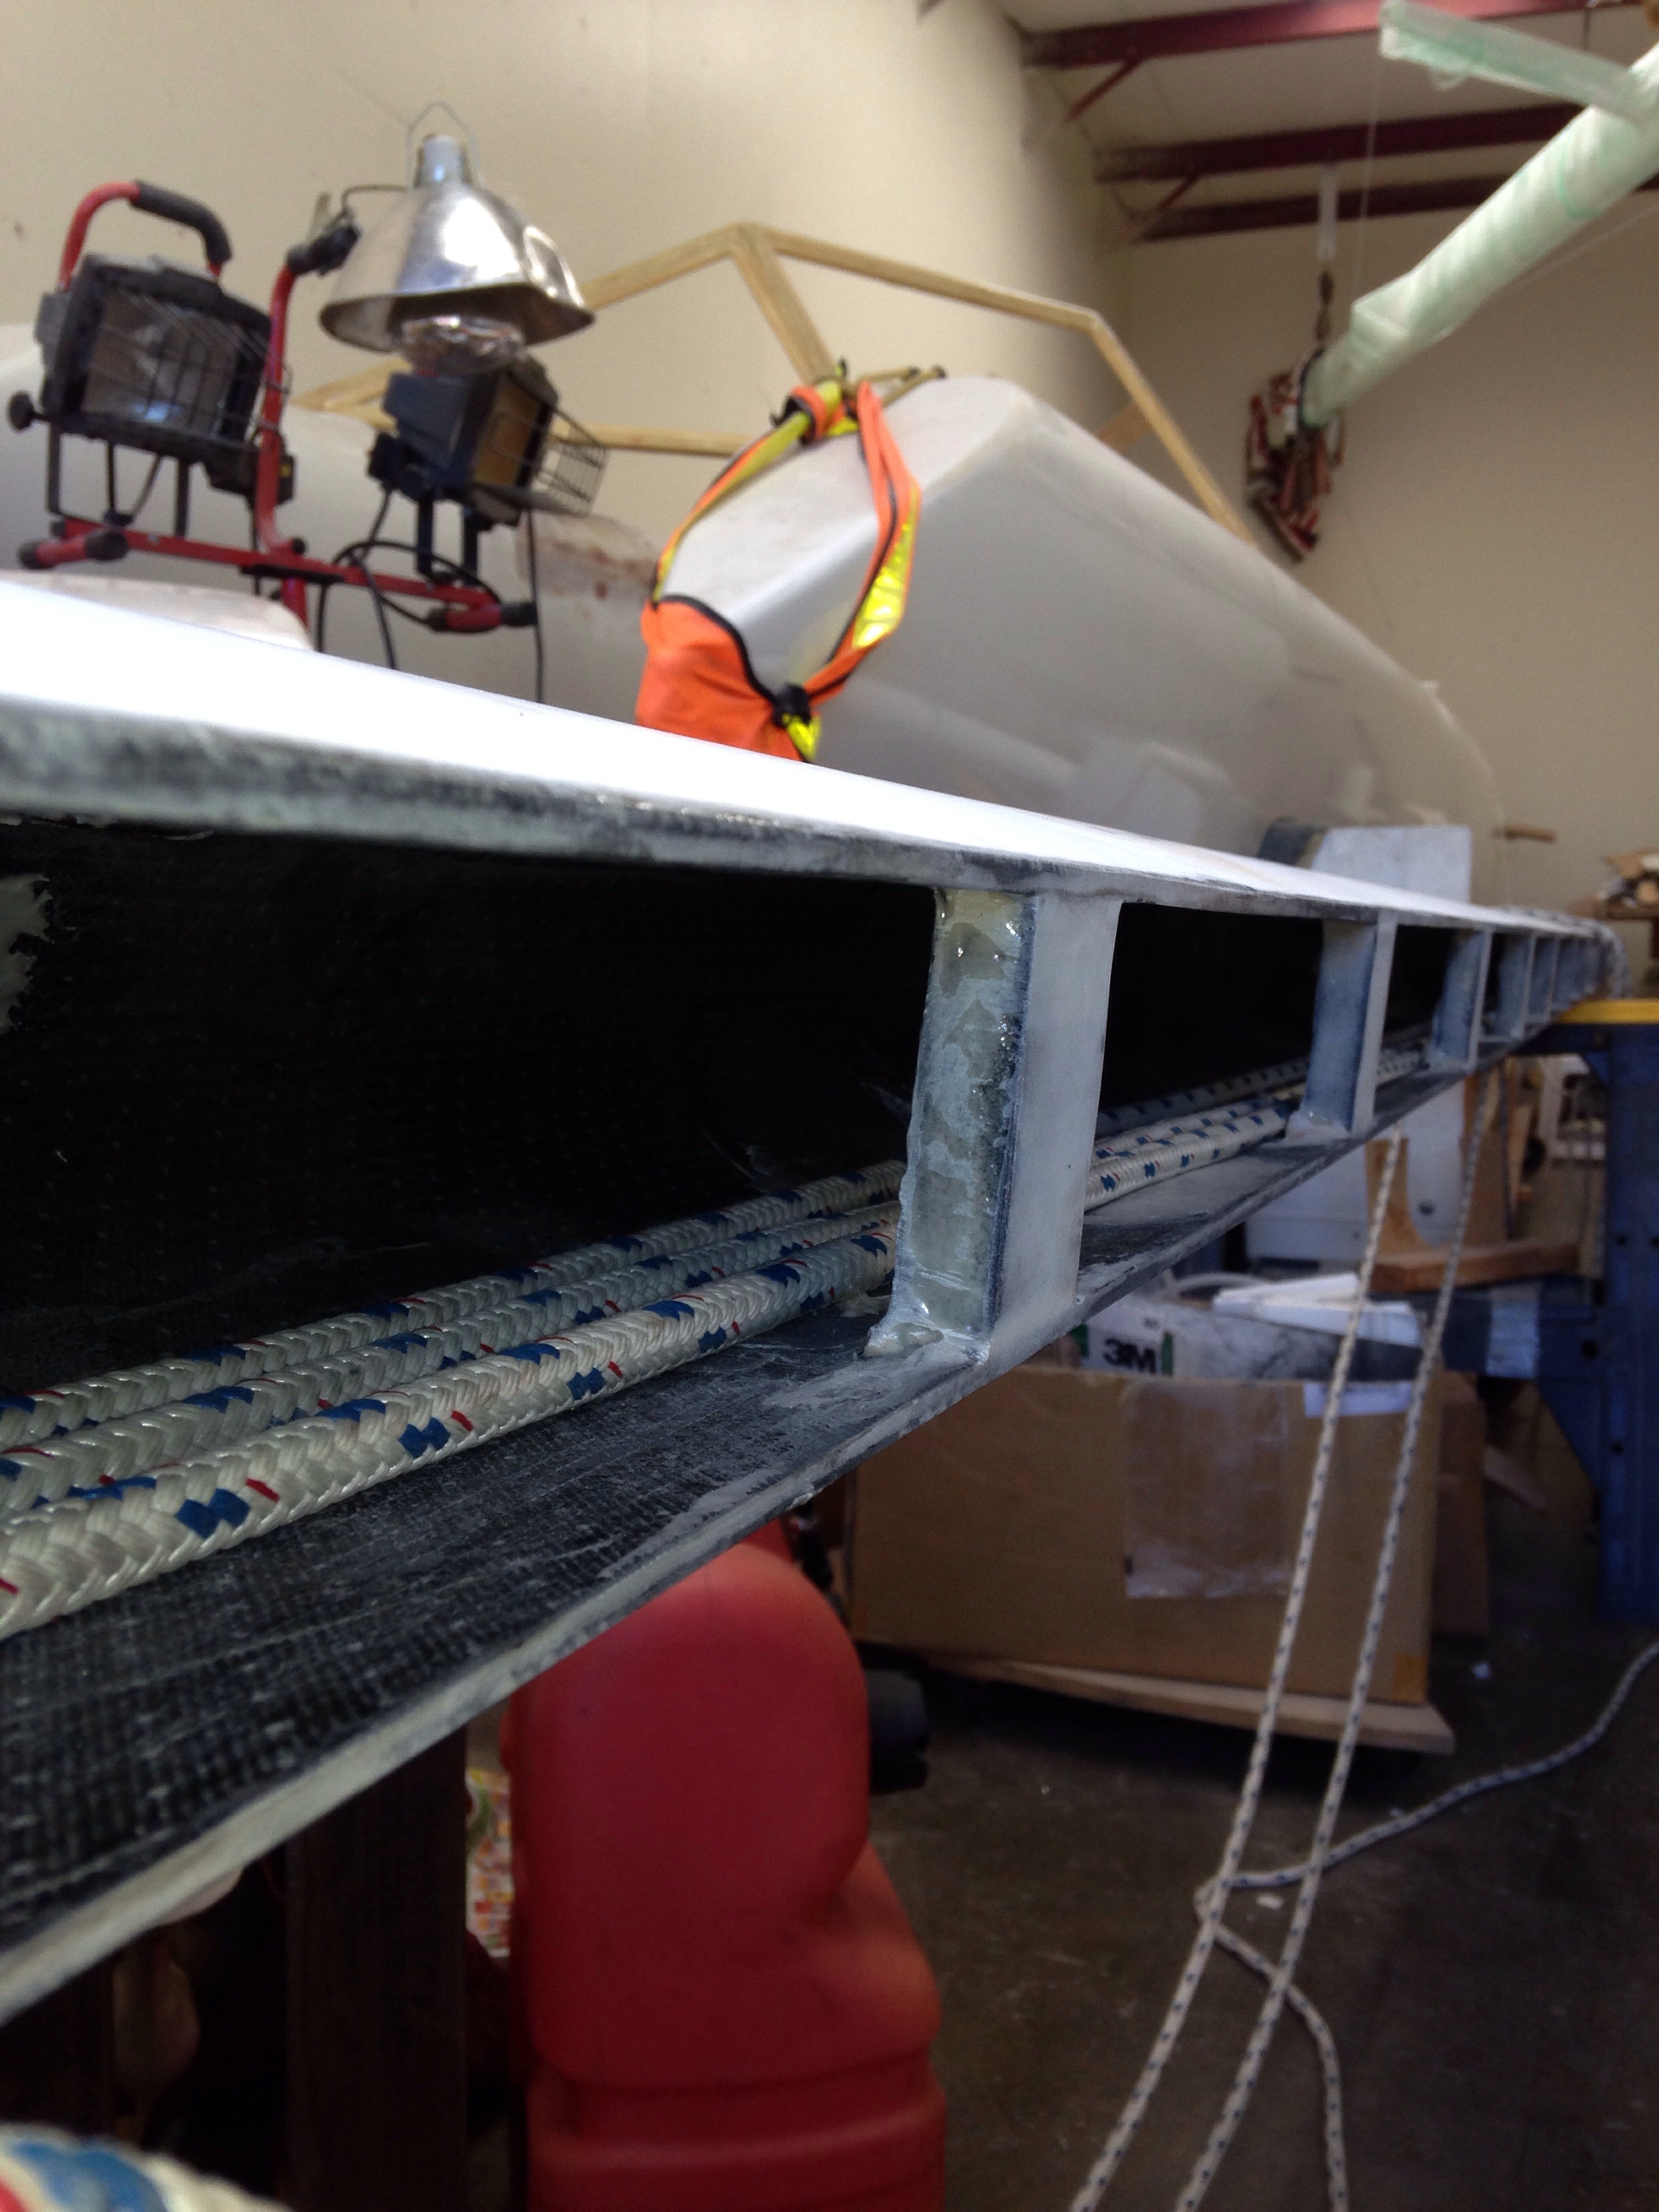
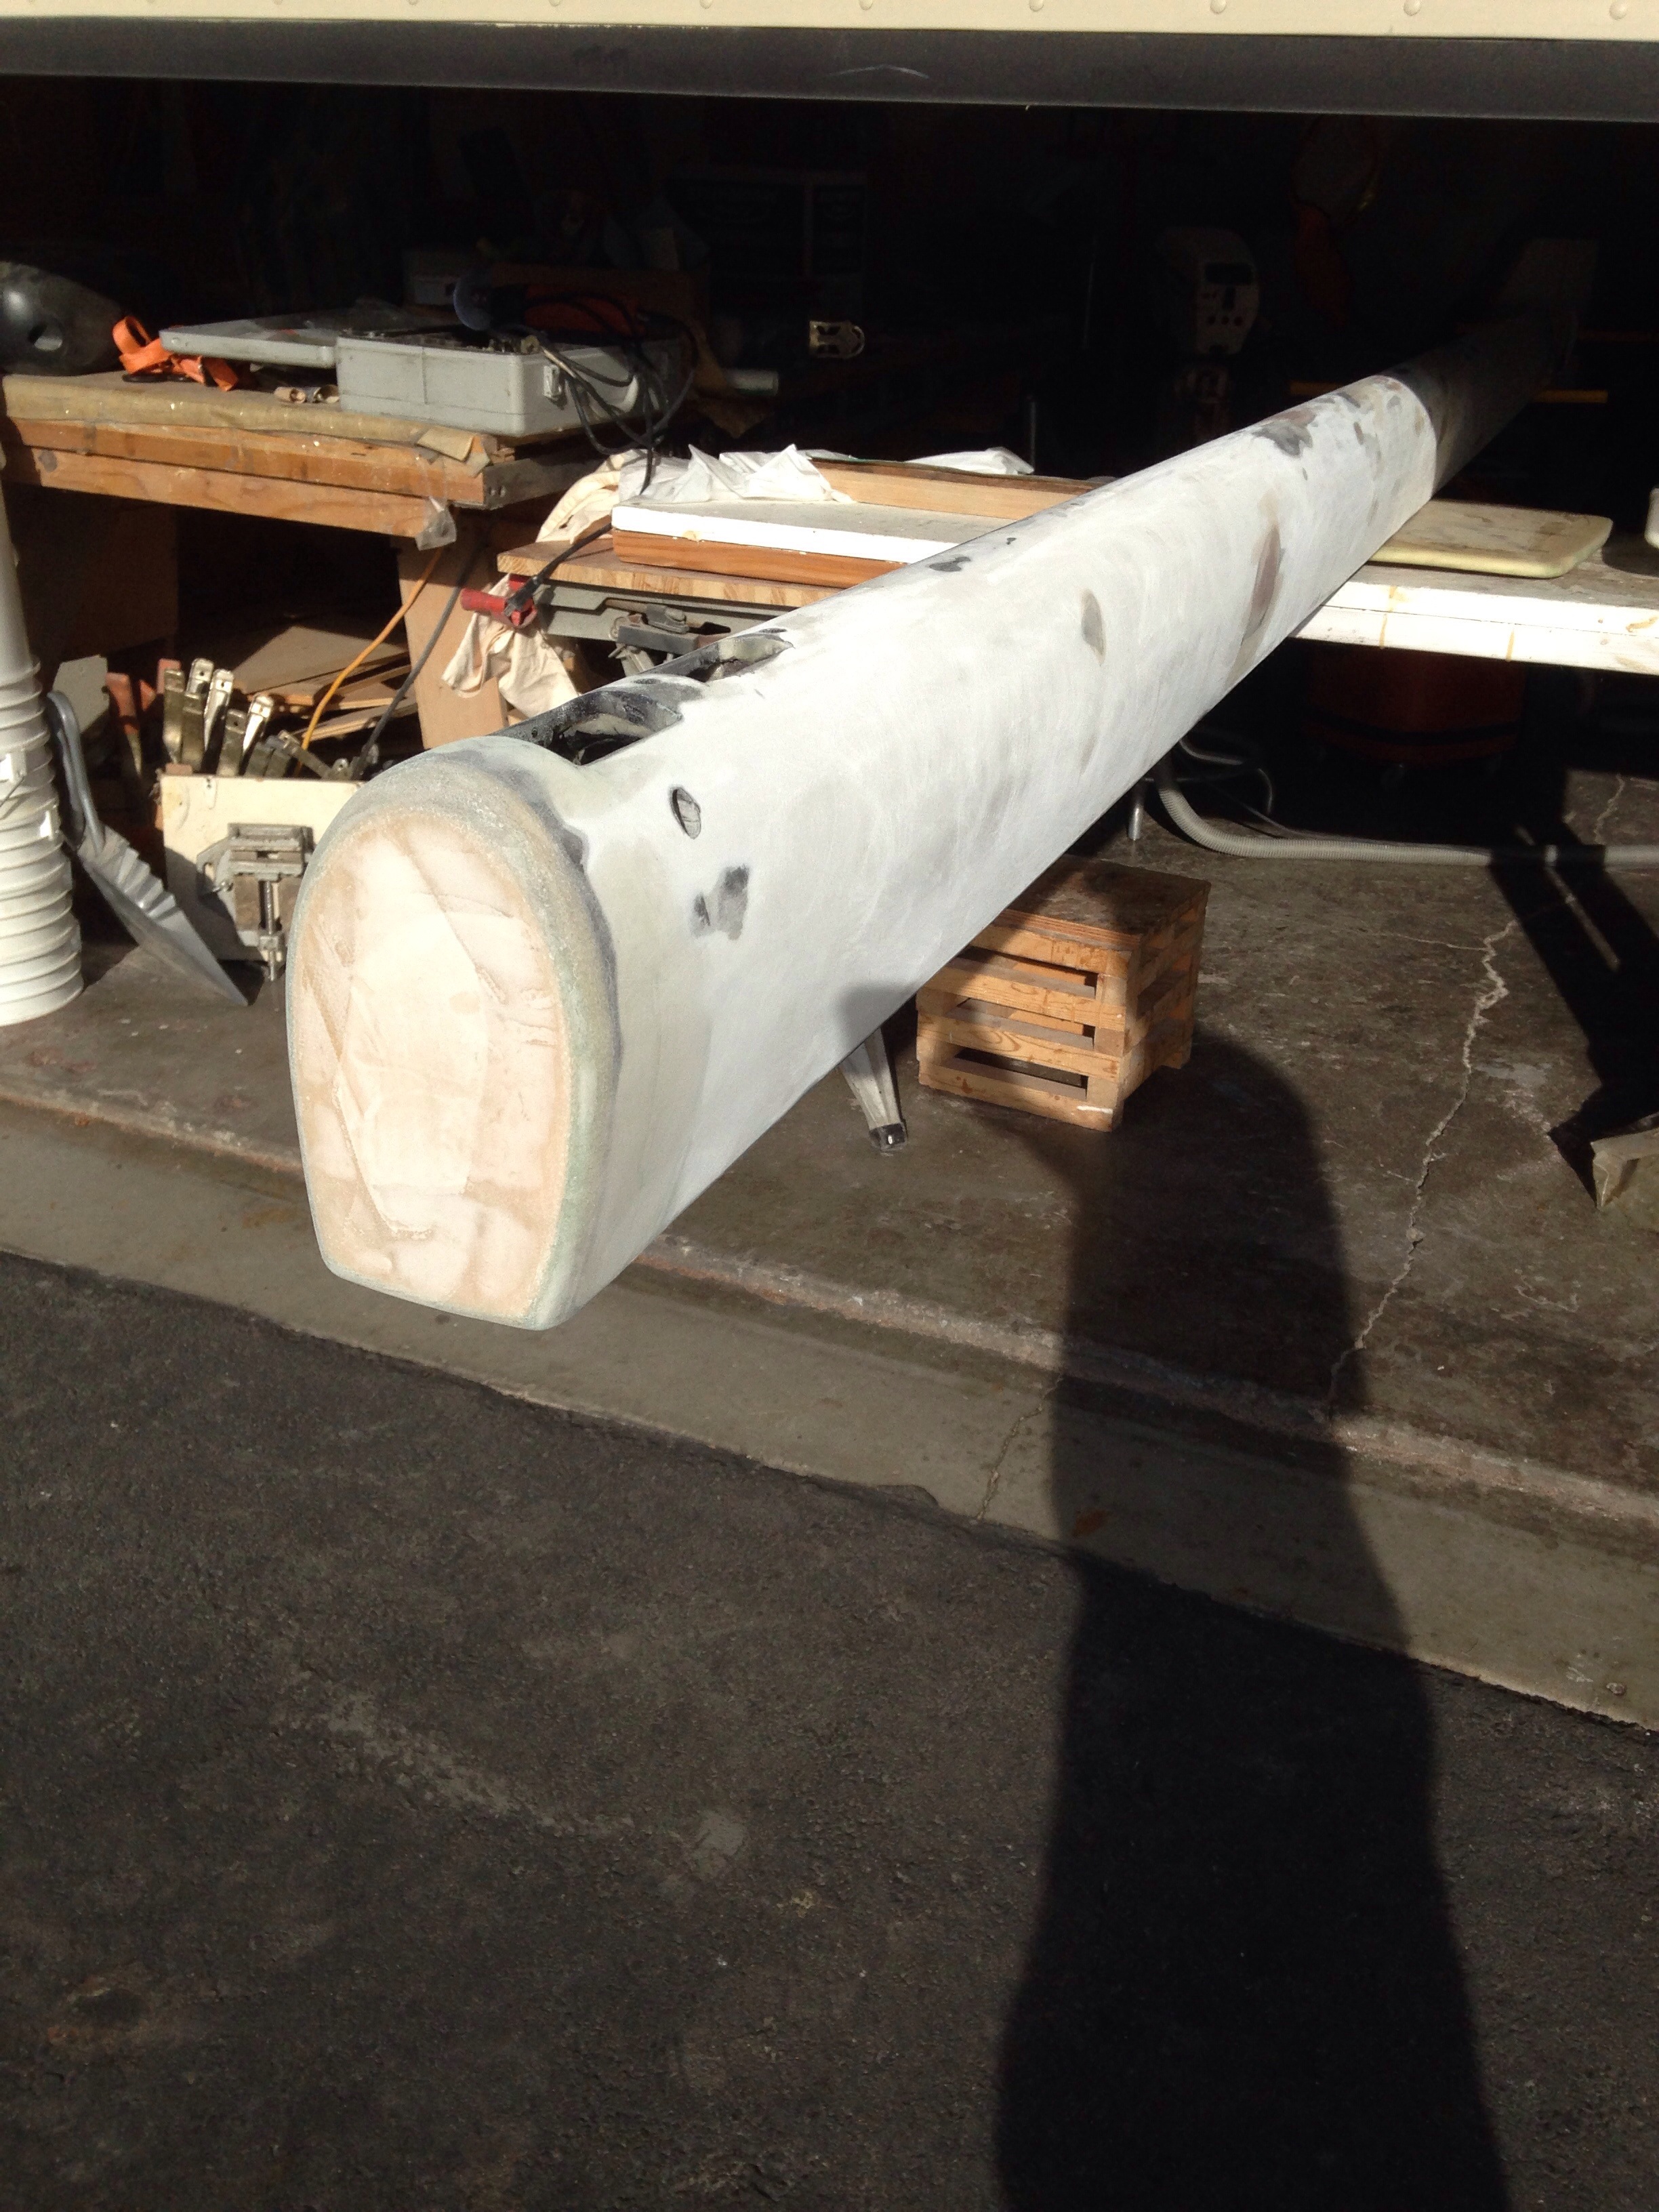
The boom is done and ready for paint. This was a really satisfying project, remaking this spar from Transit of Venus’ original mast.
The control lines for three reefs plus the outhaul live inside the boom.

20150326-214155.jpg

20150326-214243.jpg
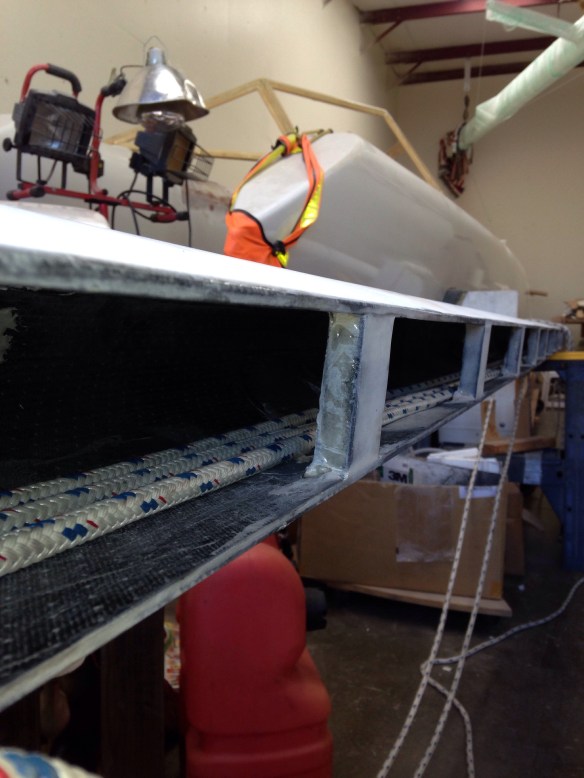
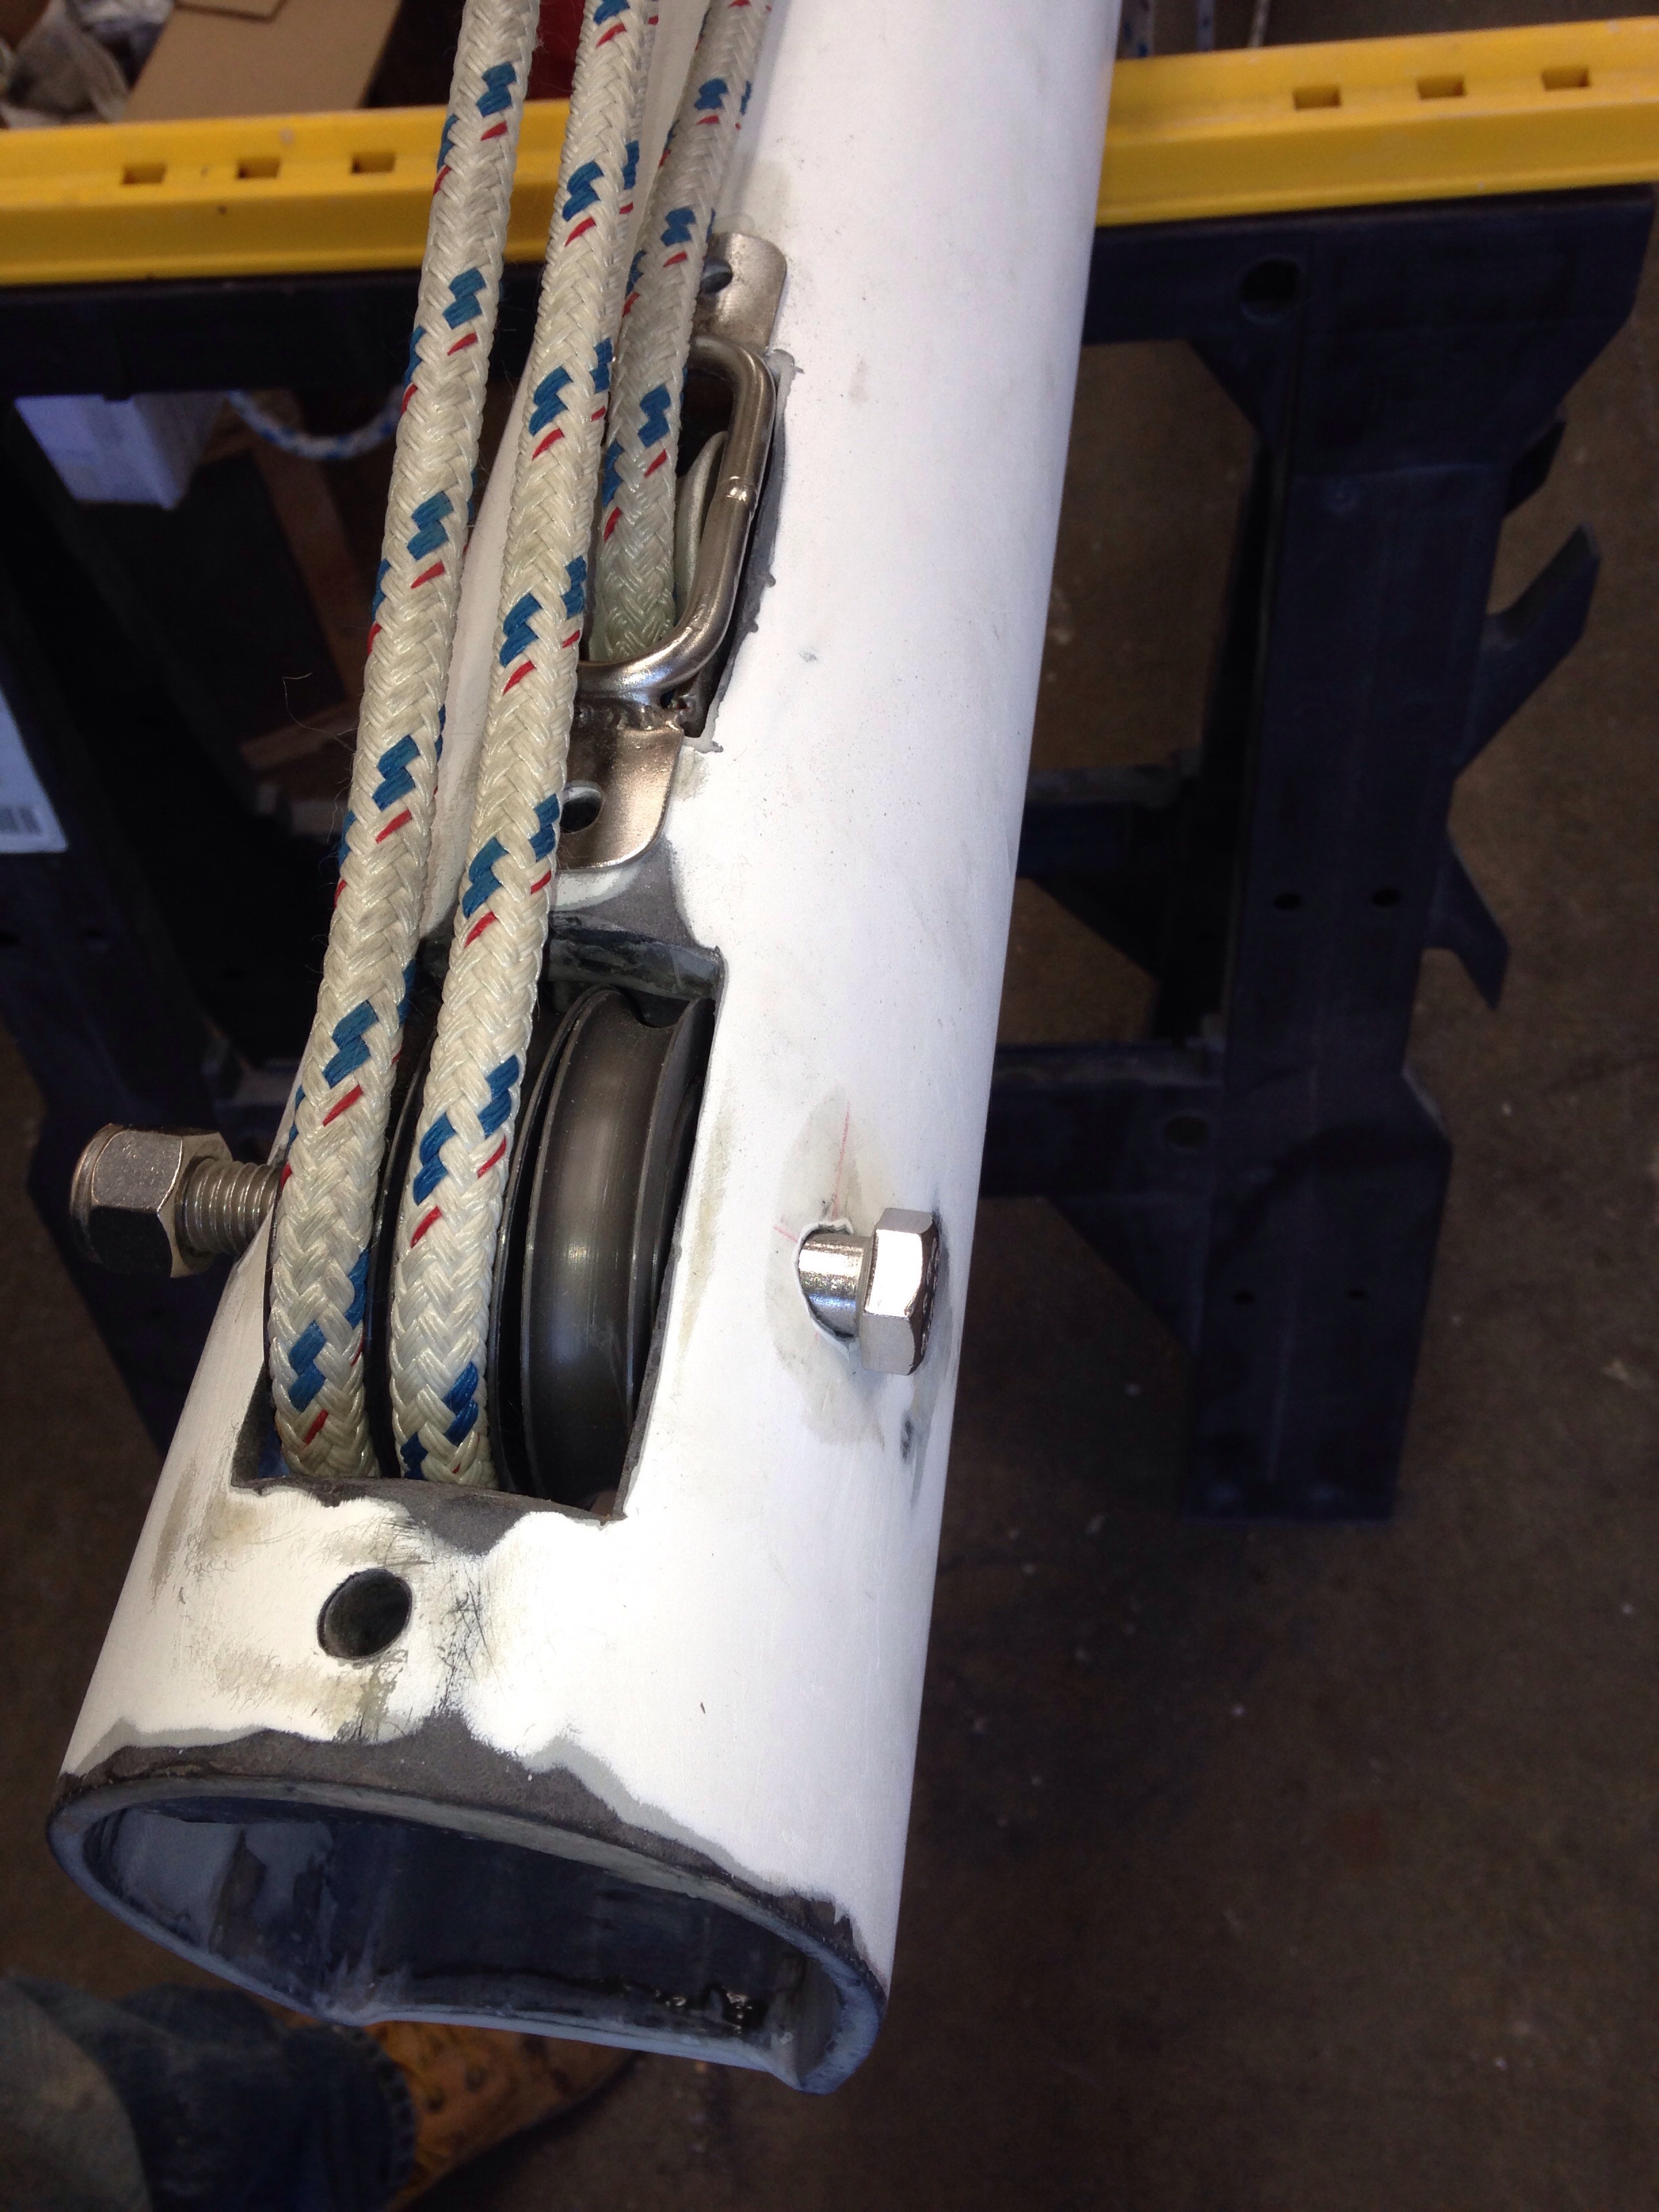
The hole on the end of that last photo will hold a spectra loop to catch the topping lift. Three reefs around the sheaves in back, with the outhaul just ahead. Here’s the boom end with line guides inside, before capping the end permanently.

20150326-214629.jpg

20150326-214646.jpg
And despite Charlie’s reluctance to cut holes in a friend’s boat, I got him to make these nifty exit holes after we tried out a few design options. (Got a little inspiration from a GM Futureliner restoration show)

20150326-215126.jpg
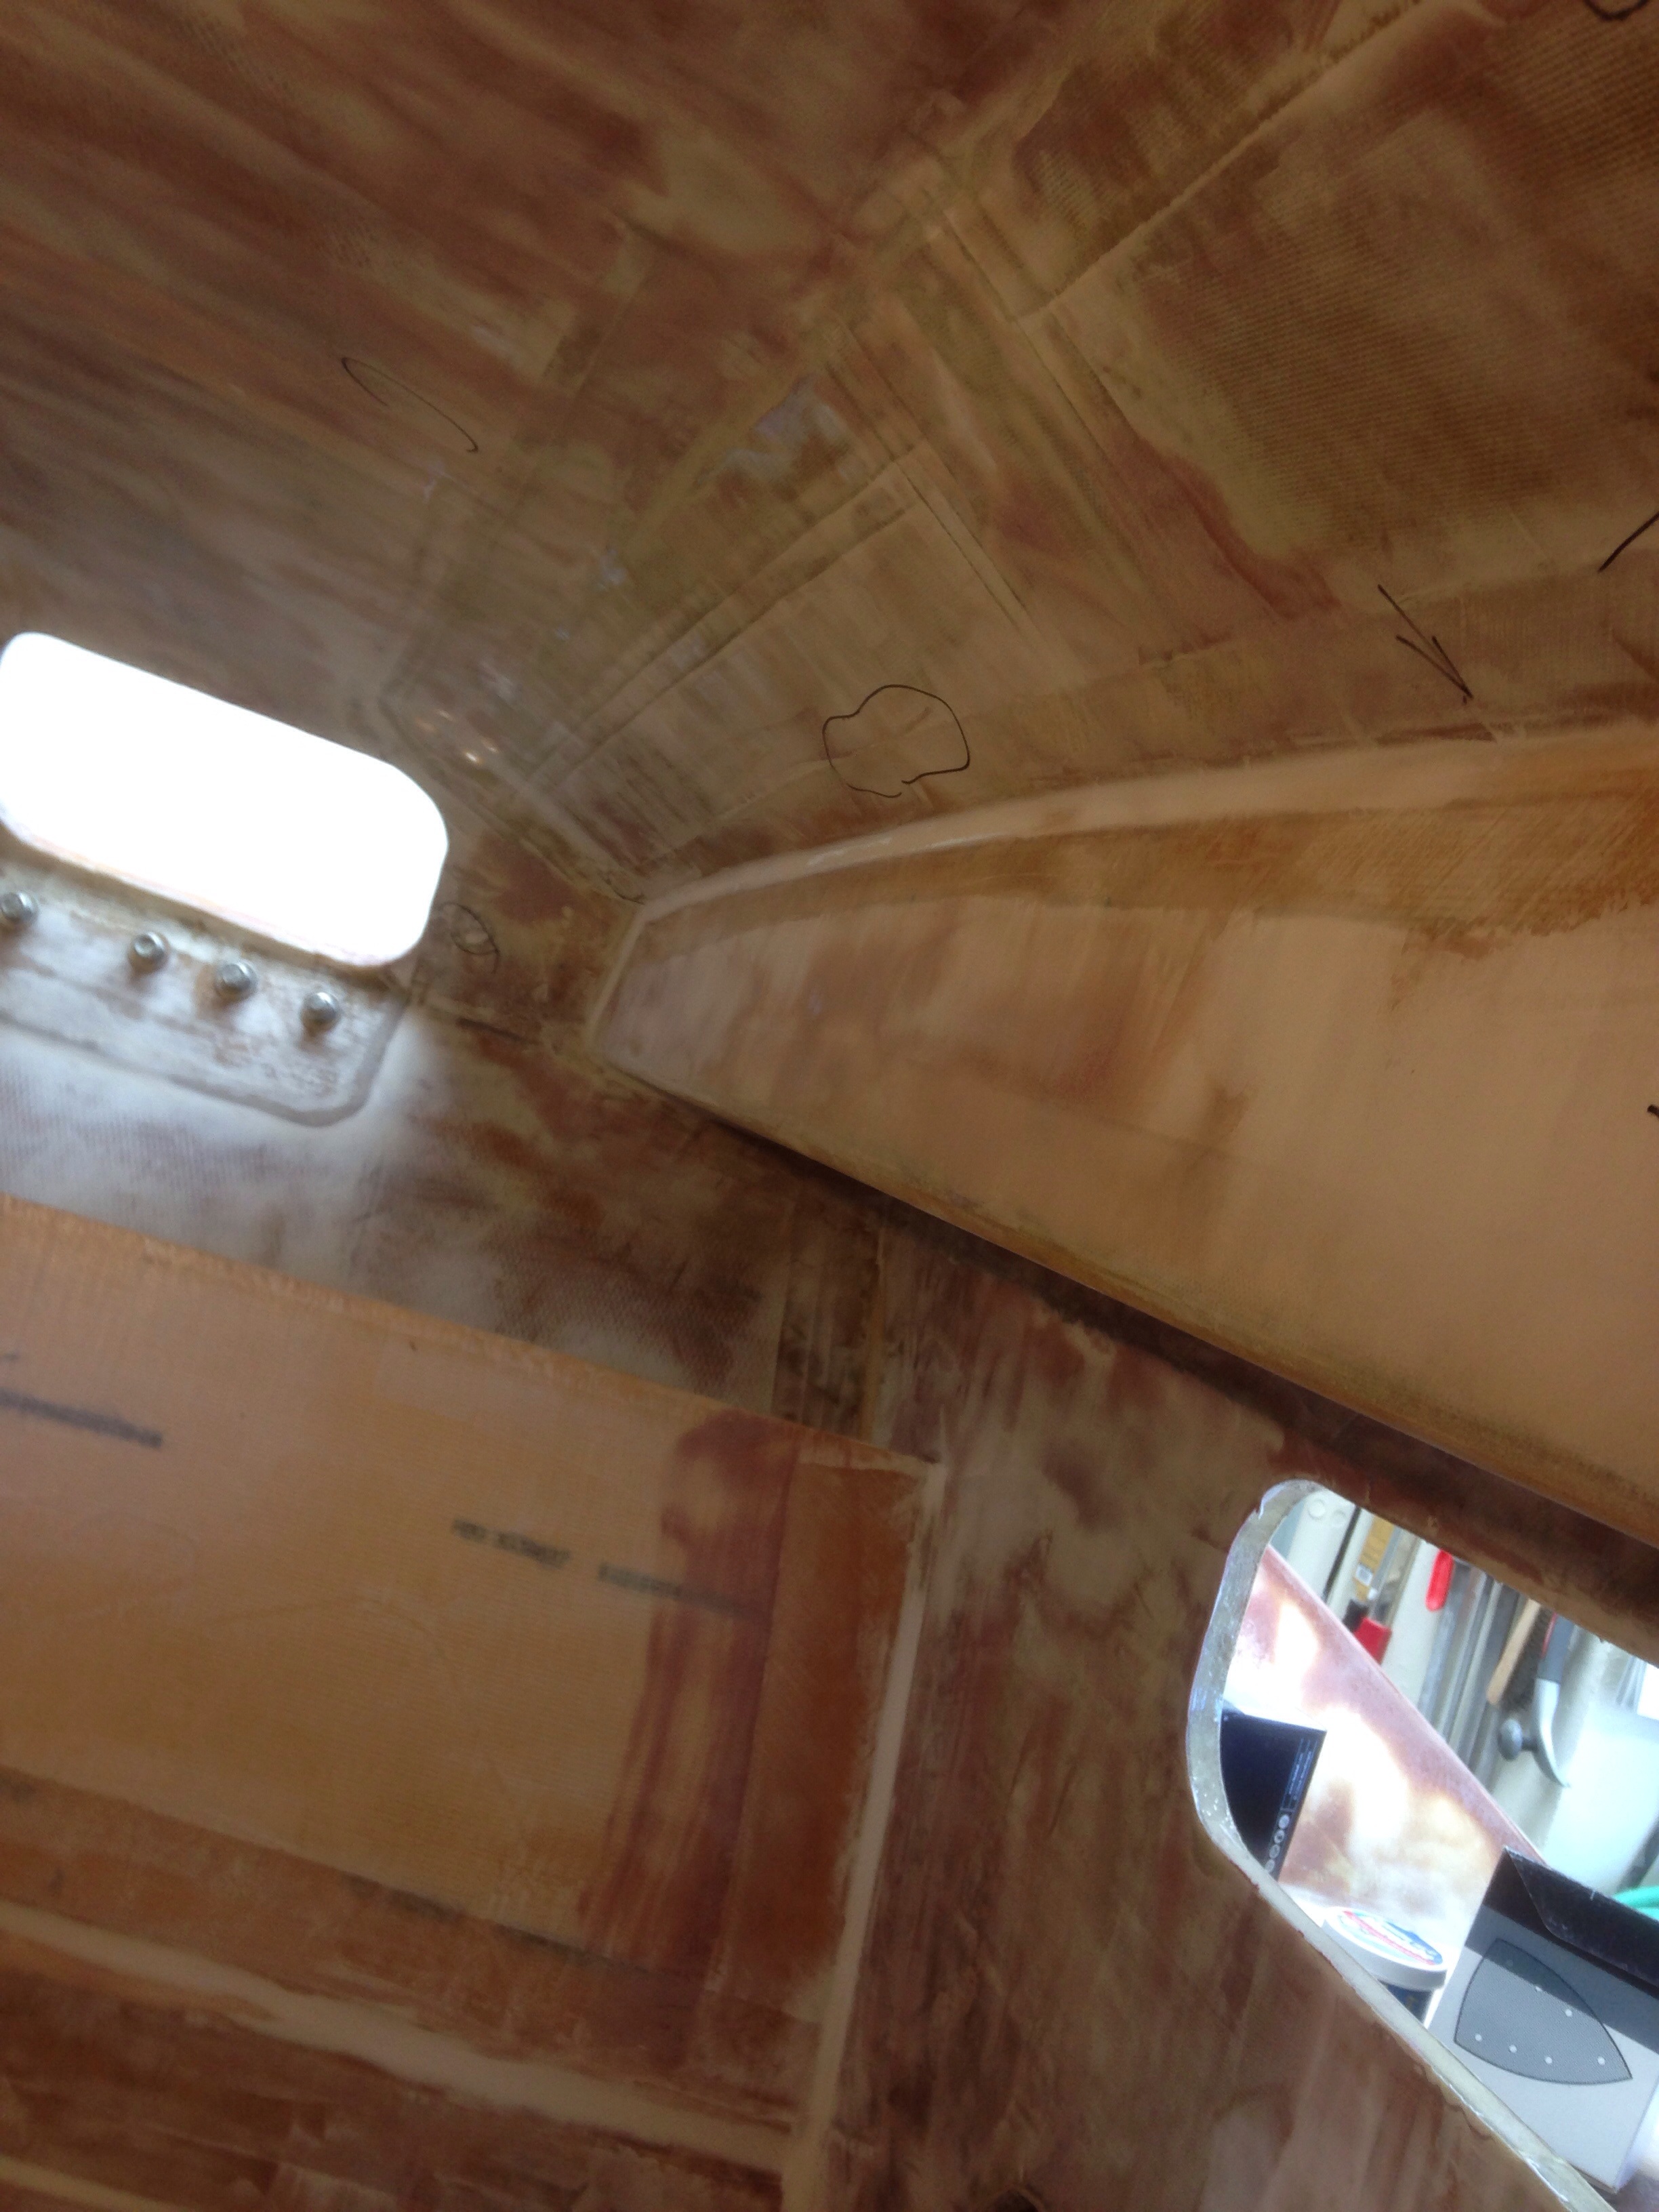
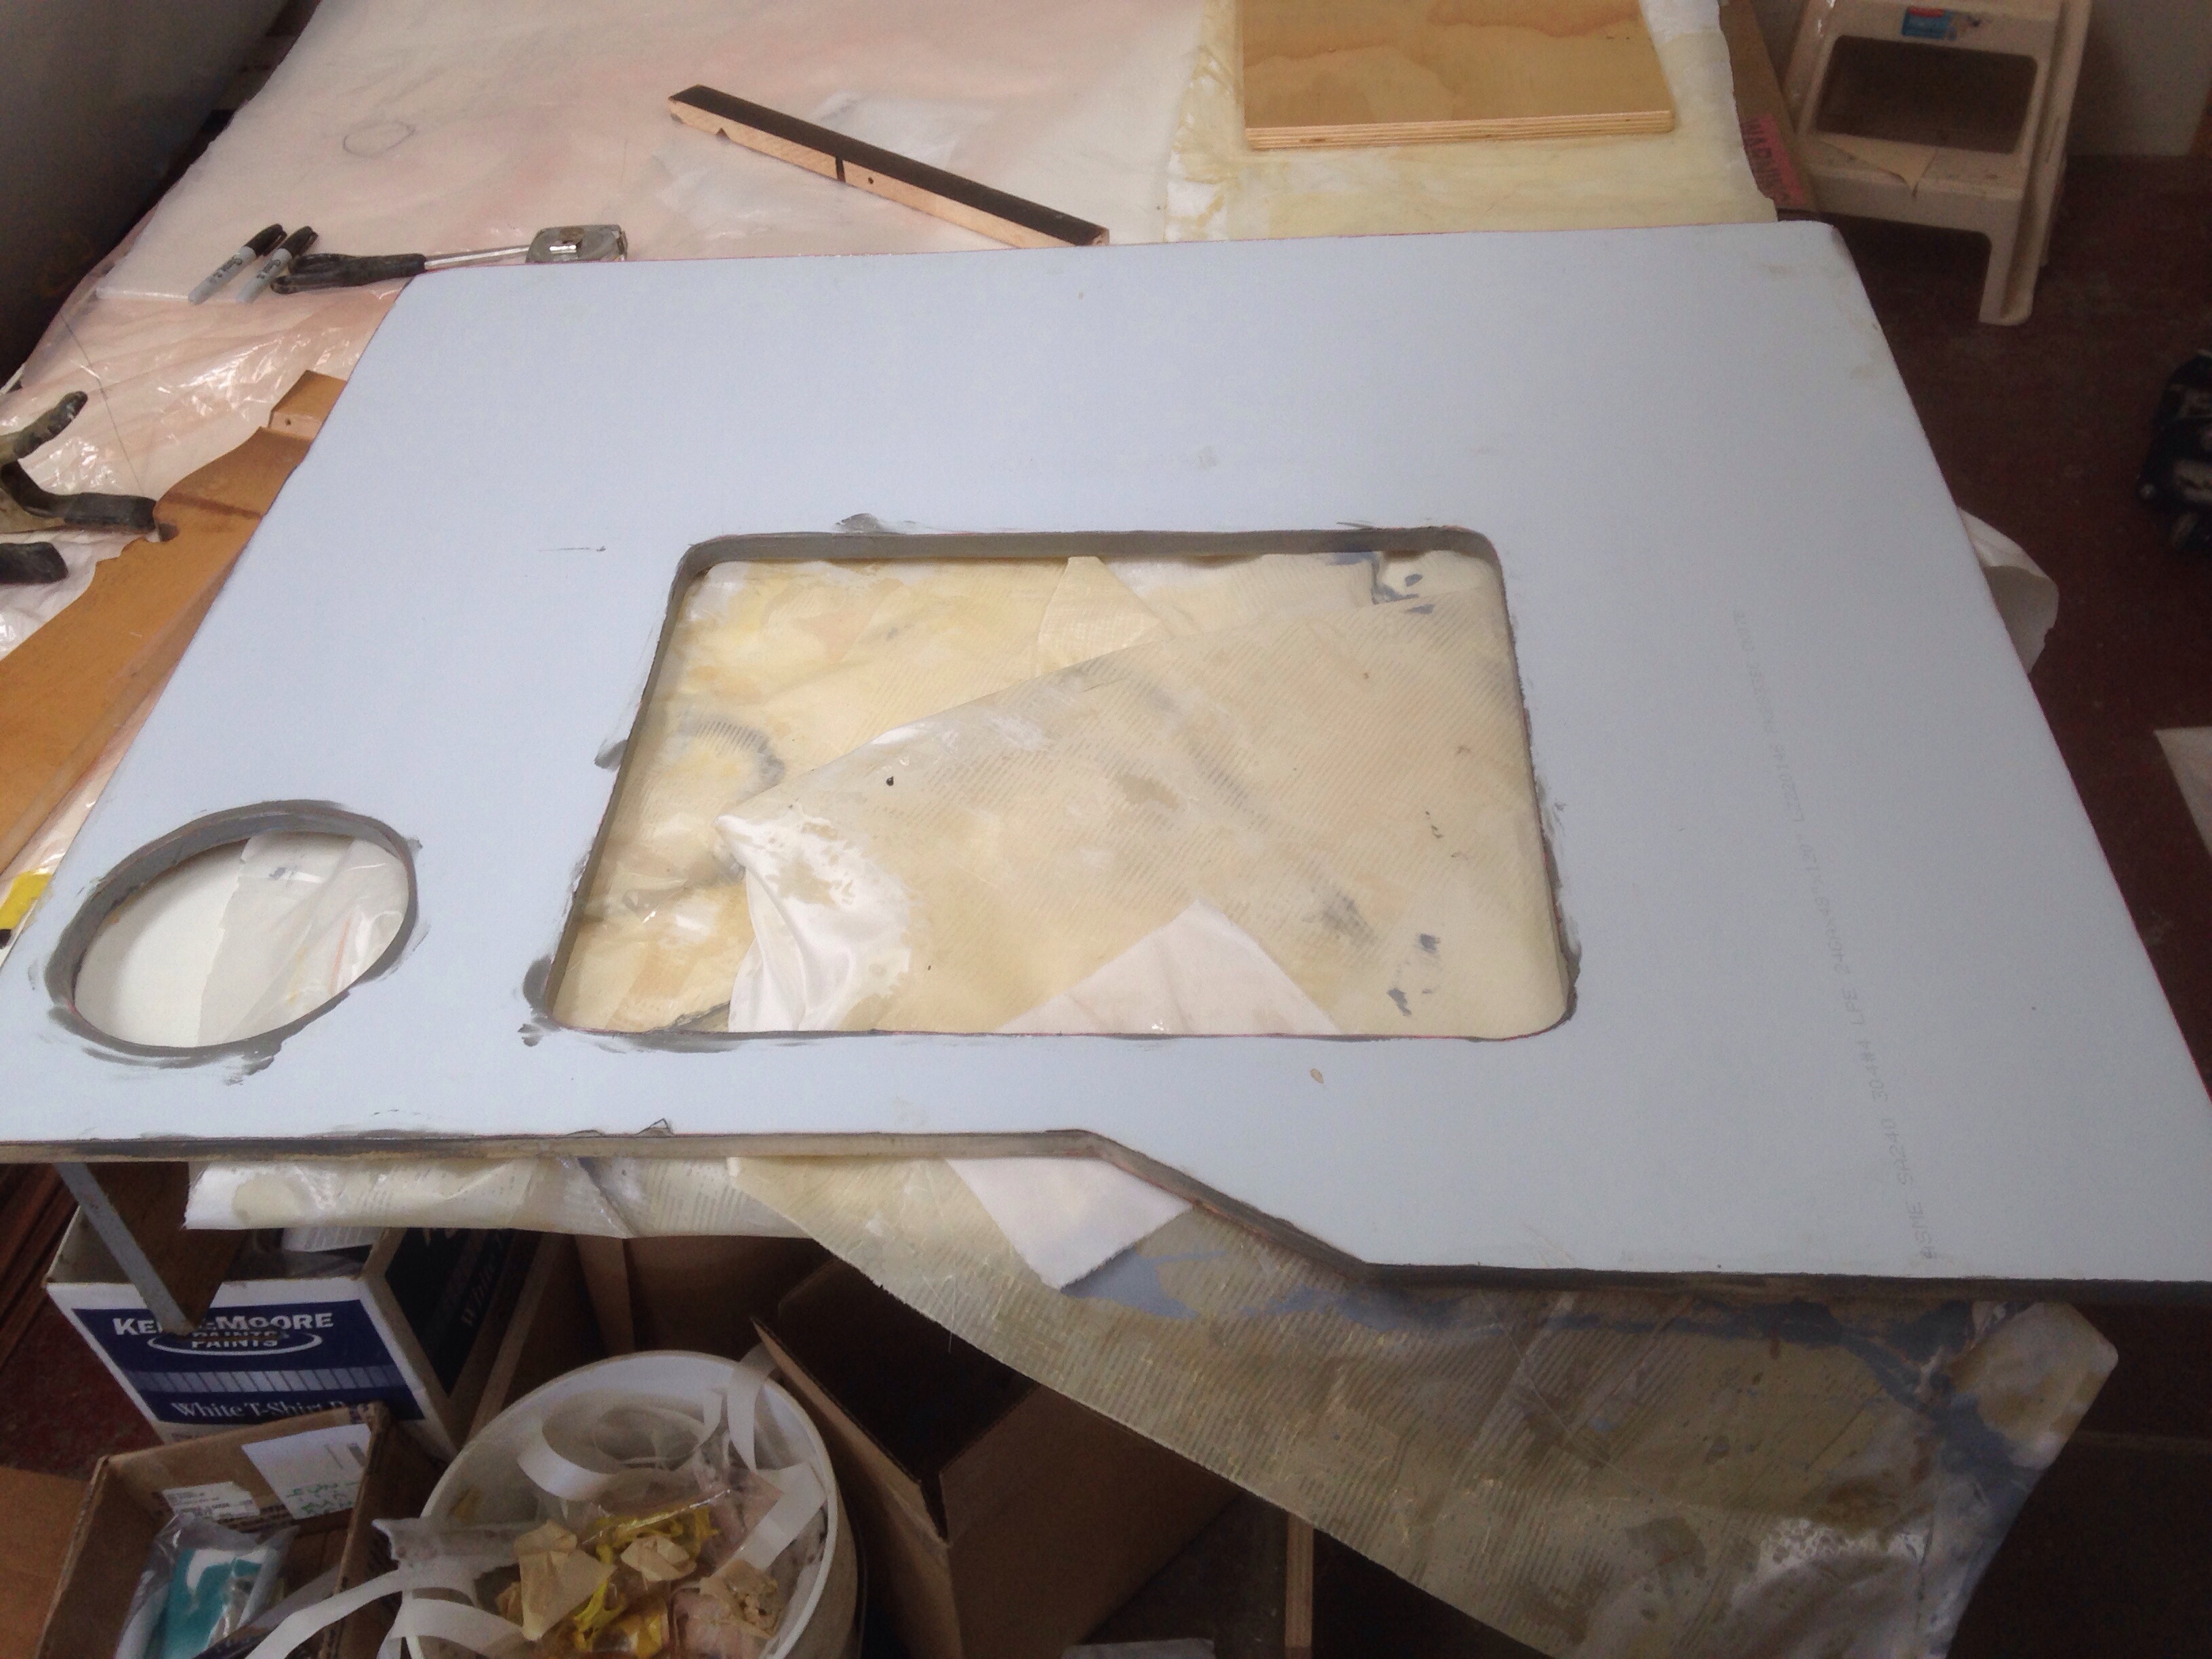
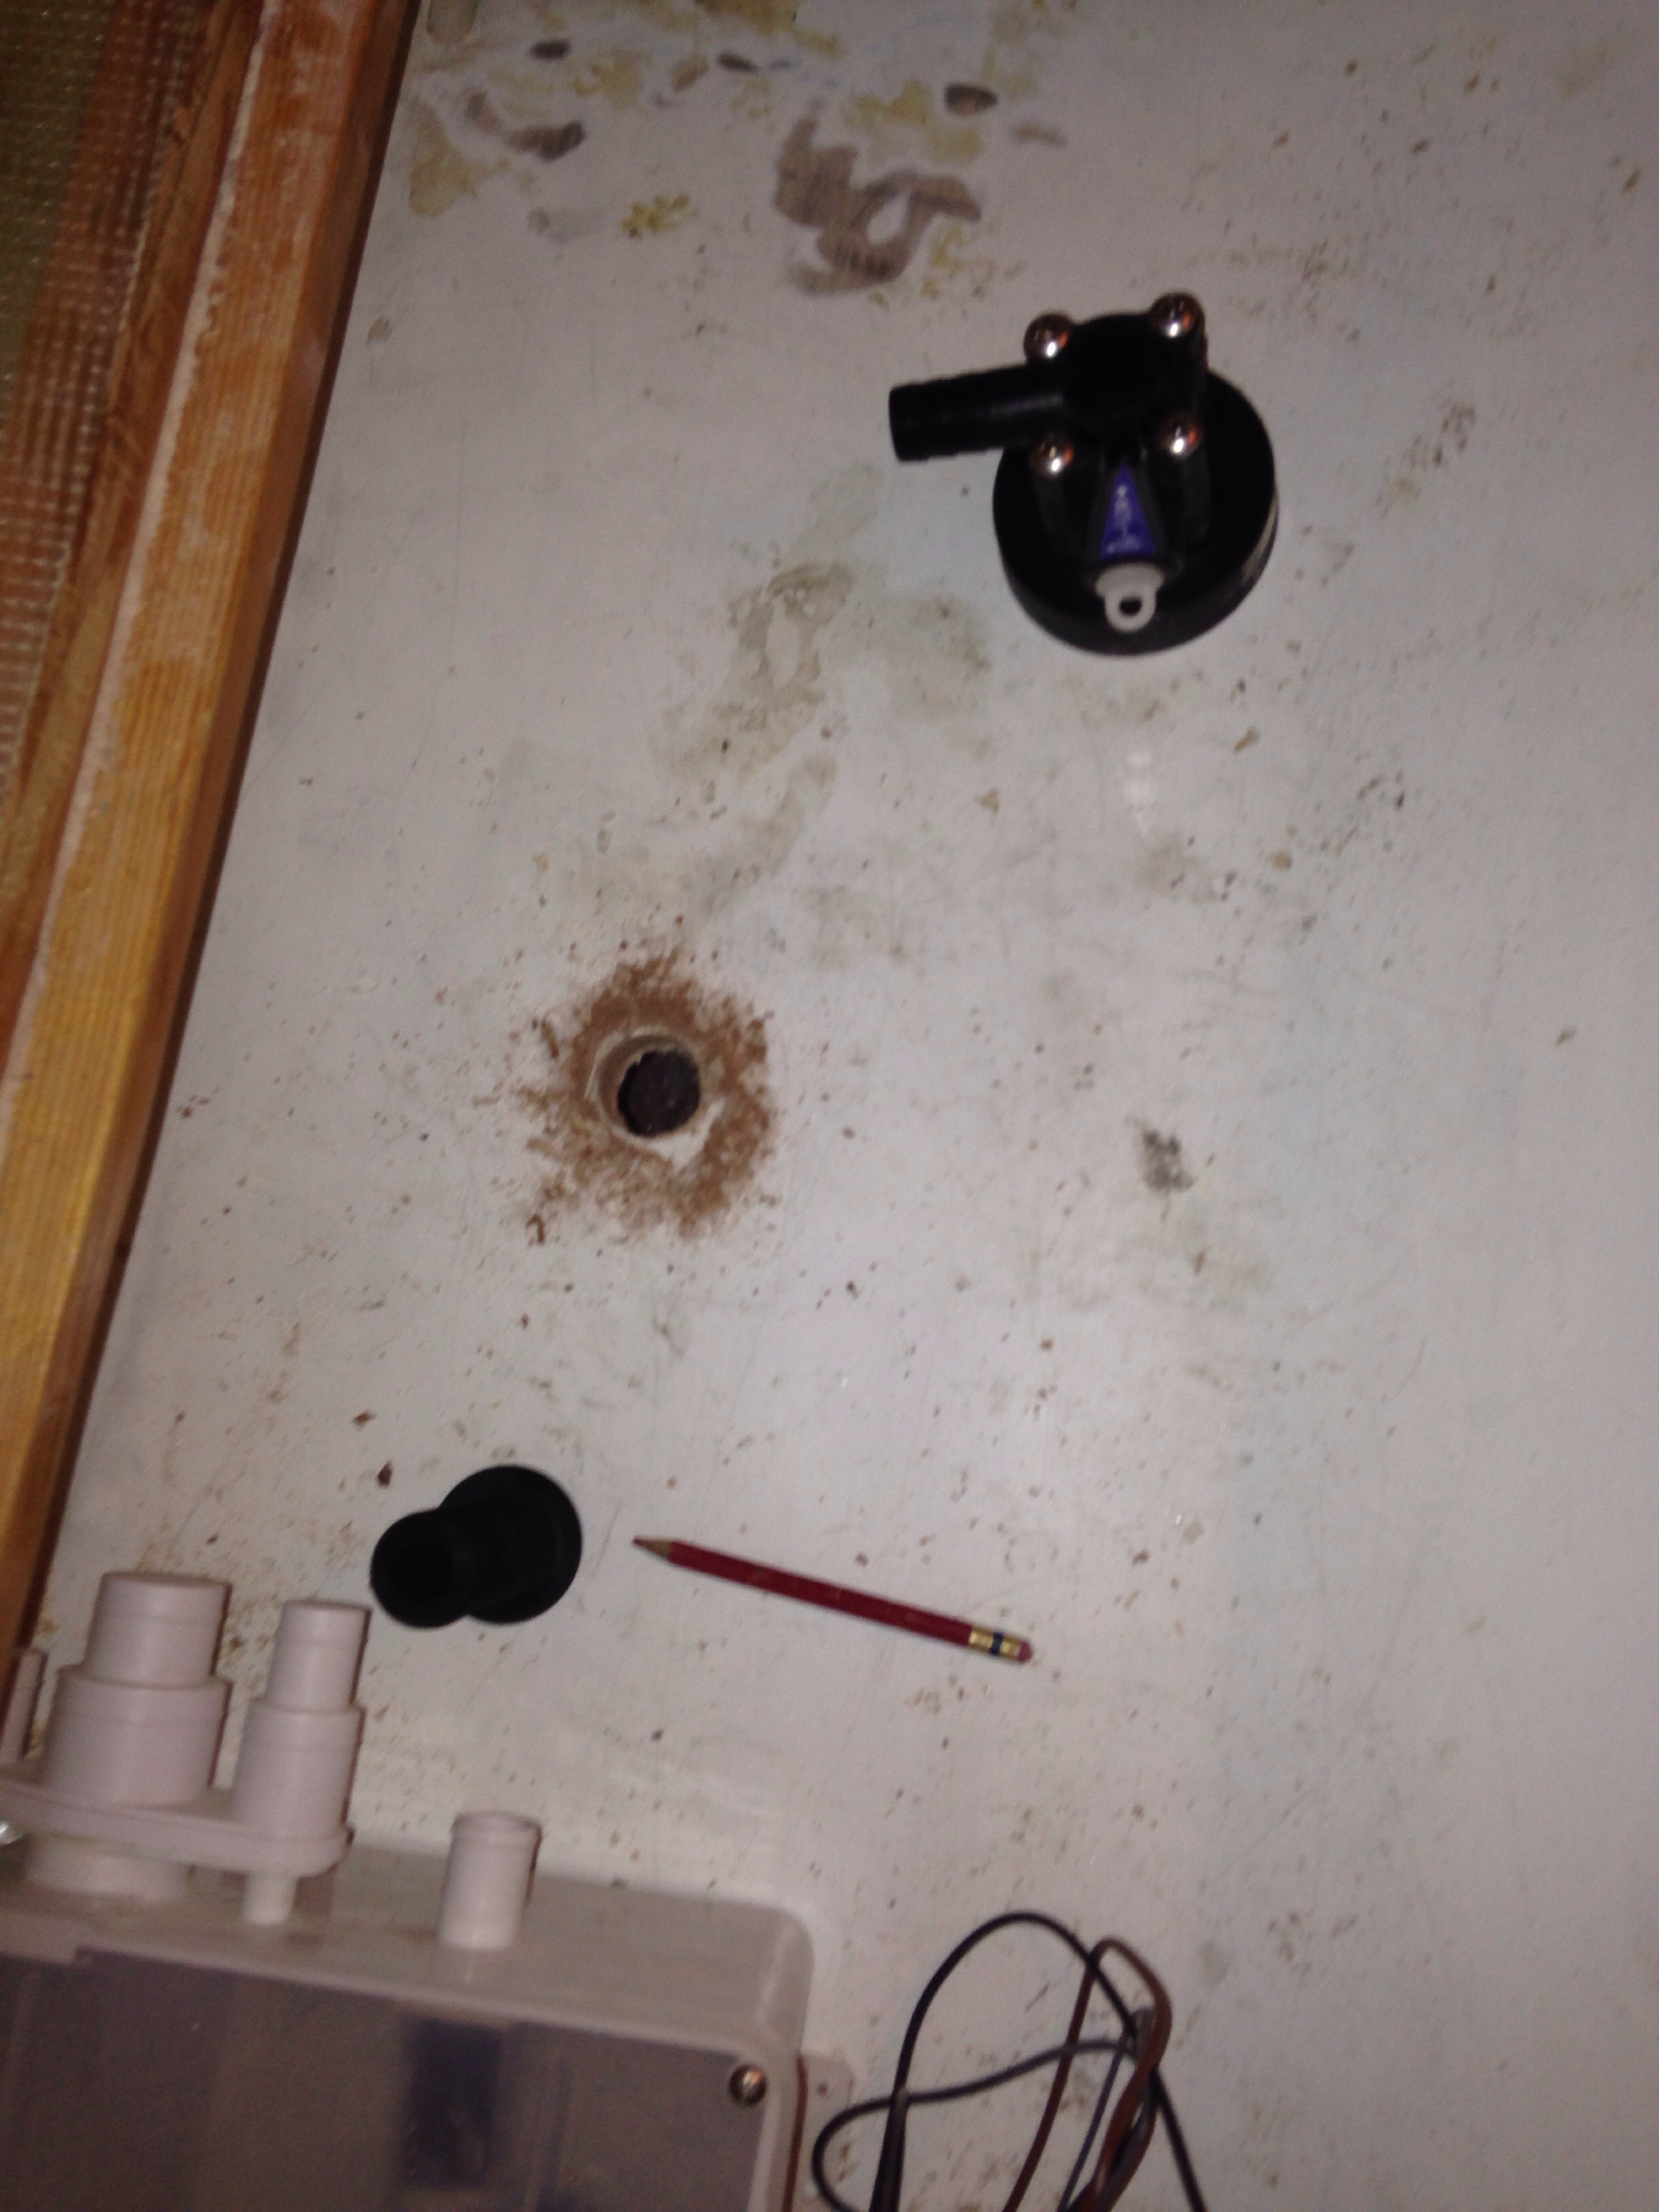
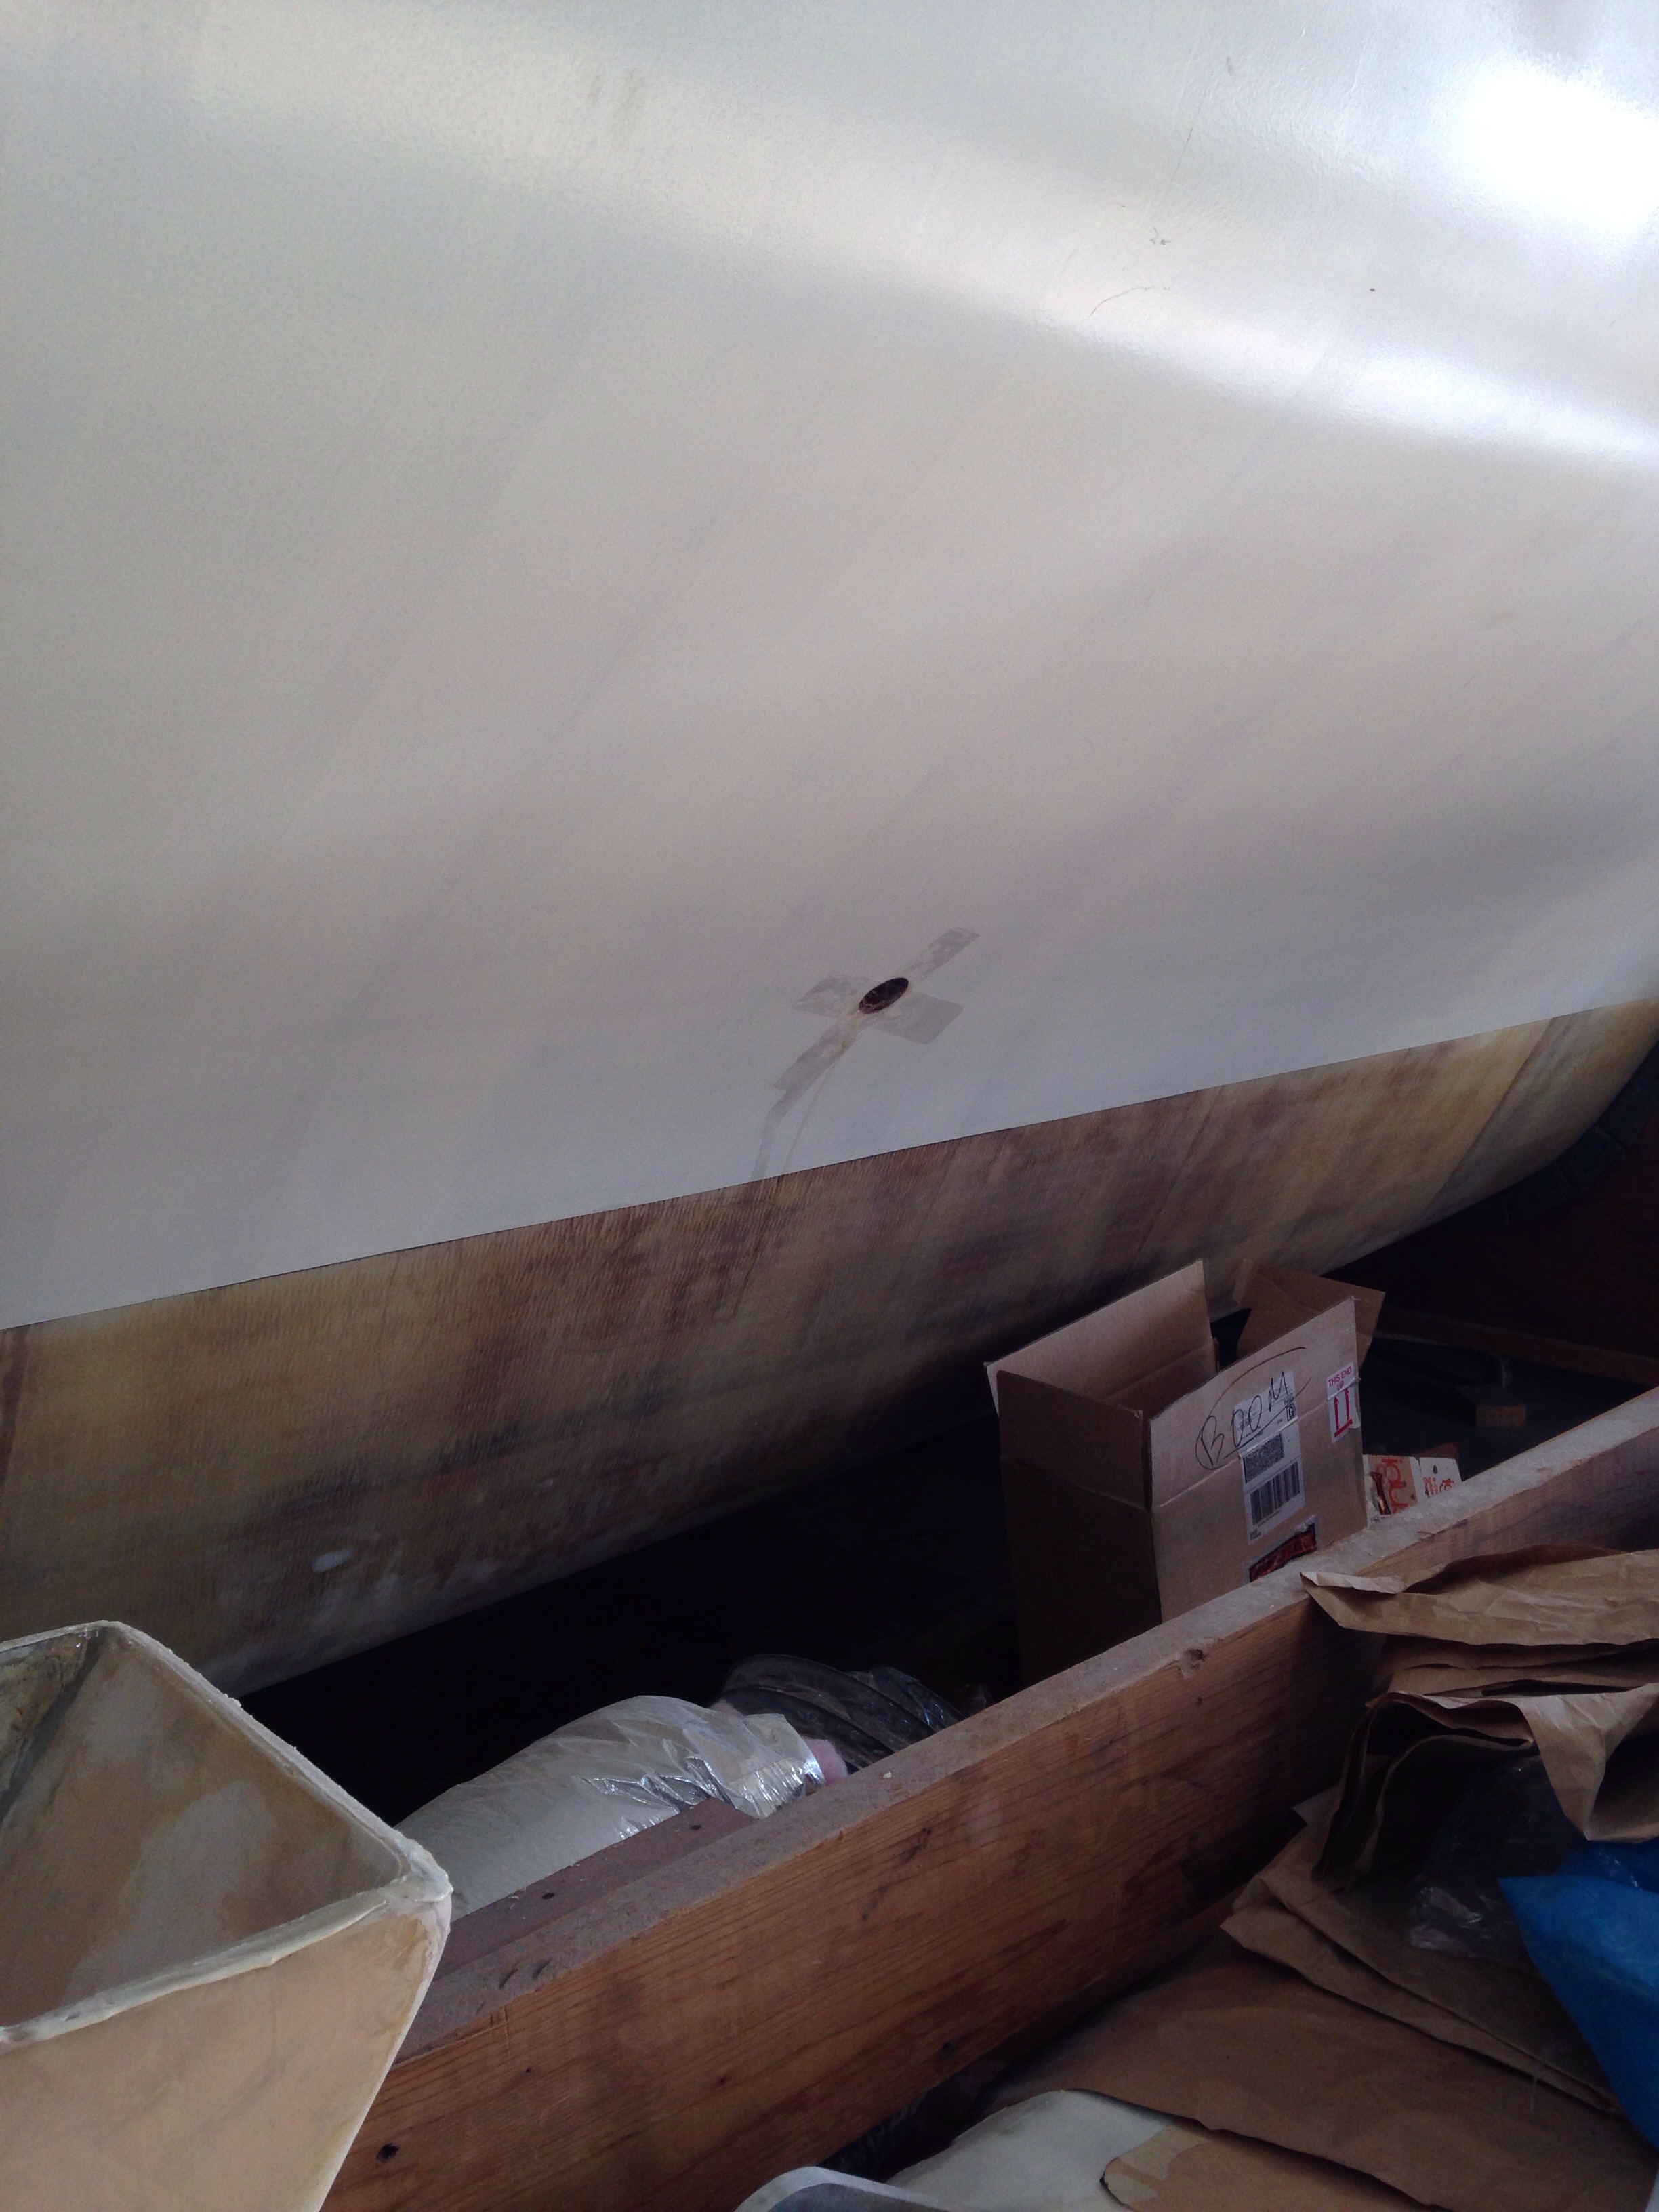
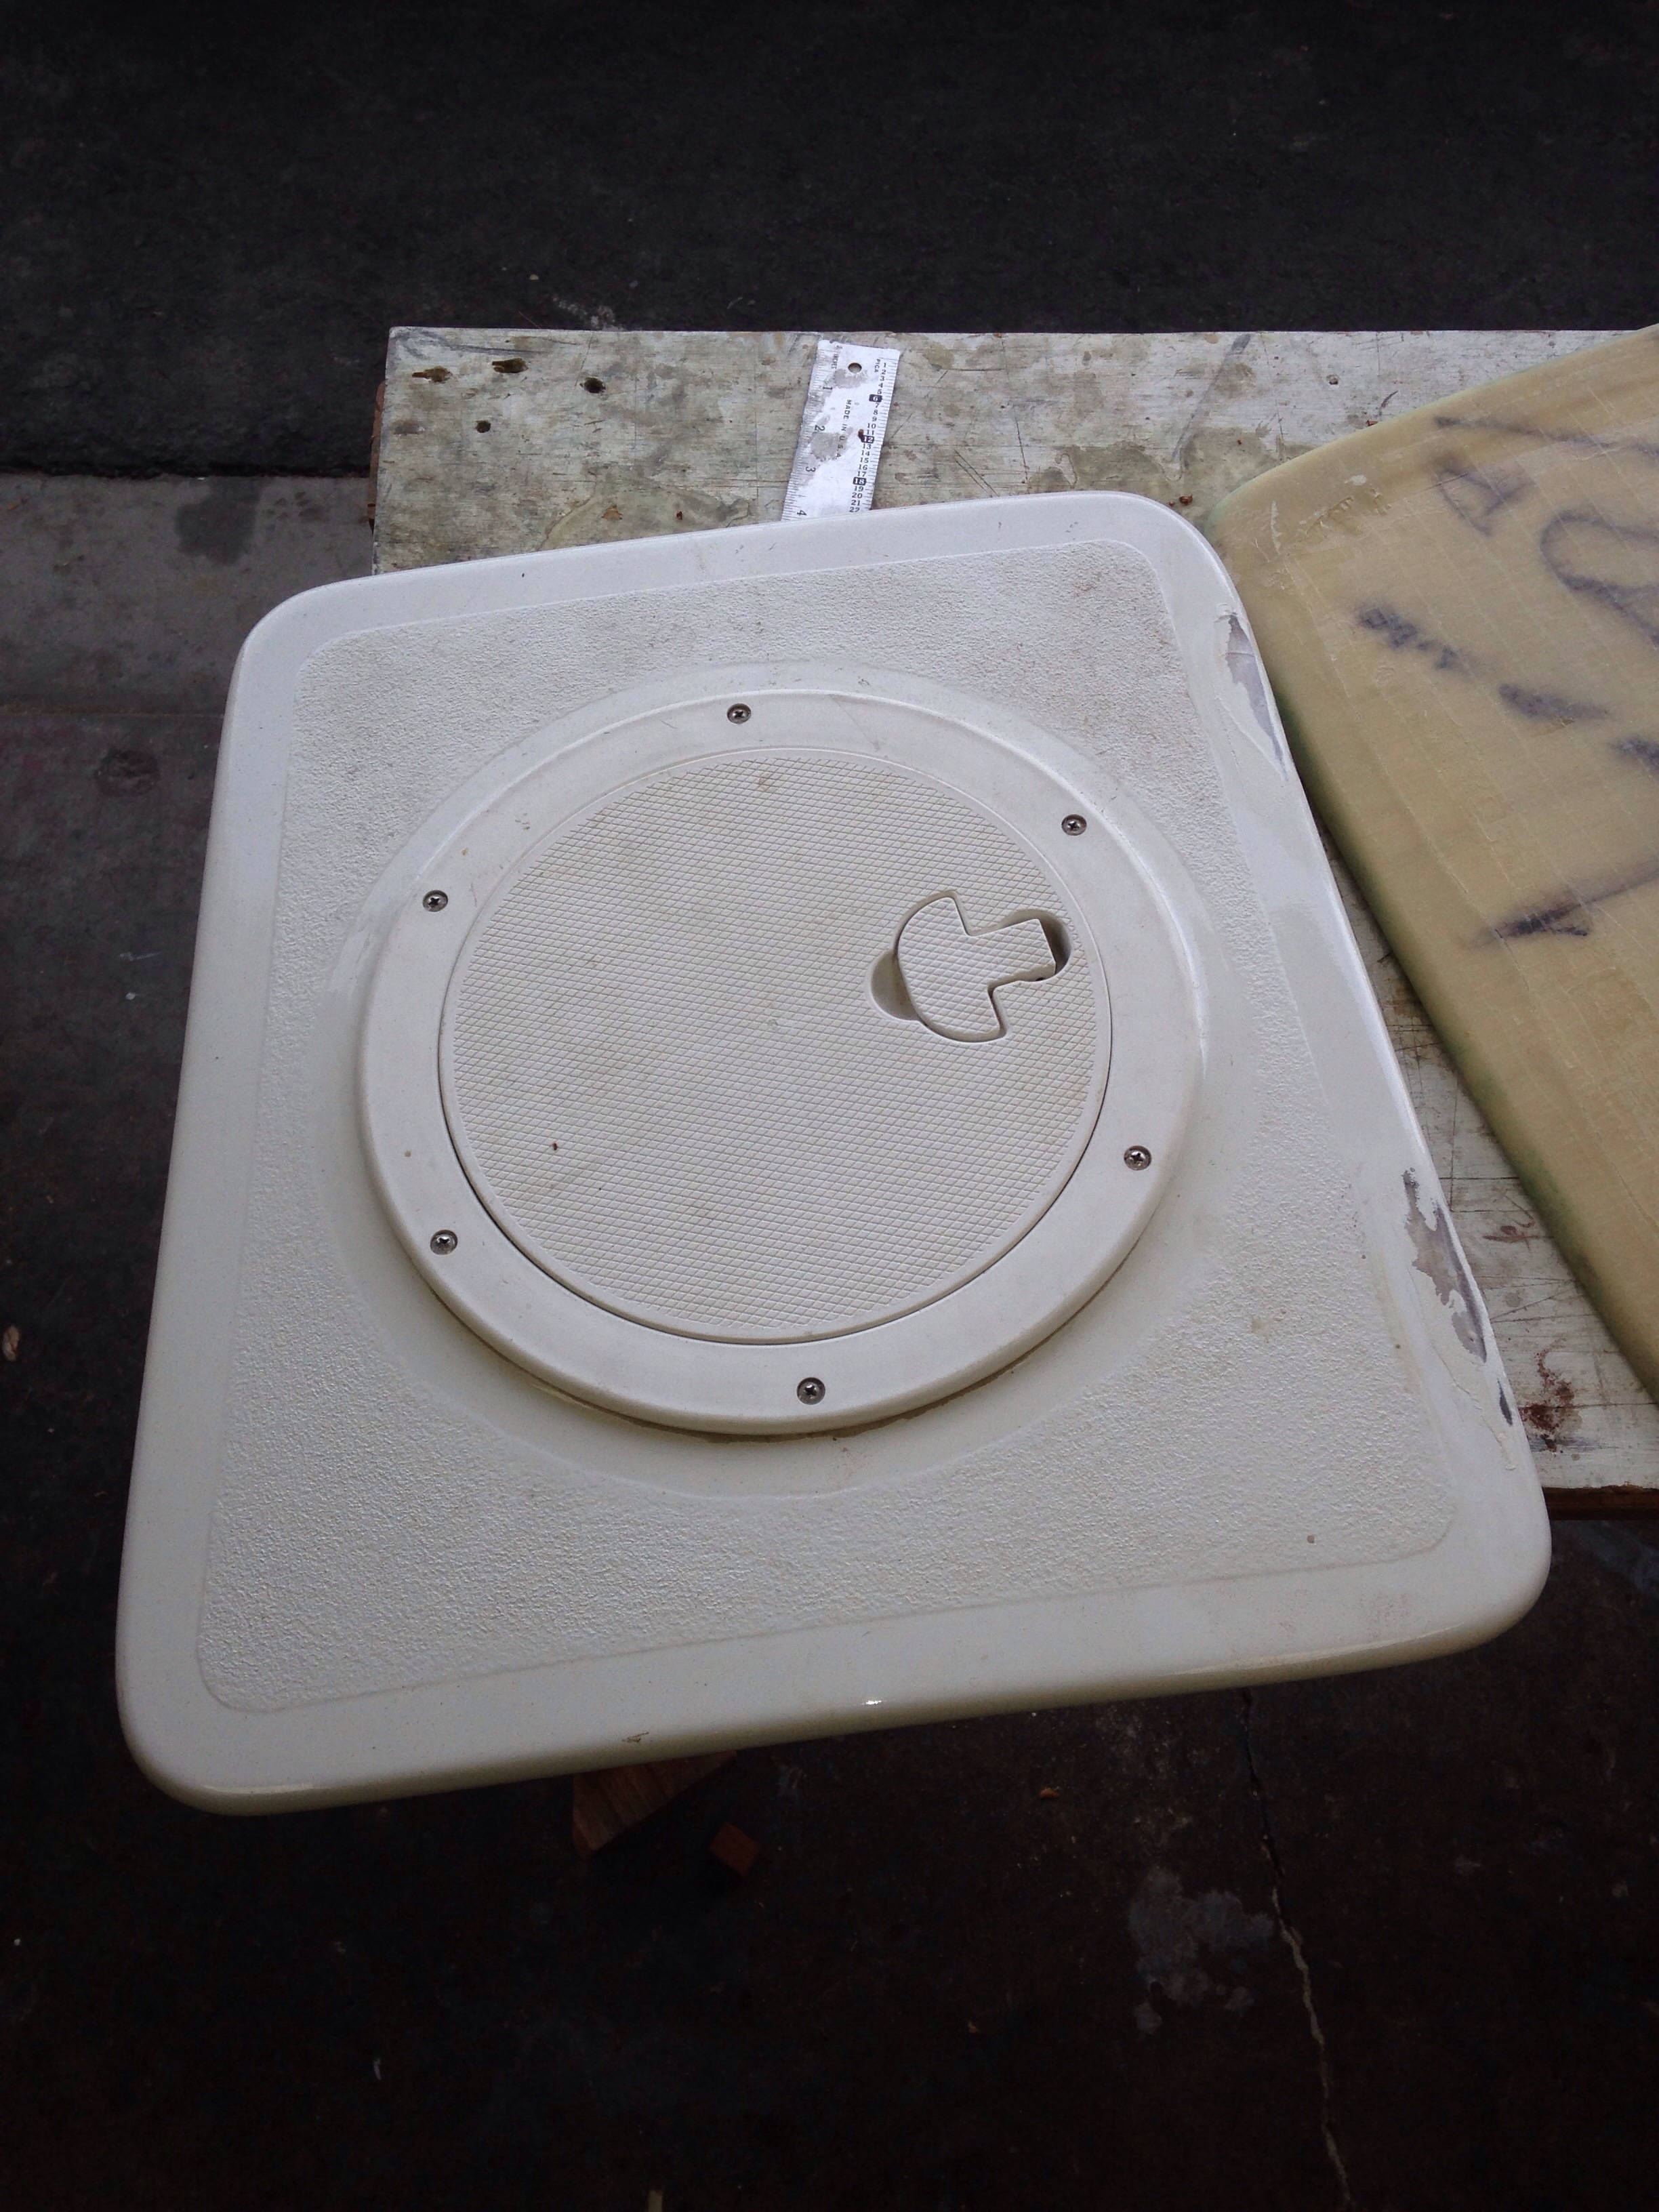
Next up was replacing a hatch on the port float bow (that unfortunately went missing when we moved the hulls 3 years ago). We took the inspection port off the starboard one and used it as a mold to get the curve right.

20150326-215537.jpg

20150326-215553.jpg
This will now sit idle until a new 10″ port shows up to match the existing one.

20150326-215752.jpg
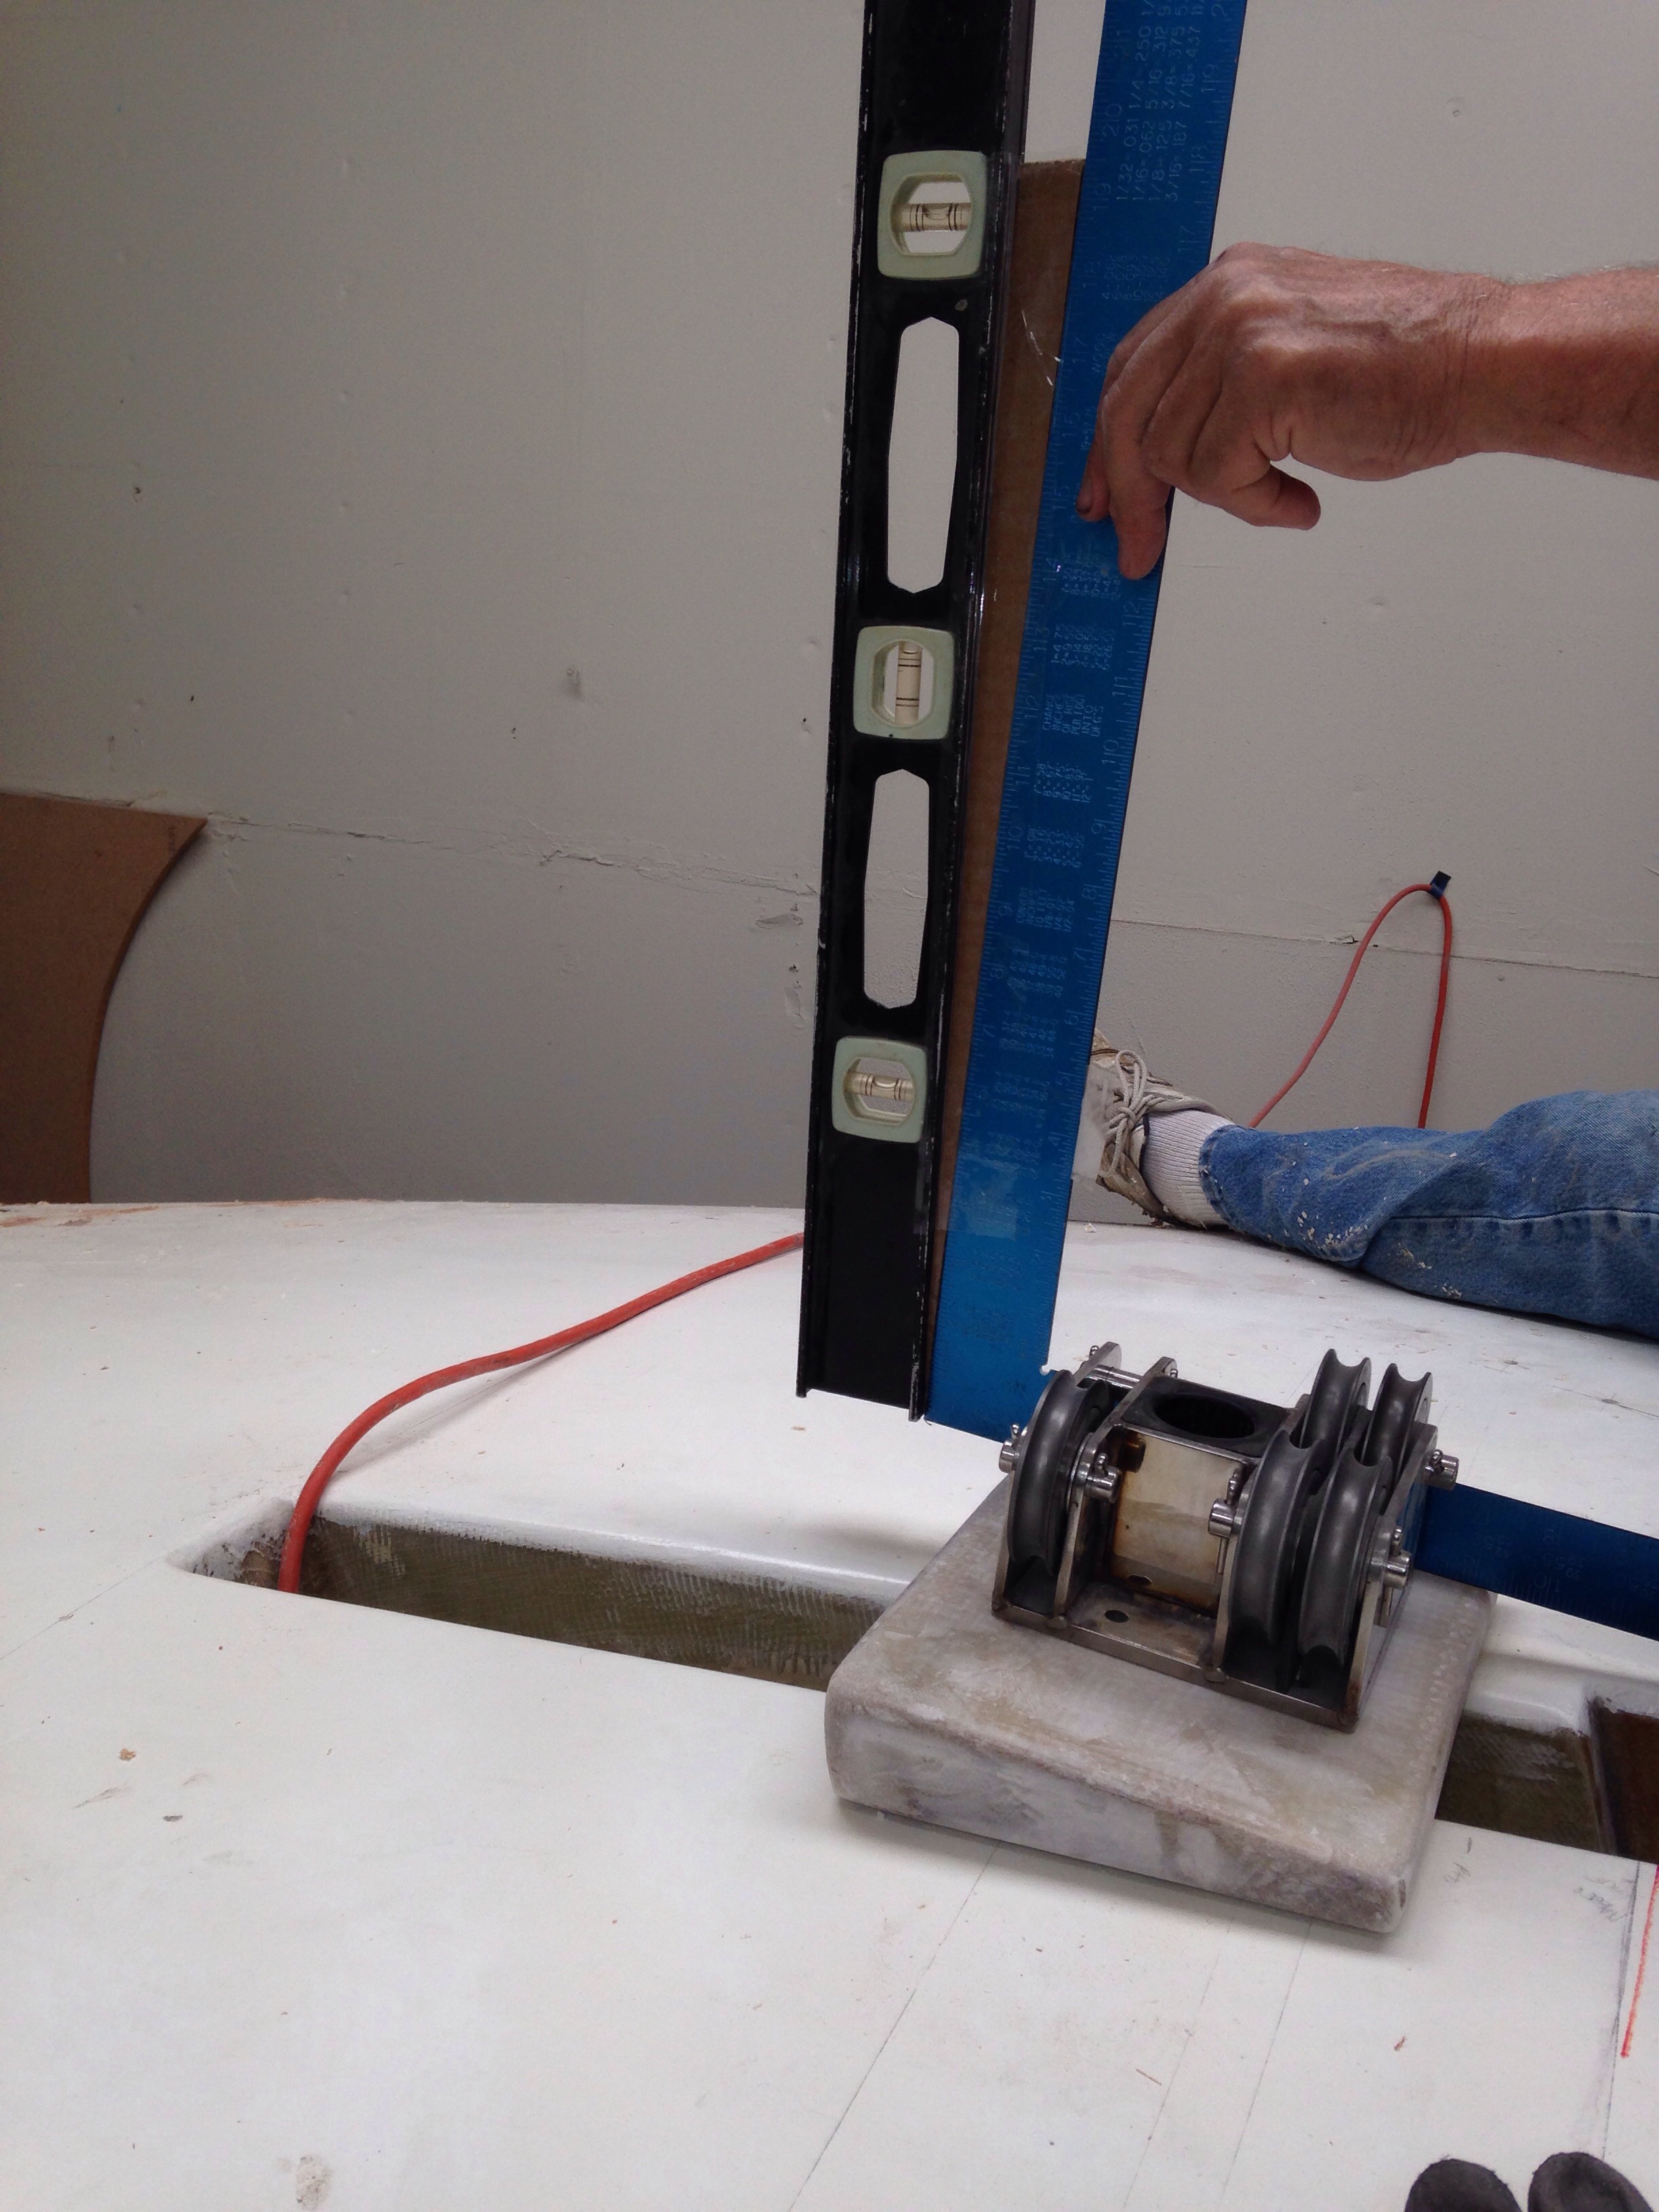
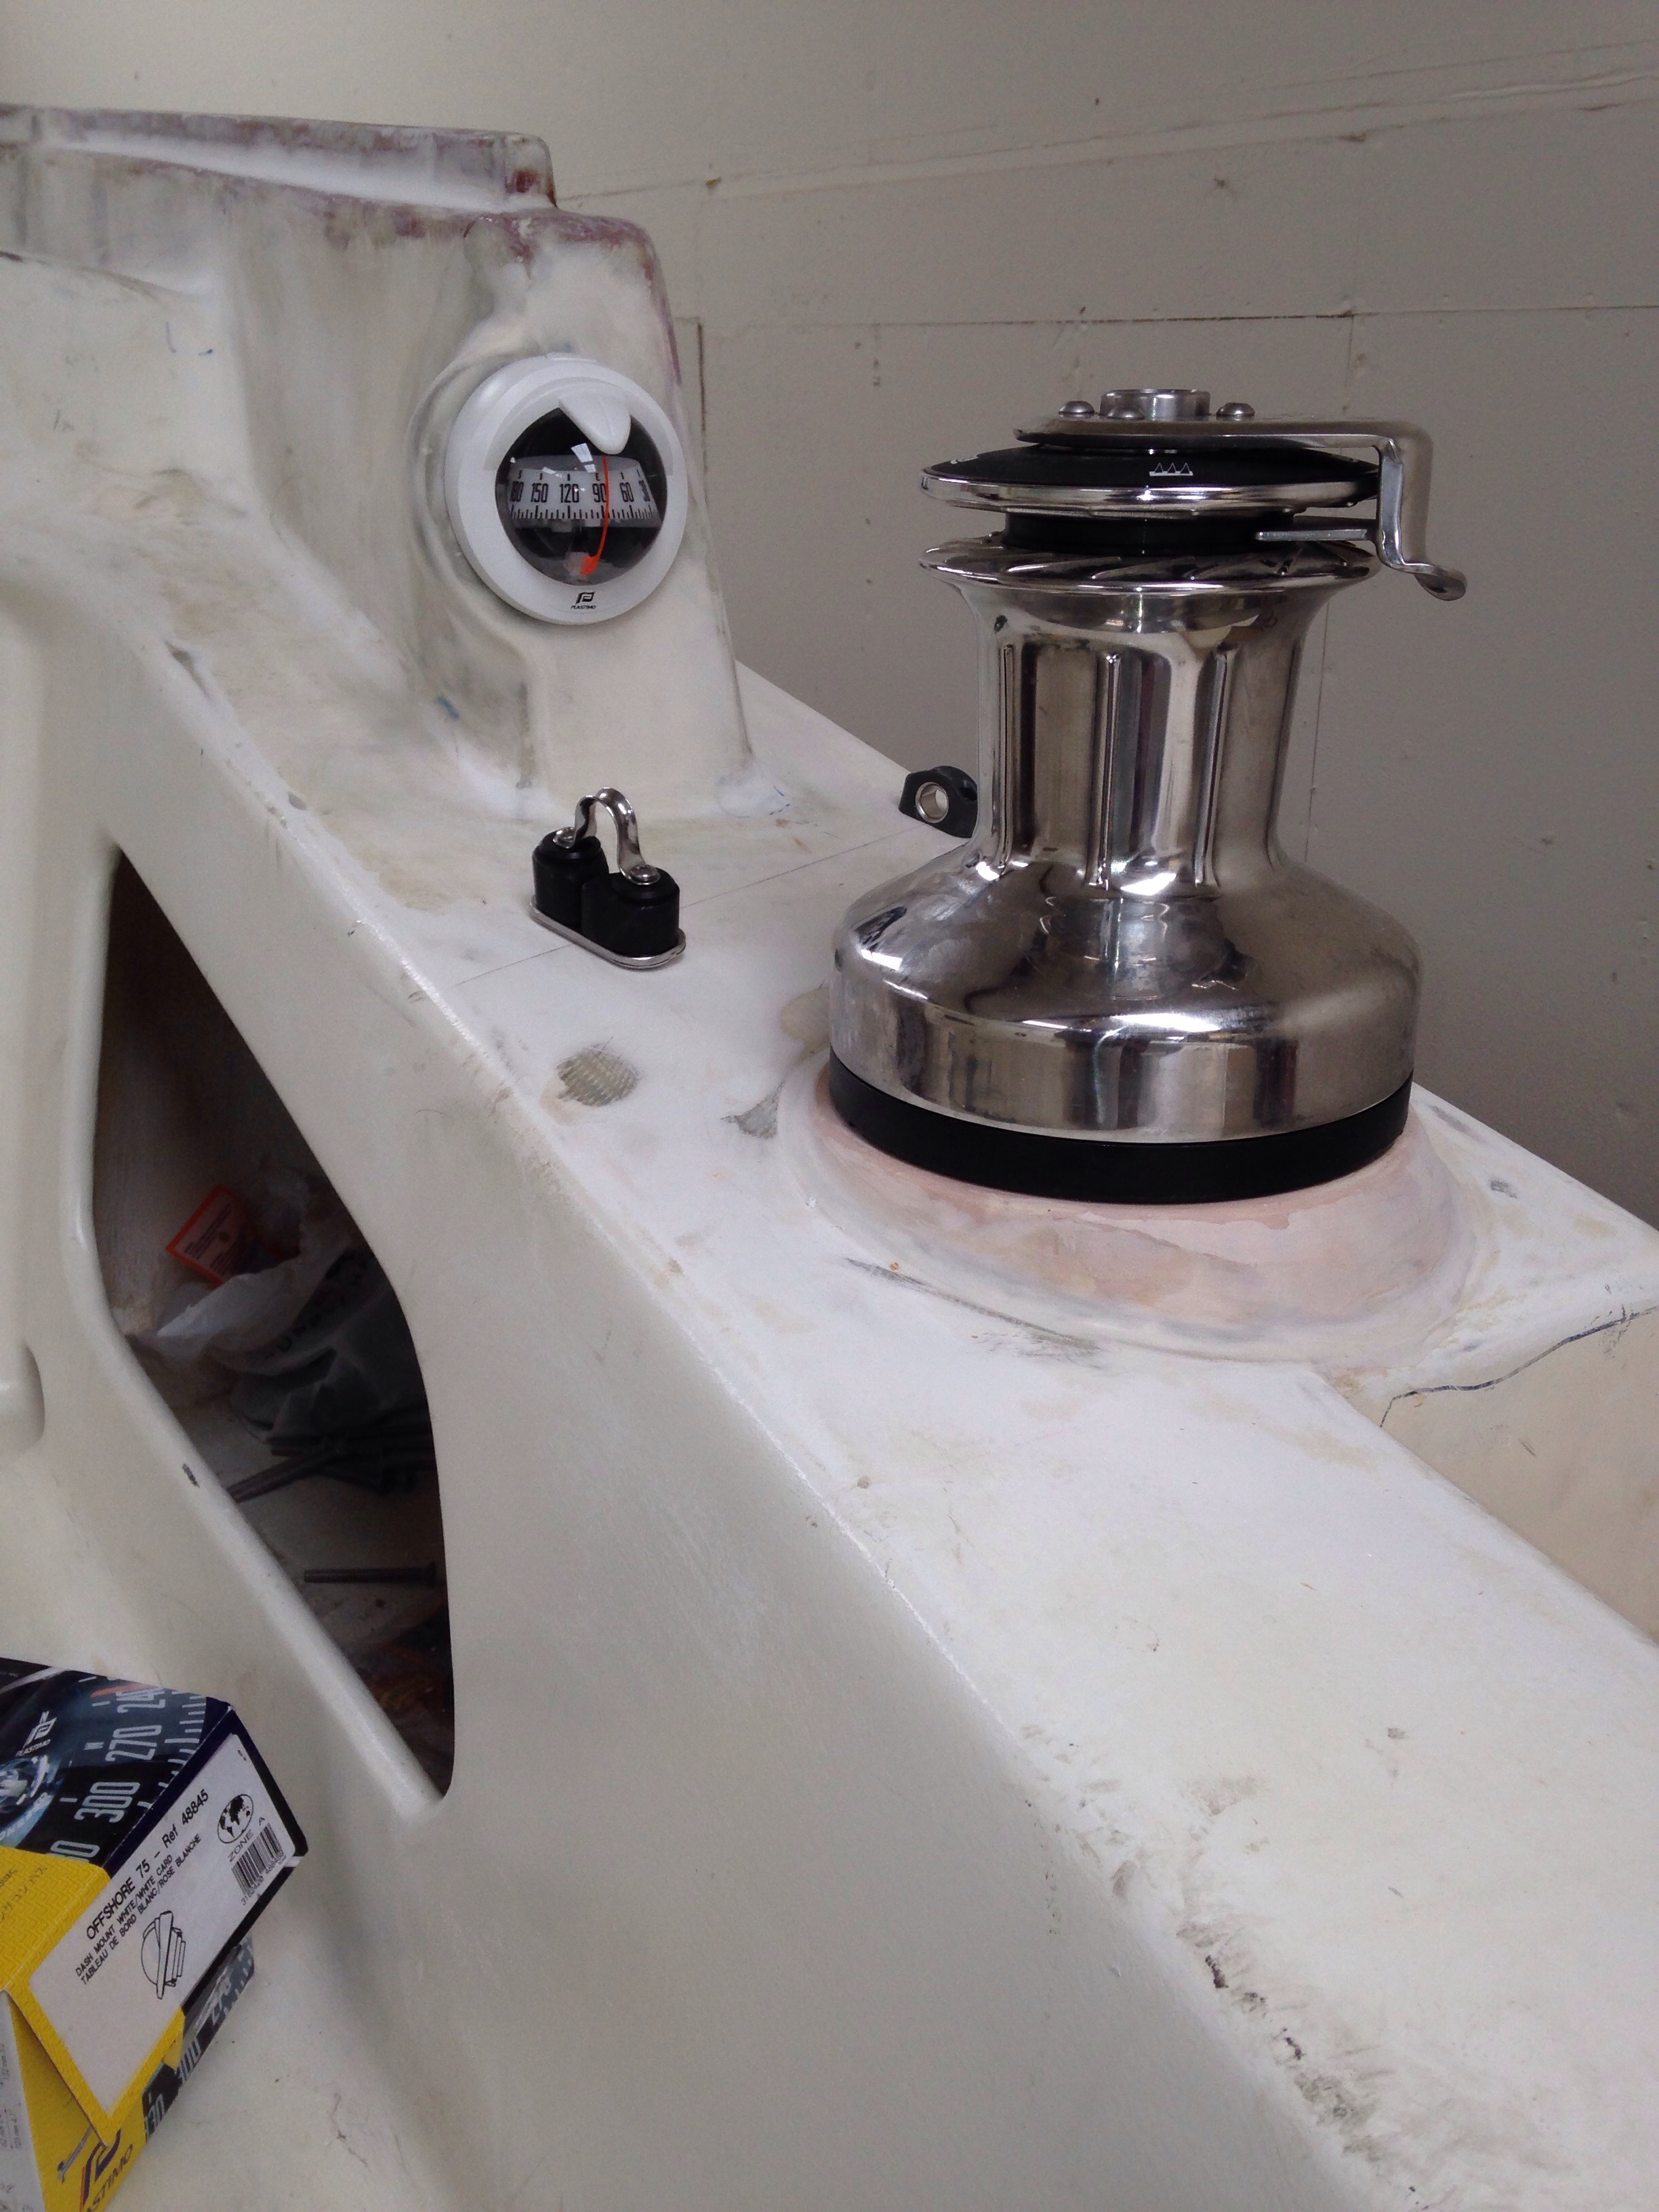
And up in the cockpit, we finished up more details. All six winches are now mounted; this mid-cockpit pair will handle the reacher and spinnaker sheets. The barber hauler controls are just ahead of the winch, and check out the new little pods for the compasses – there’s a duplicate of this over on the port side. Seems like a good spot, up and out of the way of seated crew / guests, and right in the sight lines of the driver from either down in the cockpit or out on the beams and/or nets.

20150326-220552.jpg
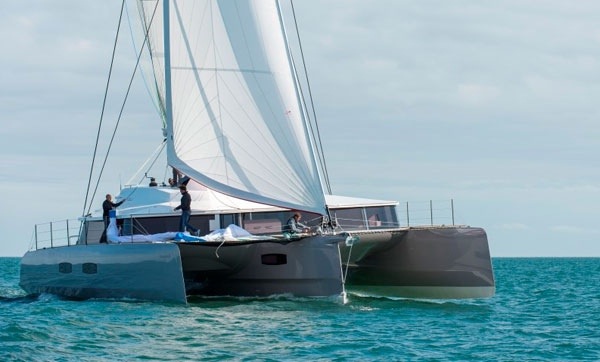
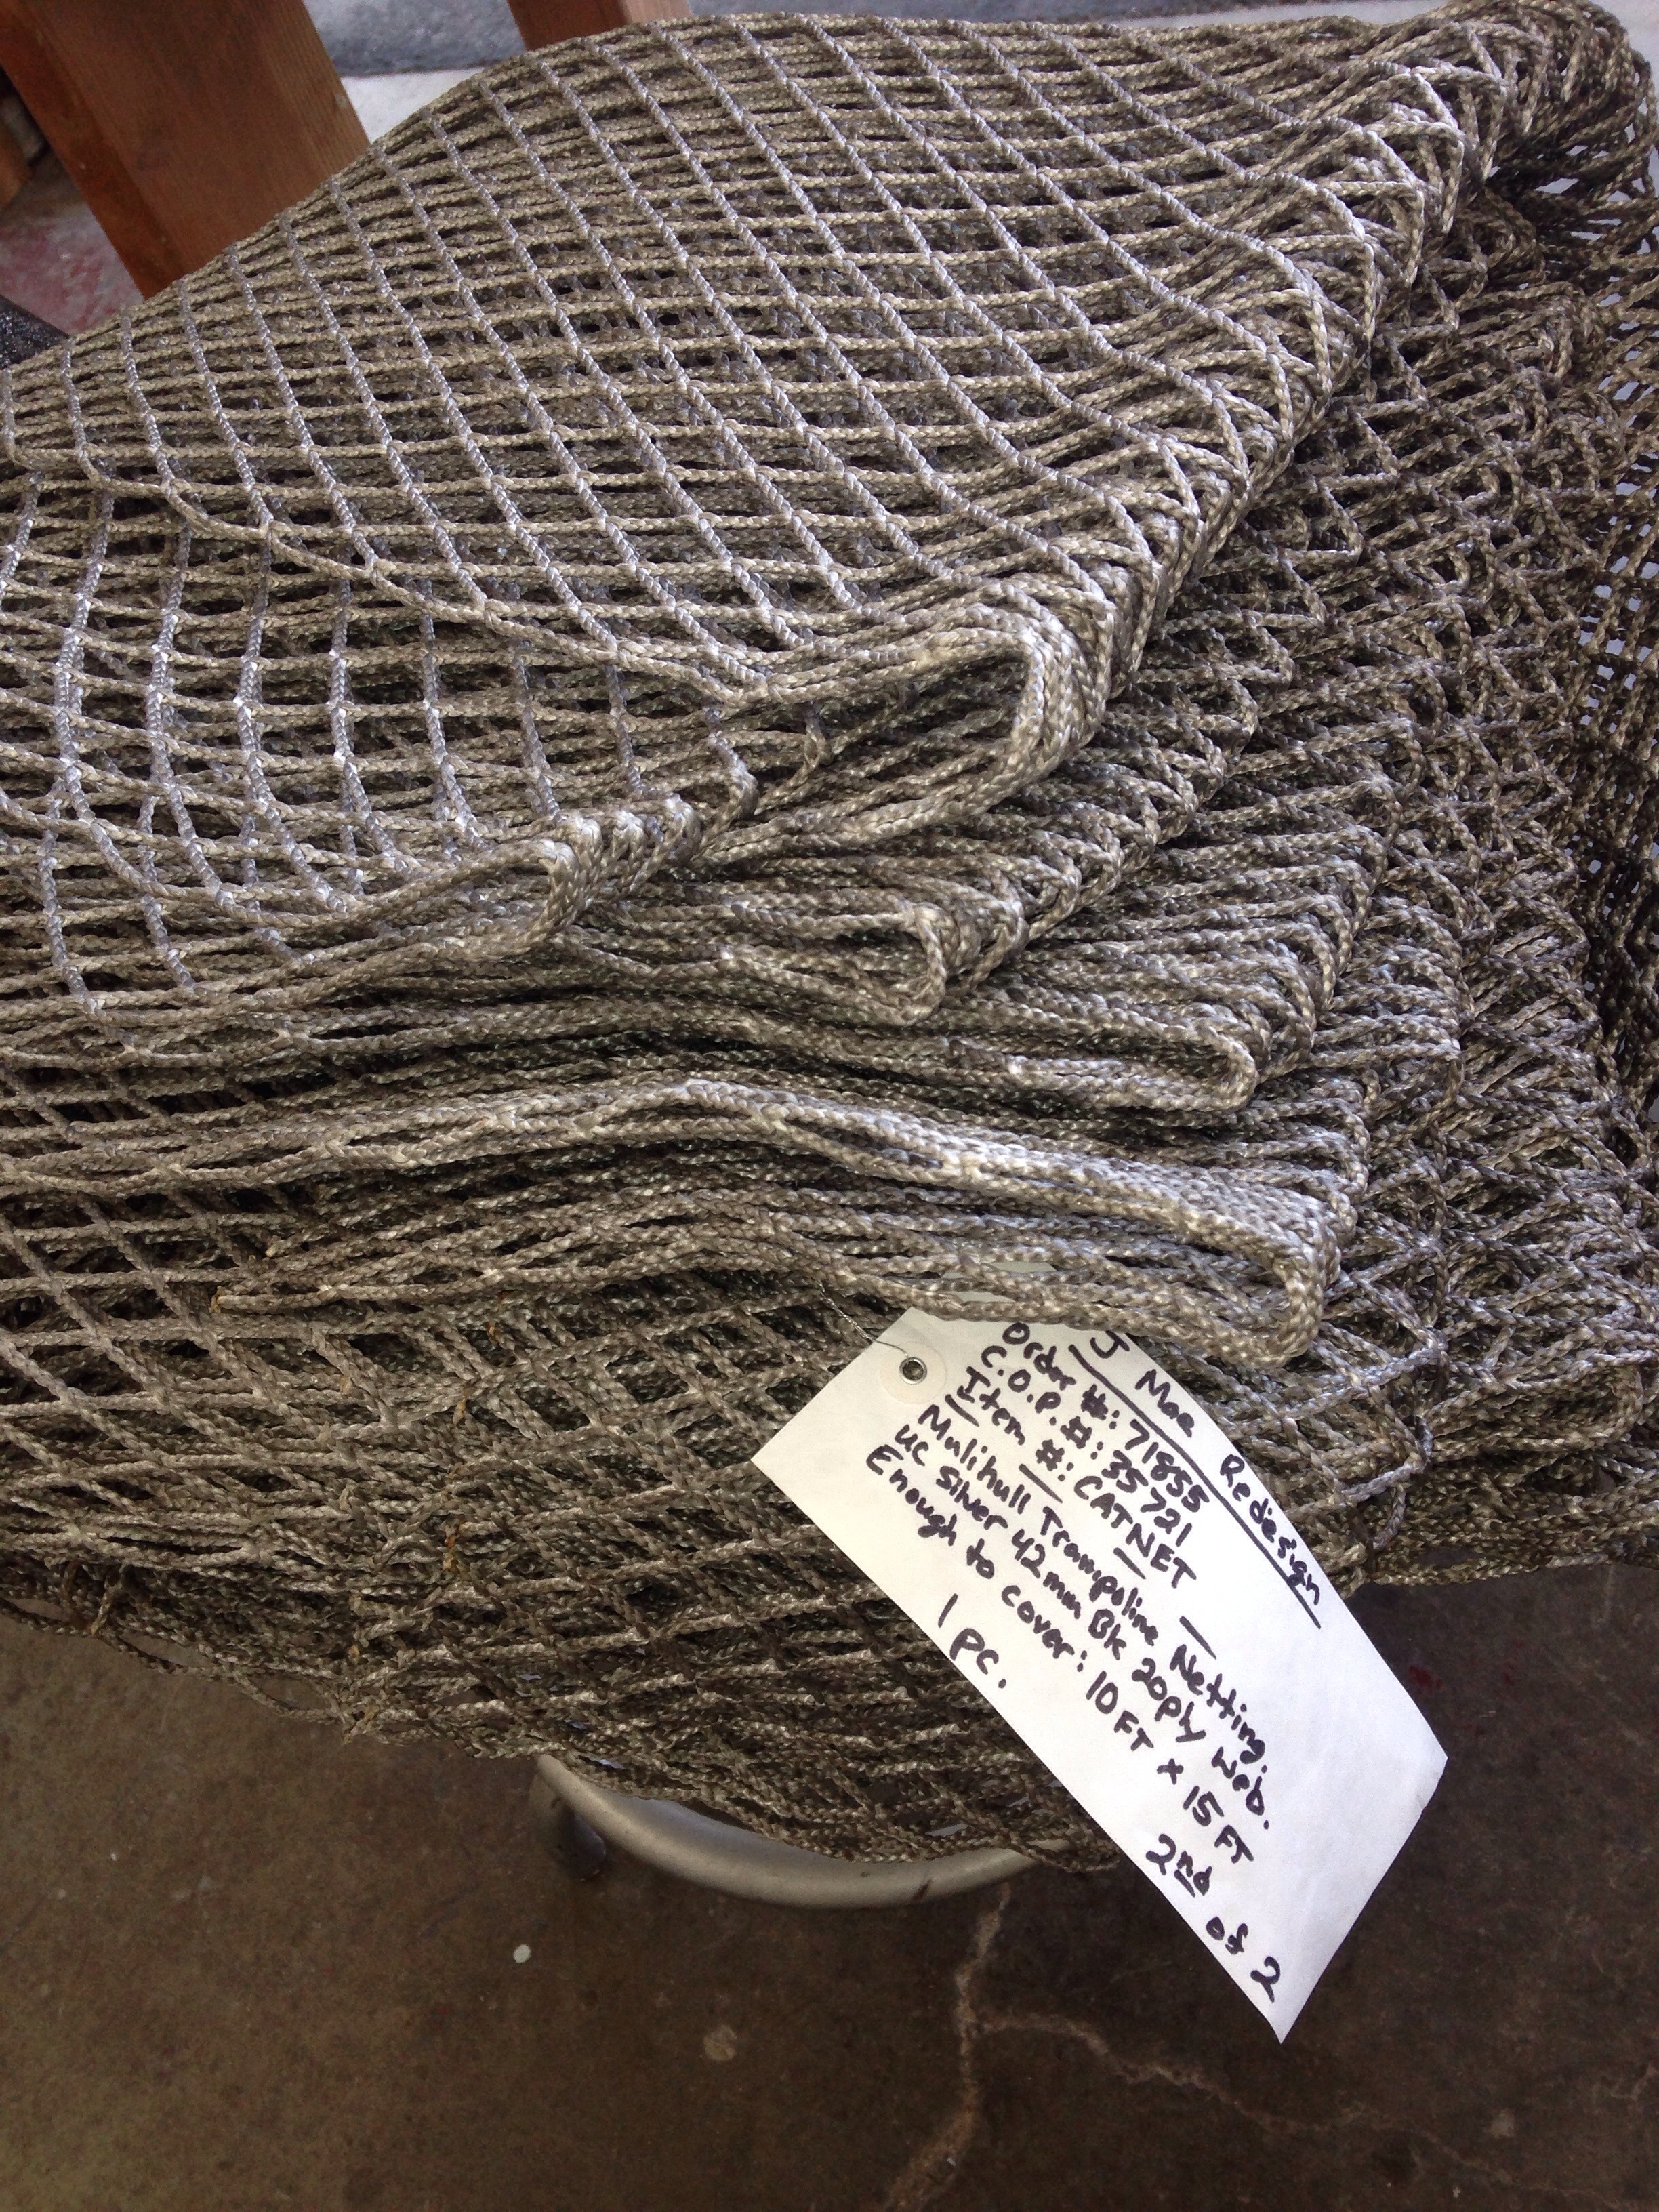
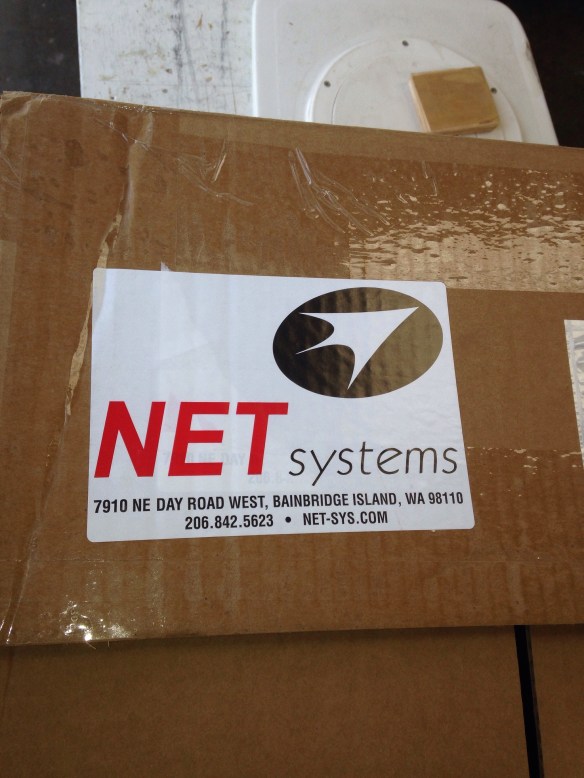
Speaking of the nets – they’re here! Recall last fall we saw F22 Dart’s at the first launch, and we followed up in purchasing 30lbs of Dyneema mesh. Yes, these are fishing supply people that sell it by the pound. This same stuff was on the America’s Cup boats last year, and doing it this way is costing about 1/3 or ordering complete trampolines from known suppliers in FL, etc.

20150326-221026.jpg

20150326-221047.jpg

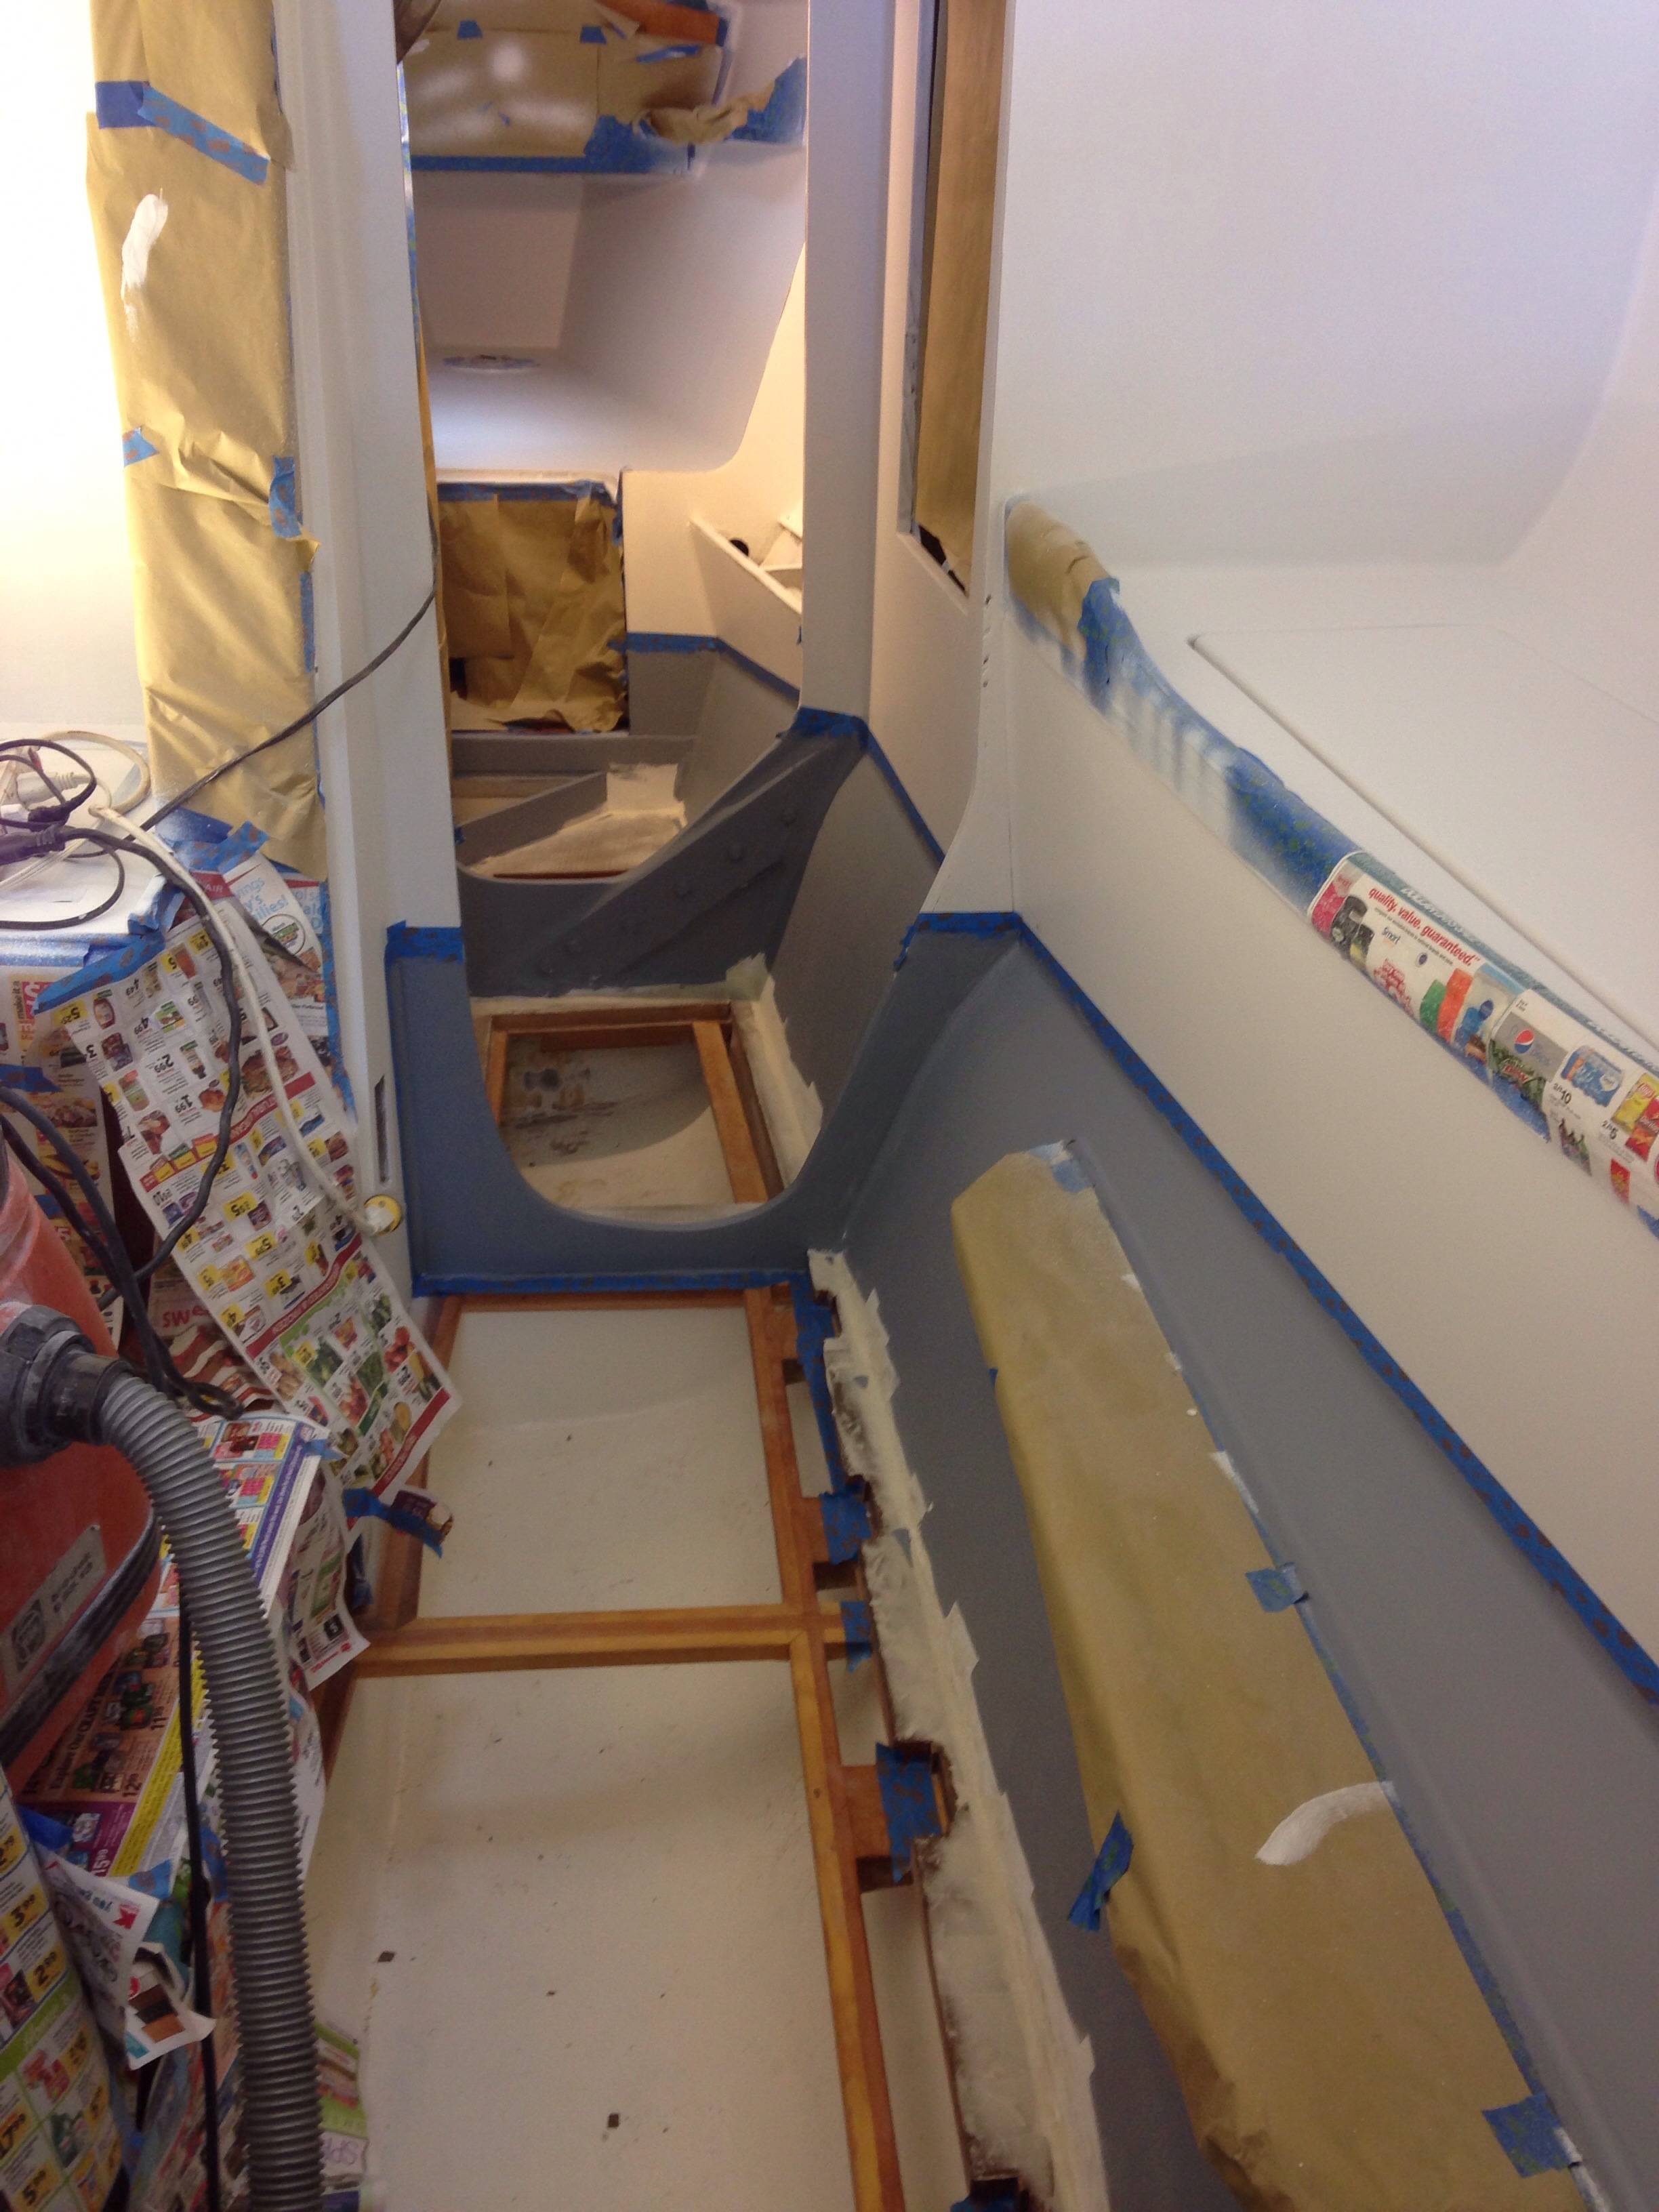
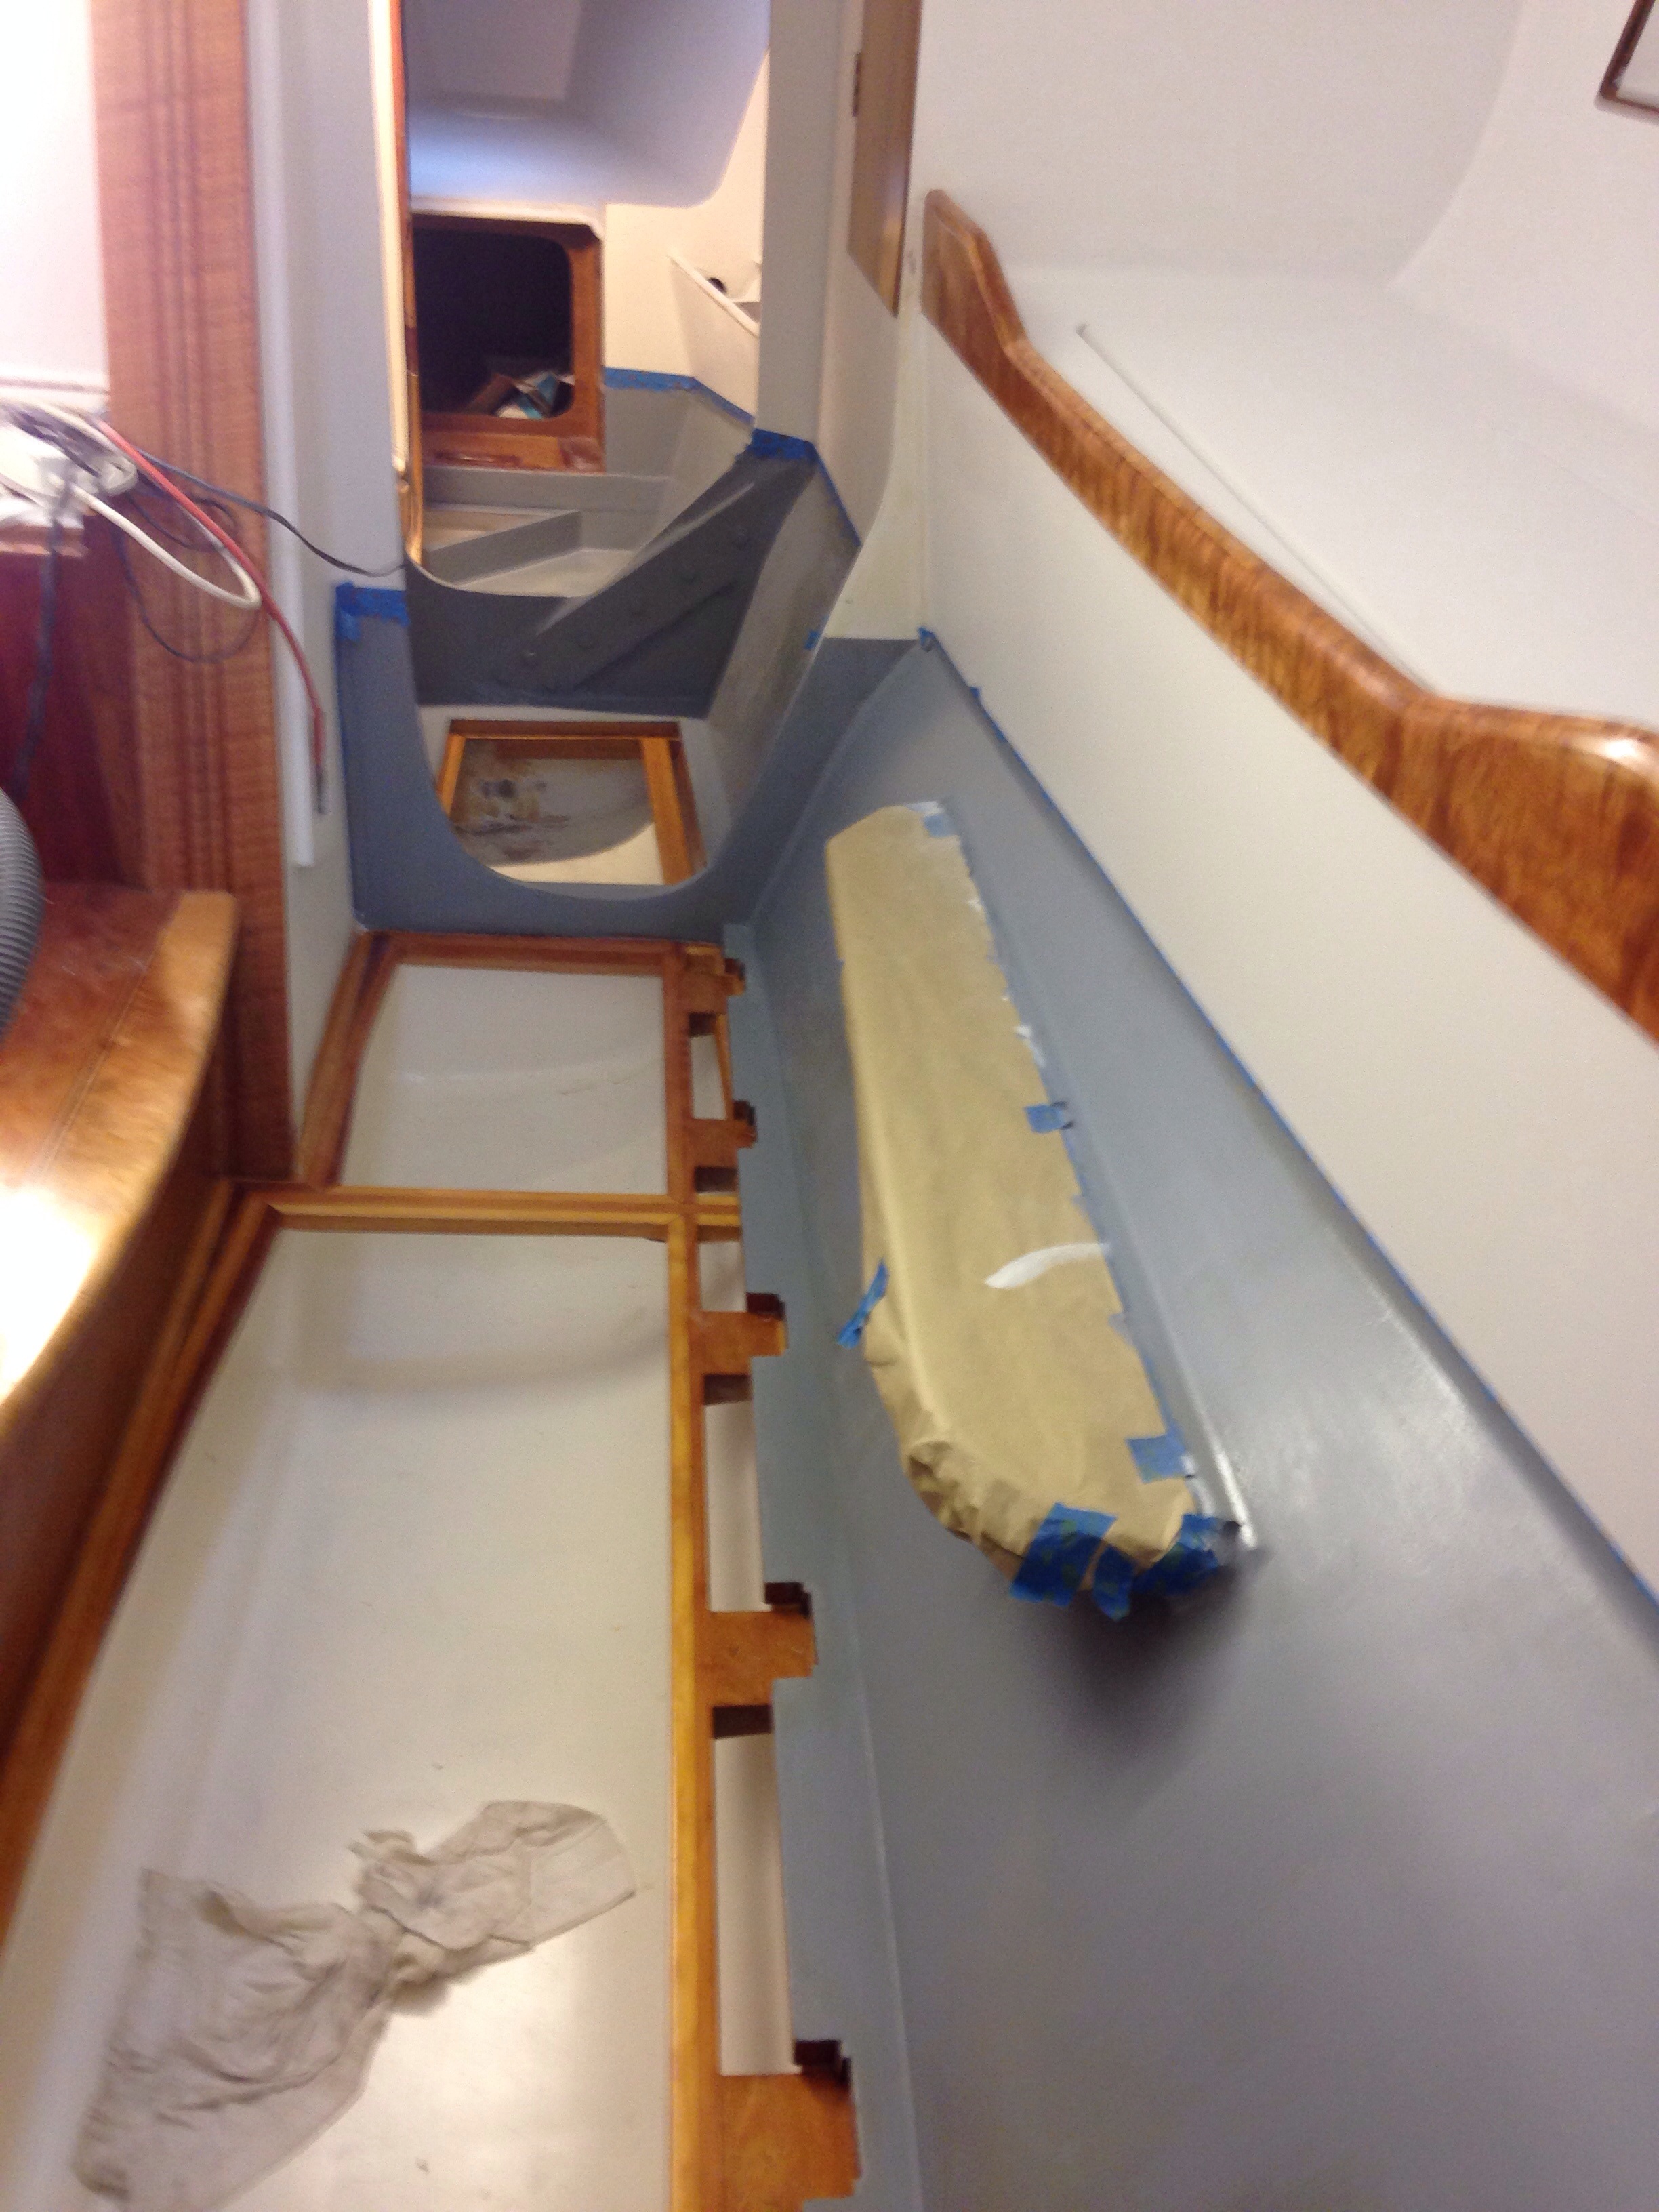
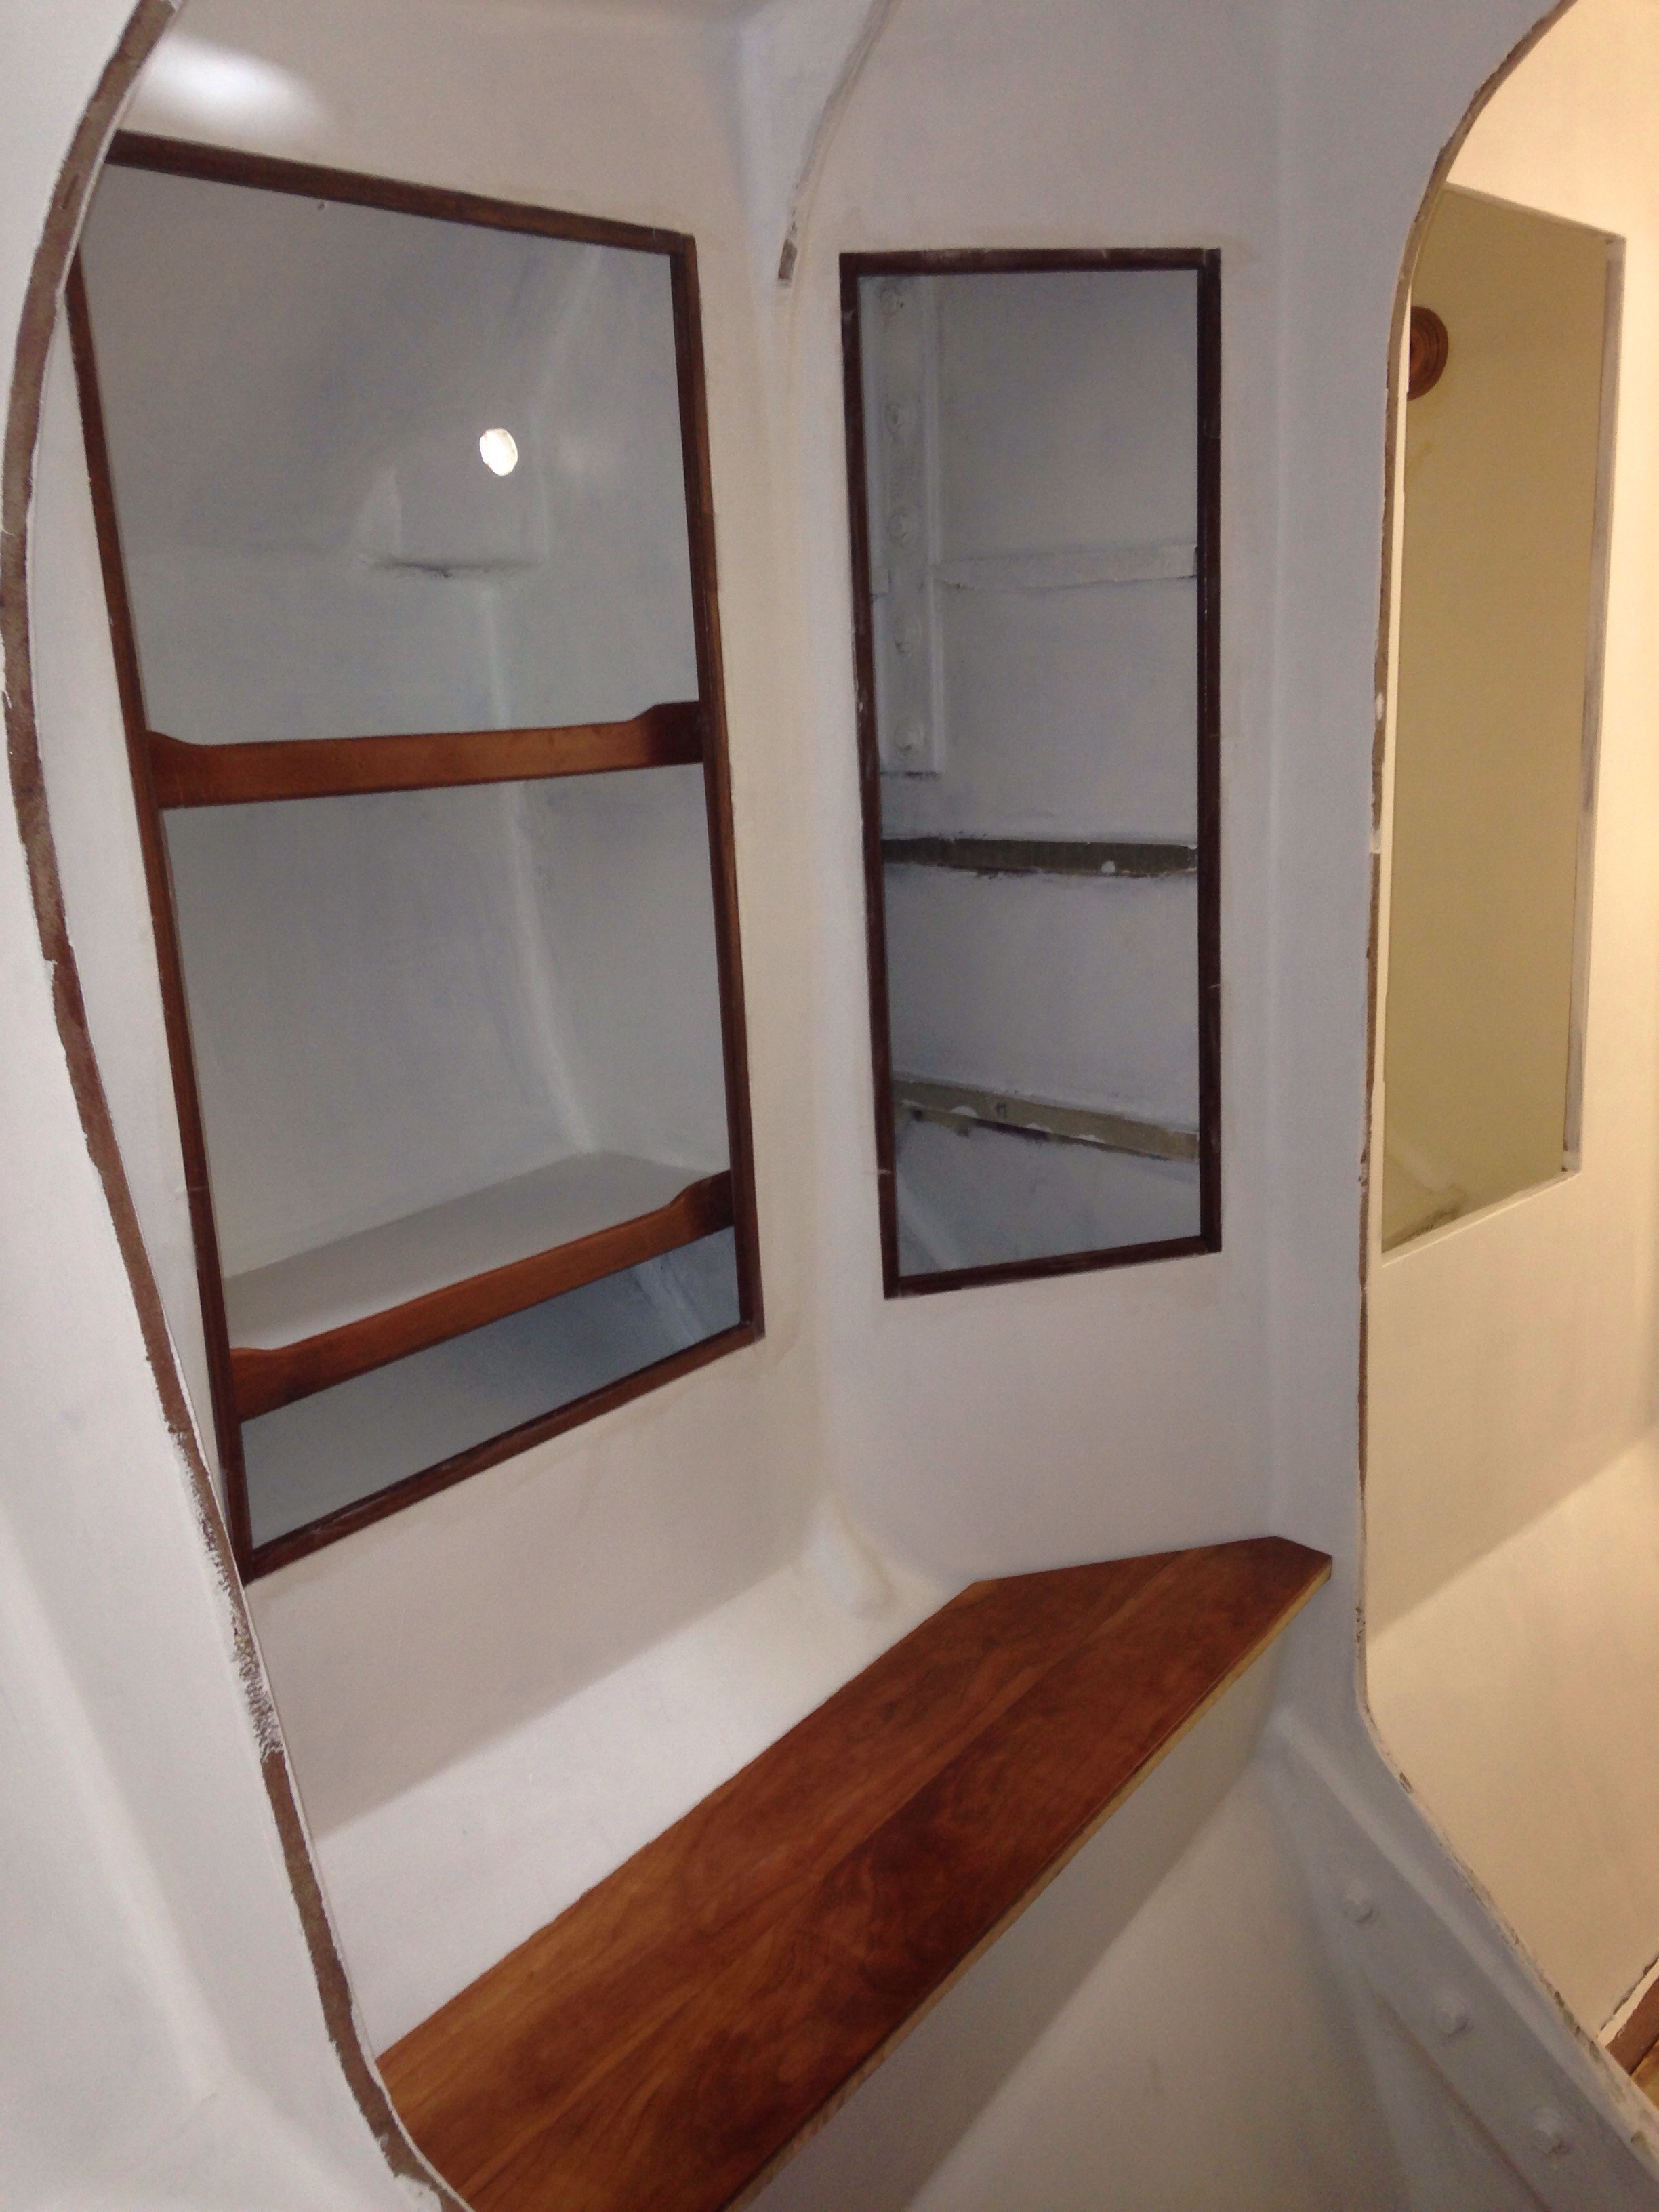
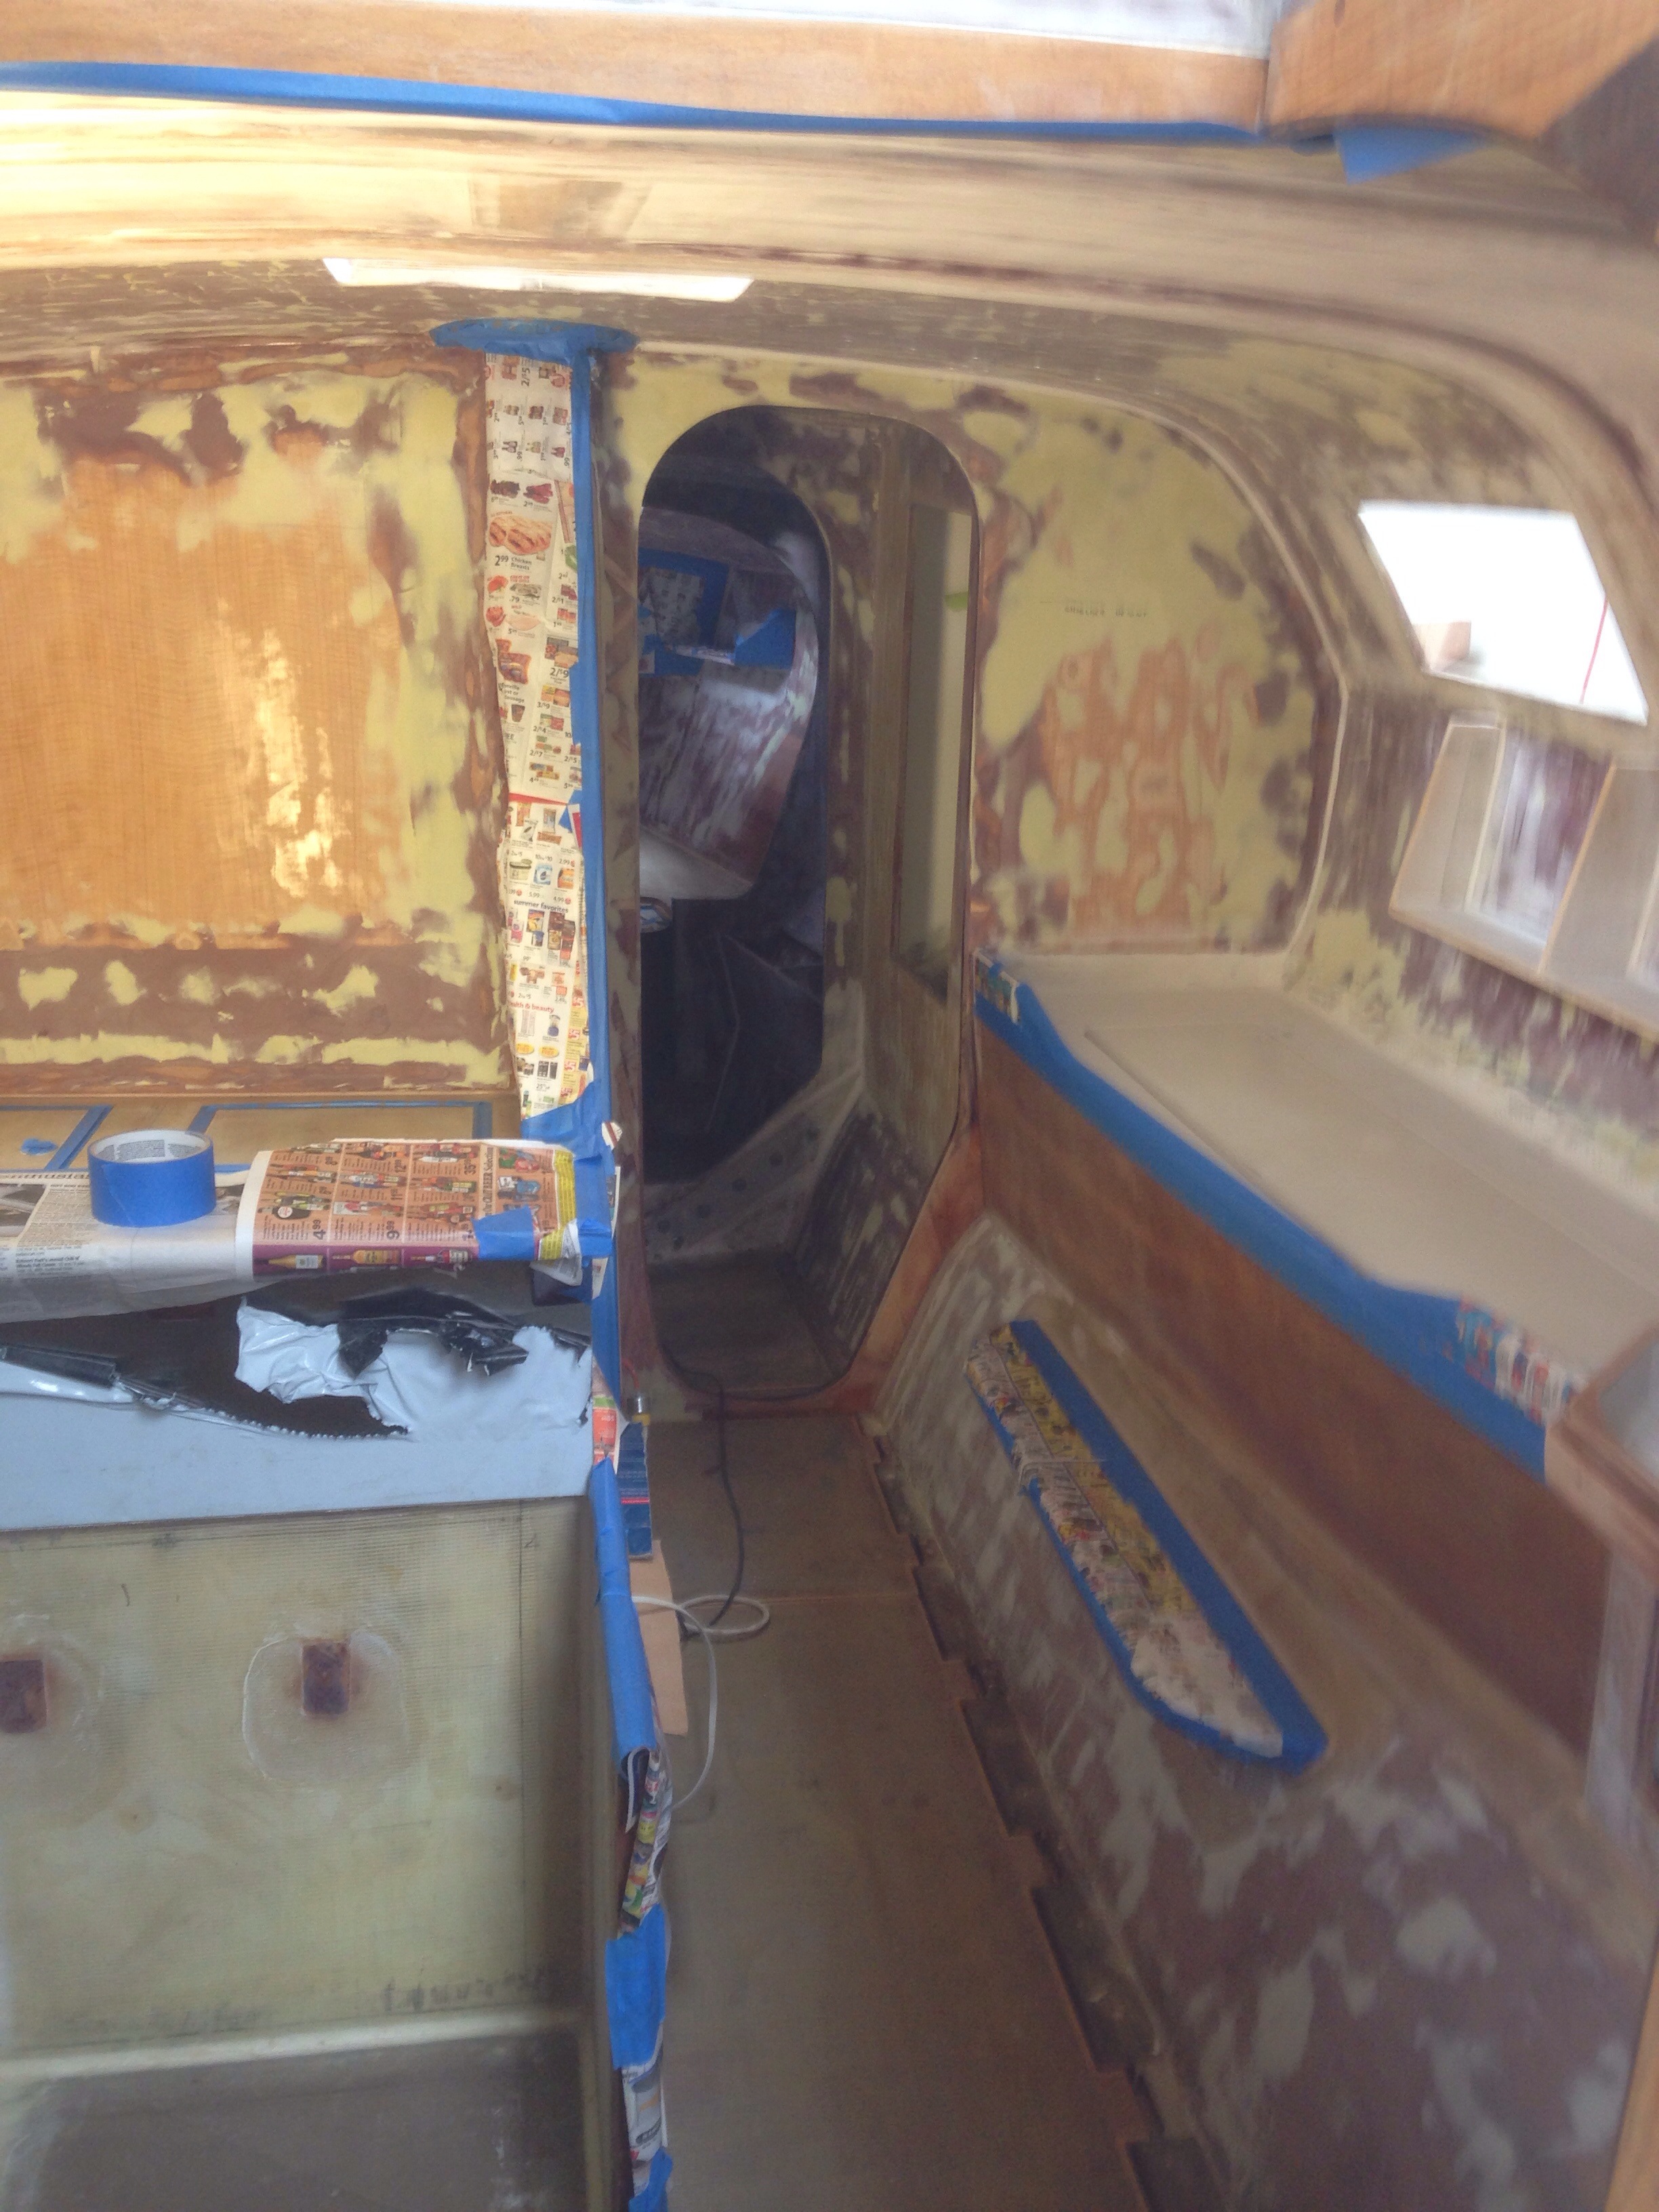
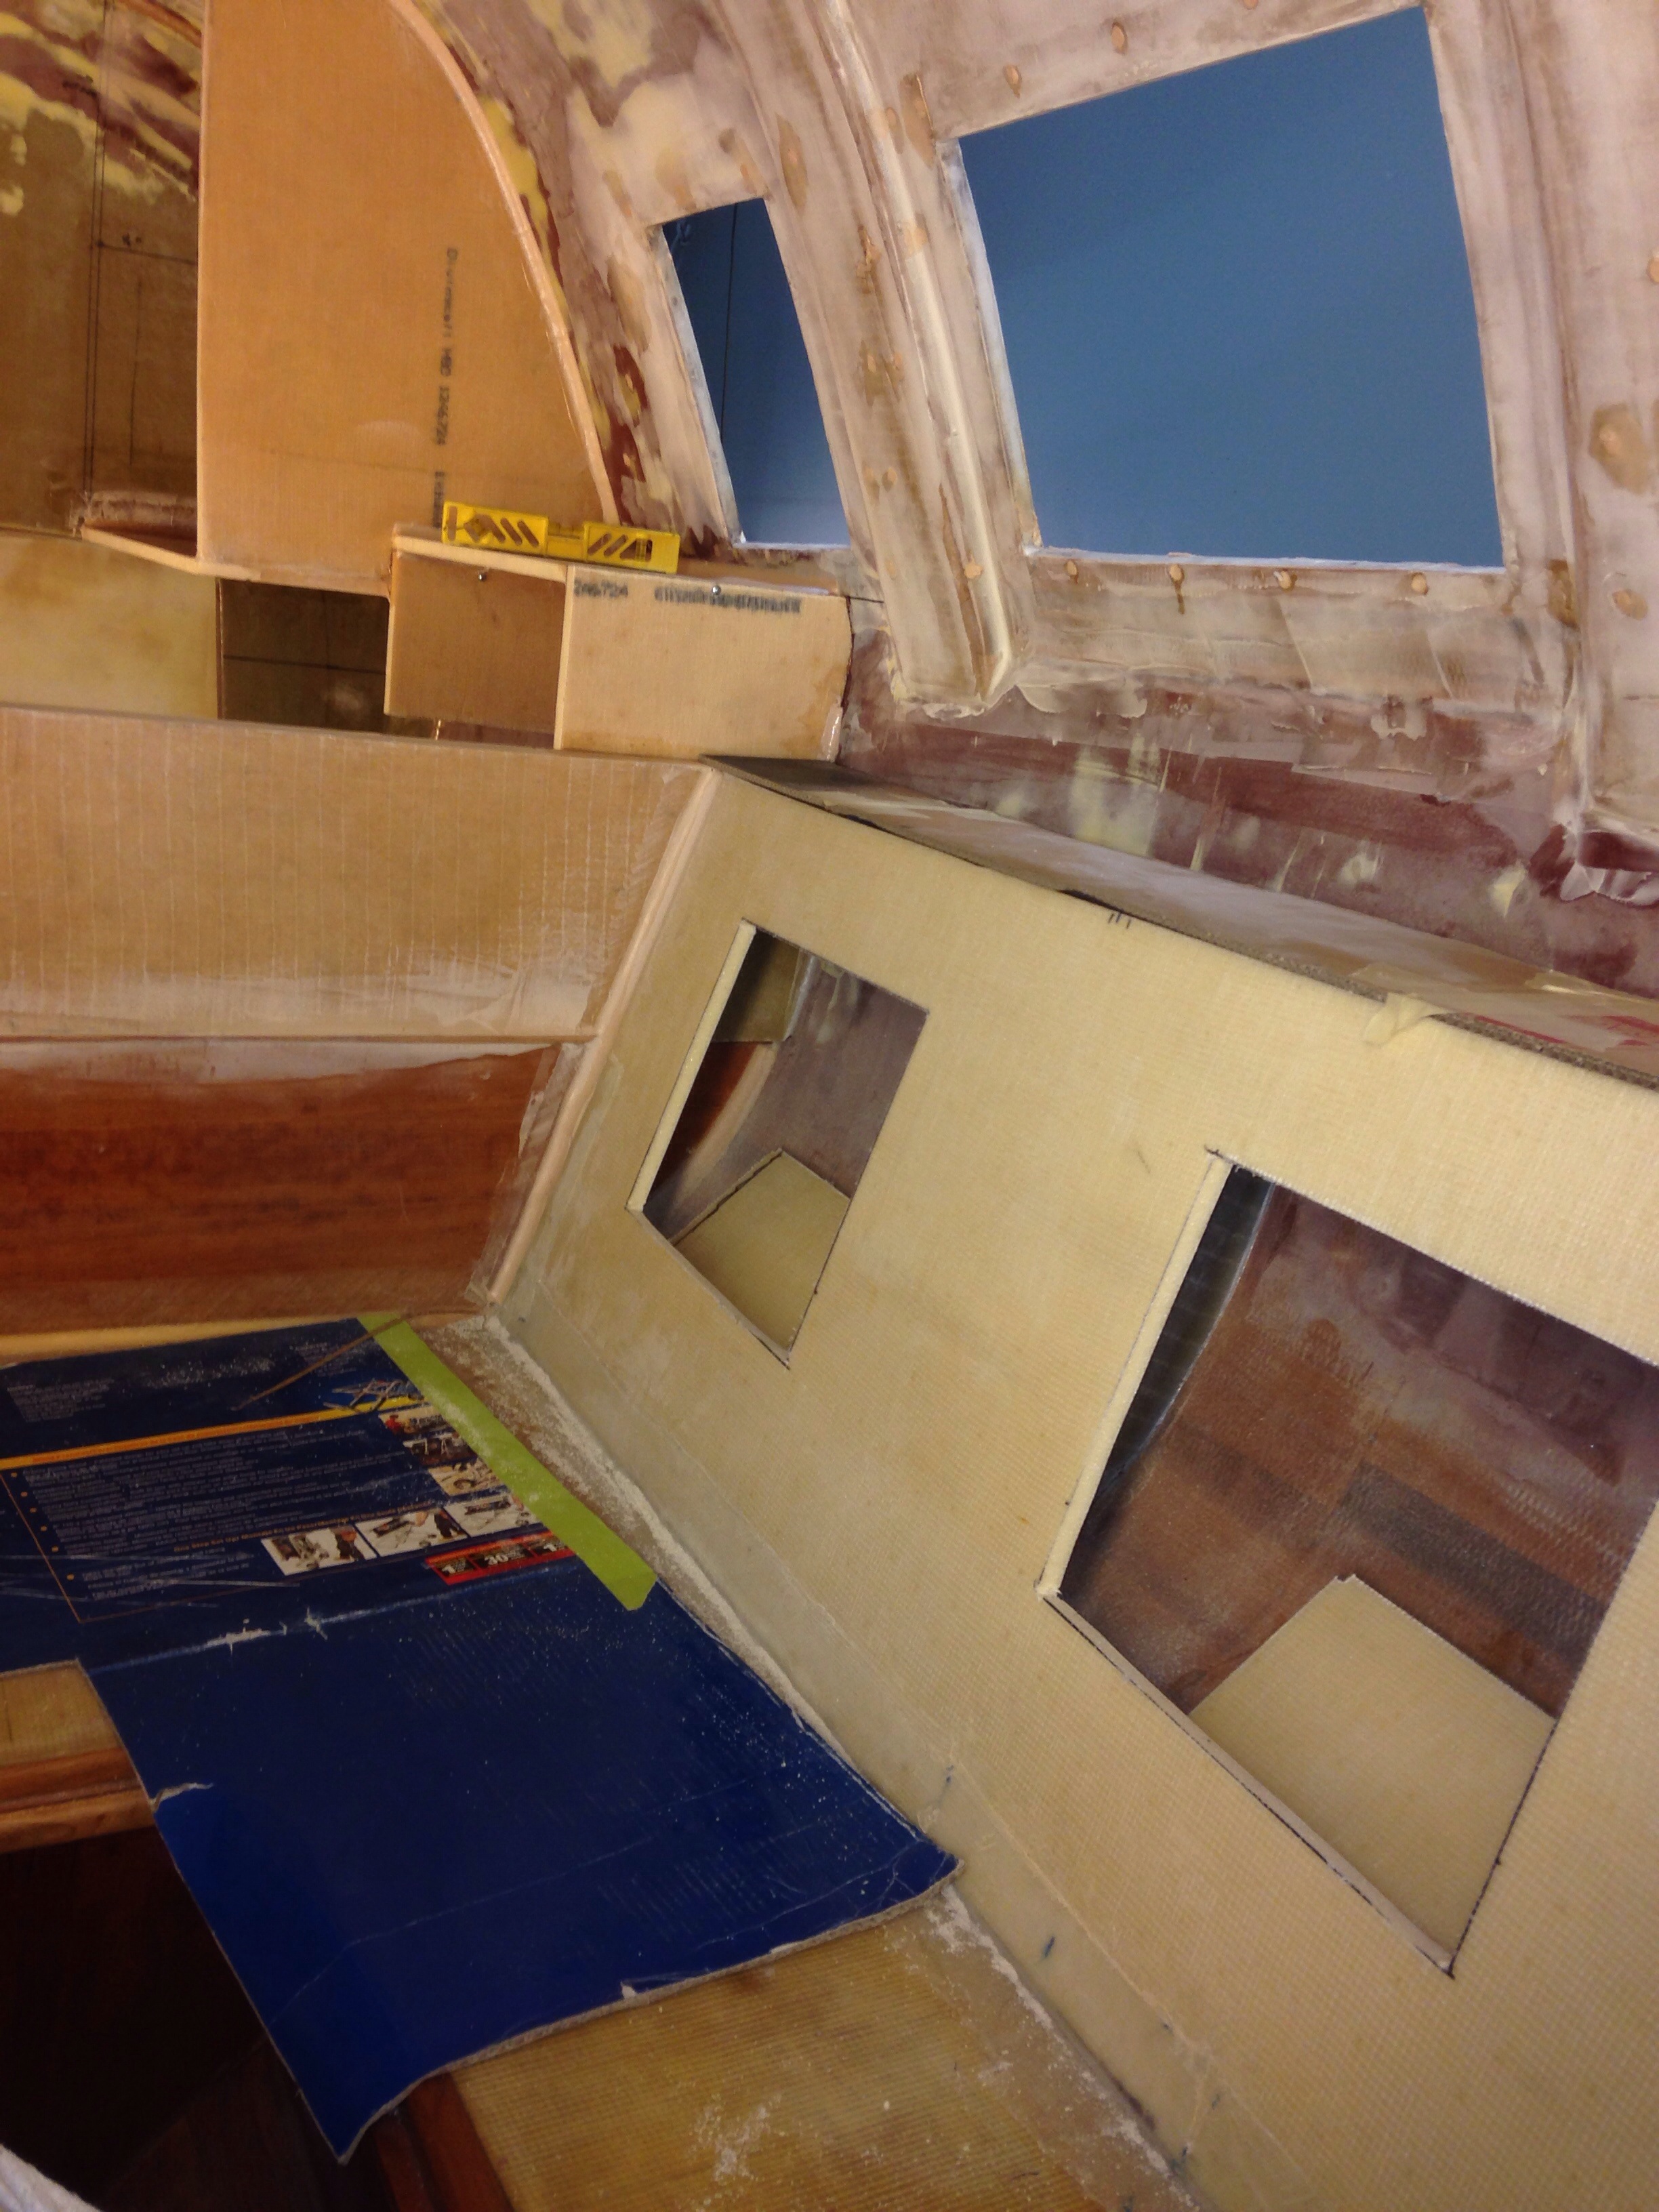
Work this week in the main cabin shows progress quickly because each task is smaller. We’ve figured out a BlueSea 12volt electric distribution system, and the complete panel will live here above the radios and chart table.

20150326-221344.jpg

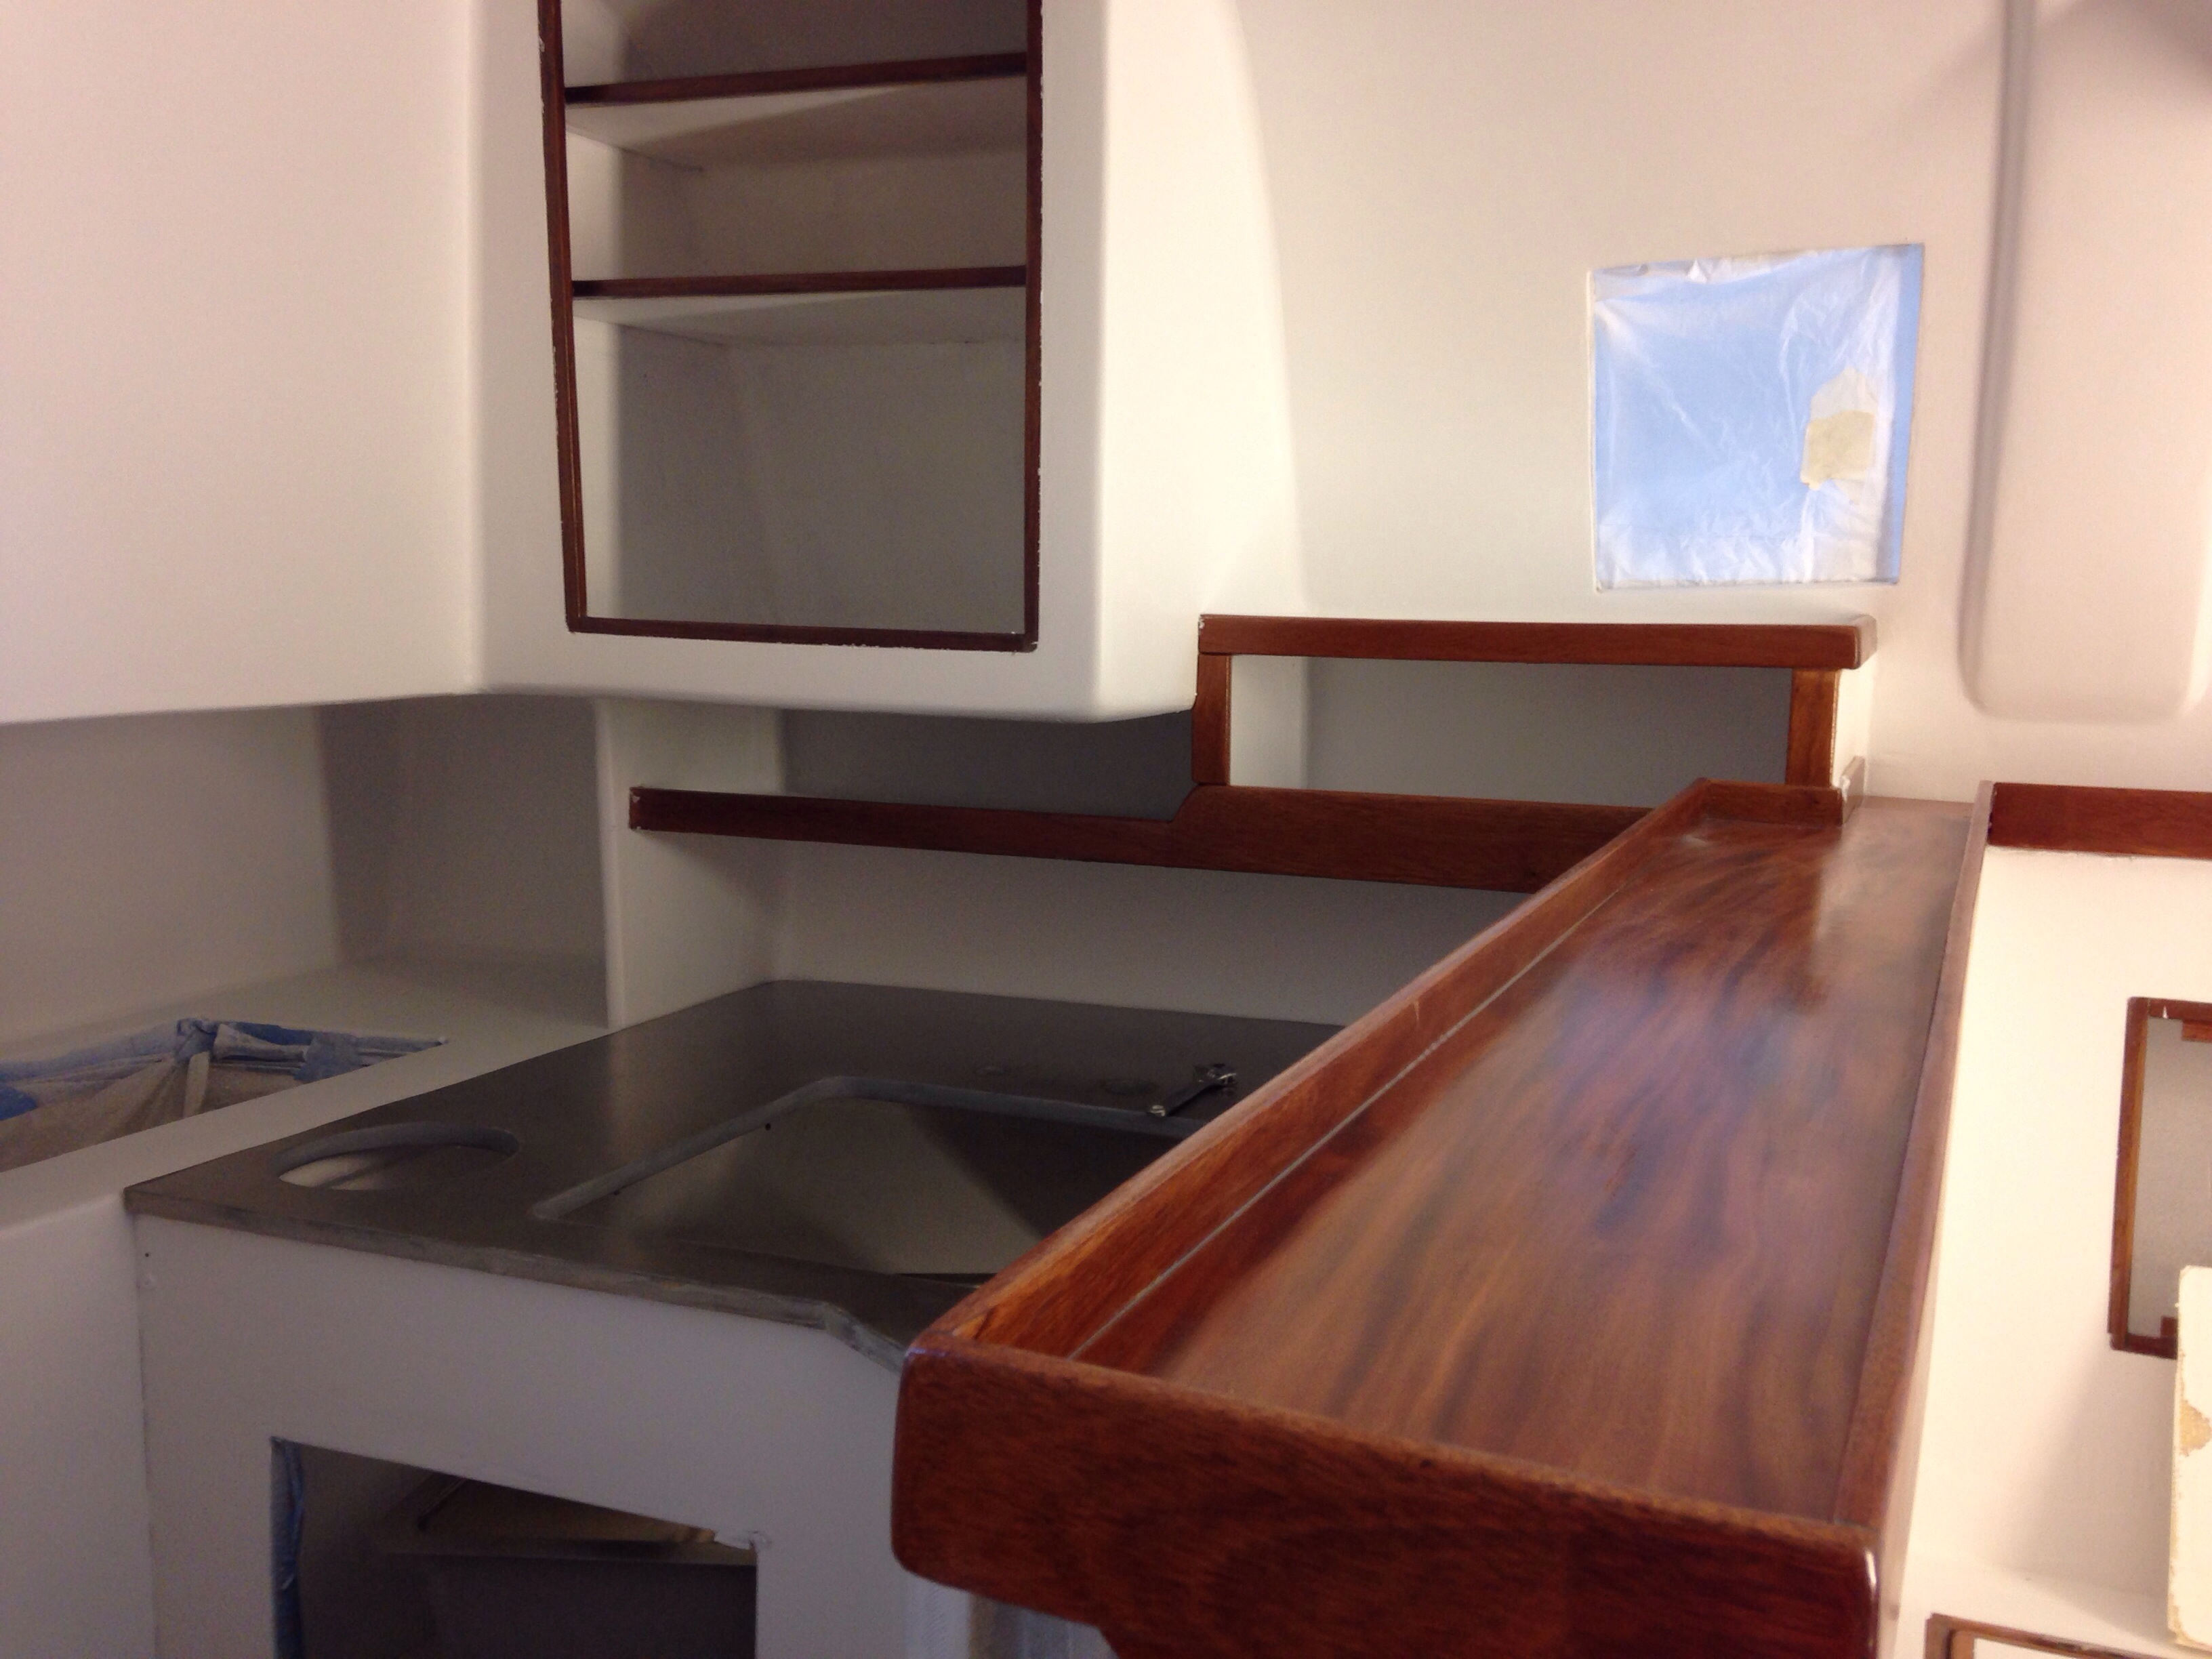
The galley is figured out now. The propane stove/oven unit got it’s mounting built (but installed photo forgotten). The metal trim of the unit fits right over the raised wooden rails and trims out nicely.

20150326-221701.jpg
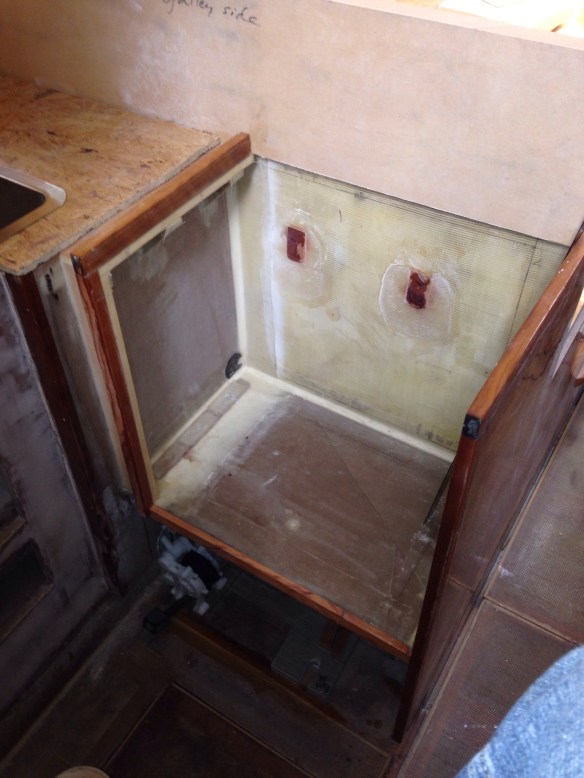
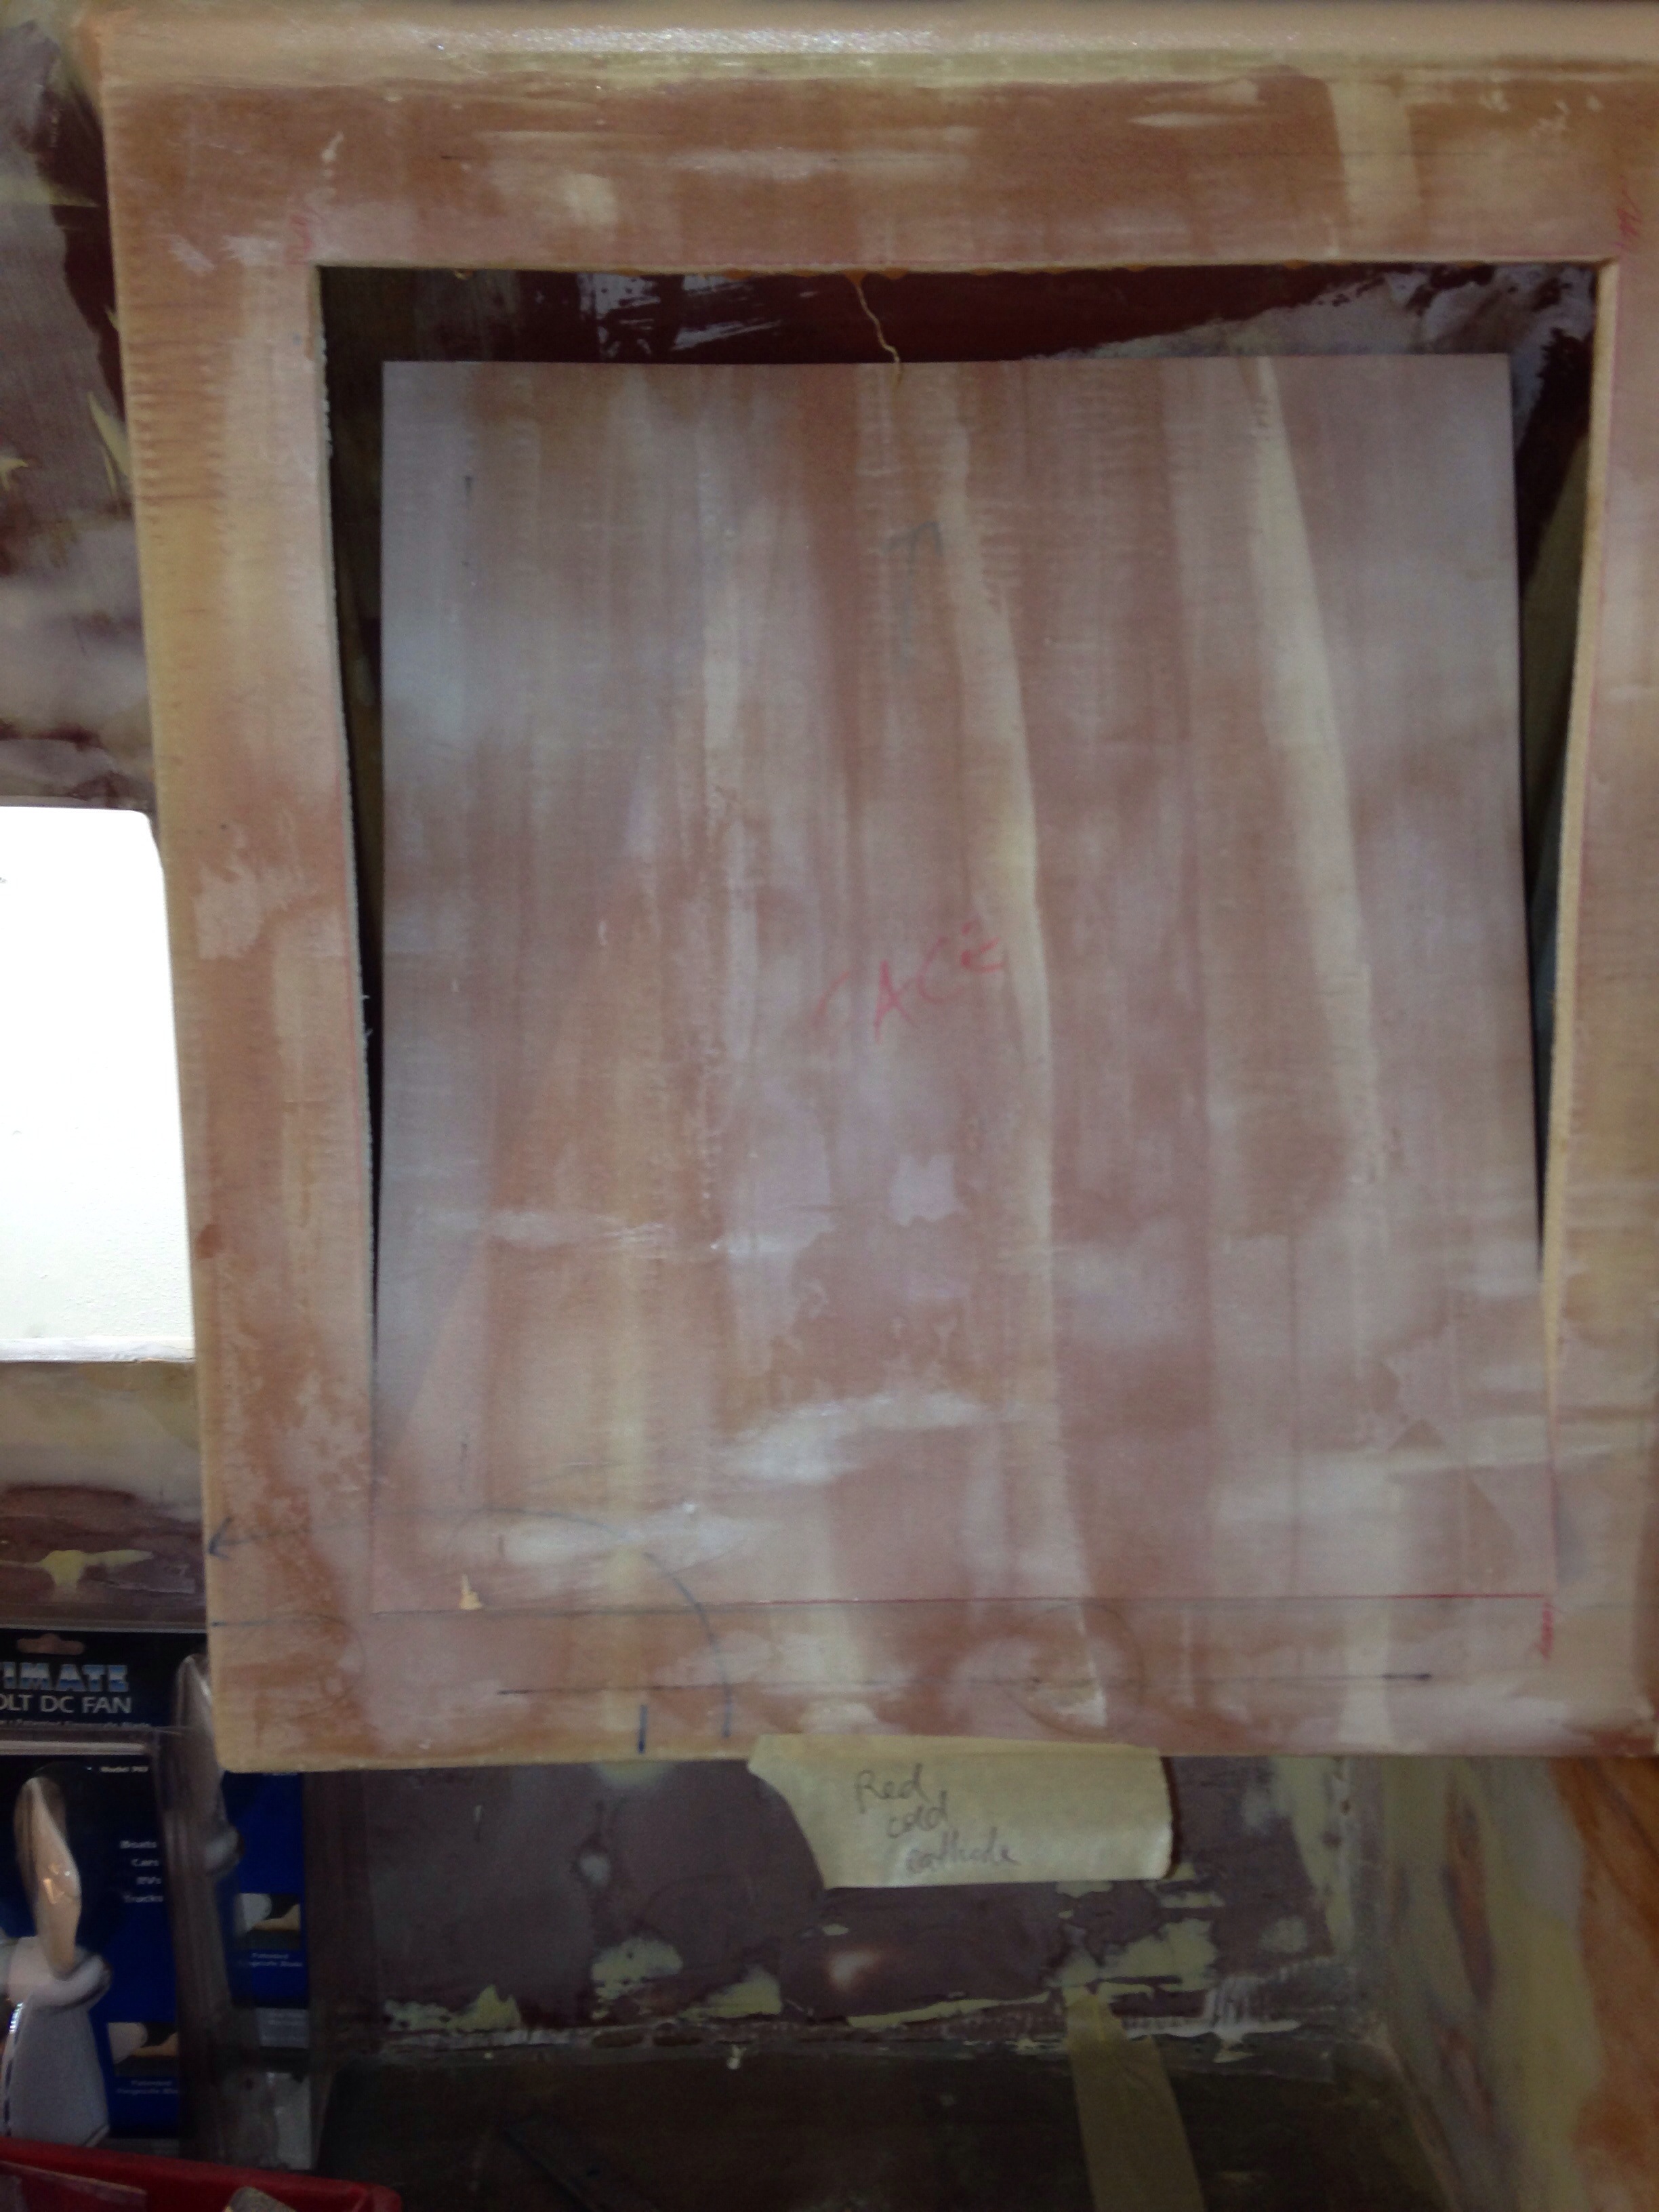
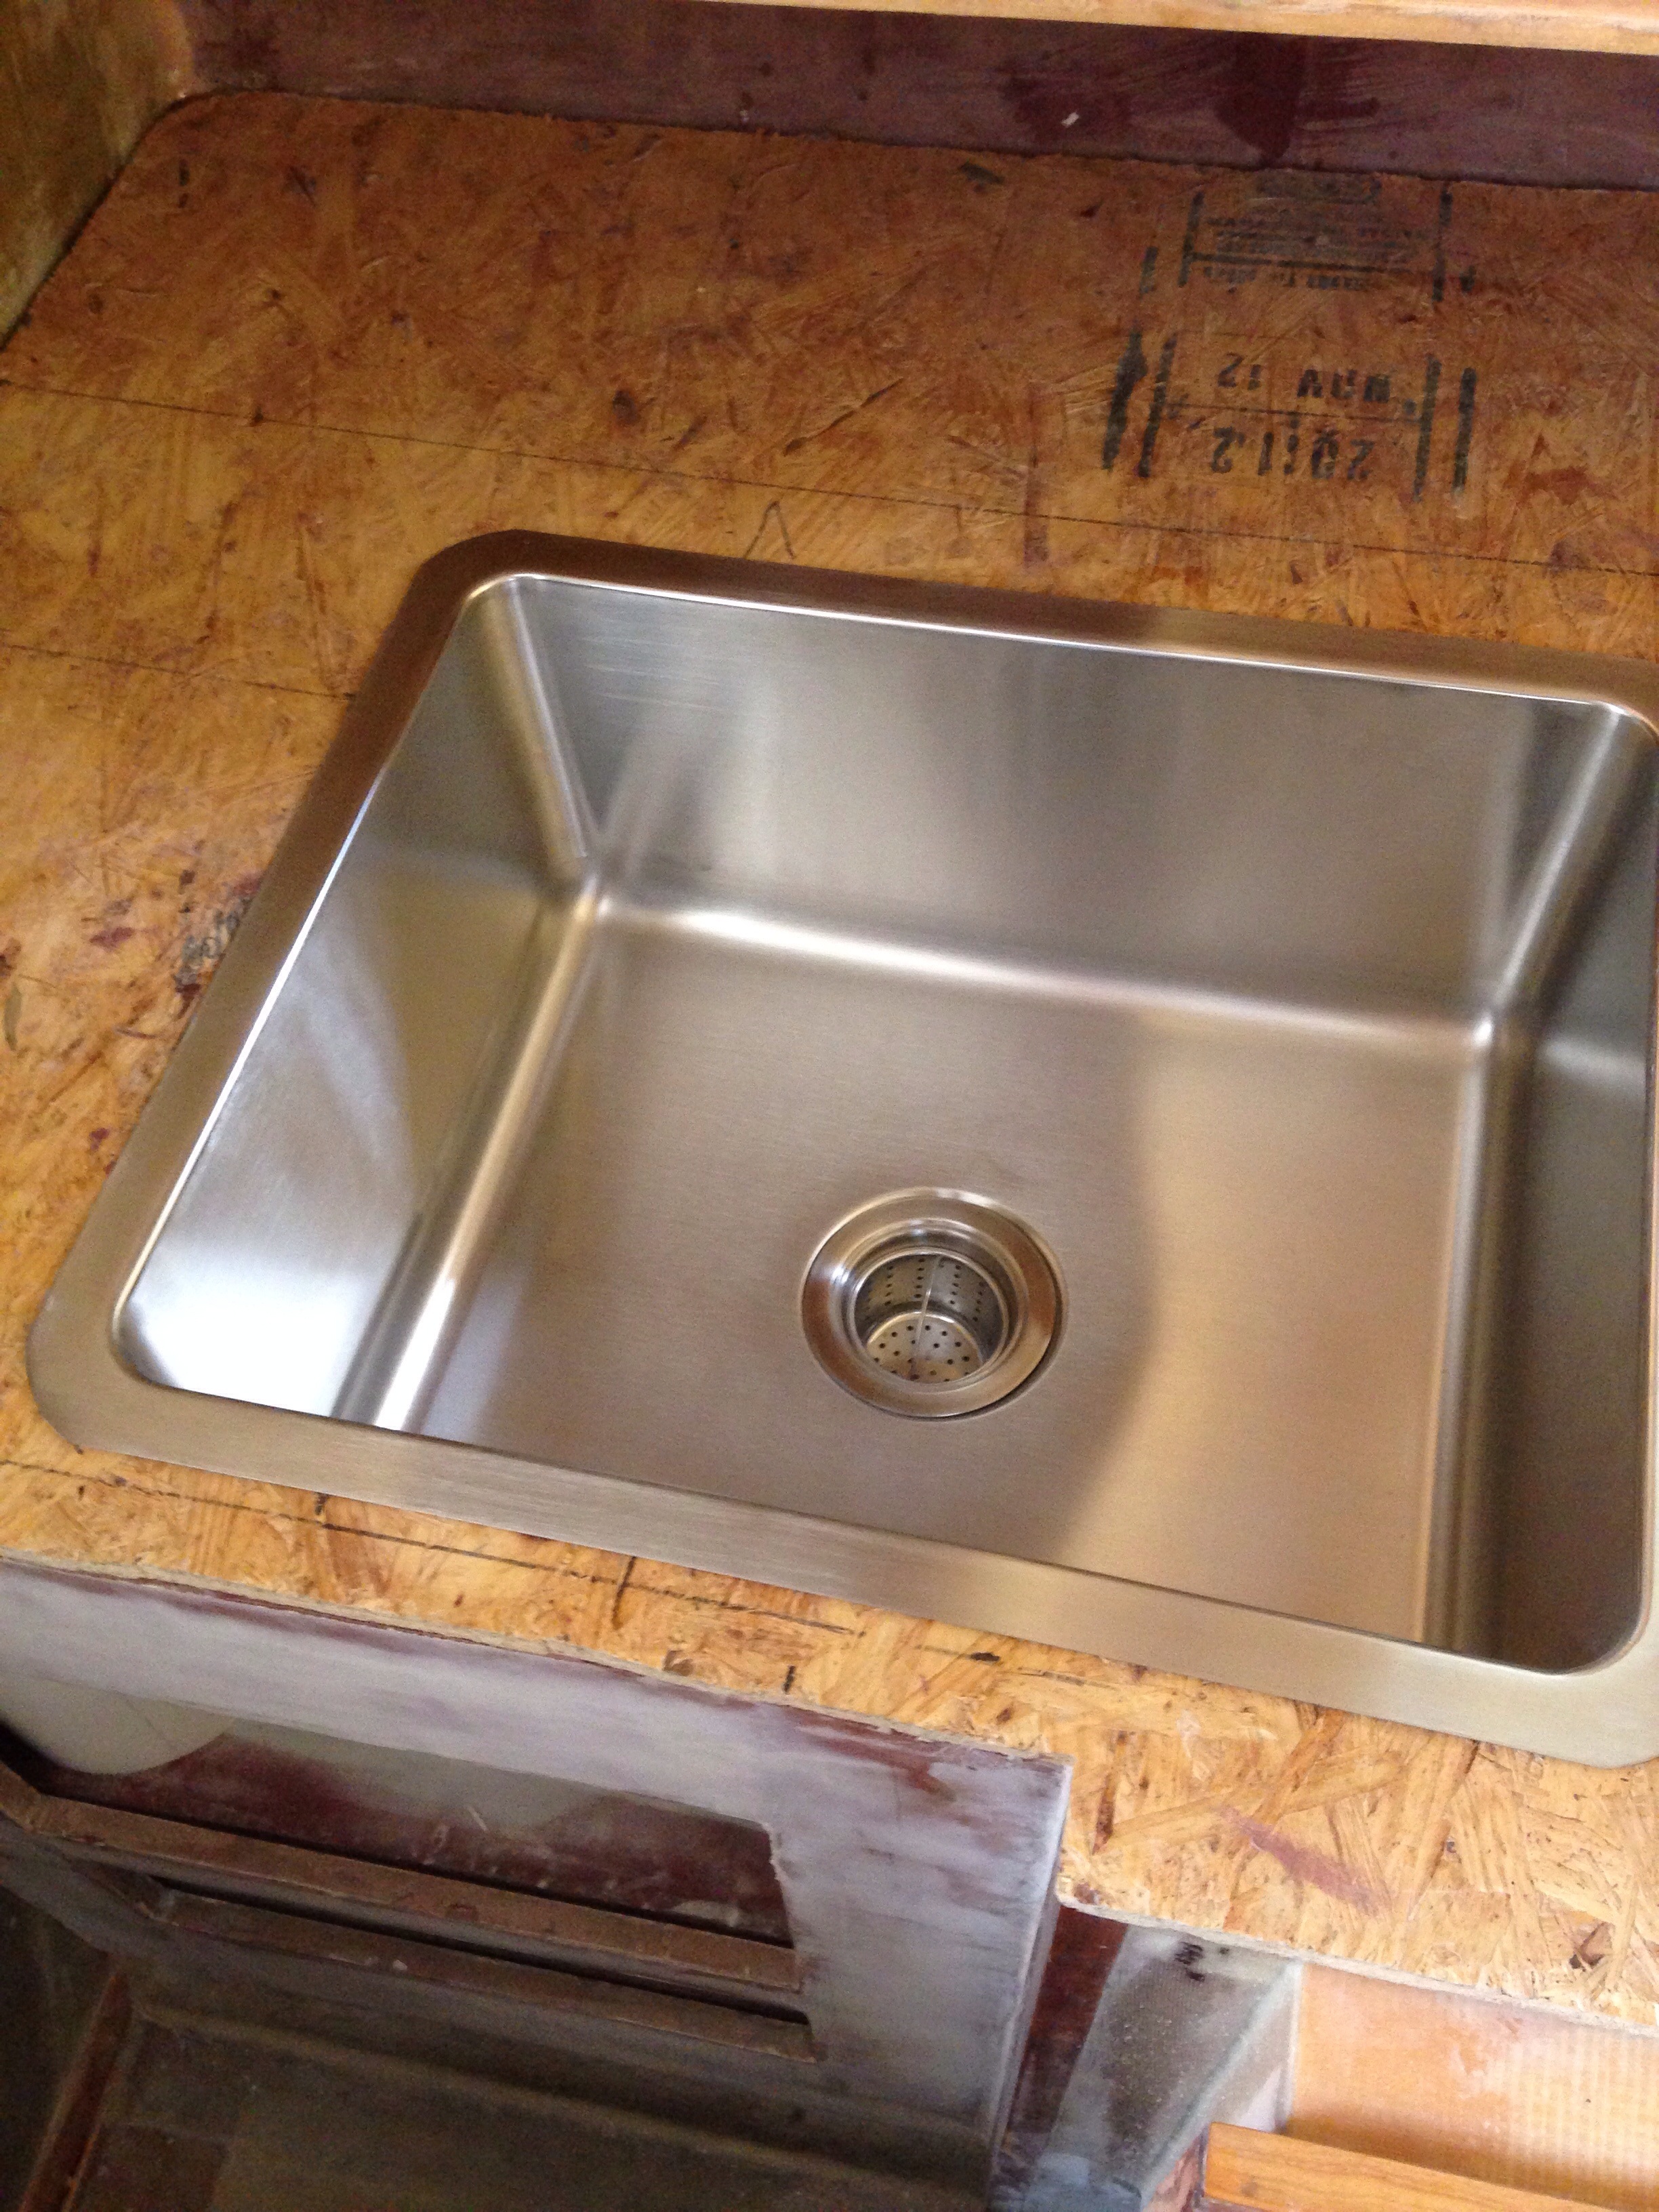
Then looking to the left, we get a big, deep sink – after all, this is a second home, right Dad? The circle left of the sink is a garbage can built in to the countertop, so Jimbo can say it’s a real boat. And the freezer unit is at your far left in the photo.

20150326-222022.jpg
In the sink there’s a very deep strainer basket – that’s important to catch any food scraps as the drain water is set up for a grey water catch tank which will supply the toilet flushing. When we have a few gallons of “grey” stored up, the sink will be switched to drain overboard, via reachable levers in the cabinet. More on that later.

20150326-222431.jpg

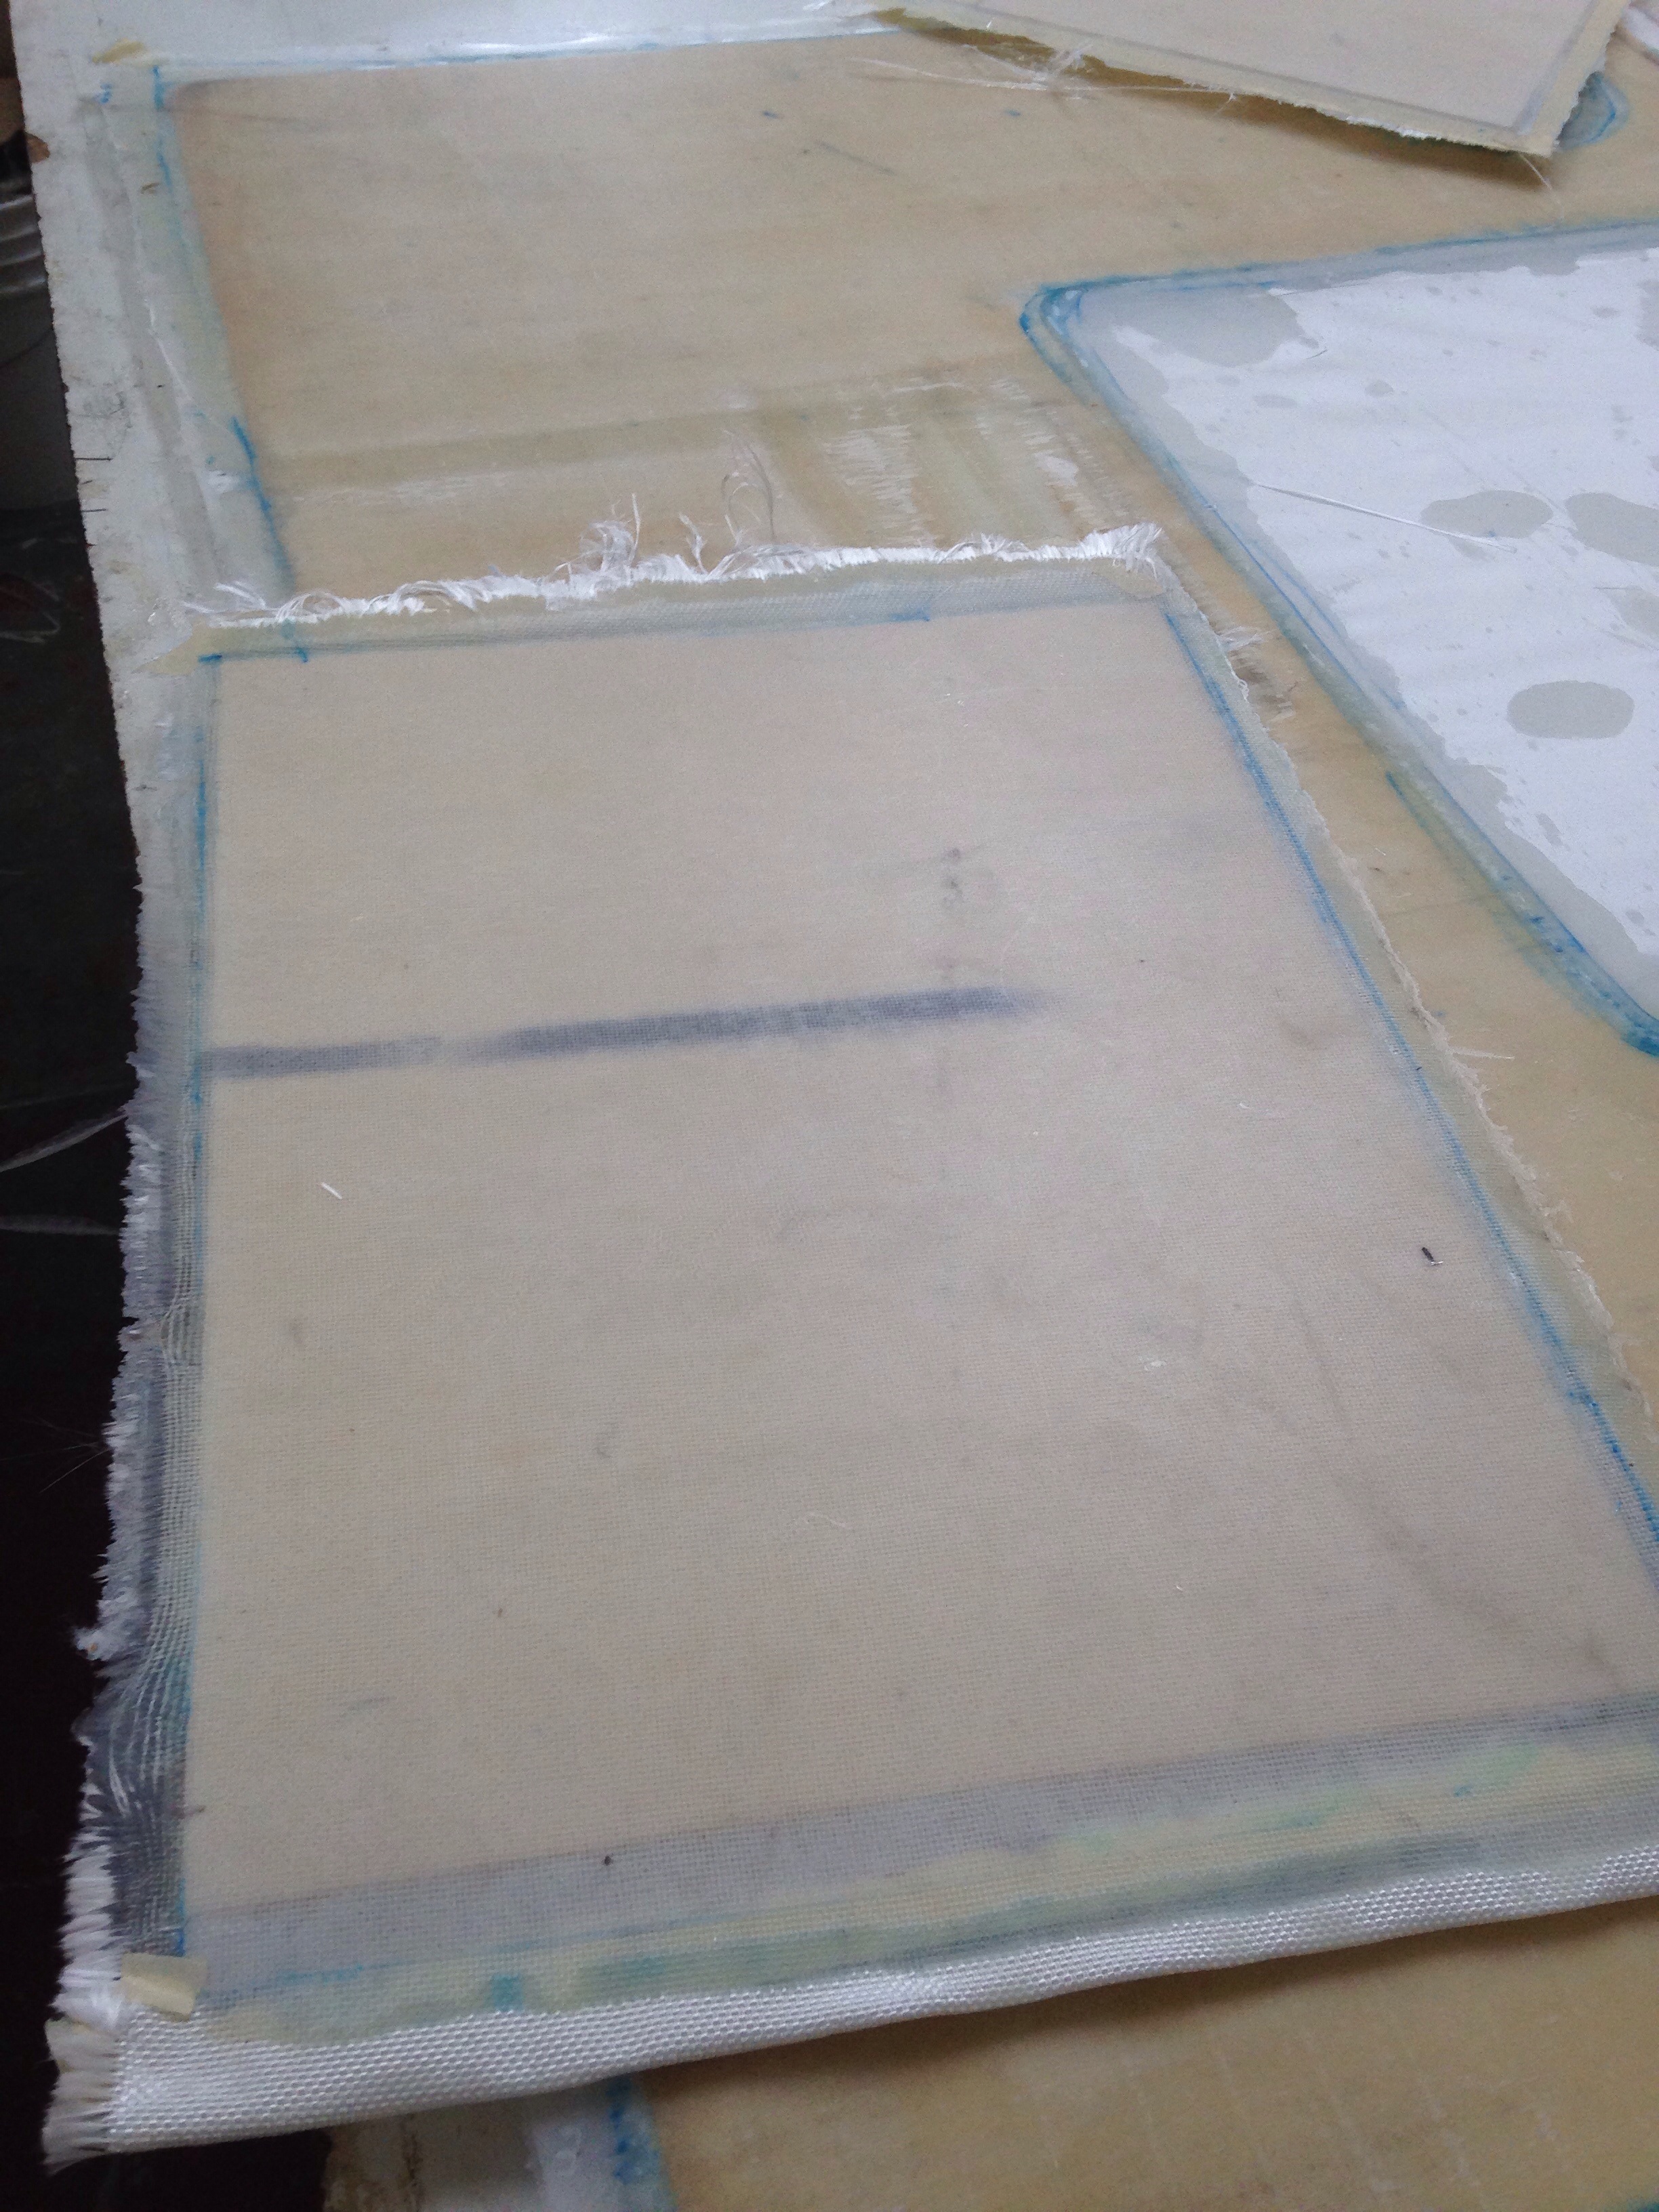
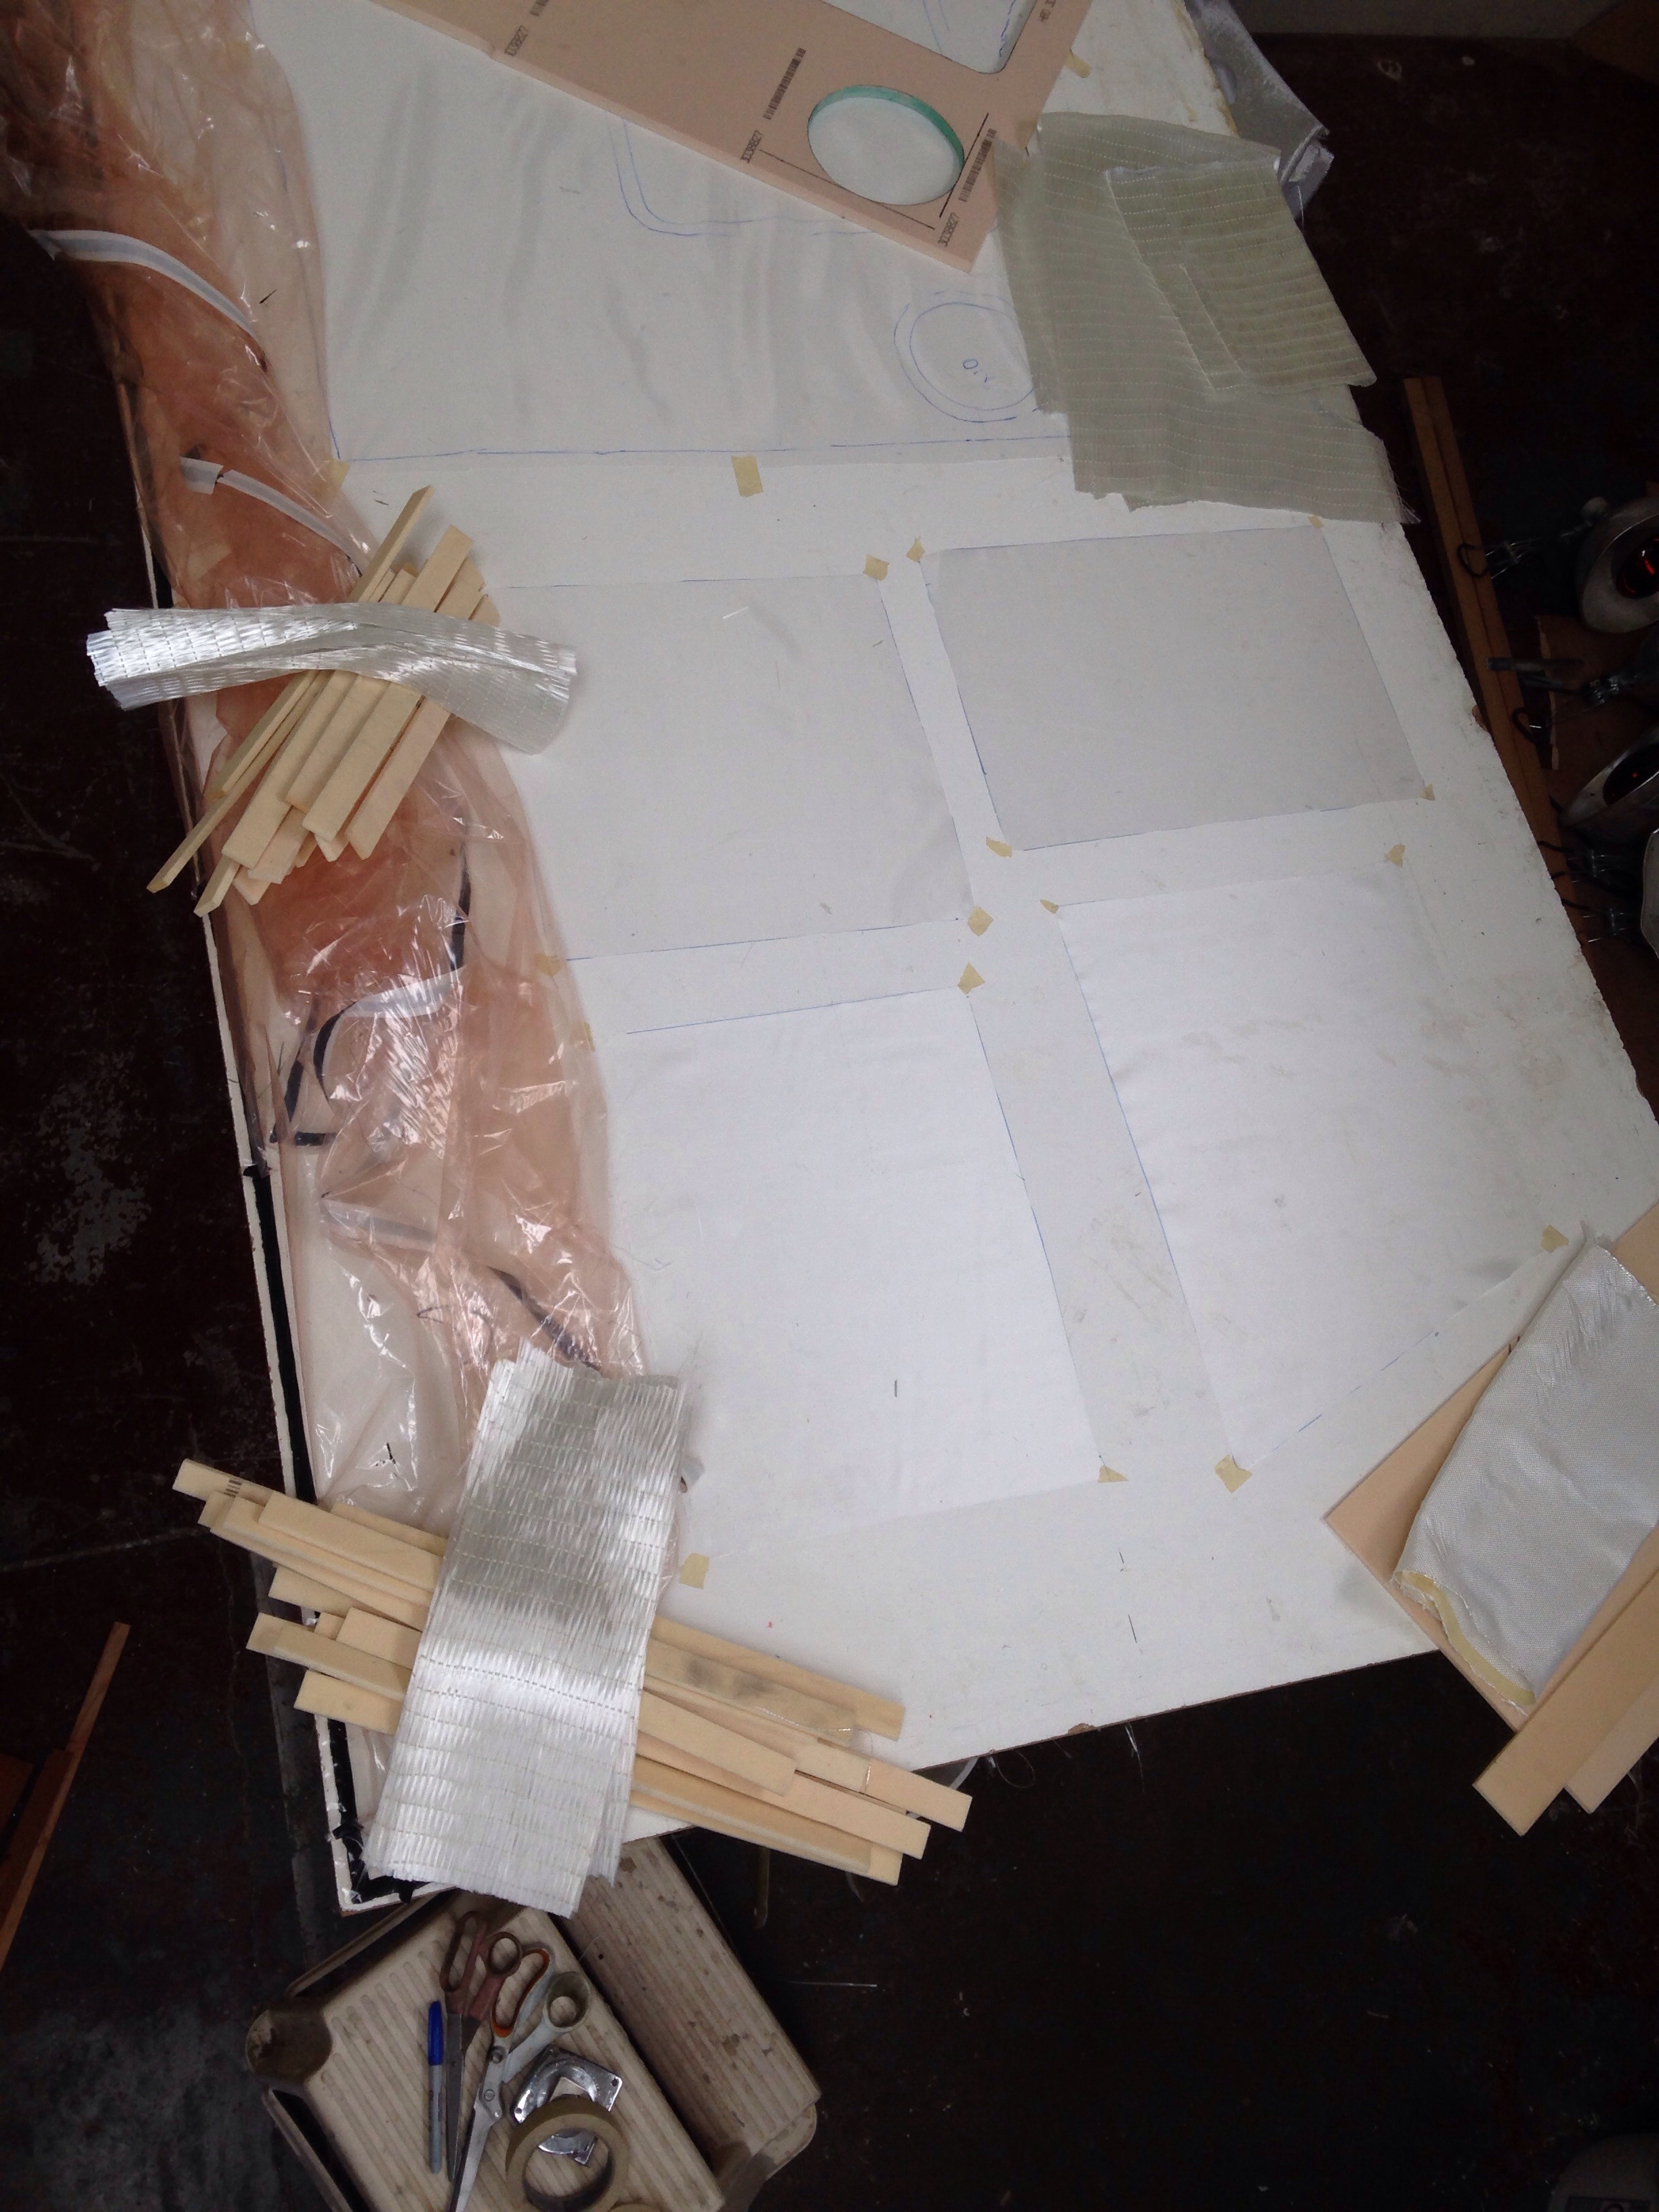
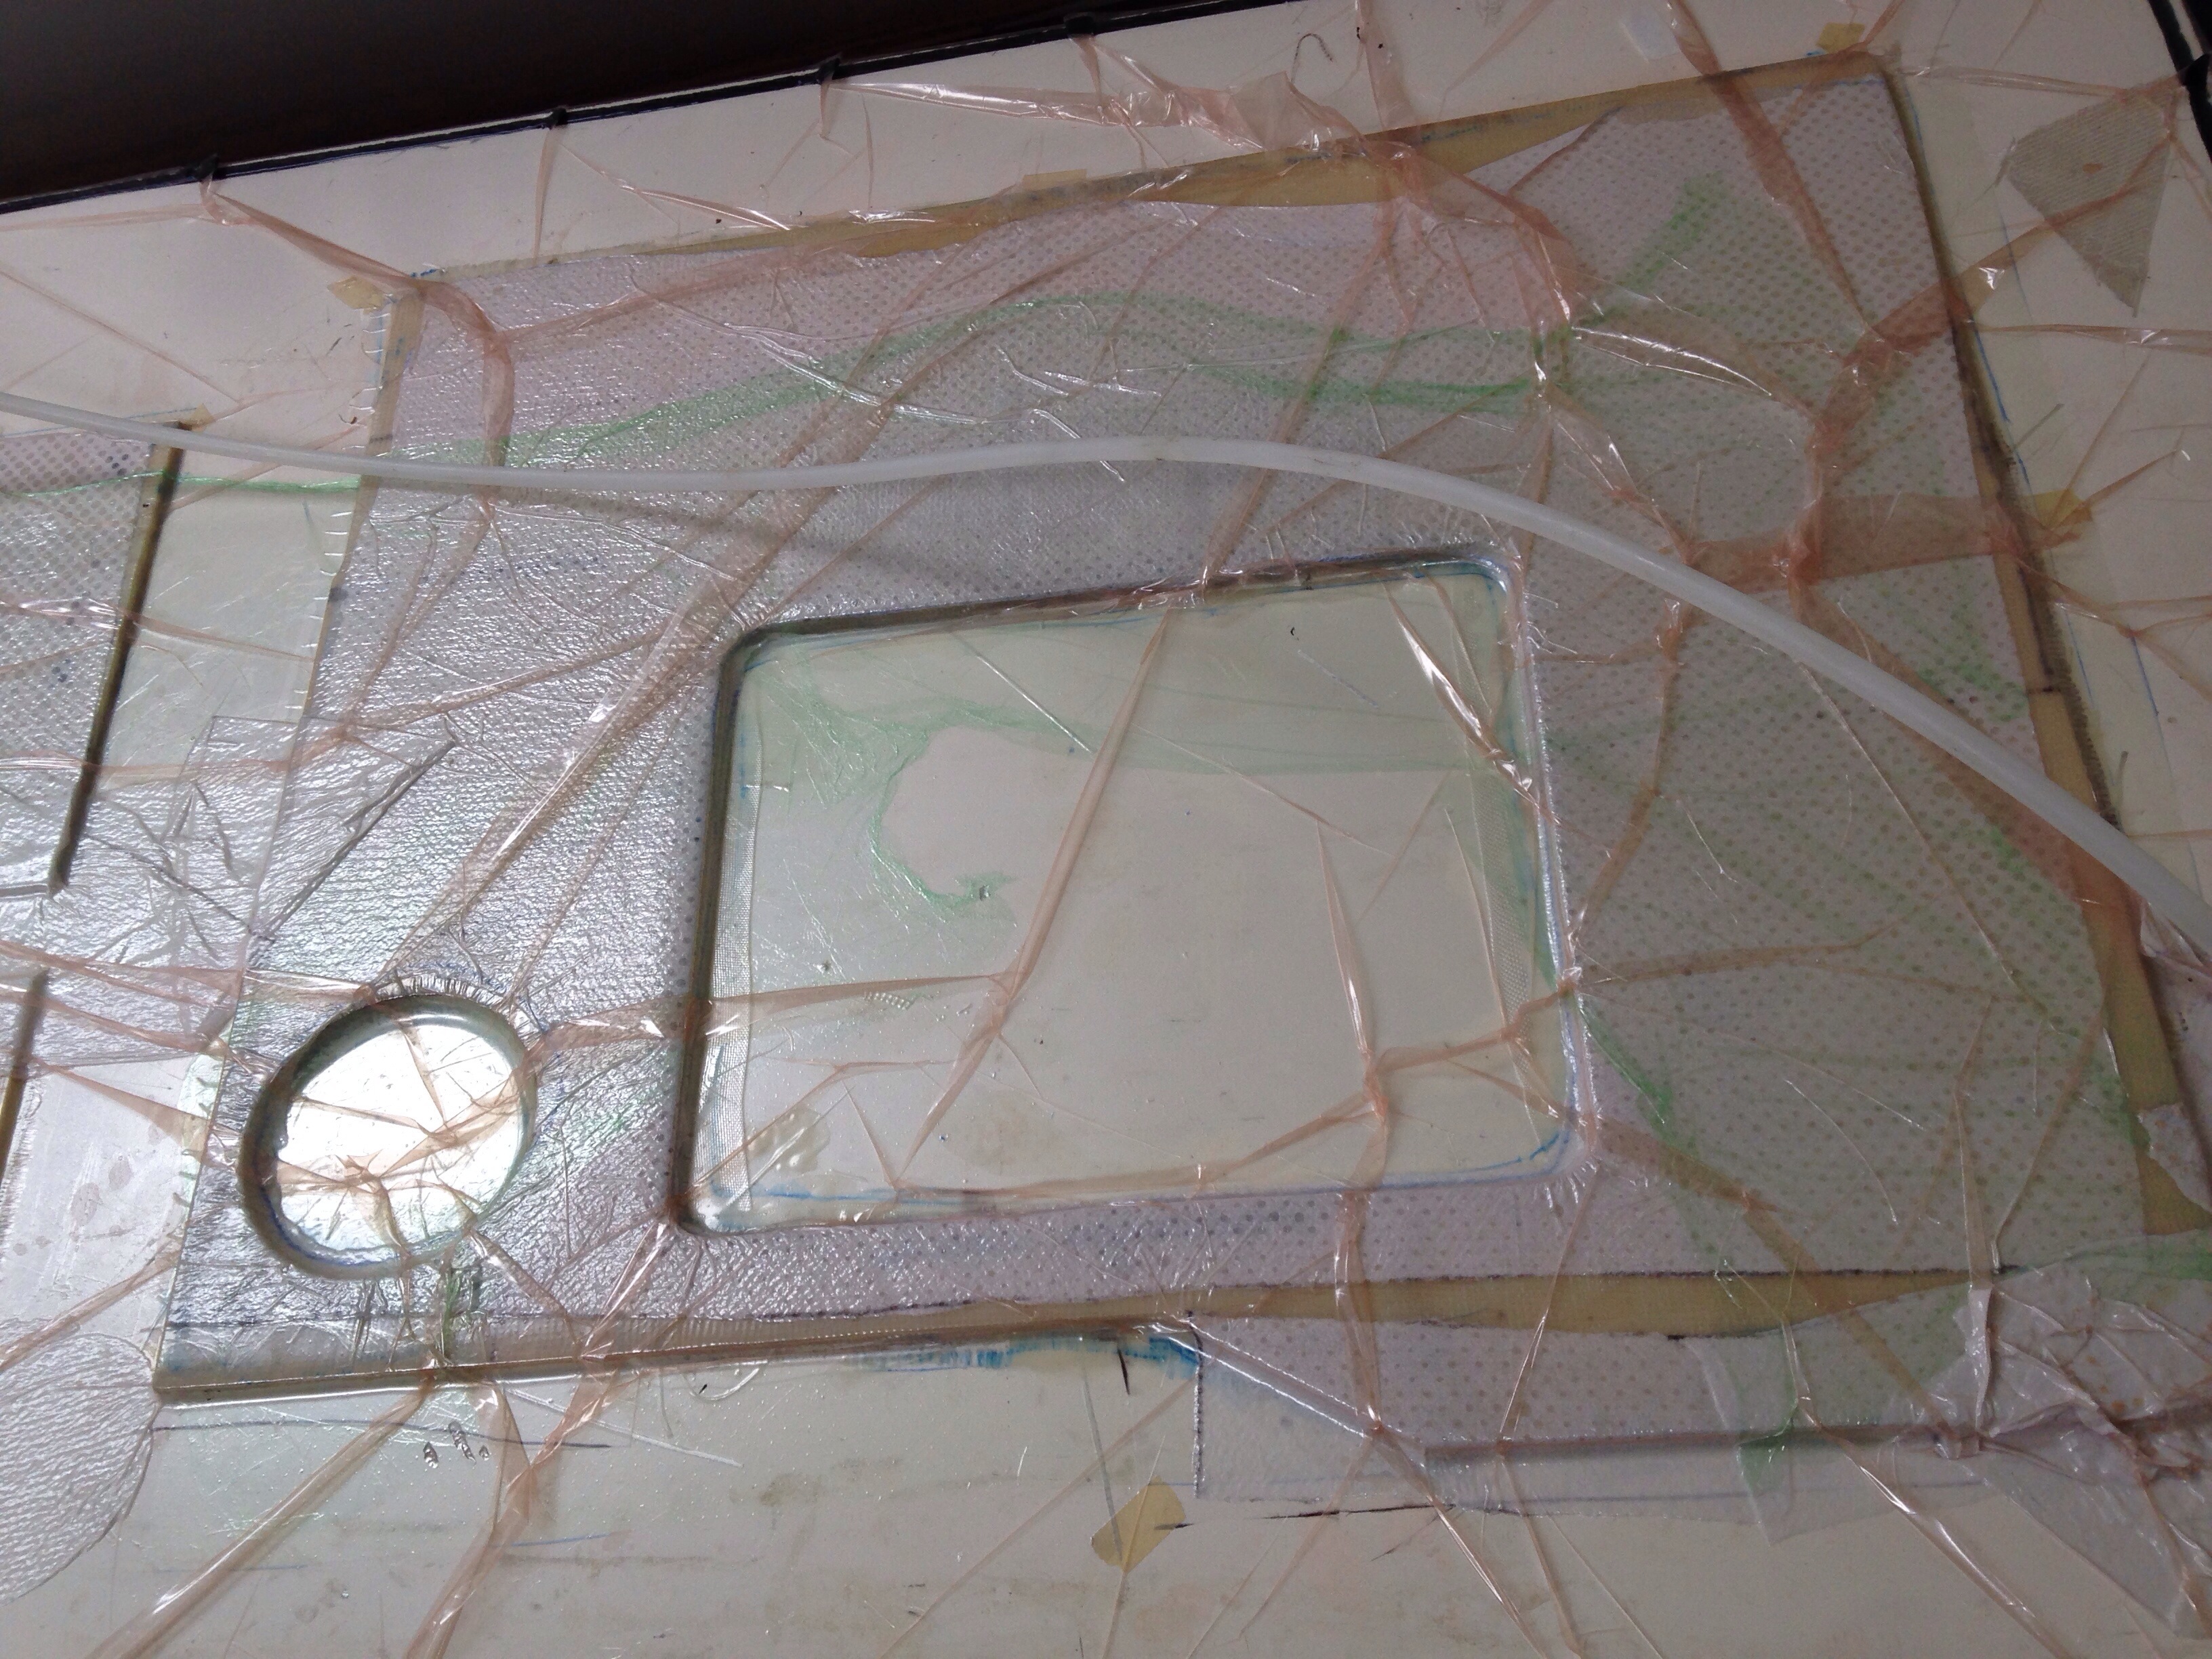
I noted in F39 Henny’s and F33 Arno’s blogs recently each spoke of it taking about three hours to get vacuum’d panels all set up and working. That’s my number too. This morning was about 3 1/4 hours getting all the fabrics cut, bagging supplies ready and prepping the after lunch lamination session. Last week we let a wetted sheet slip inside the bag for that float hatch and developed a wrinkle in the piece (that had to be ground away and patched). Got me thinking that we really shouldn’t move a piece at all during the wet out process. So today we tried marking the first-to-table peel ply with the exact foam core locations then taping the peel ply taught at the corners. This worked well.

20150326-223840.jpg
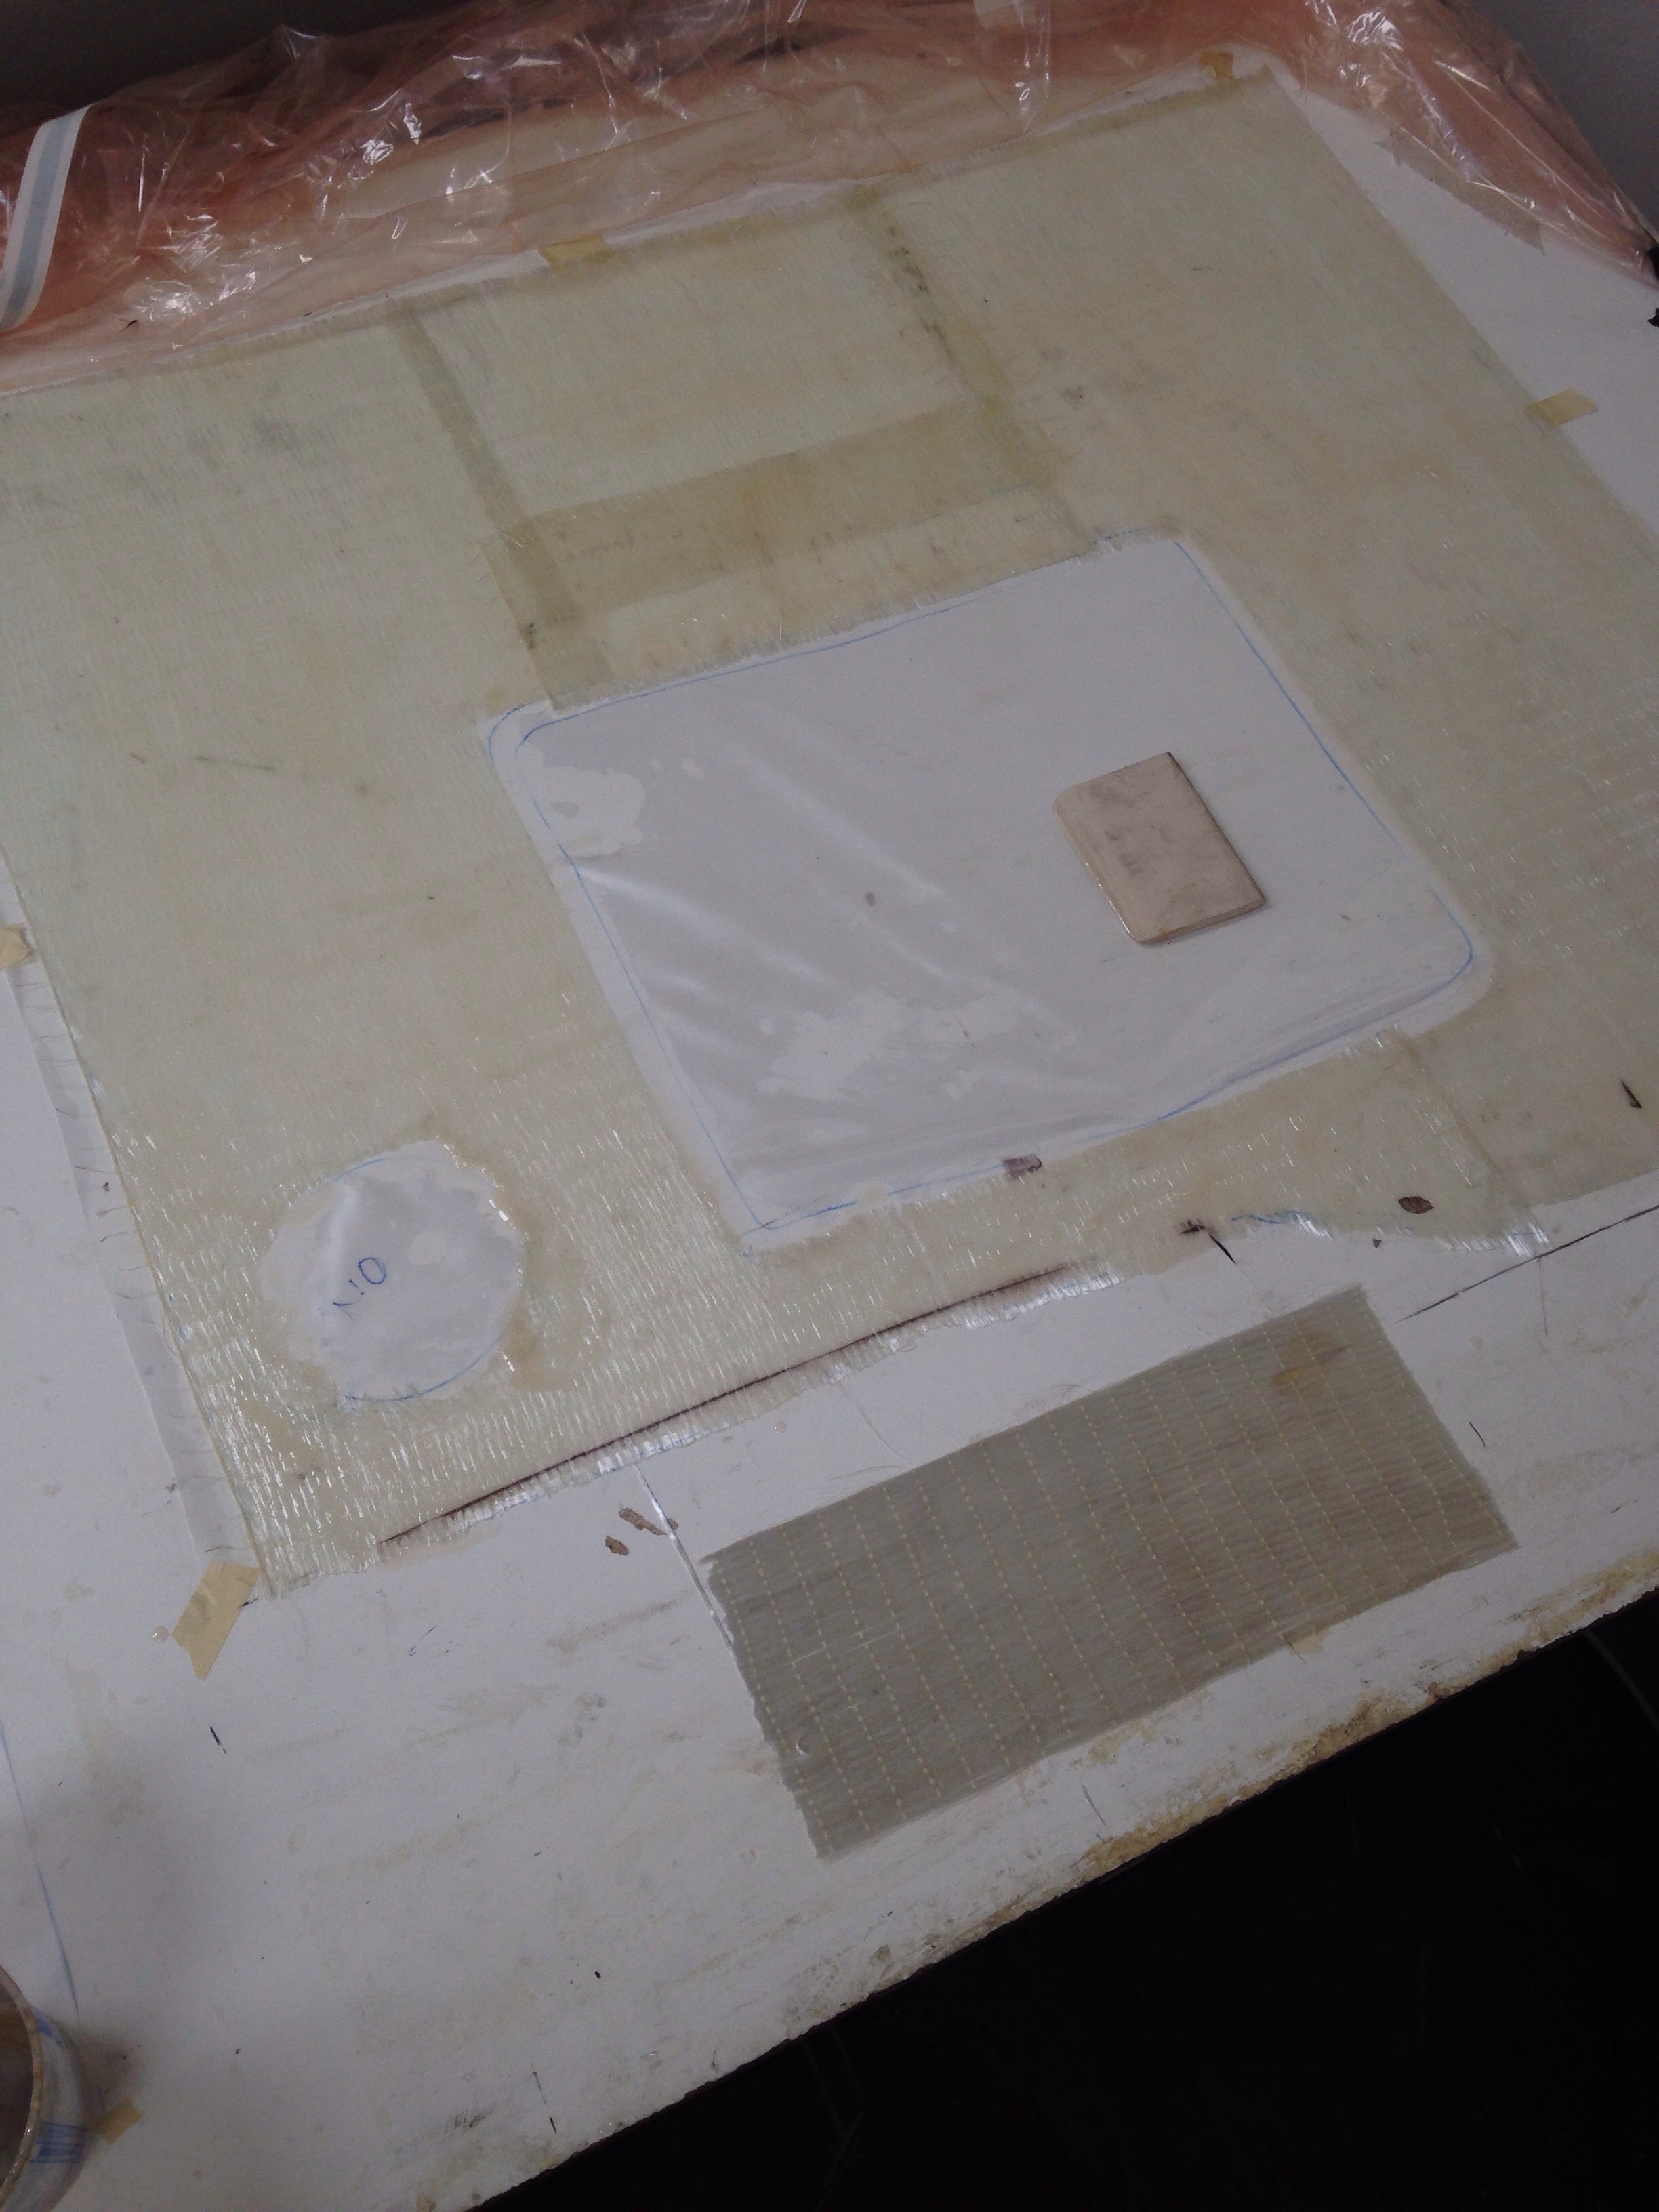
Here’s the galley countertop – the darker yellow foam is high density for the faucets area.

20150326-224003.jpg

20150326-224023.jpg
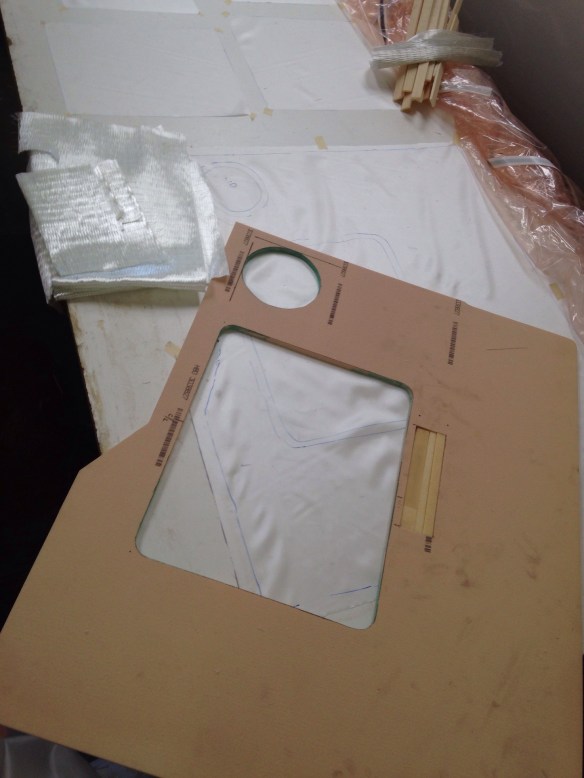
These four pieces (various galley parts) are what took 3 hours to get ready – that’s about par for our course.

20150326-224143.jpg
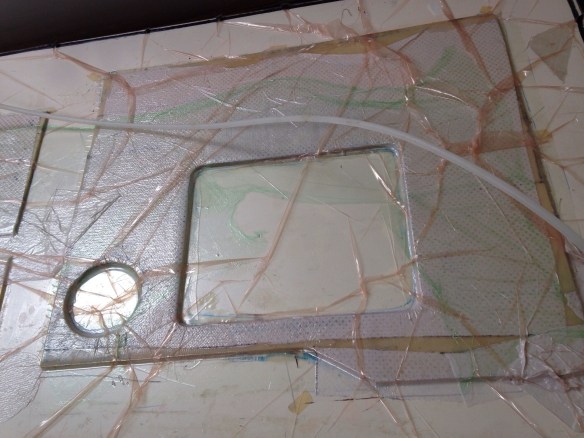
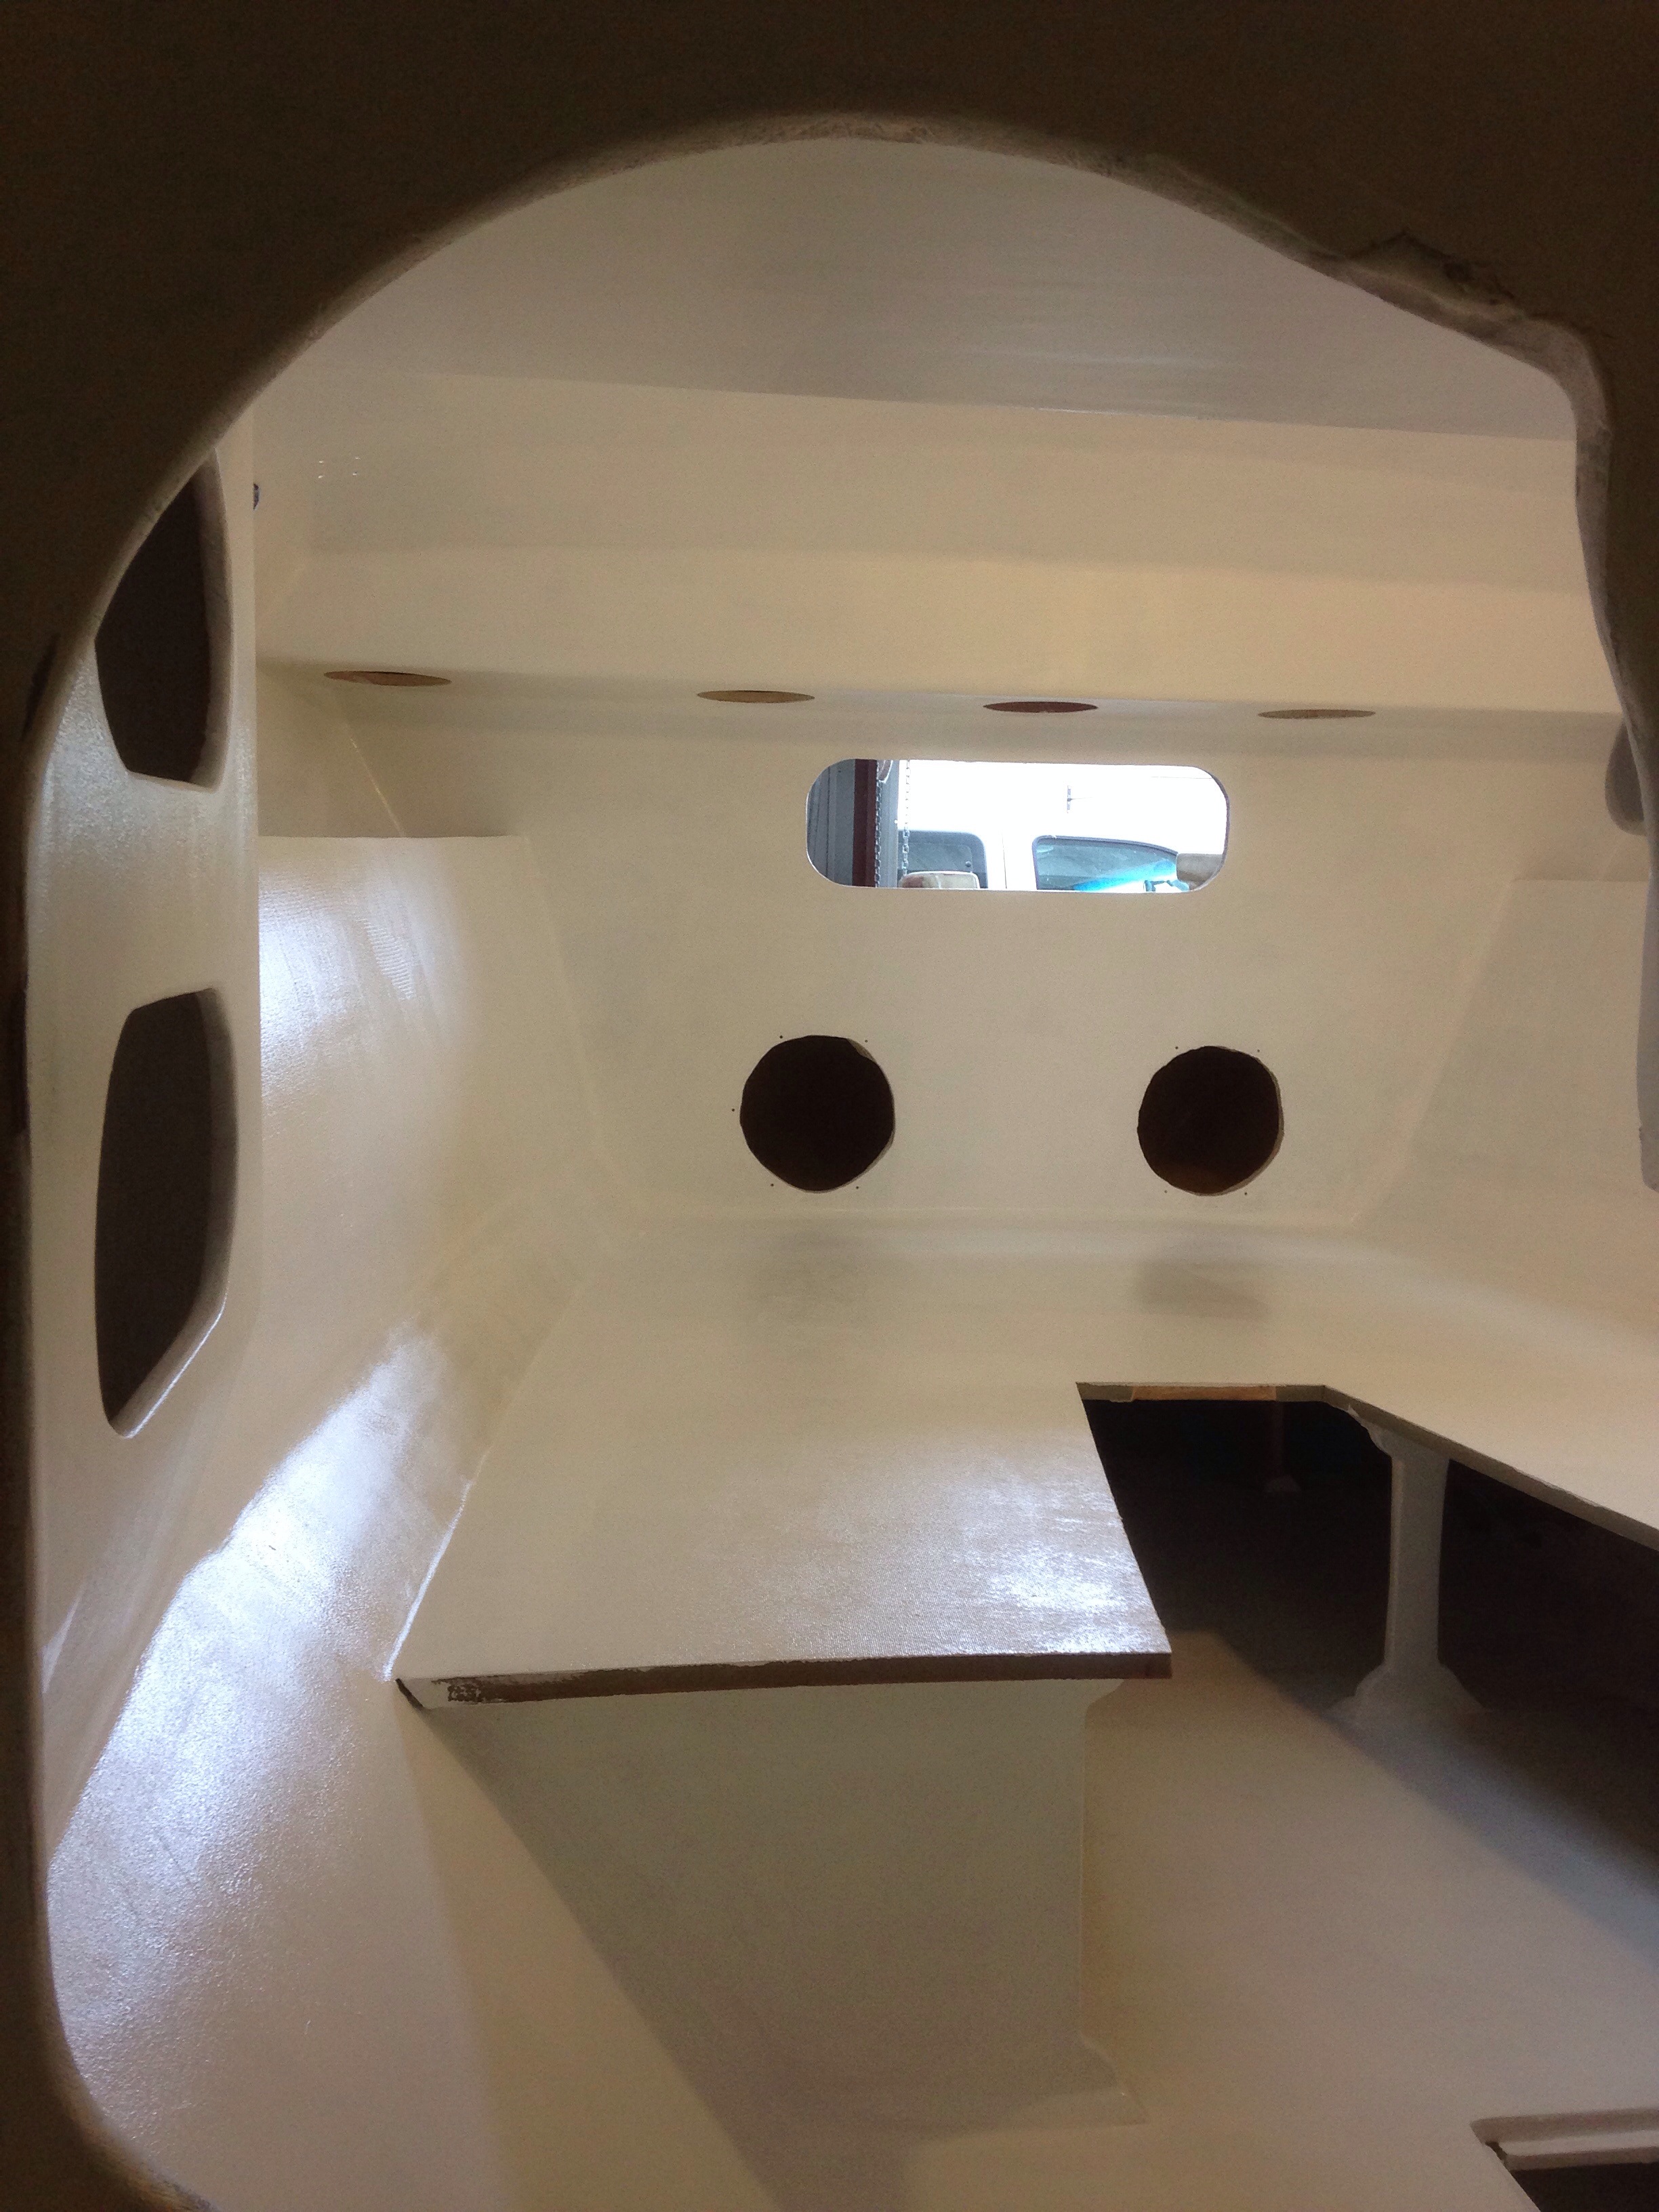
Getting the vac bag placed so that it draws in tight against inside cut edges, like the sink and garbage cut outs here, is not yet mastered. With this under mount sink, that edge will show so we’re guessing there’s work to do after un bagging tomorrow to clean up those inside rims. It’s tough to get enough loose bag in all the right places as the pump quickly draws down the pressure. We could do some practice runs without epoxy, but I’d rather just assume today was the last need for that kind of piece on this boat! :)
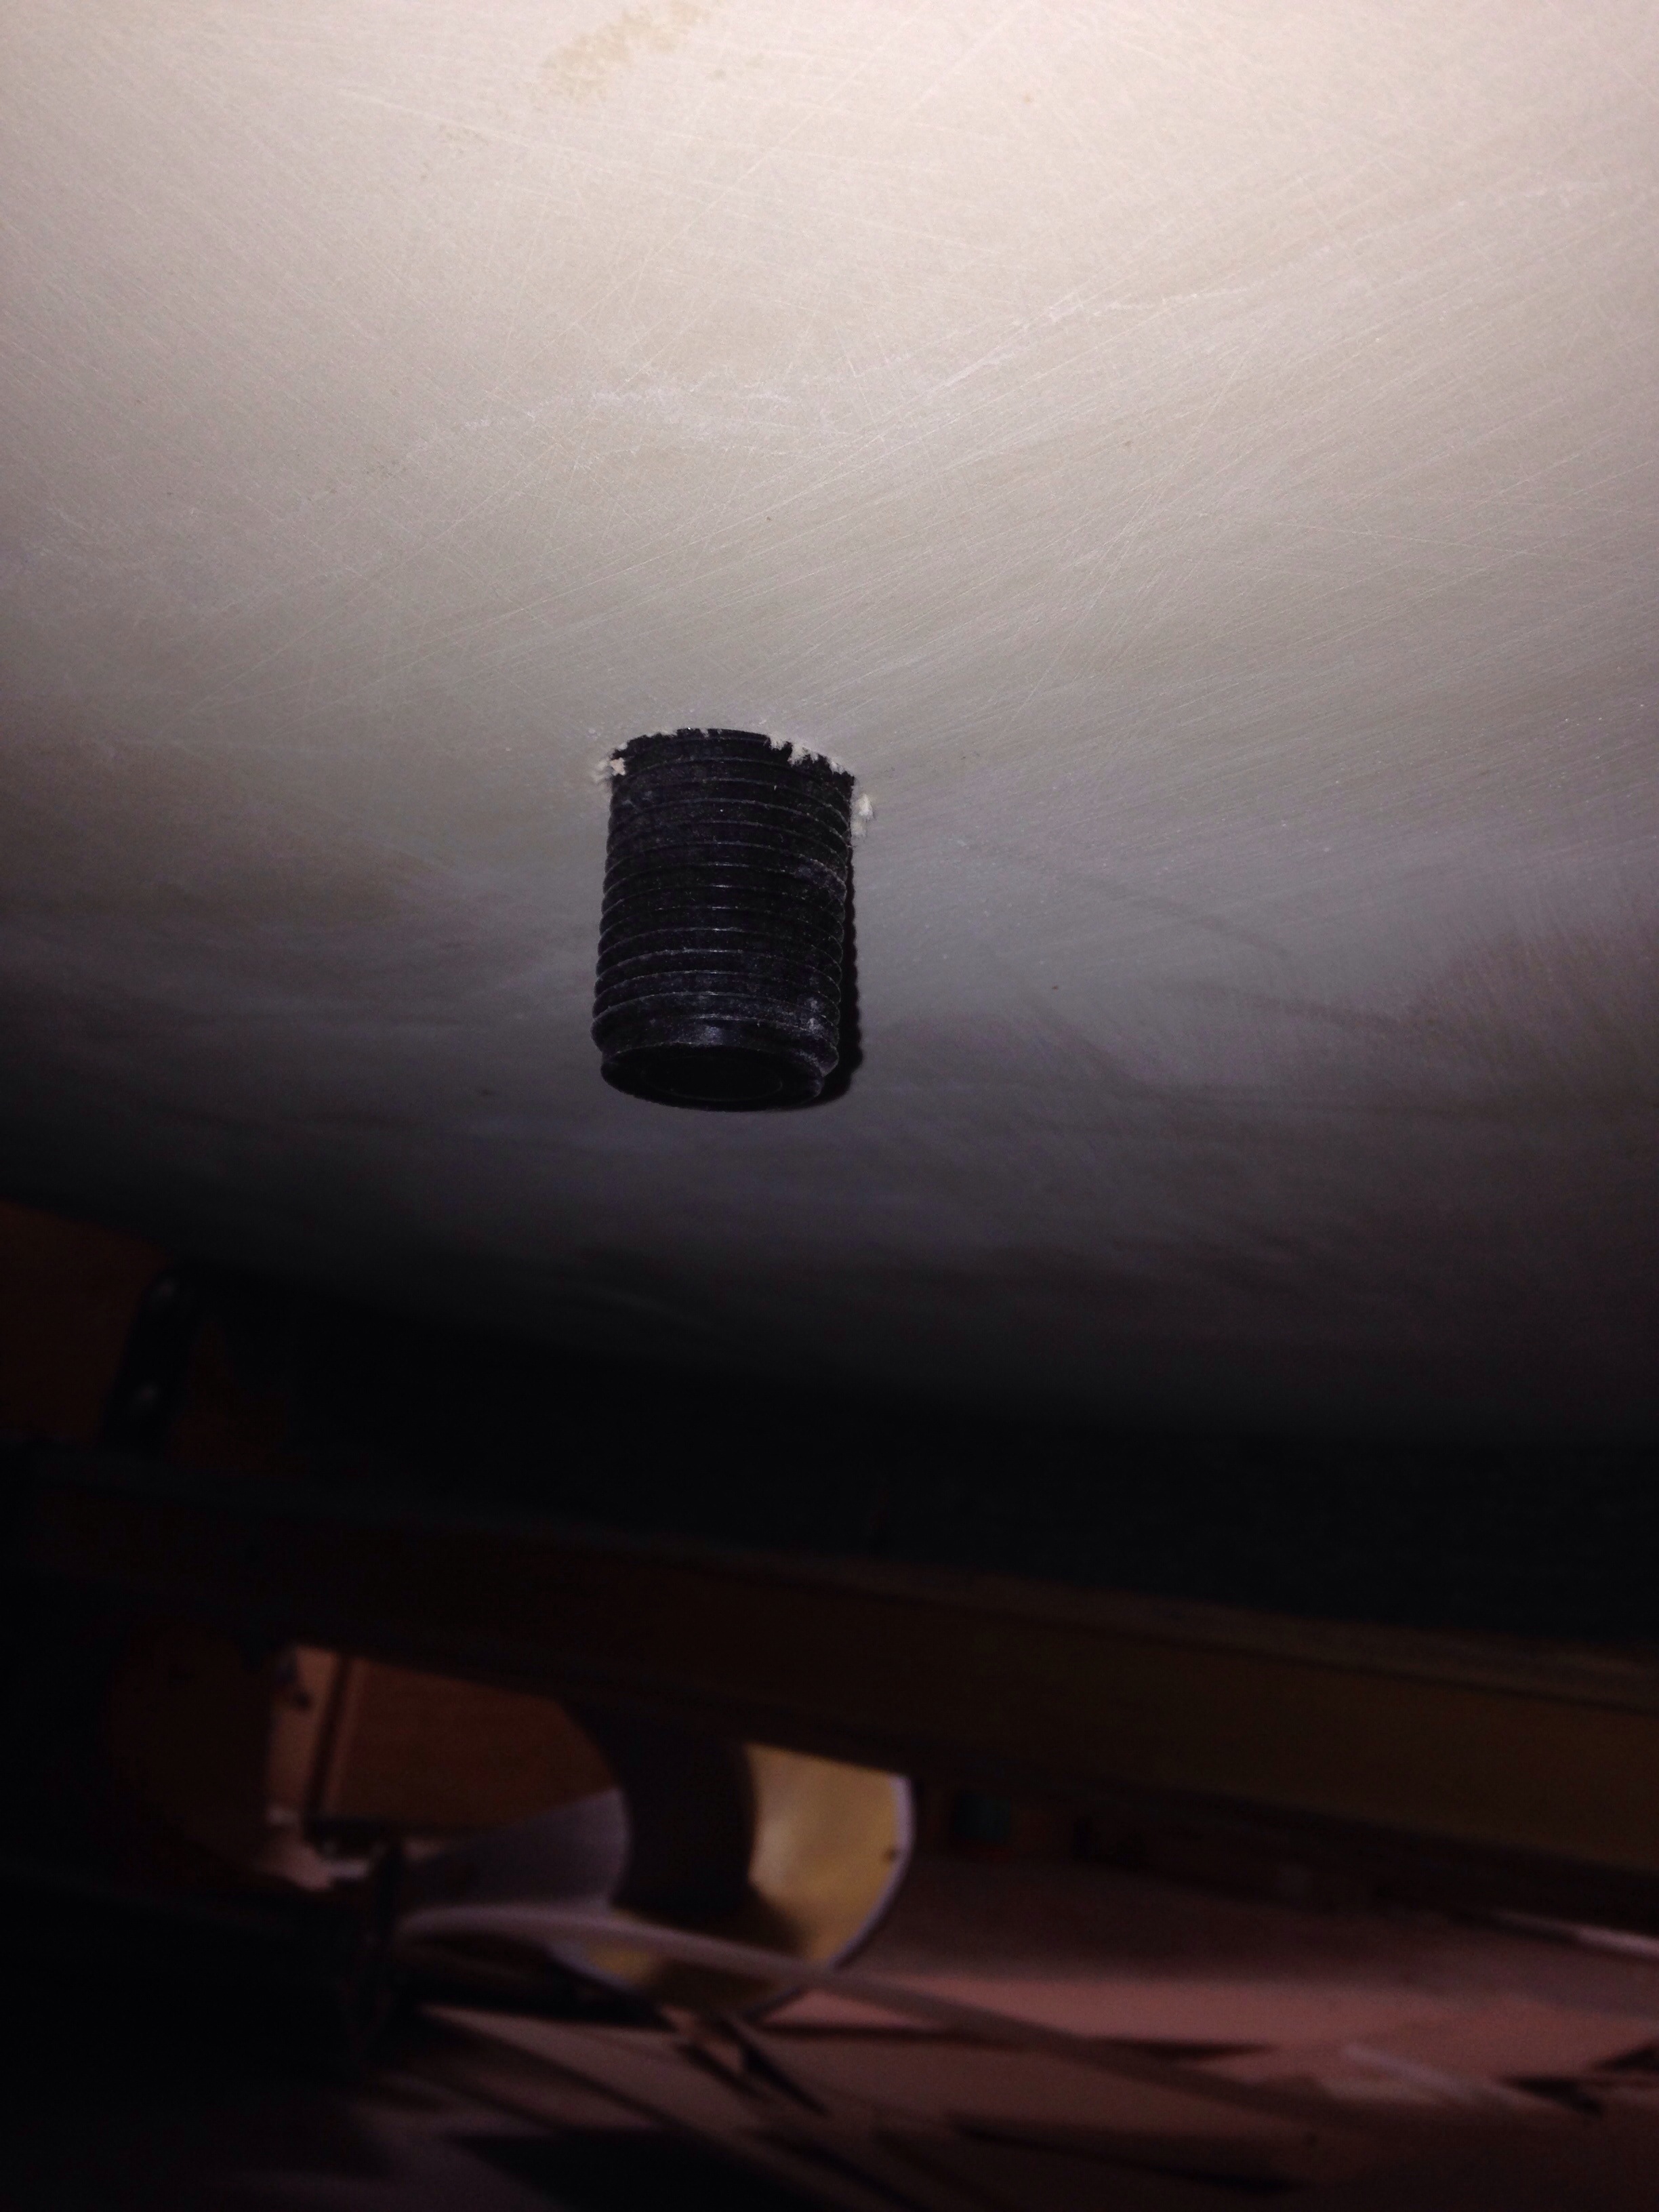
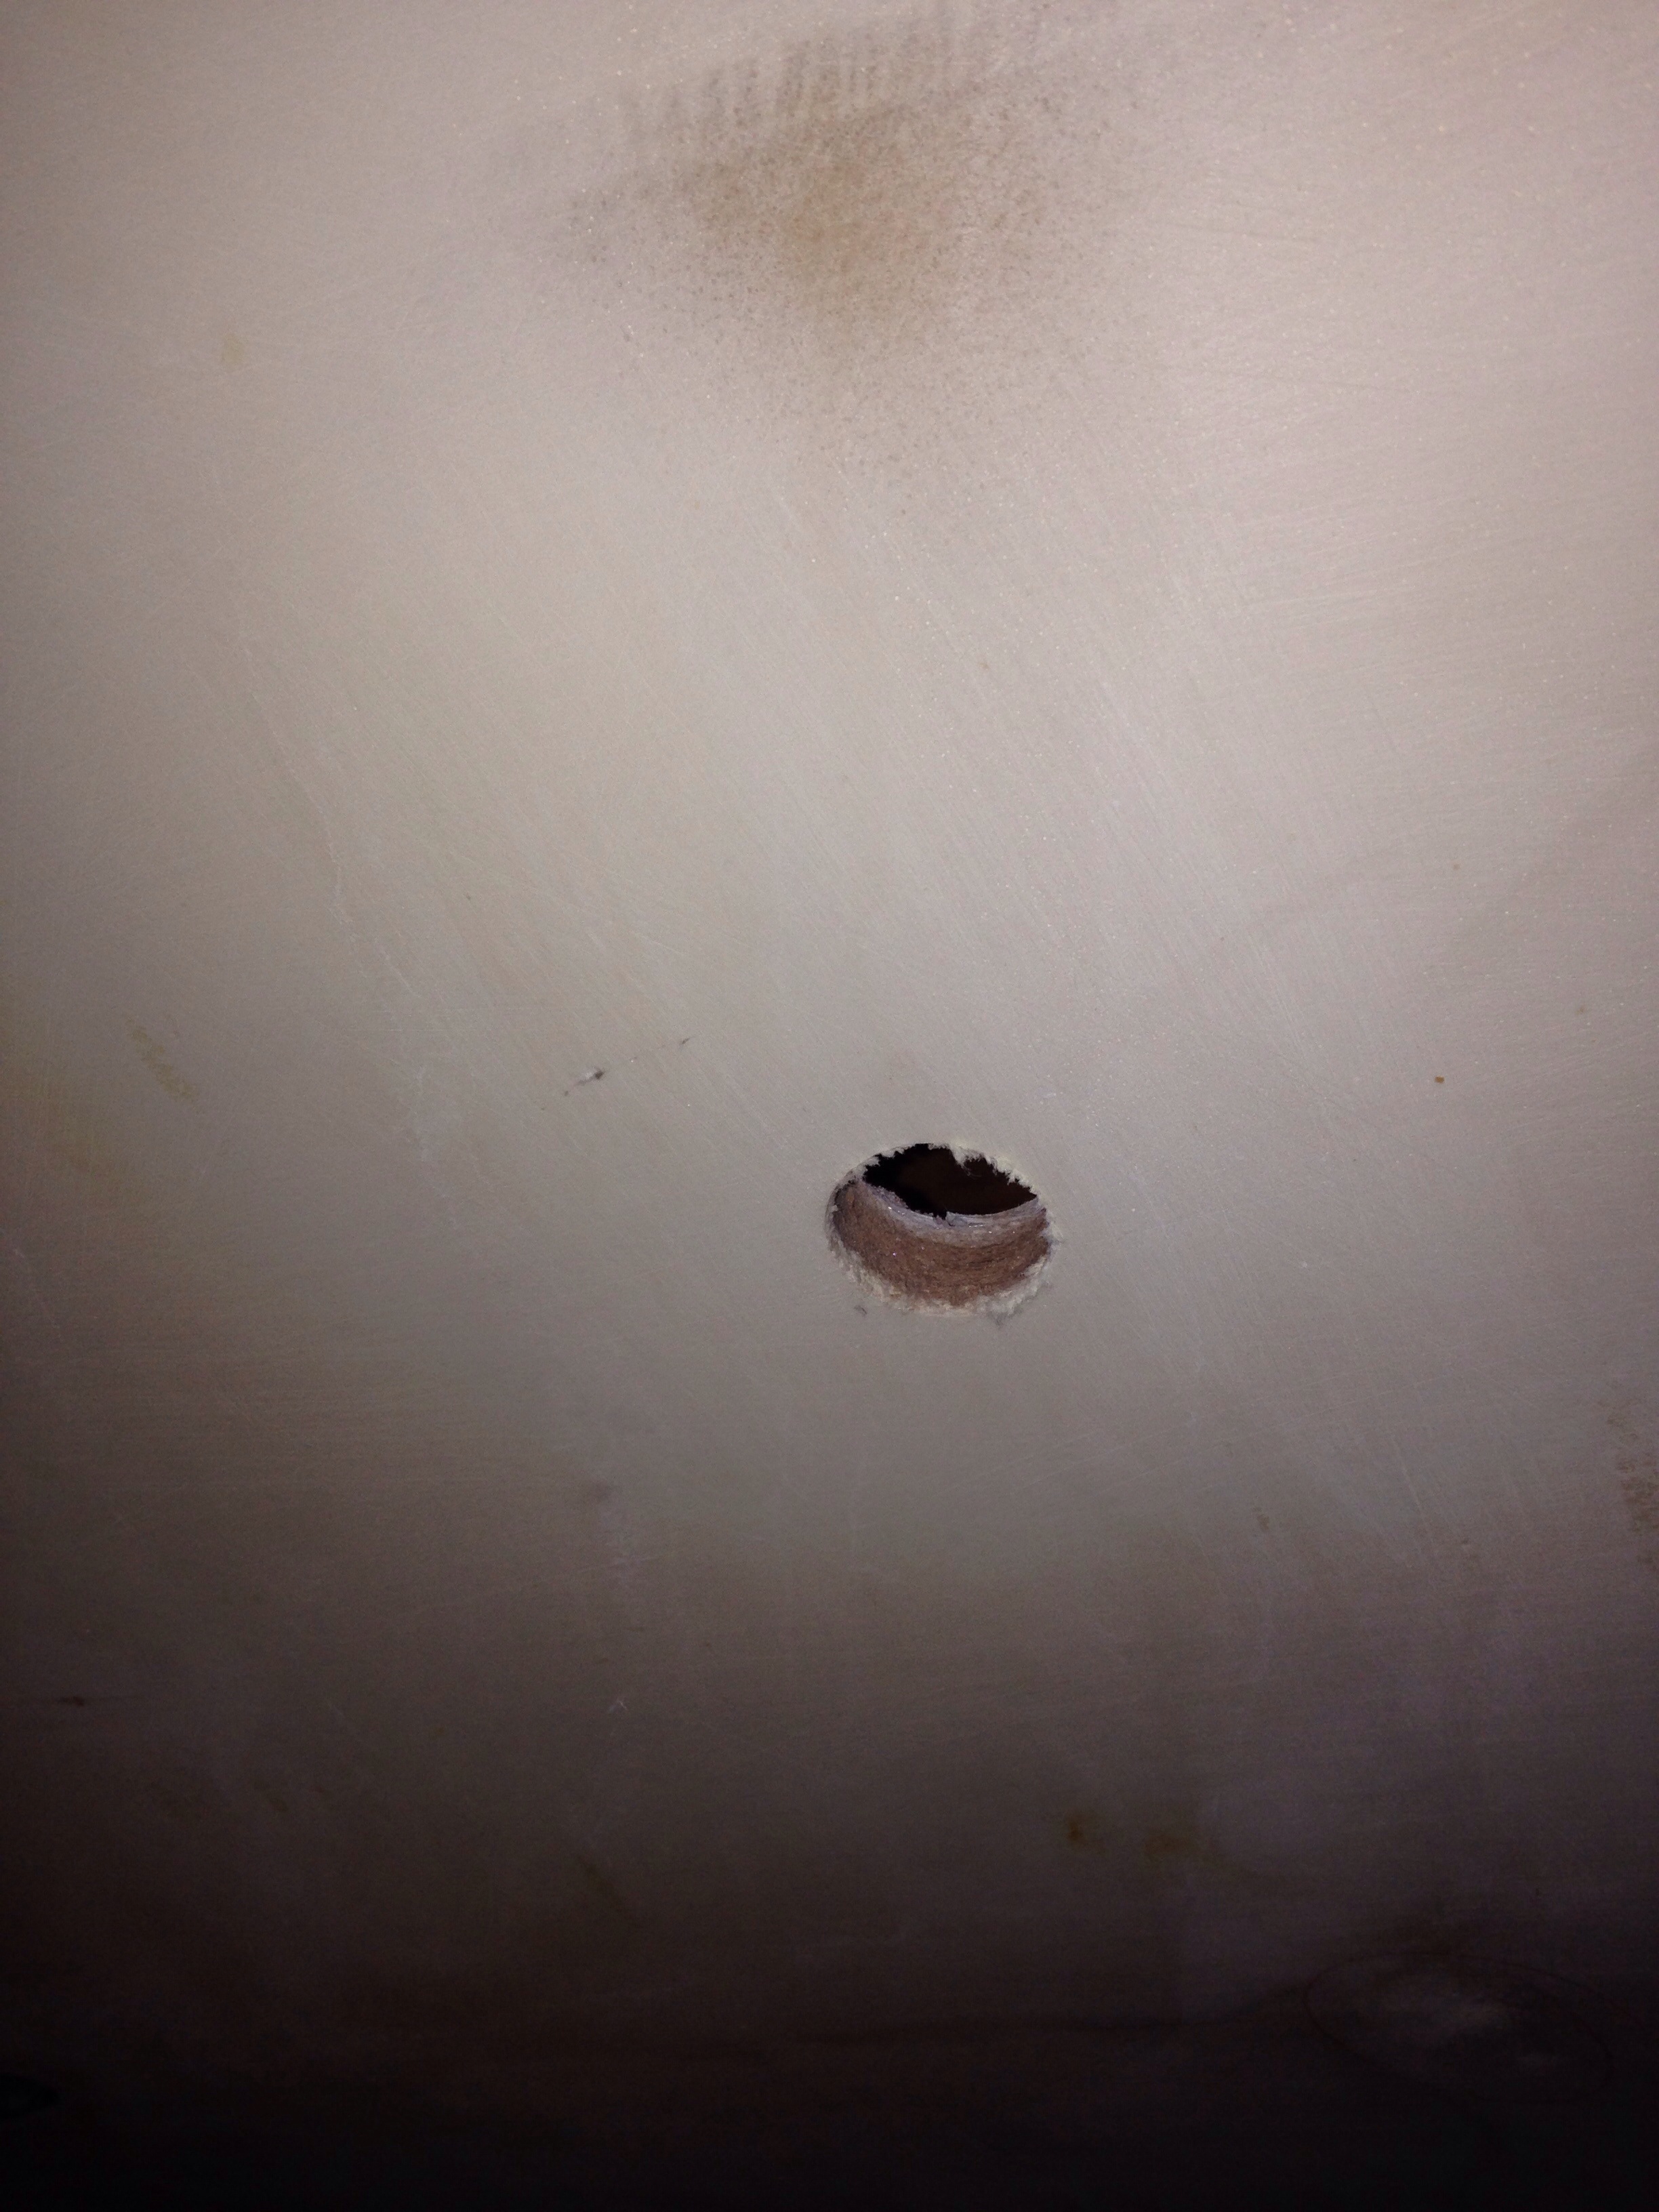
Bought some hardwood tonight so tomorrow we can tackle the plumbing thru-hulls. Best done with a sober and steady hand…

Dining and navigating

Well the boat shop has been busy but there hasn’t been time to post here. The work has moved back to the interior while some final steering and anchoring parts were ordered. I met with a marine electrics specialist to discuss wiring the boat, and agreed to have Joe create a systems schematic as our blueprint. While he prepares the specs and develops the parts list, we’re back at the boat planning the cable runs, panel location and tricks to conceal all the wires while also keeping everything trouble-shooting accessible. Captain Holway will be very happy when he sees how the electrical access turns out.

After the head, we moved on to the dressing/wardrobe cabinets and now the nav station and galley. All done first in cardboard as templates for the foam core fiberglass panels.

Here’s some seat back storage in the dinette, looking aft towards the galley.

20150210-002412.jpg
Then panning left; the light tan bar in the middle serves as the backsplash to the galley counter and stove.

20150210-002534.jpg
The galley shelves all got bonded to the hull walls tonight.
The big hole where you see the orange cord disappearing is the space for the stove/oven unit.

20150210-002651.jpg
The freezer box is now faired in with its extra cubic foot extension, and now awaits paint before final install of the cold plate and refrigerant/compressor tubes. This thing is a tight fit – the black pen lines on the sides are where the side walls of the freezer box meet this back panel. We had this box dimension when shopping at the boat show, but this got pretty snug!

20150210-003255.jpg
Worked wrapped at 11pm tonight with a push to get the radio / electronics cabinet installed above the navigation desk. The large cut-out is to make this face panel hinged for easy access to wiring and installation of various nav and communications components. There’s a foul weather gear locker to the right, a handheld electronics cubby above that, and a sloping cabinet below the desk for charts. The desk’s wood trim was roughed in with fir, but needs some skilled woodworking to make this be a proper focal point in the boat’s fit & finish. Any fancy wood inlay ideas for the desktop out there?

20150210-003919.jpg