Big like a bear paw

The first shipment of standing rigging parts came in from Colligo Marine. These are the lower anchors for the cap shrouds – 2 of the 3 big lines that hold the mast up.

20150130-080321.jpg
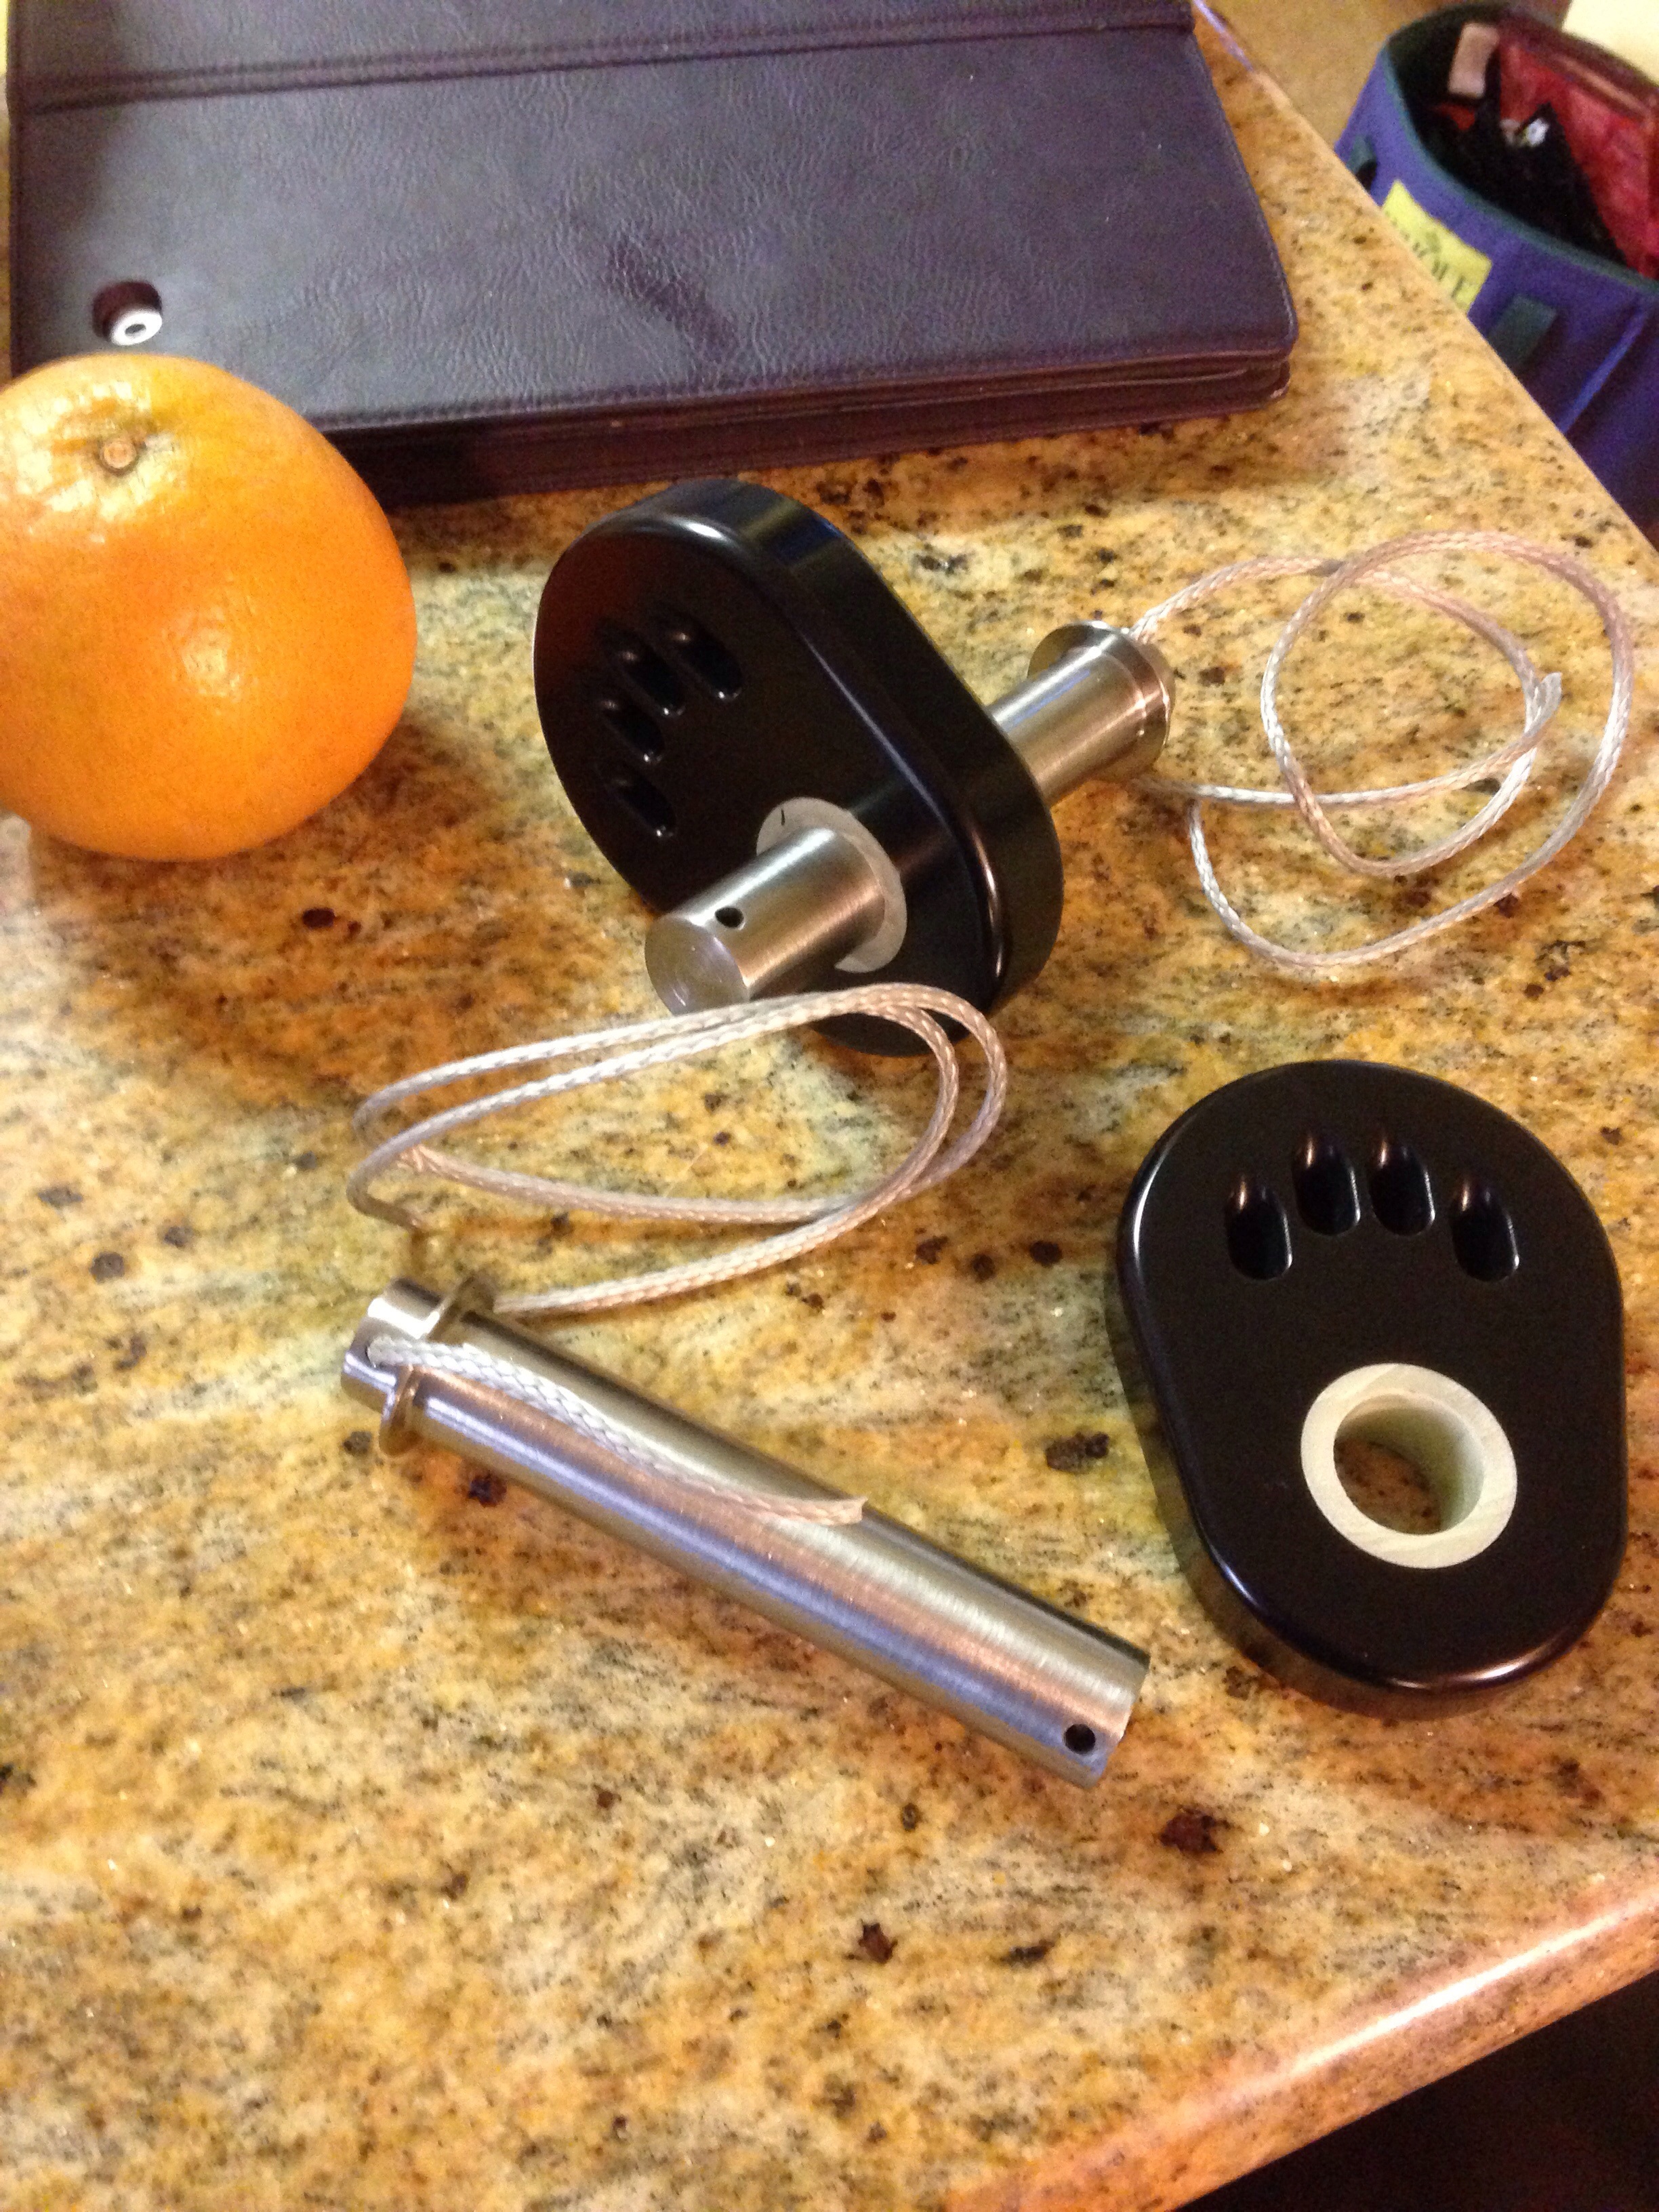
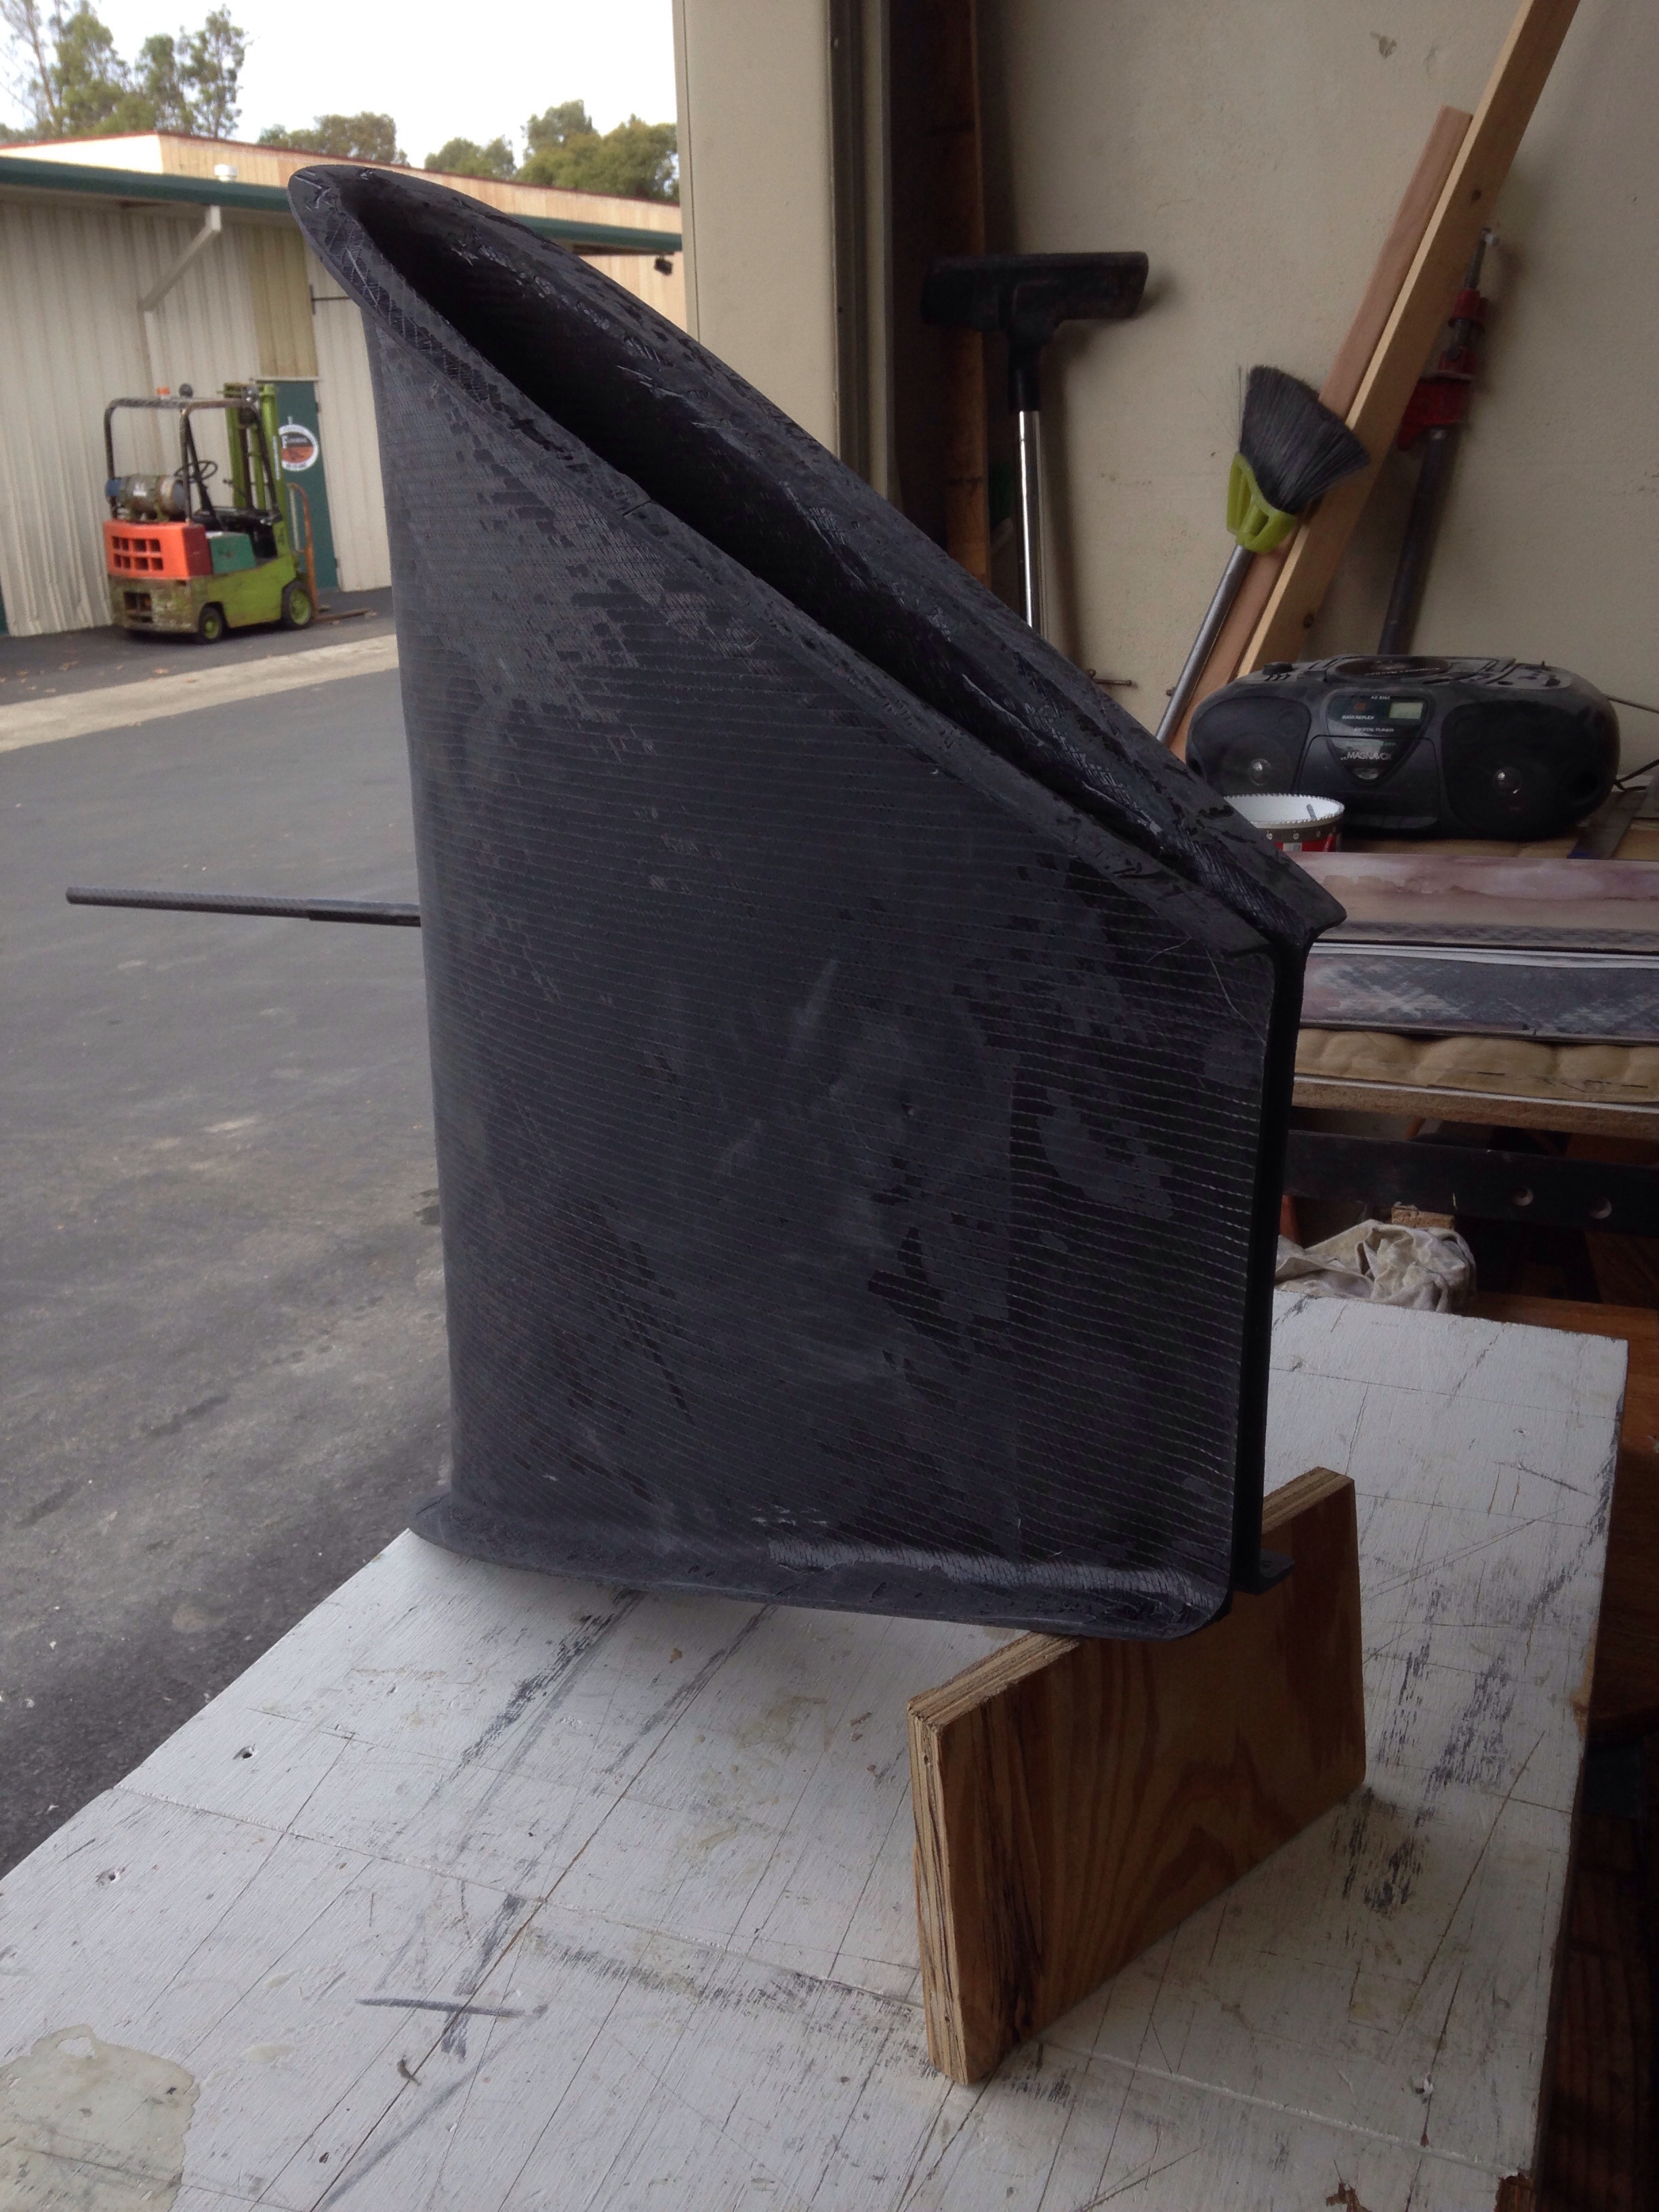
We needed to have these parts in hand to properly size the “chainplates” to build in to the outer float hulls, receiving these anchors. These things used to be big steel plates bolted through the hull with huge chains attached to them. Instead, we’ll make them in carbon fiber, light and strong.
Grapefruit in photo gives some scale; these parts are at least 3x the size of similar parts on the F27. Colligo’s work here is beautiful.

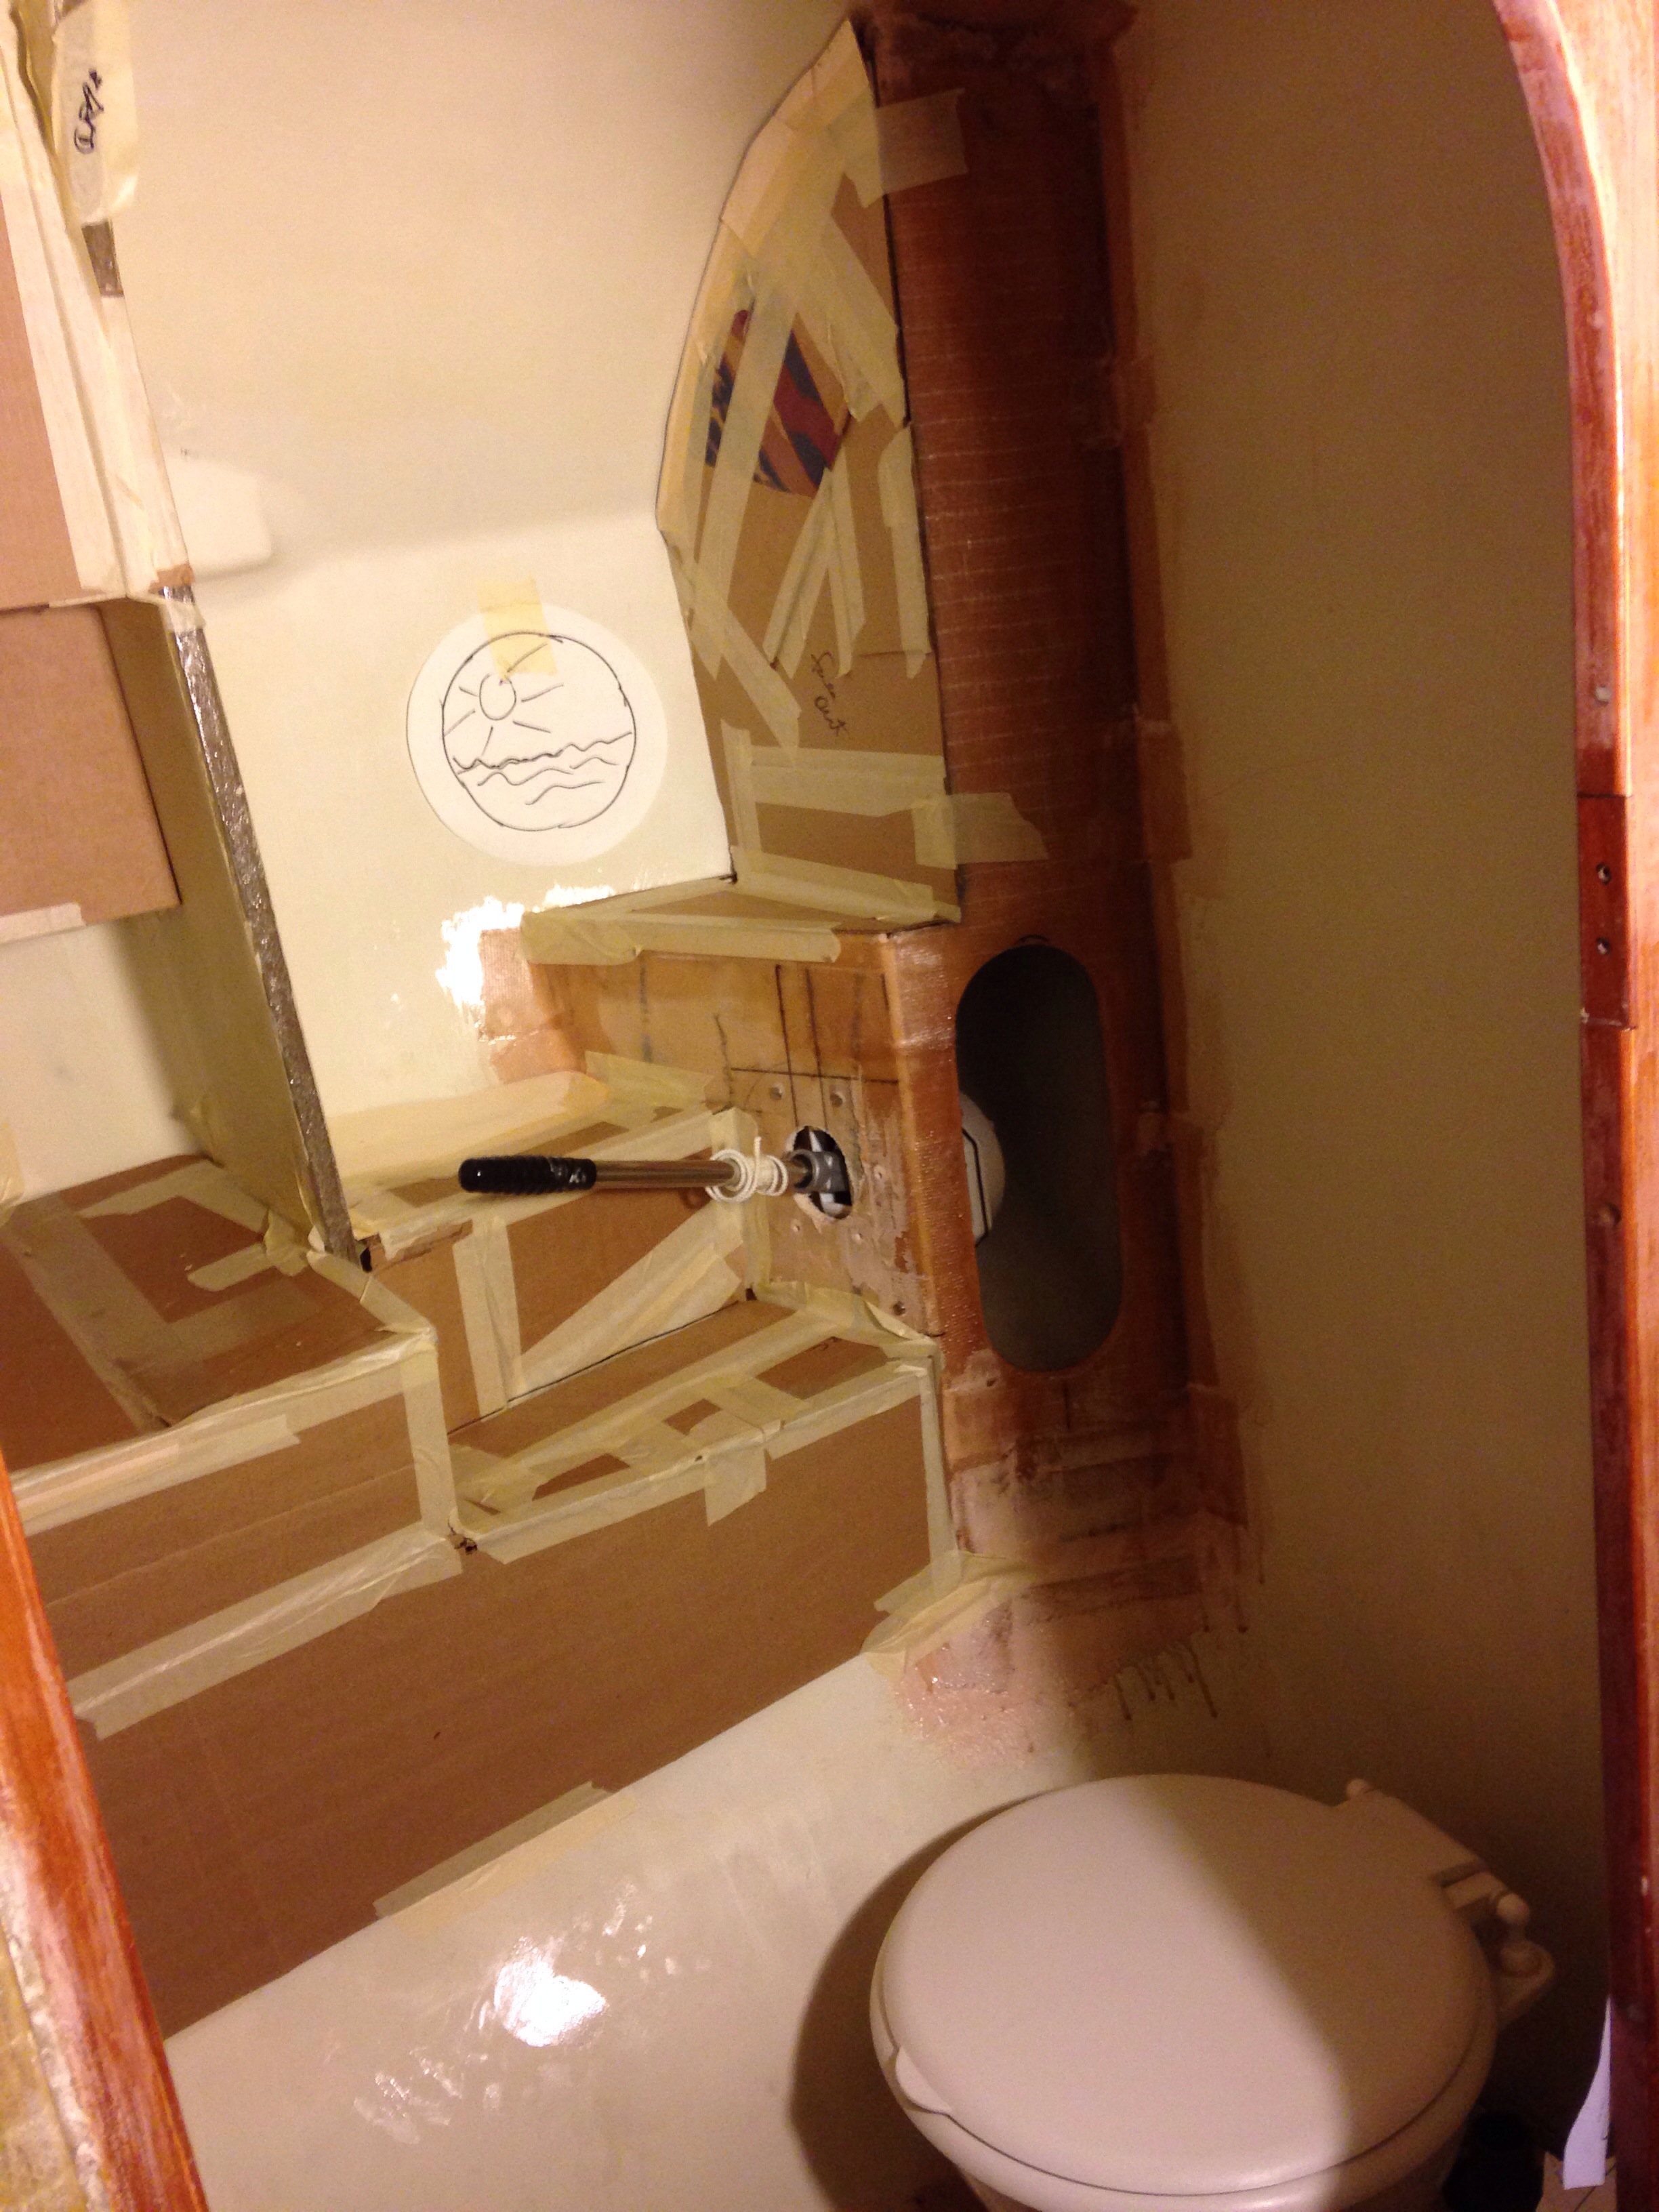
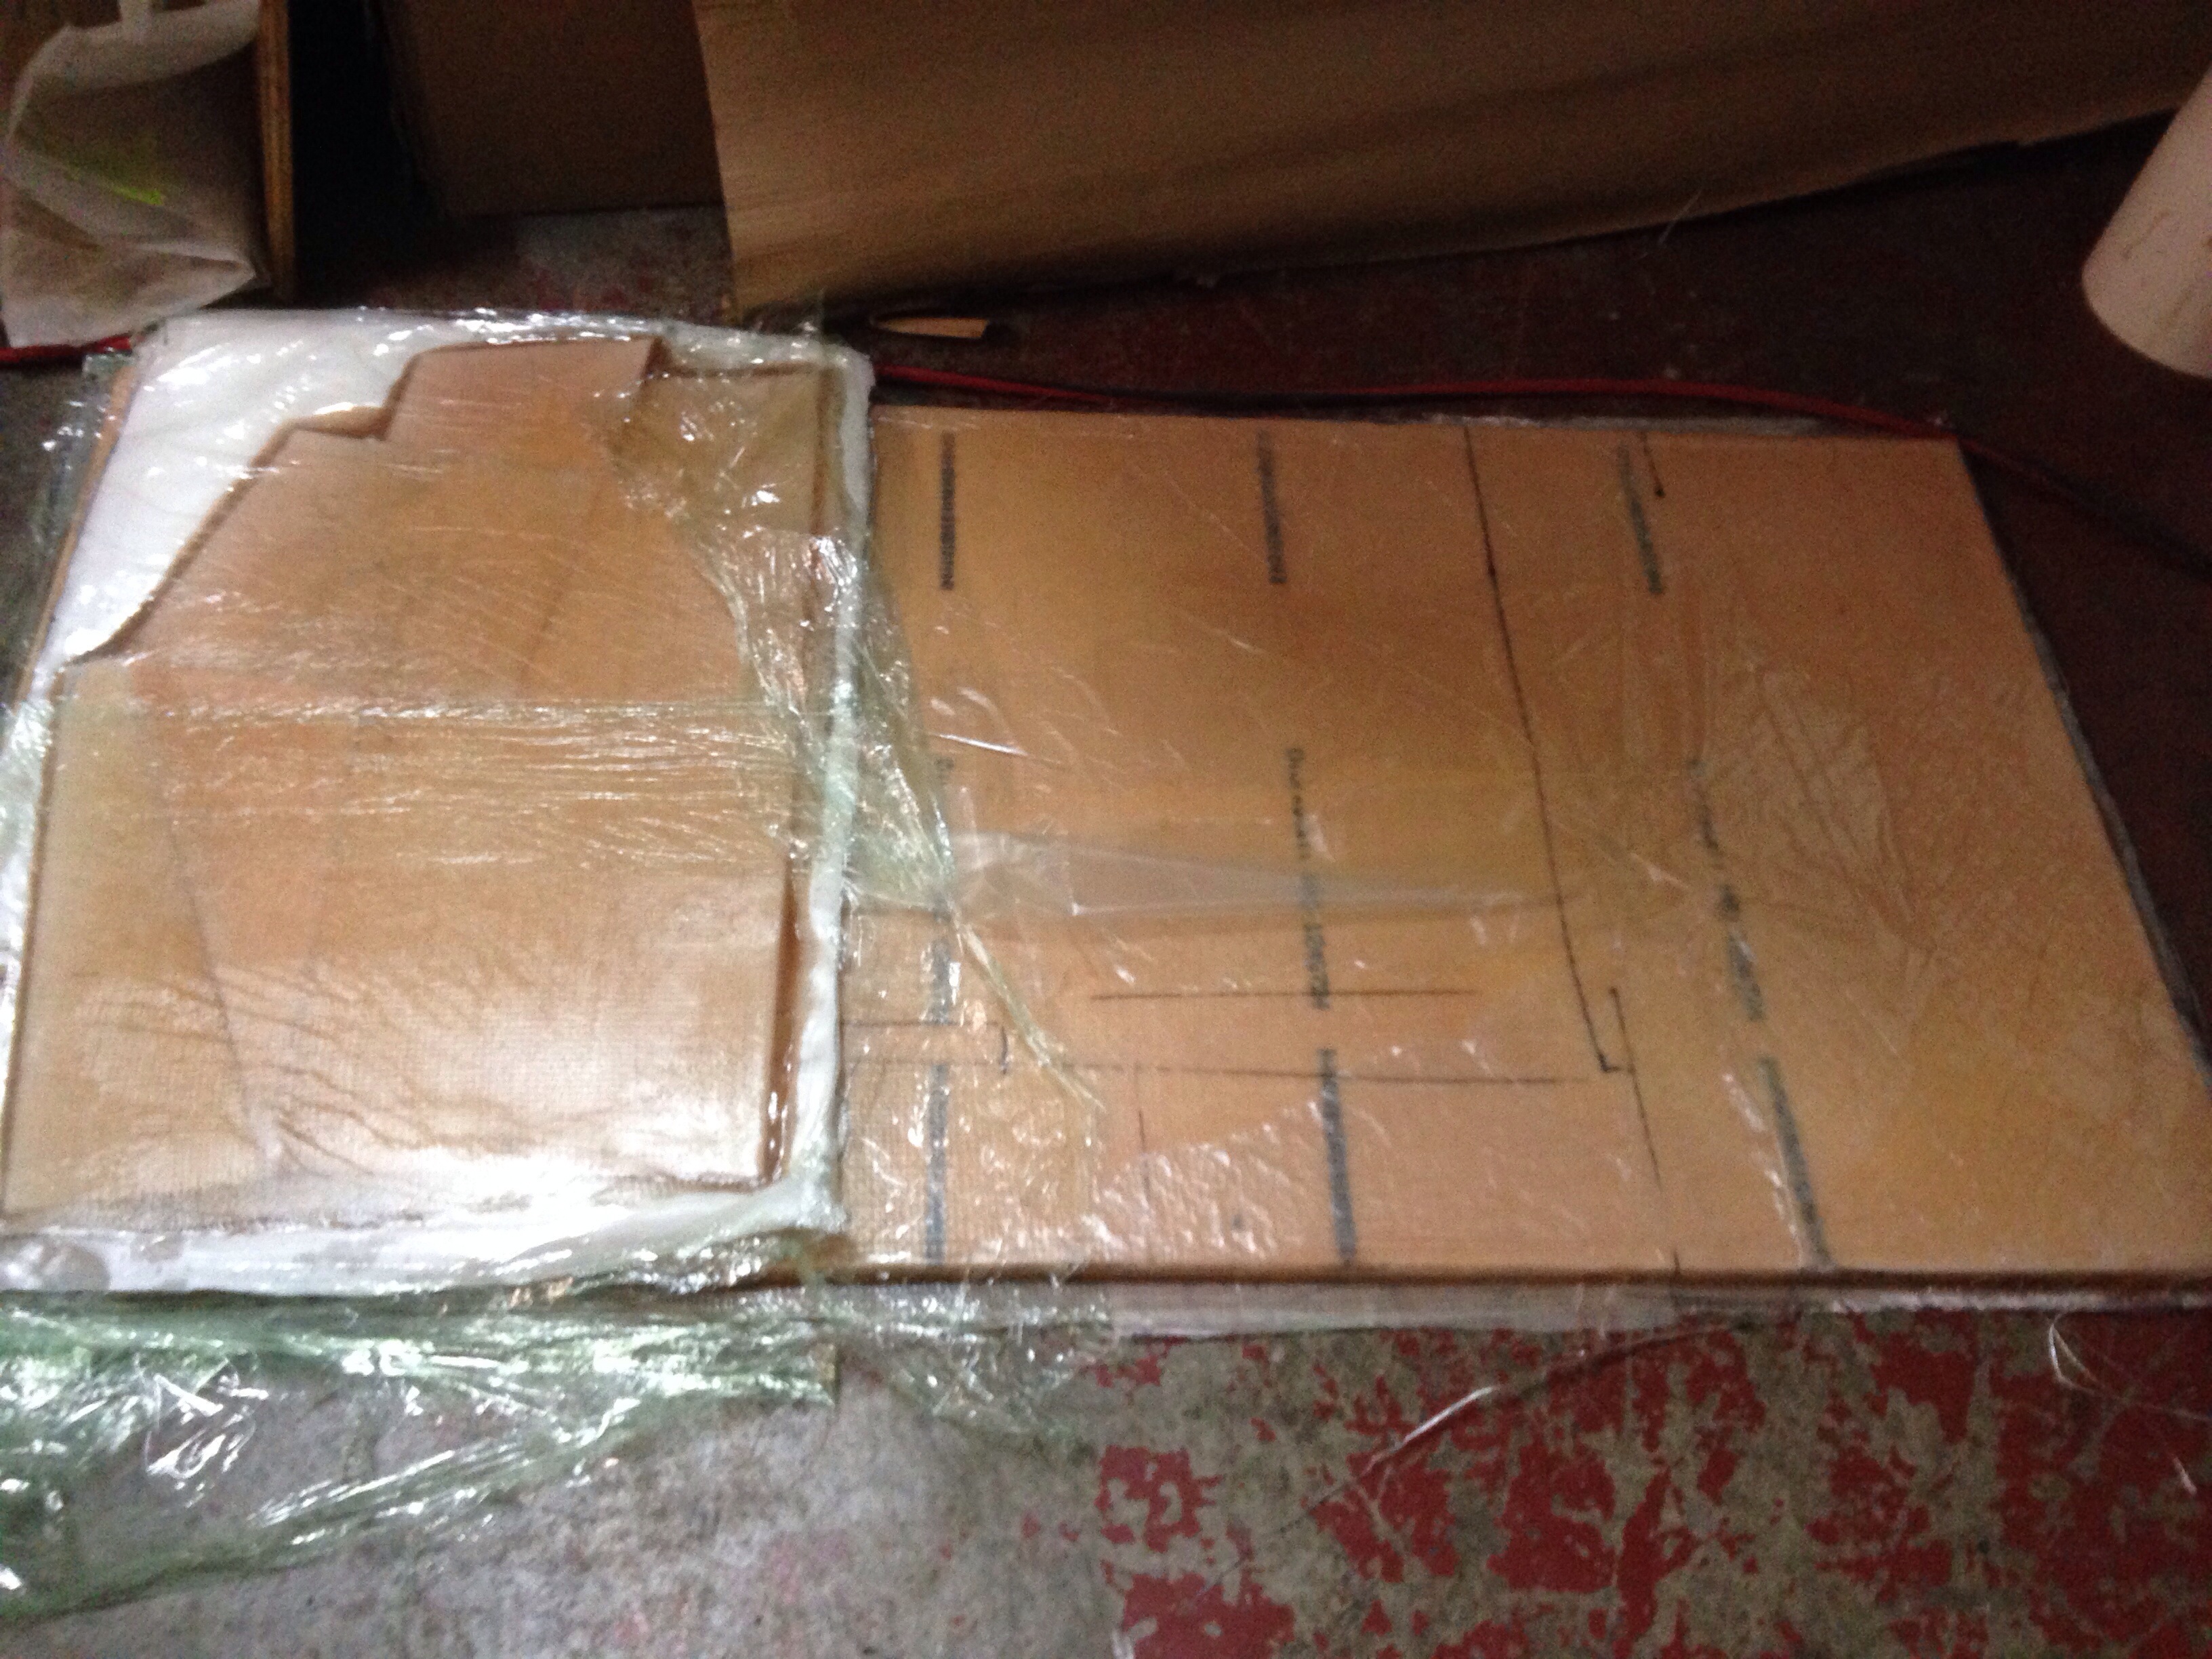
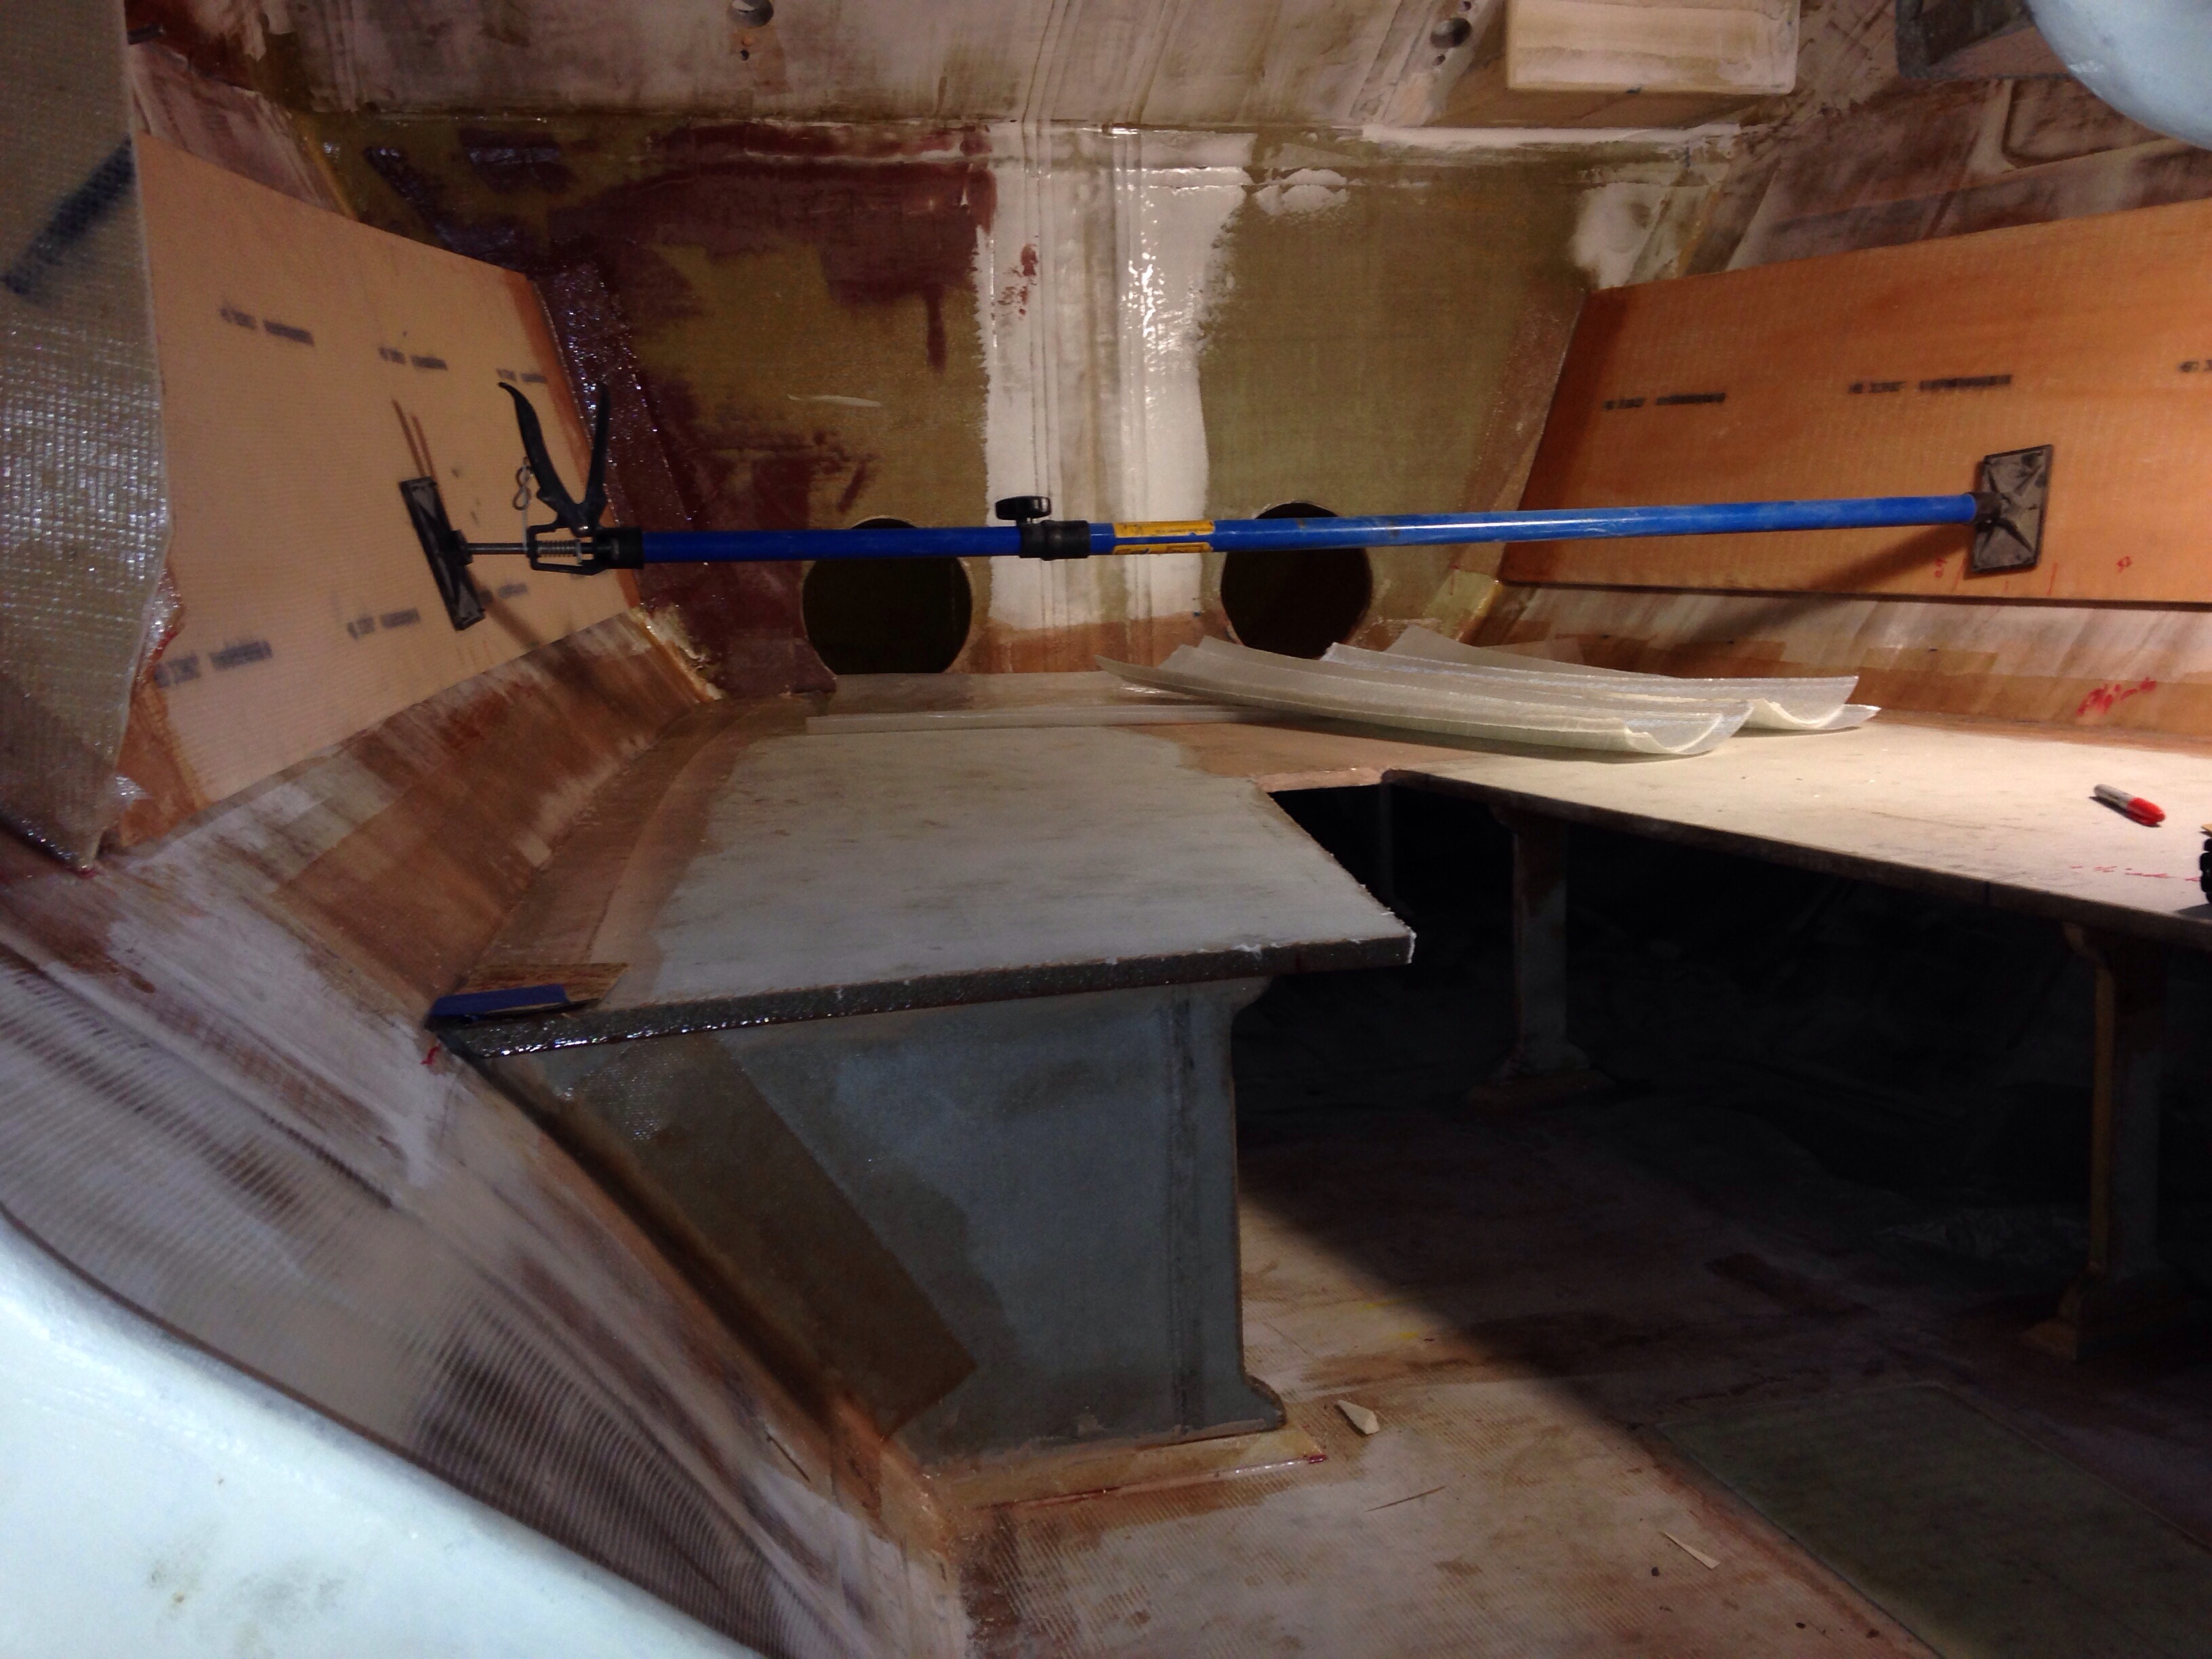
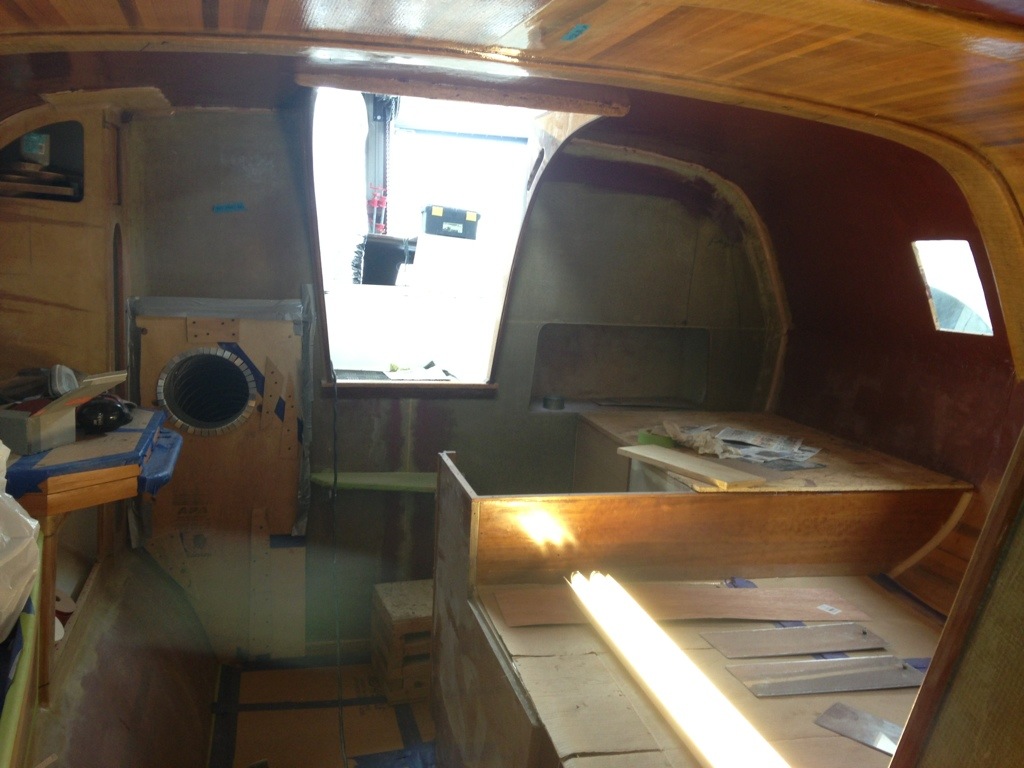
The head compartment cabinets are all faired in, ready for paint. Need to make a couple of doors, and the L shaped part in the right of the photo is a removable section for easy access to the toilet plumbing.

20150130-081010.jpg

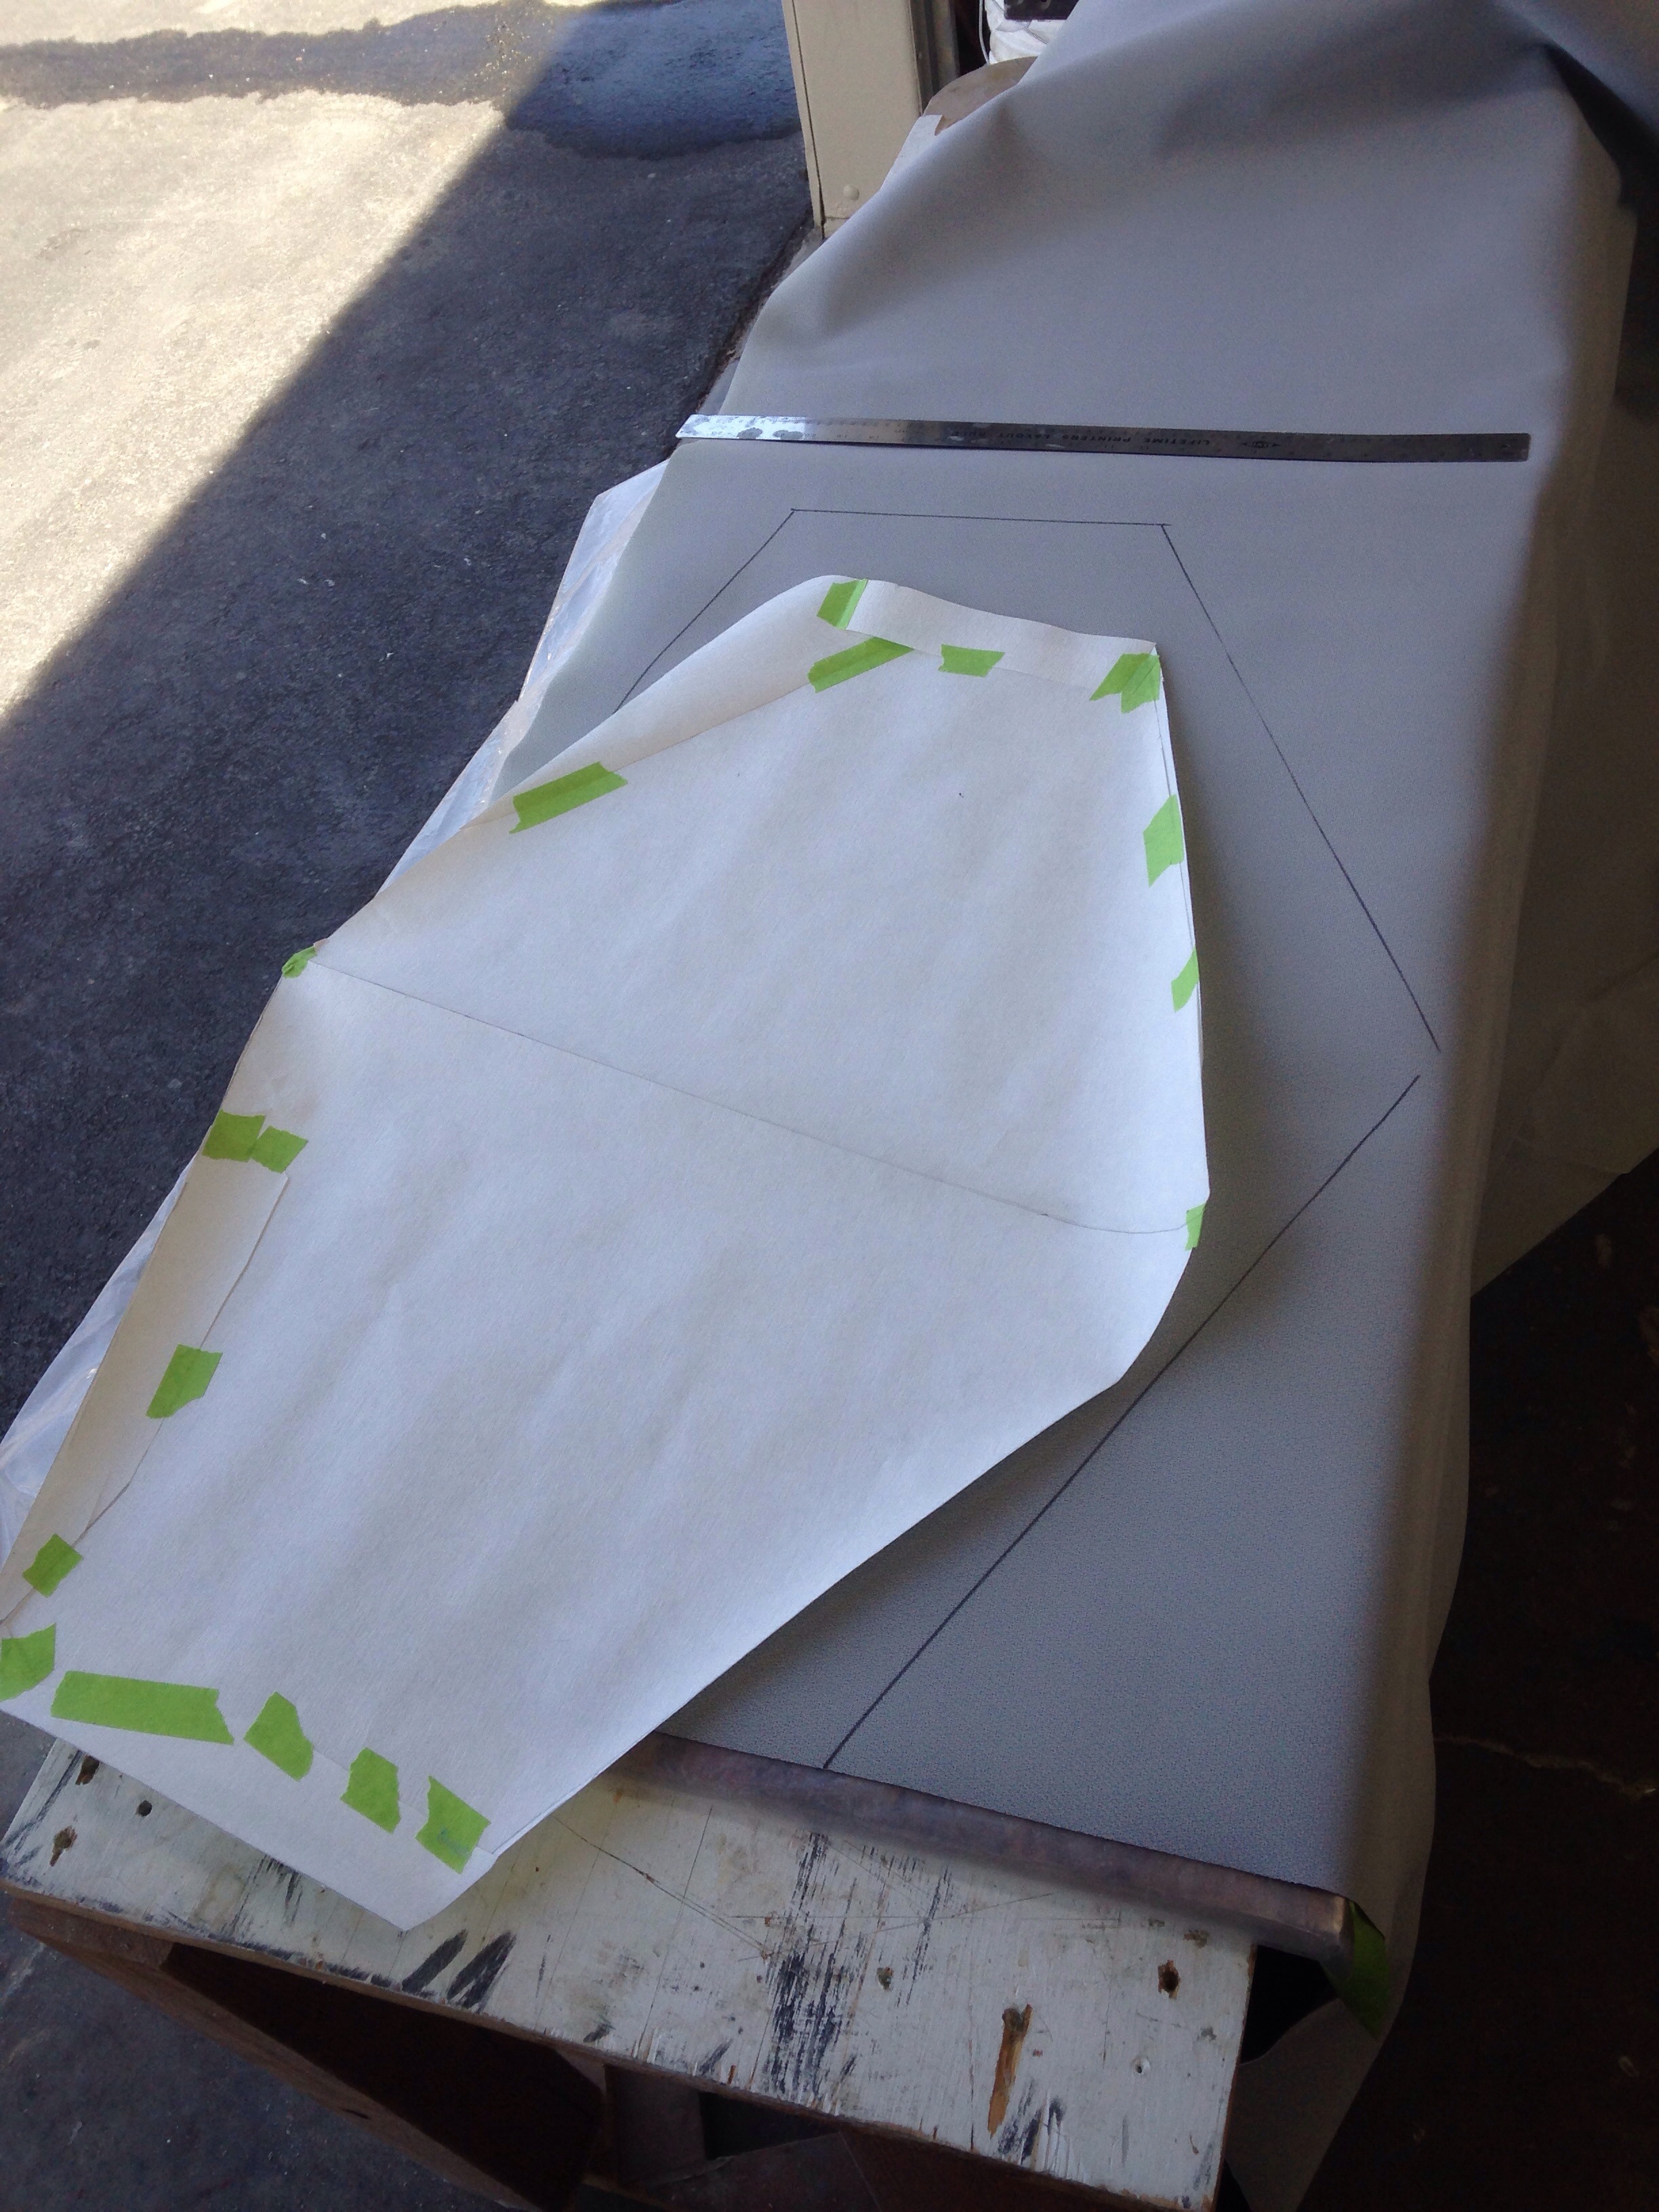
Now we’re repeating the process of cardboard mockups for the dressing / clothing cabinets outside the head area, and the galley cabs. Jeanne came down to the boat and we mapped it all out yesterday.

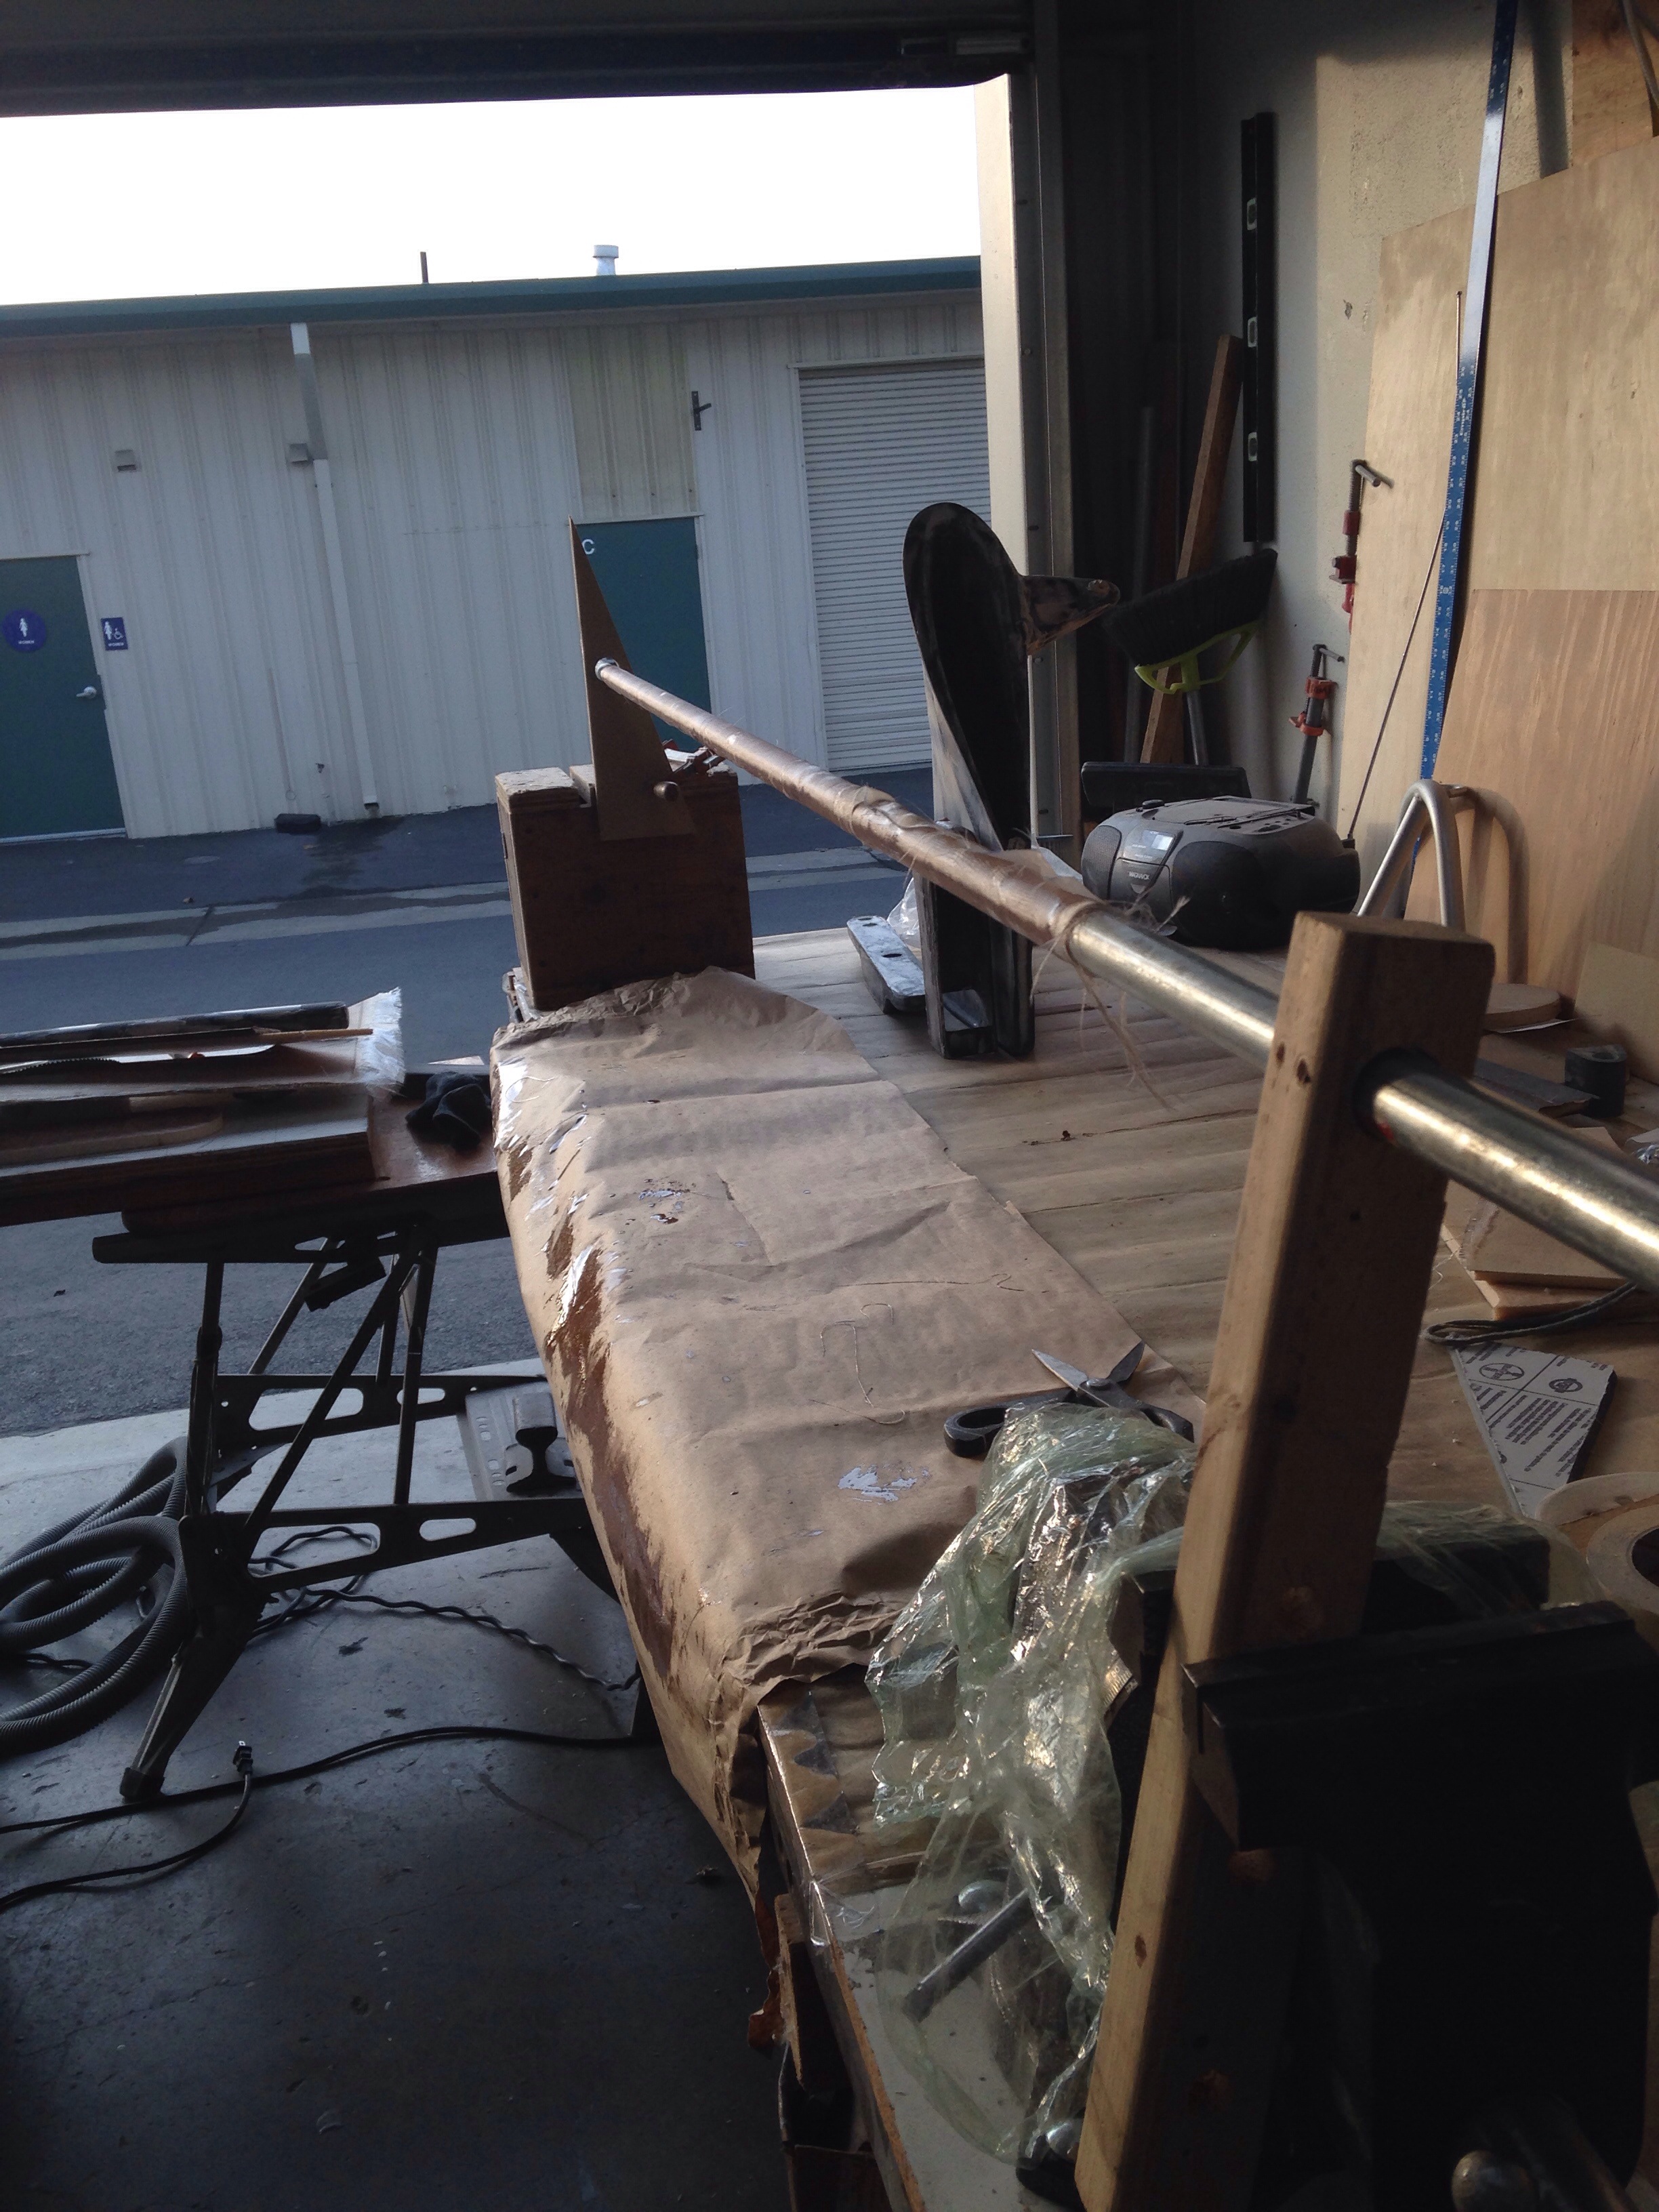
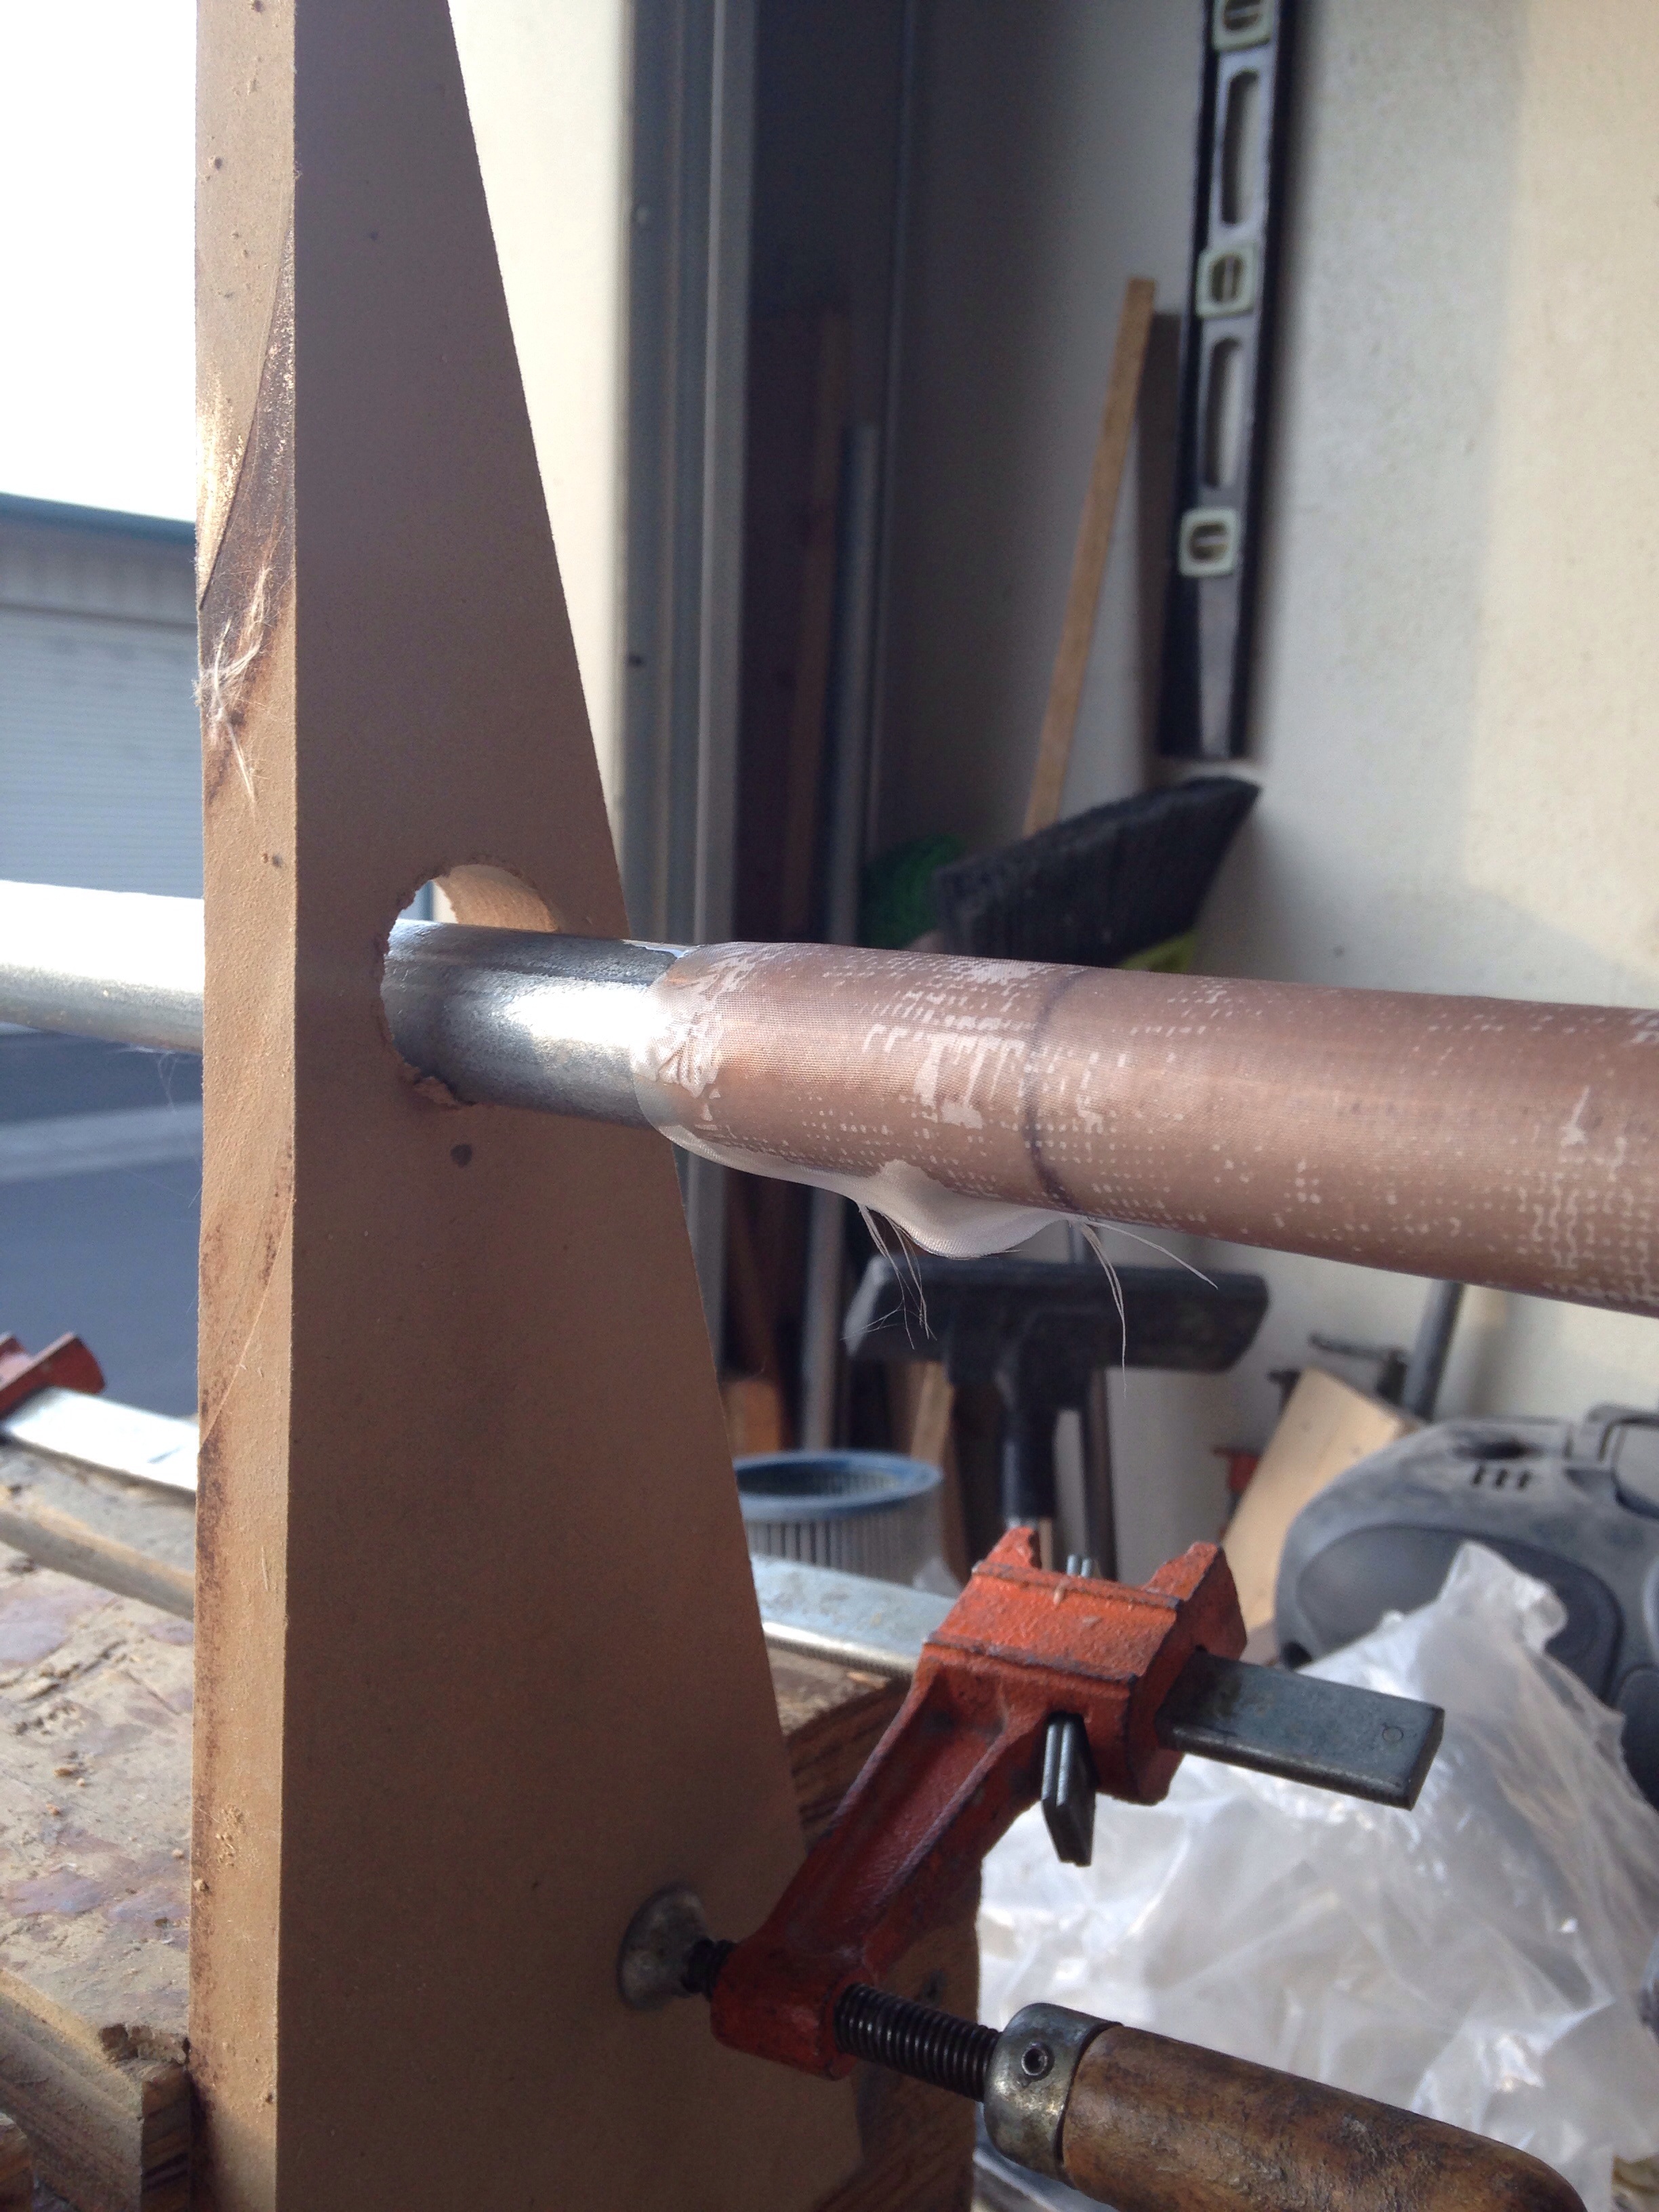
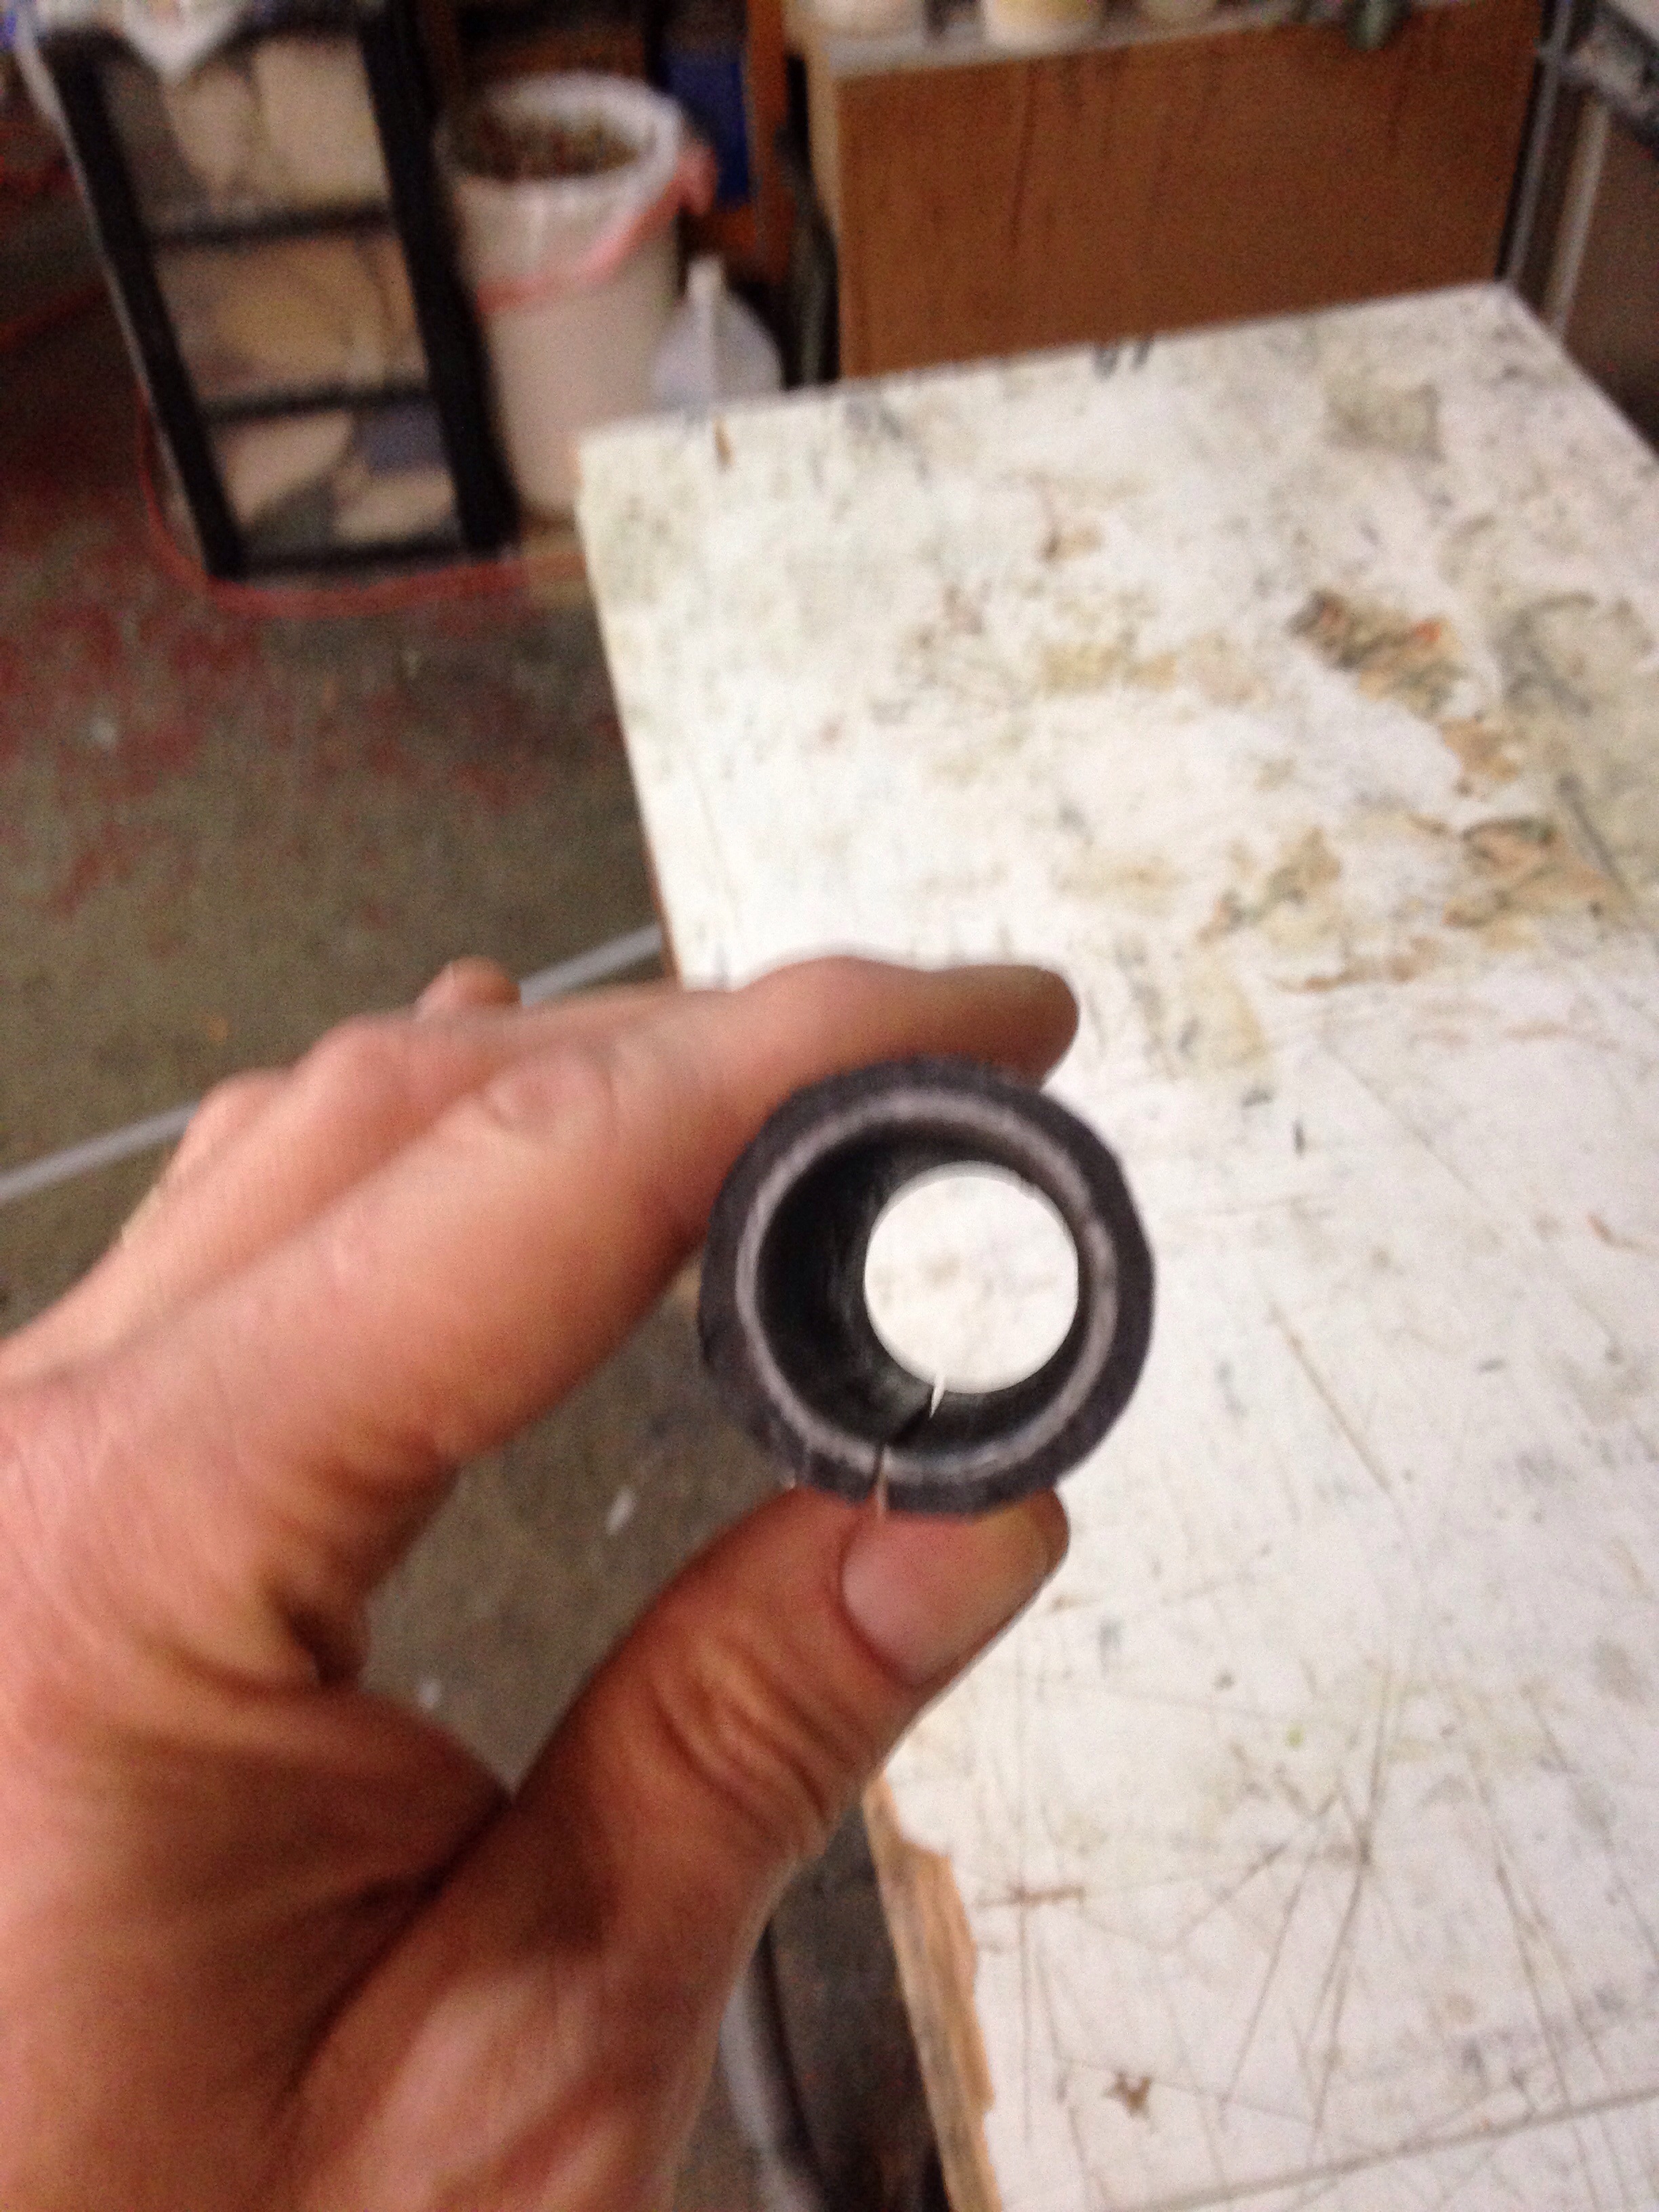
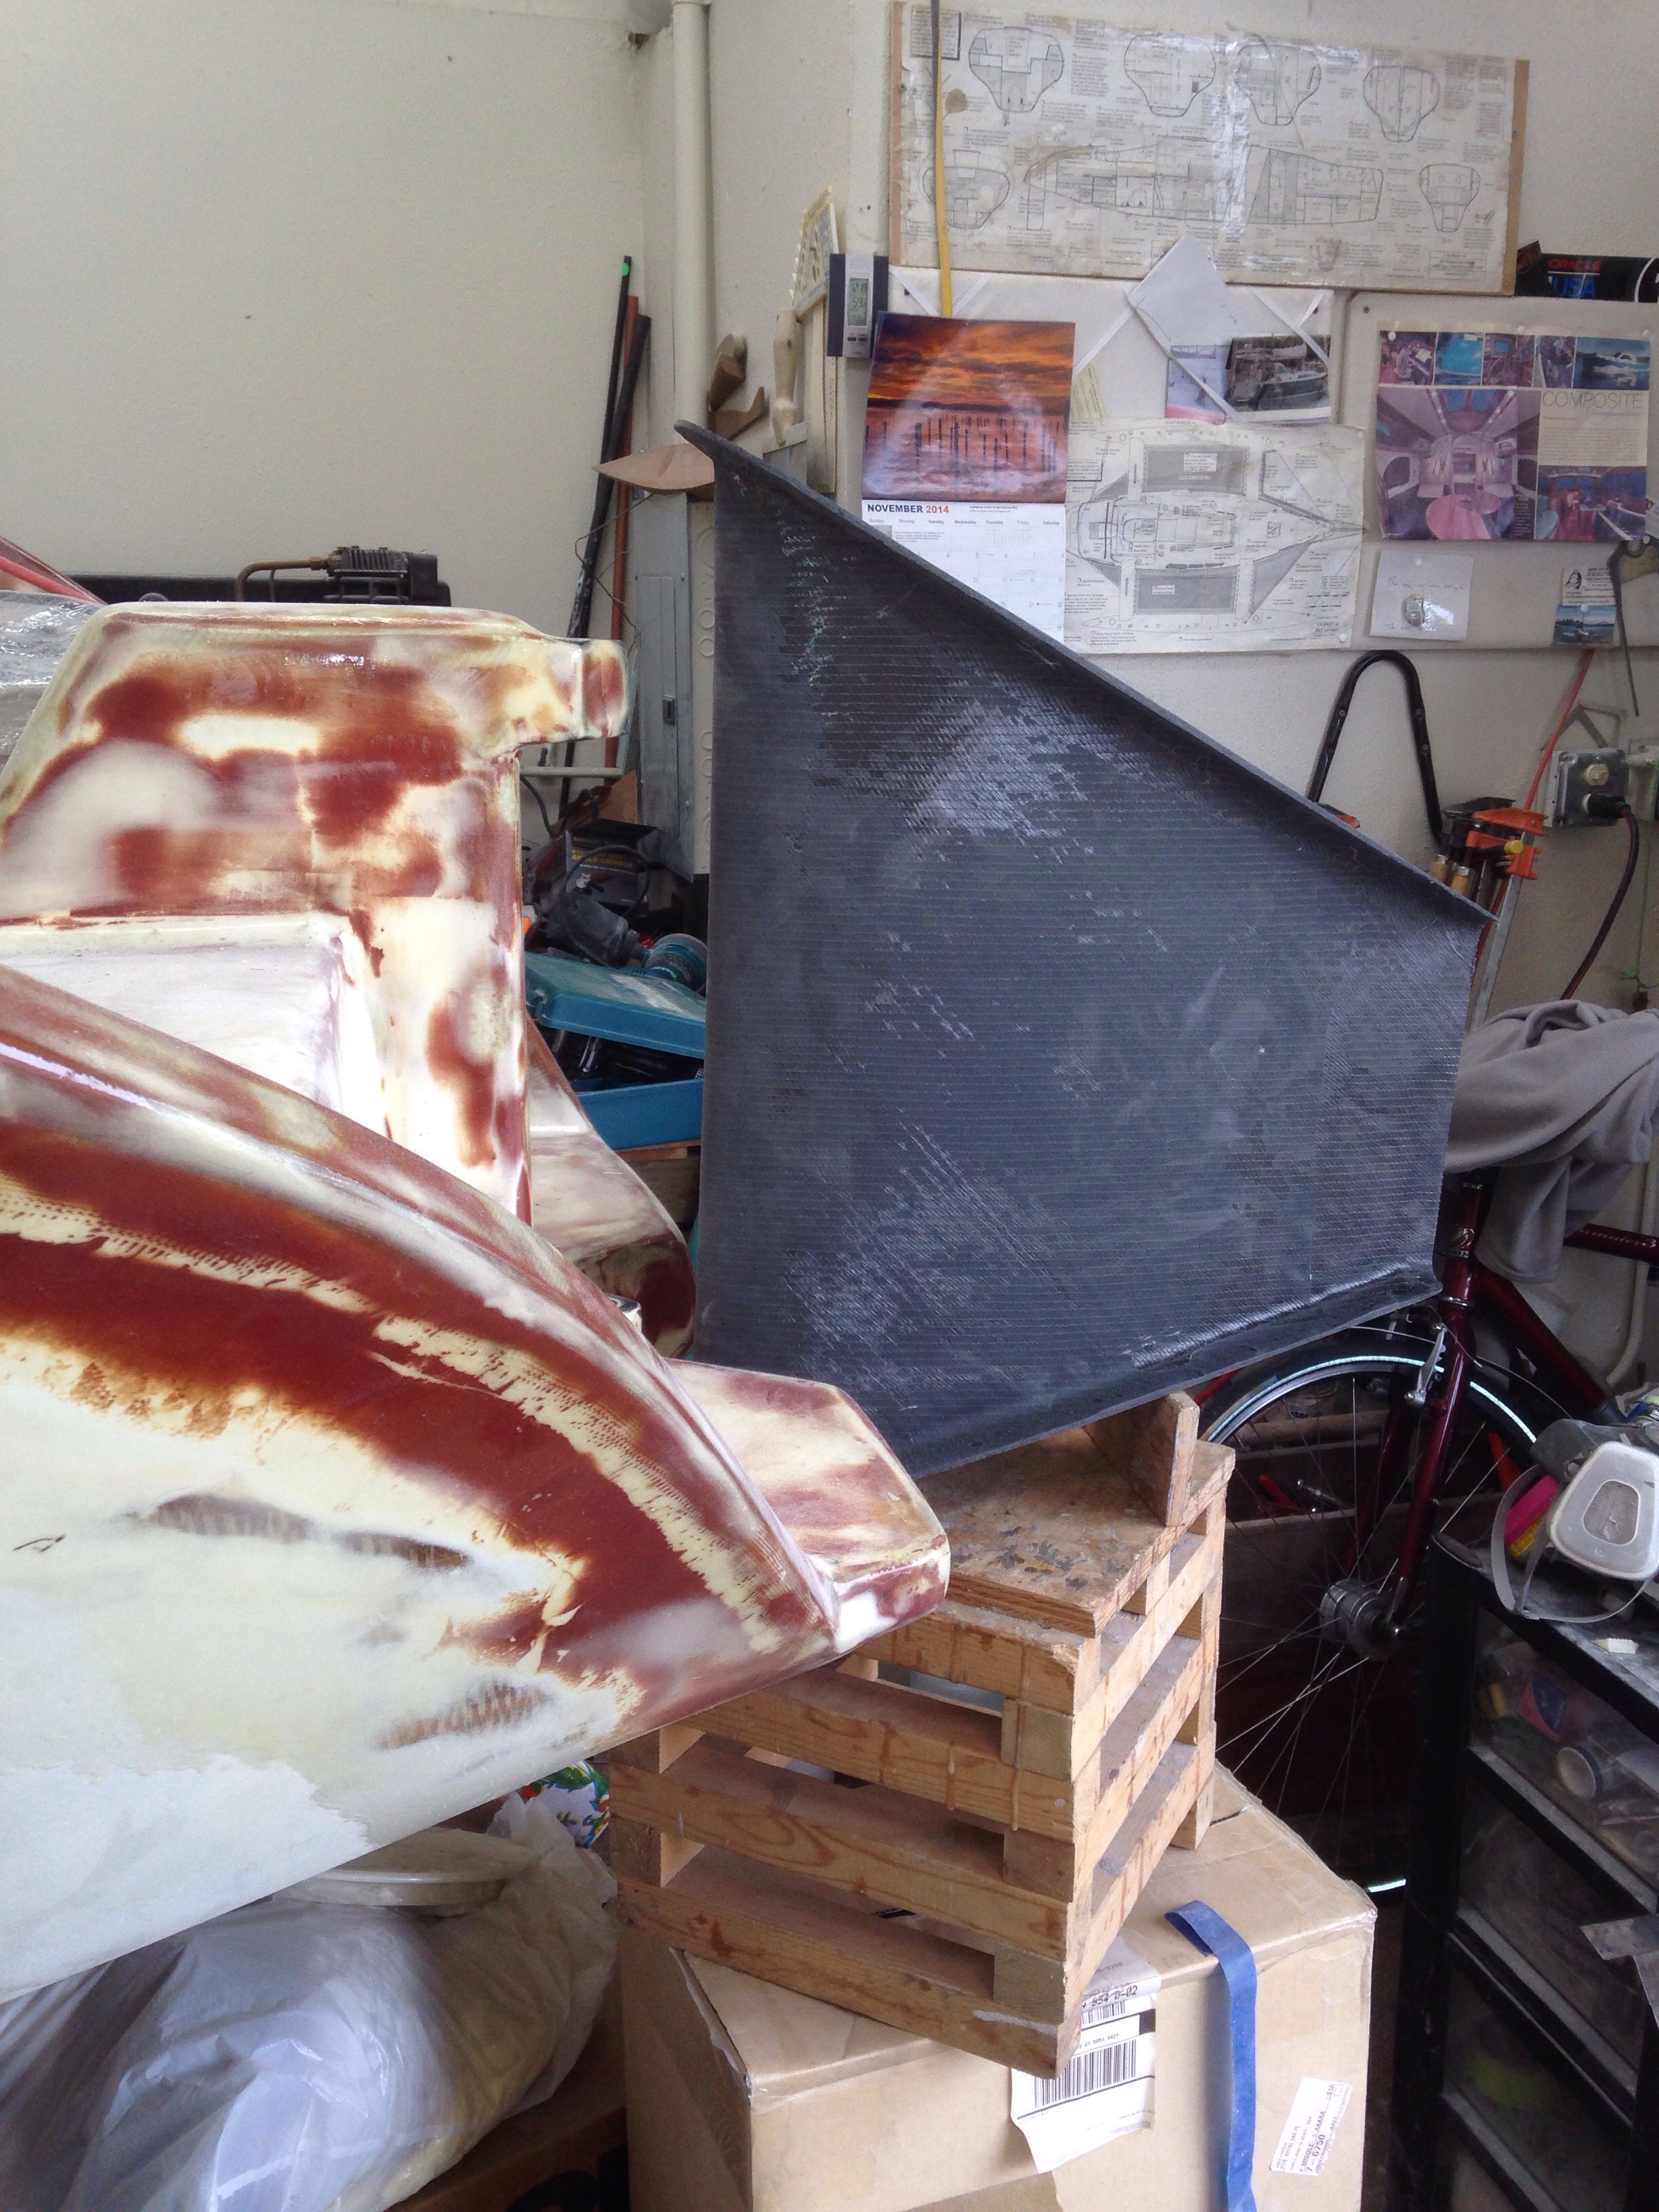
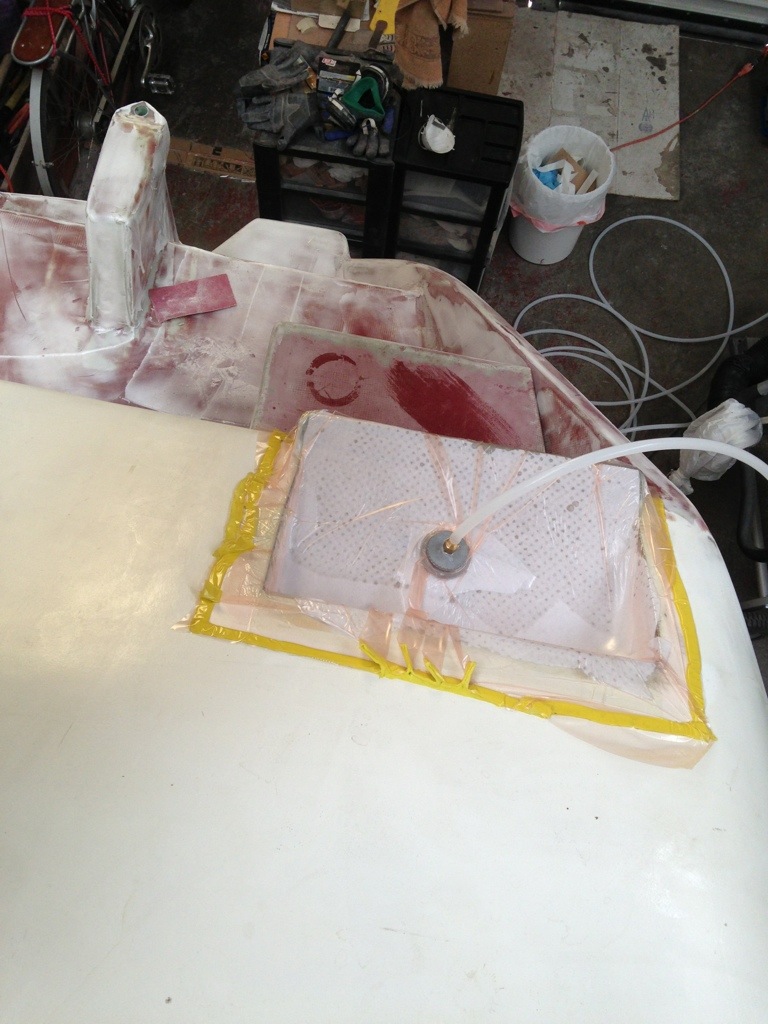
Down on the workbench all of the new steering components got completed and faired out for paint. Just need to get a couple of bushings in then we can mount it all up and show you.

20150130-081301.jpg
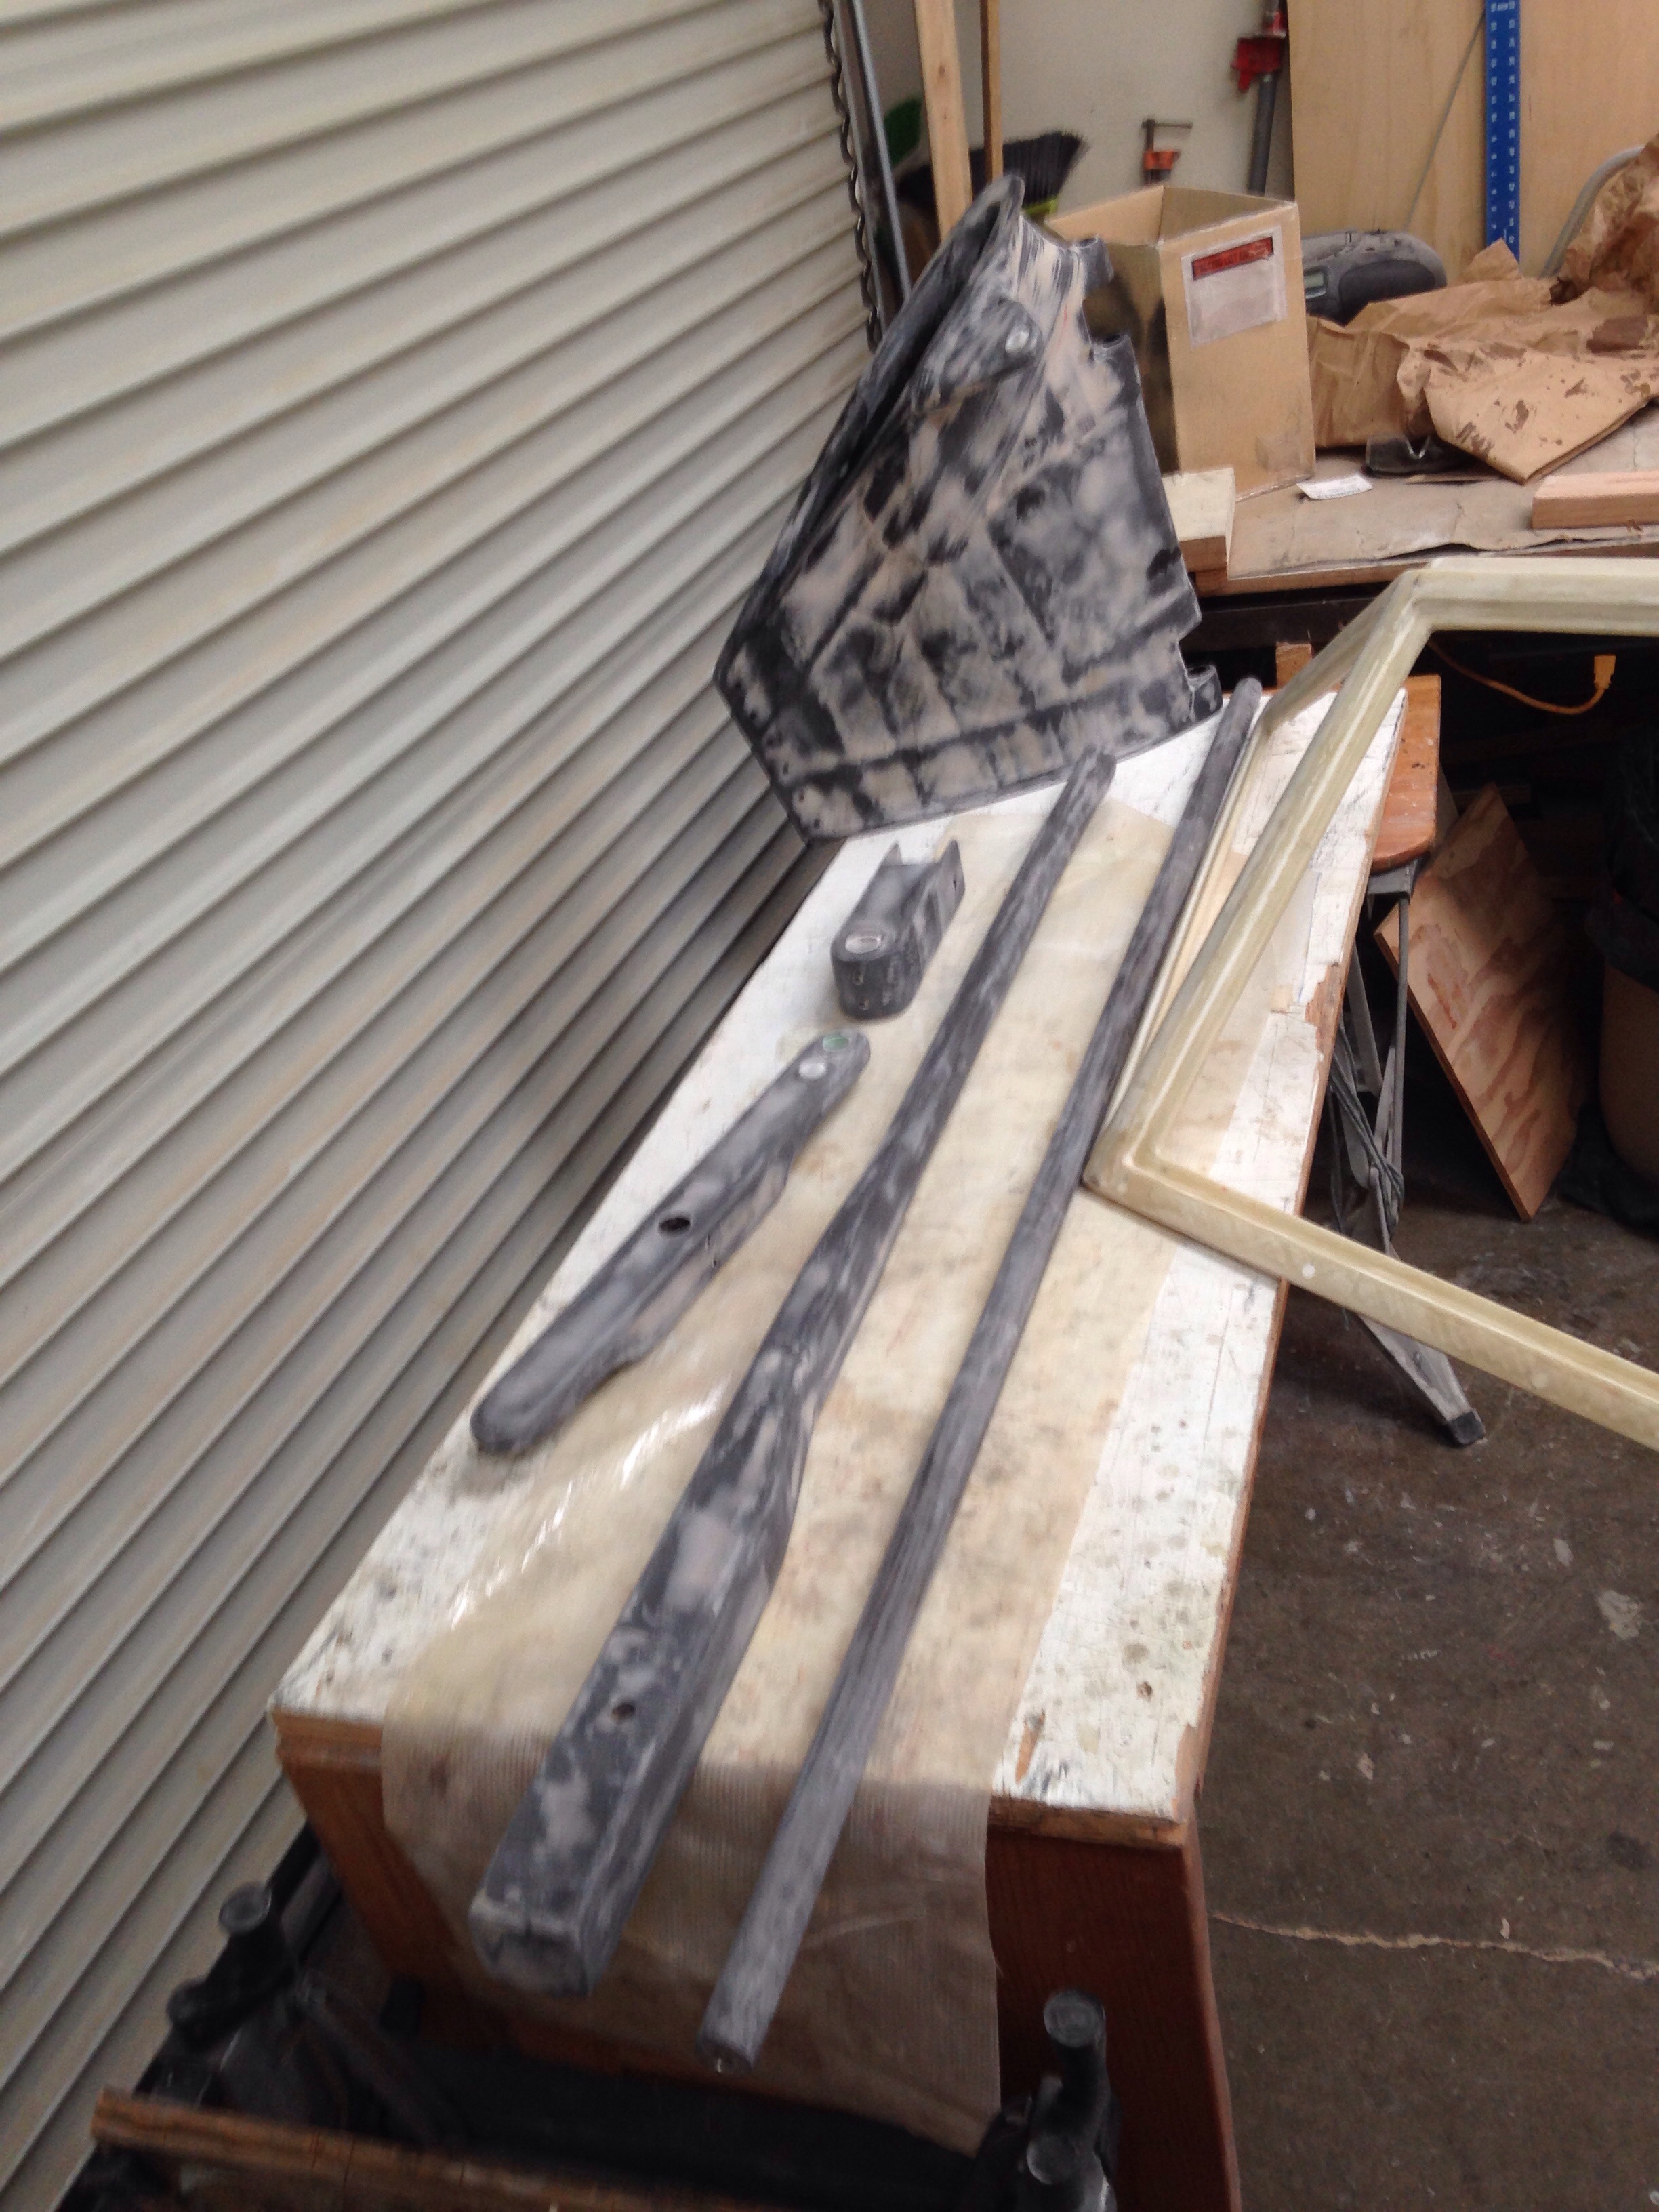
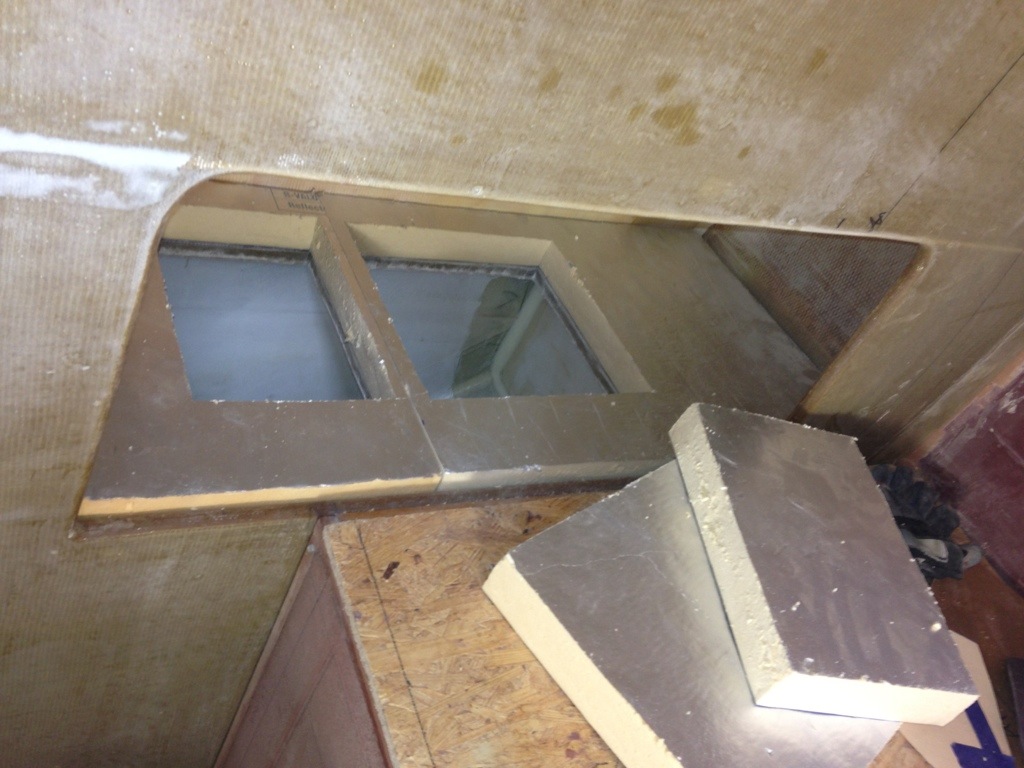
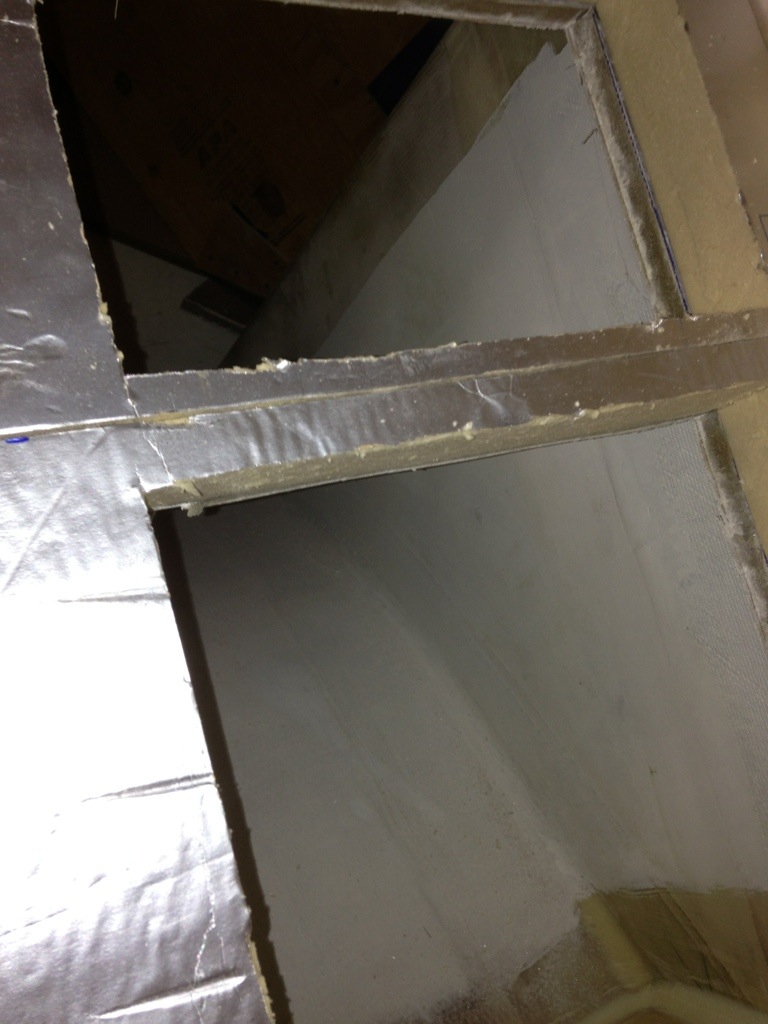
And that’s the edge of the windshield in that photo, also FINALLY ready for paint. So much fussy detail sanding and fairing on that intricate big part, and it was frustrating me so badly that I set it aside for months until Charlie came along with a fresh attitude and tamed the tiger. Thanks man!

Adventures in cardboard & carbon

Since we’re saving time making the bow sprit from aluminum stock, that eliminated the anticipated fun of trying to make a carbon fiber tube. But we found an outlet – the six foot steering connection rod you’ll see soon between the new tiller pivot point and the rudder cassette.

I don’t have much success getting all-around-glassed parts off the mold or mandrel, So thought we tried the method where you start with a thin fiberglass layer and make a lengthwise slit to get the new tube off the mandrel.

20150119-173200.jpg

20150119-173221.jpg

20150119-173239.jpg
Once this thin tube was free, we rewaxed the mandrel (which was a piece of metal electrical conduit) and slid the tube back on with the idea that the finished carbon layers would not get stuck to the mandrel. Since we’re “free styling” on this project and it’s the primary steering linkage (a REALLY important part) it seemed that five wraps around with 9oz unidirectional carbon was prudent. Well that many layers of hot epoxy plus the vacuum bag smashing it in and no PVA mold release, etc meant no way was that finished piece sliding off the mandrel. So we made another slit and went back and resealed it afterwards. The result is a pretty thick tube that is comforting-ly stiff when you lean hard on it with no flexing.

20150119-173818.jpg

20150119-173839.jpg
The only metal in the steering system will be stainless steel nuts and ball joints embedded in each end of this tube, plus the bolts to connect pieces. Everything is built now but the rudder bearing I bought isn’t right and needs to be replaced. So stay tuned for the completion soon on that project.

And now to cardboard… It’s not the most elegant way to dream up bathroom cabinets but it works for us. The trick here was designing around the hand pump for the Lavac head and the big mounting brackets where the port side forward beam bolts to the center hull.

20150119-174403.jpg

20150119-174446.jpg
If you’re wondering, it takes six quarters of NFL championship games to cut, recut and generally fiddle with angles to get that mockup done. (poor Packers!) You’re seeing 14 panels that need to be made, adding up to roughly 4′ x 6′ of surface area. Large sheets of double sided laminations were curing on the vac bag table during the two football games.

20150119-175040.jpg
And today began the cutting and fitting, like solving a big jigsaw puzzle. One nice trick for cabinet face openings is lining up center points of 4.5″ hole-saw cuts and connecting the arcs.

20150119-175357.jpg

20150119-175416.jpg
It’ll probably take a few days to get this all built out, as there are many intermediate curing steps on adjoining all the panels.

Better than an 8-Track

I remember fondly the day we tore out the 8track in the Chevette and got a Cassette deck. Dorky car with a Radio Shack tape player – geez. Now we’re getting a carbon fiber rudder cassette on a good boat – I like this a lot better than the high school parking lot.

The cassette is built around the rudder for an exact fit, but it has to be oversized to allow low profile carpet to glue along the inside faces. That gives the rudder a snug fit and abrasion prevention. So to create that 4 millimeter gap it was another trip to the fabric store for some 1mil vinyl. (Wrapped in four layers)

20141119-181426.jpg

20141119-181527.jpg
The photo above shows a wax bead laid along the edges to form a nice radius of the cassette lip.

Made a paper pattern to get the vinyl sized just right:

20141119-181813.jpg

20141119-181836.jpg

The white plastic at the bottom will be the sacrificial break away area in case the rudder strikes something – the cassette is designed with a give-way point rather than destroy the rudder or the stern hull structure.

Then six layers of carbon fabric made an 1/8″ cassette body.

20141119-182204.jpg
After the epoxy cured a few hammer blows got it separated from the rudder, and looking good.

20141119-182420.jpg

20141119-182507.jpg
And this is roughly where this piece will mount on the boat, after many more steps to create the hinge for turning the rudder and the attachment point for the tiller. Probably another 20 hours for this primary steering build.

20141119-182943.jpg

When rudder parts are curing, work goes on in the aft cabin. Floor, bunks, and closet bulkheads are installed. To get the seat backs to conform roughly to the curved hull shape, this telescoping “Third Hand” tool is pushing the two sides in to shape while the fiberglass dries along the bottom edge and I can go eat dinner :)

20141119-183349.jpg

With all the cassette talk, the radio got tuned to 80’s music in the shop all day. Took a break from NPR for AC/DC and Duran Duran sing alongs – hope that’s not the chemicals getting to me!

Angle of Repose

Wallace Stegner won a Pulitzer in 1972 for his Angle Of Repose novel. He was Dad’s friend, and I was thinking about that the night before installing the port side seat back in the saloon. So of course Dad got the job of making the templates for these support pieces. We picked the angle by trial with numerous wood blocks until the most comfortable ‘repose’

20130828-180105.jpg

20130828-180138.jpg

We also got busy sorting out the refrigerator. Decided to do two top loading doors, with no other openings or drains. This maximizes cold keeping ability. Freezer vs cooler will be a simple, moveable divider. Cold plate will mount on the vertical wall inside the box once it’s enclosed. 2″ solid foam on top, 4″ on sides and 3″ on bottom. The fridge build will take a few posts to complete over the coming weeks.

20130828-180906.jpg

20130828-180922.jpg

Finishing like a Corvette

Griffin’s doing yoeman’s work block sanding the main and fore cabins. We’re down to the handwork, and it’s grueling to get thru the epoxy (mixed with fairing ‘balloons’). So we decided to do the final skim work with auto body filler made to work with fiberglass. That’s where the Corvettes and Lotus cars come in. It is proving easier to get the flush smooth final base. Here’s the clear epoxy colored with red balloons, and the green Corvette stuff.

20130708-221403.jpg

And while the next fill coat was drying I went back outside to the rear deck to finish building the steps. The top one is cut in to the cabin top. This was the first time trying the vacuum bagging on the hull, and it worked very well. Now it’s time to finish sand the whole rear deck area. Working back there will give some time to think about possible mounts for a Med-tie gangplank. Figure it’s good to think ahead to visiting foreign ports and comfortably stepping on the quay :)

20130708-222146.jpg

Doing all this paint prep, Griffin is thinking about how we should paint the exterior. Lets just say that after all this time and money invested, we won’t be doing something like this:
(Only in San Francisco, right?)

20130708-222409.jpg

Let there be light (inside the boat)

Well, we stopped work on the port beam/float fitting because I found the right woodworker to help with interior fit out. So the past few weeks have been a mad attempt to stay ahead of Mark. We’ve realized that the randomly completed interior woodworking projects from the past are now causing trouble with the primary fairing and painting. So with some frustration I’ve been ripping out or sanding back so of the prior workmanship.

Step one on the main cabin was to cut the windows. They’re as big as possible, and of course the boat has transformed from a dark cave to an airy cabin.

20130623-153017.jpg

The rearmost window is smaller to make room inside for the galley cabinet on port and the radio cab on starboard.

20130623-153158.jpg

You’ll see the epoxy bog being spread all over – that’s after making the big decision NOT to clear coat the whole interior that would have exposed the pretty cedar core. Up close, though, too much rough construction detail and visual variance in the cedar would not have looked top notch. So the boat will be painted inside and great wood accents added.

20130623-153449.jpg

The plywood plug and ductwork hole on the left side of the photo above is the temporary exhaust that’s tied to the shop fan. We were quite lucky to have this big permanent fan over the shop door. It clears the dust and vapors very well.
20130623-153725.jpg20130623-153747.jpg

So for now, the port beams await their fitting turn while all efforts go to making cozy bedrooms…

20130623-153923.jpg