Back in white

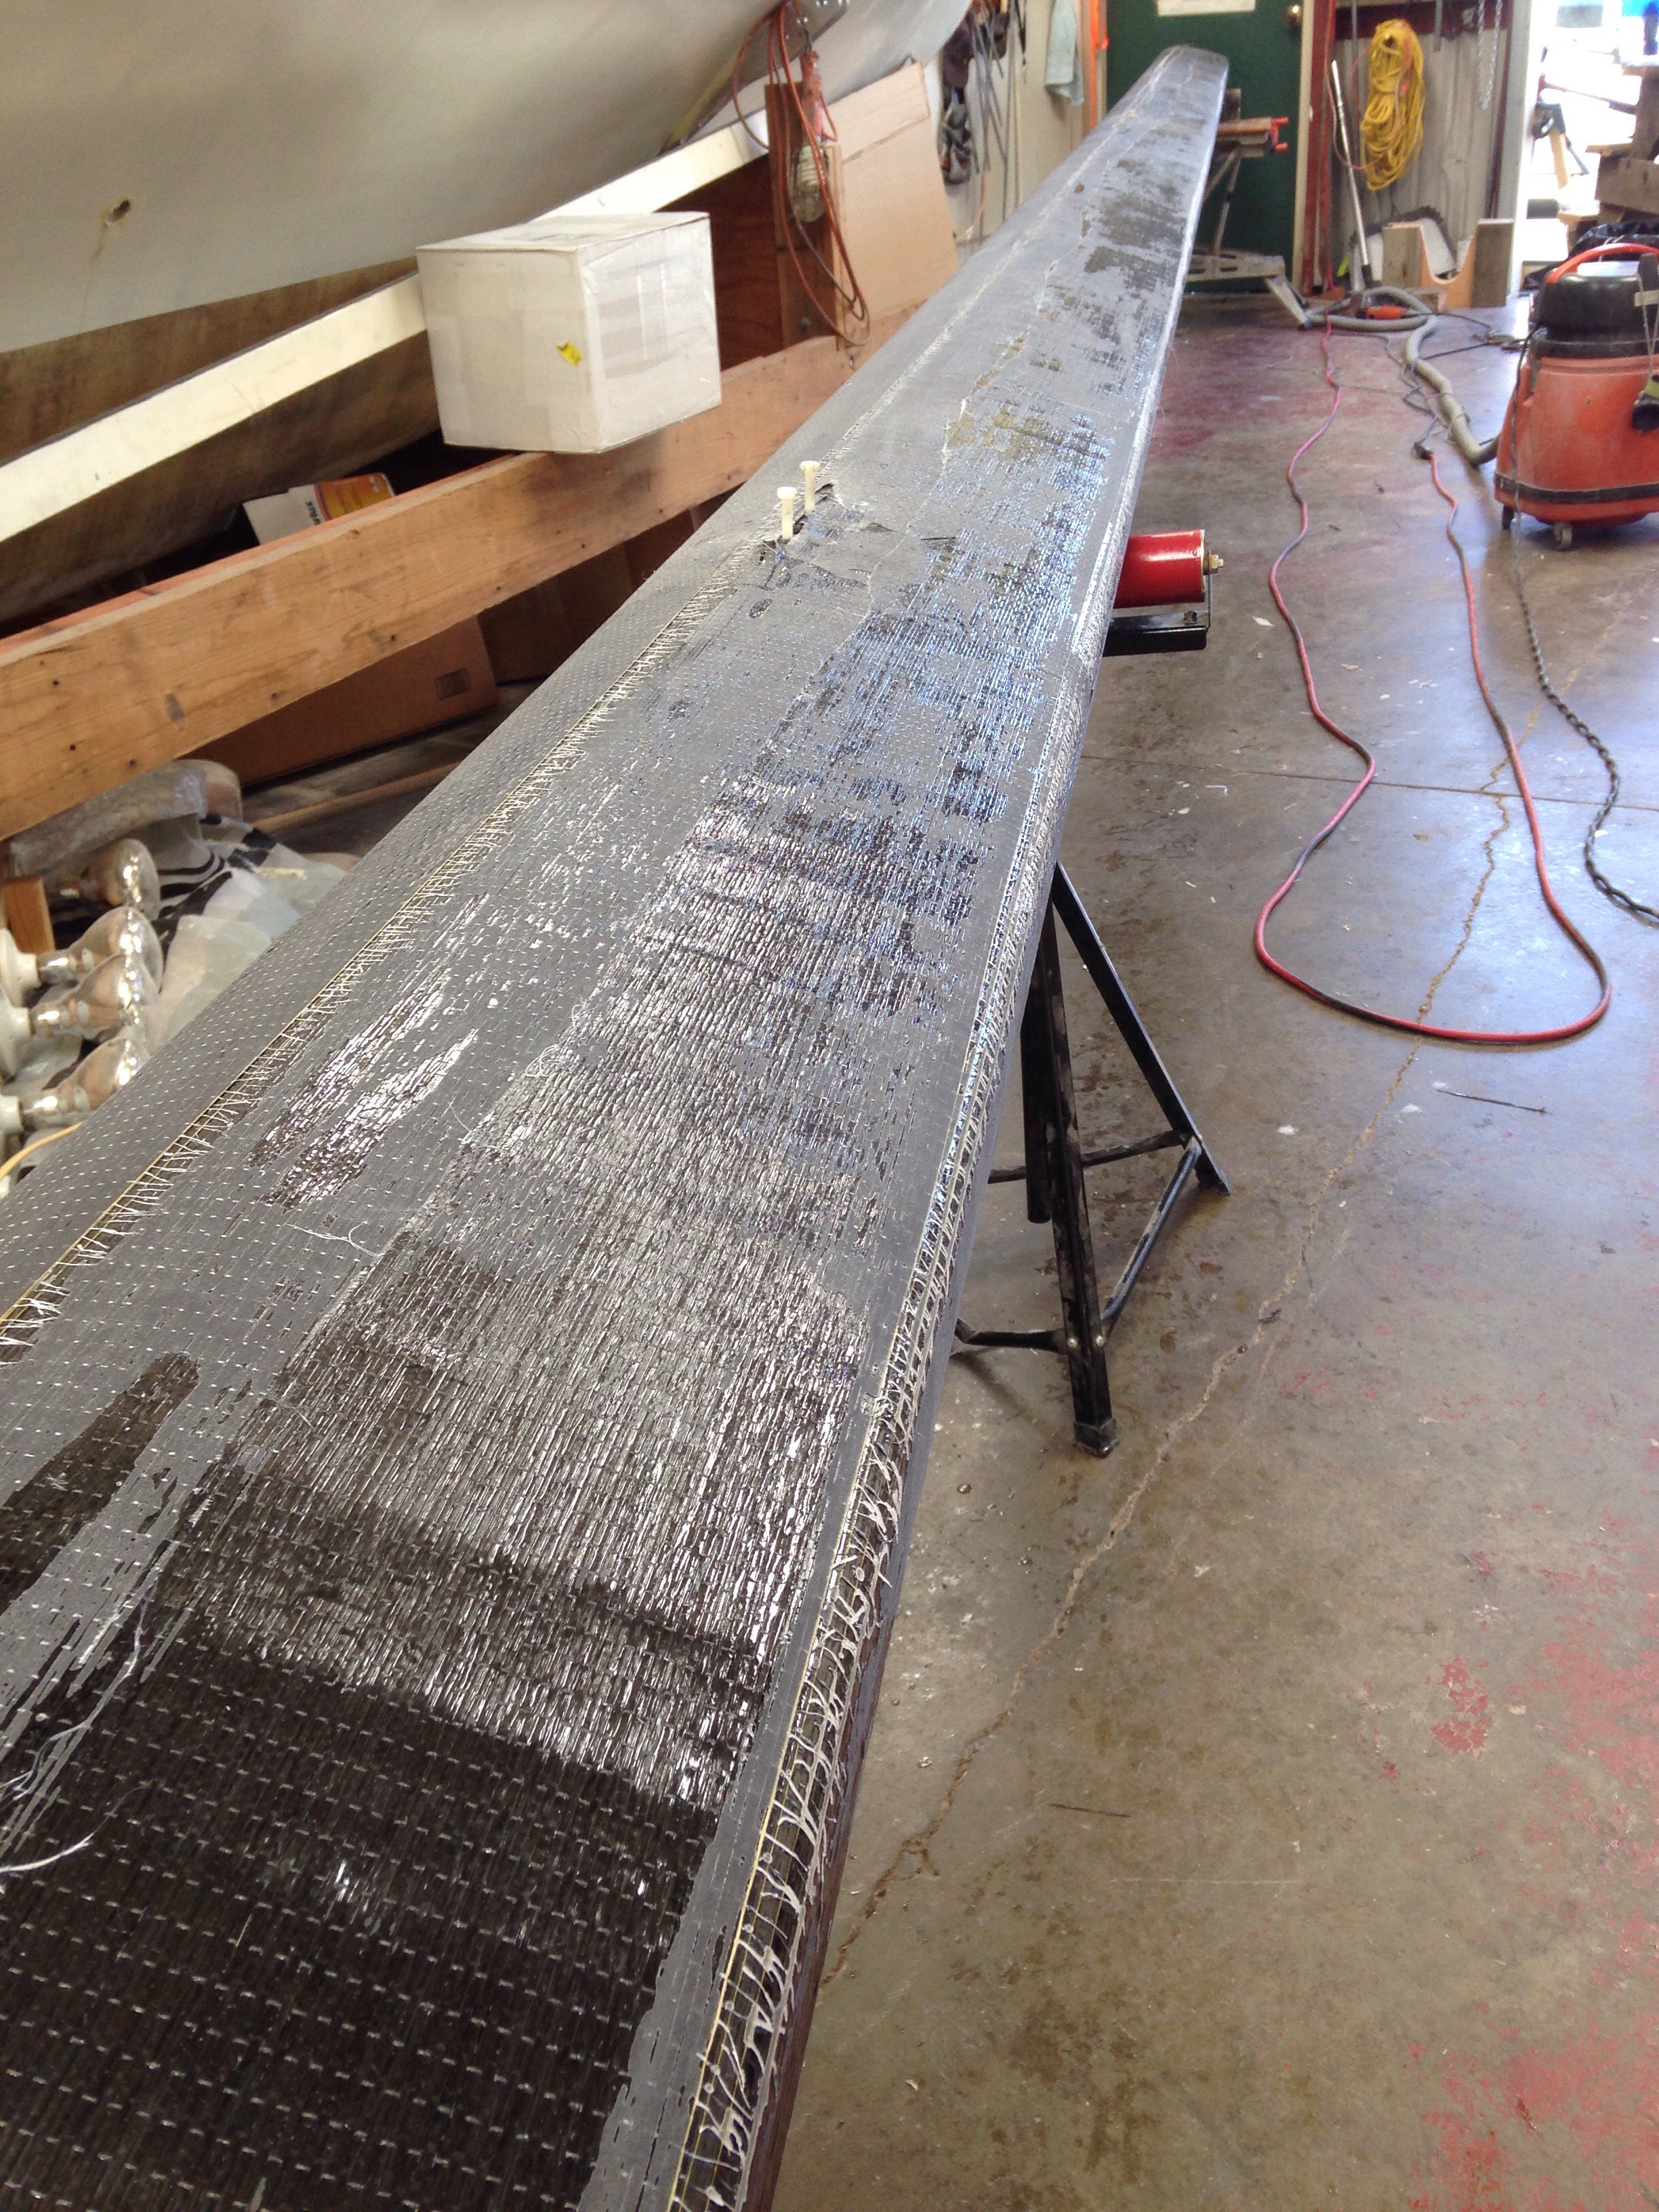
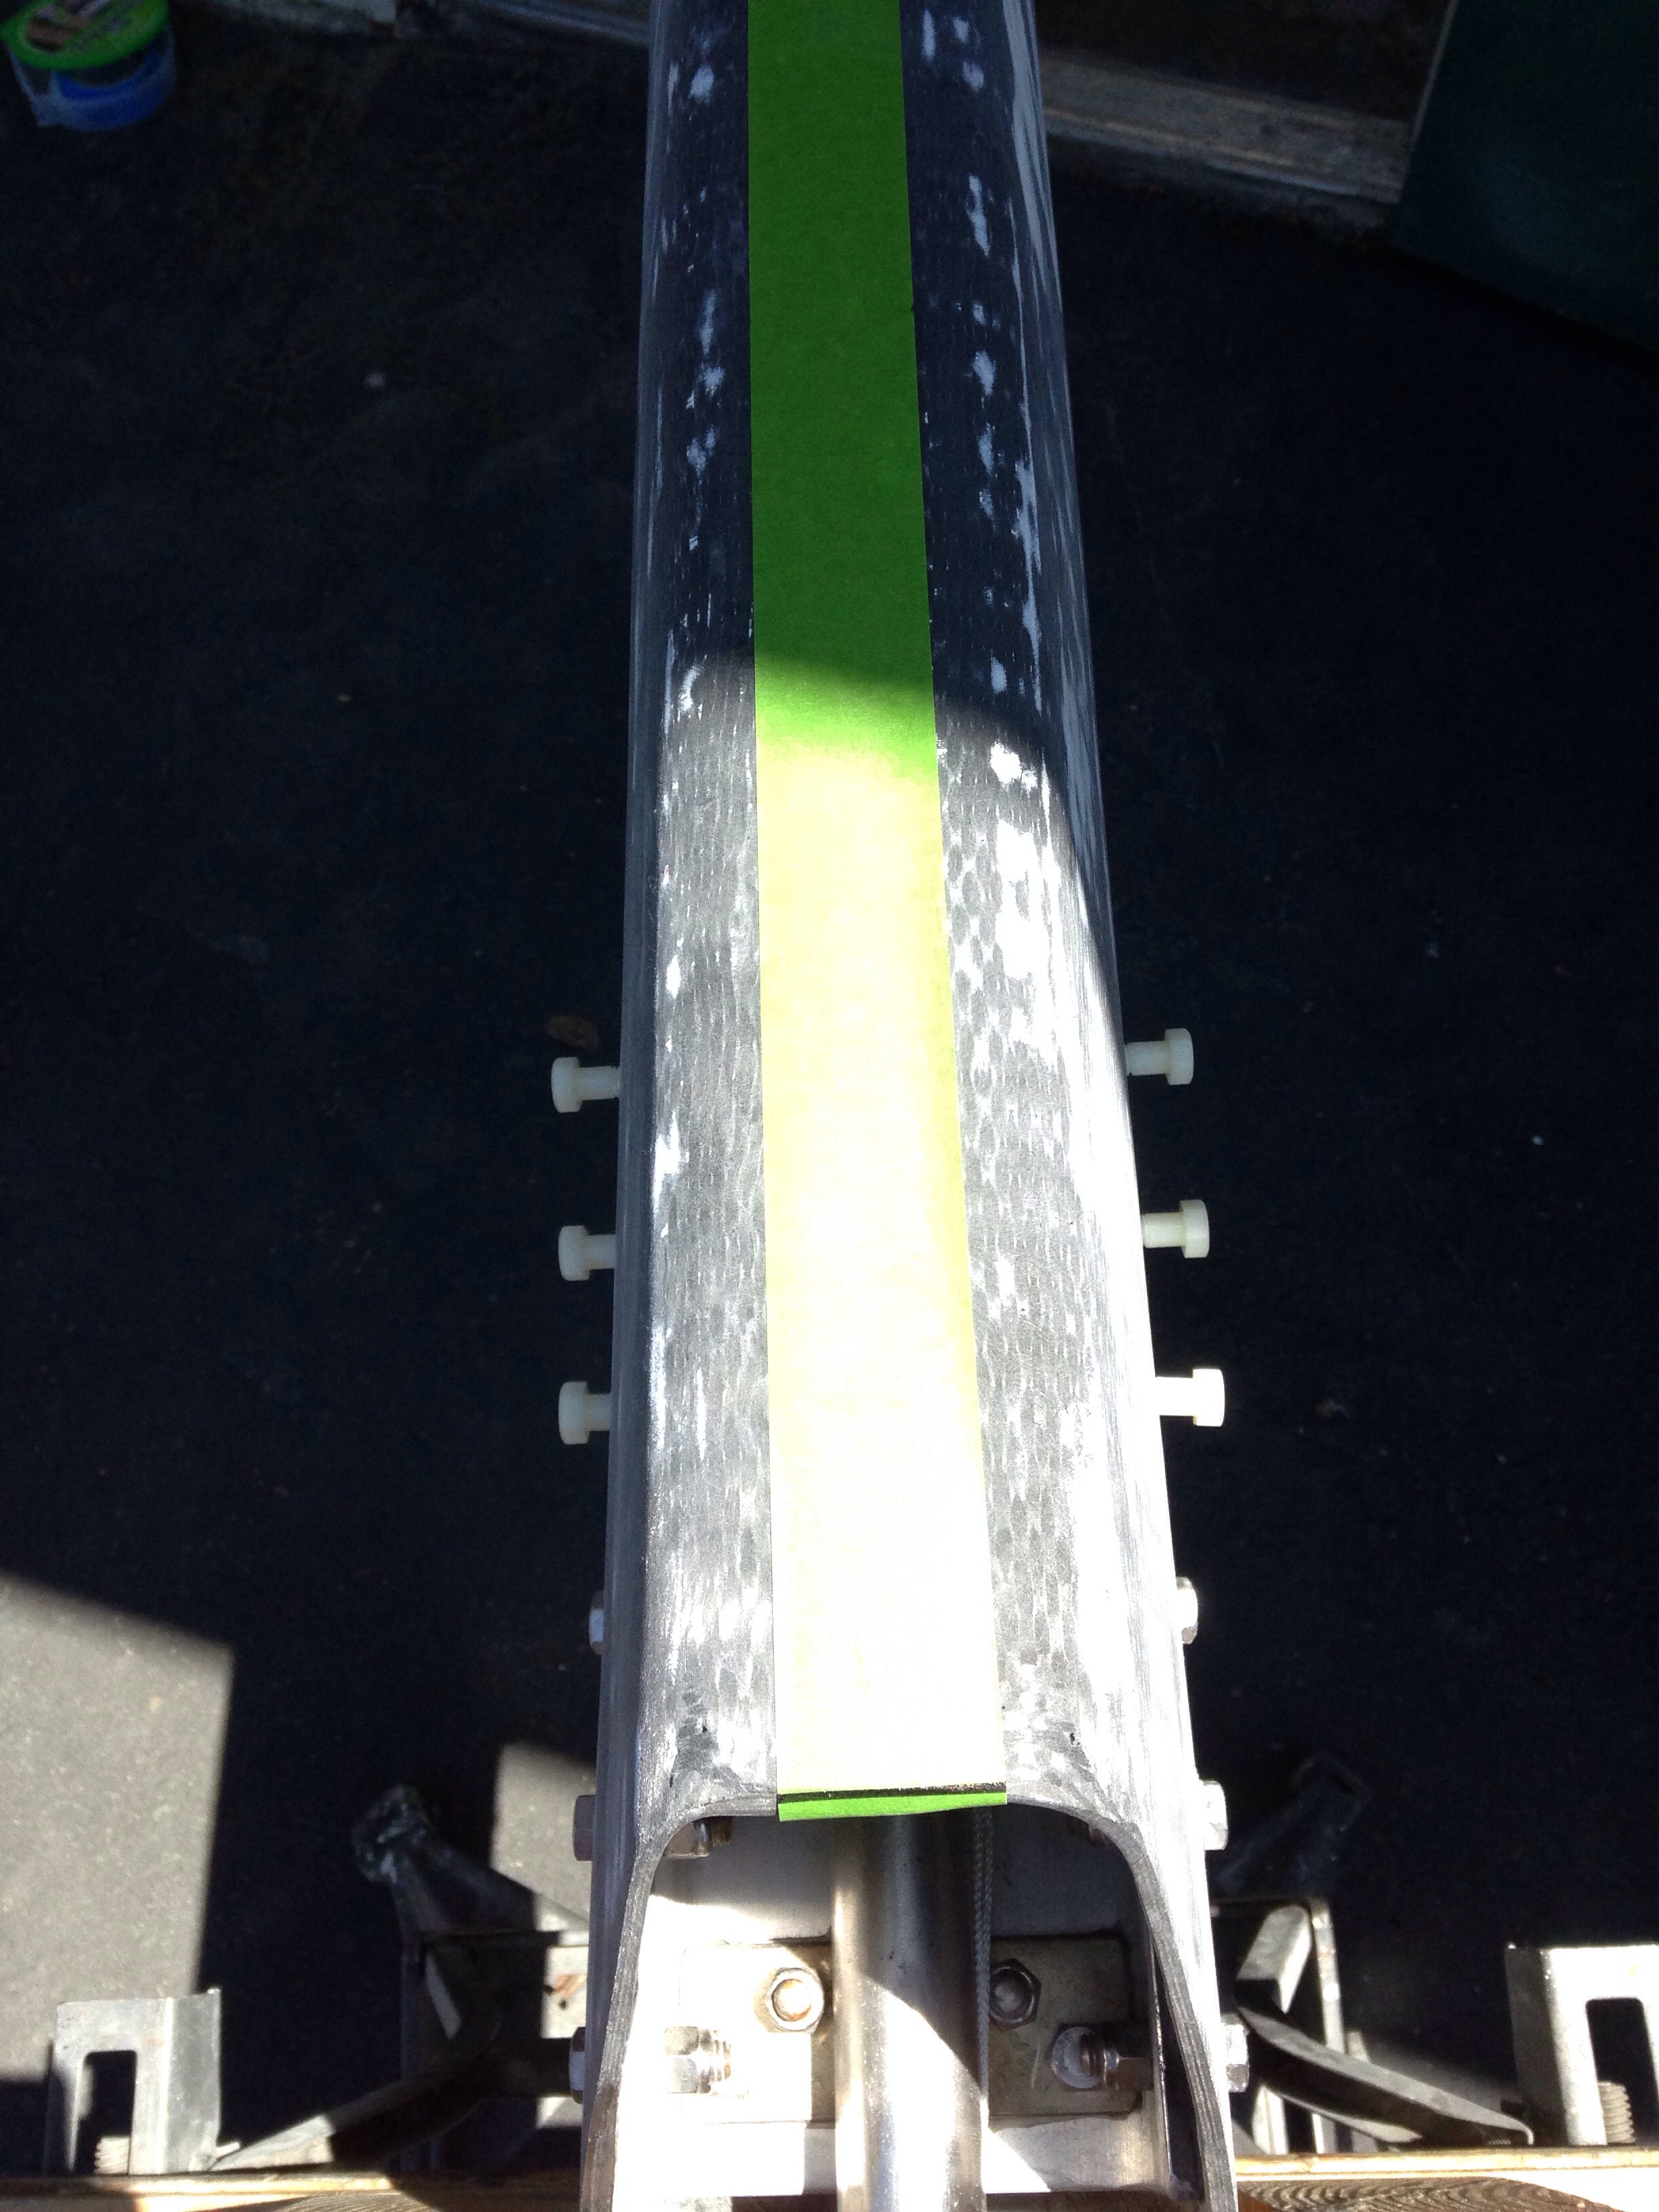
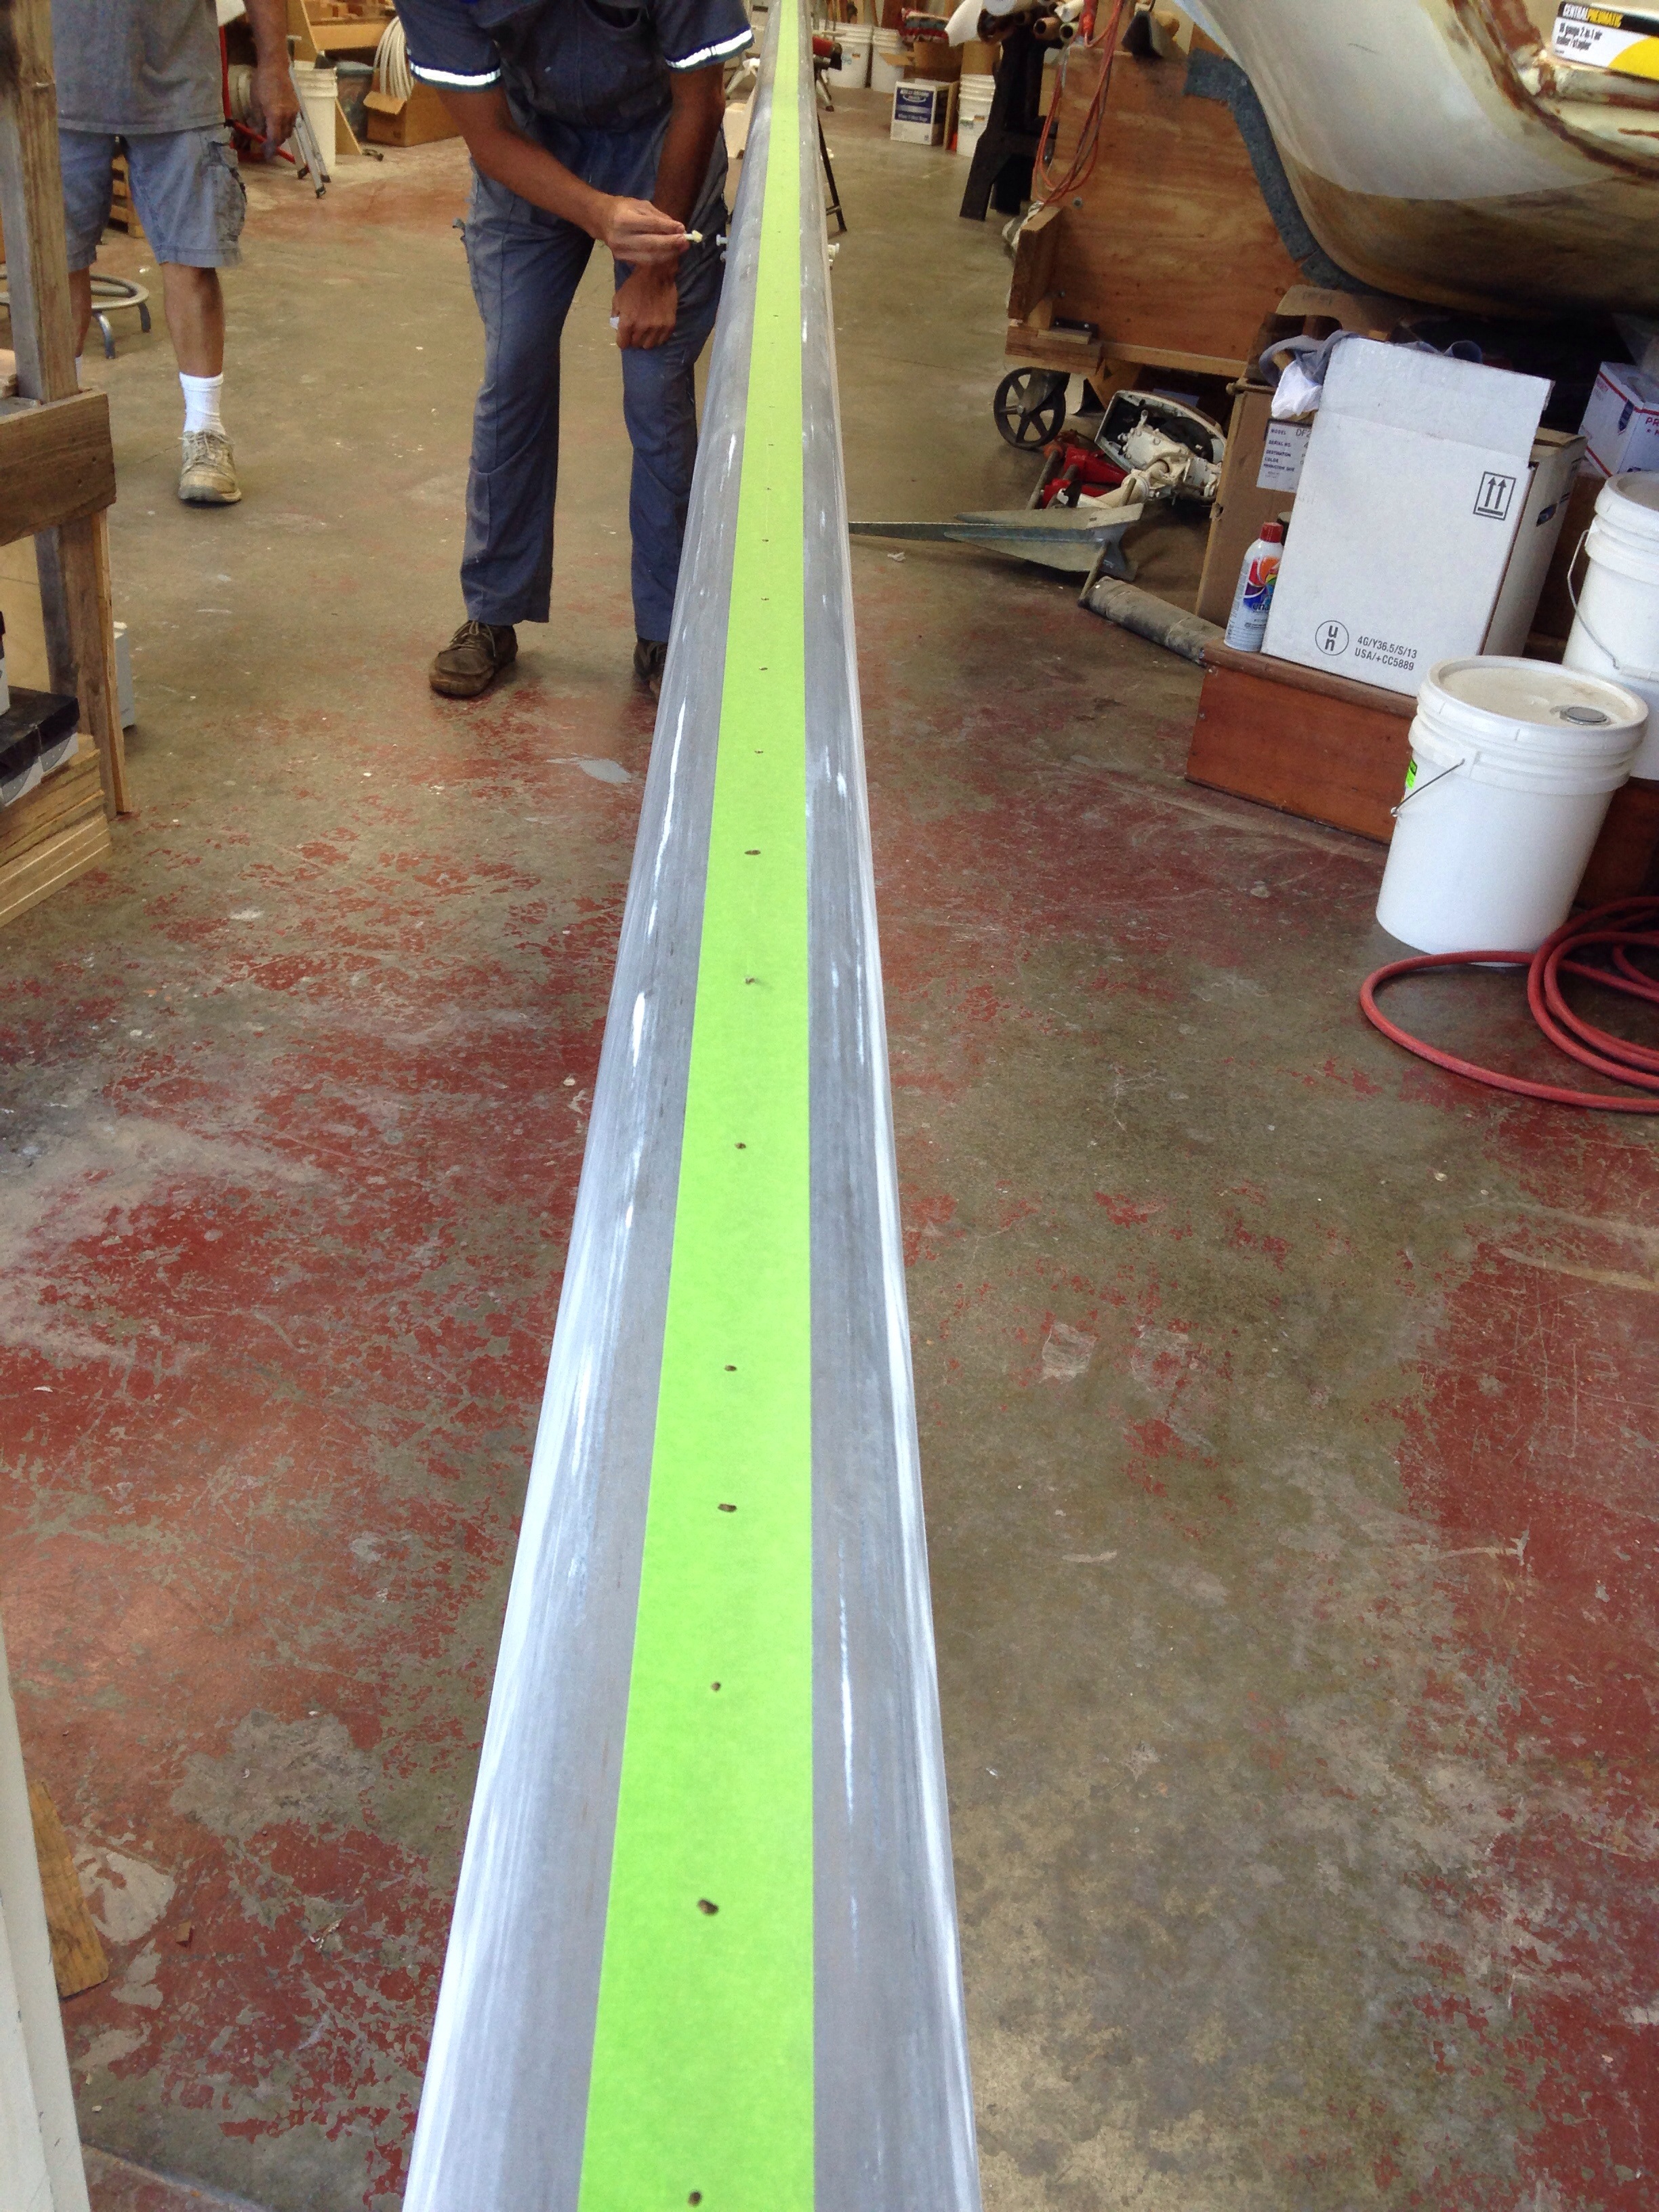
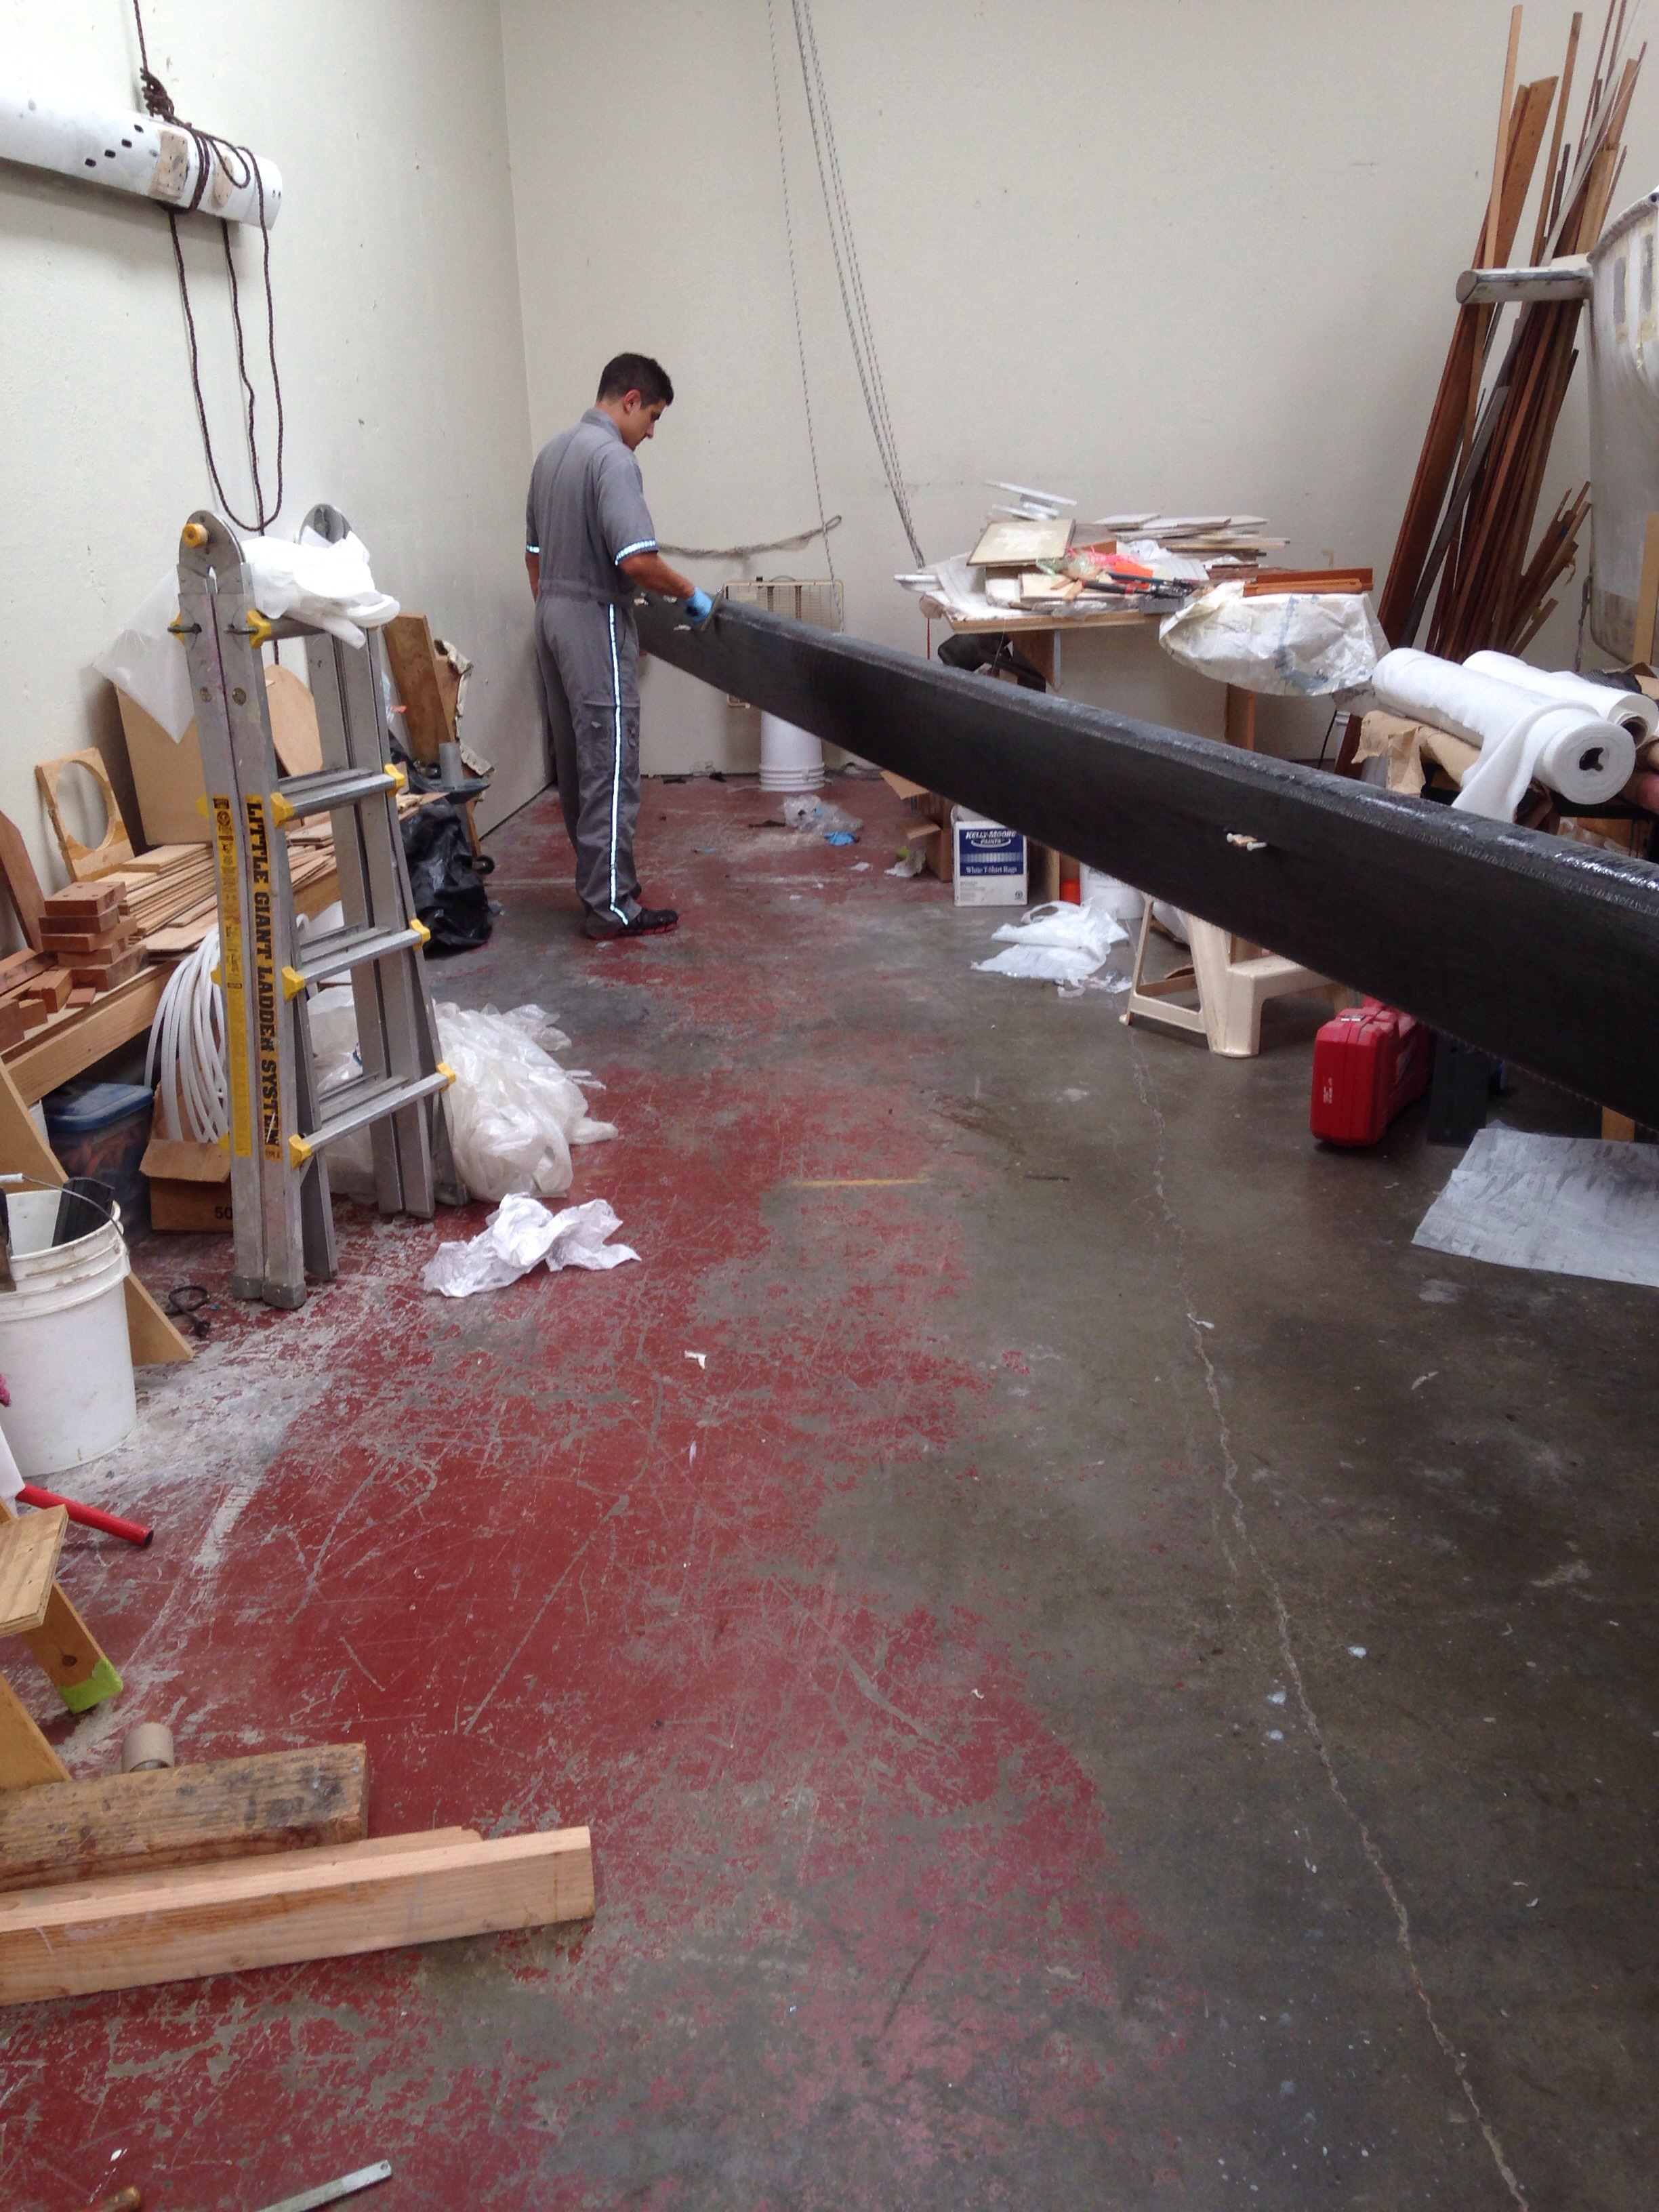
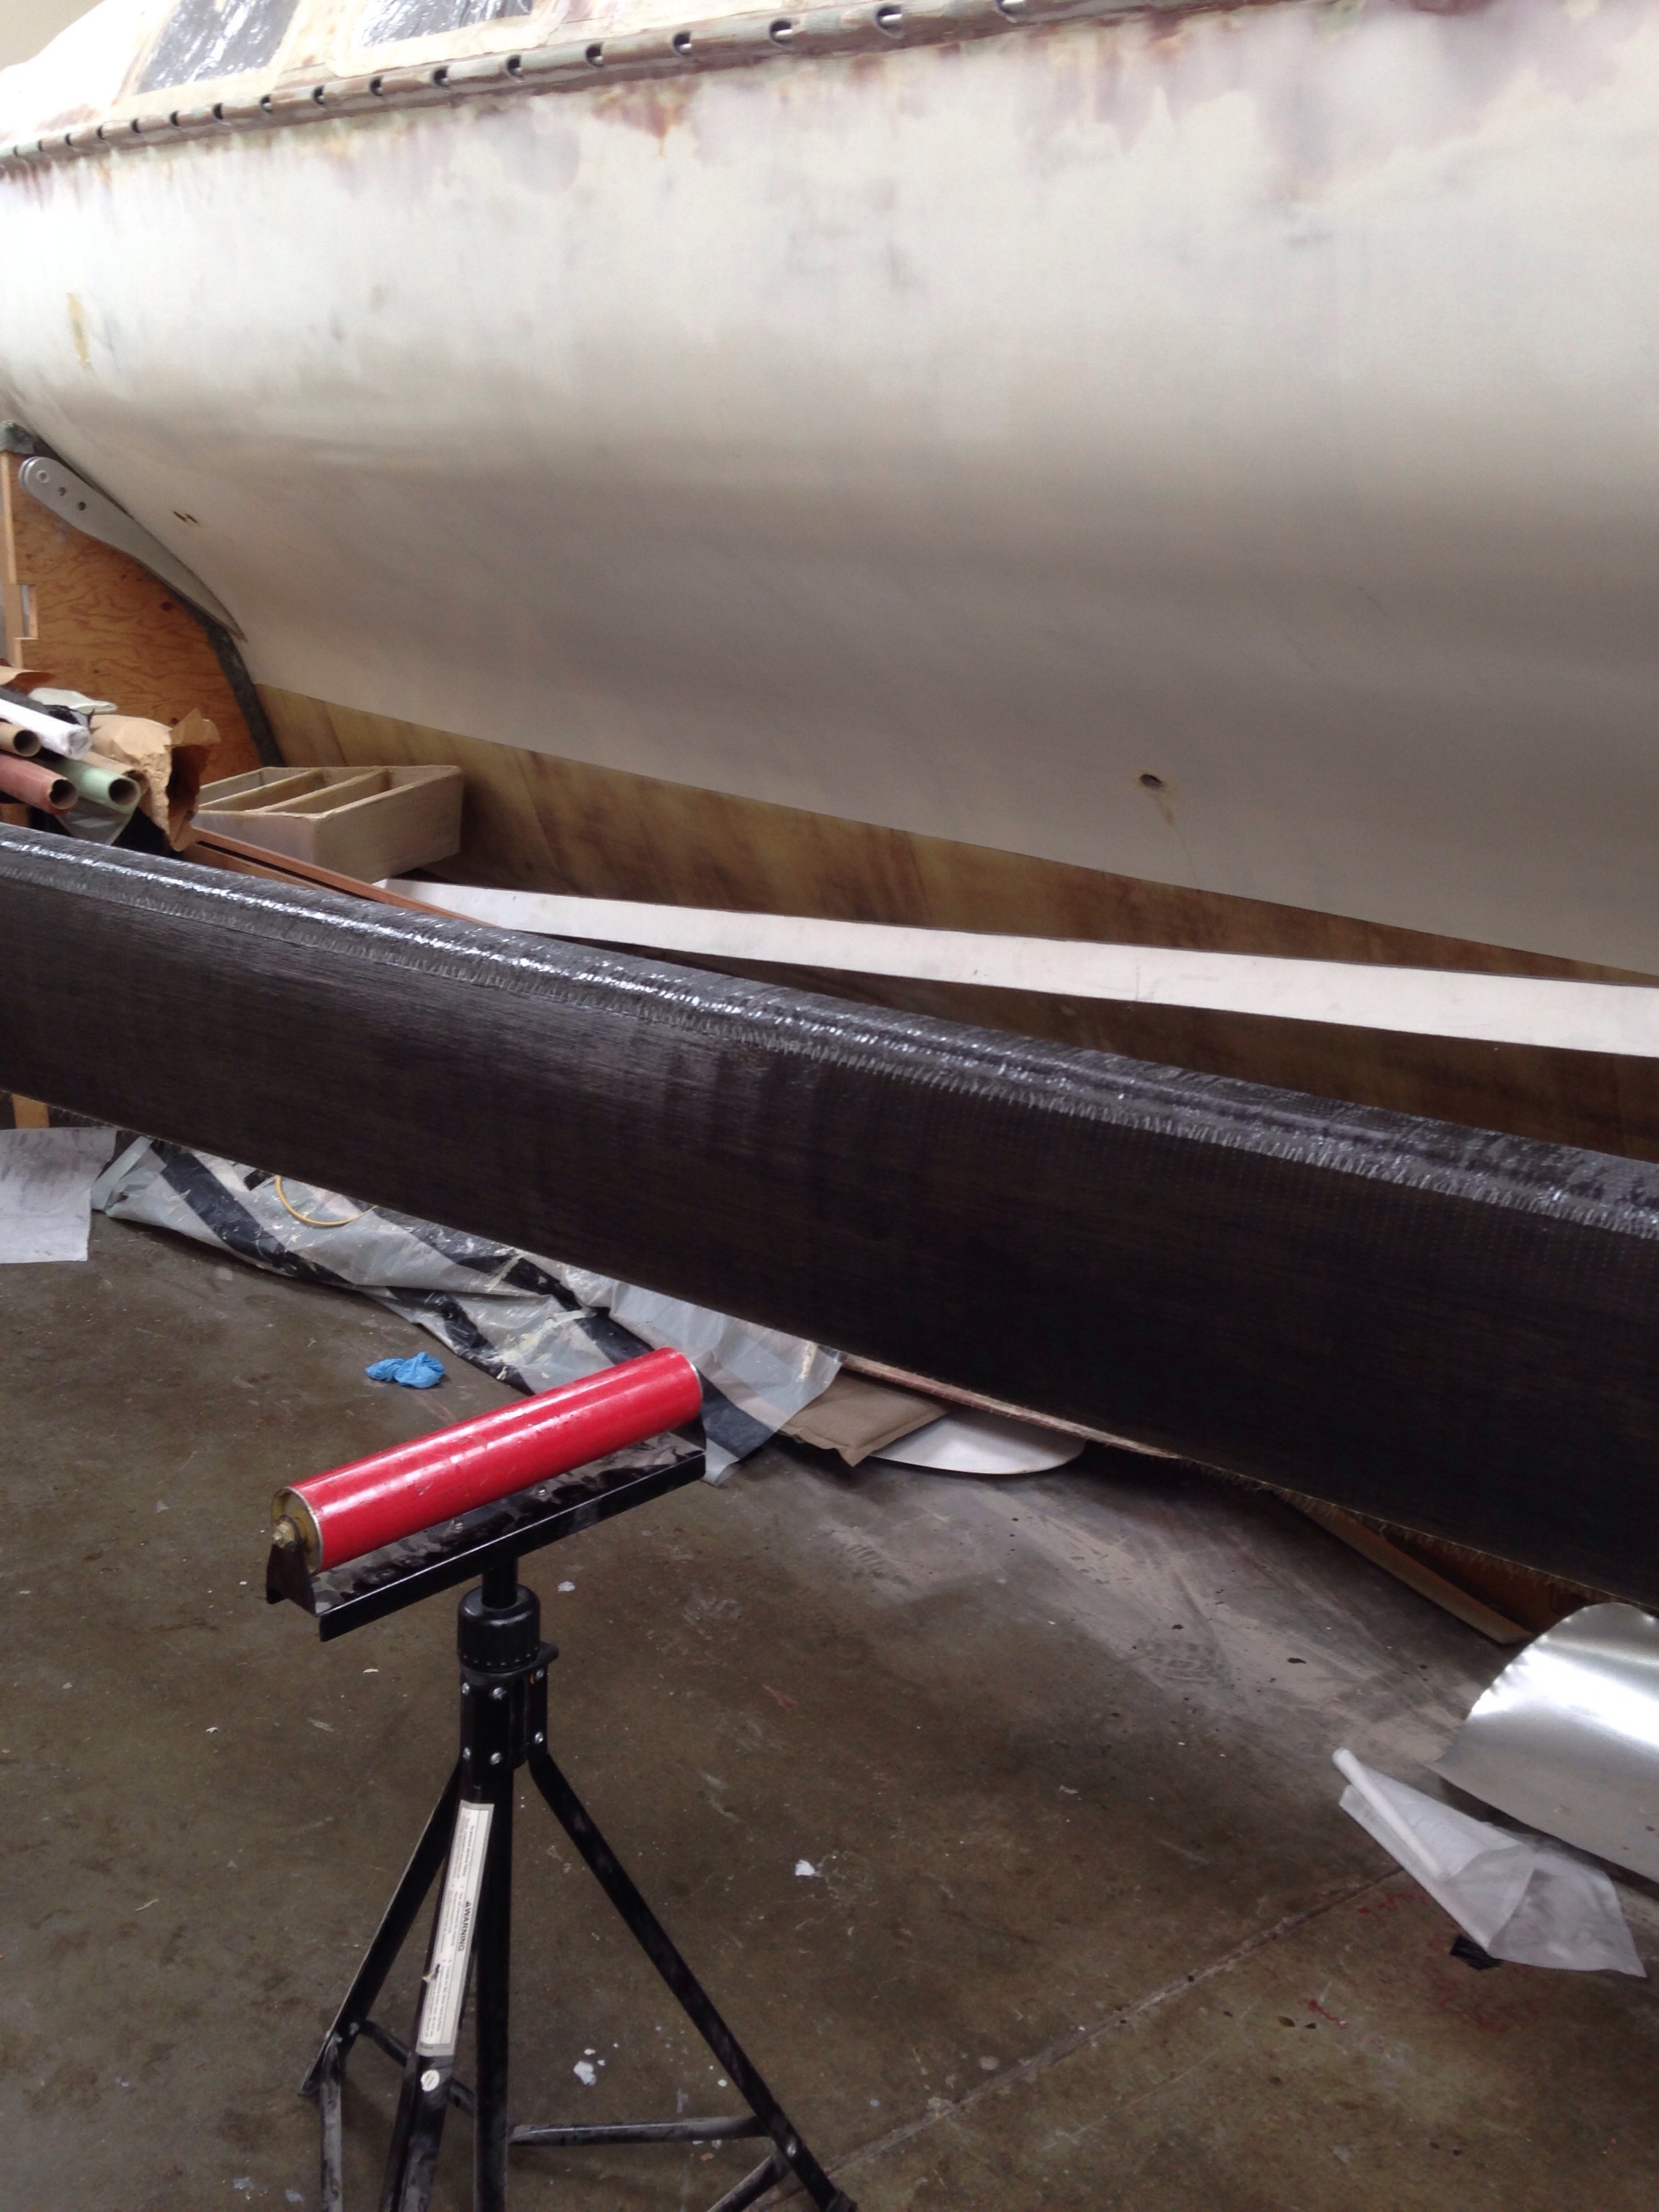
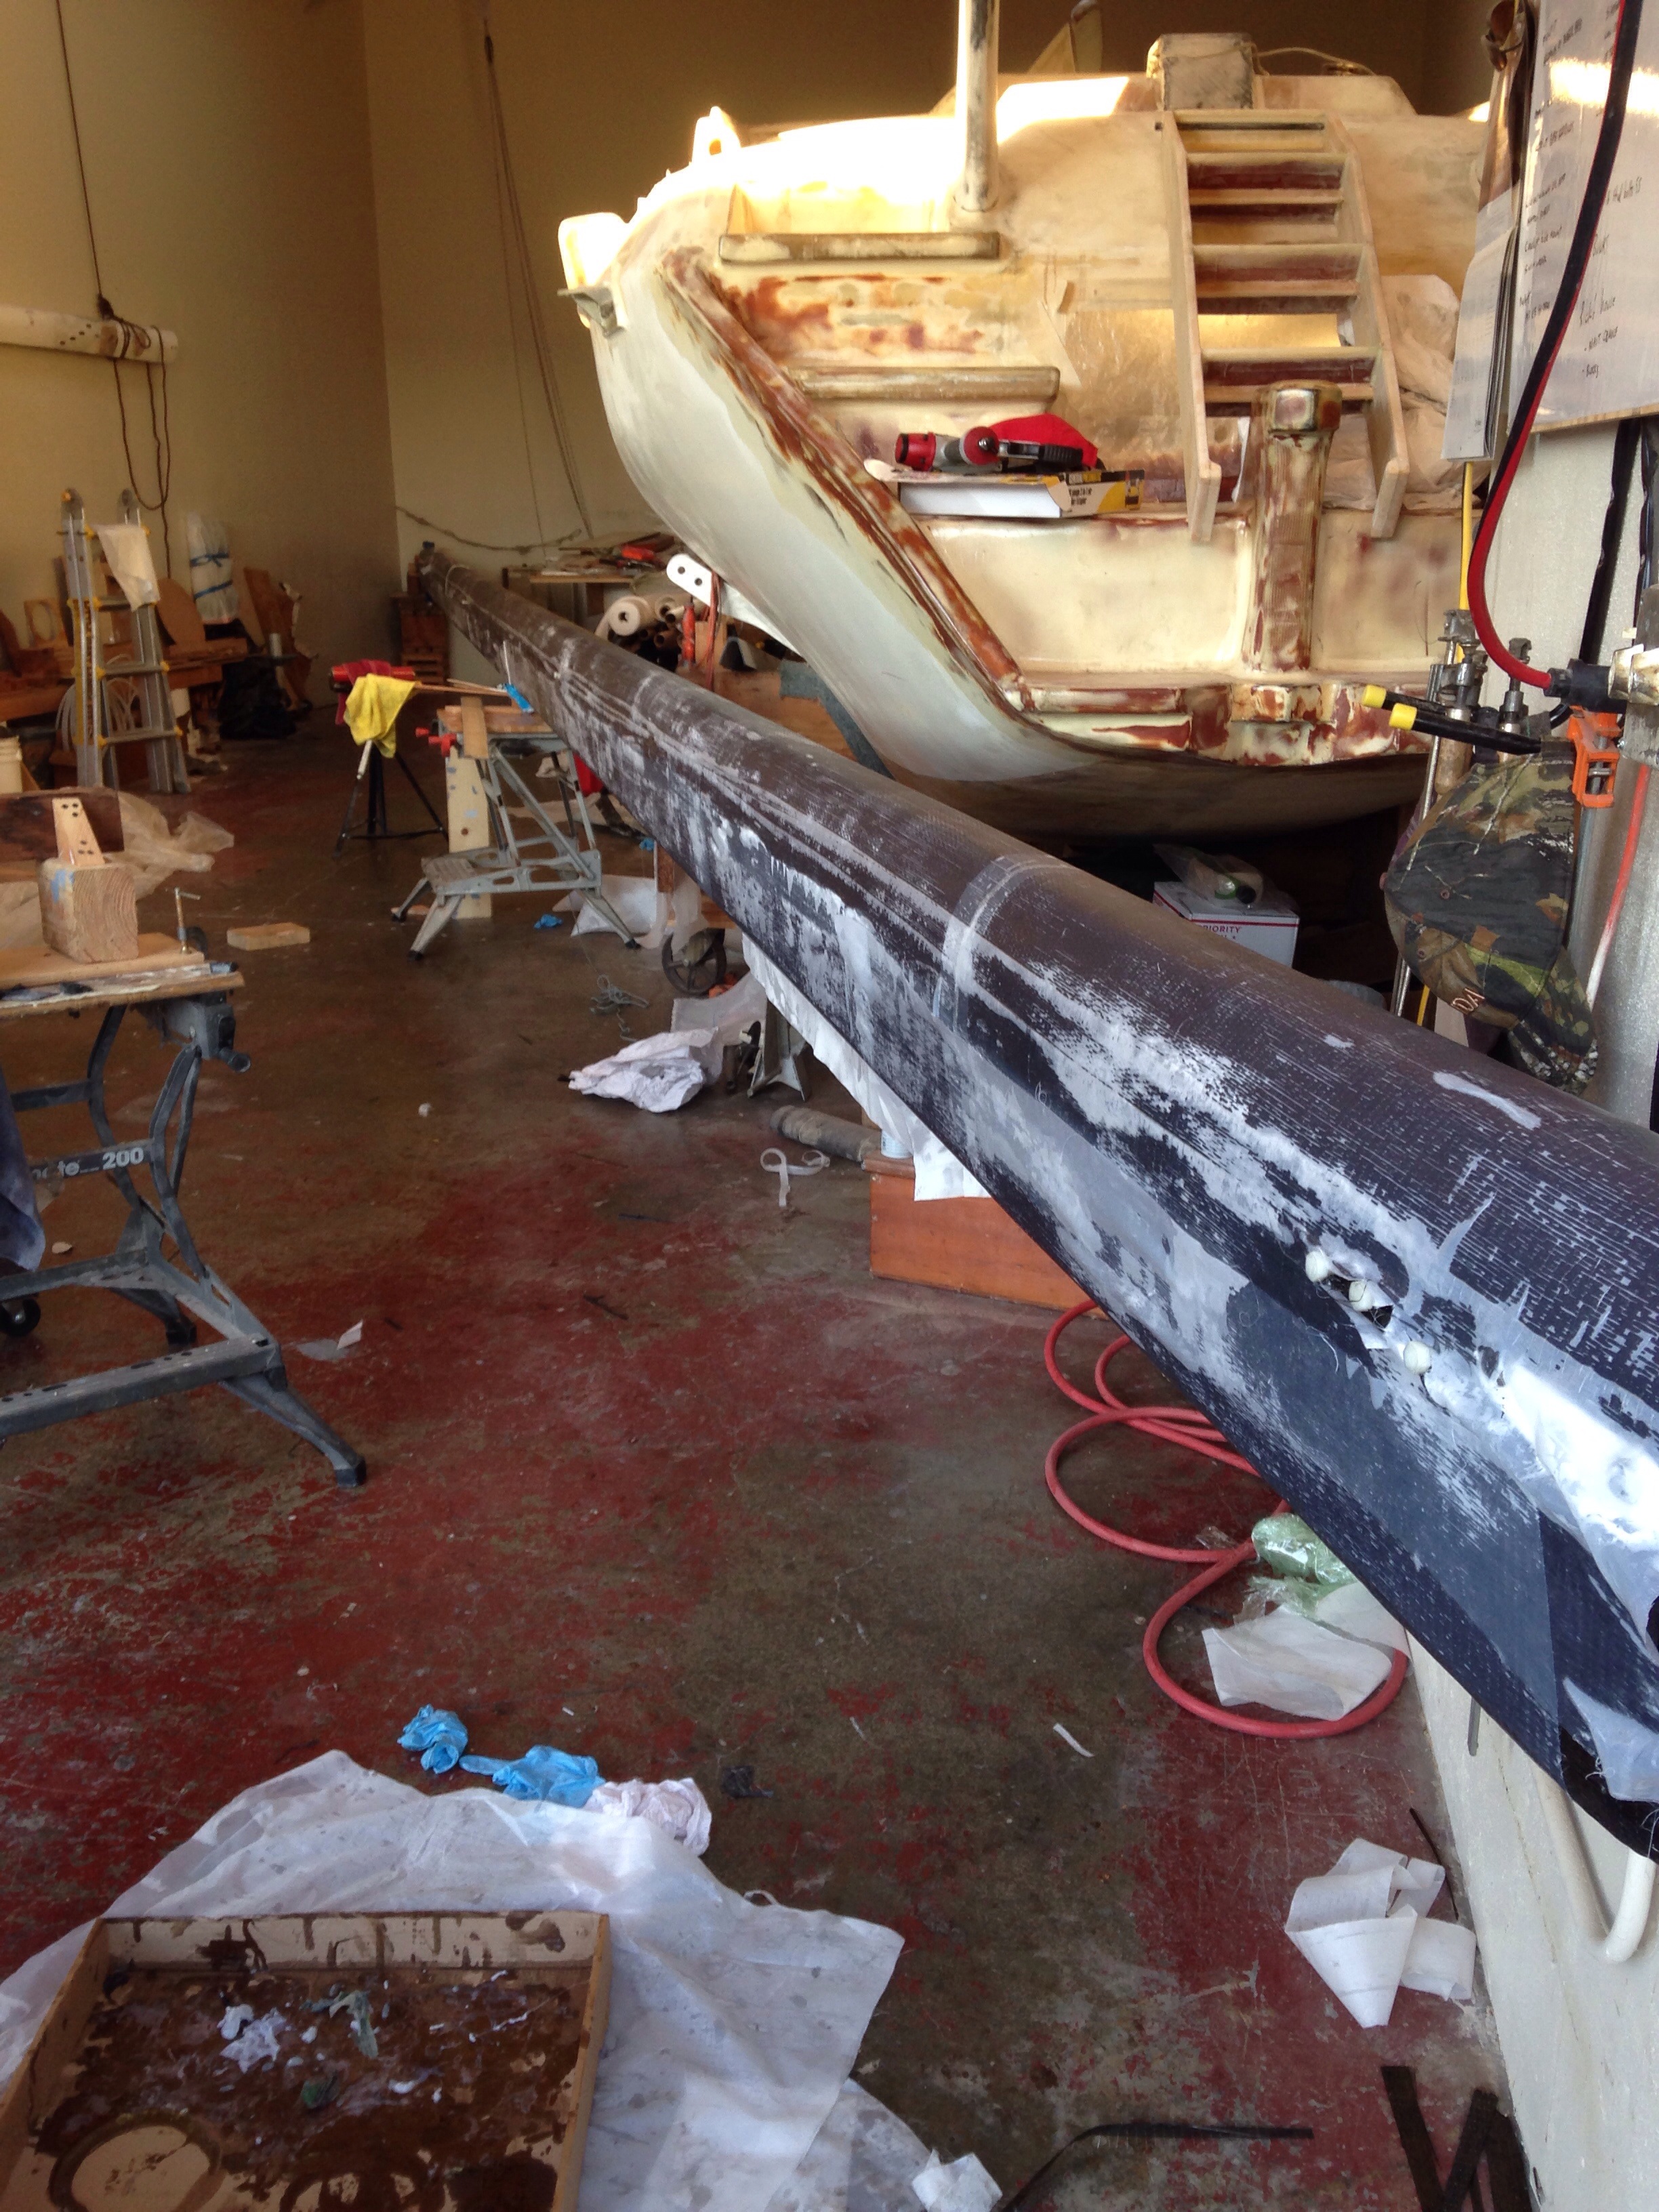
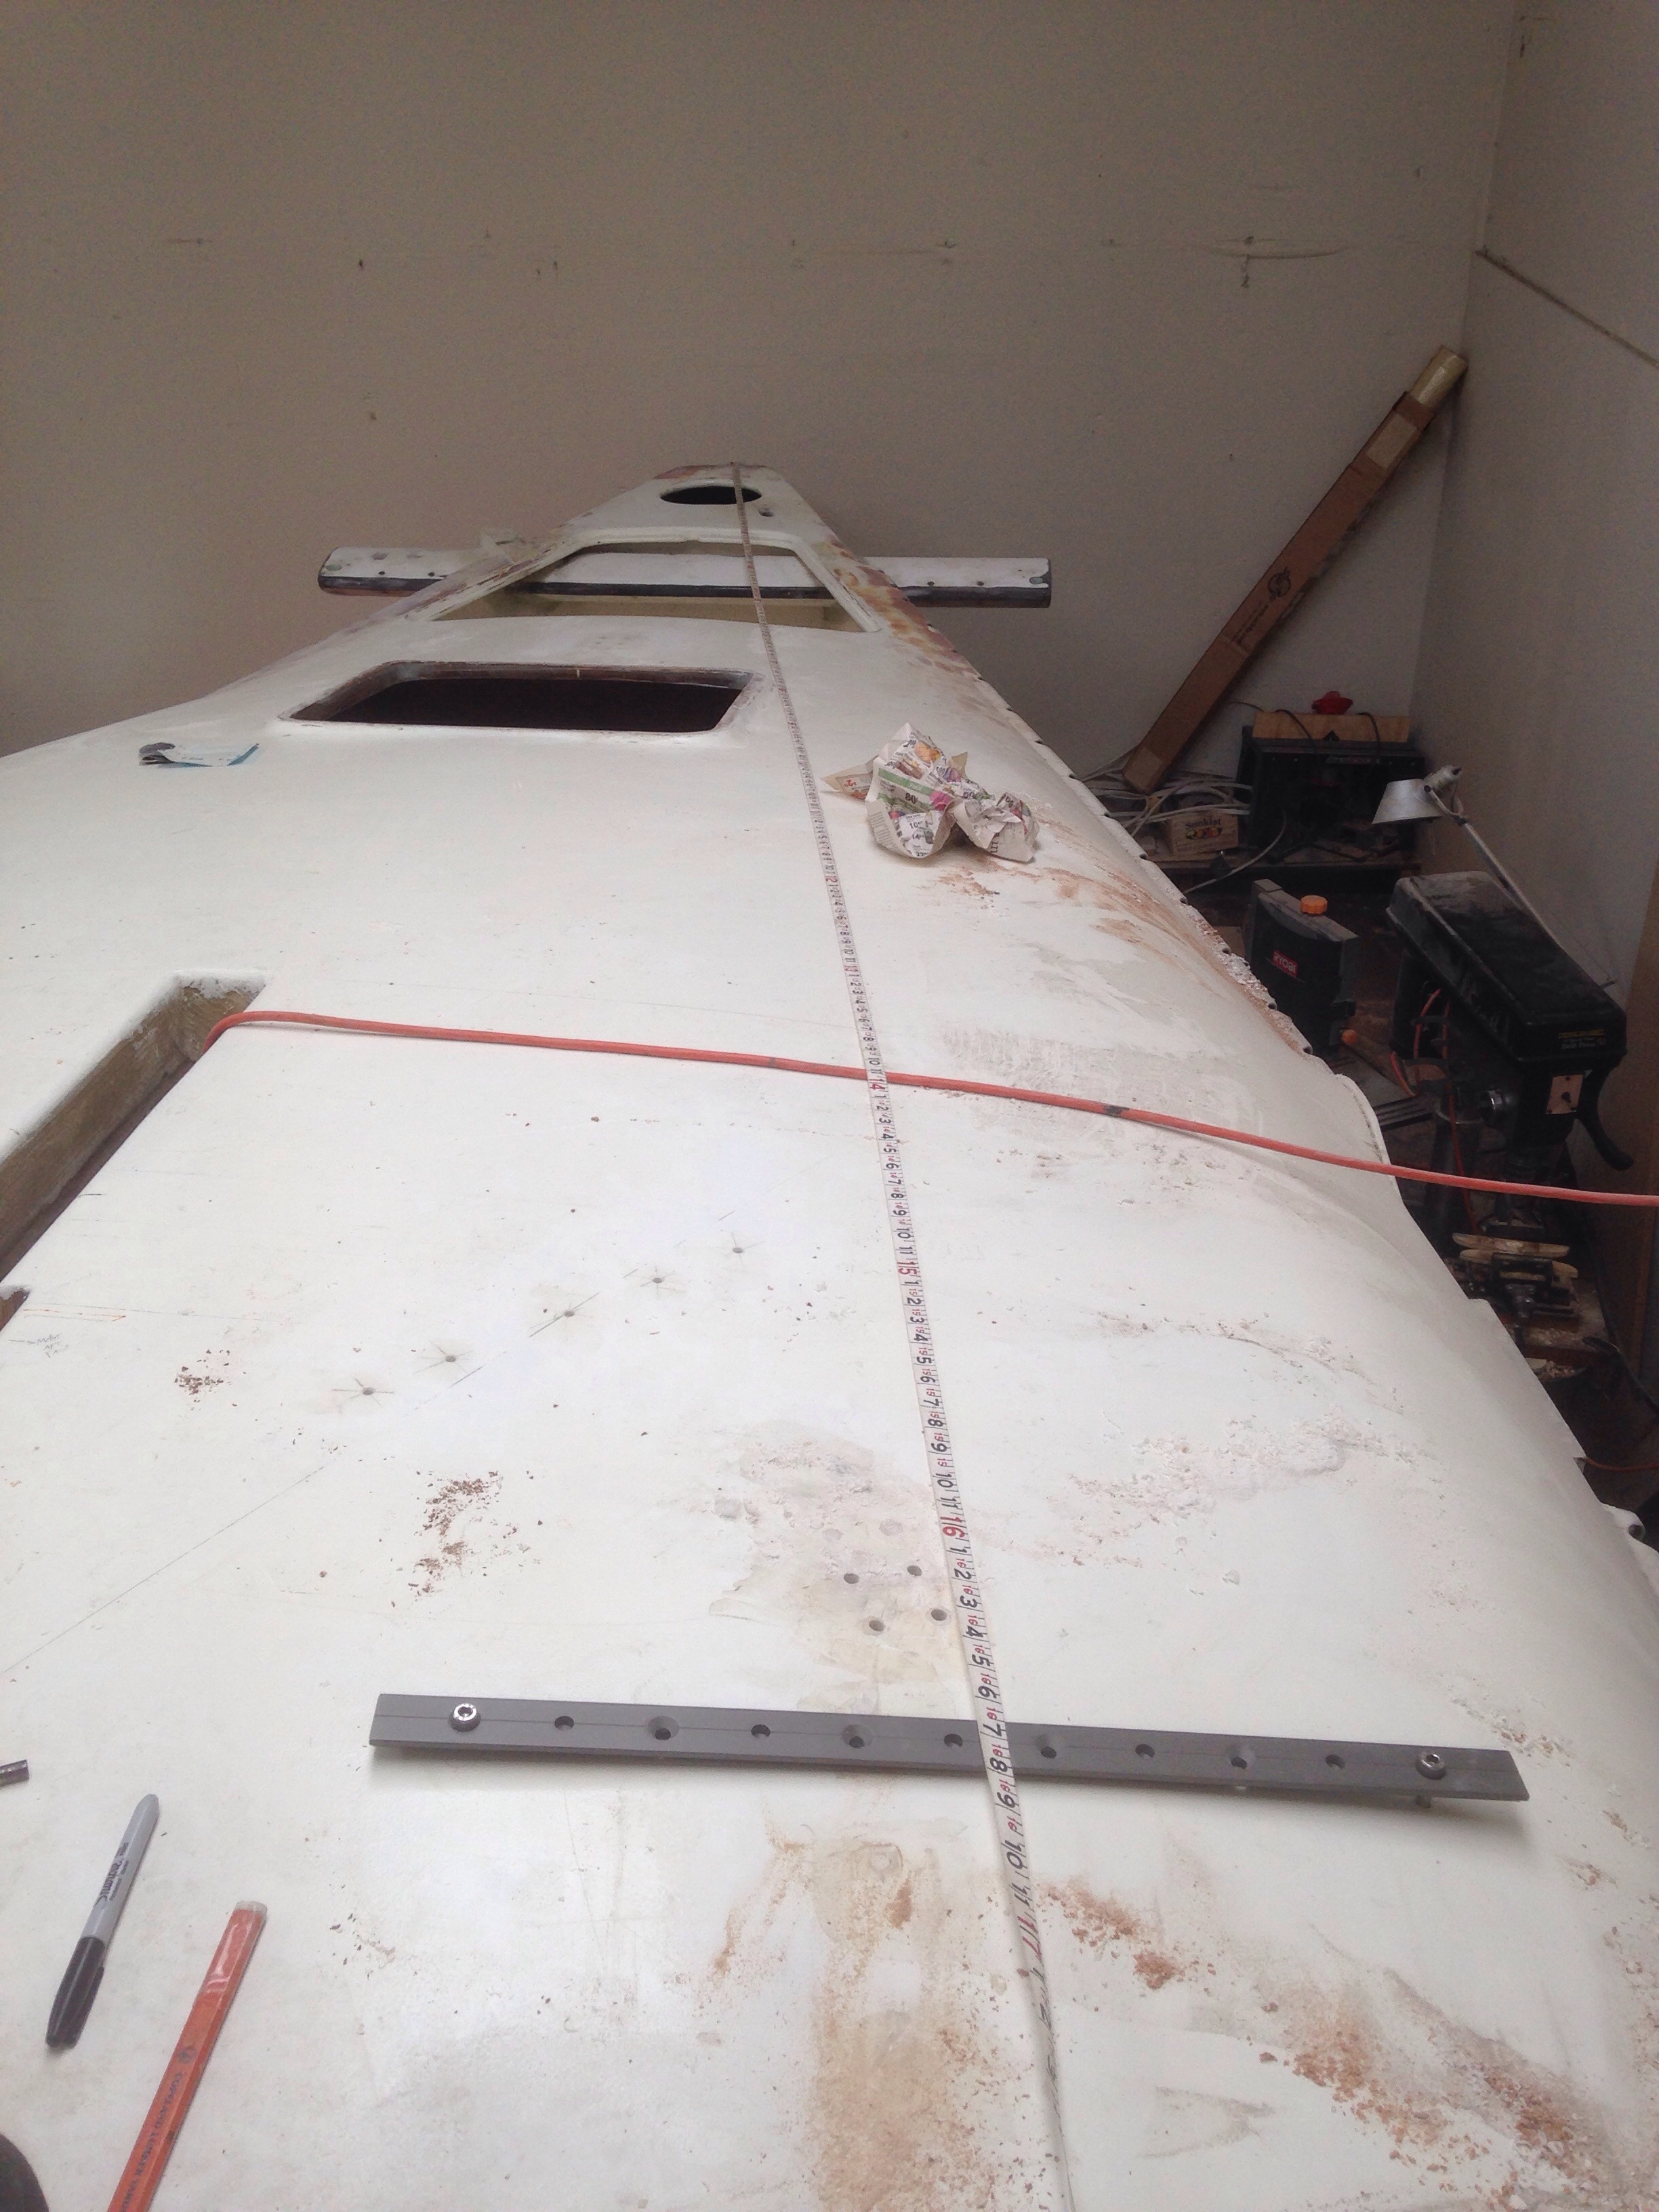
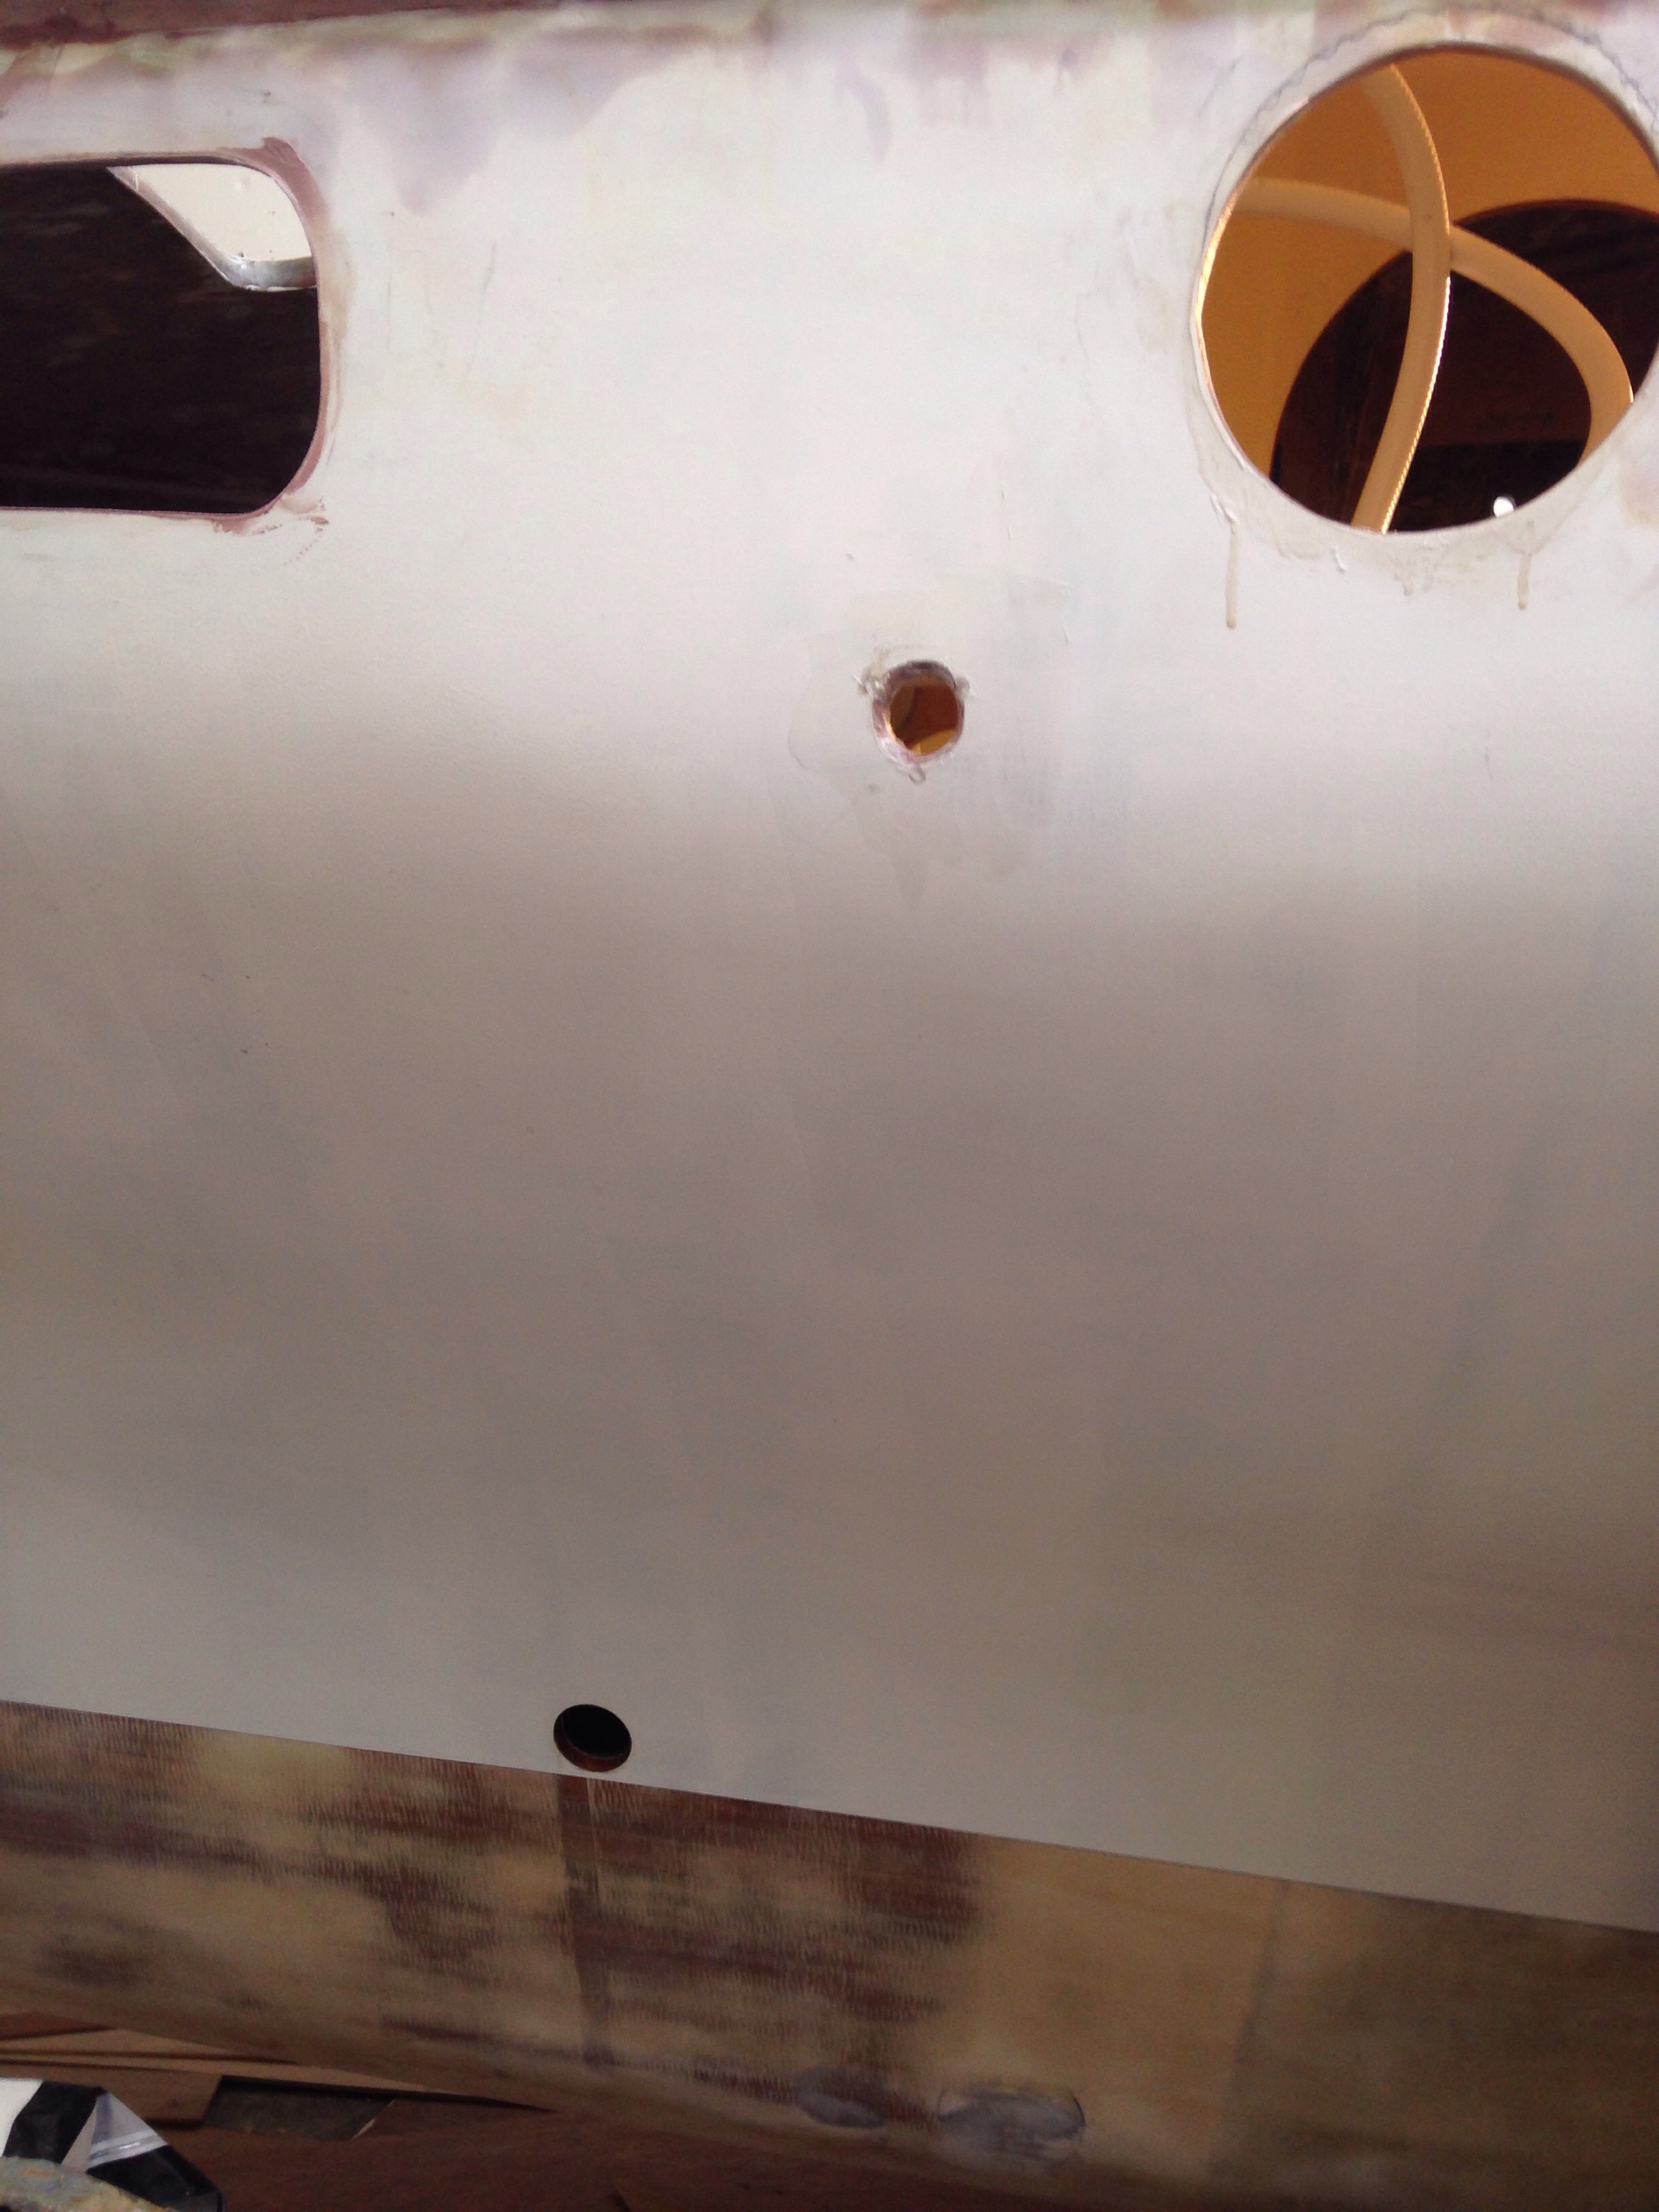
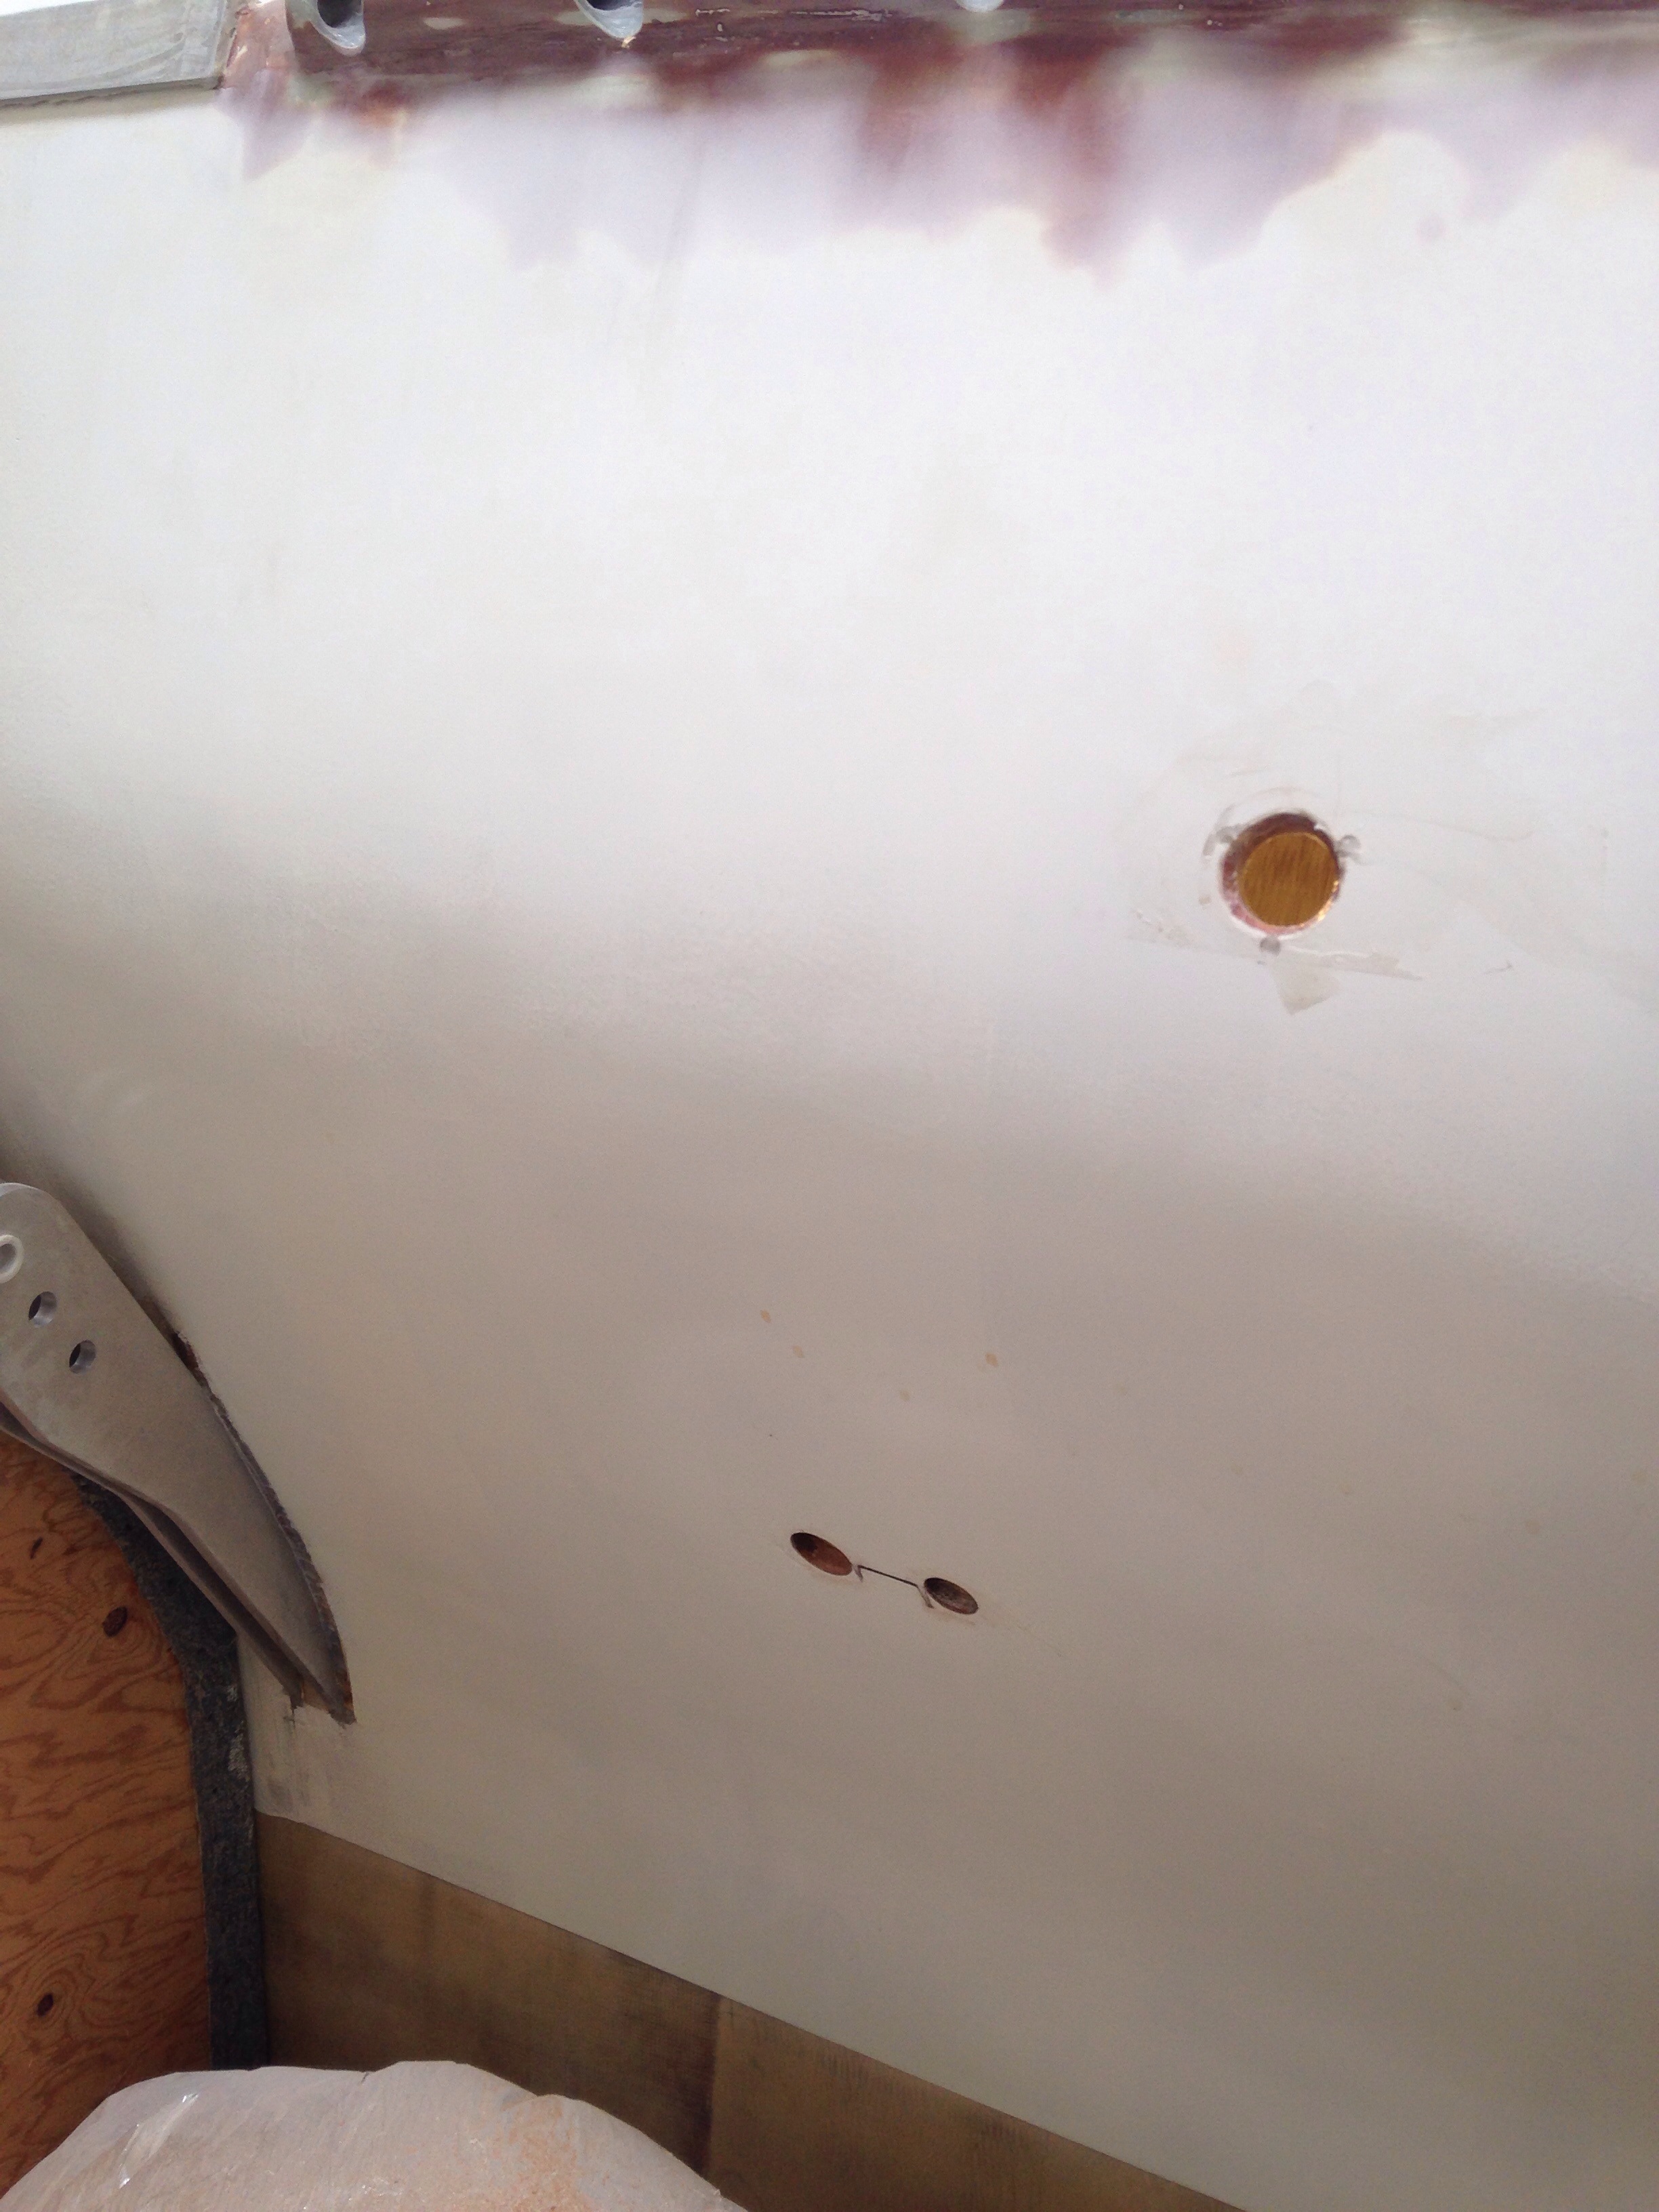
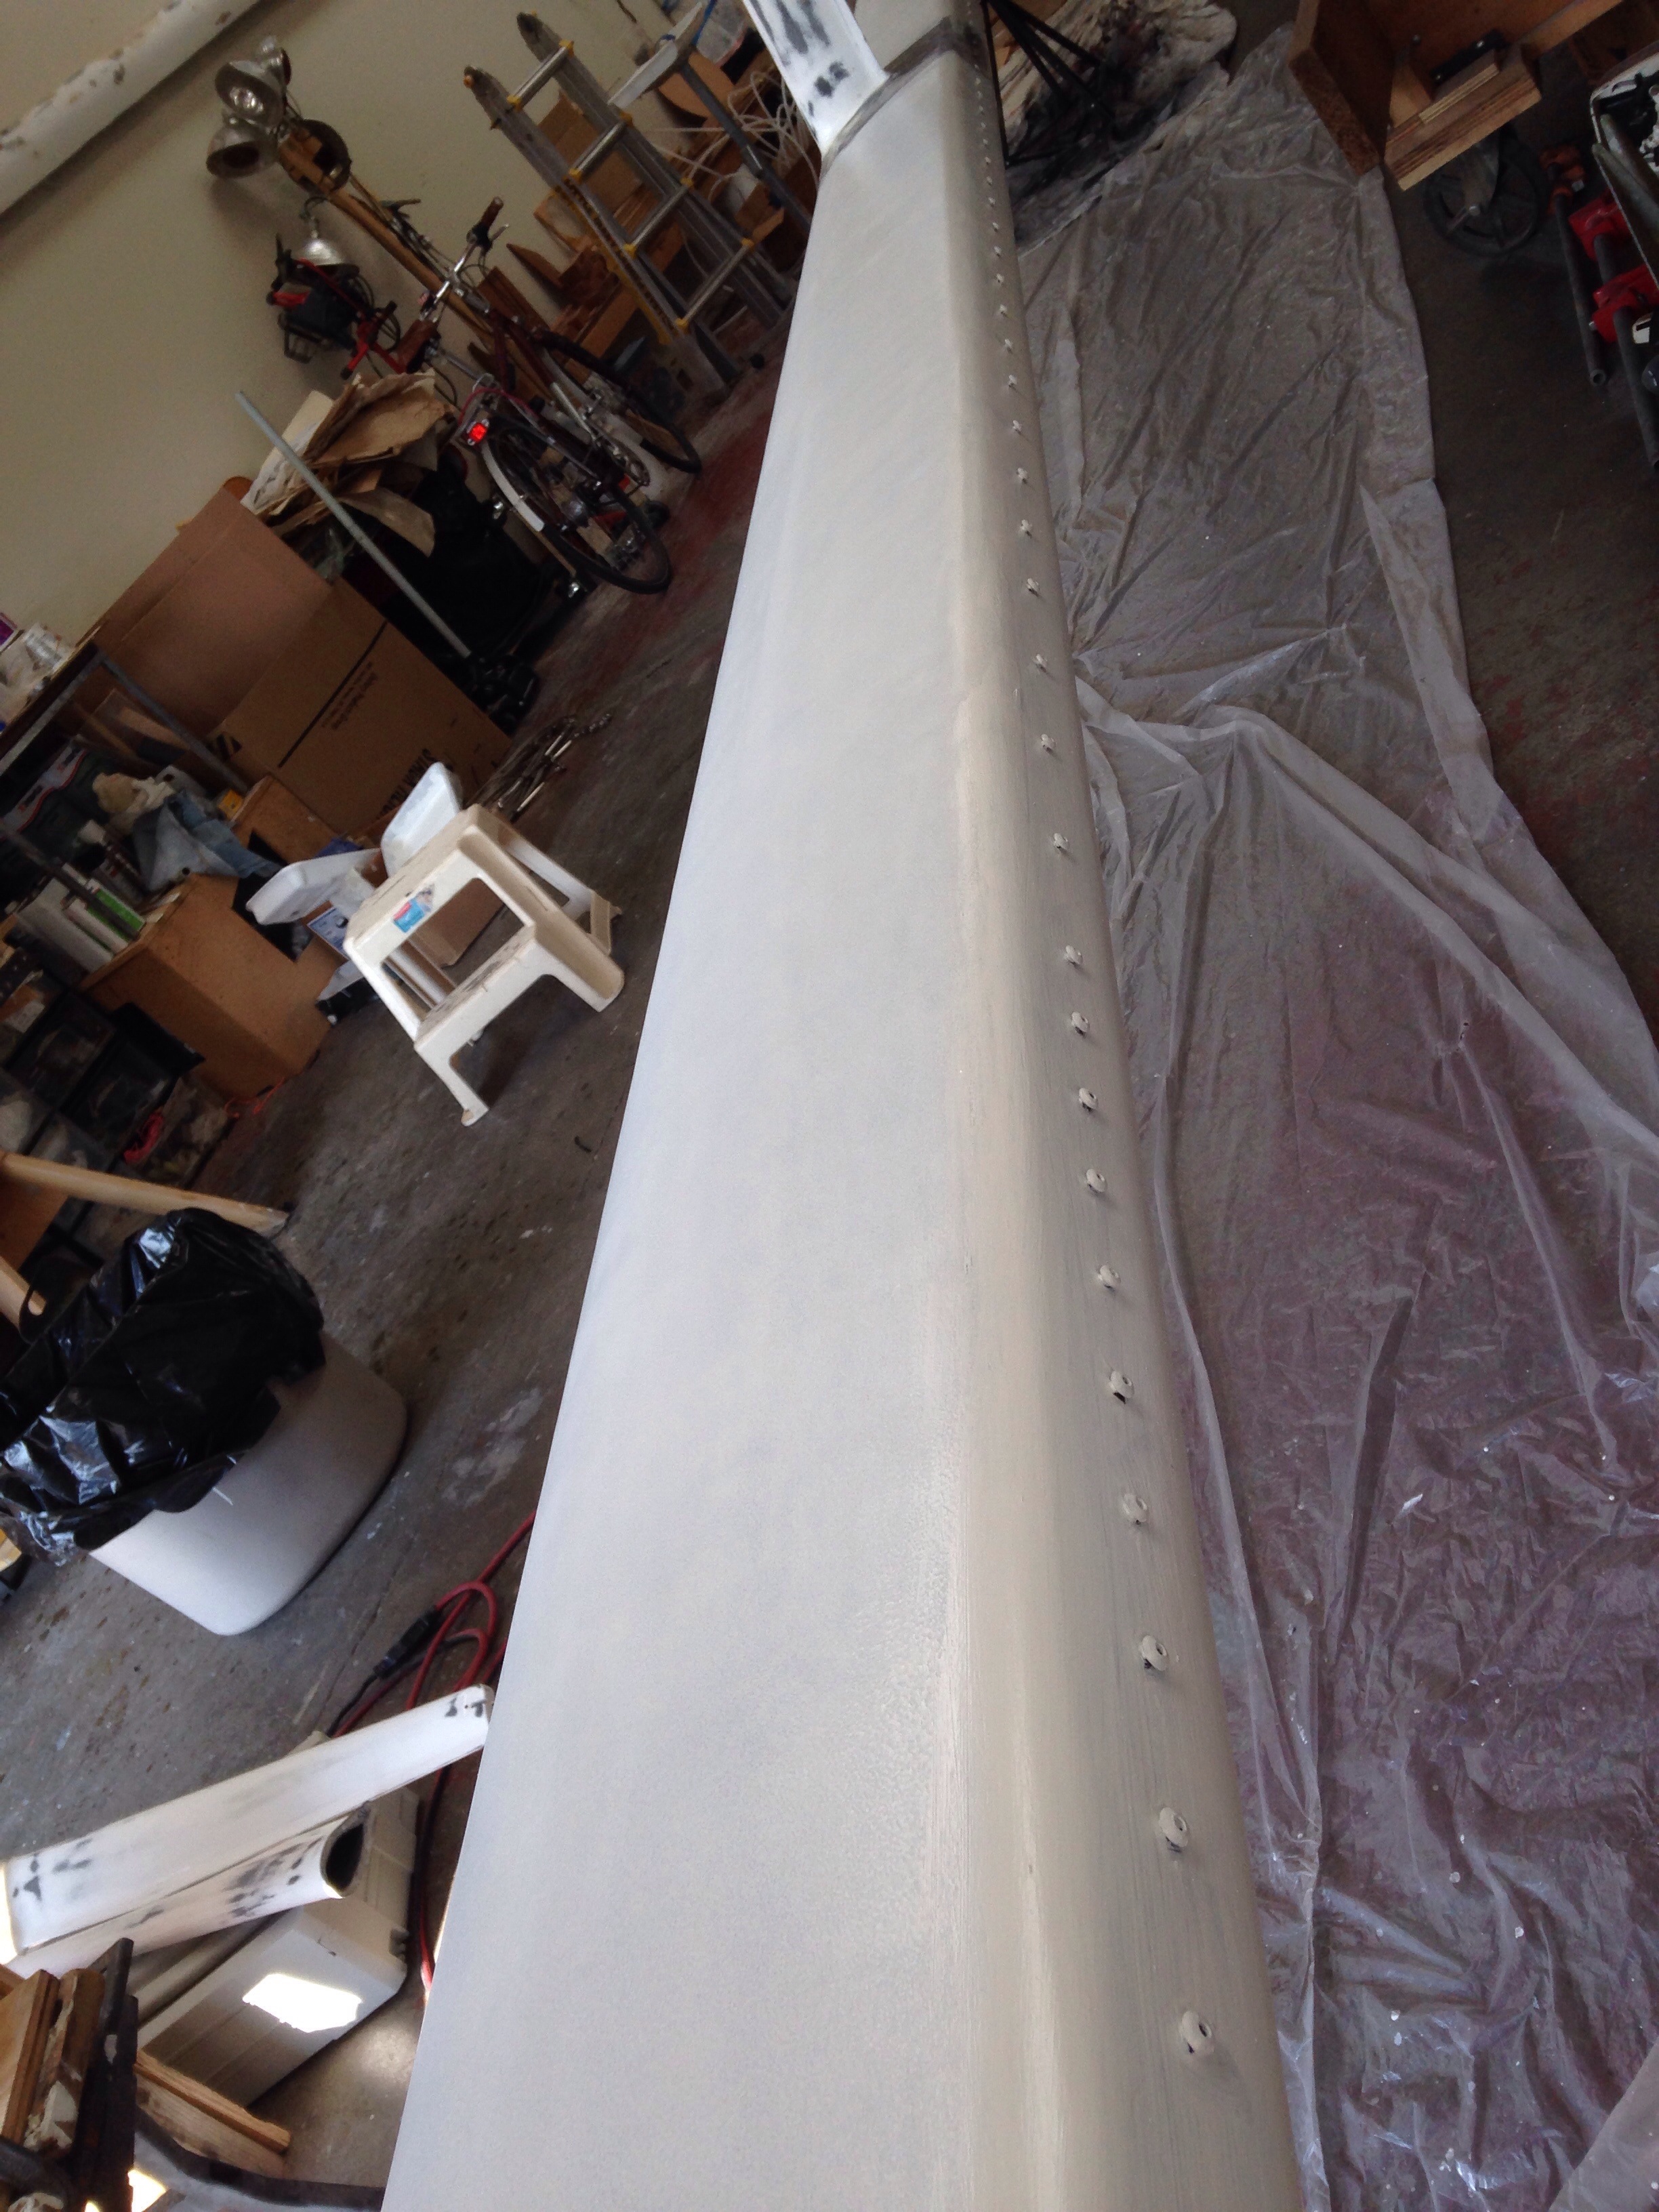
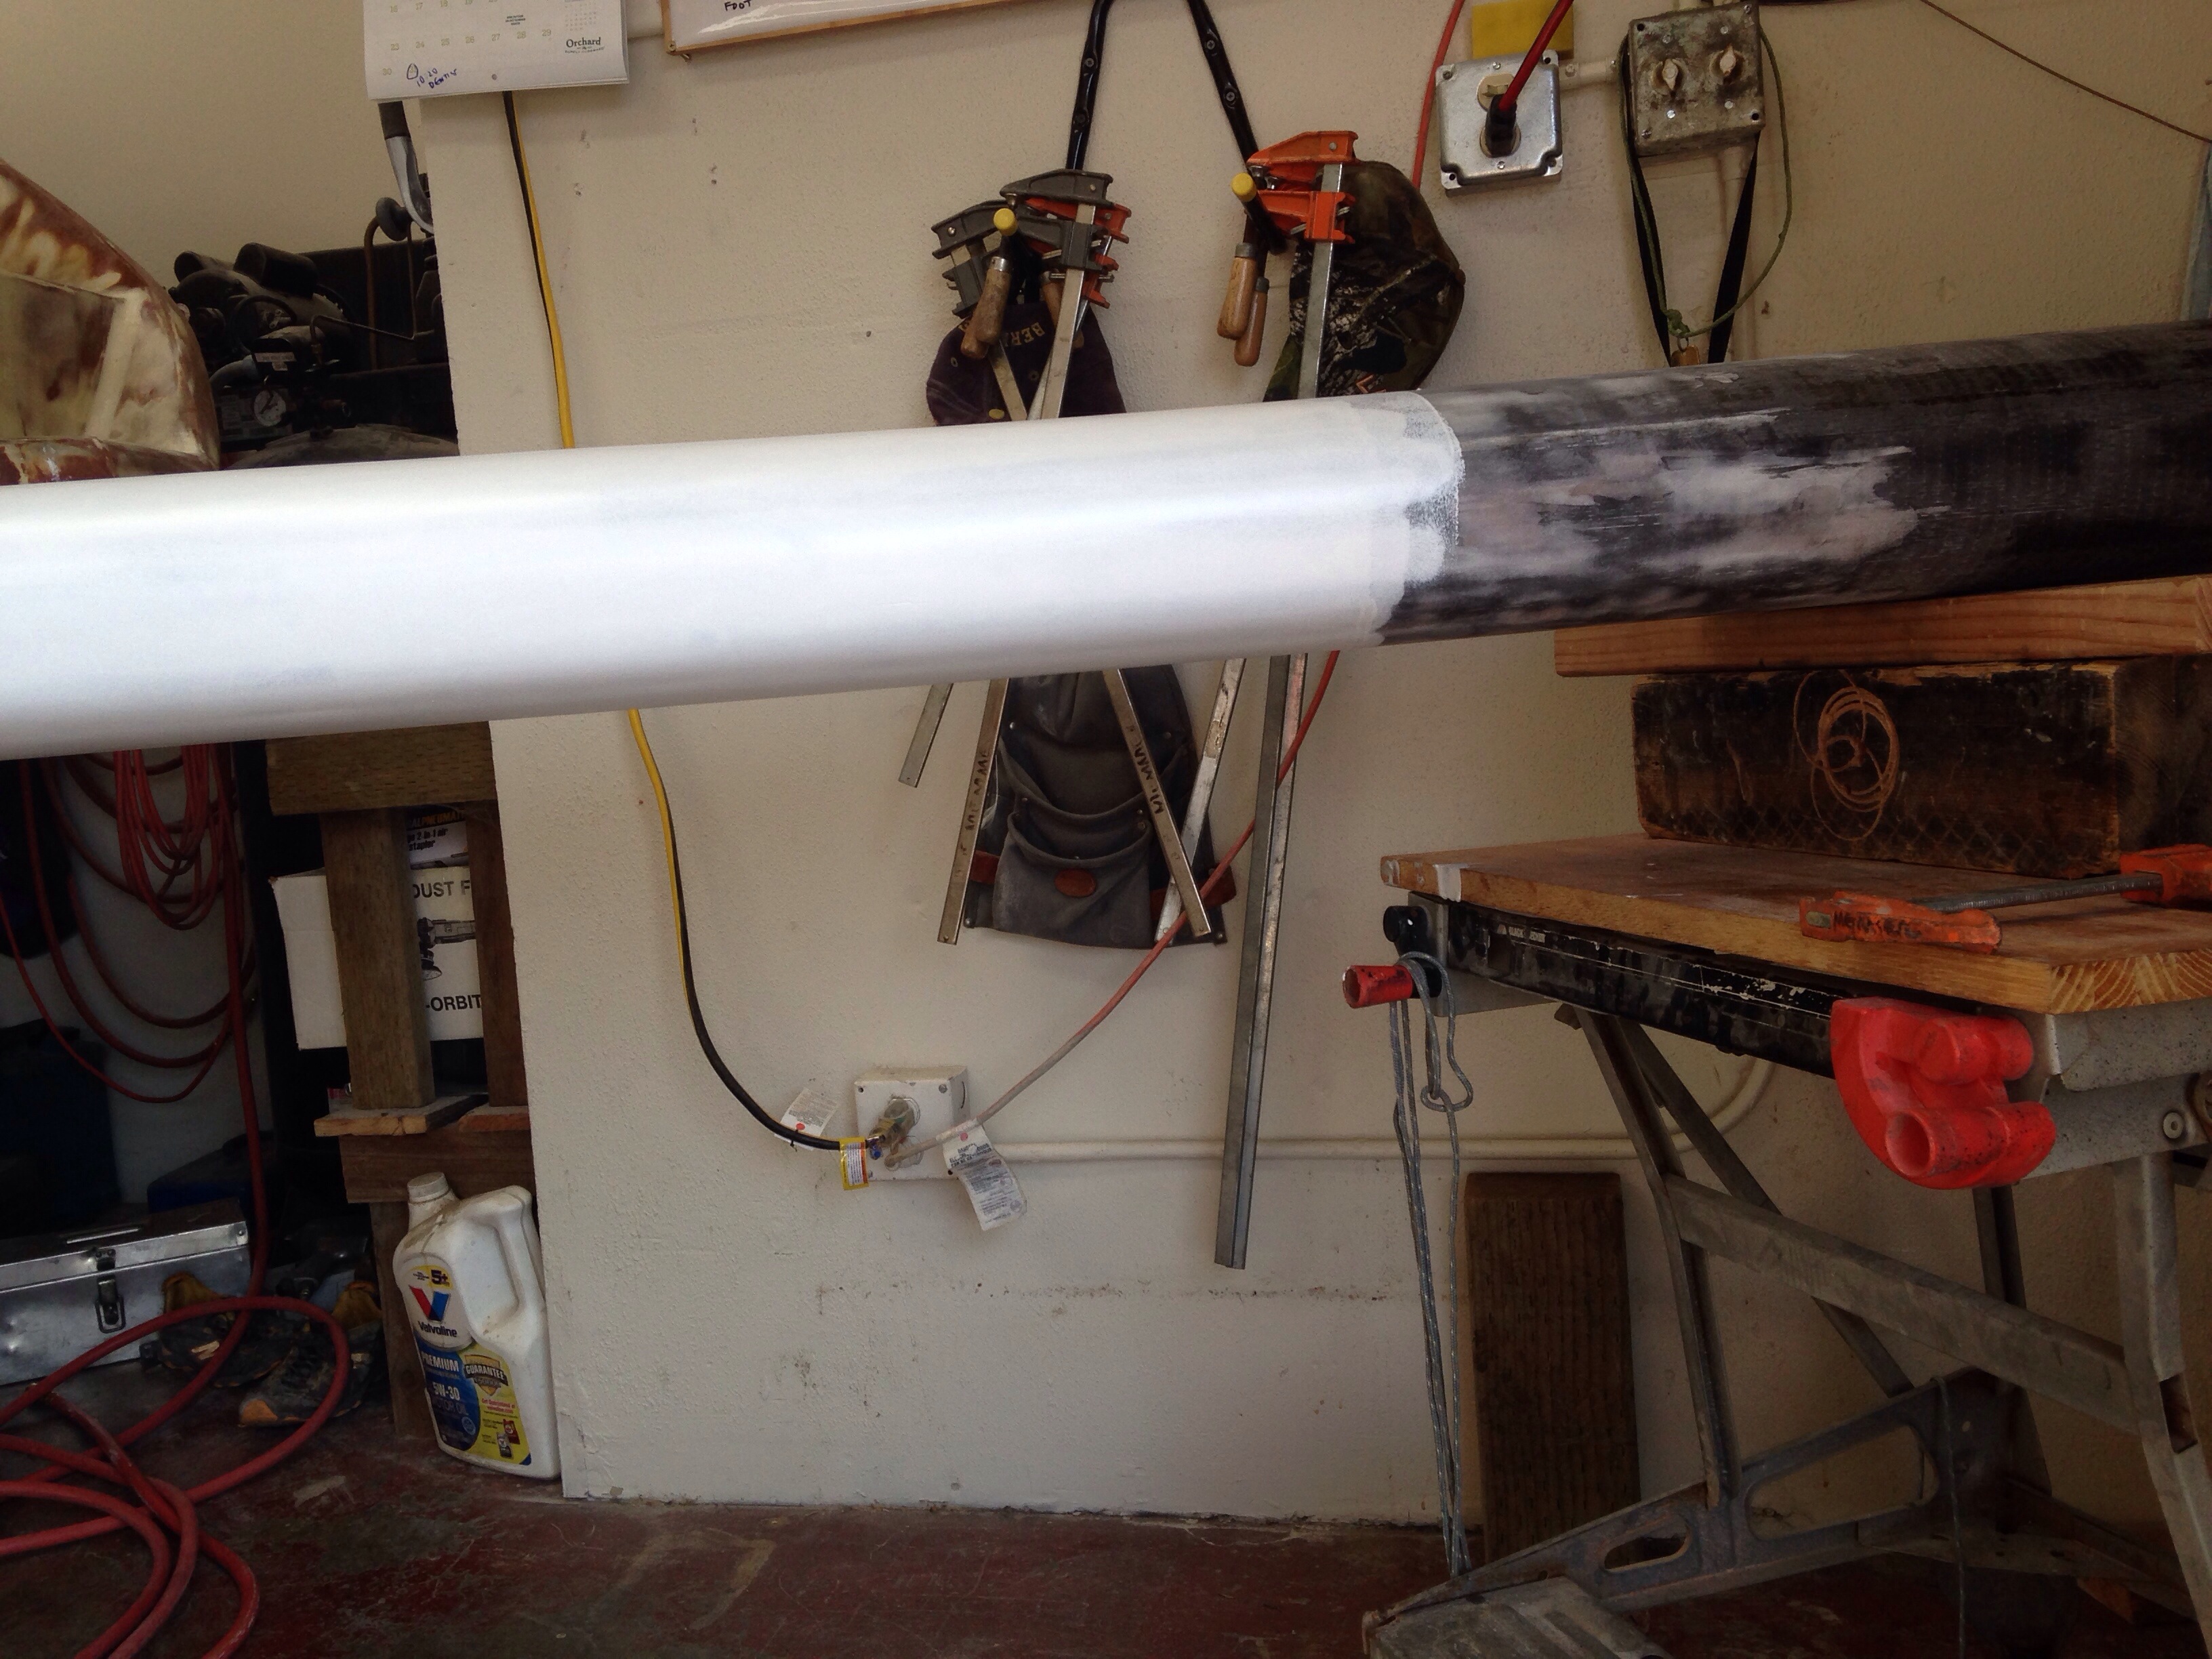
What a relief to get some paint back on the mast! All those sail track screw holes were tapped, fairing done, and some epoxy primer rolled on.

20150808-214424.jpg
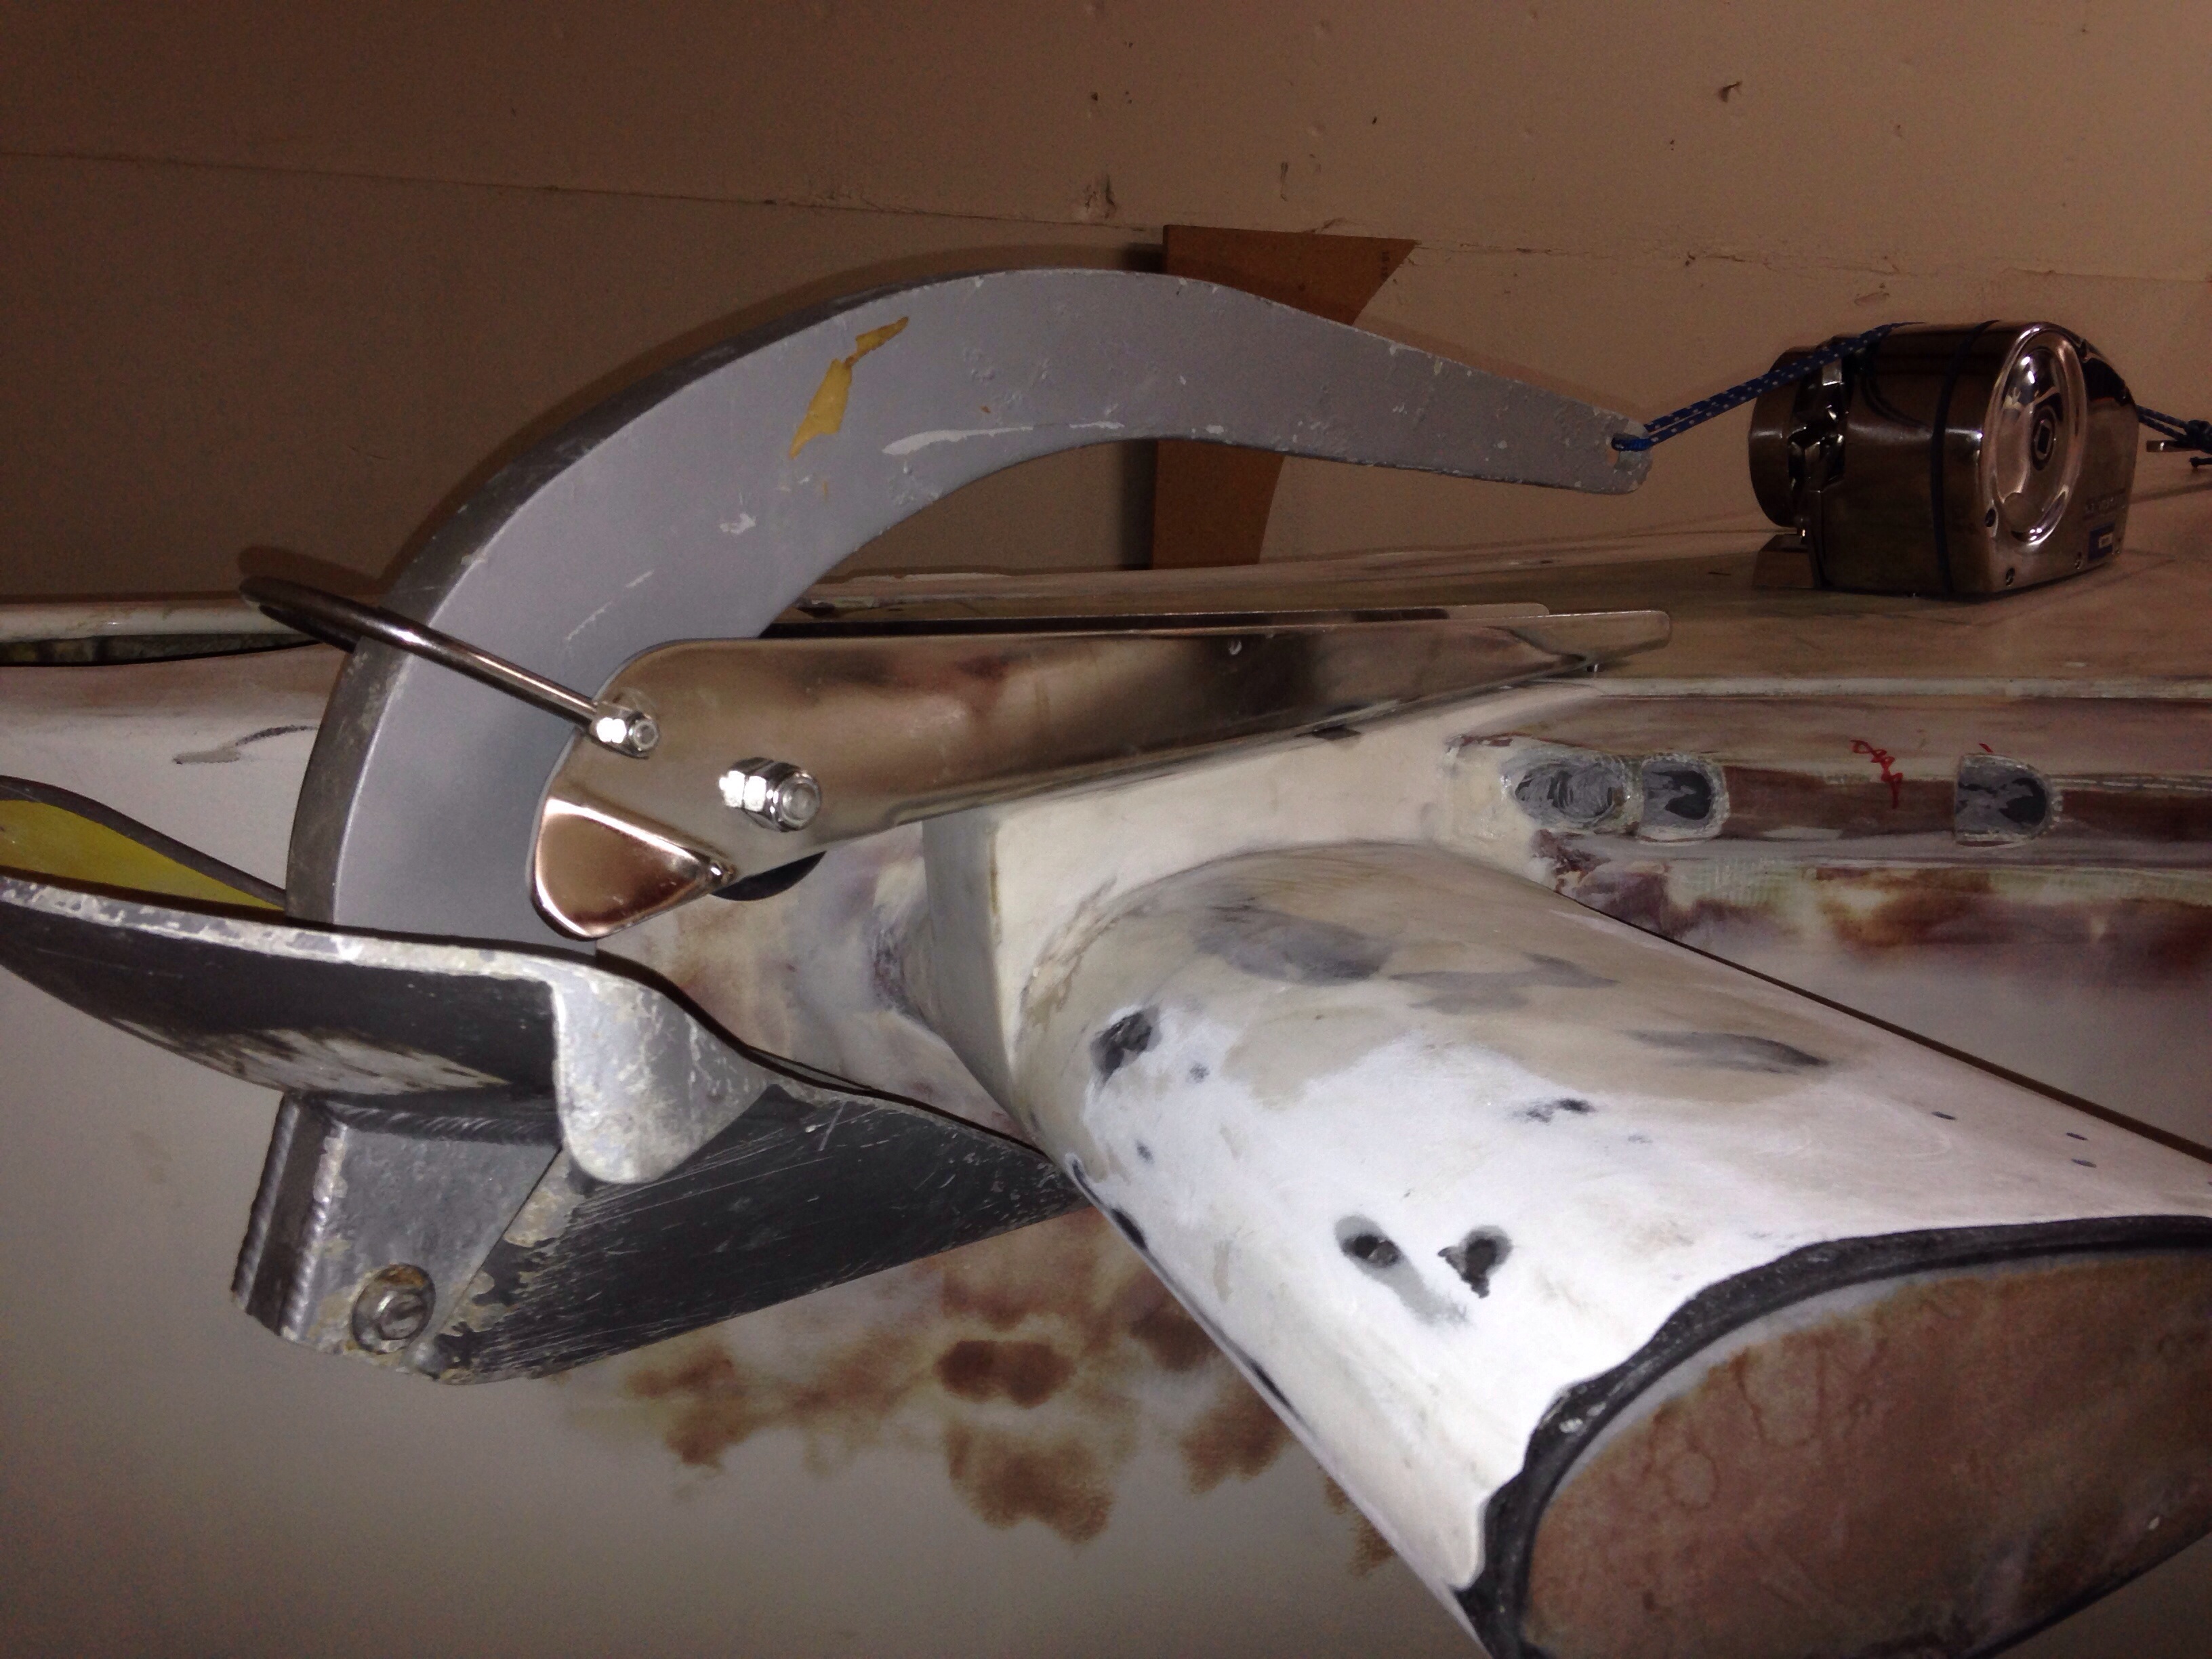
Then we made a composite base for a steel pad eye just below the upper spreader as the terminal for the check stays, part of the running backstay system. After the base cured it got some carbon exterior reinforcement to maintain proper position.

20150808-214630.jpg
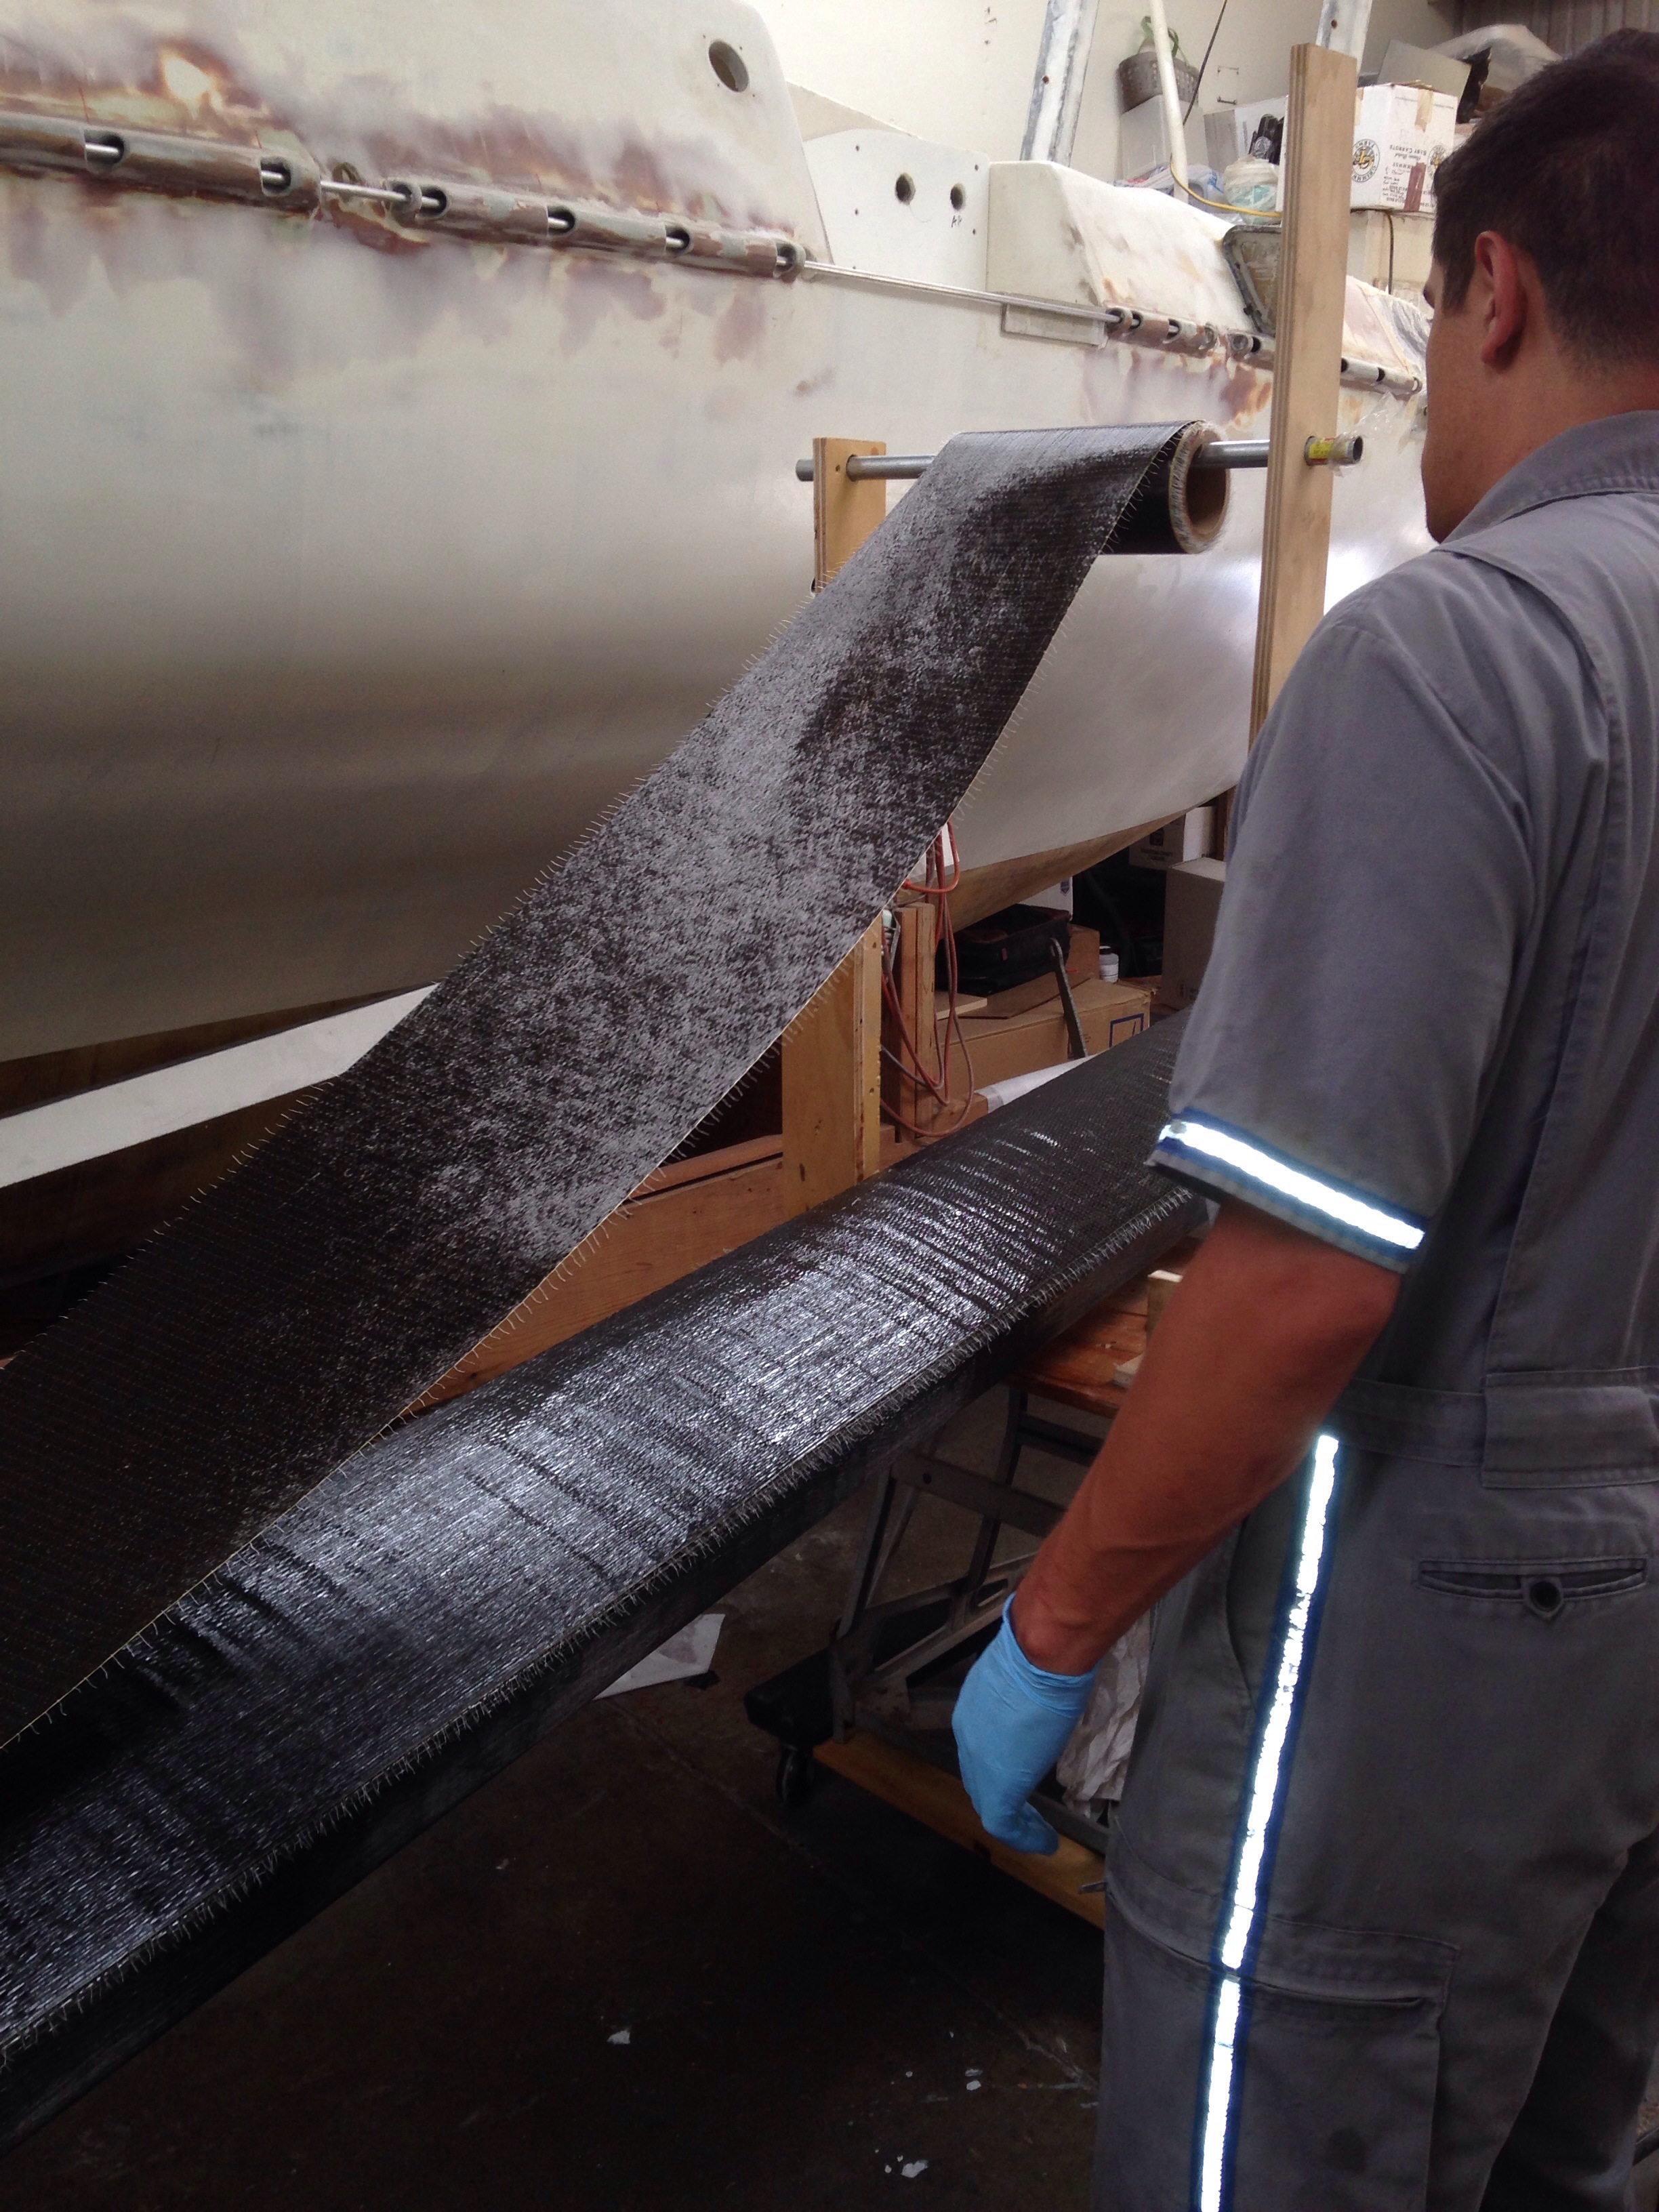
Late today the spreaders were bonded back on and tomorrow they’ll get carbon tape reinforcement.

20150808-214730.jpg
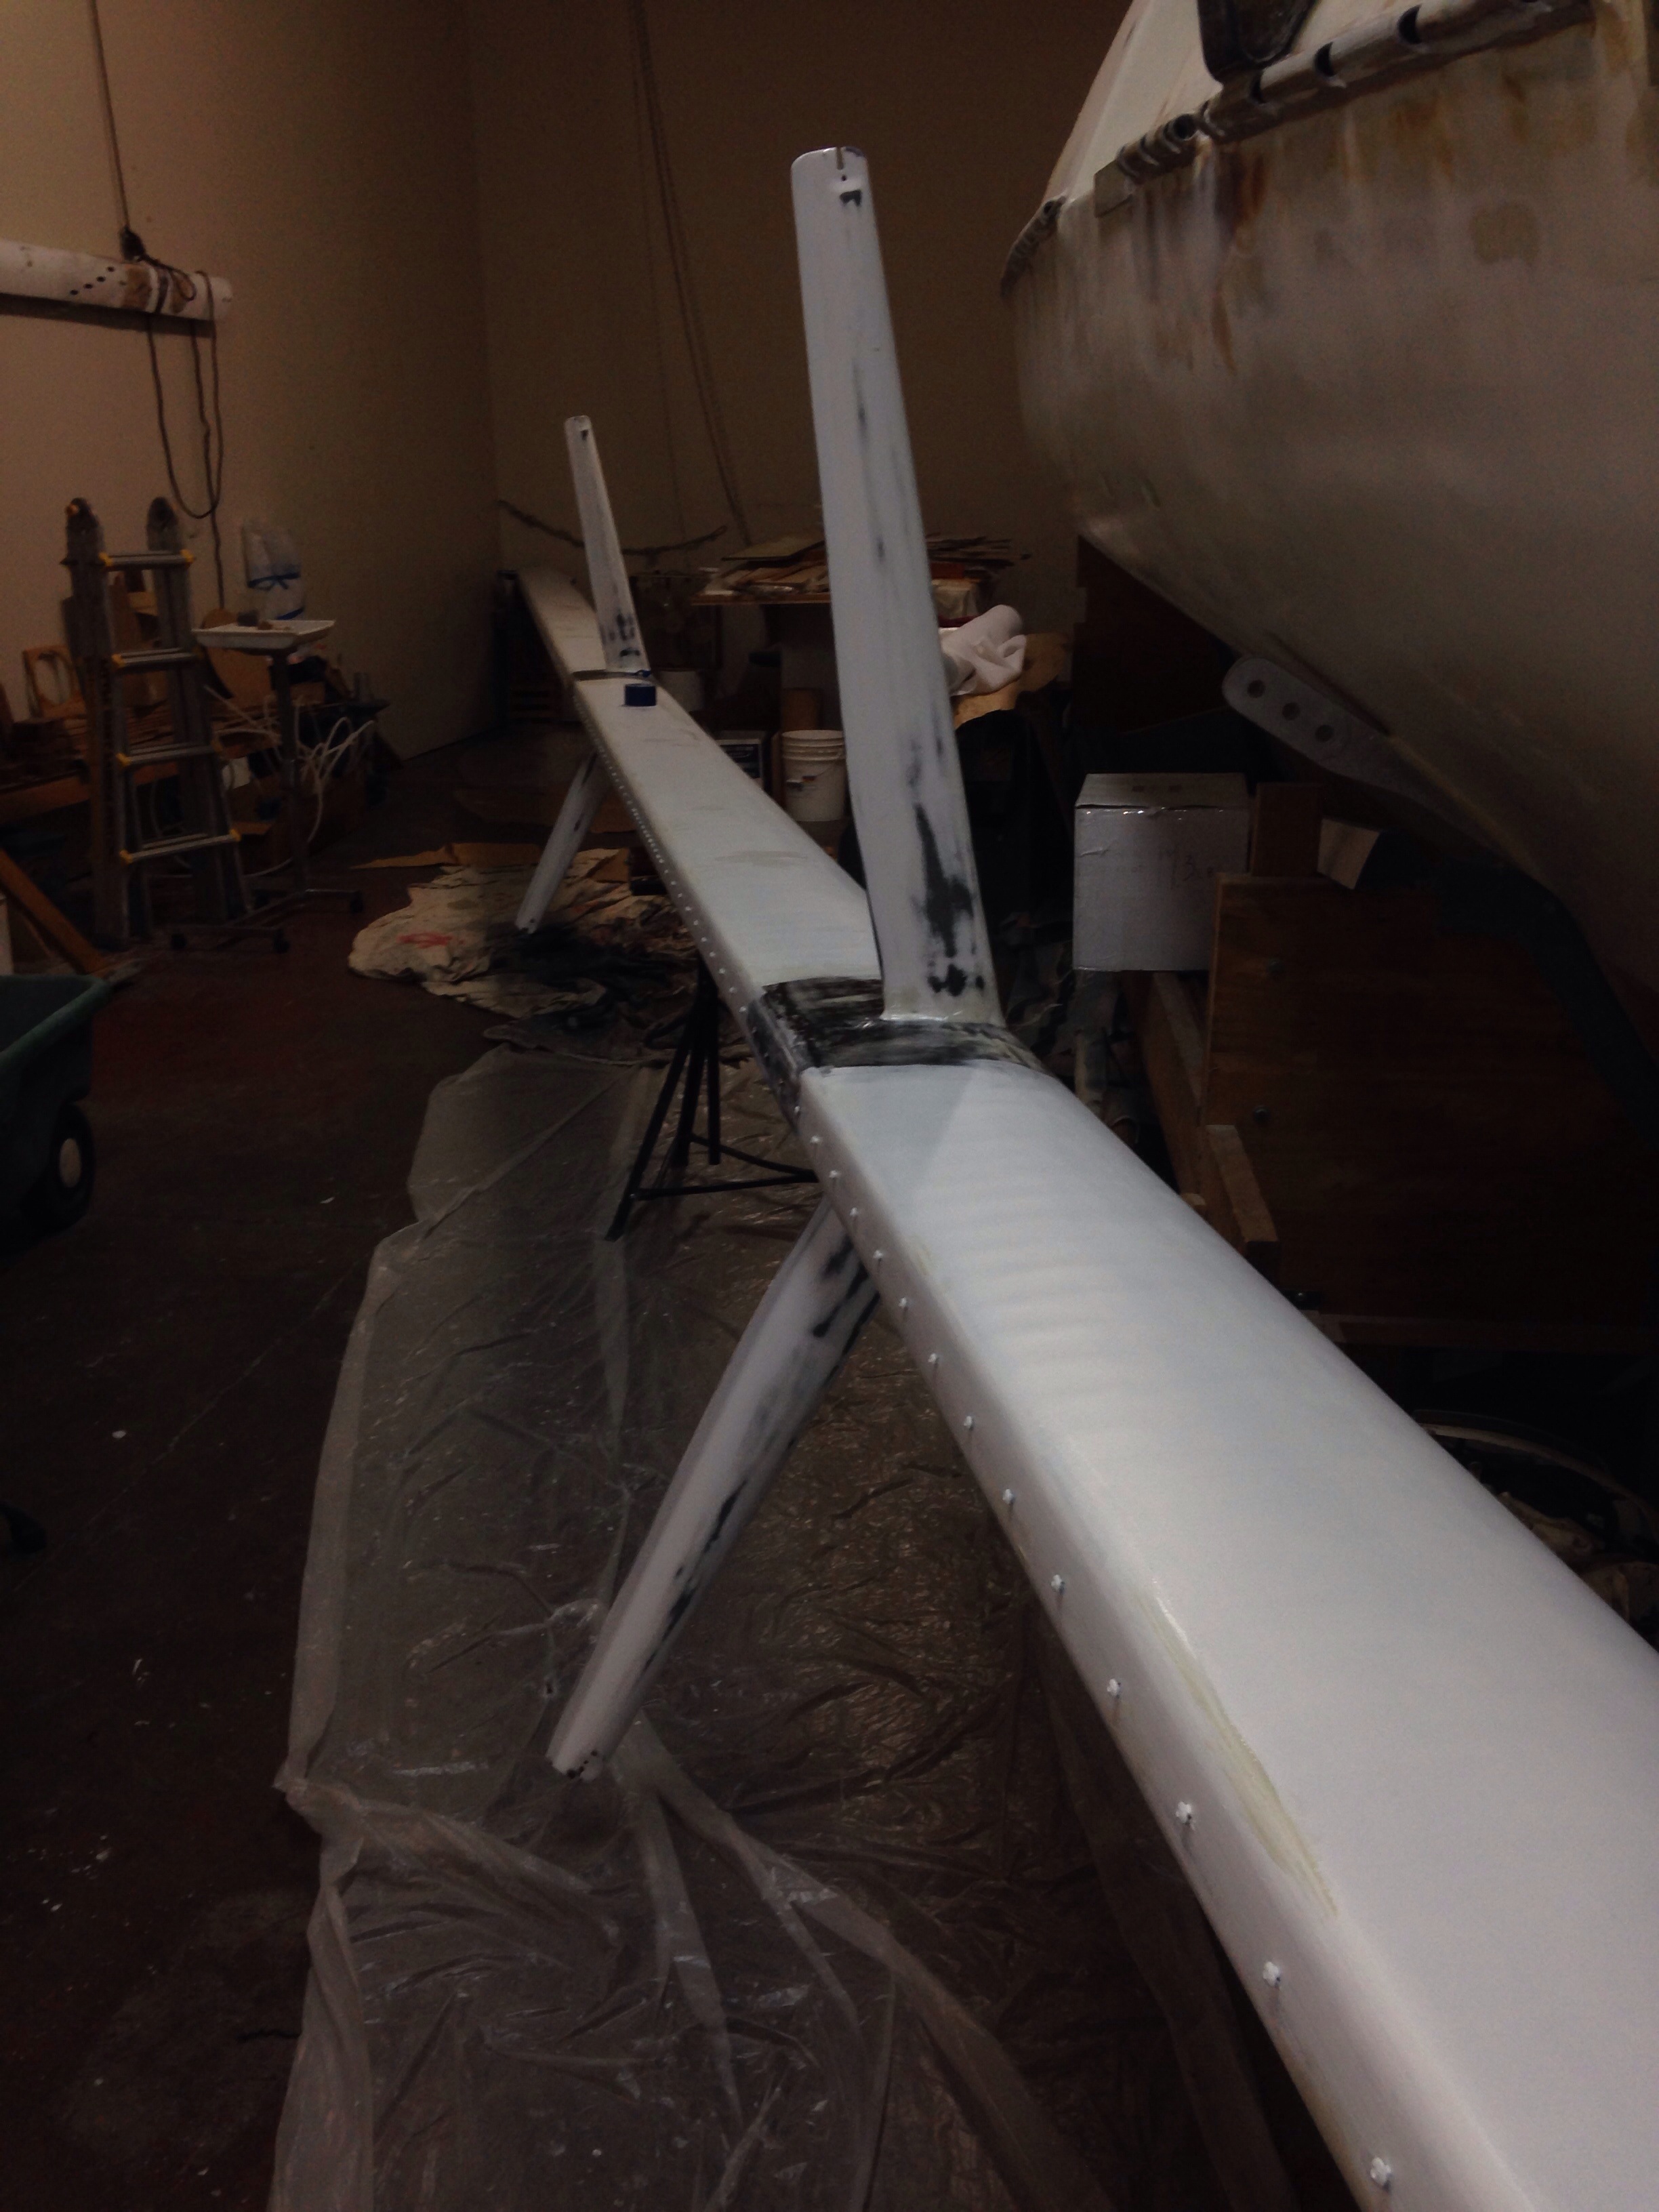
The surface looks good just in primer, so we’re eager for final paint during the week. Note to the future: the mast surface shows some minor flat spots / deviations. This is due to six added layers of hand layup (vs the original structure’s vac bagging) and overlapping fabrics. We chose not to add the cosmetic-only fairing weight it would have taken for a full-smooth finish.

20150808-215134.jpg
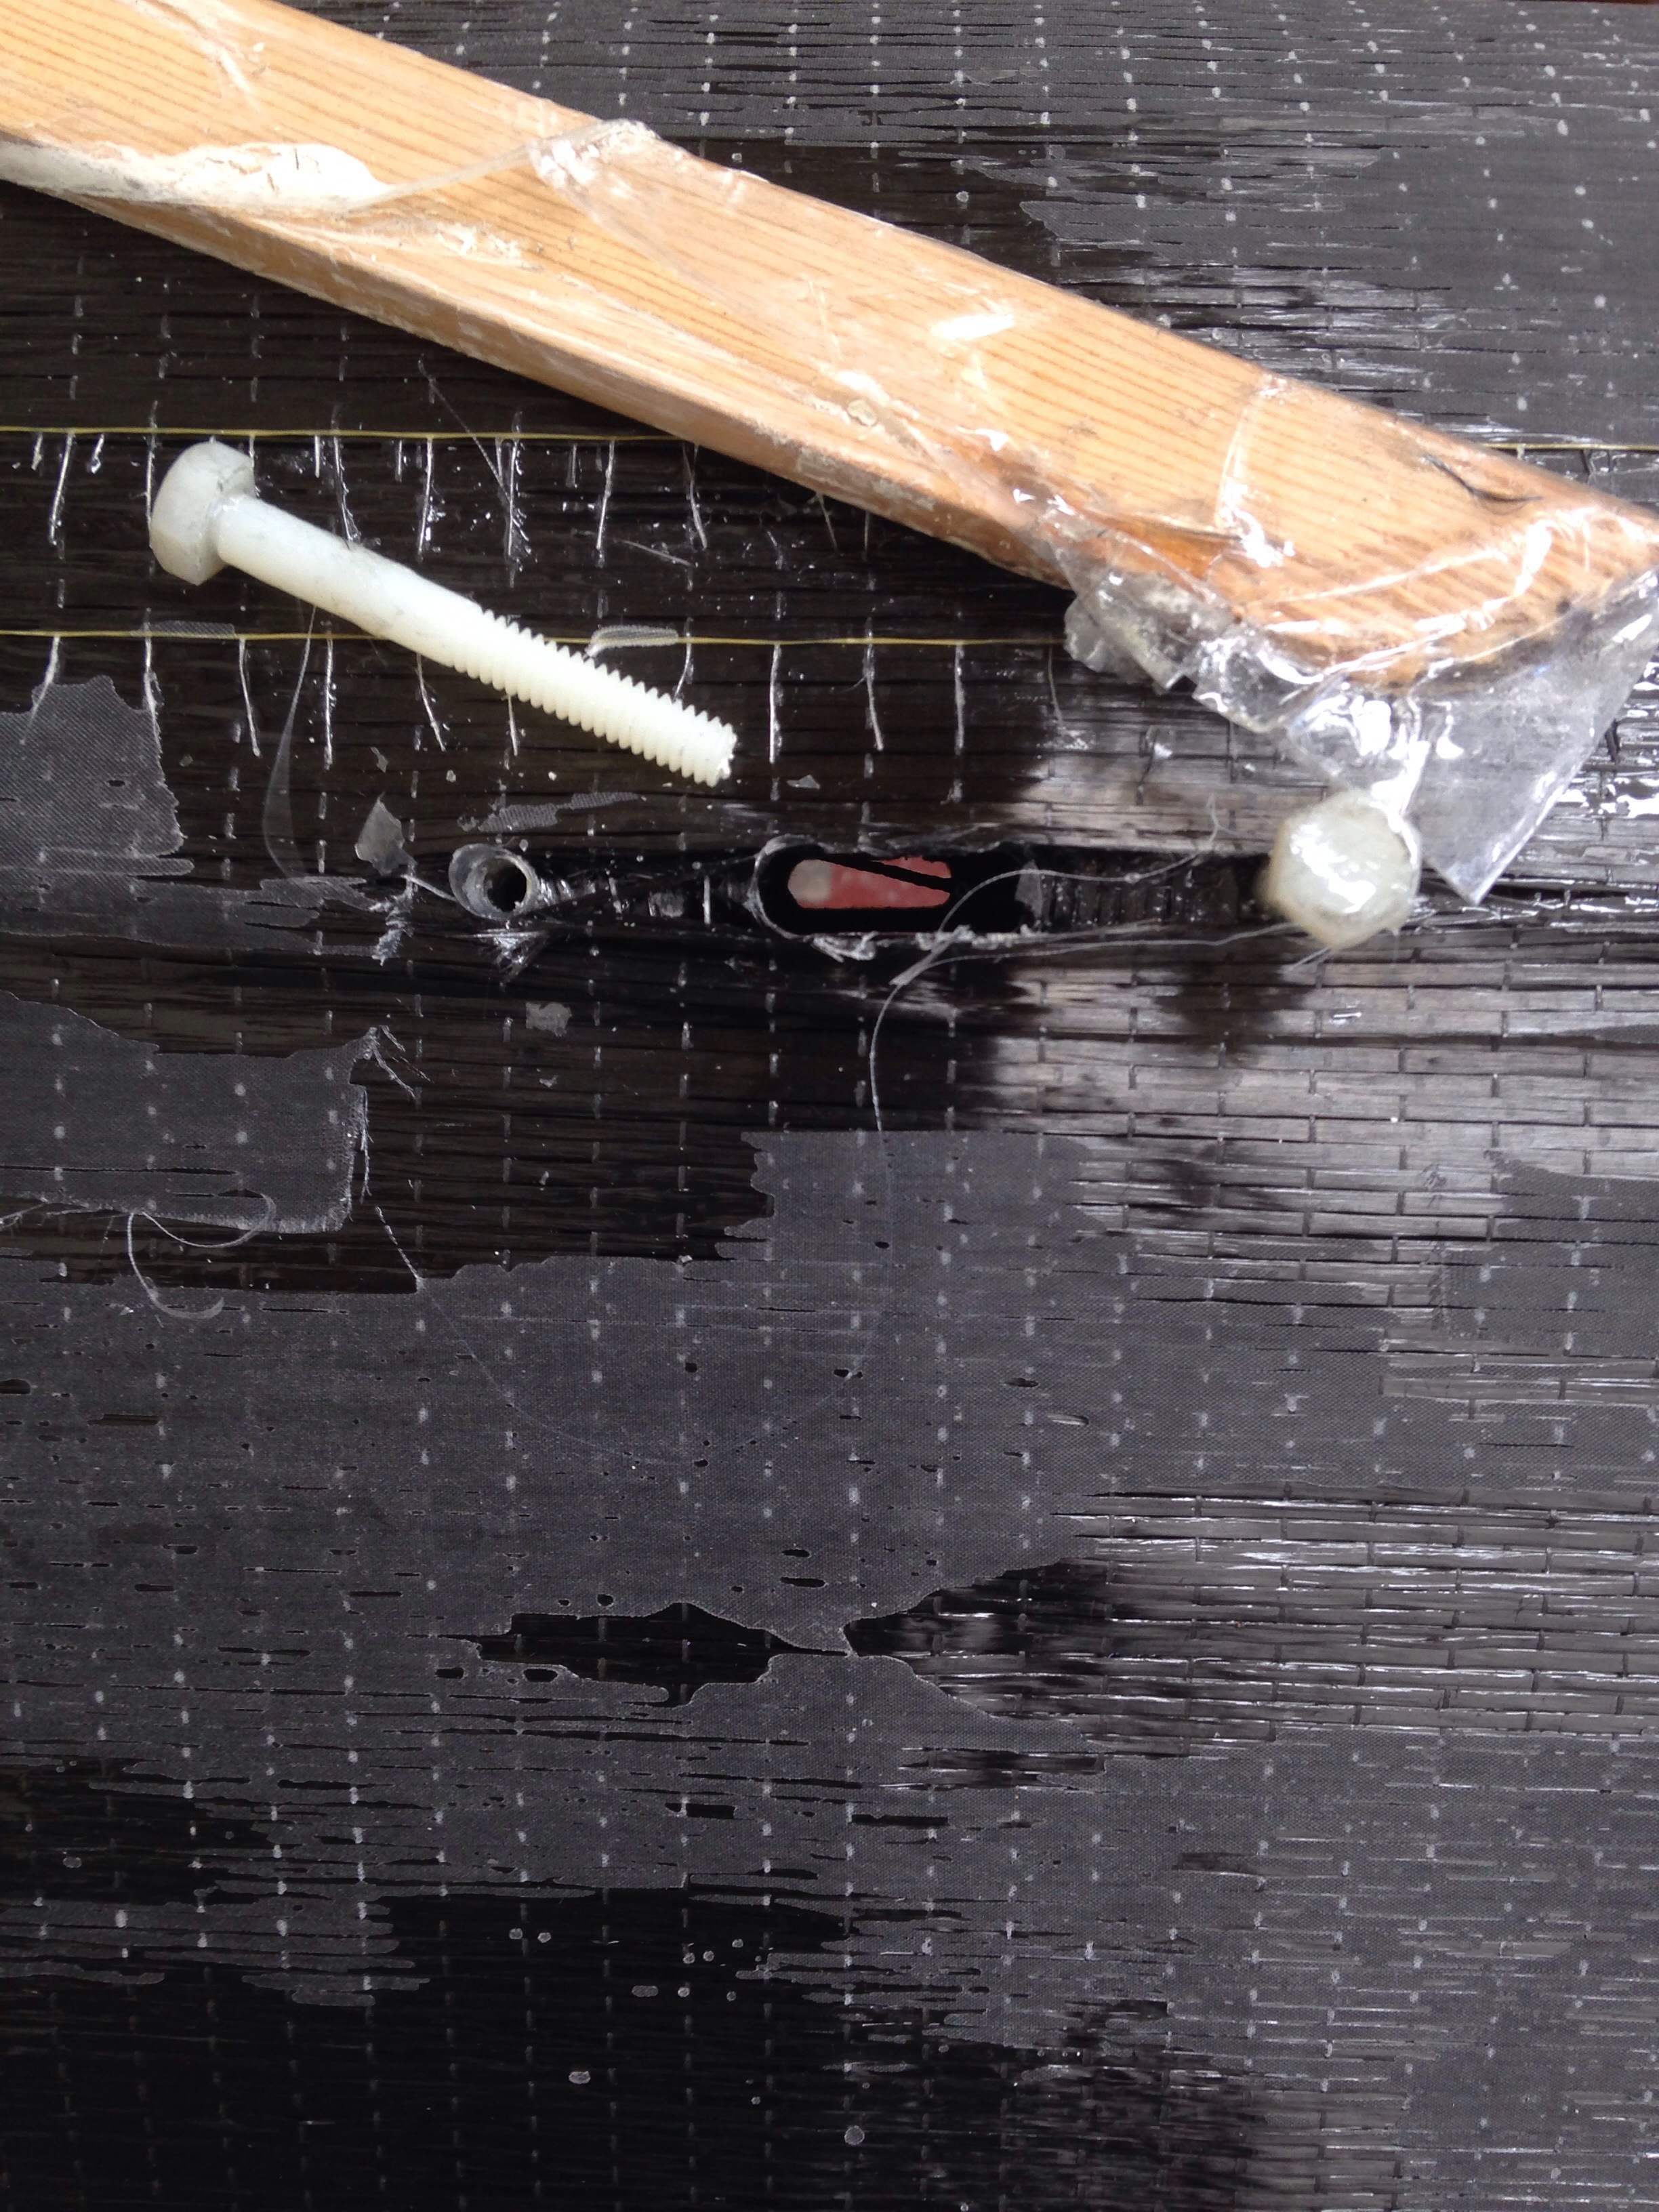
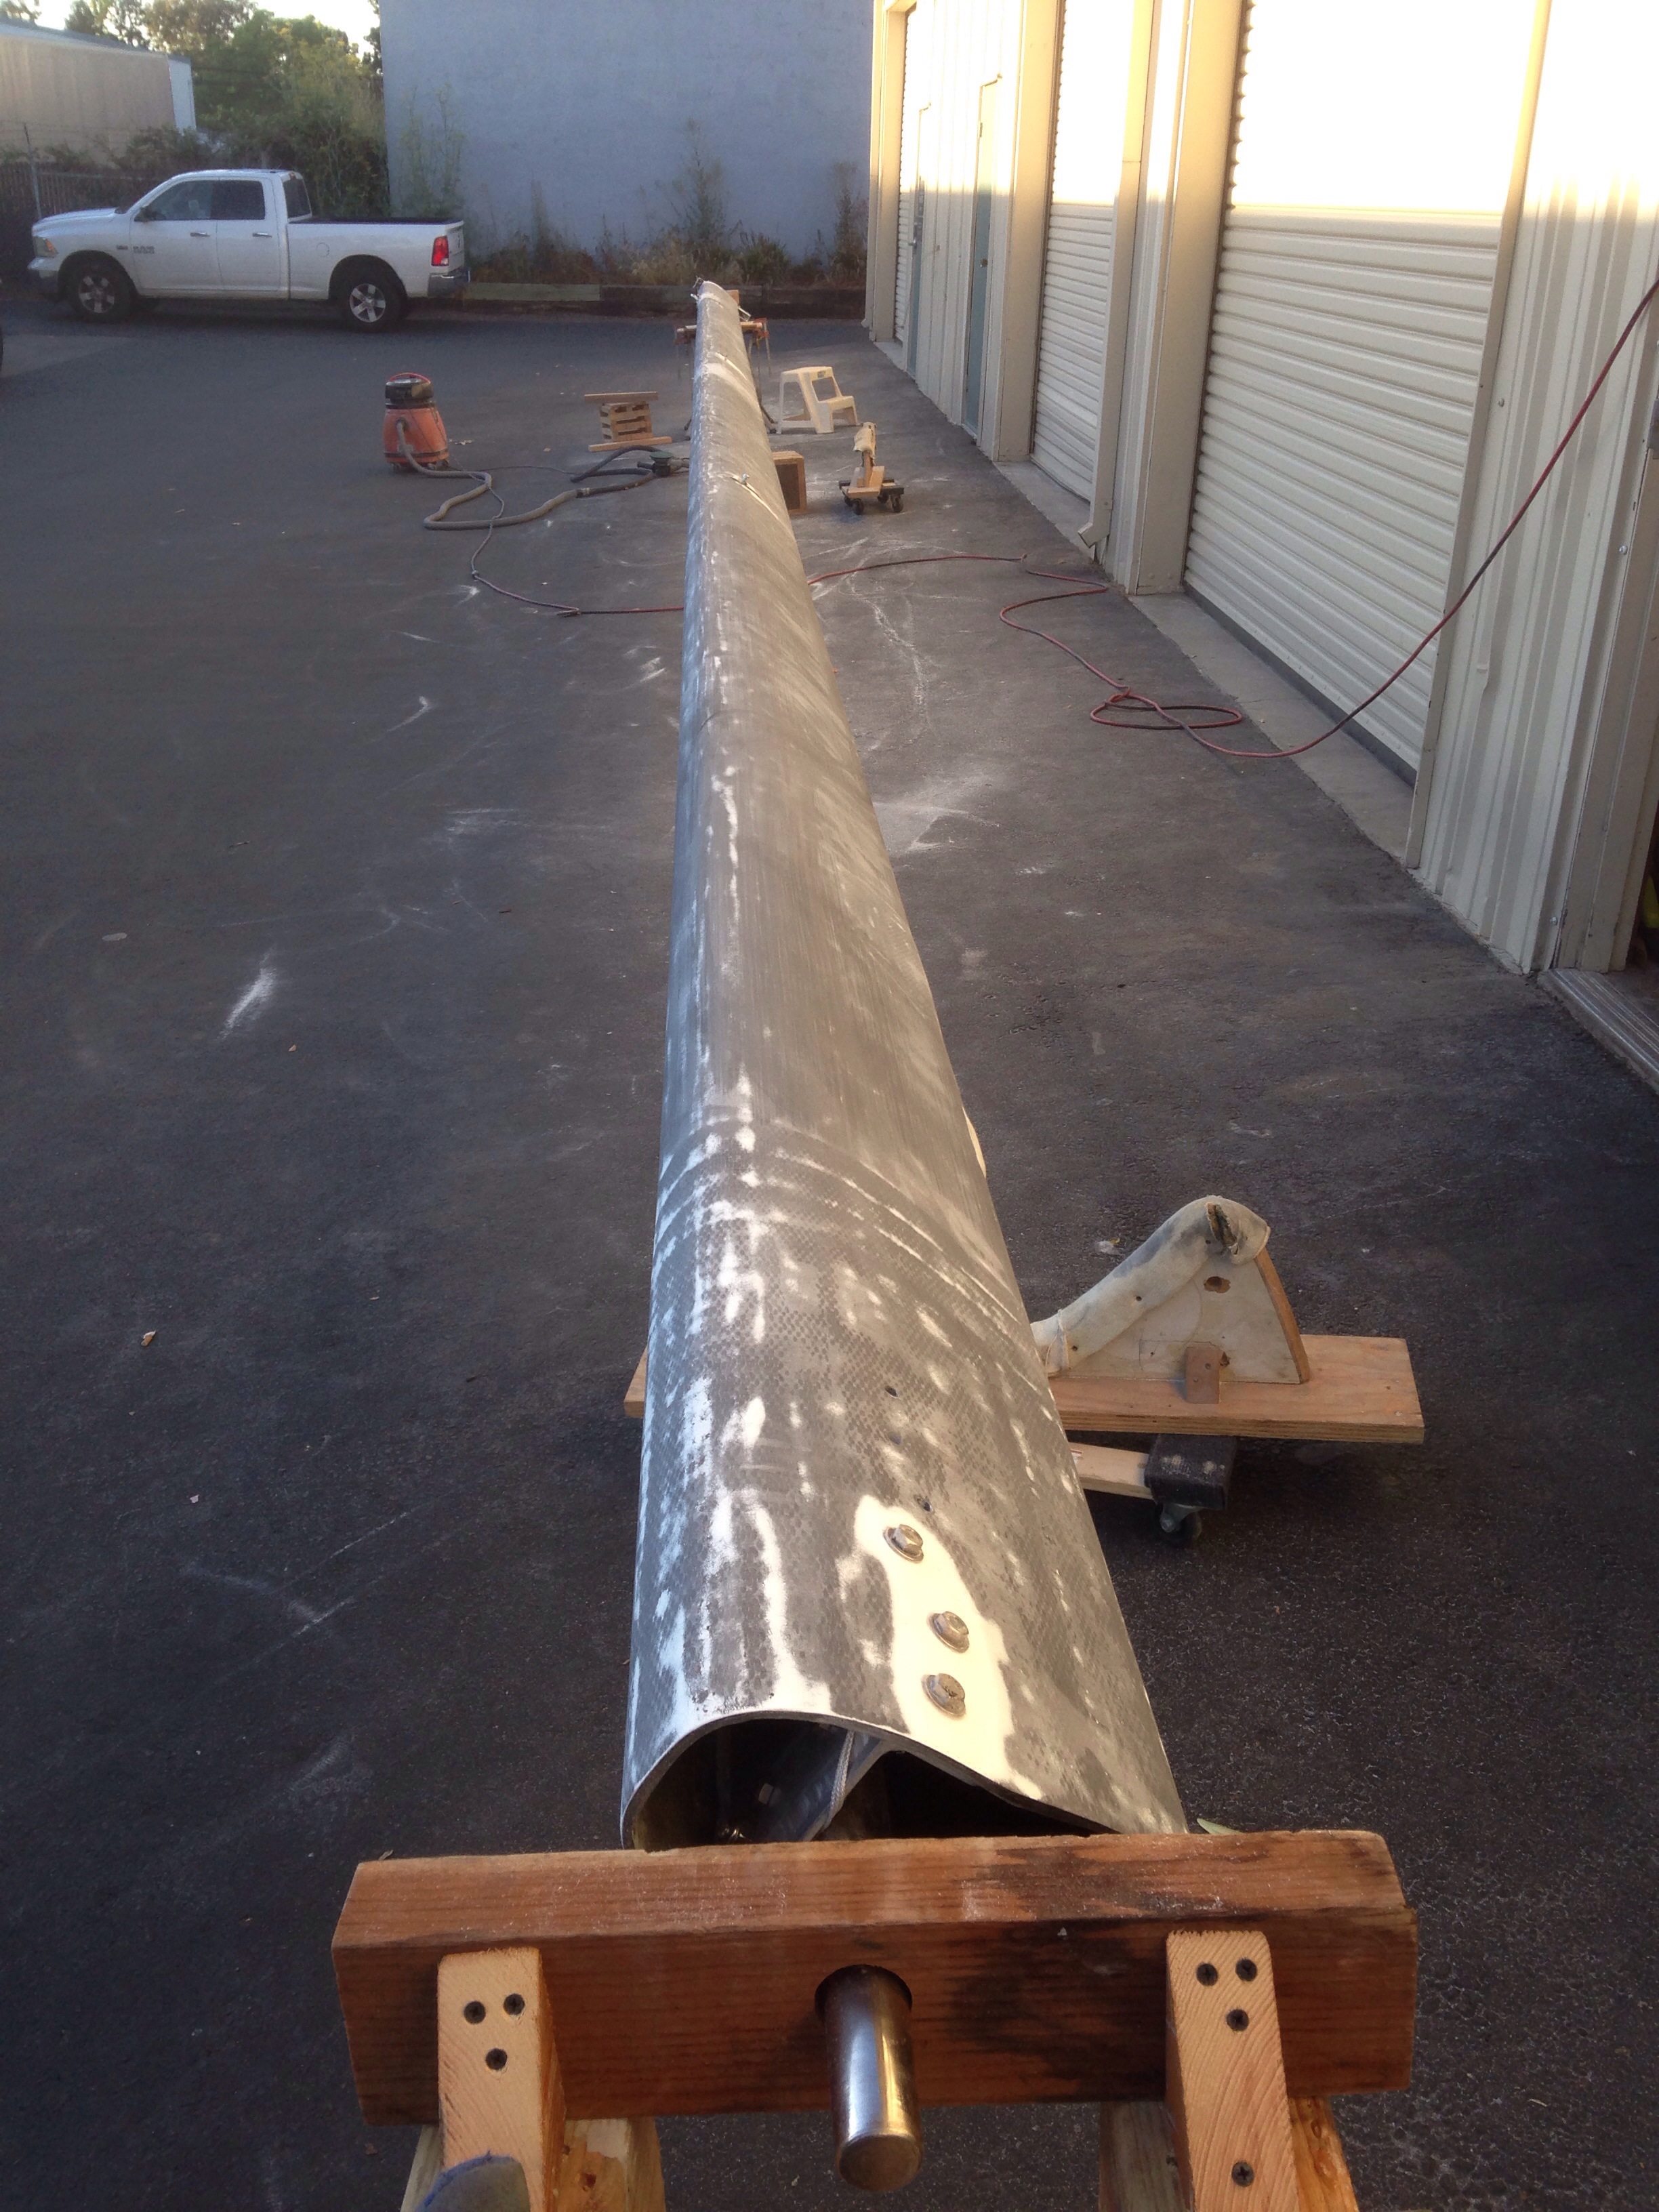
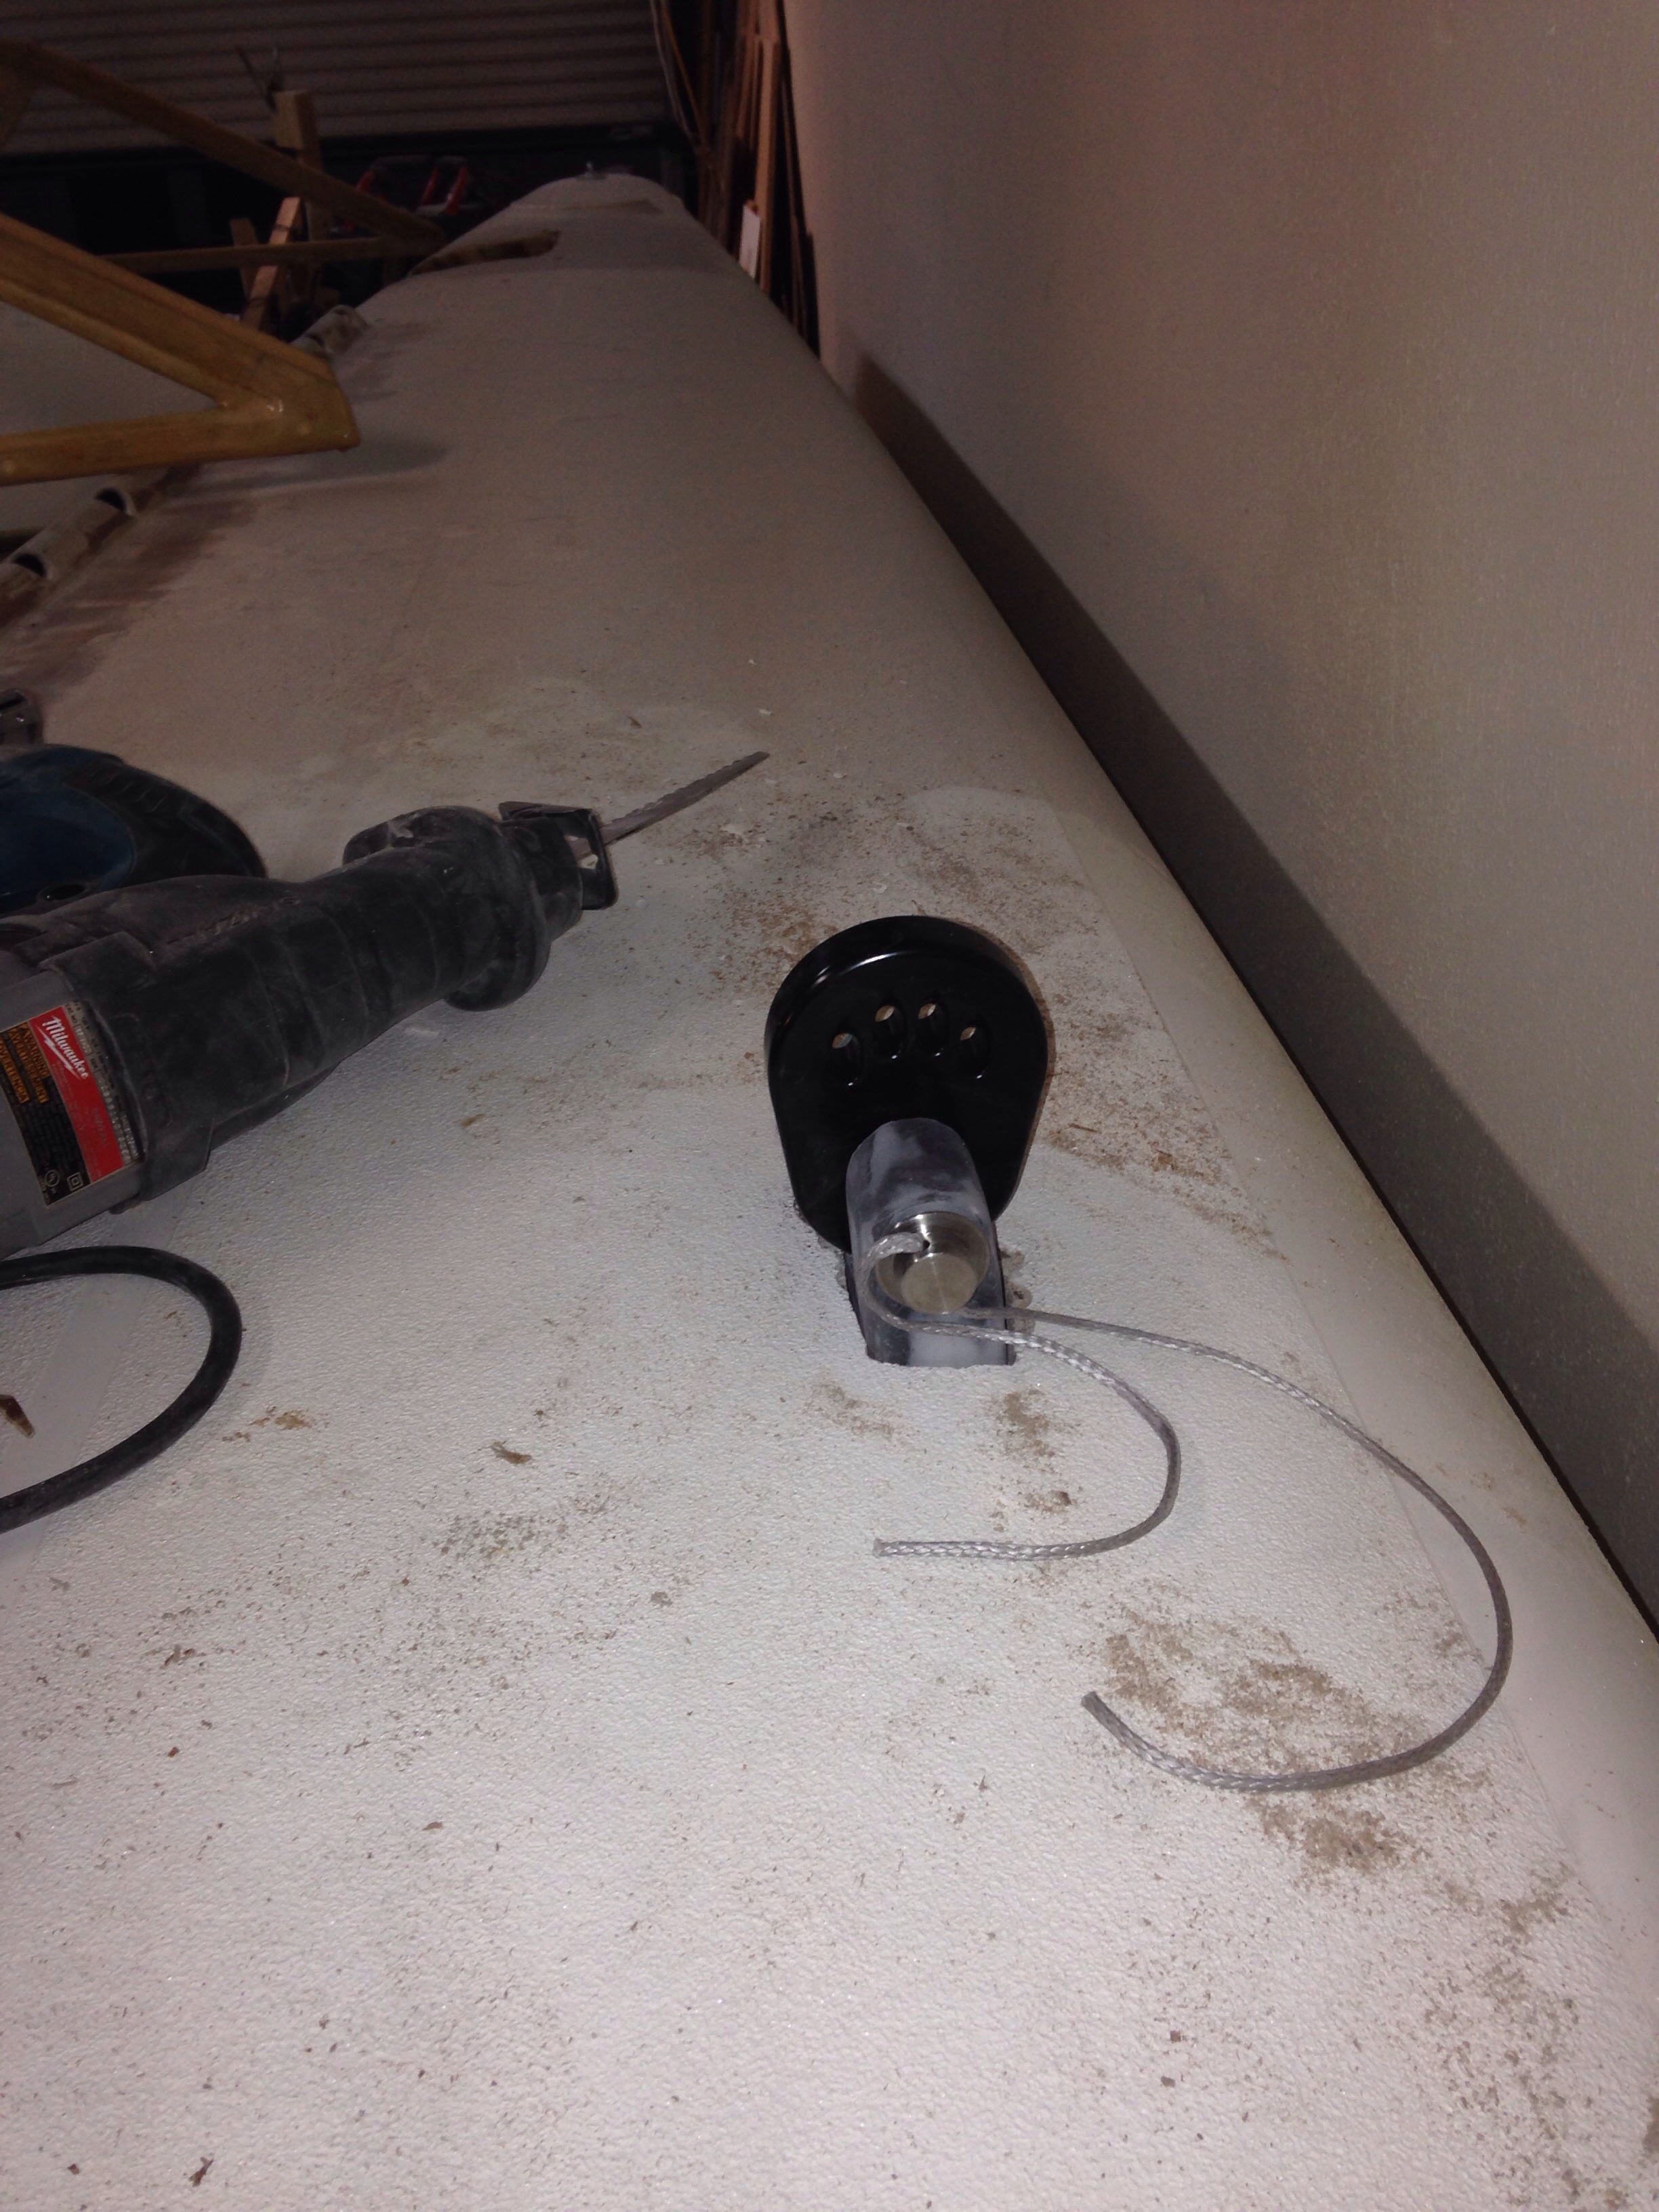
And since we’ve gone this far with the mast, we decided to tackle an old concern. The mast currently has a 1″ stainless steel pin sticking out the bottom. This pivot-pin is received on deck in a stainless steel box with a delrin cylinder machined out the same size as the pin. The mast would rotate freely around the pin but could not tilt in any direction. The mast builder is also the designer of the Contour 34 tri, and we saw first hand on that boat how this constrained pin had busted the SS deck box welds. So we want to replace the system with a steel ball mounted on the deck and a matching cup inside the foot of the mast. Here are the new parts from Skateaway Design that need to get mounted.

20150808-215746.jpg
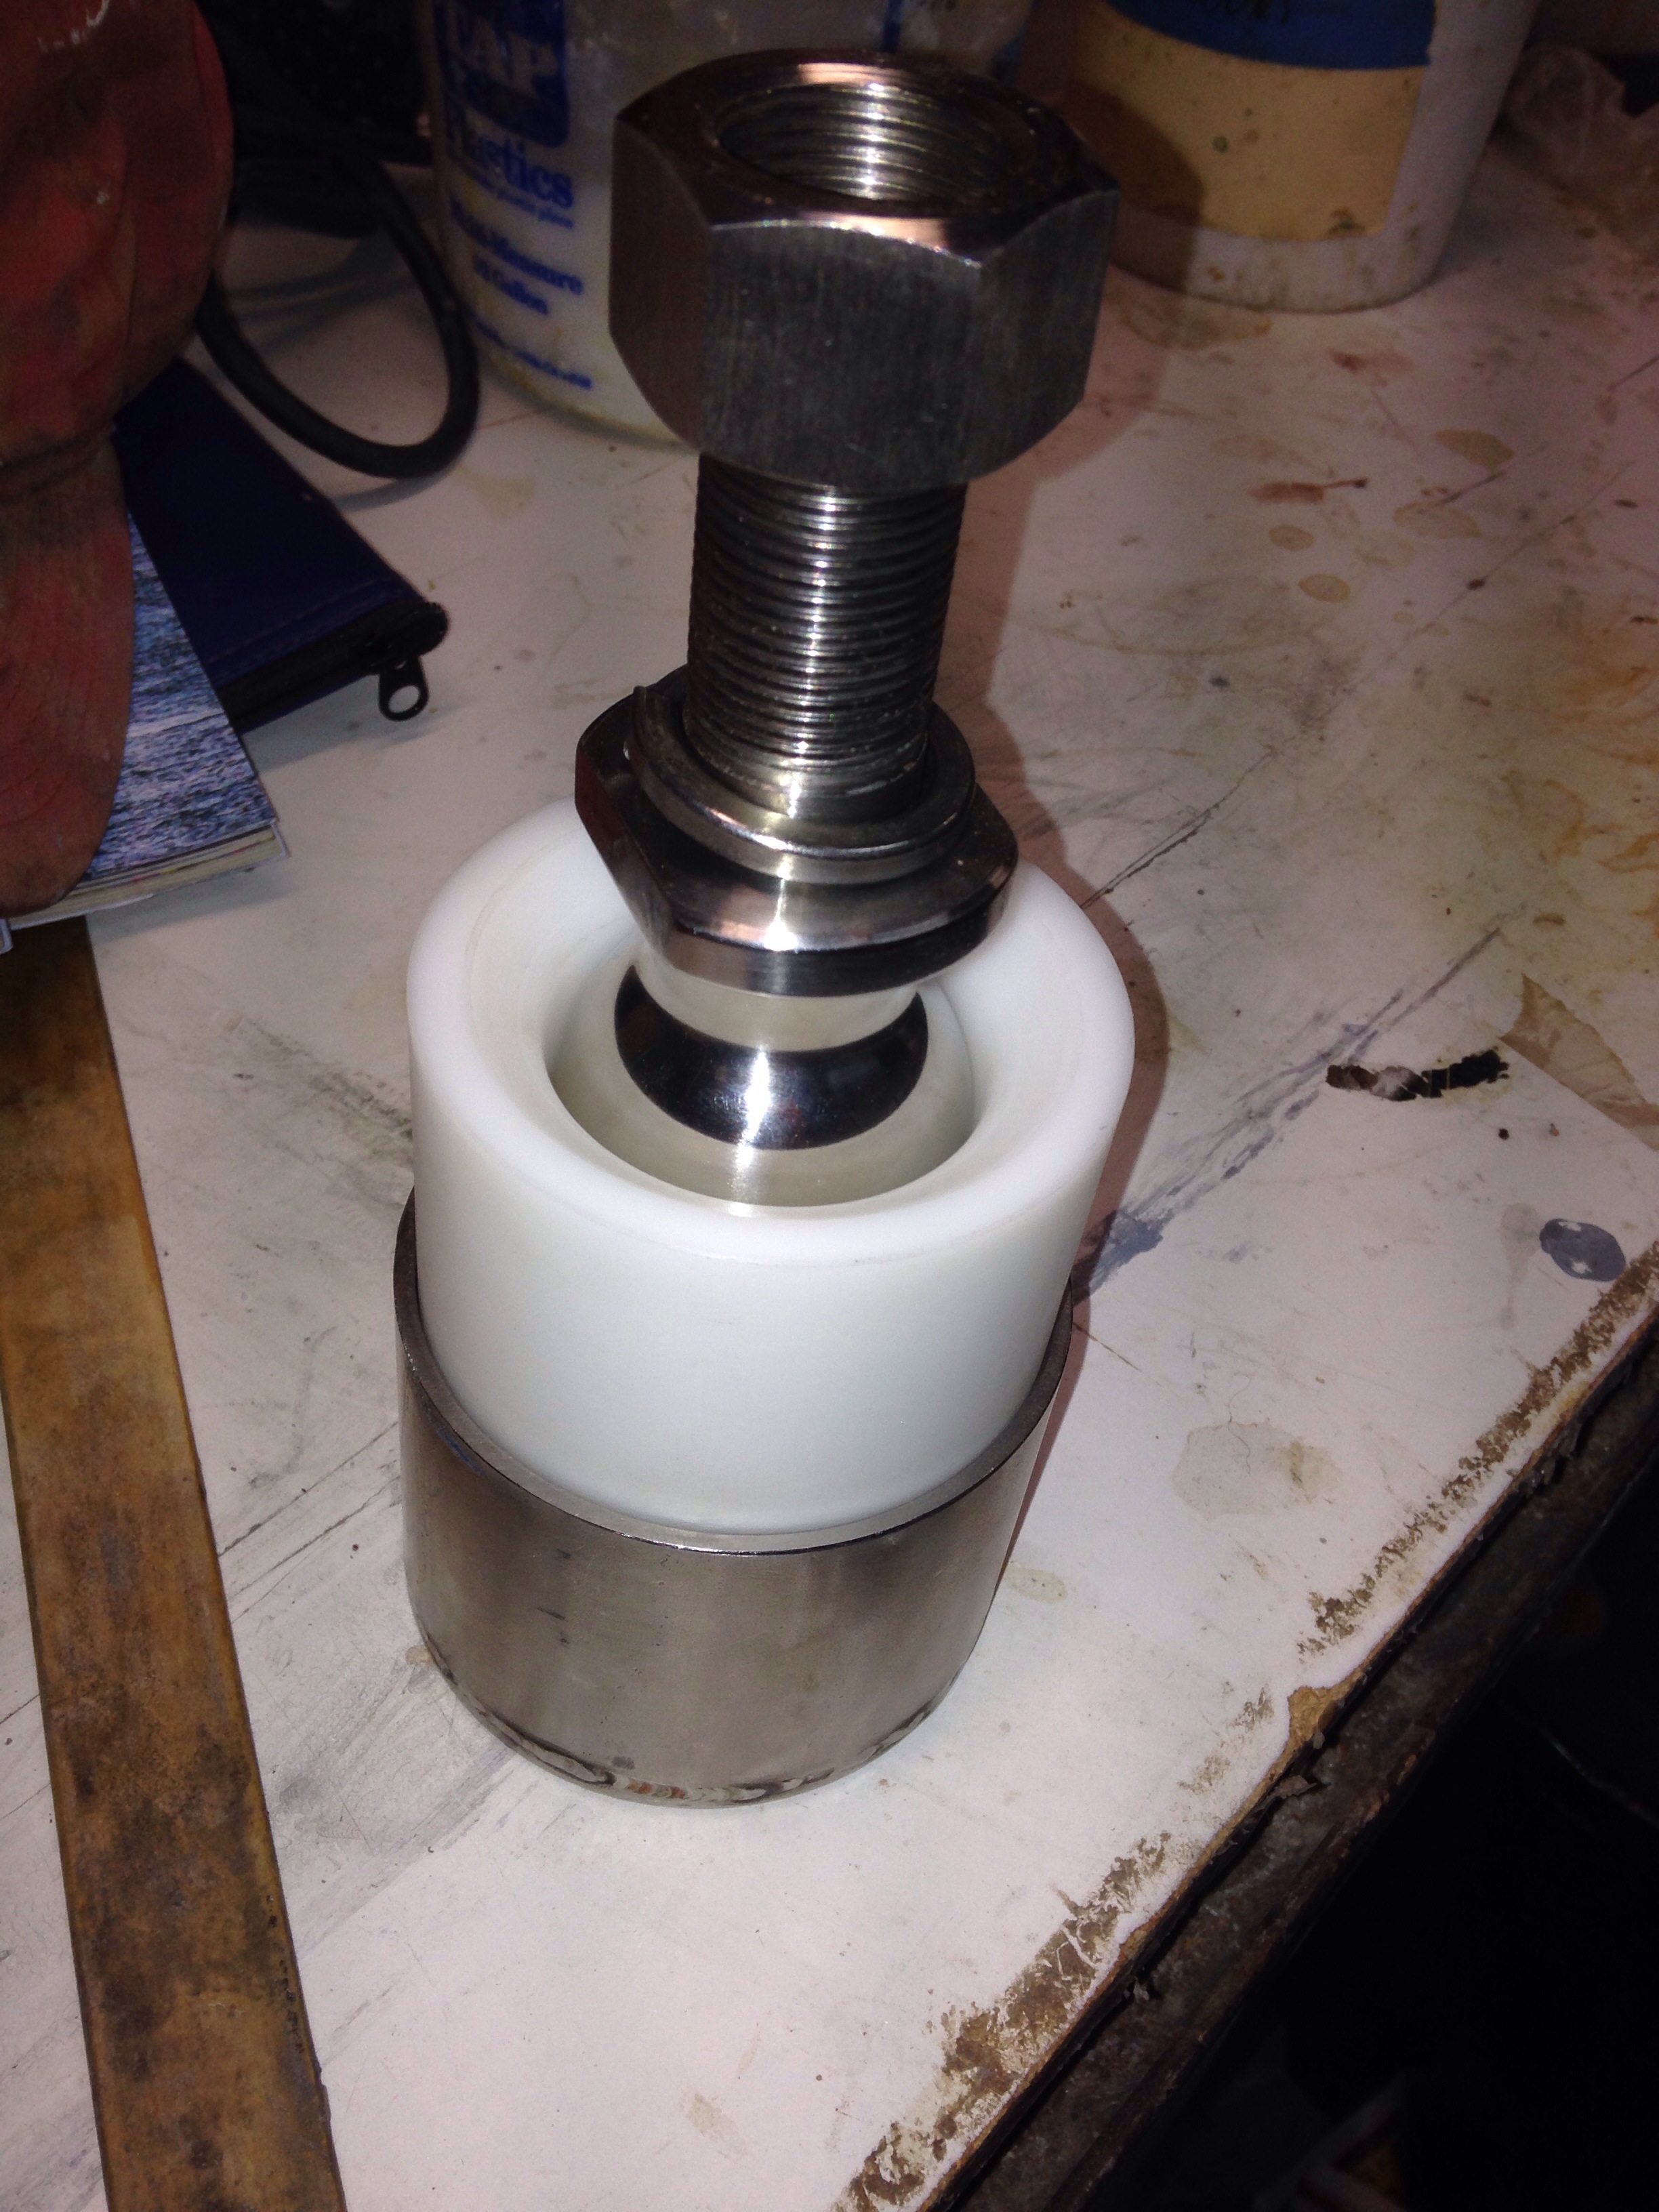
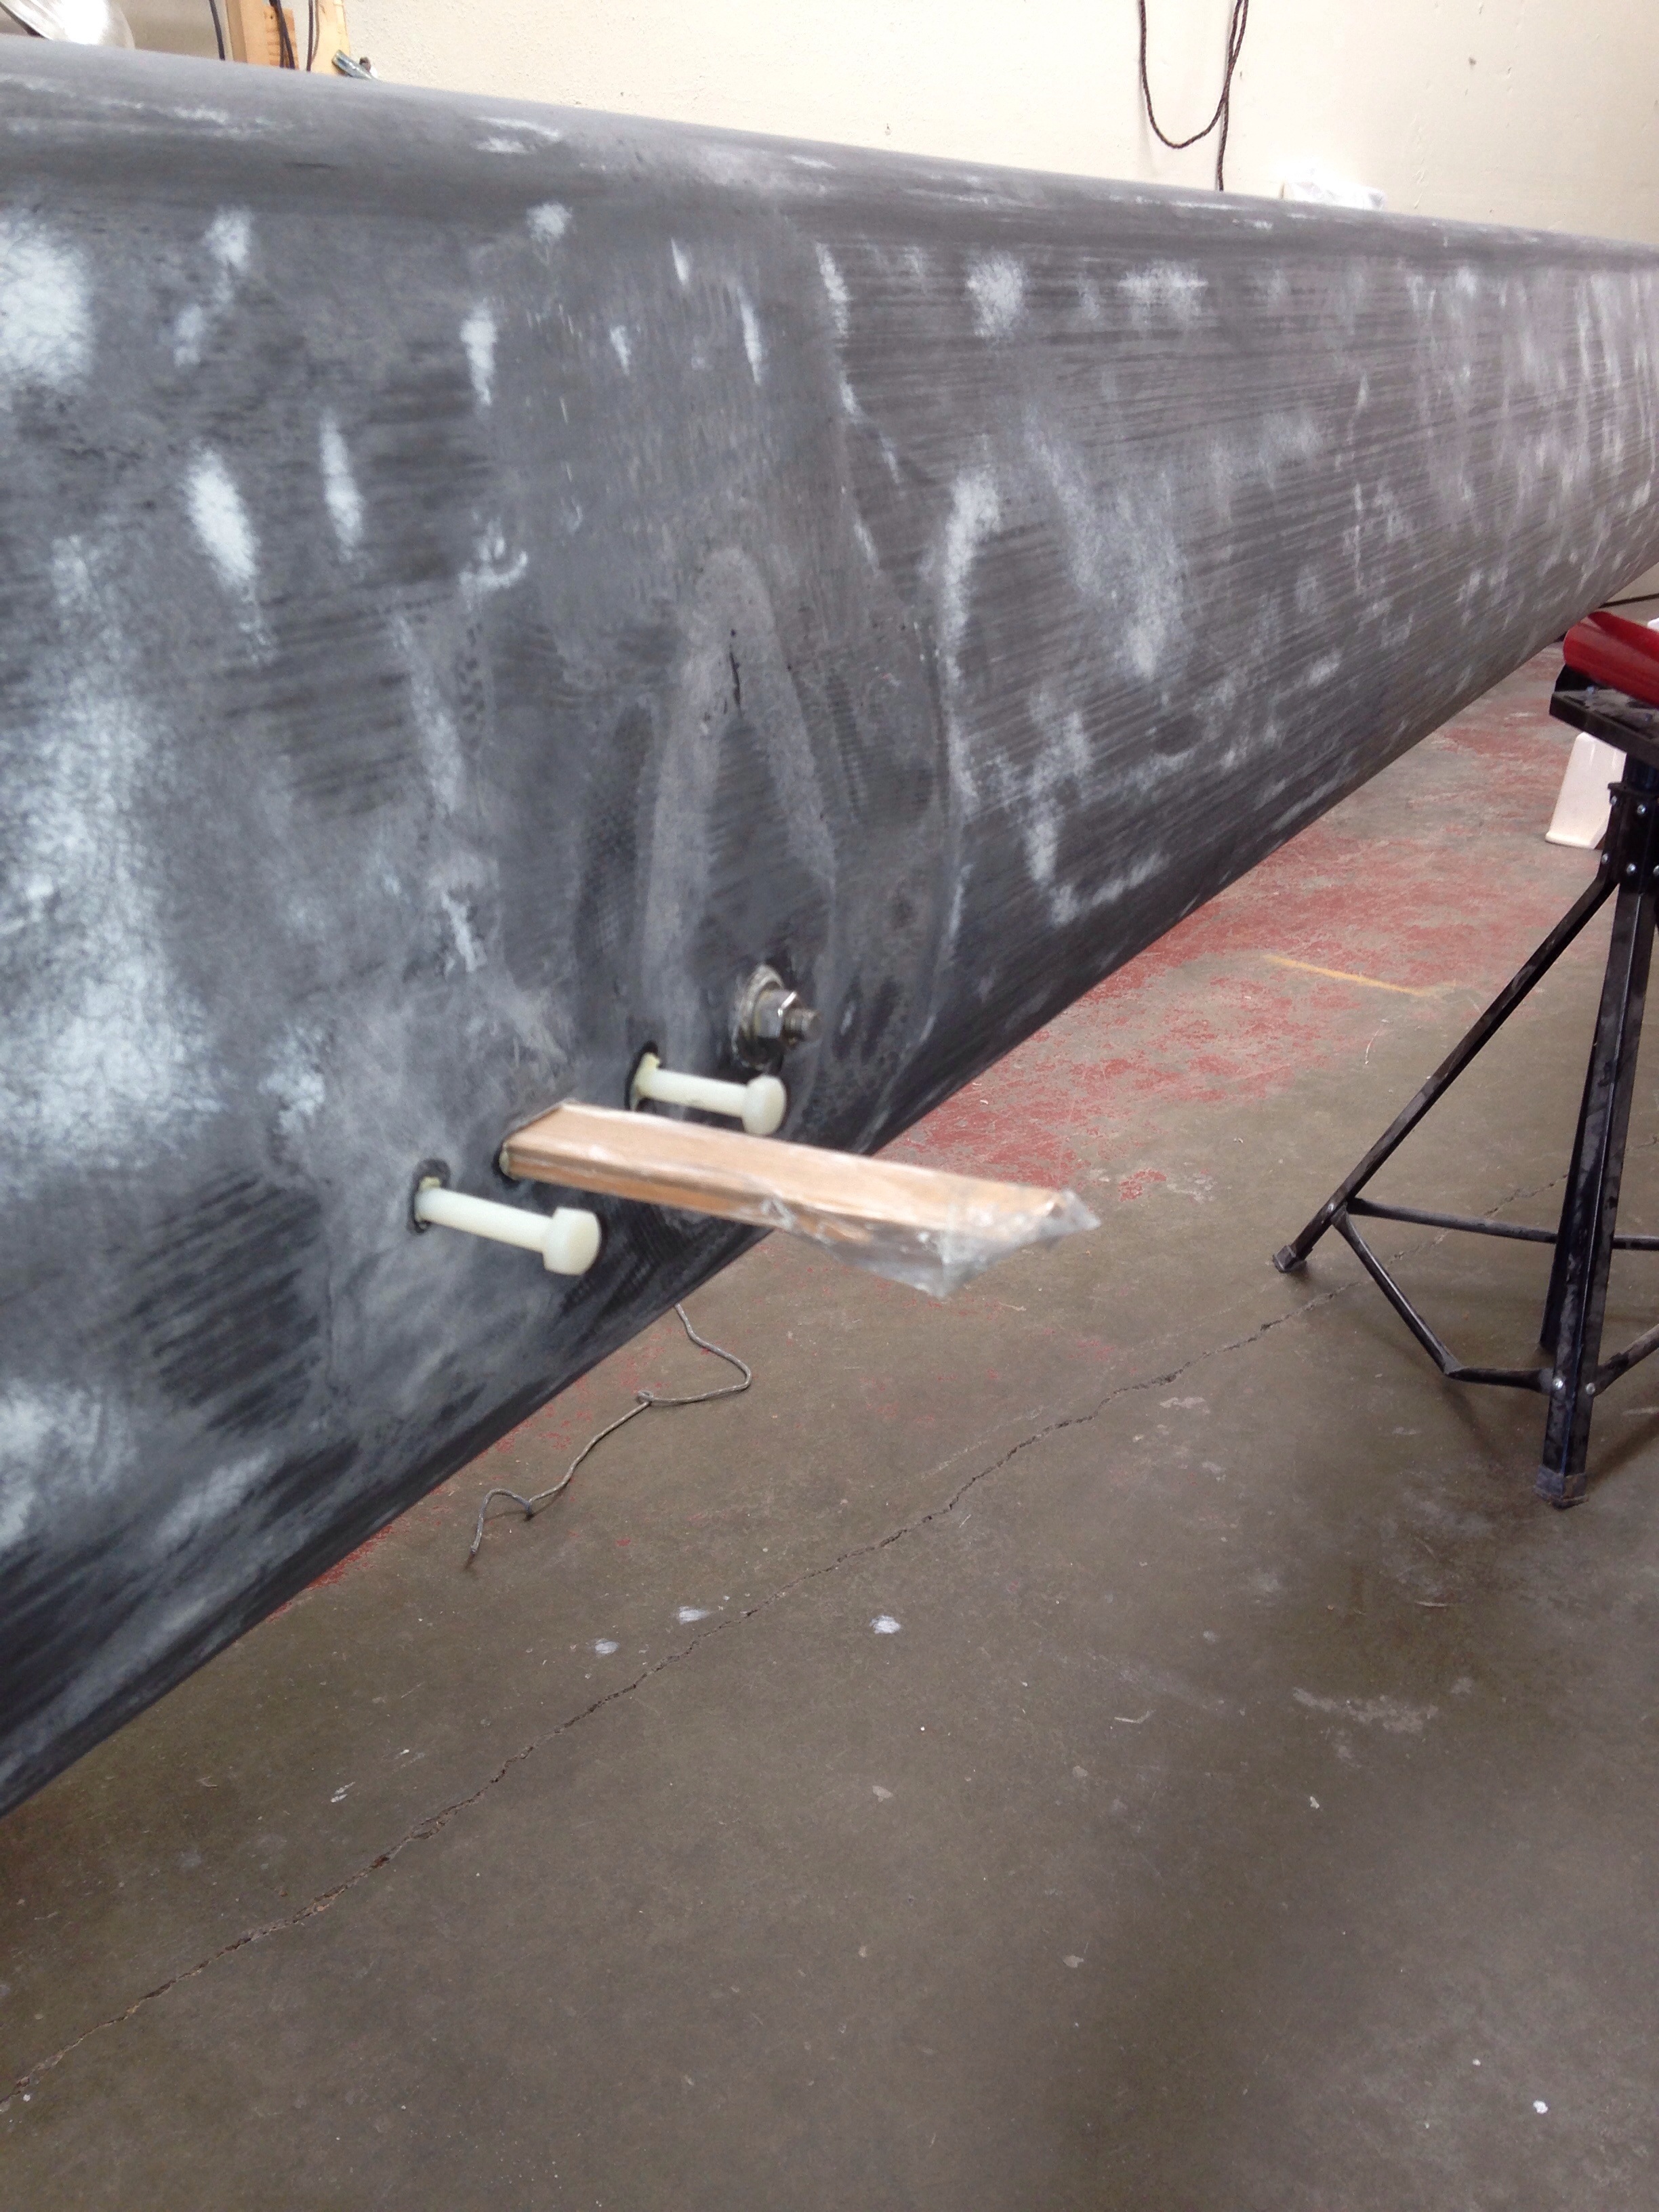
The SS cup will get bolted to a horizontal plate and somehow attached to the mast walls. The white delrin slides up in to the SS cup.
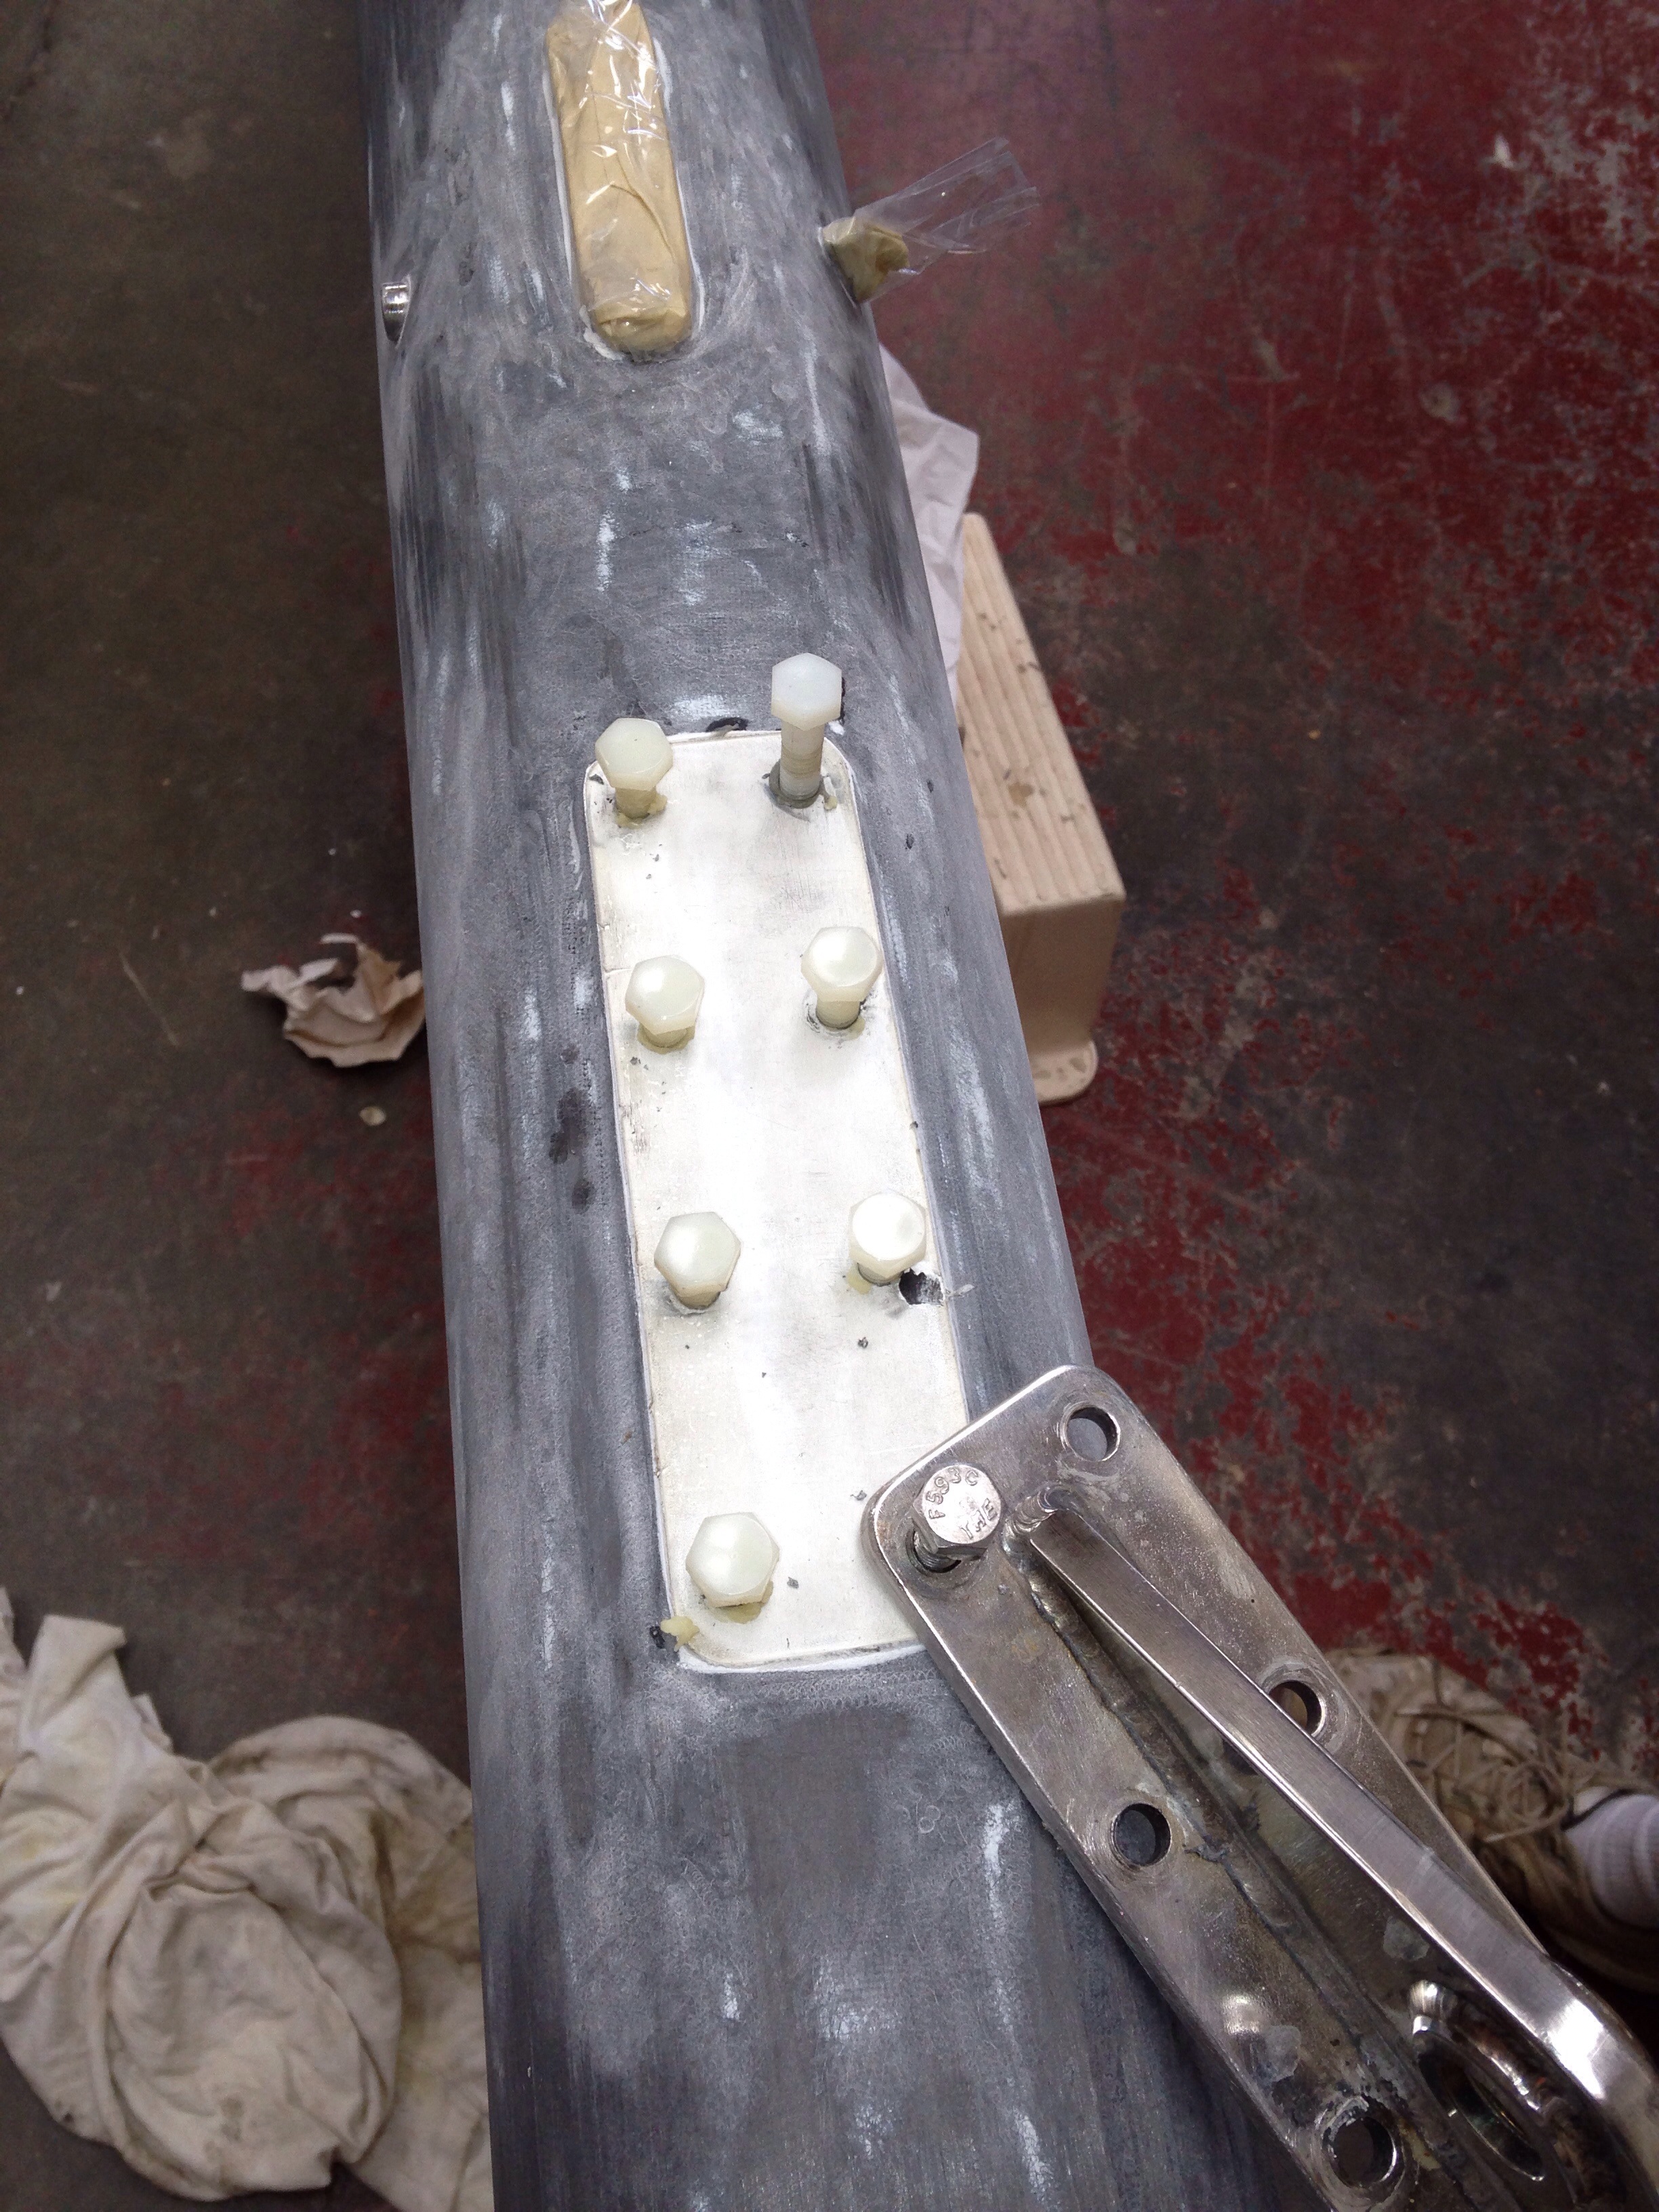
Then the new trailer hitch ball needs to get bolted to the deck plate box. Here it’s just resting on top.

20150808-220004.jpg
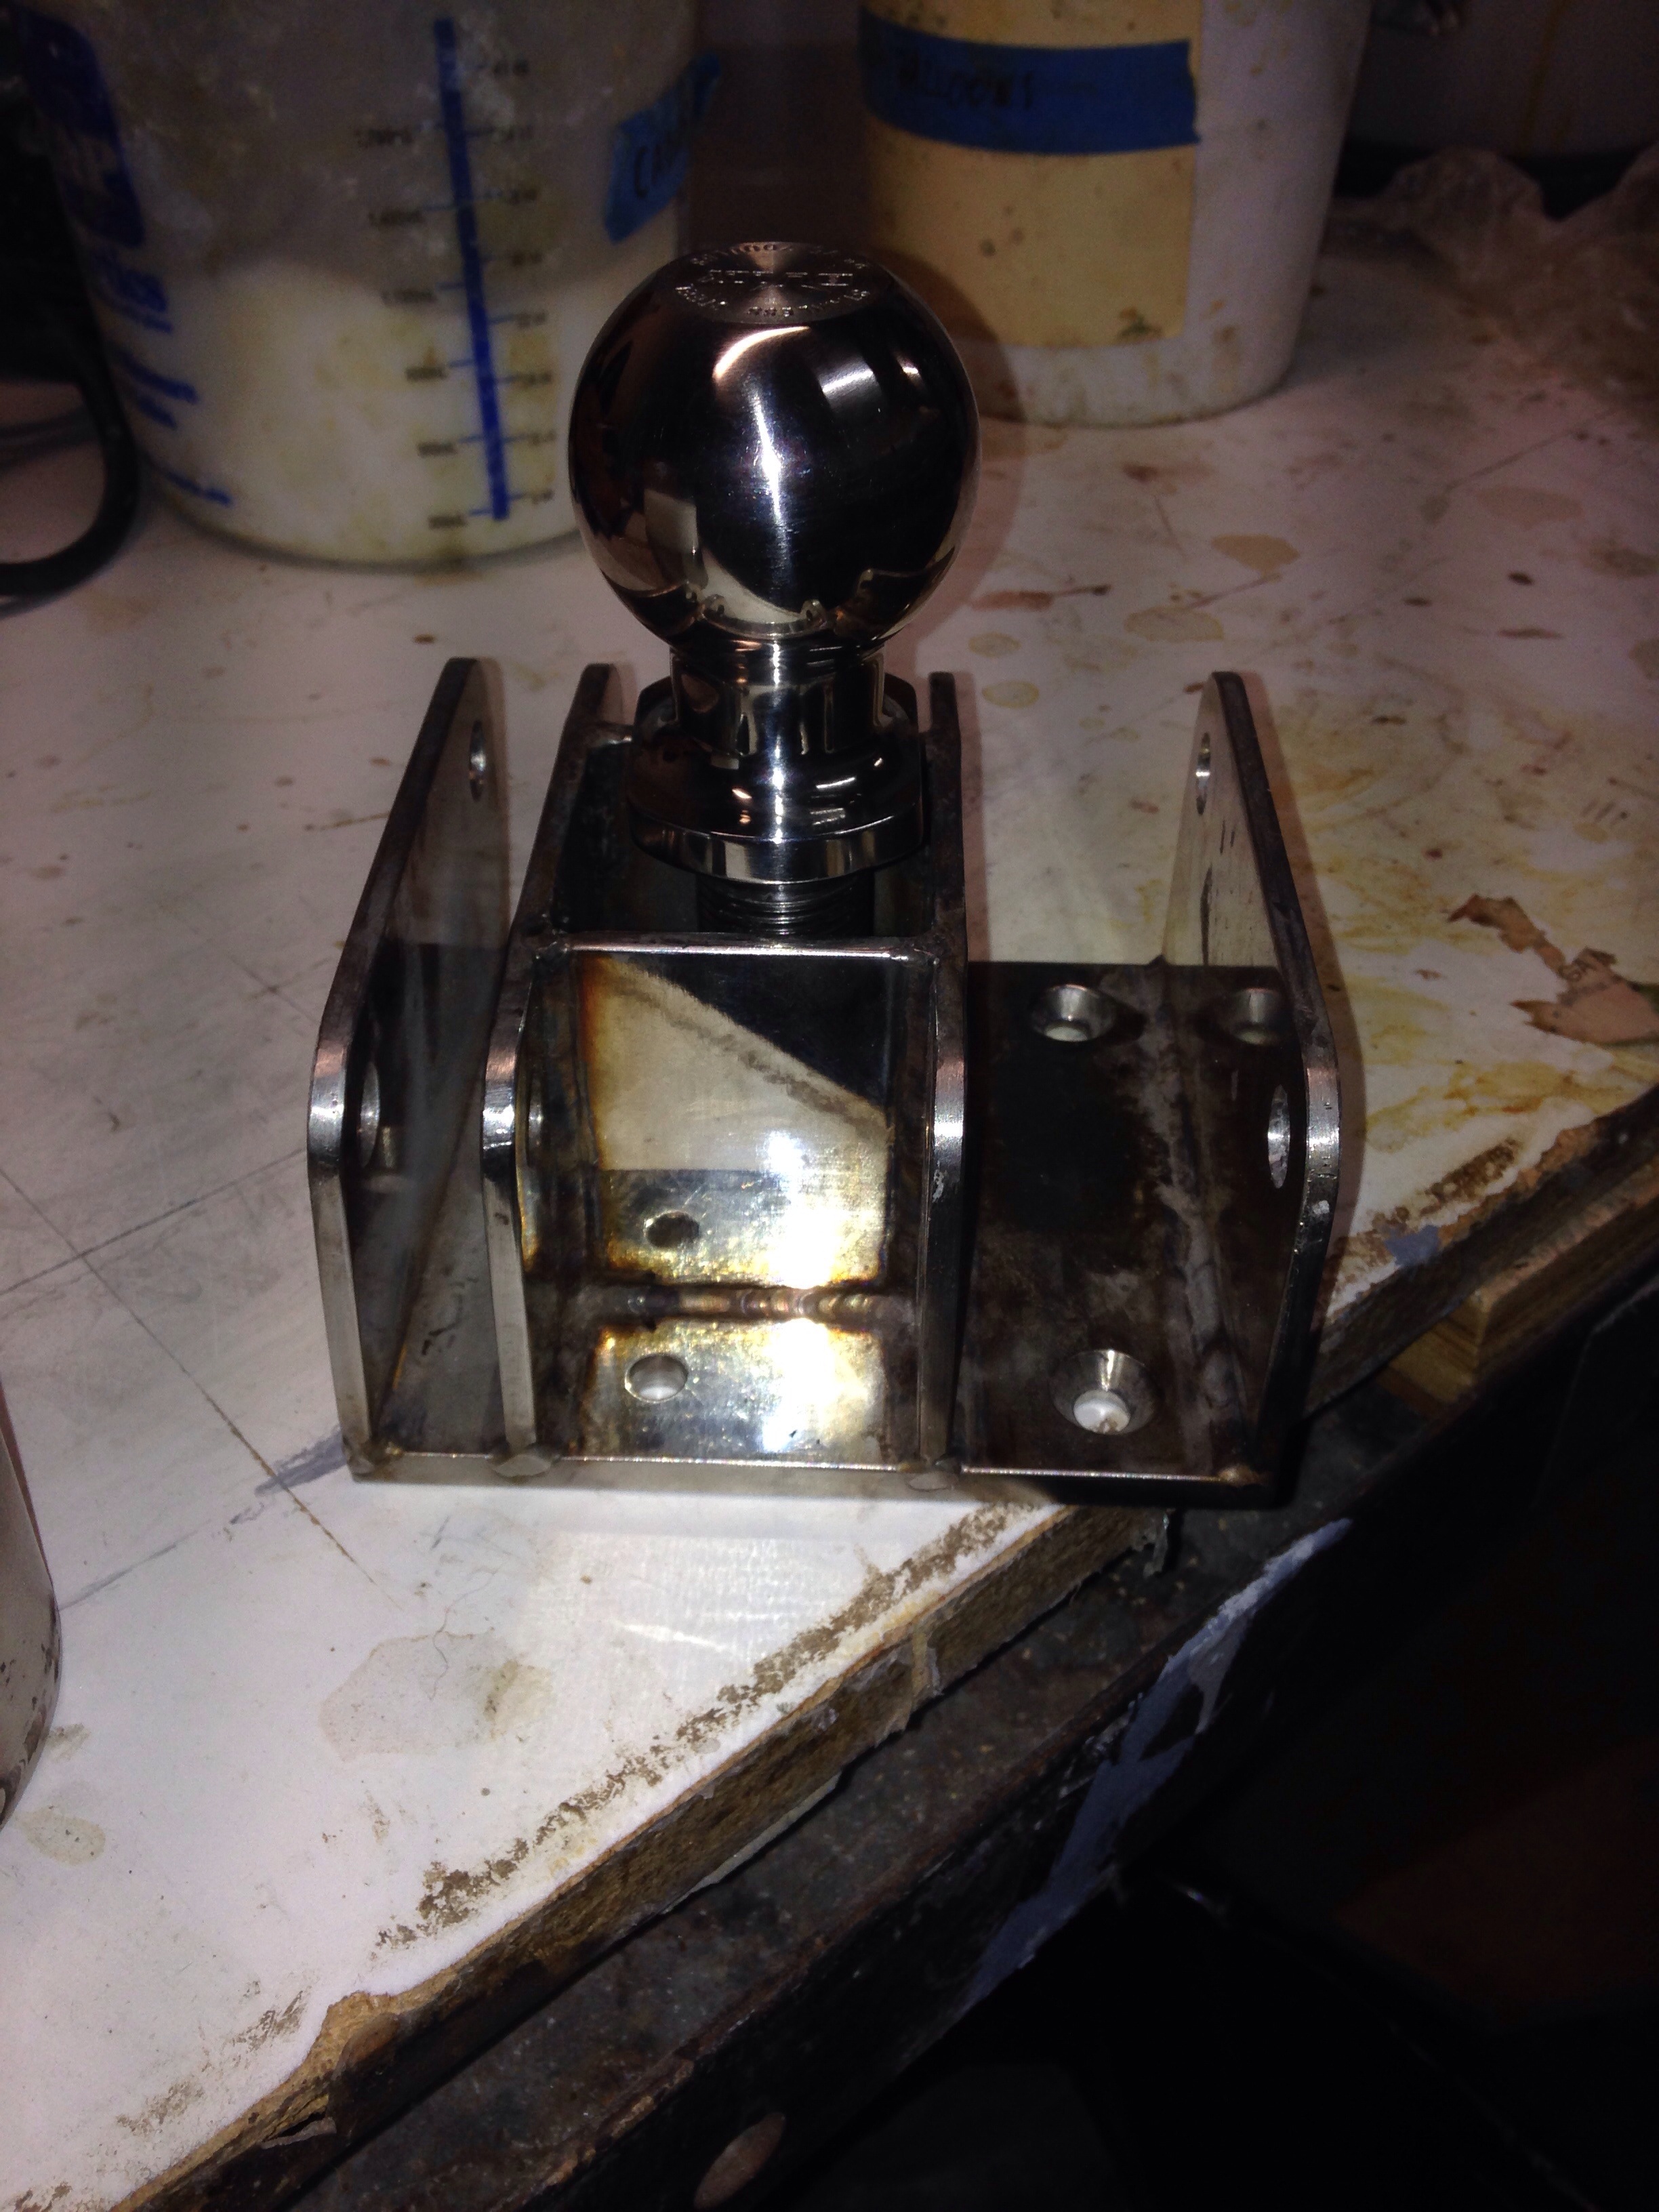
I think we can weld a small plate on top of the box to receive the ball, and drill a large hole on the bottom of the box for access to the big nut that secured the hitch ball to the base box.
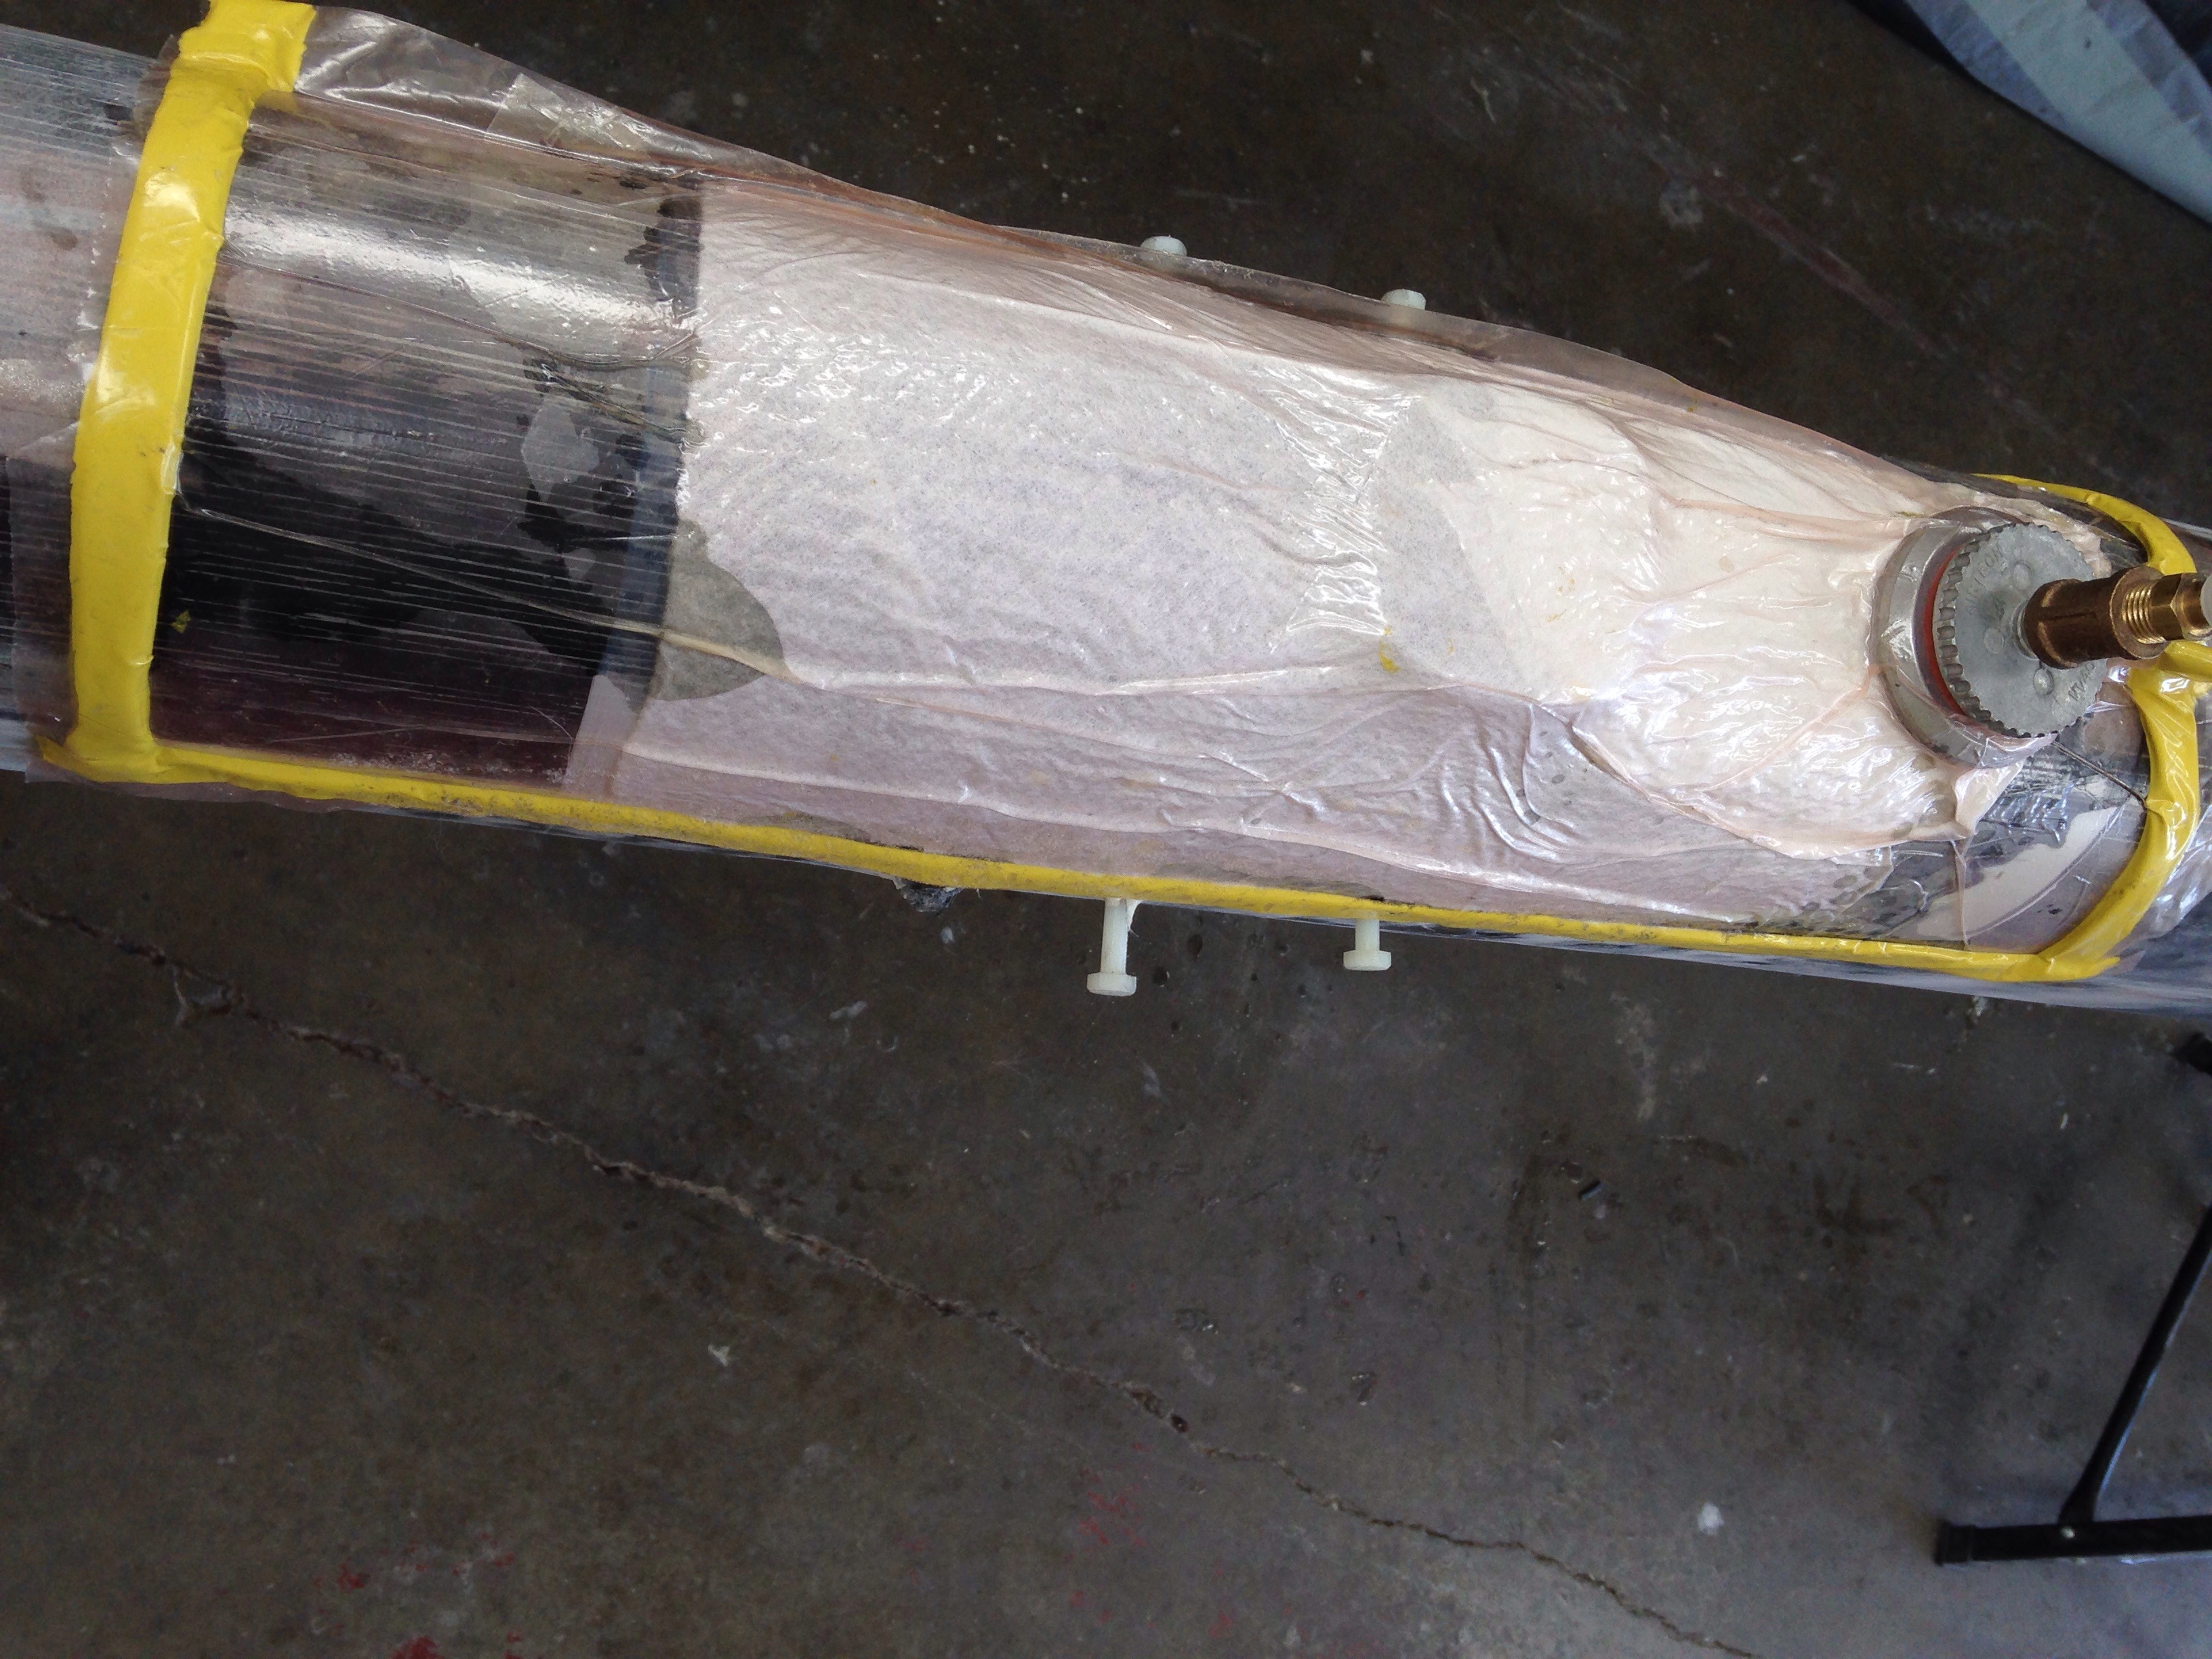
We’ll show you the hard part – securing the cup inside the mast – once the current pin gear is disassembled (after we’re done paint prepping with the “rotisserie” function of that pivot pin).

If anyone wants to debate how to secure that cup inside the mast, send your thoughts!

Thanks

Tap tap tap

It was easy to fill in all the old holes on the mast from the prior installation of the Tides Marine sail track. But we knew there would be pain ahead when the beefed up mast was ready. Ugh, it’s been five hours so far to drill and tap about 100 bolt holes.

20150804-191748.jpg

The green tape is the same one you saw two weeks ago, marked with the old holes so we could ensure the new ones are far enough away.

We tried putting the threading tap in a low speed power drill, but the machine’s torque broke the bit – seems you really need that touch of doing it by hand. 70 more to go, a couple minutes each… No TV tonight :)

After the mast laminations

Just a quick update here after unwrapping the peel ply cover this morning. The longitudinal carbon filaments came out very straight up and down. There’s a bit of sanding and fairing to do in spots where the layers overlapped, but we won’t go try to hide the new hoop ‘ribs’ from the final finish.

20150728-230522.jpg
It was also pretty great when all the plastic, wax covered bolts freed right up and the j-lok terminal hole wooden fillers slid out (after some hammering).

20150728-230718.jpg
Reinforcement patches went on one side of the mast this eve, and we’ll hit the rest in the morning. The epoxy cures quickly in this California heat wave!

600 hoops and 600 feet

Forget about losing weight – we just spent two full days adding about 50 pounds to the boat mast. Yesterday’s work took four people five hours to spiral wrap the 2″ wide carbon fiber twice down the full mast length. Today was another six hour session to add four layers of longitudinal fiber over yesterday’s perpendicular wraps. Both days needed numerous morning setup hours to get ready.

We needed to protect the bolt holes and diamond wire terminals from epoxy and fabric. Charlie made wood inserts covered in plastic tape and we bought nylon bolts to protect the bolt hole threads.

20150724-220801.jpg
I was very worried about dropping any backing nuts / plates inside the sealed mast, so we were careful to replace hardware one bolt at a time.

20150724-220948.jpg
The Tides Marine sail track however had over 100 small threaded holes and it seemed unrealistic to protect those. So we templated with heavy masking tape and will be sure to re tap those clips an inch or more away from the original holes.

20150724-221259.jpg

20150724-221316.jpg
With the prep done, Charlie, Griffin and Colin gloved up and took positions. In the video we have Colin and Charlie on epoxy brushing, Greg laying down carbon, and Griff rotating the mast.
hoop spiral wrap time lapse
All of it was intense work – getting the epoxy density right, keeping the proper spiral and controlling the awkward mast roll while the other three yelled “slow down, dammit” or worse. The shop looks like a battlefield but with victory:

20150724-222041.jpg
And the result looked great – 300 wraps done in one direction, then 300 more offset crossing the other way.

20150724-222252.jpg
Today I started out solo in the shop and struggled to figure out applying the 50′ long carbon pieces straight and pulled tight. Then it dawned that the roll needed to shuttle up and down the mast for its 12 trips (4 layers X 3 ten inch wide strips for the 30″ circumference). Here’s the Workmate tool on a movers dolly and some risers clamped on.

20150724-223238.jpg
When 2 of 12 passes took a couple of hours, it was time for pleading text messages to the wife and children. By 2pm we had a complete family operation going full swing.

20150724-223505.jpg

20150724-223530.jpg

20150724-223605.jpg

20150724-223644.jpg

20150724-223732.jpg
Everyone made plenty of trips to the pumps.

20150724-223854.jpg
We did not pre-measure allotments of epoxy but I was watching our usage all afternoon and was happy to record 2+ gallons used (20 lbs) for 600′ of carbon weighing 23 pounds. Yesterday used a bit under 20lbs of materials, so Keith’s calculations of adding 55-60lbs total of mass look to have been spot on. Yea!

20150724-224715.jpg

20150724-224750.jpg
Despite the slog, it was pretty great to have all four Carters pulling in the same direction :)

20150724-224913.jpg
The finished product is wrapped up in peel ply tonight, with braces to keep the mast in column – no sagging or bending side to side.

20150724-225116.jpg
Next up will be some spot reinforcements around metal connection areas, and reattaching the spreaders. Then we’ll finally have the custom carbon mast built just for this boat’s specifications. That’ll feel good at sea.

Sander vs Linear Poly Urethane

6 hours on Sunday and 4 Monday with a big sander finally got the best of the two-part LPU paint on the mast. That is a very tough, durable paint for one’s boat.

20150714-083932.jpg

20150714-083957.jpg
We’re now awaiting the carbon fiber fabric order, and will pick up the slow version of epoxy hardener from the manufacturer on Thursday (Bill, we’re stopping for a few minutes on 680)

The six inch orbital sander was using a 40 grit Bosch disk for every 5-6′ of the mast on the first side. About 5 hours in the flooring contractor neighbor stopped by and insisted we try his Bora green disks. The commercial stuff used to strip floors – wow, it only took four of those disks for 3/4 of the mast! Definitely a case for having the right tool for the job. We had to be careful of not chewing in to the carbon laminate – just get the paint!

Back to interior woodworking while the mast awaits materials….

No more calico

We looked up the other day, wiping the eyes from a big cloud of dust, ears ringing from the sanding machines… And realized the interior fairing was DONE! Put down the sandpaper, clean out the boat and go get some primer. Here’s where things stood Friday evening to start Memorial Day weekend.

20150527-223303.jpg

20150527-223329.jpg

20150527-223343.jpg
Kind of like an abused calico cat, but very smooth.

After lots of reading and listening to recent experiences of boat owners using high quality acrylic latex house paints inside their boats, we decided this is our route too. Much safer for the applicator, easy cleanup, unlimited color choices and ability to match later, and about 20% of the cost of marine topsides paints. Thank you Keith for recommending this stuff – it was great throughout Sunday and Monday marathon sessions. Used 2.5 gallons for two coats applied by roller.

20150527-223748.jpg
The result is startling (good) – boat feels bigger inside and so much happier. Wood accents are already visually “popping” and will get better over next week or so.

20150527-223942.jpg

20150527-223957.jpg

20150527-224012.jpg

Jeanne and I returned late this eve from working on her Dad’s San Jose house, feeling worn out. But right inside the door, ready to lift the spirits is a thousand feet of the highest-tech line ready to match up with the mast and new sails! Great work organizing, cutting and splicing by Skateaway Designs. We’re almost done pulling all the cordage together. This task was a heck of a list (partially on that left hand panel).

20150527-224600.jpg

If you’re wondering why people are using dyneema for shrouds and forestays – this box at 55lbs has all three 50’+ cables and over 800′ of halyards in it. The stainless steel shrouds for our 35′ mast F27 weighed more than all this stuff, and this mast is 15′ longer. Tremendous weight advantage, plus it’s much stronger than the steel.

Next up is glue bonding all those 100+ pieces of fancy trim wood you saw on the back table a few weeks ago. Let’s hope we can read our legend notes on what goes where!…

We’ve got power!

Probably the most thought out purchase of this boat build is the sails. We looked at so many options, and it came down to getting great advice. After an expedient one month build for three big sails, they arrived by truck from Maine Sailing Partners this week.

20150522-185521.jpg
The octagon box is the Tides sail track for the mast – rolled up and 48′ long. We had to replace the one that came with the mast due to lowering the gooseneck position (resulting in a longer track and sail hoist distance).
The dyneema and Dacron blend cloth weave looks fantastic in person! The mainsail weighed in at about 85 pounds, but look at how compact it is compared to complicated laminate sails. This should be so much easier to handle in stowing/covering, yet it’s still a race-competitive durable sail. Can’t wait to hoist!

20150522-190011.jpg
The jib is unusual in two ways. It is fully battened horizontally, so it will be stored in a zipper bag, still hanked on when not in use. And it’s reef able, so we’ll have an adjustable tack leading back to the cockpit. The excess part of the reefed sail gets folded up against the hoisted portion and covered up by an integral zipper pouch. This will all make more sense when we can show you photos with the mast up.

20150522-193255.jpg
The third sail is a masthead reacher that will fly from the bow sprit and roll up on a Colligo furler. We made it solid blue, using a simple nylon cloth – not intended to be an upwind sail.

20150522-193943.jpg
We also made a change on deck to better match the jib. The tracks for the jib turning cars are now athwart ships to keep the jib clew always the same distance from the forestay. We can trim the sail sideways – closer to the mast and centerline or opening up the slot without de-powering the sail.

20150522-194518.jpg
The jib on this boat is planned to be a real workhorse in so many conditions. Really looking forward to learning how to make it perform well!

Final details of interior fabrication are finishing up and we’re on track to roll on primer throughout the boat insides this weekend. Three years of working towards paint – it’s finally coming true.

Bowels of a boat

Another item on the ‘prep for paint’ list is solving of all the plumbing runs, especially as they relate to fitting around cabinets, bulkheads and the hull sides. As to be expected, everything starts at the throne.

20150506-075134.jpg
We originally wanted all the pipes hidden, but the space is proving too tight. Some of the piping and the deck port for waste pumping will live behind this cover.

20150506-075534.jpg
With the toilet plumbed we moved on to drainage for bilge and shower sumps, then the two sinks. More holes in the hull!
While at sea, the sewer tank gets pumped out just above the waterline, and the holding tank vent is the smaller hole below the port hole (vent has an inline smells-filter)

20150506-075934.jpg
Moving aft about five feet, tucked inside a cabinet behind the shower, are the bilge and shower sump exits, with the fresh water tank vent above.

20150506-080118.jpg
And the last two were drilled just forward of the aft beam – one for the propane locker vent and the other a discharge line for the desalinator.

20150506-080454.jpg
Most of the needed bulkhead pass-thrus were cut to route pipes/tubing. Then it was a trial fit of the propane system, which fit the new locker nicely. It’s all done to ABYC standards, including a propane fume alarm system as we’re forever haunted by my grandparents’ near-tragic monoxide incident aboard a boat 50 years ago.

20150506-081216.jpg

Charlie’s visit to the shop yesterday delivered very nice dyneema strops to anchor the twin mainsheet system. RickH, I think this Vee is going to work as advertised. We hooked it up to the shop rafters and by controlling the two ends of the sheet we got both mainsail trimming and traveler functions working well. Next stop – let’s see it with a huge sail in play :)

20150506-081925.jpg

20150506-081955.jpg

Speaking of sails – they’re done and will get on a truck next week. That’ll be an exciting delivery!

Boxes of goodies

This past weekend was the big annual Oakland sailboat show and we caught up with suppliers. Quality parts came home with us, and 4 boxes arrived from Defender in CT. We also made a deposit on a discounted Viking ocean life raft – the price locks for a year; we don’t want the raft certified until we need it this fall, this extending it’s service interval 4 months or so. Next we handed the BottomSiders folks patterns for the cockpit cushions.

20150415-234610.jpg
It’ll be five pieces around the horseshoe shaped benches. Similar vinyl dipped, closed cell cushions have been on Origami for 10+ years and still look new, so that was an easy choice.

Parts were sorted out today by theme. Lighting will be almost all LED; one incandescent steaming light (only used under engine power) was a $16 Hella find, and we already had a few halogens we may still use.

20150415-235204.jpg
The two spreader lights won’t go on the mast; one will mount on the hardtop facing the foredeck and the other on the stern tower to light the steering gear and boarding area when needed at night. RickH, we’ll have small red lights under the hardtop to illuminate the sail controls and instruments area underway at night.

Keith wanted the largest possible bow shackle on the mast hound as this will hold the forestay and side shroud dyneema cables (one shackle connects all the mast support lines). It’s huge, bigger than one’s palm. RickWS, I like this better than the other solution you showed me, but we’ll be plenty careful about seizing that pin!

20150415-235915.jpg

Some of the many plumbing parts… A 1-1/2″ seacock / ball valve combo unit is much bigger than we realized so it changes the waste plumbing plan a bit (it won’t fit under the shower floor as planned). We keep finding more thru-hull needs, but still just two under the waterline. Latest adds are watermaker discharge line (97% of what goes to a reverse osmosis unit is bypassed back overboard, so says the Spectra salesman), and a propane locker vapor vent.

20150416-000421.jpg

20150416-000451.jpg
We’ll detail the propane system later, but of course step one is cutting the lazarette floor to make room below for a sealed propane storage locker. This fiberglass and plastic tank is 1/2 the weight of the steel ones under your BBQ at home, plus it won’t corrode and is easier to take in the dinghy for refilling. See here how the tank needs to drop down at least a foot.

20150416-000847.jpg
Also in that photo, the fresh water fill (black and blue disk) was installed next to the port coaming winch, and the outdoor shower on the cockpit bench bulkhead. That’ll make a nice senior citizen shower – just sit down safely and discreetly in the cockpit, lather up, and rinse it off thru the scuppers :)

The shop went quiet for some days while Greg took a consulting job, then joined Griffin to have a look at the University of Mississippi. If you haven’t seen an SEC football school, the TV-deal money translates to huge, attractive building projects on these stately old campuses. The Ole Miss folks are very charming to prospective students. Big decision due this month. From CA, you fly to Memphis, so before the flight home we walked along the Big River watching the barge-push skippers do their amazing jobs. And yes dear, the fried pickles are good.

20150416-001831.jpg

2 kinds of anchors

Continuing on here with the chainplates that “anchor” the mast in place above the boat…

The 12 layers of carbon came out of the vacuum process nicely.

20150223-222136.jpg
Next up was cutting the inch-wide slot for the shroud-end distributor. After much deliberation about how to make this cut thru the steel tube and carbon fiber, turns out a cheap hacksaw blade and some elbow grease got it done just fine.

20150223-222510.jpg
These chainplates are the last primary structural parts that need an epoxy post-cure, so they can’t be installed quite yet. Today we found an auto body shop that will rent us the needed three hours in their paint baking booth – more on that next week.
Now for the chainplate destination – on a bulkhead inside each float. This gets a bit tricky because the floats were built for traditional steel chainplates so the bulkheads aren’t canted forward in the desired angle. I asked Farrier and he ok’d rotating the chainplate and applying the fiberglass reinforcements at an angle supporting the mast-pull direction.
Here is the bulkhead before cutting. This job would be so much better during float hull construction, the way it’s shown on the more modern plans.
You can see the plywood insert (as a yellow rectangle) inside the fiberglass, showing the location for thru-bolting steel chainplates.

20150223-223509.jpg
The cuts were made via drilled pilot holes then a jig saw. Had to use the big sawzall to cut the few inches at the bulkhead-to-deck join, where the jigsaw couldn’t reach. Nasty little job with too big a tool. With the cuts made, here’s how the chainplate will sit below deck. It’s a pretty big anchor in there!

20150223-223758.jpg
And only a little bit pokes above deck. See the big clevis pin and the distributor (in black).

20150223-223952.jpg

20150223-224015.jpg

This past weekend’s project was mounting the anchoring gear. For the people who’ve visited the shop and wondered about the funny ‘Wings’ on the bow, these photos will explain it.
First up was building a flat base for the anchor roller, to mount over the deck edge and the curved bow wing.

20150223-224420.jpg

20150223-224504.jpg
Then we needed a place for the windlass. Because the anchor locker is shallow (about 16″), it requires a horizontal, not vertical, style windlass. The bow is pointy and the locker spans the full width with two big doors. So we decided to turn the port side door in to a windlass platform instead. Even with one side closed, there’s still plenty of room to stand securely down in the locker during anchor work.

20150223-224956.jpg
Because this is experimental, we didn’t want to permanently seal that hatch door. So we beefed it up with two more layers of thick glass and made substantial aluminum backing plates that reach under the deck.

The bolting pattern ties the windlass, port hatch door, anchor roller and wing mast section all together. I think it will all be plenty strong for a 35lb anchor.

20150223-225422.jpg
Notice in the last photo the blue cord holding the anchor – it passes over the windlass. That won’t work, so we’ll be moving the big bow cleat off center, to the left of the windlass and installing chocks to control the turn in the anchor rode when it’s not on the windlass.
The windlass is a Lewmar 1000 ProFish. It has sufficient pulling power for our gear, but experts would say go up to a larger one. This is a very solid nearly 30lb, 1000 watt unit; I just can’t see putting a 50-60lb windlass on this bow. ProFish means it has a free fall feature, so you don’t have to power the anchor down. It’s meant for fisherman who need a fast anchor deploy over a hot fishing hole.
And you can have a look at F39 Fram’s build where Henny has moved the whole thing back another 4-5 feet for better weight distribution (but I didn’t want to give up the closet space that requires).
Anchors aweigh – soon!

20150223-230537.jpg