After the mast laminations

Just a quick update here after unwrapping the peel ply cover this morning. The longitudinal carbon filaments came out very straight up and down. There’s a bit of sanding and fairing to do in spots where the layers overlapped, but we won’t go try to hide the new hoop ‘ribs’ from the final finish.

20150728-230522.jpg
It was also pretty great when all the plastic, wax covered bolts freed right up and the j-lok terminal hole wooden fillers slid out (after some hammering).

20150728-230718.jpg
Reinforcement patches went on one side of the mast this eve, and we’ll hit the rest in the morning. The epoxy cures quickly in this California heat wave!

600 hoops and 600 feet

Forget about losing weight – we just spent two full days adding about 50 pounds to the boat mast. Yesterday’s work took four people five hours to spiral wrap the 2″ wide carbon fiber twice down the full mast length. Today was another six hour session to add four layers of longitudinal fiber over yesterday’s perpendicular wraps. Both days needed numerous morning setup hours to get ready.

We needed to protect the bolt holes and diamond wire terminals from epoxy and fabric. Charlie made wood inserts covered in plastic tape and we bought nylon bolts to protect the bolt hole threads.

20150724-220801.jpg
I was very worried about dropping any backing nuts / plates inside the sealed mast, so we were careful to replace hardware one bolt at a time.

20150724-220948.jpg
The Tides Marine sail track however had over 100 small threaded holes and it seemed unrealistic to protect those. So we templated with heavy masking tape and will be sure to re tap those clips an inch or more away from the original holes.

20150724-221259.jpg

20150724-221316.jpg
With the prep done, Charlie, Griffin and Colin gloved up and took positions. In the video we have Colin and Charlie on epoxy brushing, Greg laying down carbon, and Griff rotating the mast.
hoop spiral wrap time lapse
All of it was intense work – getting the epoxy density right, keeping the proper spiral and controlling the awkward mast roll while the other three yelled “slow down, dammit” or worse. The shop looks like a battlefield but with victory:

20150724-222041.jpg
And the result looked great – 300 wraps done in one direction, then 300 more offset crossing the other way.

20150724-222252.jpg
Today I started out solo in the shop and struggled to figure out applying the 50′ long carbon pieces straight and pulled tight. Then it dawned that the roll needed to shuttle up and down the mast for its 12 trips (4 layers X 3 ten inch wide strips for the 30″ circumference). Here’s the Workmate tool on a movers dolly and some risers clamped on.

20150724-223238.jpg
When 2 of 12 passes took a couple of hours, it was time for pleading text messages to the wife and children. By 2pm we had a complete family operation going full swing.

20150724-223505.jpg

20150724-223530.jpg

20150724-223605.jpg

20150724-223644.jpg

20150724-223732.jpg
Everyone made plenty of trips to the pumps.

20150724-223854.jpg
We did not pre-measure allotments of epoxy but I was watching our usage all afternoon and was happy to record 2+ gallons used (20 lbs) for 600′ of carbon weighing 23 pounds. Yesterday used a bit under 20lbs of materials, so Keith’s calculations of adding 55-60lbs total of mass look to have been spot on. Yea!

20150724-224715.jpg

20150724-224750.jpg
Despite the slog, it was pretty great to have all four Carters pulling in the same direction :)

20150724-224913.jpg
The finished product is wrapped up in peel ply tonight, with braces to keep the mast in column – no sagging or bending side to side.

20150724-225116.jpg
Next up will be some spot reinforcements around metal connection areas, and reattaching the spreaders. Then we’ll finally have the custom carbon mast built just for this boat’s specifications. That’ll feel good at sea.

Sander vs Linear Poly Urethane

6 hours on Sunday and 4 Monday with a big sander finally got the best of the two-part LPU paint on the mast. That is a very tough, durable paint for one’s boat.

20150714-083932.jpg

20150714-083957.jpg
We’re now awaiting the carbon fiber fabric order, and will pick up the slow version of epoxy hardener from the manufacturer on Thursday (Bill, we’re stopping for a few minutes on 680)

The six inch orbital sander was using a 40 grit Bosch disk for every 5-6′ of the mast on the first side. About 5 hours in the flooring contractor neighbor stopped by and insisted we try his Bora green disks. The commercial stuff used to strip floors – wow, it only took four of those disks for 3/4 of the mast! Definitely a case for having the right tool for the job. We had to be careful of not chewing in to the carbon laminate – just get the paint!

Back to interior woodworking while the mast awaits materials….

110,000 pounds

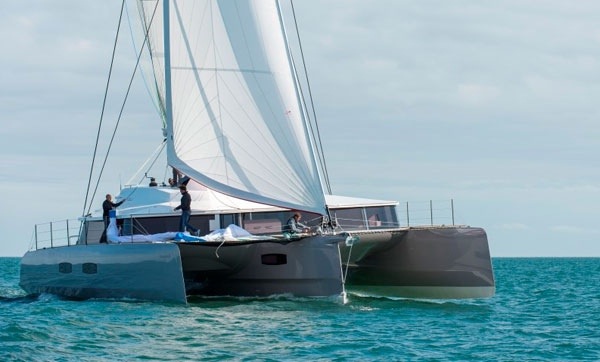
That’s a big number – the “righting moment” of this F36 design. The leeward float and beams have all that upward water bouyancy pressure opposing the mast and sails that are trying to drive the float in to the water. Add in some high speed sailing and pounding through waves, and we get many tons of force compressing down through the nice new carbon fiber mast. This month we turned attention to getting the sailing rig finished, beginning with confirming all the specifications. Our mast was built for a Shuttleworth 35′ cat; he’s a designer who calls for very tall rigs and minimized weight. Calculations on that boat’s design show about a 70k lbs righting moment, which is in line with the measurements of our mast, including it’s 175 lb weight. Basically, we need to bulk this thing up to a new fighting weight.

Pardon the details here as we thoroughly document this project to assist with the refitting process…

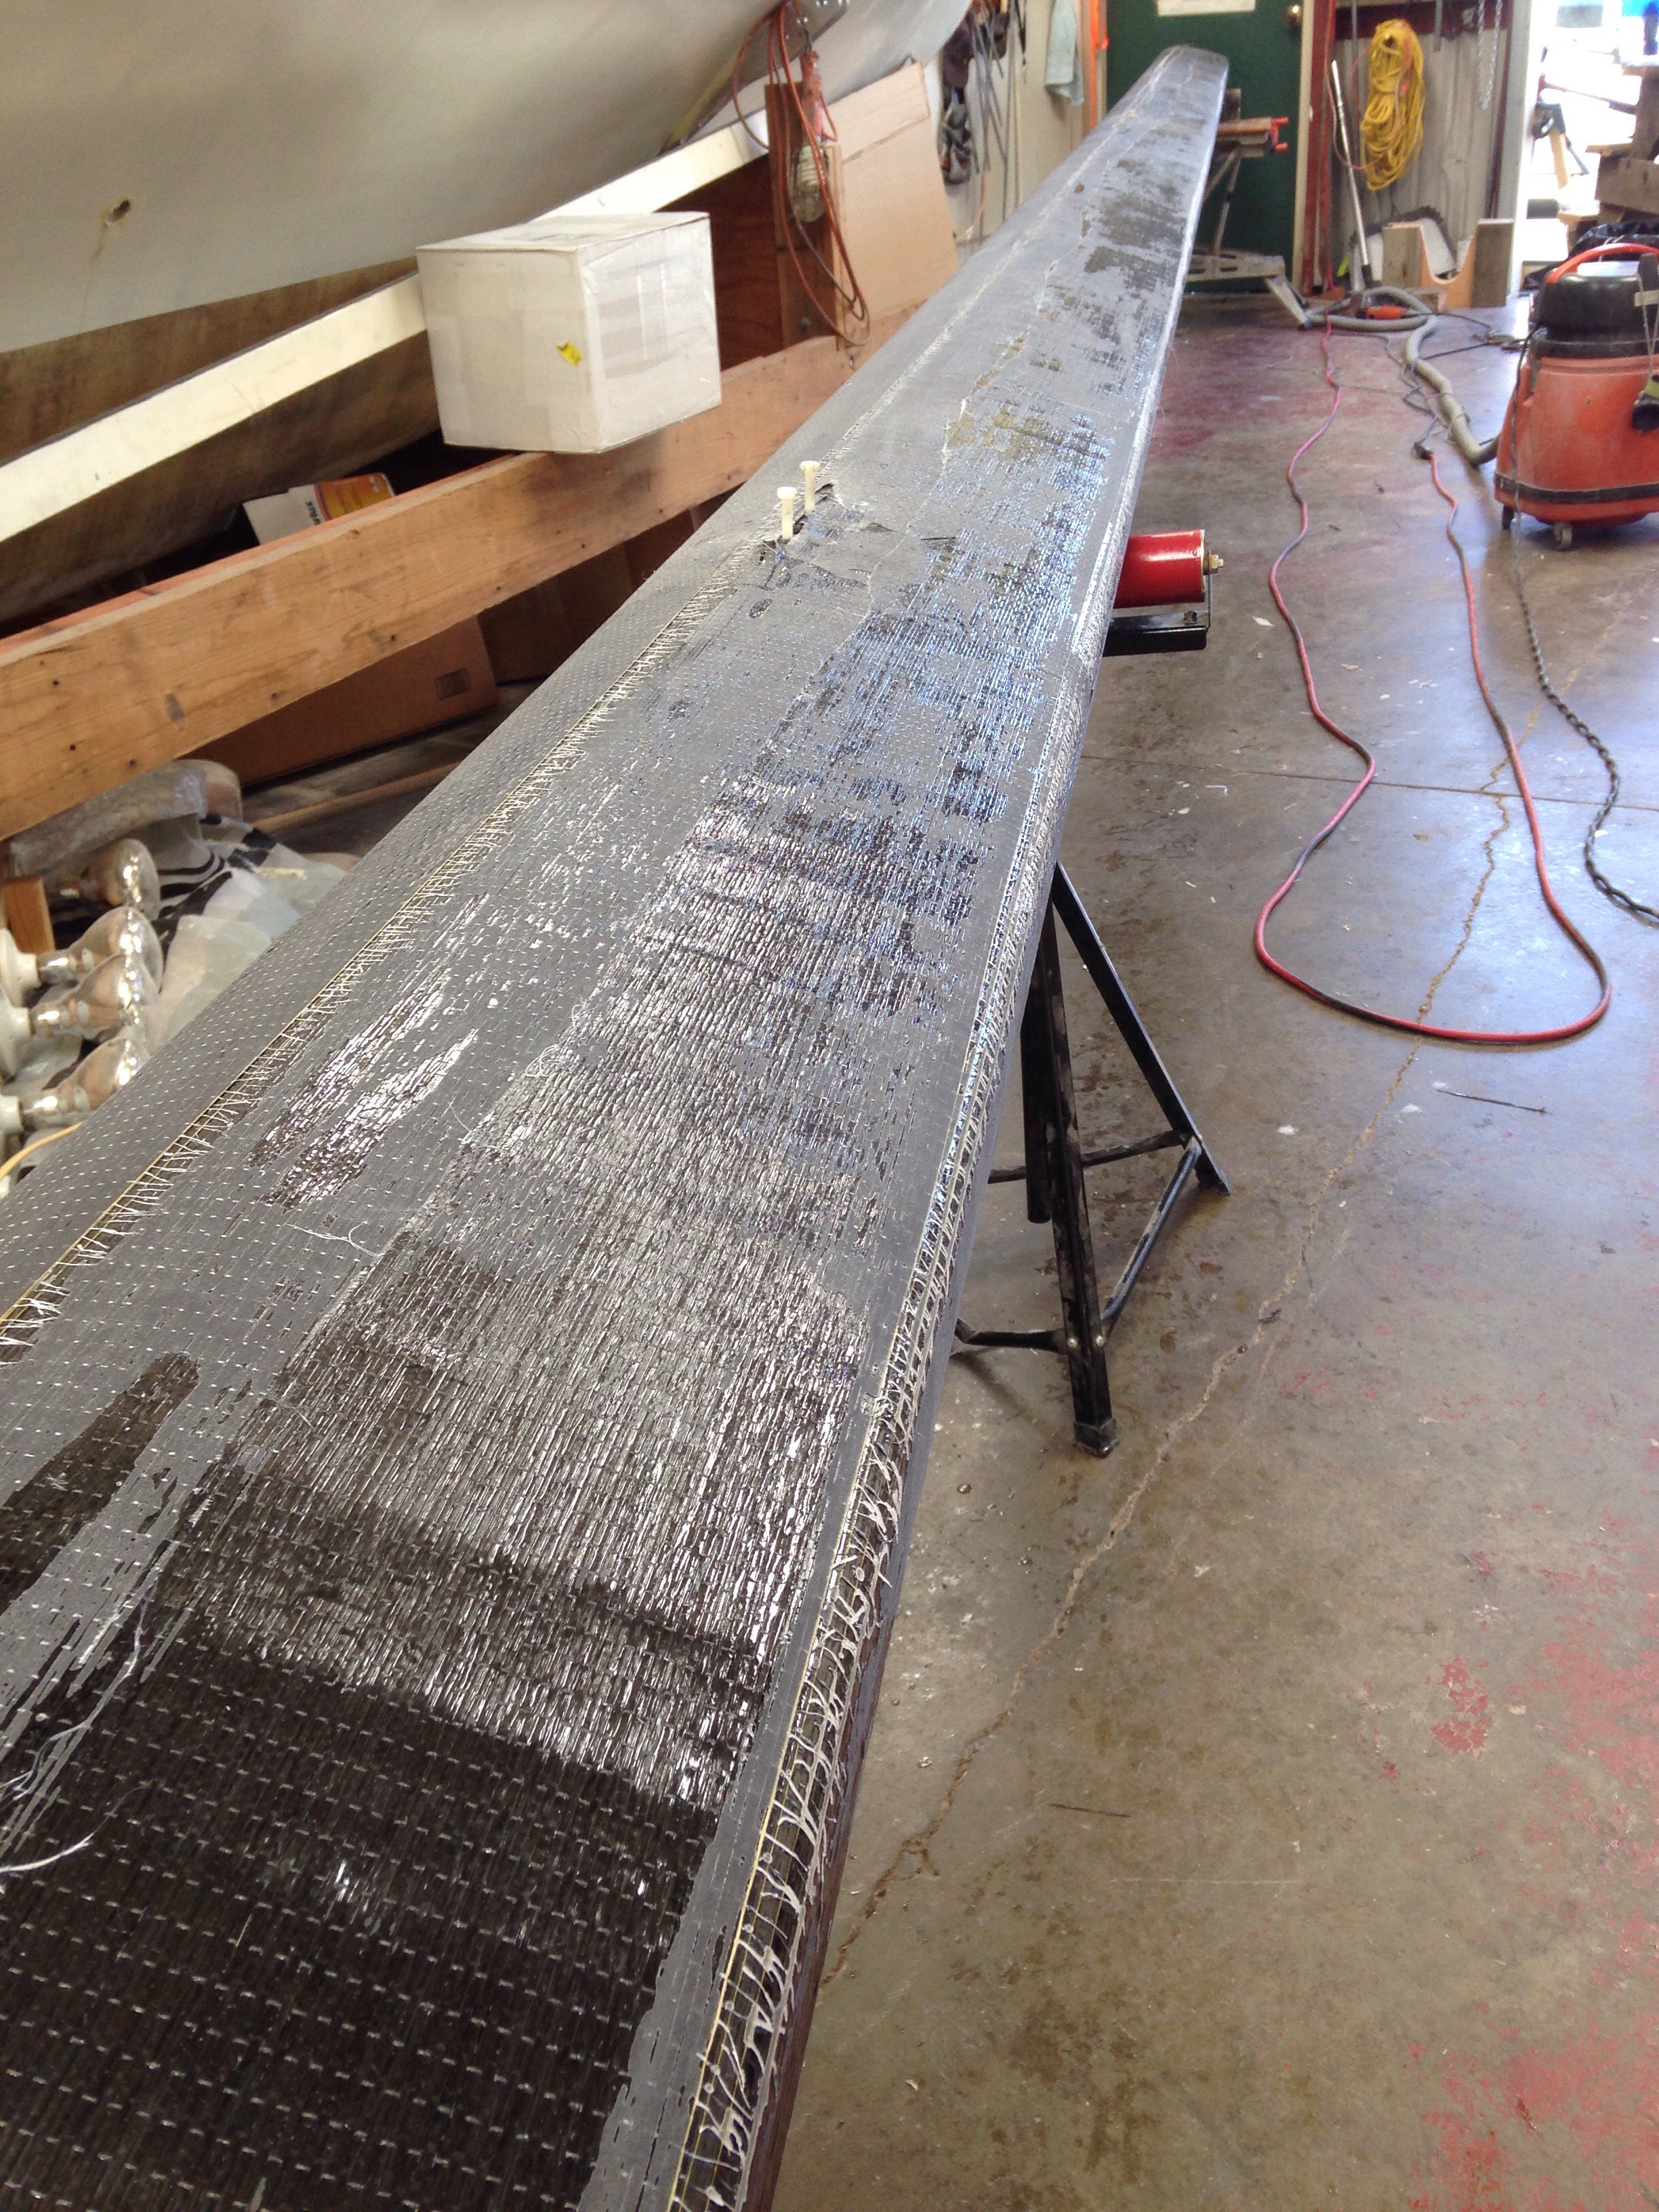
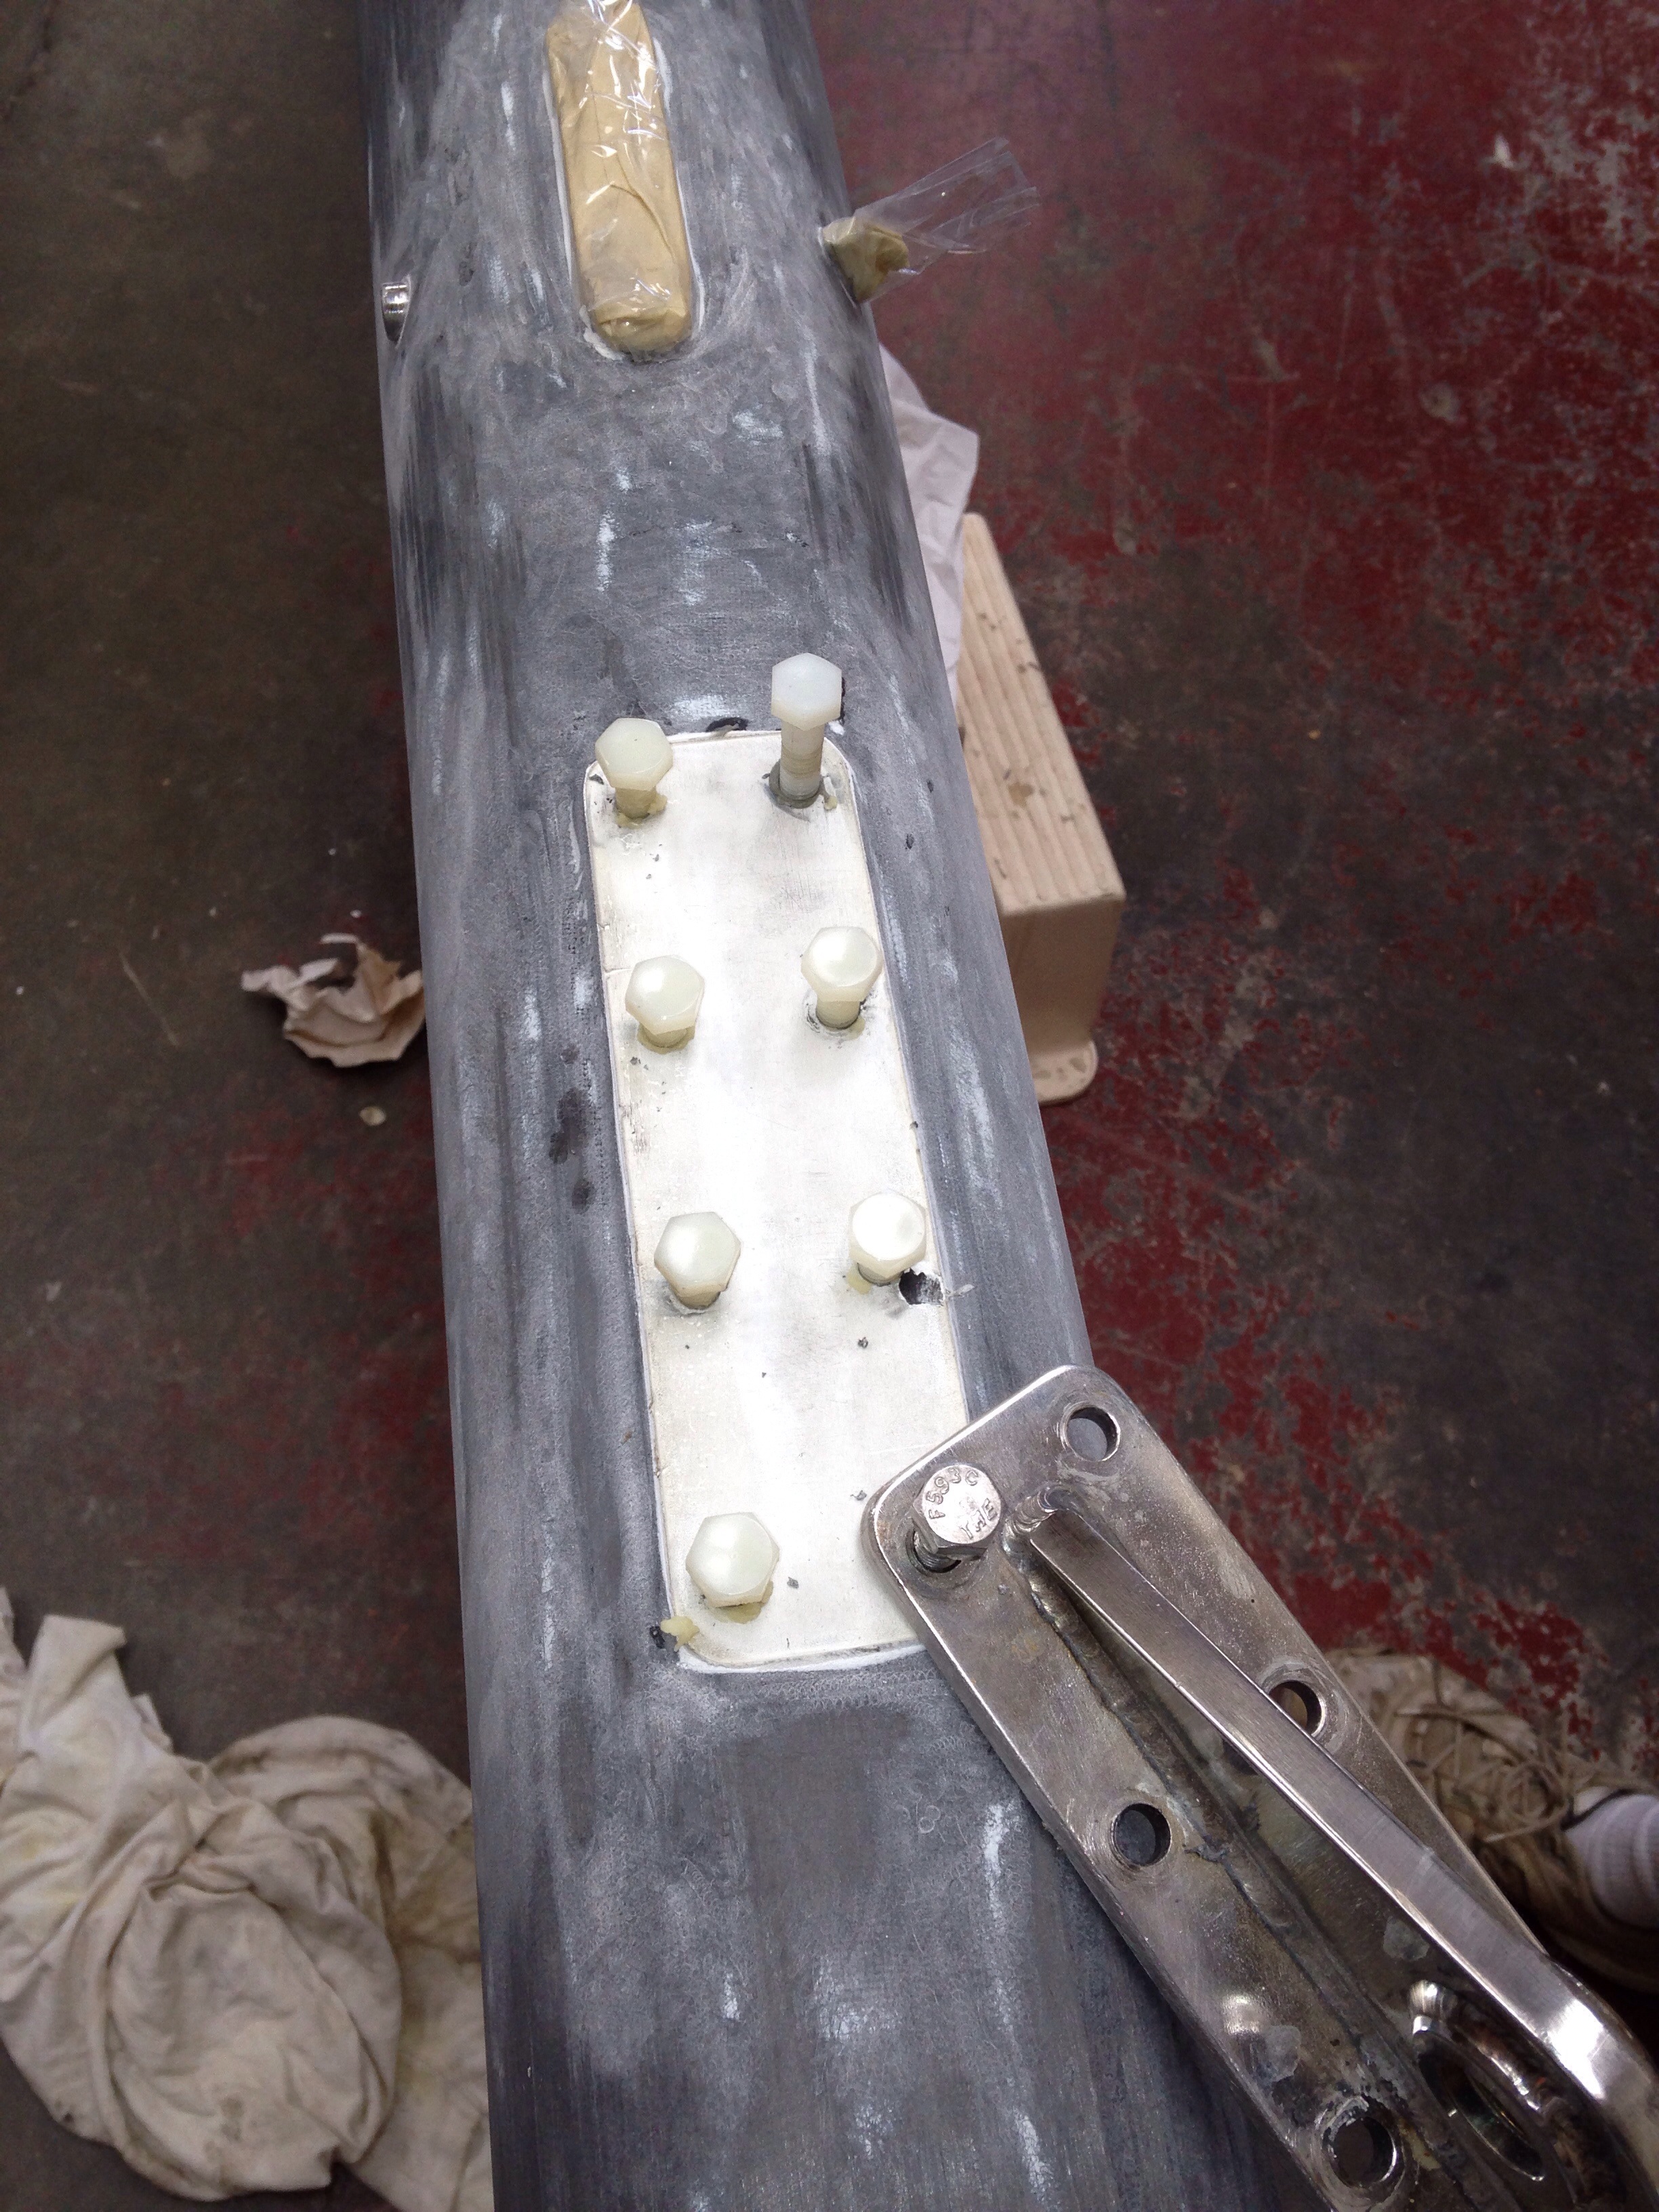
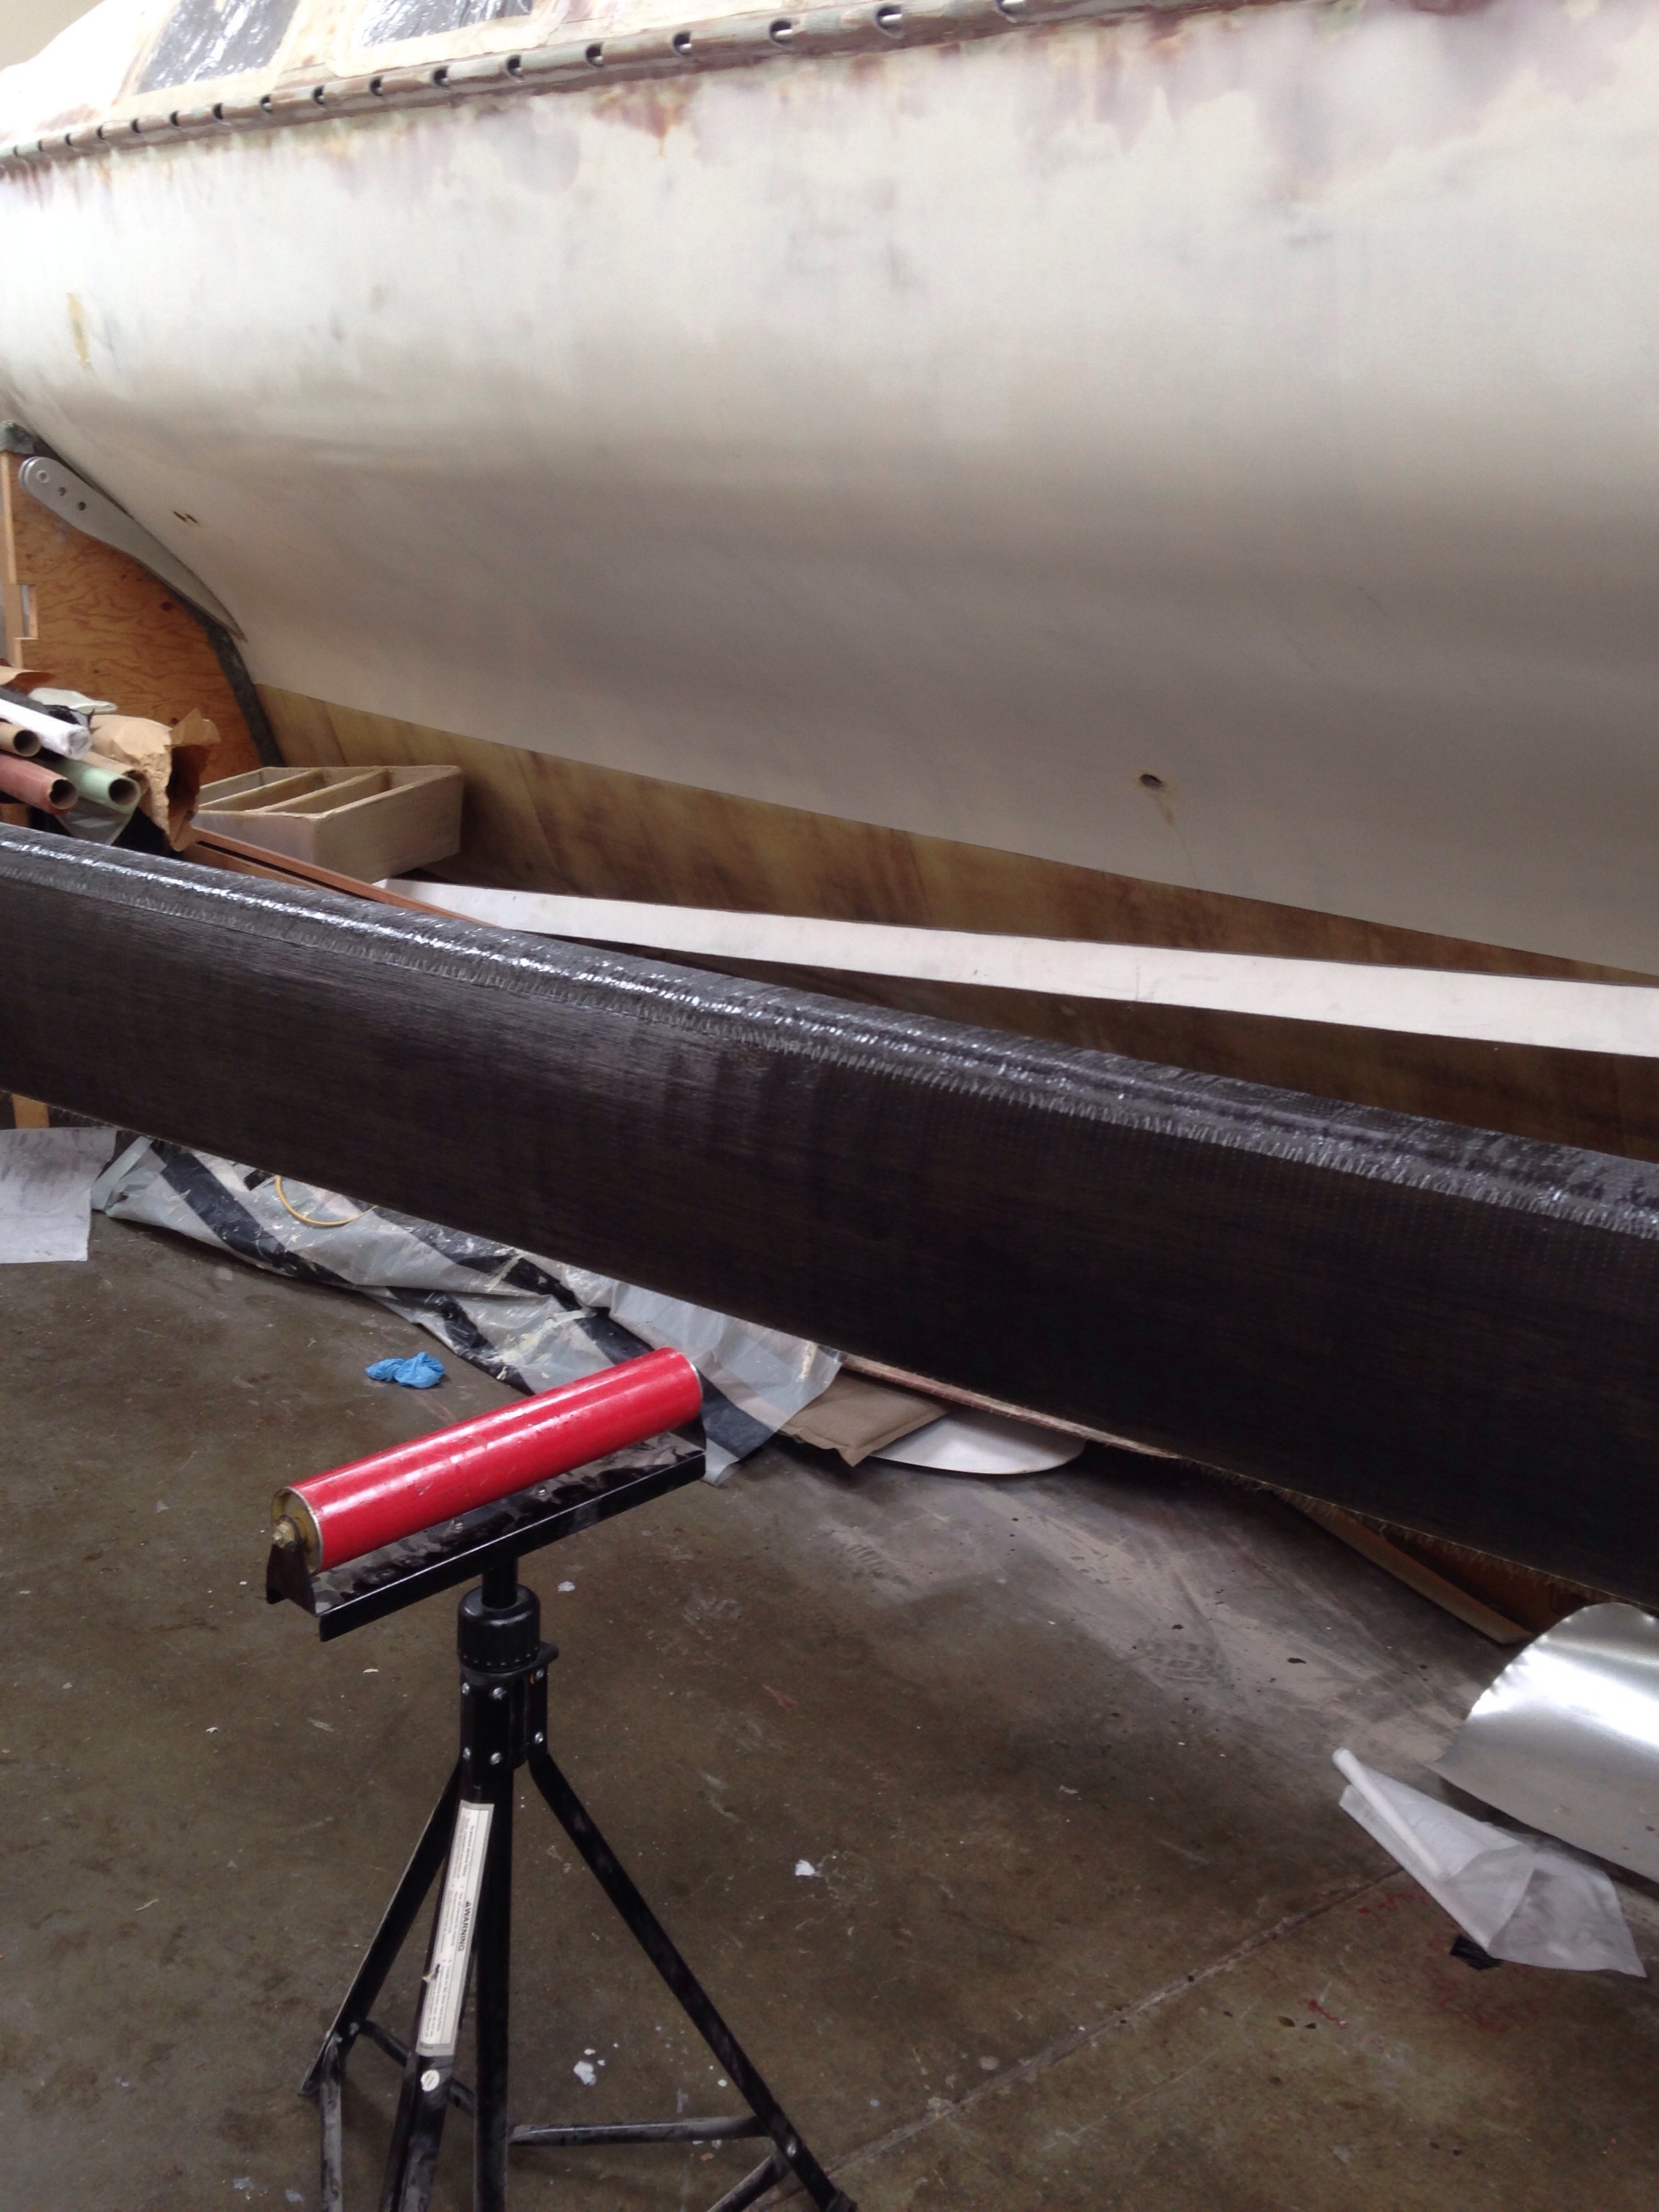
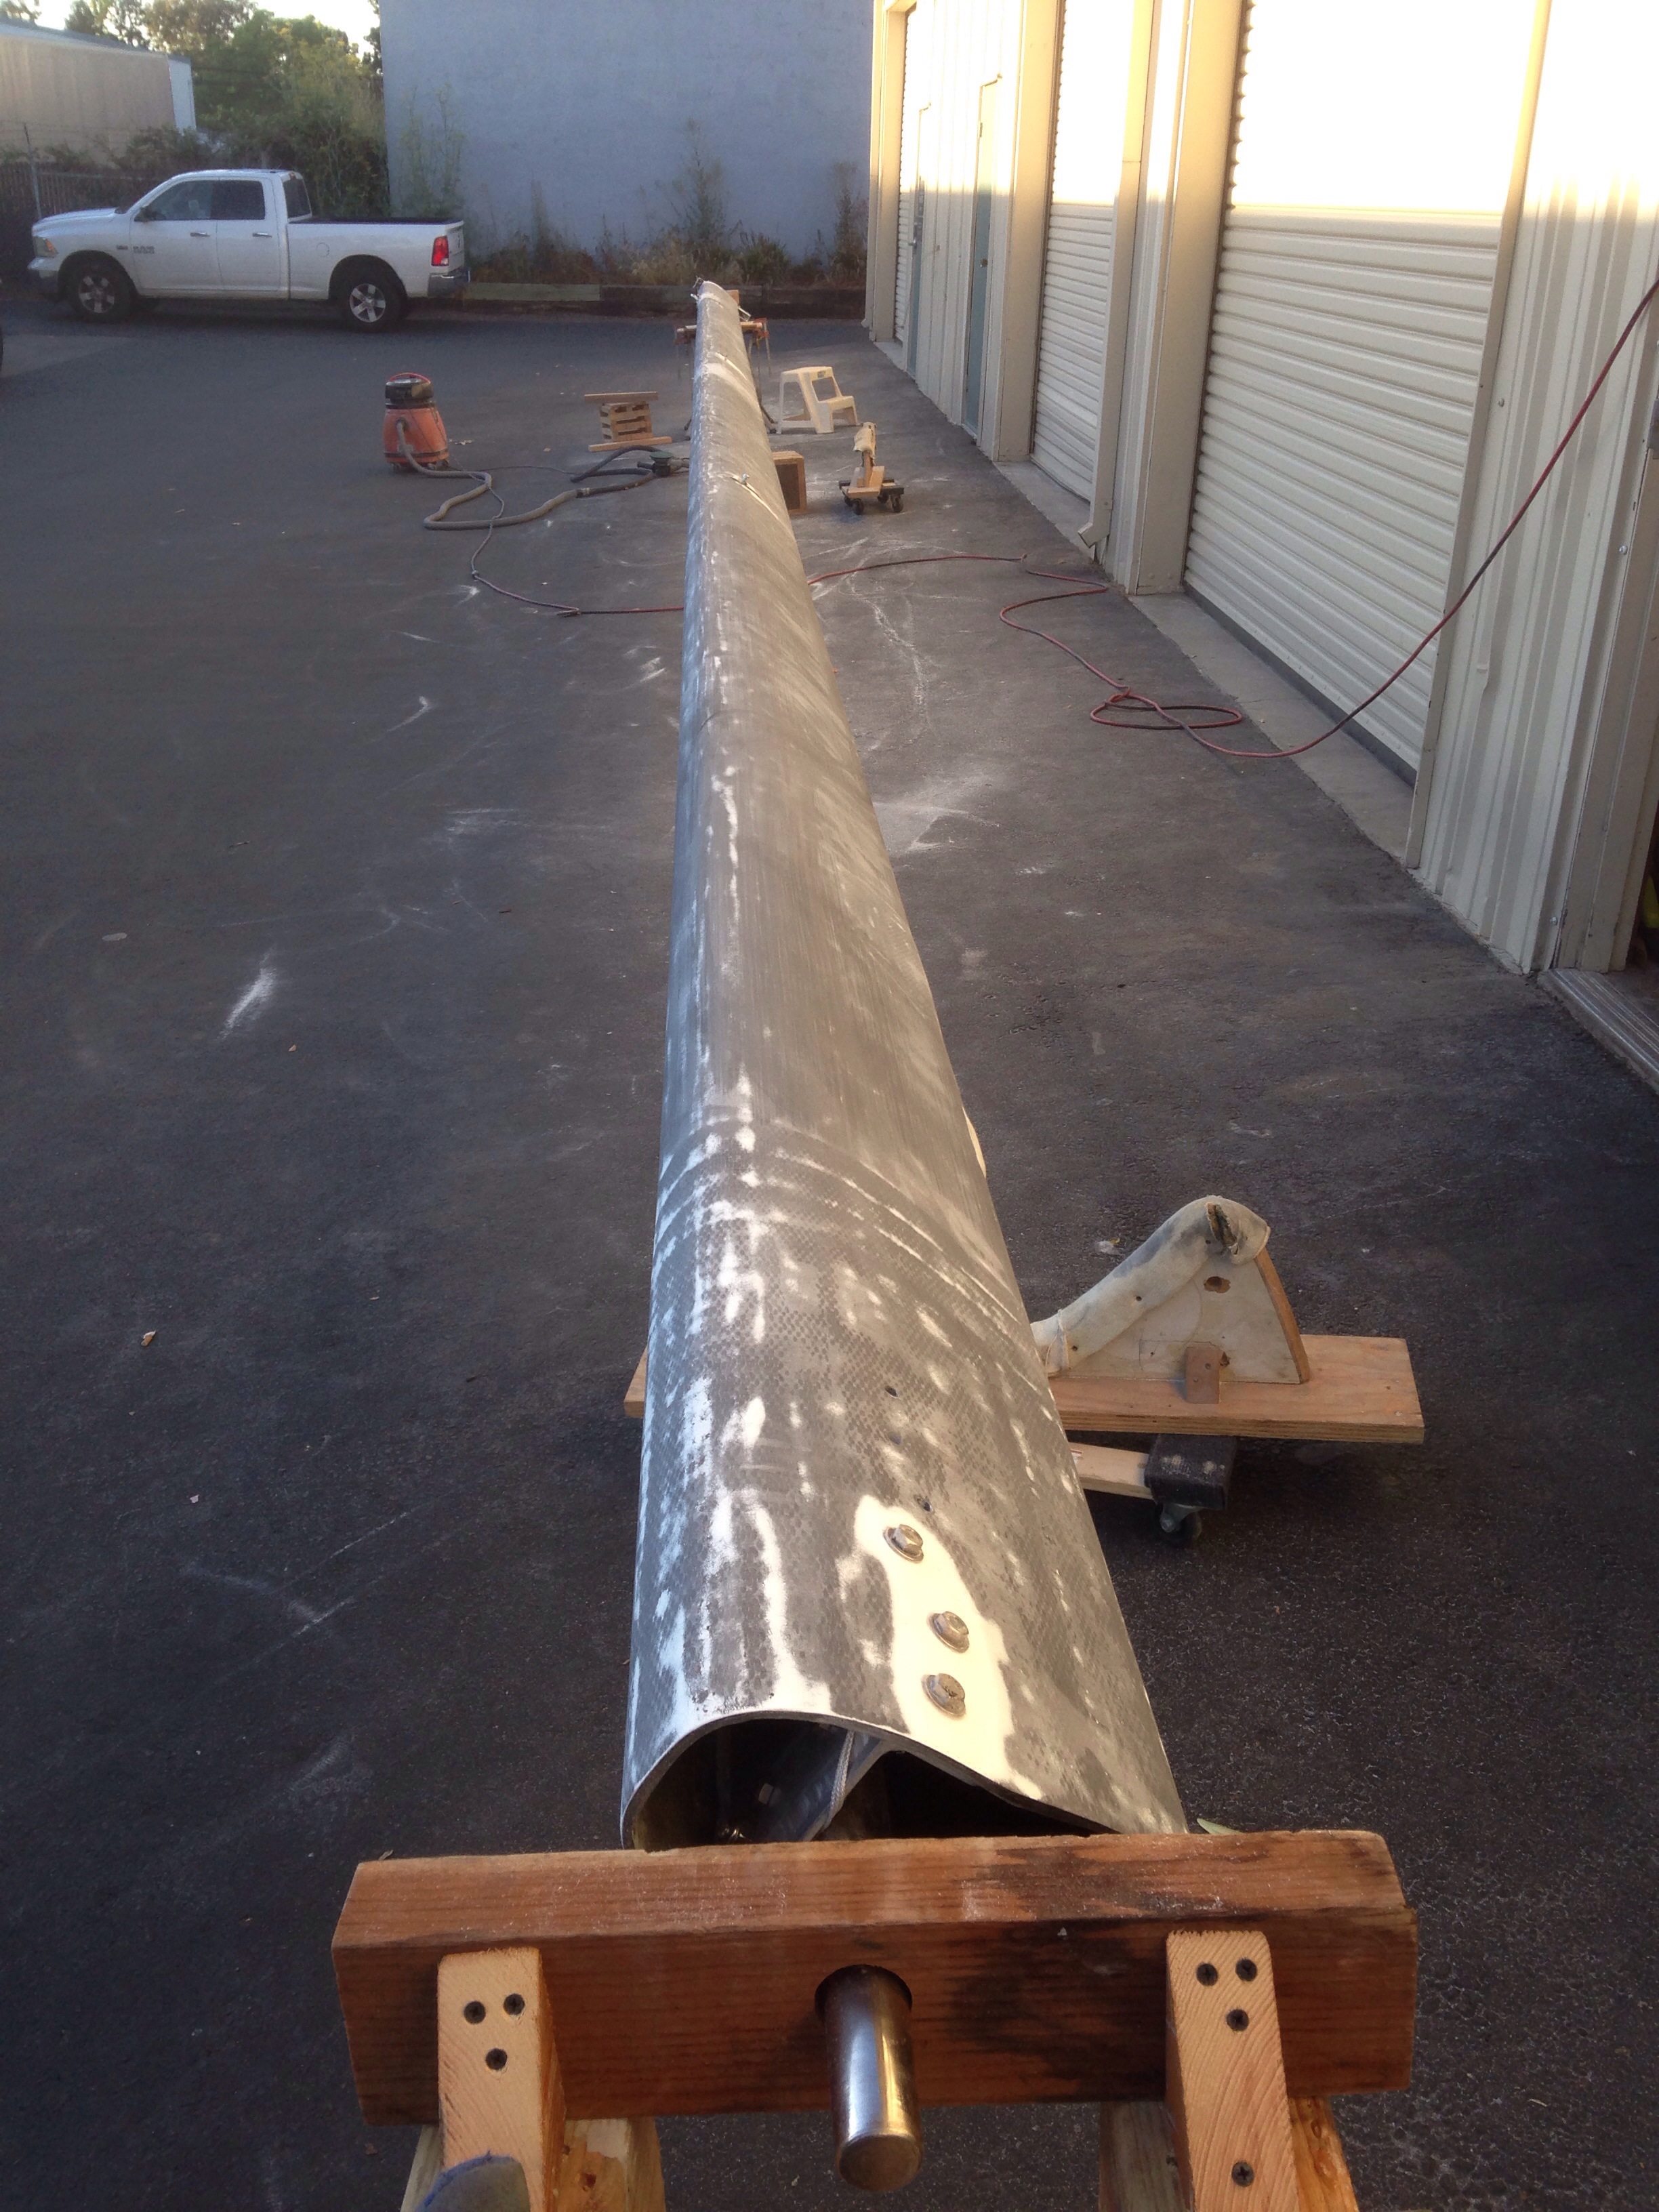
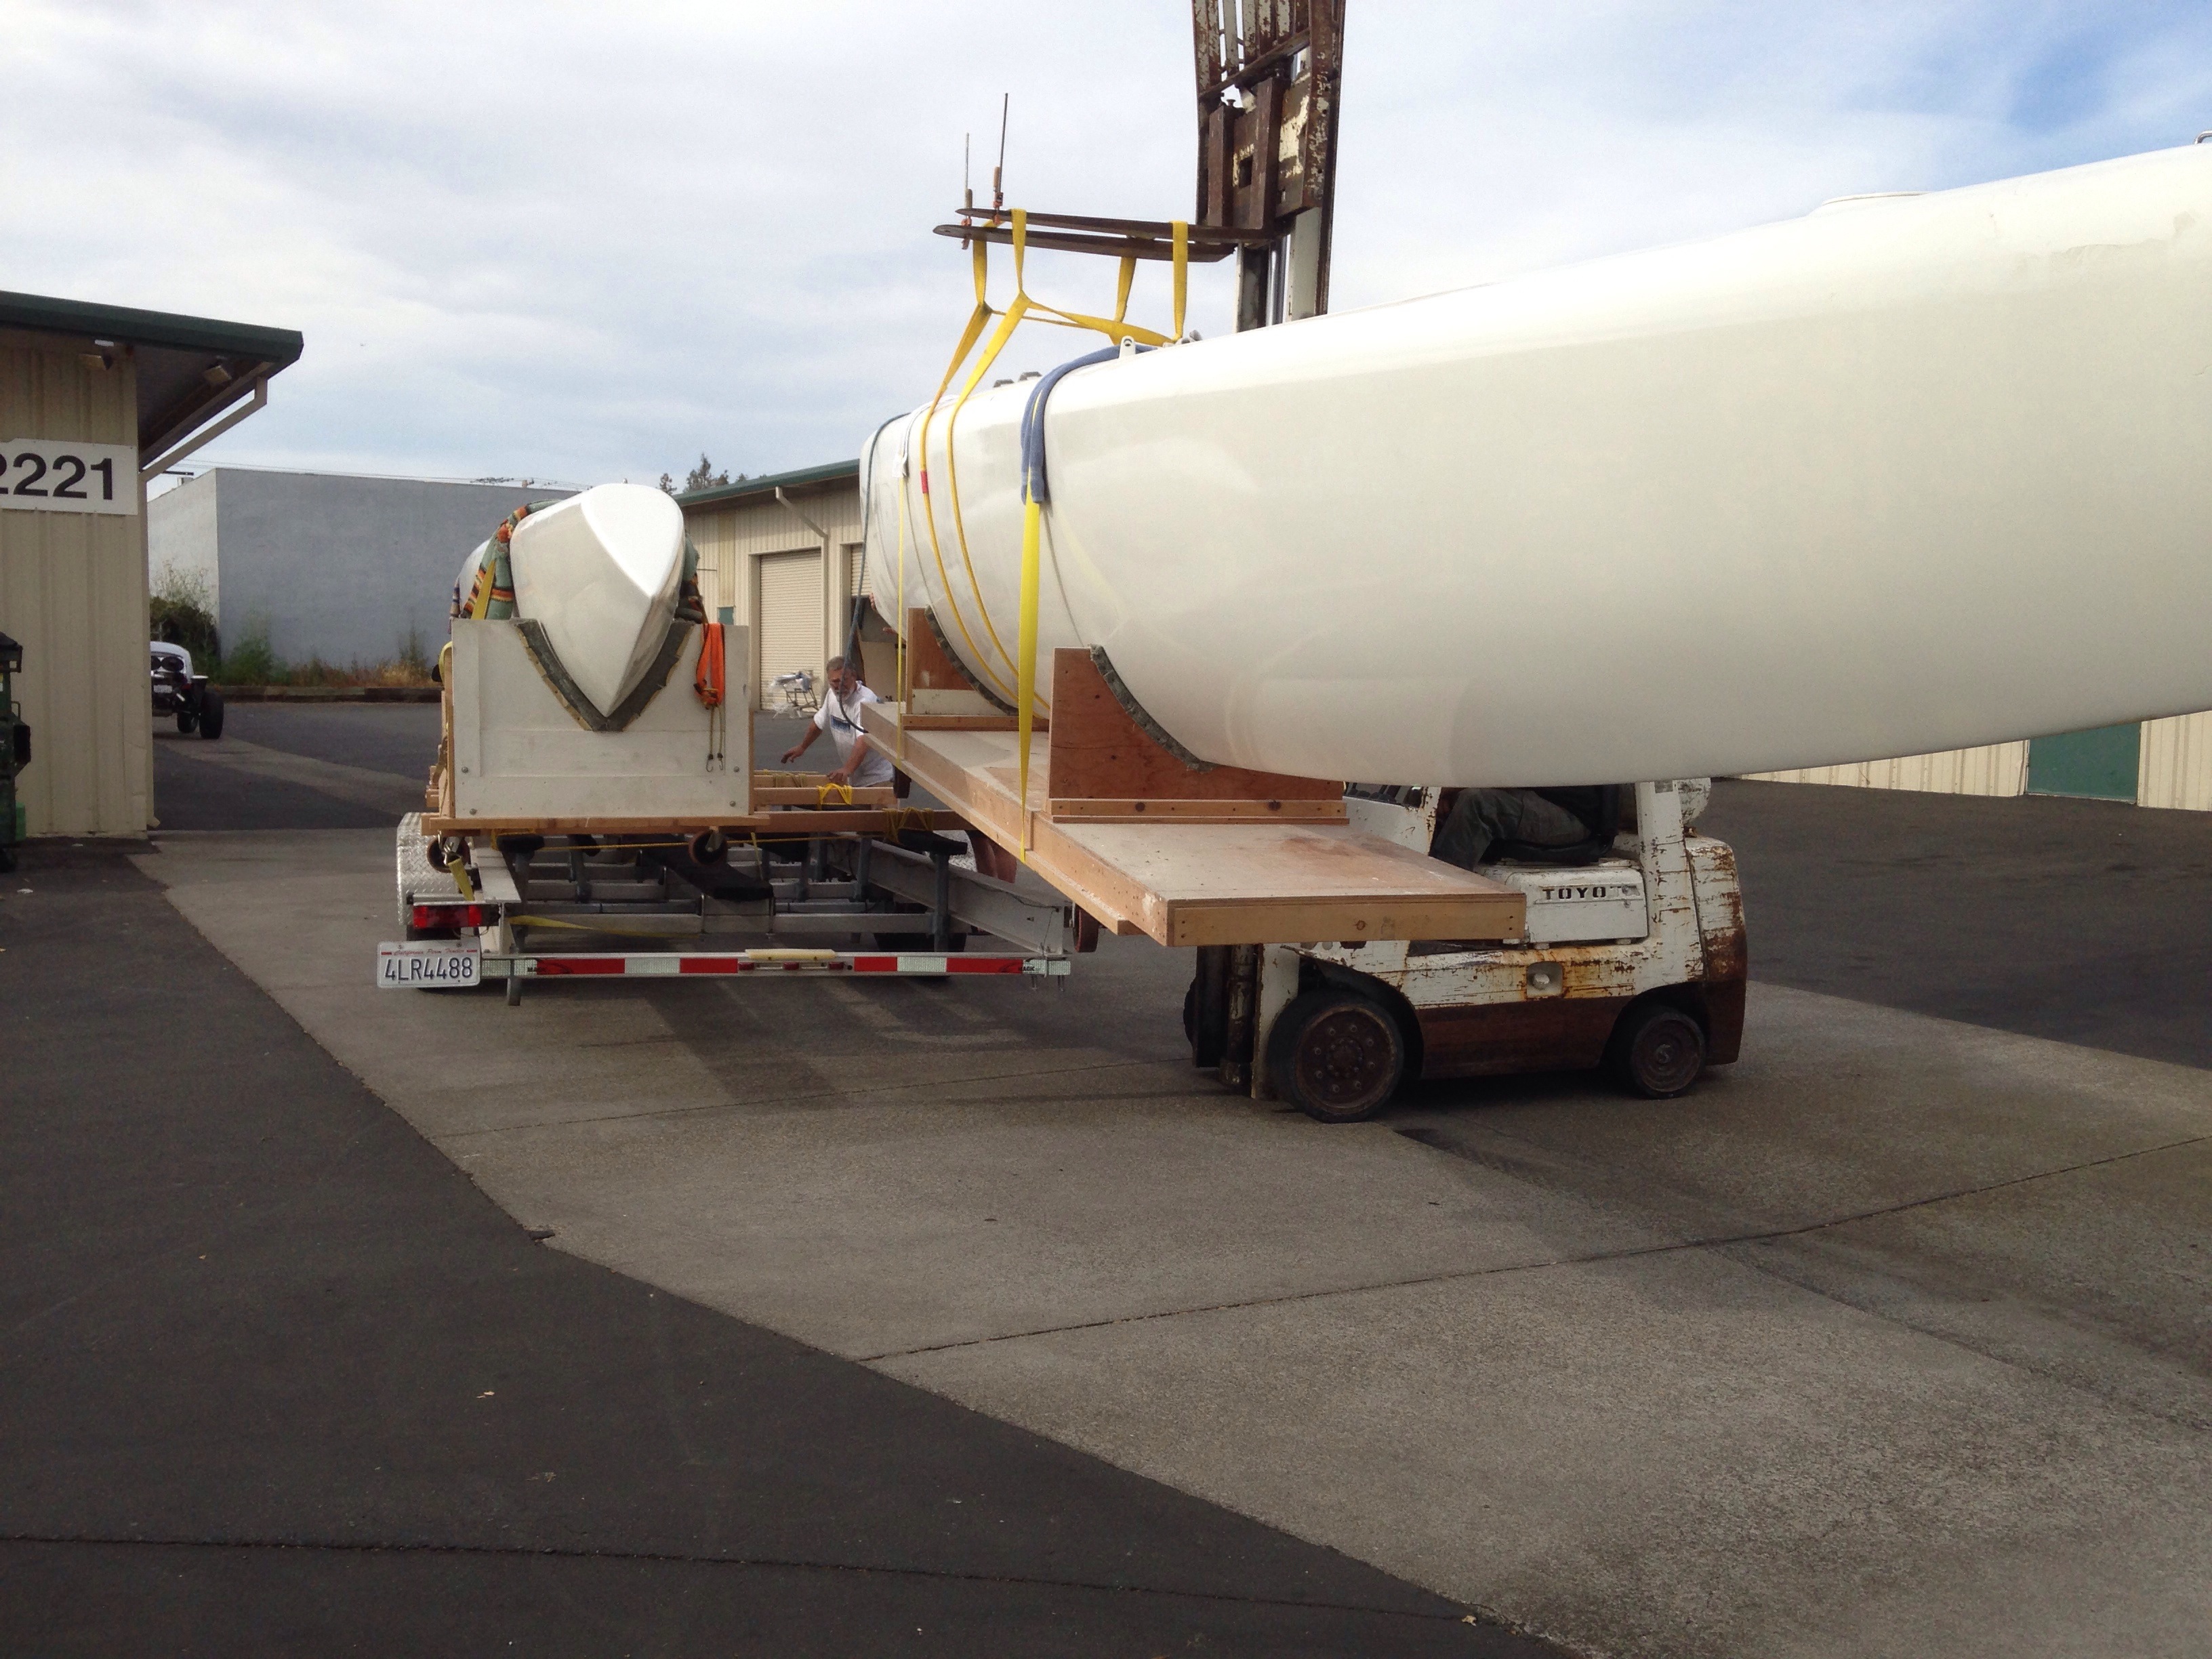
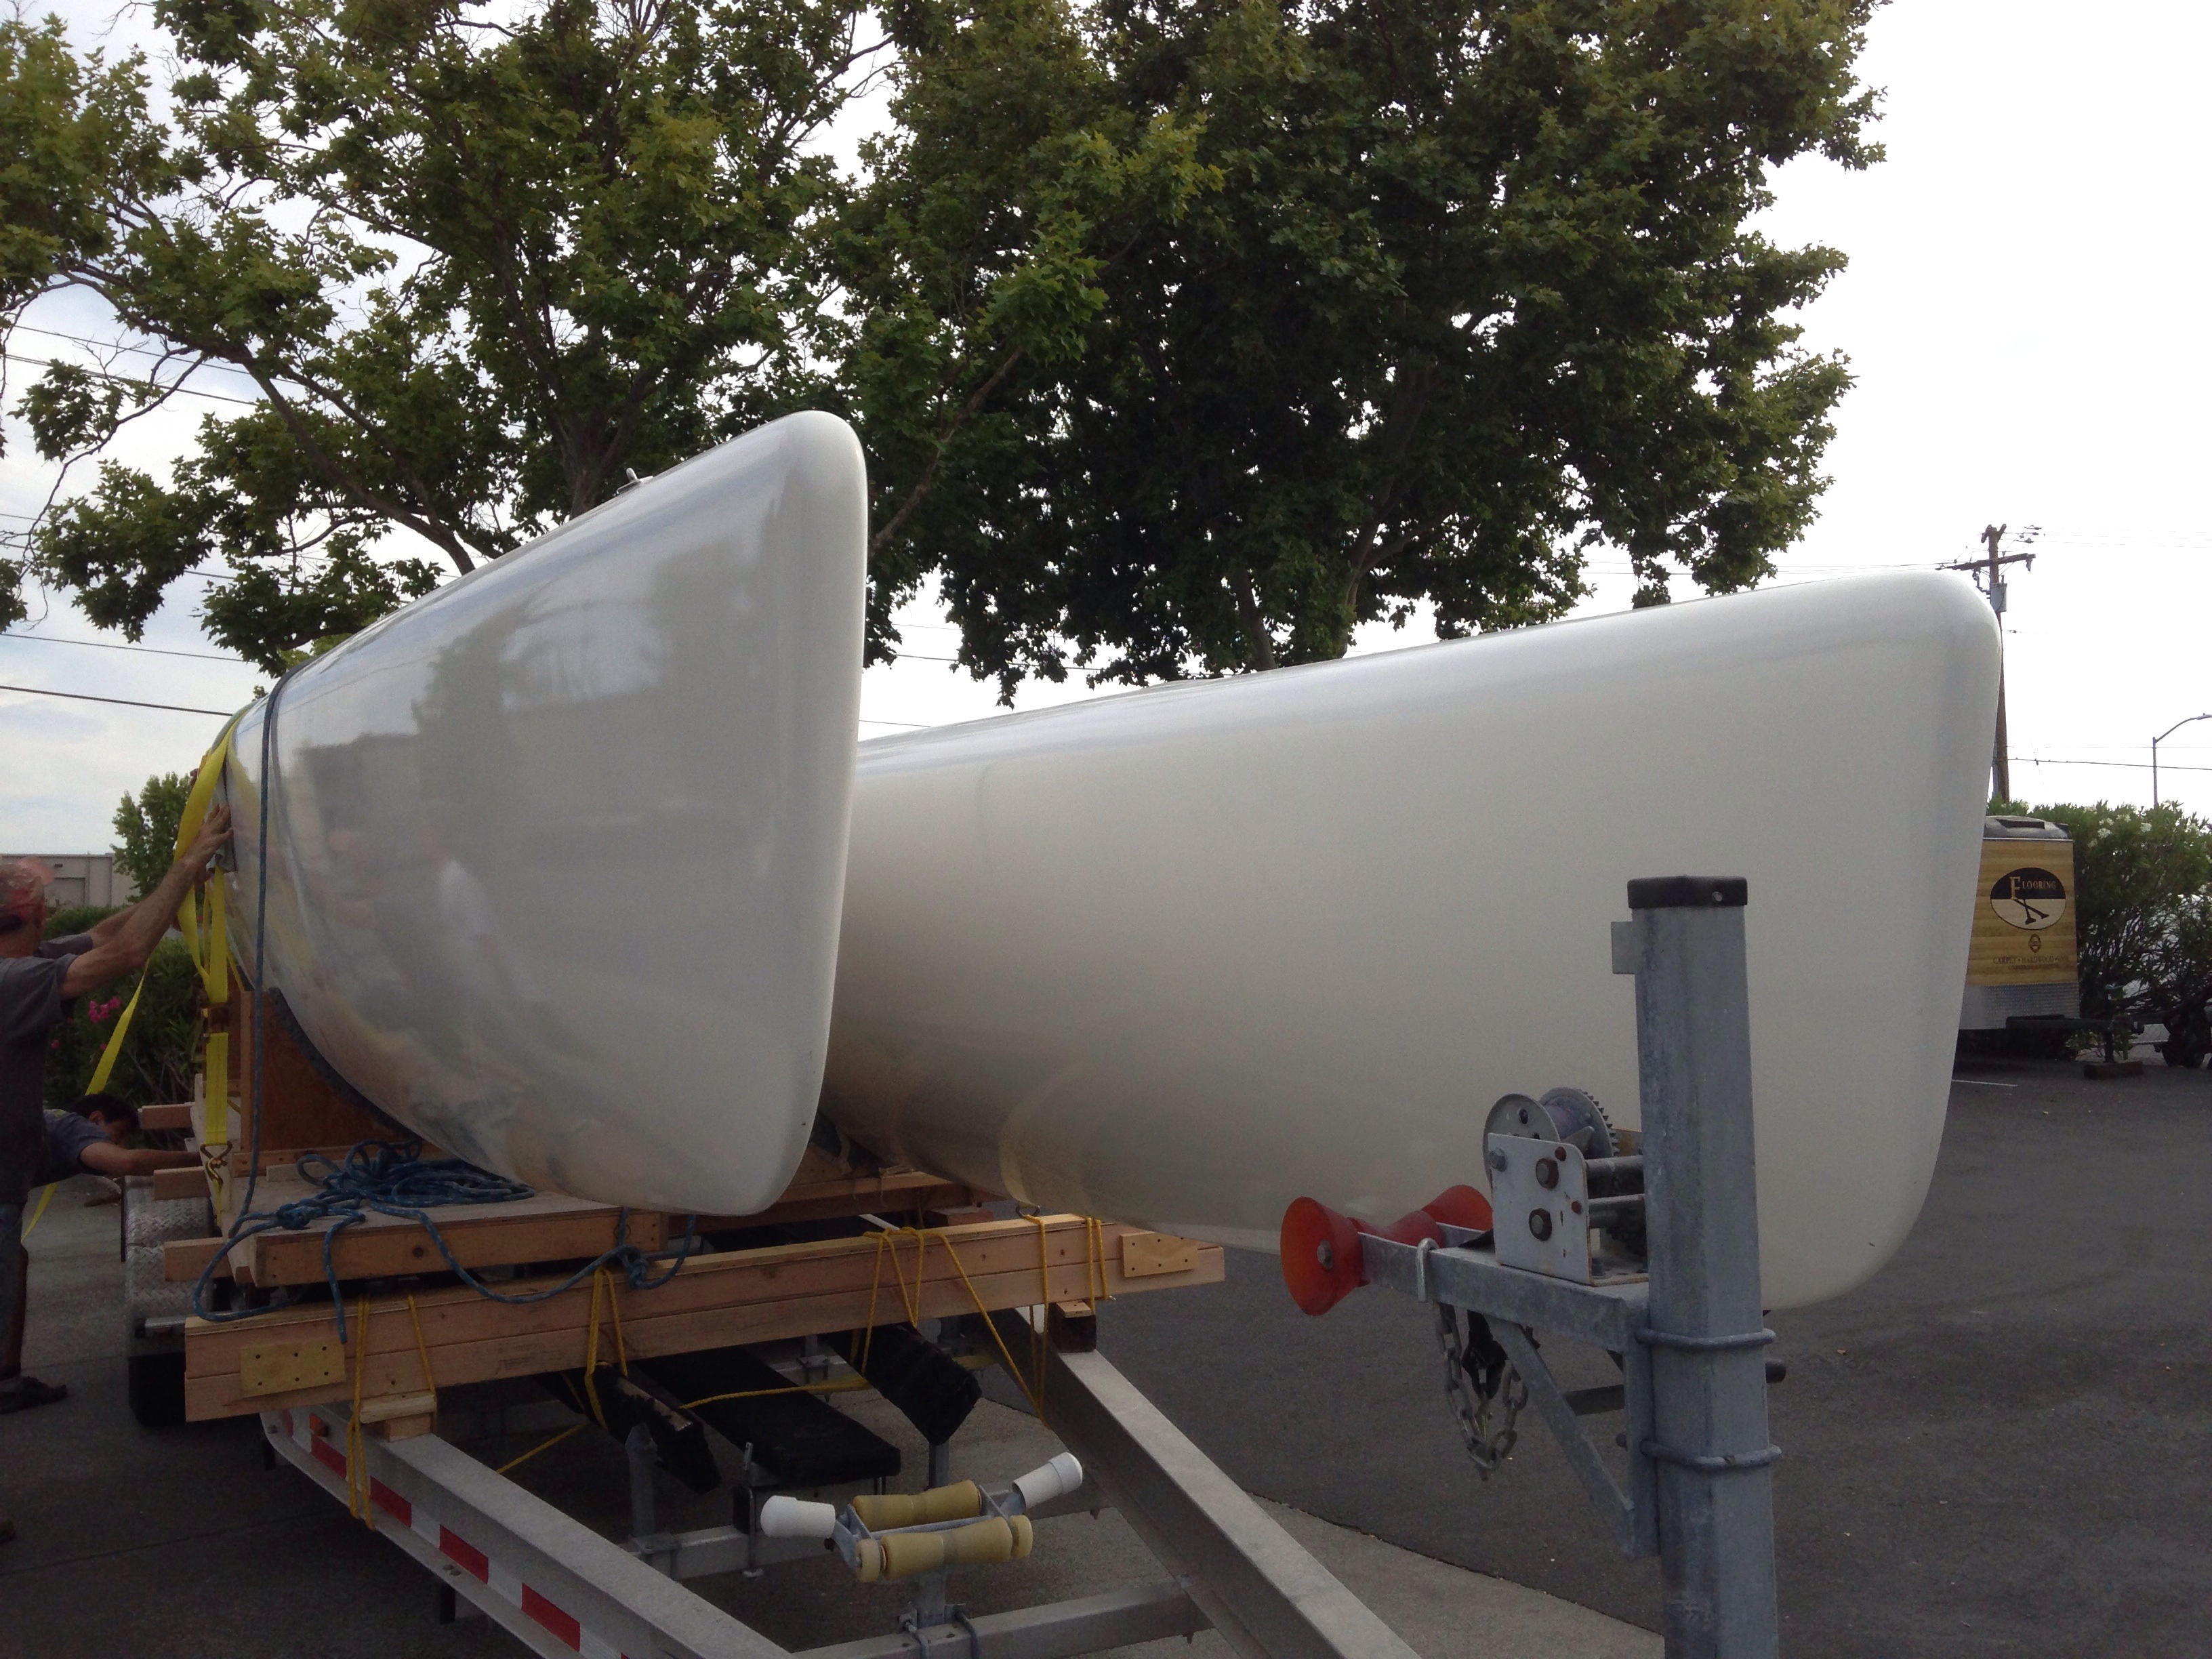
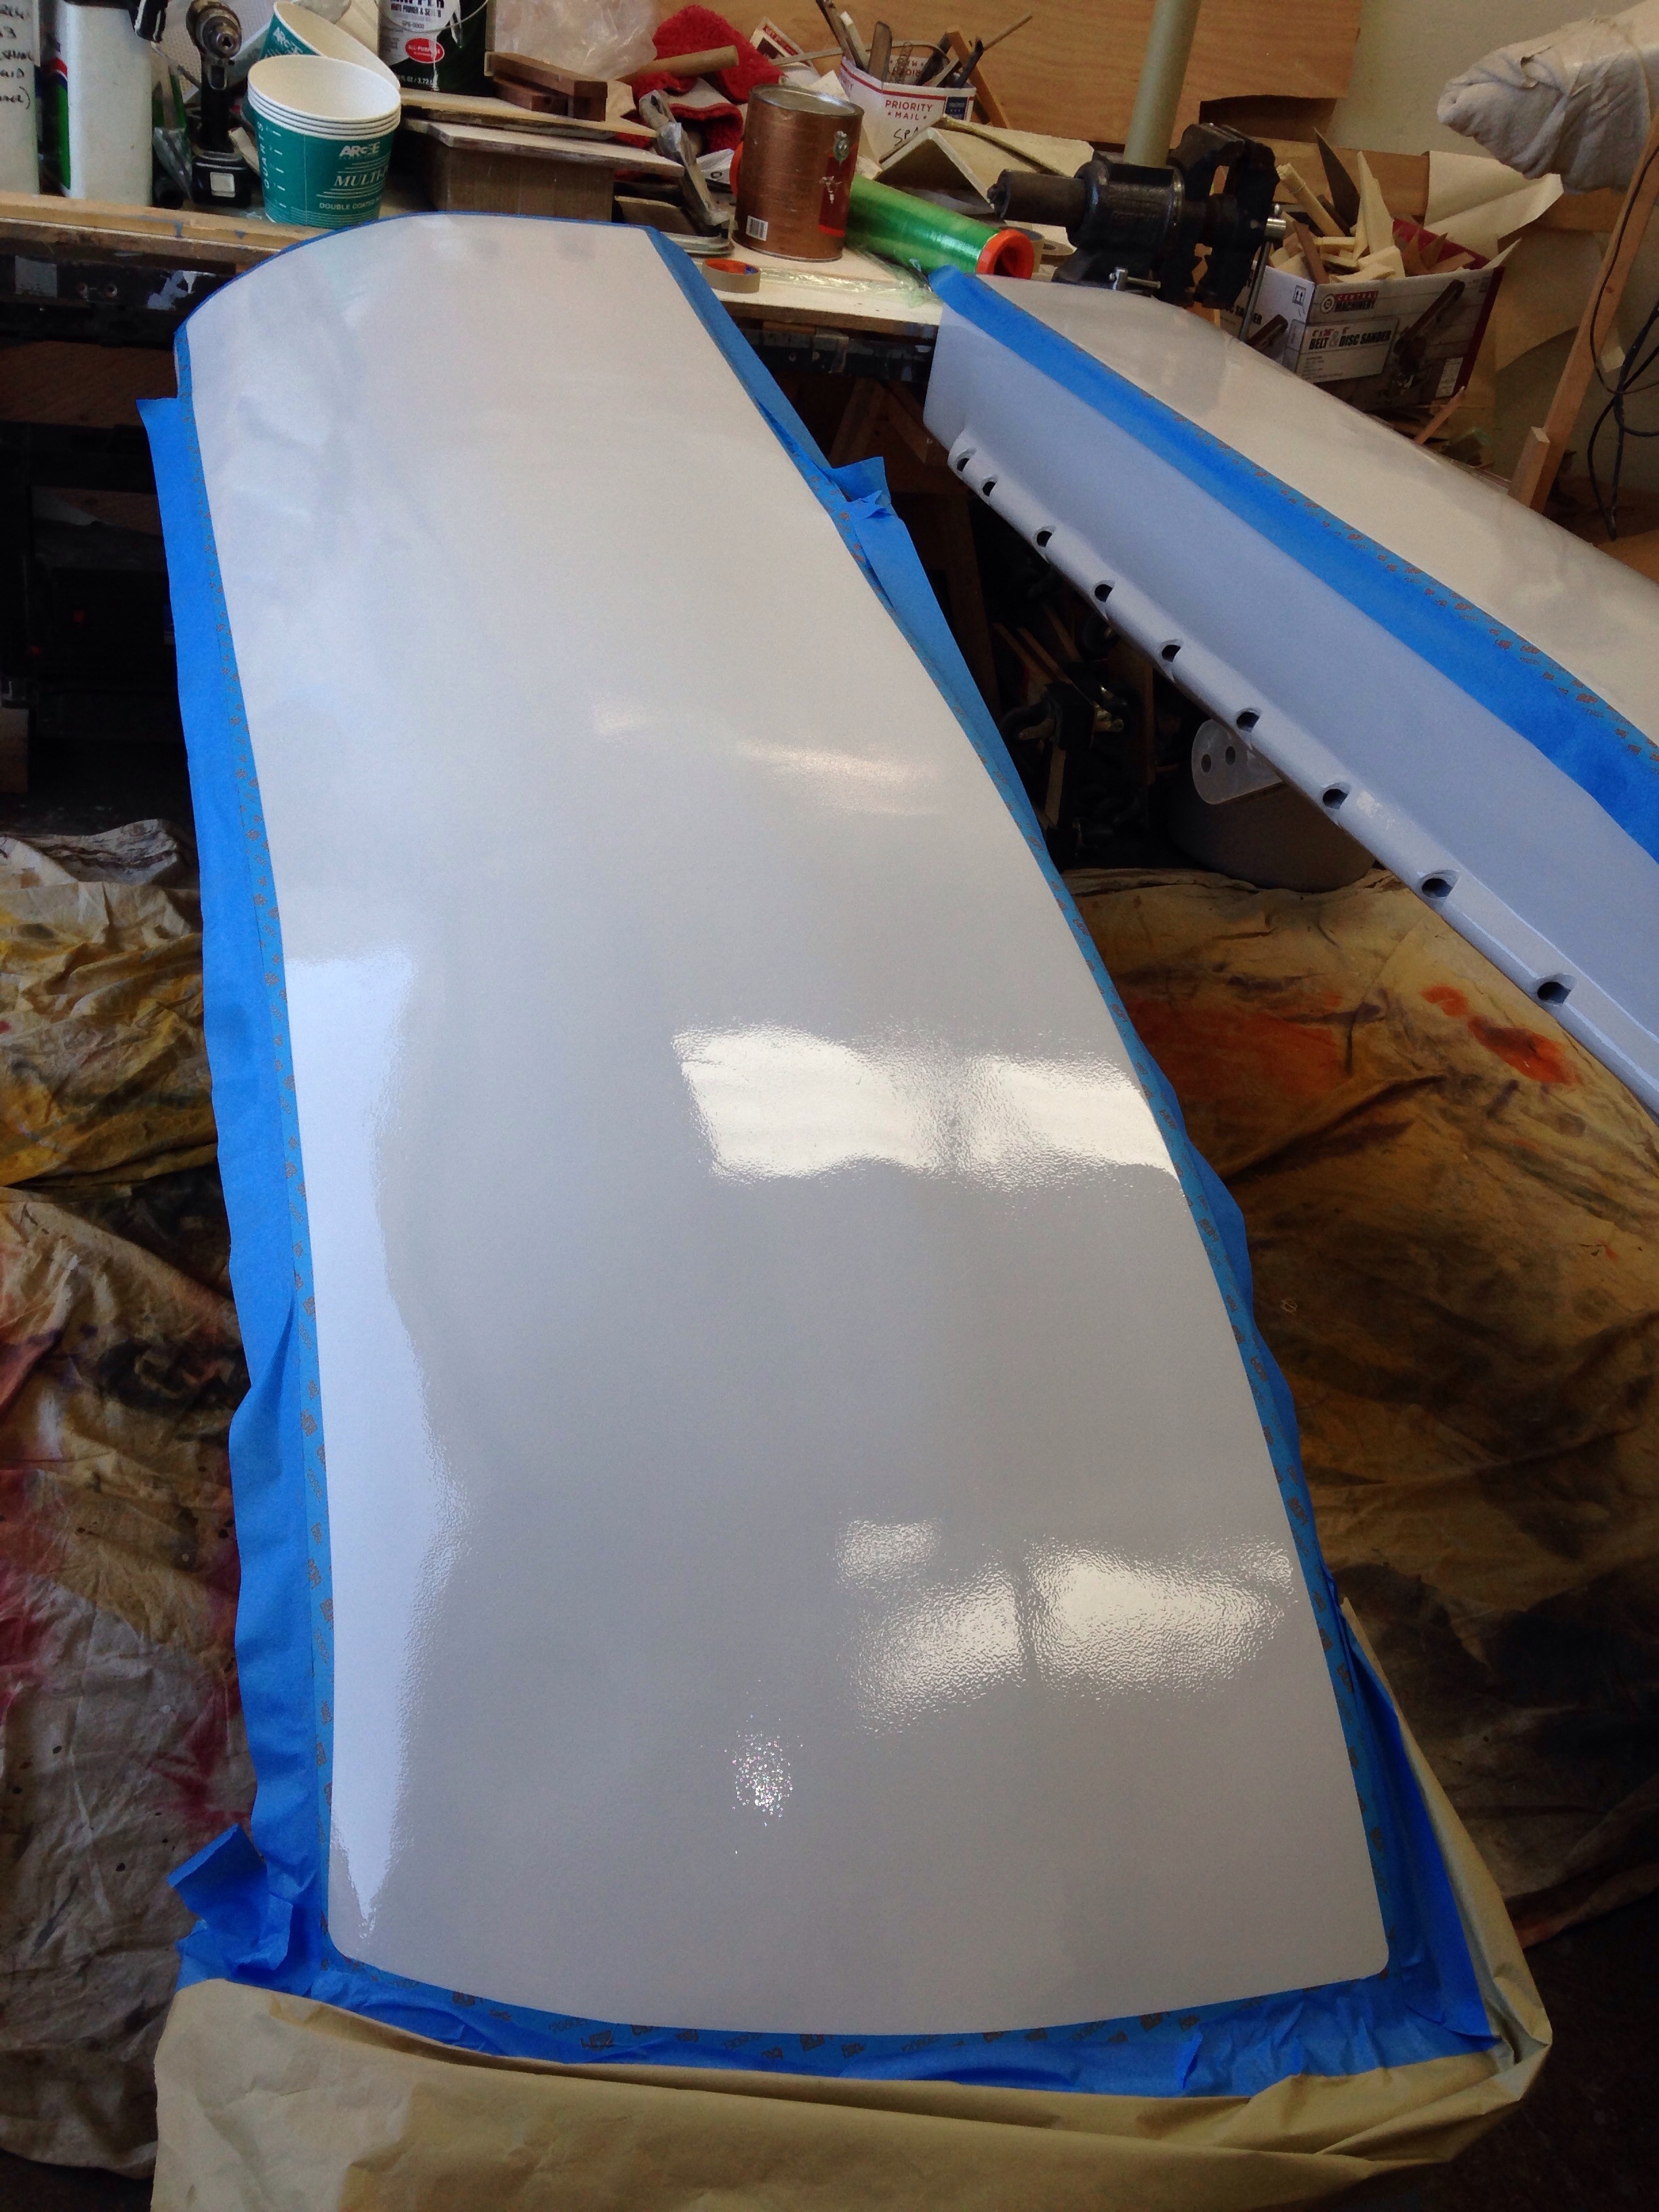
Bulking up means we’re adding more structural material to the mast and increasing it’s compressive load capability to bring it in line with that big righting moment limit. Carbon and epoxy will be applied to the outside, so the mast must first be stripped back to a bare pole. It’s more than a little heartbreaking to cut in to this beautifully finished piece. Here we are at the start, with only the Tides sail track off (but the Tides clips still there)

20150710-191424.jpg

20150710-191450.jpg

20150710-191522.jpg

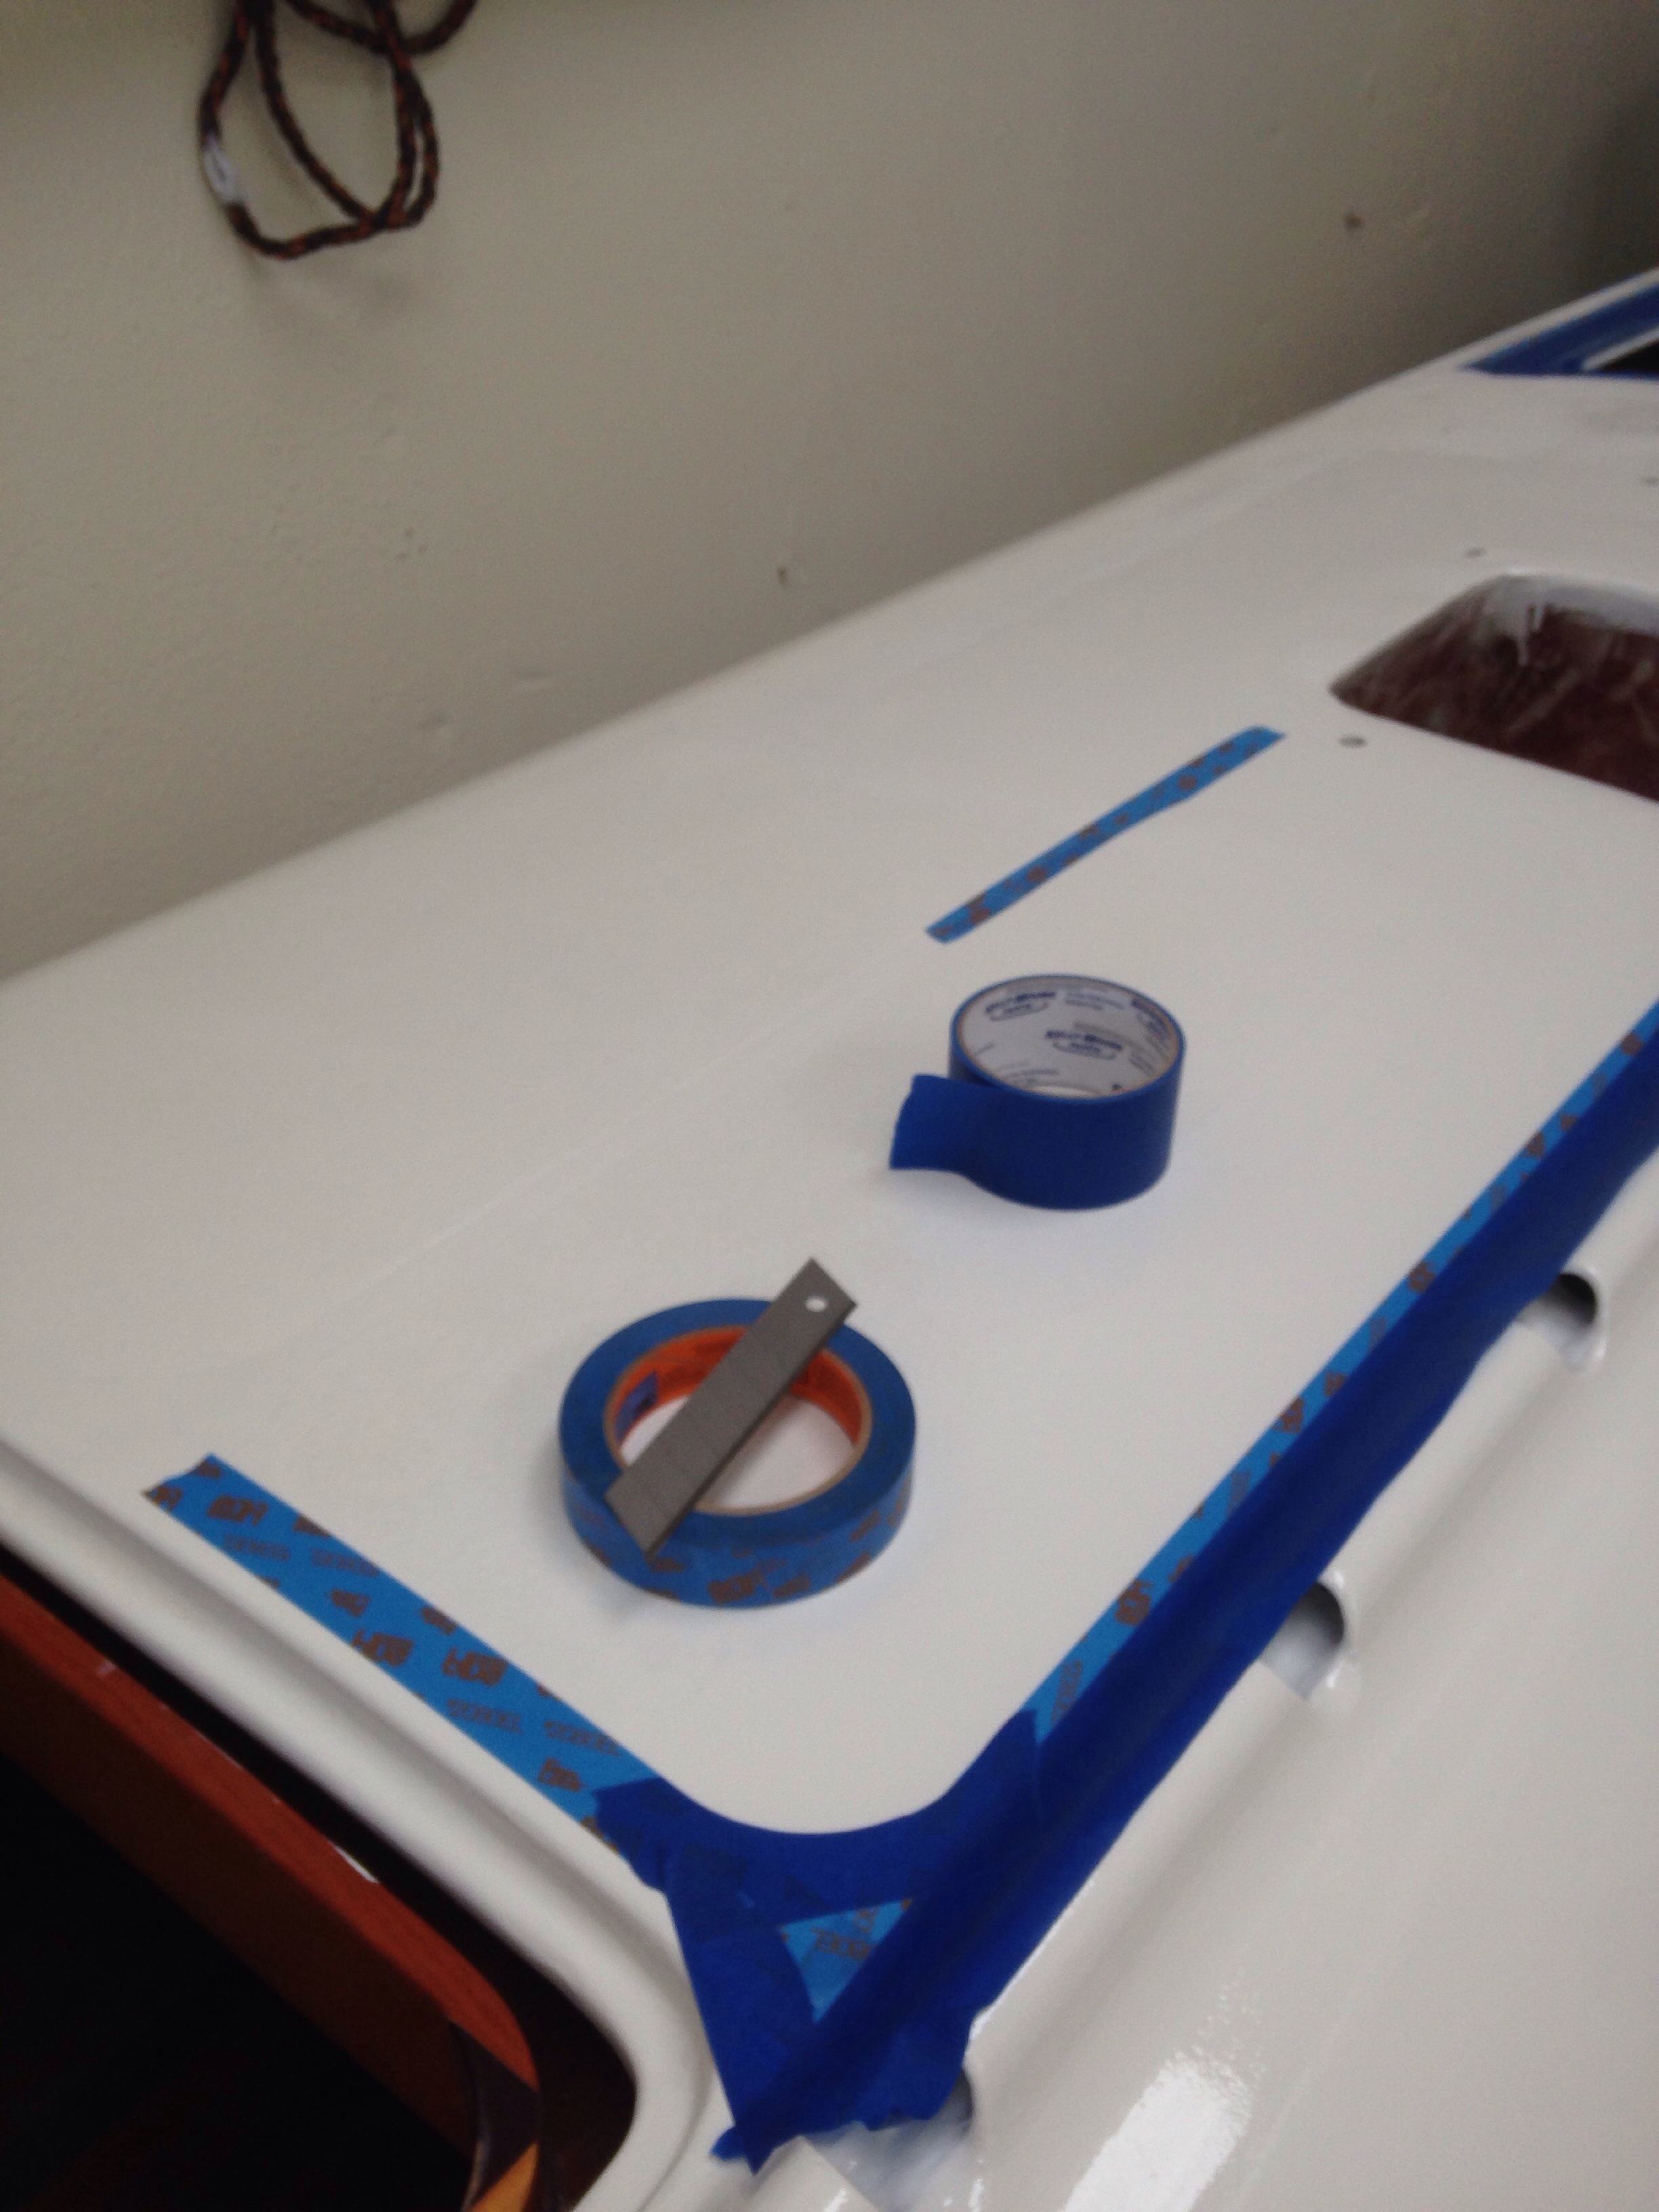
Step 1 is lowering the gooseneck to bring the boom down to about a foot over the windshield and hardtop. Unbolt the gooseneck receiver and use it to form a new putty base in the correct spot.

20150710-191742.jpg

20150710-191801.jpg
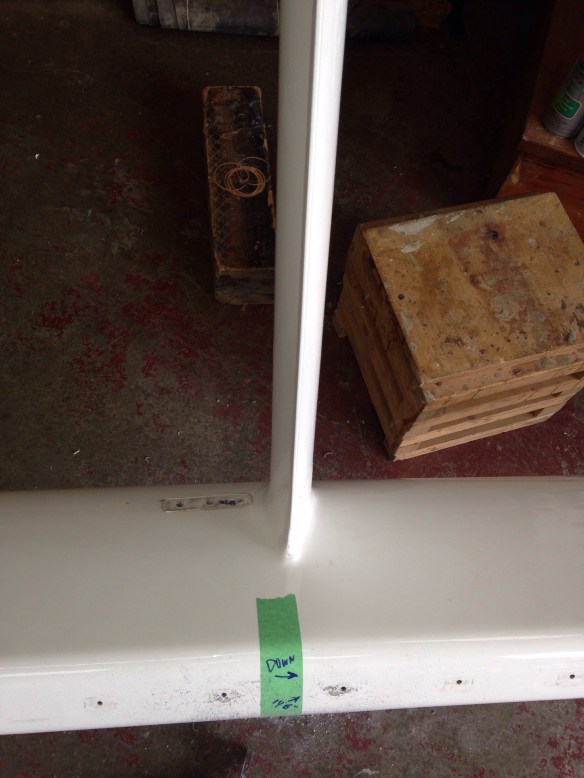
Here’s the detail of the original position, in case someone else wants to raise the boom back up some day. I’ll leave the bolt holes with plastic plugs under the sail track.

20150710-191941.jpg

Next is taking careful measurements of parts that will go back over the new work.

20150710-192058.jpg

20150710-192114.jpg

20150710-192324.jpg

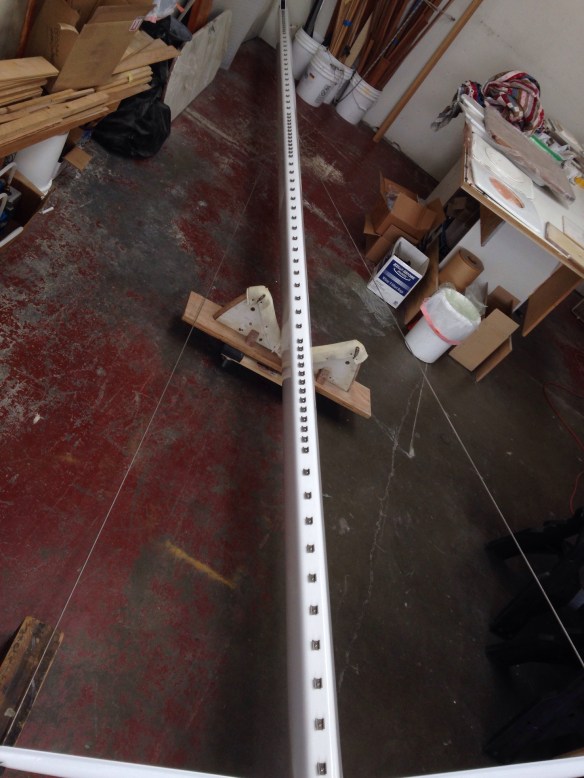
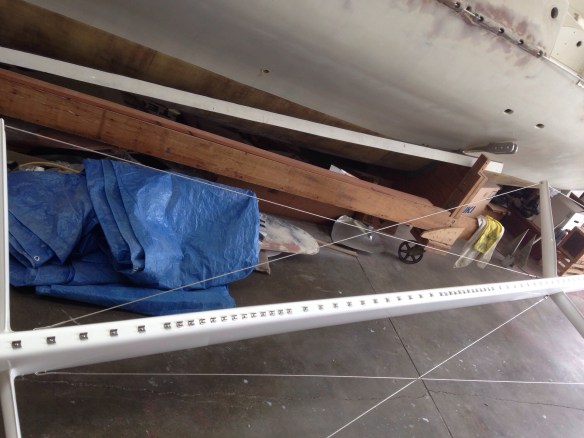
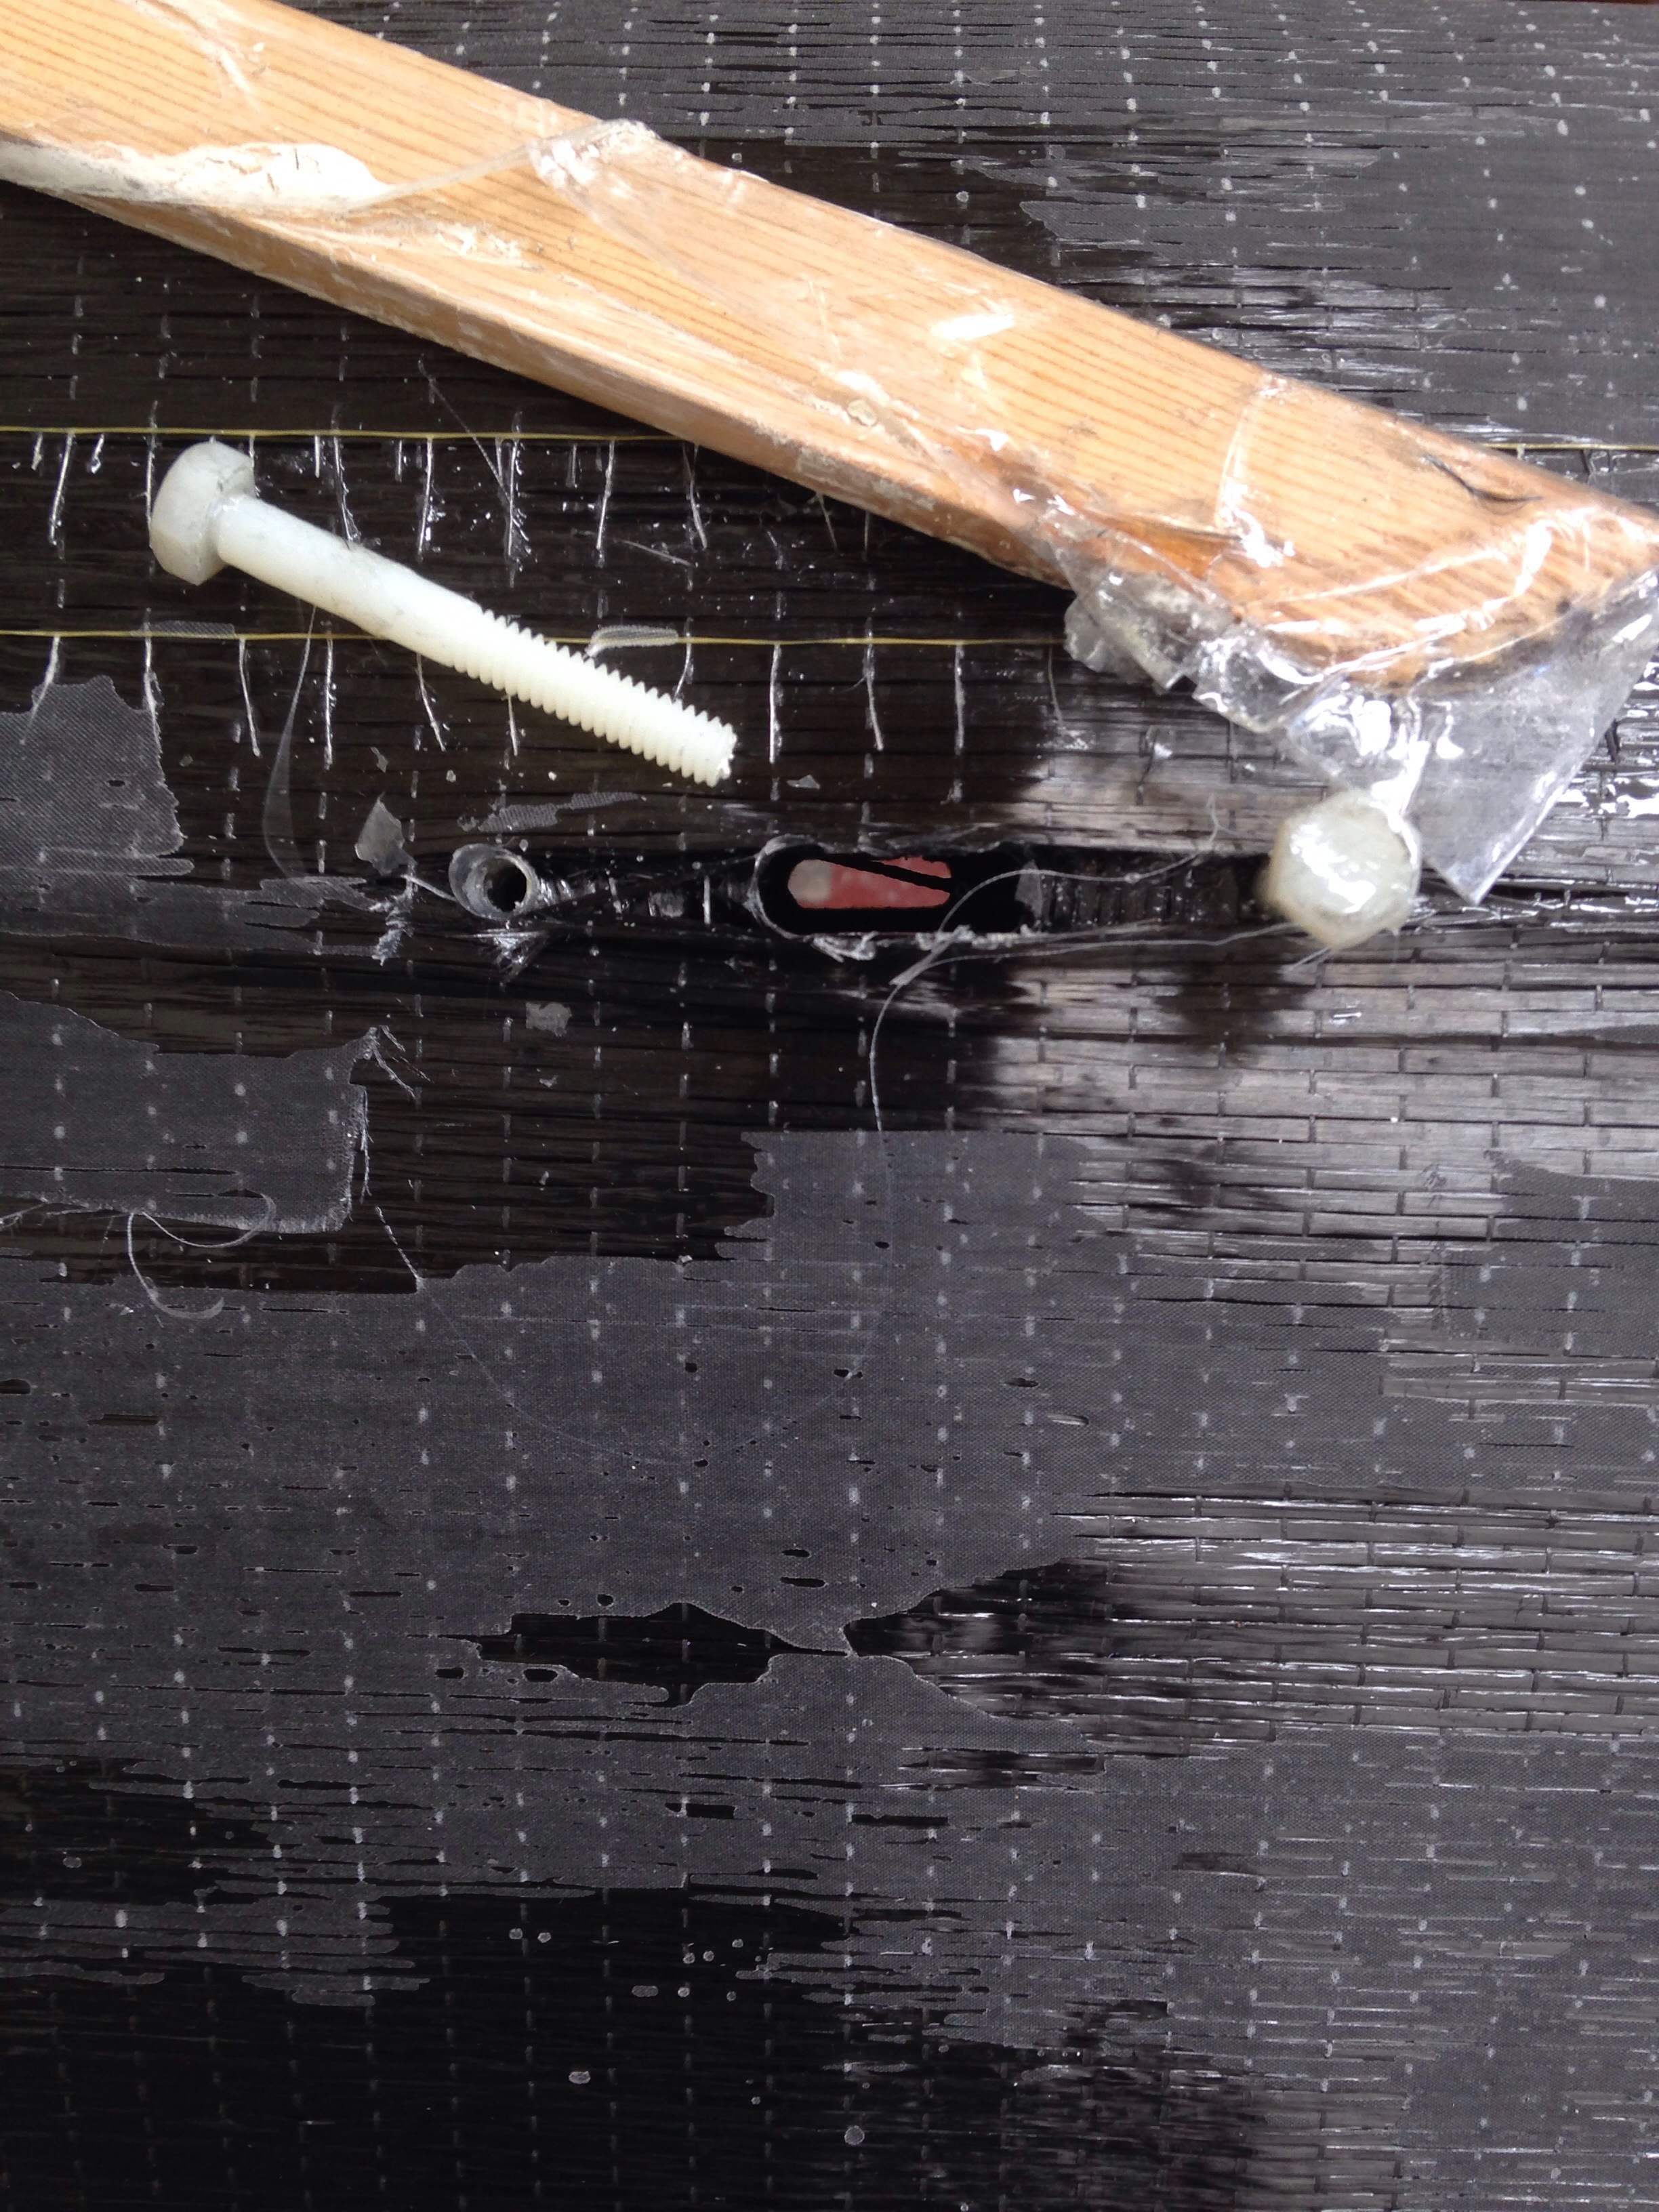
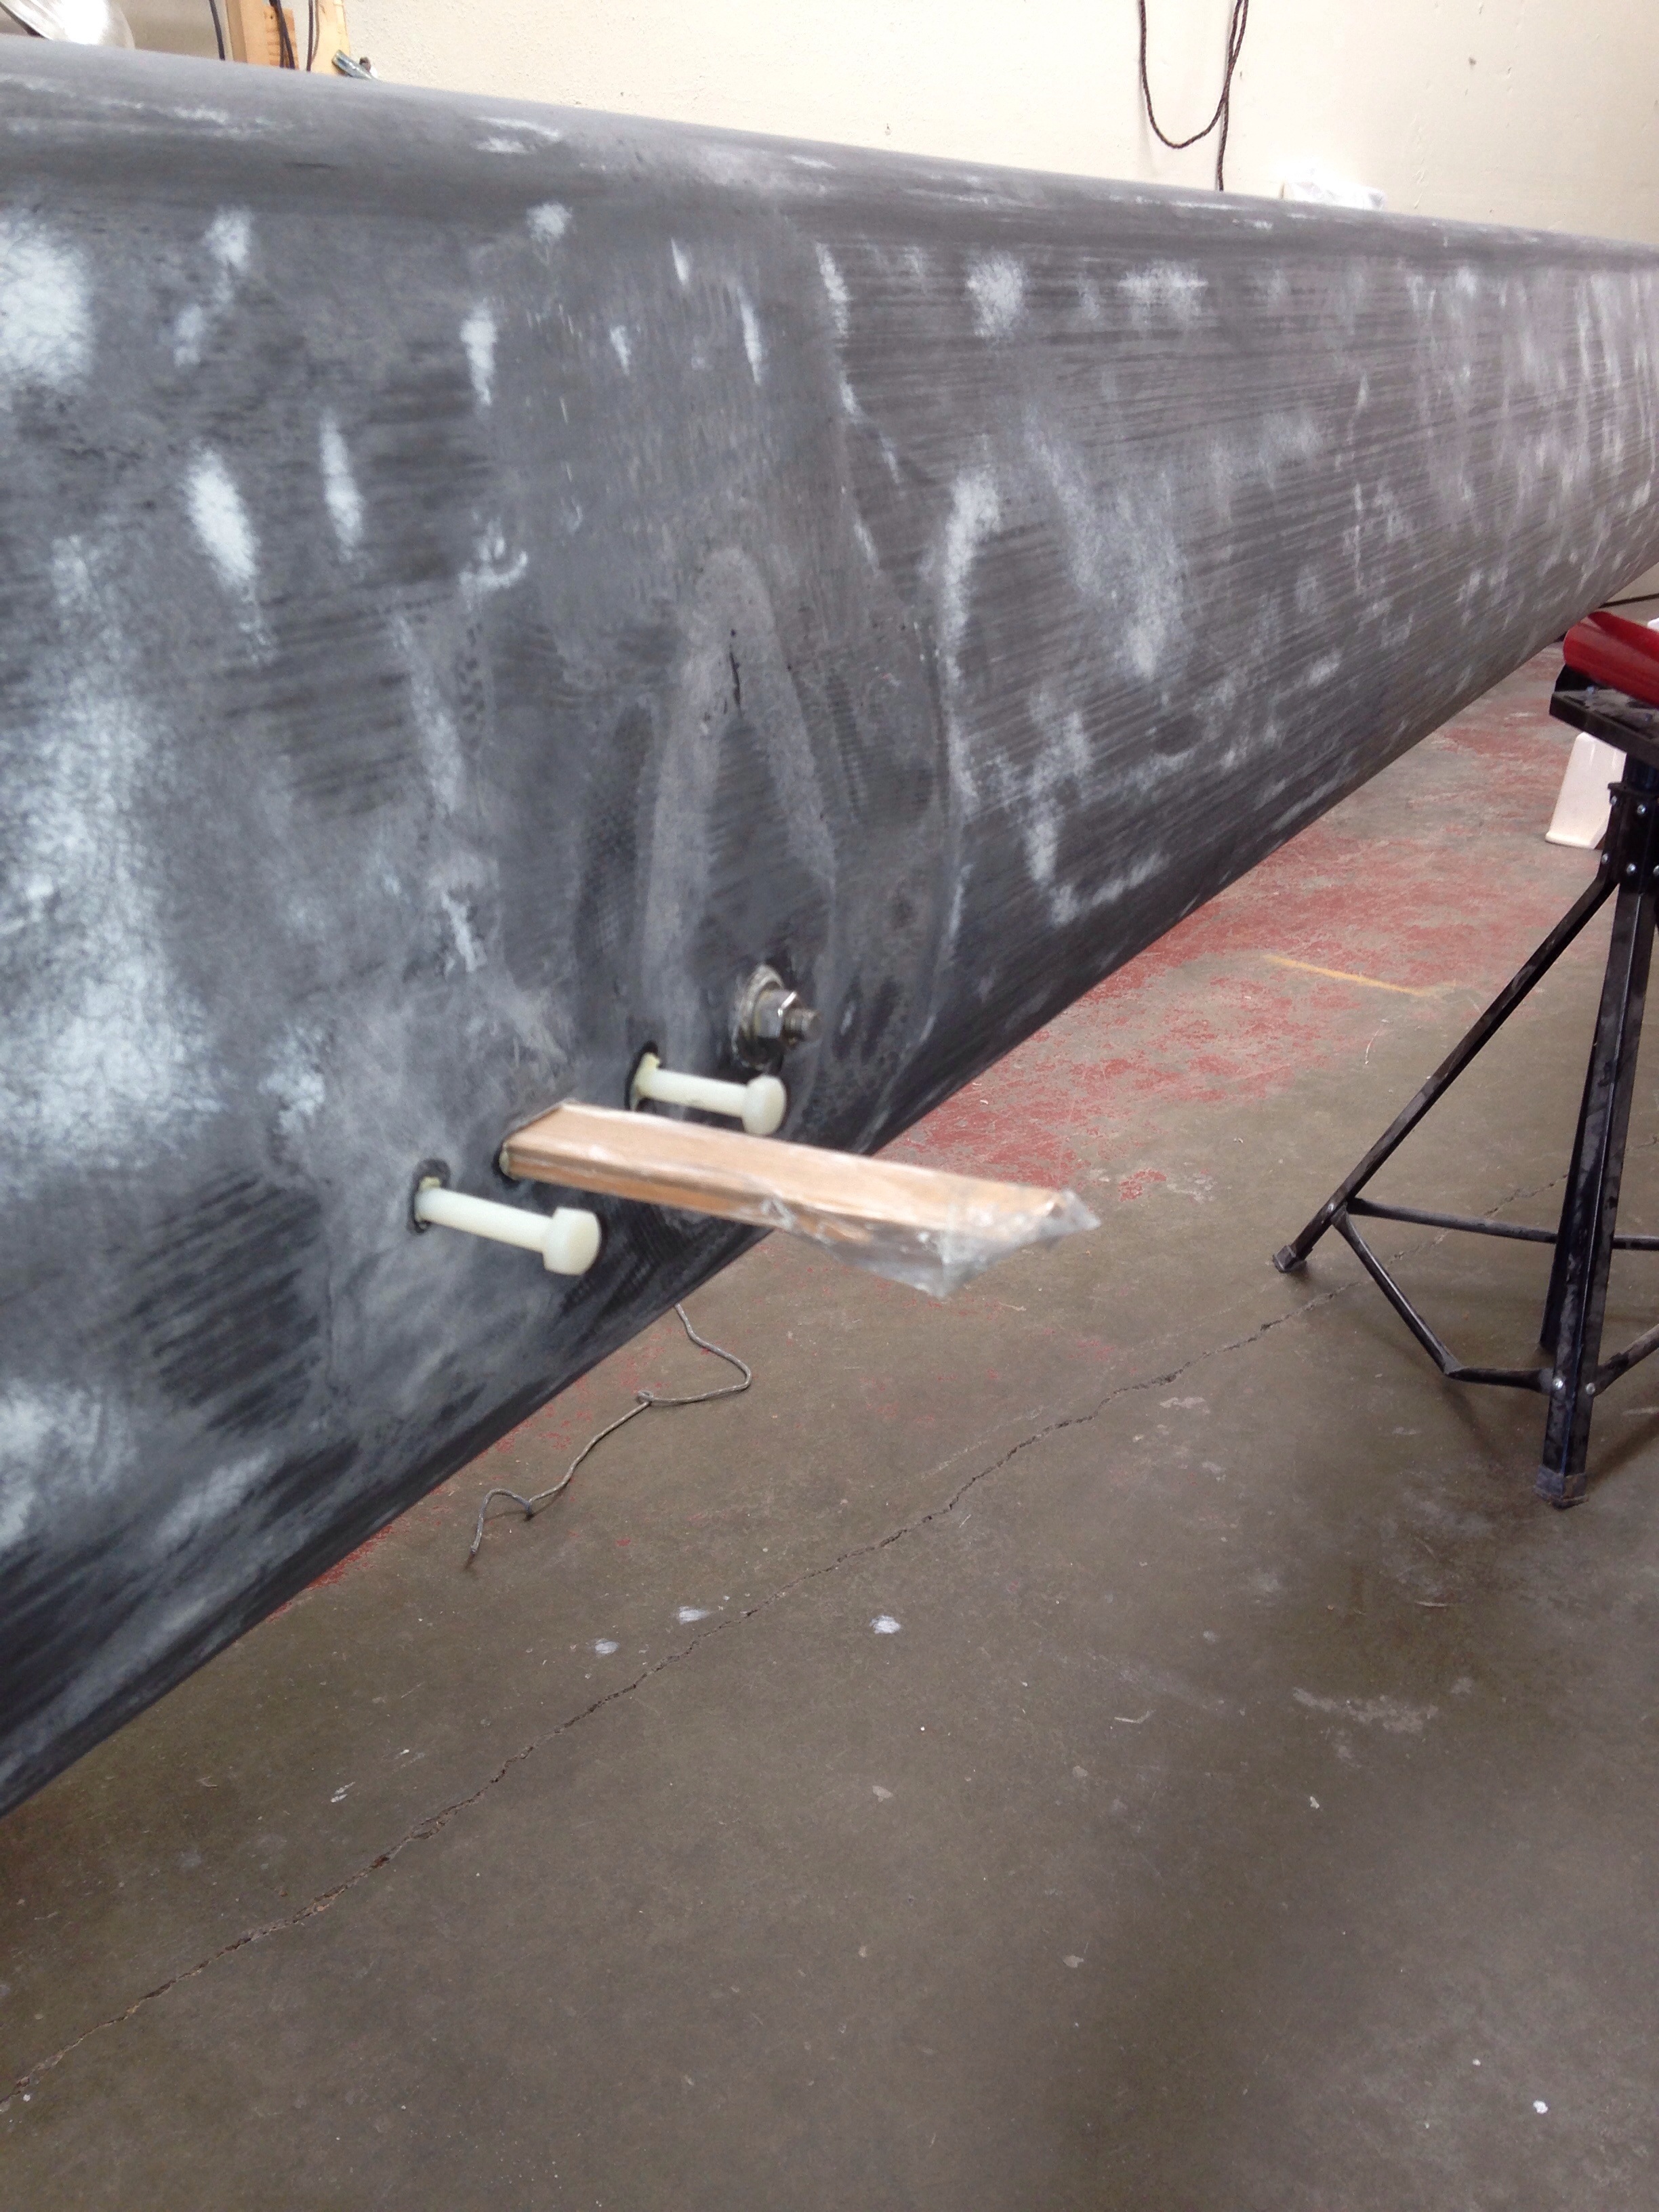
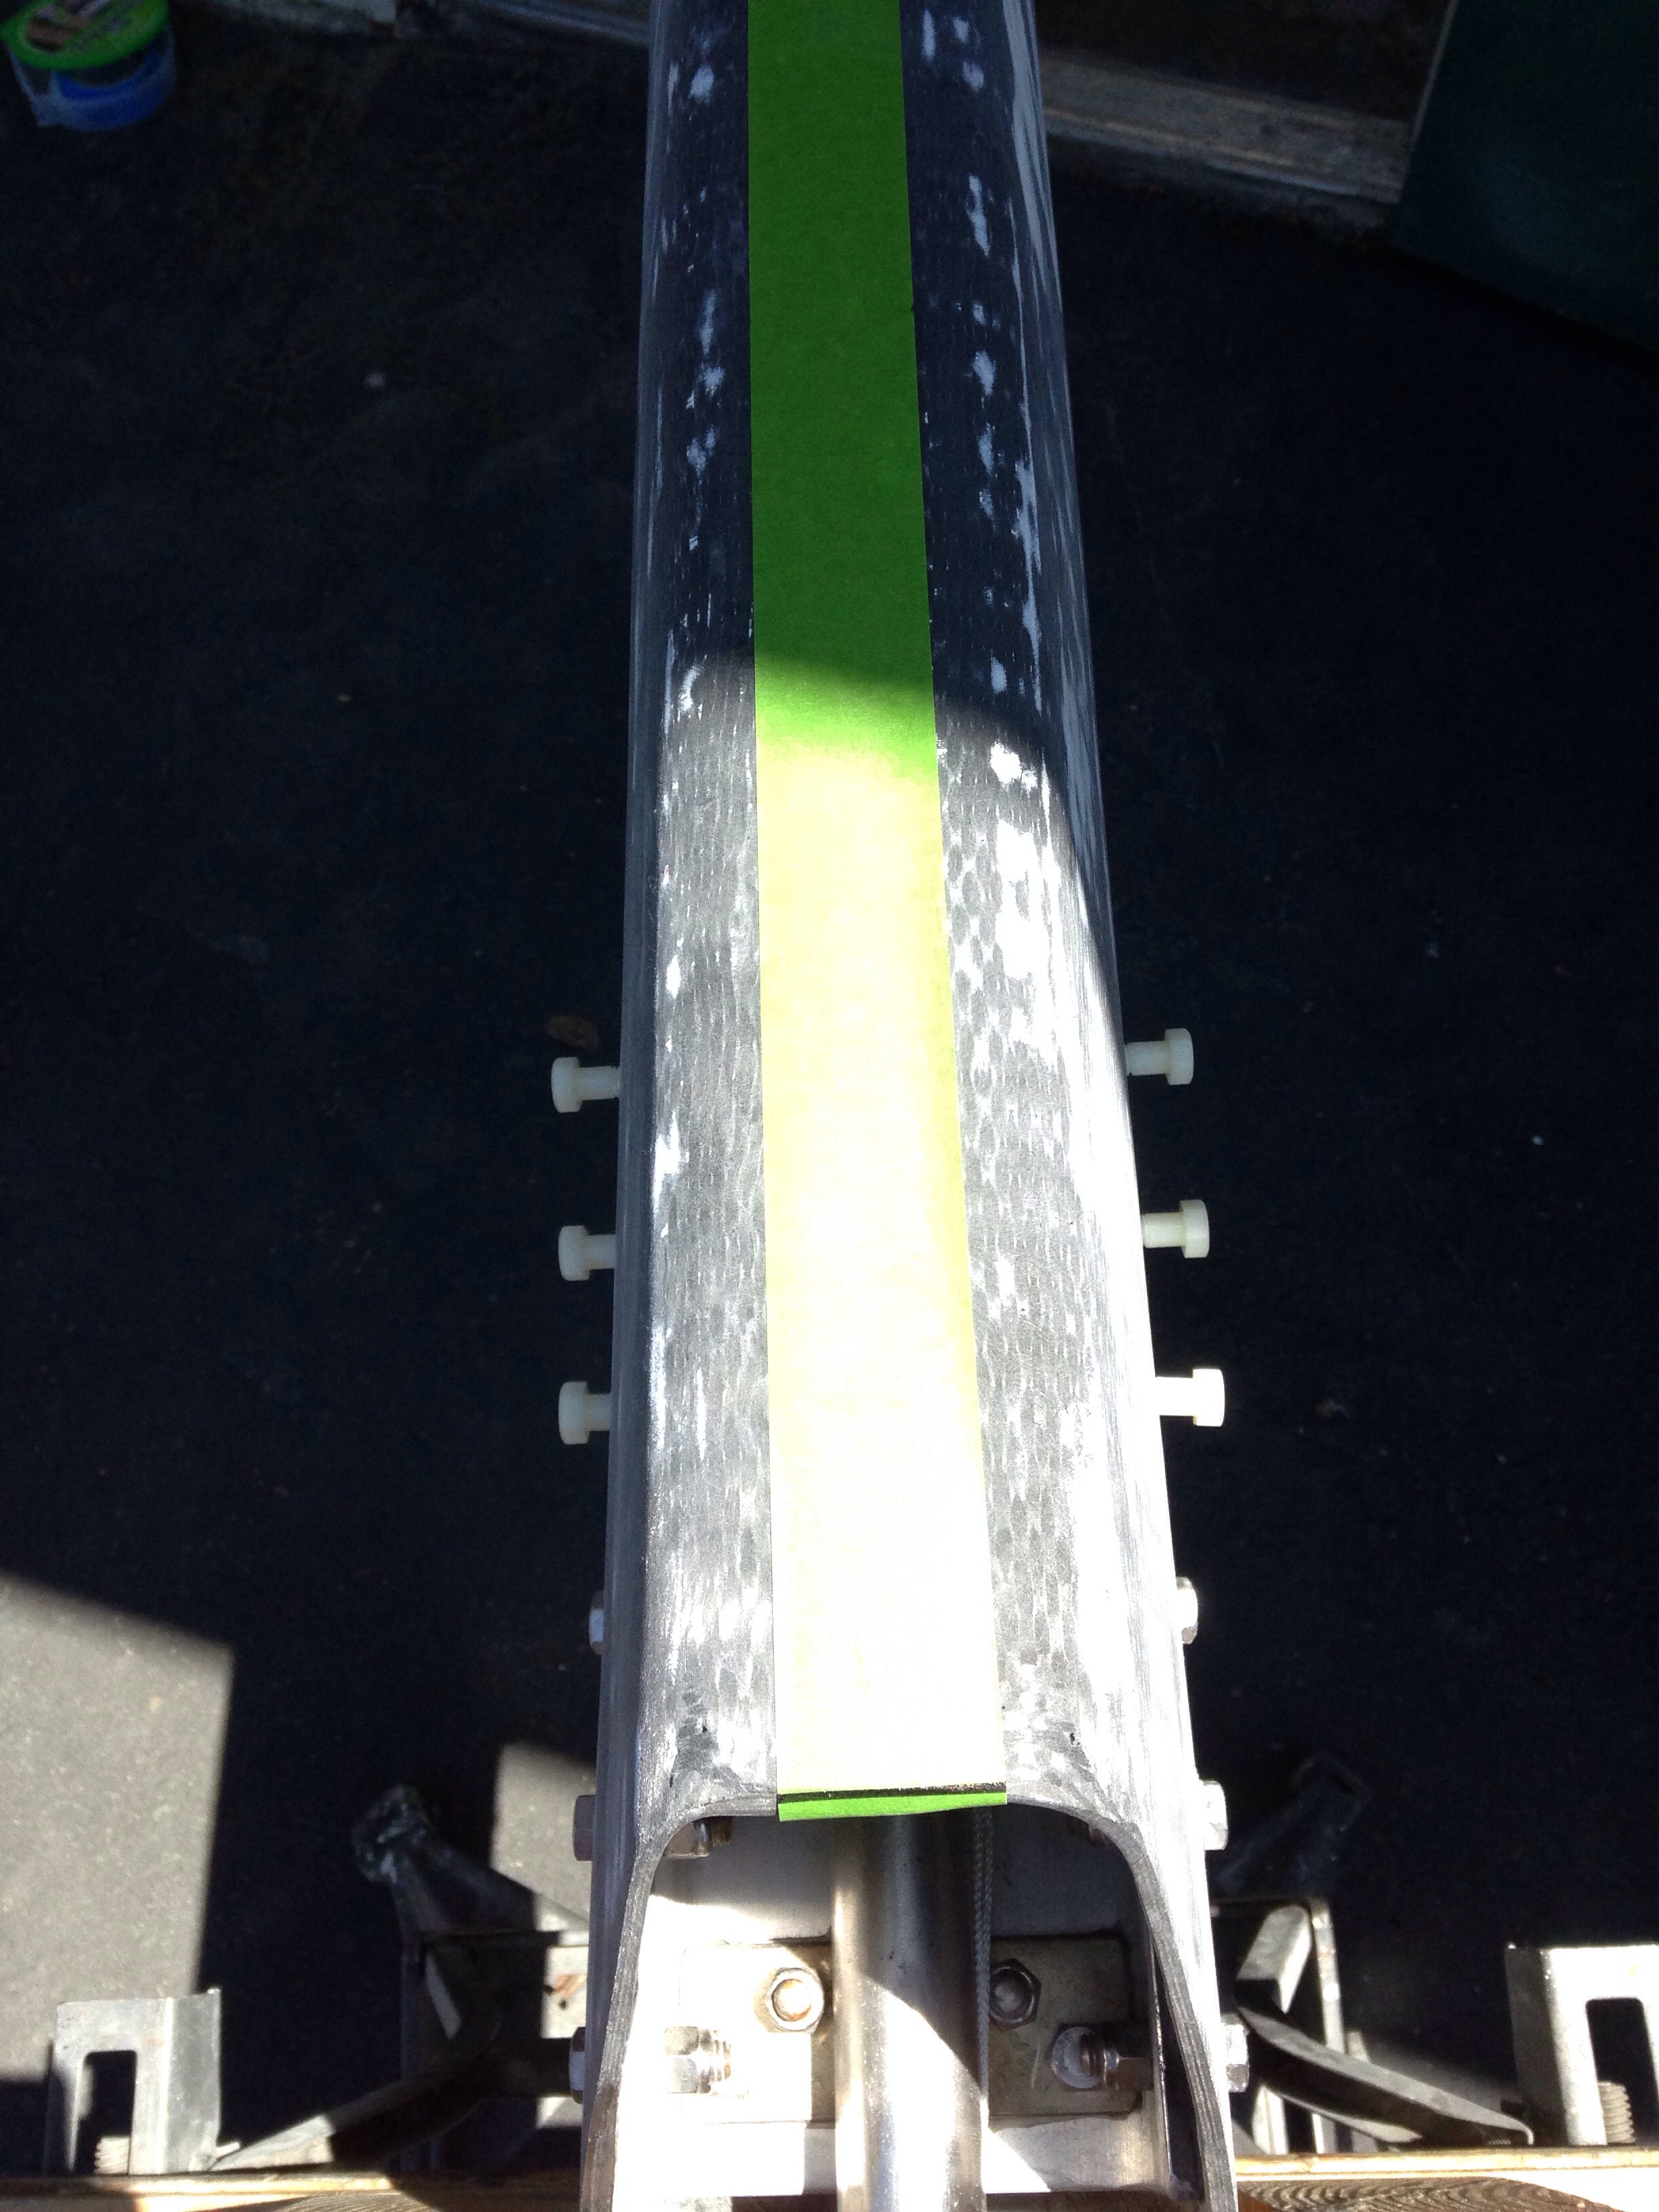
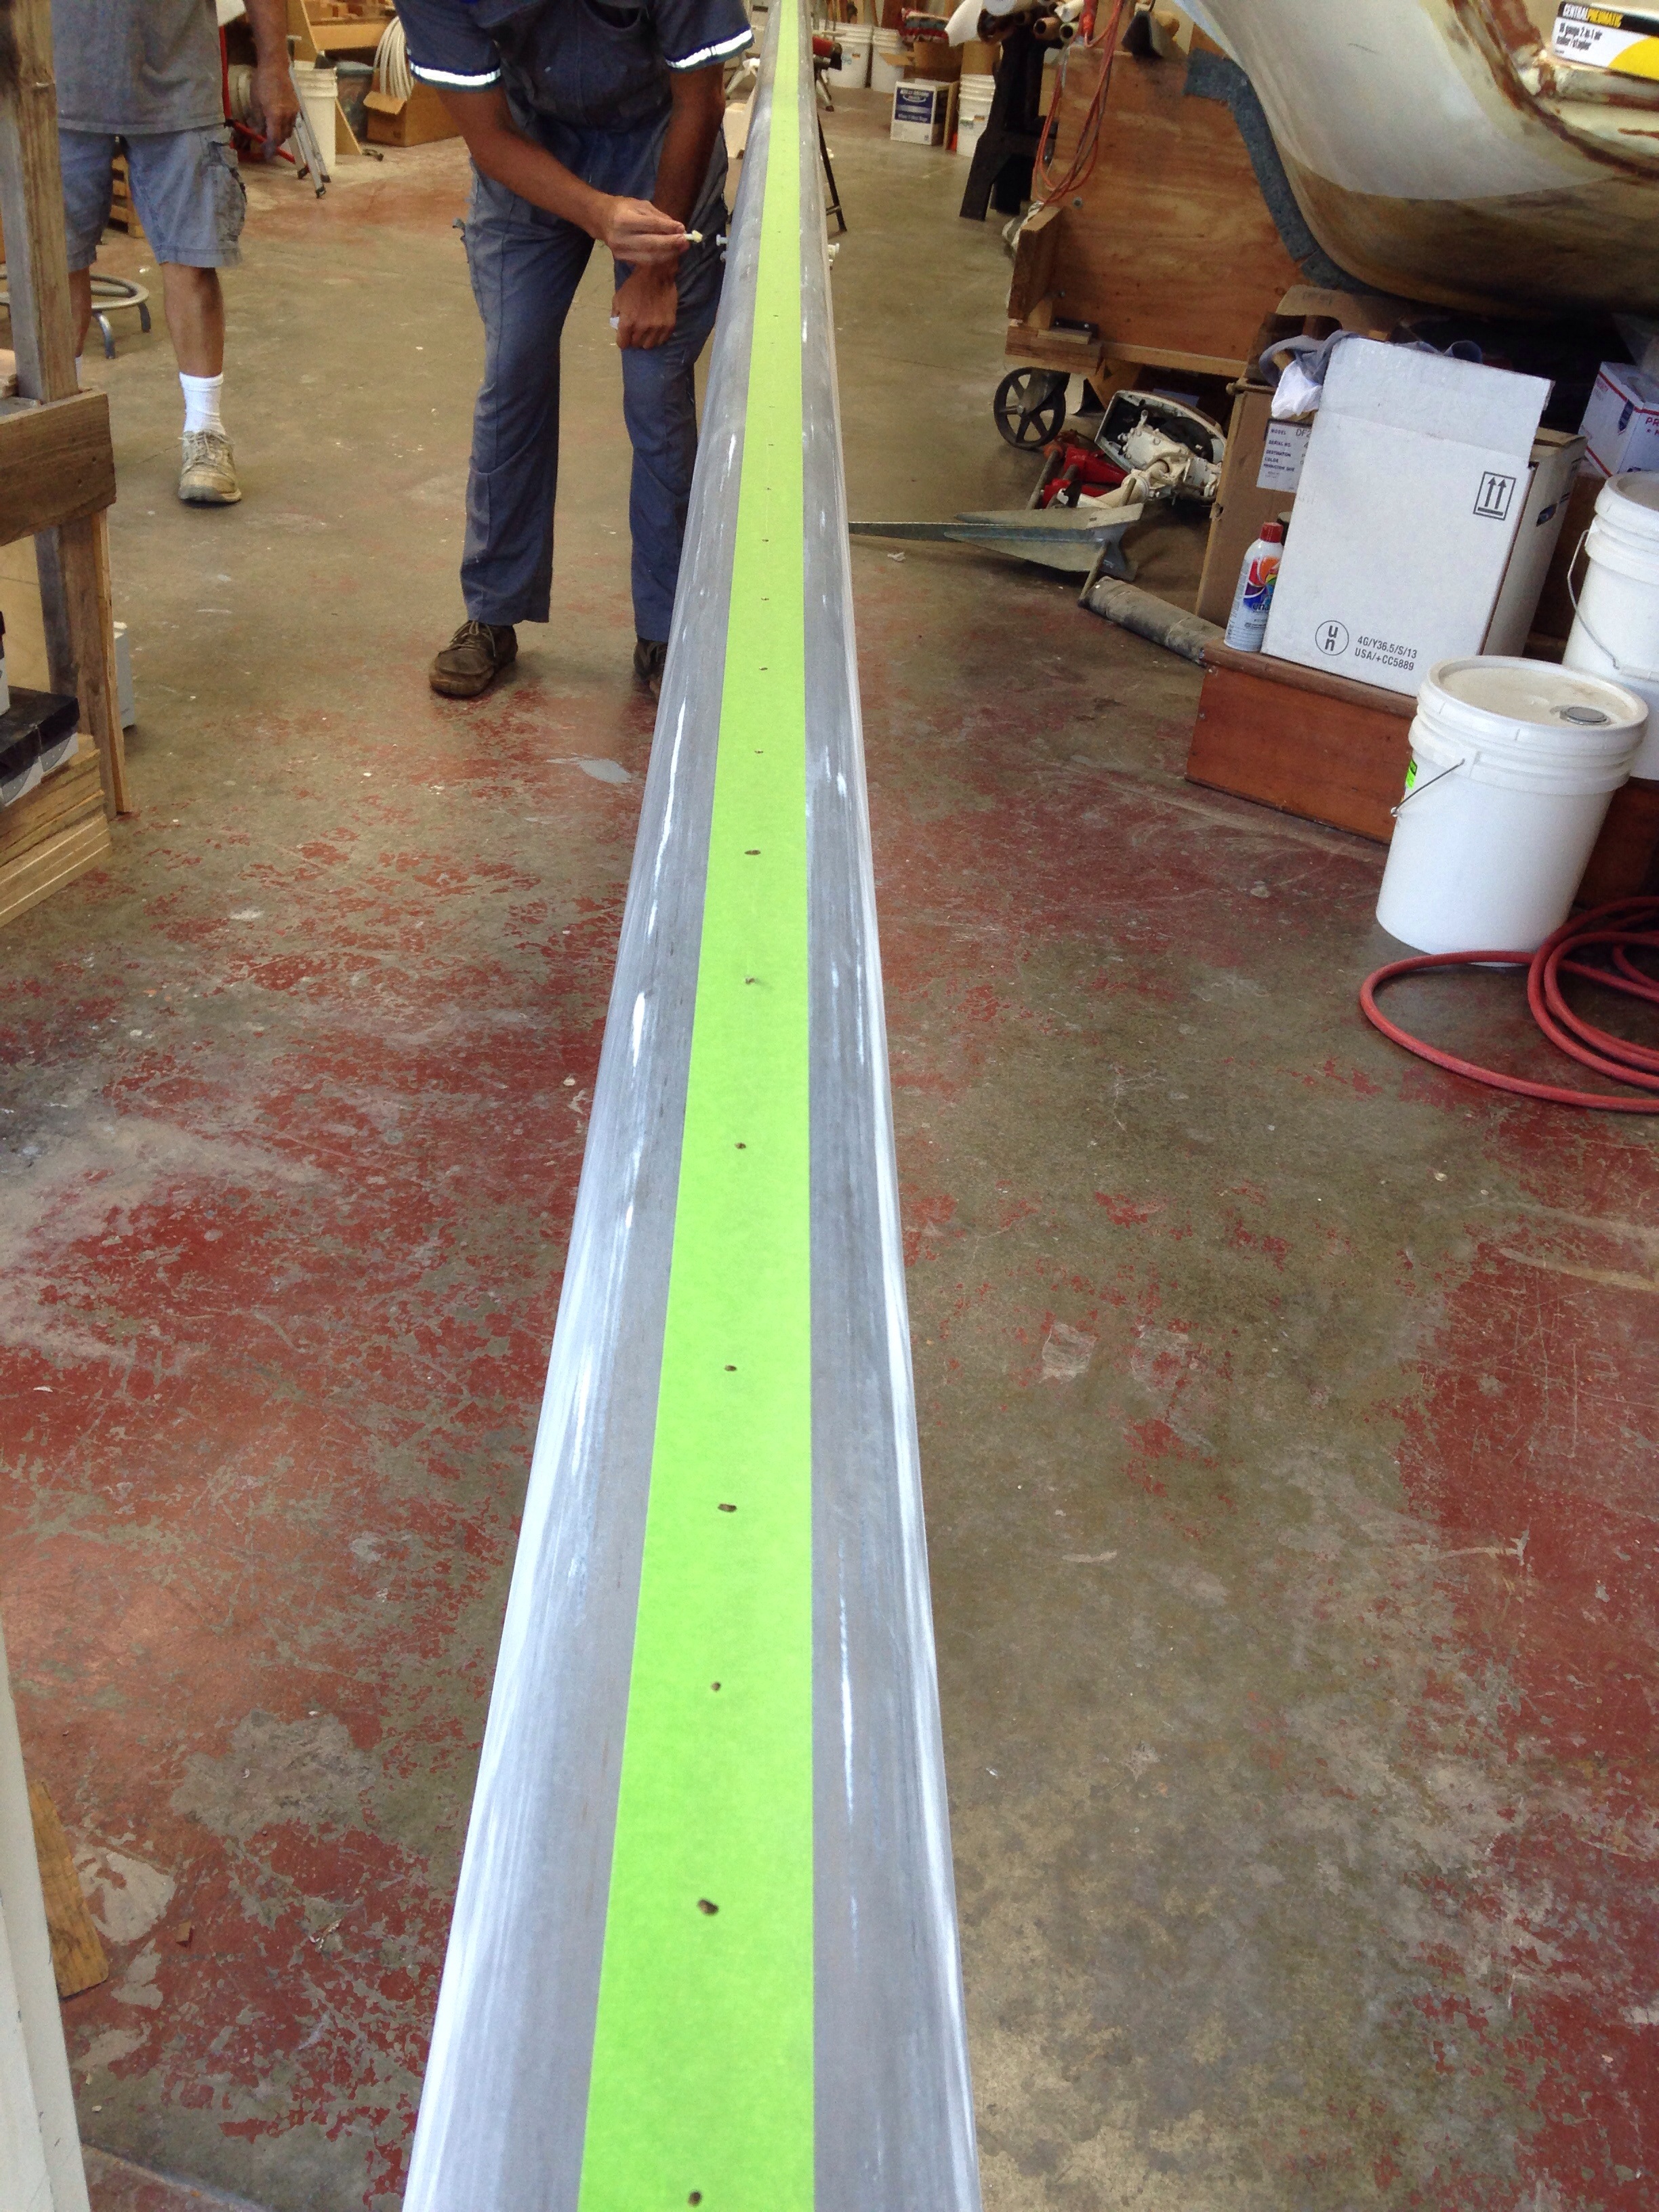
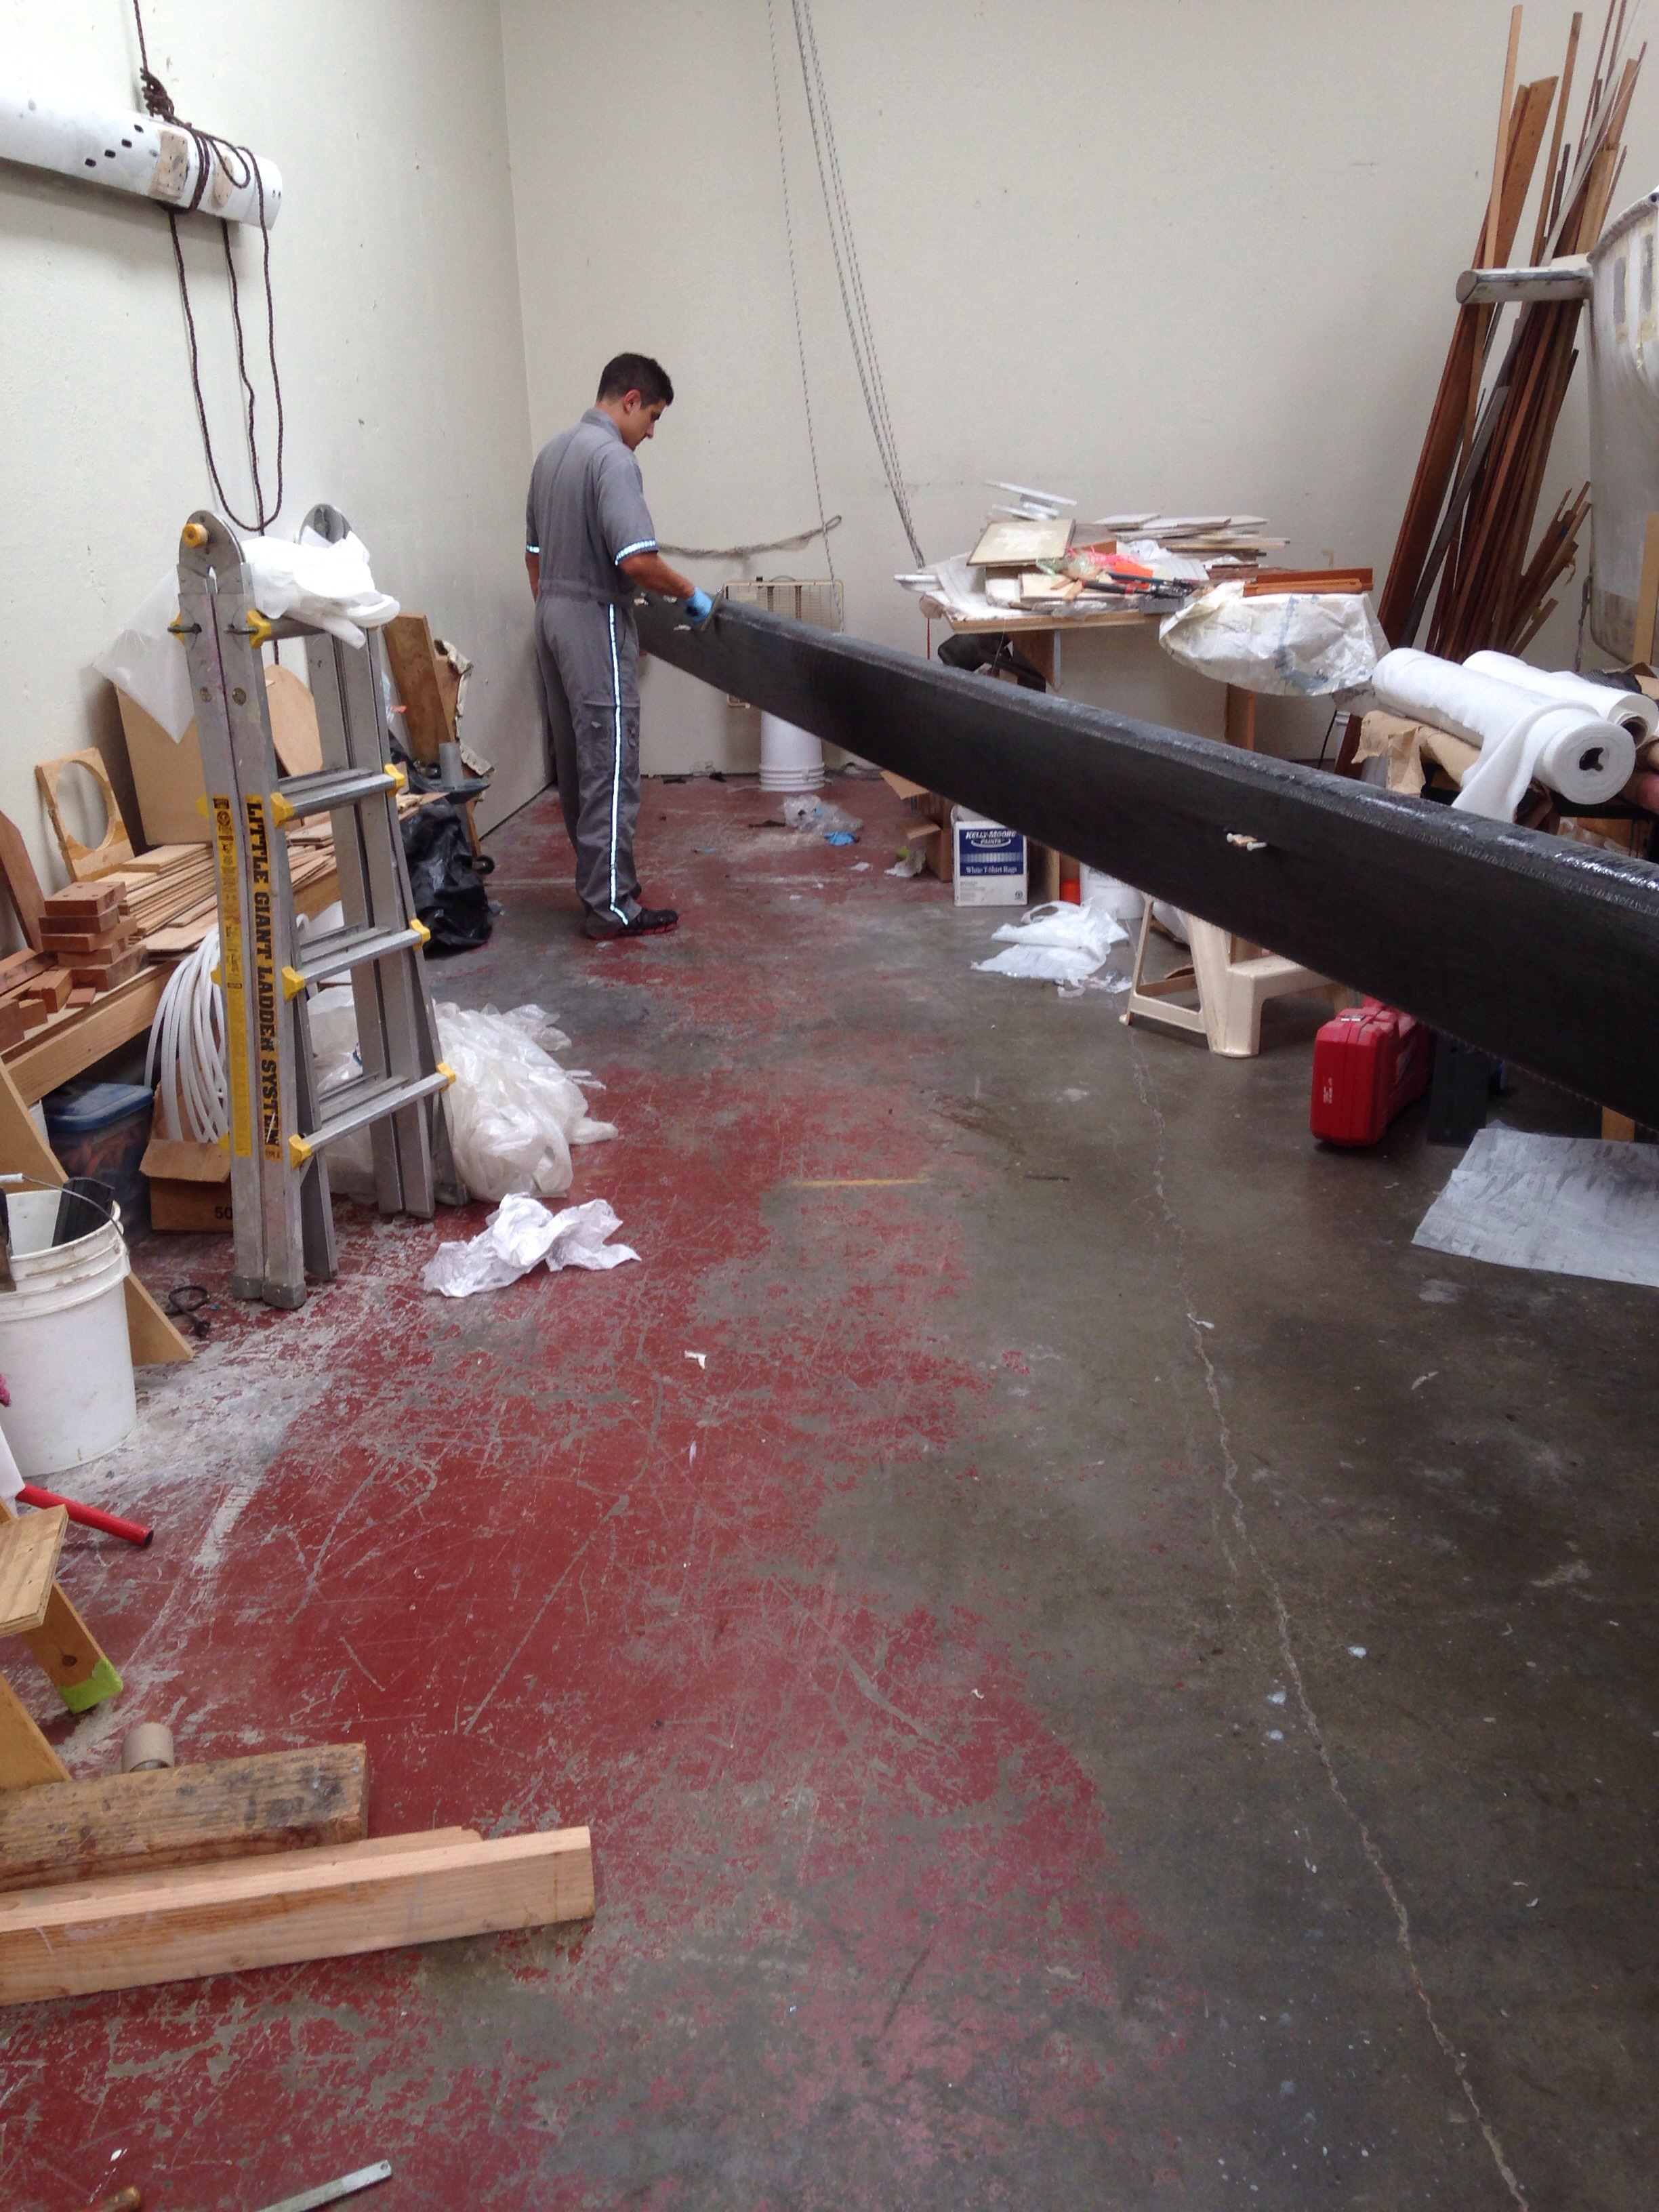
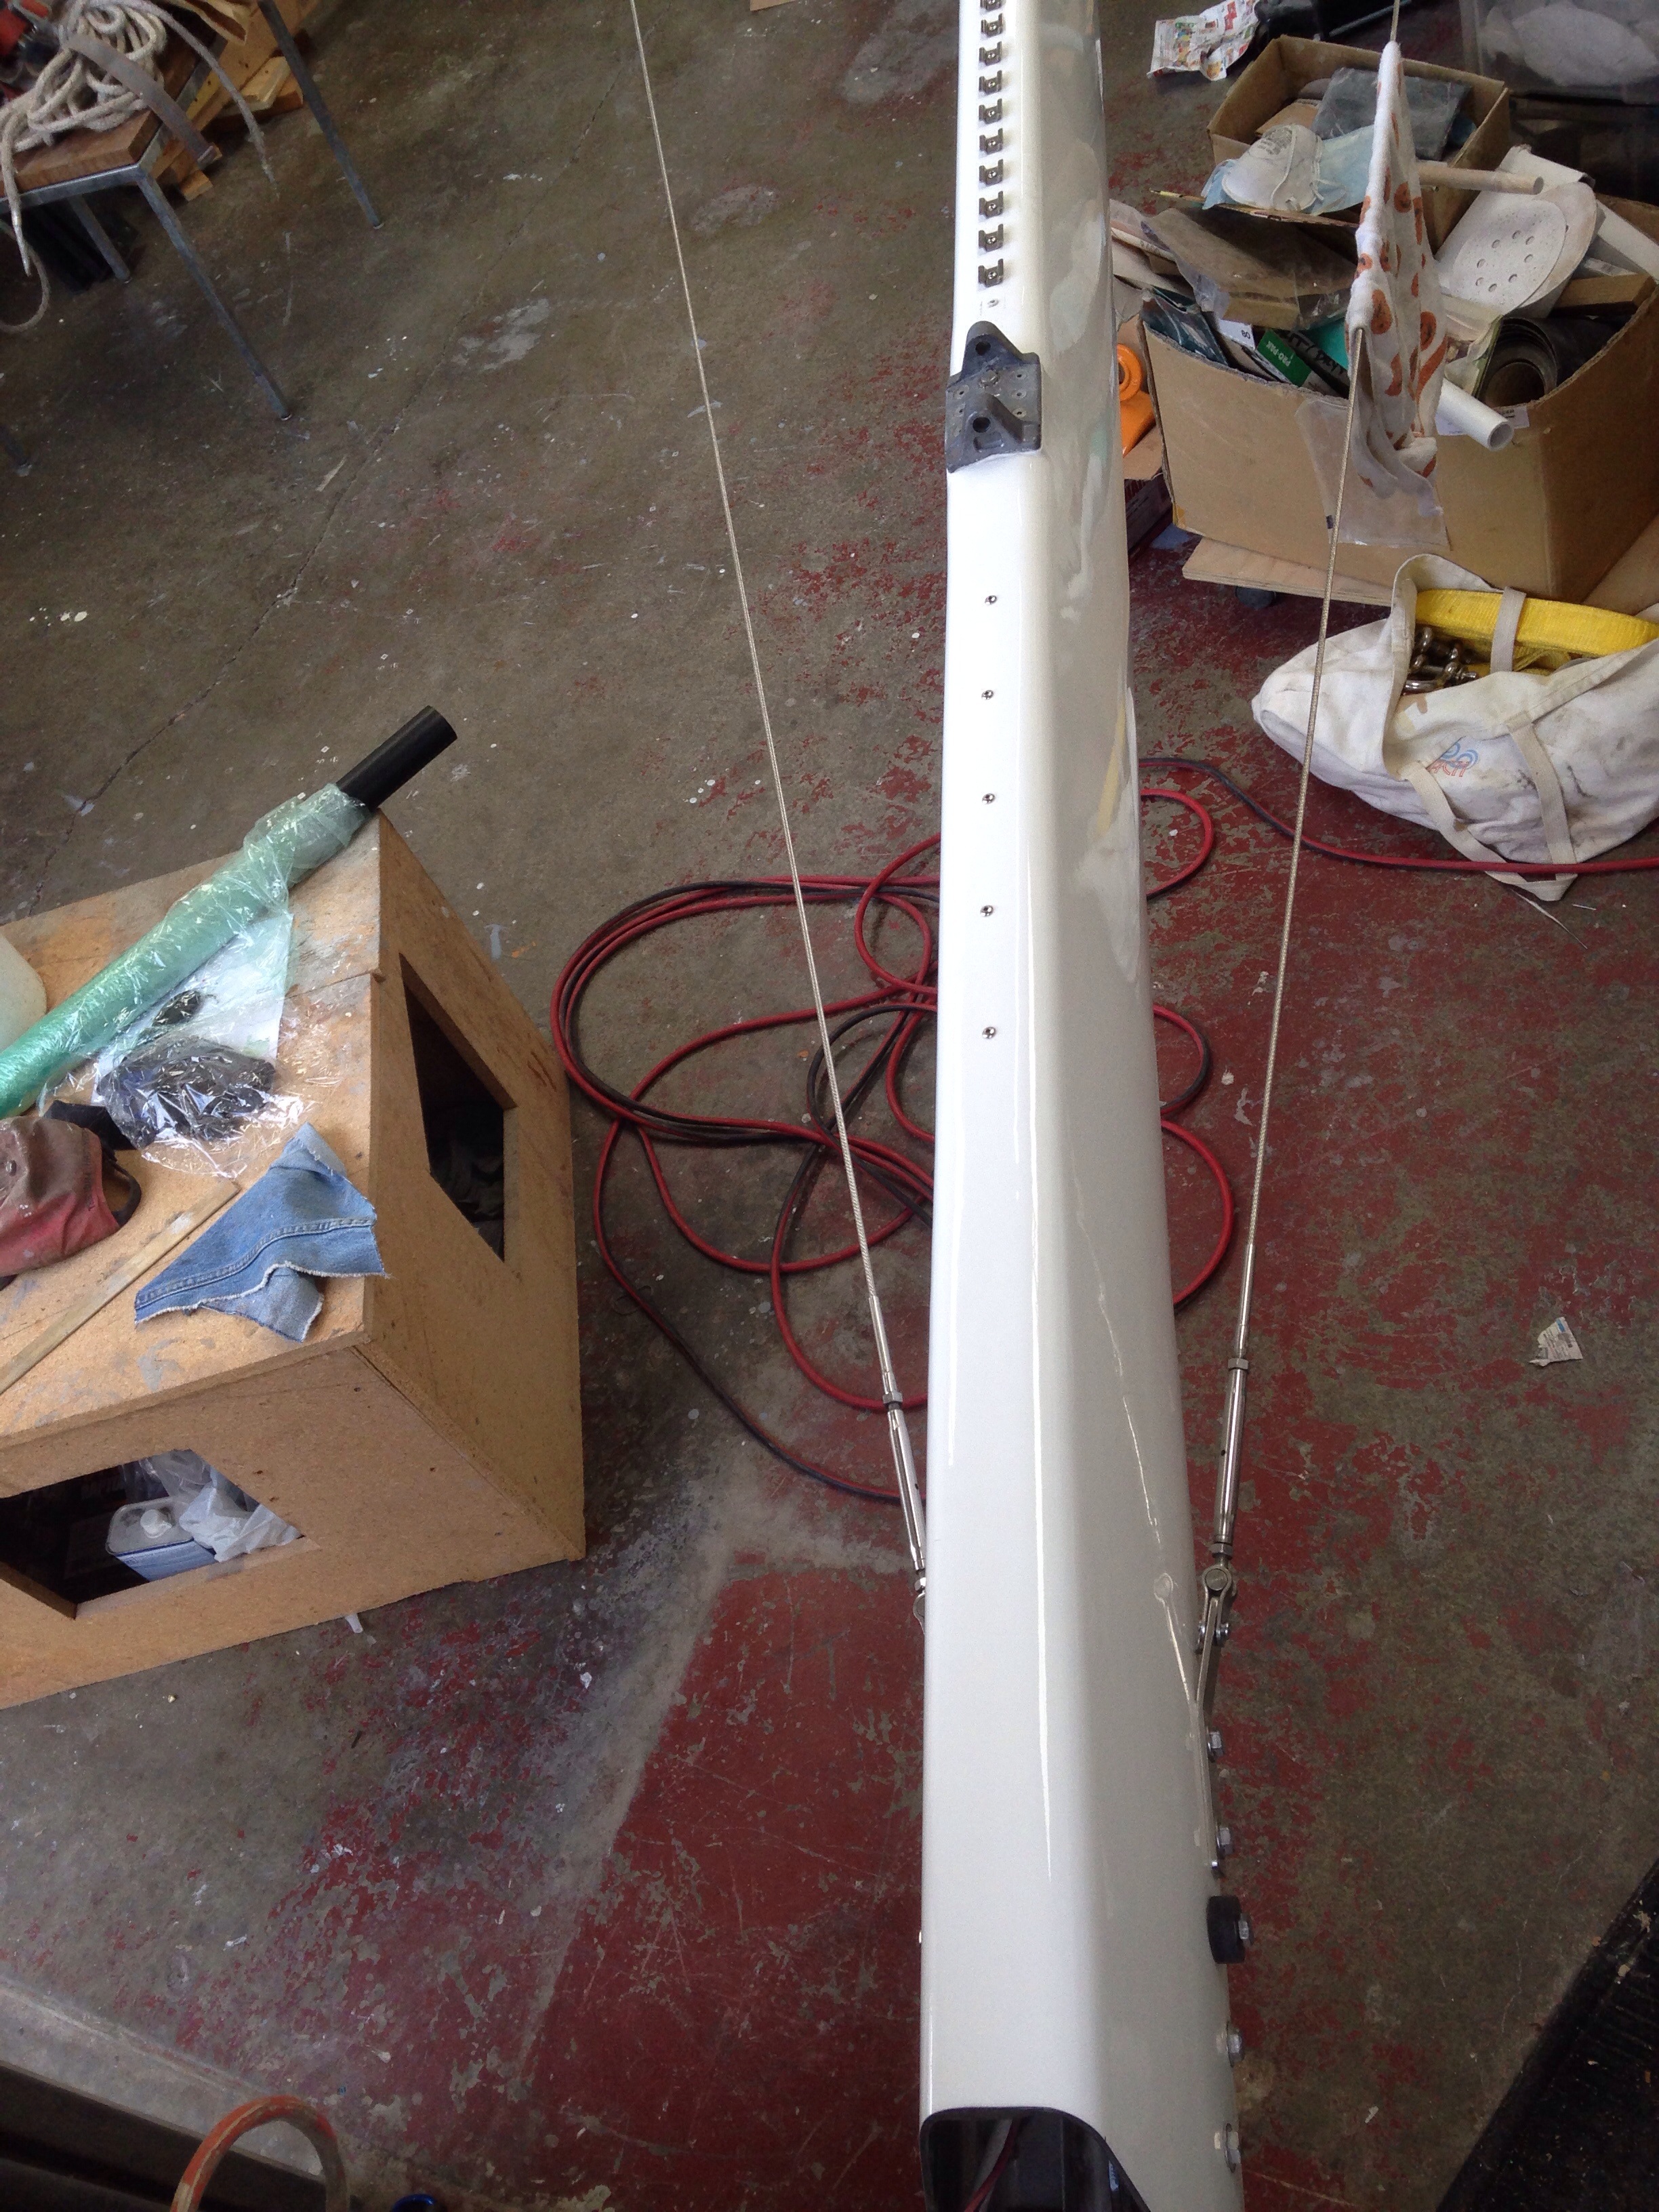
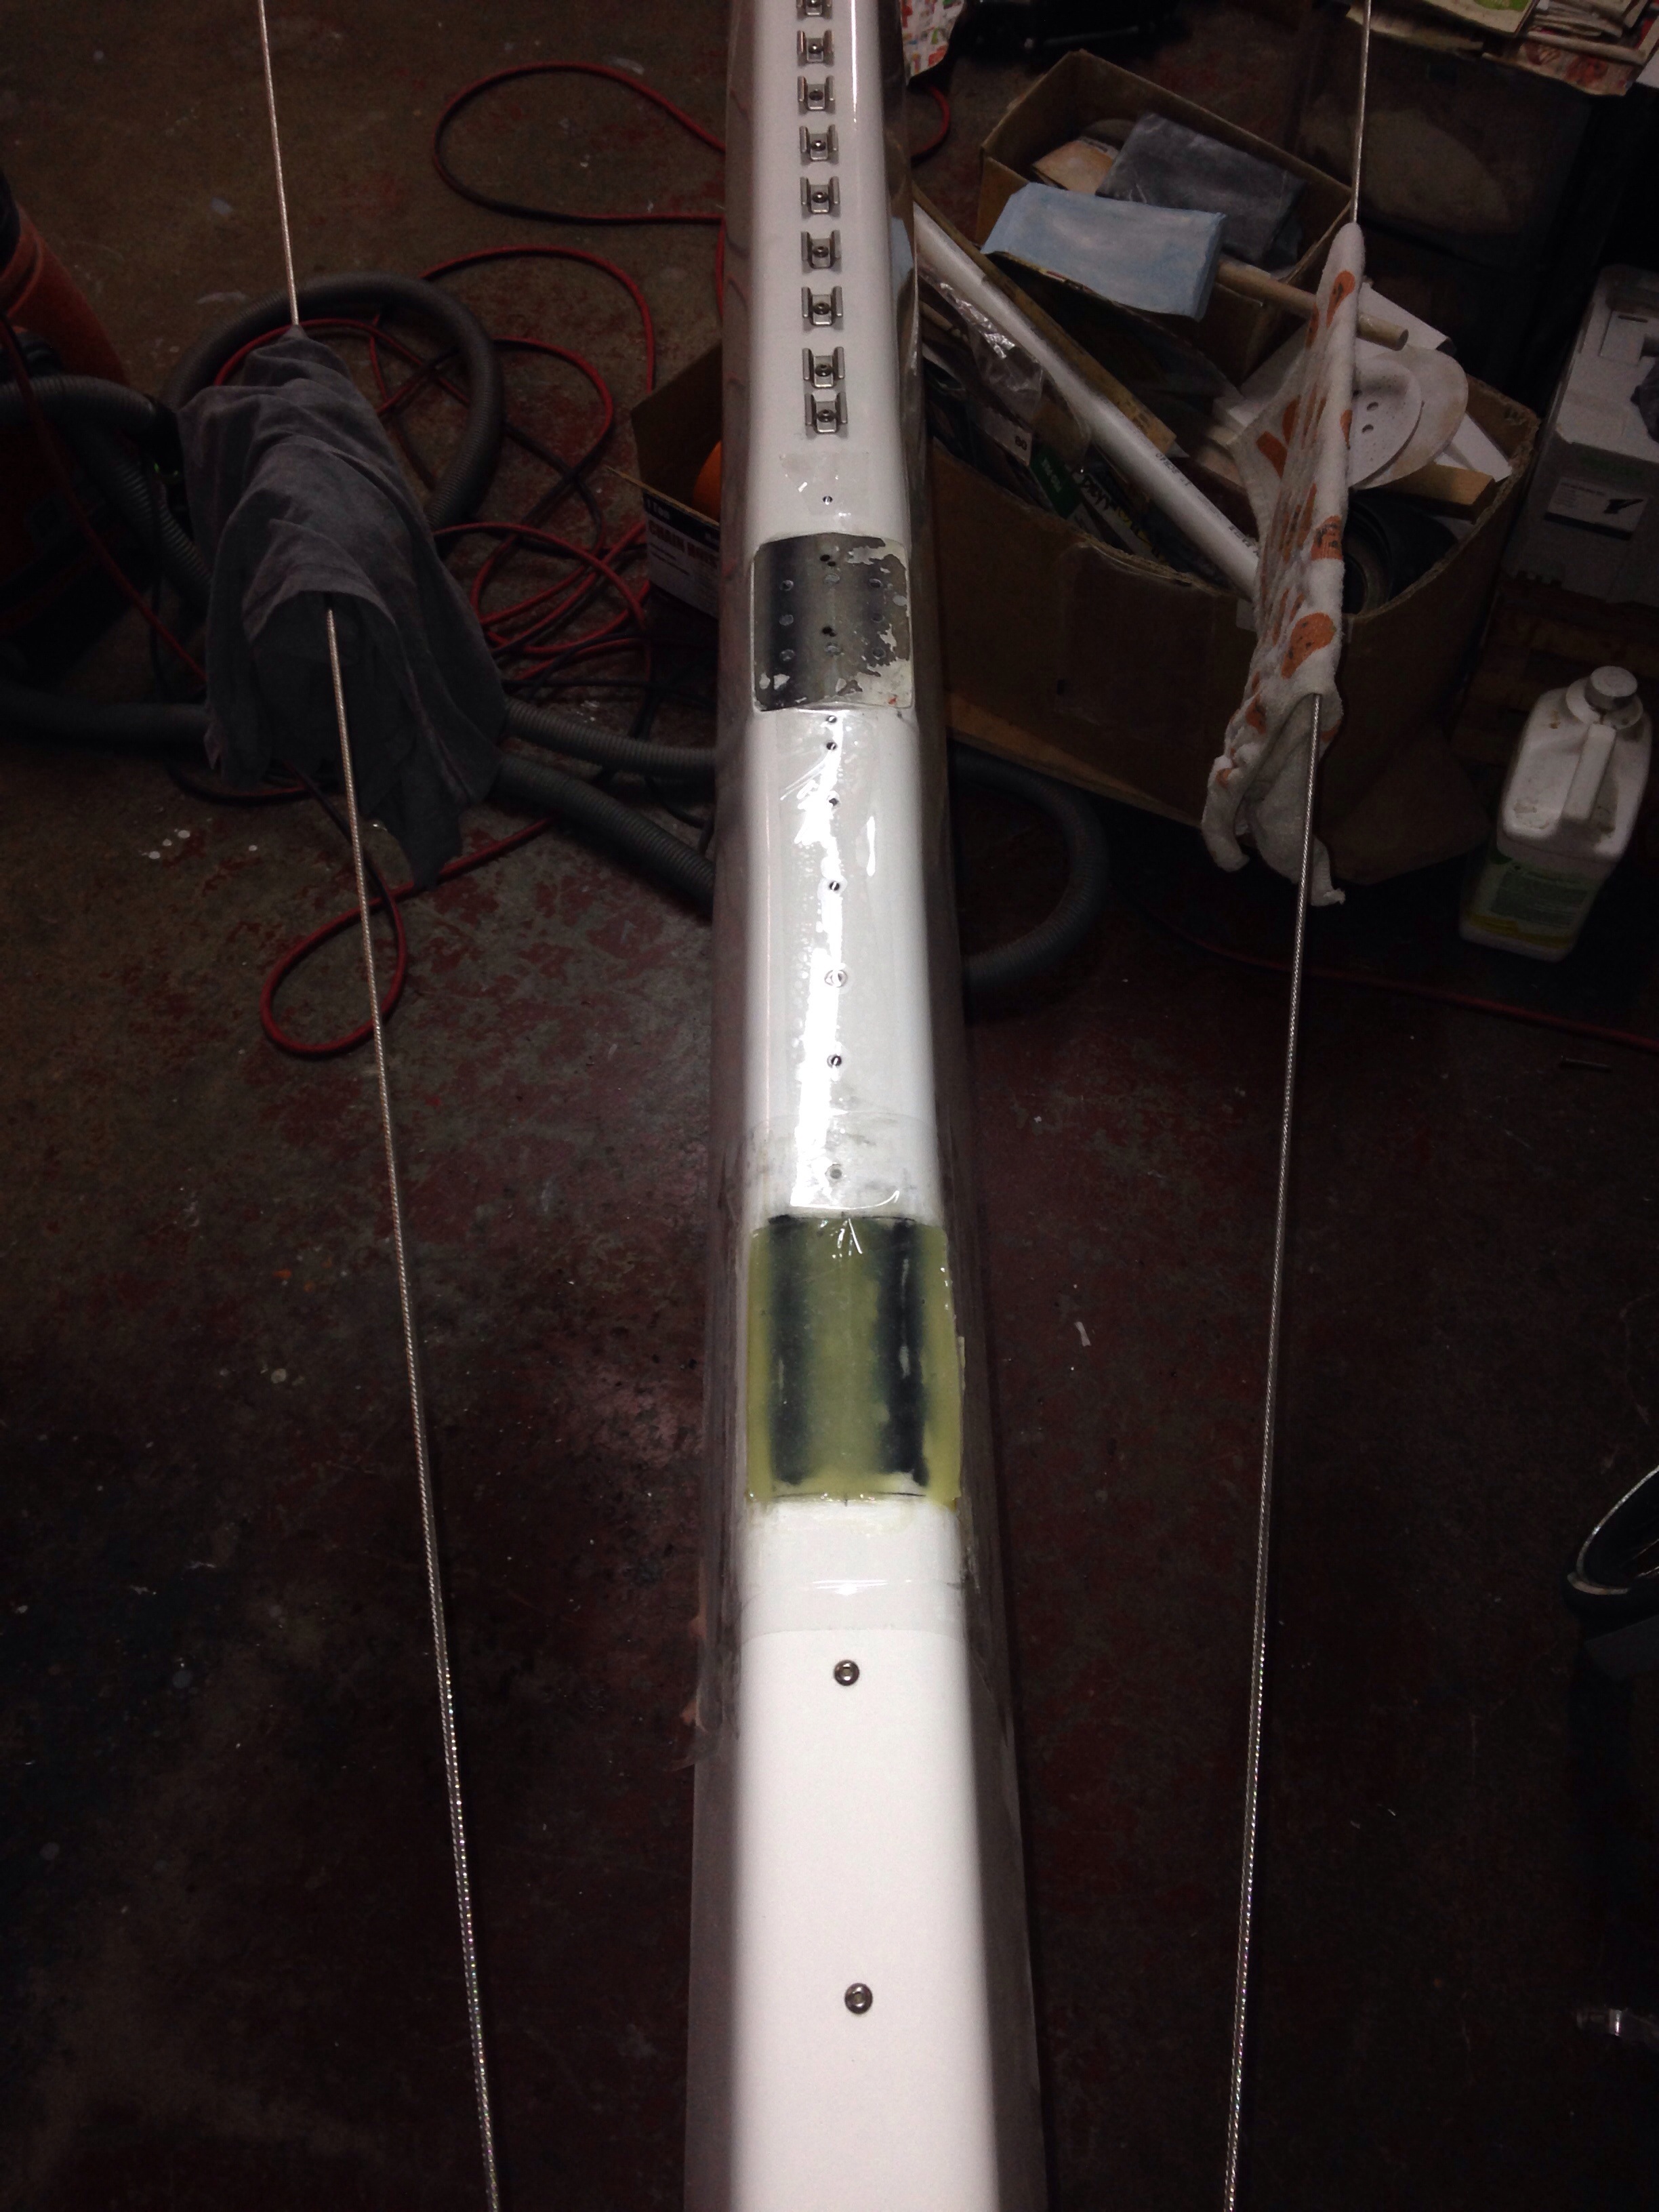
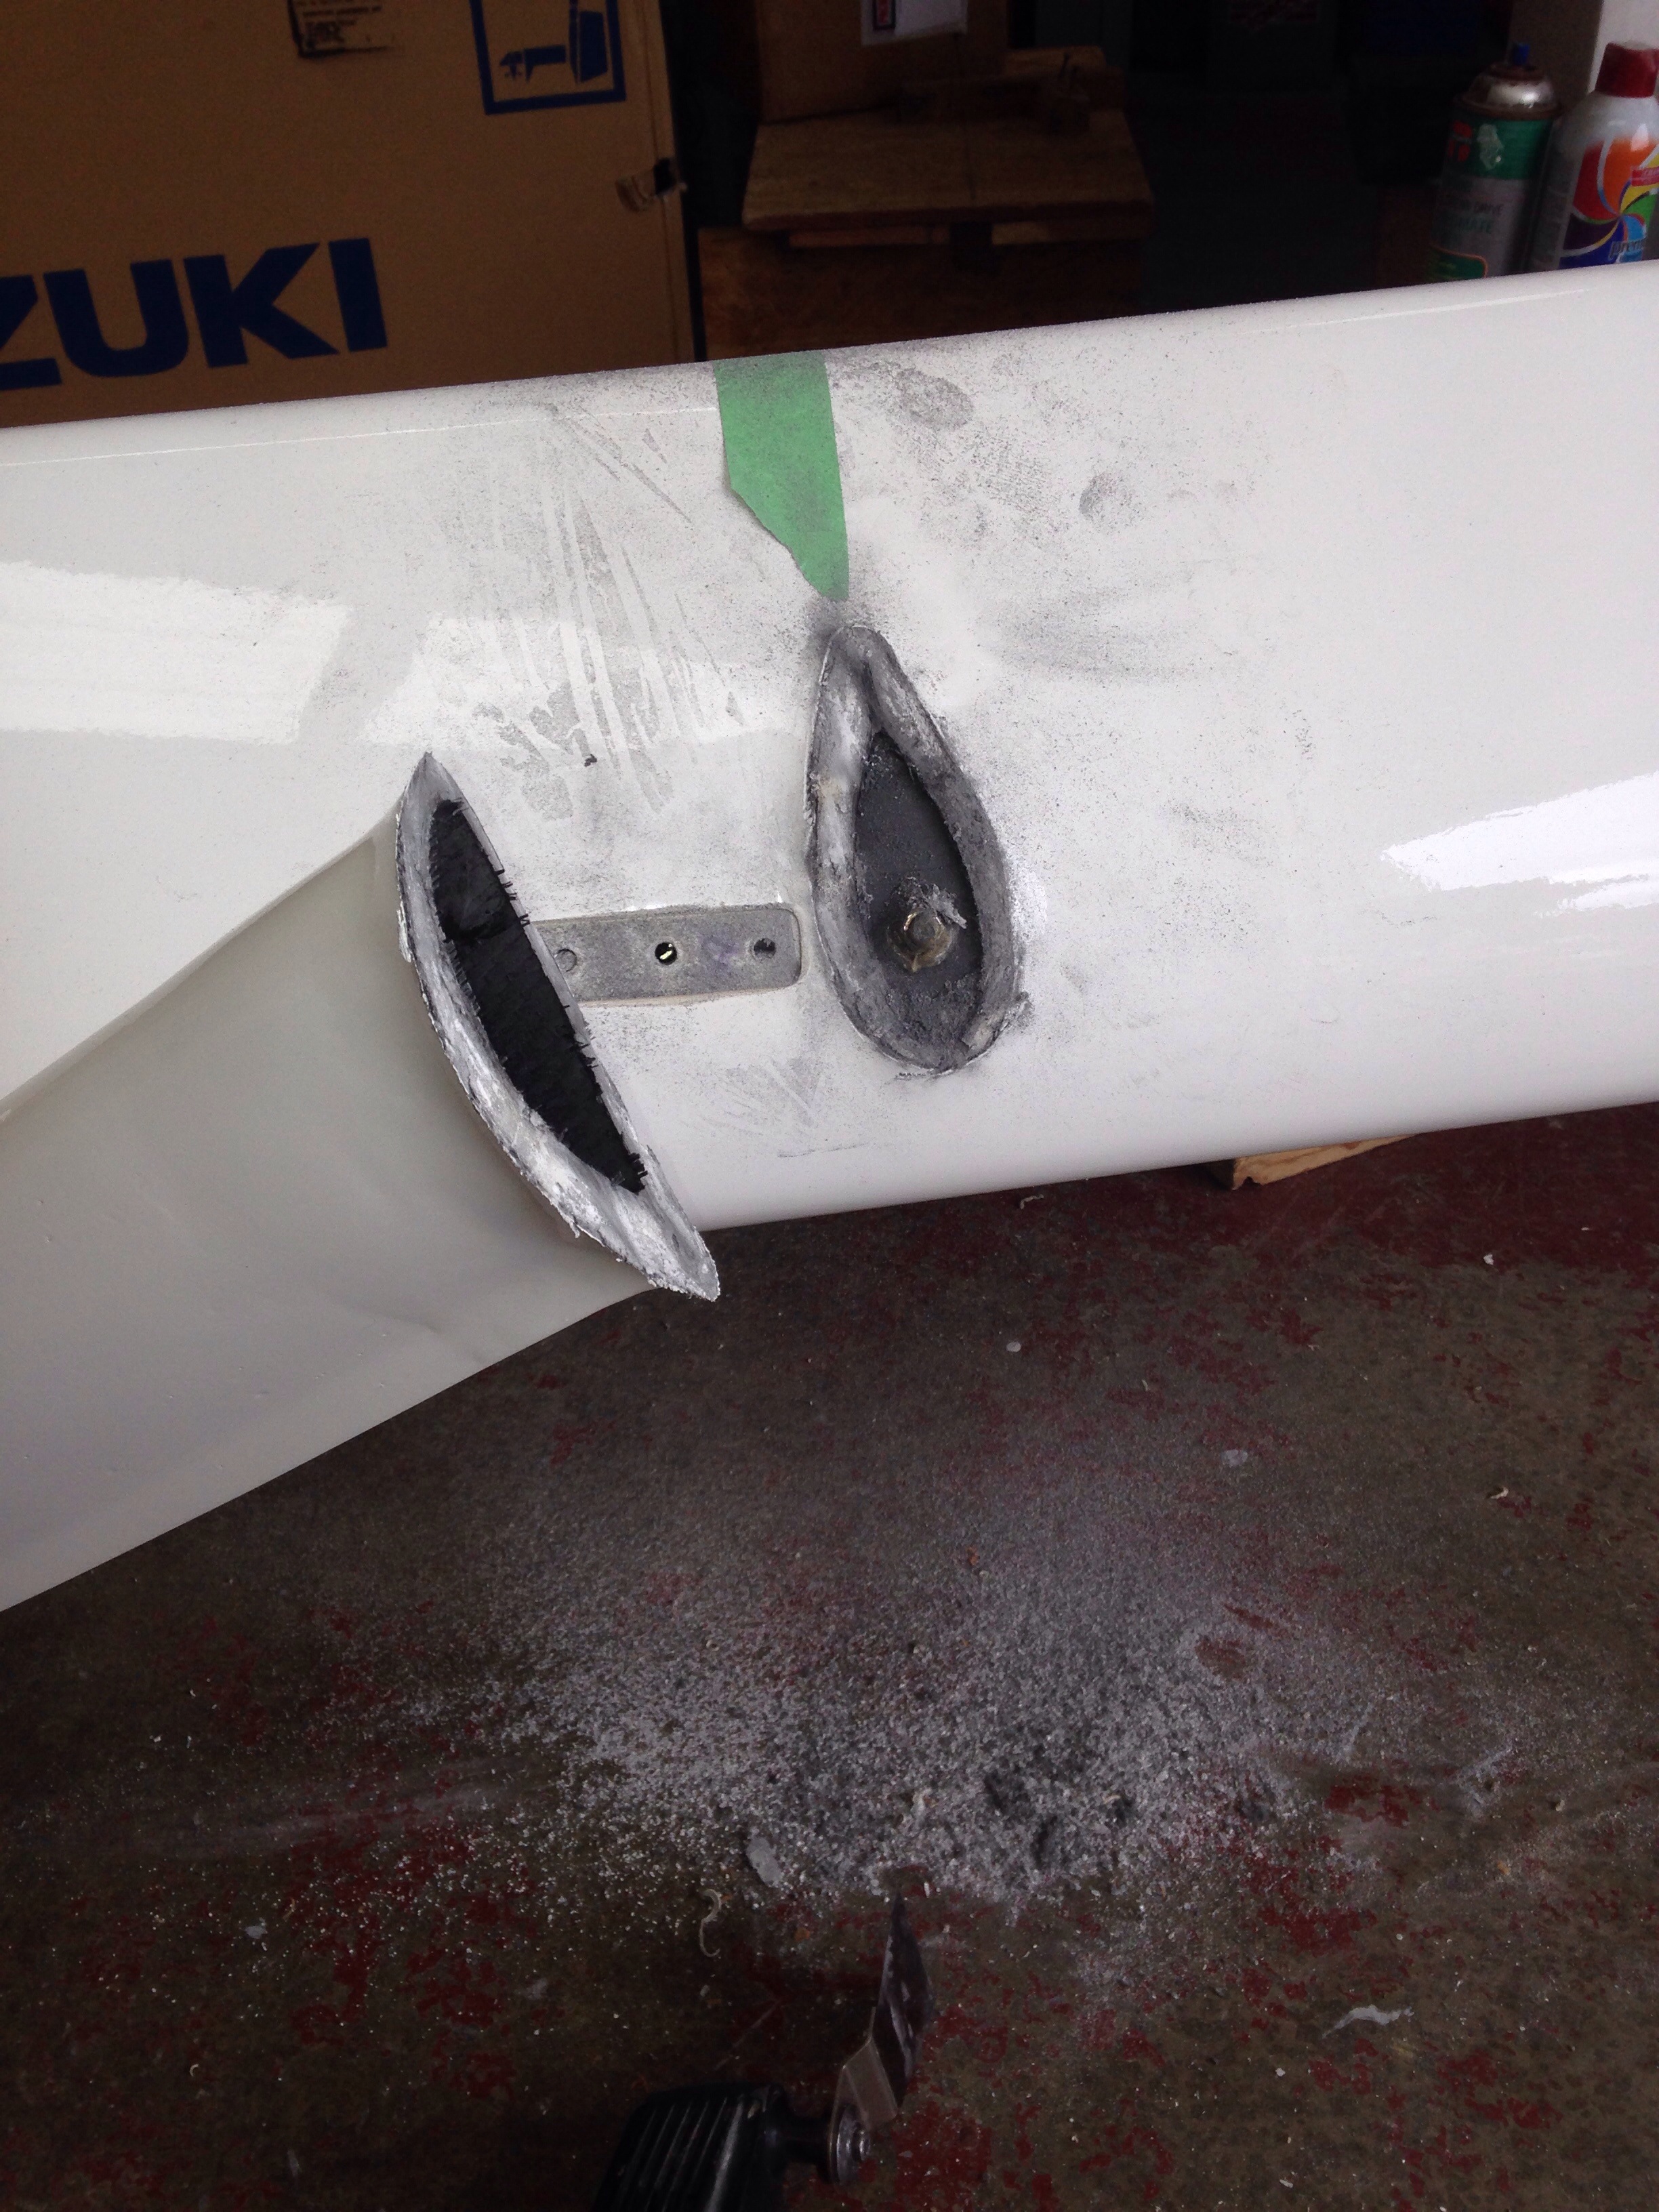
Jeanne’s sailing partner Leslie worked all day stripping down the mast, including over 100 sail track screws. But she respectfully declined the painful job of taking a saw to the spreader roots. They had been bonded on very well, but succumbed to the Fein multimaster. There is a stainless steel structural rod at both sets of spreaders, with the ends bolted thru the mast wall and the nuts entombed in the hollow spreader bodies.

20150710-192756.jpg

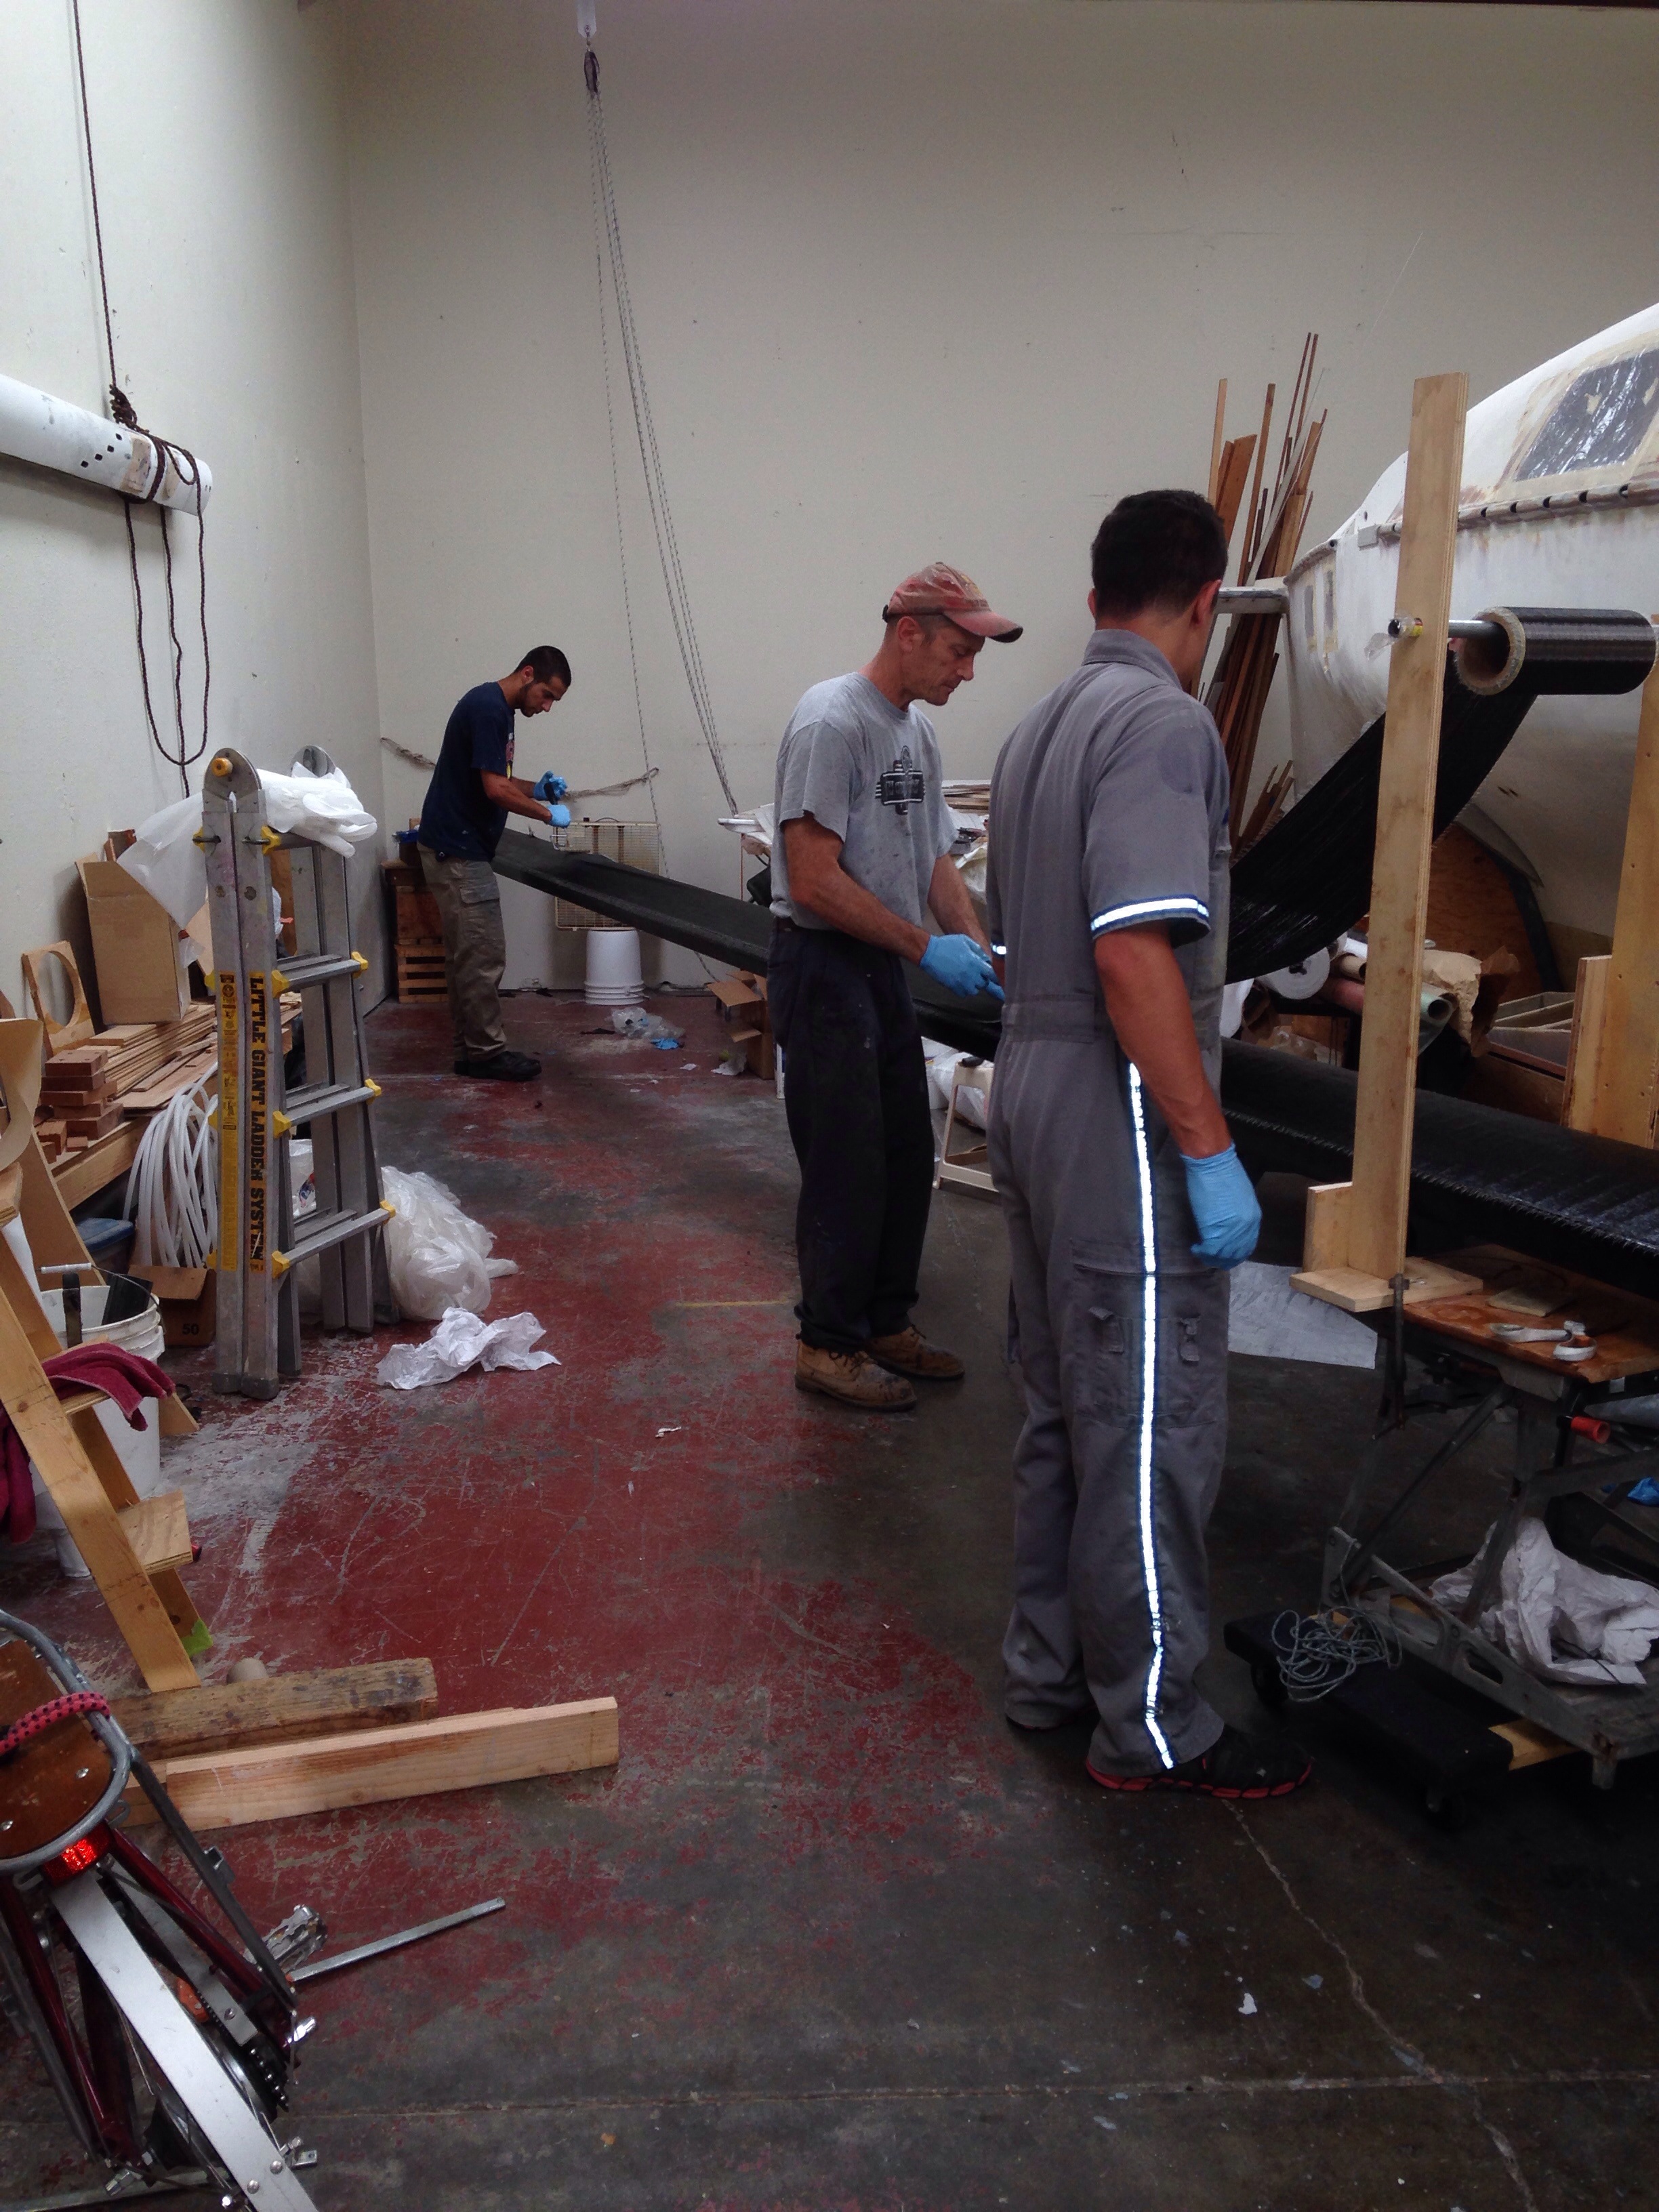
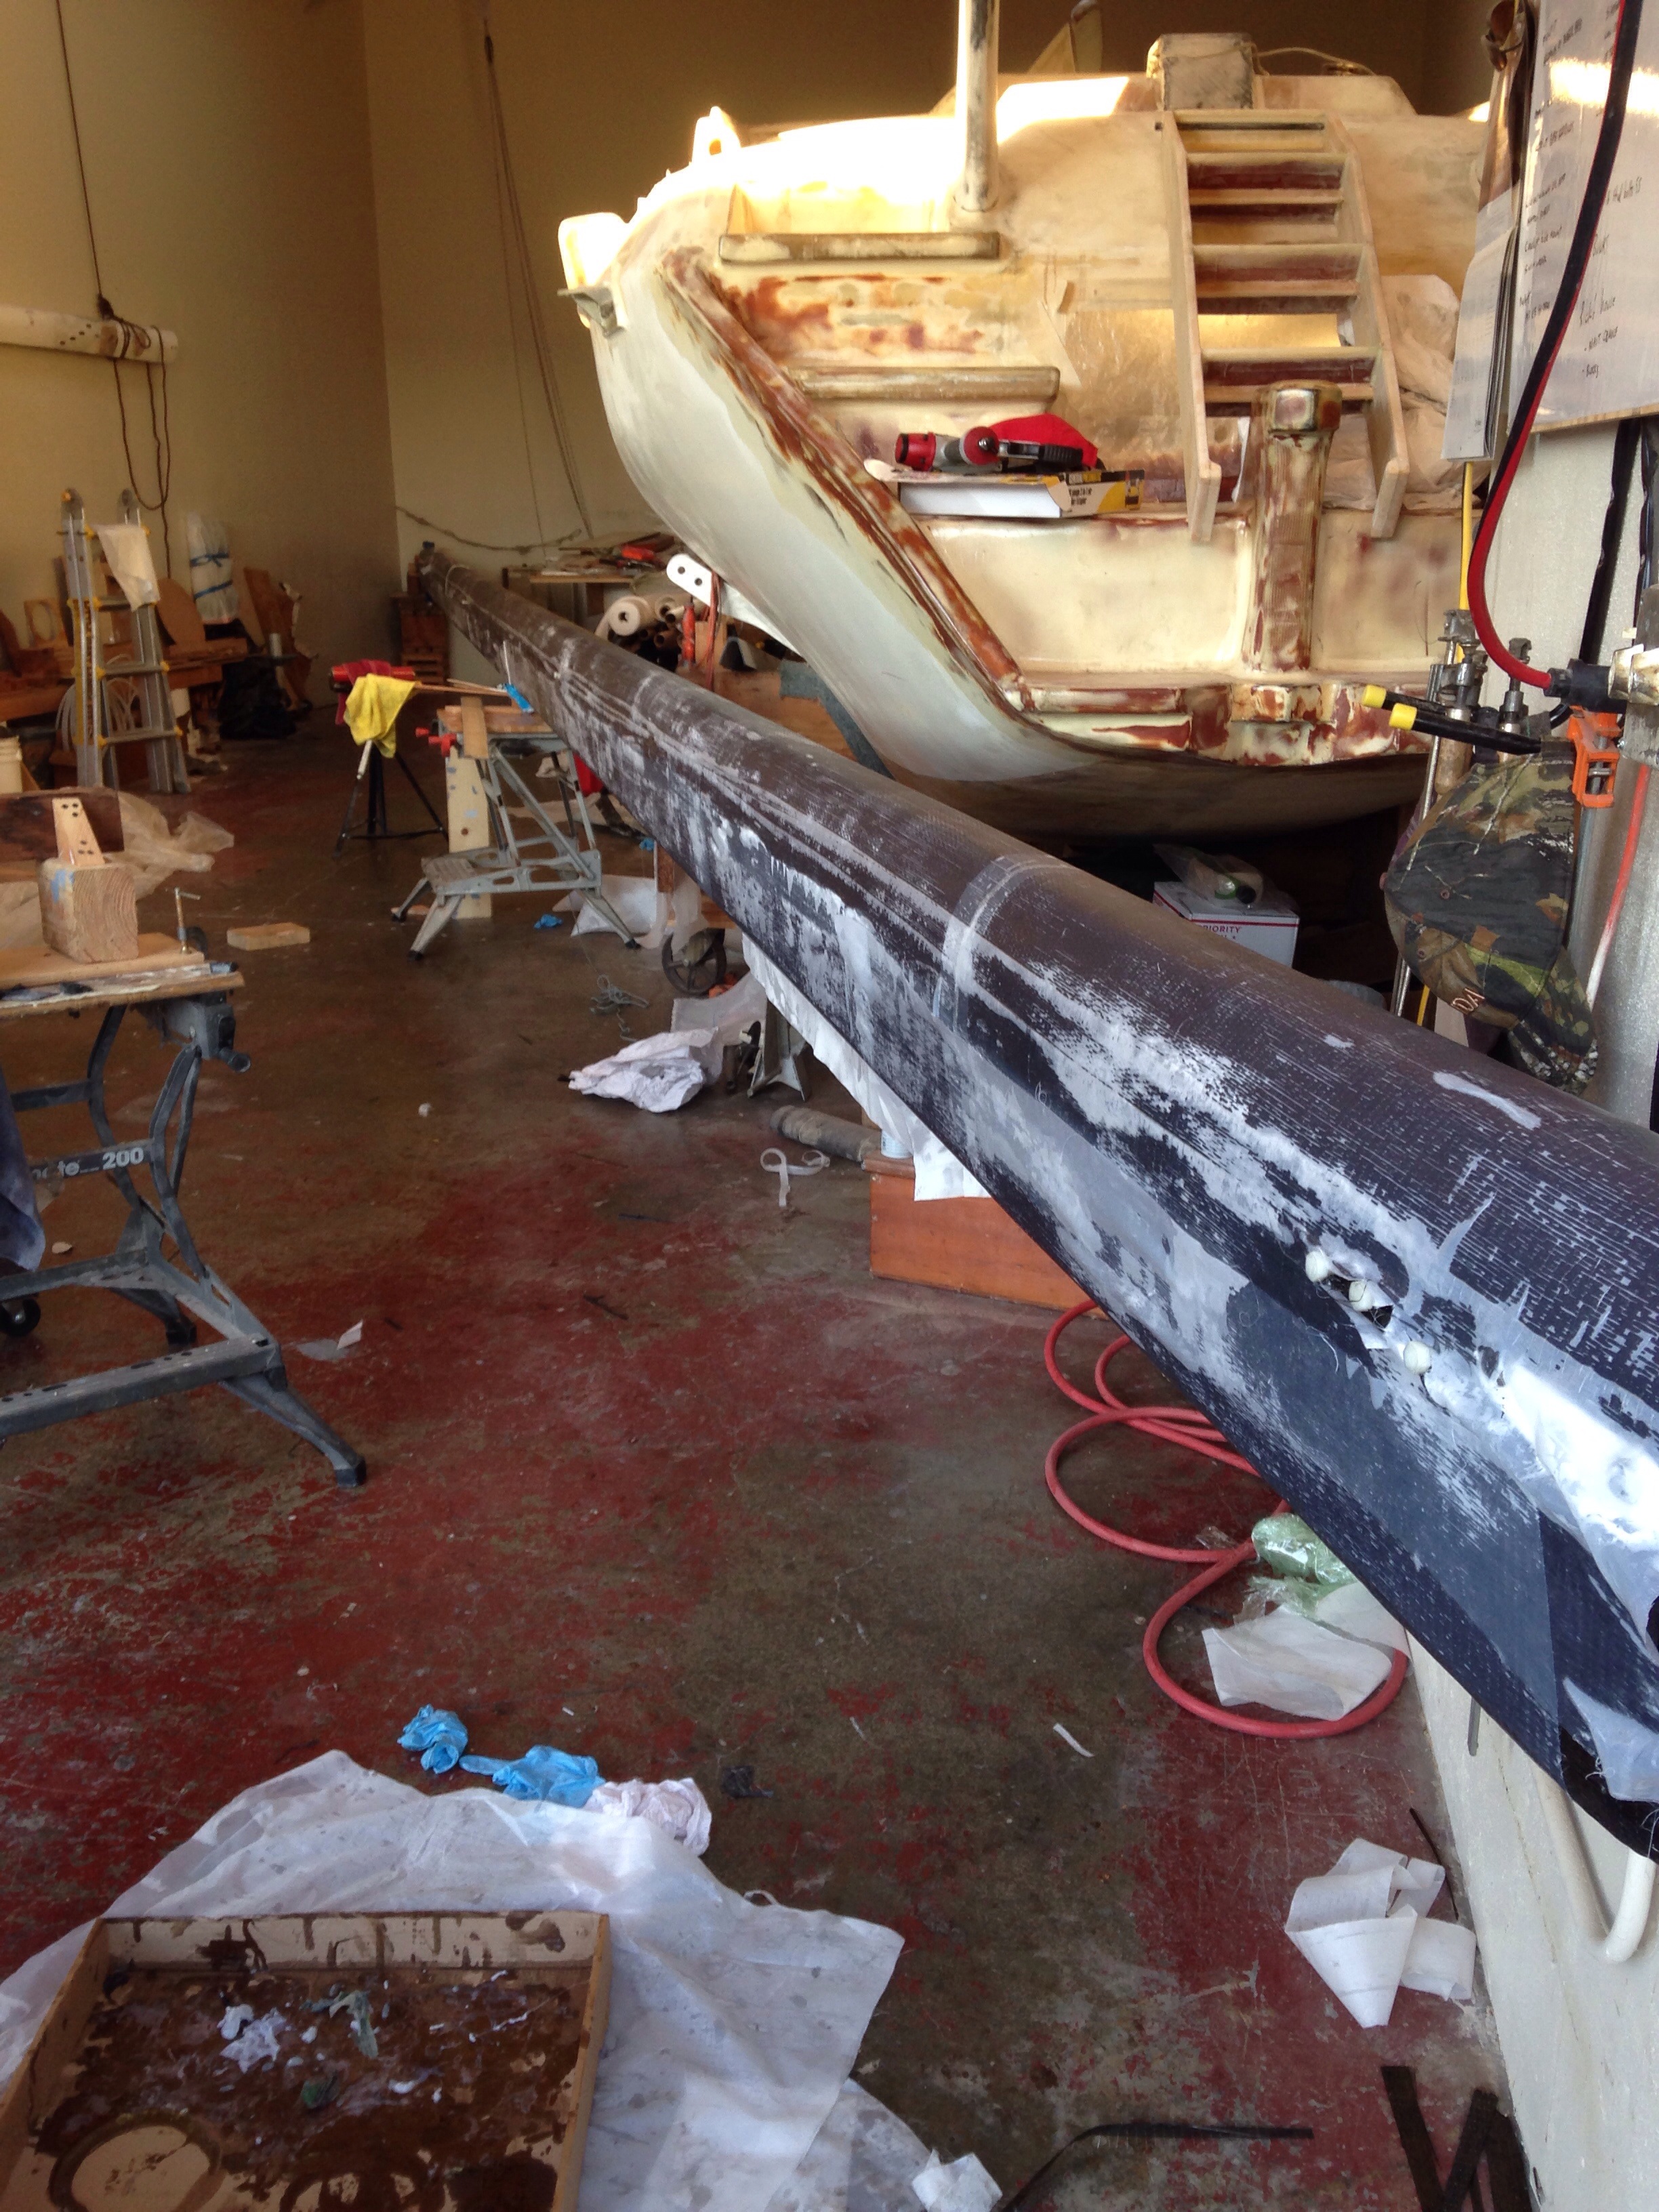
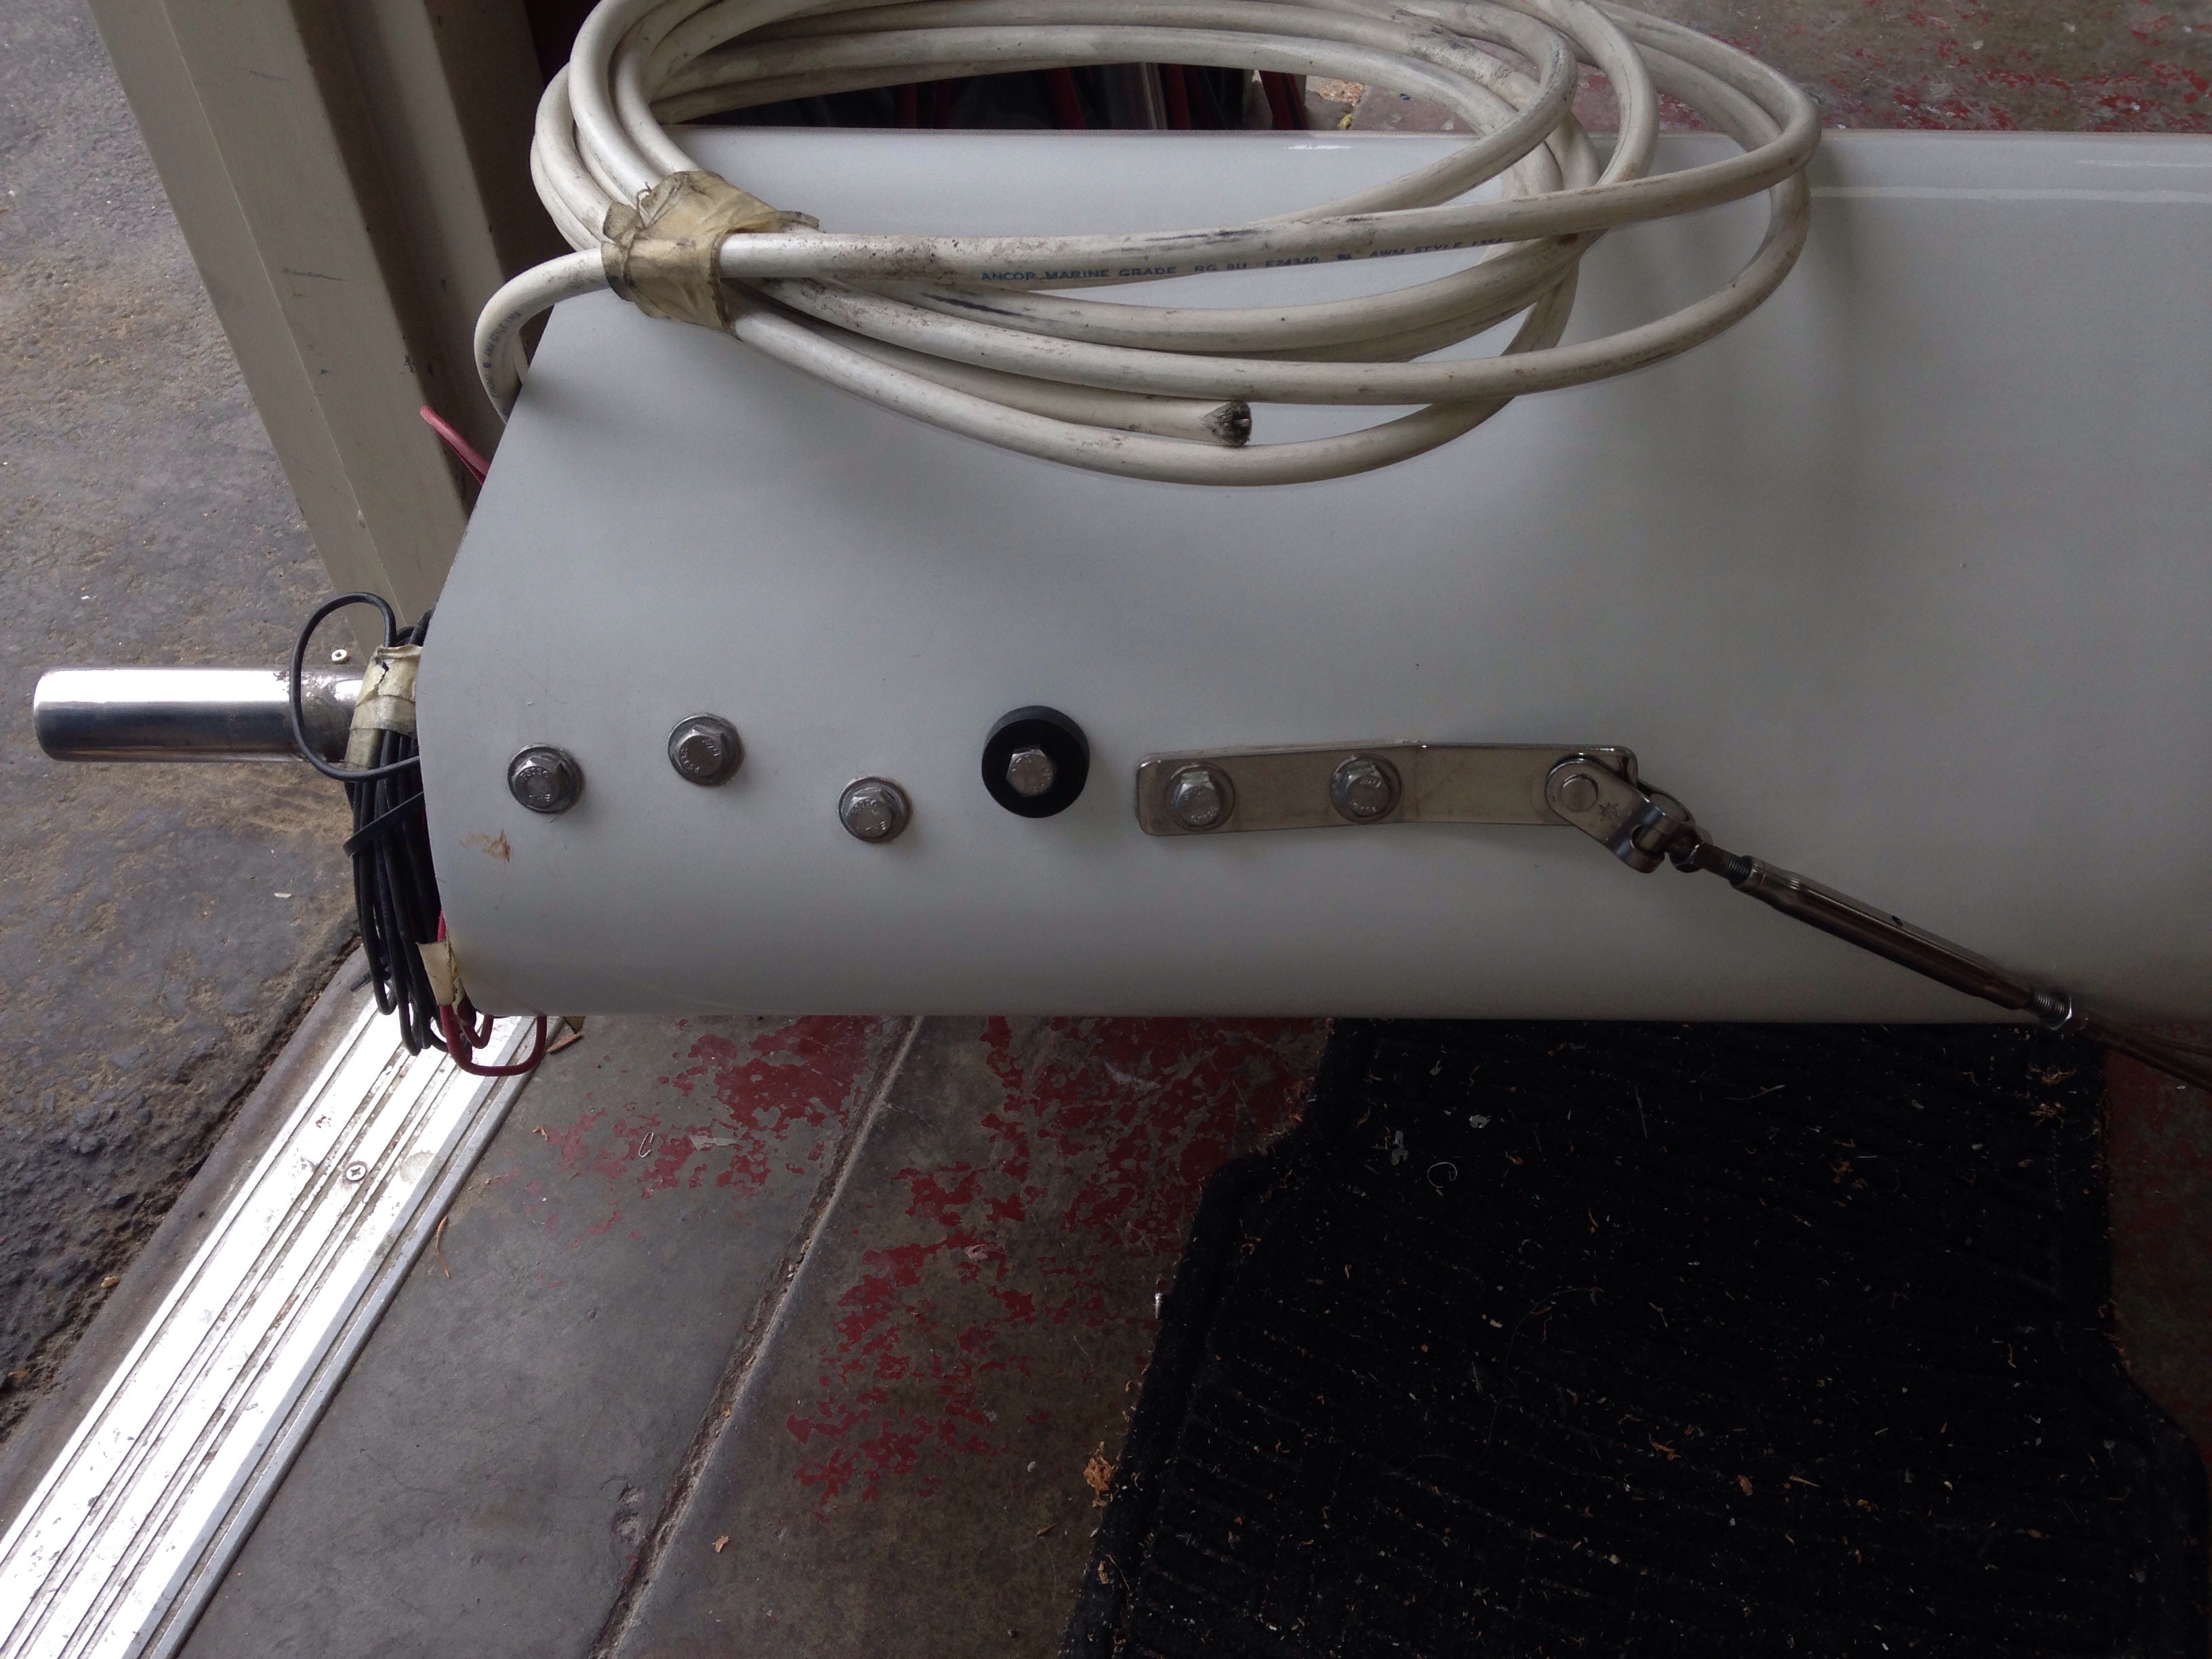
We built a simple spindle rack system so the spar will rotate during the work, and finished the day sorting out and securing new messenger lines inside the mast for the five halyards. The mast is ready for a session of sanding away all the lovely paint this weekend.

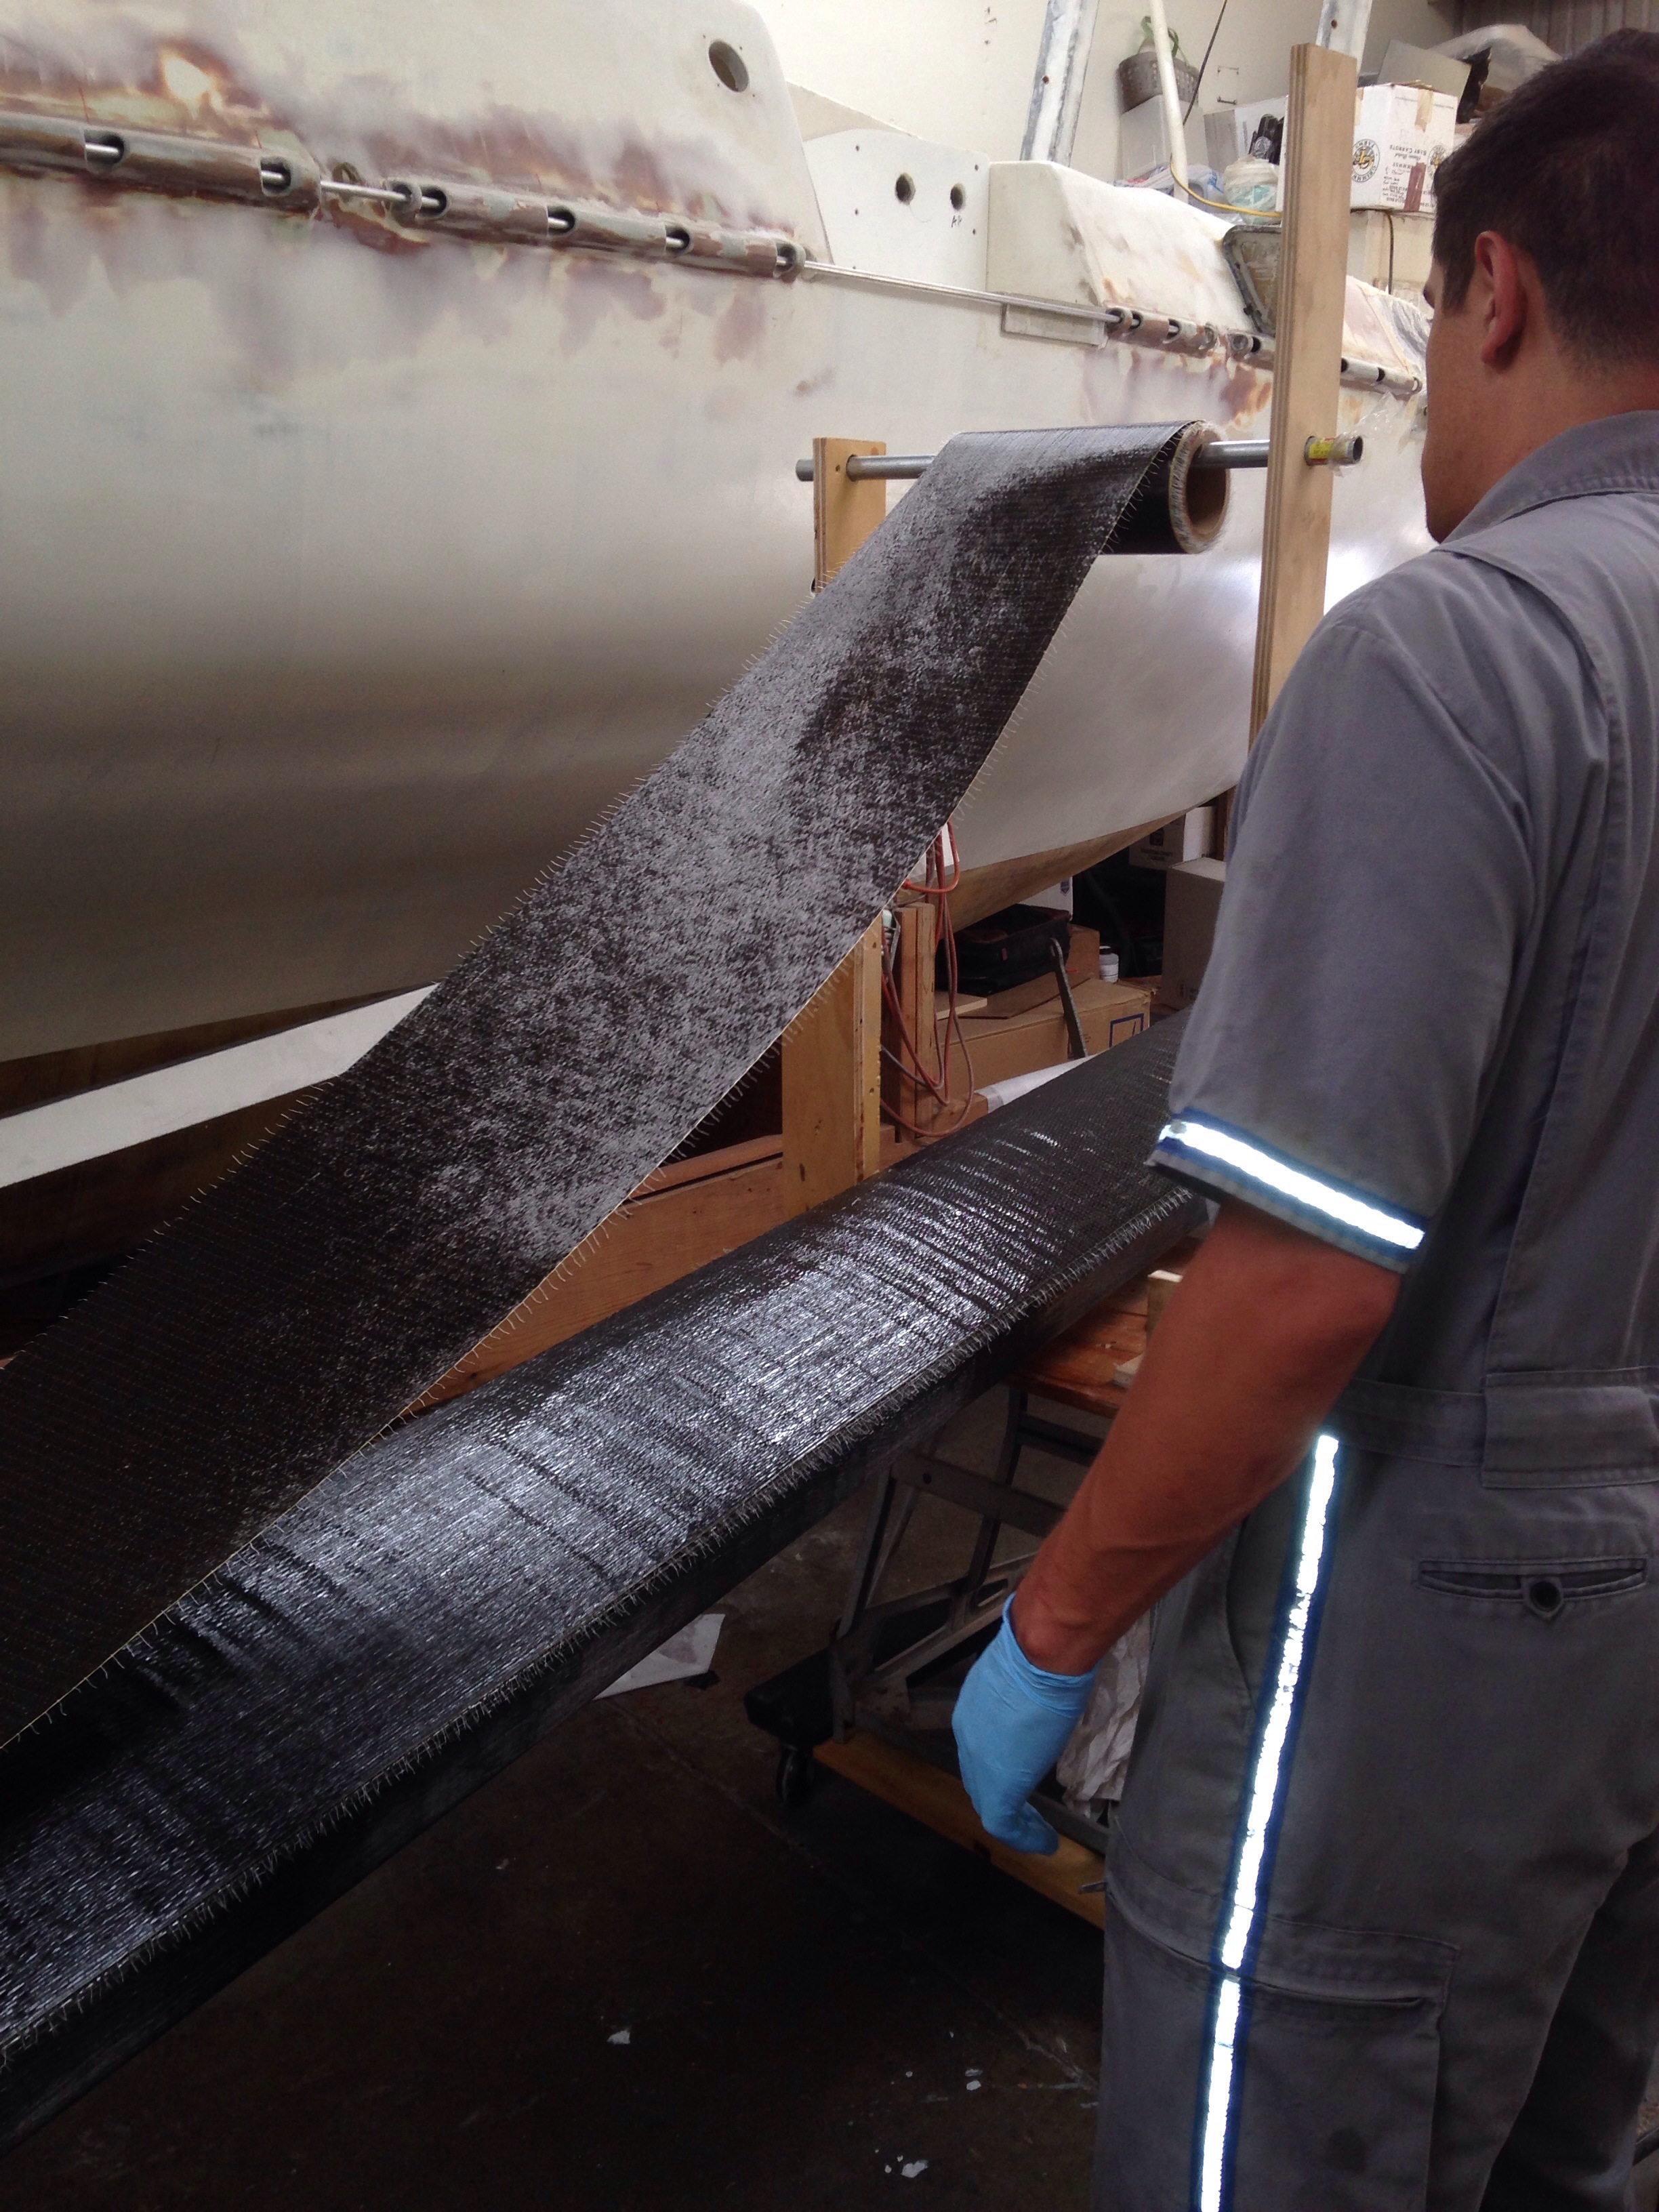
A big thank you here to Stephen Marcoe, Jim Antrim, Guy Stevens and Keith Burrage for insisting we review the mast specs between the two boats. Keith and Ted VanDuesen came up with a smart work plan to increase compressive strength and upsize the wall stiffness characteristics. We’ll build the hoop strength via two tight-spiral wraps of 5oz uni. Start the first one clockwise, using 2″ wide fabric, just less than 90 degrees off the centerline. The second wrap goes the other way, forming a shallow X pattern along the entire spar. After this hoop work we’ll bulk up with 4 layers of 6oz uni, laid straight up the mast for the entire length. This will all be hand layup work, and not vacuum bagging as we want specific manual control on keeping the uni perfectly straight along the spar. Bagging runs the risk of introducing warp or wiggle to the fibers.

The folks at Soller Composites are weaving us 2″ wide rolls of 5oz T700 aerospace grade Hexcel carbon uni. to handle the hoop spiral. The mast is about 30″ around; six wraps per foot X 50′ tall X 2 trips = 1,500 feet of carbon fiber. At about $0.40/ft

The longitudinal layers are coming on 10.4″ wide rolls of 6oz IM7 (822ksi) carbon uni. 50′ X 3 strips of 10″ to get around the 30″ mast X 4 layers = 600′. Soller has 300′ rolls at $1.29/ft.

We’ll stick with our high grade Applied Poleramics epoxy, confident that these good materials will make a superior finished mast tailored right to the boat’s engineered specs.

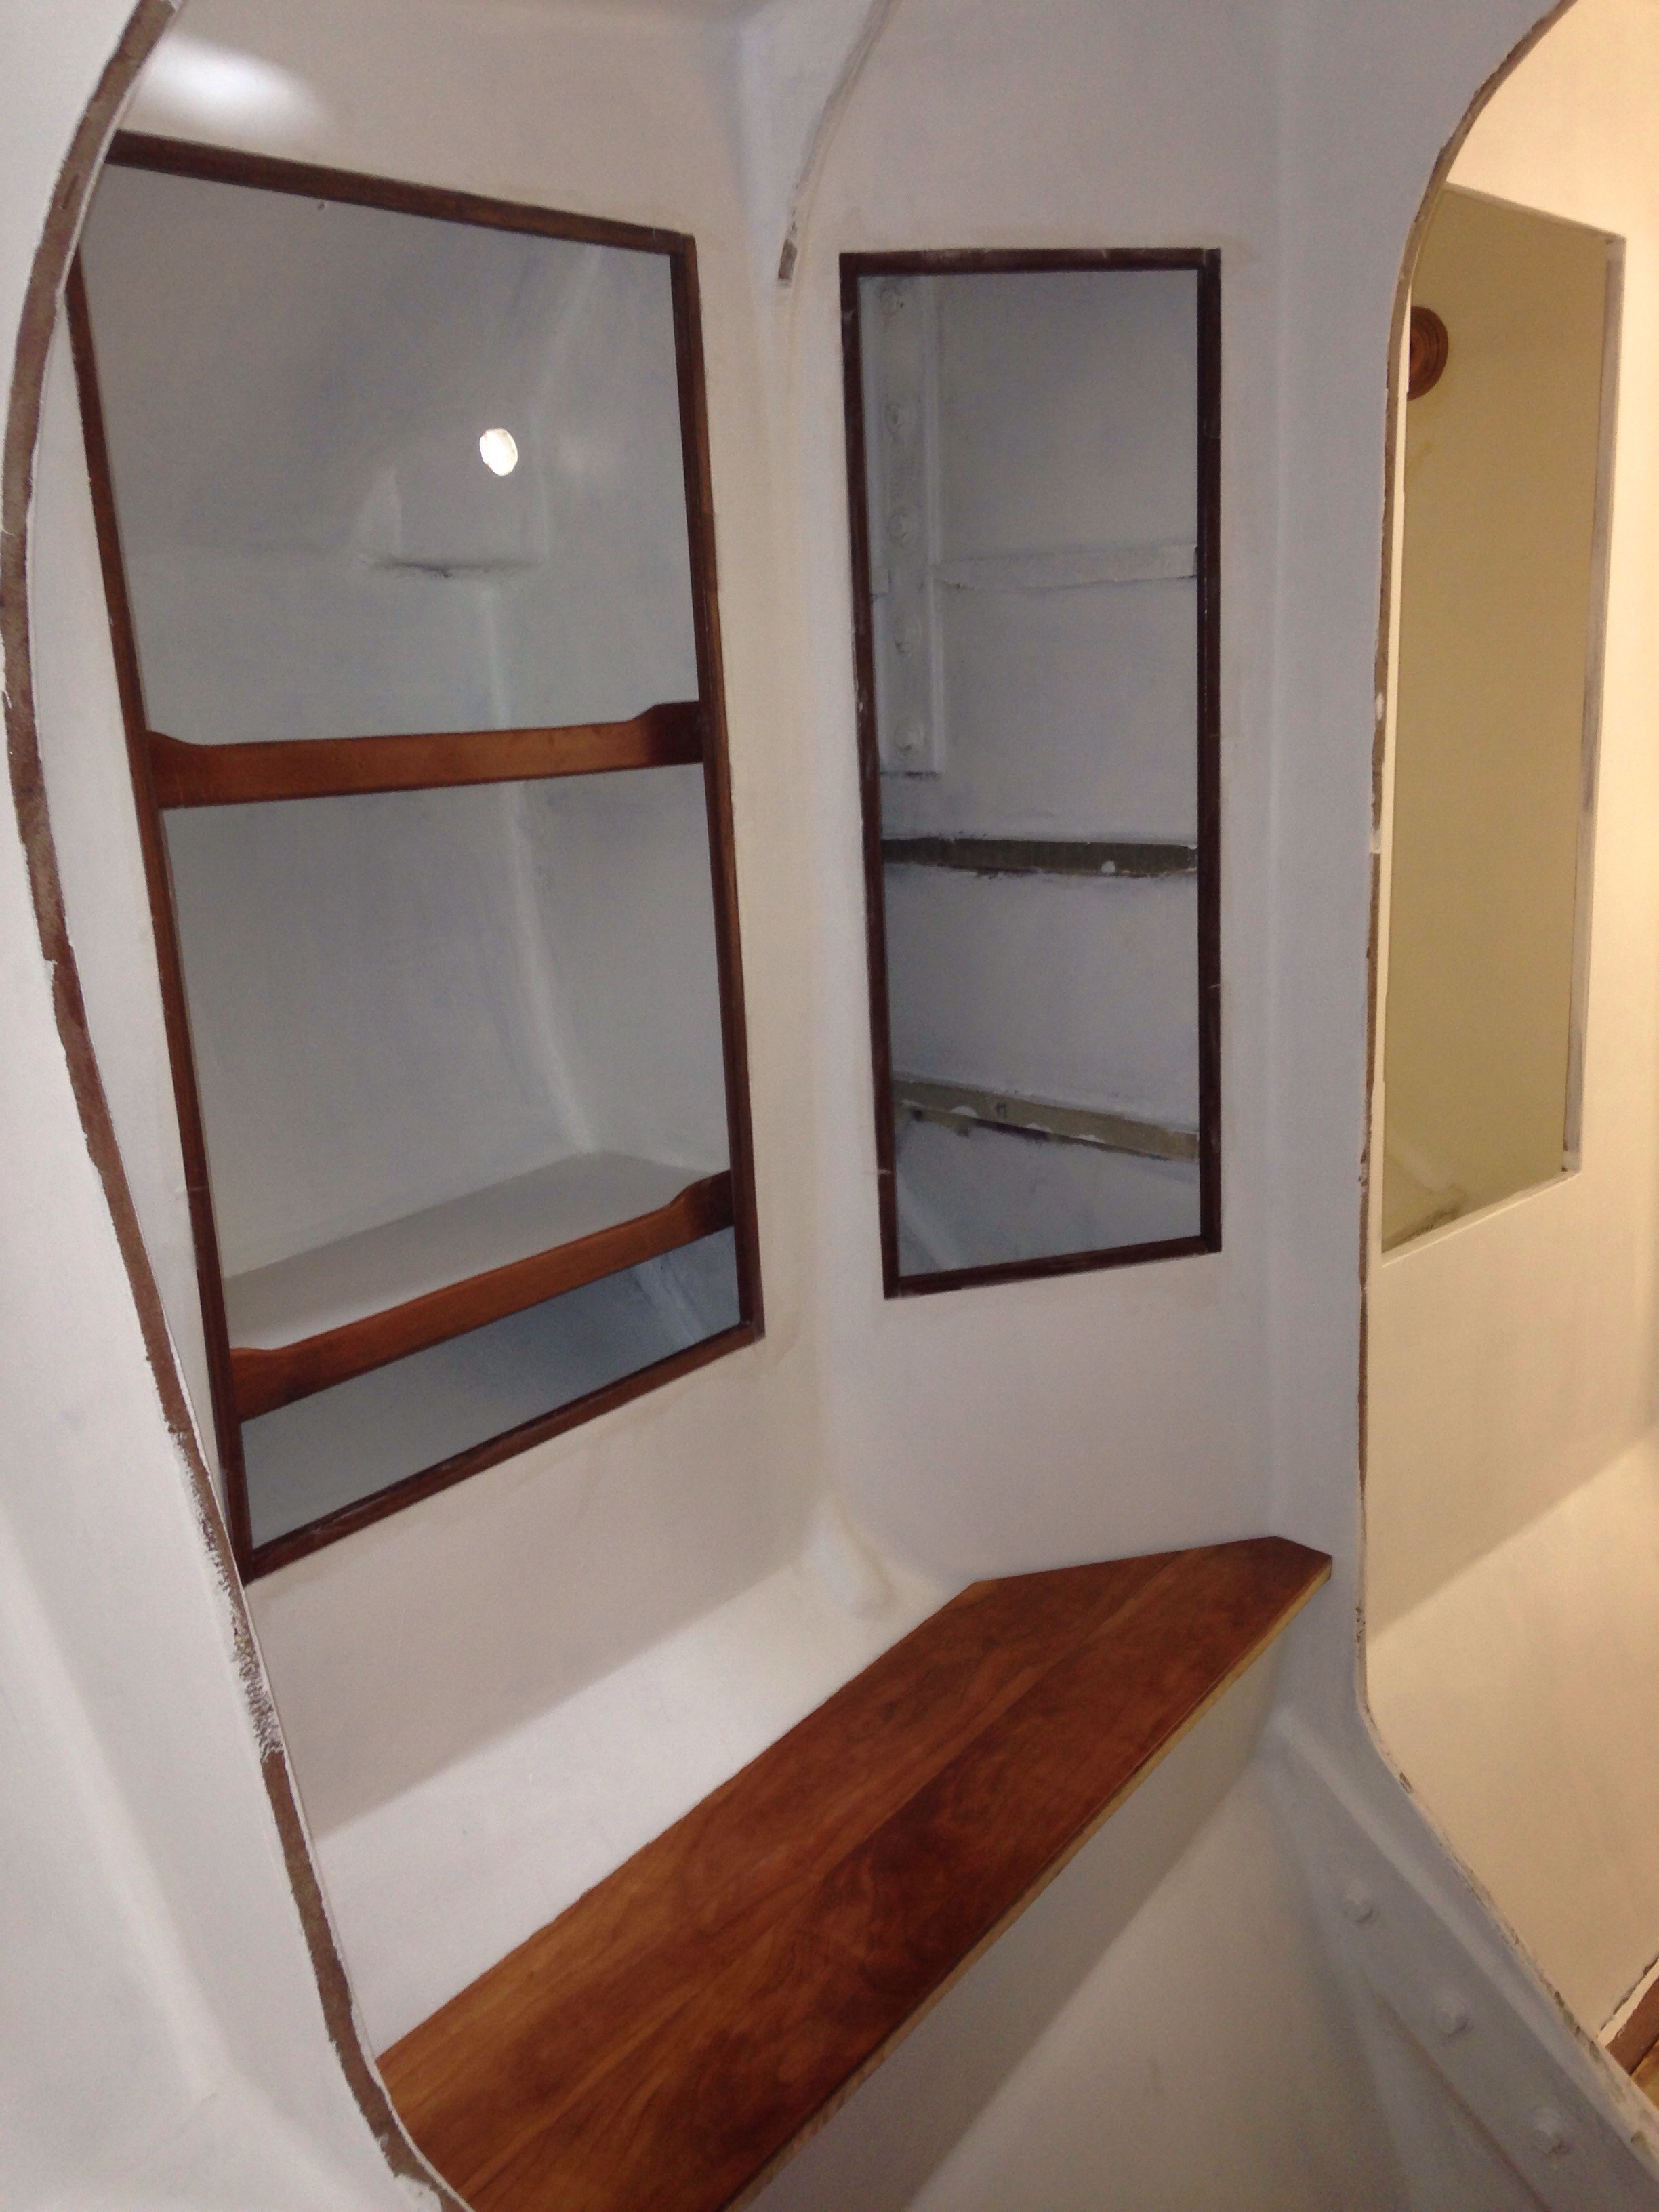
Stay tuned for updates on paint stripping then the new laminations. Also we’ll try to get some glam shots of the cabin woodworking – it’s looking great now in the final polyurethane phase.

Kids, don’t try THIS at home!

You gotta love friends with forklifts. Thank you Mark at the Airless Repair Center next door! He lifted two boat hulls for us today. Spotters were Charlie and Dean forward, with Colin and Griffin managing the sterns. Mrs. Carter the Co-owner did a great job with the camera. Here goes:

20150701-225757.jpg

20150701-225829.jpg

20150701-225922.jpg

20150701-230020.jpg
The smartest thing we did today was decide before lifting that the forklift would be stationary. No nudging the lifted boat and causing any sway; the truck and trailer had to line up under the boat. That was easy with such a long wheelbase.
Hours of good prep placing the posts on the trailer and figuring out Rick’s lifting straps led to only a couple of minutes needed for each lift. Watch the first one here:

http://youtube/8BEpEYju_gk

After the video we pulled the truck forward, moved the second hull to the cement pad and the forklift to the other side. All good.

Notice that first the floats were truck-strapped to their trollies. Then the lifting straps went around the hulls only, and upon lifting the hulls brought their strapped trollies with them. Lifting straps around only the hulls created a much safer pull with no wracking stresses on the wood trollies.

20150701-230919.jpg

20150701-230944.jpg

20150701-231023.jpg

20150701-231124.jpg

And we’re down. The four truck straps then got moved to travel around the trailer frame, and more strapping to tie the two floats together against any side to side forces.

20150701-231445.jpg

20150701-231520.jpg

No drama today, but kind of stressful for the boat builder :). It was a big relief to take this shot before heading to dinner:

20150701-231637.jpg
It’s going to be a big boat all put together.

And being an opportunist, I finagled the big crew for 20 more minutes to get the mast down from the rafters to ground level. For those of you who’ve been to the shop, you know what a shoehorn that was! Yes, the rotator pin just fits inside the small entry door with the masthead jammed in to the far diagonal corner. Phew. Mast modifications start in the morning. Stay tuned.

Plenty of masking tape

Painting part of a boat might be trickier than painting the whole thing. The two floats / amas were finish-painted 5+ years ago, but we updated them this year with the new chainplates, net lashing tubes and beefier deck hardware. We had one unopened quart of the previous generation Interlux off-white two part polyurethane; it needed to do the whole job… Here we are after the glossy paint:

20150630-225631.jpg
This is applied with a smooth foam roller and tipped-off with one stroke if a brush at 45 degrees. Definitely an art, easy to screw up, and must be done with very thin paint.

20150630-225831.jpg
Now the masking goes back on to make out the non skid areas:

20150630-225944.jpg

20150630-230000.jpg
Yep, the tape roll was the just-right size to make an elegant arc near the hatch. We pulled all the tape this evening and are satisfied with the results.

20150630-230142.jpg
The floats are now done and ready to move out of the shop. We tried to mask off for the few inches of bottom paint each hull needs but their dollies are too in the way. After an hour of rolling around the floor getting pretty frustrated in the 95 degree heat I realized this job will be much easier just before launch when the boat is assembled and the floats are suspended in air. So we need to account for 24 hours of dry time in the assembly schedule. There is also deck hardware to install but that can be done while the hulls are on their trailer in July. We’ll talk about the butyl tape method later.

So tomorrow afternoon we’ll take our best shot at loading these 35′ hulls

20150630-230900.jpg
On to this trailer:

20150630-230934.jpg
It’s a 35′ heavy duty aluminum boat trailer, now with 4x4s lashed over the bunks to accept our floats on their trollies. We have 8′ of width on the trailer while the trollies pushed tight side by side are 7′. The trick will be lifting them 32″ in the air to clear the trailer. Between our chain-hoist from a shop roof girder, and the neighbor’s forklift hopefully this goes alright. Ought to be exciting anyway!

PS – if any readers know of a F32/32/33 looking for a very nice big aluminum trailer, send them our way. We’re borrowing a friend’s; it was outfitted new for a Corsair 37 for delivery cross country, and was never road-used after that. It should be available for sale in later September.

Rollin’ out the paint

The boat shop is a bit more navigable tonight with the FINISHED beams loaded on their little trailer and stored off site. The daggerboard is getting its last bits of bottom paint, and once that cures will get wet-sanded smooth over the weekend.

20150625-234432.jpg

The remaining work on the floats is painting the net lashing tubes, the chainplates and some other minor modifications to the hatches. Here we’re finally ready to get that going.

20150625-234723.jpg
And this evening was the first coat of Interlux PrimeKote.

20150625-234813.jpg
Work was actually stopped last week while Greg visited Colin’s place in Virginia. We made new mountain biking friends and found about 100 miles of great trails. Definitely going back there! But the best part was finally sailing Colin’s Coronado 15. Long time blog followers remember the second boat we squeezed in to the shop last year for a rehab – careful what you find on craigslist. Anyway, the little orange boat is a kick in the pants.

20150625-235415.jpg
Right after VA we picked up Keith and Val Burrage at SFO for a day of sailing aboard a nice charter cat (thanks again Rick!) then time in the shop for Keith to inspect the work and help unpack the sails he designed. The HydraNet sailcloth looks and handles great so far. As a pleasant surprise, it’s semi translucent so it should look pretty swanky up in the sky

20150625-235743.jpg
This is a full batten jib, and in this shot it’s reefed down with the excess foot rolled up and tucked in to a pocket bag that zips on to each side of the sail. Keith and others swear this is possible at sea.

20150626-000039.jpg

We’ll keep the paint rolling, and figure out how to juggle numerous projects while layers dry.

The neighbors are talking

On Sunday Rick Waltonsmith brought his 35′ heavy duty aluminum boat trailer up to Santa Rosa on loan to our project. We’ll use it first to store the completed floats and mast offsite. And it should be able to haul the main hull to the marina for the launch. This gives us much more flexibility than renting a semi truck flatbed. Seeing the big trailer at the shop Monday morning got the local business owners buzzing, “maybe he is actually going to finish that darn thing!” The best part is all their offers of help for the day we roll it out of the shop, use jacks to remove the cradle, and slide the big trailer under the boat. Hopefully in July …

Today was non-skid painting. I had heard a nice trick for masking rounded corners, so we gave that a try.

20150615-215328.jpg
Make the 45 degree corner then cut around a quarter with a sharp blade.

20150615-215542.jpg
And peel away the excess.

20150615-215646.jpg
It took about an hour to mask the four beams with all the corners.

20150615-215906.jpg</a
Griff and I went back after dinner, about two hours after the second coat, and pulled the masking. Very happy with the results.

20150615-220150.jpg

$2.1mil colors

During a lunch break from rolling out the first coat of finish paint, some web surfing turned up the newly launched Neel 65 tri. It’s width is our 39′ length and you can order it in the seven staterooms configuration.

20150614-071359.jpg
But what struck me is they’ve copied our color scheme; white cabin top and deck, silver topsides, white bottom paint, and white rig & sails. I wonder if they paid a color consultant in that $2.1mil price tag?

Our topsides paint is Interlux Perfection 2-part polyurethane in “platinum”. Here’s the first coat on the beams yesterday.

20150614-071736.jpg
Today will be a 400grit wet sand then the second coat. And non-skid tomorrow.

While exterior paint dries we go back inside to mess with the cabins. The galley is coming together nicely. The stainless steel is working out well.

20150614-072046.jpg

The forward wardrobe/dressing area gives a feel for how the wood trim looks against the paint. Long gone is the original thought of clear-coating the cedar-strips hull for a full wooden boat look, but adding back touches of hardwoods is only adding about 20lbs total to the boat and makes it feel much better than just paint and plastics.

20150614-072404.jpg
BTW, that hole above the clothes shelf is where one of the 1″ beam bolts comes thru. You can check the beam bolting integrity at sea while you sort thru your socks.