Take Out

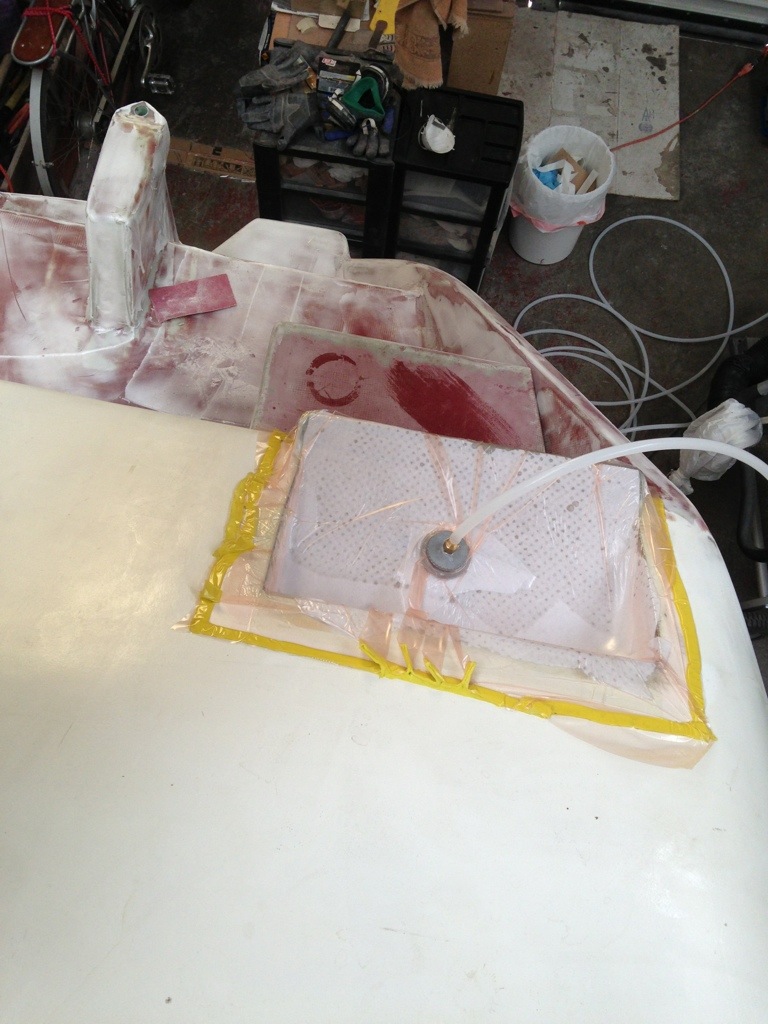
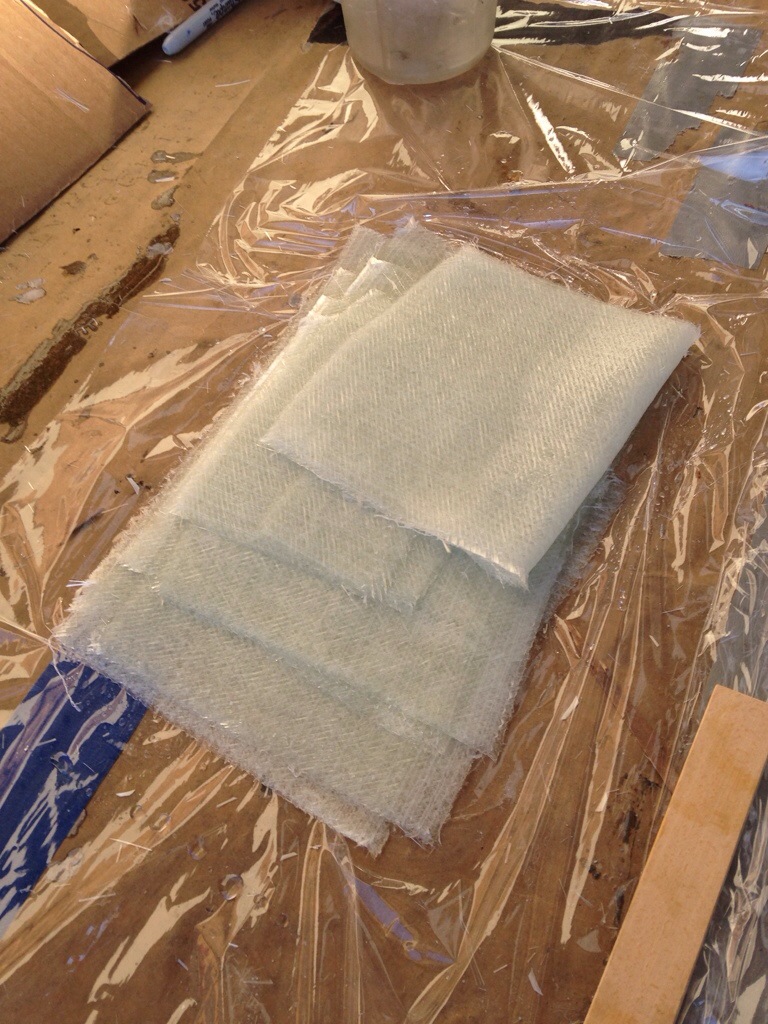
The port side beams are being fitted in to the float now. Since all the steps are being repeated from the other side, things are going much faster. One example is cutting the glass fabric and applying the epoxy out on the work table. Once all the pieces are wetted out, they get tucked in to the plastic wrap for transport inside the float. Kind of like a nicely prepared take out meal, ready for the picnic.

20131110-185546.jpg

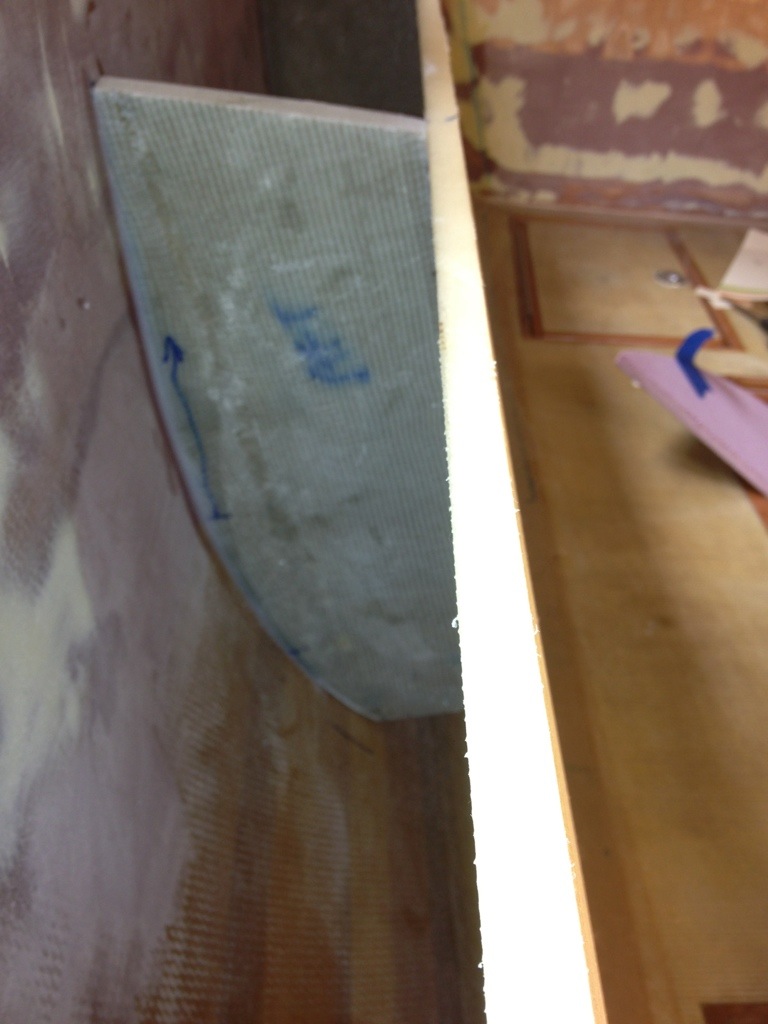
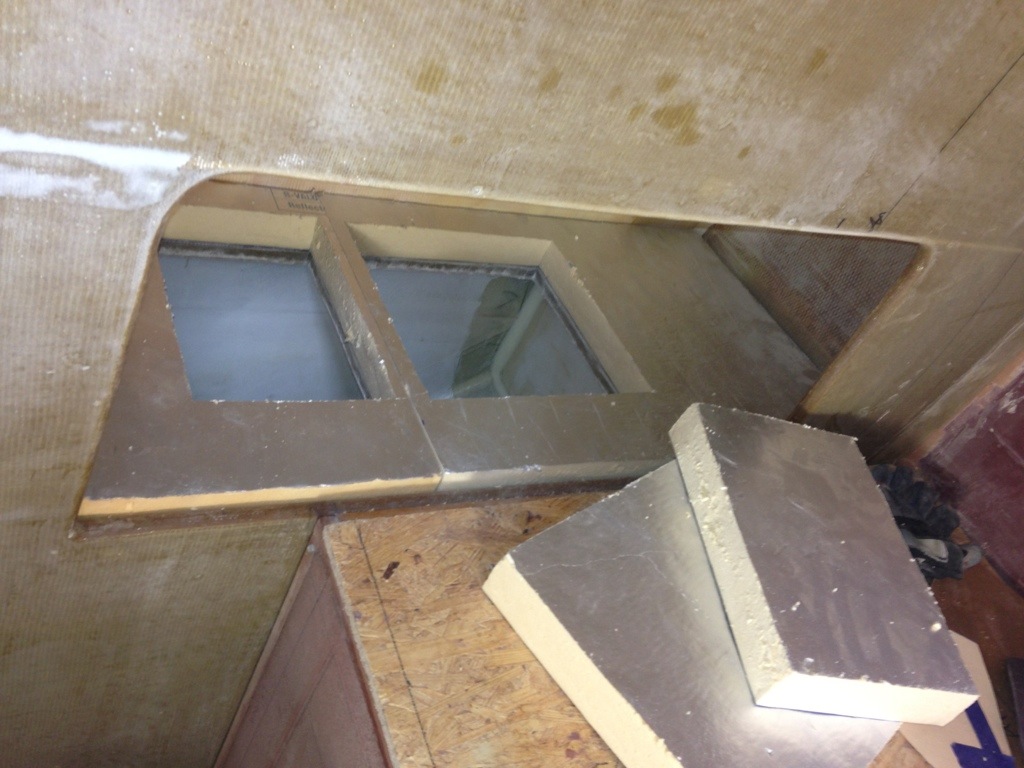
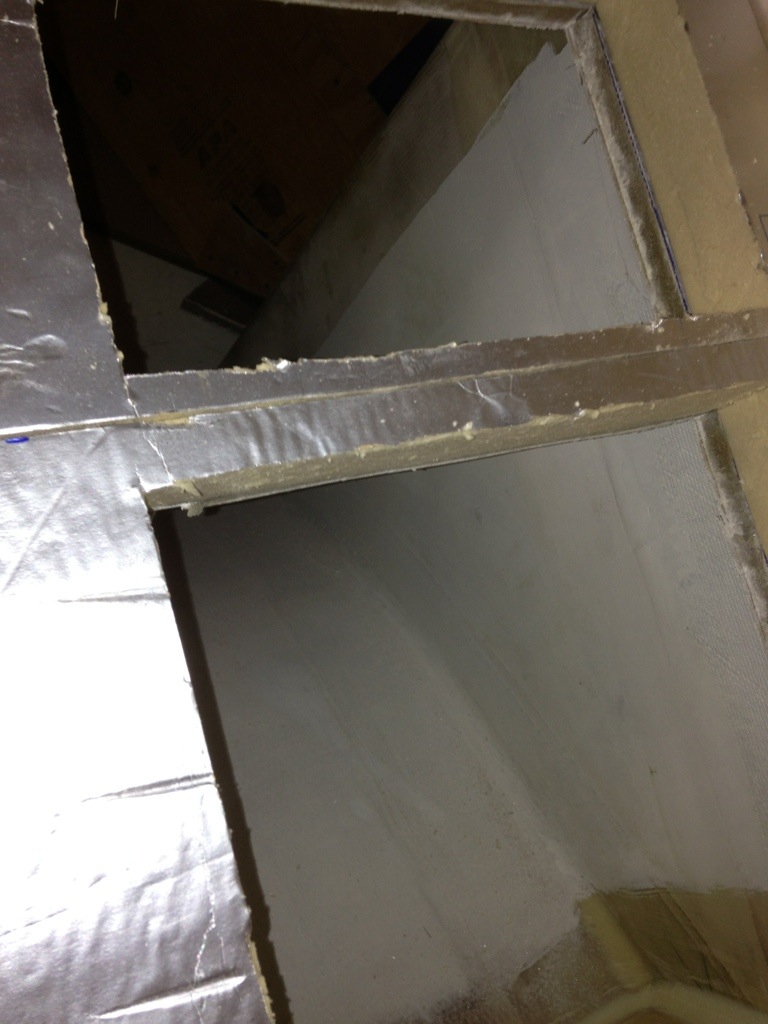
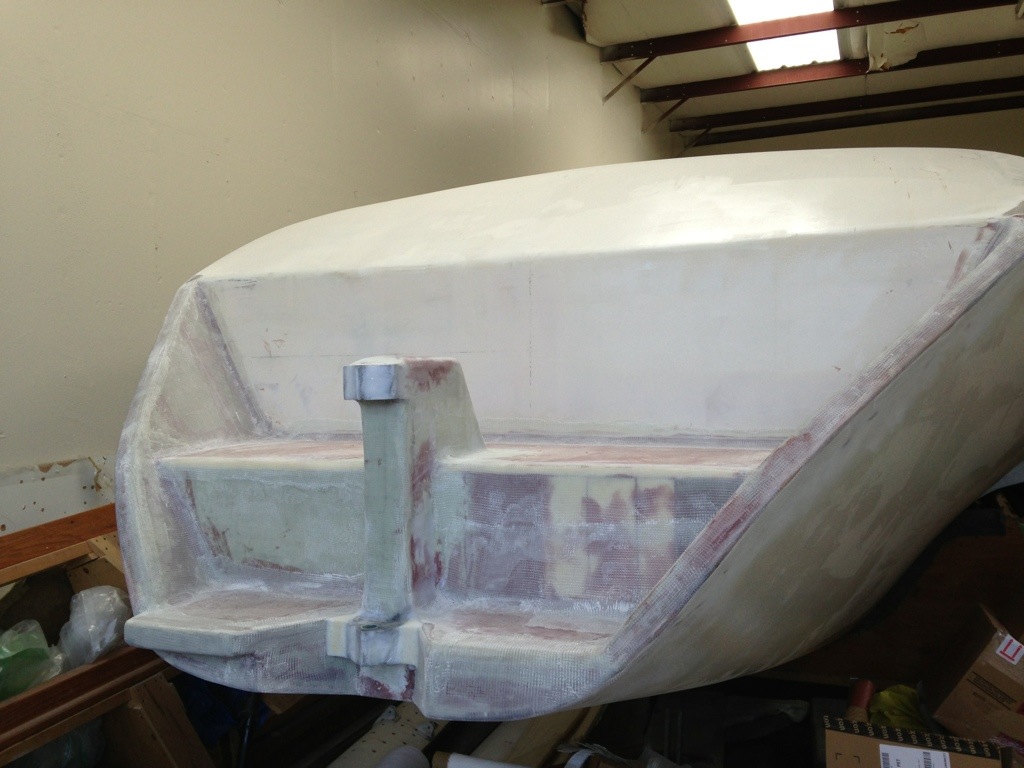
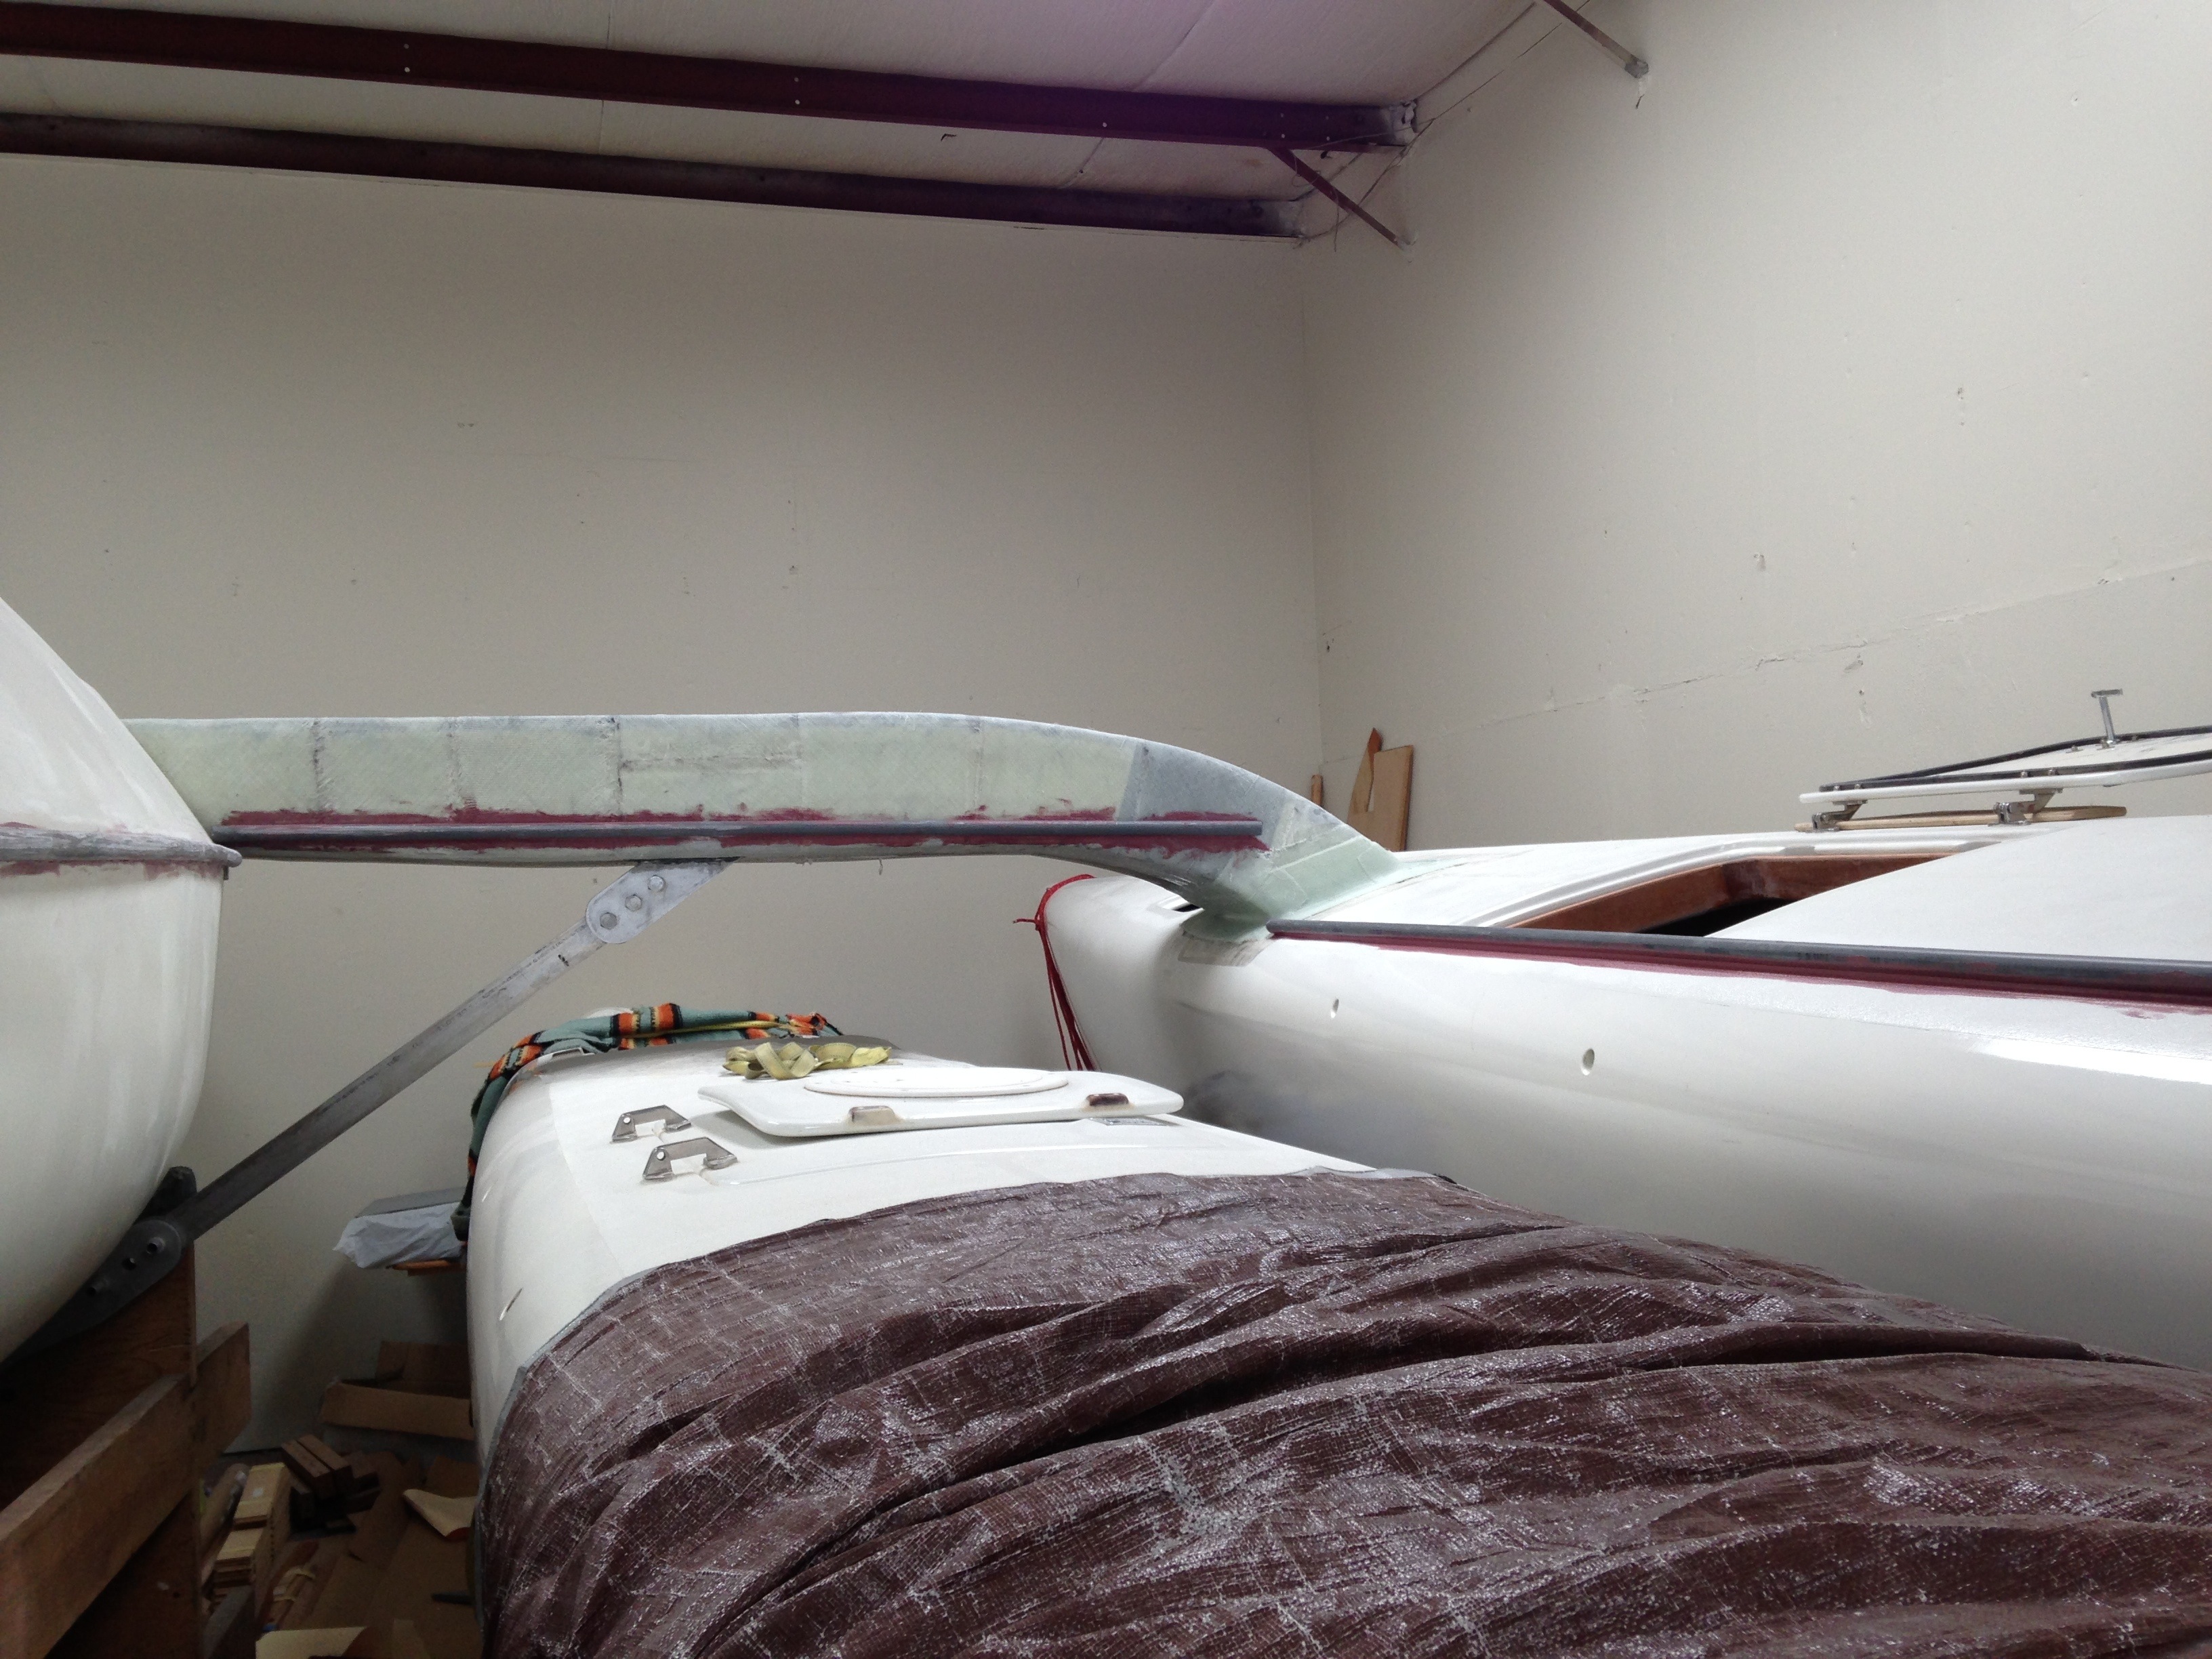
Yesterday’s work was installing the cross-float webs (shelves) on each side of the bulkheads that bisect the float sleeves. All of this structure gives the beam-to-float connection a lot all-direction support. You can see the beam’ end bolt exiting the sleeve, and the big nut that snugs it all together.

20131110-190019.jpg

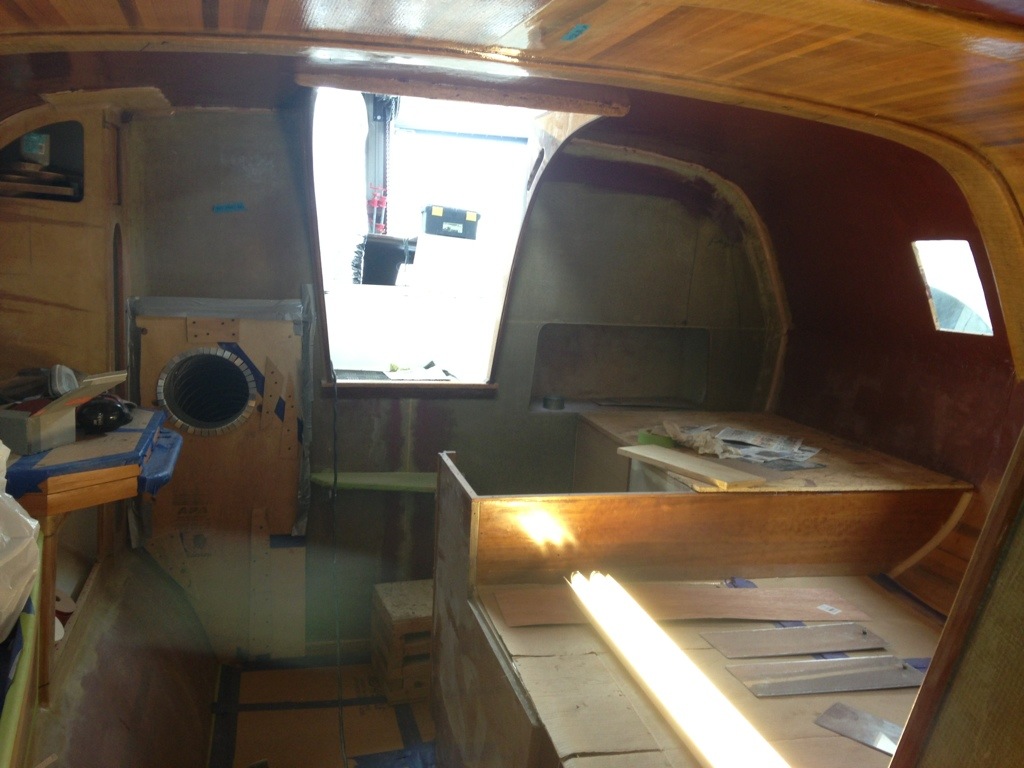
I ended the weekend by unpacking the new refrigerator unit and test fitting the cold plate in the fridge box. It’s all coming together nicely, and the low energy draw of the CoolBlue system, plus thick walls, should keep the power draw down in the range for solar-only management.

Now it’s on to installing the port side beam fairings. More pics in a few days.

Back to work

Well, there were lots of good distractions from the boat shop this summer, including training for a ‘century’ bike event (100 miles) in Death Valley, helping Colin rehab a Coronado 15, and of course the Americas Cup finals.

20131020-134657.jpg

We finished painting Colin’s boat tonight. Great use of otherwise unclaimed Sunflower yellow topsides paint – we grabbed a half pint can of bright red and, viola, Coast Guard orange!

20131020-193021.jpg

And with other distractions wrapped up, I finally got started on primary assembly of the port side. Spent the morning again with the car jack and wood blocks, gently coaxing the float up to its waiting beams. Then began glassing the beam sockets in to the hull. That process will take about ten hours including adding cross-webs for strength.

20131020-193422.jpg

So while prior posts showed interior progress, I’ve had a change of heart and returned to primary ‘specialty’ work outside. The boat grows much more valuable as a completed trimaran, including steering and foils, so I’ll focus on those big jobs here in 2013. Interior finish work won’t require a multihull specialist, and thus will be easier to job out should I need to hire help. That’s the thinking anyway!

window recut and fridge

One thing learned about this project is it has to be OK to make changes, before things get too late. For example, two months ago it seemed wise to solve for the non-parallel big ceiling bands to get covered with a nice mahogany veneer symmetrical box that would also house the saloon lighting. So I cut the windows to line up with this (future) box, and left that part of the ceiling un-faired. But here in August, really looking at all that, the box idea is unnecessary weight and building complexity. We’ll do a simpler wood trim. And so the 6 windows needed to be reshaped on all 12 sides. That meant temporarily securing back the original cutouts to grab more tapering width on some edges and re glassing those pieces back in. And making deeper angled cuts on other sides. Then glassing all the window edges to cover all the final cutout sills. Now the windows are in synch with the asymmetric ceiling bands, and I like the new ‘leaning forward’ look better than before. So that’s about five hours of fix instead of probably 50+ for the original idea.

20130828-223015.jpg

Here’s this evening’s work on the refrigerator. The whole thing is sort of a deep triangle as the bottom follows the hull contour. You can see the four inches of solid foam core on the sides. Under the pink layer glued in here is another 1.5″ foam layer. Next up is glassing in that bottom, fairing and painting, then building the back where the clamps are here.

20130828-223740.jpg

How about silver?

Got a ride aboard Rick’s Pelagic Fantasy as we watched the first head to head race of the LV Cup. It’s fantastic to see these boats up at speeds and power like airplanes near airports. Hard to explain. The racing is better viewed ashore, but it’s exciting to be afloat among all the support and spectator fleet. Plus the very close access to the docking maneuvers. I think Luna Rossa is spectacular looking – way better in person than TV. But not so sure our home afloat cruising boat would wear well in reflective silver!

20130828-181942.jpg

And then went back a week later to show Mom around Americas Cup Park. This silver isn’t bad

20130828-182117.jpg

Ok, enough messing about, and lets get back to the shop.

Angle of Repose

Wallace Stegner won a Pulitzer in 1972 for his Angle Of Repose novel. He was Dad’s friend, and I was thinking about that the night before installing the port side seat back in the saloon. So of course Dad got the job of making the templates for these support pieces. We picked the angle by trial with numerous wood blocks until the most comfortable ‘repose’

20130828-180105.jpg

20130828-180138.jpg

We also got busy sorting out the refrigerator. Decided to do two top loading doors, with no other openings or drains. This maximizes cold keeping ability. Freezer vs cooler will be a simple, moveable divider. Cold plate will mount on the vertical wall inside the box once it’s enclosed. 2″ solid foam on top, 4″ on sides and 3″ on bottom. The fridge build will take a few posts to complete over the coming weeks.

20130828-180906.jpg

20130828-180922.jpg

Finishing like a Corvette

Griffin’s doing yoeman’s work block sanding the main and fore cabins. We’re down to the handwork, and it’s grueling to get thru the epoxy (mixed with fairing ‘balloons’). So we decided to do the final skim work with auto body filler made to work with fiberglass. That’s where the Corvettes and Lotus cars come in. It is proving easier to get the flush smooth final base. Here’s the clear epoxy colored with red balloons, and the green Corvette stuff.

20130708-221403.jpg

And while the next fill coat was drying I went back outside to the rear deck to finish building the steps. The top one is cut in to the cabin top. This was the first time trying the vacuum bagging on the hull, and it worked very well. Now it’s time to finish sand the whole rear deck area. Working back there will give some time to think about possible mounts for a Med-tie gangplank. Figure it’s good to think ahead to visiting foreign ports and comfortably stepping on the quay :)

20130708-222146.jpg

Doing all this paint prep, Griffin is thinking about how we should paint the exterior. Lets just say that after all this time and money invested, we won’t be doing something like this:
(Only in San Francisco, right?)

20130708-222409.jpg

Let there be light (inside the boat)

Well, we stopped work on the port beam/float fitting because I found the right woodworker to help with interior fit out. So the past few weeks have been a mad attempt to stay ahead of Mark. We’ve realized that the randomly completed interior woodworking projects from the past are now causing trouble with the primary fairing and painting. So with some frustration I’ve been ripping out or sanding back so of the prior workmanship.

Step one on the main cabin was to cut the windows. They’re as big as possible, and of course the boat has transformed from a dark cave to an airy cabin.

20130623-153017.jpg

The rearmost window is smaller to make room inside for the galley cabinet on port and the radio cab on starboard.

20130623-153158.jpg

You’ll see the epoxy bog being spread all over – that’s after making the big decision NOT to clear coat the whole interior that would have exposed the pretty cedar core. Up close, though, too much rough construction detail and visual variance in the cedar would not have looked top notch. So the boat will be painted inside and great wood accents added.

20130623-153449.jpg

The plywood plug and ductwork hole on the left side of the photo above is the temporary exhaust that’s tied to the shop fan. We were quite lucky to have this big permanent fan over the shop door. It clears the dust and vapors very well.
20130623-153725.jpg20130623-153747.jpg

So for now, the port beams await their fitting turn while all efforts go to making cozy bedrooms…

20130623-153923.jpg

Anchors aweigh

Made good use today of a five foot section of carbon fiber mast from a previous salvage. We used a thin slice to mark the hull, then cut in from both sides just inside the front of the anchor locker. The mast section is very strong and will make a nice foundation for anchor rollers on both sides of the bow. It certainly changes the current sleek look of the front of the boat, but keeping the anchor(s) away from the bow stem and fore-sail handling will be a great help. This will also be the attach points for the nets, making the whole front end safer as the nets get wider.

20130526-191519.jpg

20130526-193428.jpg

Starboard fit-out complete

We reached a nice milestone today with the last step of fitting the beam and float main hull all together. I thought that the float would lower immediately under its own weight once unbolted and the jack inched down. But it actually took quite a bit of levering and wiggling to get everything apart. The beams with their fairings are getting quite heavy – almost too much for Griffin and I to bring down. Will probably rig a tackle from the roof trusses for the port side.

20130518-225835.jpg

Here’s the completed beam-to-float bolting flange. The jagged edges will be cleaned up in the process of final glassing and fairing of the completed beams. Light at the end of the tunnel!!

20130518-230111.jpg

After these beams came down, the floats went back out in the street to make room for the main hull to shift to the other side of the shop. Two of us can just barely push it around with the old metal trolley wheels. I think that’s the last time it needs to move before loading on to a truck for the harbor next year. For now, we’re ready to fit out the Port side :)

20130518-230545.jpg

10 tubes of Home Depot PVC pipe

Well, no posts in April because it was only a day or two in the boat shop due to extensive work travel. And a fun Saturday at the Strictly Sail boat show in Oakland. Drew, Dad and I hit the info booths hard; navigation equipment is tricky as we search powerful auto-tillers and wind instruments with the rotating mast. But good progress was made on the engine-to-prop system, leaning towards Yanmar and a Gori prop now.

Here’s the rear deck with rudder post area now complete, ready to start fairing.

20130503-231610.jpg

Stopped in at Home Depot for 10′ lengths of 3/4″ PVC electrical conduit to form the basis of the nets’ lashing anchor points. Epoxied them to the hulls and beams (used temp screws to hold in place), then a few hours today to fillet them for more bonding surface area. Next they’ll get glassed over with two layers of cloth. Once these tubes are all built and faired in, we’ll use a jig to cut ‘windows’ in the tubes so small rope can be looped over a small rod inserted the length of the conduit pipe.

20130503-232129.jpg

The lashing tubes define the surface area of the starboard main net here…

20130503-232228.jpg

And finally with a weeknight not on the road, I sat in the little engine room for an hour last night finally figuring out locations for the water tanks, fuel tank, fridge compressor, watermaker and furnace. A bit if a puzzle, but things should tuck nicely in to their spots. First up was finalizing the refridge order with the CoolBlue people in Orange County today. Good USA quality, at a decent boat-show discount. Let the systems begin!