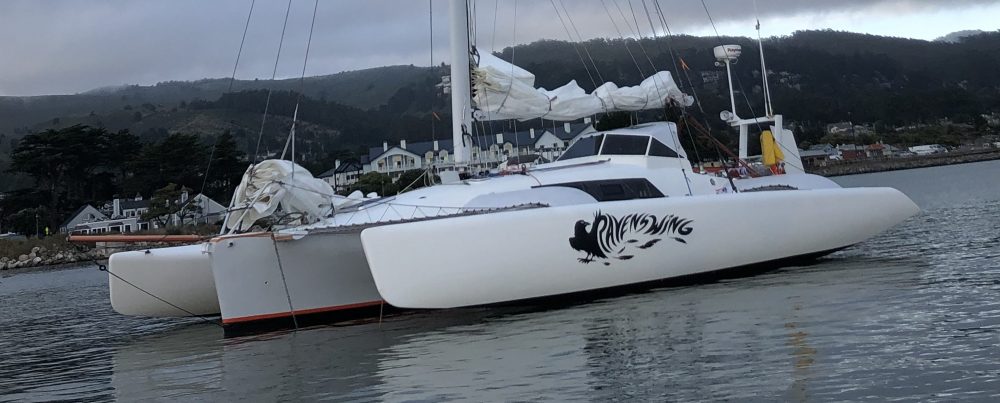
I know, I know, you subscribed to this thing and you expect frequent Ravenswing updates. Well the Carters wish you a happy 2019, belatedly. 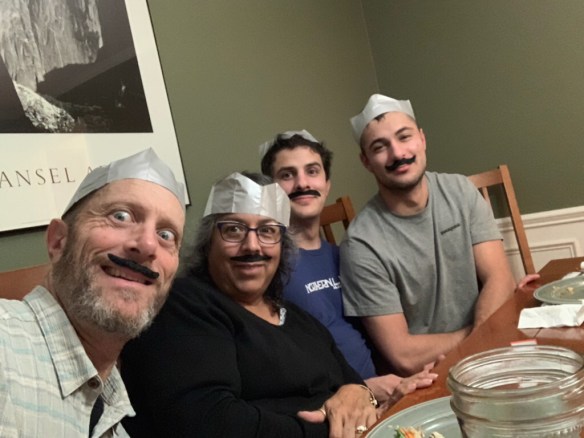
We left off two months ago showing a box of Pelagic Autopilot parts. Installation is now underway. The drive unit has to hang out in space, given our cassette-style rudder. Here’s mocking up the placement…
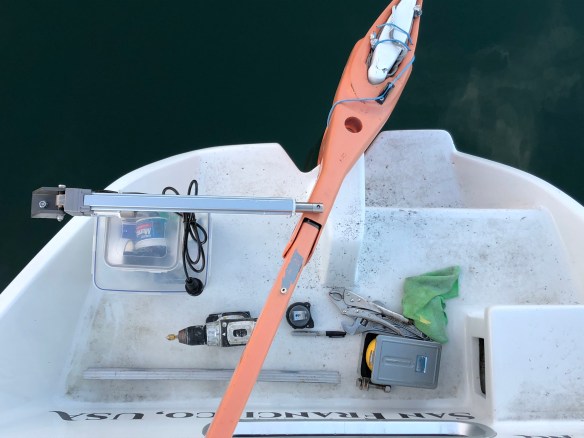
That’s going to need a stiff arm, 16″ tall off the swim-step deck. There was about 2′ leftover from that old Craigslist-find windsurfer mast that is now the pickup’s SUP rack.  the base bracket is an offcut scrap from the first (didn’t like the feel) steering iteration. Repurposing these quality carbon pieces saved a bunch of time, and was free! The bracket will mount in these four holes, and the power cable gets an outlet plug in the transom.

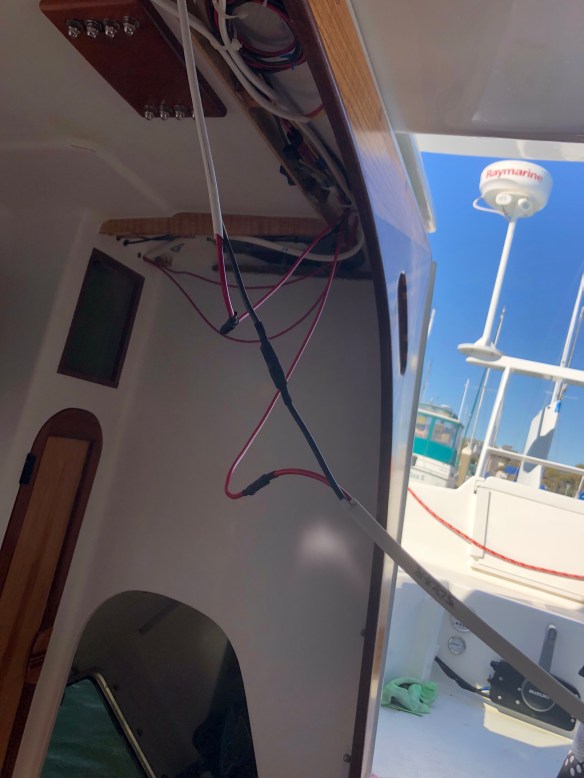
The controller easily went in to the companionway dashboard, and the brain box will be bulkhead mounted in the equipment room once we buy a bit more wire. We should be testing this unit in just a few more boat work days.
In November we started thinking about everything that needs to be trialed / pushed hard here in the bay before 2019 ocean voyages. A big nagging item has been filling the toilet holding tank to capacity and testing the at-sea emptying. Well let’s just say that we never got to the “take it out 3 miles and pull the plug” part. In retrospect, I should NOT have chosen a complicated shape, under floor sewage keeper as my first-ever composite tank build. The idea was it would drain like a water ballast tank on powerboats (or our old Macgregor 26x). Get up above 8kts and suction will empty the tank. So we pumped 15 gallons through the toilet, filled the tank, and things didn’t smell so good. A bit of sewage was now outside the tank, under the bolted-in bathroom floor. Uh-oh.  That hideous photo is after hand pumping three buckets and trudging them up to the Marina toilet, then ripping out the tank that we had spent days building a few years ago. GROSS! (If you really want to see the old tank, search on the Plumbing link at the home page, back in late 2015 I think)
Once cleaned up, it’s time to lower down, then bond in, the previously bolted (removable) sole. Upper level is the toilet deck. The old tank had used all the non-white space here as it’s form. 


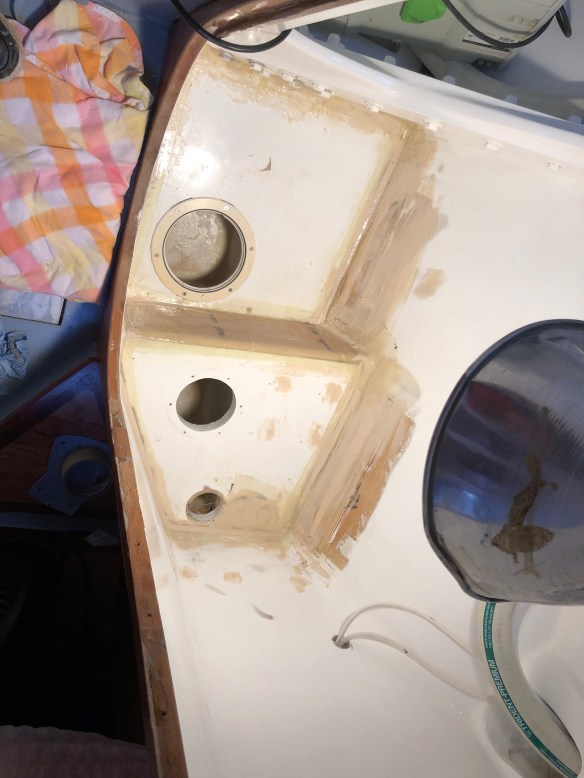
Yes those are inspection hatches in the sole; the sea drain for the new tank runs under this floor and the shower, over to a proper 1.5″ seacock.
The new tank will be bulkhead mount, behind the toilet. It sits way above the waterline, so this should be a foolproof simple gravity drain. Also the dock-based pump out will be only a 3′ lift, which is light duty for most Marina pumpout stations. And yes, I forked over $200 for a factory built Ronco plastic tank with our specific fittings pre-installed. It will sit on this little shelf, made yesterday to bolt to the bulkhead at the forward end of the head compartment (bathroom). 
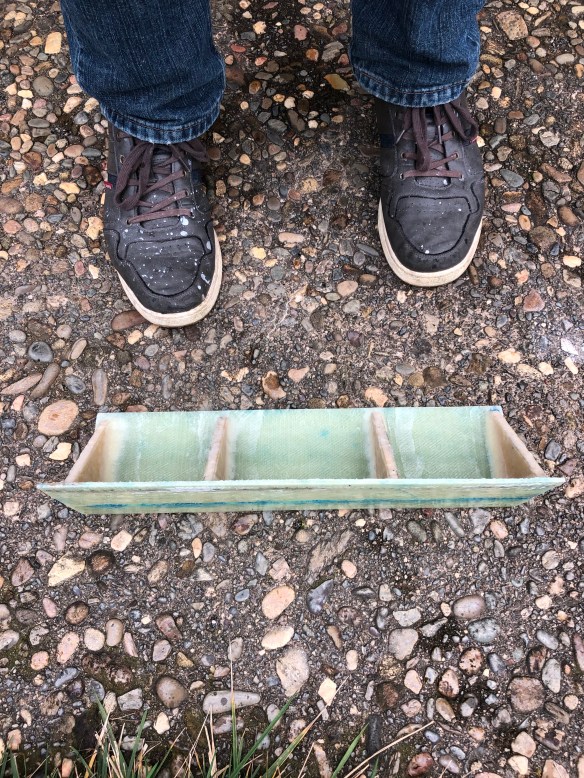
I probably deserve all your poop jokes at this point, but just remember, my mother still reads these comments.
A week after throwing our old tank in to this dumpster, somebody else apparently got even more pissed off than me… I doubt it will plane.
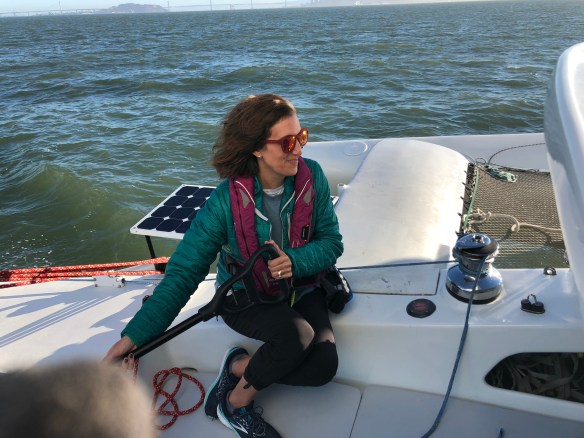
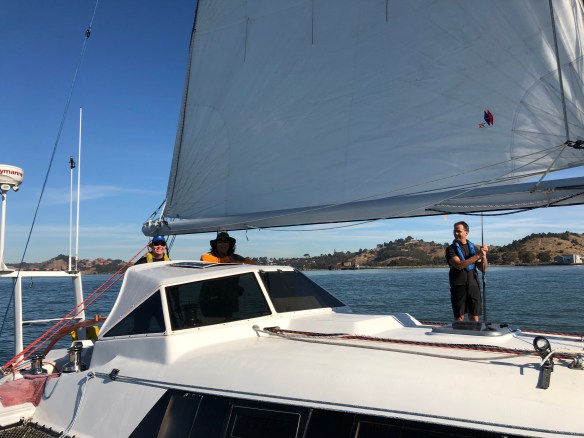

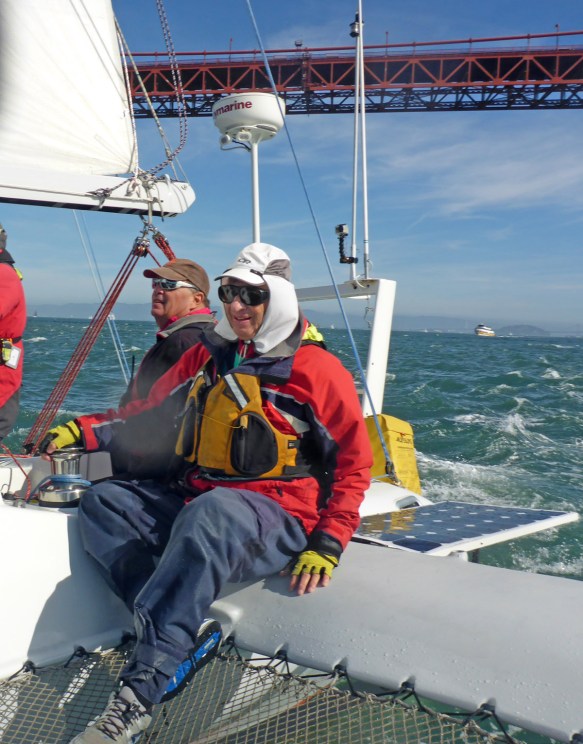


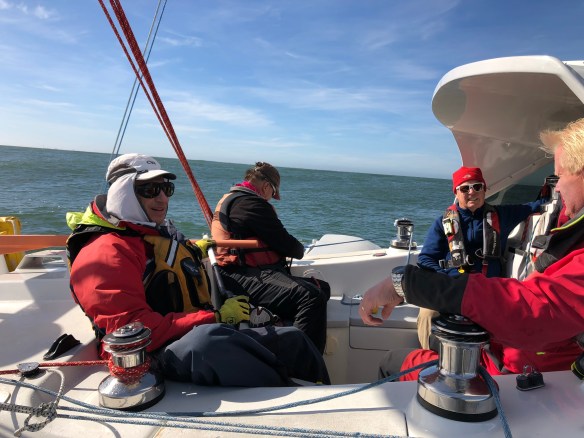
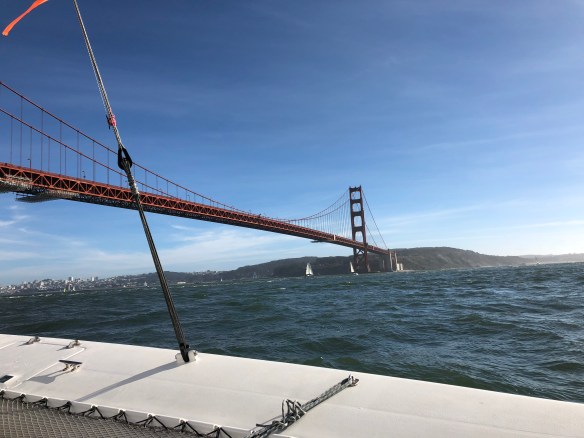
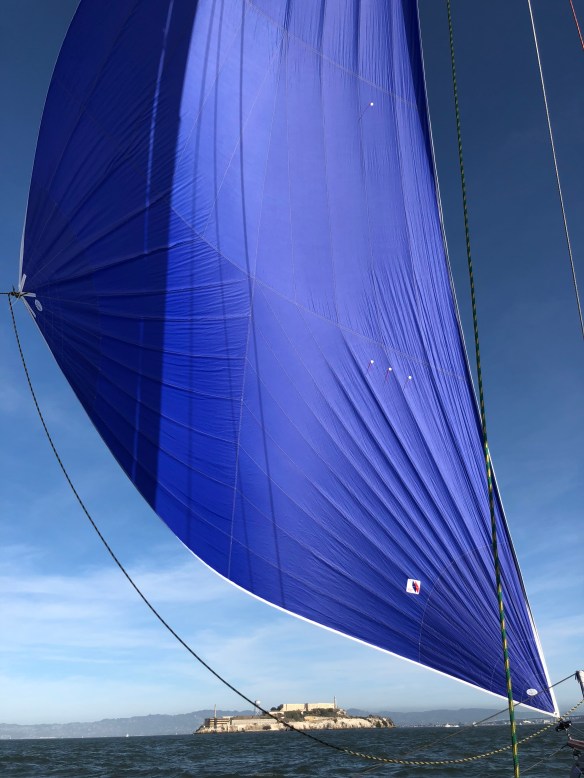
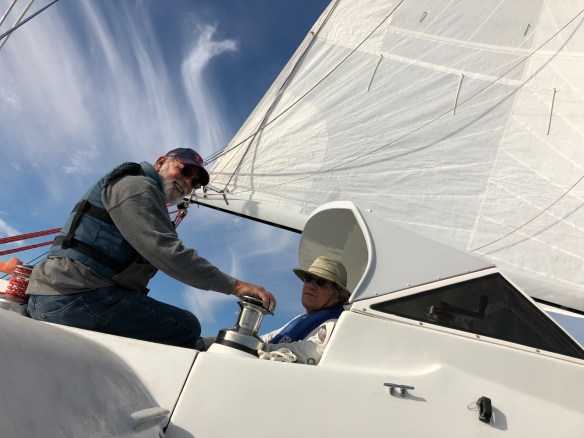
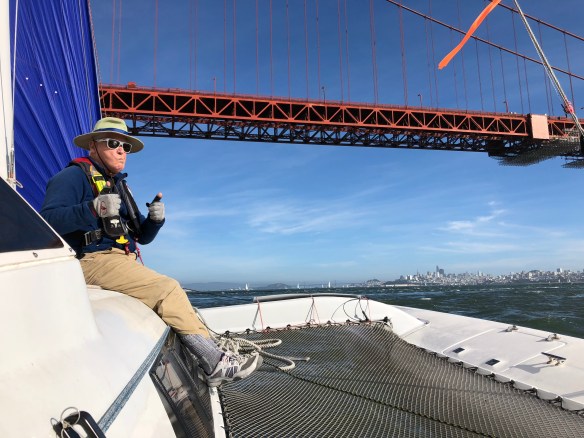 This was only the second time we’ve had the Reacher up (big blue sail), and big thanks to ChrisH for slacking the halyard way off to curl the luff once we turned downwind. This thing makes a great chicken-chute that way! Here you go, framed up with The Rock (Alcatraz prison)
 I didn’t drive that day, instead I roamed around the boat looking at new-to-me vantages. The best was the aft cabin – Rick is right, that’s going to be a nice spot on passages.


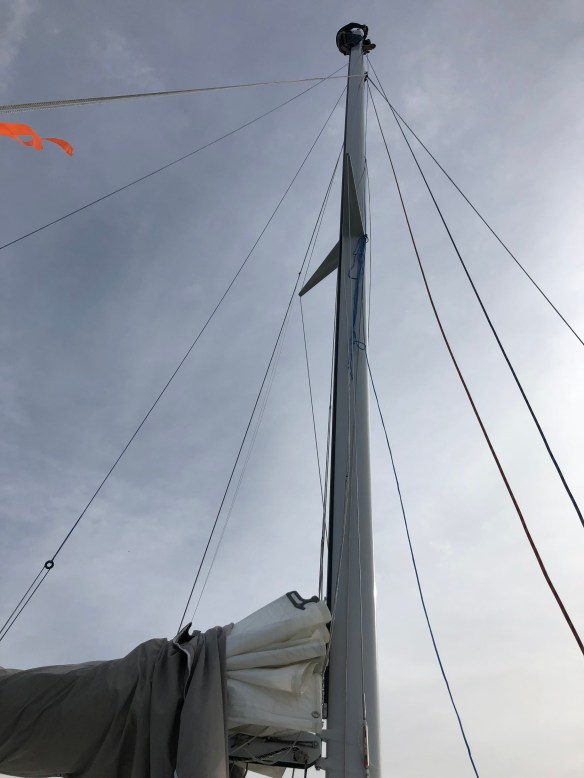
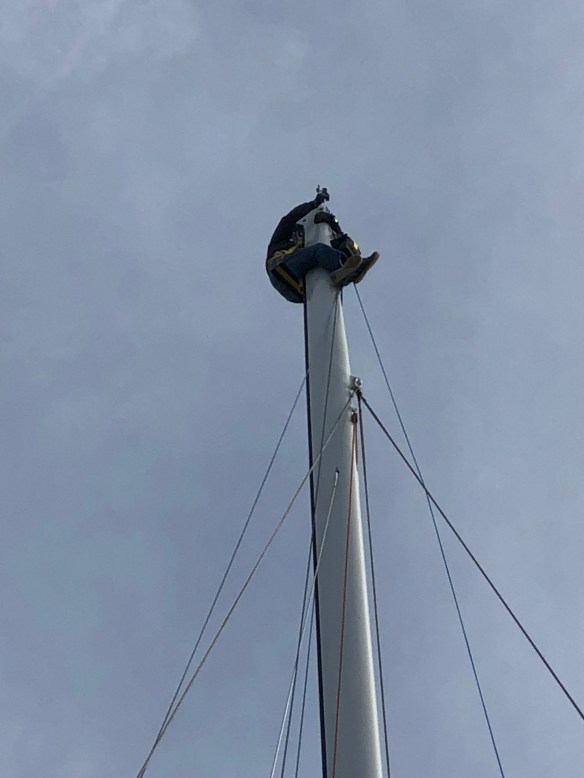
 The installation instructions did not warn about Bluetooth being dependent on line of sight. I put the unit in the middle of the masthead for strength, etc, but the crane on the aft portion, including a big steel sheave pin, is blocking our signal down in the cockpit area. Argh. So the SailTimer folks just sent us an offset arm so we’ll move the unit in to clear air about a foot aft of the main sail track. More on this topic later.
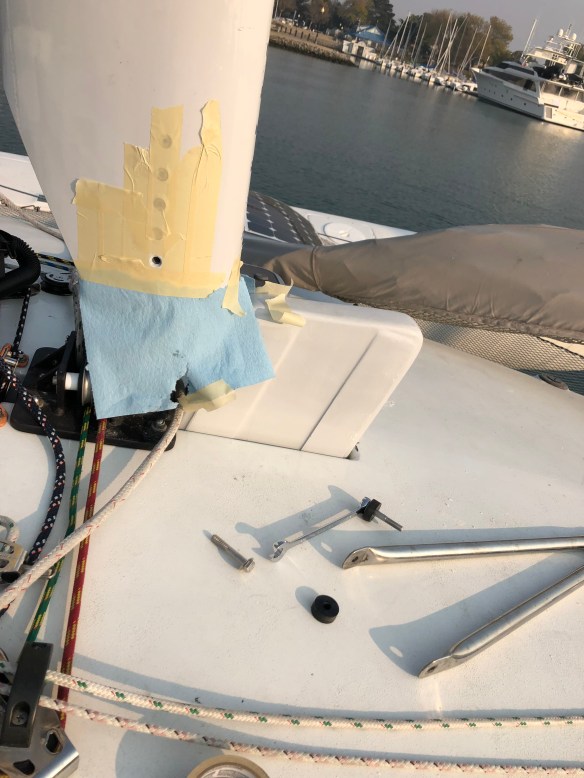 I made a slurry of epoxy thickened with bonding fibers, and syringed it in there.

 Keith, I kept the black plastic spacers because of how the metal shape fits the mast. Plus I think they help with shock absorption. But I did go another 1/2″ deeper than we talked about. We’ve sailed it once in light winds, and it worked fine. Time will tell.

 We also added this 3′ long leader to the reacher control sheets – this helps pull the sail around the forestay during tacks or jibes. I’ve known about this for spinnakers, but just realized we needed it for this sail too.
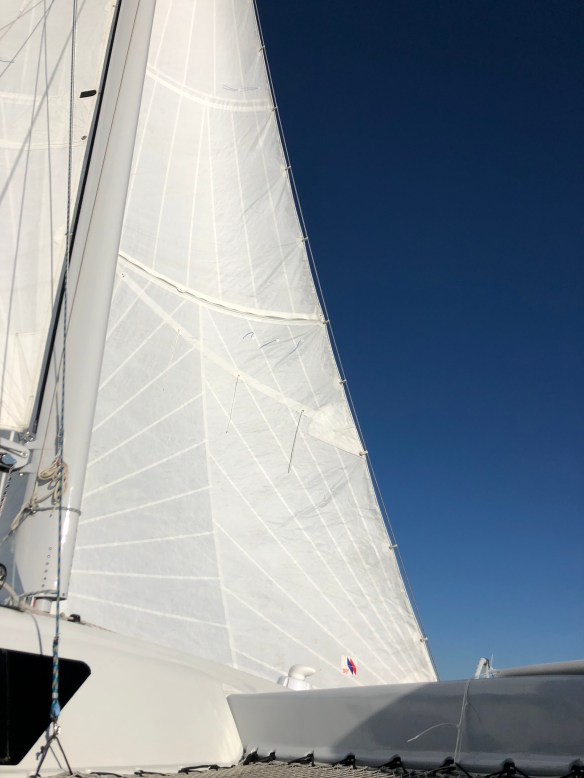
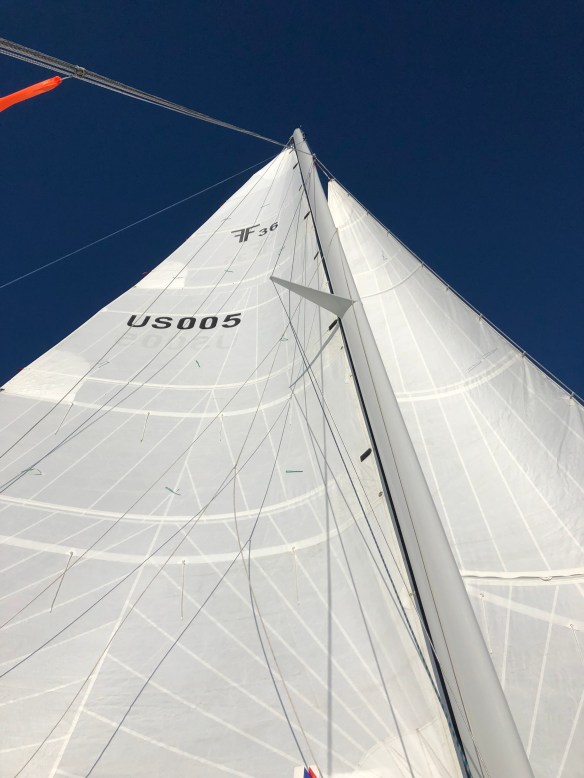
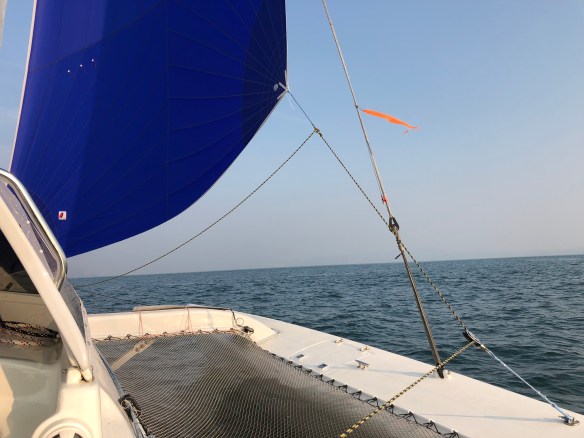 And one more shot trying wide-angle to get more sense of the two sails working together…
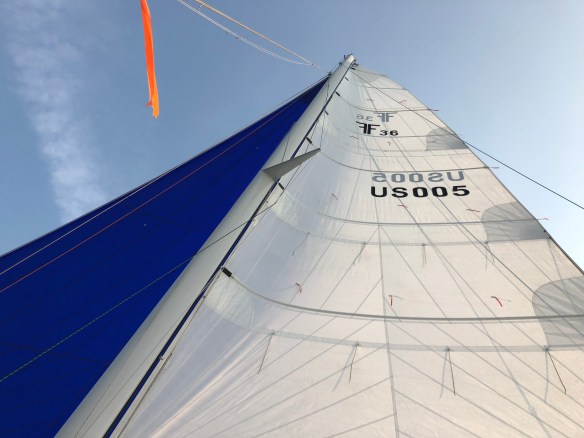 This one is for John Franta at Colligo, and Keith at Skateaway Design, for showing how well our bowsprit hardware came together and makes this sail easy to manage.






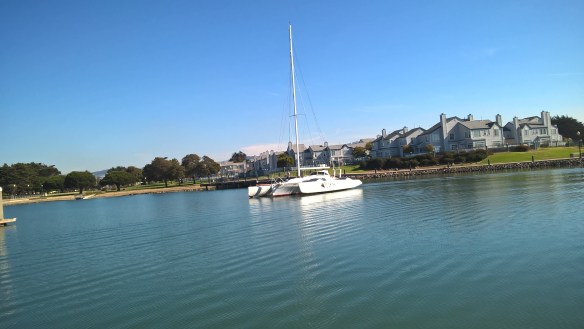

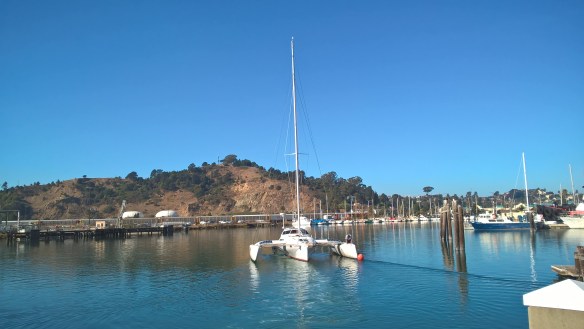
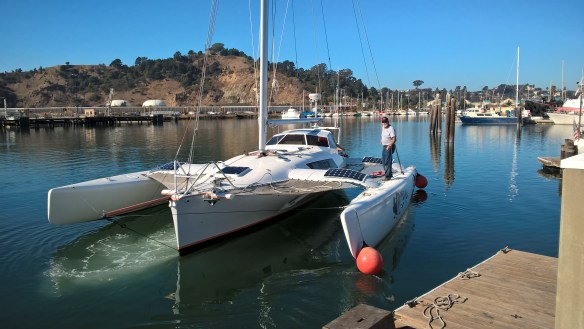



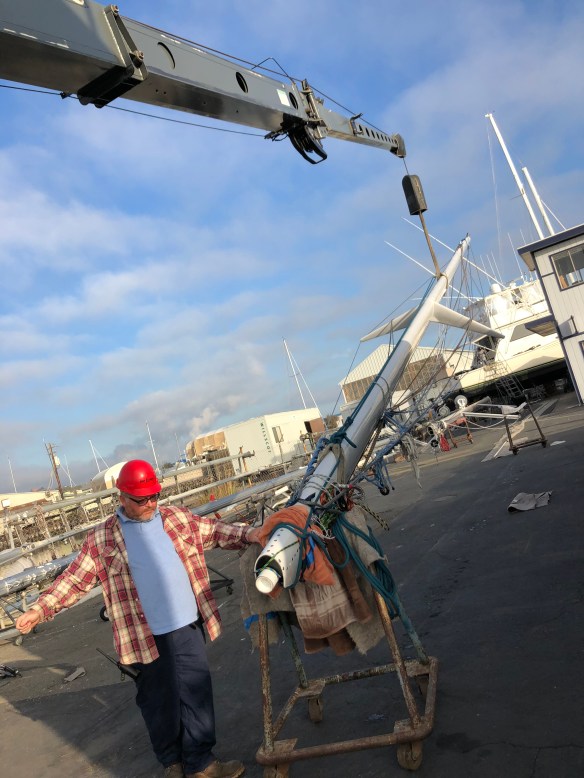
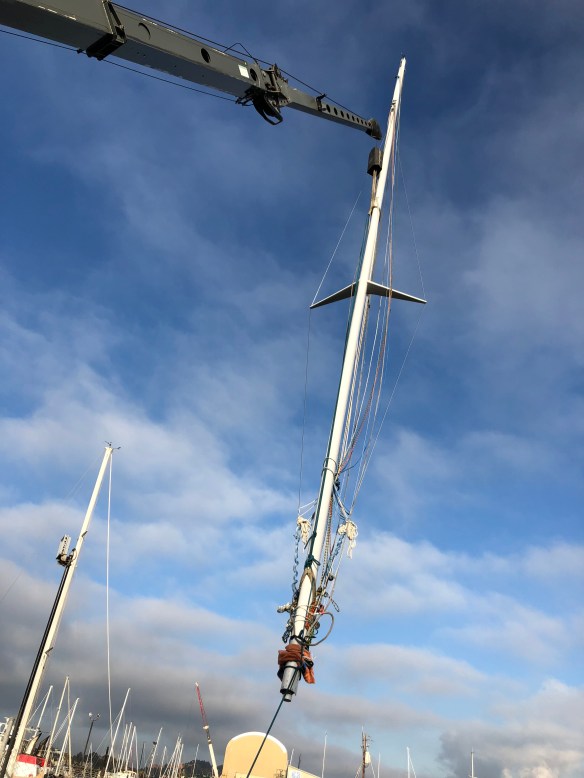


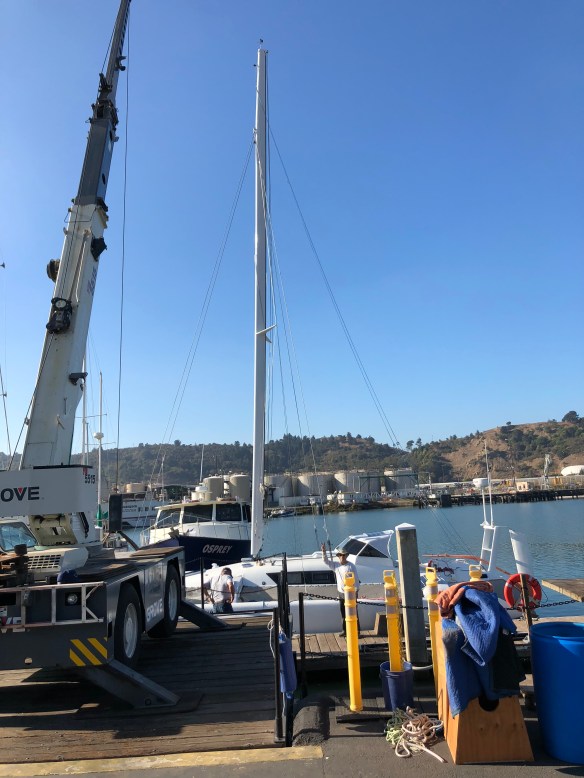 Big thanks to Rolf and Kris at Bay Marine for expert crane work. Carlos, Jim and I went on deck once they had the mast down on the ball, and we lashed the two cap shrouds and forestay in about 15 mins. Just those three lines, then they removed the crane.
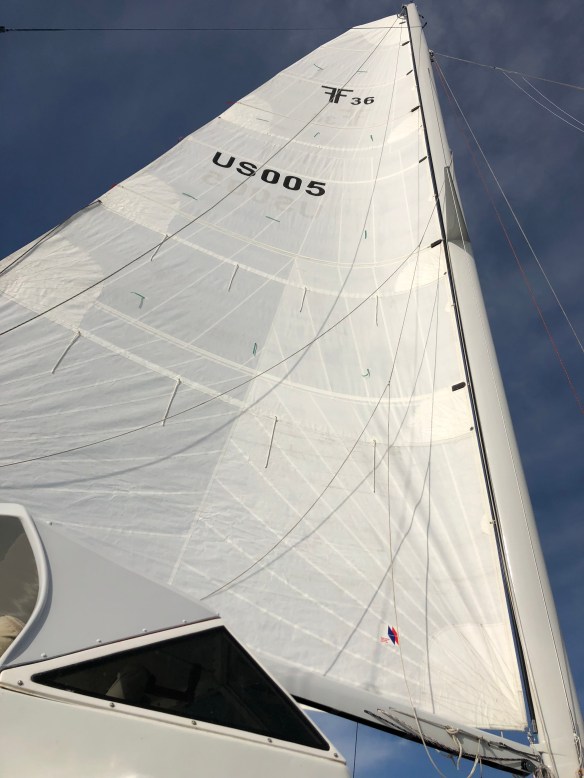

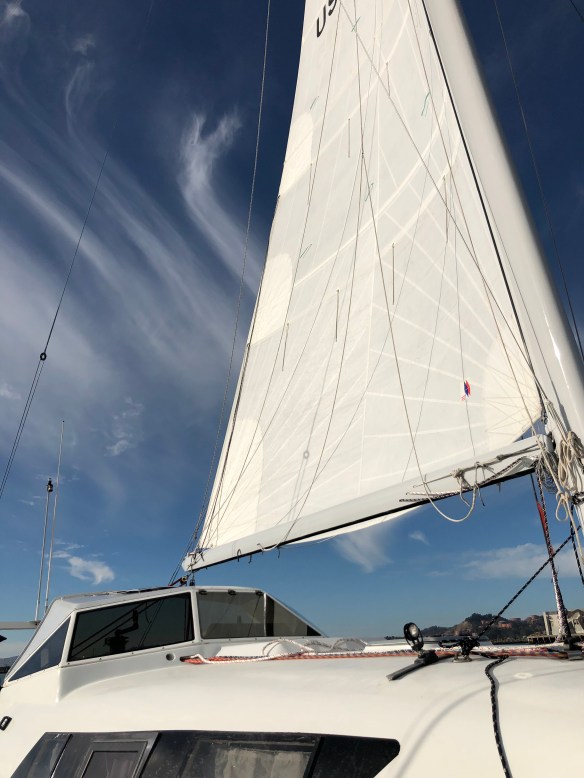
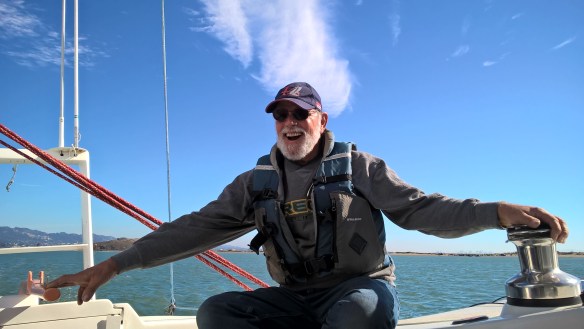
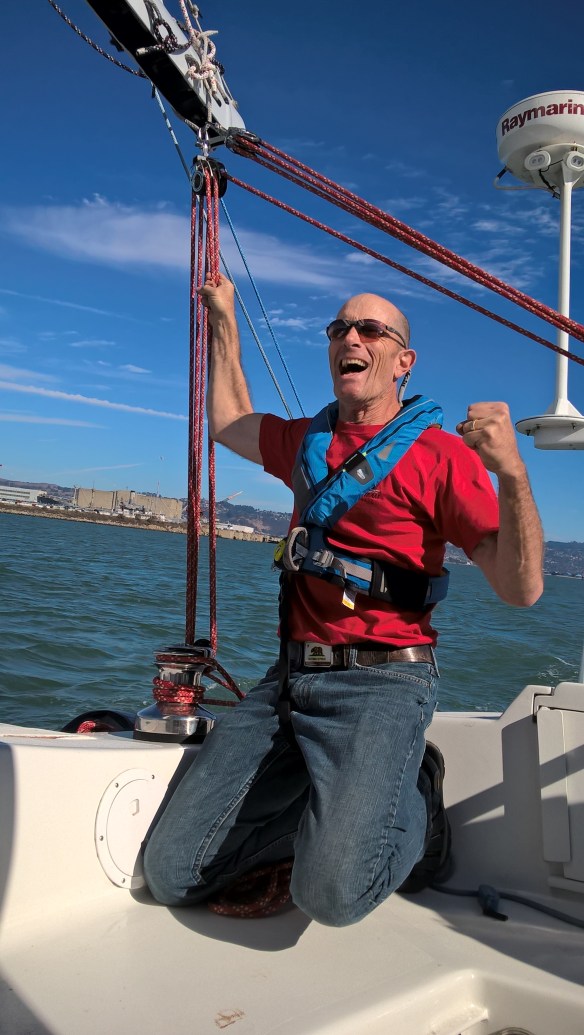
 kudos to Jim for driving the boat today and keeping the mast in the sky. 100% improvement over last time :)
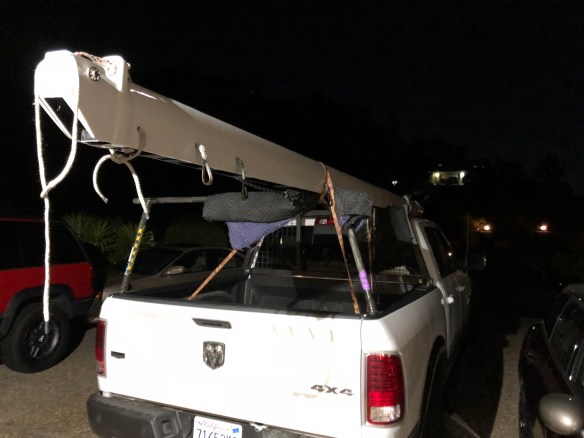 After a good home cooked dinner (second major spousal gift of the day), it was a couple hours in the garage dressing out the boom for duty tomorrow. The new outboard end sheave box, and the mast-connect toggle system came out great. Reefing the three clews will be much better this time around.


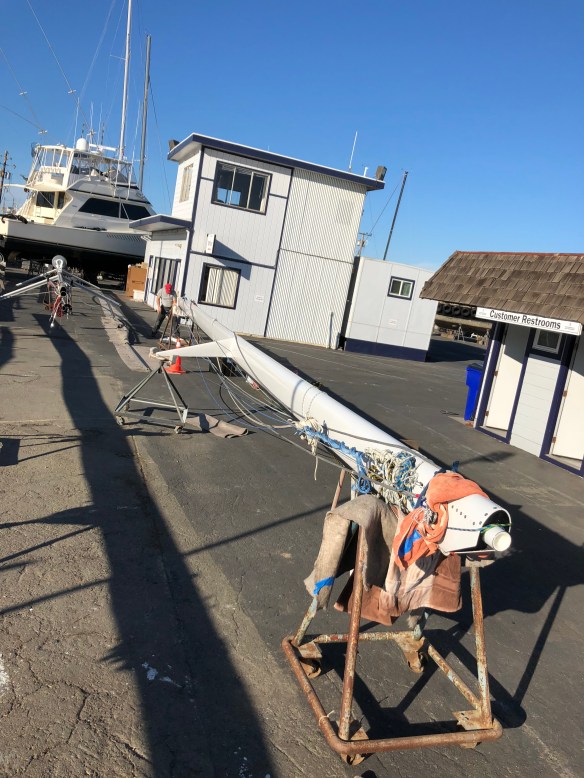
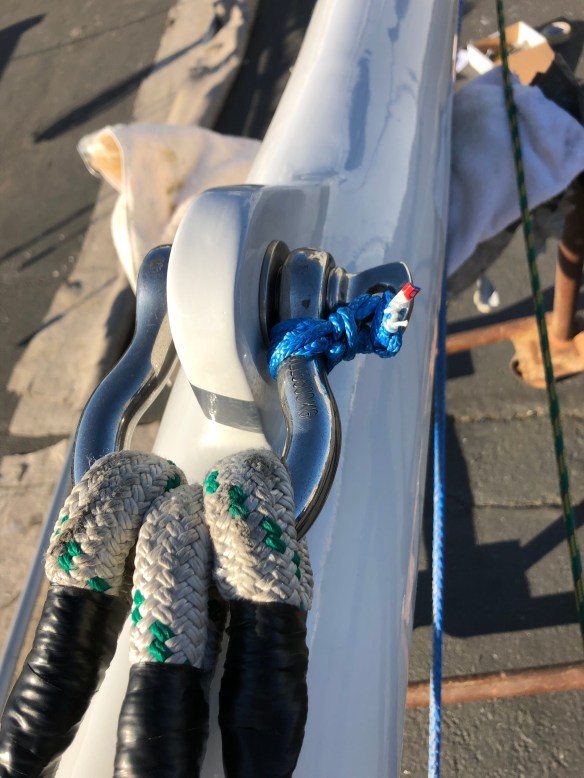
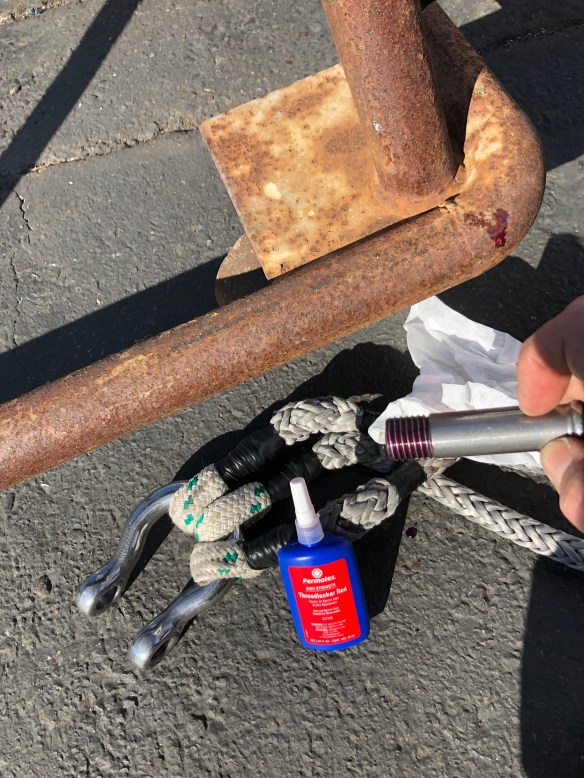 Then lashing with 1/8″ amsteel dyneema. Look how nice the hound turned out; after I left CompEng the owner Ted made a perfect press-fit steel bushing to exact fit the shackle pin. Another element of how everything on this mast is top shelf.

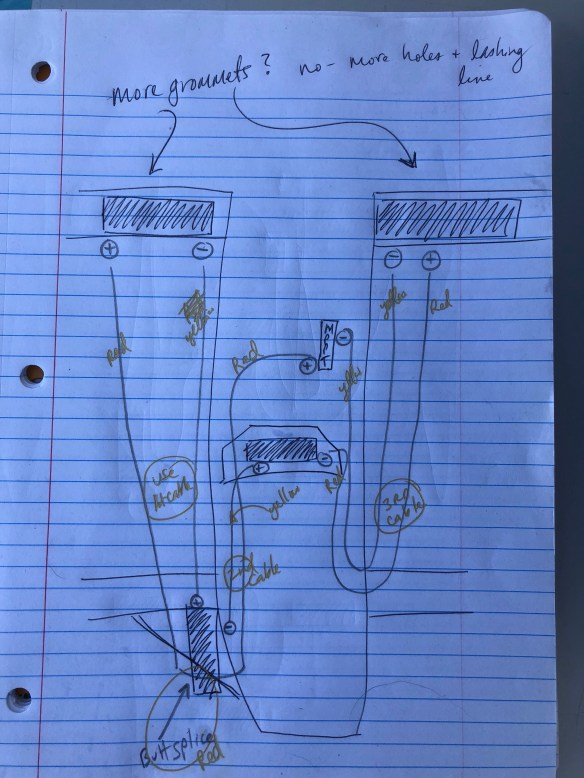
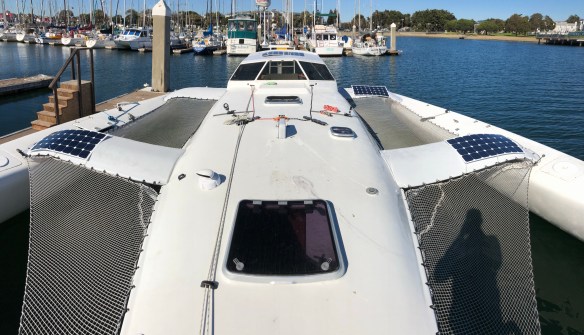
 At the boat, the solar system charging the lithium battery bank got up to a full 14.2volts charge today, once we dialed in details like the Peukert curve, absorption voltage, and efficiency rating. The Victron BMV712 is run via a Bluetooth app, making the custom configuration very easy. The hard part is deciphering and deciding what you want with your LiFePO4 batteries. Now with full charge we’ll start using the chart plotter and radar for the first time, and if that goes well, get into testing the fridge. All of these things were installed two years ago and have sat unused!


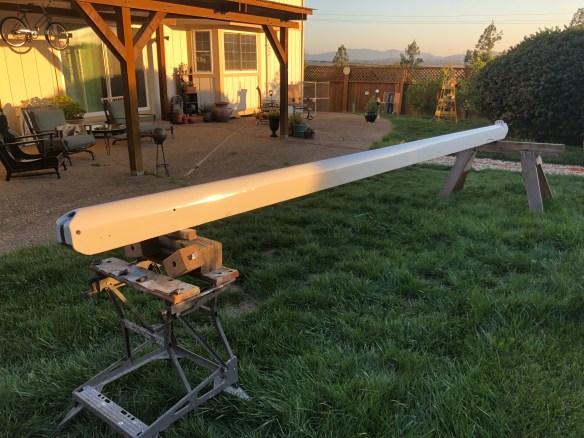
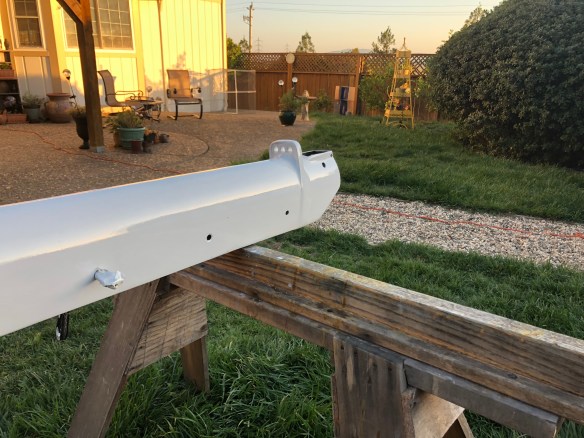
 that’s got to be the lightest curtain rod possible!




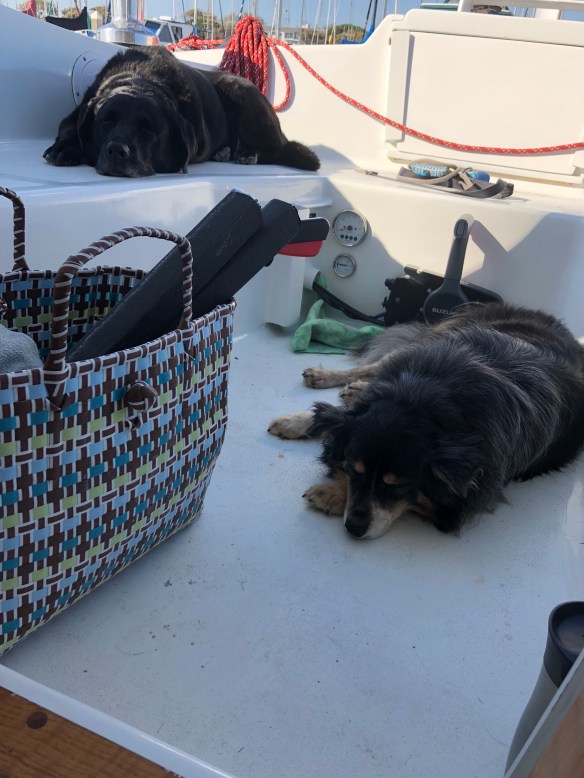
 these two were no help that day, except for occasional scaring away of seagulls



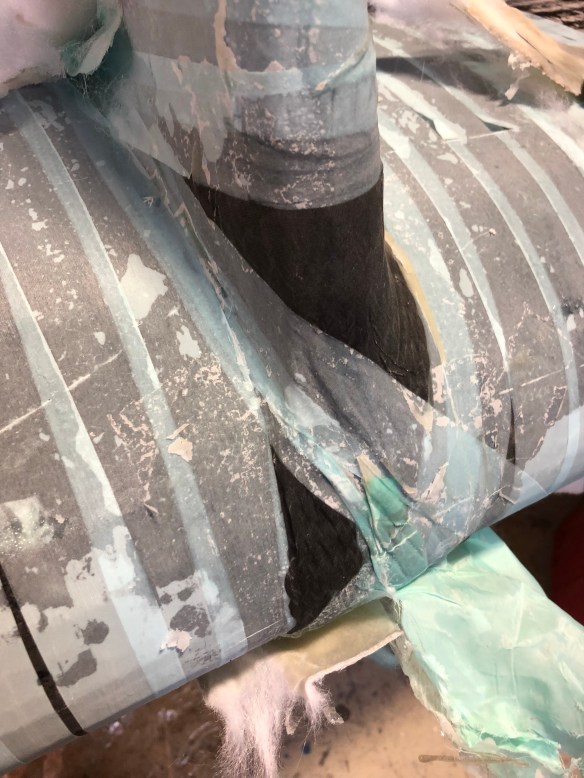
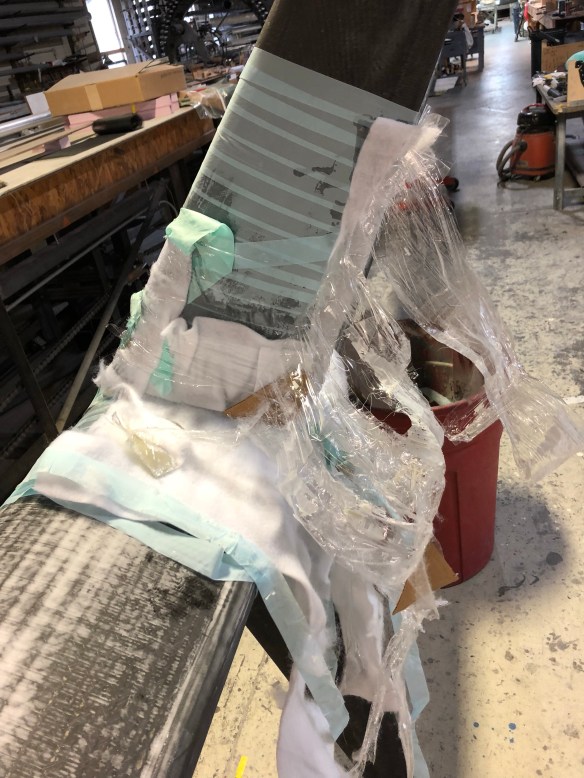
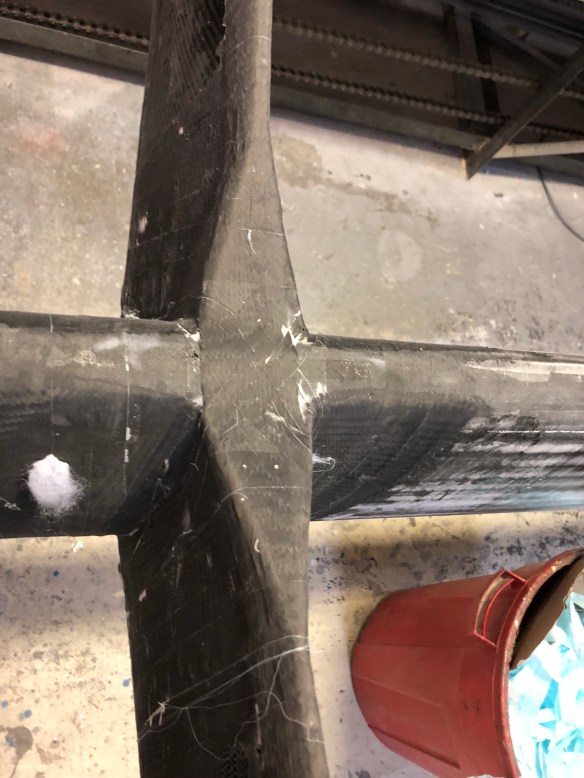
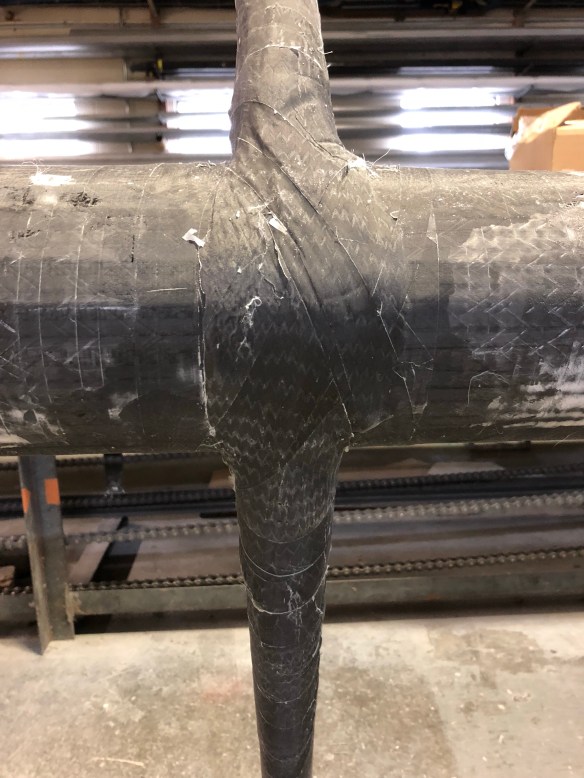


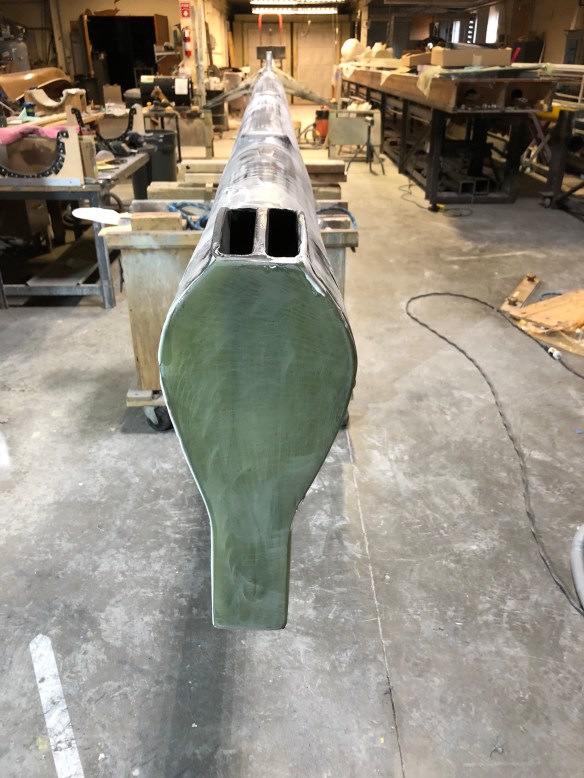


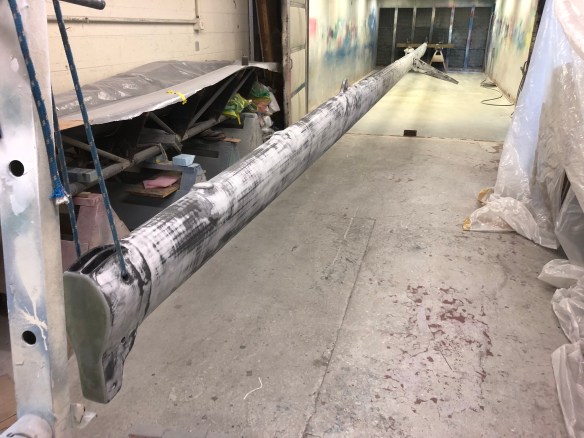




 But in the end, Ted said this evening we did a great job creating “a century-lasting mast” that will make the boat perform at its best. We won’t be able to wear this one out. I know it’ll all be worth it wherever Ravenswing is on the planet and we can look 54′ up in the air with total confidence. It’s been 13 months now Jimbo; soon we will be sailing again.

